“.”
“Hunt the Silent Fang” is an objective in the mission The Silent Fang in Destiny: House of Wolves
Walkthrough[edit]
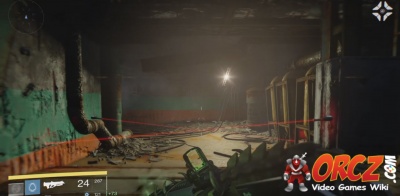
You touch down in The Divide with the Wall right in front of you. Drop off the rooftop and head inside the Wall. When you make it through the Hall to the entrance of the Breach you will find the first room has a lot tougher Fallen inside it. You have a number of Dregs, Elder Vandals and some Elder Shanks. You can easily run through this room by breaking off to the left and getting down the hallway there quickly. Just slow down after the first pair of corners. The reason is simple: Trip Mines.
The first one is just a pair of mines that are easily avoided by moving to either side and jumping or ducking underneath them. Just on the other side of the mines you have a Stealth Elder Vandal and an Elder Vandal. The next part gets more challenging.
On the far side you have an Elder Vandal, two Tracer Shanks, and a an Elder Captain. To your left you have another Sniper Elder Vandal. On the crossway you will also have to deal with a Stasis Mine. Try to shoot it to trigger it so you do not have to worry about getting caught in it. If the fire is a bit much, just retreat down the stairs that you came up. Take out the Sniper on the left and the mine. After that, a dash across the crossway will put you into the thick of this fight. There is ample cover to be found in the area. This makes things a lot easier to deal with for this combat. Keep on the move and use the cover to your advantage. Be careful as the way forward is on the right. The Shanks and Captain tend to retreat back in that direction. There are a few additional Elder Vandals waiting up in that direction.
The next set of mines are not much harder. It is just a quick pair of trip mines that you can easily jump over. Just after that you have a Trip Mine and a Stasis Mine. You should shoot the trip mine to trigger the other mine and be done with them. Just after is a another pair of mines so be careful. They will only activate as you approach so take things slow and avoid them. Most of the mines that follow will be in the same style. Running through this section is not recommended for this reason.
Head around the corner. You will find another trip mine and stasis grenade pairing. it doesn't help there is another four Trip Mines after that initial one. It is recommended to take this part slow and blast away the mines to ensure you don't get blown up. Around the next corner, things are not much better with another pair of mines.
After the mines you have more Fallen to deal with. Accurately an Elder Vandal and a Stealth Elder Vandal immediately. Follow the corridor over to the right and into the large, dark room. Be careful of the two Stasis Mines on the ground though as you head toward that room.
As you emerge into the large room, you will be attacked on the left by a pair of Elder Vandals. Deal with them then go down the corridor on the left.
Objectives[edit]
- Hunt the Silent Fang
- Face the Silent Fang
- Eliminate the Silent Fang


