“Blindsighted” is a Thieves' Guild Faction Quest in The Elder Scrolls V: Skyrim
Locations[edit]
Walkthrough[edit]
Leave Nightingale Hall with Karliah and Brynjolf. You have some traveling to do to reach Irkngthand.
Make your way to any of the entrances of Irkngthand. There are a number of Bandits. Fight through them and make your way to the entrance. You need to work your way down one platform at a time and Once you can get inside, the real hunt will begin for Mercer Frey.
Head to the Southwest and then through the Southern passage. Continue South into the next room. When you get there, start over to the East. As you reach the lower level of this area, you will find a Dwarven Sphere patrolling. You can either wait for it to be moving away or try to take it out quickly. Continue to the East regardless.
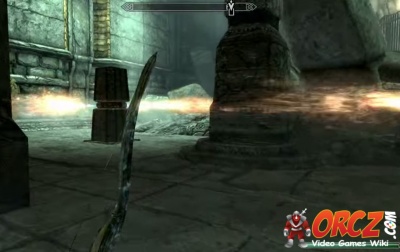
This will put you in front of numerous fire traps. They rotate in a single direction. Just watch how the move for a moment and them move in-between the flames to avoid taking damage. There are 2 in the Western part of the room. Head up to the North and go over to the East. As you get over to to there and need to turn to the South, you will encounter three more flame spinners. If you go into the stone rubble to the East, you can bypass them easily. Continue to the South to the gate just beyond one of the spinners. Slip past it and open the gate to move on.
Continuing South into the next room, you will need to follow its arc from East to North. Go up the stairs. Look to the East as you go North. You will find an elevator. Pull the lever to lower yourself down to the next level. This will take you to Irkngthand Grand Cavern
Head forward and down the stairs in front of you. Karliah and Brynjolf are waiting just in front of the door. When asked about the bandits, Karliah explains that it was Mercer who did that. Time for you to get into the dungeon and make your way to Mercer.
Open the door on either the left-hand side or the right to avoid a swinging mace trap that sits in the middle of the door. Head over to the West after that. You have to watch for a minute as Mercer sneaks through the ruins and talks out some Falmer from behind. Turn to the Northwest after that and head through the corridor there. Open the door and head down the stairs on the left.
Once you make it to the lower area, head over to the West. Cross over the rubble. You will find a lever there. Activate it to start clearing the way forward.
Head over to the opposite side of the room, staying on the same level. This will open the door below which will allow you to move forward.
Mkae your way down to the ground using the stairs that you passed to trigger the second lever. There are still some Falmer scattered throughout this area and some traps. Move quietly to avoid the Falmer. Keep somewhat off center to avoid the traps. Head into the hallway and take a little time to wait for Karliah and Brynjolf to catch up.
In the next room, you will have a choice of taking the low road or the high road. Regardless, you will need to concern yourself with Falmer that are guarding the area. Head straight to the west and up the slope in front of you. Make your way over to the dome. Over there, turn to the South and loop around the dome to the North. Watch for patrolling Falmer as you are going around the corner. There may be an earth shaking rumble. Keep moving to the West and along the ledge. Watch out for a pair of Falmer Shadowmasters that patrol the walkway leading up in this area. Take them out carefully and continue upwards. Keep with the wawlkway as it heads upwards. Go through the nearby door. Follow this corridor to the South and the down the nearby stairs.
In the next room you will find a few ways through. The easiest is to head to the East and open the gate there. Keep to either side to avoid a pair of bear traps that are set on the ground. Open the far door to continue onward.
The next cavern offers another choice. The room has a number of Falmer around as well as a Dwarven Centurion. You can take your time and sneak through or just engage them all in a fight.
If you fight, start with the Falmer. They are numerous and easier to deal with individually. Use the ledge you start on to pick off whoever you can. Only after you have eliminate them should you provoke the Centurion. If the Centurion actives, at any point, that should become your focus. The centurion hits hard and has a number of attacks you need to worry about.
Either way, head to the South and head up the stairs to the West. Be careful at the top of the tripwire trap that is set up there. Activate it to trigger the trap at a safe distance. Just keep going up and to the West after that. Go across the walkway to the far side of the room. Follow it to the South. be mindful of numerous bear traps that have been laid out along the path. This will lead you to the Southeast. Head into the Southern door you find there. Be mindful of the Falmer that are in the area. This will lead you into the Irkngthand Slave Pens.
Head down the slope to the South. Be careful as there is Dwarven Spider Guardian. You are now in a big Falmer area. You need to sneak else you risk getting swarmed.
Head over to the East and through the open doorway. This leads you a lever. Use it to clear at least some of the corridor of Falmer. Head South then turn to the East and go North after that. Loot the dead Falmer and Thief.
Follow the corridor as it turns to the East. It will turn to the South after that. This leads to another Falmer Hive. Sneak along the outside wall to avoid getting noticed. Keep against the wall and make your way to the East. When you reach the fence, go for the gate to the right. The one on the right is unlocked while the one of the left is locked (Expert Level).
If you want to fight them, just head into the middle of the hive.
On the far side, head through the next corridor. En route, karliah will remark she hears water in the pipes and suspects you are below a lake. You will find another large cavern at the end of it. Keep going and turn to the South. Once again, to avoid conflict, stay against the wall and sneak around to the South. Drop down to the lower level and continue onward.
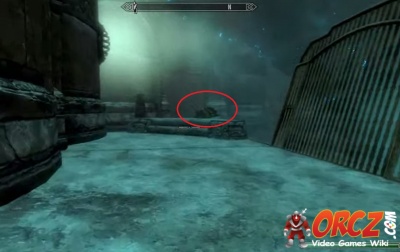
In the next portion of this large room, be careful. In the first hut on the right is a Chaurus, potentially a Chaurus Reaper depending on your level, with Falmer Shadowmasters and Skulkers aiding them. Fight them, if you have to, then continue to the East toward the mist ahead of you. There are more Falmer scattered throughout the area. Watch for them carefully if you want to avoid them. make to the gate here and then go through it. This will lead you to the final area: Irkngthand Sanctuary.
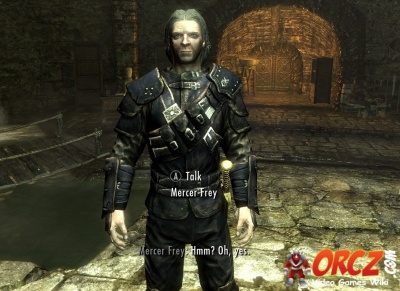
After a short conversation between Karliah and Brynyolf, Mercer Frey will notice and collapse the ledge you are standing on. He will tell you that he knew that this day was coming, where either you or he would die to the other. Soon enough you need to fight Mercer Frey.
Mercer uses the Nightingale ability: Agent of Subterfuge to get Brynolf to attack Karliah. He will also turn invisible at numerous points during the fight. Using arrows or spells and attacks with linger effects makes it easier to track him when he does this.
When you defeat him, hurry over to his body and loot it. You want to grab the Left Eye of the Falmer and the Skeleton Key.
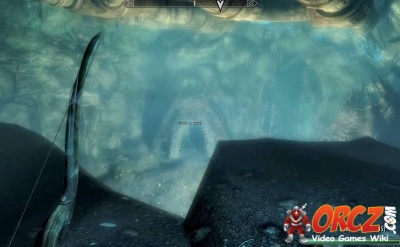
After Mercer's defeat, the room will start filling with water. Head for the Eastern side of the room. Go up the stairs and stand by the head of the large statue. Look just above the statue's head. You will find there are some boulders. Watch them and they will break away to reveal the passage through. Wait for the water to rise and you will be able to swim through the opening soon enough. Follow the revealed passage and escape into the Bronze Water Cave.
Follow the Karliah and Brynjolf. They have a bit to talk about. Karliah will explain that you need to return the Skeleton Key to the Twilight Sepulcher using the Pligrim's Path. She will also award you with the Nightingale Bow.


