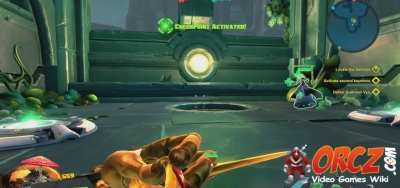
"Activate second keystone" is an objective in The Sentinel in Battleborn
Walkthrough
Head through the newly formed archway after the keystone has been activated. This leads right to a jump pad that will launch you straight to the archway that will bring you back to the hub of this mission. Head into the pit ahead on the left. Be ready for a lot more traps. Getting to the first keystone was the easy part.
Head over to the West to reach the next tunnel. There are plenty of Thralls for you to fight here. You need to deal with more Thrall Bonecrushers, Thrall Brutes coming from Jennerit Warp Anchor, and more Eroded Guardians.
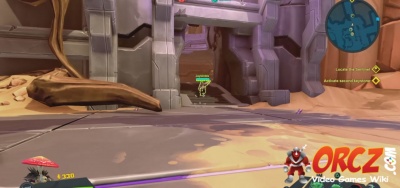
Head on through to the archway here on the Eastern side of this Courtyard. The traps start just a little bit inside.
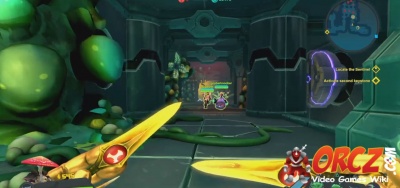
Turning to the North around the first corner you will find the first set of traps: Spinning Blades. You will need to worry about Evolved Thralls, Primal Thralls and Thrall Gunners. Move forward carefully as you dodge the spinning blades. Just after that you have a ceiling trap to deal with. Just remember to watch out for the ceiling trap that comes at the end of the hallway.
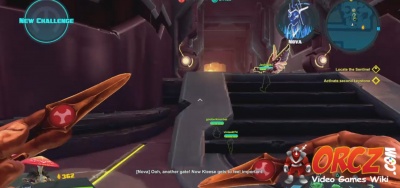
Head up the sets of stairs and drop down into the pit in front of you to move on. Just be ready for more fighting against Thralls when you land at the bottom.
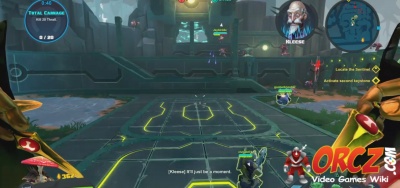
This gate has you needing to get through the massive amount of Thralls that are in the area trying to get through as well, so they attempt to Ambush the Battleborn. You have Evolved Thralls, Thrall Gunners and Primal Thralls to deal with. Nothing too odd.
Continue to the West after you get through the Thrall Ambush. This leads to a few Jump Pads that you need to ride to reach your next challenge.
This brings you to another hallway filled with traps. This time there are pistons that line that wall. These attempt to push you down into the area below. Getting knocked down means you need to start the circuit over again. There are Thralls trying to kill you throughout this area of course. This is all about timing to make it through these traps. Take them one at a time. Trying to press it to two at once vastly increases your chance of getting knocked over. This can lead an annoying trek back through the traps and fighting a number of Thralls along the way.
Just past this, you will find more stairs leading up and to the right to reach a new platform. Along the way you will need to fight through Primal Thralls. At the top you will find another jump pad to ride.
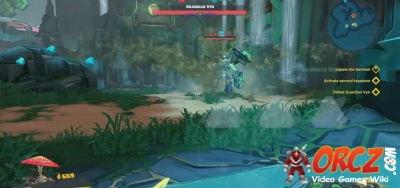
There is a pit to fall into just after that. This leads to the Guardian Vyn that you need to fight.
Defeat the guardian and wait for the second Keystone to rise out of the ground and activate it. Once again, after that, use the Jump Pad at the end of the Keystone to launch out of this area and back toward the center to start on the path toward the final boss.
Activate second keystone - The Sentinel


