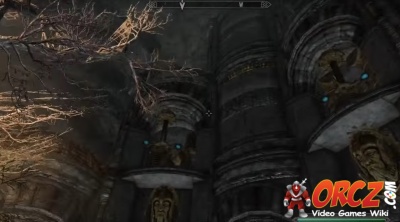
“Lost to the Ages” is a Quest in Skyrim: Dawnguard
Contents
Locations[edit]
Walkthrough[edit]
To trigger this quest, you will find and read The Aetherium Wars. This will add in the objective Investigate the ruins of Azkngthamz. This is found in the Southwestern corner of Skyrim.
Azkngthamz[edit]
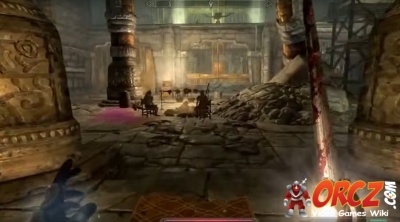
Inside the Dwemer Ruins, head forward to the North down the hallway. Go across the fallen pillar. Follow its turn to the East.
Go into the next room and turn to the South.
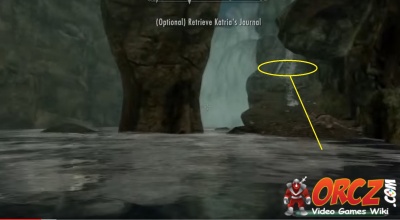
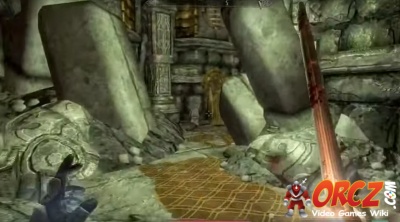
Go on across the fallen pillars that are to the West. Go on across the fallen pillars pause here. You will find the body of Katria resting here. Be sure to loot the body and take her journal.
Take the downward pillar into the water below. Head to the Southwestern ramp leading up out of the water and to a chest you can loot. Go back up the pillar and head into the tunnel on the Western side.
Before you enter the tunnel, you will encounter the ghost of Katria. Talk with her and take the Persuasion option. She will be available as a temporary follower for the duration of this quest.
Head on down this tunnel past the dead Falmer. On your way through, you will be ambushed by a few Dwarven Spider Workers. Defeat them then continue forward to the flooded room. When you enter the room, feel free to enter the water. You will find a chest beneath the surface.
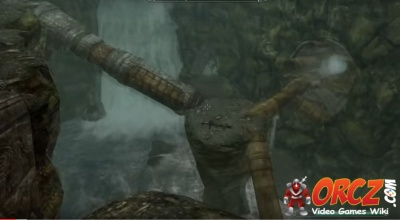
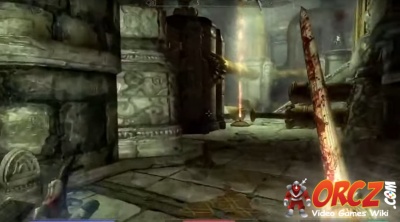
After that, head back to the entrance of this room. To the North you will see a pipe going around the sides of the room to the North. Use this piping to cross the room and reach the Northern tunnel leading away from this room.
Drop off the pipe and continue to the North into the next room. Open the gate and head into the room.
Inside here, you will see a pair of Kinetic Resonators. Hit both of them and then go through the now opened gate to to the Southeast.
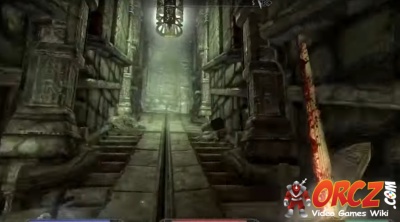
Follow the stairs upwards. Katria will warn you that there are Falmer up ahead. Defeat those at the top of the stairs.
Turn to the South and head on down the stairs there. Head past the Flamer encampment and continue to the South.
Follow the ledge that lets you continue to the South and keep to its winding path. Go past the Glowing Mushrooms and up to the next Falmer lookout.
At the Falmer lookout you will find, you will encounter more of them. Defeat them and continue along the path to the West.
It will switch back and forth for a bit with more Falmer attempting to ambush you.
Follow the path all the way to the next Falmer camp. Once again you will encounter Falmer and Chaurus Hunters.
Defeat them and follow the path to the East. You will reach a room with a few more Chaurus that you need to defeat.
Continue on the path upwards. It will be uneventful for a while after that. Just keep following the path through its switchbacks and continue on ever upwards. When you reach the arches here, the path will begin to head downwards. Follow it on down.
At the bottom of this ramp you will find the true entrance to the Ruins you are heading to. Take some time here to heal up and get ready. Wait for Katria to catch up with you. She will explain that this is as far as she could have gotten. She tells you that what she knows about this puzzle in front of you
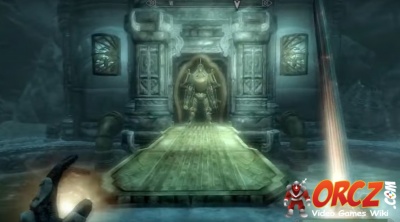
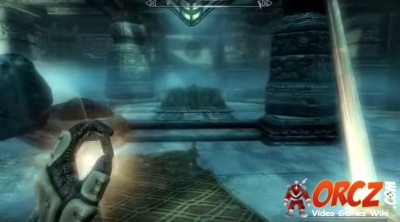
You are now confront with the Tonal Lock Puzzle. There are a total of 5 Kinetic Resonators that can be used to solve this puzzle. You will need to use Katria's Journal to begin solving it.
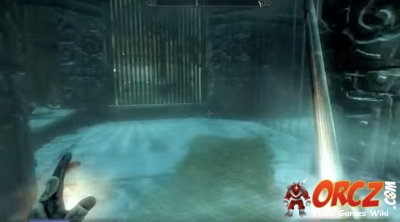
Start by firing off a ranged attack against the Kinetic Resonator to the left of the Dwarven Mask.
Firing off a second ranged attack against the Kinetic Resonator to the right of the Dwarven Mask.
Fire a final ranged attack against the Kinetic Resonator below the Mask.
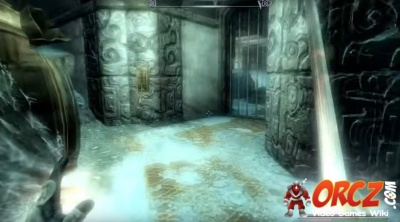
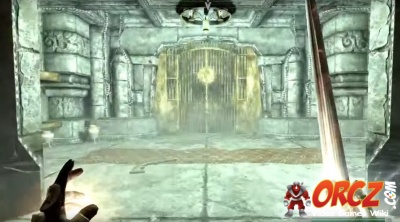
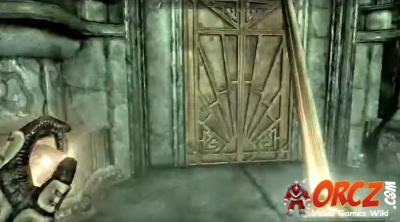
Completing this puzzle will open the doors to the left and and right.
Go inside this area. In the back you will find the first Aetherium Shard
Deep Folk Crossing[edit]
Make your way out to the Deep Folk Crossing. When you arrive, go across the bridge.
Turn to the North and go up the slope.
At the top you will find the second Aetherium Shard
Raldbthar[edit]
The next site to visit for Aetherium is Raldbthar. Approaching the entrance to this location you will need to fight through a number of Bandits which have taken control of the Ruins. Defeat them and make your way up the stairs to the actual entrance.
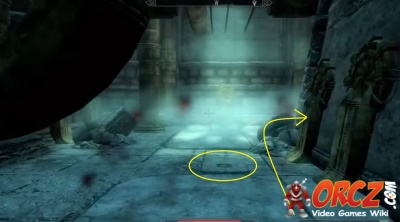
Once inside, you will have a few flame traps that you will need to either evade or run through. There is a pressure plate that triggers them just in front of the base of the ramp you come in on. Keep to the left or right to avoid it. Continue forward and drop off the collapsed gate. Go down the hallway to the South. There is a gate in front of you, an Expert Lock.
Through that you will find more Bandits that have camped here. Defeat them and make your way farther to the Southeast. Open the gate there.
Go through the hallway and over to the West. There is a door there to go through to press forward. The corridor winds some, follow it to the next door.
Beyond this door you will find a room with a Dwarven Spider and some Dwarven Spheres.
Continue to the South and follow the path up the next ramp.
This path leads into a pipe room you will need to navigate. Go toward the flame trap. To the right of it is a piston. Jump over it and then take the ramp beyond it upwards to the West. Be on guard because there can be a Dwarven Sphere
Turn to the left at the top of the stairs. There is a second, short, set of stairs there. Take them up into the next hallway with spider webs on its sides.
Follow it to the end. There you will find a lever that will take you to the lower level of this area.
Head down the ramp in front of you carefully. There is a trap waiting for you at the base of it. When you approach the bottom, the blades for the track you are will emerge. You can easily jump over them or move to either side and avoid them. Go on through the door at the bottom to the West.
This leads into a Falmer nest with blue light illuminating the area. Continue to the West but keep on guard for the Falmer. Just to the right of the Well you will find a set of stairs. Take that upwards and to the second set at the next landing. Turn to the East and take them upwards as well.
There is a smaller Falmer camp on the second landing. There can be one or two of them in the huts. Defeat them then turn to the East. Go across the bridge to the next landing. Again, be ready for more Falmer.
Go the Eastern end of this, to the small stone table coming out of the wall. On it you will find a button. Press it to lower the raised bridge on the previous landing. Return there.
Go across the now lowered bridge to the South and into the hallway beyond it. Follow this path as it turns to the West.
Turn to the North when you reach the wall. Go along the fence, with it on your left, to reach the far side of it.
Turn left when you can and right when you can. Go through the door there and start down the stairs carefully, keeping to the right-hand side.
On the first landing is a pressure plate. If triggered, it will launch a number of bolts from across the room at you. At the bottom of the stairs, turn to the right and head West.
Once again, keep to the right-hand side. There is another pressure plate trap that launches bolts after the second pipe on the left. Turn to the North and go forward from there. Turn to the West when you need to and go through the door there.
Go on up the ramp through the door. Approach the gate but turn around after that. There will be more Dwarven Spiders and a Dwarven Sphere rushing at you.
To the right of the gate you will find a number of buttons. Only one of them will open the gate to the left. All of the others will trigger traps.
- Far Left: Flame Trap
- Left: ???
- Right: Open door
- Far Right: ???
With the gate open, head to the West down the hallway here. Through the door you will find another gate which you can just open. Do so then turn to the Northwest. There is set of gears here with a leg jammed inside it. Pulling out the leg will help clear the way forward to the next portion. Be wary of the Falmer that occupy the area. They will attack you.
Now, head more to the West, to the left of the bridge going out over the water. You will see a second set of gears that are being blocked. Head over to them and remove the skull from there.
Now, head to the opposite side of the room, the Northern side. You will find another set of gears with the human spine in it. Remove it.
Finally, go over to the gears to the left of the foot of the bridge.
Drive into the water and look at the gears there. These are also jammed with some Dwarven Scrap. Remove it and then head onto the bridge itself.
The gate will lower and reveal a Dwarven Centurion. Be ready for the fight after the bridge falls. Defeat the Centurion and beyond it you will find a door. Head on through it.
Going around the corner you will find a lever. Pull it to open the bars to the right. Go through there.
This leads to a large room. In the middle you will find a Dwarven Mechanism. Be mindful of the Dwarven Spiders and Dwarven Sphere. Interact with the mechanism to have Katria appear in the room to help you.
Clear out the Dwarven Mechanisms and then make your way to the North.
At the Northern end you will find the Aetherium Shard. Return to the surface to head to the next location.
Head to the South. Open the gate there and use the lever to return to the surface quickly.
Mzulft - Dwarven Storeroom[edit]
Fast travel to Mzulft. Turn to the South and you will see the entrance to the Dwarven Storeroom. If you have cleared Mzulft, then you should be able to quickly access this location.
Head to the Southeast and down the ramp. Go to the gate opposite you and unlock it (Expert).
If that is a bit much, turn to the West and attempt the door there. It is locked, but only apprentice difficulty. Turn to the left through this door and open the other door in this room. This leads to the same place as the Gate (expert locked).
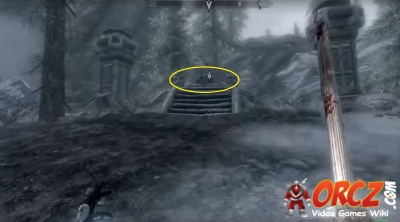
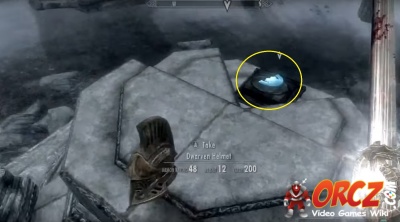
Approach the dais at the top of the short set of stairs. You will find the Aetherium Shard waiting for you.
Collect it and return to Katria. She will thank you for your help and direct you toward the final location, where you will find the Aetherium Forge itself.
Finding the Forge[edit]
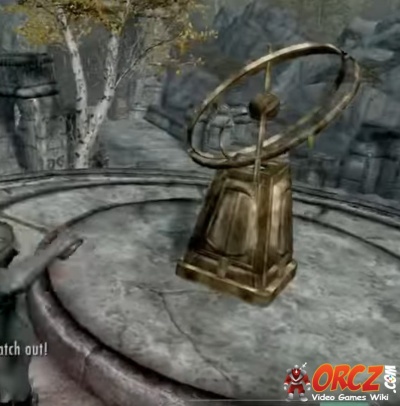
Having collected the 4 pieces of the Key to the Aetherium Forge, it is time to find and reach the Forge itself. Head to the Ruins of Bthalft to begin your search. Head to the Astrolabe (pedestal with intertwining circles). Clear out the Bandits which can be here and then talk with Katria.
Approach the pedestal and interact with it. This will place the shards into the mechanism. Interact with it a second time, taking the crest and stepping off the platform with Katria.
Wait for it to move and reveal the elevator to the area below. Go inside and pull the lever to be take to the forge itself.
Once inside, go forward and look to the right of the gate. You will see a lever. Pull it to open the gate and allow you access into the first portion of the forge.
Head down the stairs in front of you. Continue along the path forward. Go forward and up the stairs to reach the gate. It is closed, but if you look above it to the left and right, you will see Kinetic Resonators. Hit them both to open the gate and allow you to go forward.
Go down the stairs through the gate. Turn to the left and open the door there.
Though it you will find a large chamber. This is the entrance to the forge itself. The Dwemer though never left things unguarded. Be ready to face the Forgemaster when you enter the main portion of the room.
Go over to the right from where you enter. You will see a pipe with a valve on it. This will allow you to turn off the steam to half of the room.
Head to the East from there and deactivate the second vale.
The Forgemaster[edit]
The battle opens against a number of Dwarven Spiders. There are a lot of them that need to be destroyed. The end of this round of the fight is signaled with the arrival and defeat of 4 Dwarven Spheres. Expect to have to shut down the steam at least once during this bout. Simply return to the valves on the sides of the room to stop the flow of steam.
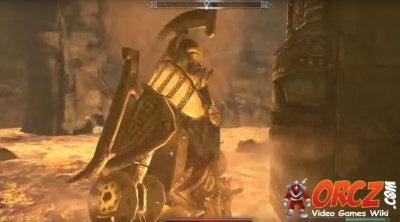
Wait a short moment and the Forgemaster will appear from the lava to the left of the Aetherium Forge itself. Hang back long enough for the Forgemaster to emerge from the lava. This will let every style of combatant engage. Keep it at range when possible because it has very powerful hits.
Approach and talk with Katria after the fight. She will be relieved at your victory and having reached the forge she had sought for so long. To forge things, you will need to scrounge around the room some to find all the components. There are 3 things that you can forge here. However, you can only choose one.
There is an alcove nearby with all the crafting supplies that you will need for any of these 3 items:
Aetherial Crown[edit]
"Retains the last Standing Stone ability you held, granting you its effects in addition to those of your current Stone"
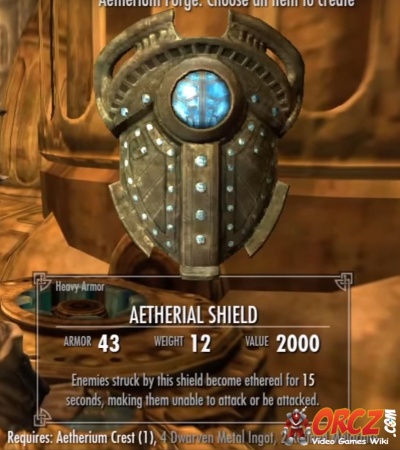
Aetherial Shield[edit]
"Enemies struck by this shield become etheral for 15 seconds, making them unable to attack or be attacked."
Aetherial Staff[edit]
"Summon a Dwarven Spider or Sphere for 60 seconds whenver the past is pointing."


