
“Loud and Clear” is a Thieves' Guild Faction Quest in The Elder Scrolls V: Skyrim
Contents
Locations
Walkthrough
Speak with Vex
After you get the assignment from Mercer, Brynjolf will suggest that you talk with Vex to learn more about how she went about approaching this location.
Talking with Vex will give a good bit of useful information. She will reveal there are at least 8 Mercenaries scattered throughout the complex. She will also recommend using the sewer on the Northern side of the islands to sneak into the interior.
The Front Gate
Some people just do not want to sneak in. This is where the front gate comes in. You will want to eliminate the guard at the front gate. You can do this at range or moving into melee and killing him that way. Loot their body to get the Key to the Main Gate
The Sewer Entrance
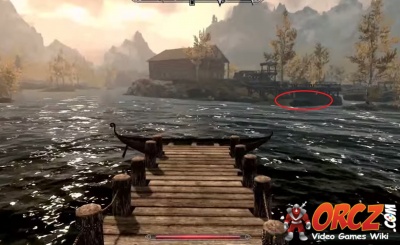
Go to Faldar's Tooth. This is Northeast of Goldenglow Estate. To to the Southwest, to the Northeastern corner of the Estate. You will see some walkways there. Below them you will find the entrance to the Sewers themselves.
Inside the sewers, head over to the left. This leads to a chamber to the North. Inside you will find a trio of Skeevers that you will need to deal with. Nothing bad or that hard. Sneaking in will give you a notable damage boost if you having invested into the Stealth skill tree. Continue to the North after you deal with the skeevers.
As you enter the next room, be careful. You will be walking toward a trap. There is oil on the floor. You should ignite it to clear it away the additional Skeevers that are farther up the hallway.
At the end of the hallway you ignited you will find another circular room. Another pair of Skeevers await you there. Take them out and continue to the East. You also need to watch for the trip wire at the entrance of the next hallway. Approach it with caution and active the tripwire. This will safely trigger a swinging mace trap. Head to the end of that hall, turn to the left and go up the ladder to reach the estate itself.
When you emerge from the sewers you will next to an entrance to the main building of the estate.
Inside Goldenglow Estate
The Eastern door has an Expert lock. Pick it and head inside. Inside the house, you have the wood elf Aringoth to be concerned about. He is up on the second floor. There are mercenaries inside as well. You can either slip past them or take them out.
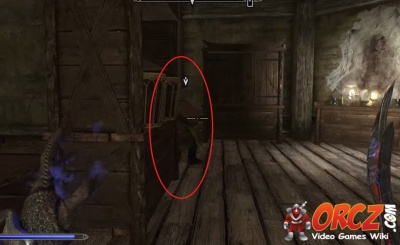
From the door, head forward. Turn to the south then Make your way to the Southwestern corner. Watch to the South carefully as there is a Mercenary that patrols around here. Head to the North and go up the nearby stairs. This will lead you to the second floor of the Estate. Sneaking through here will make things a lot easier as you can avoid getting into a big fight.
Once there, exit the first room, then hug the wall to the left. This will take you Southwest. Head through the first door on your left that you come across. This lets you bypass a few of the Mercenaries that you would otherwise need to deal with. Continue to the South then turn to the left followed by a quick right. This next has a Mercenary sitting at the desk to the West. Just sneak by him. Go to the door to the East and pick it (Novice difficulty).
Slow down as you enter this room. Keep to the wall on the left and go around the next bookcase. You will find Aringoth just beyond the bookcase. Pickpocket him to steal the Goldenglow Safe Key. You can also steal the Goldenglow Basement Key as well, but it is much harder. This will spare you an Expert level lock when you go to break into the safe. if you want to claim the Queen Bee Statue, look to the right of Aringoth's bed. You will see it there.
If Aringoth spots you, he will talk to you. If you have Speech of 75+ (or 53+ with [[Skyrim: Persuasion Perk|Persuasion) then you have a chance to persuade him to let things go forward.
Head to the South from the stairs. Look around the corner, after the doorway, to watch the nearby mercenary. Wait for him to turn away. Head over to the gated doorway. This is a Novice level lock. Most can easily get through it quickly and easily. Head down the stairs and to the door on the right. This will take you into the Goldenglow Basement. Inside this room is the safe you are after.
Head to the North and go through the door there.
Head over to the safe. Either lockpick it or, if you have the key, open it. Inside you will find the Goldenglow Bill Of Sale. Take everything in the safe.
Burning the Hives
Move along the Western edge of the islands. Avoid the bridges unless you are interested in fighting every one of the nearby Mercenaries. Climb up the rocks to reach the beehives with minimal trouble. After that, take some time to equip the Flames spell. You can use any other fire magic or a Torch to light up the hives, but Flames tends to ensure the highest accuracy and minimal misses due to glitches.
Return to Brynjolf
Make your way back to the Ragged Flagon inside Riften. You will find Brynjolf without much trouble. Talk with him to complete this quest.


