Bastion is a dungeon in The Elder Scrolls V: Skyrim. It connects to North Shriekwind Bastion, South Shriekwind Bastion andShriekwind Overlook. Inside a number of Vampires and skeletons can be found.
Location[edit]
Related Quests[edit]
Onmund's Request - Radiant Quests
Walkthrough (from North Shriekwind Bastion)[edit]
Enter into the area. Just inside you will find a Vampire patrolling the entrance. She will be watching for someone to in but can easily be ambushed without much trouble. Head into the room that she is nearby, to the right of the door. Search it to find a small amount of gold nearby the entrance. Turn around and look in the enclaves in the wall. You can find a few Iron Swords.Deeper in you can find a mix of Iron Armor and Steel a chest with some useful potions in it.
Head over to the door that the Vampire was guarding. It is locked (Novice Level). Break it open and go on through. You will find a Dead Bandit on the ground there. Search the nearby table for some random poisons. On the Western wall you will find a pull ring that will cause the portion of floor with the bandit to raise up into a trap. To the South you will encounter an overgrown hall with a skeever inside it. You will find stairs leading up to the level above you. Take the stairs up to the next floor.
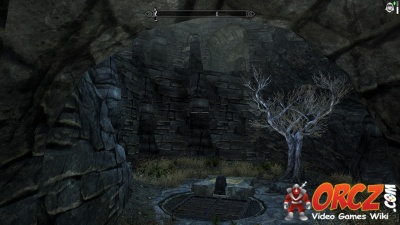
At the top of the first set of stairs is an Iron Door. Open it up and continue up the next set. When you can see the top, you will see 2 Skeletons ready and waiting for you. Defeat them, go onto their land then start over to the East. This will lead into a small courtyard. Look above to the East to spot a Skeleton Archer overlooking the courtyard. Take it out and then head over to the Northern side to find the stairs leading you upwards. Toward the top of the steps expect to encounter another Skeleton. Go over to the East on the upper level and head through the door to move on. If you take some time to look upwards from the bottom of the courtyard, a second level of this area will be revealed. There are 2 more Skeleton Archers there ready to fire on you if spotted.
Go on through the door. This leads to a short hallway with a number of empty coffins. Follow it to the next circular room. Search the chest for some gold and other goods. Search the altar in the center of the room for a random healing potion. After that, head through either of the doors to the South. Turn to the West and take the stairs up. At the top of them, look on the right-hand side for the pull ring. Use it to raise the door in front of you.
This will lead to a lit up room with 3 handles in the middle. There is also a concealed door and at least 4 Skeletons in the area you need to deal with. Deal with the skeletons before you start exploring the room and figuring out its puzzle.
This room is not too complex. Head over to the handles in the middle of the room. Interact with the handle farthest from the small doorway to open it. The handle to the East opens a concealed door. The handle to the Southwest reveals another concealed door with a random heavy armor inside it.
To move forward, head to the small room with the chest. Loot the chest (Locked - Apprentice Level) and then interact with the left-hand pull chain. This will open the gate over the large doorway nearby. Go to the center of the room. From there go through the now open large doorway. Expect to encounter another Skeleton as you head down the corridor to the next room. As you head toward the next room, be careful. There are pressure plates that will trigger battering rams. Keep to the sides to avoid the pressure plates. This will lead back to the courtyard you entered a while back. Turn to the North and follow the curve to the West.
Follow the passage to the North. You will encounter a Vampire's Thrall. Defeat them and then continue on forward. This will lead to another staircase. take it up to the second landing. Go into the small room just off to the side before the next set of stairs leading up. You will find a random enchanted Greatsword and some bits of armor. After that, take the stairs on upward. Be sure to save as you are nearly done with this area. Follow the hallway to the South. This will lead right over to another door.
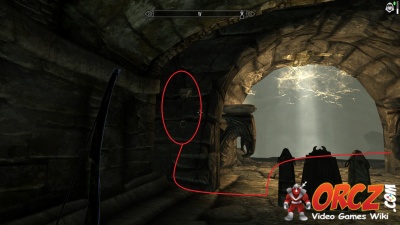
Inside this room you will find another hallway. this will lead back to the small courtyard. There is another Skeleton Archer waiting on the lip of the walkway. Take it out then head over to the left and up the stairs to the next door. When you get to the door, you need to pull the chain, not the lever, to open the door safely. Head up the stairs and save.
Get ready for a big fight and then open the door. You will encounter a Master Vampire. These are powerful foes. Attack them fire oriented attacks to get in the most damage. Keep some distance to try to avoid their melee attacks (and to limit their chances to infect you).
Defeat the Master Vampire and head over to the altar he started at. You will find a copy of 2920, Second Seed, v5, a Speech Book. Continue on up the stairs nearby. This leads to a chamber with a chest and some burial urns. You will also find a Word Wall a bit deeper in. This one will teach a word for the Elemental Fury Dragon Shout.


