Ashfallow Citadel is a location in The Elder Scrolls V: Skyrim - Dragonborn found in Solstheim
Related Quests
Walkthrough
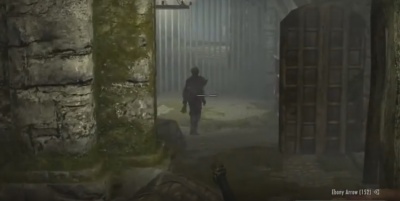
Be on guard to encounter 2 Morag Tang Assassins after you encounter the bodies of the guards. Continue up the stairs toward the Temple until you encounter them. Defeat them and head inside.
Inside the abandoned fort, head to the Northern stairwell and take it downward. The entryway does have an adjacent room to the West with a skeleton in it. Expect to encounter a lot of ash throughout this old nordic fort. At the bottom of the stairs. Turn to the left and start sneaking toward the bottom of the stairs. There are more Morag Tong Assassins in this room. The first, if undisturbed, will be leaning against the first pillar in the room on the right. Take them out and continue to the south.
Go to the south, down the slope, into the next room. Wait just a short ways inside the room for the patrolling Morag Tong Assassin. Either engage them or take them out with a careful attack. Go into the next door to the left in this hallway.
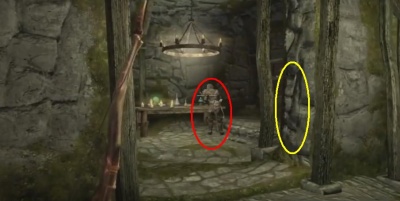
In this room take out the Assassin at the table. Turn around inside the room and look at the left-hand side of the door. You will find a pull chain. Use it to raise the bars that are blocking your way forward.
Head up the slight incline sneaking if you are stealth oriented. There is another Assassin at the end of this section on the right-hand side bench. 2 more assassins are in the room across the hall from that one. You will also encounter Mirri Severin if you did not kill her earlier in this quest. You can easily take them out with stealth attacks from the incline or just charging in and taking them out. Head through the first door on your right to continue forward.
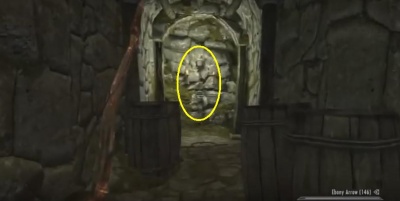
This hallway has 2 Bear Traps on the floor. Be wary of them and move carefully looking down to find them. Deactivate them as you come across them to make the trip less damaging. In the back you will find another pull chain. This will start to open the way forward. There is a second pull chain to the left of the bars blocking your way forward. There is a training room on the left-hand side of the hallway if you want to investigate it.
The next section has a number of pressure plates that you will need to watch out for. Most will trigger the wall spikes that you can see as you enter the area.
Carefully go into the first corridor on the right-hand side section of the hallway. It helps to maneuver past the first pillar of this hallway to avoid most of the traps. On the back of the first and second pillar in this short hallway you will find the pull chains to open the way forward.
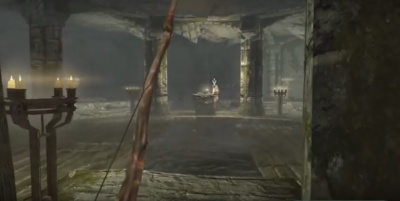
The room beyond has your target, Vendil Severin. He has another pair of Morag Tong Assassins to back him up. You will also find Tilisu Severin here as well if you did not kill her earlier. It is more than possible to lure your targets out into the trap-ridden hallway you entered through. There is a lot of space within their room as well with a number of pillars for cover. Kill them both to complete this objective. Be sure to investigate the chest in the back of the room for more loot and some useful or valuable items.


