Elder Scrolls IV: Oblivion Remastered – When the Vow Breaks Guide
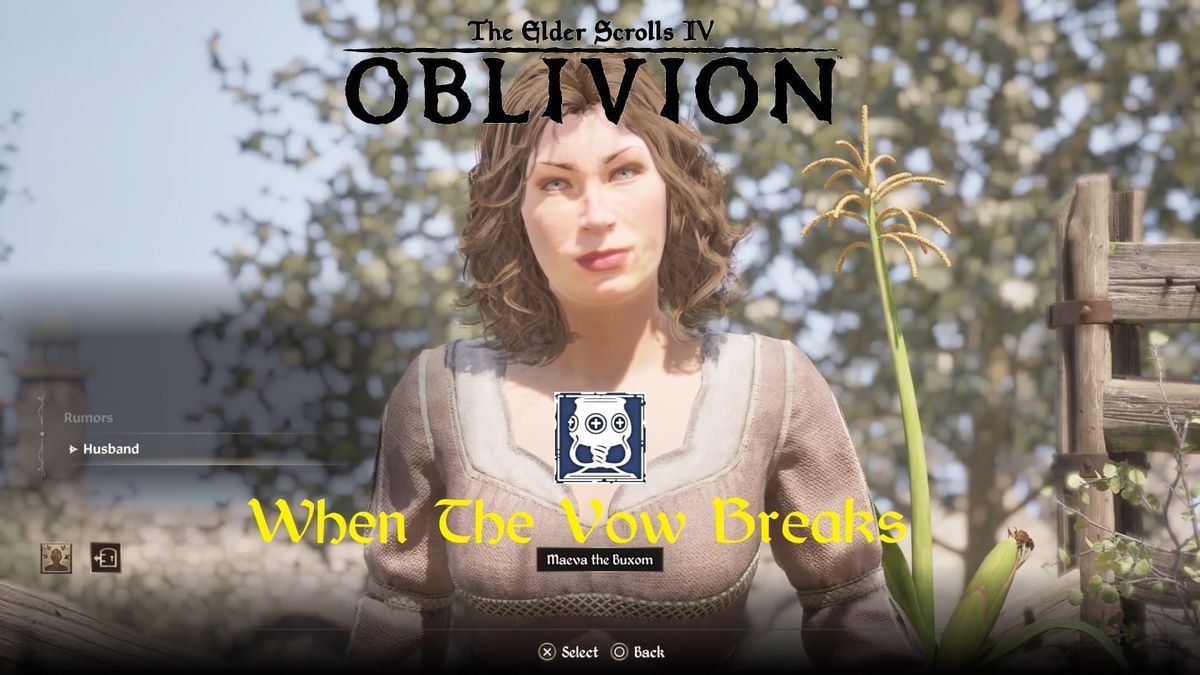
Complete When the Vow Breaks in Oblivion Remastered with this guide. Find Maeva, explore Fort Strand, defeat Bjalfi, recover Rockshatter, and claim your gold reward.
Summary
Talk with Maeva the Buxom at Whitmond North of Anvil. Her husband's vanished with her heirloom weapon and she wants the weapon back (Husband optional).
Walkthrough
Talk to Maeva the Buxom
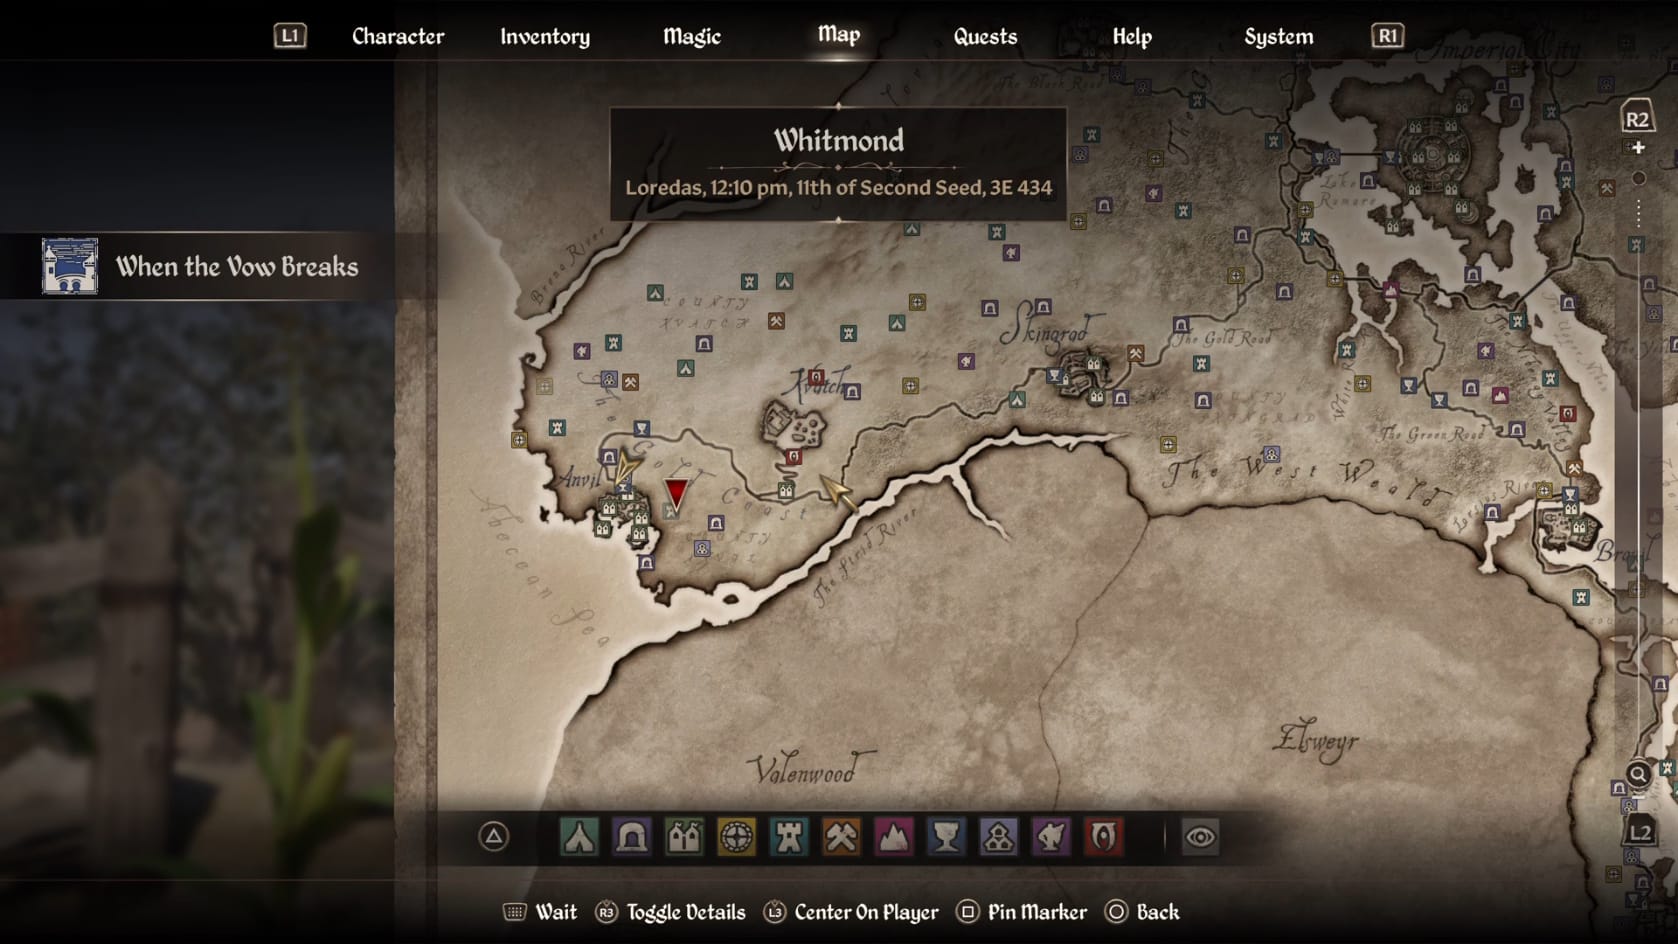
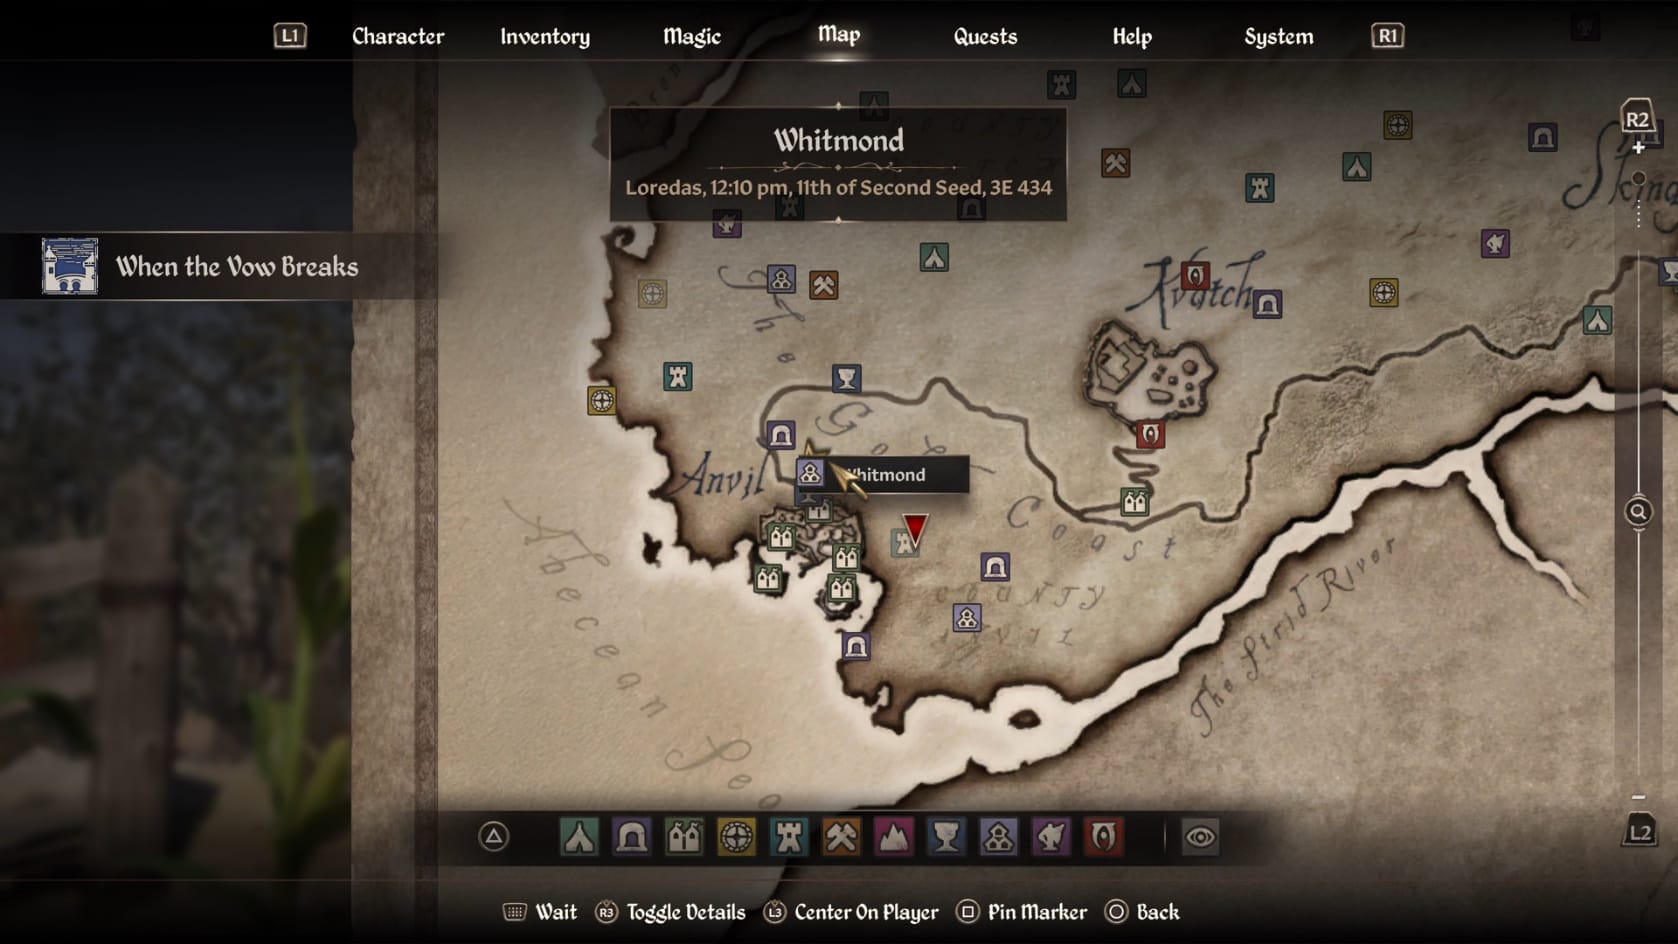
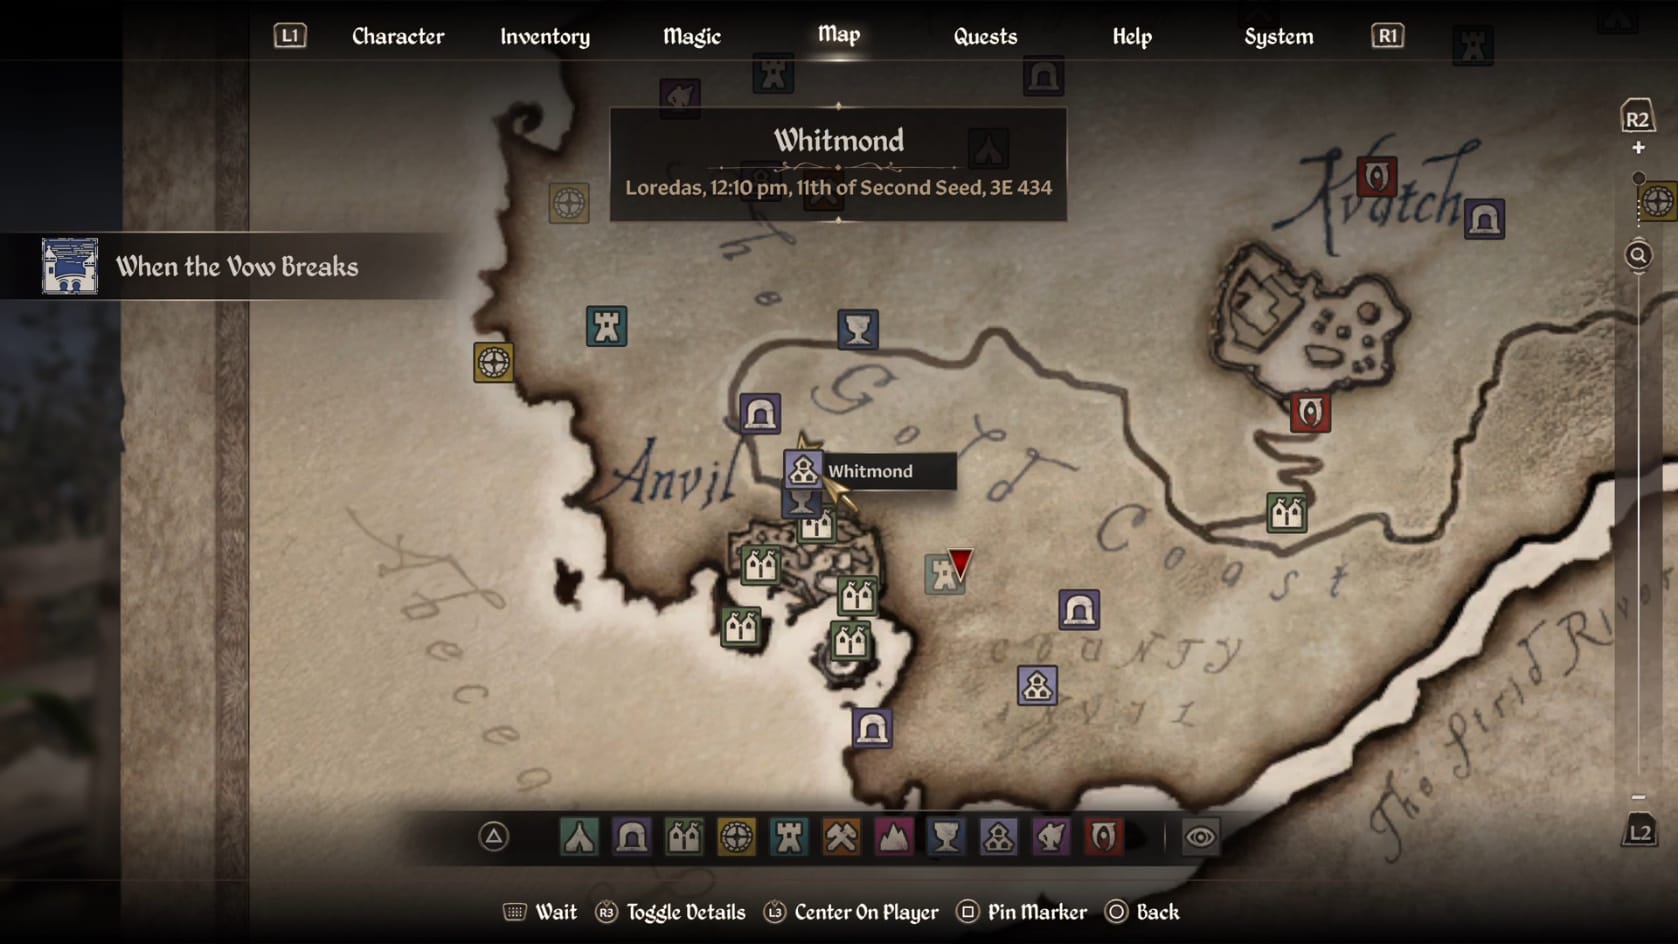
Location of Whitmond in Cyrodiil
Make your way to Whitmond, a small farm just to the North of Anvil. You will need to find Maeva the Buxom there. Talk to her about her “Husband.” She is angry at her husband, Bjalfi the Contemptible, who’s run off to join a group of marauders for the gold. She wouldn’t have minded but he took her heirloom weapon: Rockshatter. She asks you to head to Fort Strand to retrieve the weapon from him.
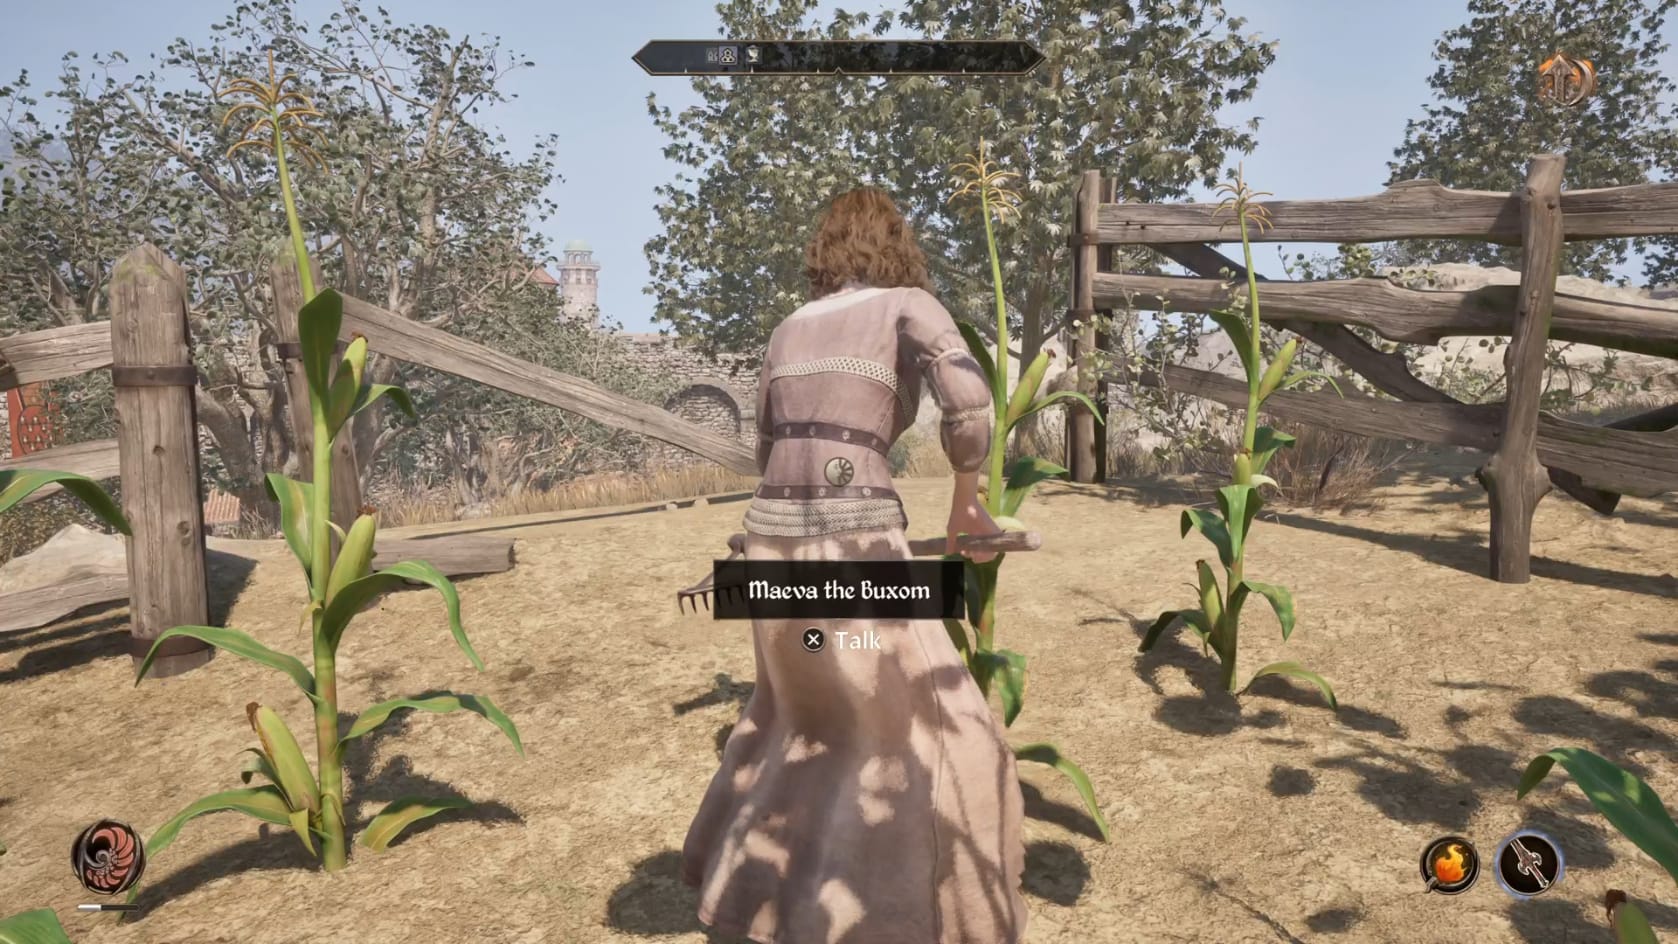
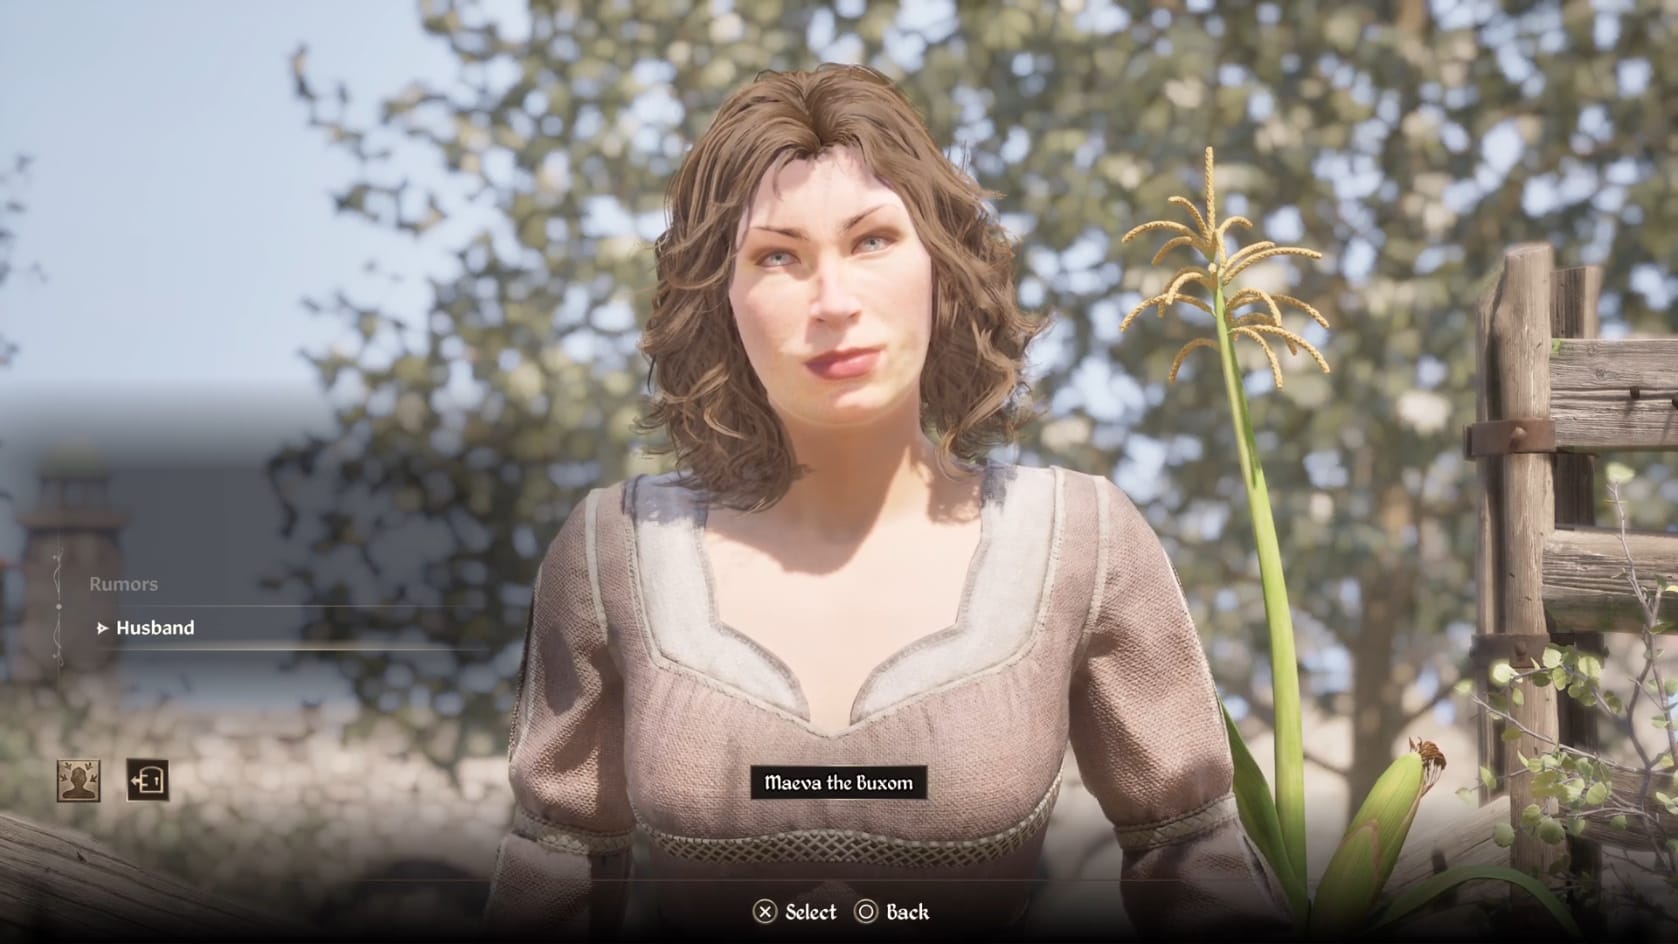
Accepting the Quest from Maeva the Buxom
Maeva the Buxom’s Schedule
- 12am-6am – Asleep in House
- 6am-8am – Breakfast
- 8am-9am – Wander House
- 9am-6pm – Works farm
- 6pm-9pm – Dinner
- 9pm-12am – Reading
Travel to Fort Strand
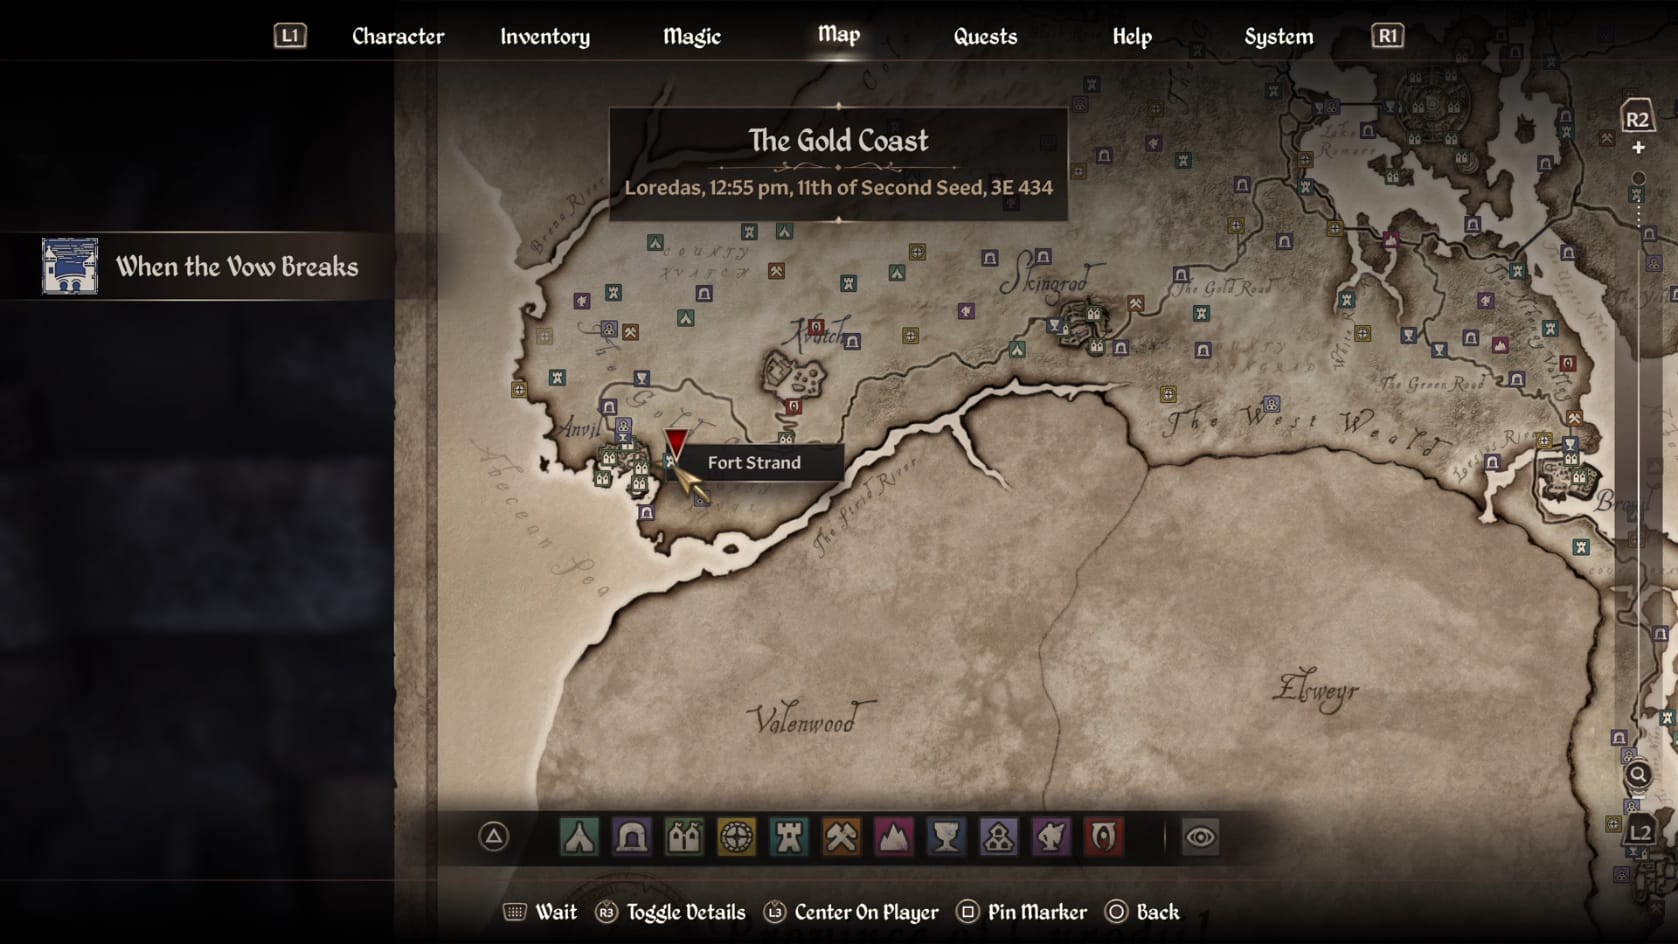
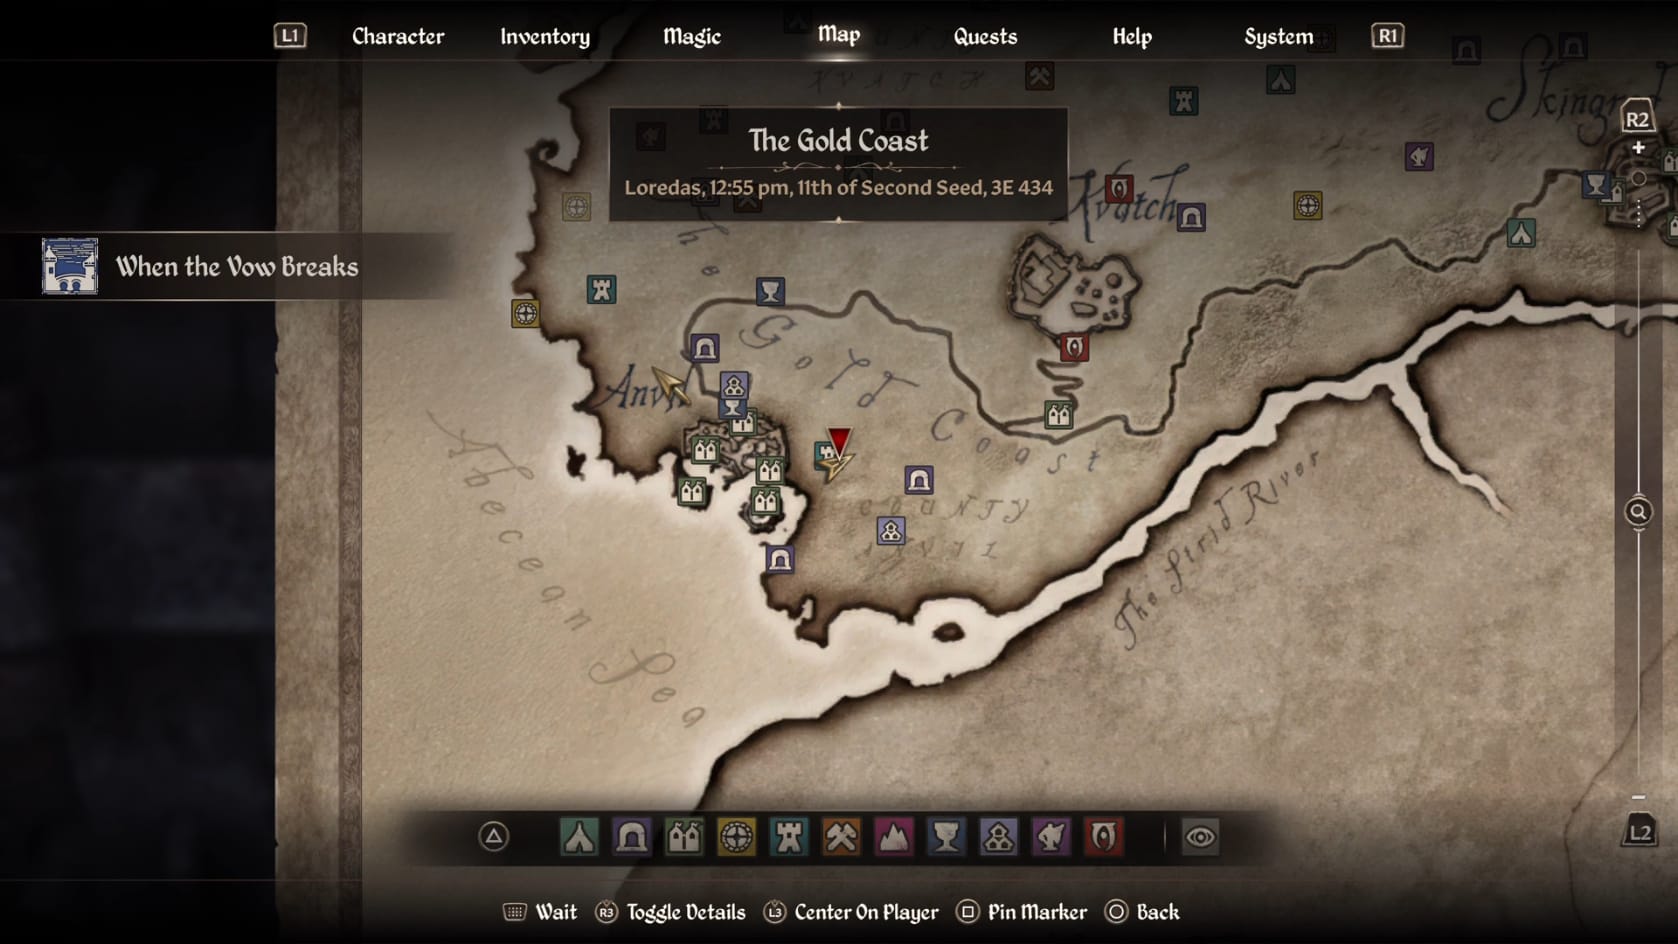
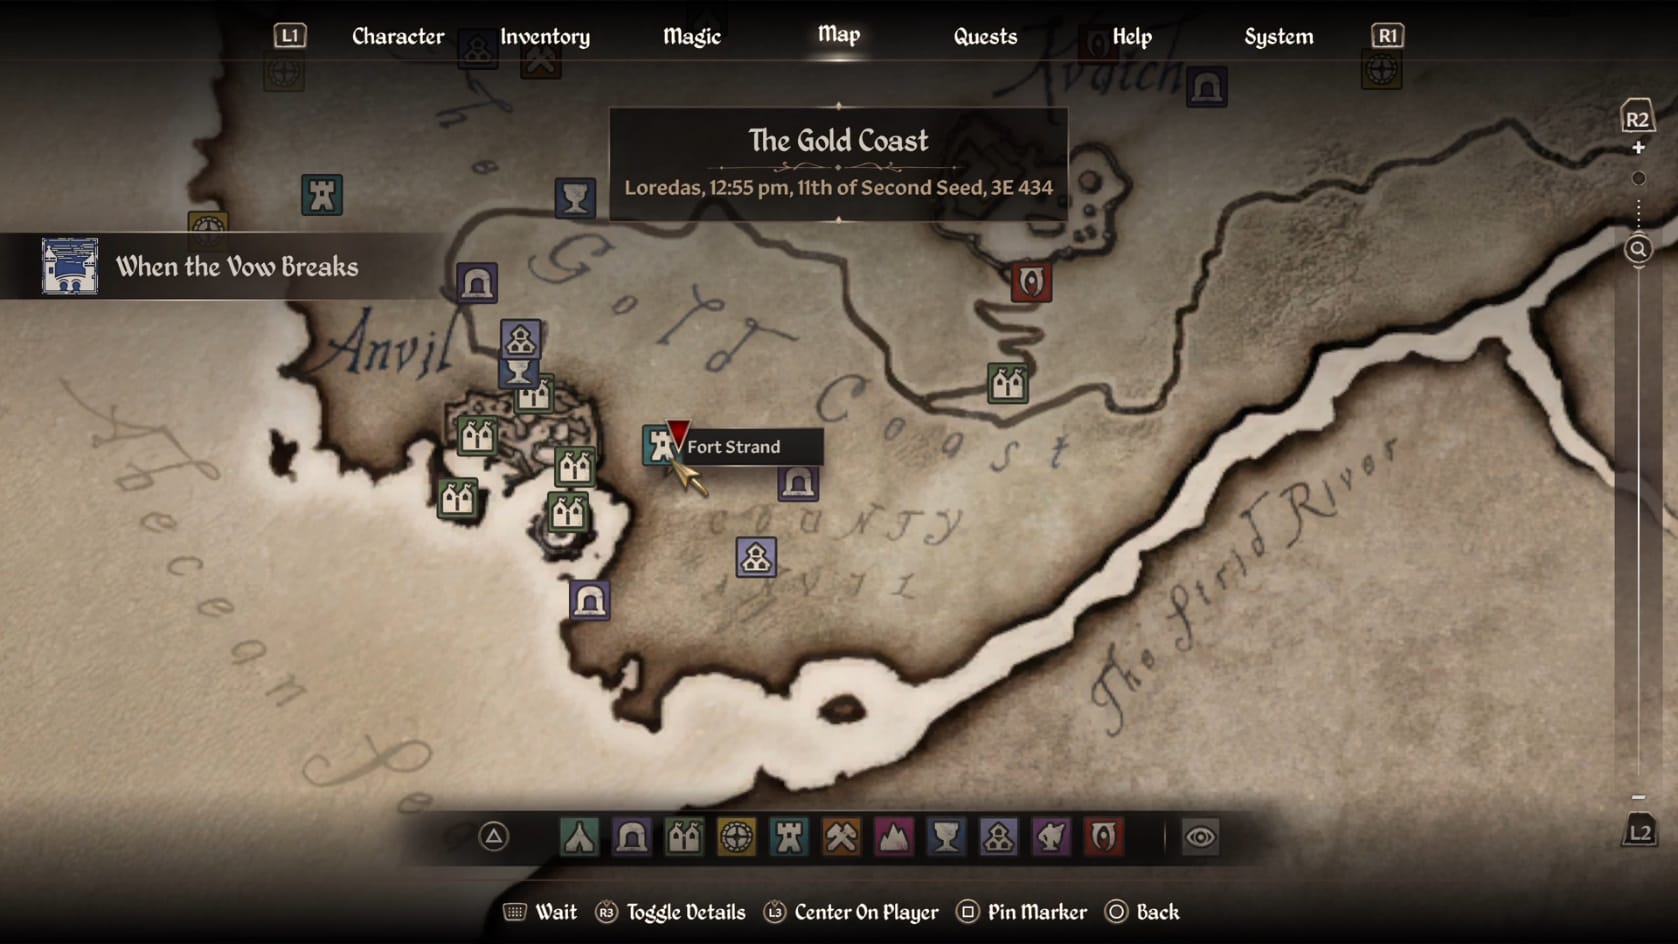
Location of Fort Strand in Cyrodiil
From Whitmore, you will want to head to the Southeast, more East from Anvil, to find the old Fort. Arriving, there are some useful plants scattered around the outside. You can also expect at least 1 Marauder patrolling nearby the entrance.
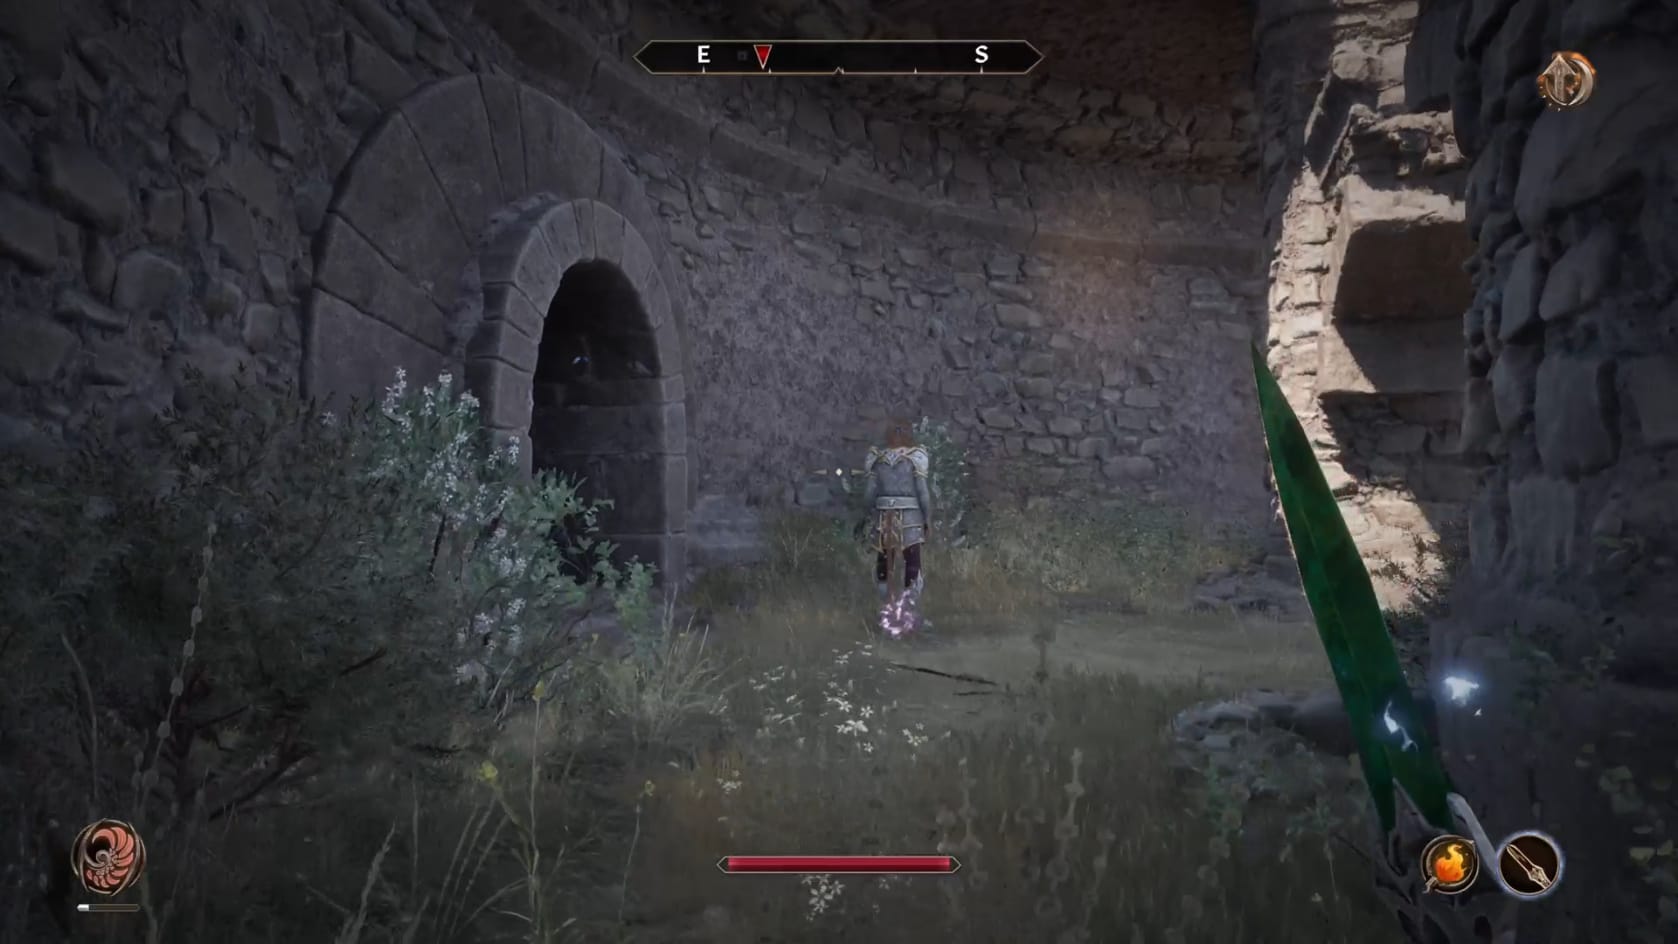
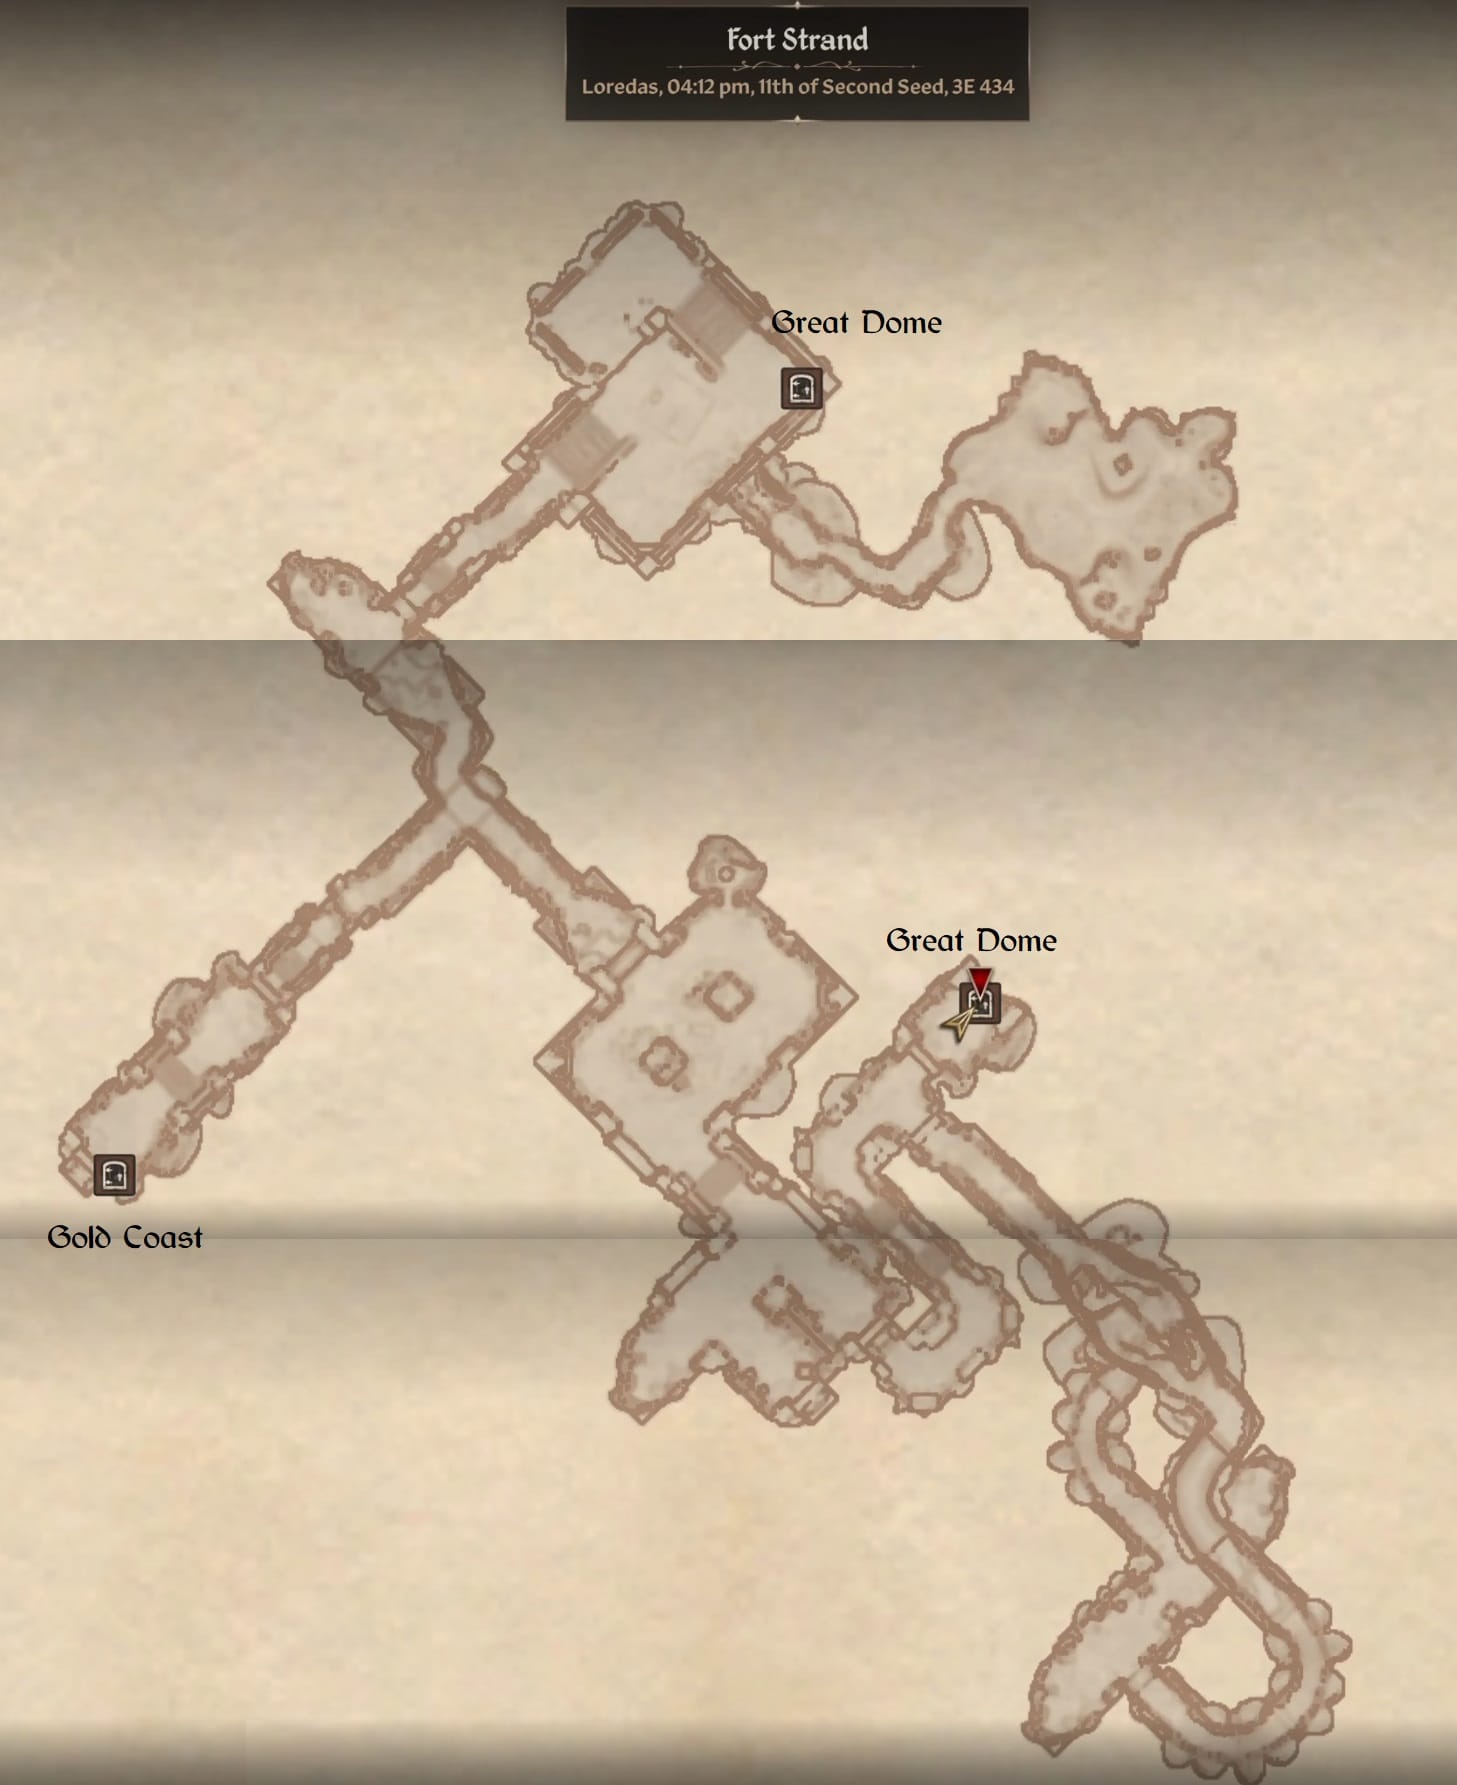
Navigate Fort Strand
Inside Fort Strand, immediately head down the stairs and open the gate in front of you.
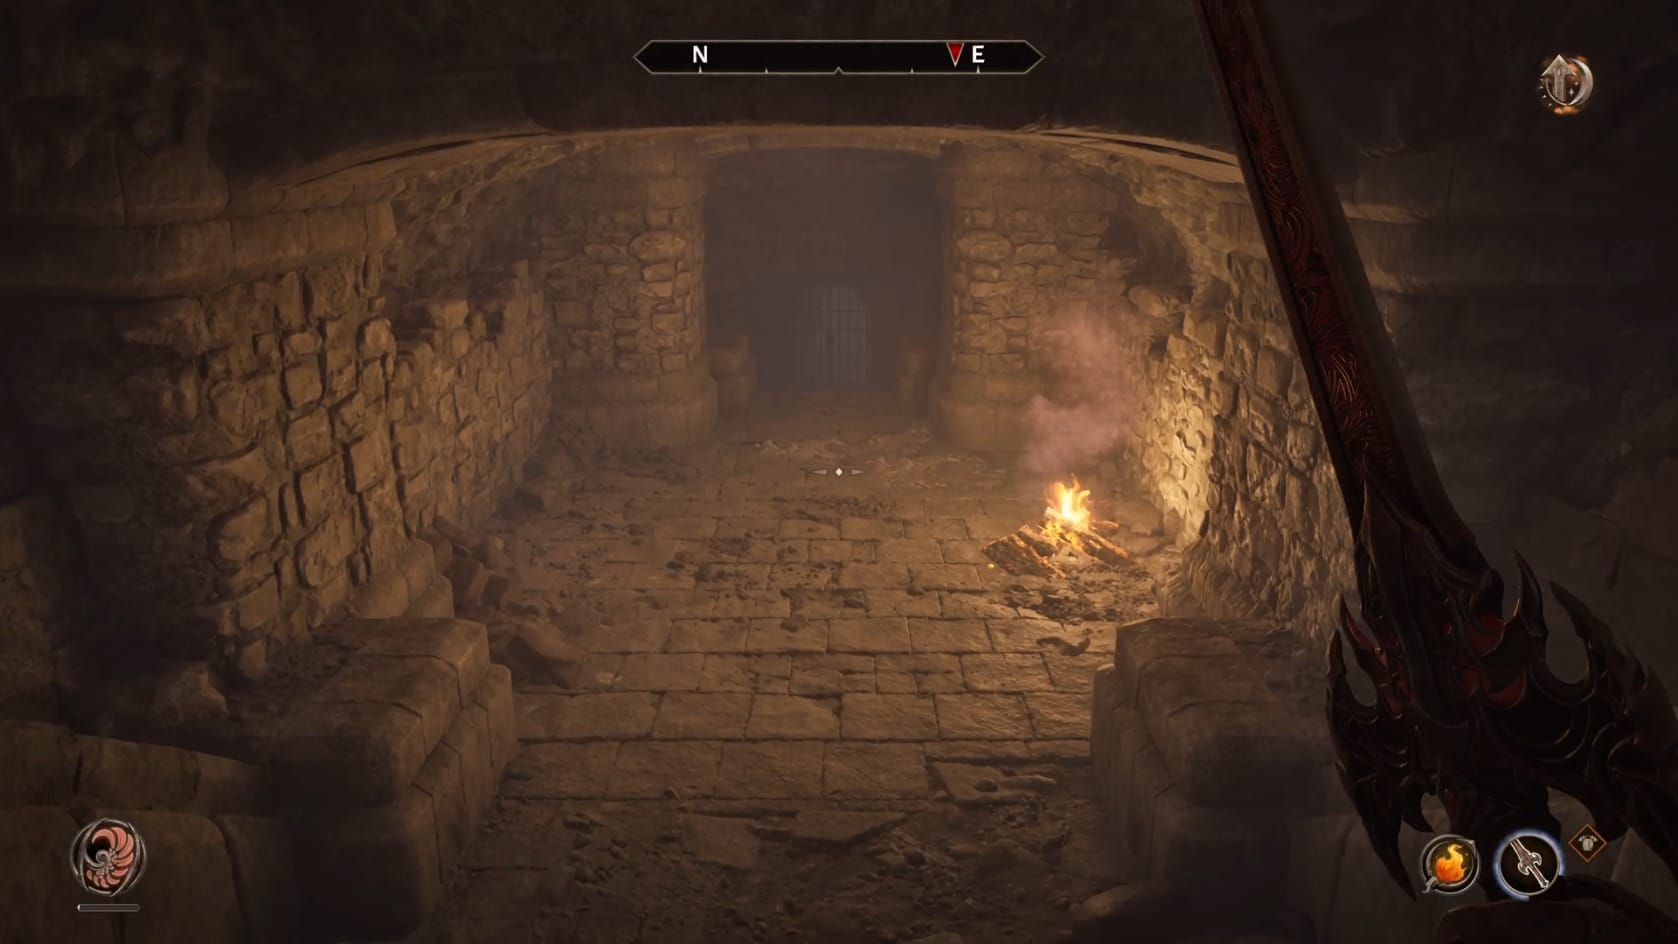
Be mindful as you head forward, since there can be a Bandit patrolling through is section of hallway. The hallway splits in 2 directions.
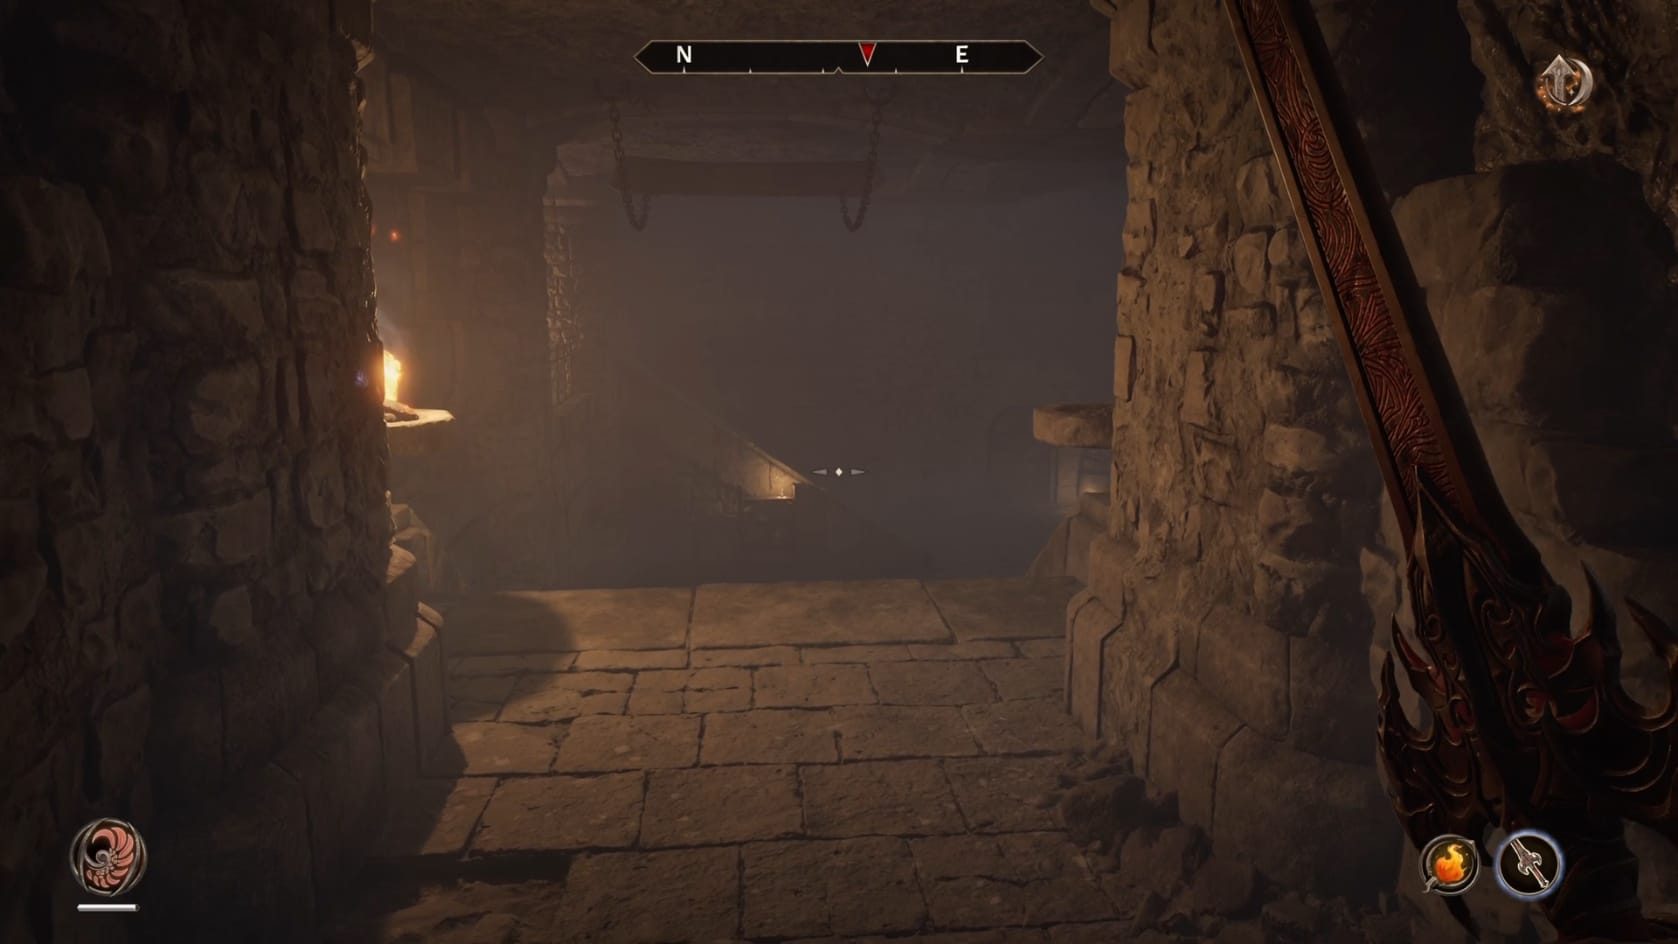
Going to the Northwest, this leads you to a short hallway that has a turn to the right. You’ll encounter a gate. Open it up and take the stairs beyond it down.
Be mindful of the log trap which can trigger when you approach the top of the stairs here. Either jump off to the side or carefully bait the trap and evade it. There’s just a Bandit (Archer) likely patrolling around this room. Head on up the stairs to the East to quickly reach them. Continue to explore this platform, going to the Southwestern corner, to find a Chest.
This room has a door in the Northeast, which leads to the Fort Strand Great Dome, and an opening in the wall that leads to a small chamber.
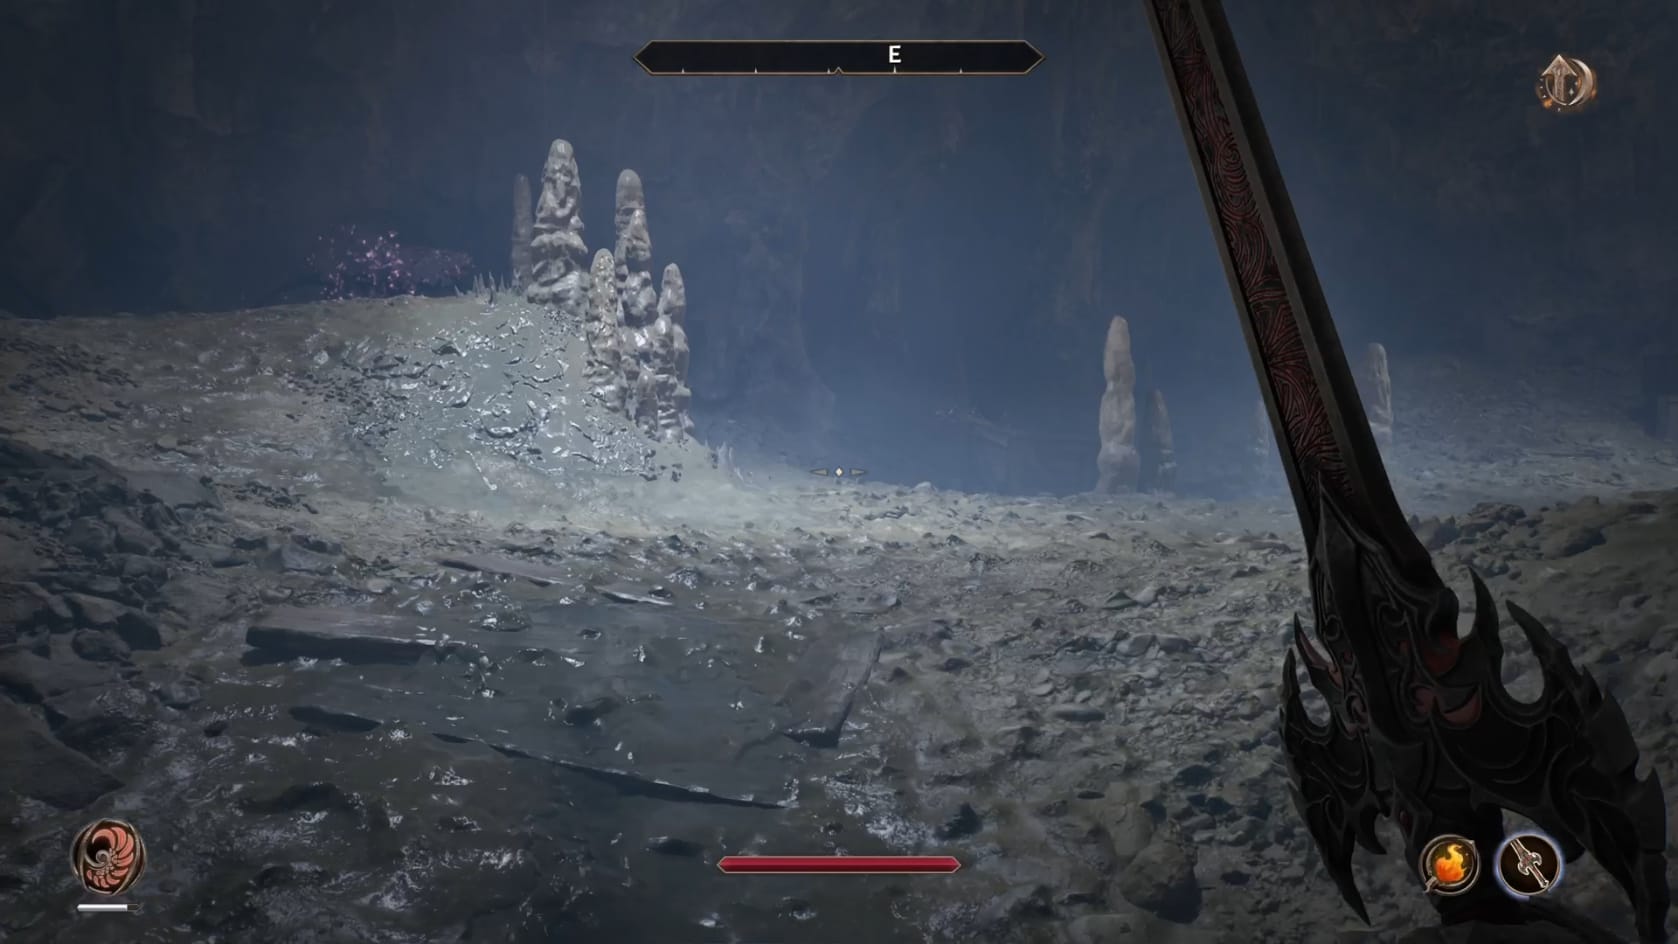
If you head into the opening in the wall in this room, that will bring you to a chamber with a few animals in it. Go to the Eastern side of the room to find a Locked Chest (Average) sitting on a crate.
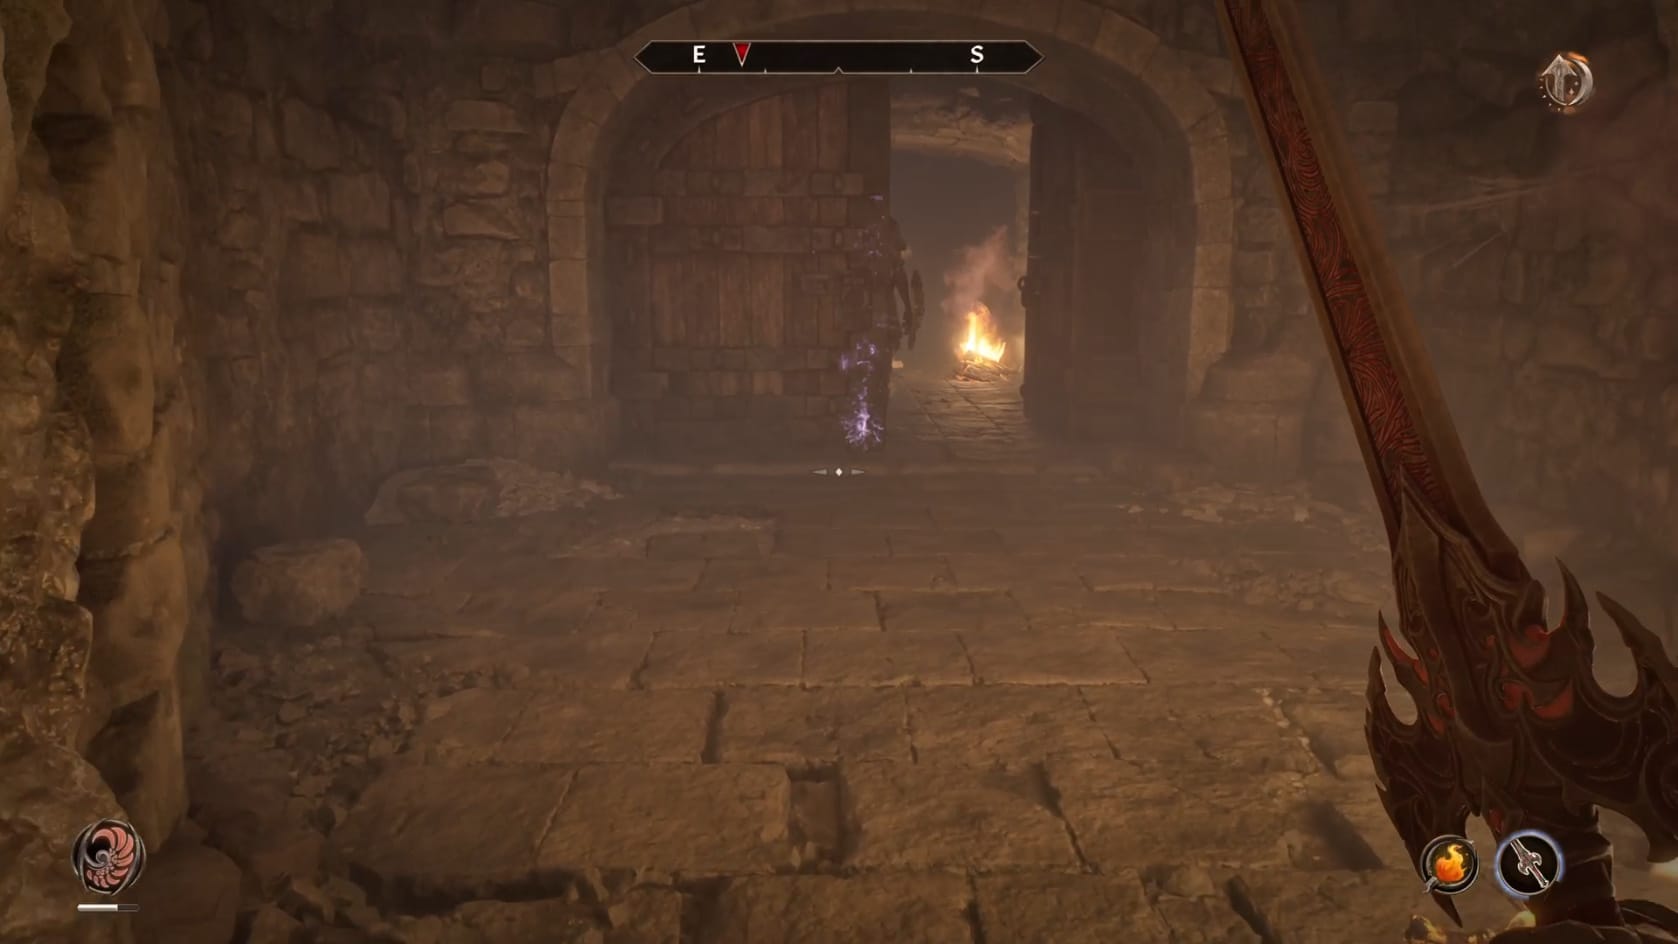
If you go to the Southeast, it will take you down a set of stairs to a closed door. There’s a chance the door has been opened by one of the patrolling Bandits. Another Bandit is in this chamber, and there’s a chance they’ll be asleep. This can make it very simple to deal with them.
Take a moment to head to the Northwestern corner of the room. You will find a small alcove with a Locked Chest (Average) sitting inside it. Turn to the Western side of the room. Look along the base of the pillar, along the Southern side, you will find another Chest sitting there.
After that, take the nearby steps down. Be mindful of the pressure traps on the floor and head to the South. Each of the pressure traps will release a swinging mace from the ceiling. Get to the gate there, open it and head on through. Follow the path forward. You will see the door leading to the Fort Strand Great Dome to the East, and a tunnel through the wall to the Southeast.
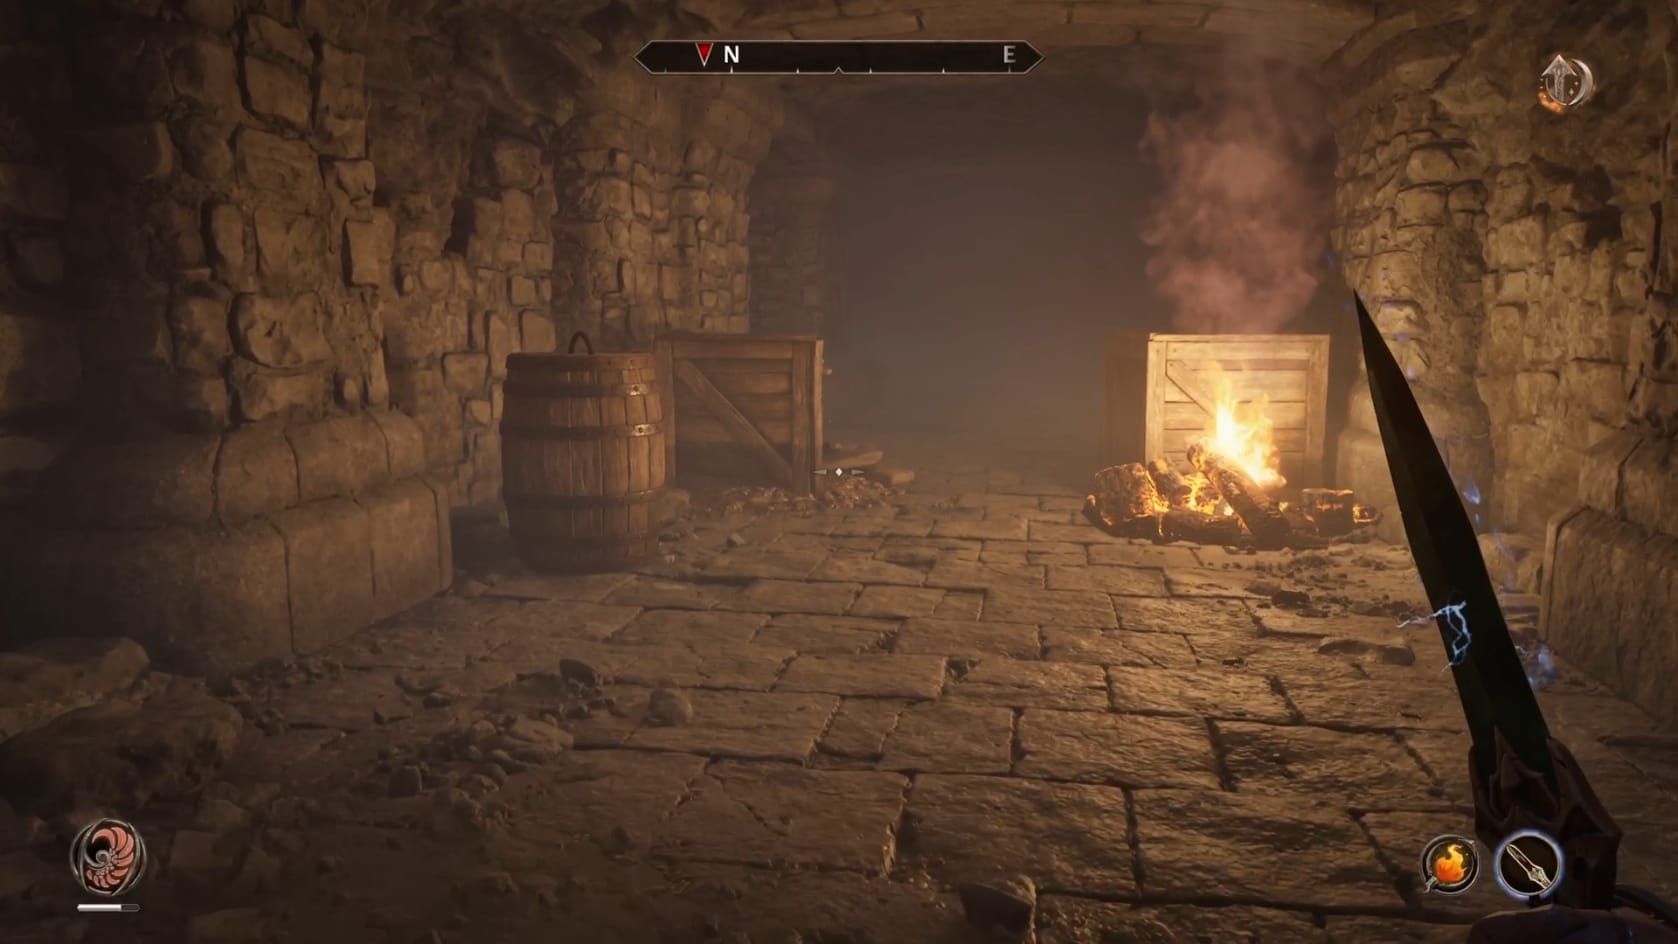
If you follow the tunnel to the Southeast, you will come to a part with a lot of boards covering gaps that otherwise drop you down a good height into a small campsite with 2 Bandits. Carefully head across the boards to the Southeast, staying on the top portion of it.
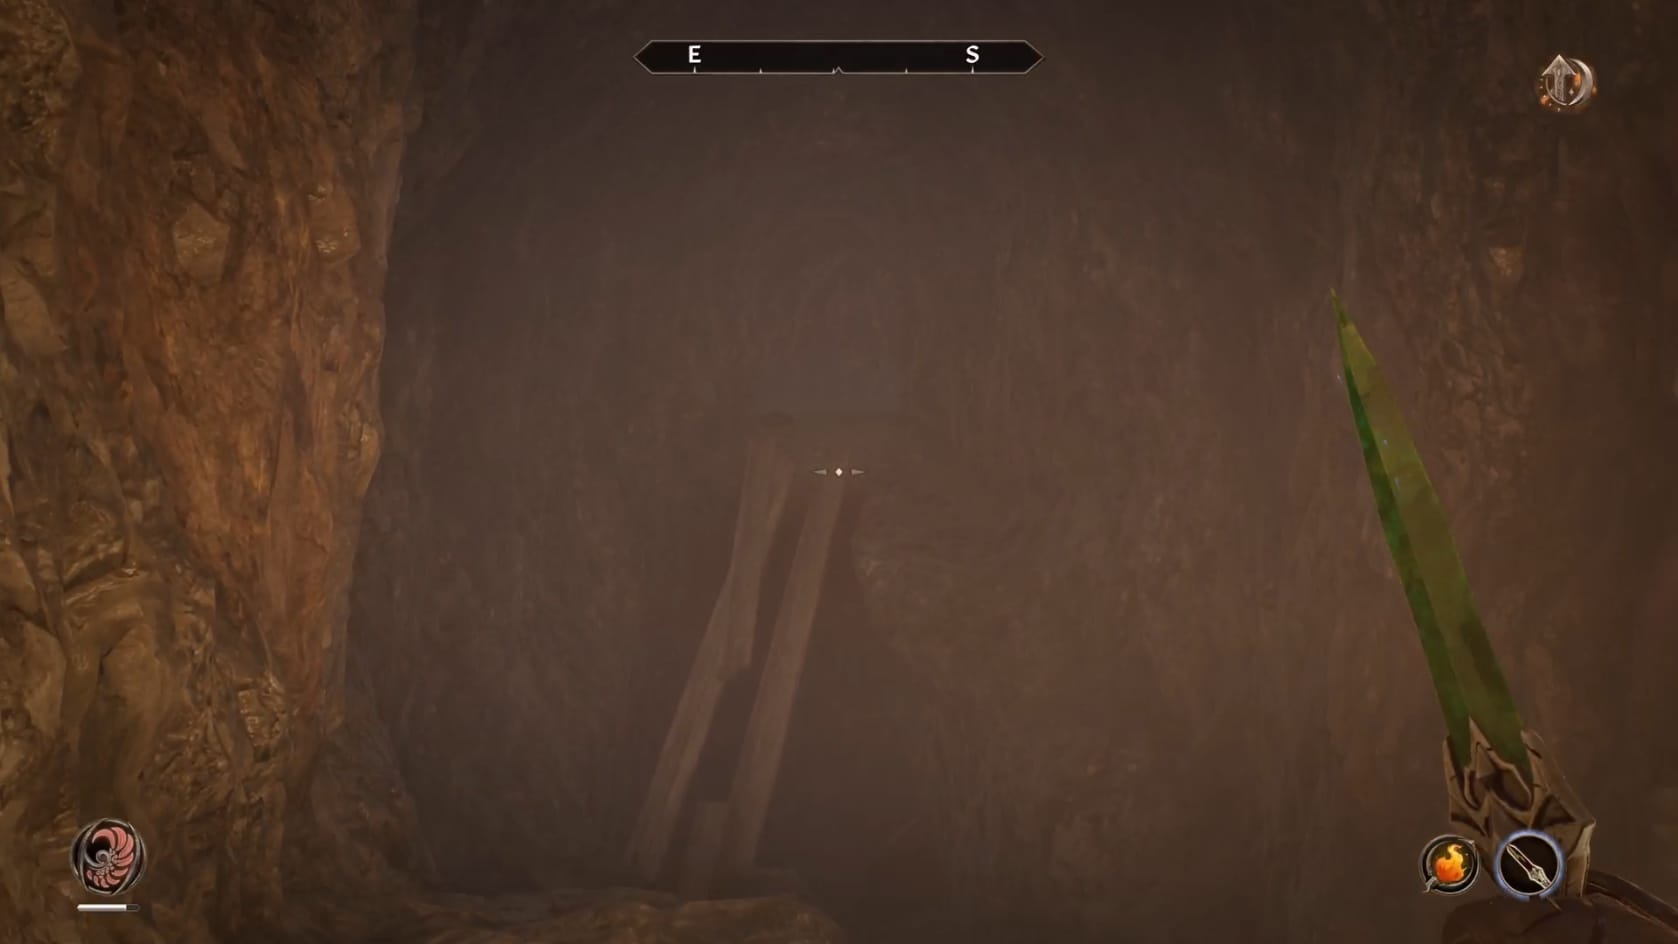
Across the top boards, follow the passage through the tunnels to when it hits a section of hallway. Go to the right when you enter here. Keep to the right-hand side, and look to the right of the opposite hallway. Sitting there is a Chest you can loot. Head into the hallway and follow it downward.
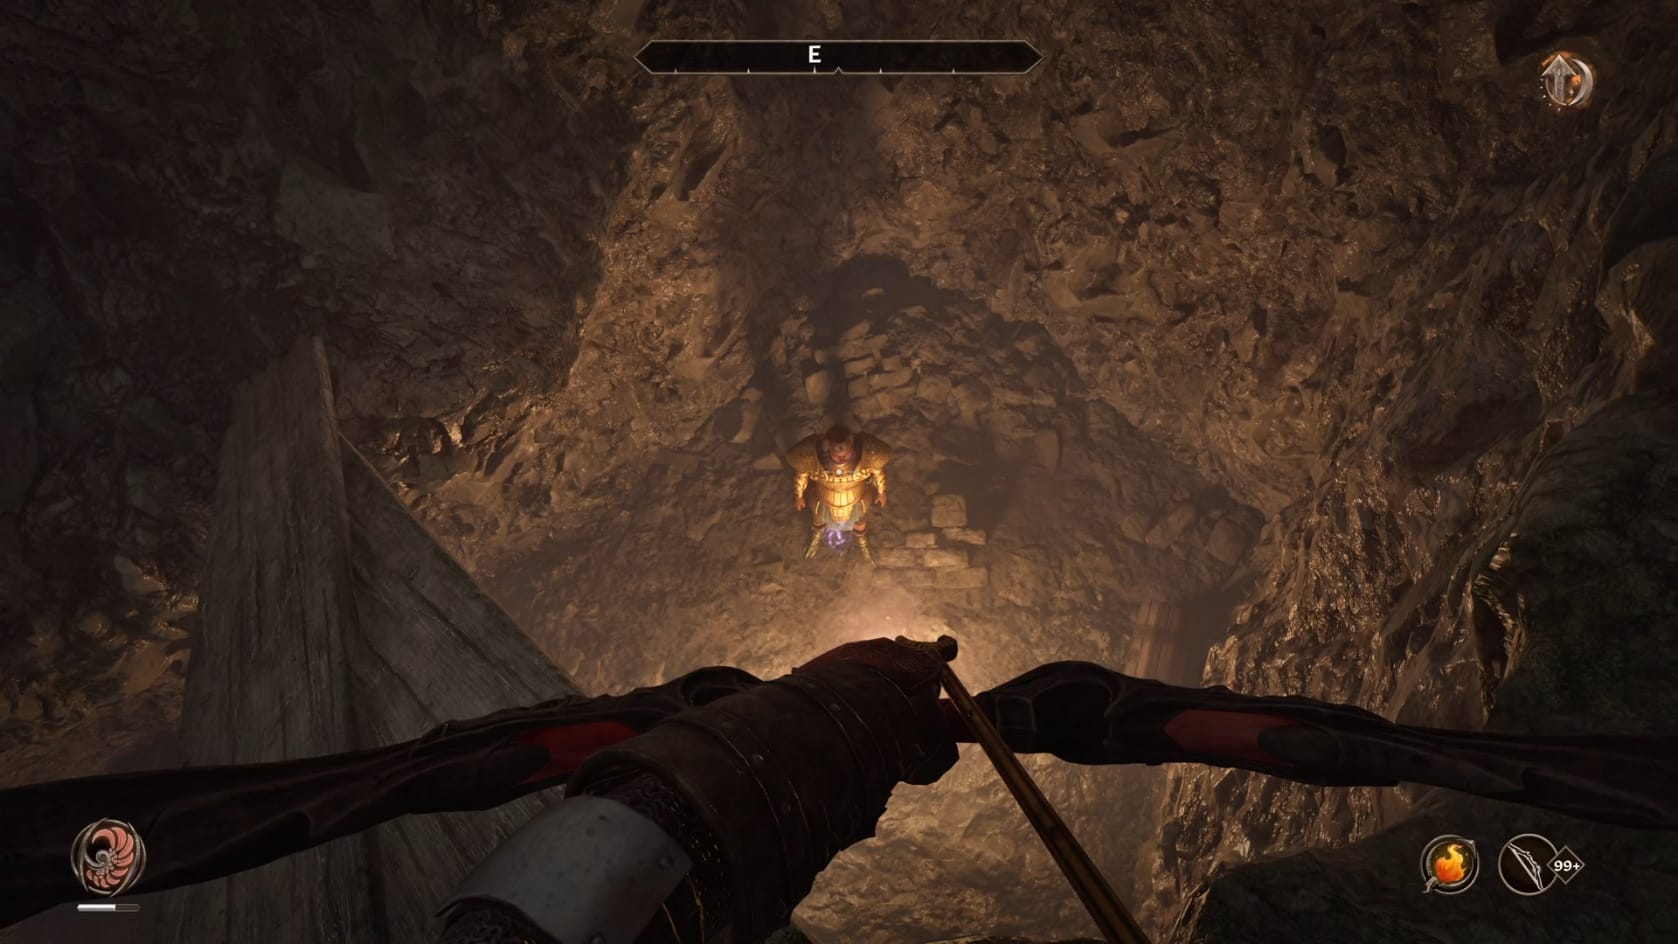
This will let you safely reach the bottom of the pit. You can find a pair of Bandits patrolling about here. Since you’re just above them, it’s not too hard to snipe them from above. Drop down into the bottom of the area. Sitting along the Eastern side of the pit, you will find a Chest sitting behind a small pile of rocks about the middle of the pit. Another Chest sits on the Western wall toward the Southern end.
After collecting all that, take the planks up and go back through the hallway. Use the nearby door to cross over to the Great Dome section of Fort Strand.
Navigate Fort Strand Great Dome
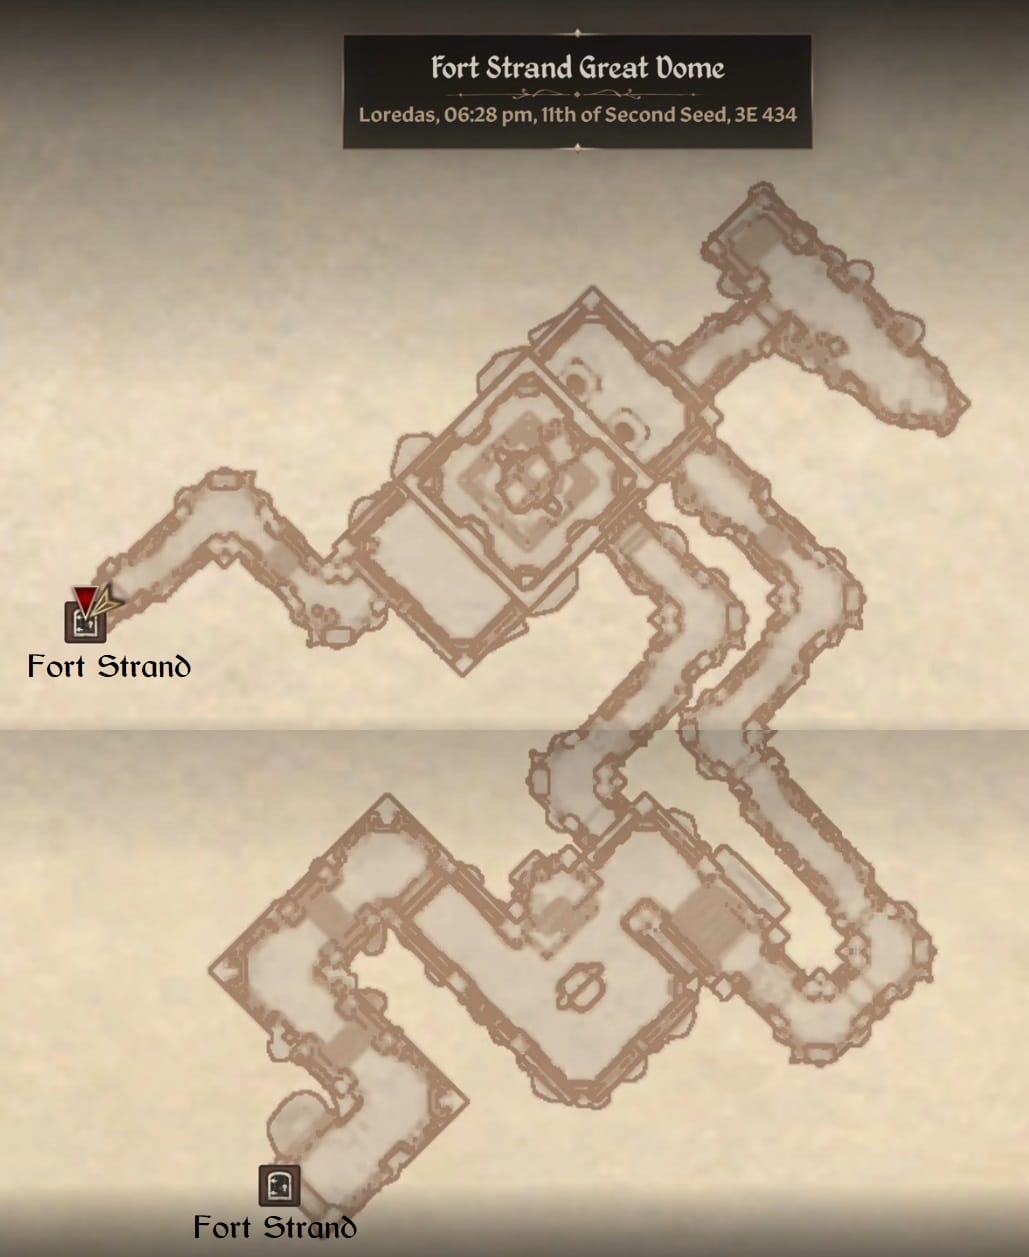
Once inside the Great Dome, there’s only a bit left to explore. But it is split into 2 sections. Start by heading forward around the bend and down the hallway. This leads into a large room with a few bandits patrolling it.
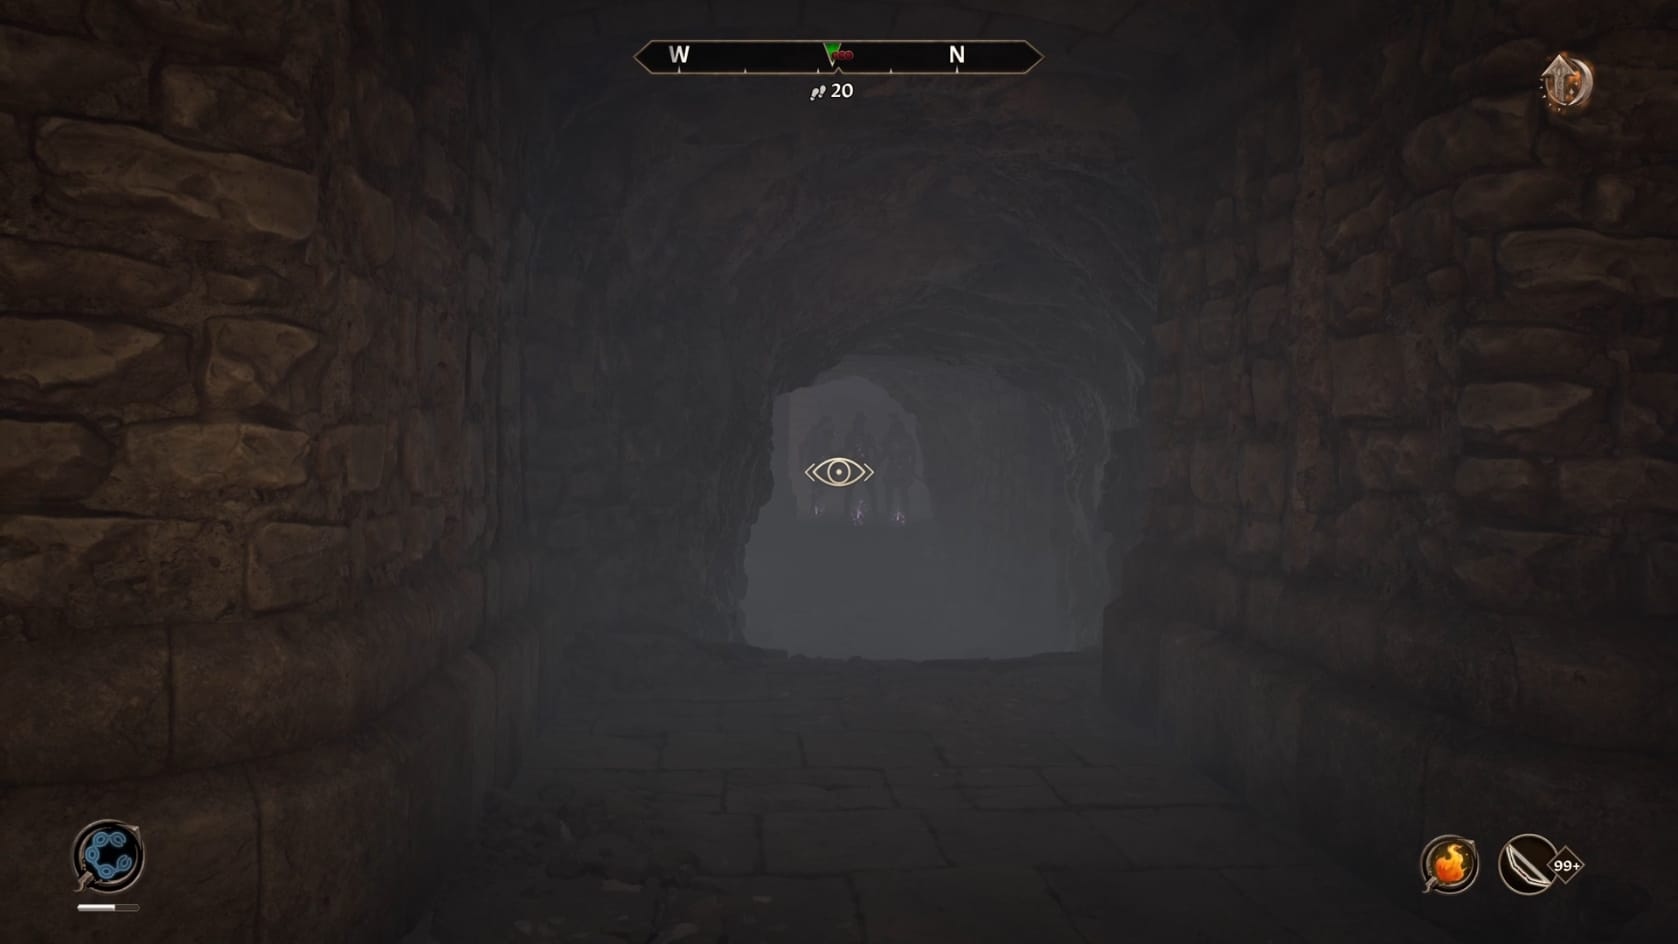
Look to the Northeast inside the room to find some more of these bandits. 1 of these bandits is likely your target, Bjalfi the Contemptible. Expect to encounter the Boss Bandit as well in this fight. Take them down and go to the East. You will find the path splits. One go to the East, up a set of stairs with a trap at the top. This brings you to the back of a large chamber where the Bandit Boss, an Archer, and Bjalfi the Contemptible can be found.
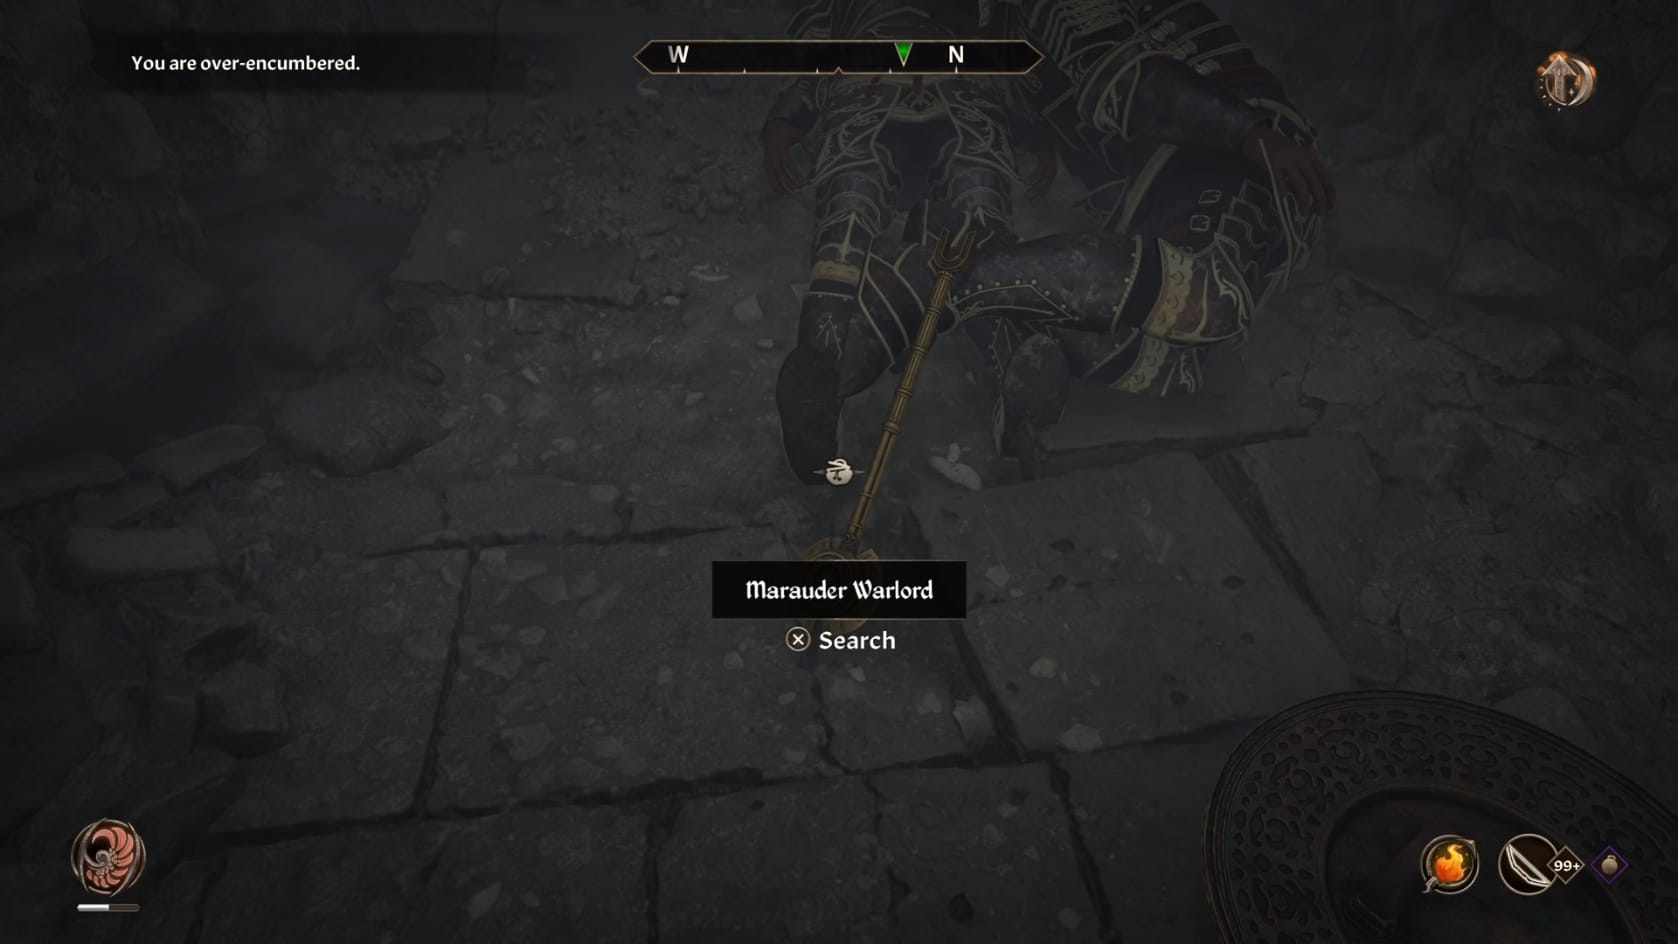
Defeat him along with the Boss Bandit and whoever else is there. There is a tunnel beyond them that lets you continue to the Northwest and into a large chamber.
The other is another set of stairs that go to the West. This leads to another chamber to explore to the North. This is large, with a bridge going across it to the Southwest. Ignore it for now and head to the Northeast through the doorway there.
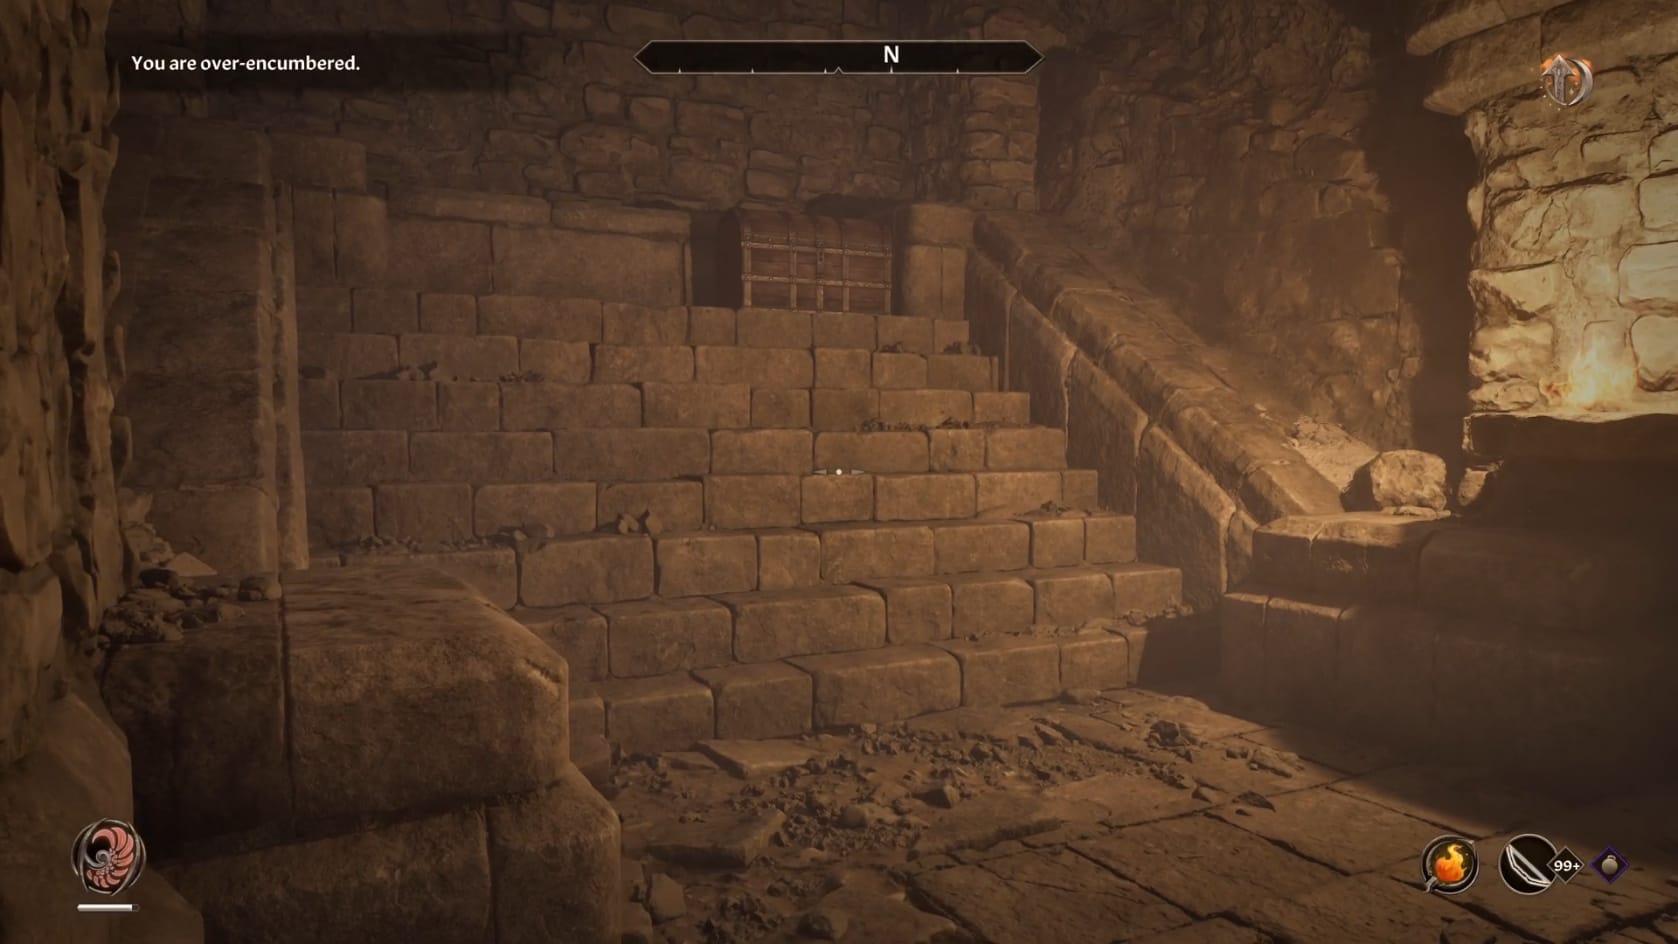
Down the short hallway you will find a small chamber. To the left is a short set of stairs with a Chest at the top on the right-hand side. Turn around and head back down the stairs, going to the right-hand side of the room. Opposite the door in, just a bit to the right, along the Eastern wall, is another Chest.
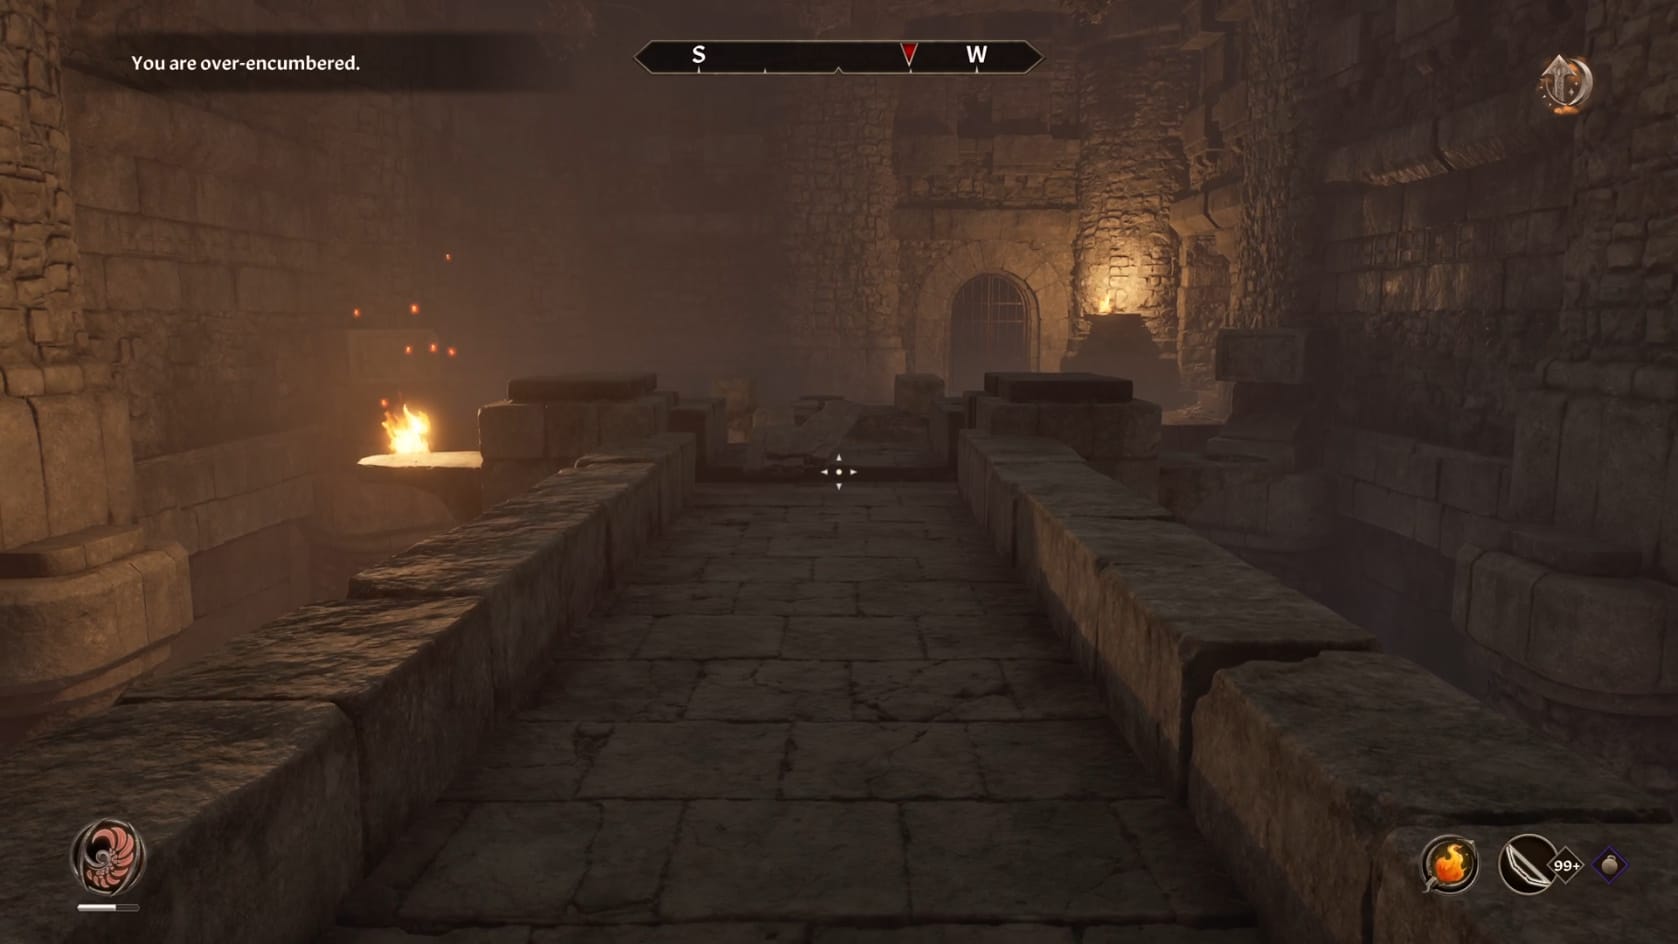
Head back down the hallway to the large room with the bridge. Here, cross the room to the Southwest. Be careful though. As you start crossing the bridge, the first section will collapse between the two supports. Jump when it collapses for the section with the boards across it. Be mindful as you go to the end of the bridge, you will need to avoid a pressure trap. Be mindful of the spiked wooden balls that will swing down.
Continue to the Southwest after that. Go to the gate on the right. Take the stairs going down. Go forward to reach the door leading back into the Fort Strand.
Fort Strand
You are back in the larger room with the large mat and bench. Head to the Southwest and take the stairs up. Follow the corridor to the right then take another right. This will lead you to the exit door.
Return Rockshatter to Maeva the Buxom
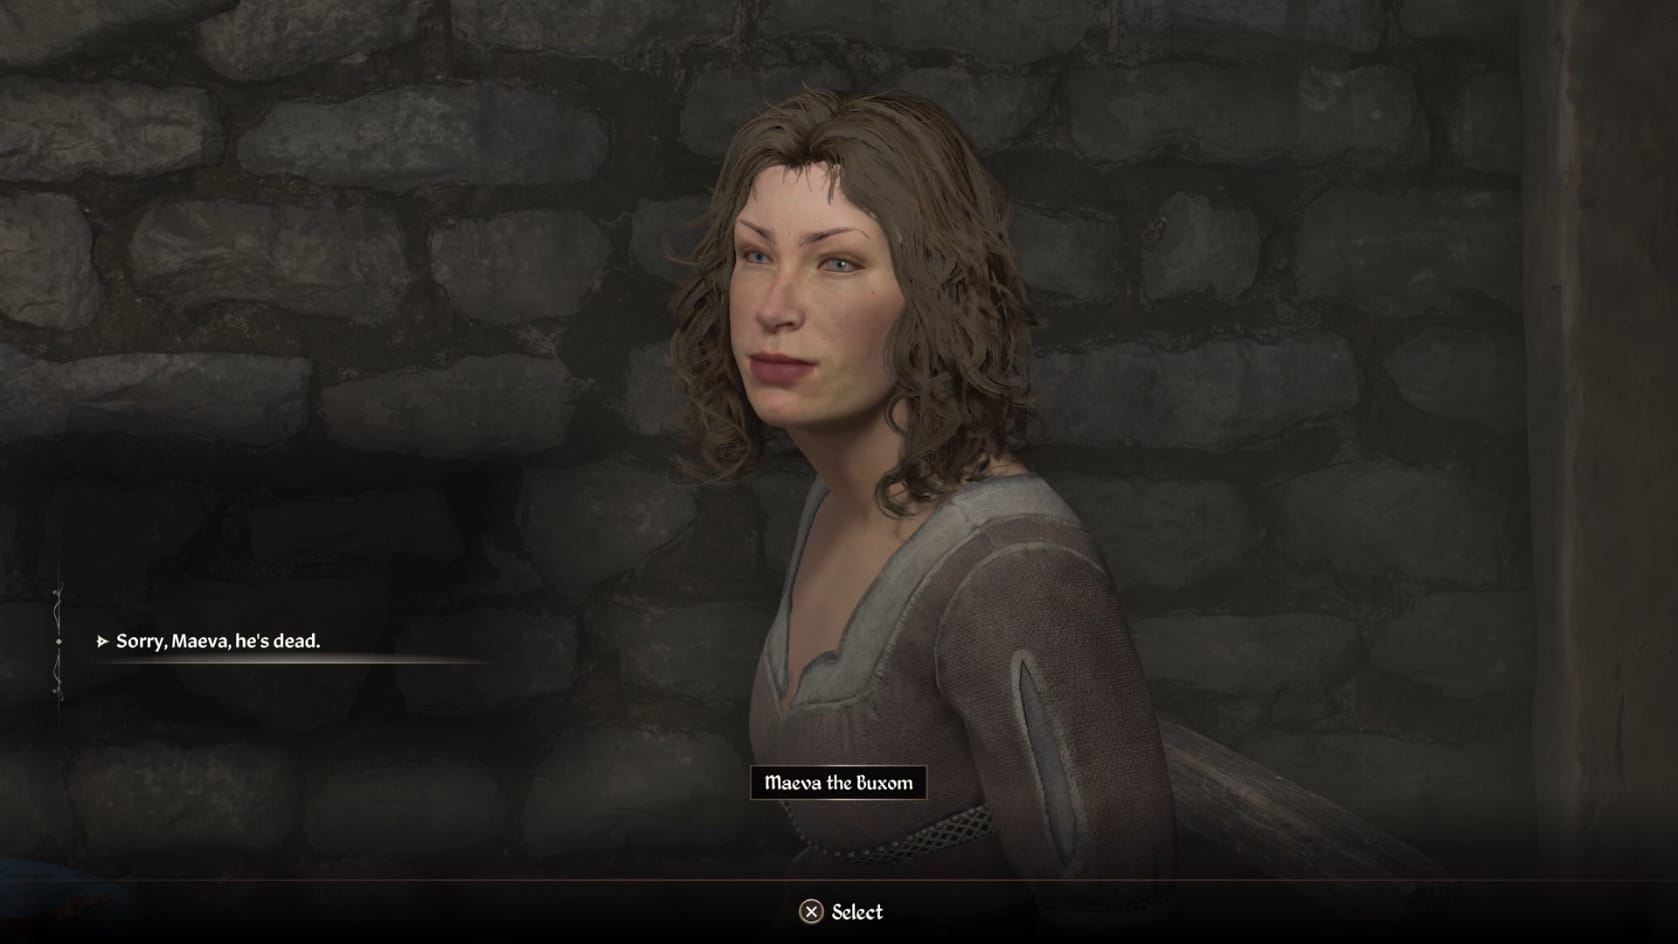
Once outside, it’s time to return to Whitmond. Once there, you will need to find Maeva the Buxom. Find and talk with her about “Husband” once again. Turn over Rockshatter and let her know her husband is dead. Her feelings are understandable about it. You will receive a leveled amount of gold for your efforts.
Reward
- Reward Gold Formula: 20 gold + 25 Gold for each level above 1.
- It has a maximum of 745 gold at level 30.
Rockshatter
- The quest version is weightless. Otherwise, it will have the following attributes
Level |
Weight |
Durability |
Value |
Damage |
Charges |
Effects |
1-4 |
15 |
140 |
236 |
10 |
60 |
|
5-9 |
17 |
211 |
494 |
13 |
60 |
|
10-14 |
27 |
320 |
790 |
16 |
60 |
|
15-19 |
35 |
480 |
1530 |
20 |
60 |
|
20-24 |
39 |
572 |
2524 |
22 |
60 |
|
25+ |
43 |
672 |
4517 |
24 |
60 |
|
Video Walkthrough
Video Walkthrough