Legend of Zelda: Ocarina of Time – Capacity Upgrades Guide
Upgrade Link’s equipment in Ocarina of Time with this complete guide to every capacity upgrade. Find all Bomb Bags, Quiver, Deku-Seed, Deku-Stick, and other upgrades across Hyrule.
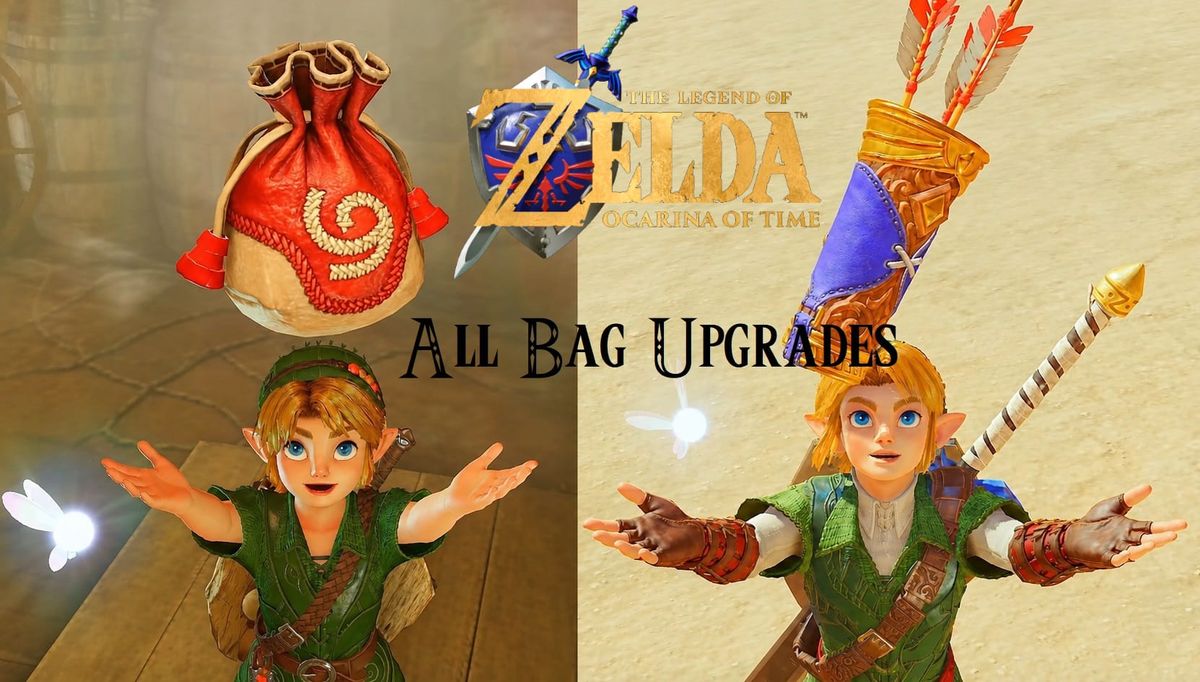
Summary
Link can upgrade his: Wallet, Quiver, Deku-Seed Bag, Deku Nut Bag, and Deku Stick Bag, and Bomb Bags.
- Some are Purchased: Deku-Stick, Deku-Nut,
- Most are Rewards: Bomb Bags, Both Deku-Seed, Quiver x2, Deku-Stick, Deku Nut
Deku-Stick Bag Upgrade A
This requires the Skull Mask
Make your way to the Kokiri Village, this is the Southeastern exit from Hyrule Field. Once in there, go to the Northern exit to enter the Lost Woods.
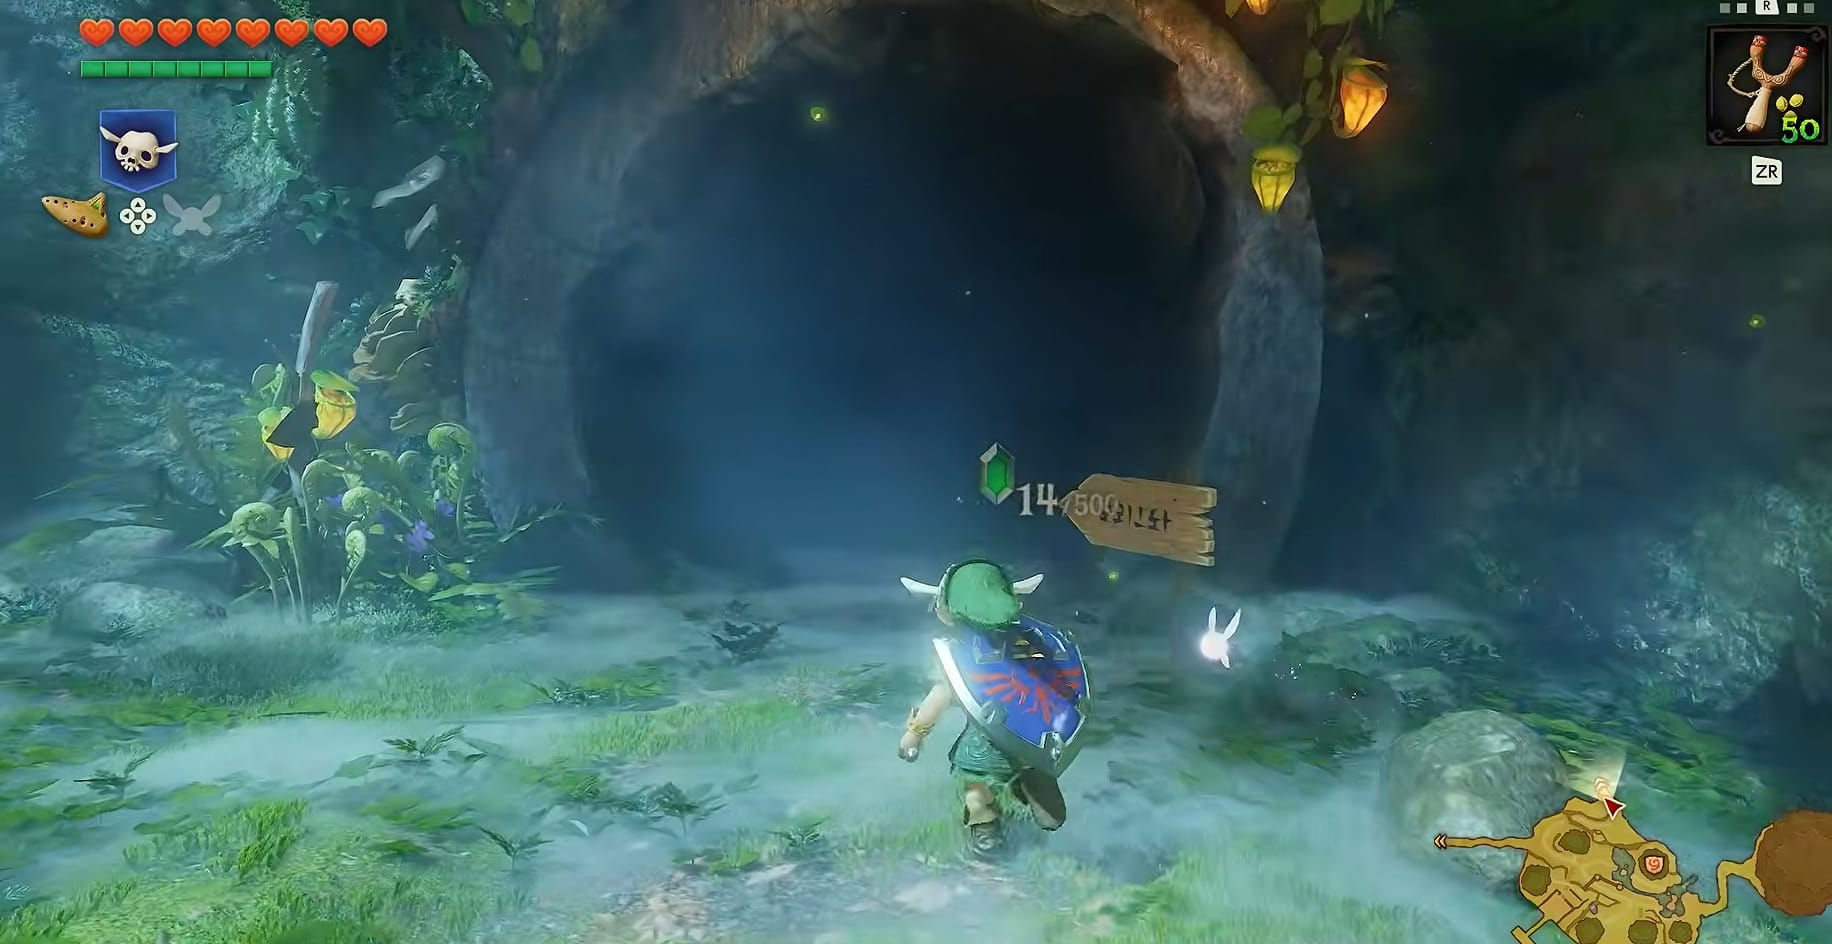
Inside the Lost Woods, you will want to head:
- to the Right (East) in the first chamber.
- In the second chamber, turn to the Left (North).
- In the third chamber, turn to the Right (East).
- In the fourth chamber, turn to the Left (North)
- In the fifth chamber, turn to the Left (West)
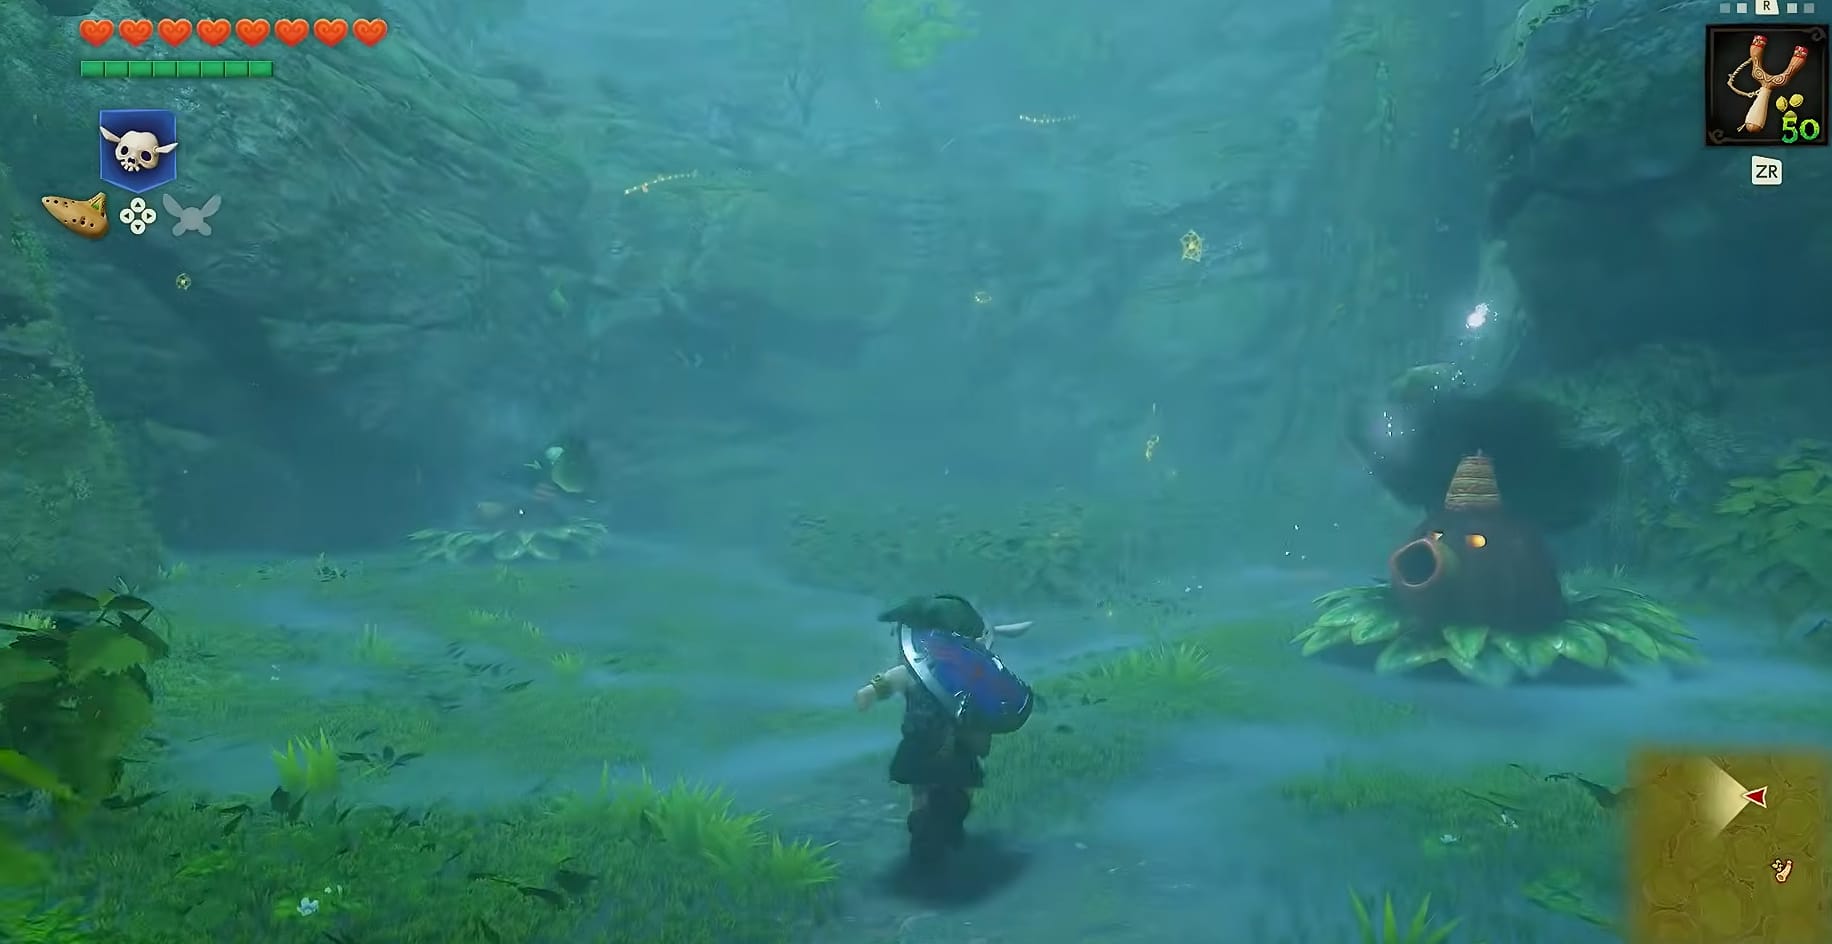
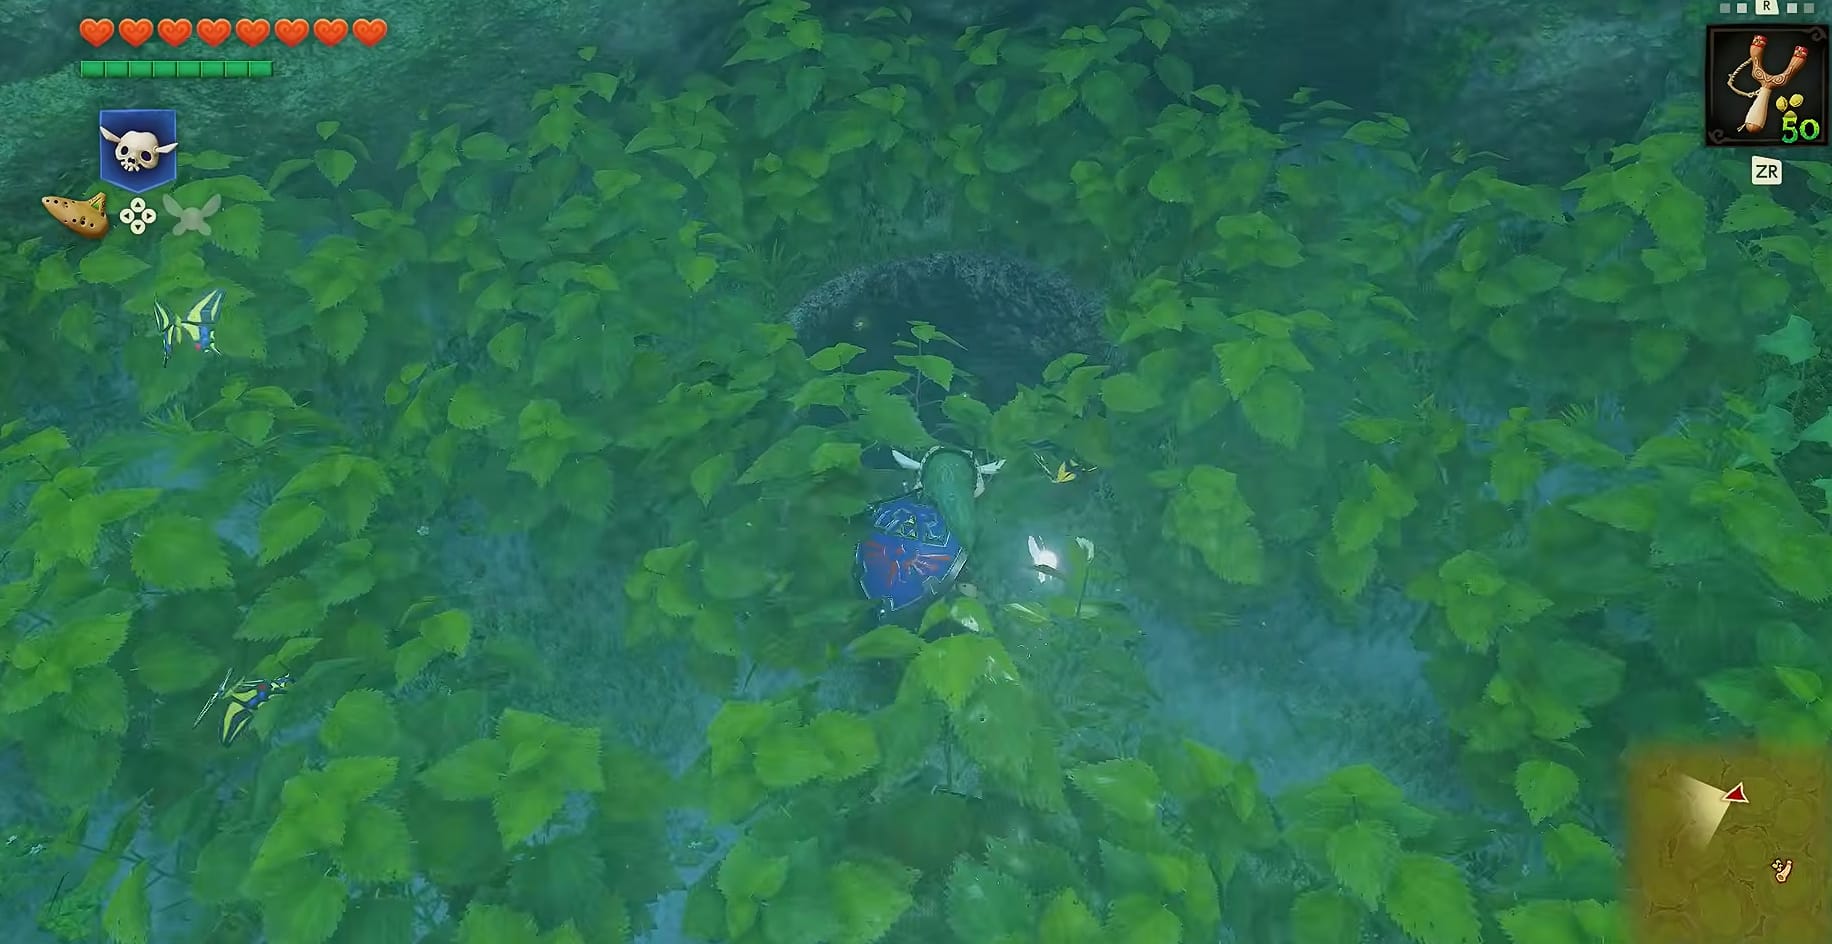
Young Link entering the Secret Grotto
In this chamber, with the 2 Deku Scrubs, head into the vines along the Western side. You’ll want to find the Grotto opening in the vines.
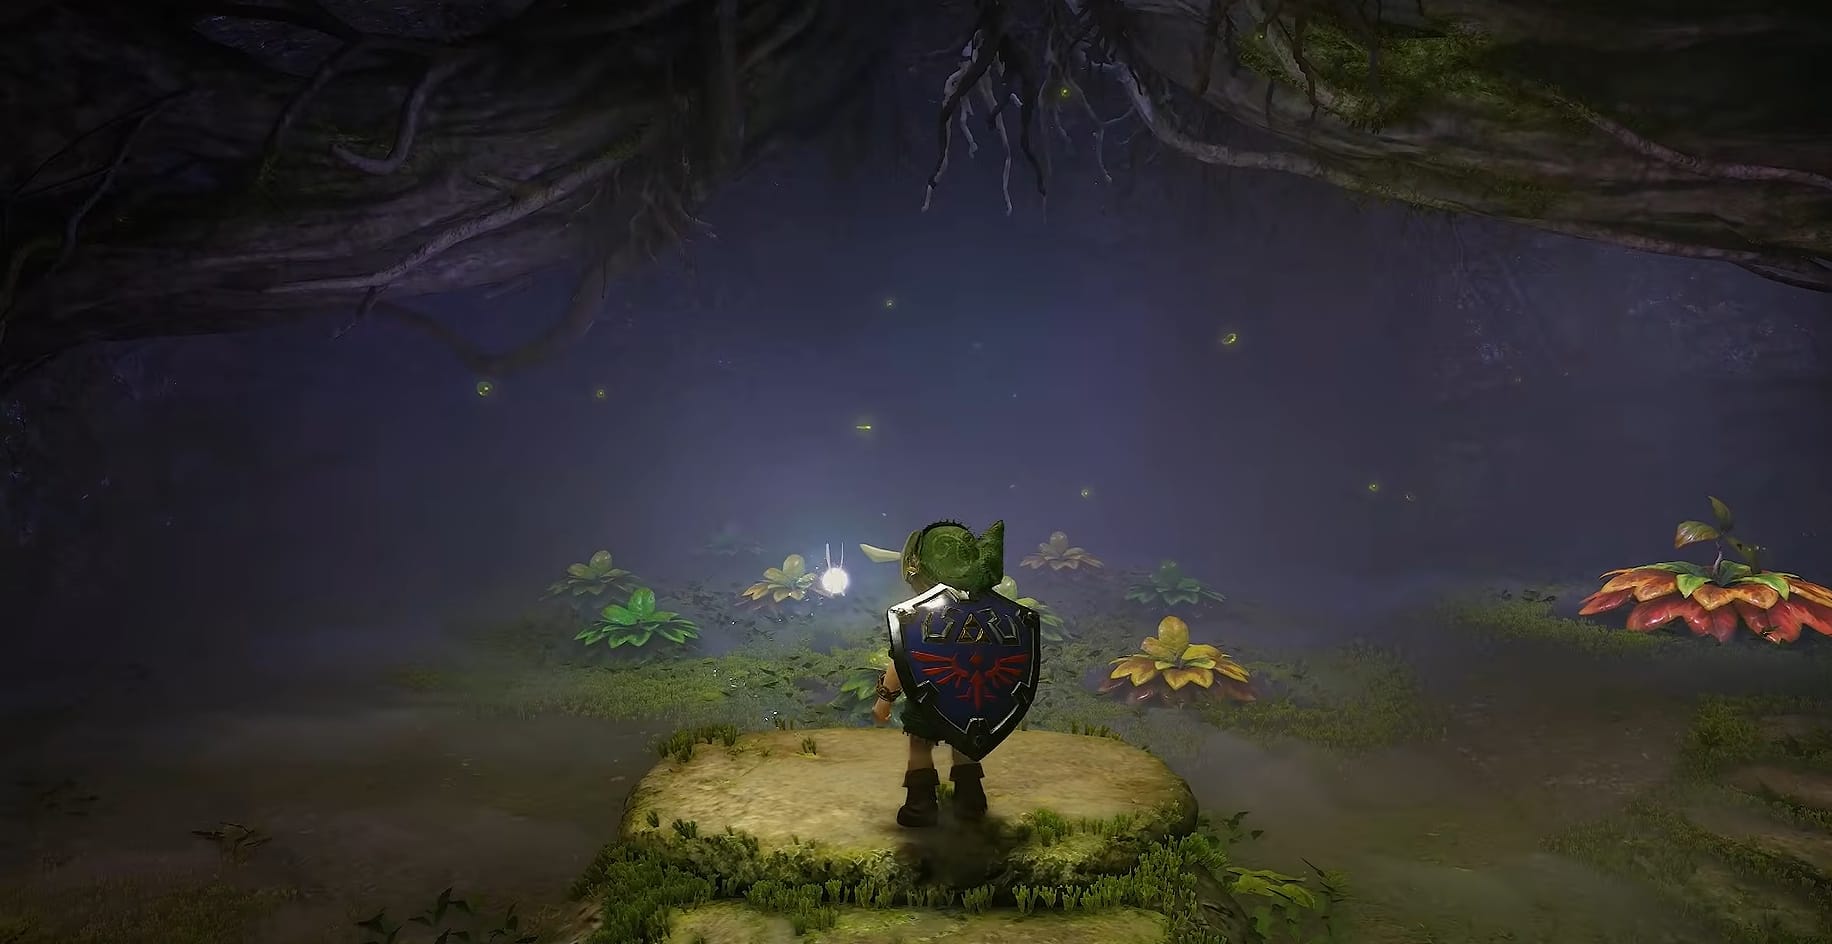
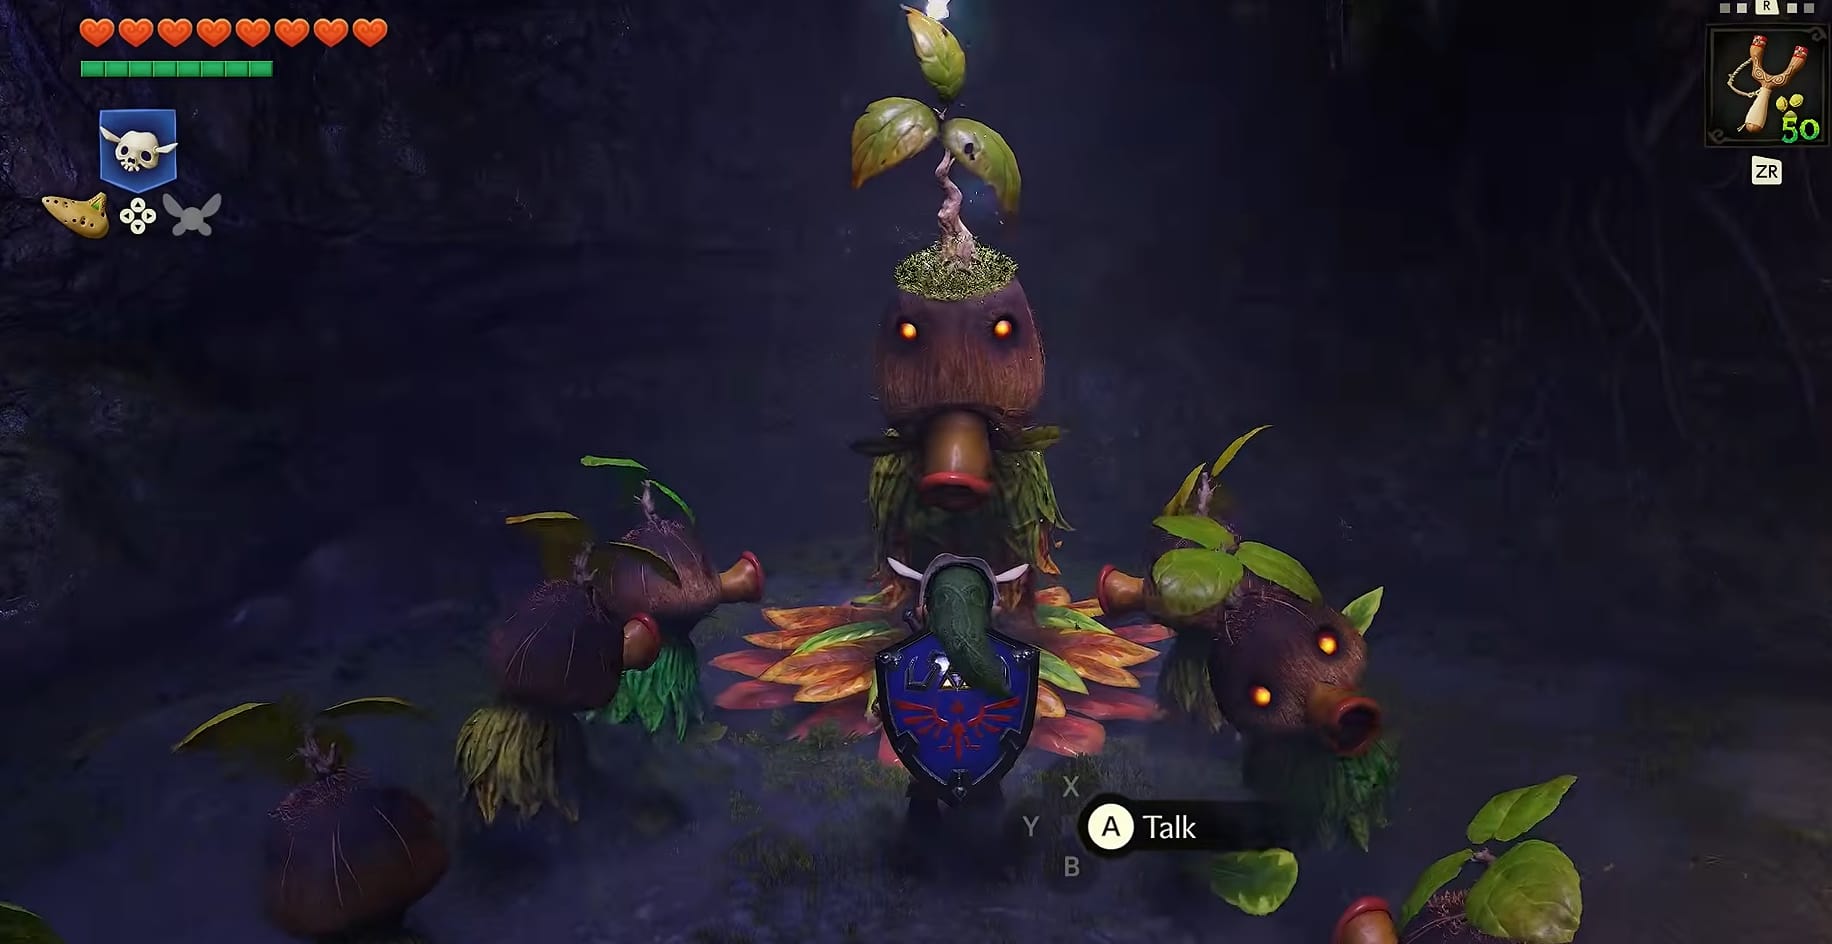
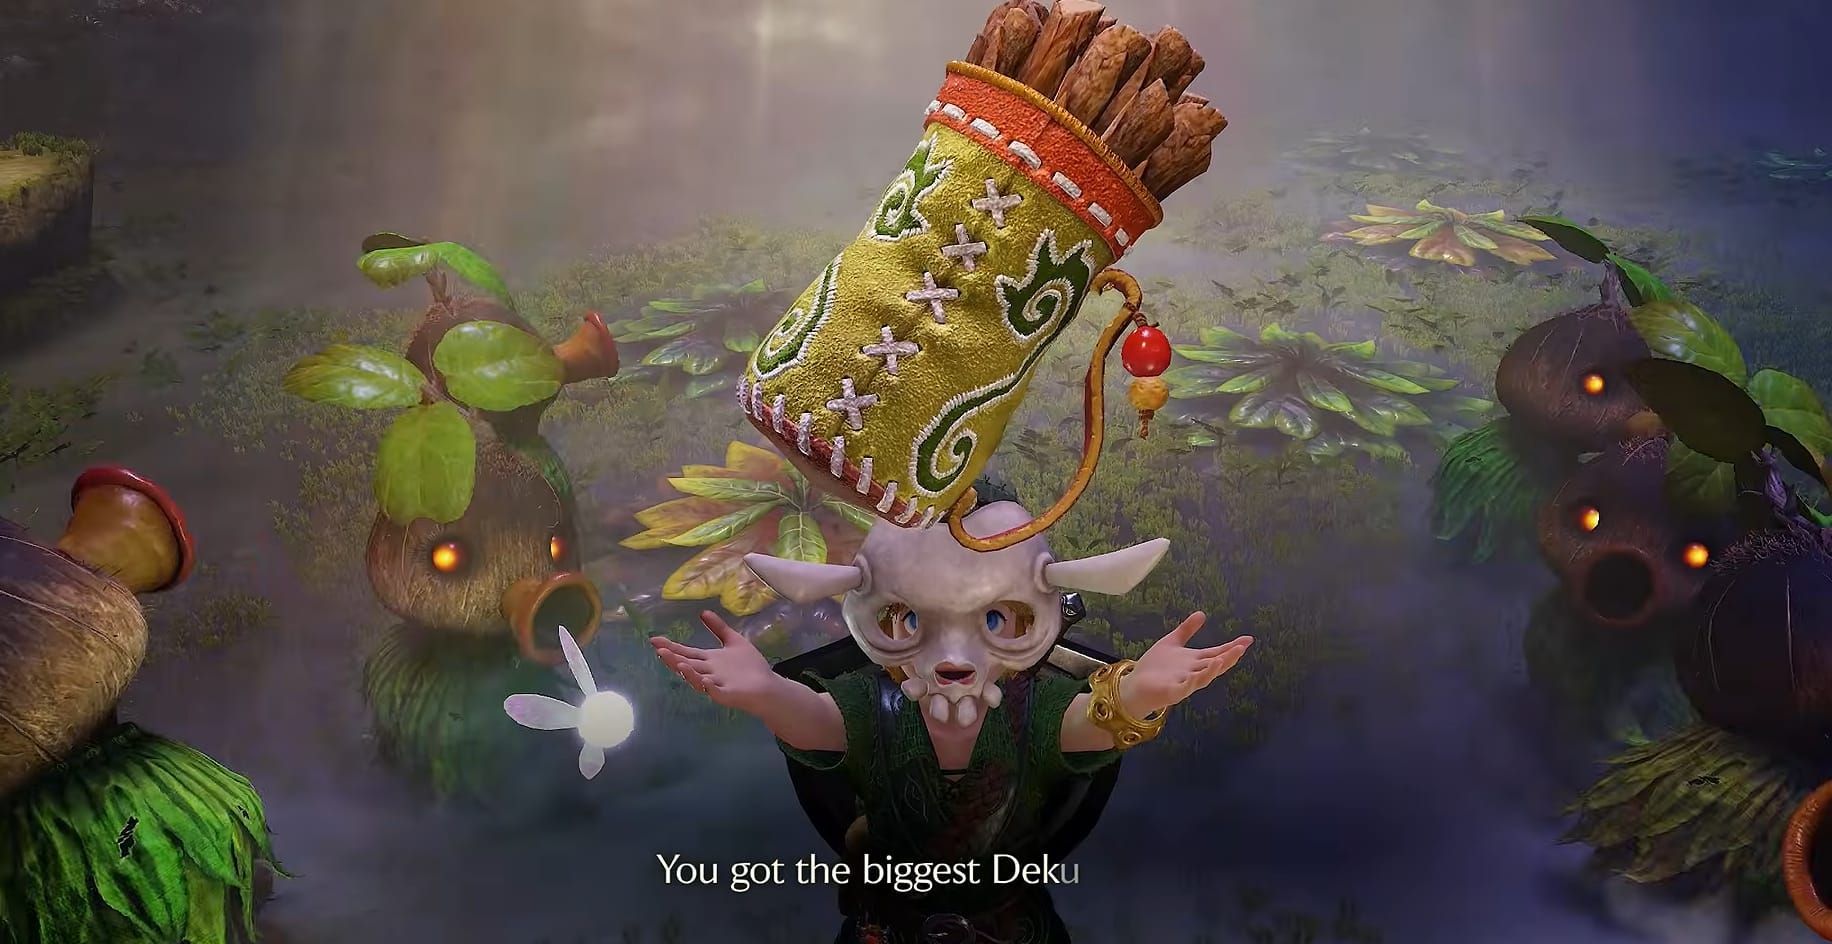
Wearing the Skull Mask, Link is granted the Deku Stick Bag Upgrade
Inside the Grotto, take a moment to equip the Skull Mask, go up the steps in the middle of it. This will have a large number of Deku Scrubs that emerge from their bushes. Watch them as they form 2 lines along the right-hand side of the chamber and a Tall Deku Scrub will emerge. Wearing the mask, this Deku Scrub will give Link a Deku Stick Bag Upgrade!
Deku-Stick Bag Upgrade B
This can be done anytime once Link has the Slingshot. Enter into the Lost Woods.
- Immediately take a Left (West) when you enter the Lost Woods.
- Take another Left (South)
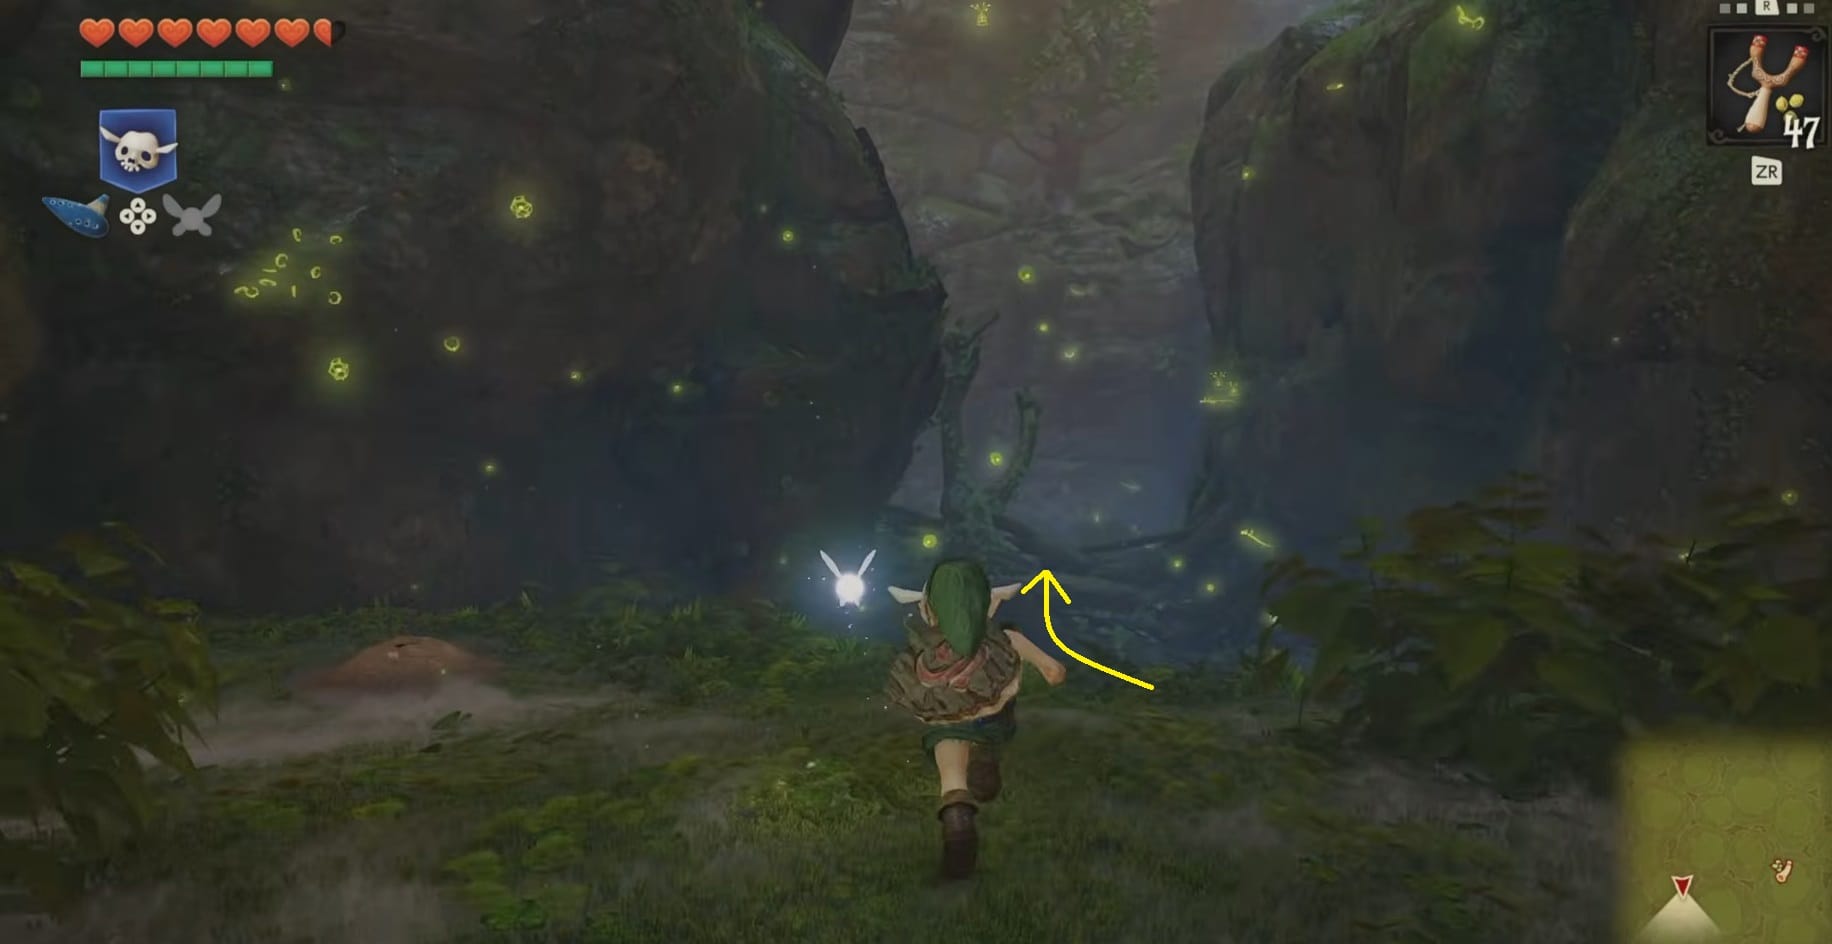
This second turn will bring you to the area UNDER the entrance bridge into the Kokiri Village. Head under the bridge and to the far side of the dip.
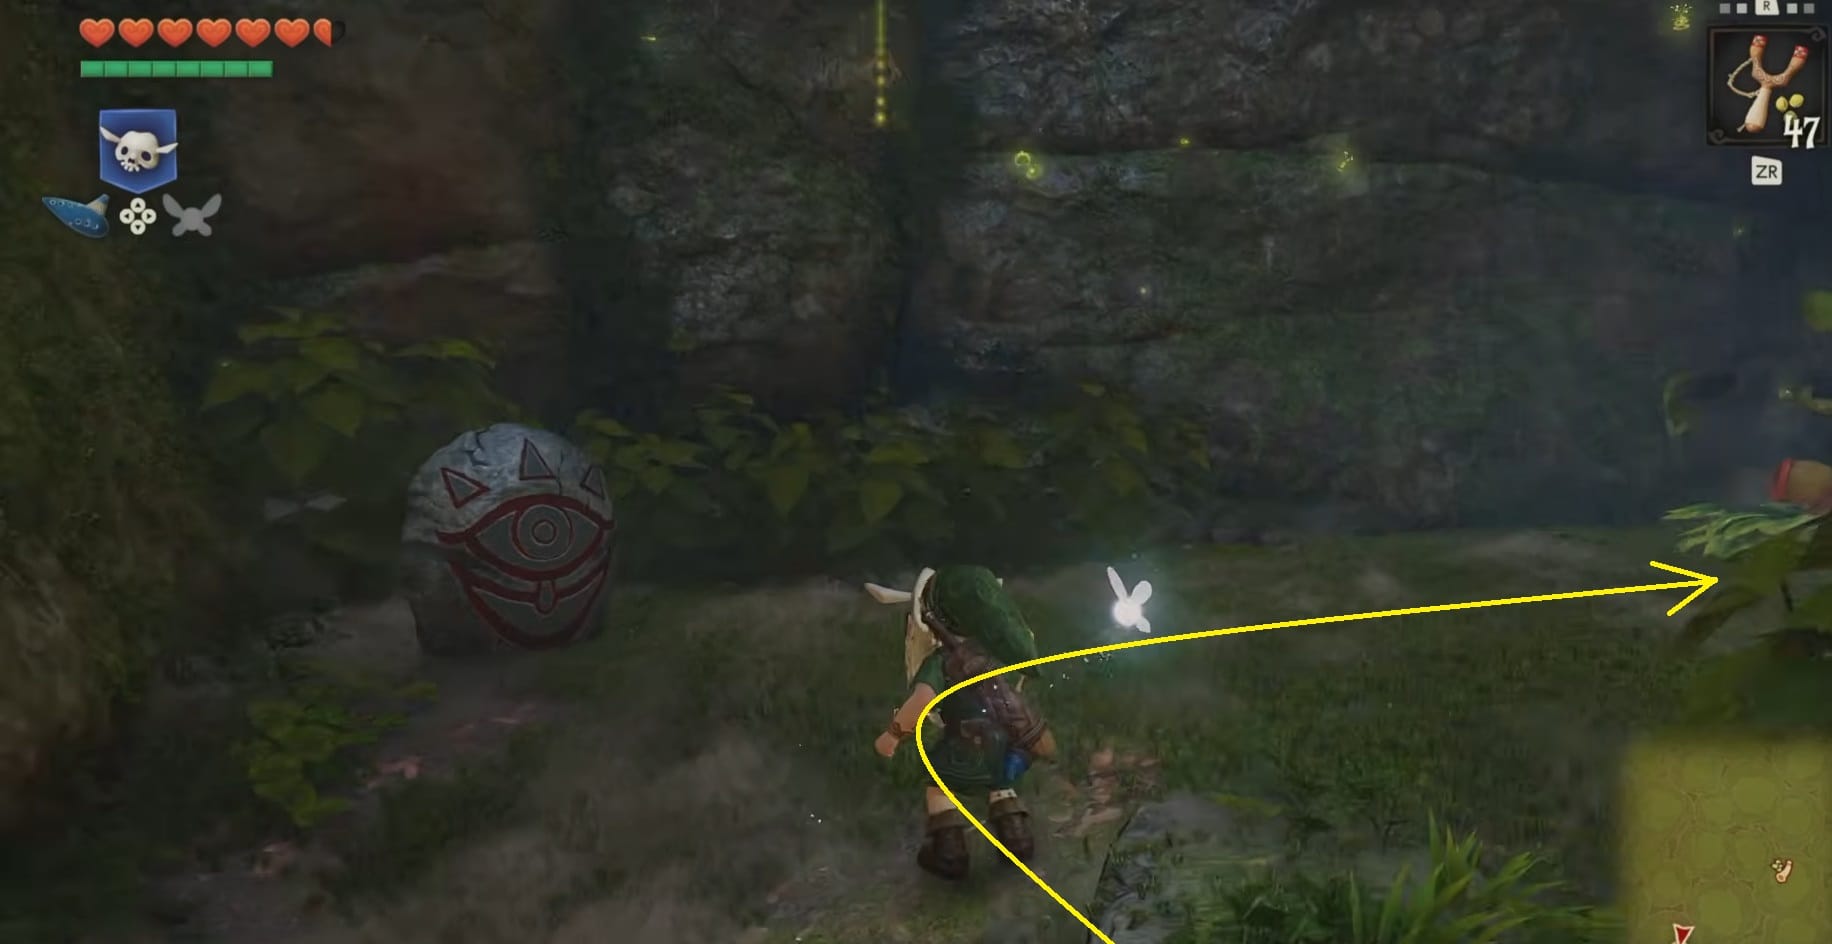
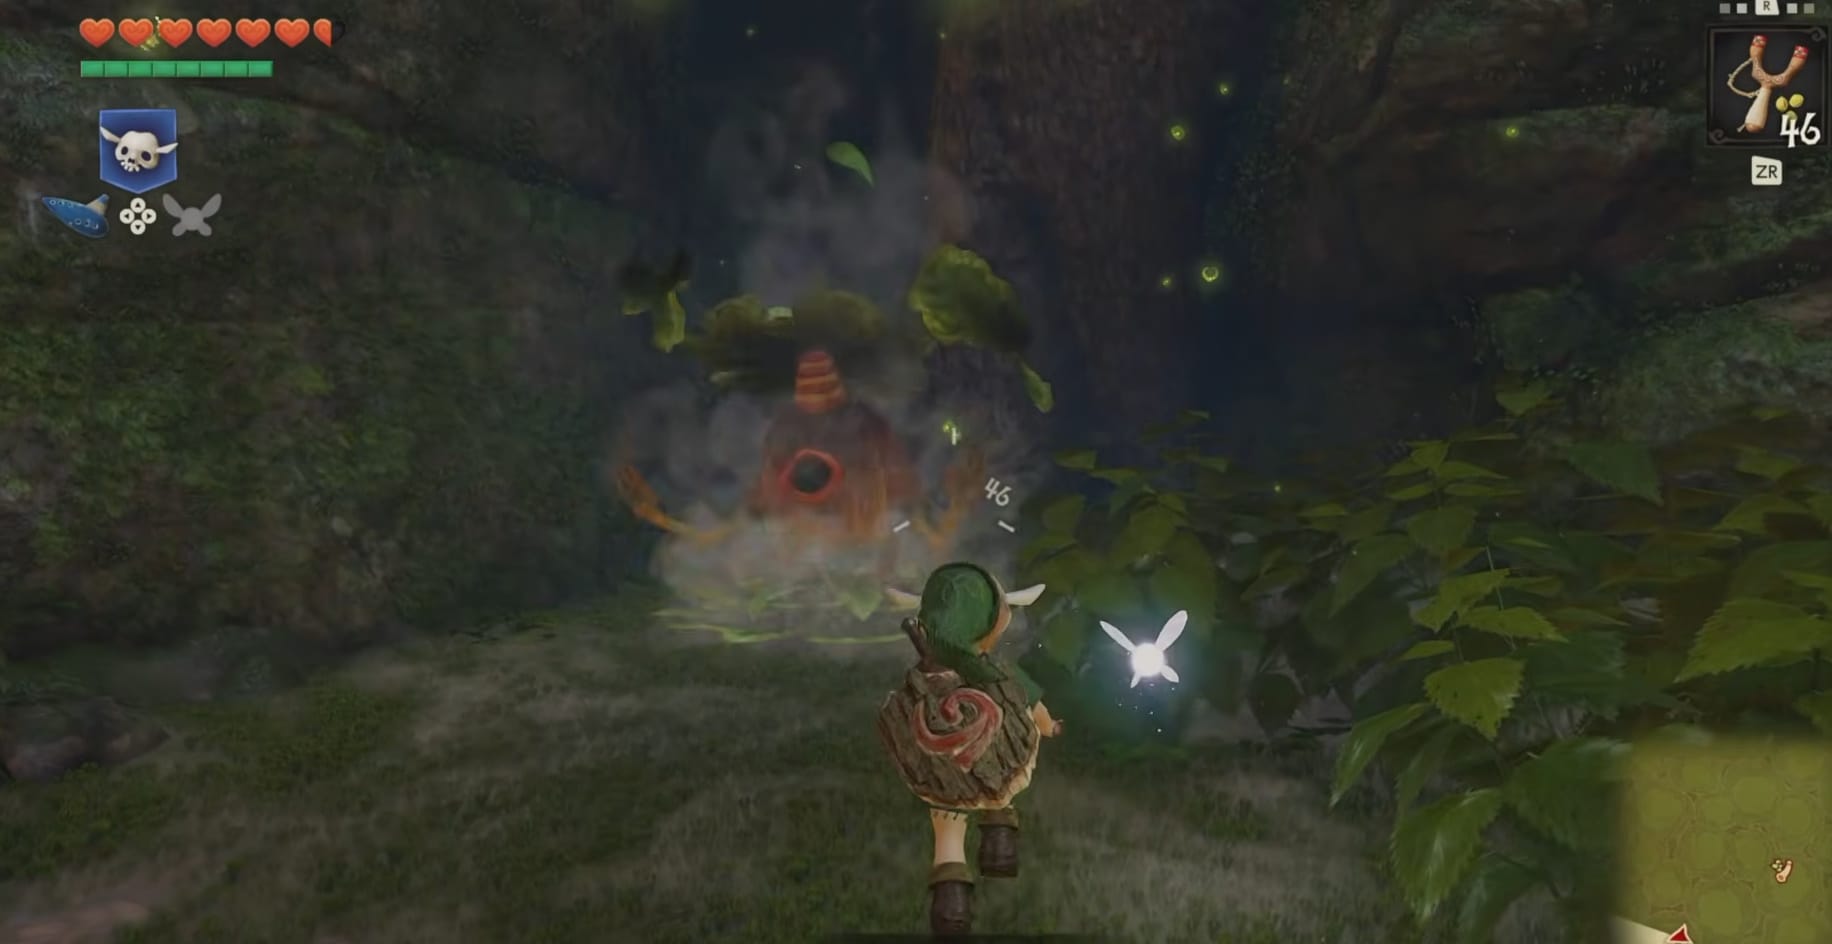
The Business Scrub at the far side of the area
Climb up the ledges on the far end. Look to the right, where you can see a Deku Scrub, specifically, a Business Scrub. Knock him out of his bush with a ranged weapon or reflecting a Nut shot at you with your Shield.
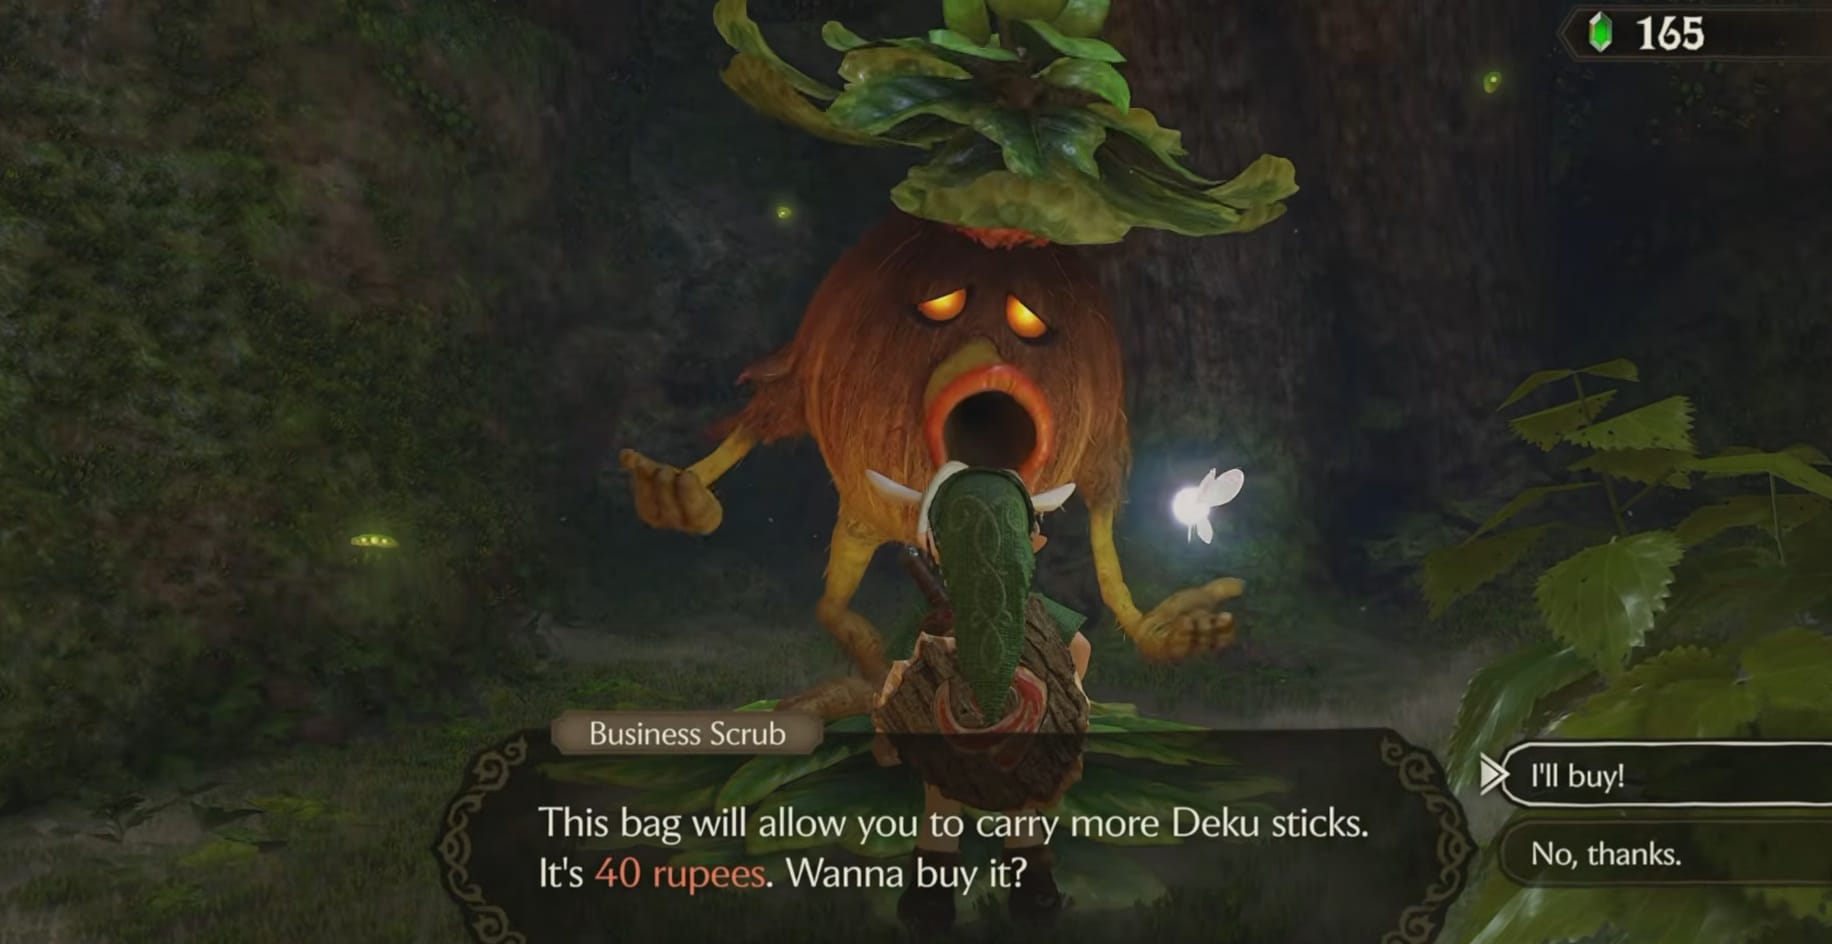
Once the Business Scrub is out, go over and talk to him. He’ll off the Deku Stick Bag Upgrade for 40 rupees.
Deku-Seed Upgrade A
- This requires the Mask of Truth
Make your way to the Kokiri Village, this is the Southeastern exit from Hyrule Field. Once in there, go to the Northern exit to enter the Lost Woods.
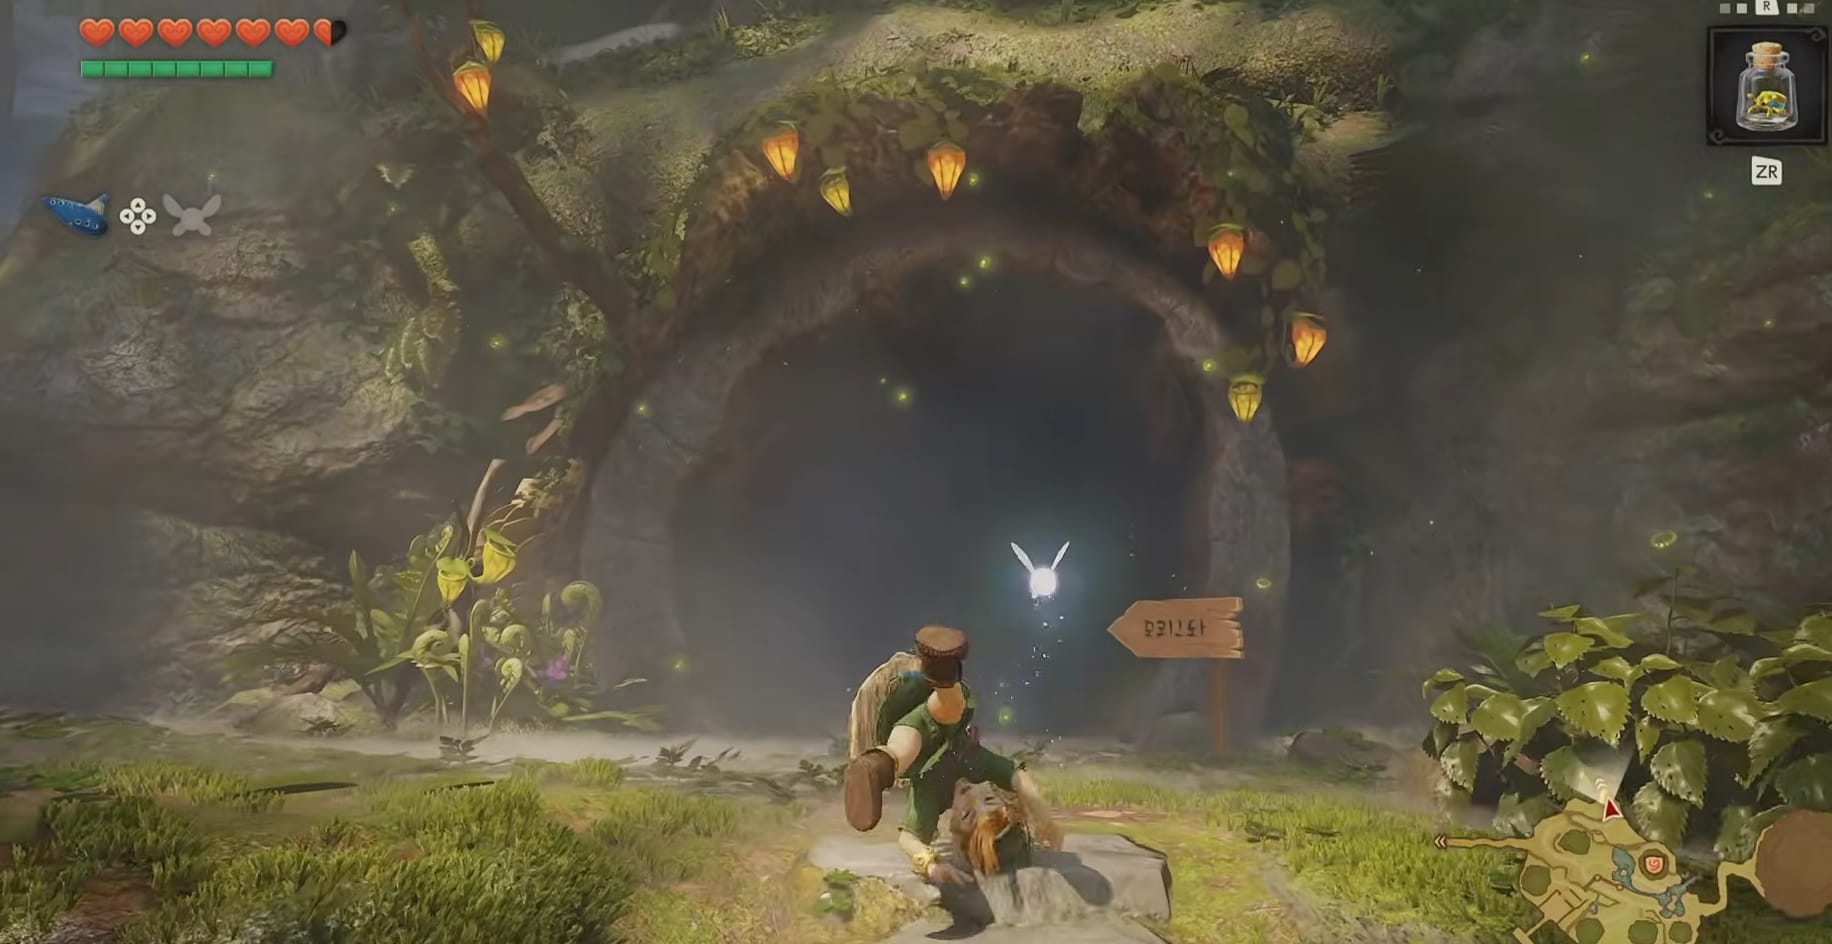
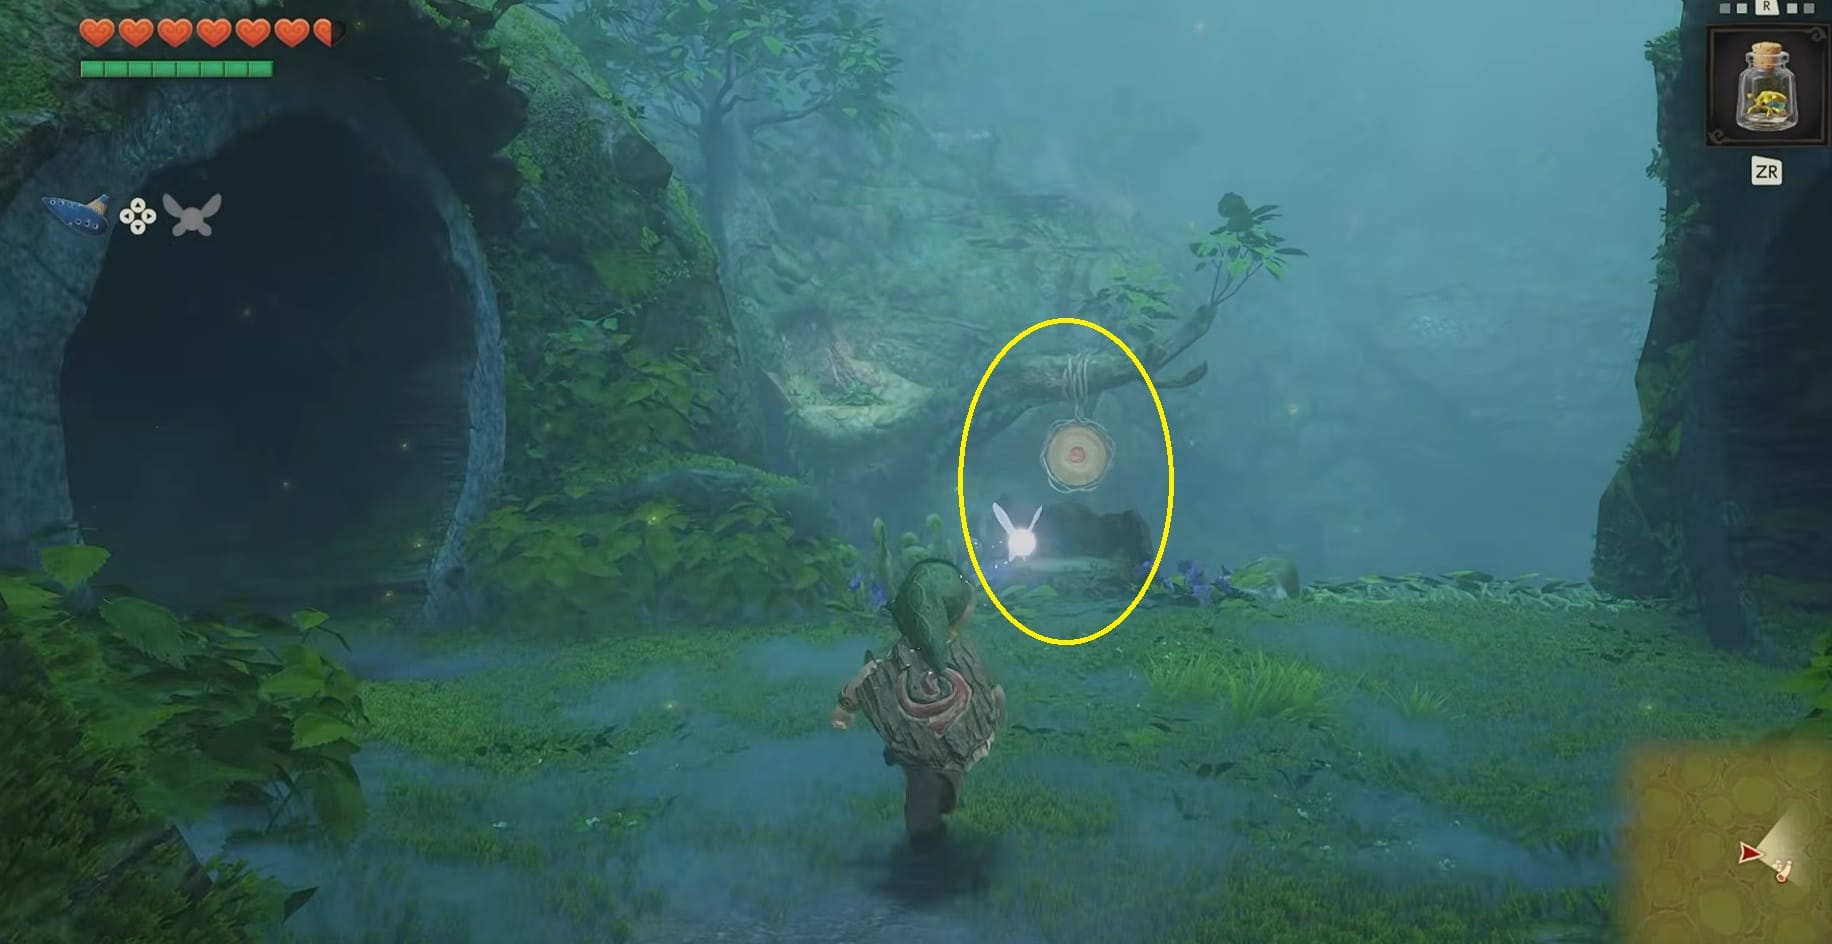
Inside the Lost Woods, you will want to head:
- to the Right (East) in the first chamber.
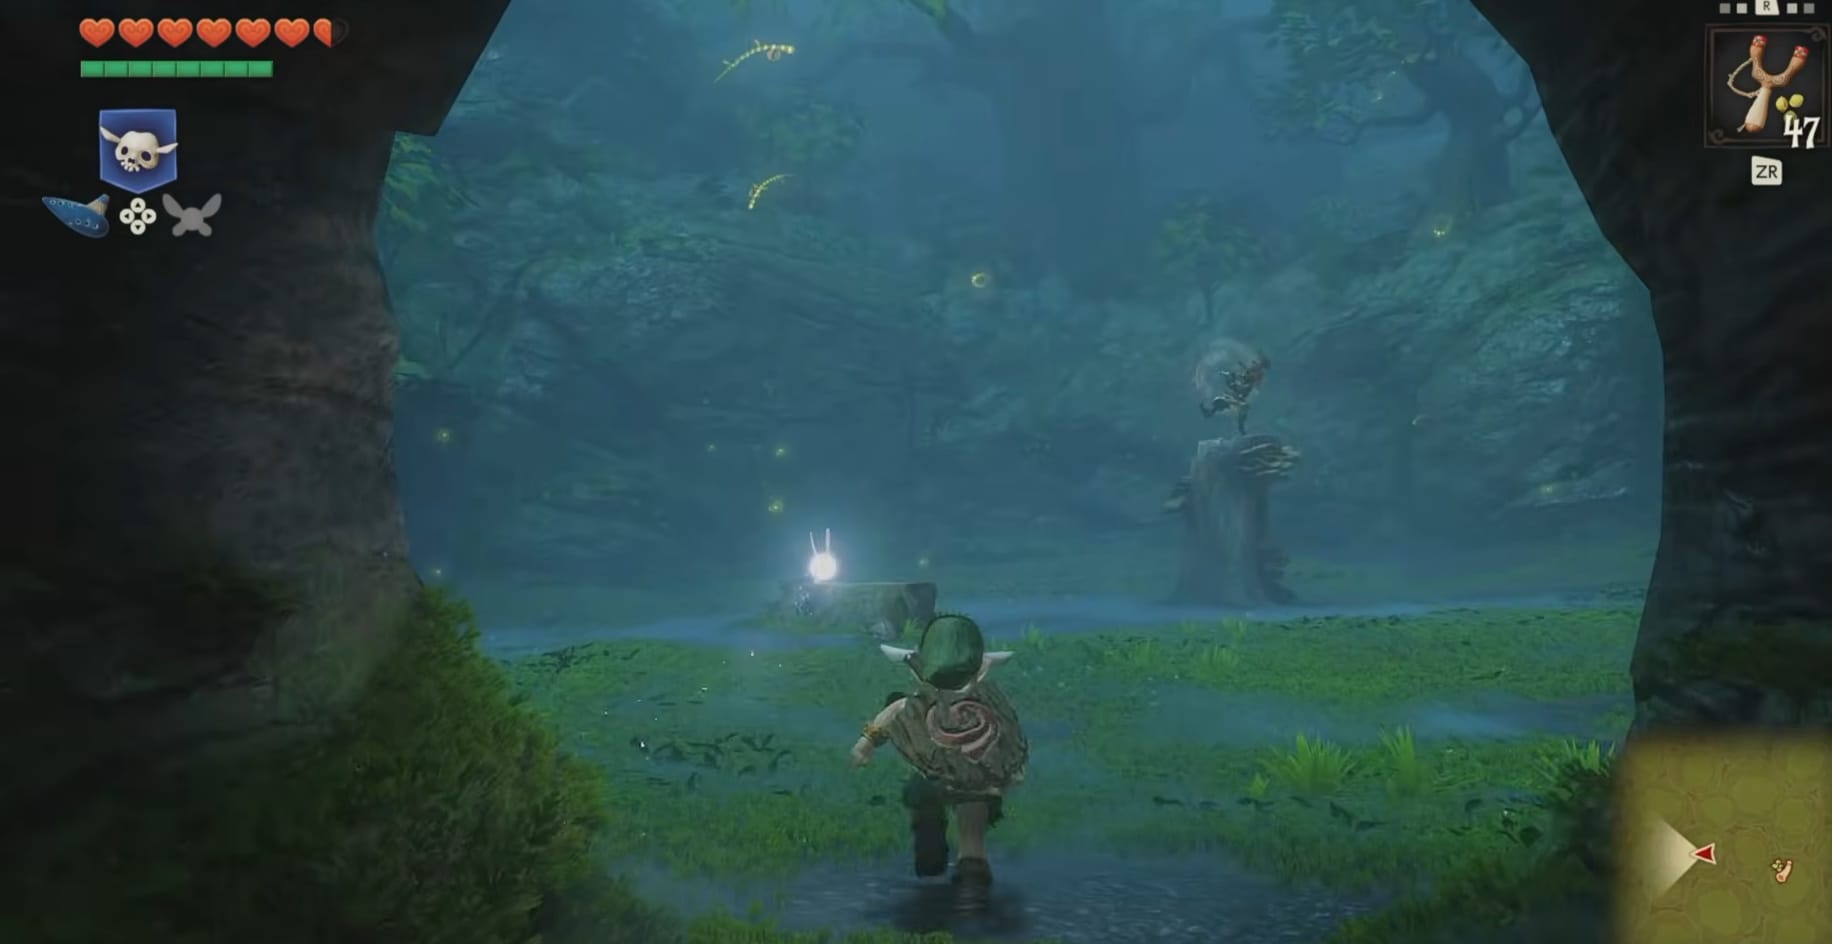
In the second chamber, head over to the right, to the stump you can see in the middle, with the target just ahead of you handing from a branch.
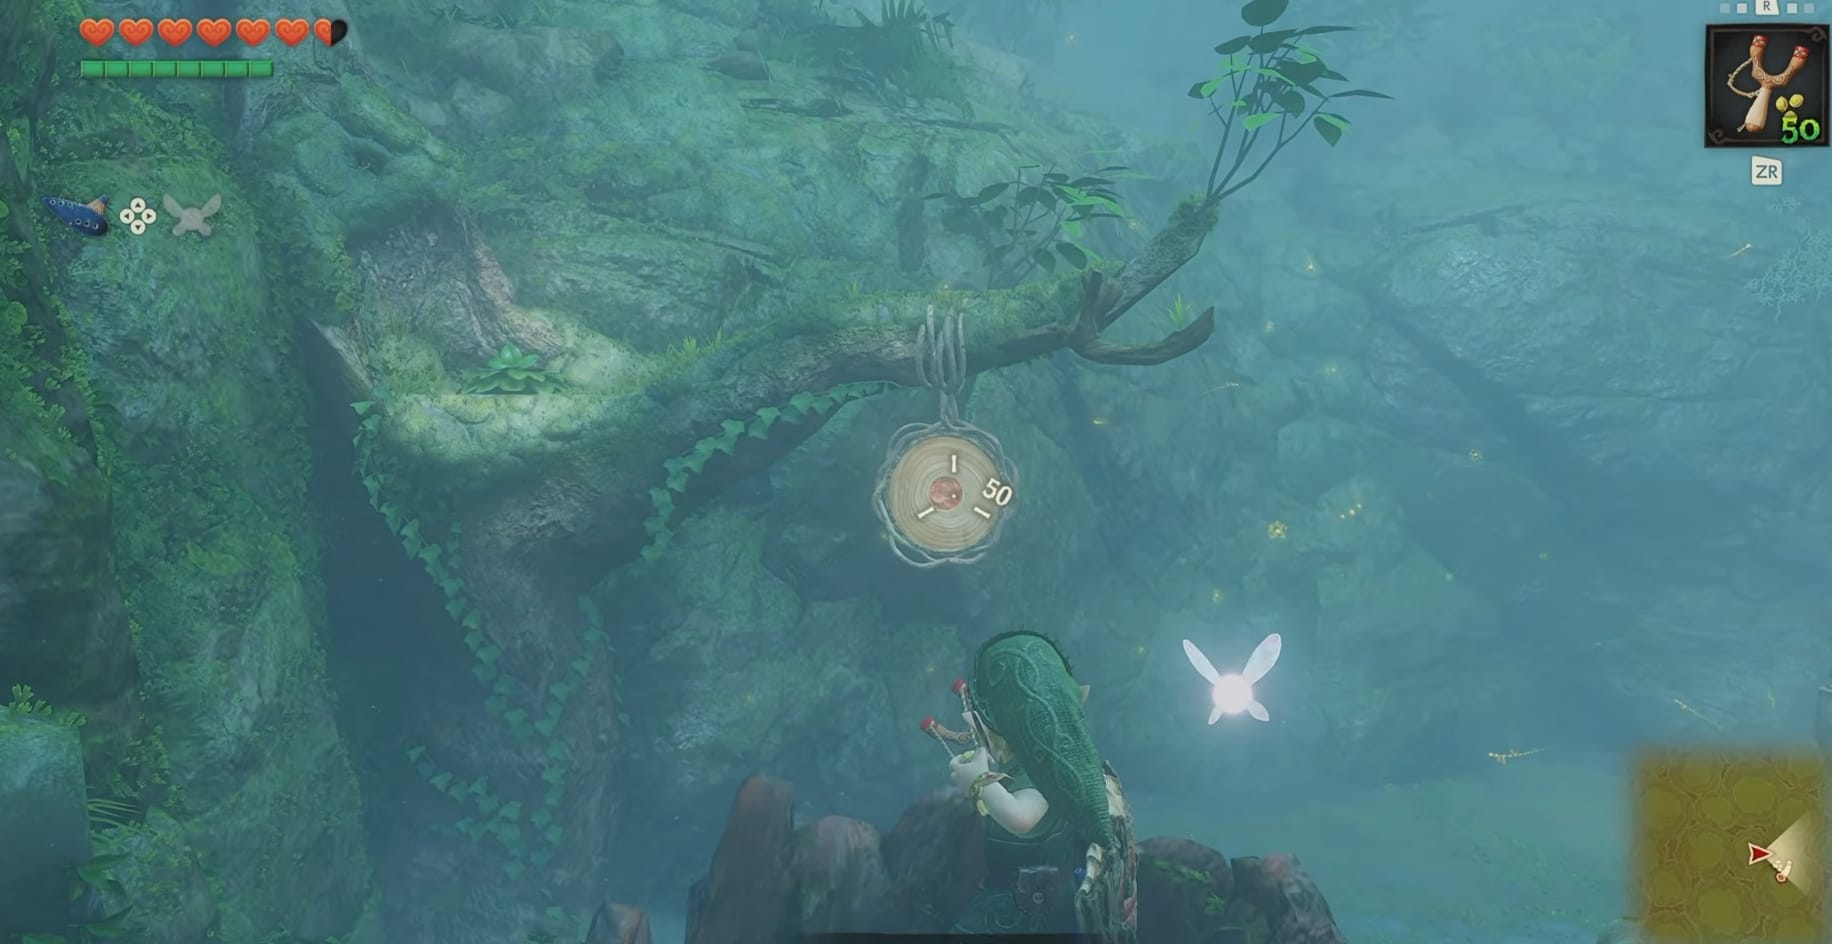
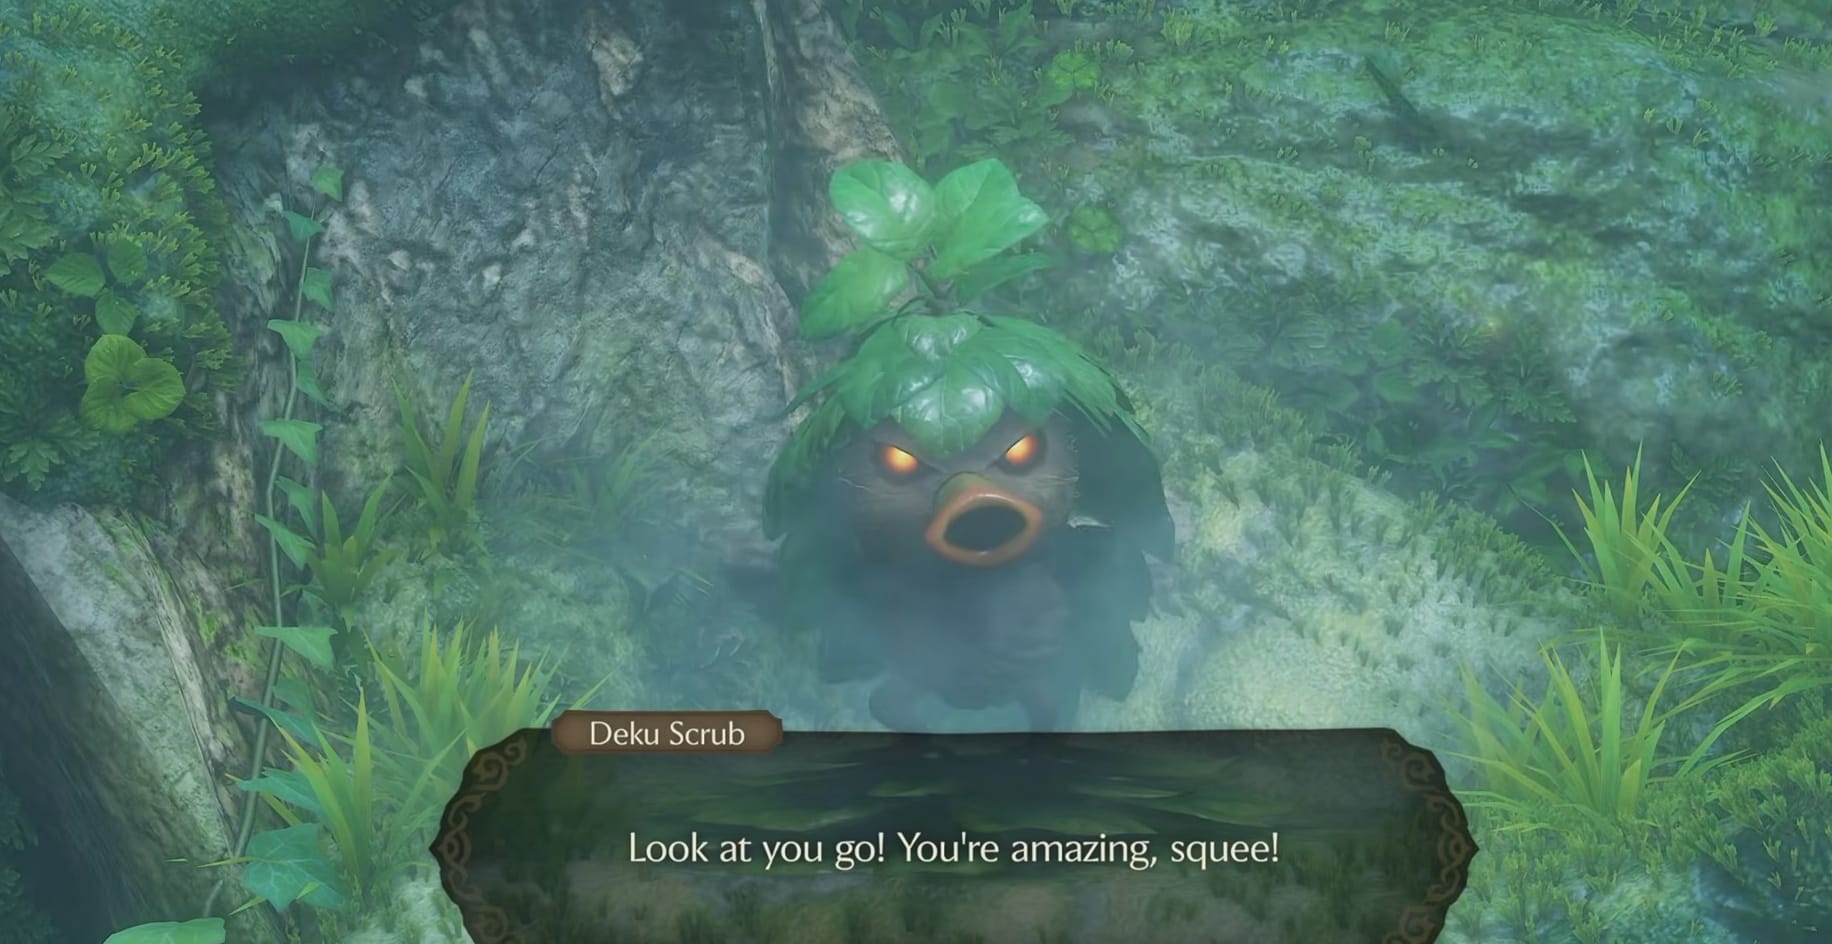
Young Link completes the challenge for the Deku-Seed Bag upgrade
Stand on the stump and aim for the middle of the target on the branch. Link will need to hit the bullseye 3 times in a row. If he does that, you will receive a Deku-Seed bag Upgrade.
Deku-Seed Upgrade B
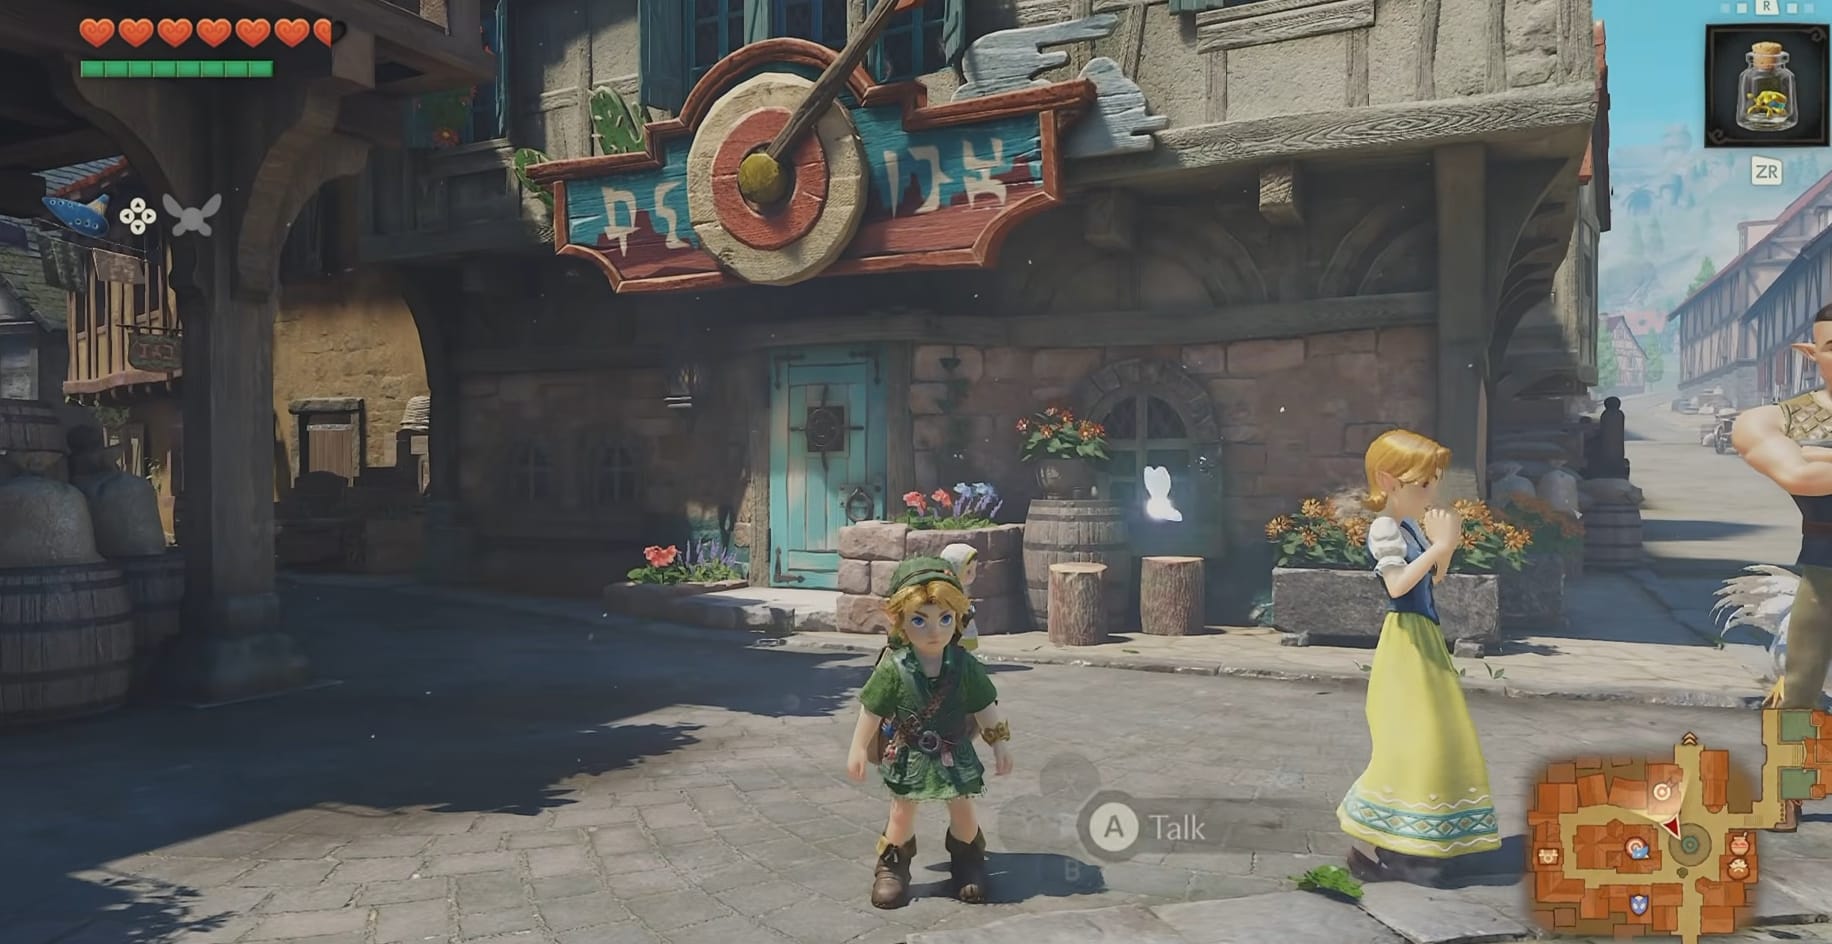
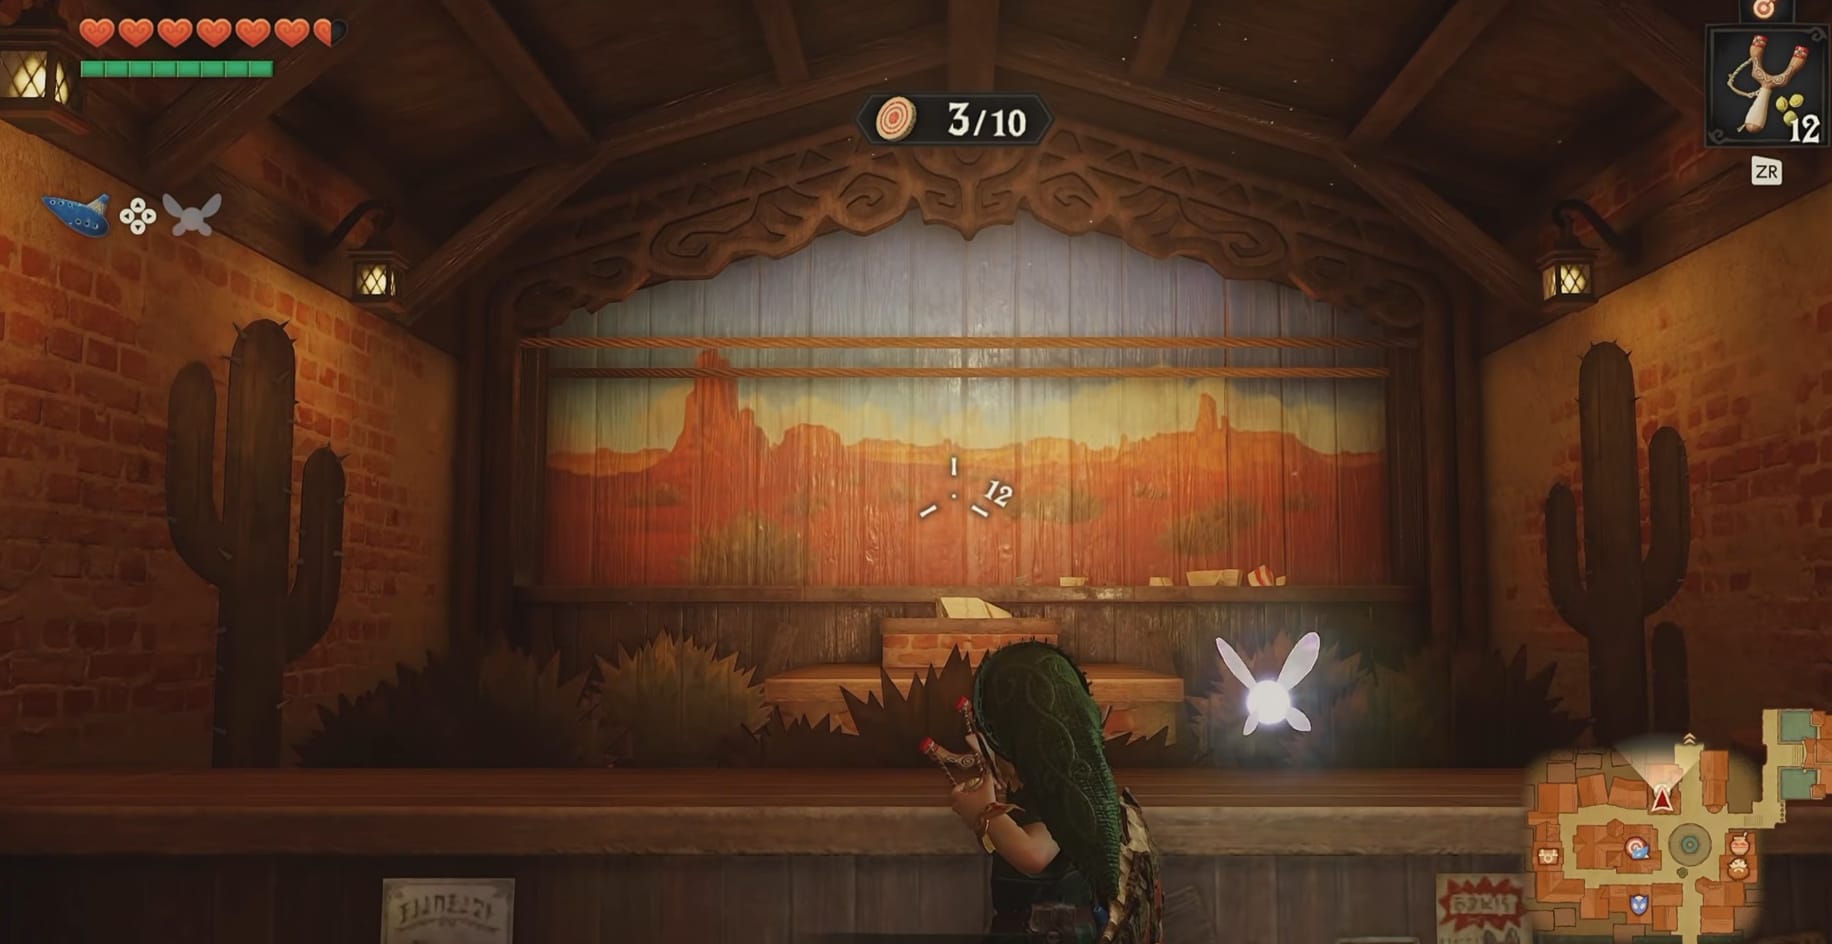
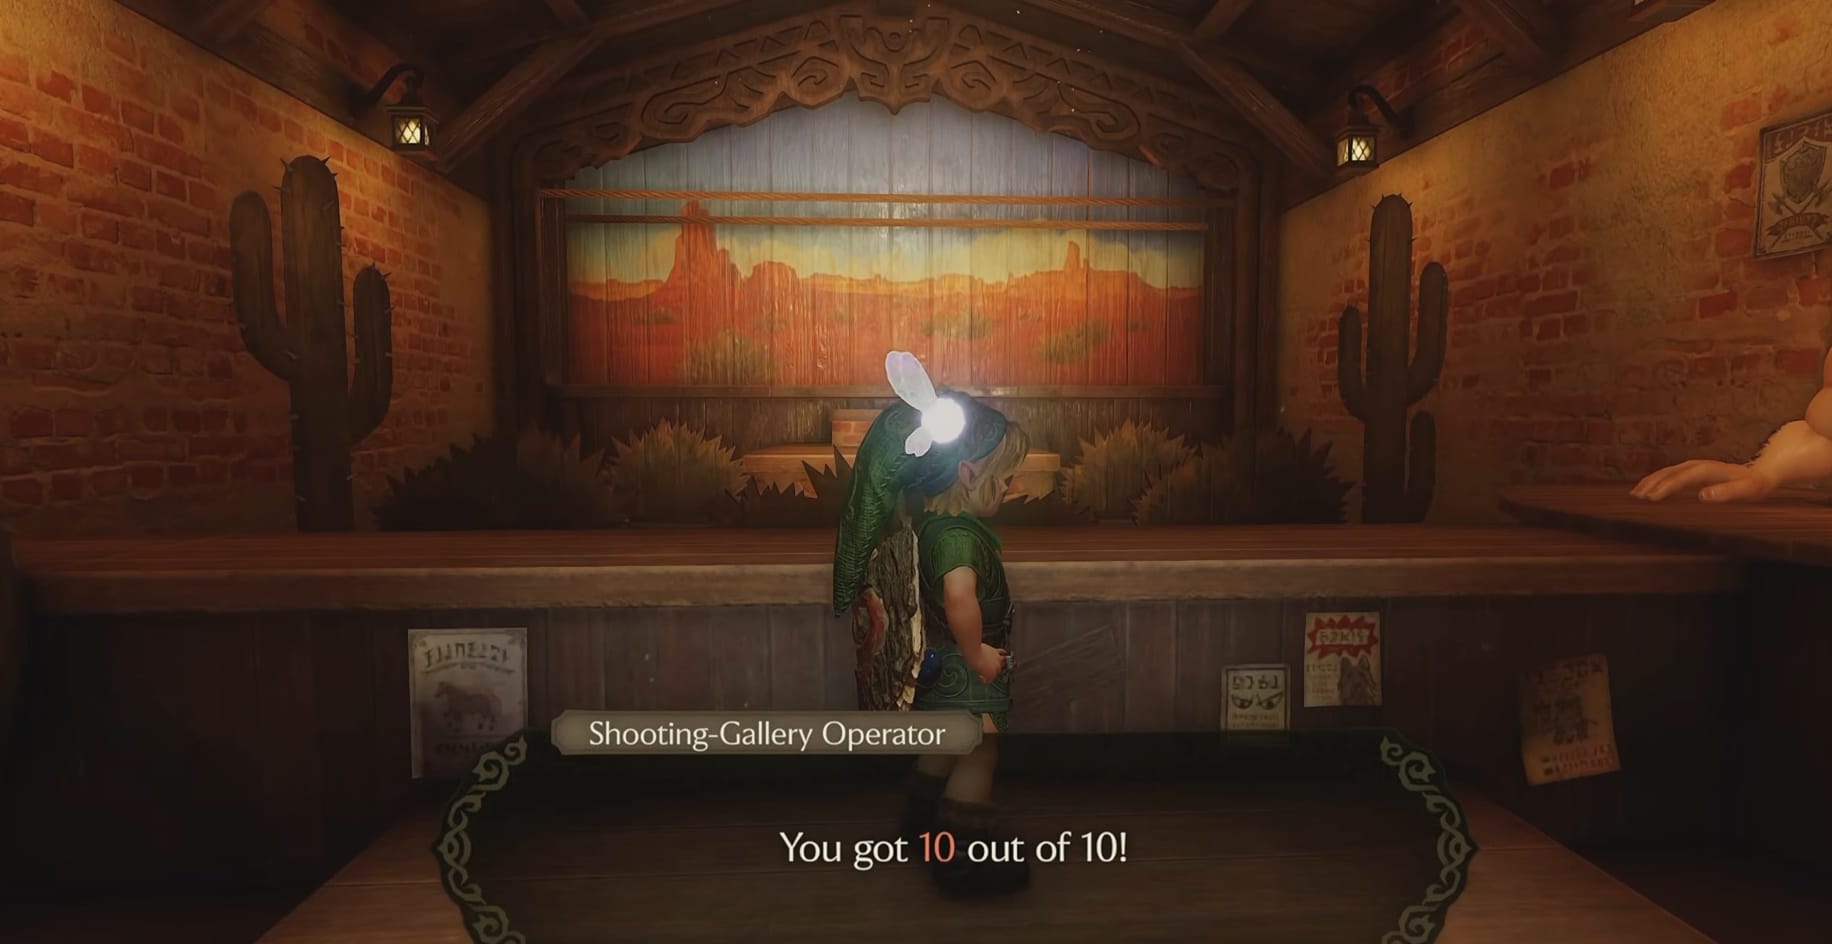
Link entering and completing the Shooting Gallery challenge as a child
Go into the Shooting Gallery in Hyrule Castle Town as Child Link. Complete the Shooting Gallery Challenge getting all 10 Targets. It costs 10 Rupees to start shooting in the Gallery. You will have unlimited tries until you leave the Gallery. Completing this will give Link a Deku-Seed Bag Upgrade.
Target 1
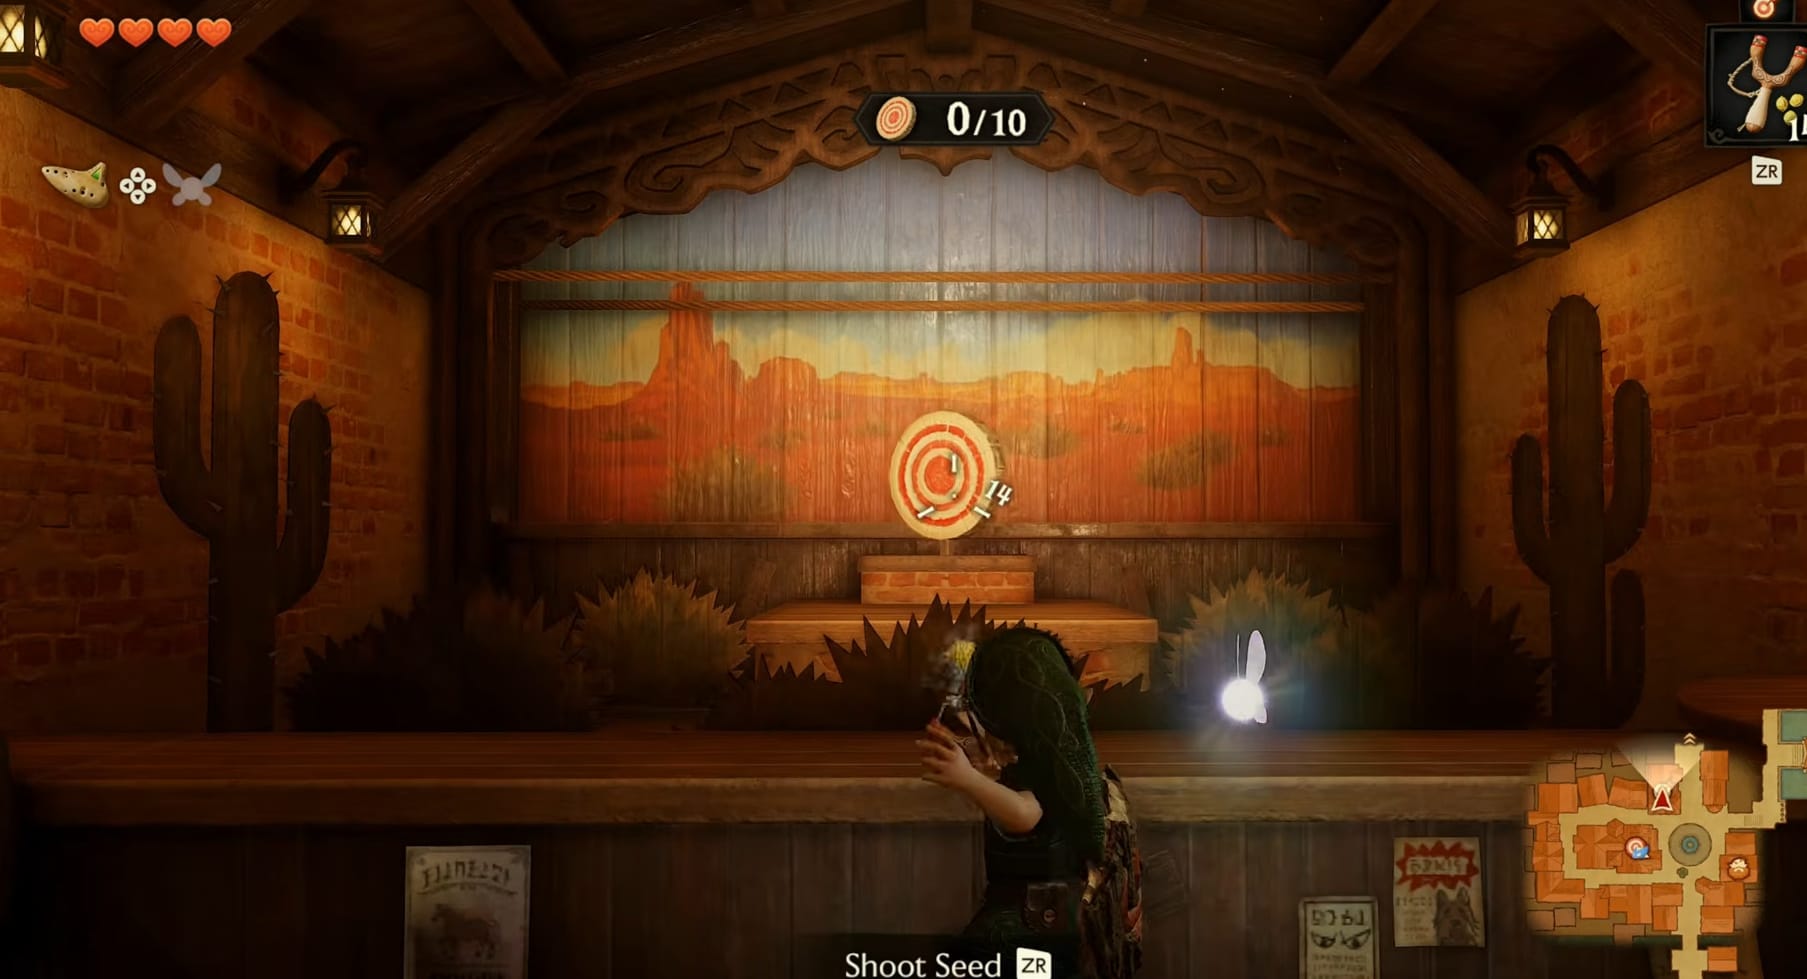
Comes up in the center, from the brick chimney.
Target 2
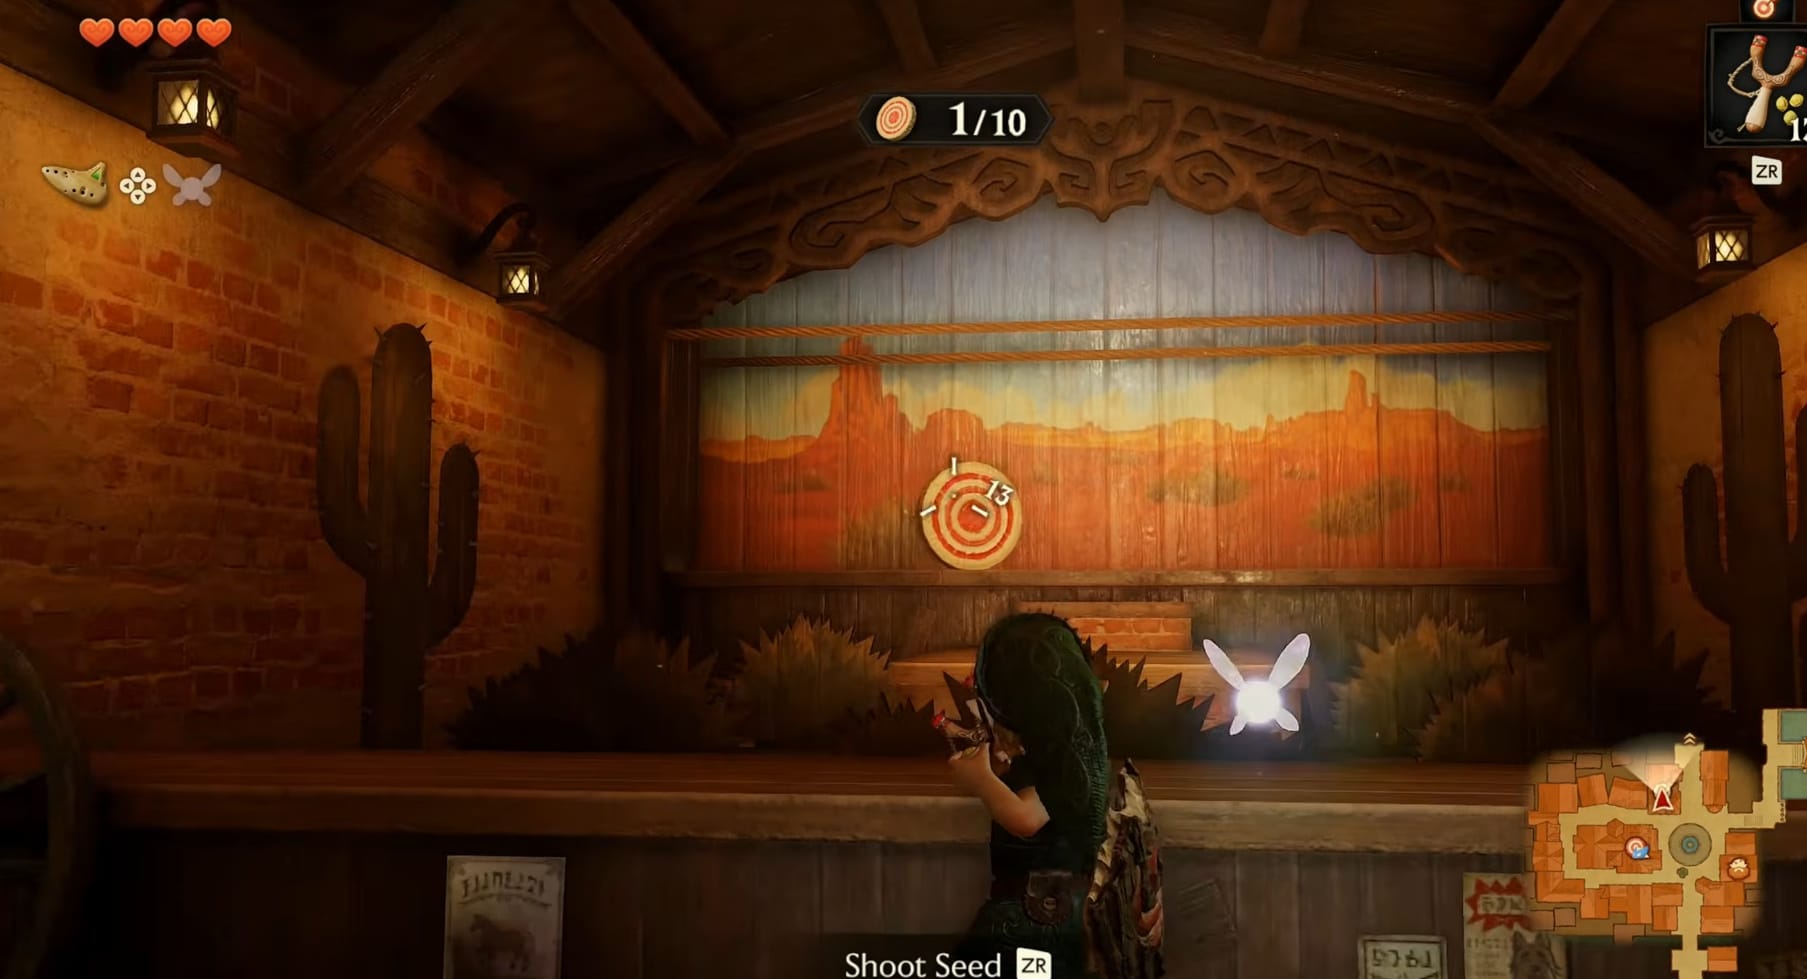
Comes in on the lower track on the left-hand side. It stops, slowly spinning, just left of center.
Target 3
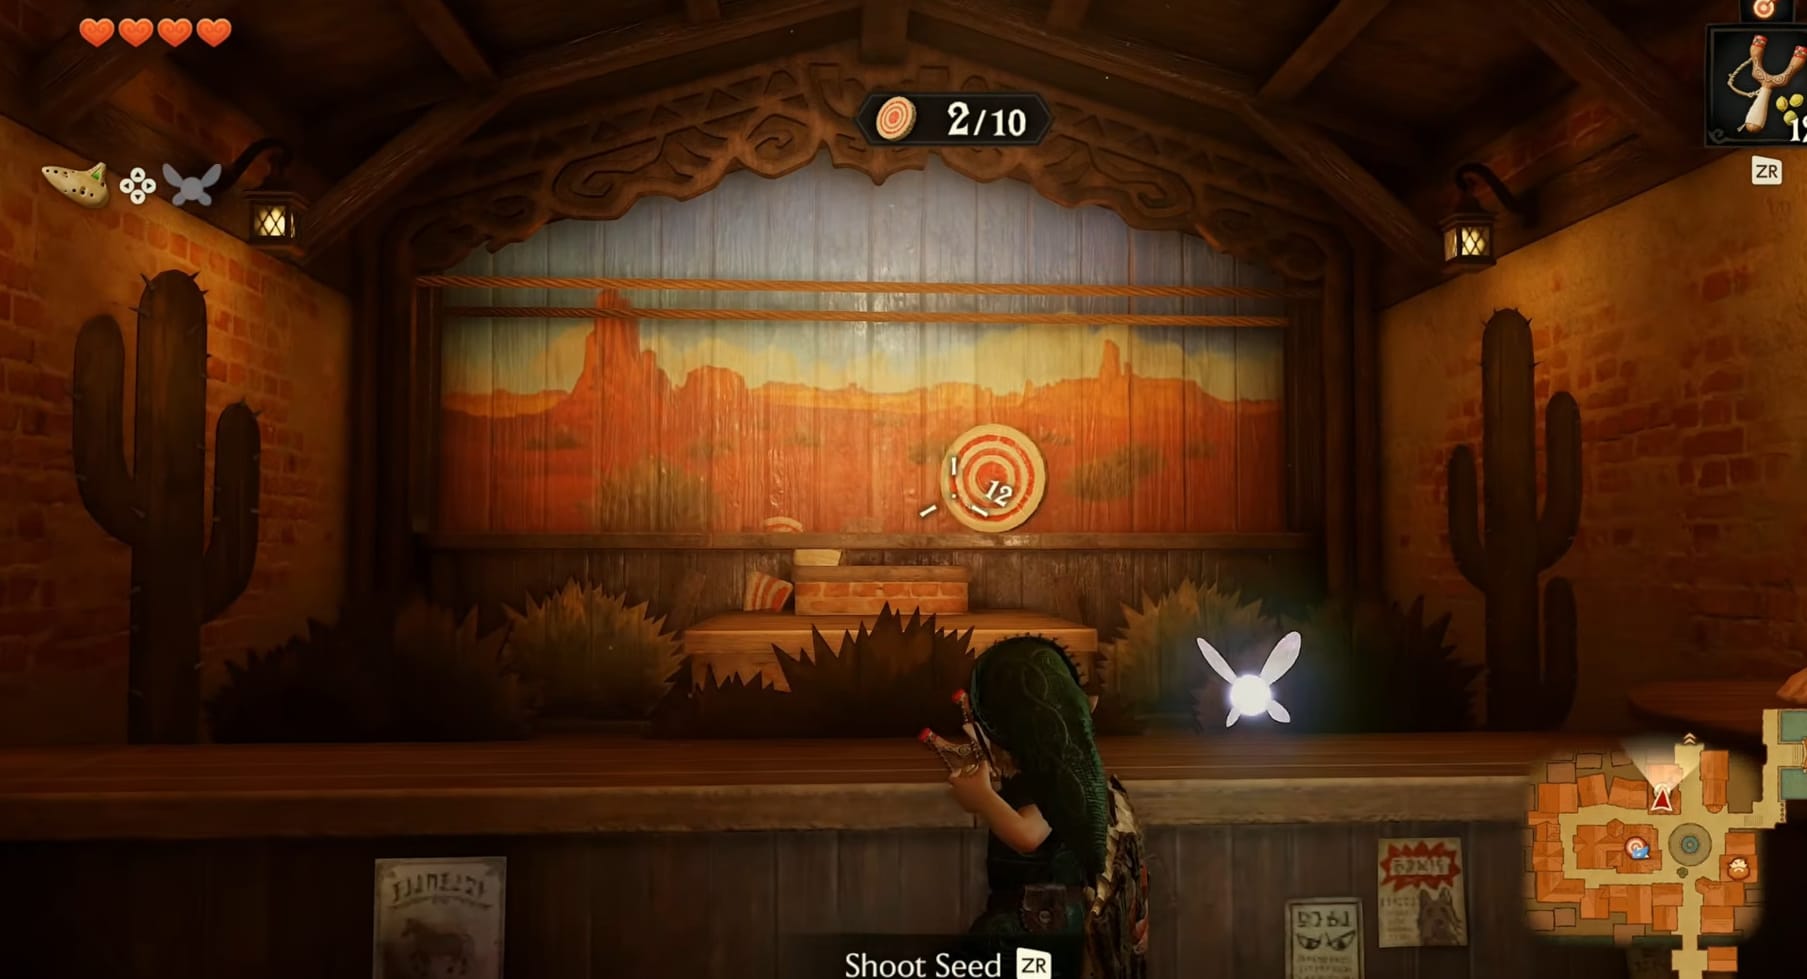
Coming in the lower track on the right-hand side. It stops, slowly spinning, just to the right of center.
Target 4
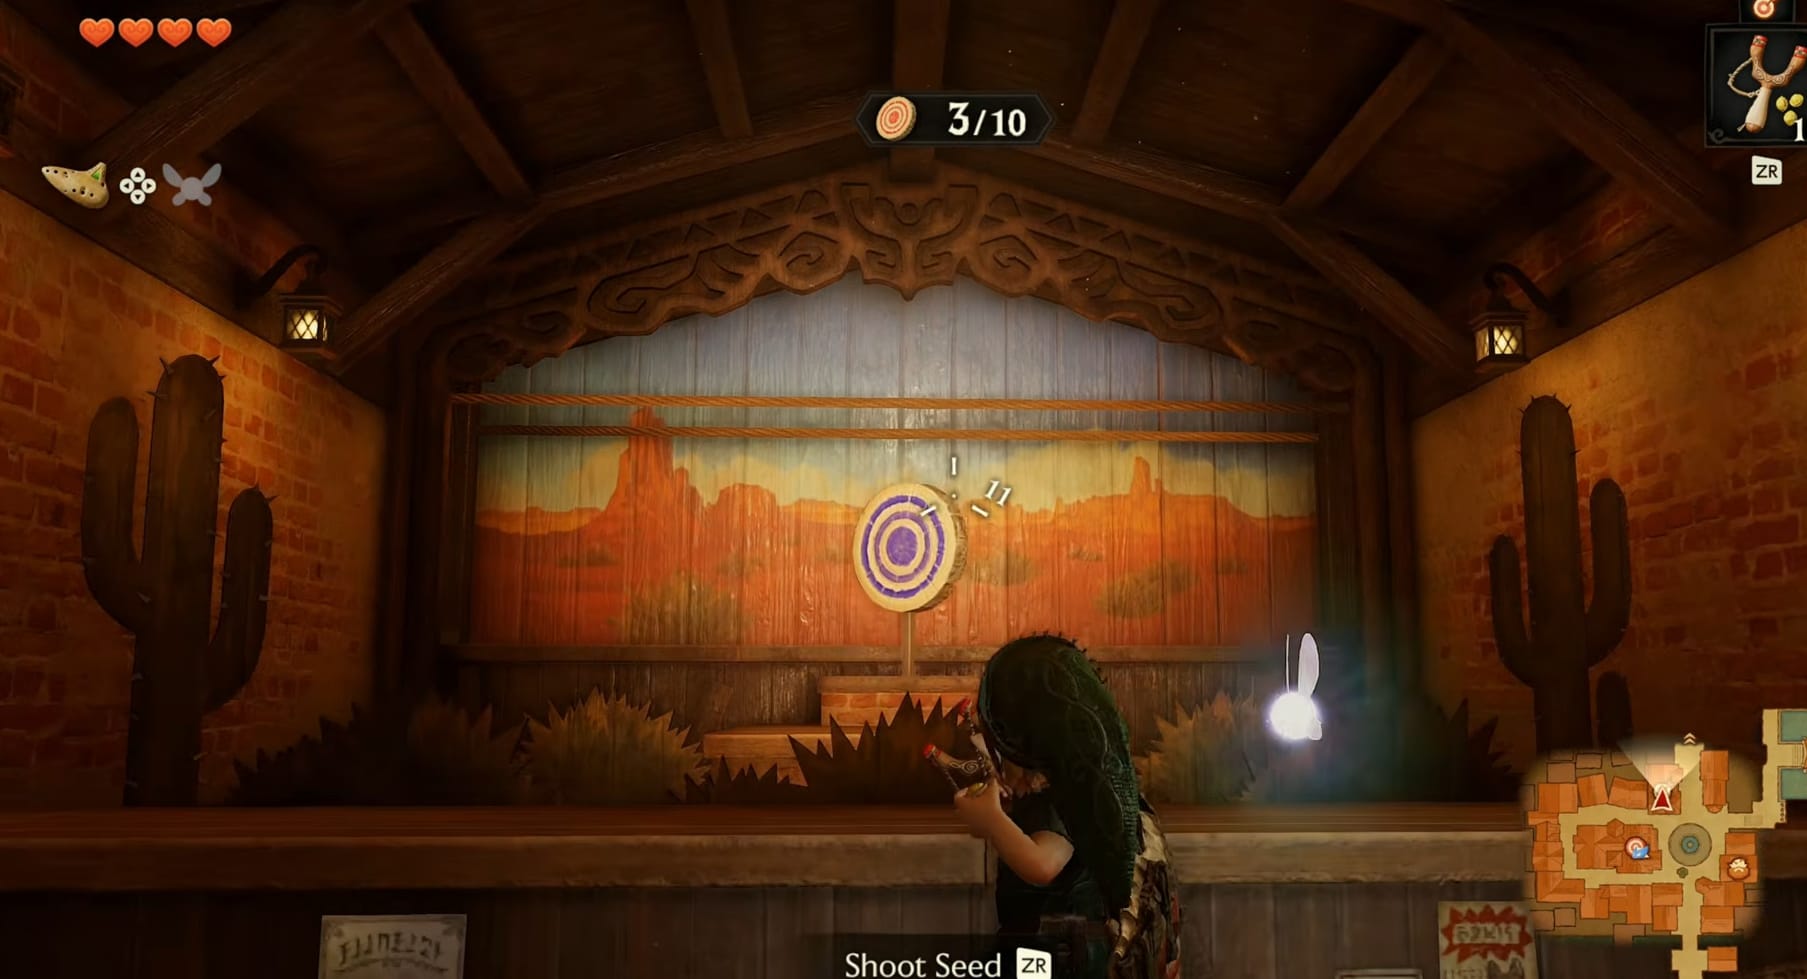
This purple targets comes up from the brick chimney in the middle. It’s on a stick, bringing it higher than the previous target.
Target 5 + 6
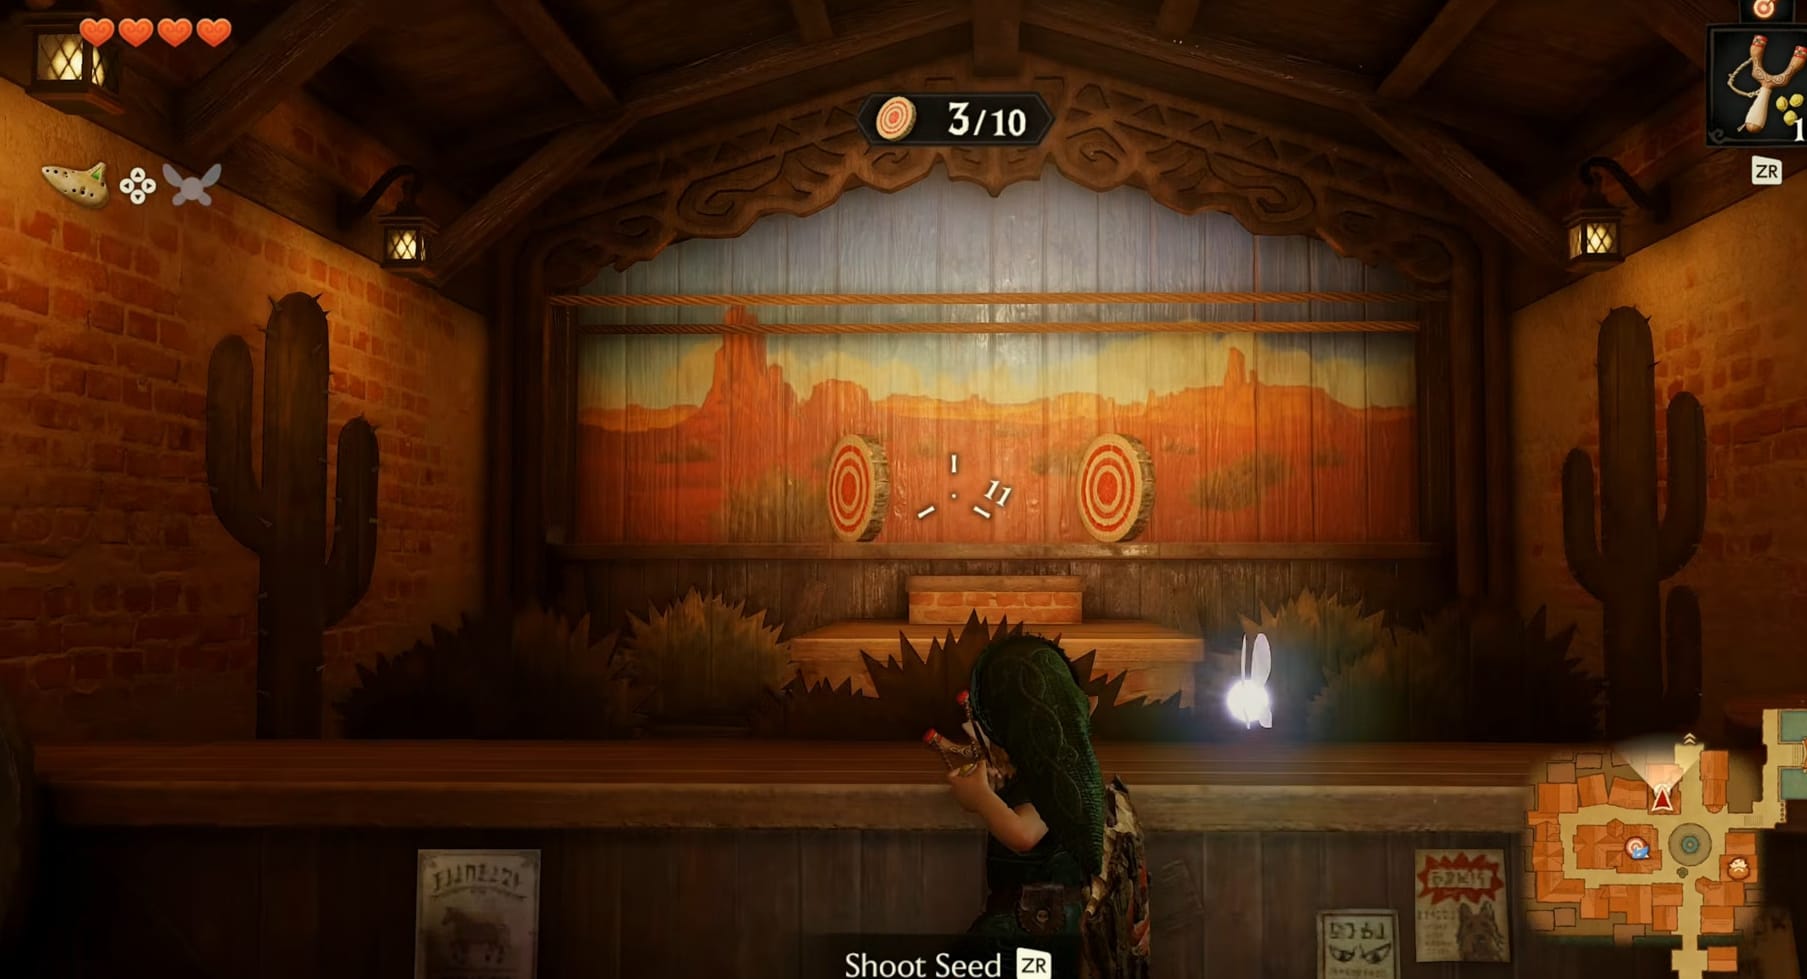
The first double, 2 red targets come in, 1 from the left-hand side, 1 from the right-hand side. Like the others, they will stop, slowly spinning, just off center on their respective sides.
Target 7 + 8
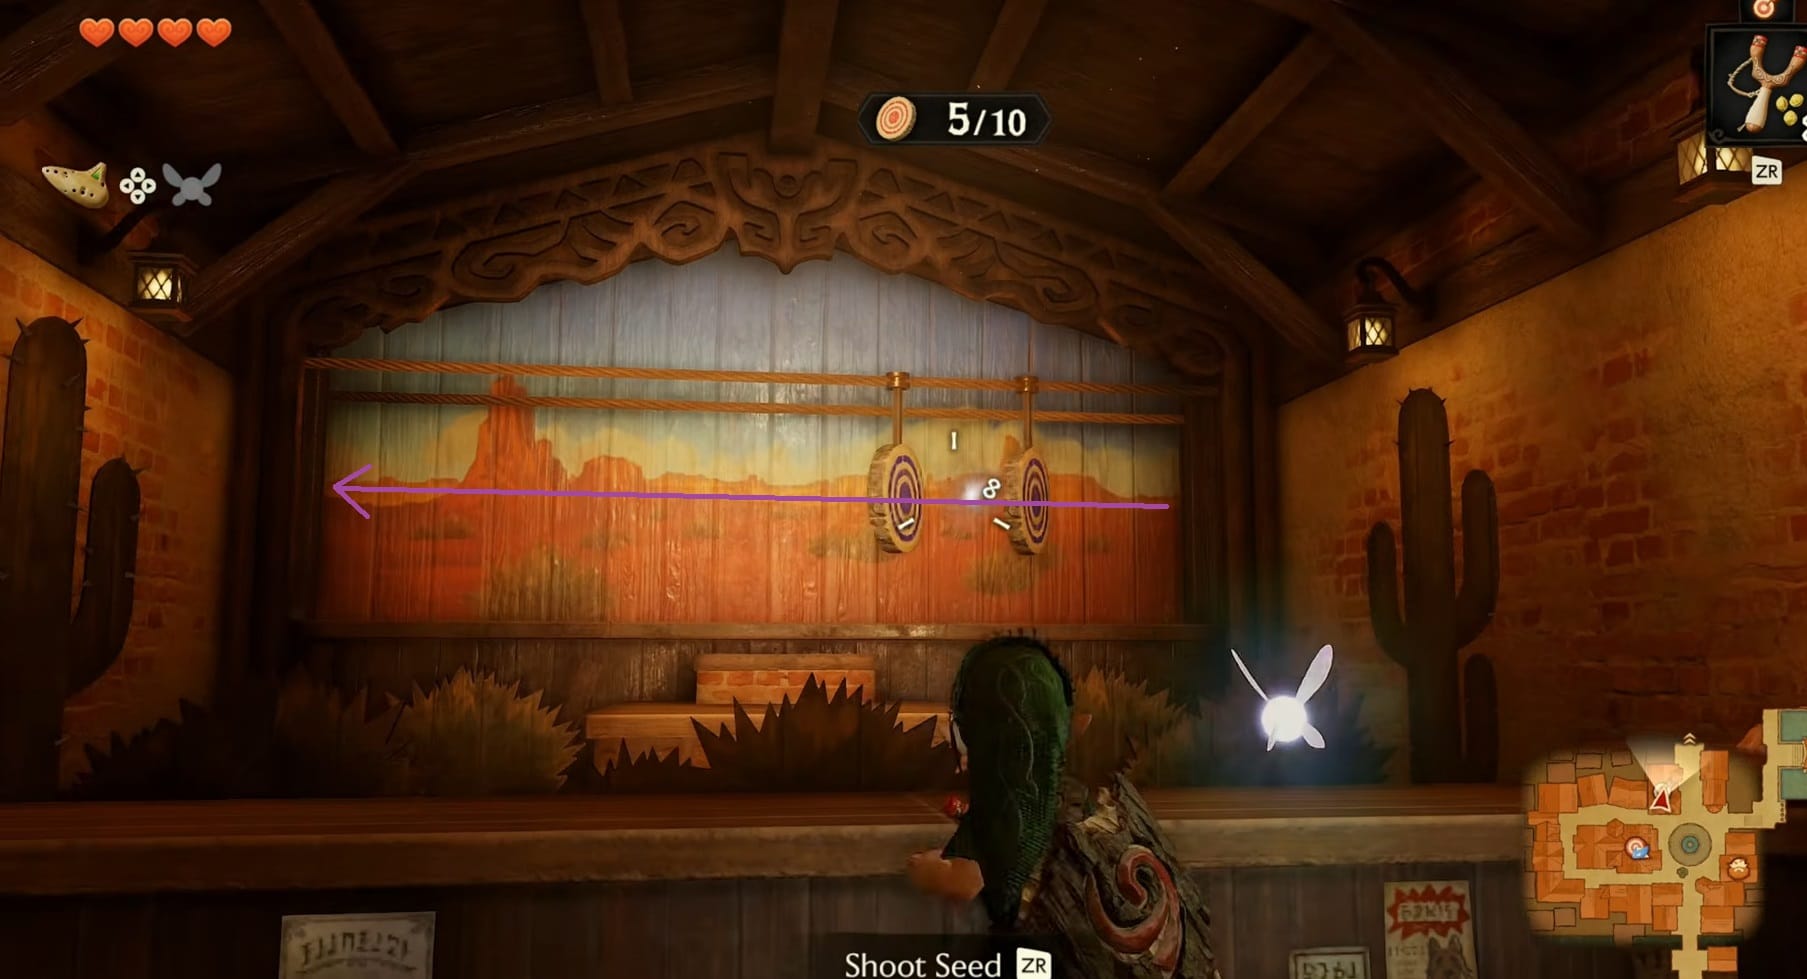
A pair of purple targets, close together. These will move from right to left on the rope line at the top of the gallery.
Target 9 + 10
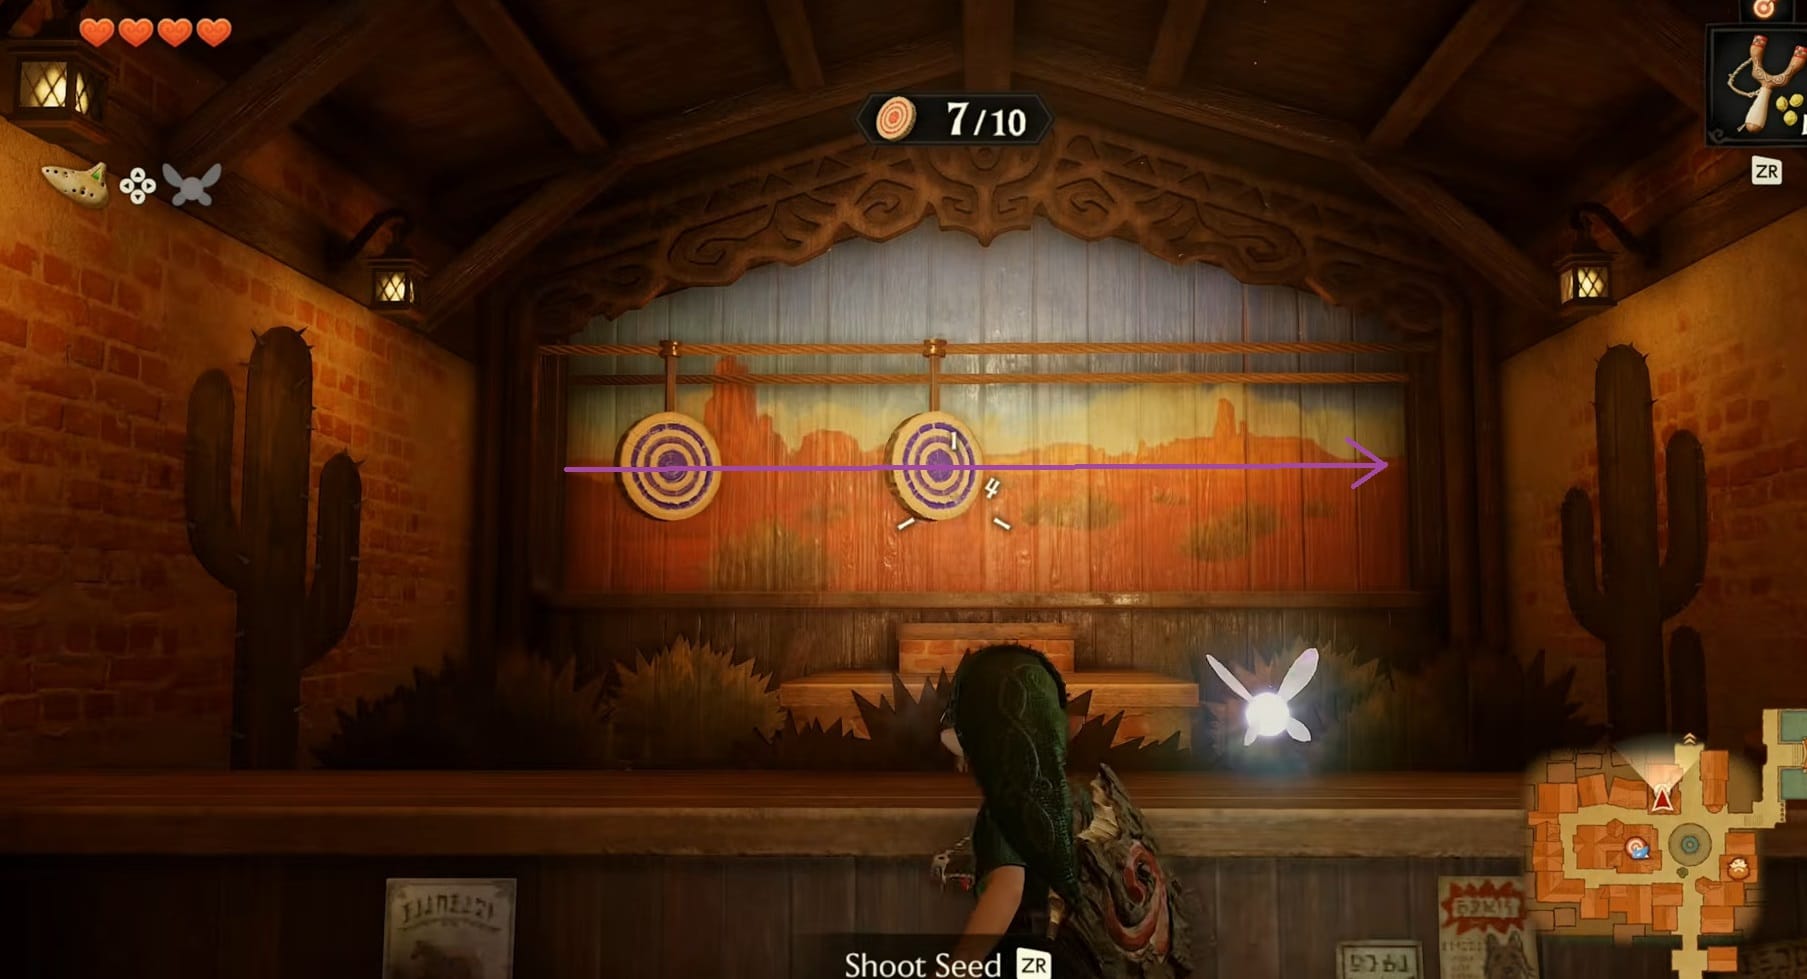
A pair of purple targets together, a modest distance apart. These will move from left to right on the rope line at the top of the gallery.
Bomb Bag Upgrade A
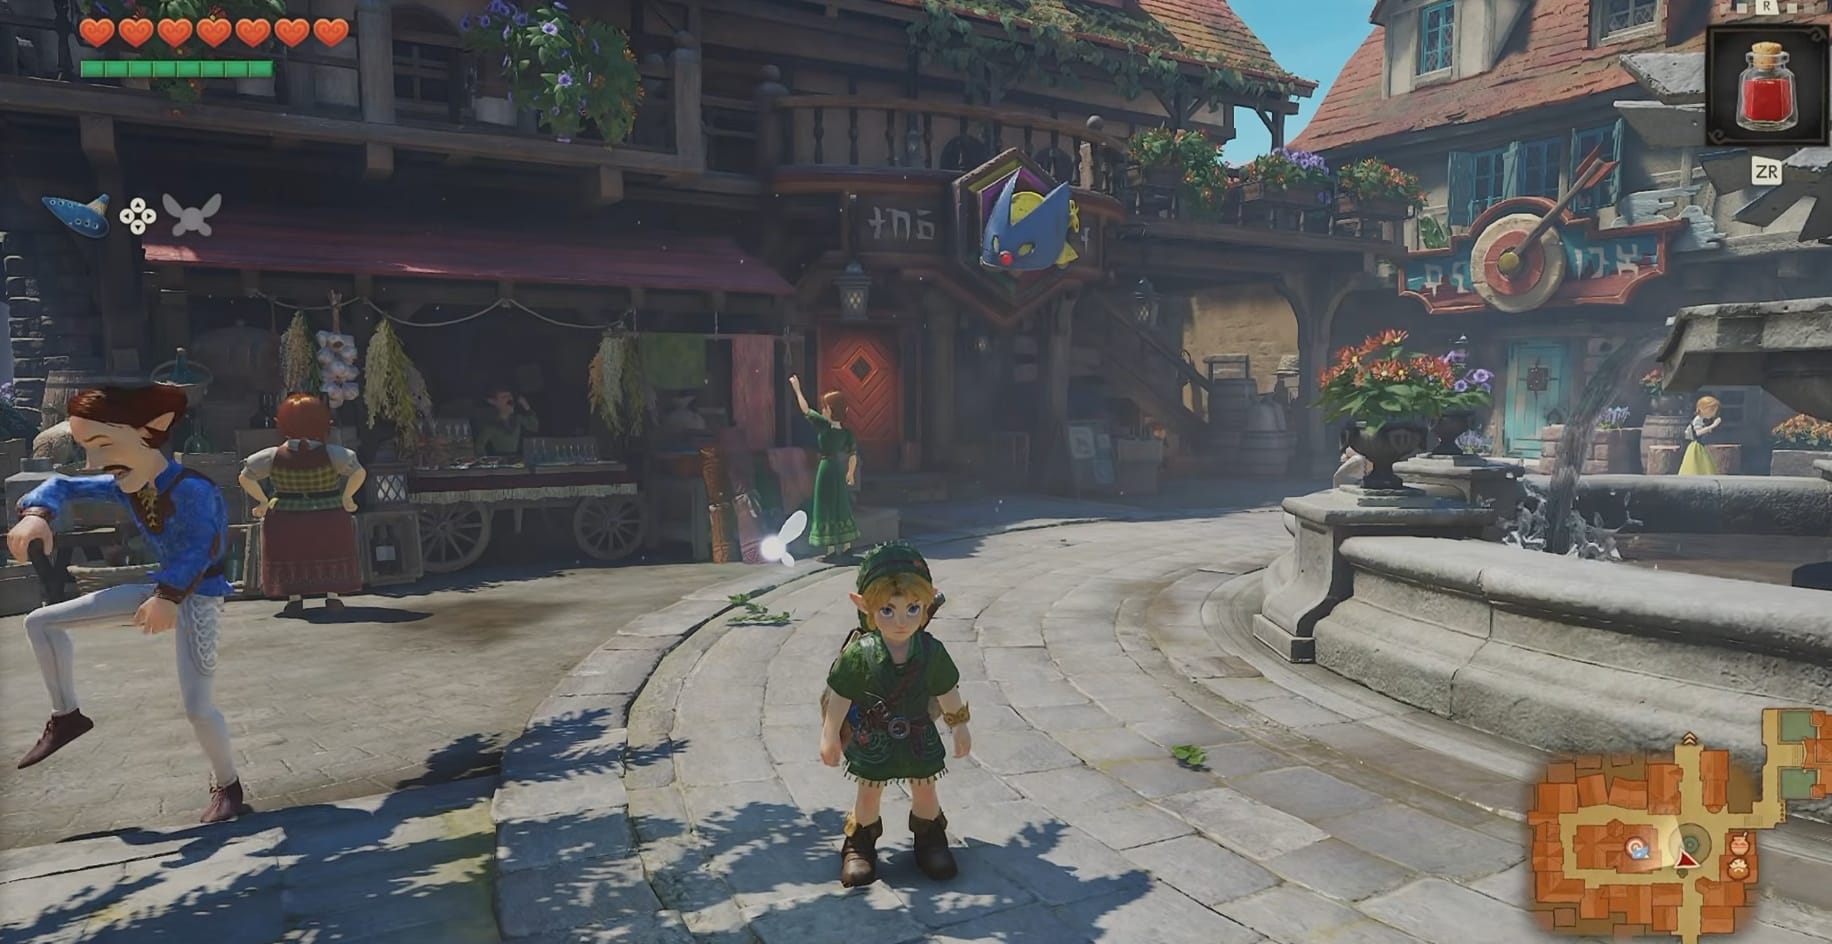
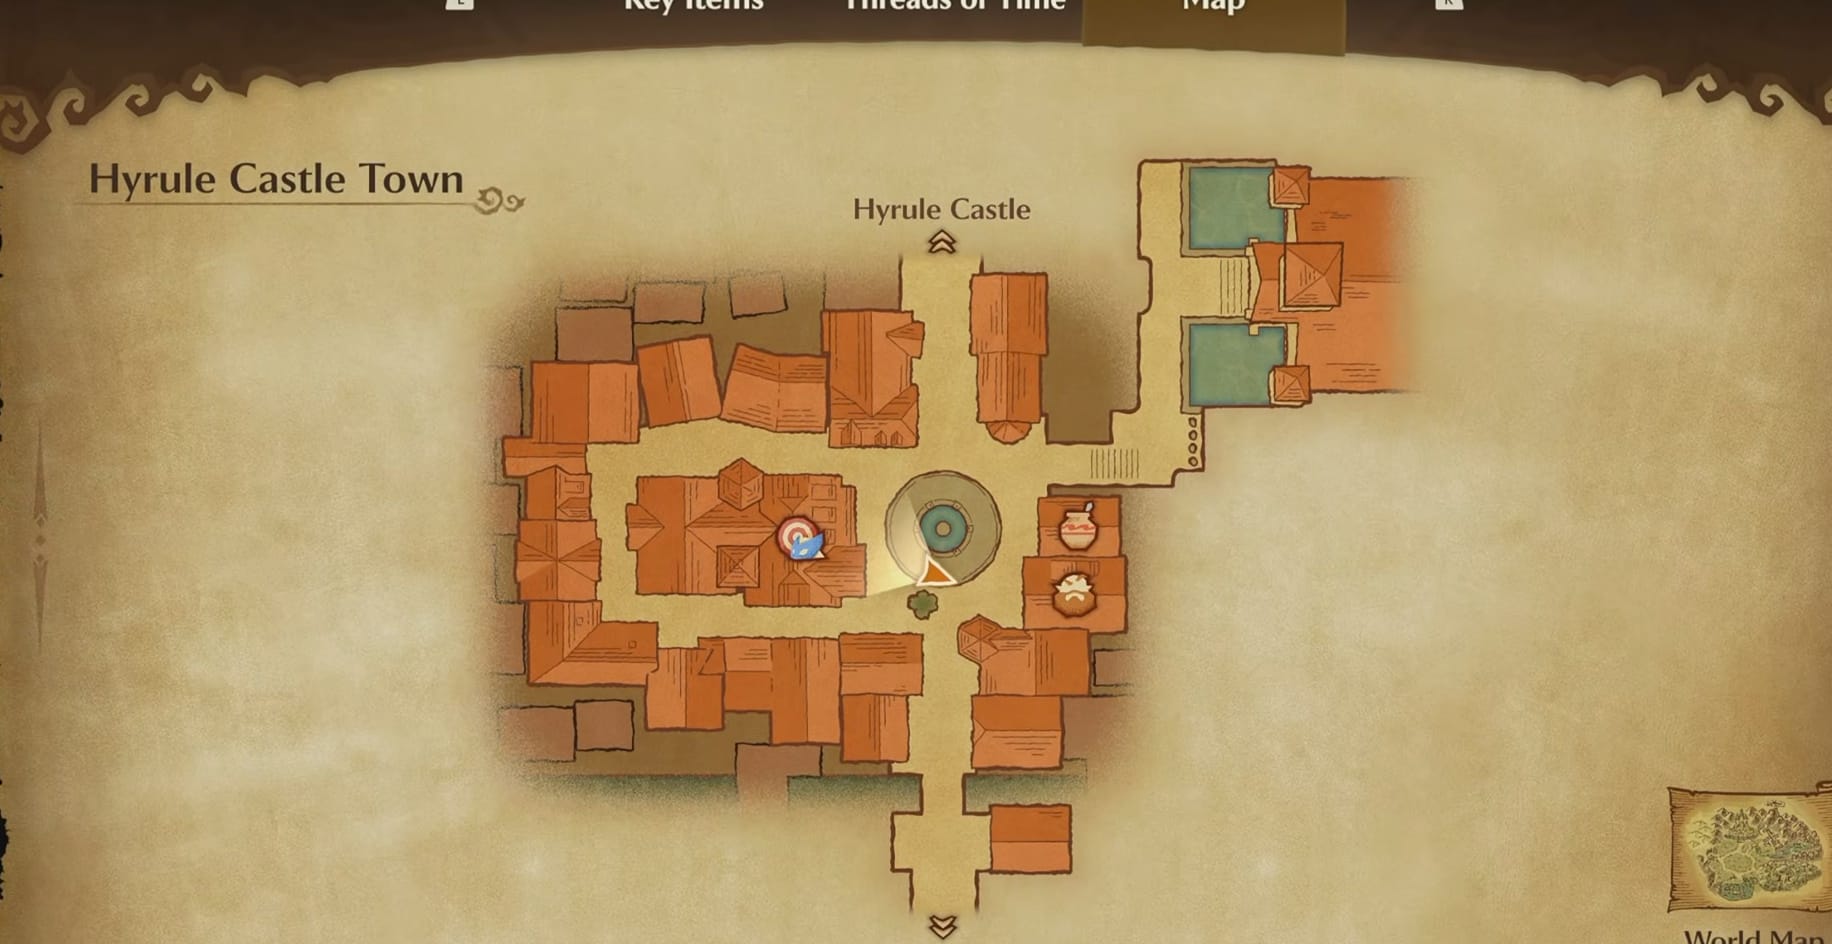
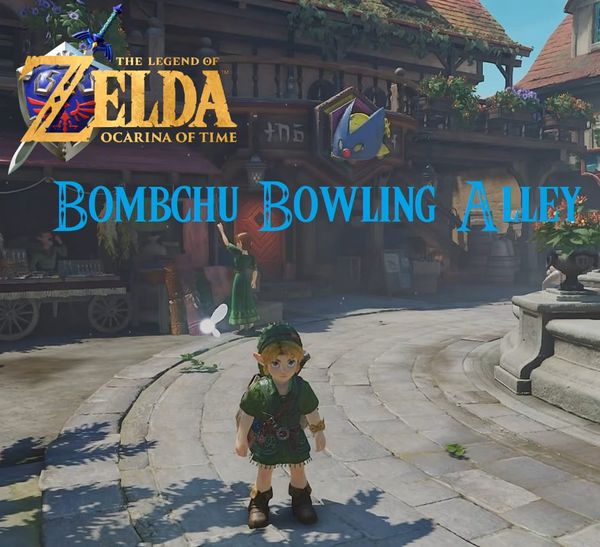
Link outside the Bombchu Bowling Alley
This upgrade can be obtained through the Bombchu Bowling Alley. This mini-game is found in Hyrule Castle Town, and only accessible after getting the Goron Ruby.
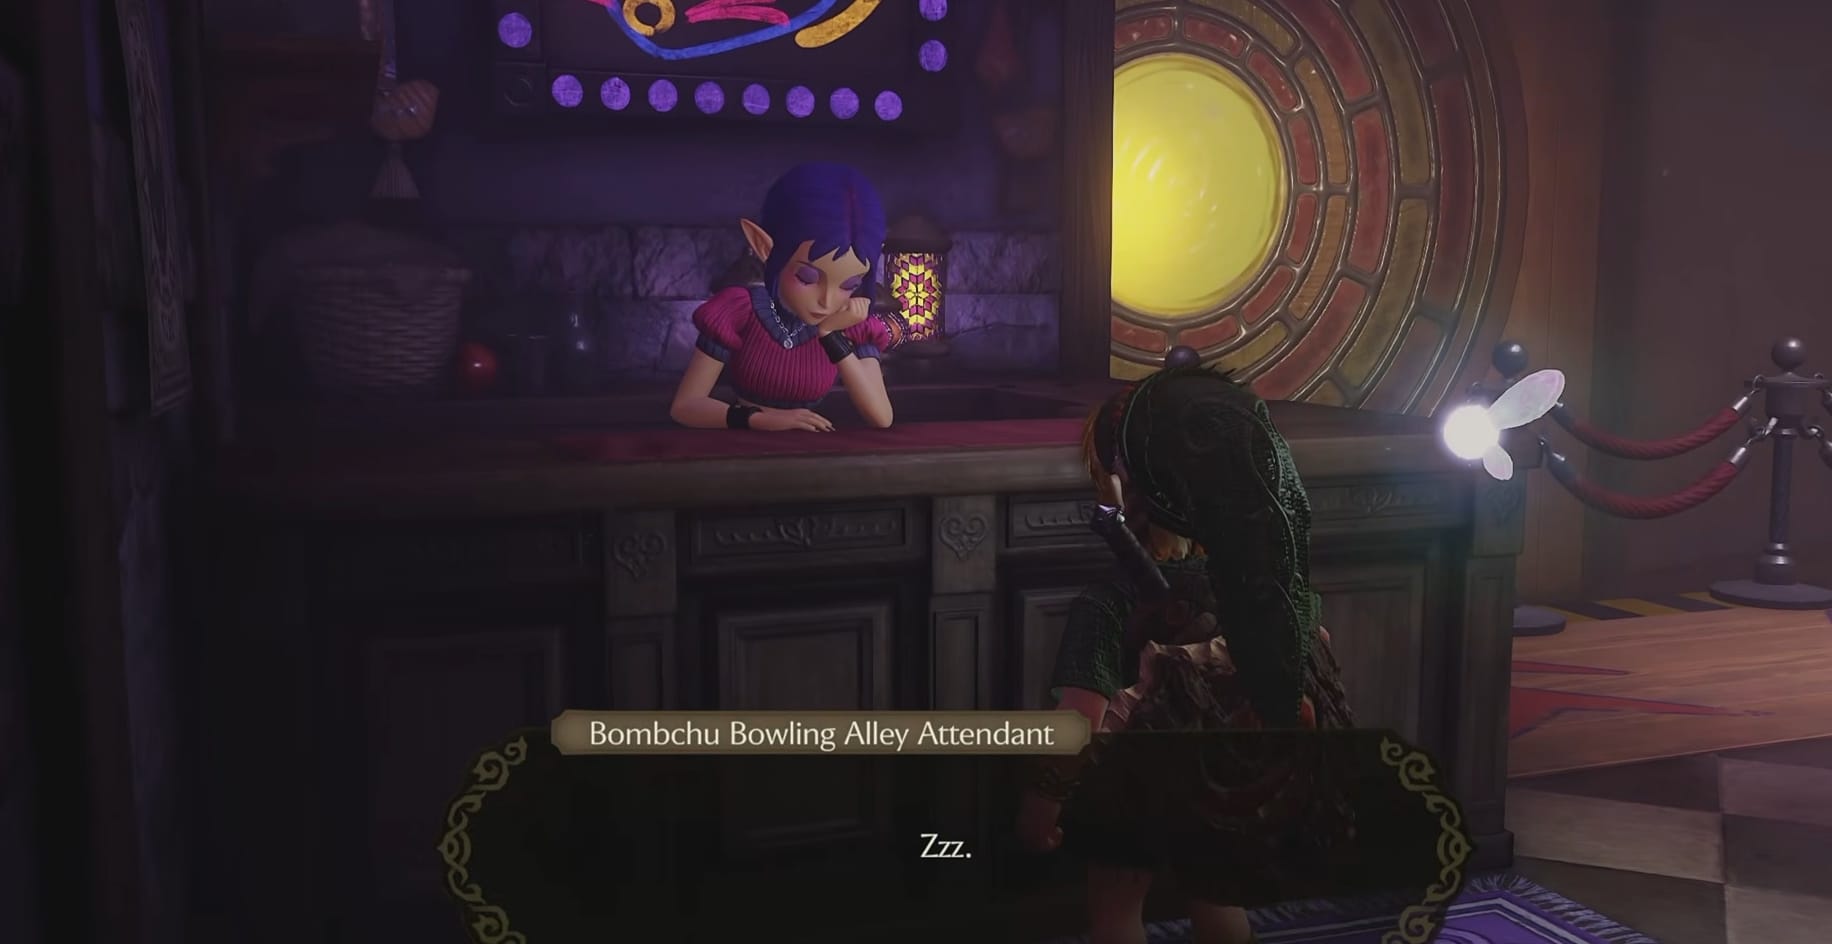
Go into the Gallery and talk with the Attendant. Pay the 10 Rupees to start the game. Link needs to complete 2 Bombchu alleys to get the Bomb Bag Upgrade.
Bombchu Course 2
Target 1
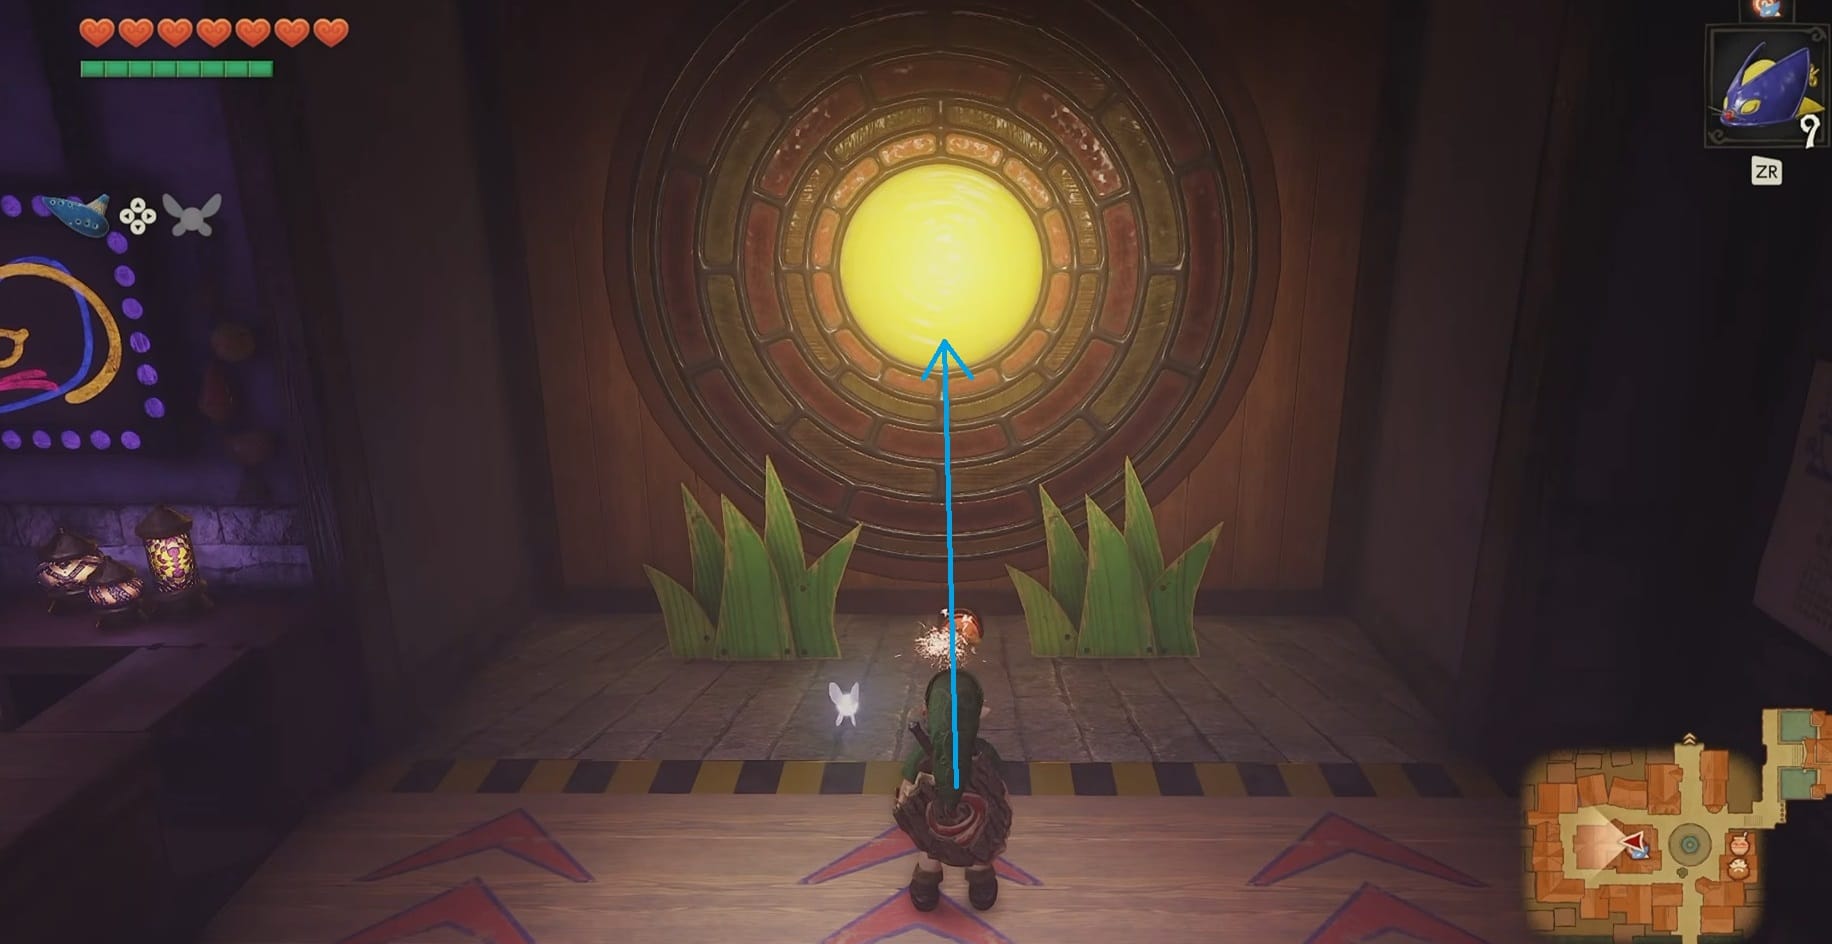
This target has 2 clumps of “grass” to the sides of the central target. Link needs to center himself in front of the central arrow. Carefully set down a Bombchu to roll forward to hit the target.
Target 2
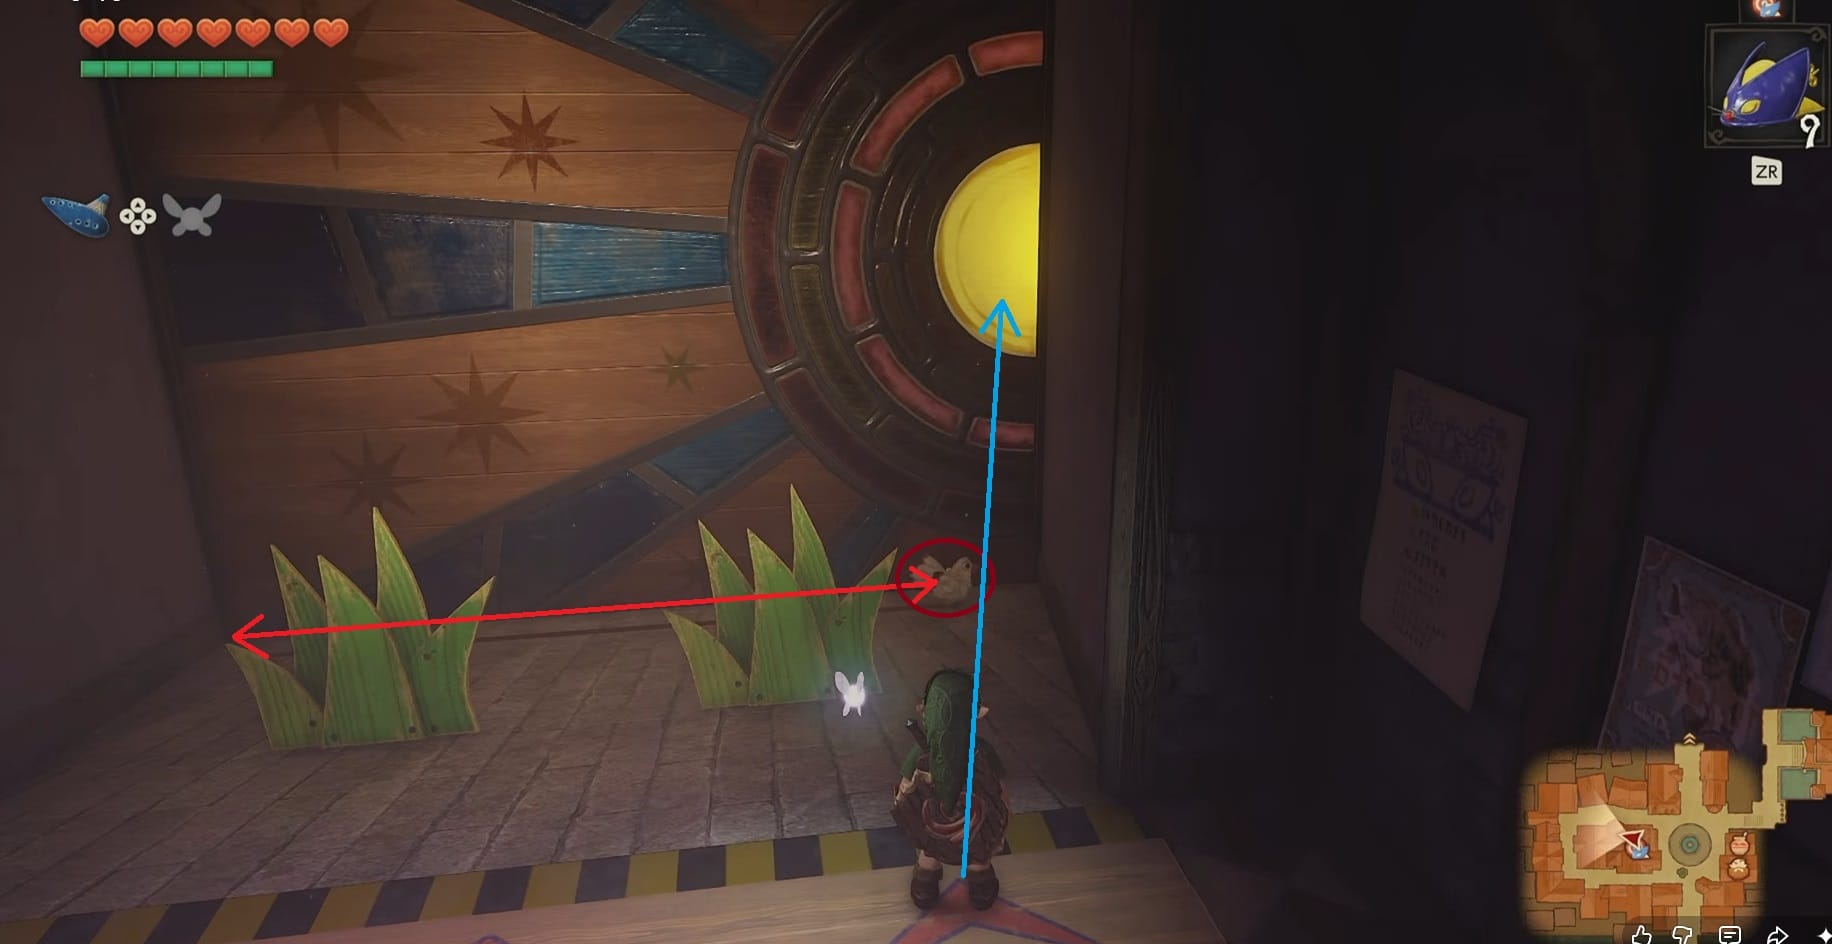
Once again, the target shifts over to the right-hand side, the middle of the wall. The clumps of grass are still there (if you haven’t destroyed them already). But there is also a Cucco standee moving on a track, going between the sides. You will want to align just to the right of the of the right-hand arrow. Link needs to stand between the arrow and the wall. Face straight on to the wall and loose a Bombchu after the Cucco moves away from the right-hand side.
Target 3
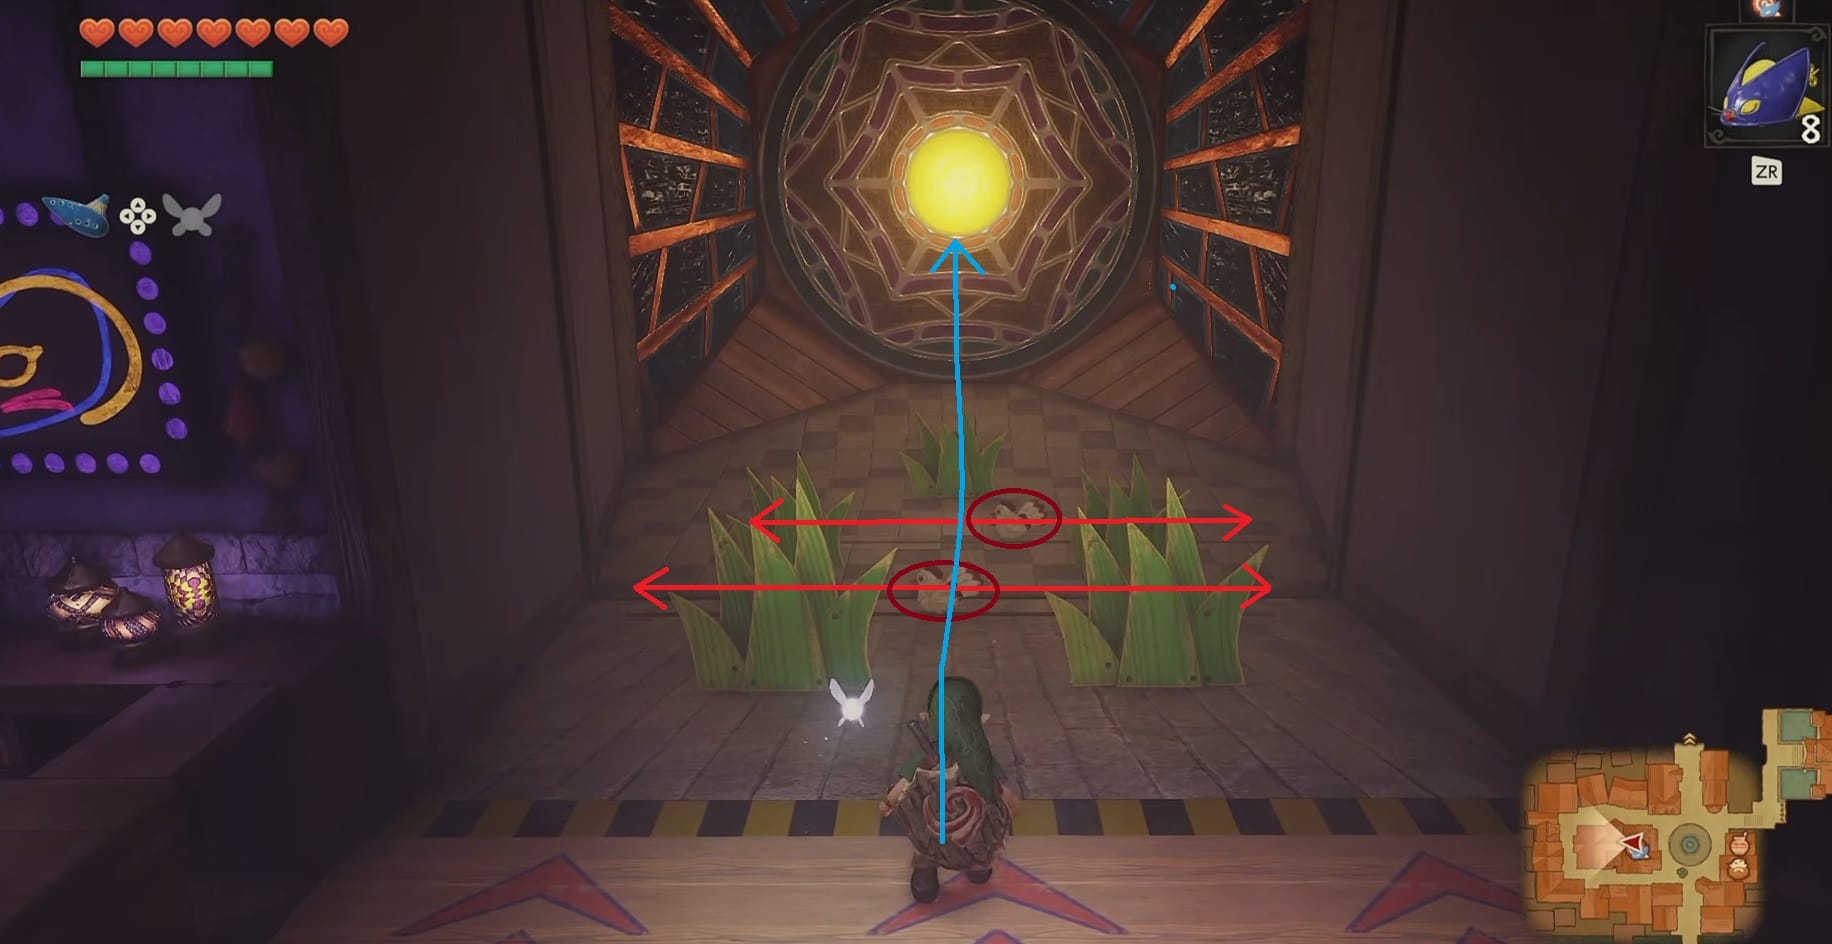
The final target sits back in the middle. There are 2 more clumps of grass just off center on the left and right-hand side. There is another Cucco standee moving side to side behind the second set of clumps of grass. Once again, there is a Clump of Grass in the back. Once again, it will take at least 2 Bombchus to blast the center Clump of Grass.
- It’s possible to send Bombchus along the wall to hit the target, it’s very tricky to aim though.
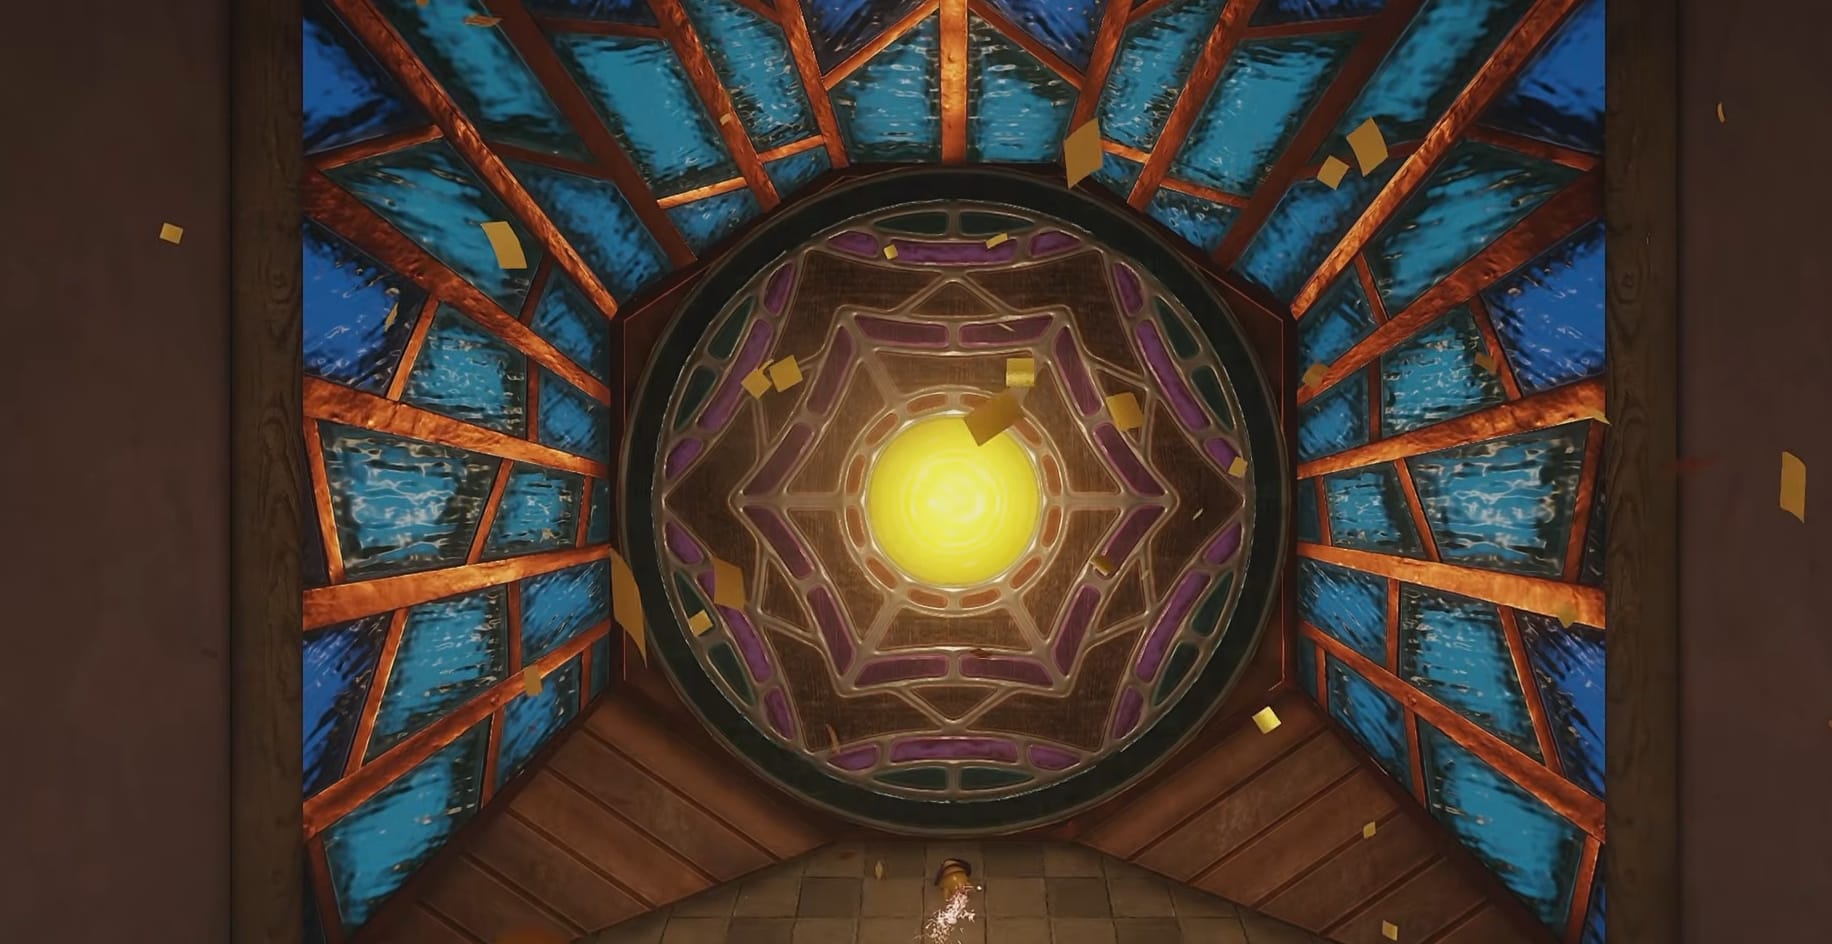
Reward
The Attendant will reward Link will a Bomb Bag Upgrade
Bomb Bag Upgrade B
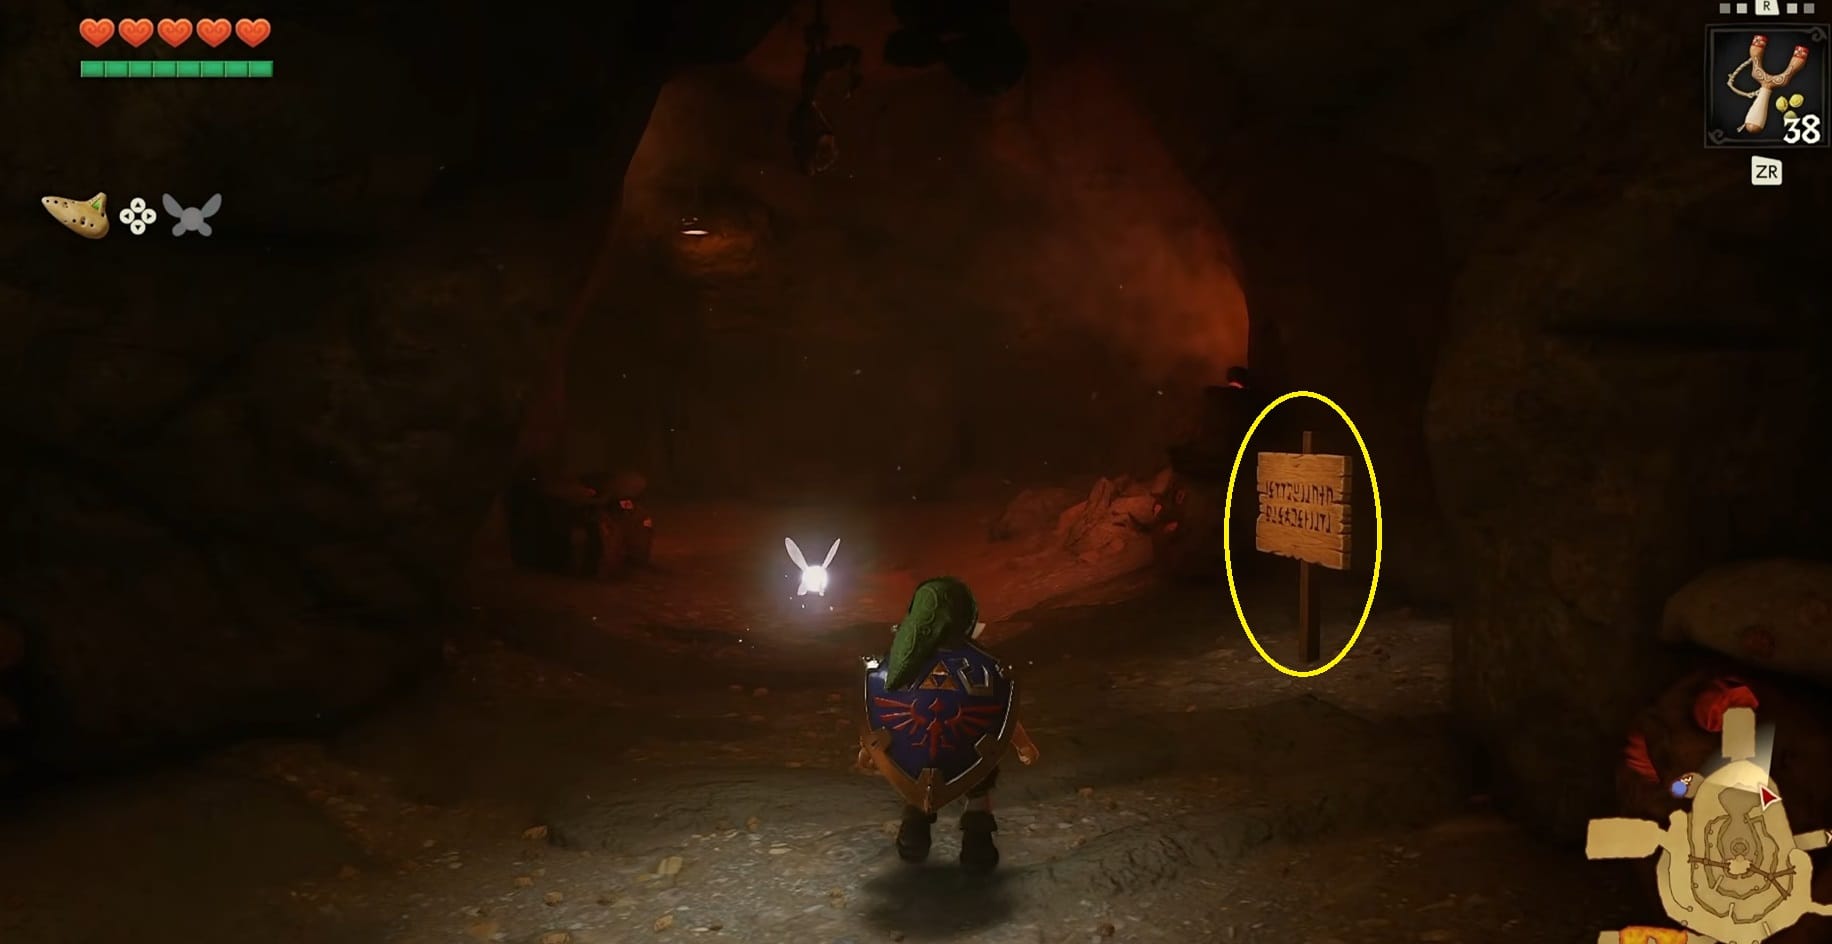
Travel to Goron City. Make your way to the middle level. You will see a Goron rolling a long circle on this middle level. Link needs to use a Bomb to blast this Goron and knock him out of his roll in “The Perfect Spot.” This is at the Northern tunnel, sitting in the Northeastern corner of this level of Goron City.
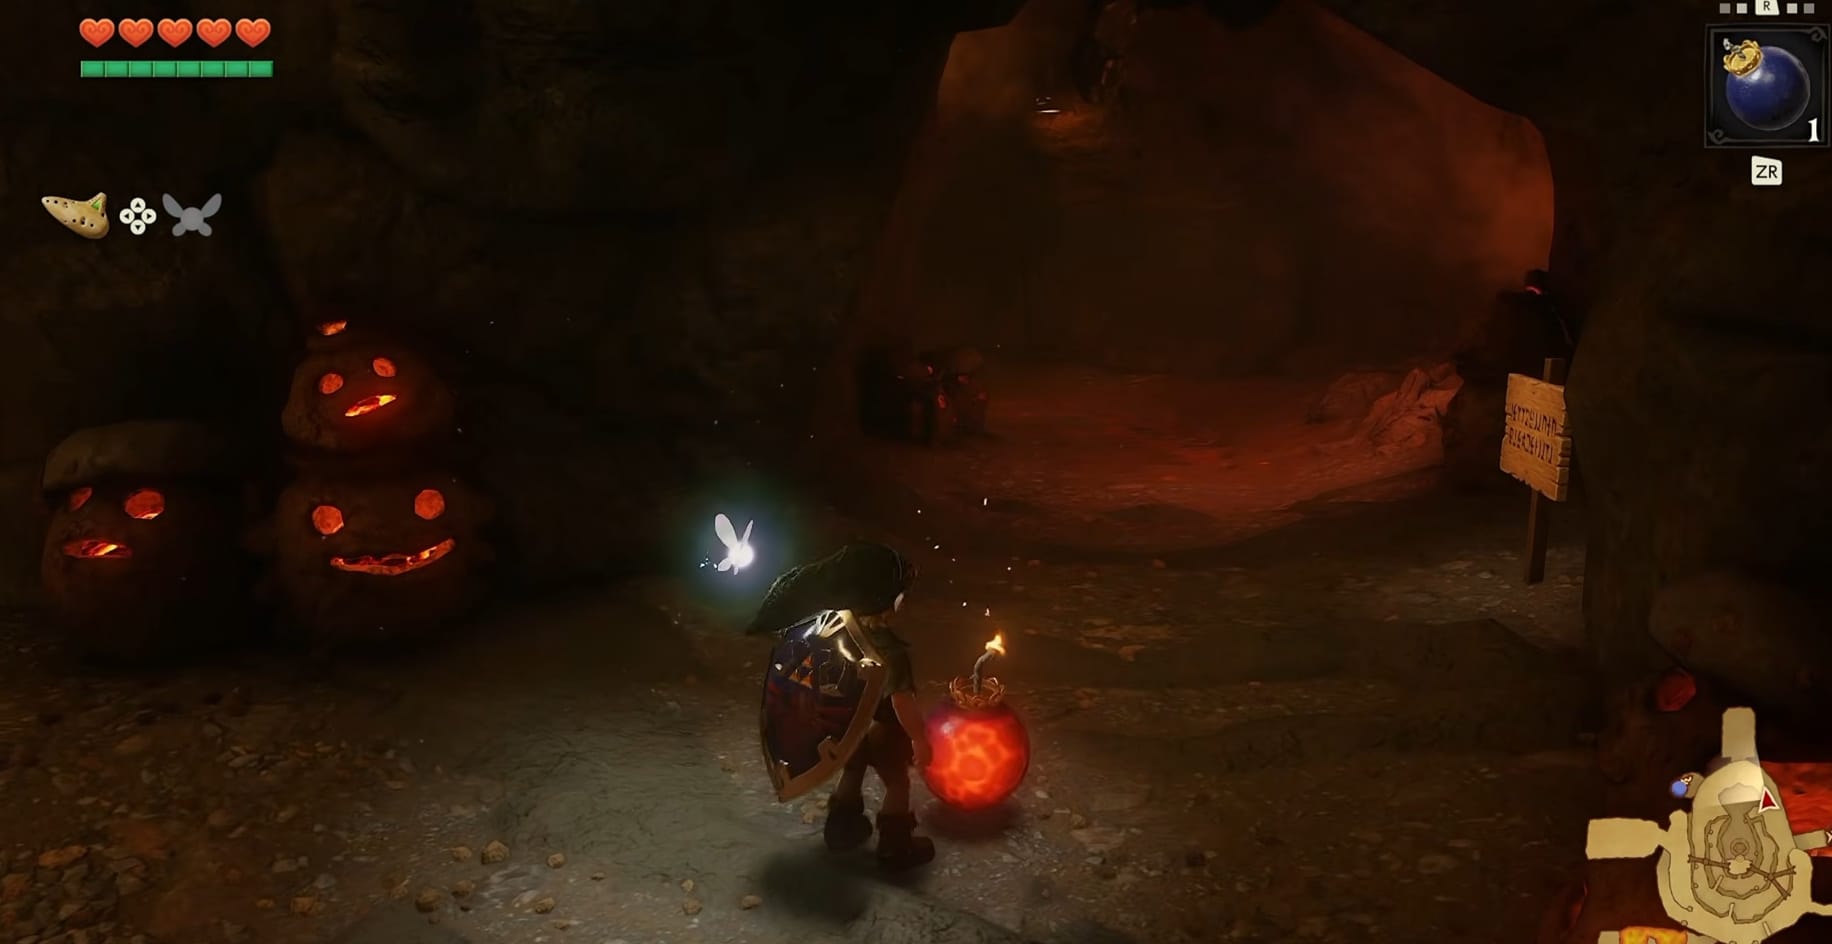
On the middle level, find the archway with the sign sitting on the Eastern side. Read the sign, which remarks on it being the spot to stop. Young Link will want a few bombs for this, just in case, but its easier than it was on the N64.
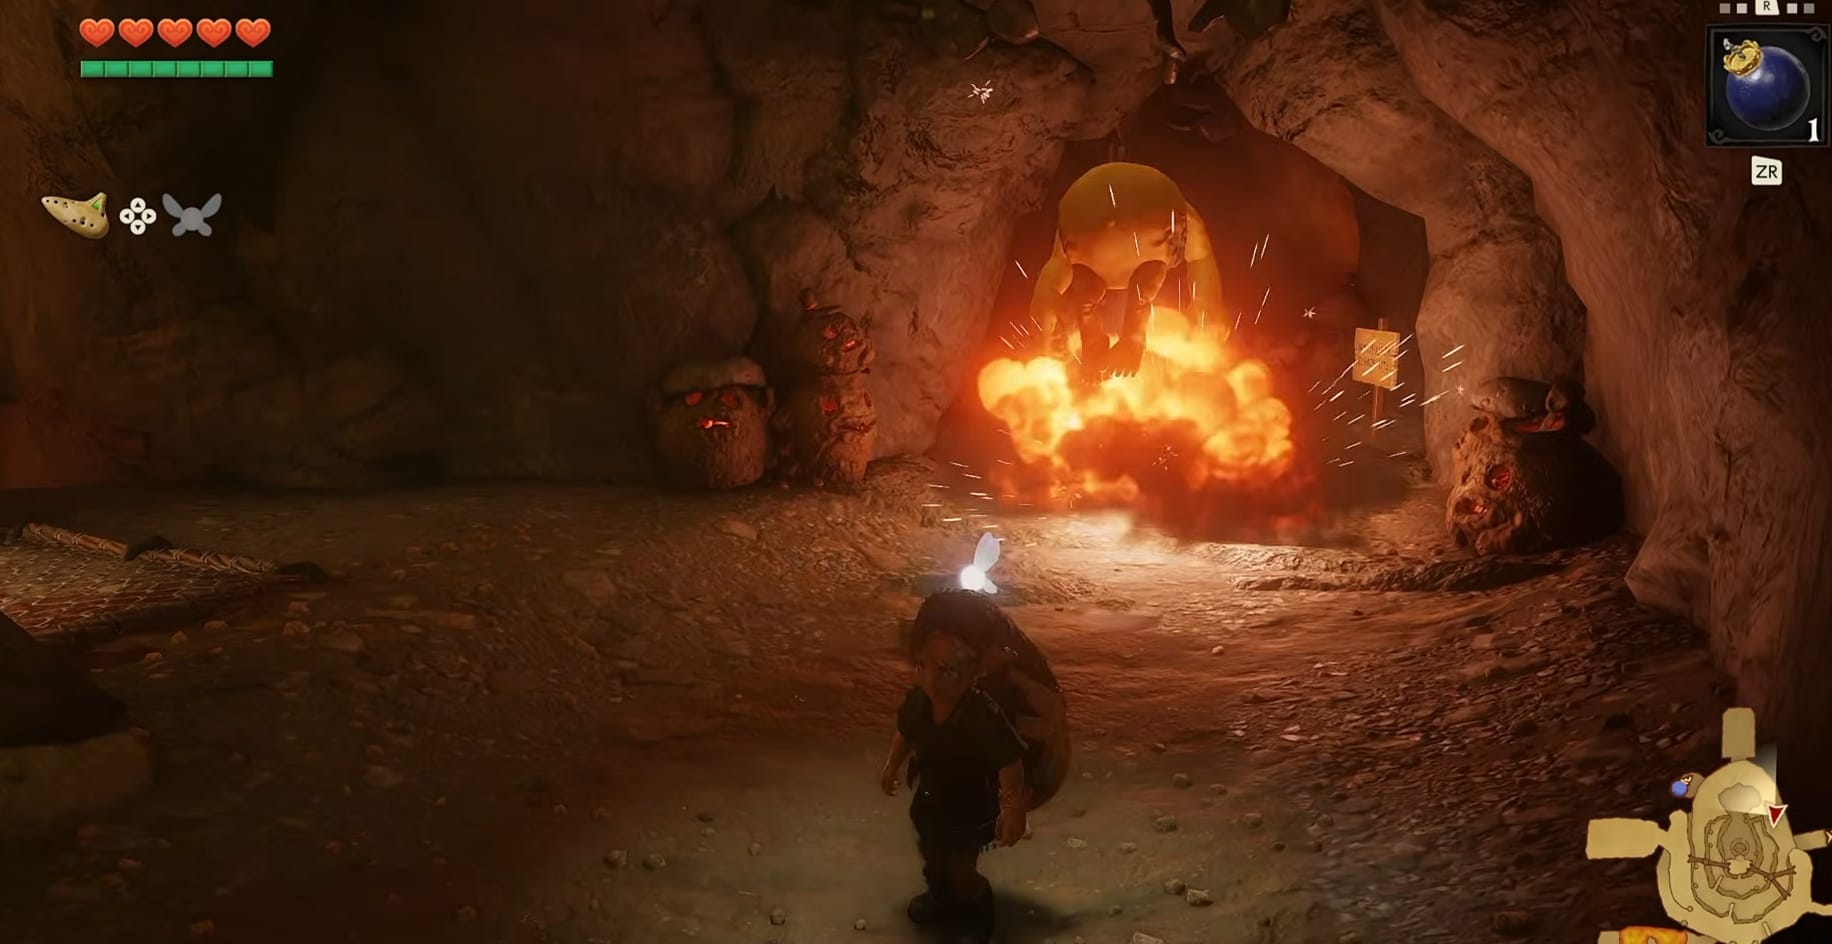
Young Link needs to set the bomb in the middle of the walkway. He needs to this as the Goron is either heading into the tunnel or in the tunnel. When the Goron makes contact with the Bomb, it will explode.
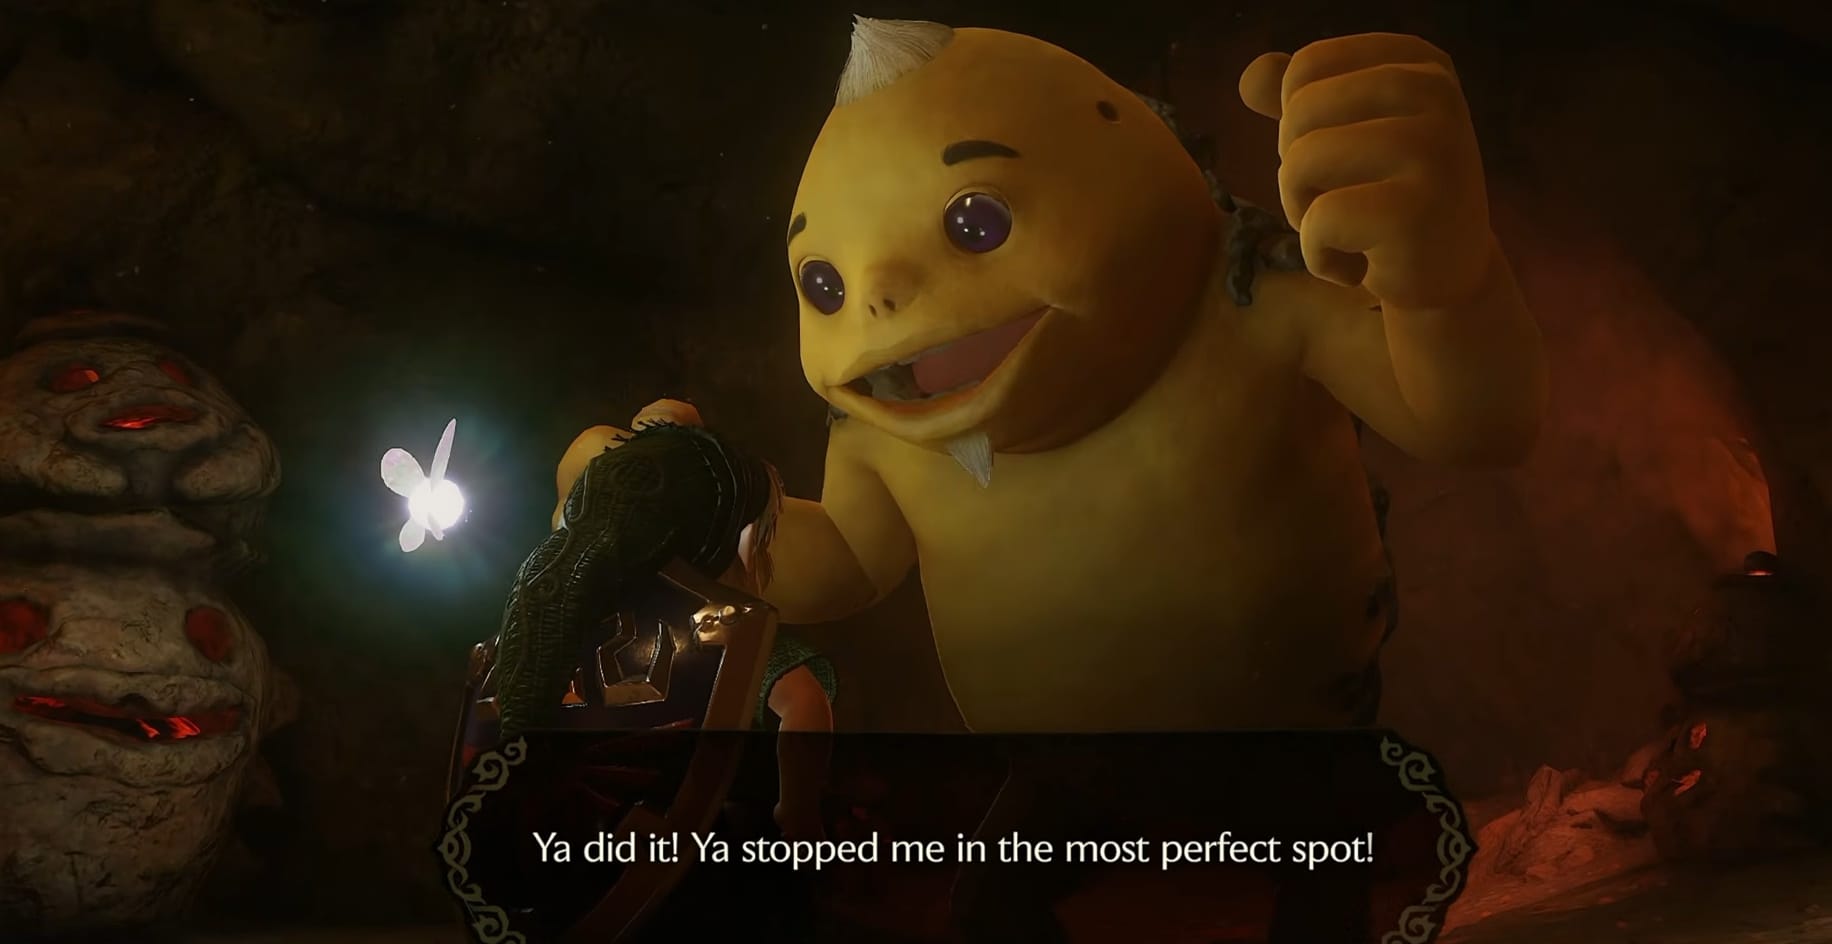
The Goron will be dazed for a short while after the blast. Just approach and talk with them. He’ll give you a Bomb Bag Upgrade!
Quiver Upgrade A
This first Quiver upgrade is easily obtained. You need to complete the Shooting Gallery in Kakariko Village as Adult Link. Link needs to complete a perfect game of the Basic Course of the Shooting Gallery.
- You need to have obtained the Fairy Bow from the Forest Temple to get this upgrade.
Target 1
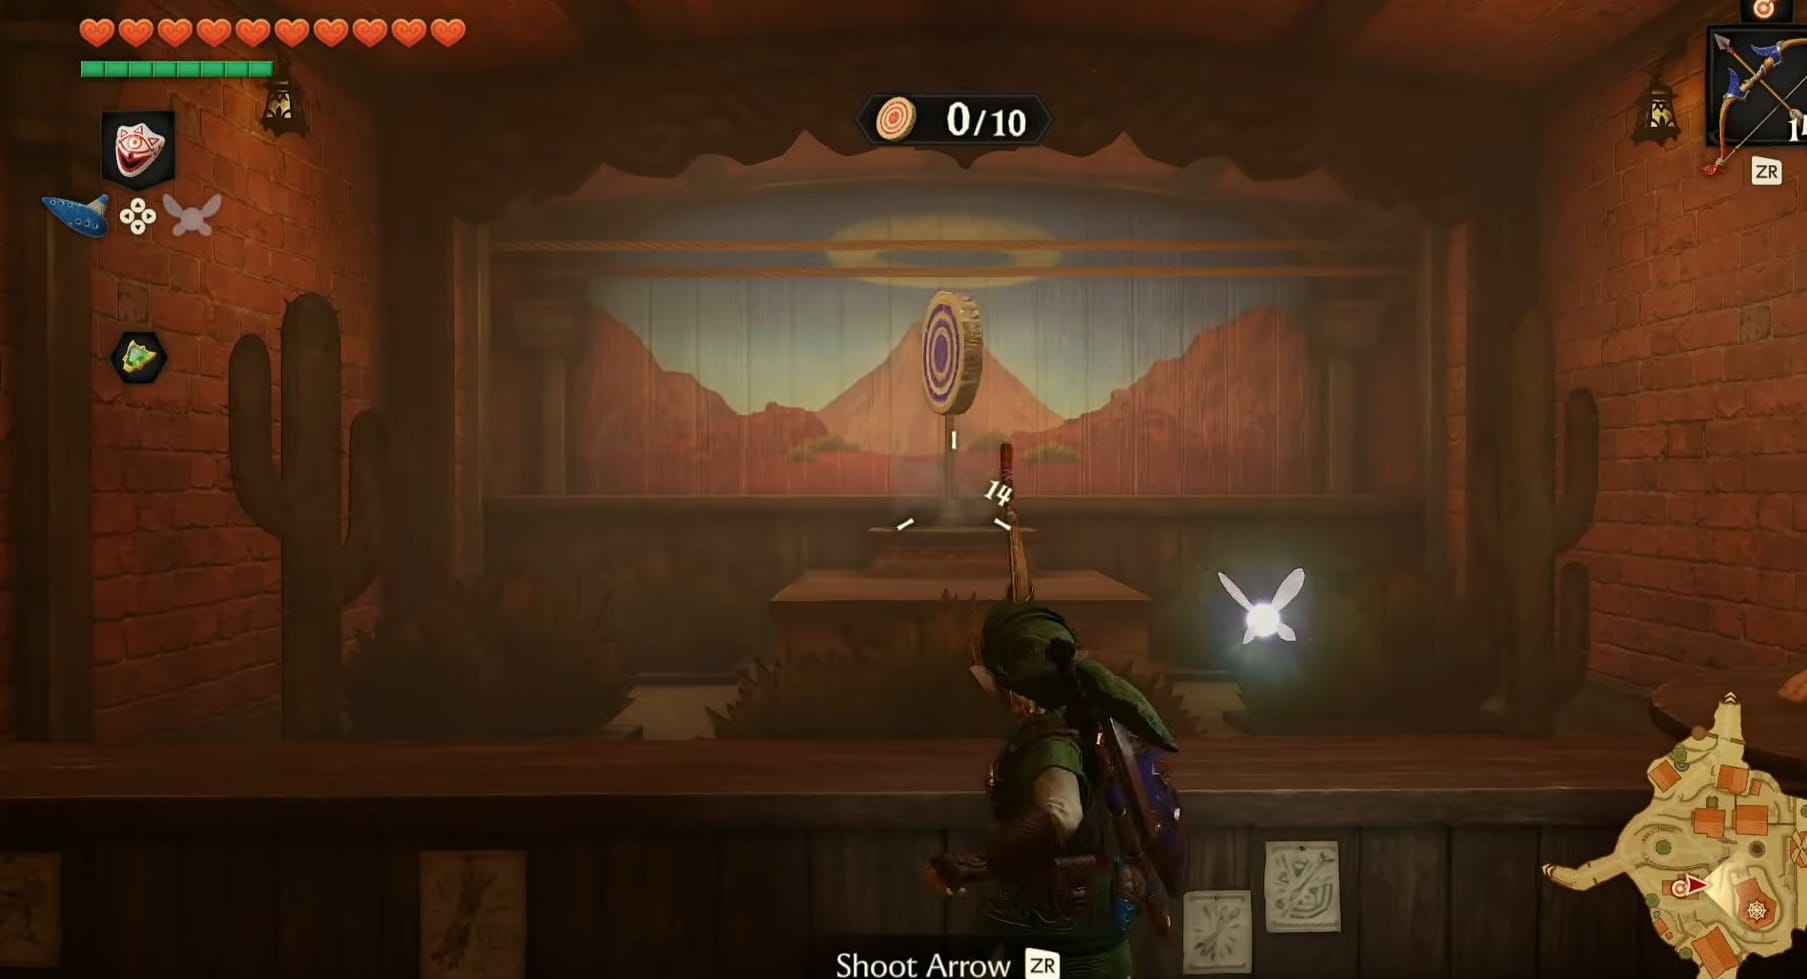
The first target is purple target that comes up on a pole out of the center chimney, stopping just below the lower rope in the back of the gallery.
Target 2 + 3
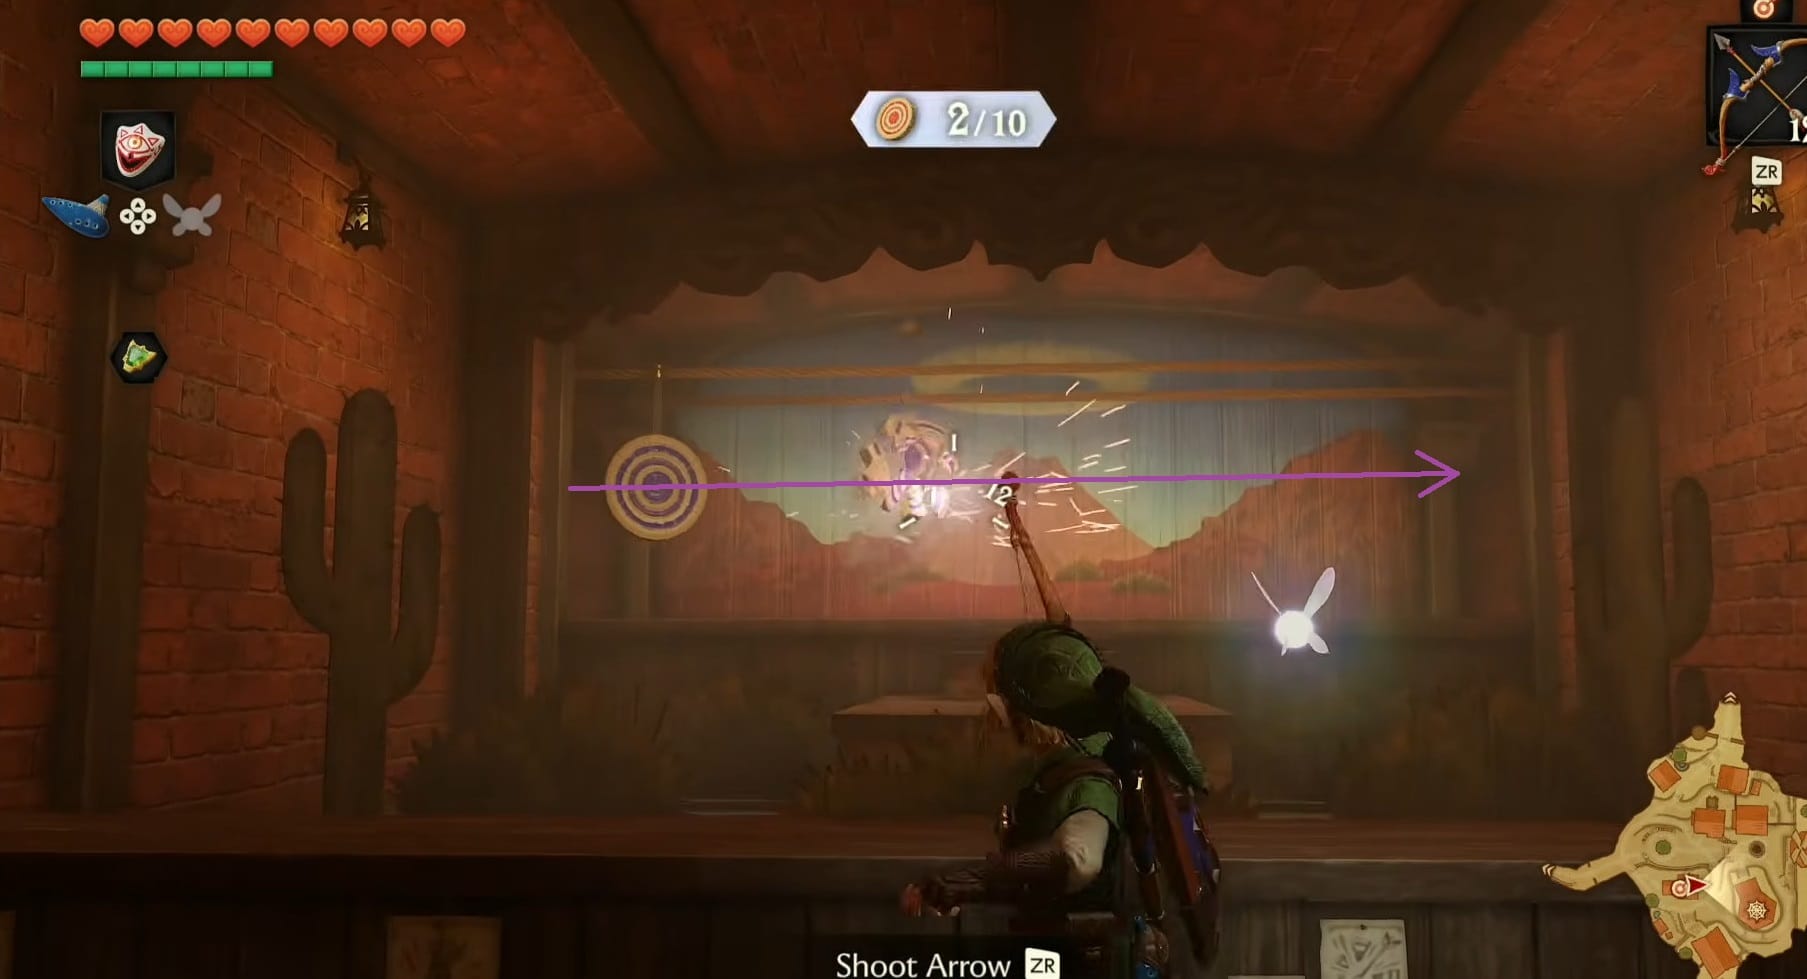
This is a pair of Purple targets that move along the lower rope in the back of the gallery. They slowly spin as they go from the left-hand side to the right-hand side.
Target 4 + 5
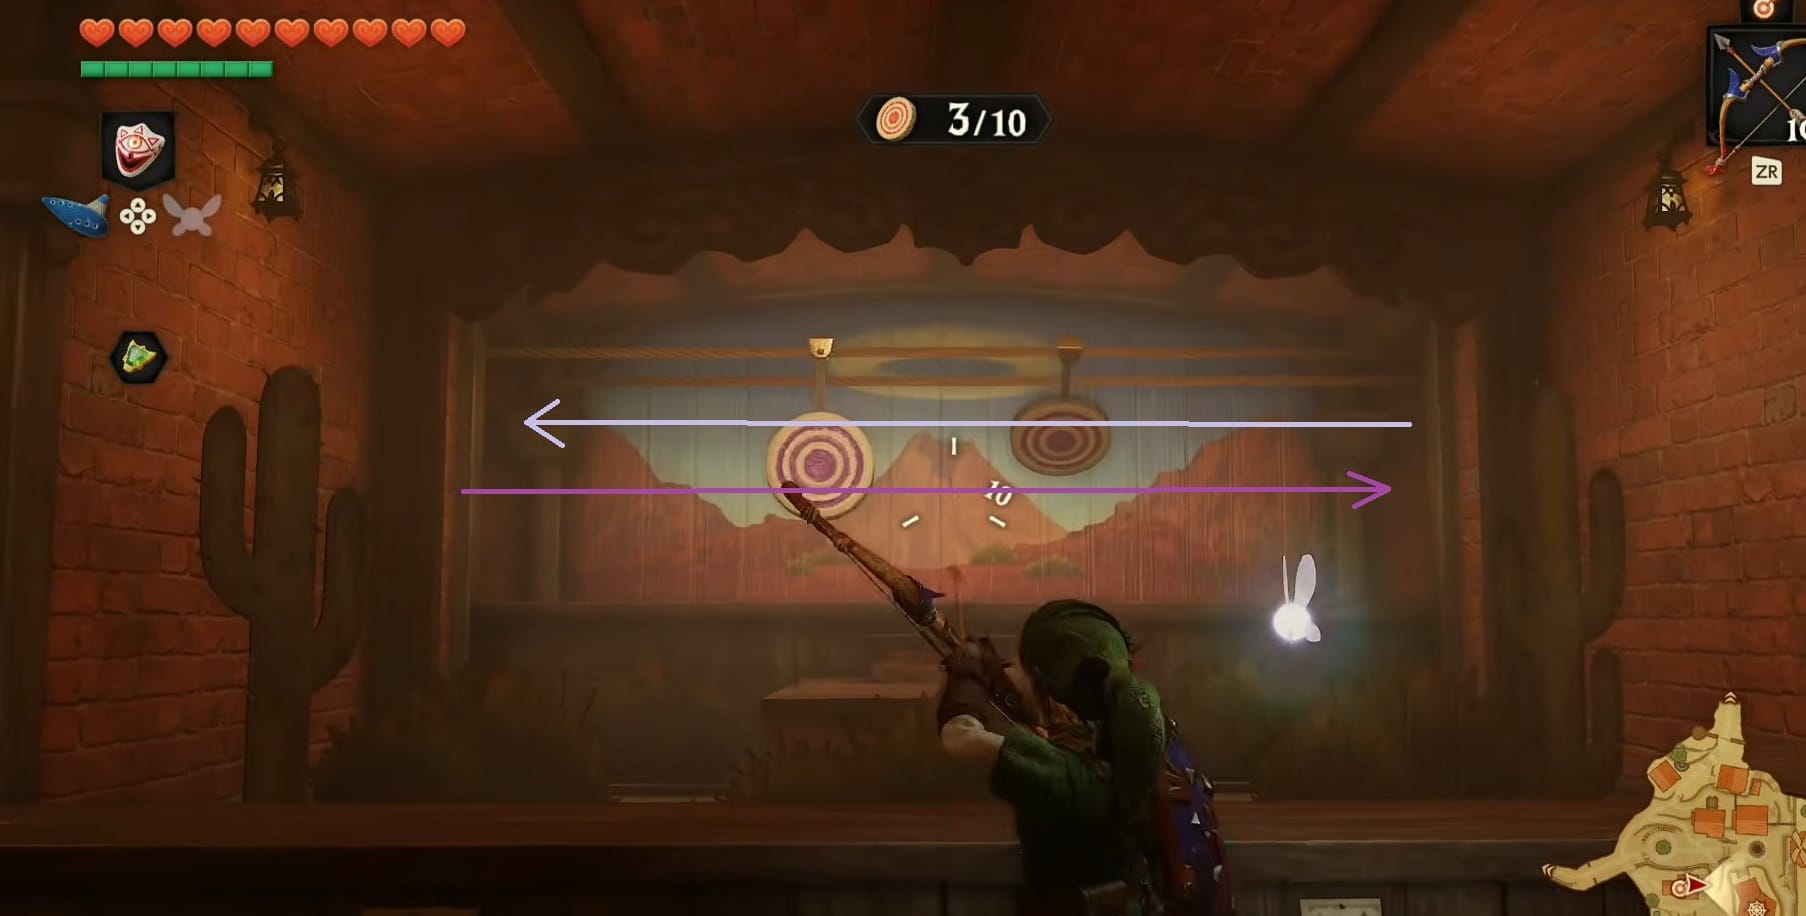
These Purple Targets come in from opposite sides, both swaying forward and back in opposition, one going from the left-hand side to the just left off center. The other target goes from the right-hand side to just off right of center. Expect if the target from the left is fully swung toward Link, the target from the right will be fully swung away from Link. They will both stop just off center, one to each side of the lower chimney.
Target 6
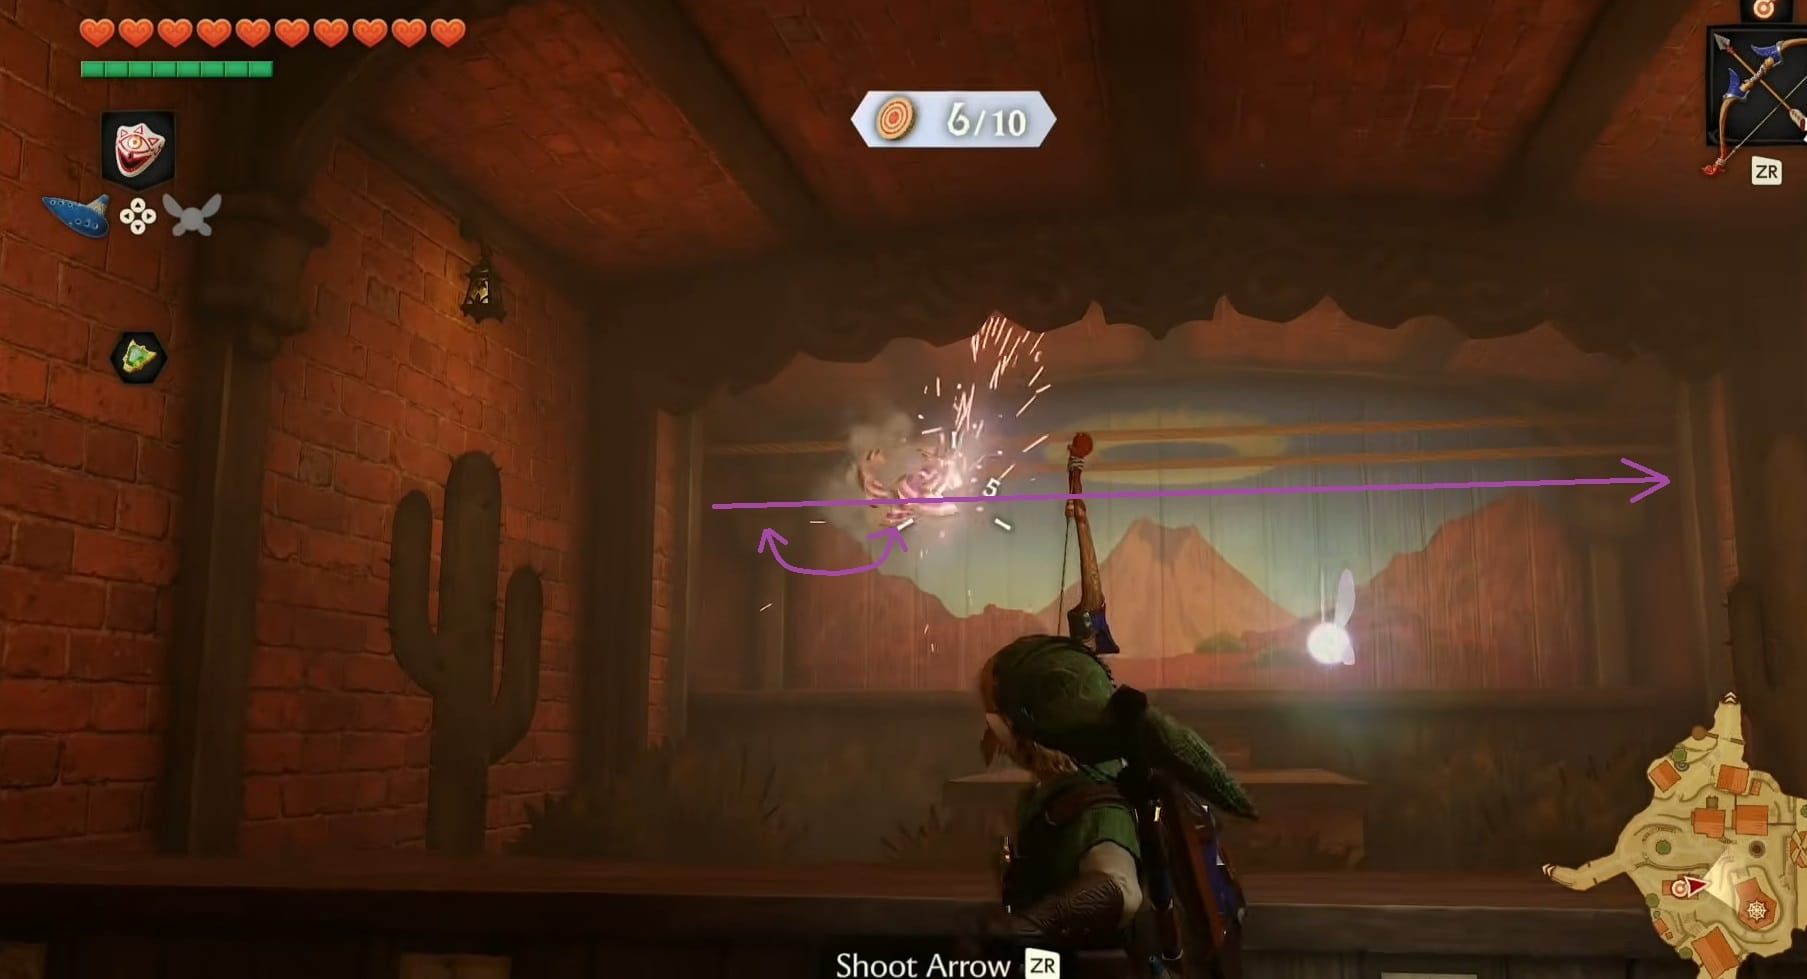
This Purple Target moves left to right. As it moves, it will swing in a pendulum motion.
Target 7
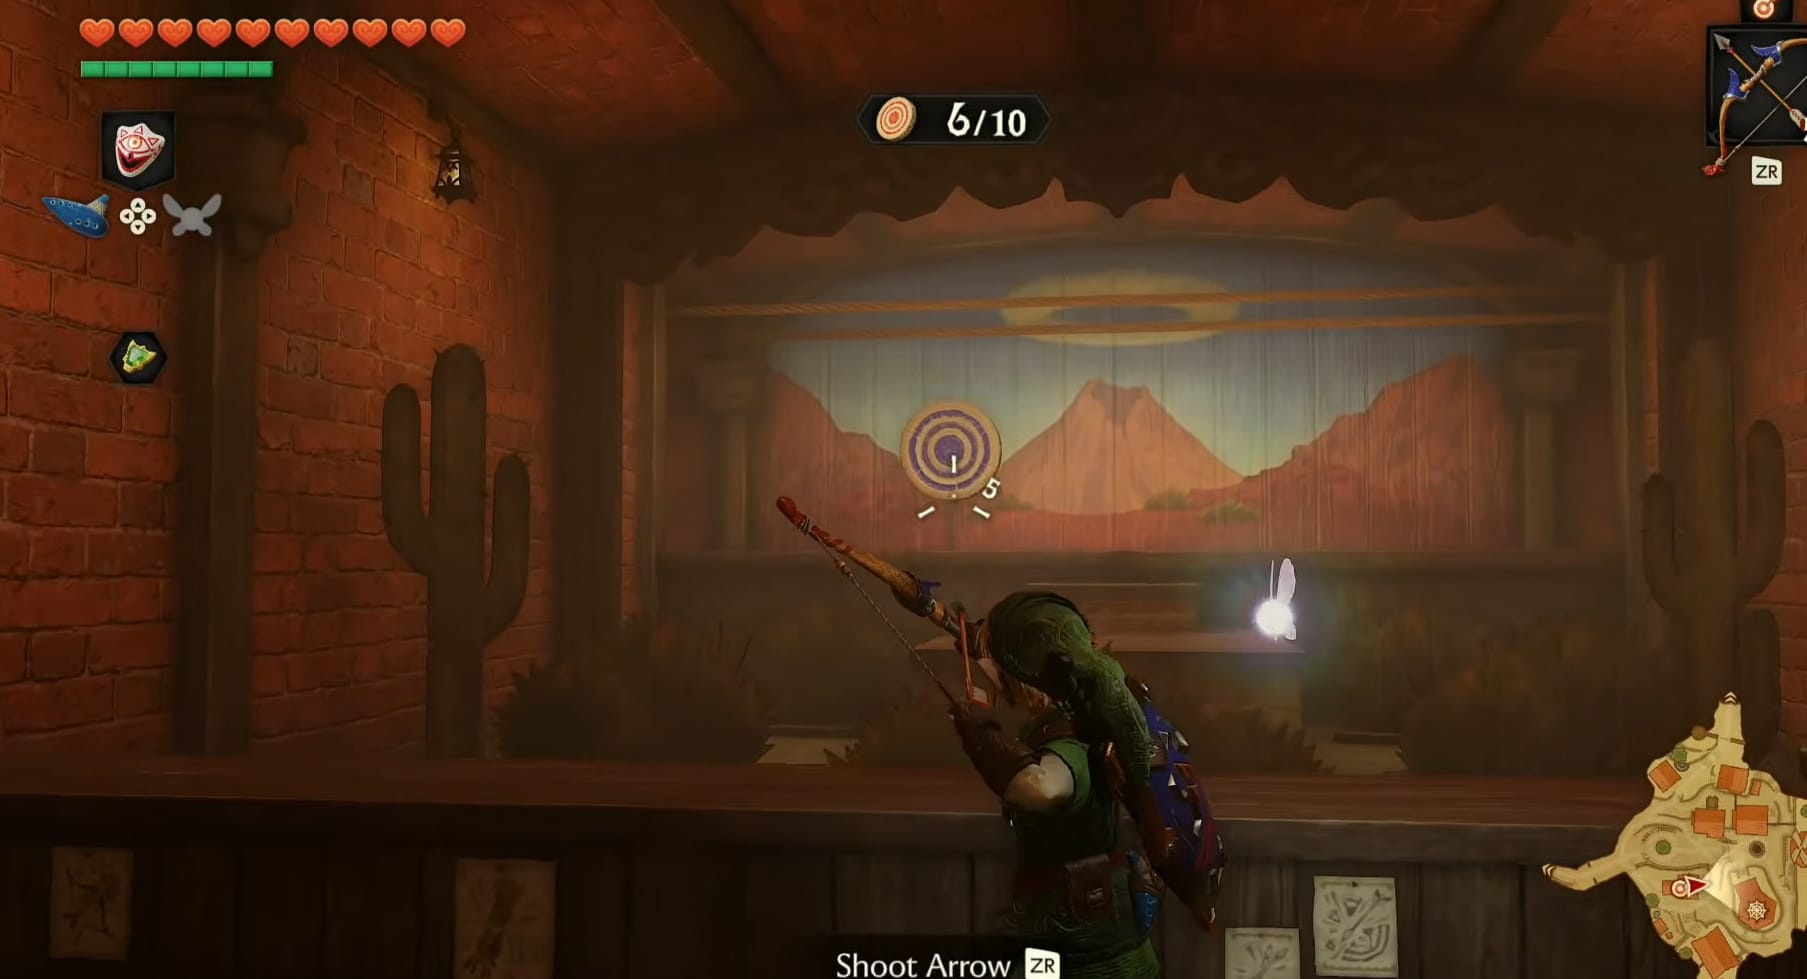
This Purple Target will rise up on its pole just left of center.
Target 8
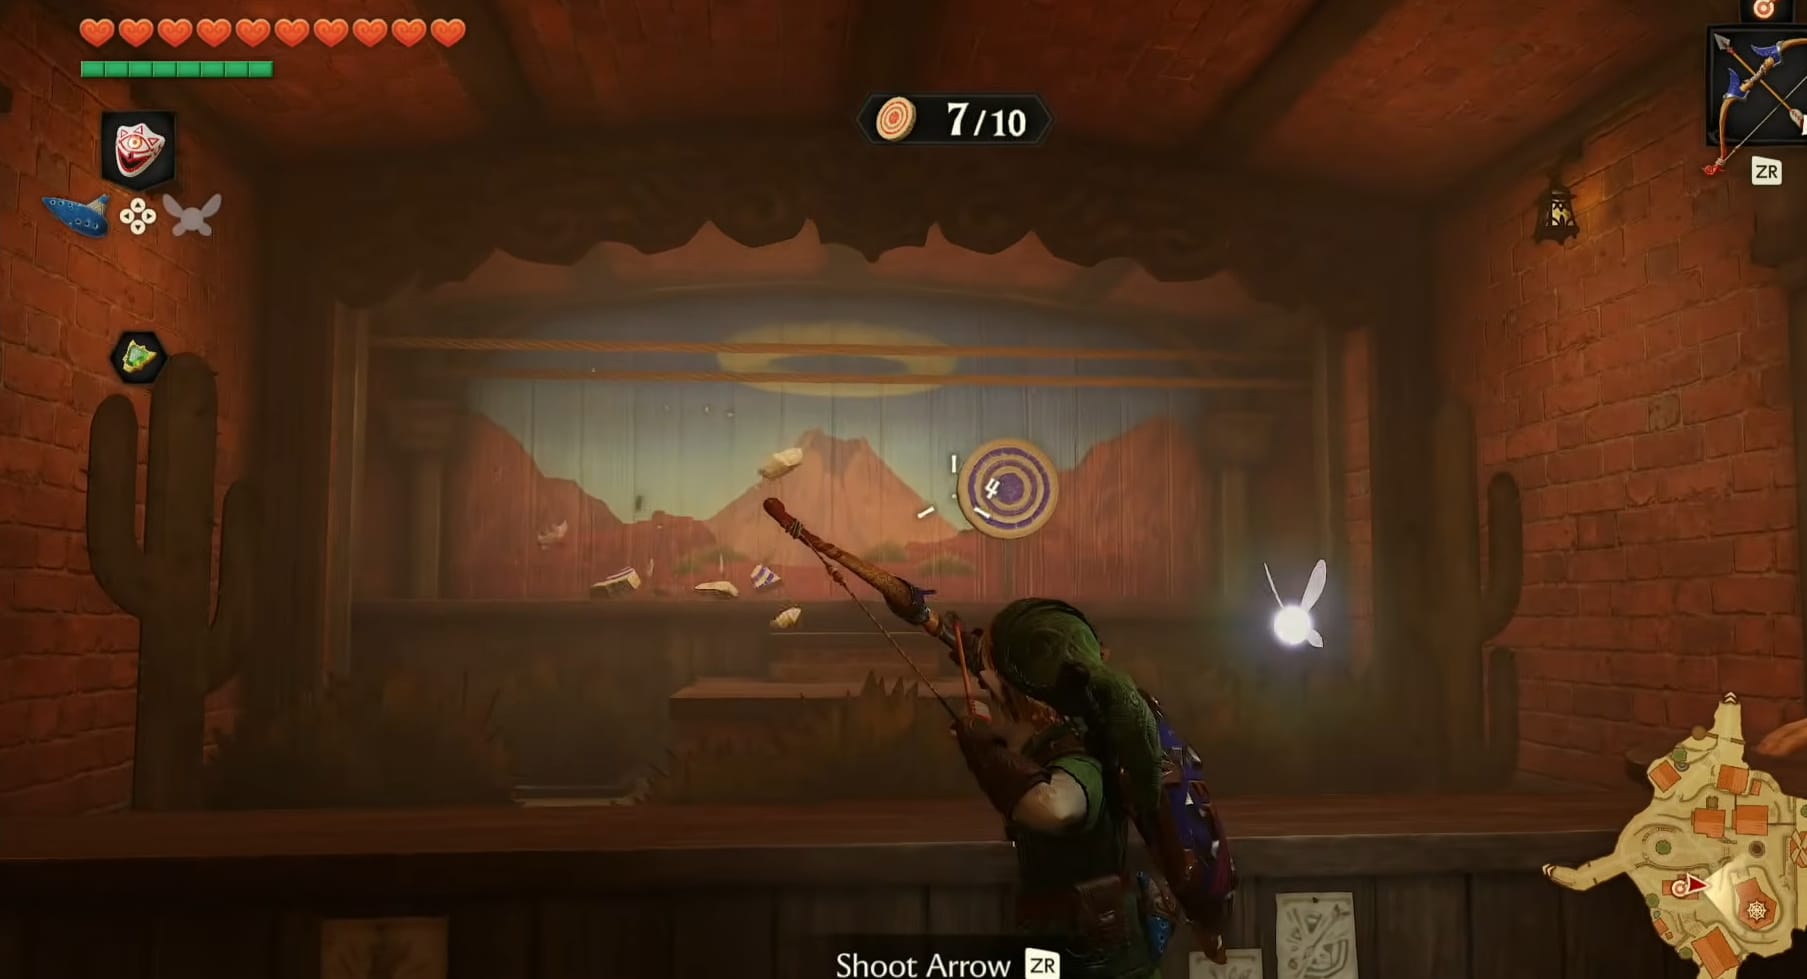
This Purple Target will rise up on its pole just right of center.
Target 9
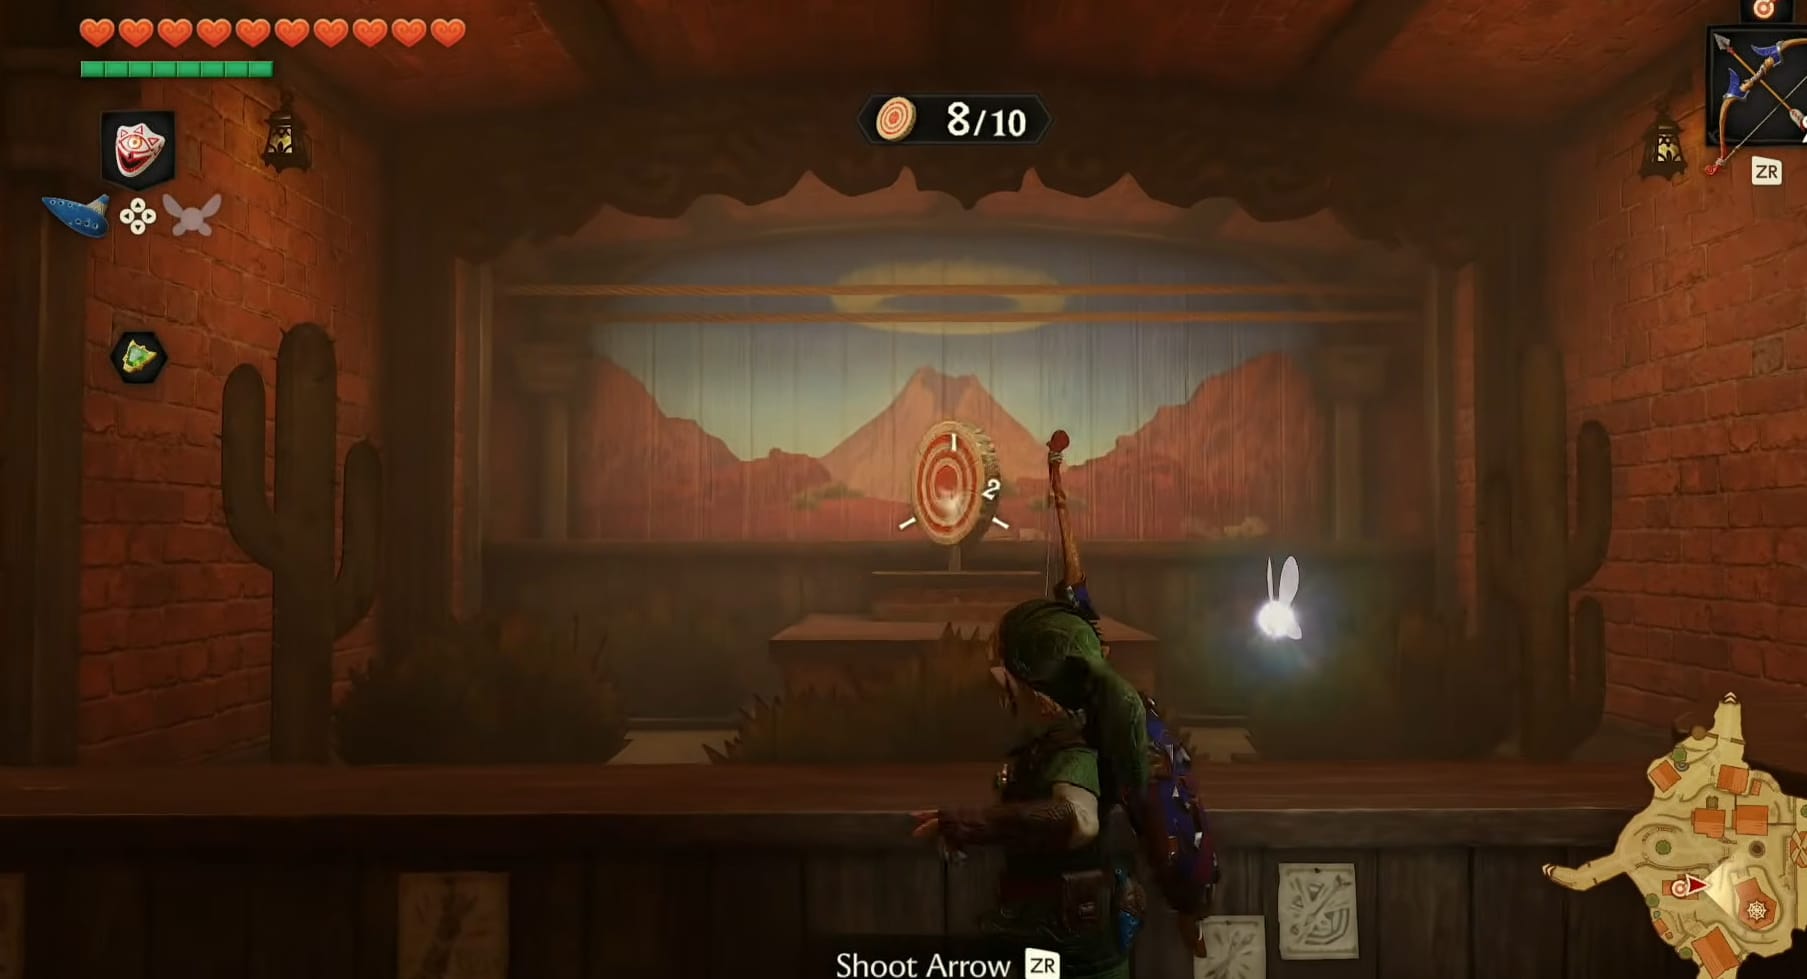
This Red Target will come up from the chimney in the center on a short pole. It slowly spins in its location.
Target 10
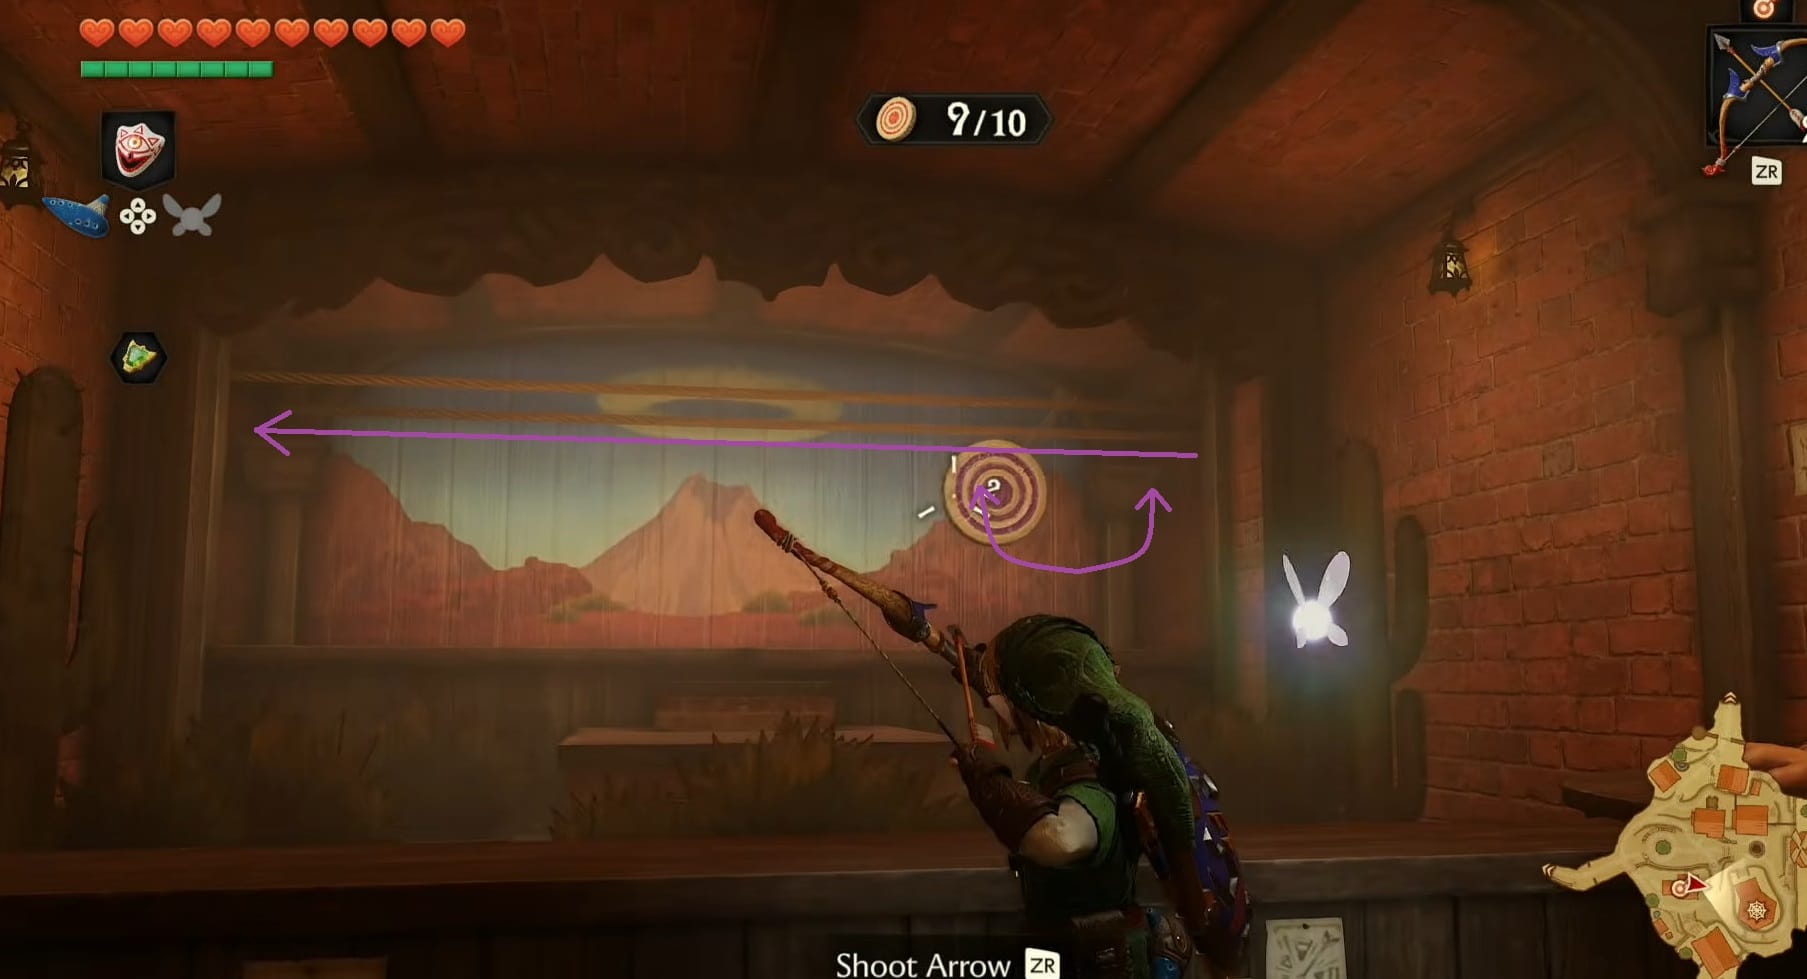
The final Purple Target will move right to left. It will swing in a pendulum motion as it goes across the Gallery.
Hitting all 10 Targets will net Link the Quiver upgrade.
Quiver Upgrade B
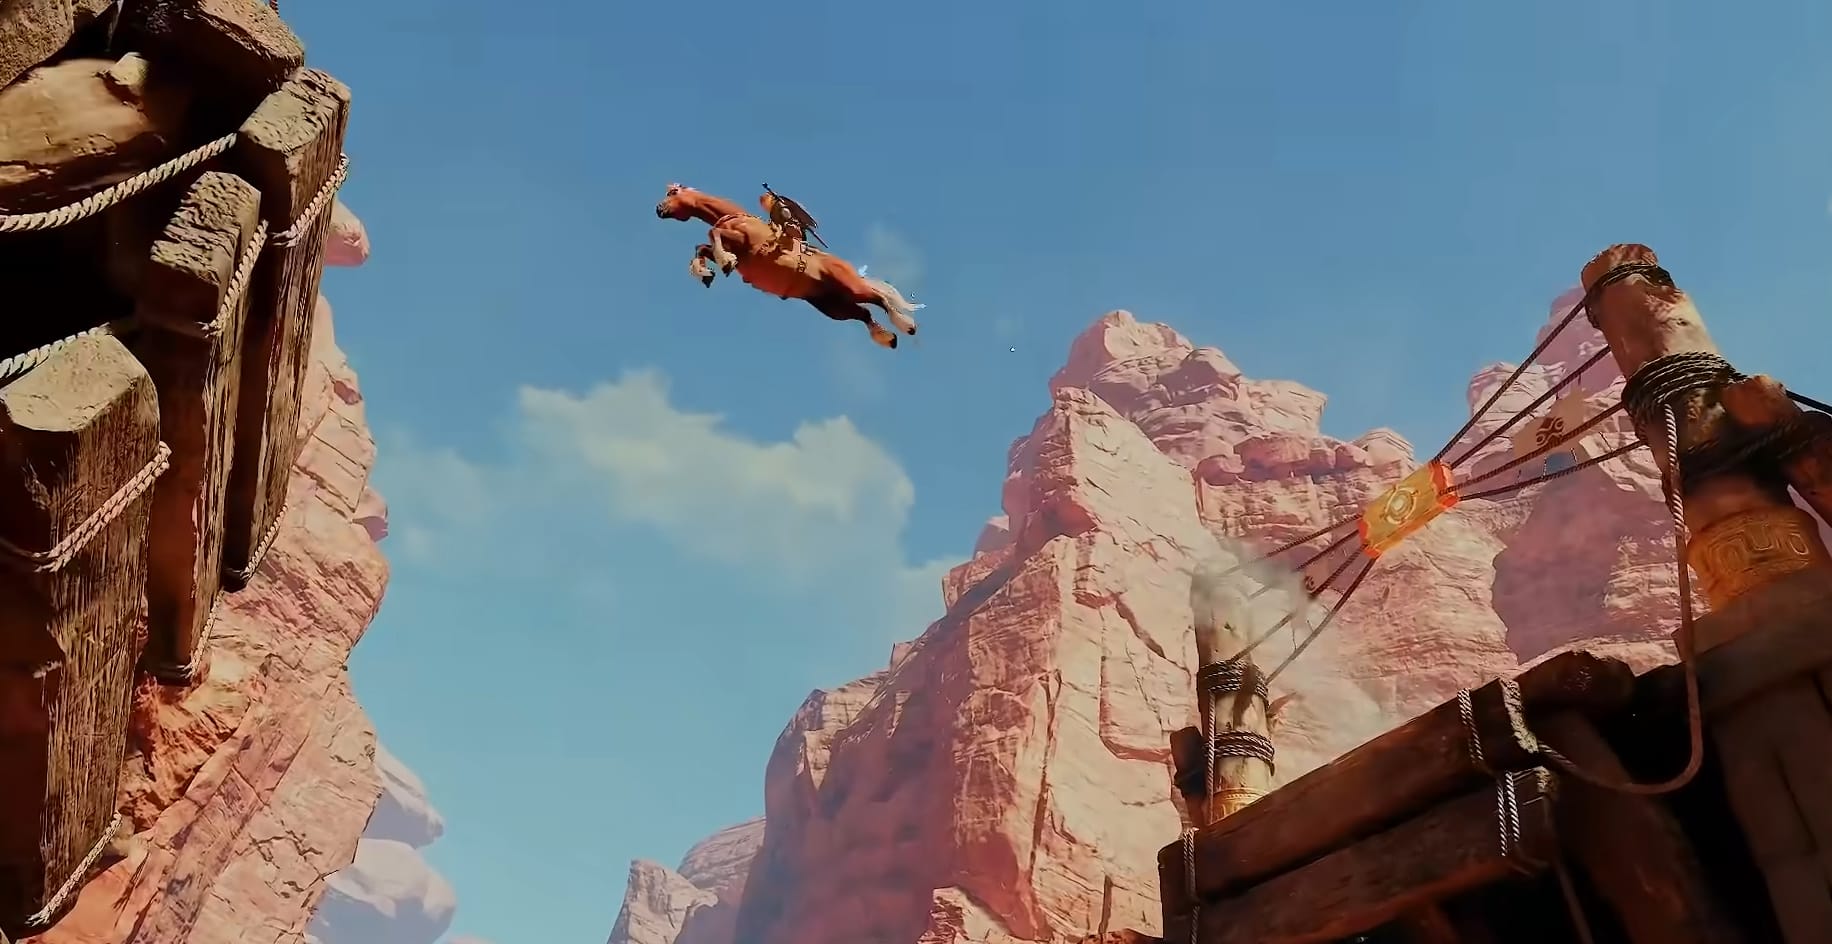
This Quiver upgrade comes from Gerudo Pass and the Gerudo Fortress. Get across the broken bridge into the Gerudo region itself. Talk with the Master Craftsman who’s at the camp nearby. He’ll explain that 4 of his men ran off to the Fortress and got themselves captured. The Craftsman needs Link to rescue them.
Complete the Mounted Archery Challenge
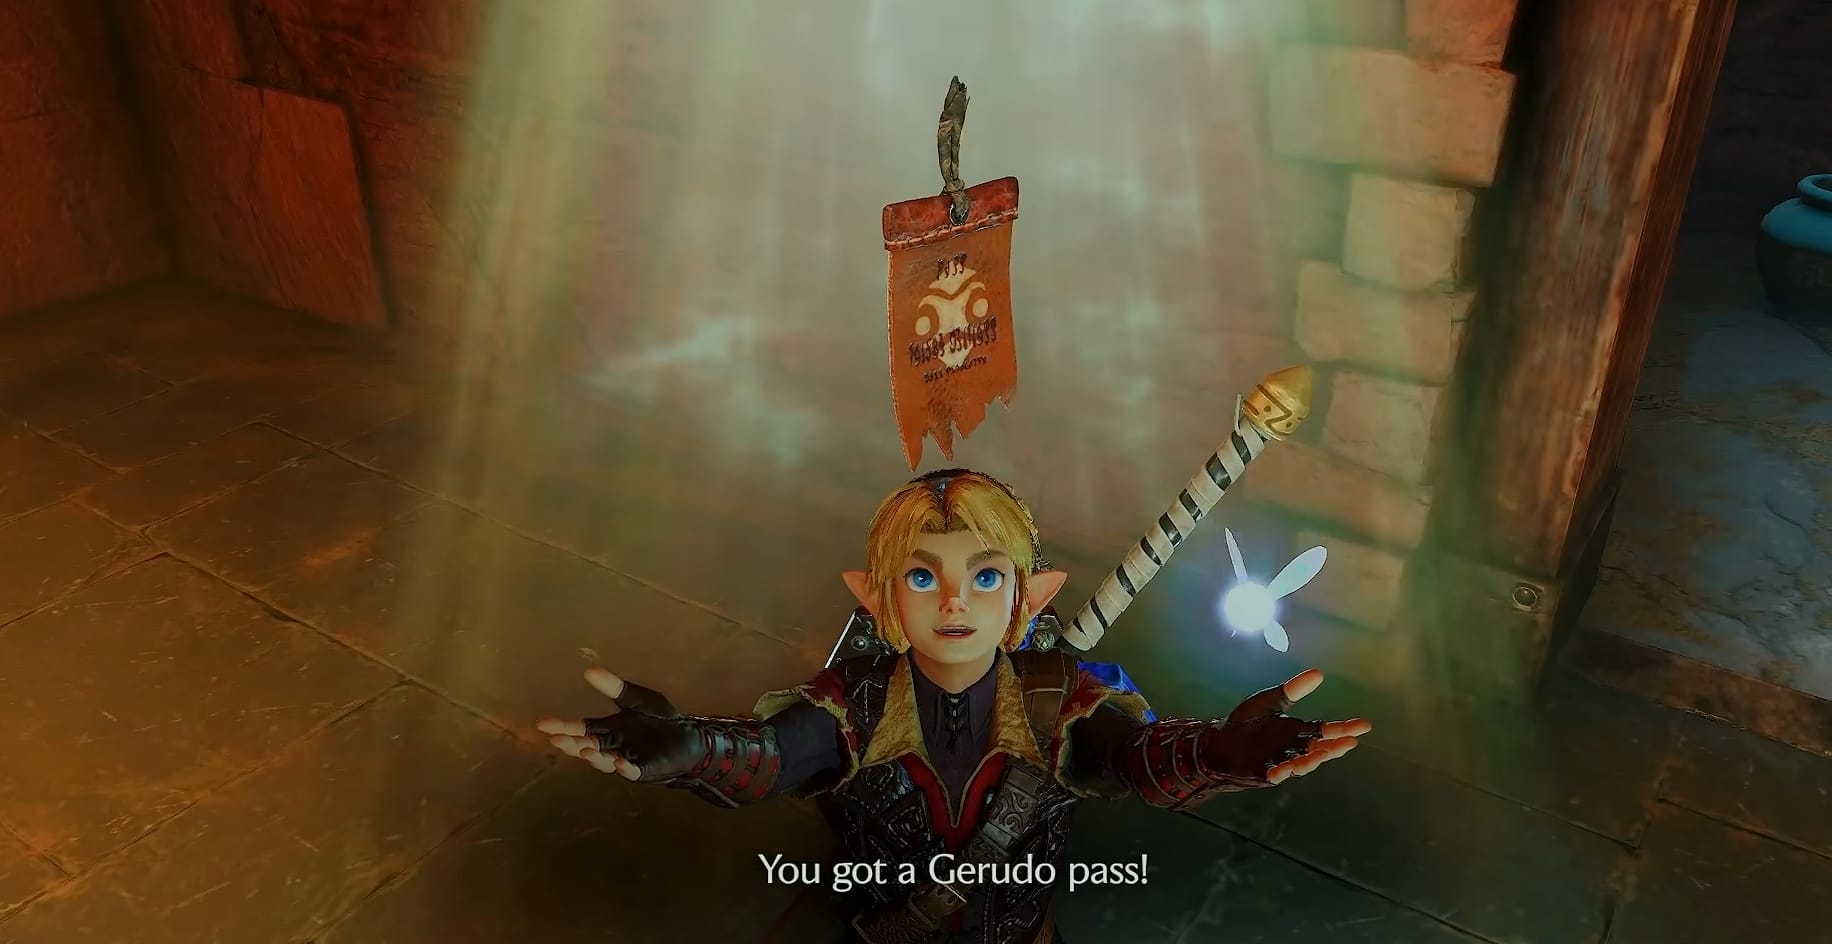
With the 4 Carpenters freed, Link will be approached by a Gerudo. She will give him the Gerudo Pass. This will let him participate in the challenge that will give him the Quiver Upgrade. Head for the Mounted Archery Range.
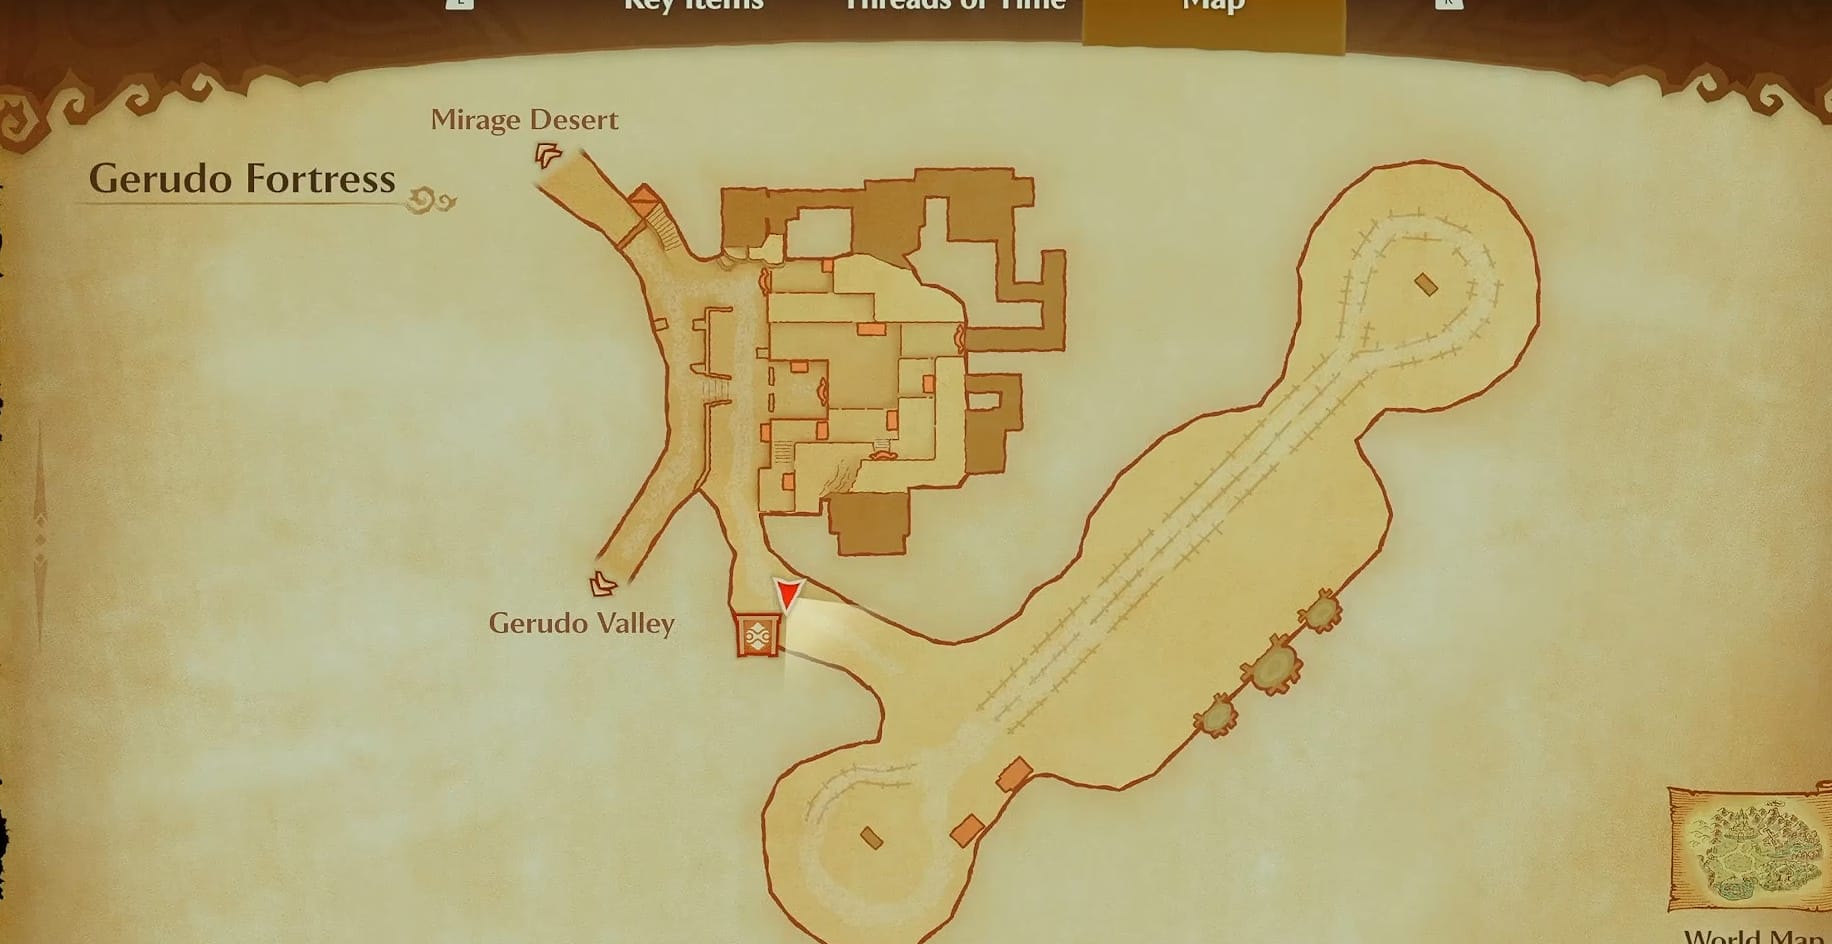
The Mounted Archery Range sits in the Southeastern portion of the Gerudo Fortress. Link needs to have Epona to participate in this challenge. Call Epona and talk with the Horseback-Archery Attendant while on Epona. She will then let Link take the challenge. Link will have 20 arrows to hit particular Points thresholds to earn his prizes
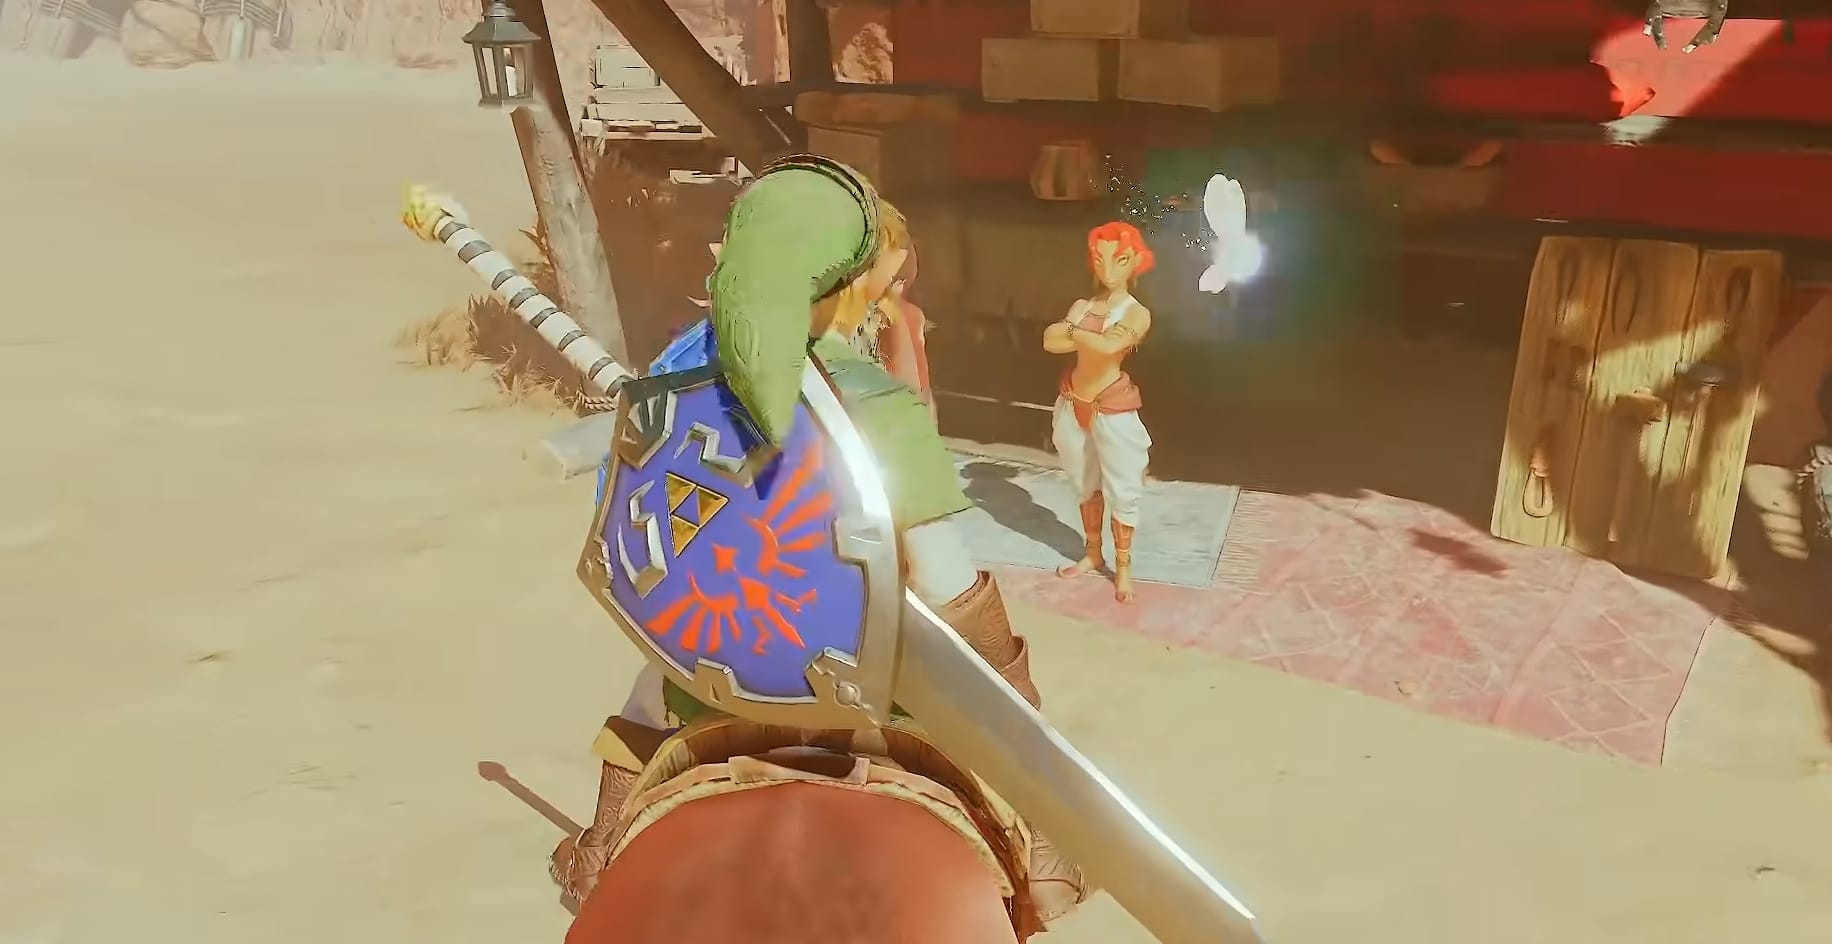
The Quiver upgrade is the second prize Link can get. He first should do a 1,000 point run, to earn a Piece of Heart. After that, he needs to complete a 1,400 point run to earn the Quiver Upgrade.
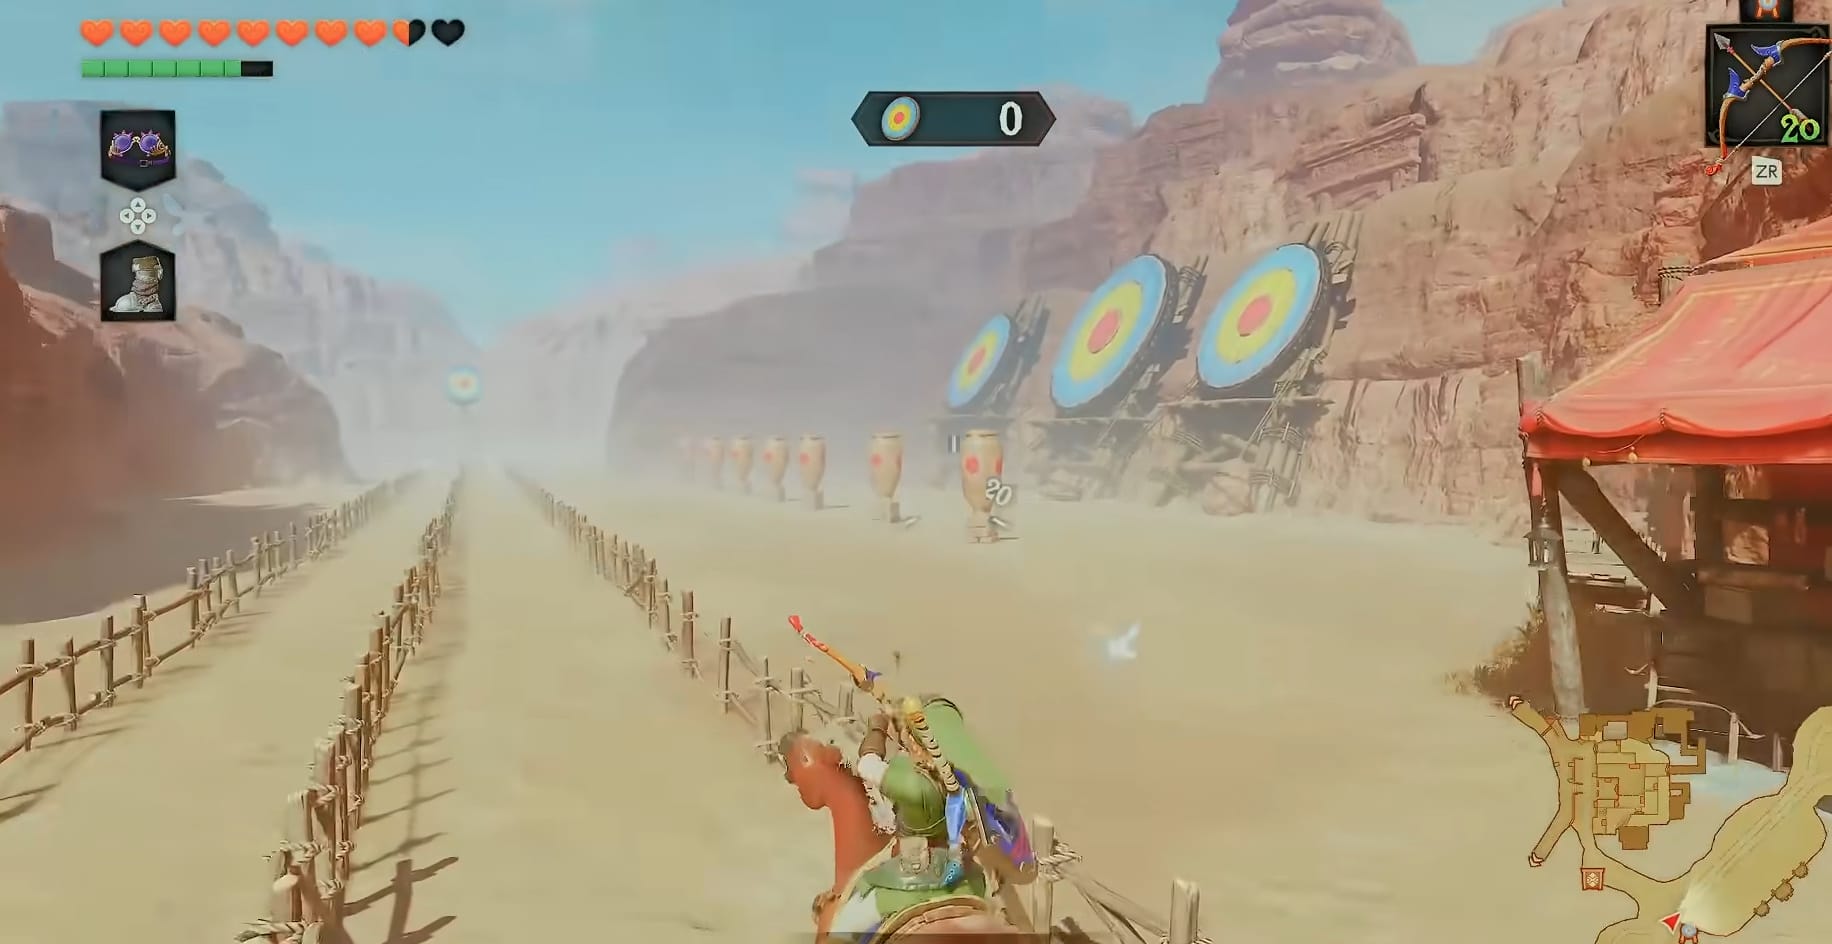
The Mounted Archery has one-time targets: Jars, worth 100 points each. There are also large Bullseye Targets. Blue is worth 30 Points, Yellow 60 points, and a Red Bullseye for 100 points.