The Legend of Zelda: Tears of the Kingdom – Orochium Shrine: Courage to Fall Guide
Learn how to complete the Orochium Shrine in Zelda: Tears of the Kingdom. Find the Small Key, navigate laser traps, use the Small Sphere and Zonai Glider, and earn a Light of Blessing.
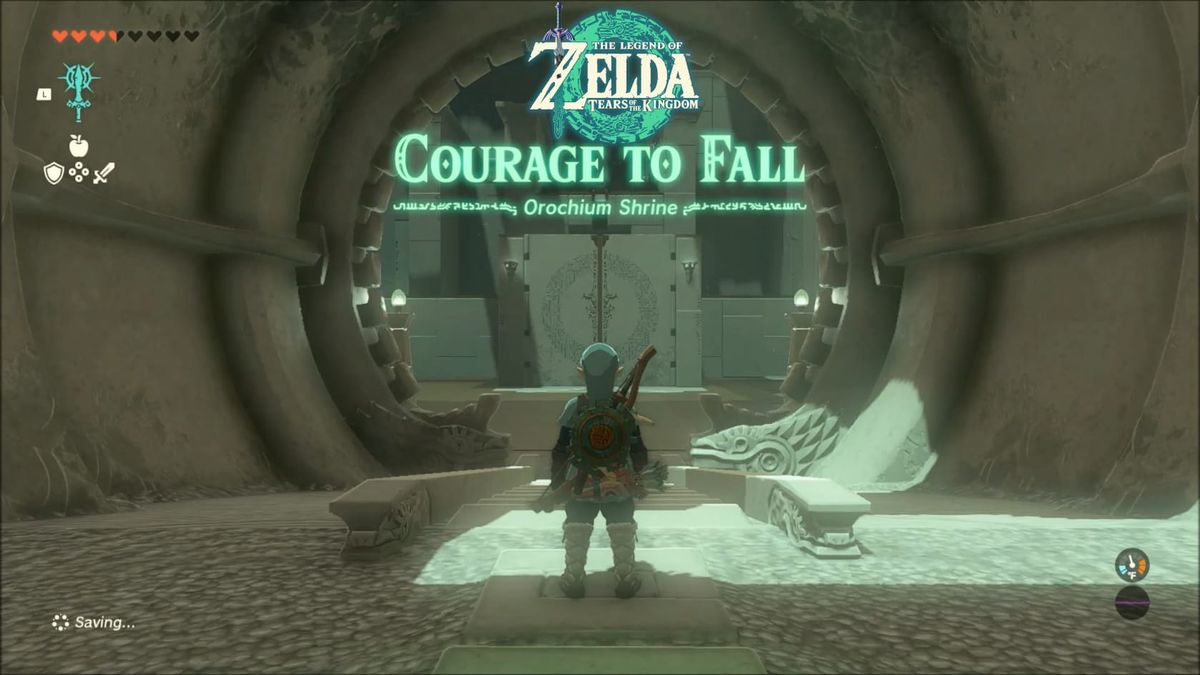
Summary
The Shrine is found just to the Northeast of the Snowfield Stable. You need to navigate a Structure to find a hidden Sphere, avoid the lasers. and reach the Innermost Chamber.
Location
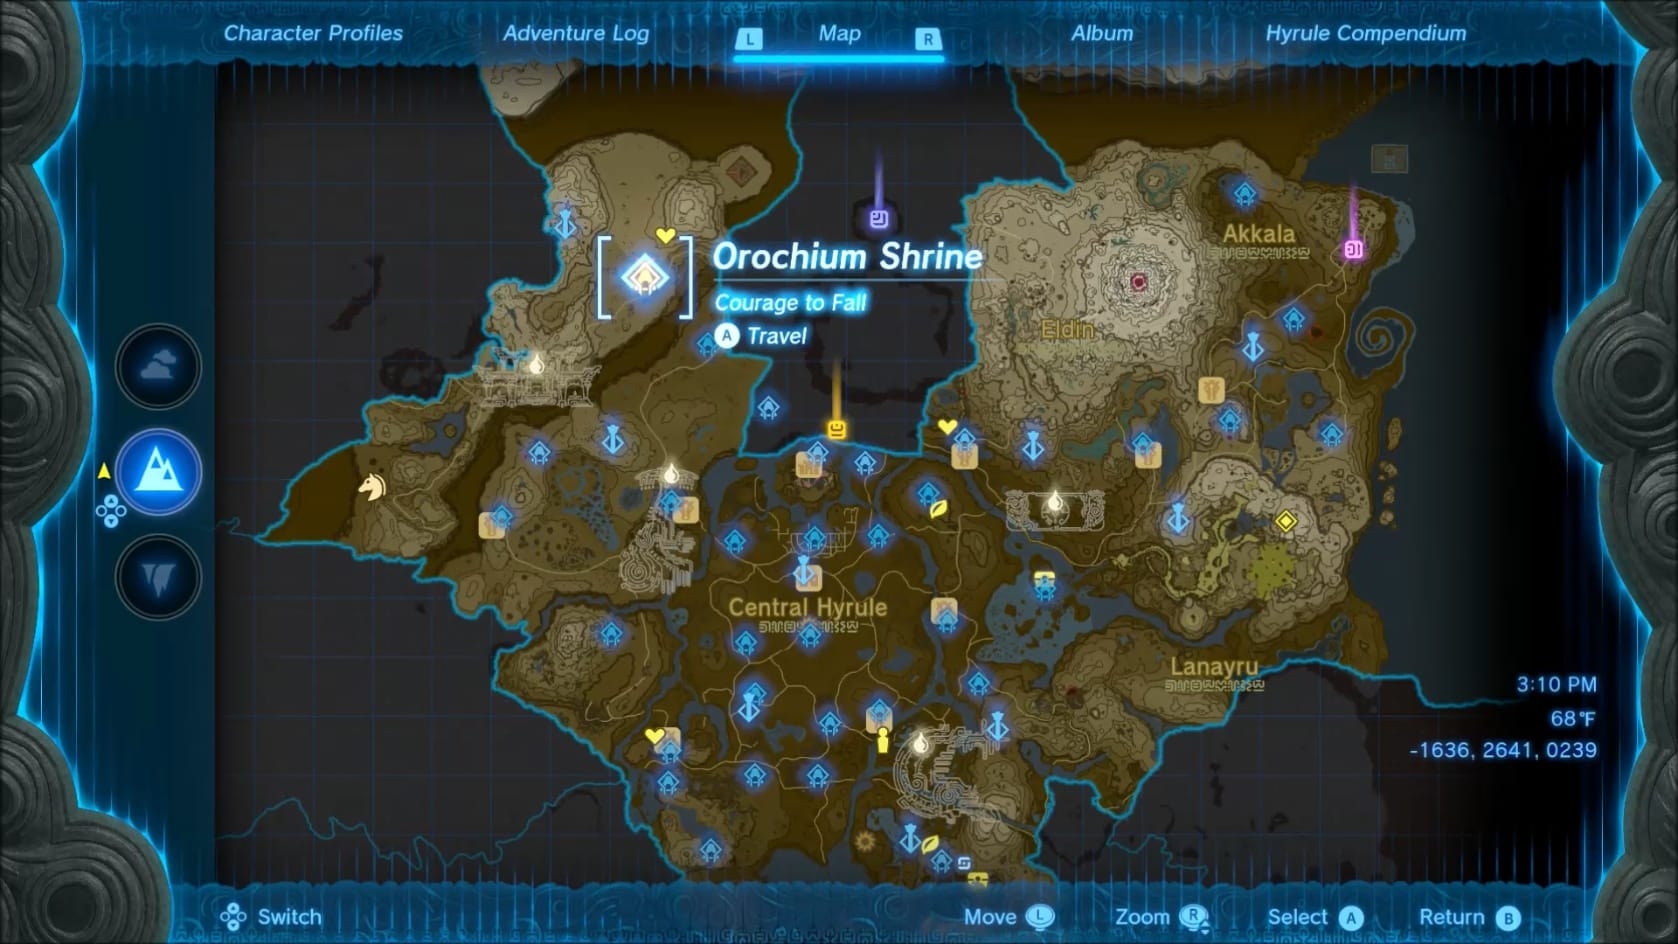
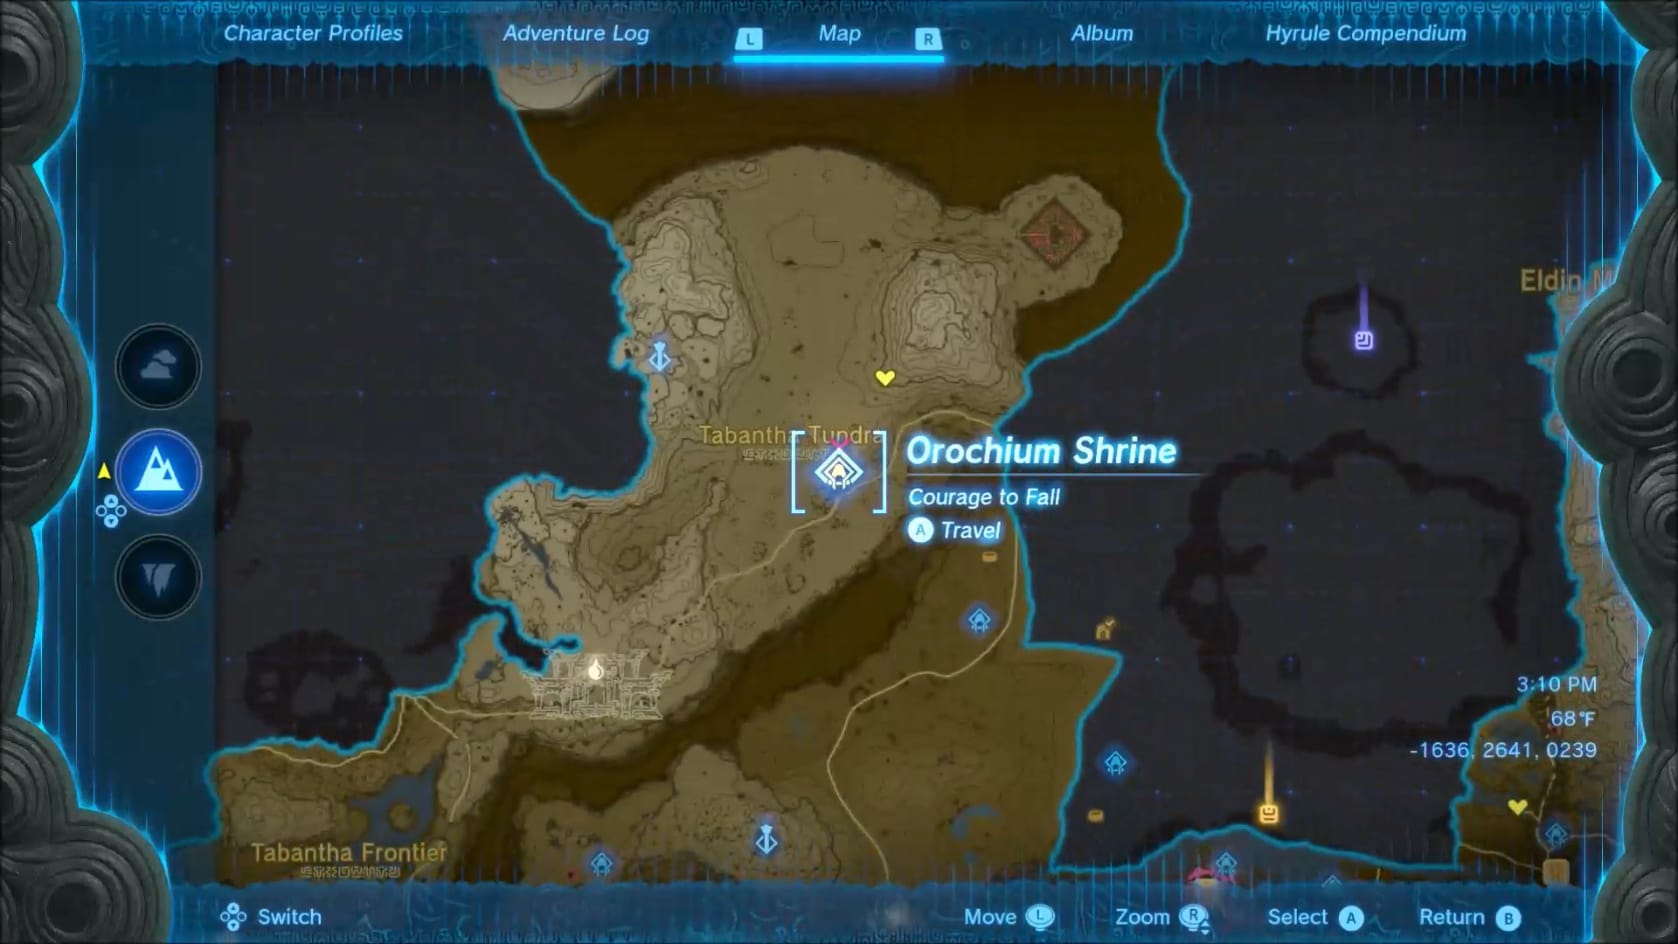
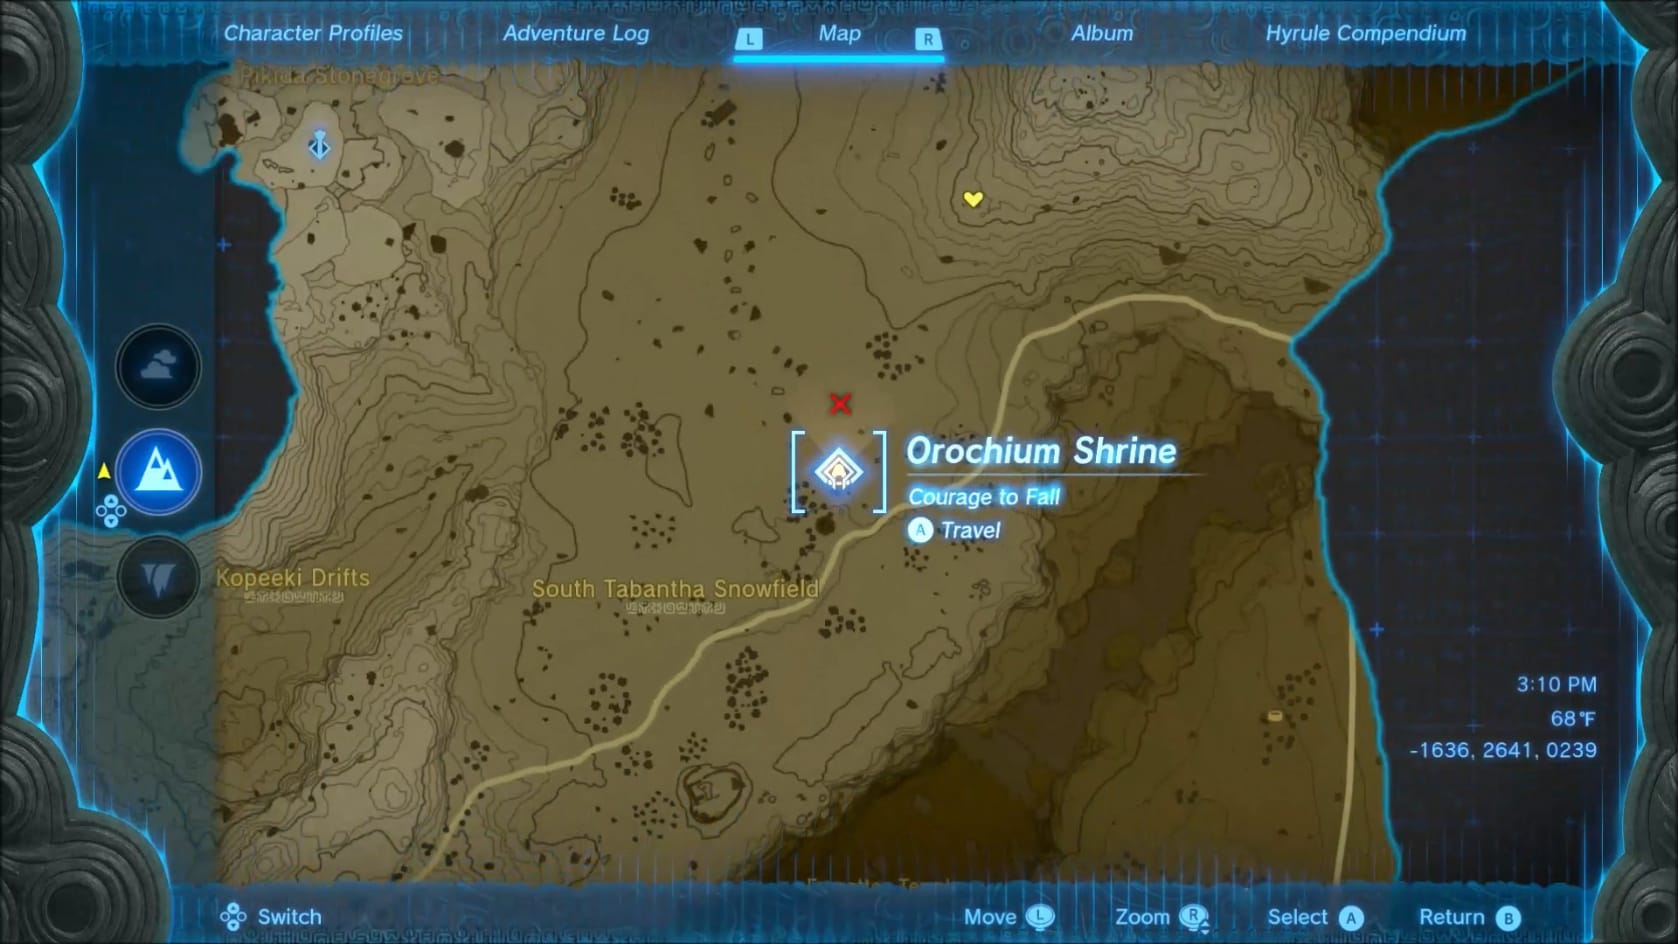
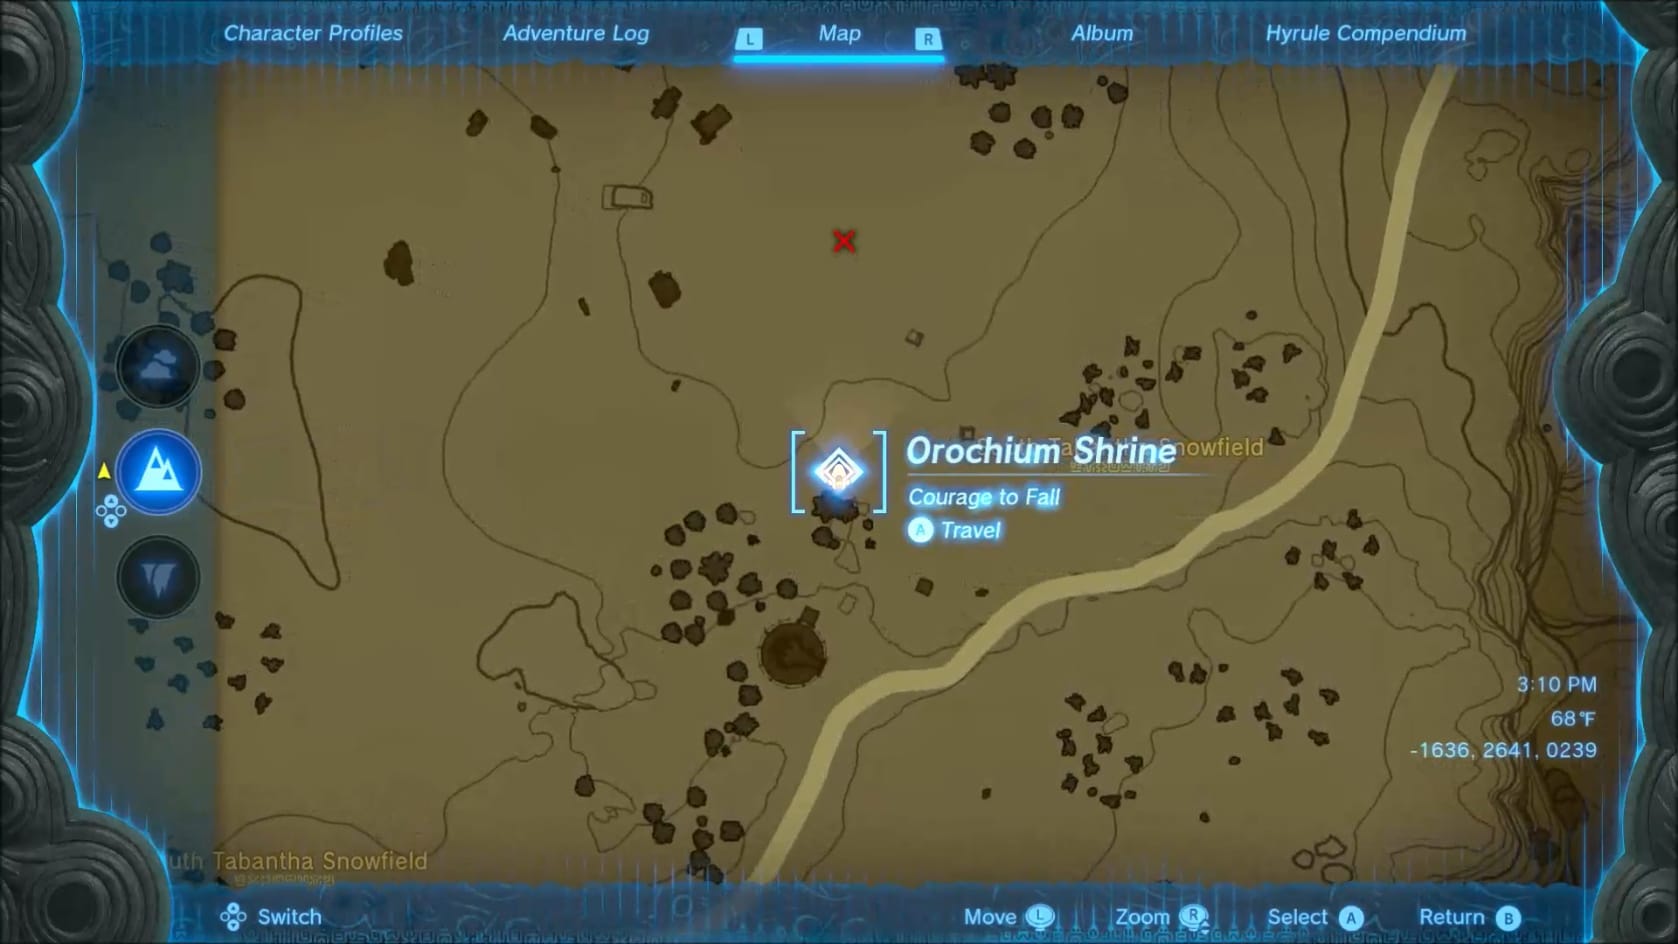
Location of the Shrine on the Hyrule map
Coordinates: -1636, 2641, 0239
Walkthrough
Entrance
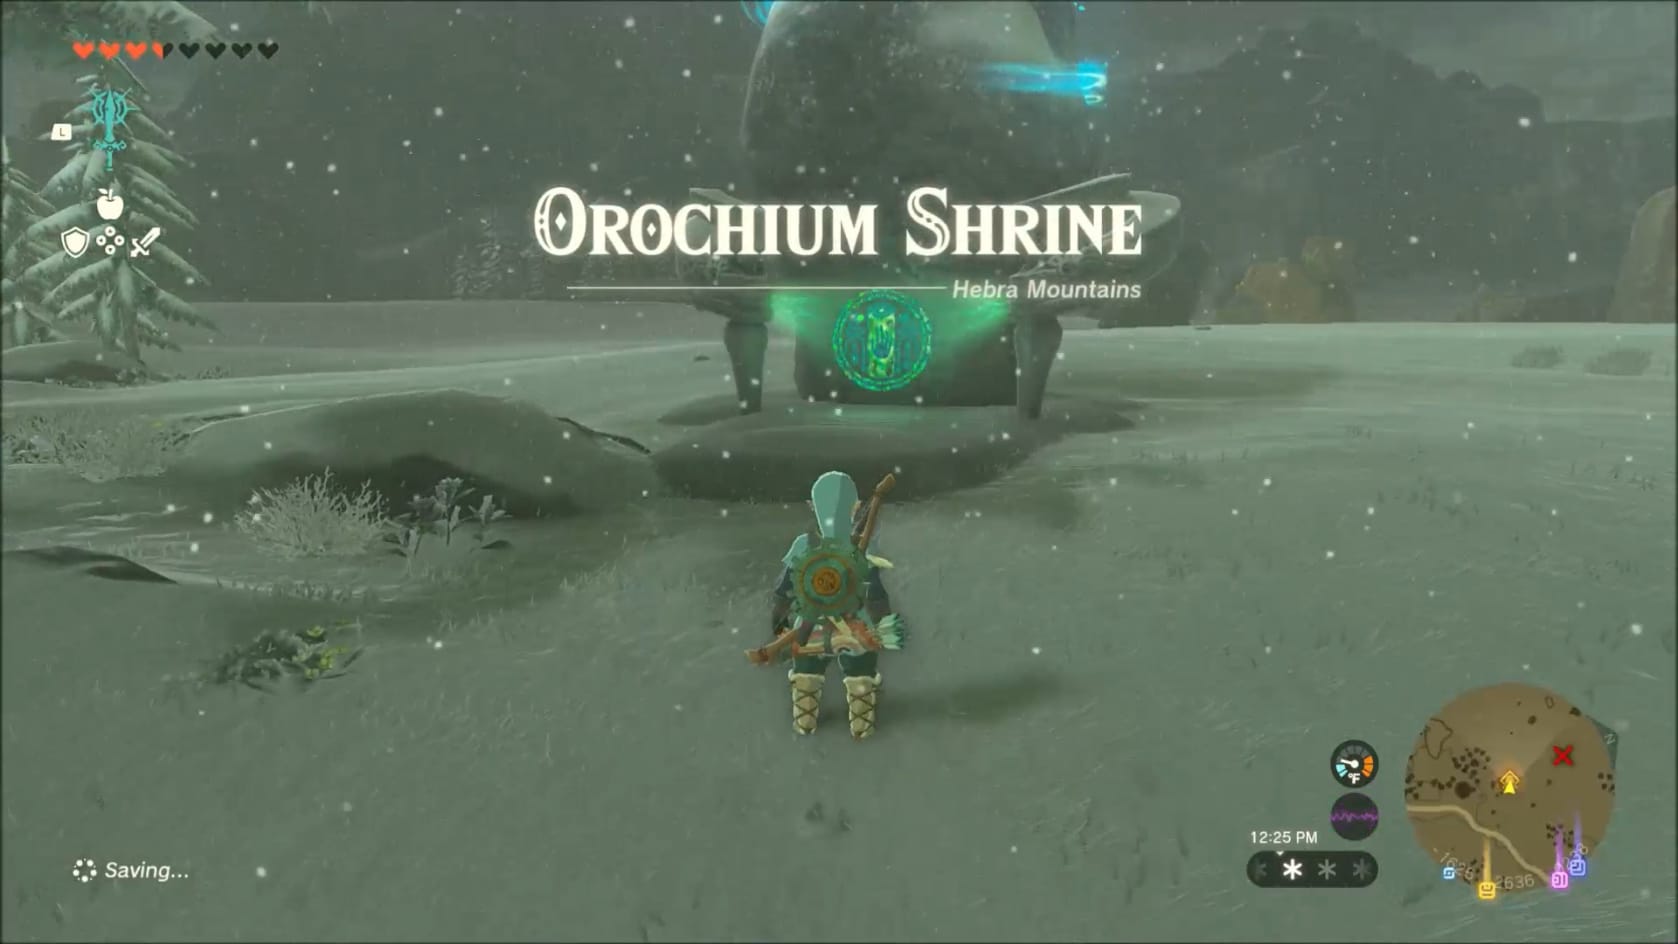
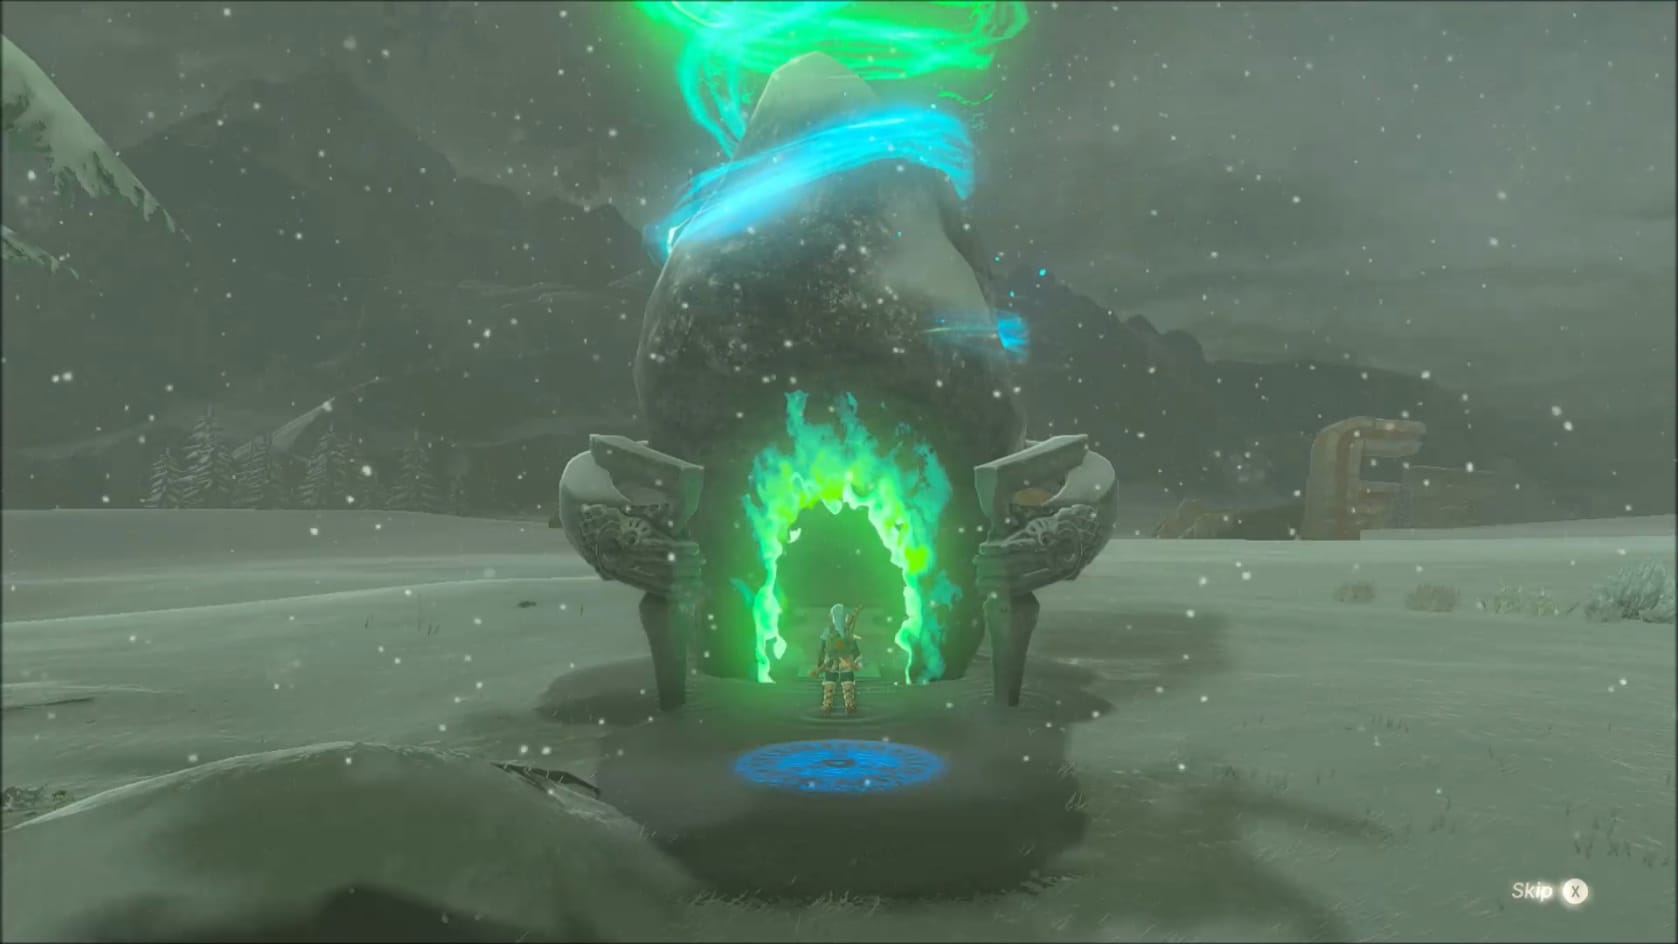
Entering Orochium Shrine
This shrine is found in the Hebra Mountains, nearby the Snowfield Stable. Just head to the ledge nearby the shrine and climb over it or around it to reach the Shrine.
Navigating the Shrine
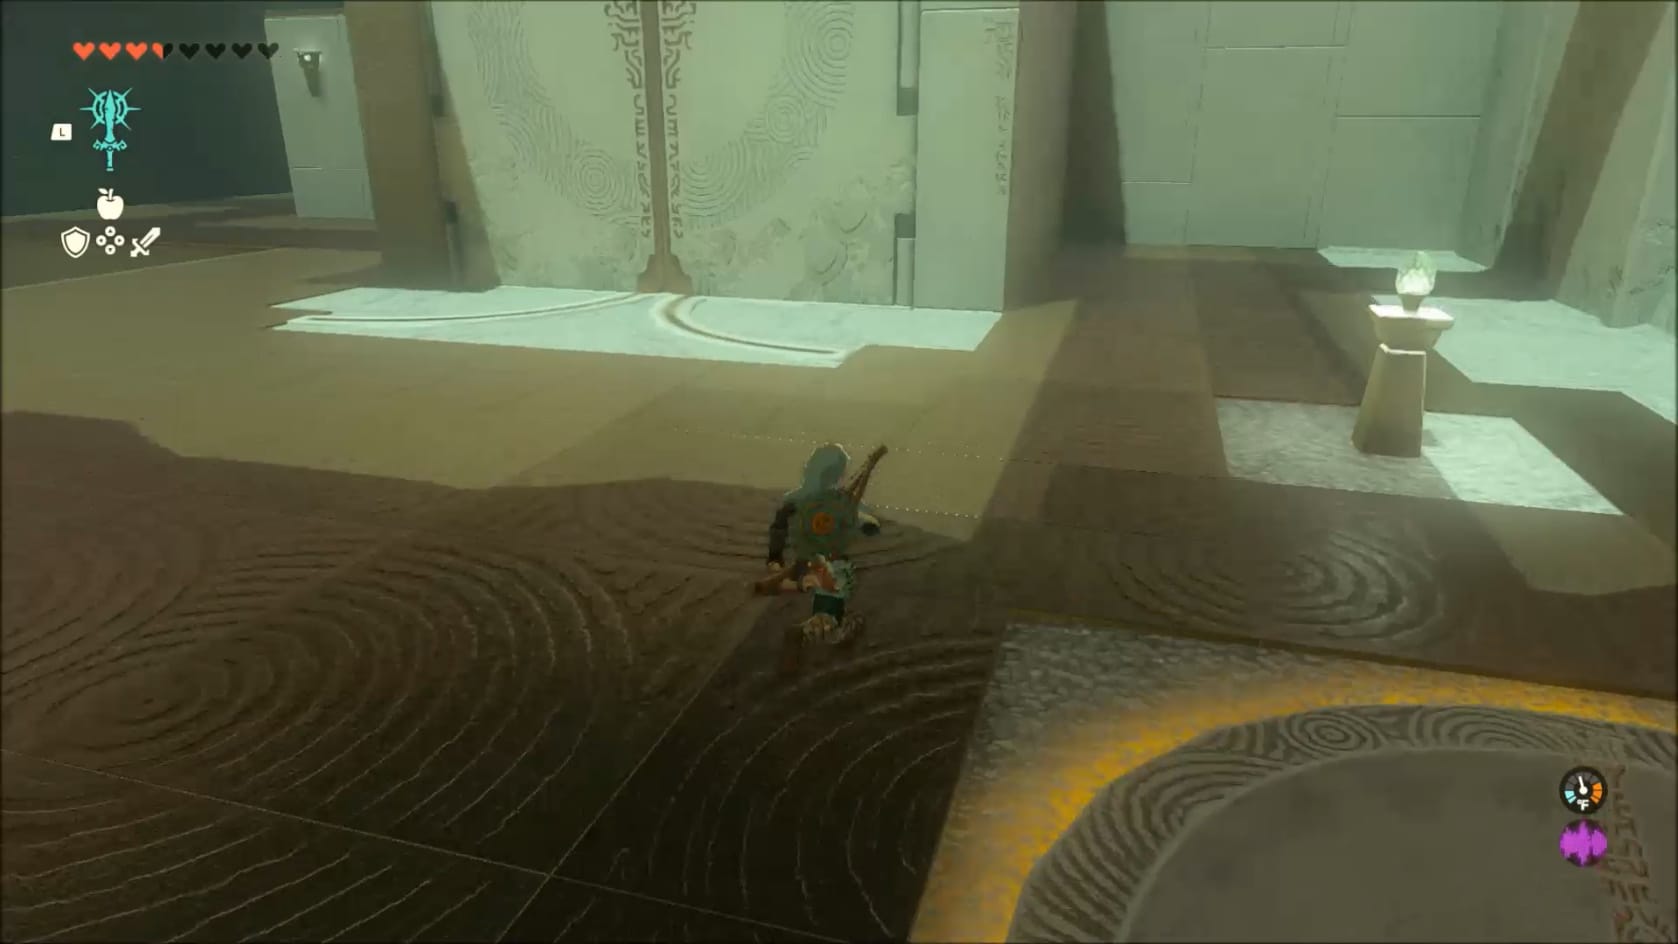
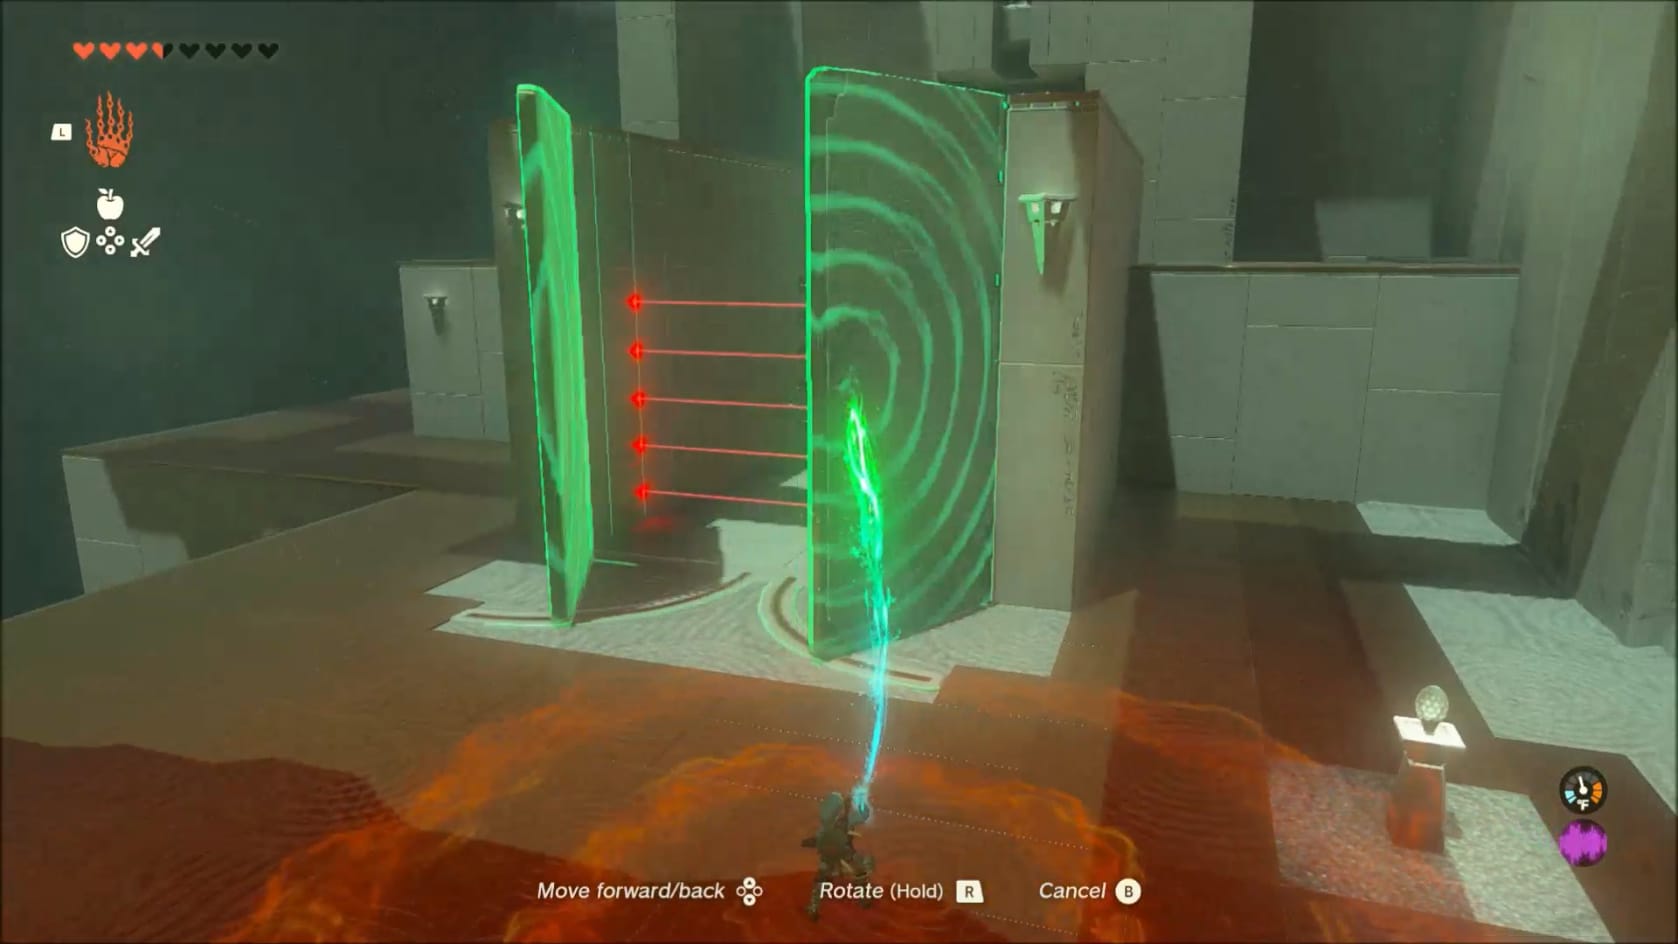
Opening the large stone doors of the center structure
Go forward to the large stone doors. You can use Ultrahand to force open the large doors. It helps to do this now since you’re here. Go over to the left-hand side of this large structure.
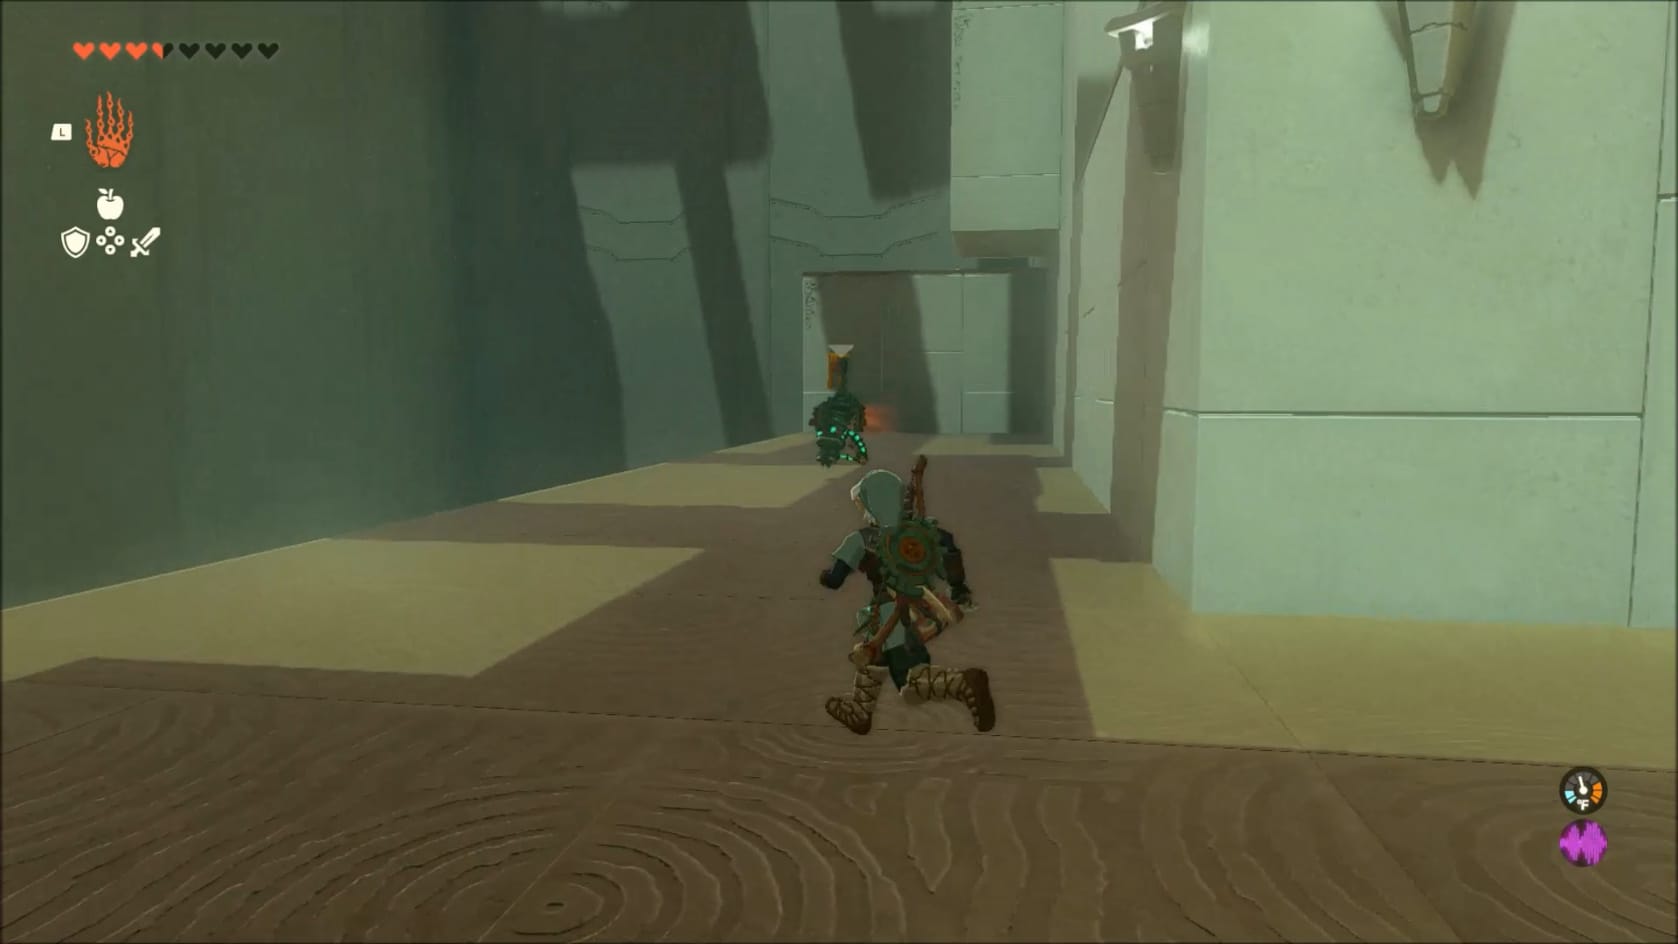
Along the left-hand side you can find a patrolling Soldier Construct II armed with a spear. Head along the side of the structure.
Look up and you can use Ascend to reach the ledge above you. Getting on the outer part, you will be able to see a ladder up. Getting closer to the far end will let you use Ascend to reach the top of the ladder. Use the ladder to climb up to the top of the structure.
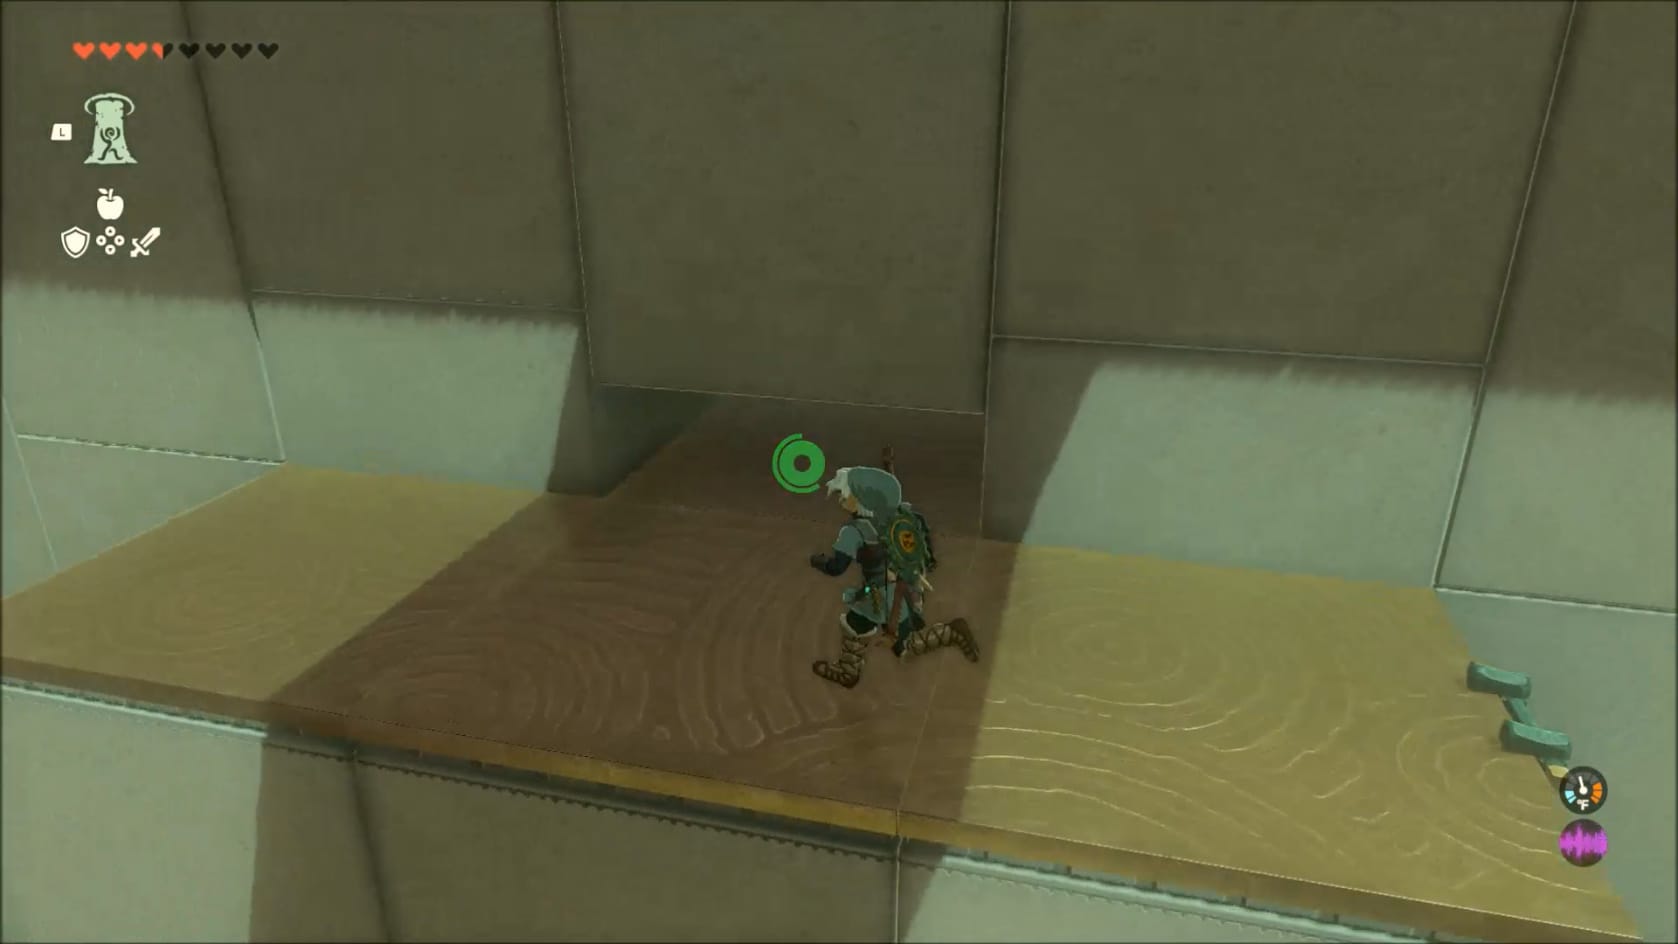
At the top of the ladder, look to the right. You will see a small opening in the wall. Have Link crouch and he can move through the opening into the structure itself.
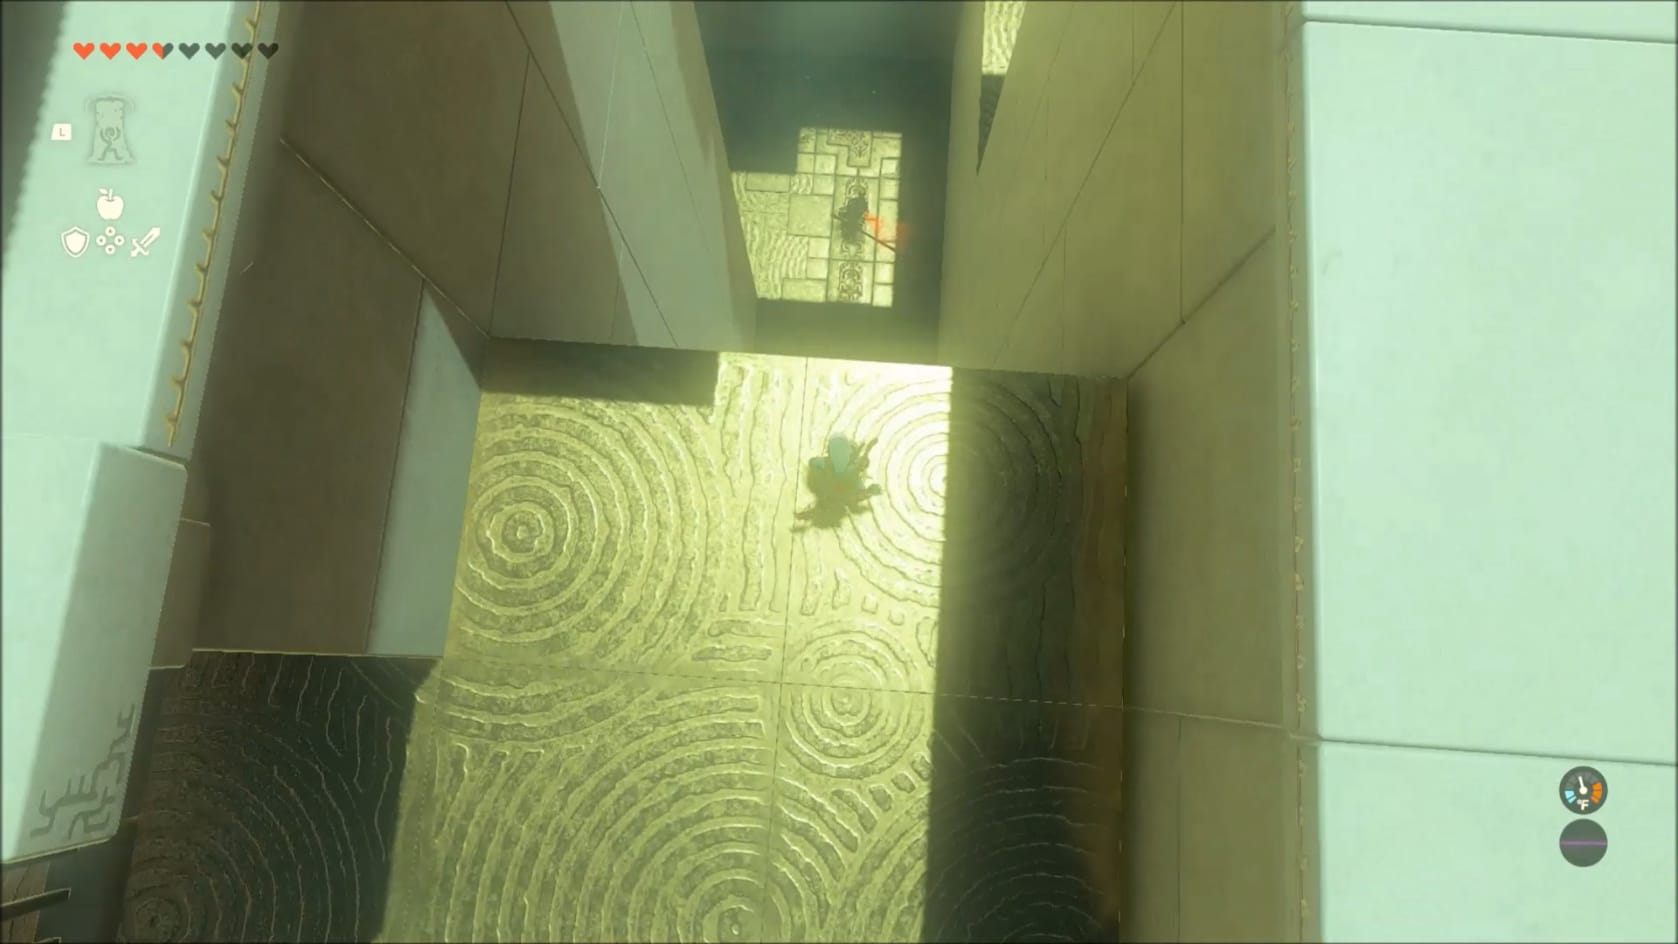
Look to the right. You’ll see a drop down to the floor of the structure. There is also another Soldier Construct II. You can easily defeat it with arrows from the ledge or by dropping down.
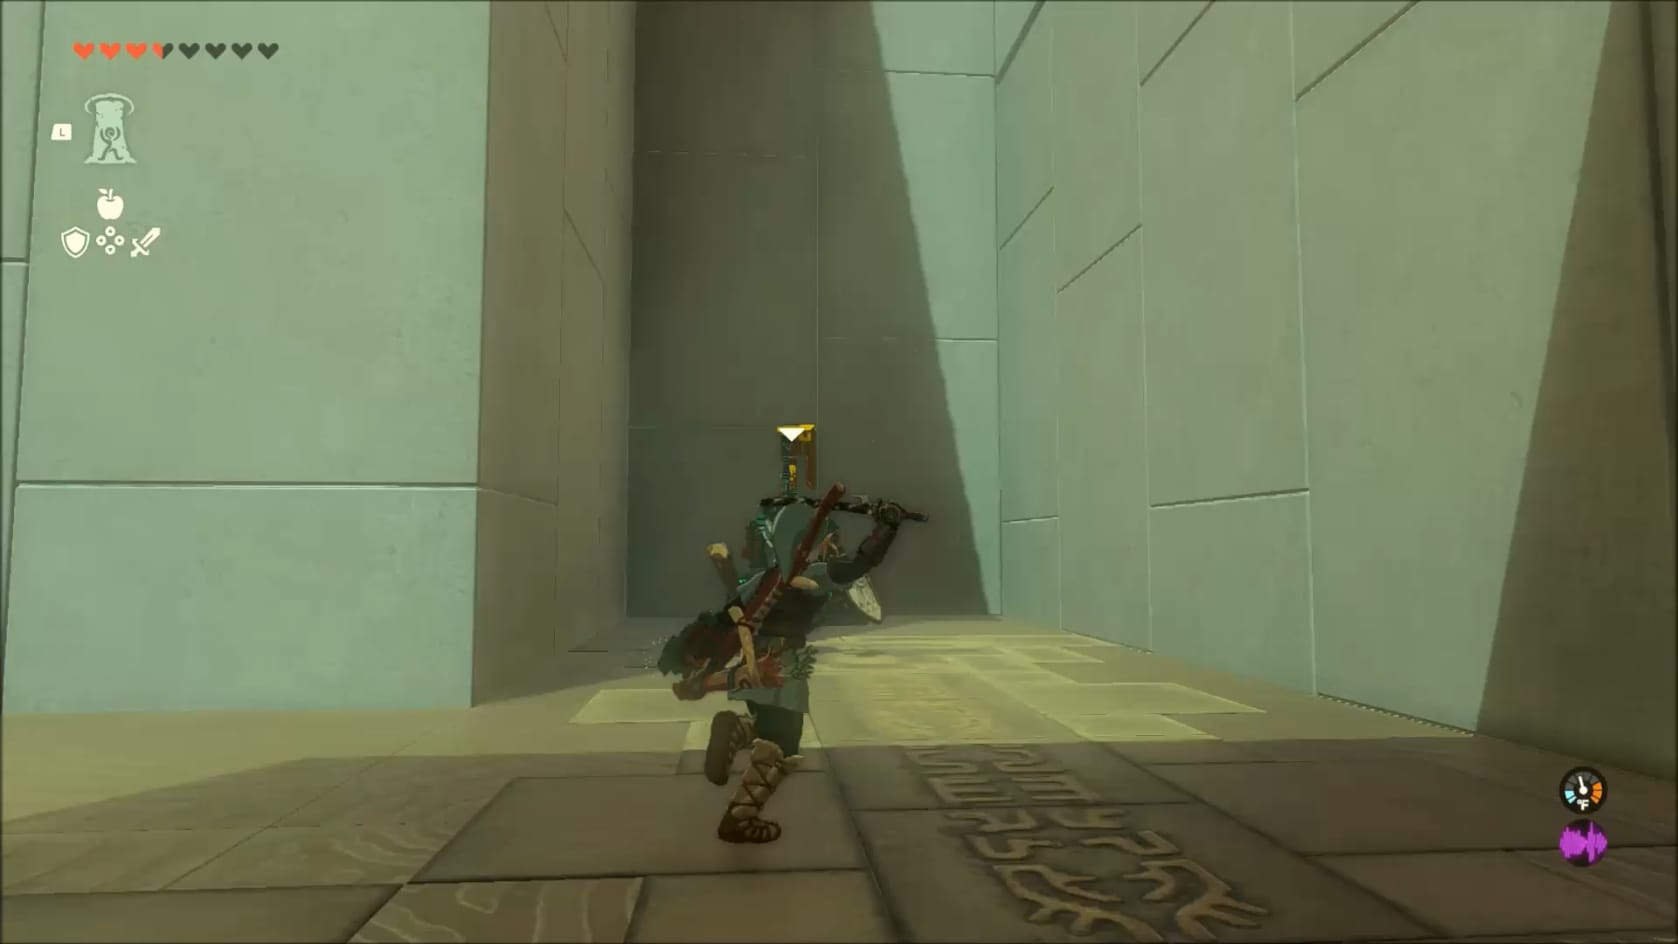
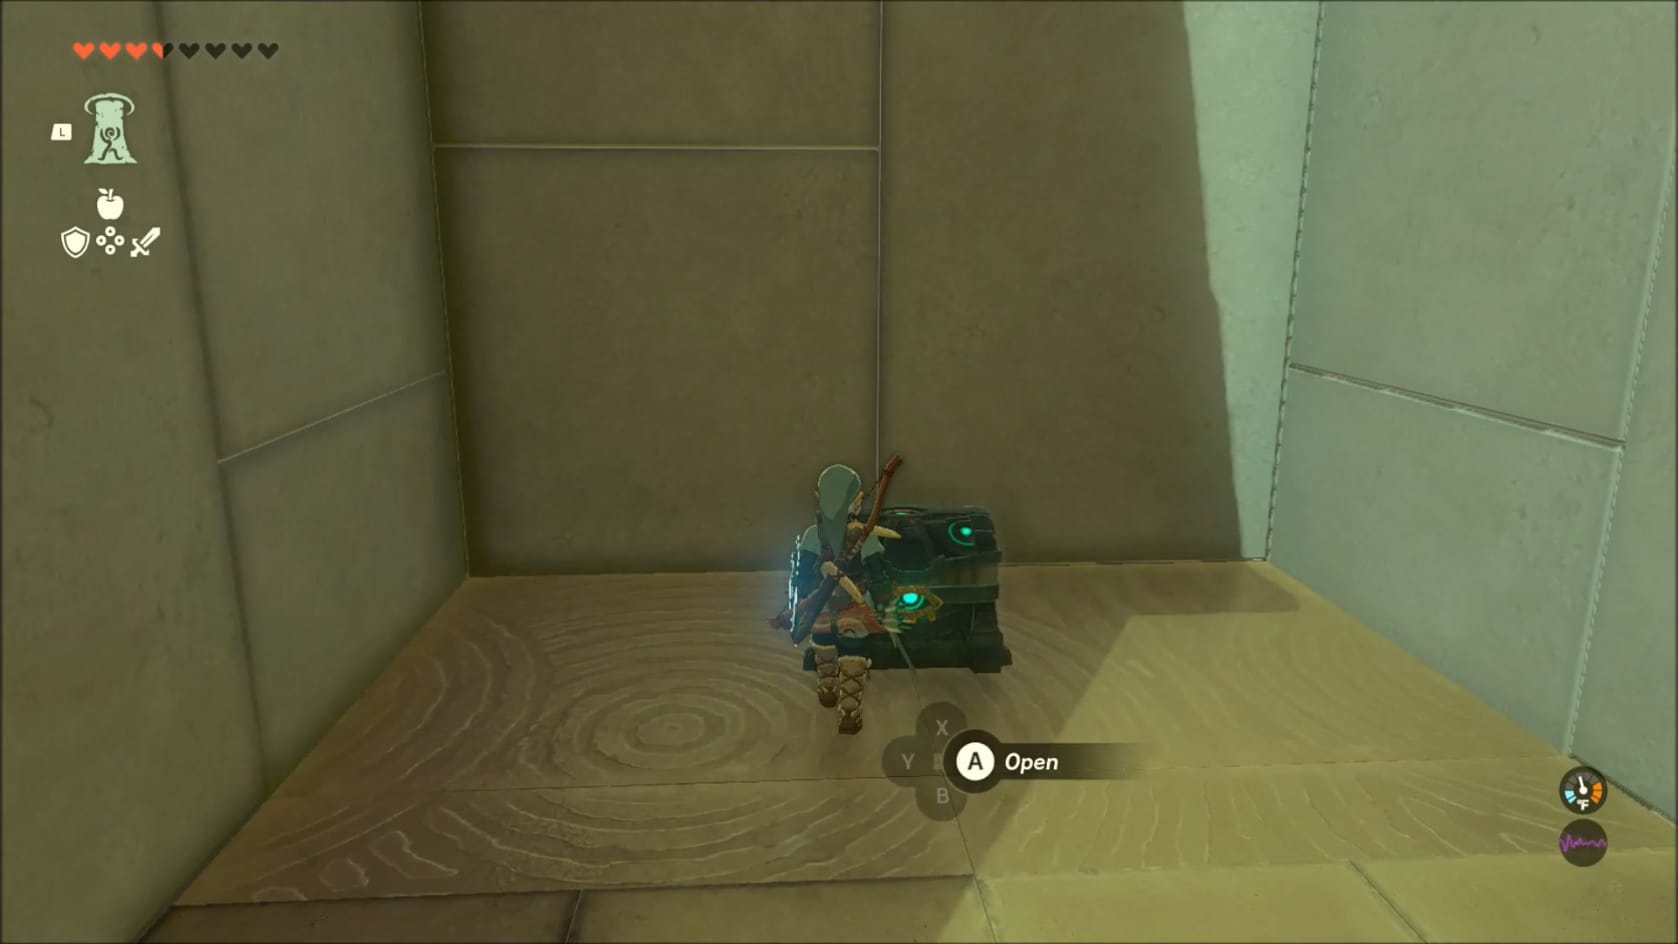
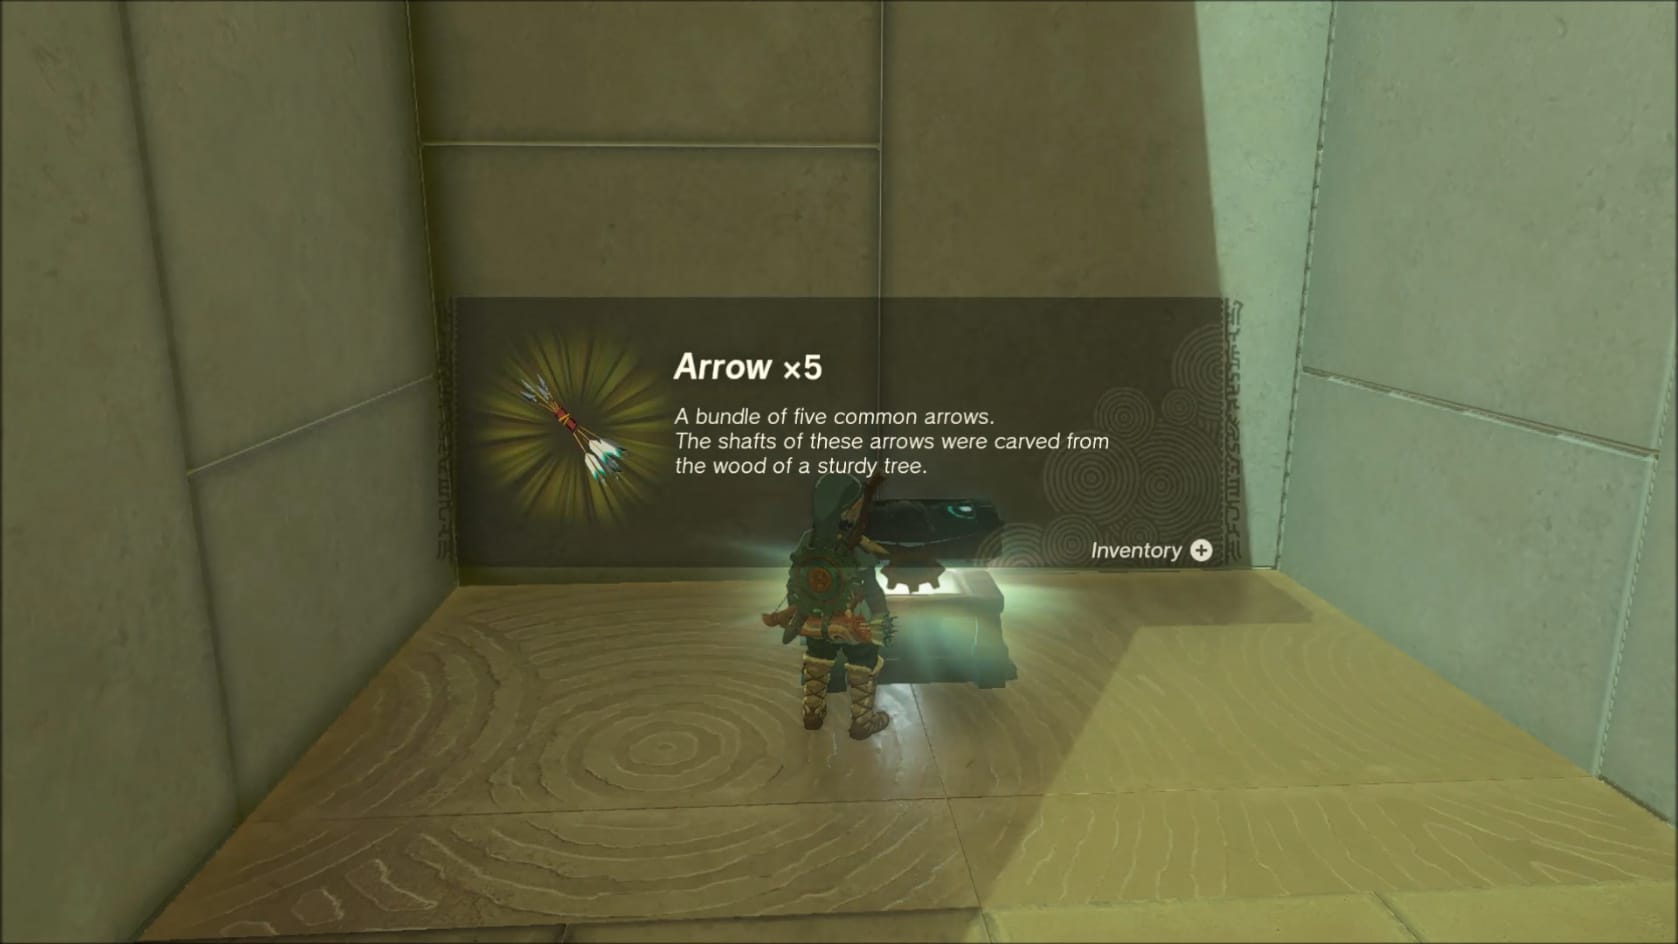
Go around to the other side of the central structure. There is a Chest guarded by another Soldier Construct II. In the Chest you can find a bundle of 5 Arrows.
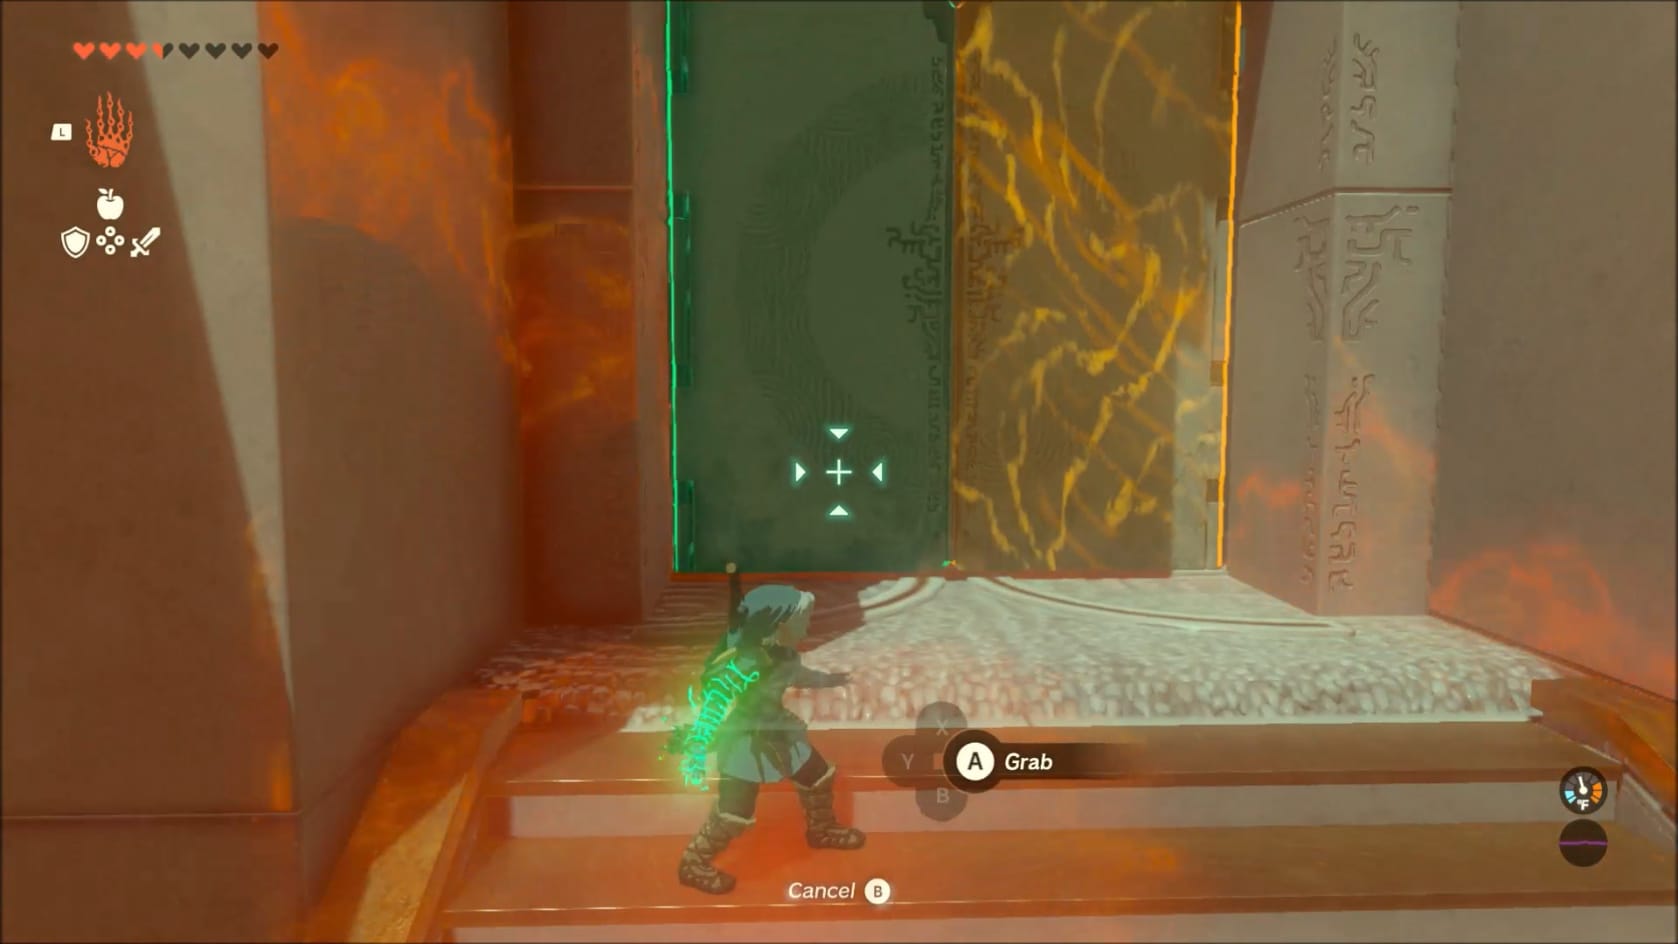
With all that collected, head for the front center of the structure. There is another large stone door. Use Ultrahand to open this door.
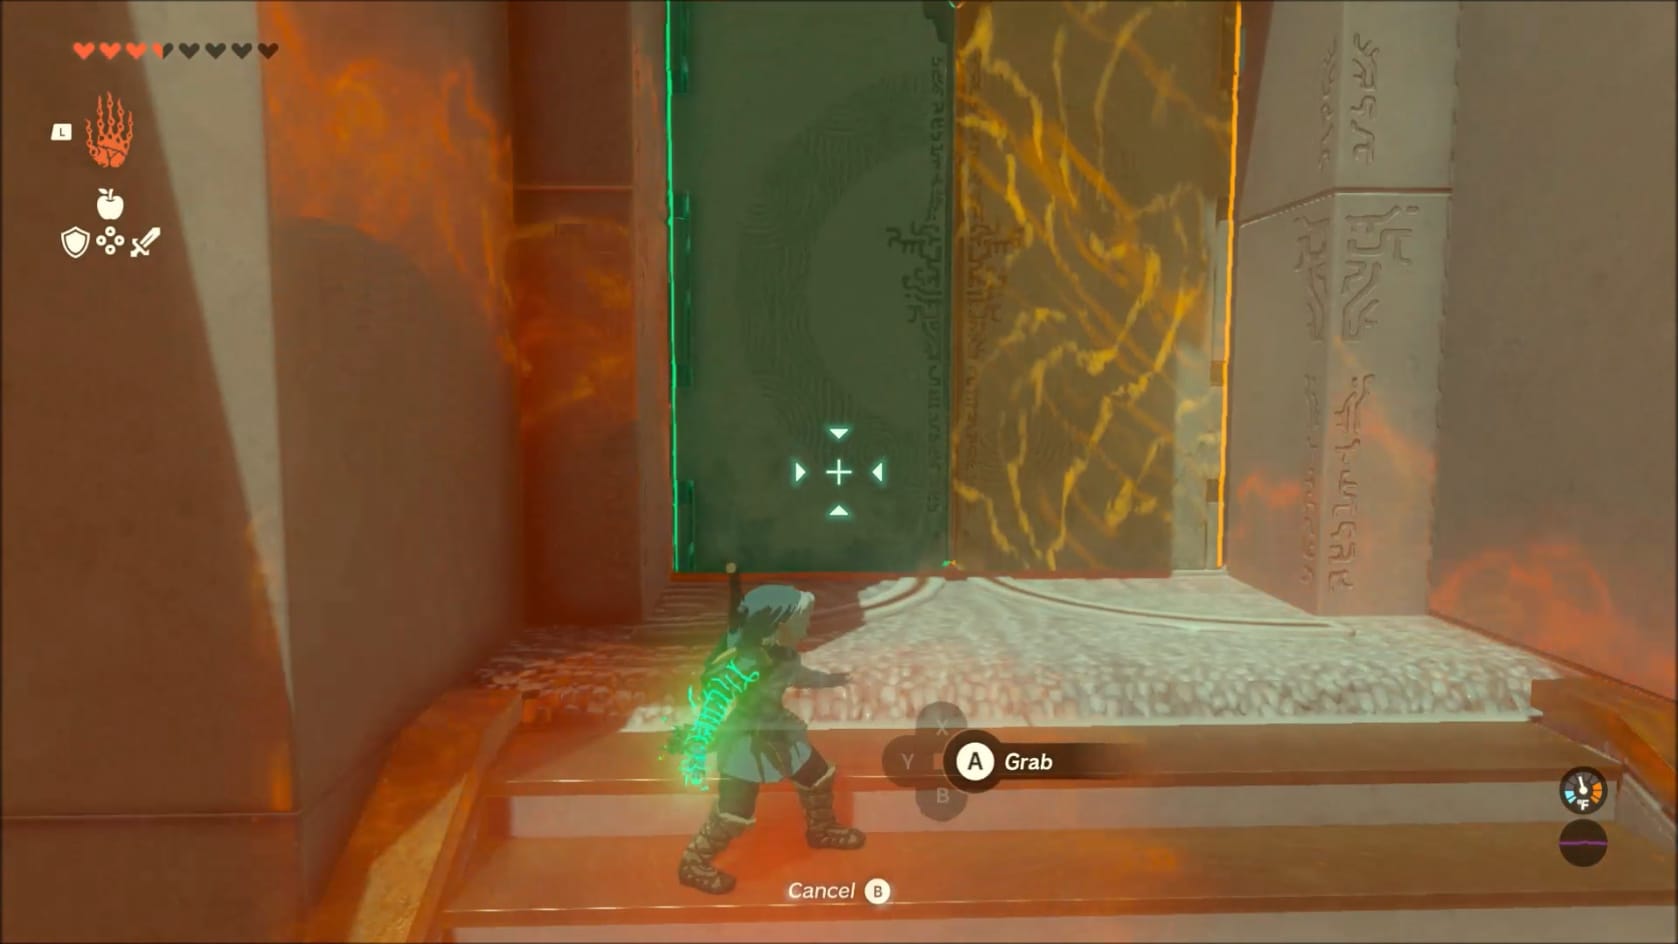
This will give you access to a center chamber.
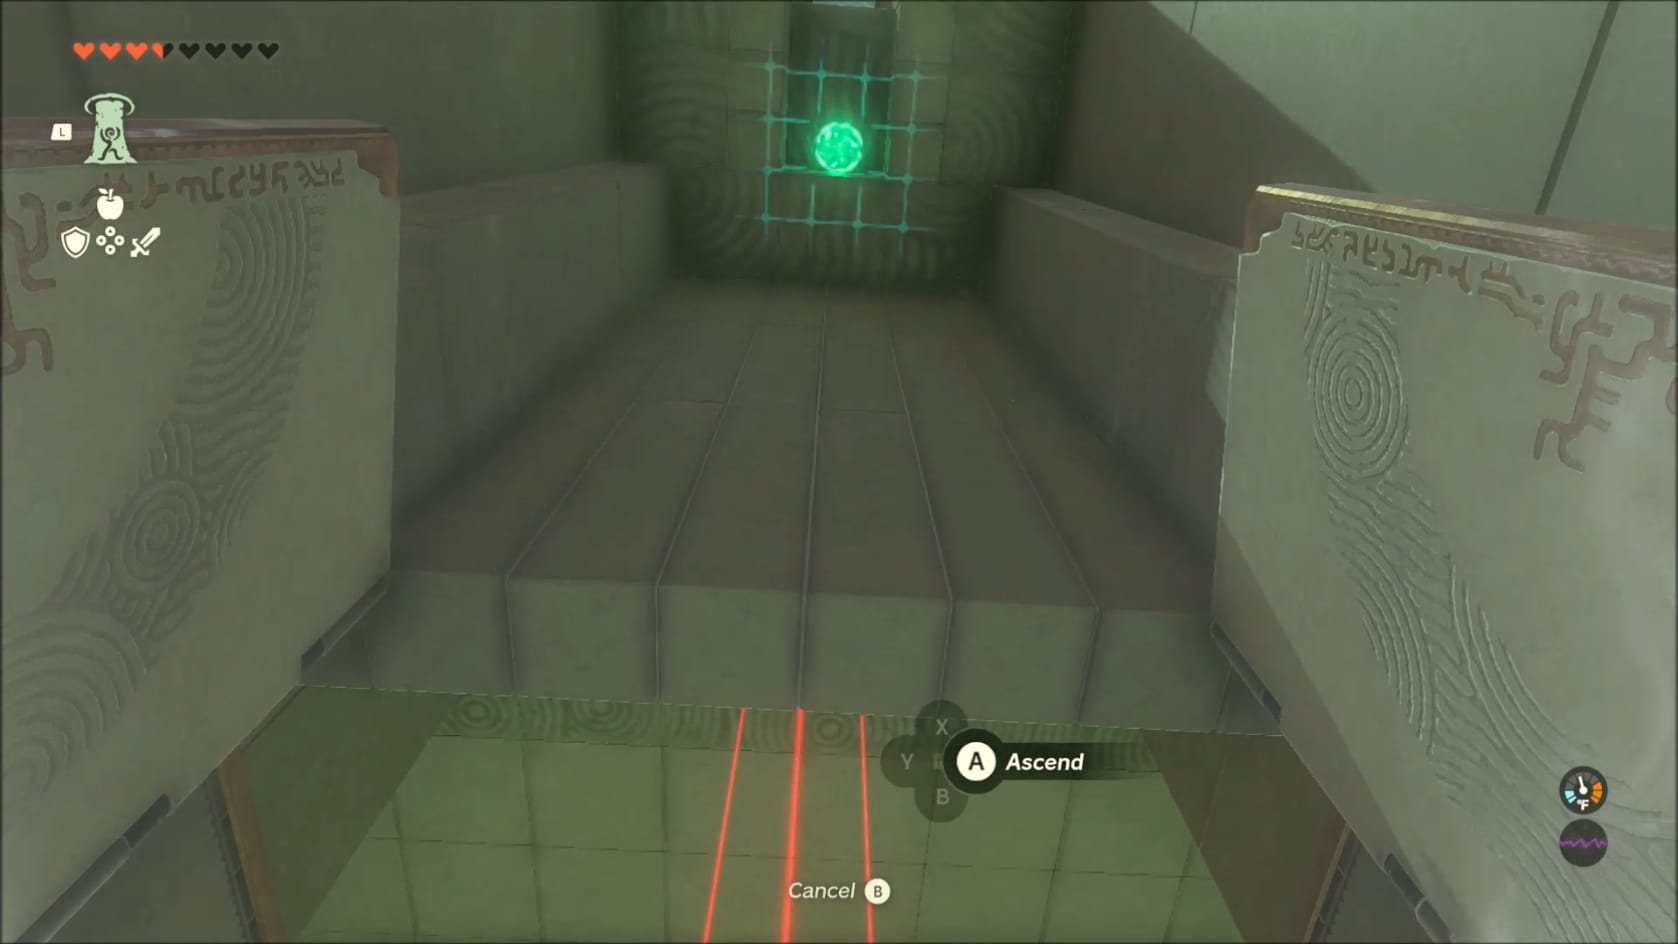
But for the moment, you will want to use Ascend to get to the rooftop of the center structure.
Finding the Sphere
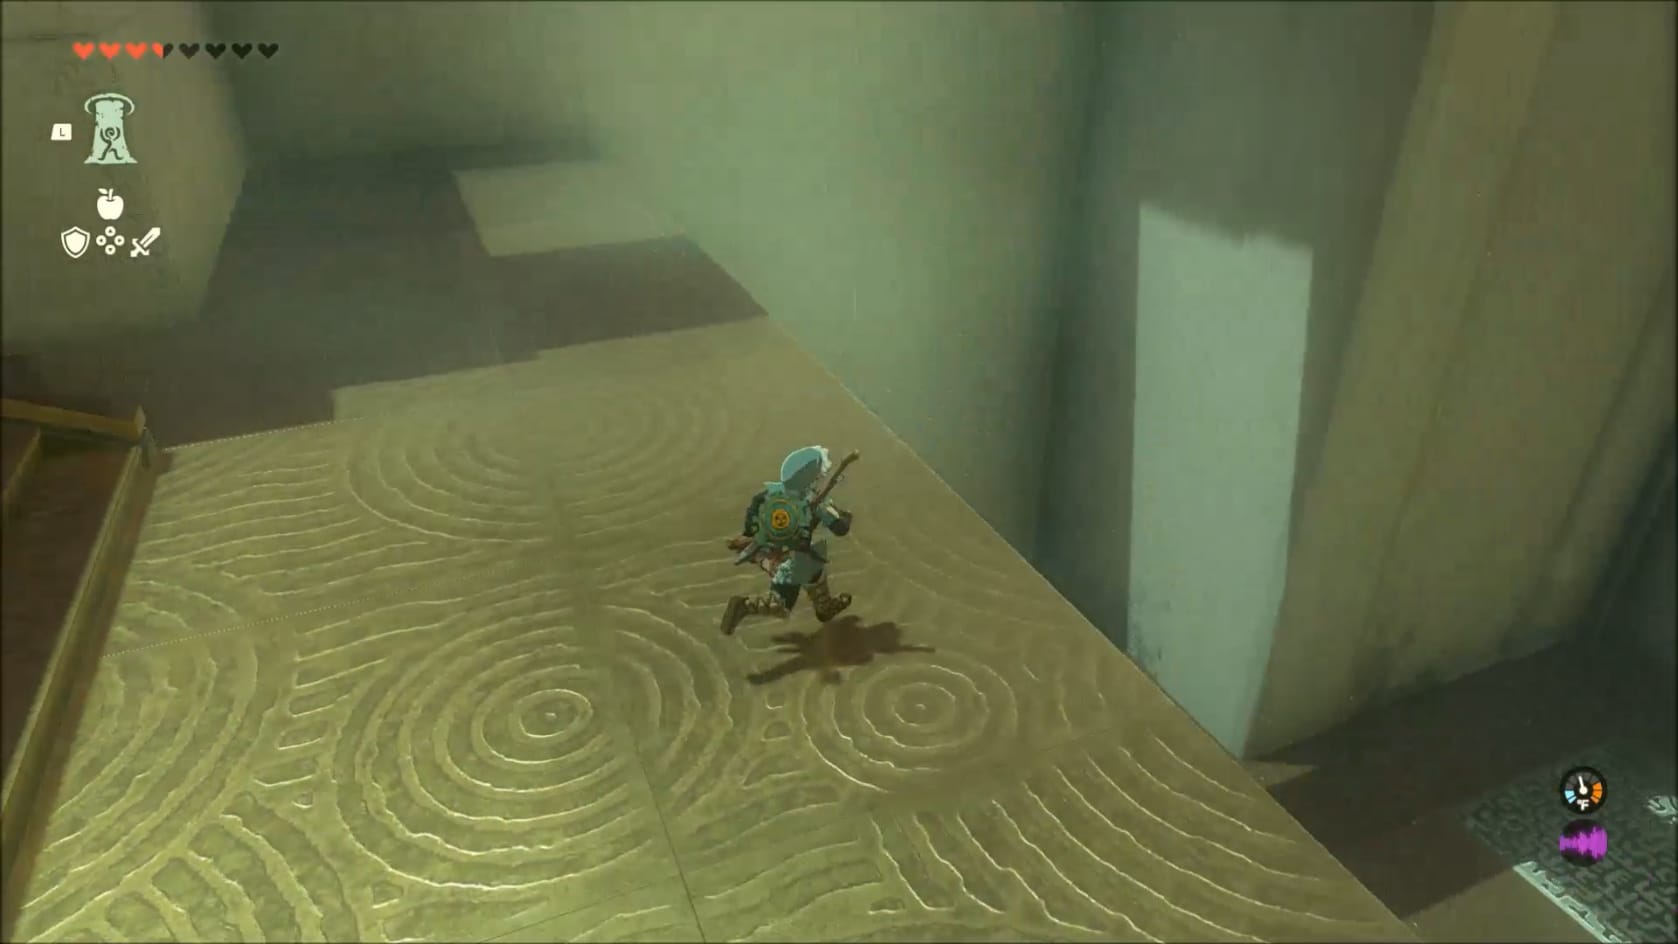
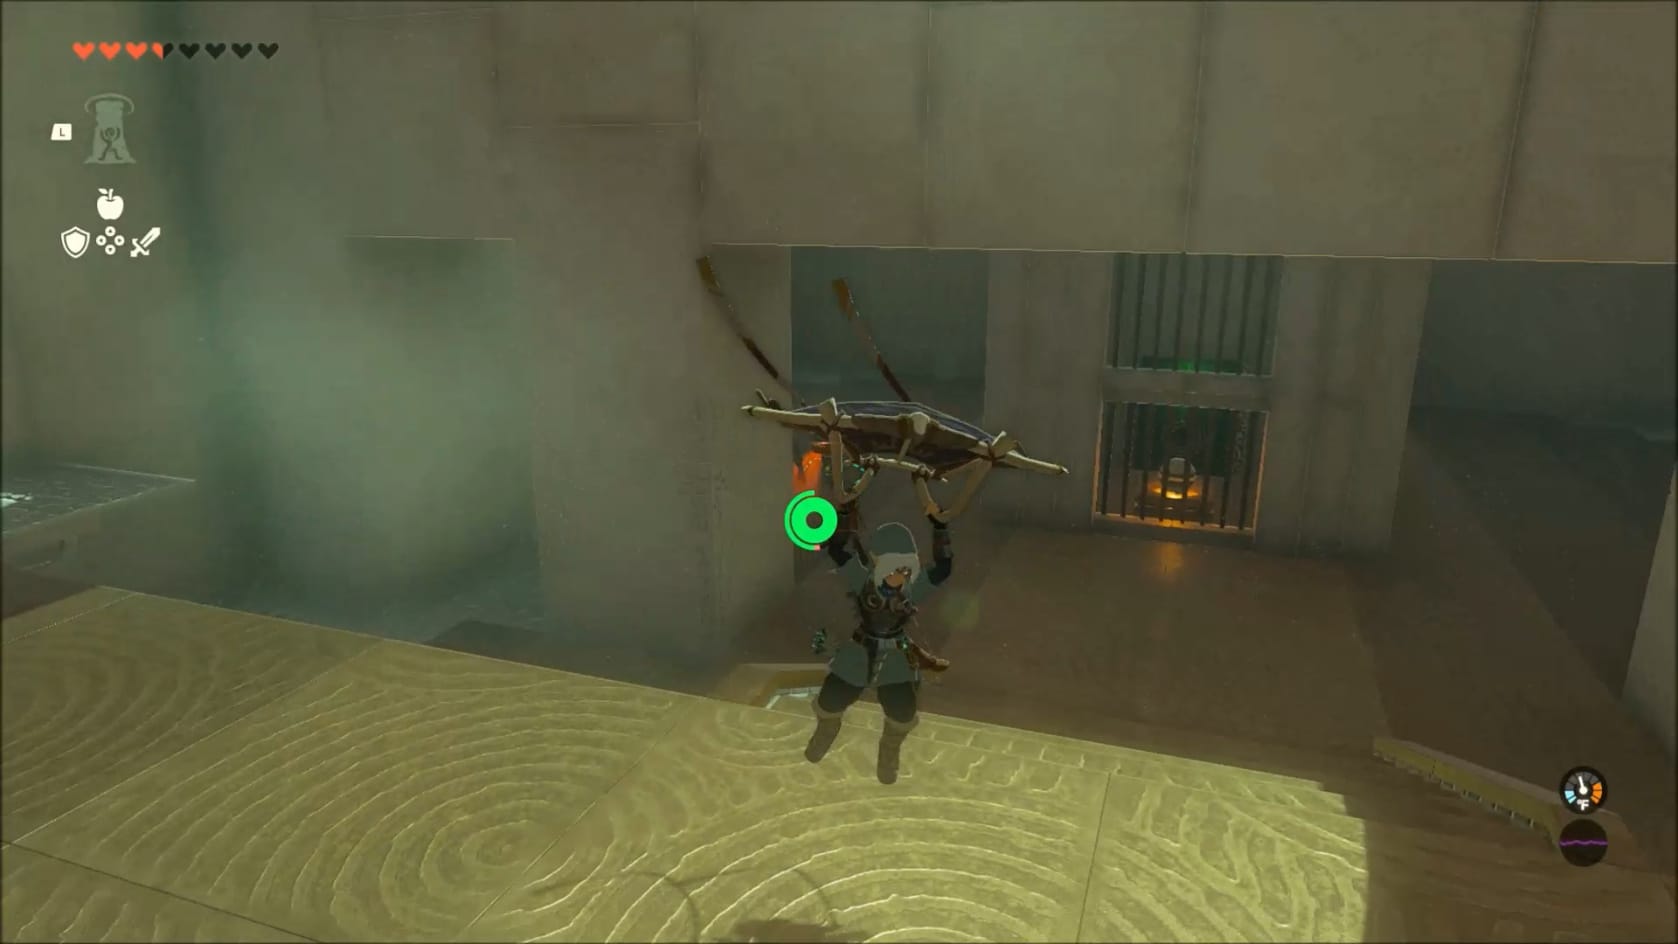
When you get to the top, head for the far side and drop down into the area below. Drop down to the floor below. This area has a section below the structure. This is where you’ll want to go. Slip in here to find another pair of Soldier Construct II. There is 1 on each side. Here, you can find a Small Sphere inside a Locked Chamber. To get in, you will need a Key.
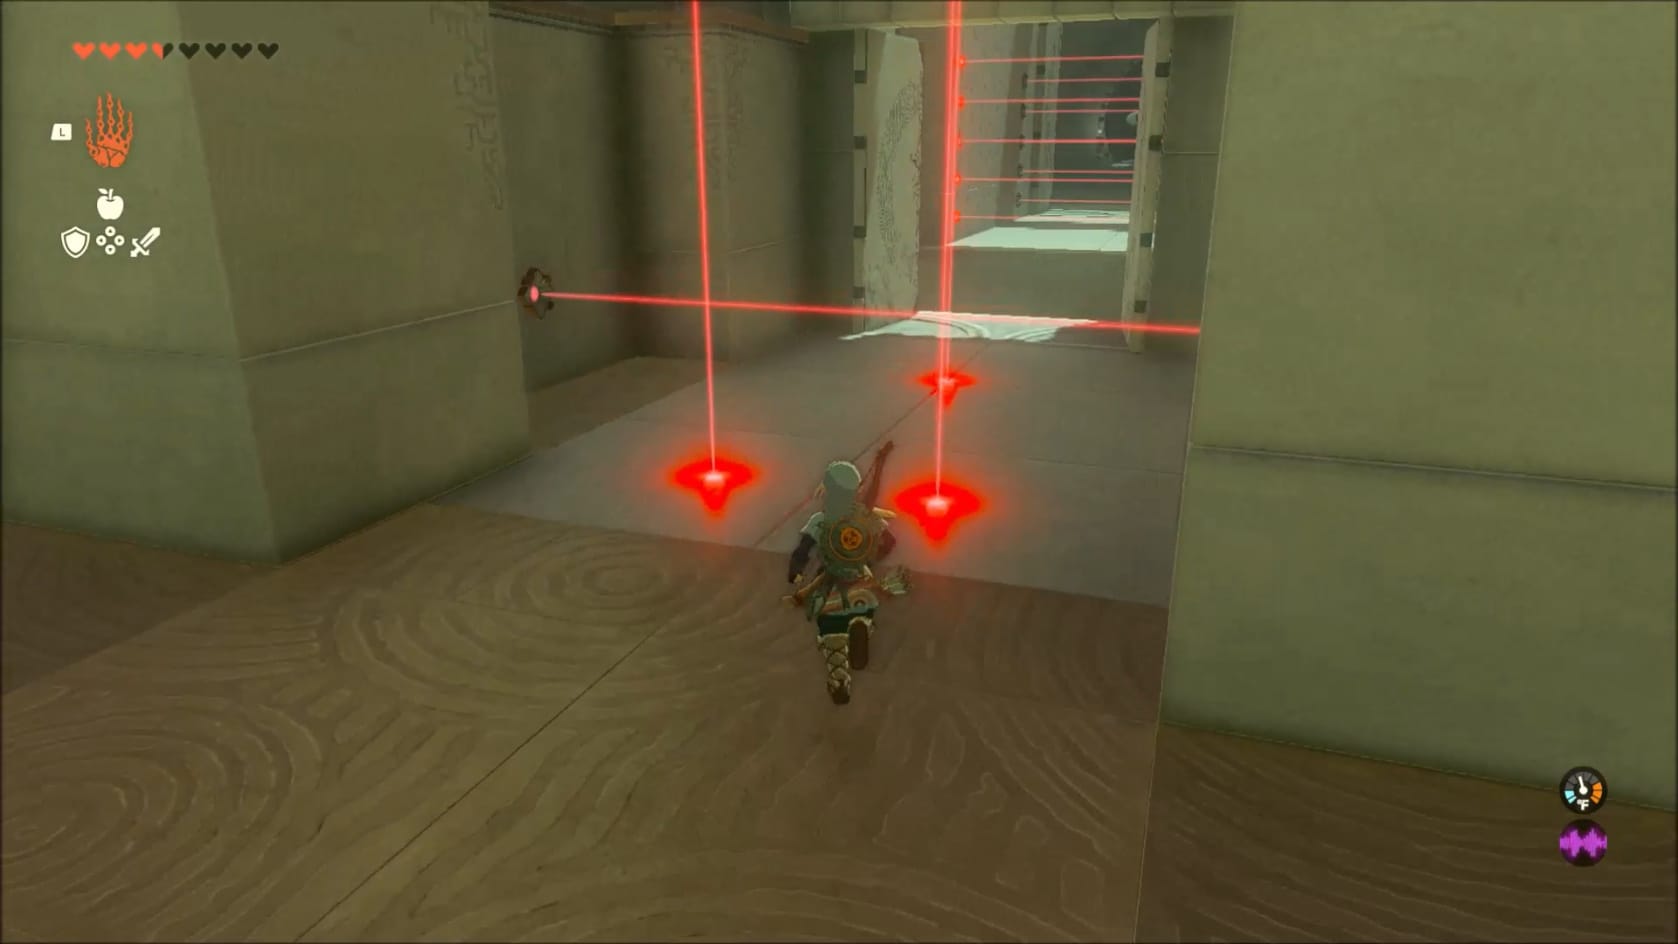
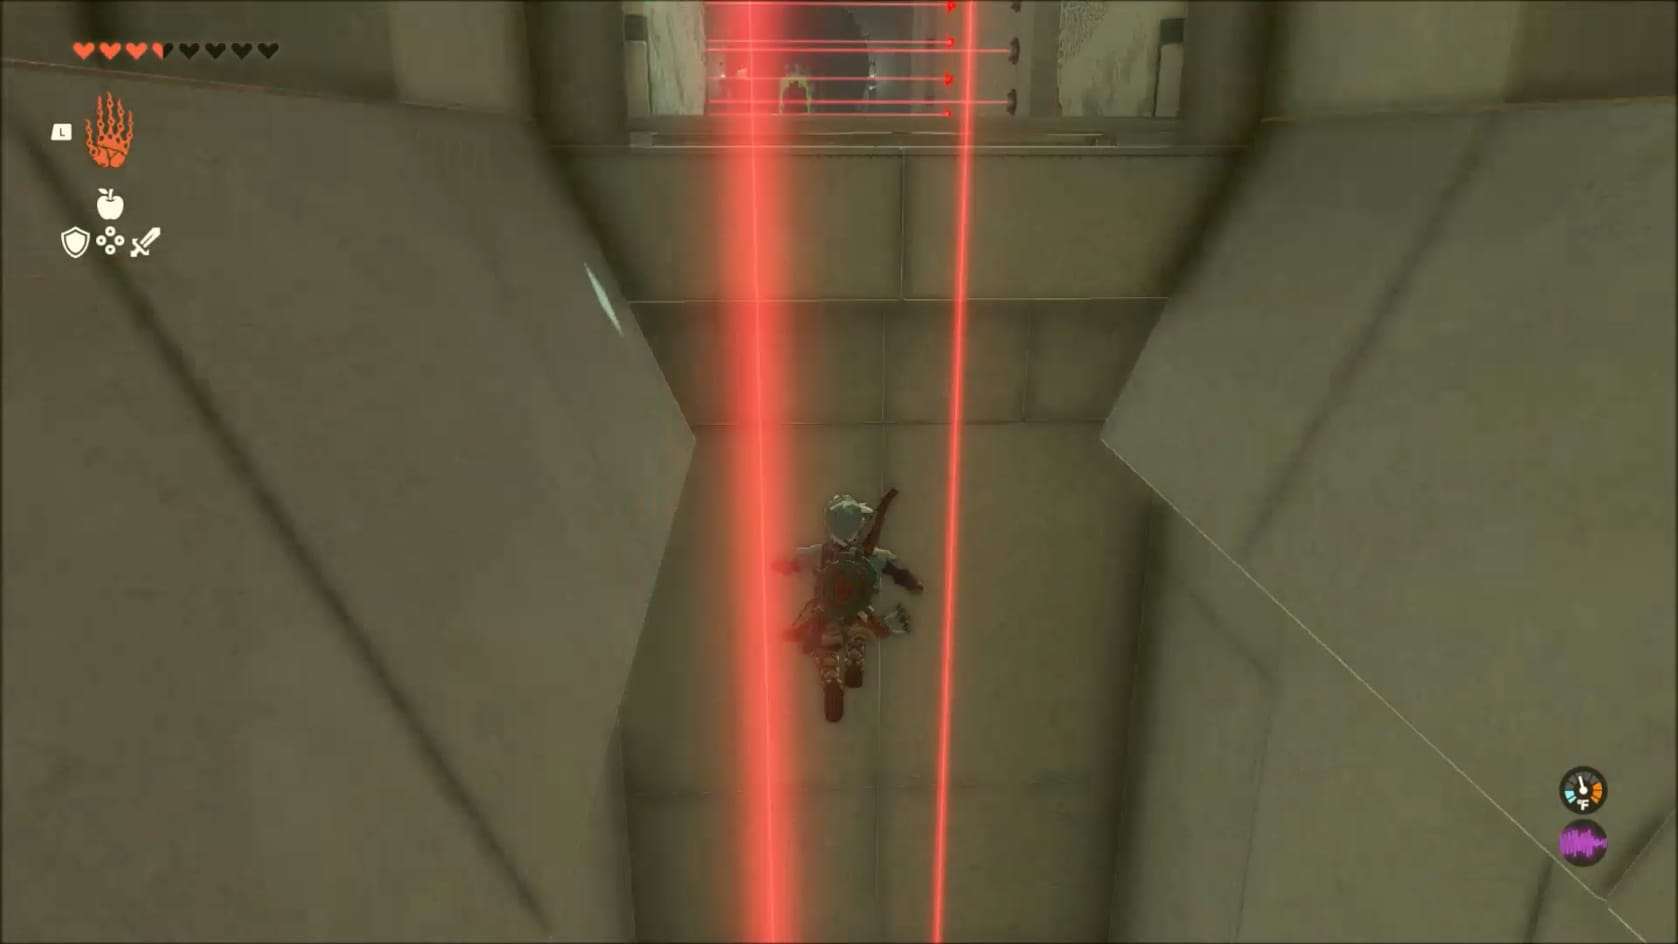
Dropping down into the lowest area
To this end, you need to get into the area below this center structure. Either you can head to the right-hand side of the lower area for an entrance or go toward the first doors you open and step into one of the laser beams.
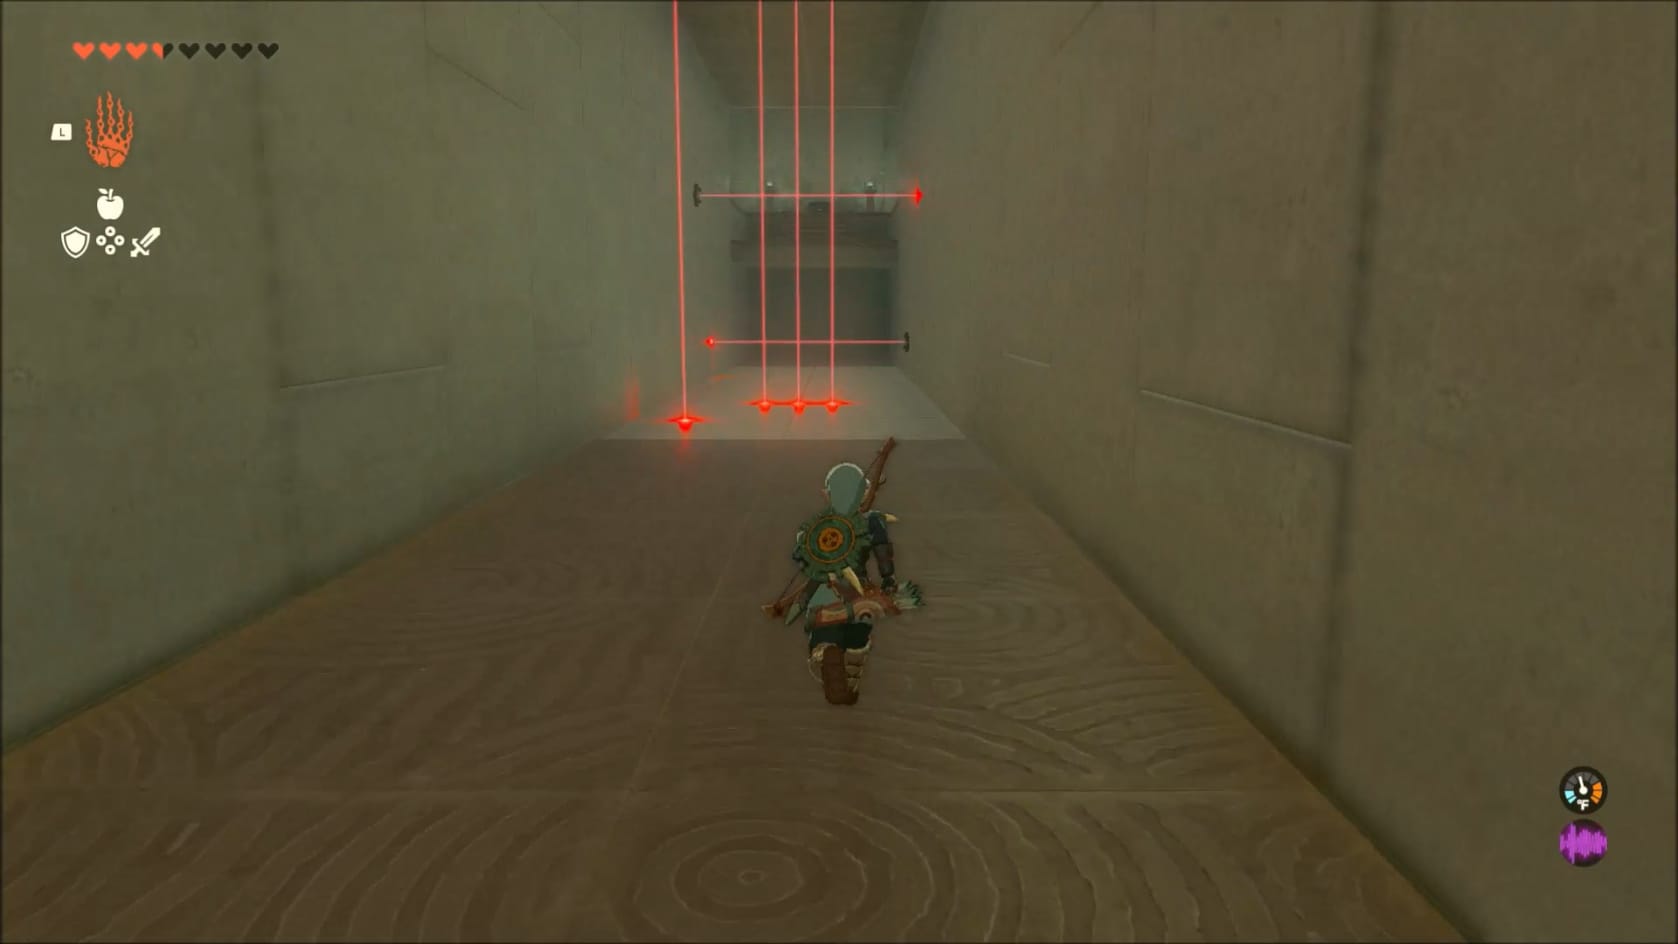
These lasers will drop Link down into the area below the center structure. Turn around and head down the corridor there. You will see a set of 6 lasers. 3 vertical ones in the middle are stationary. The 1 vertical up front moves left to right. There are 2 in the back that move up and down with horizontal beams on opposite sides.
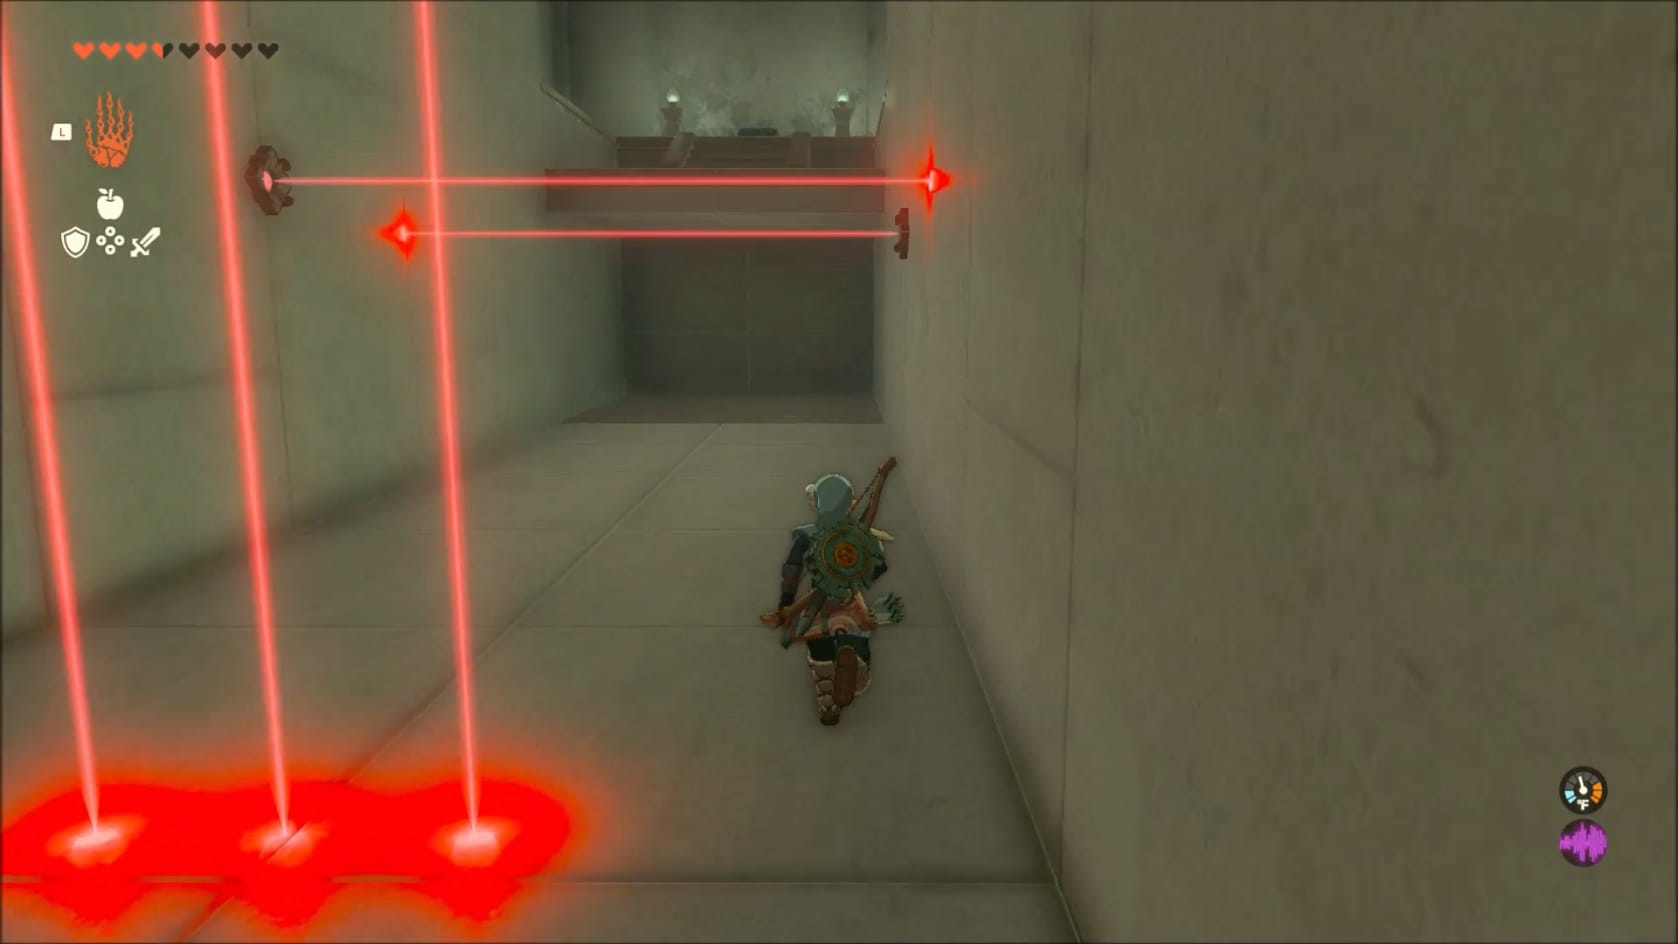
Carefully move to the side as the first laser beam moves out of your way. After that, get past the 3 beams in the middle. Watch the back 2 laser beams after that. As each sweeps upward, run past them to reach the far side of this corridor.
Reaching the Small Key
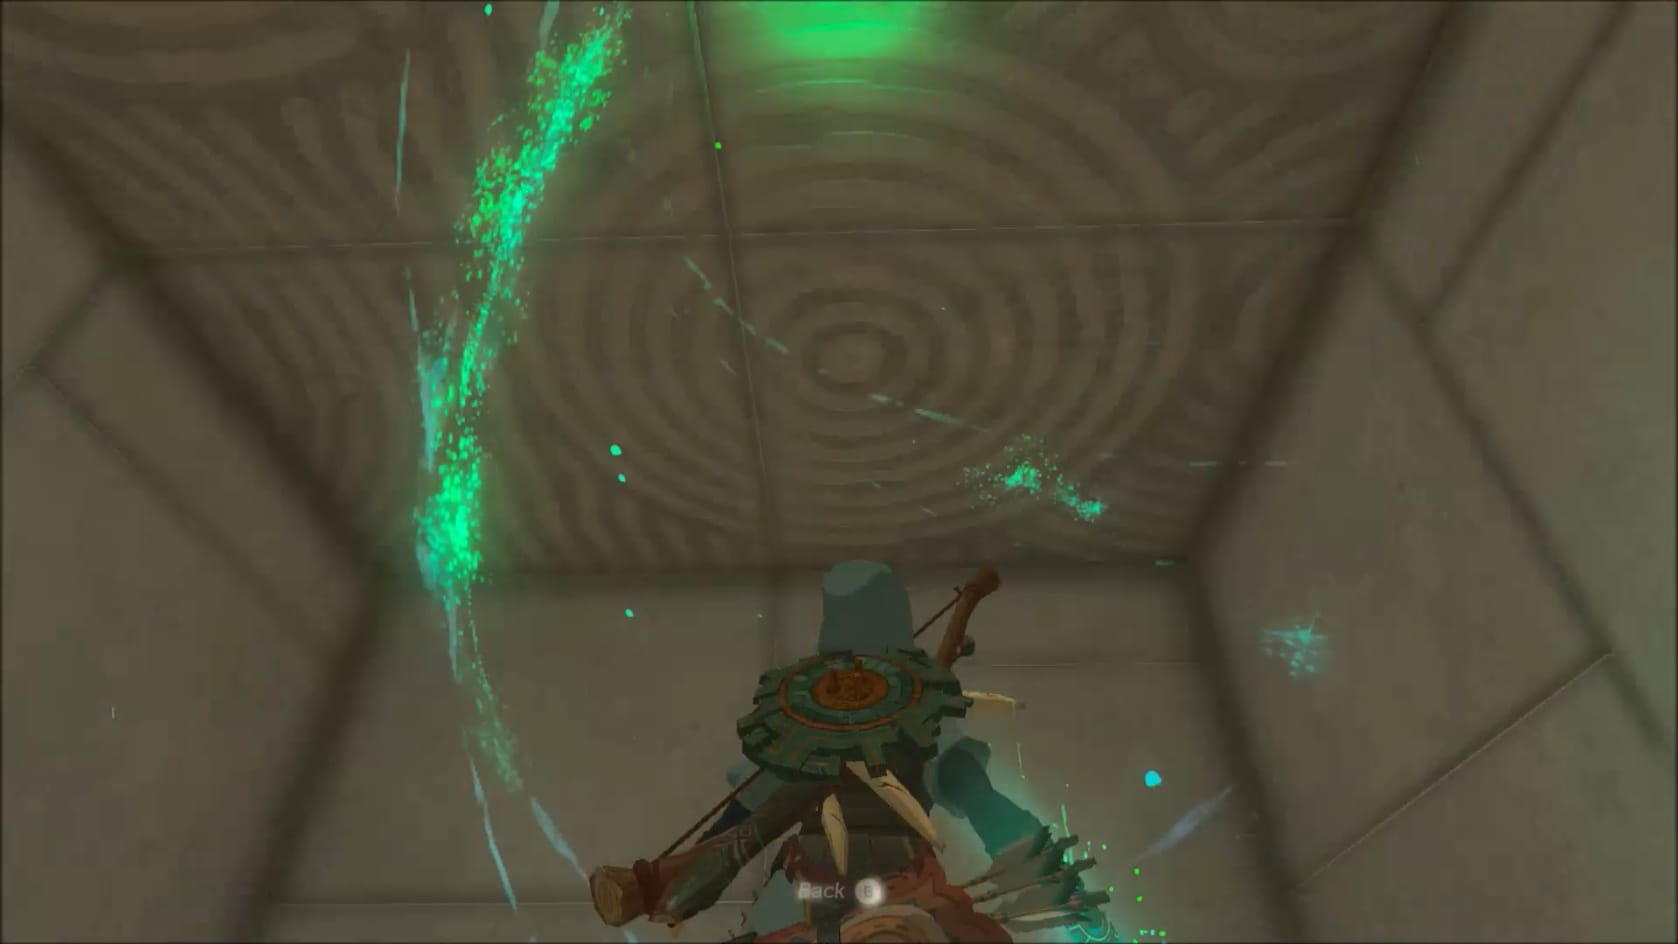
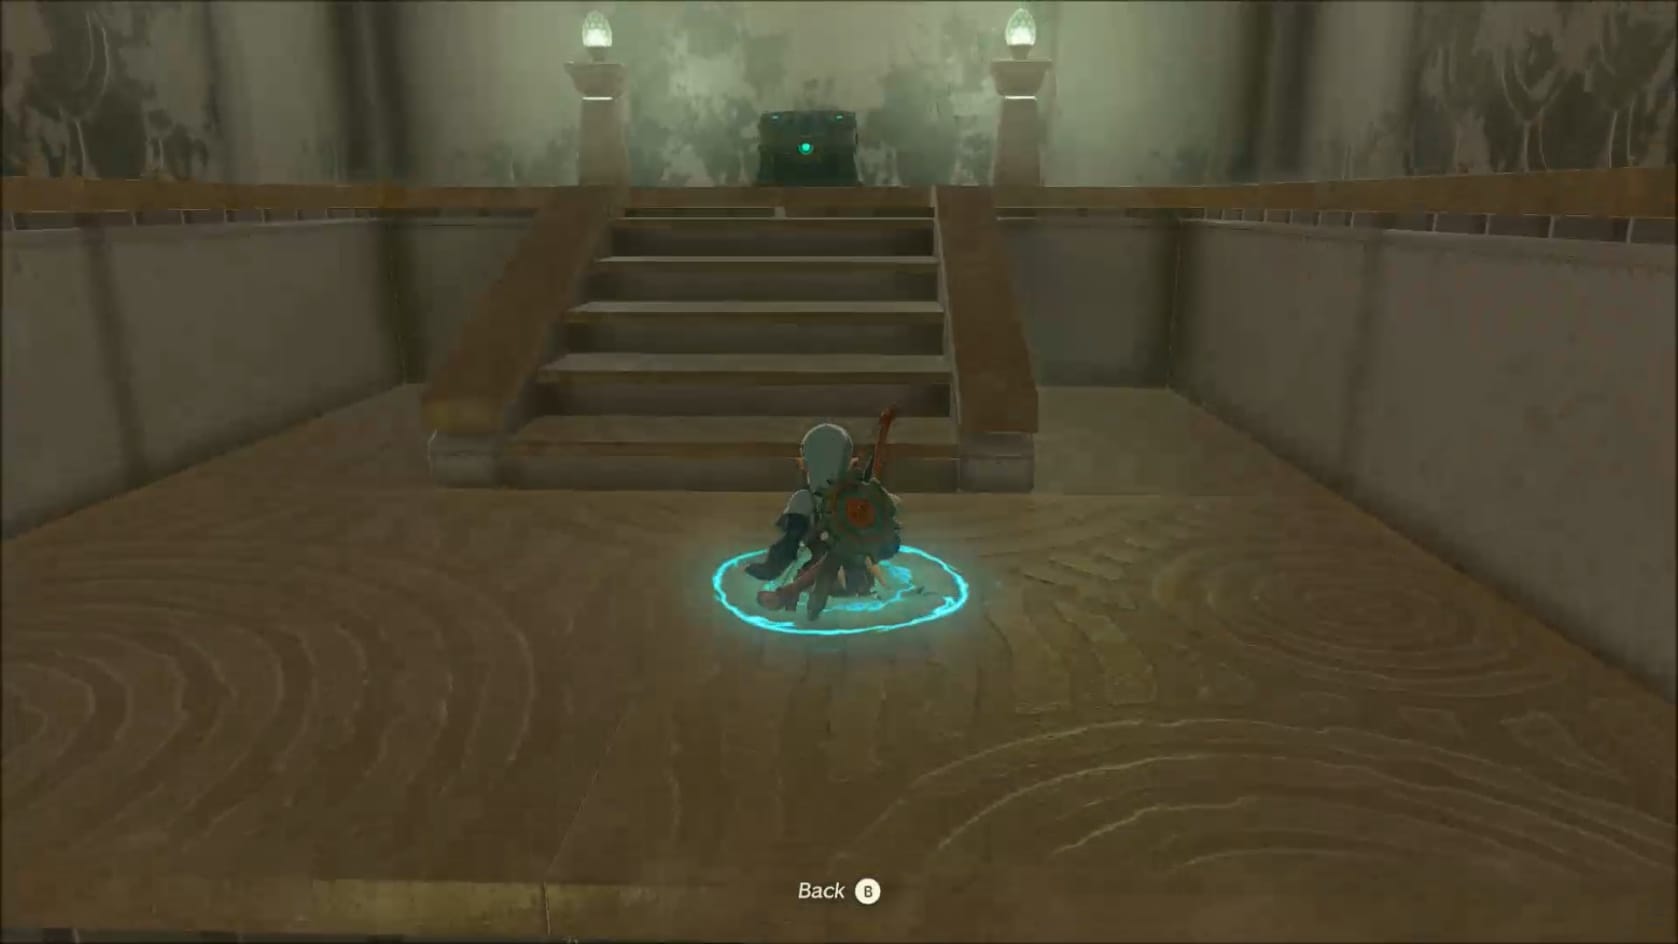
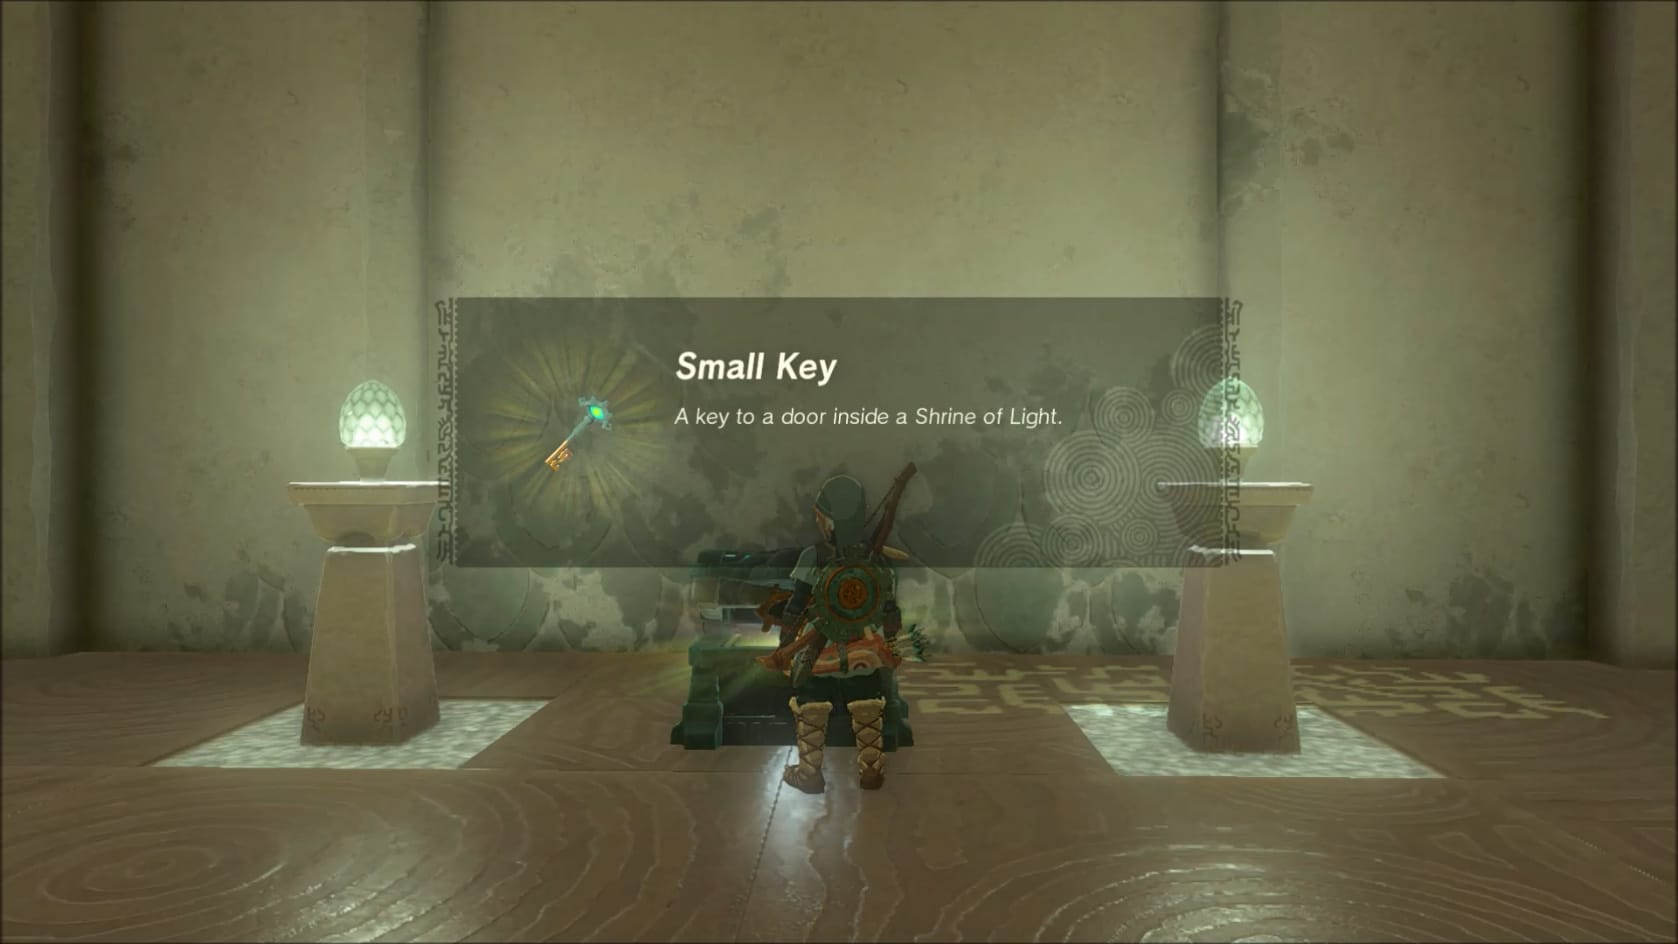
Link is now underneath a ledge. Use Ascend to go up through the ledge above you. Turn toward the stairs. Take the short set of stairs up to reach the Chest that contains a Small Key.
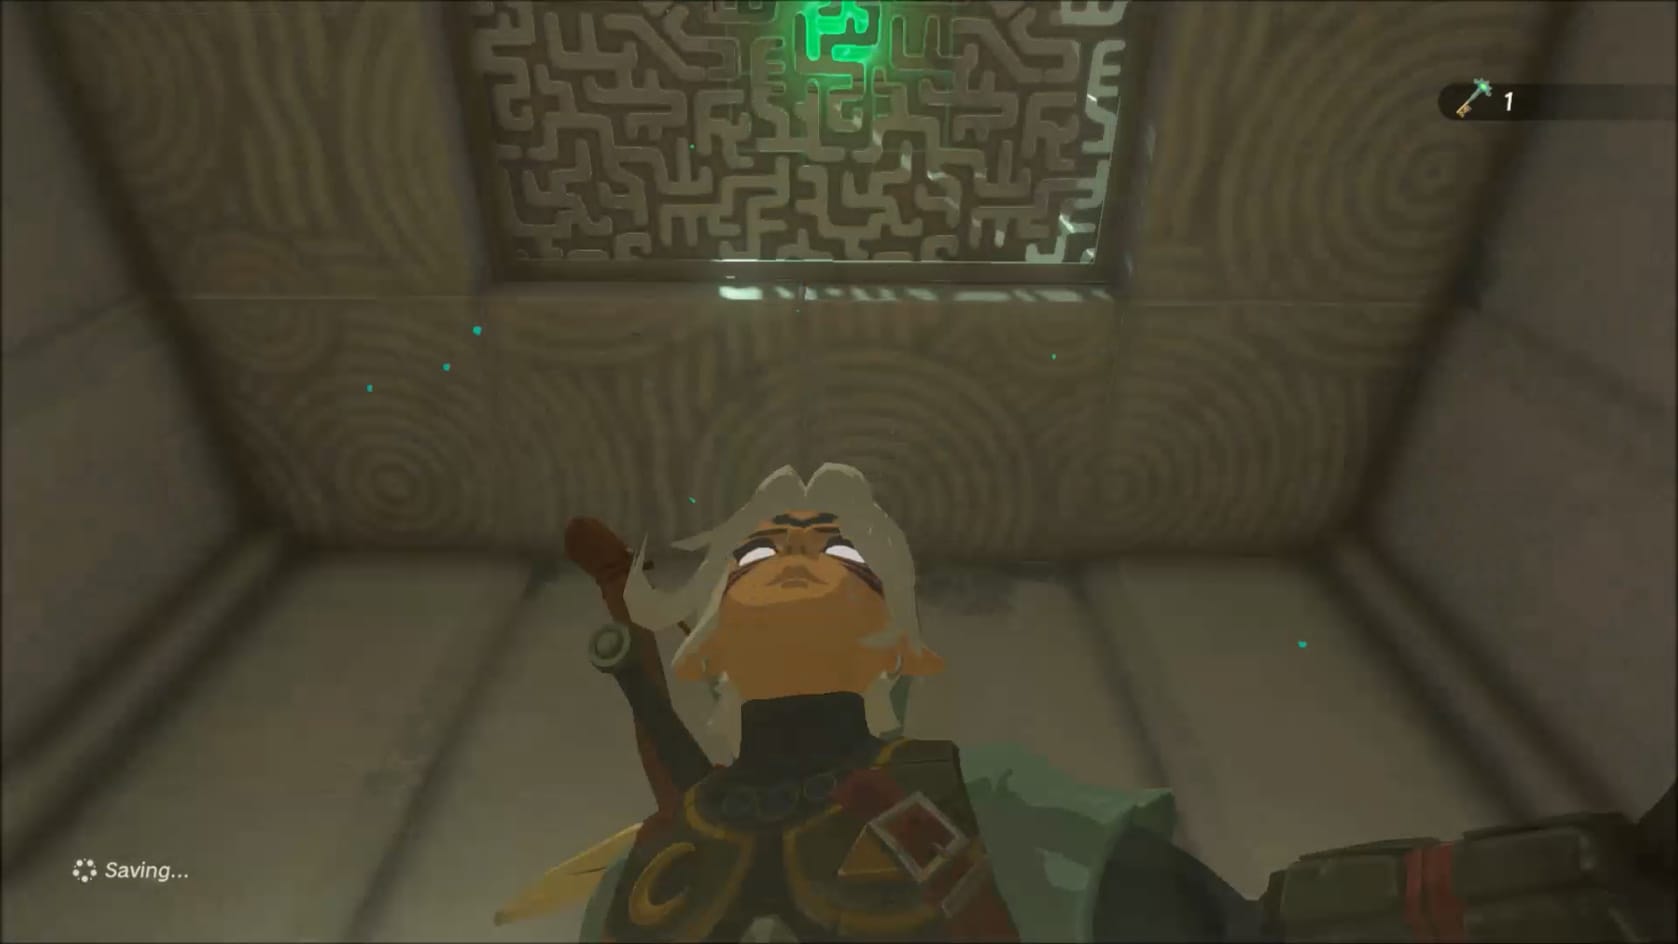
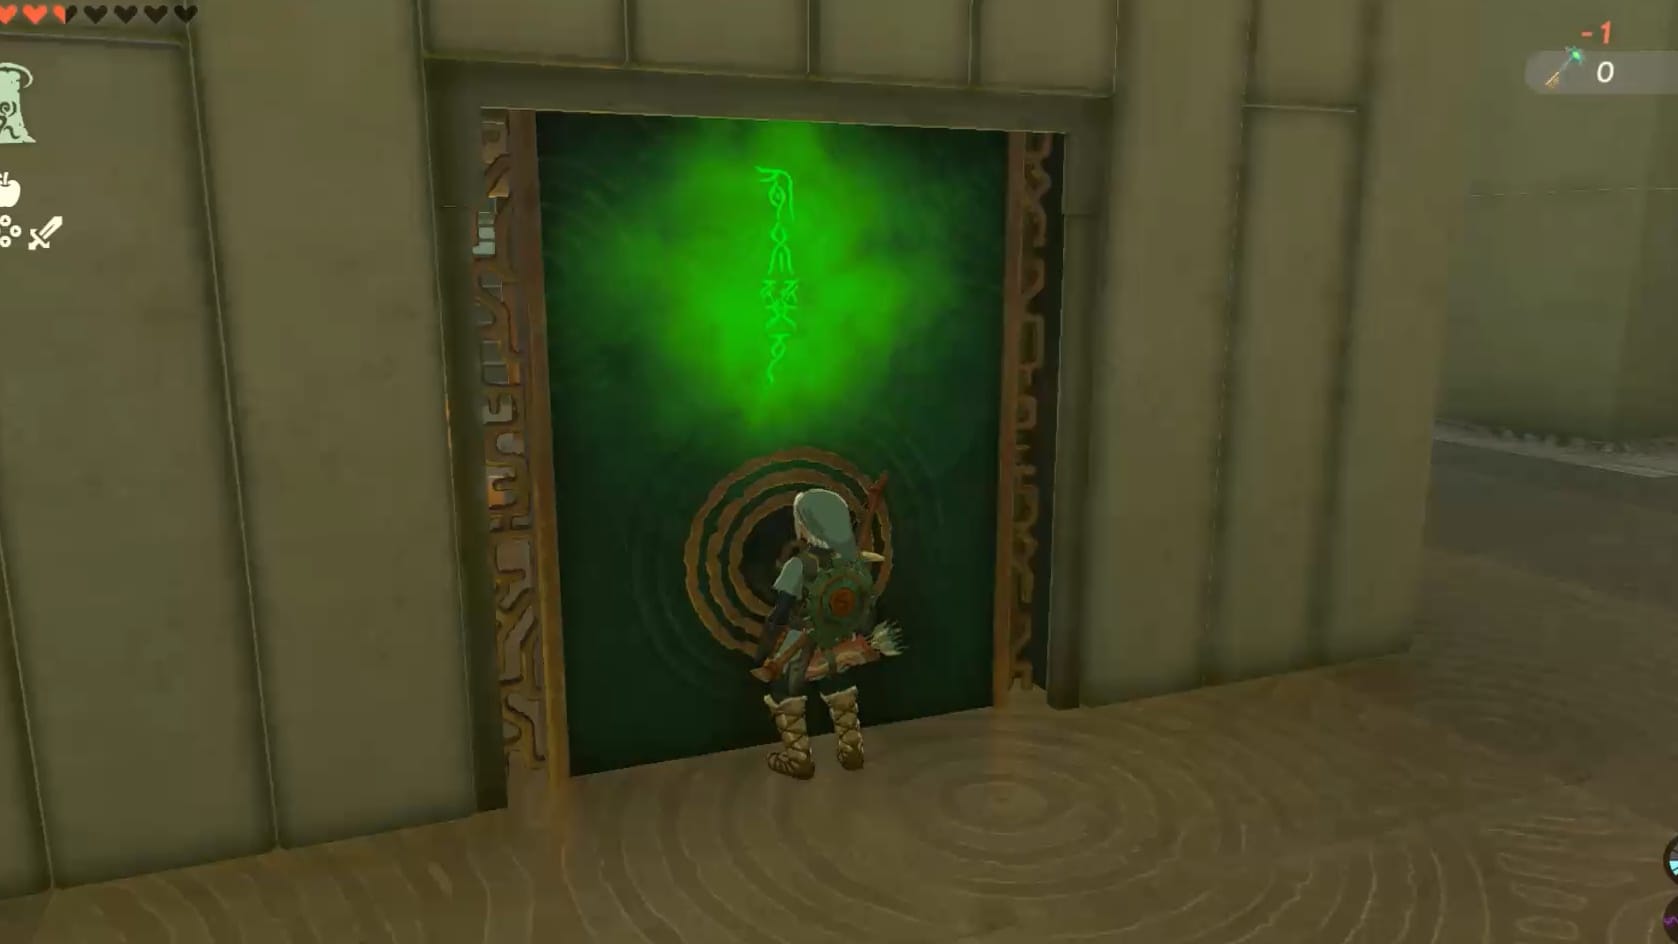
Look above the chest to spot a grate above you. Once again use Ascend to go through the Grate. Take the stairs in front of you down and go over to Lock Door. Interact with it to use the Small Key. This will give Link access to the Small Sphere.
Getting the Sphere up to the rooftop
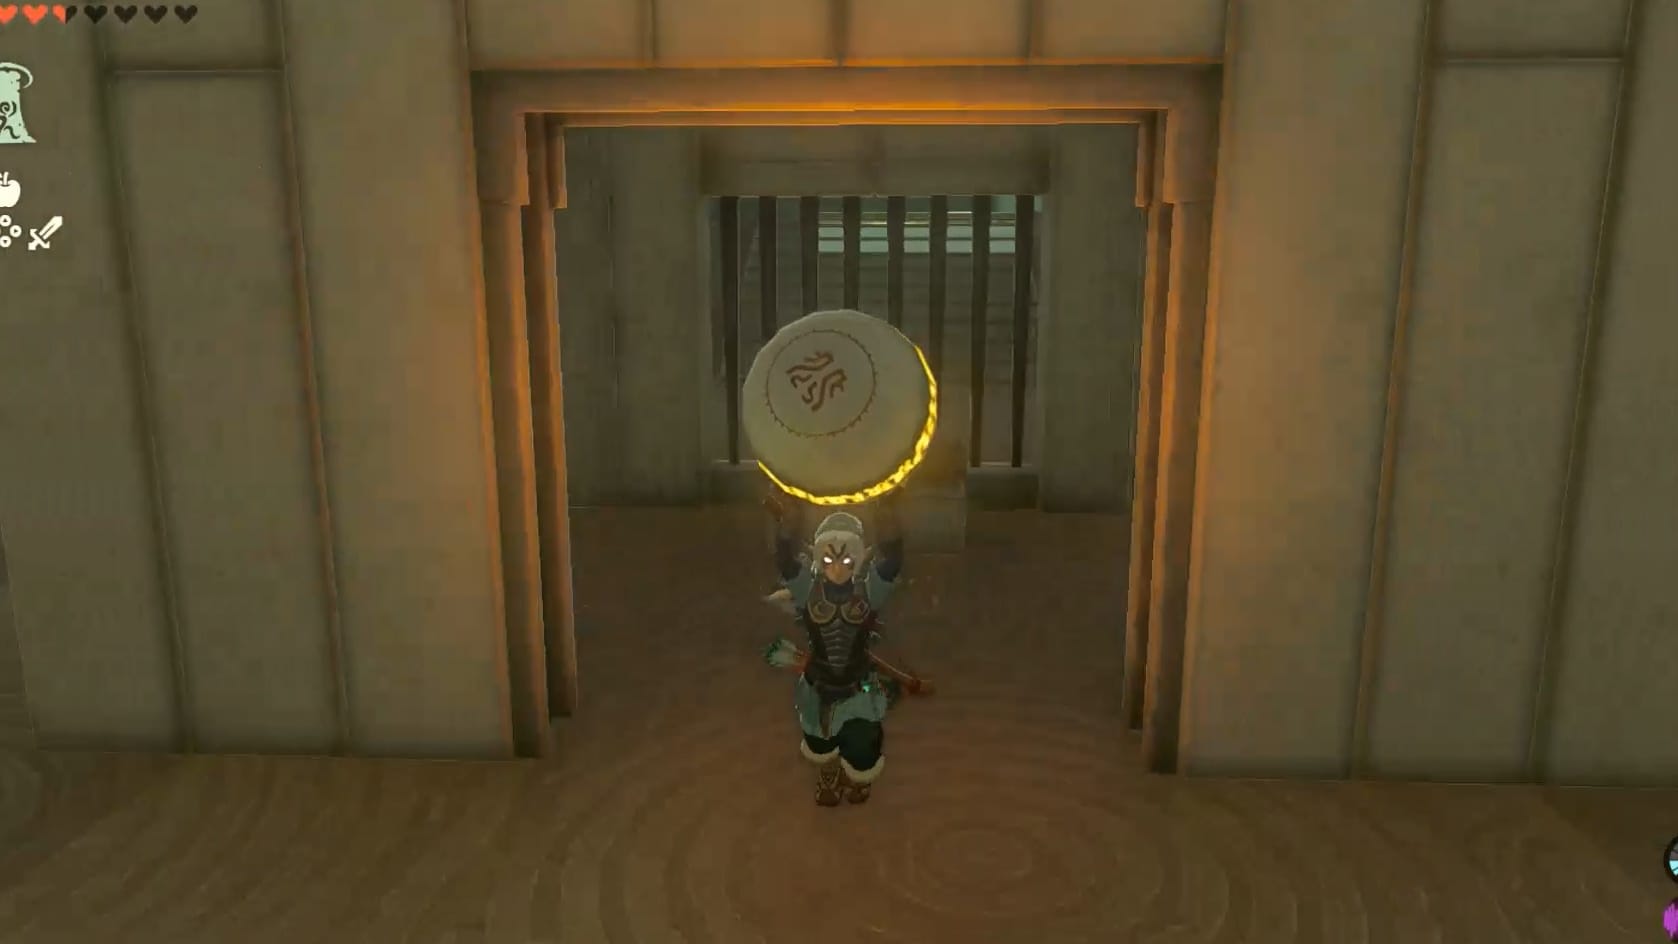
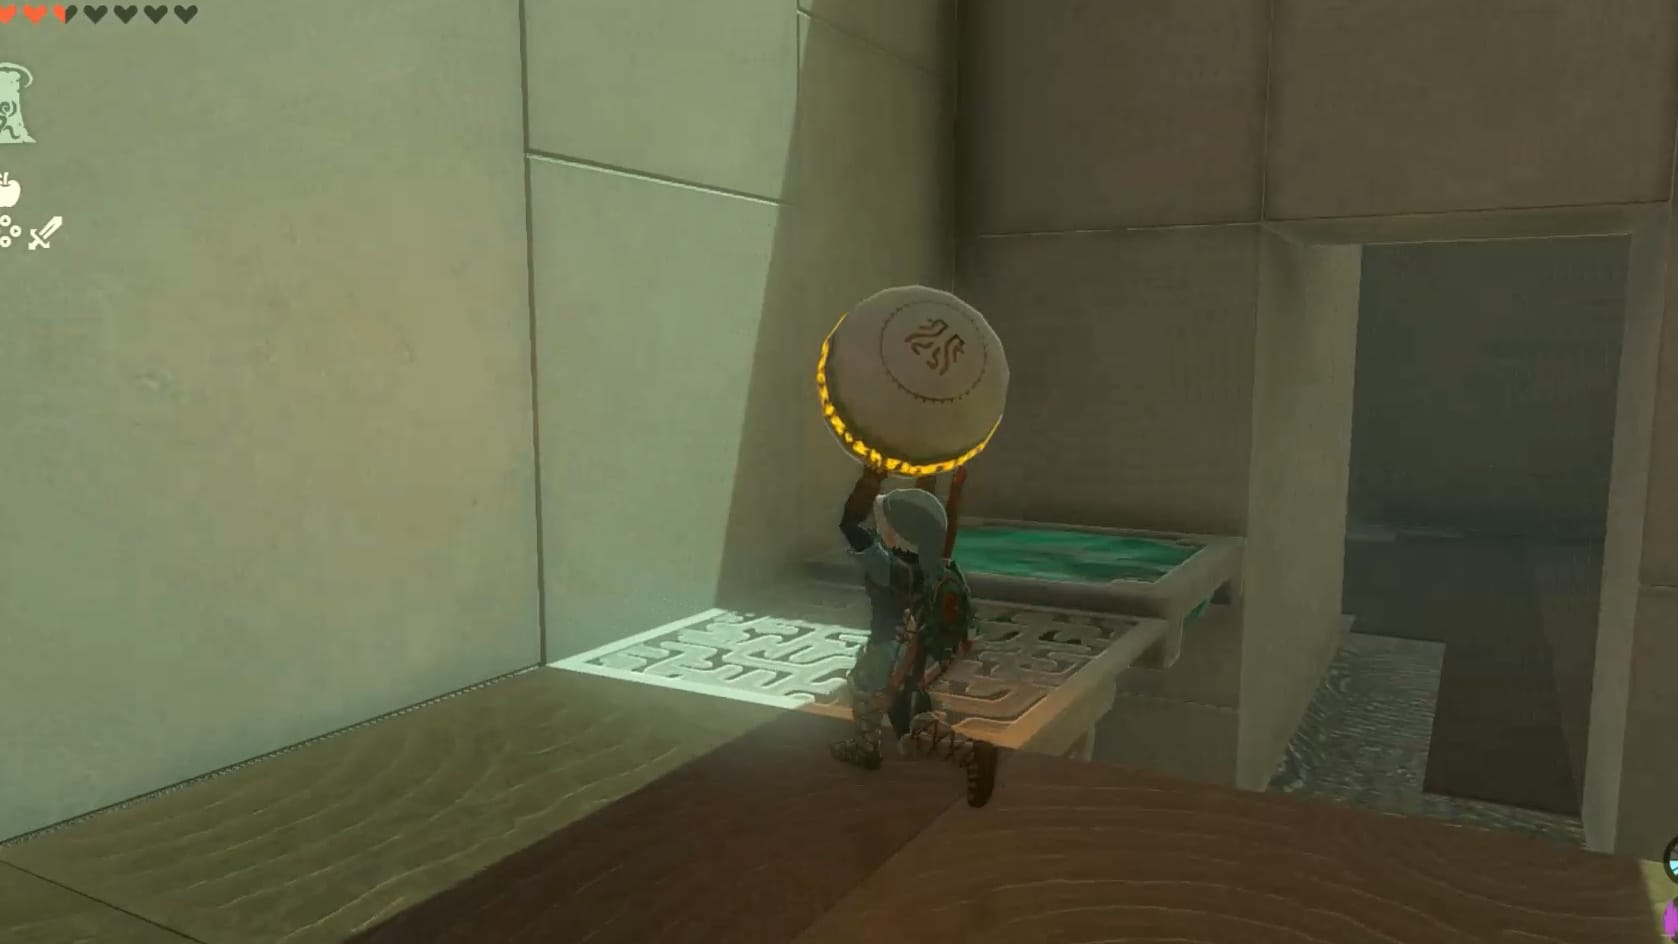
Either pick up the Small Sphere or grab it with Ultrahand. Go up the stairs and then up the ramp. Go to either side and ride the elevator up to the top of the center structure.
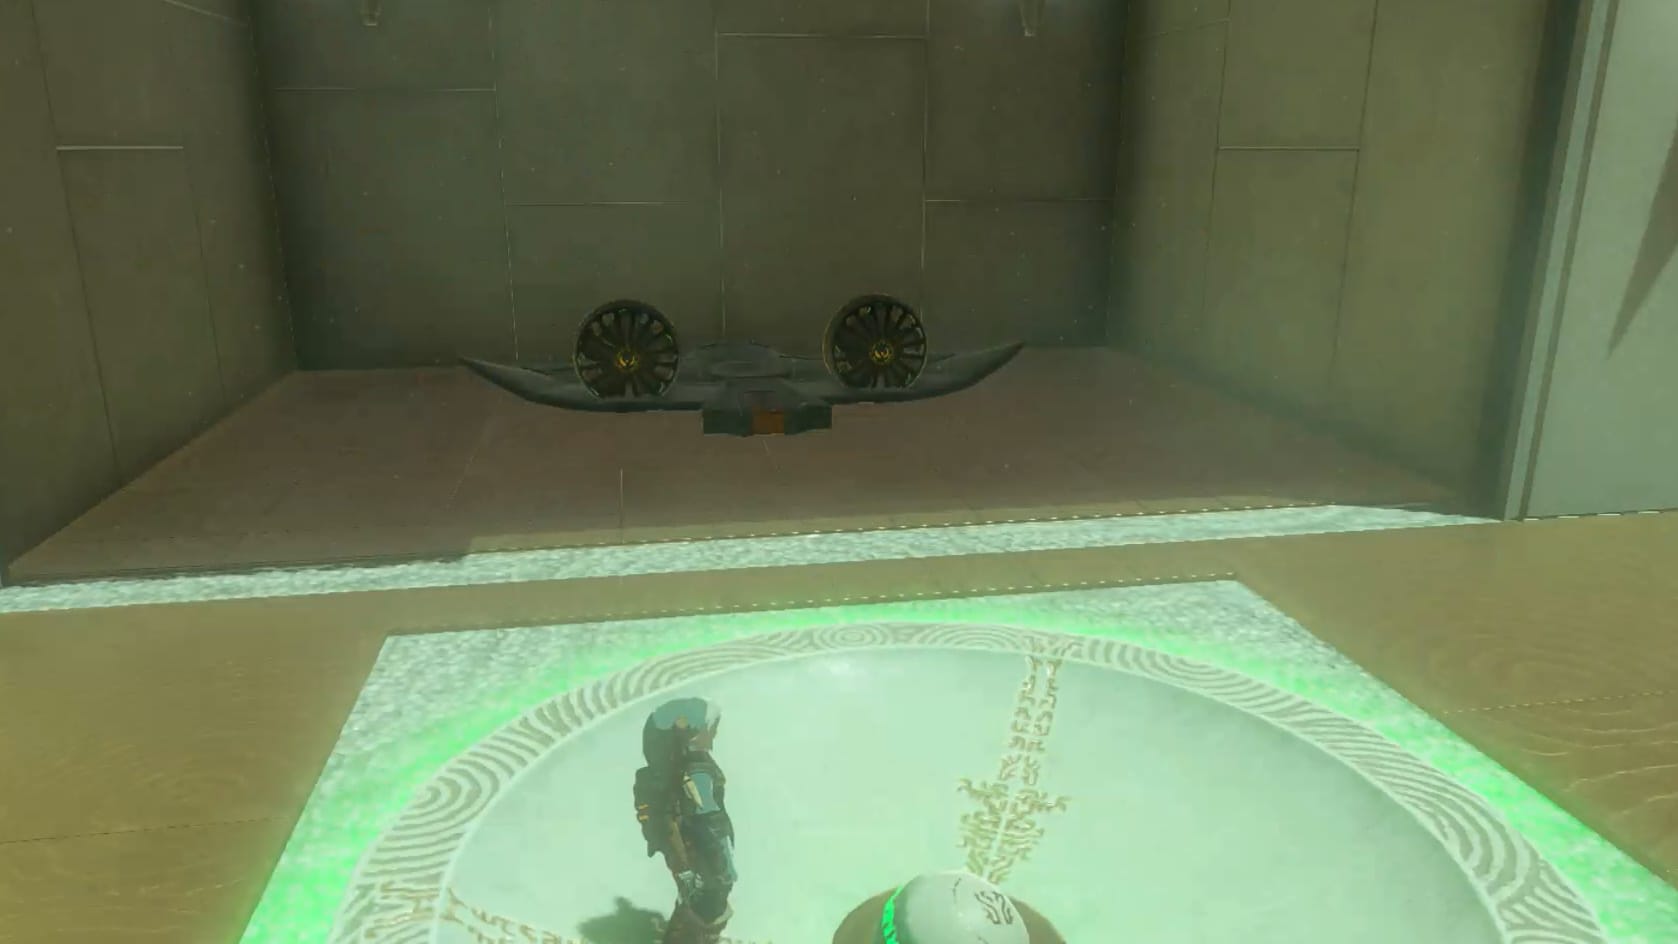
Getting to the Zonai Glider
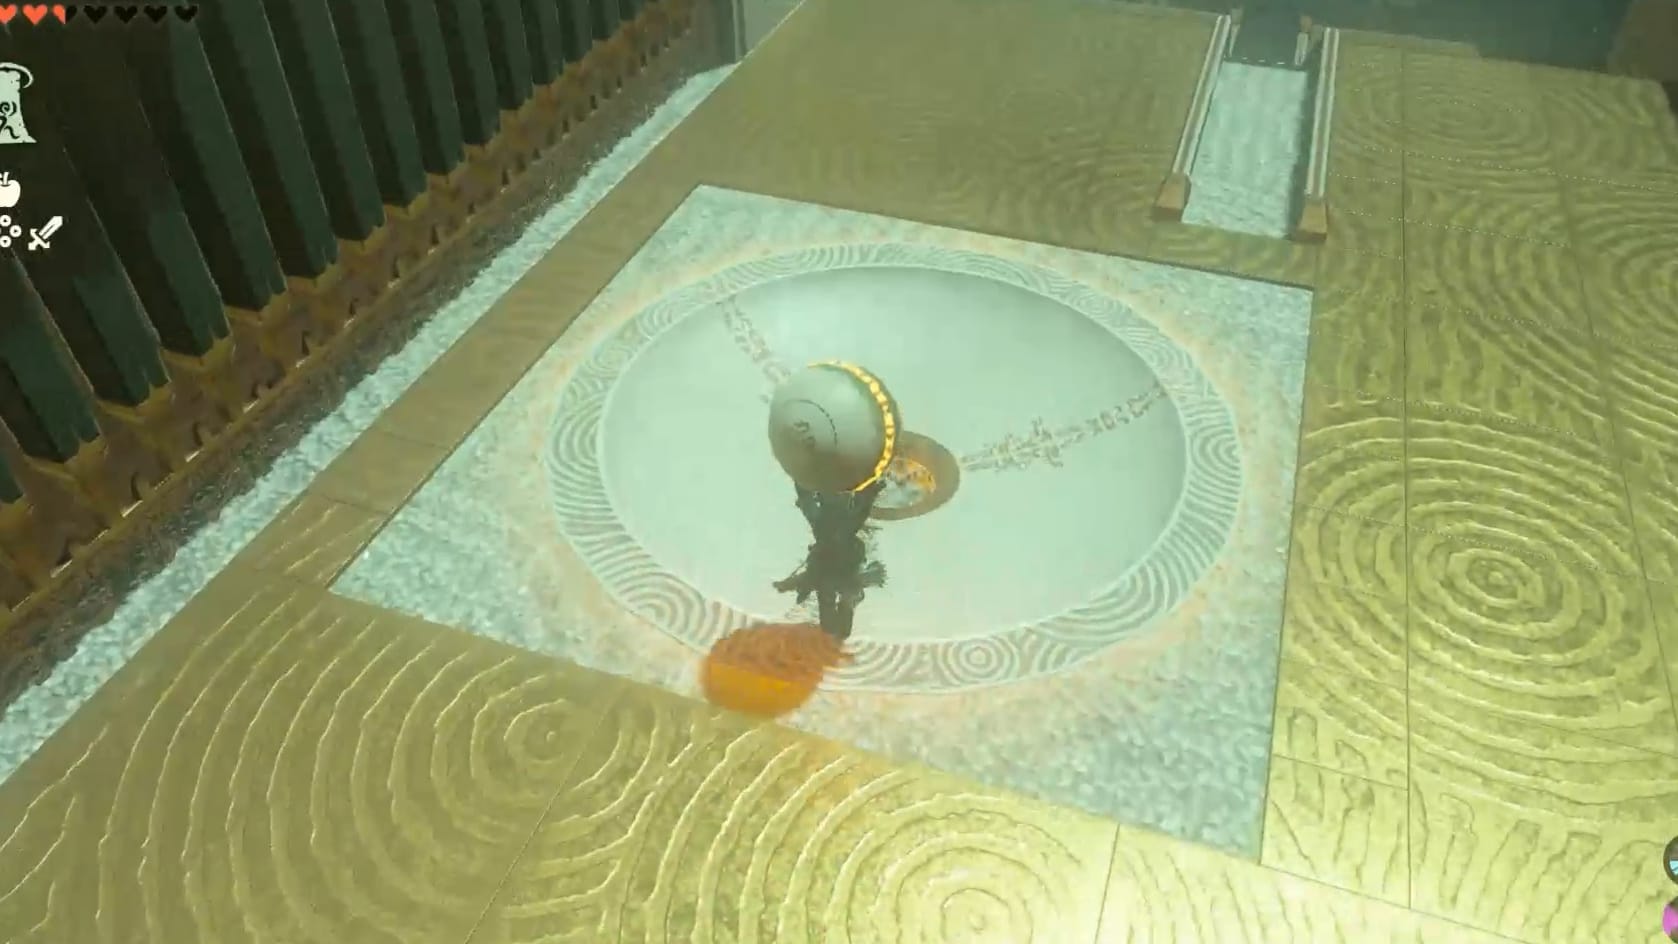
At the top of the structure, head to the receptacle found in the middle. Deposit the Small Sphere there. This will open the gate to the side. There you can reach the Zonai Glider.
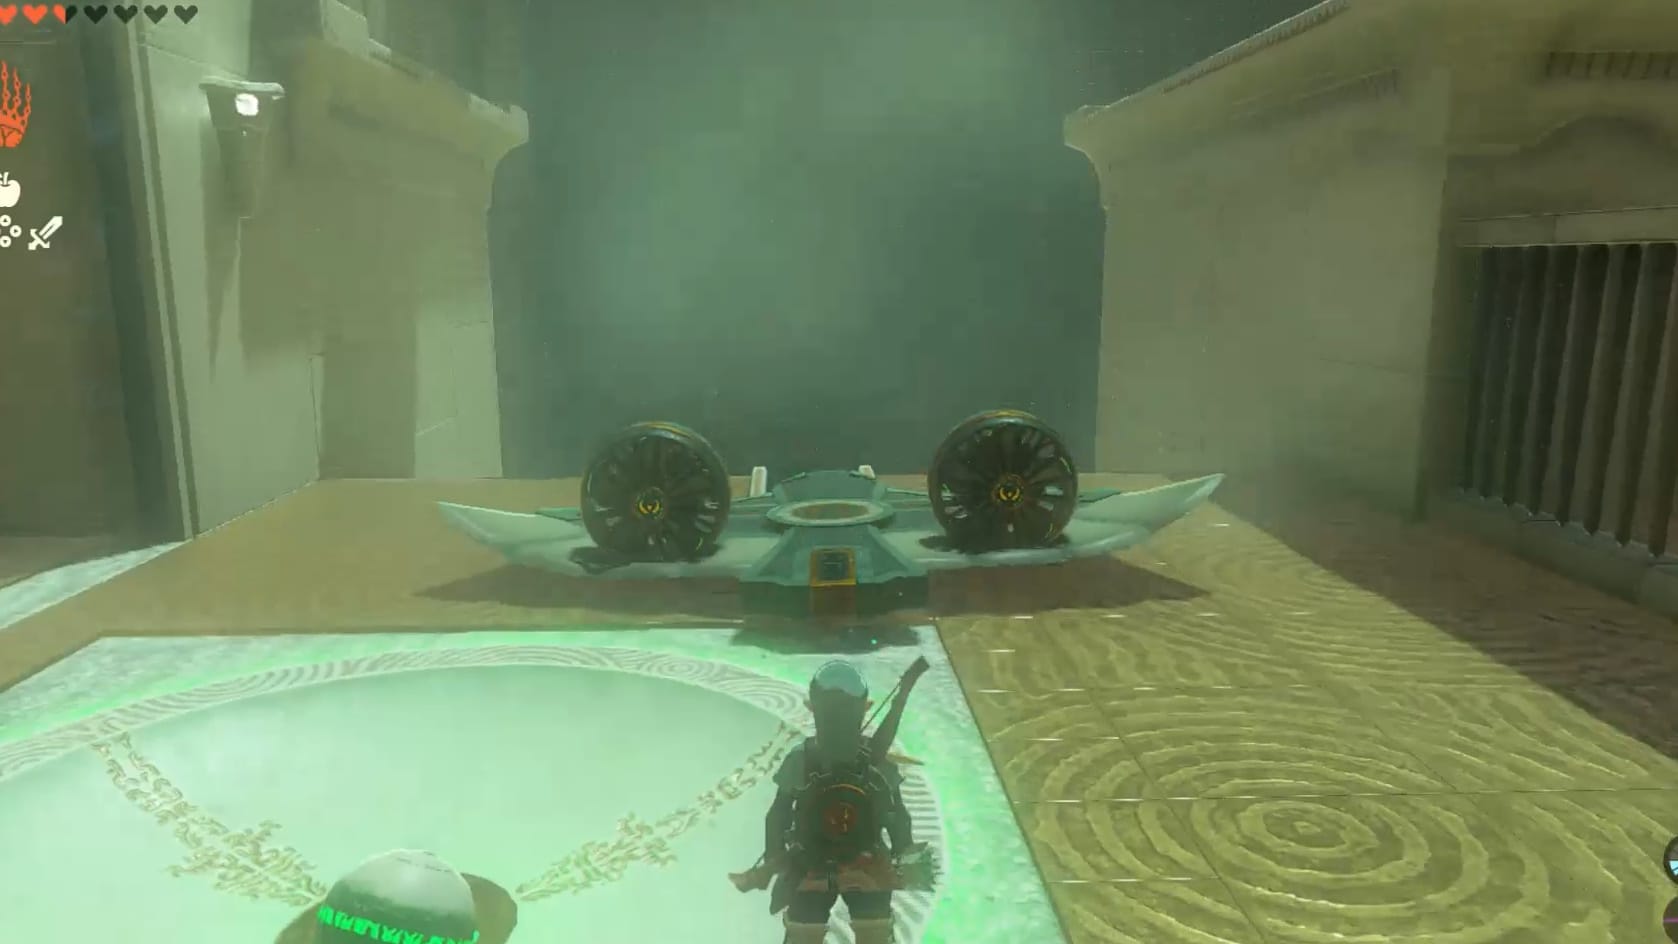
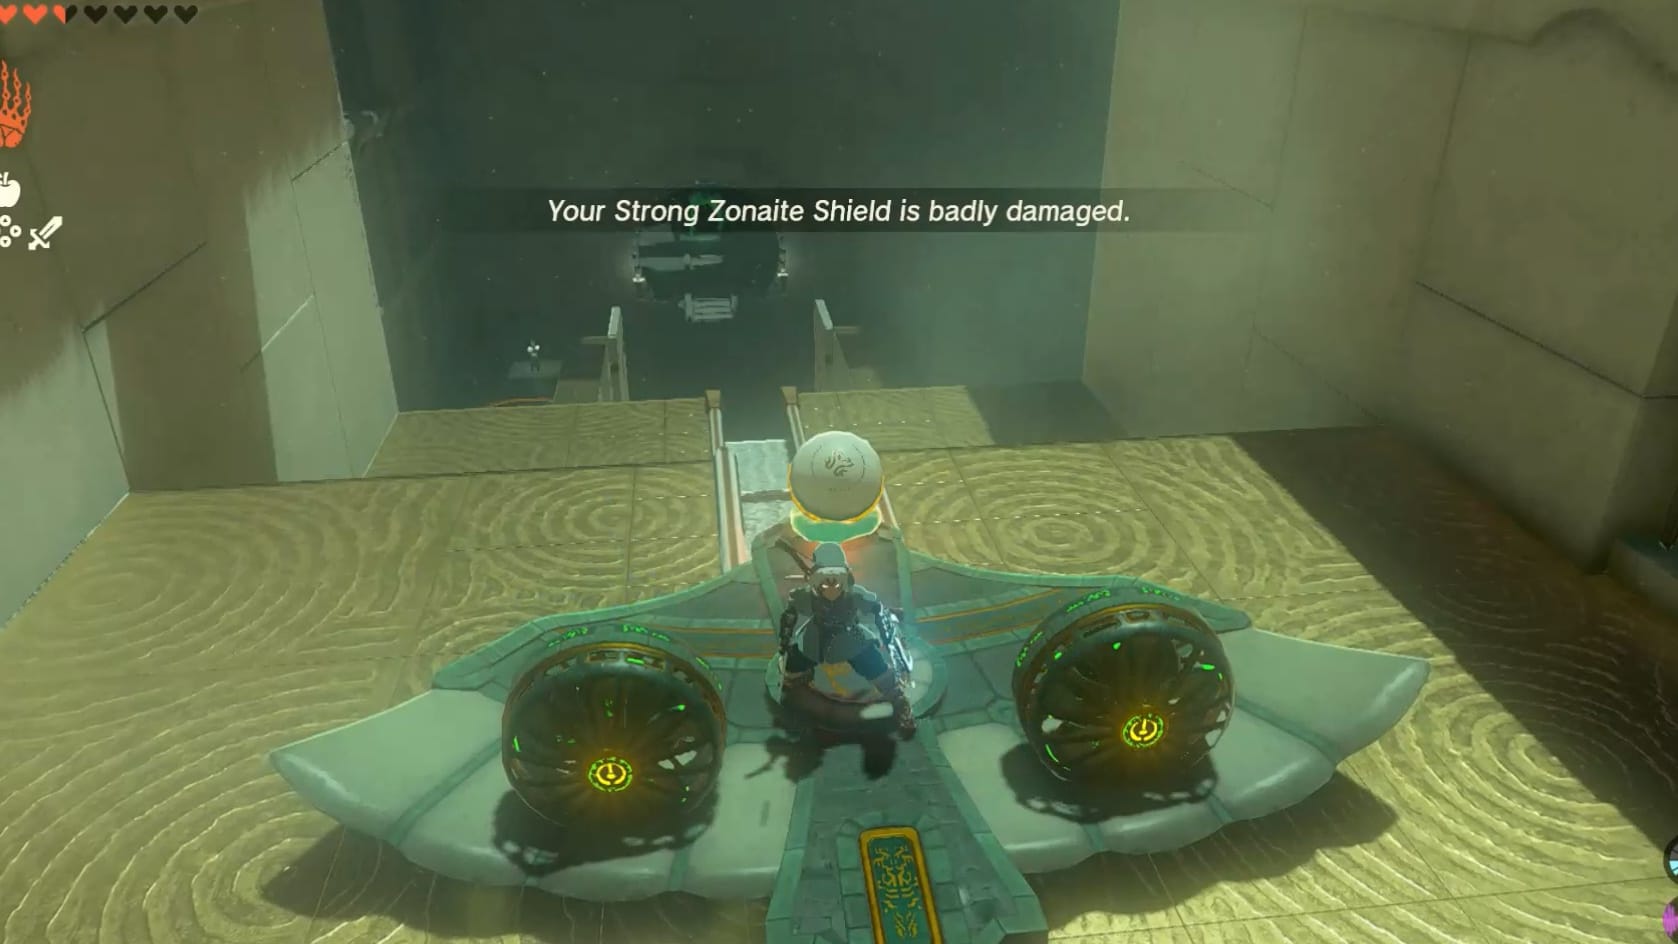
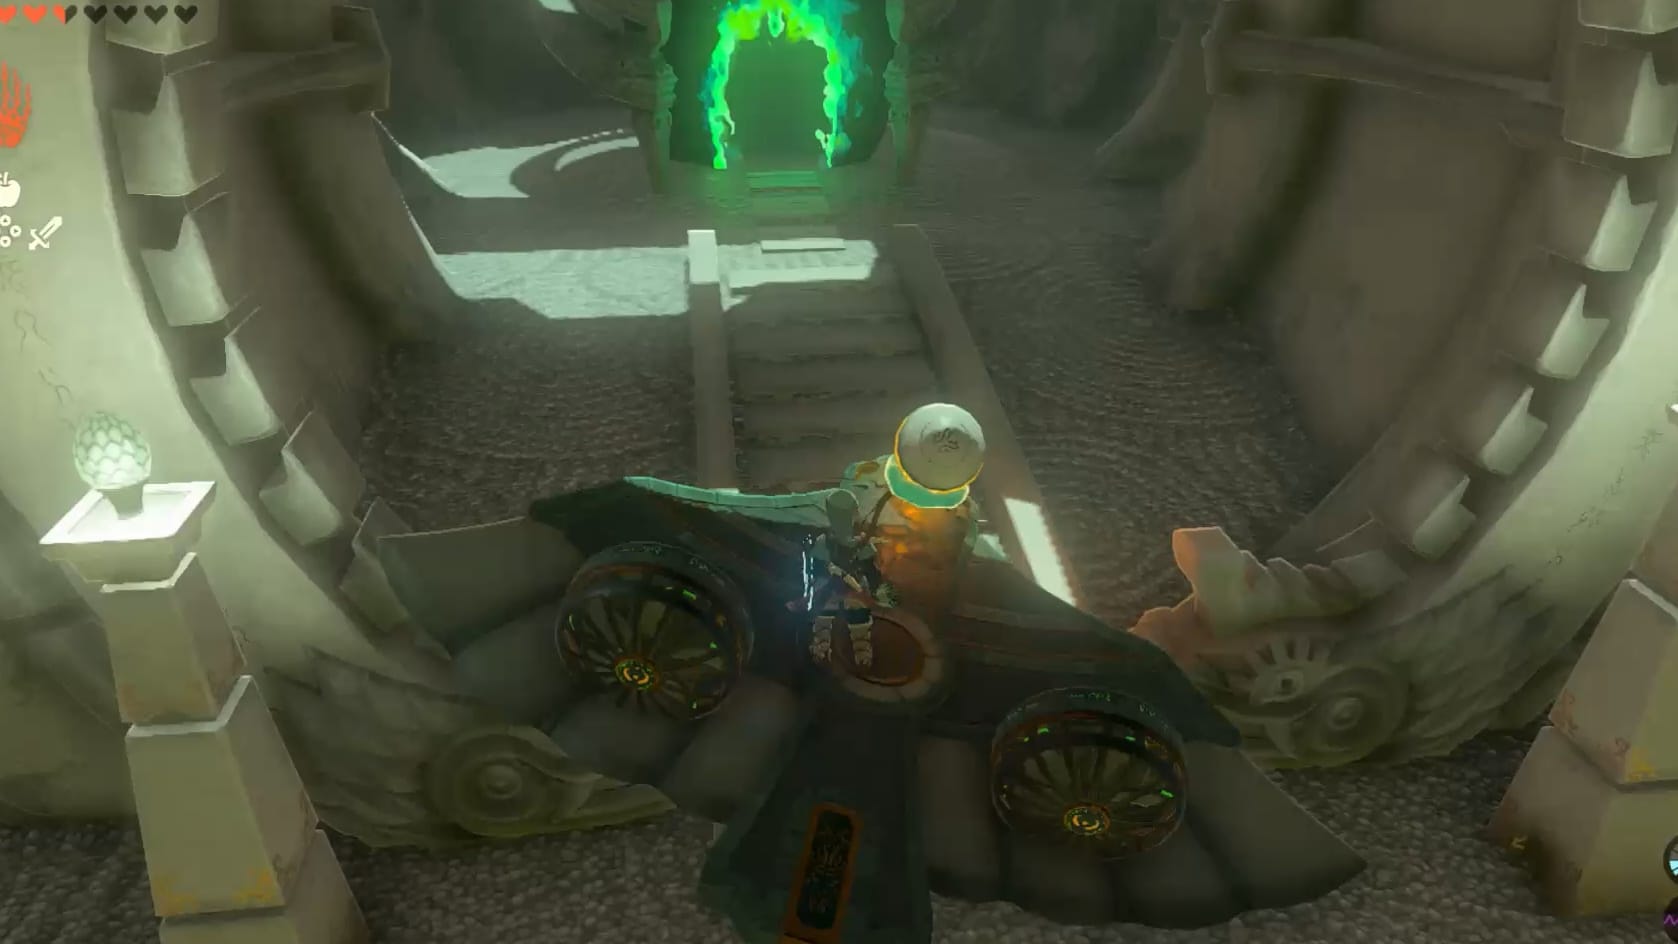
Riding the Zonai Glider toward the entrance
Grab the Zonai Glider with Ultrahand and set it on the track just in front of you. Use Ultrahand to connect the Small Sphere to the Zonai Glider. Activate the Zonai Glider with the Small Sphere connected. This will let you get to the receptacle by the entrance.
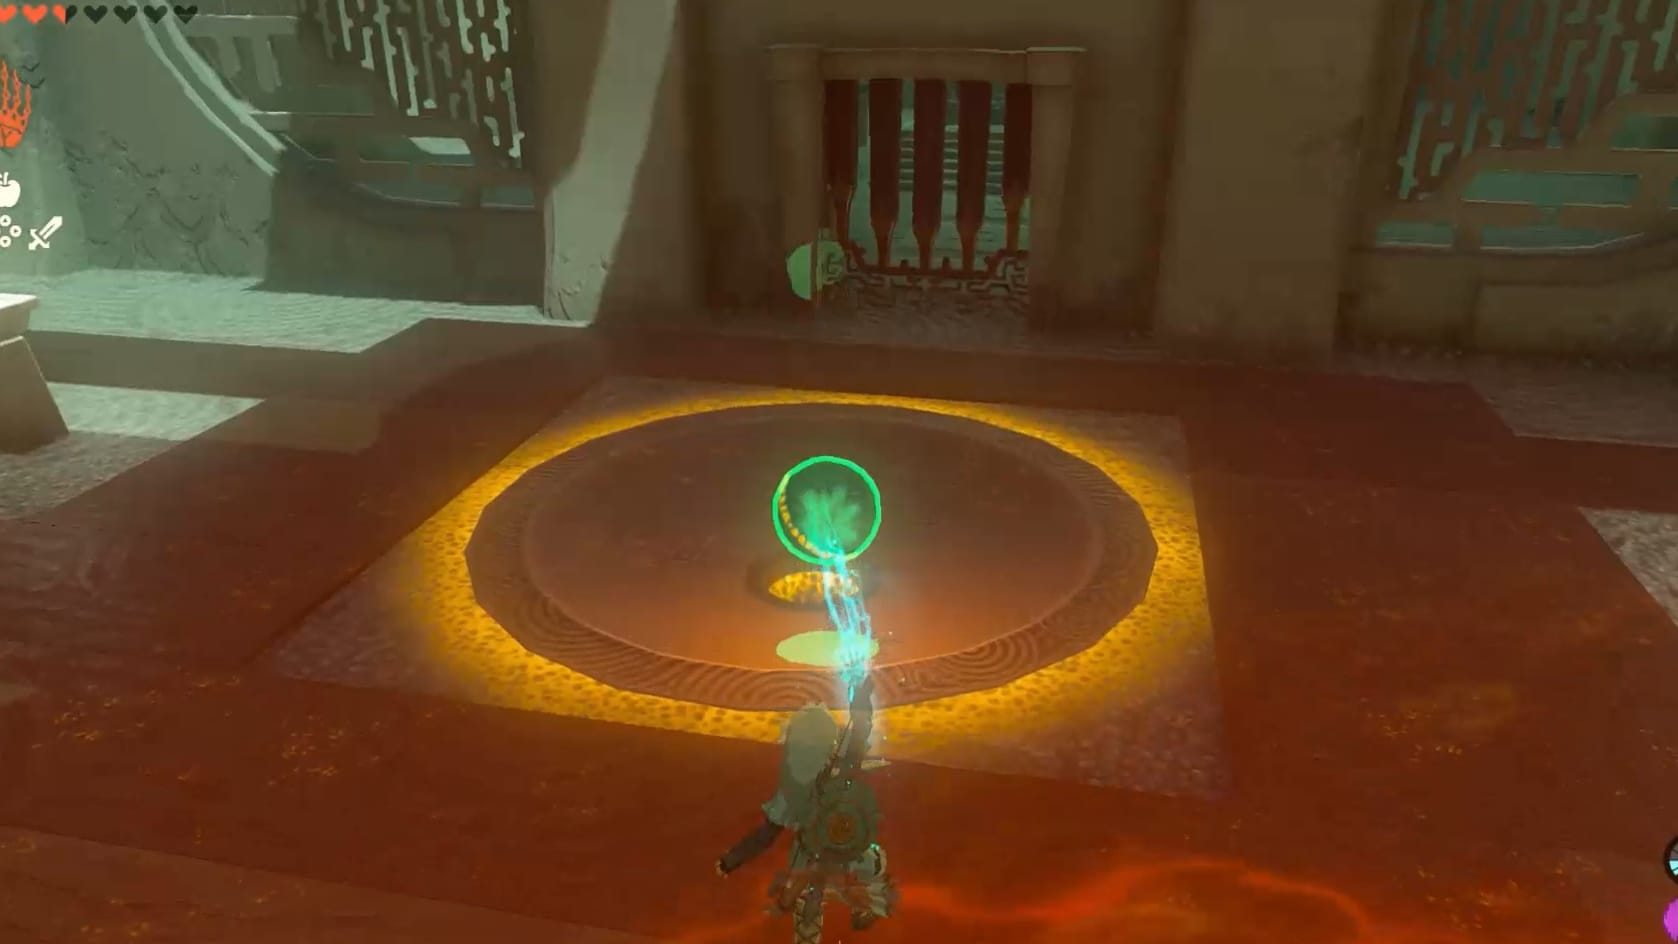
Down here, detach the Sphere from the Zonai Glider. Bring it over to the receptacle in front of the gate. Drop the Sphere down and let it go into its place. This will raise the gate blocking the way to the Innermost Chamber.
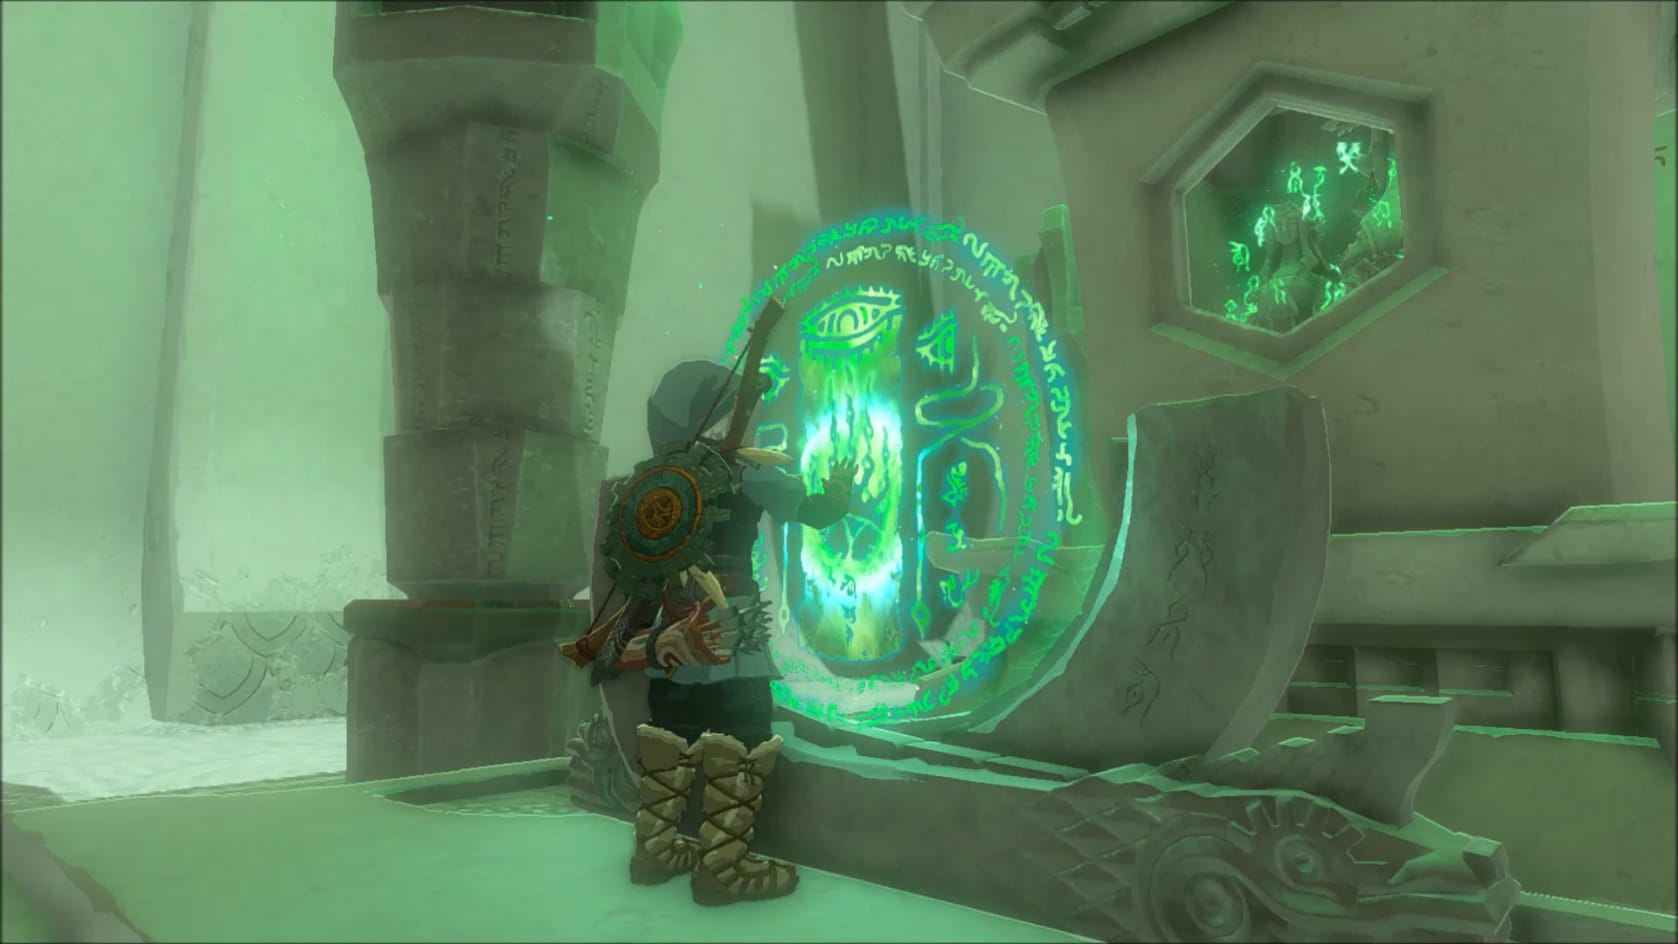
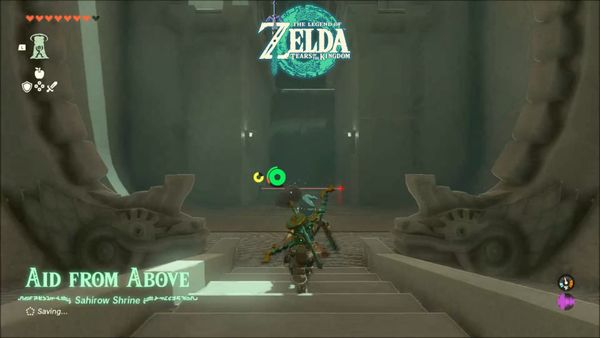
Take the stairs to the Glyph. Interact with the Glyph to complete the Shrine and claim the Light of Blessing
Rewards
- Light of Blessing
- 5 Arrows
Video Walkthrough
Video Walkthrough