The Legend of Zelda: Tears of the Kingdom – Sahirow Shrine: Aid from Above Guide
Complete Sahirow Shrine: Aid from Above in Zelda: Tears of the Kingdom. Master laser puzzles, claim the Spicy Elixir, avoid deadly traps, and earn a Light of Blessing.
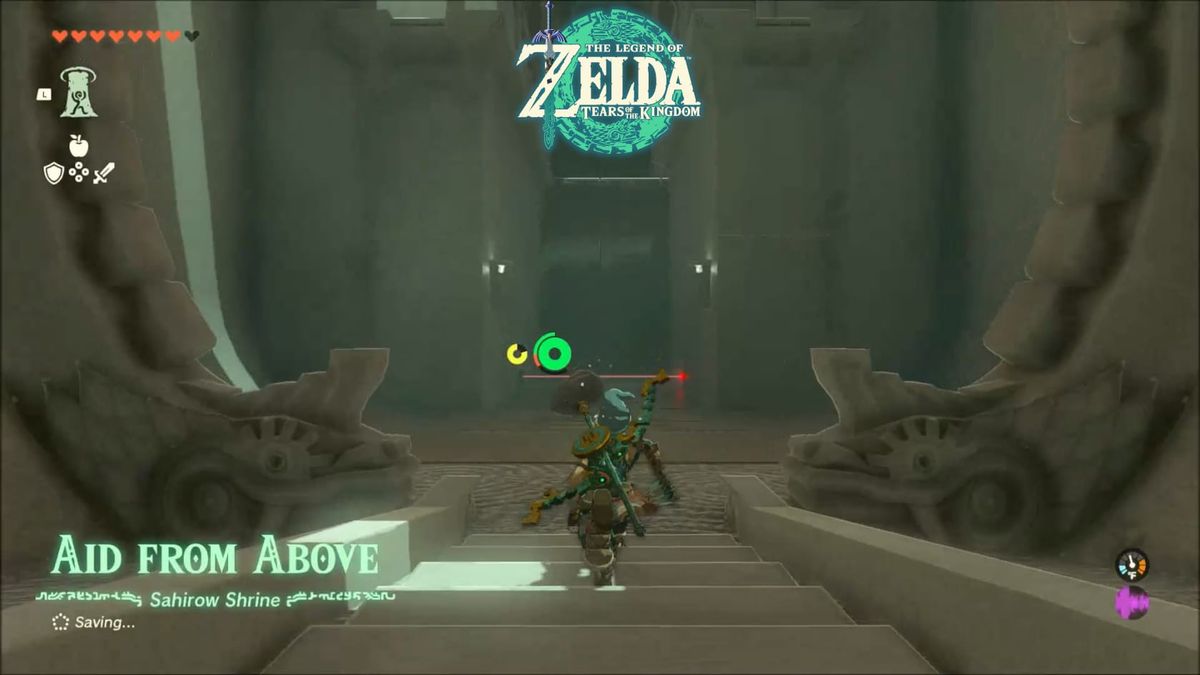
Summary
Head to the Sahirow Shrine nearby the Snowfield Stable. Solve its puzzles by avoiding the lasers or using them to activate gates. Getting through the gate you can get a Spicy Elixir. Going to the left on the elevated platform, you can reach the Innermost chamber by avoiding a series of trap-activating lasers.
Location
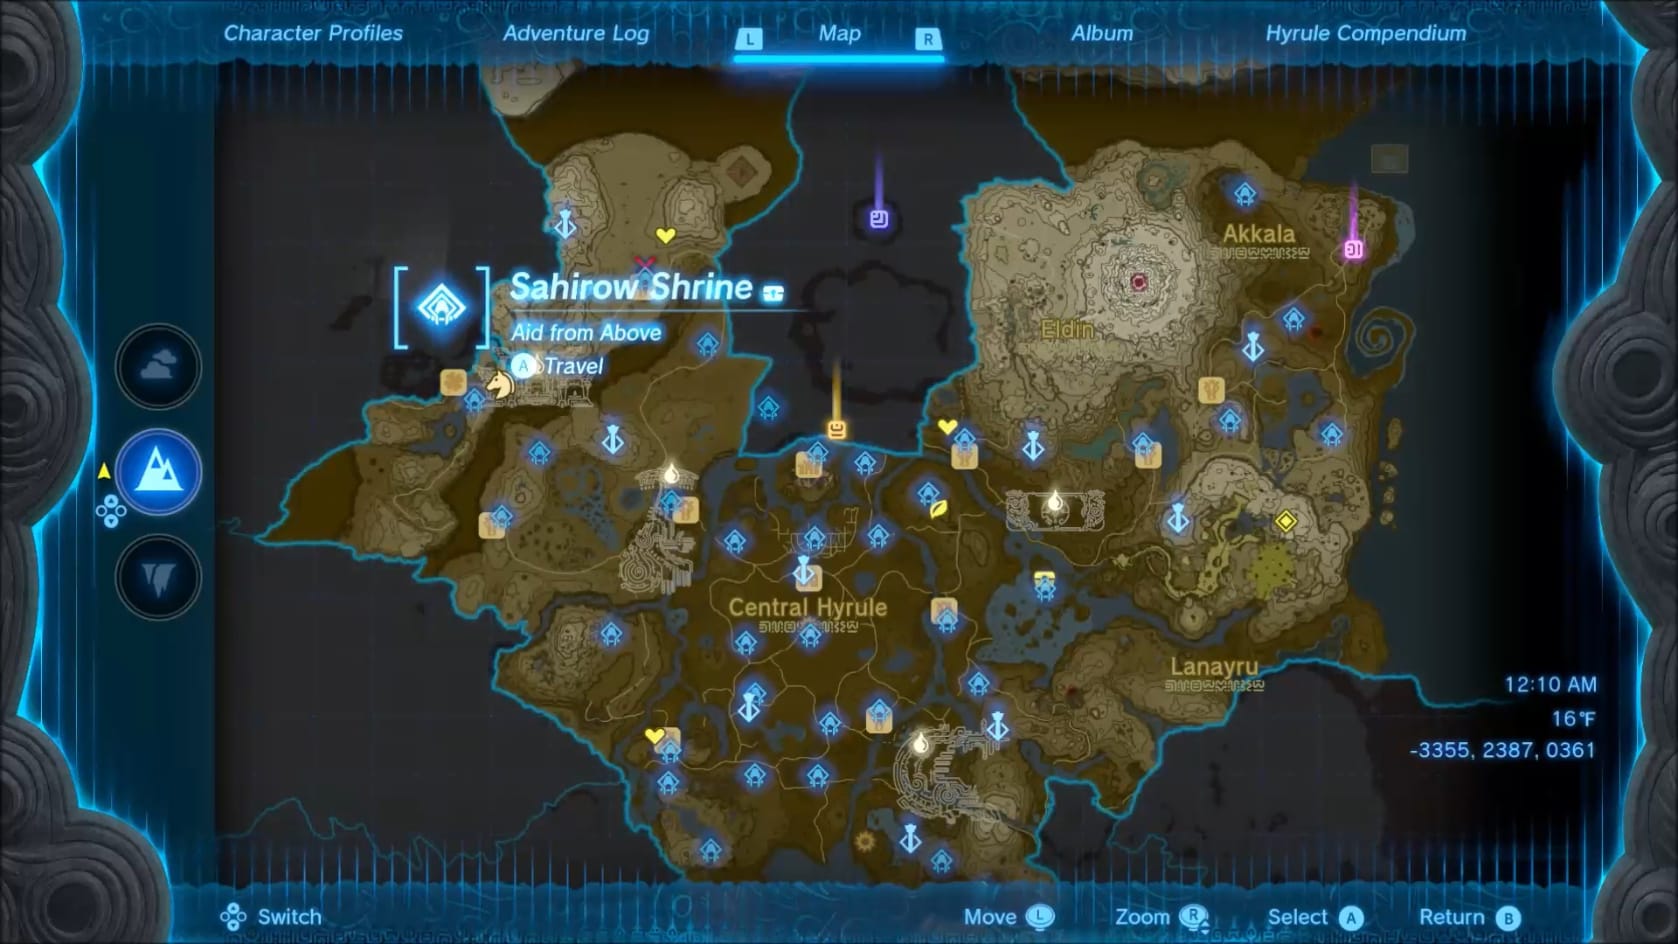
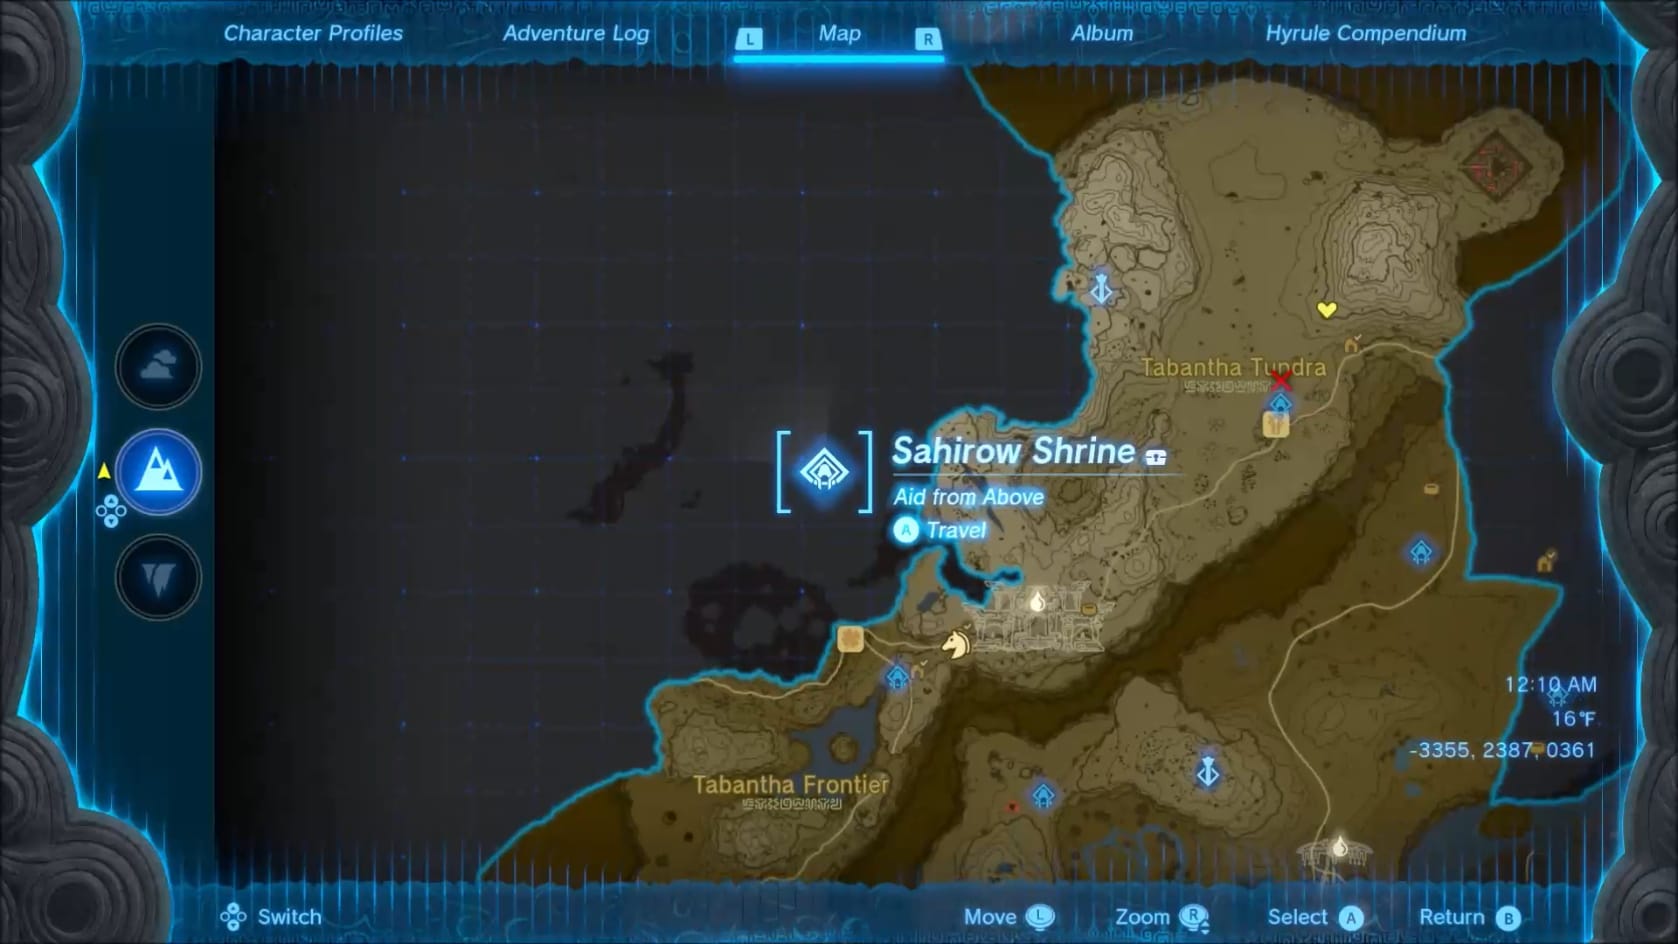
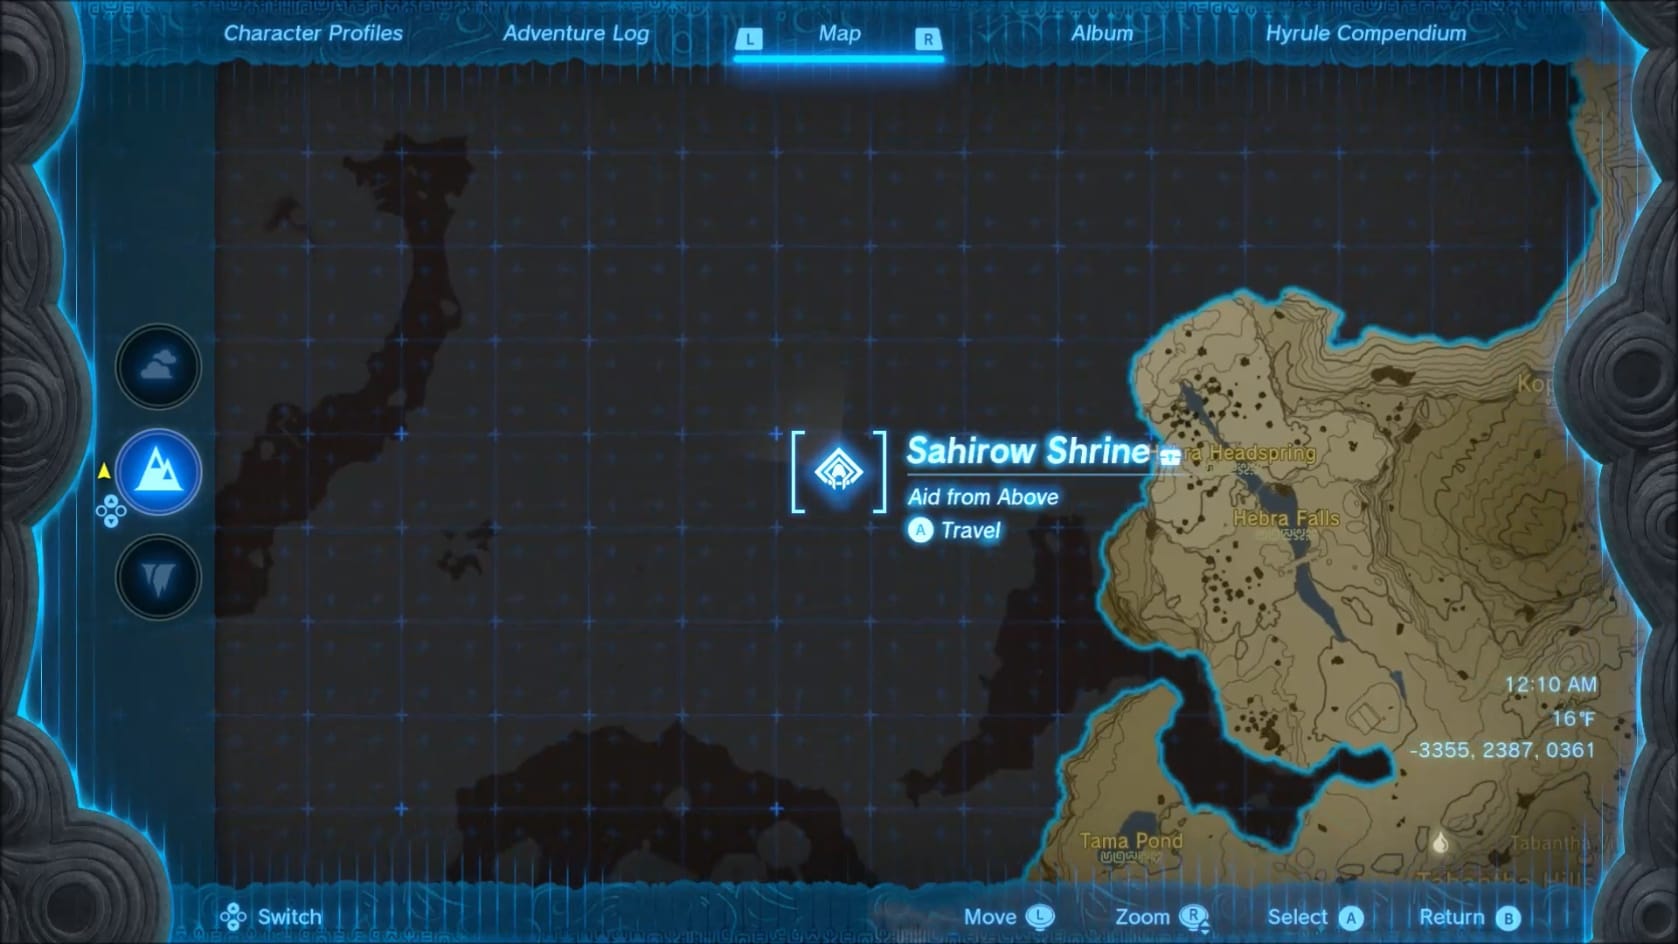
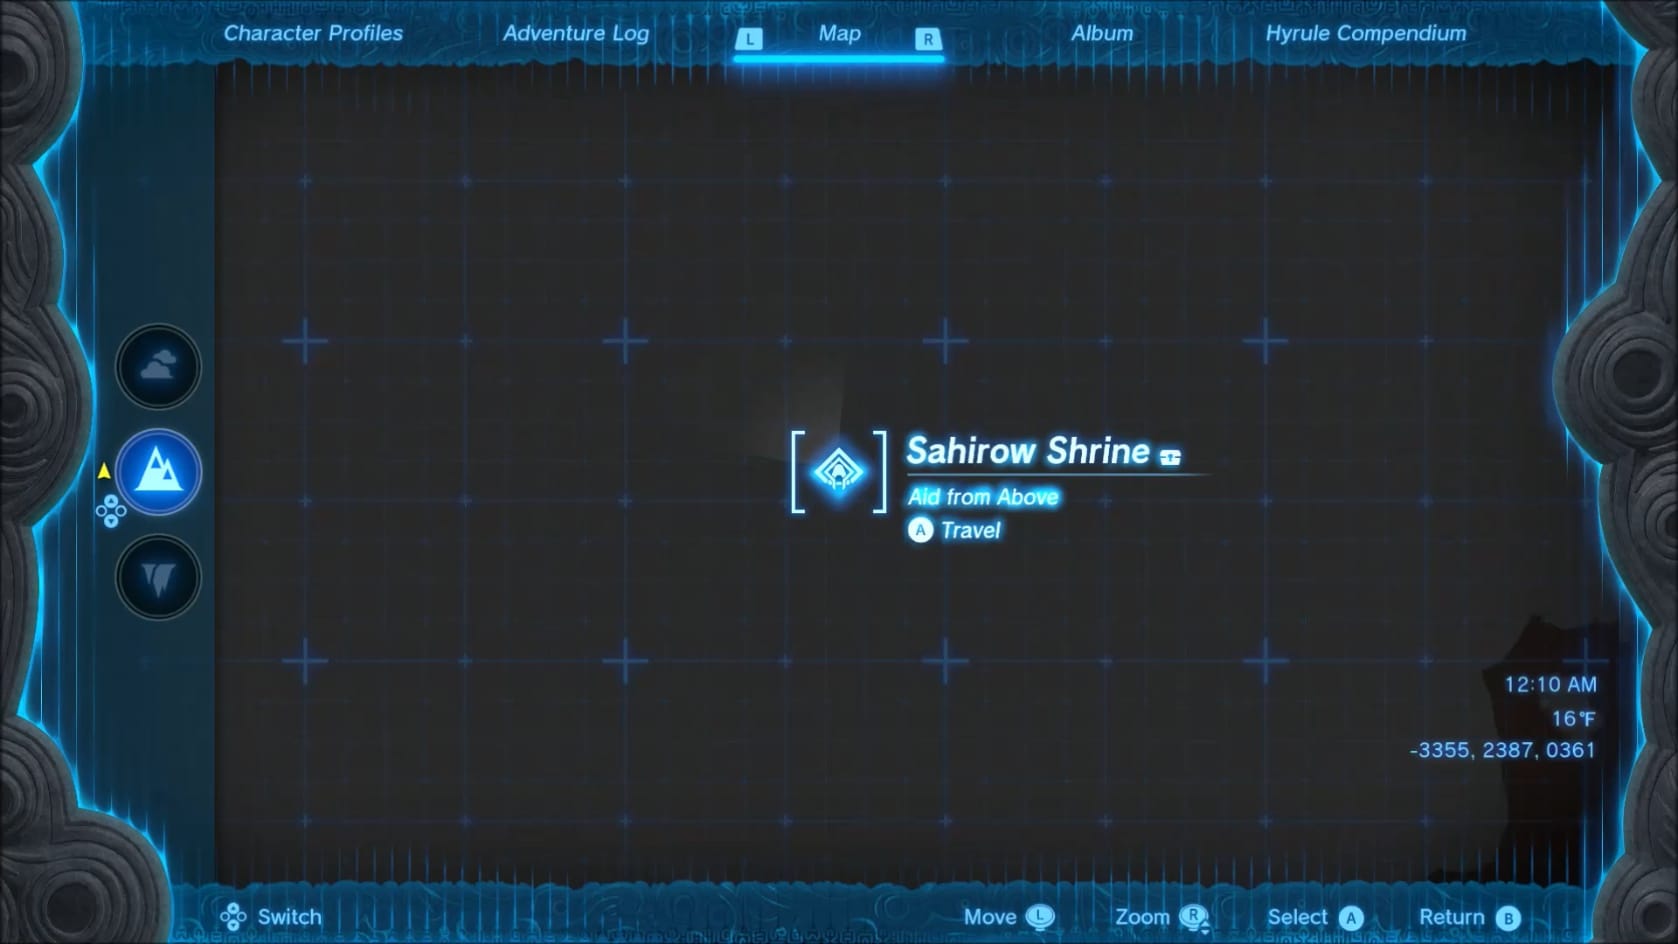
Location of Sahirow Shrine on the Hyrule Map
Coordinates: -3355, 2387, 0361
Walkthrough
Entrance
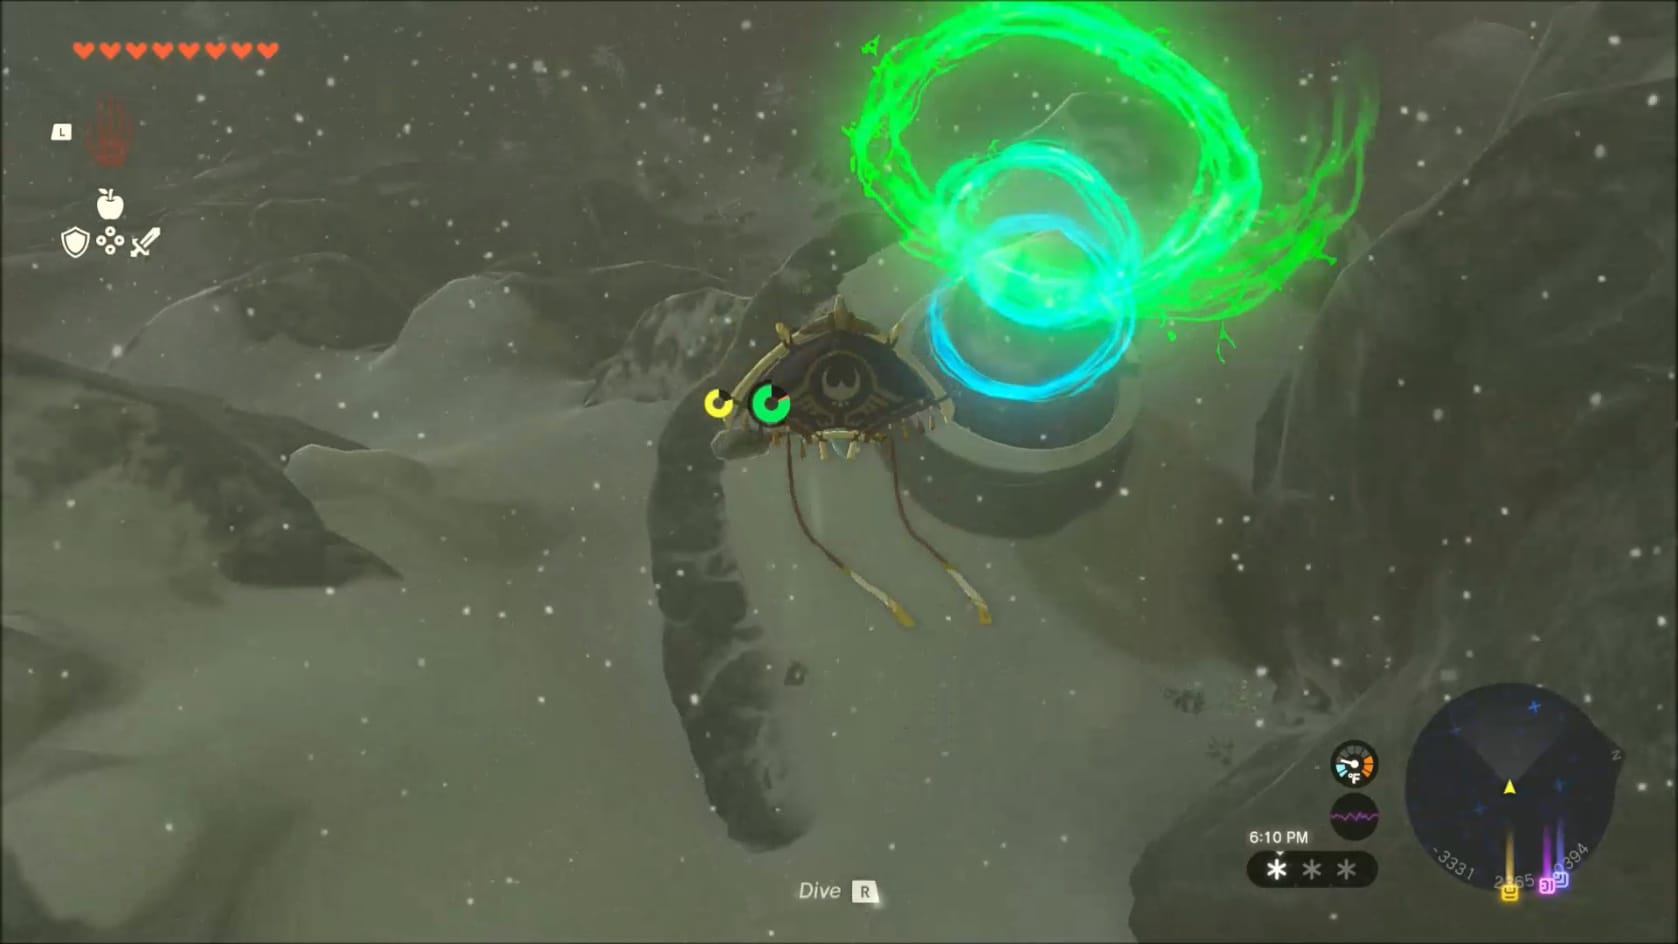
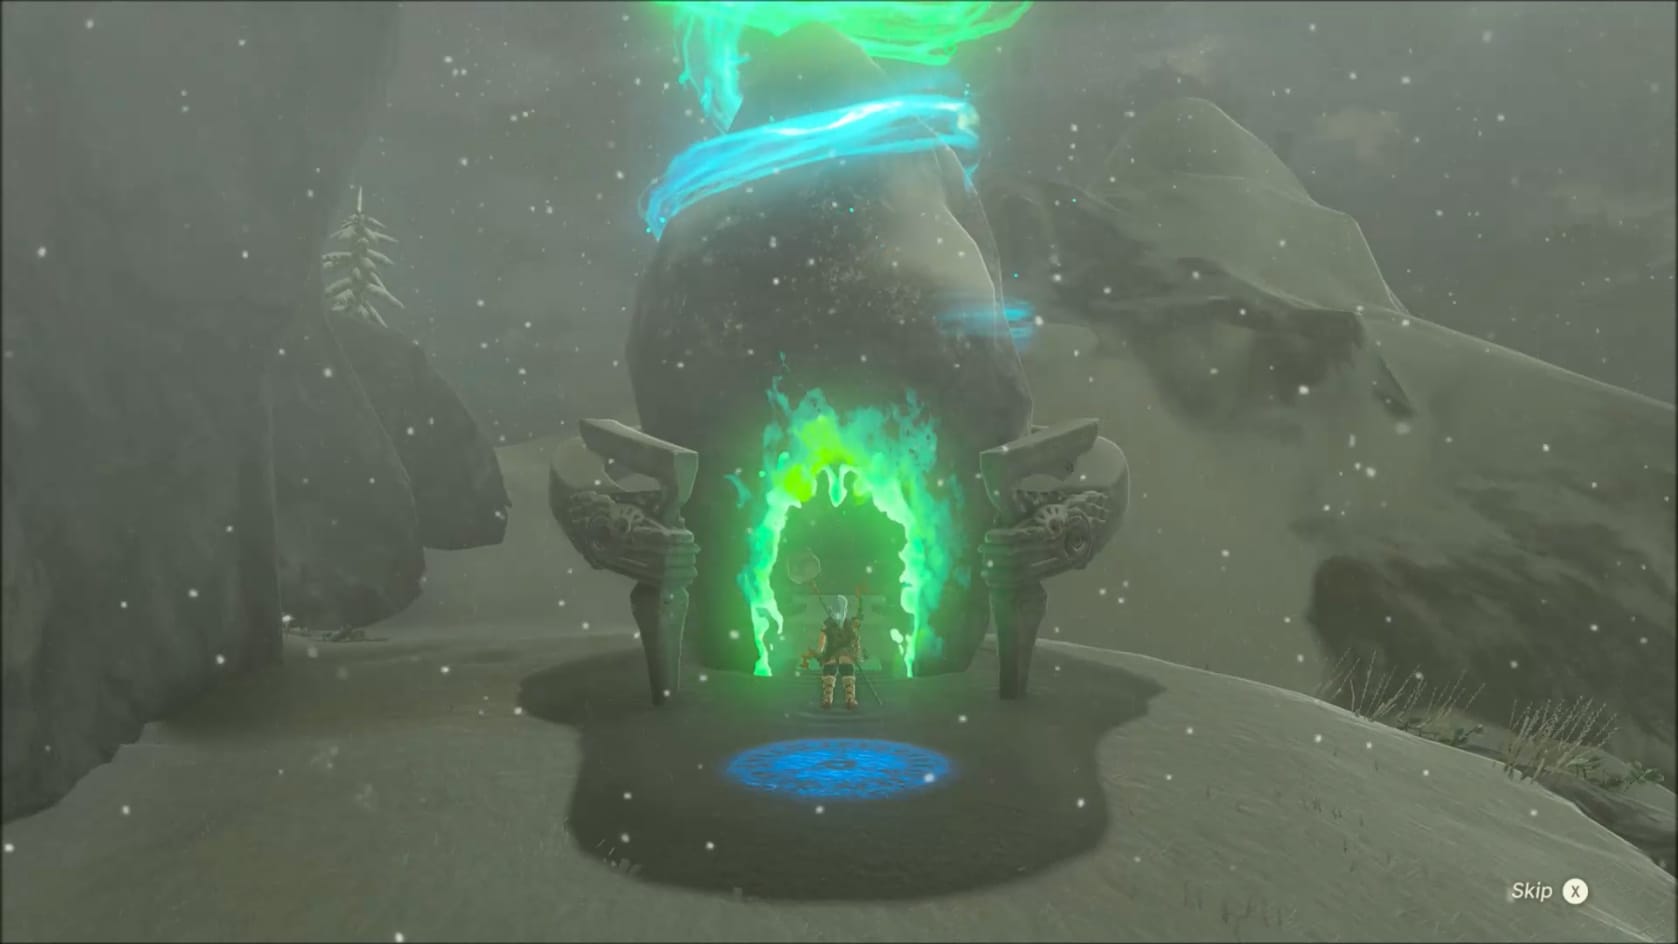
This Shrine is found nearby the Rito Village. It’s found to the Northwest in the Mountainside. It’s to the East of Rospro Pass Skyview Tower.
Laser Puzzles 1 – Hallways
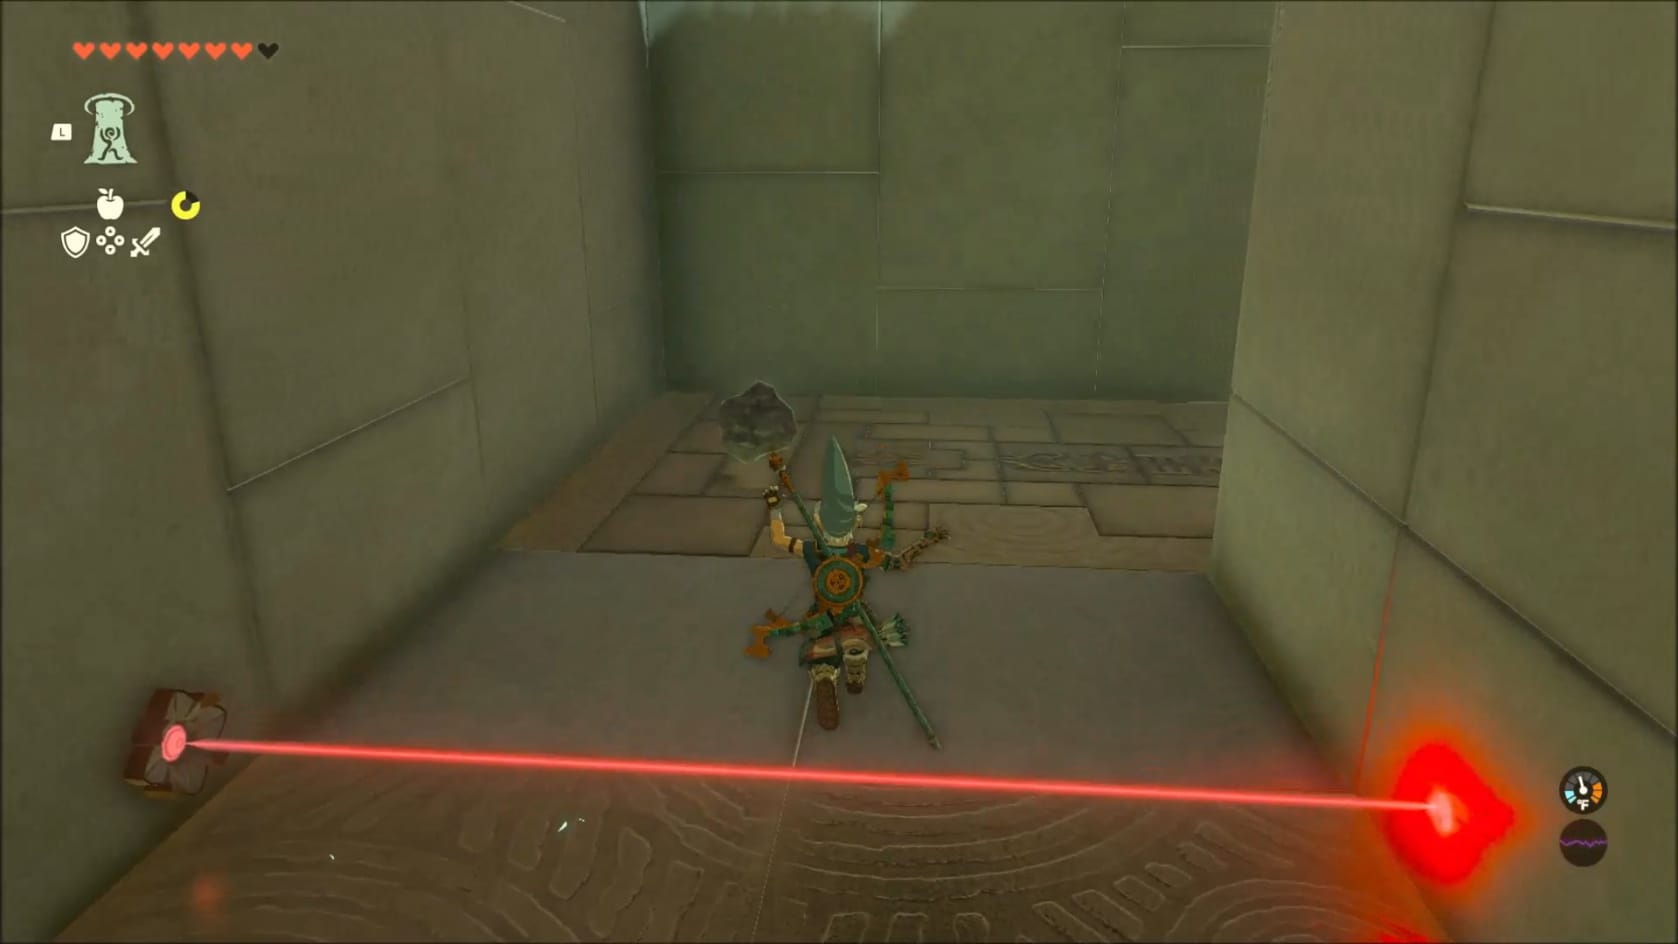
Inside the Shrine, start by heading forward and down the stairs. There is a laser beam that you need to jump over. After that, go around the corners.
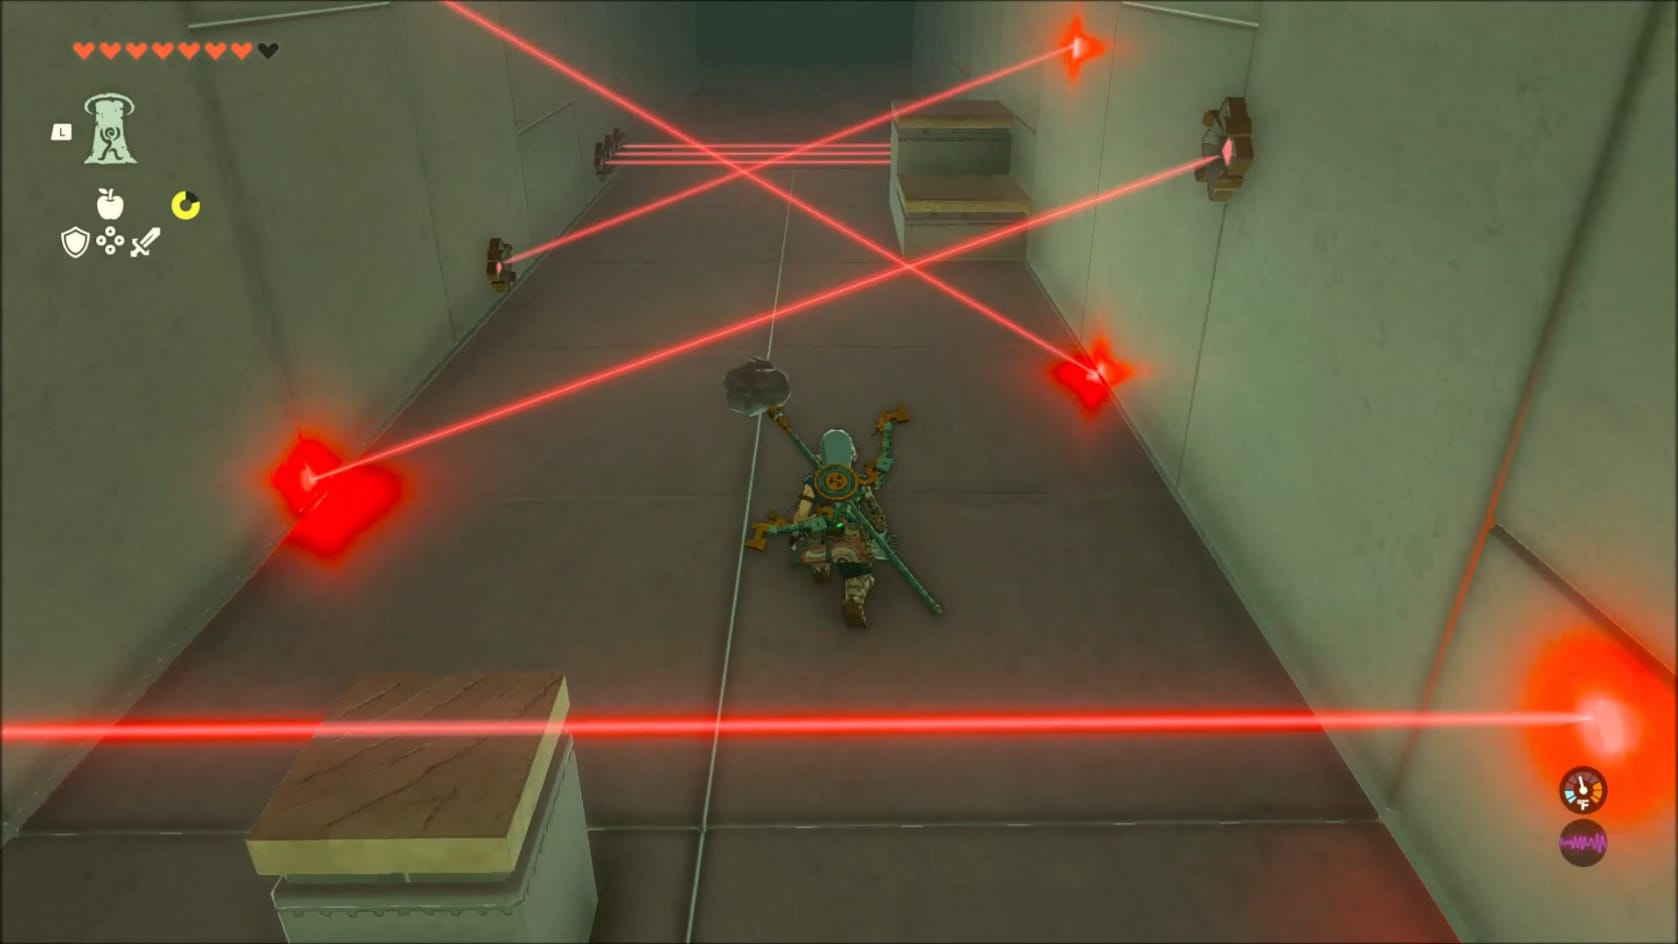
This will bring you to the next nest of lasers. Start by jumping over the first laser. After that, crouch, and head for the middle of the area. There’s a small podium under the second laser that gives some cover.
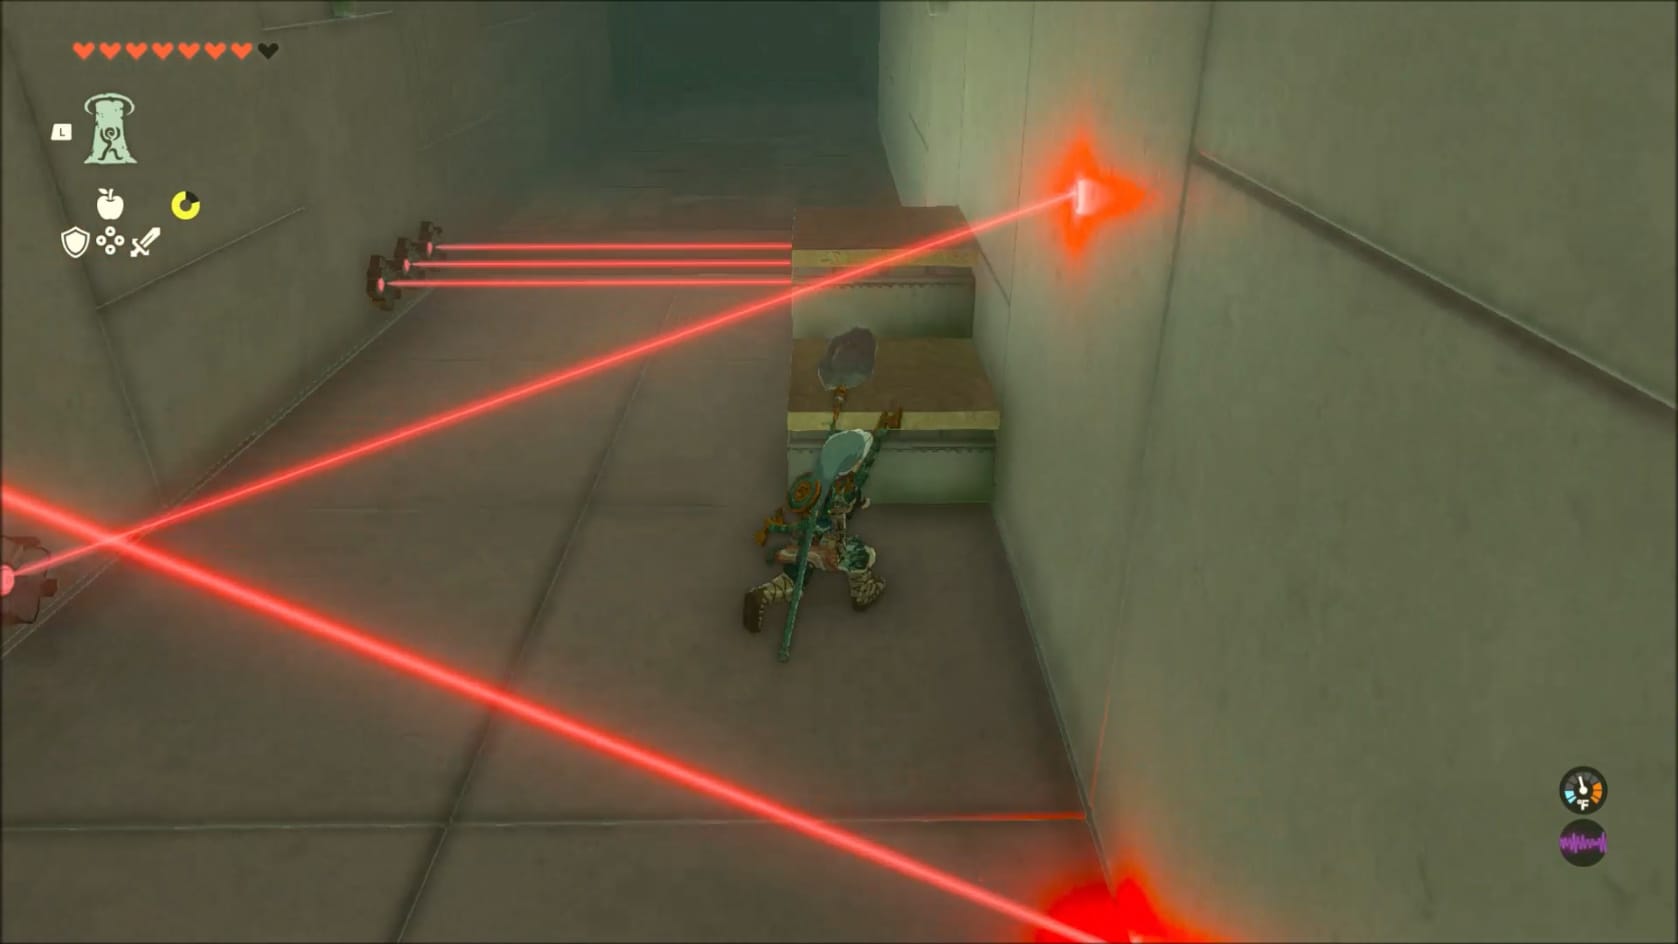
After getting beyond the angled lasers you will want to head to the right-hand side of the corridor.
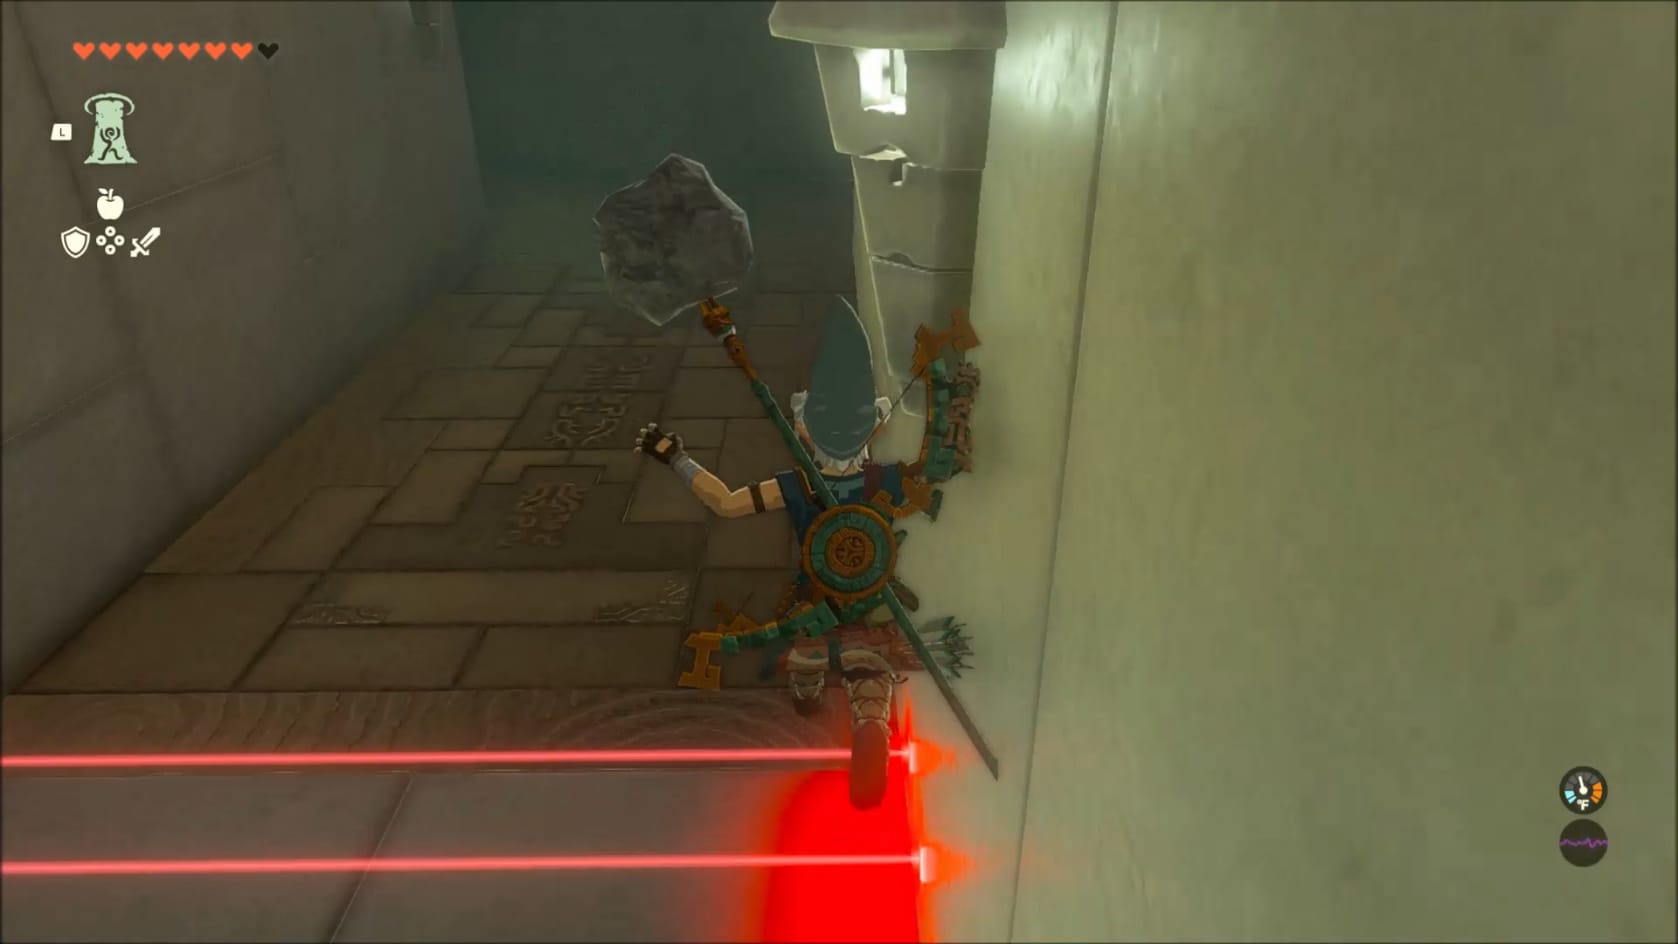
Jump up the steps and then leap off the top to immediately start gliding. This will get over 3 lasers.
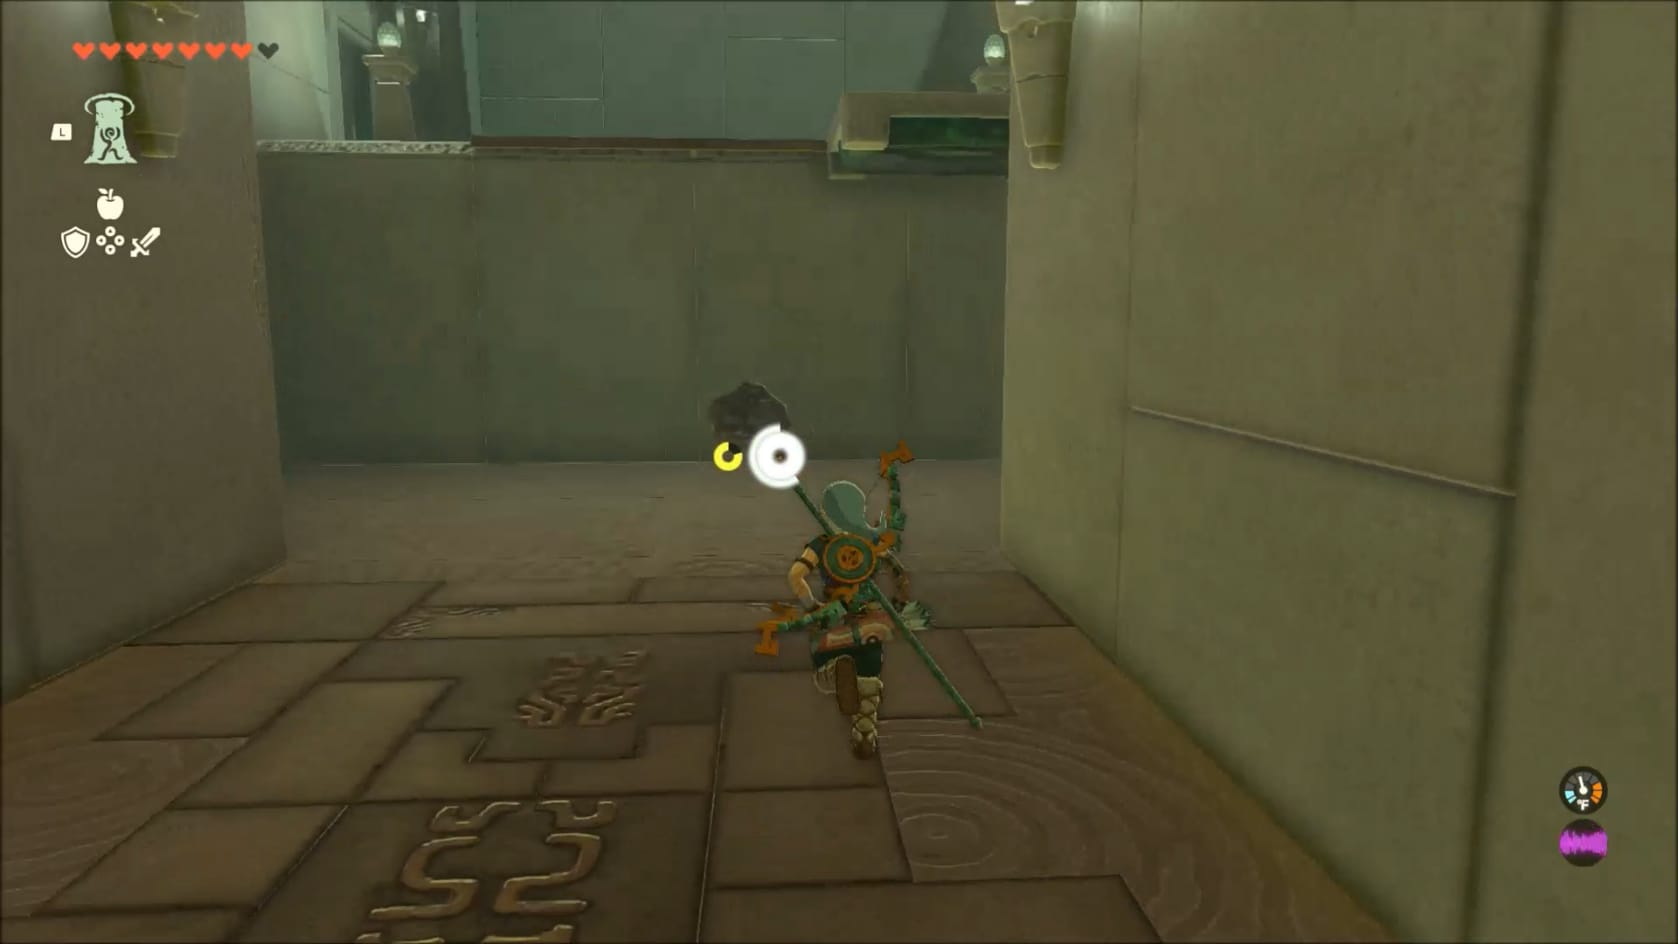
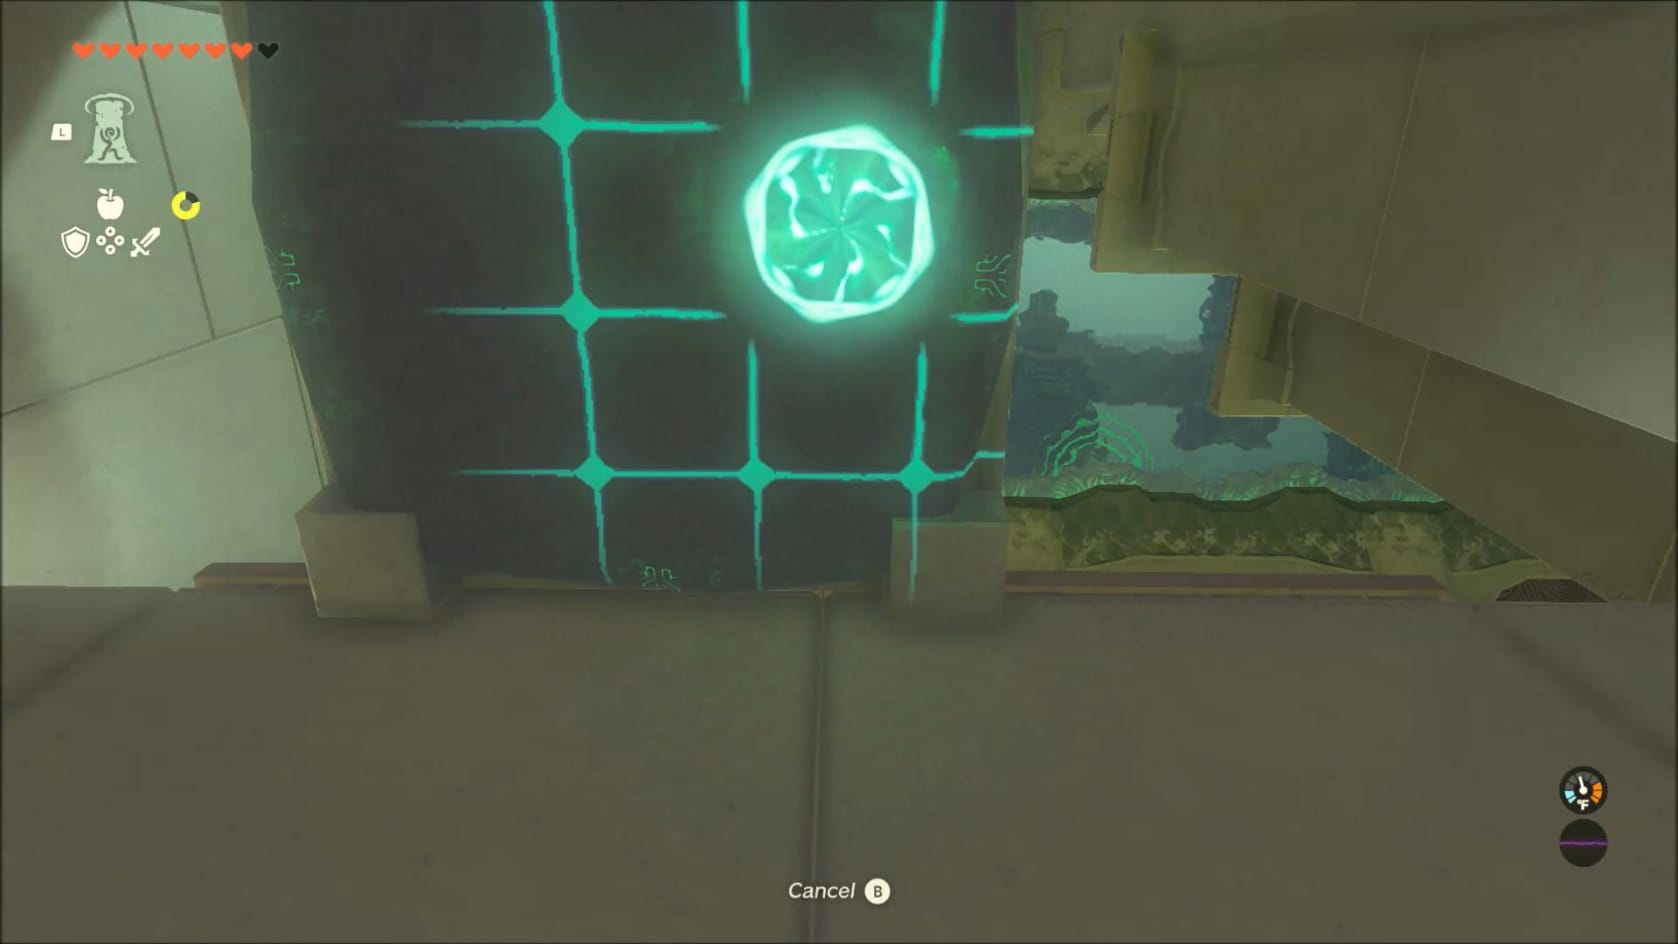
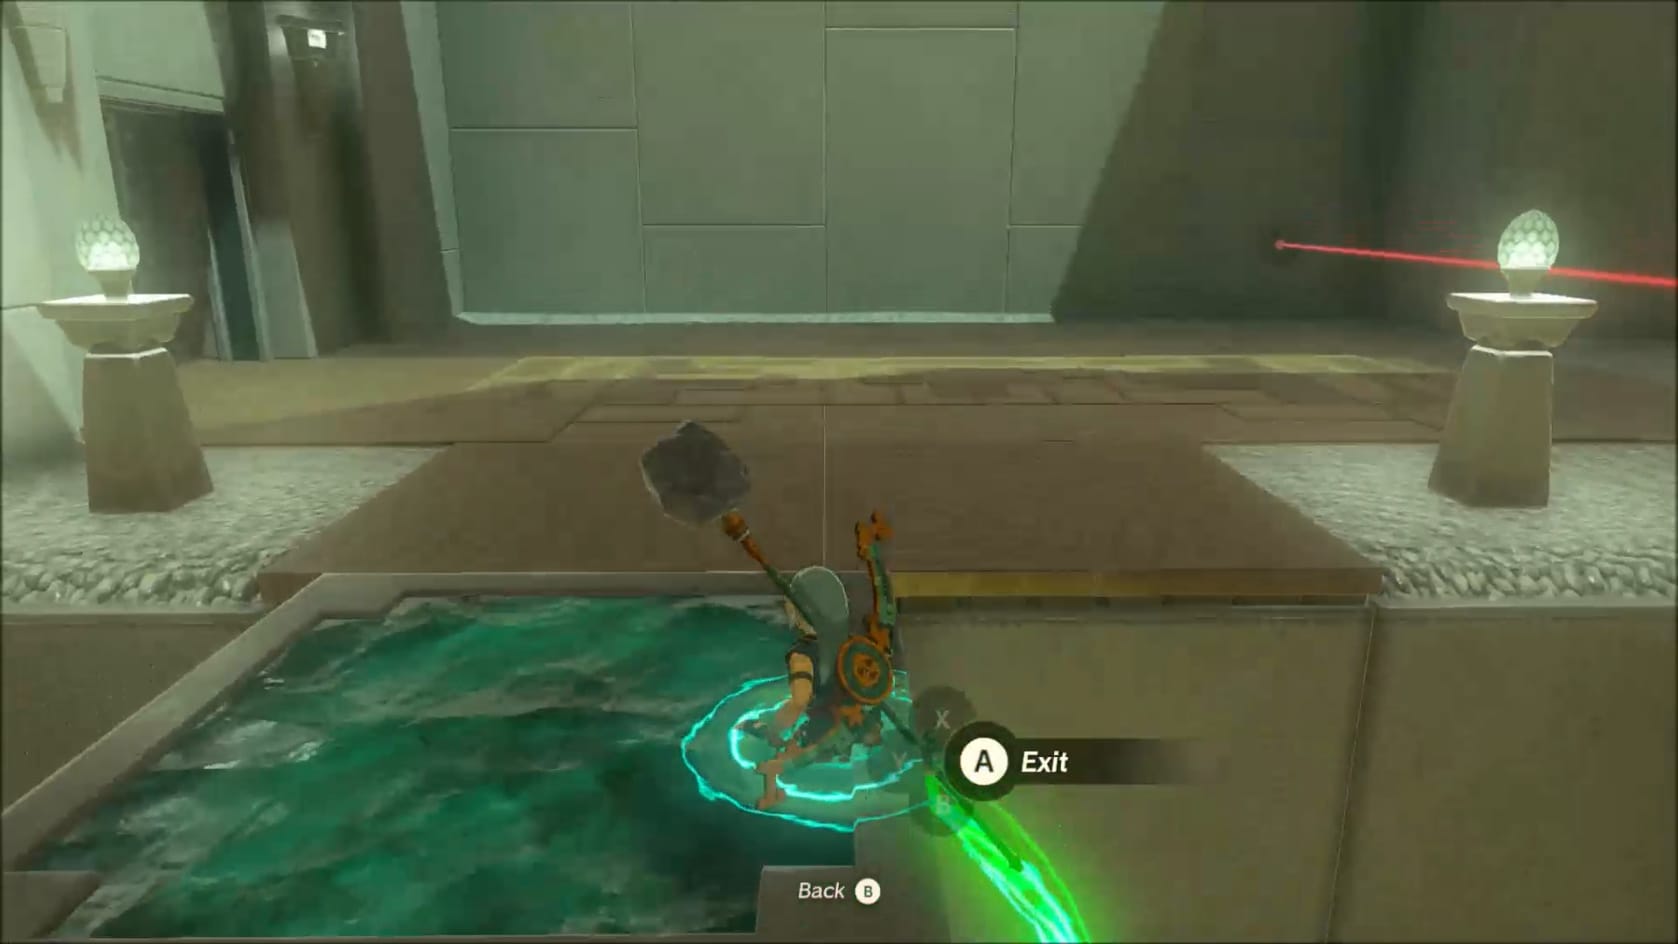
Getting to the upper portion of the Shrine's challenge
Continue forward to the wall in front of you. You can see a lateral moving platform. Link can climb up through this using Ascend.
Laser Puzzle 2 – Chest
Having gotten up onto the top of the moving platform, you can step onto the ledge and get into the next section of the Shrine. For you to head for the Chest, go to the right. There’s a laser beam that’s harmless itself. It will open a trap door hatch in the floor just in front of you. It will also raise a gate on the far side of the adjacent chamber. Stepping out of the laser will lower the gate as well as close the hatch.
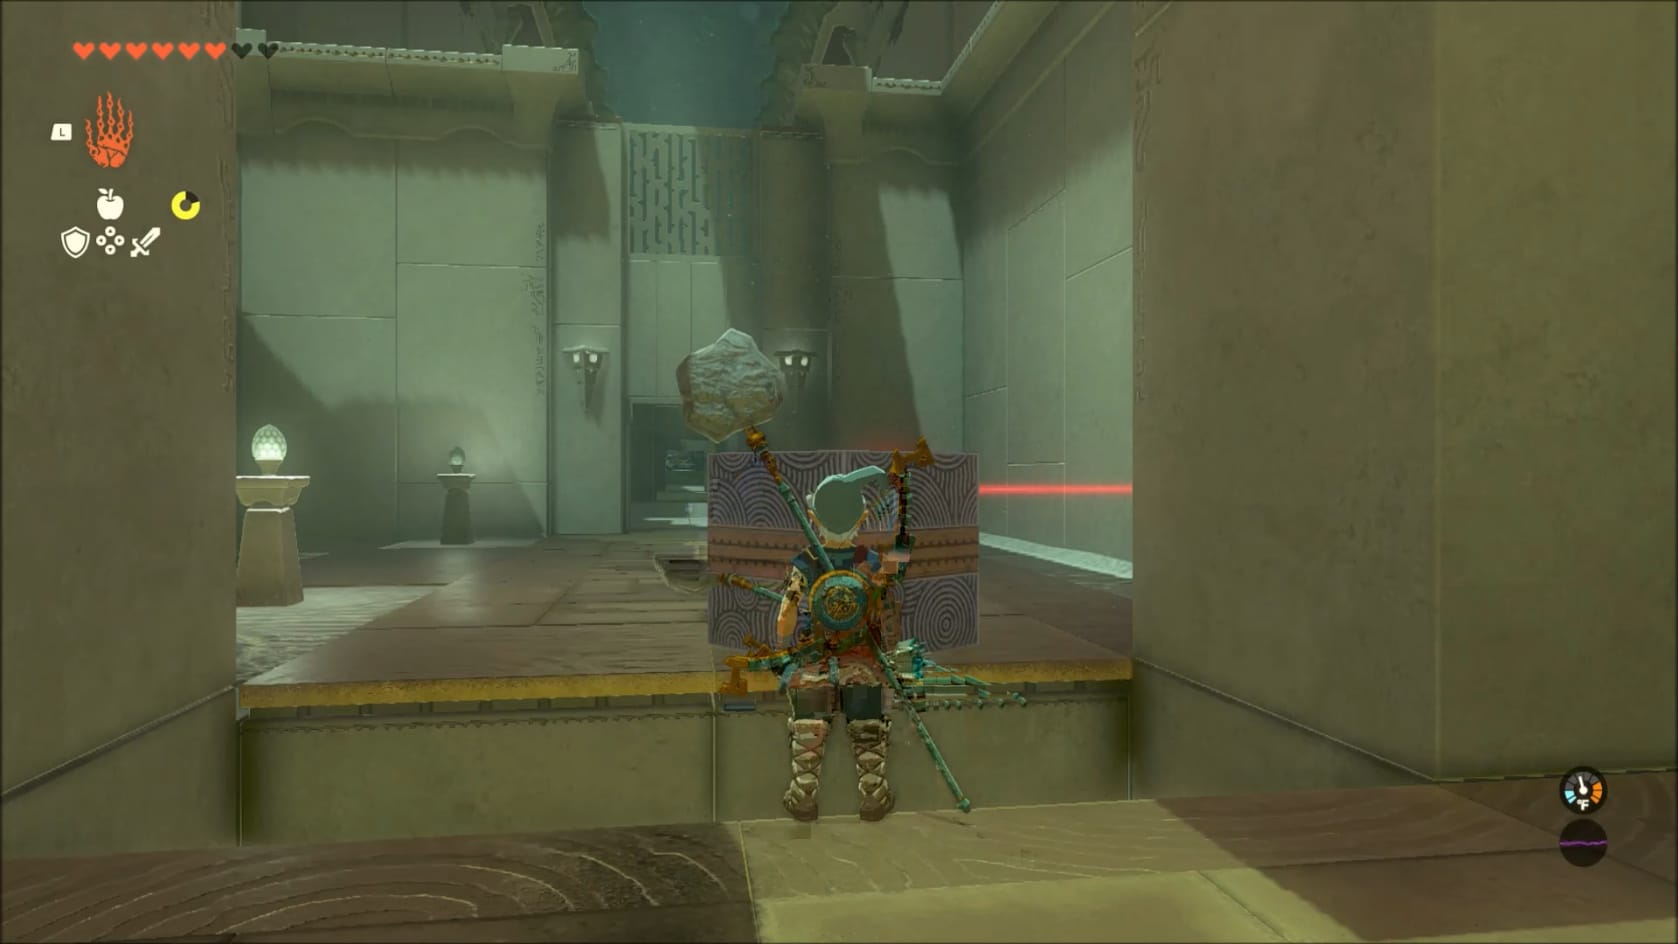
Go into the chamber and get on the far side of the hatch. There’s a Large Stone sitting nearby the hatch. Use Ultrahand to move the Stone into the laser beam on the initial side of the hatch. Set the stone in the laser beam itself, being careful not to set it on the trap door hatch.
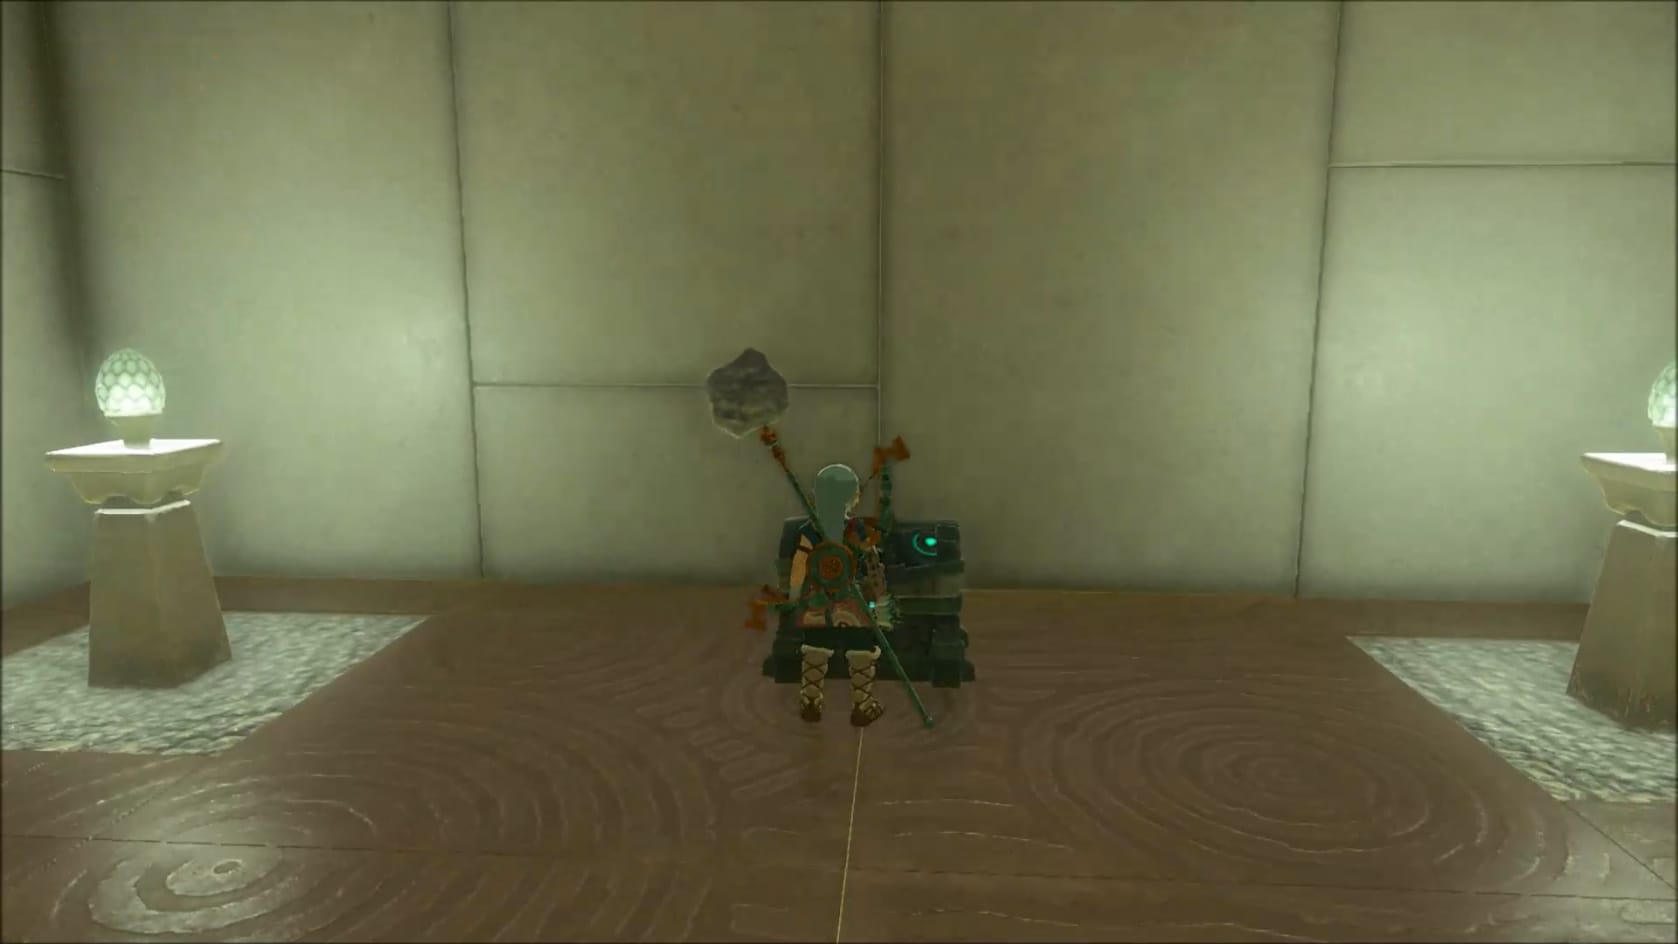
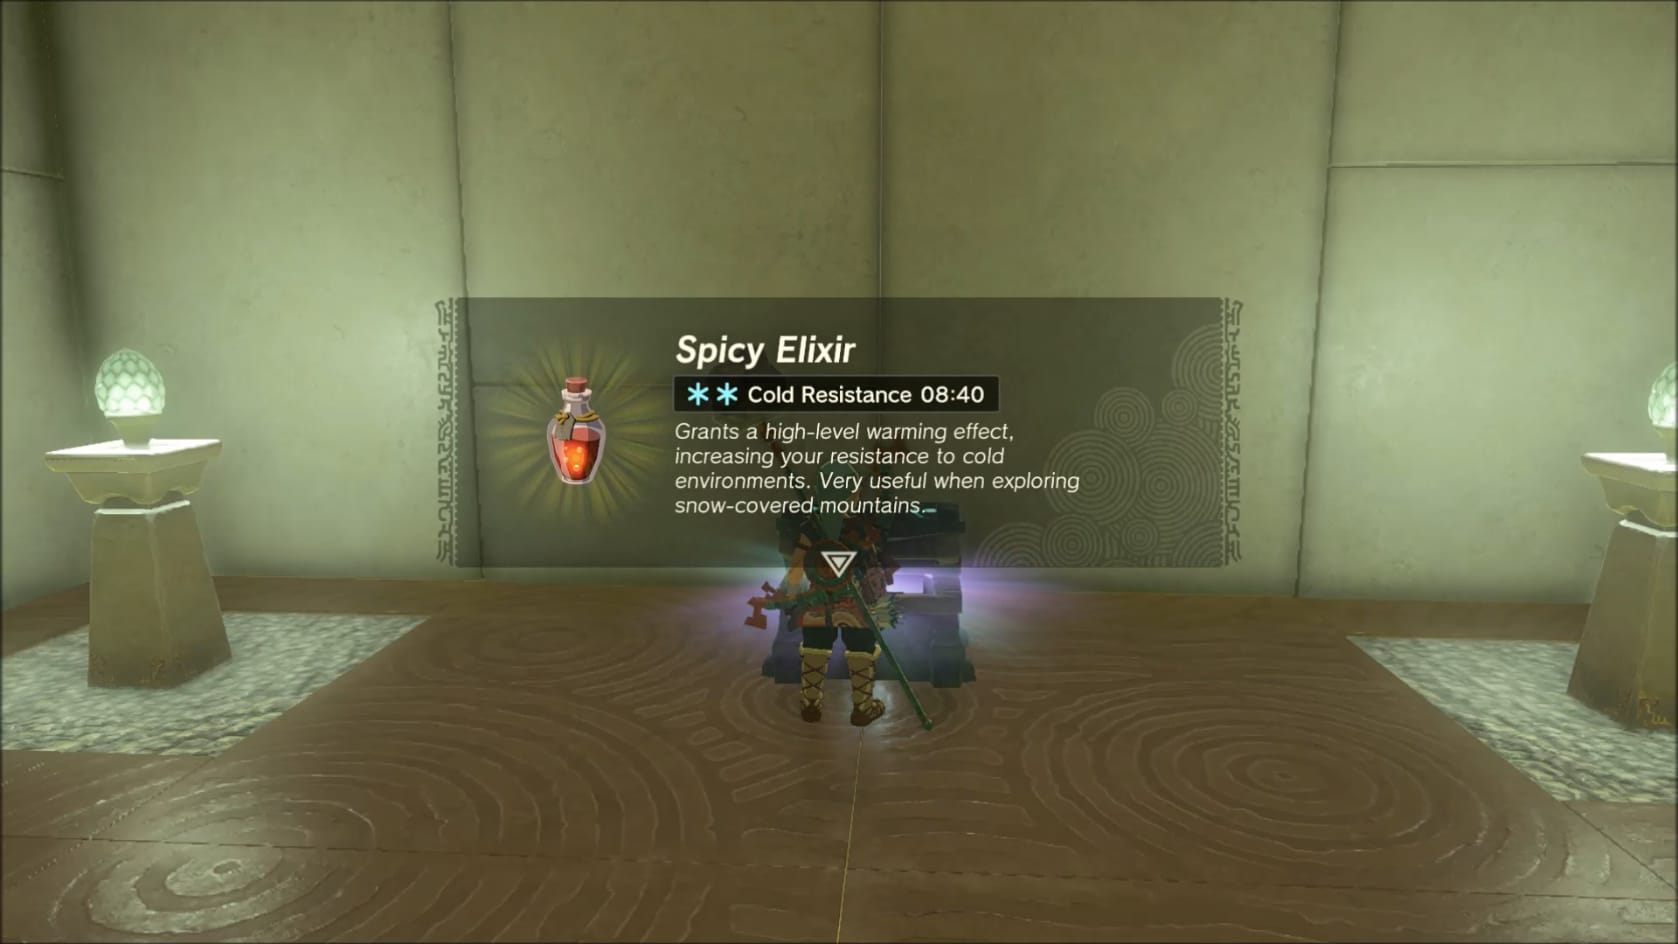
Link getting the Spicy Elixir from the Chest.
By setting the stone in the laser, the gate will also raise. Go into the chamber to find a Chest. Open the chest to get a Spicy Elixir.
Laser Puzzle 3 – Corridors
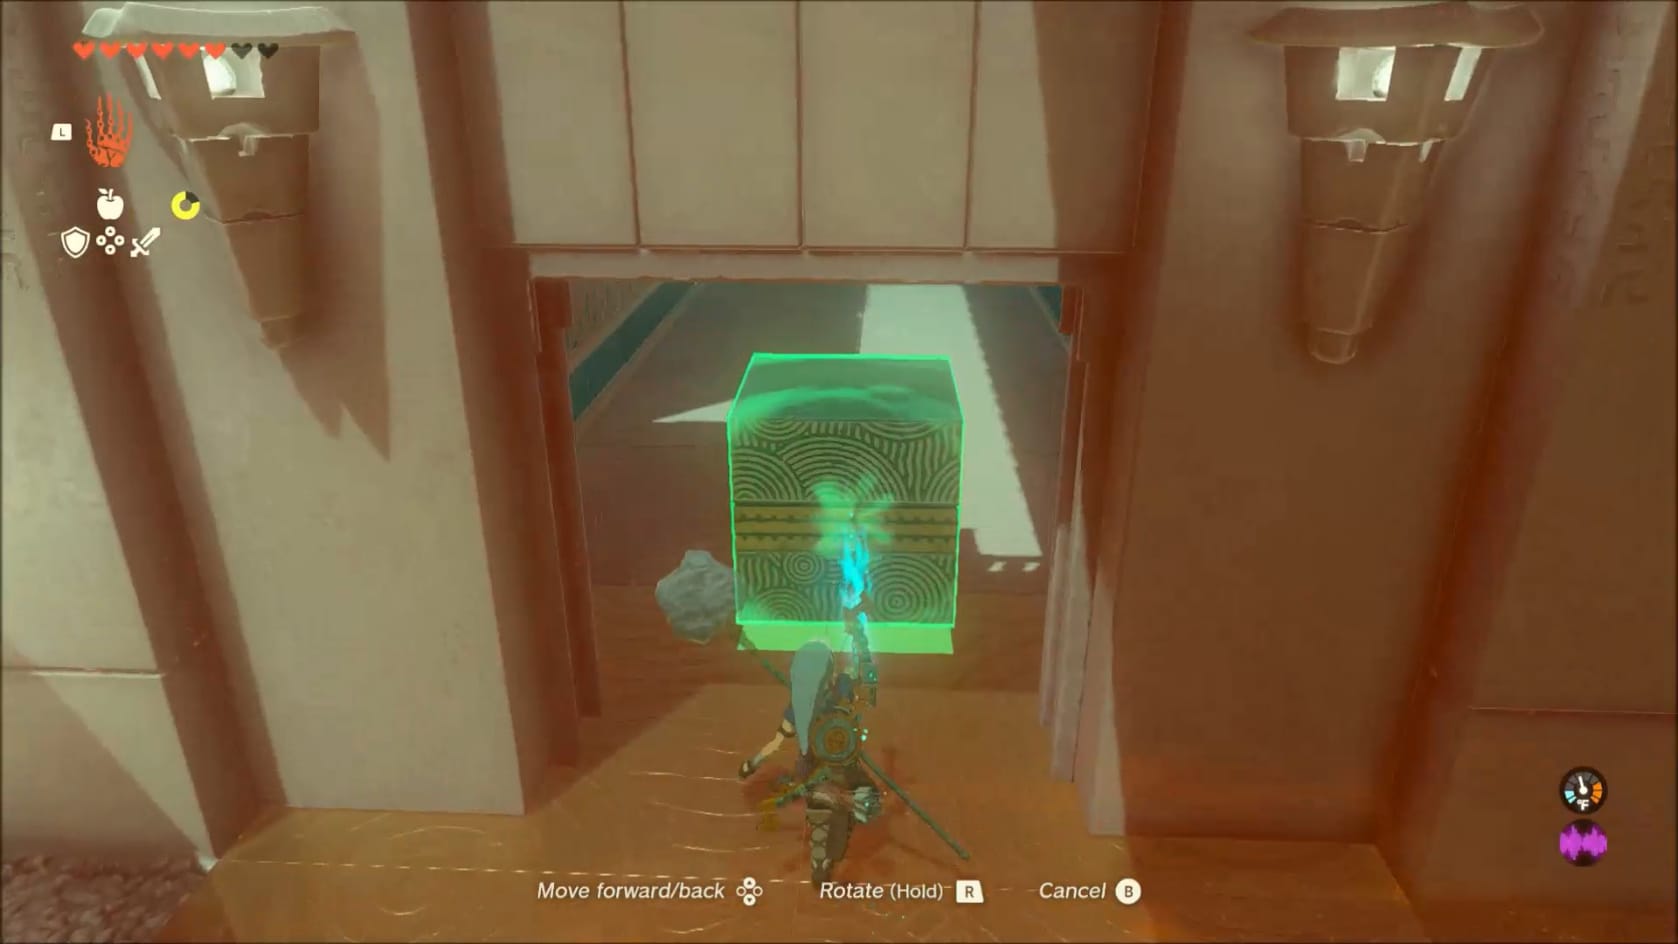
Now it’s time to continue through the shrine and get deeper into the Shrine. Go to the left from the moving platform. This leads to a long corridor with a laser going back and forth. Activating this laser has the floor drop out from underneath you.
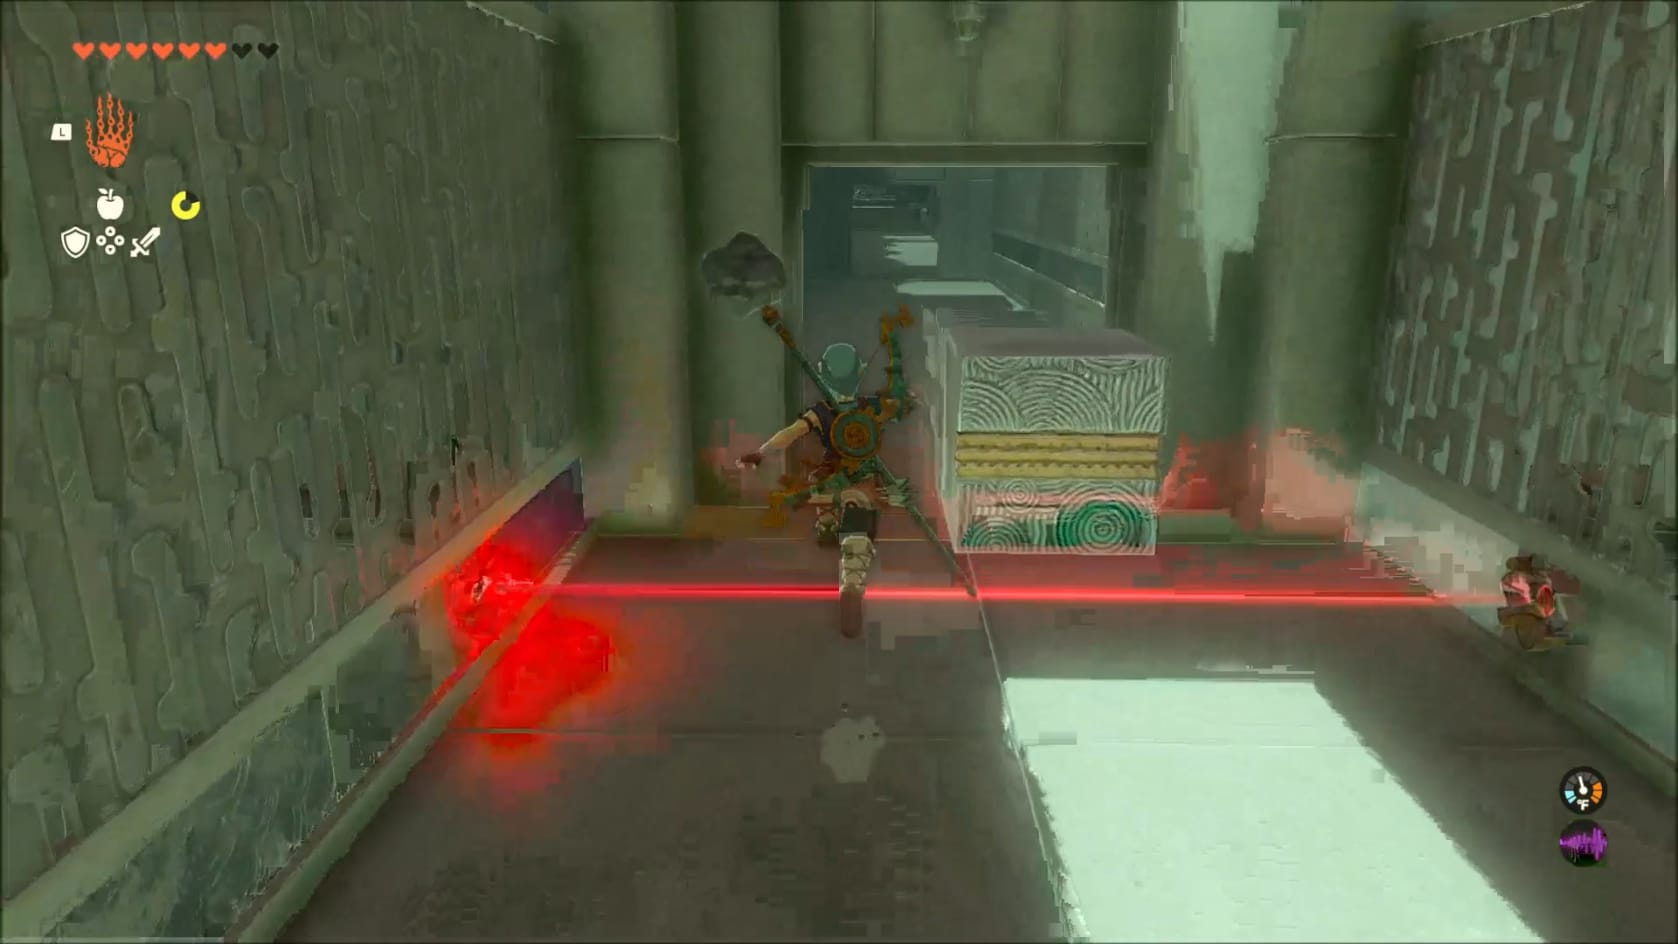
Wait for the laser to get to the far end of the corridor. Start moving toward the far end of the corridor. As the laser approaches you, have Link jump over it. Head through the archway to reach the second half of the corridor.
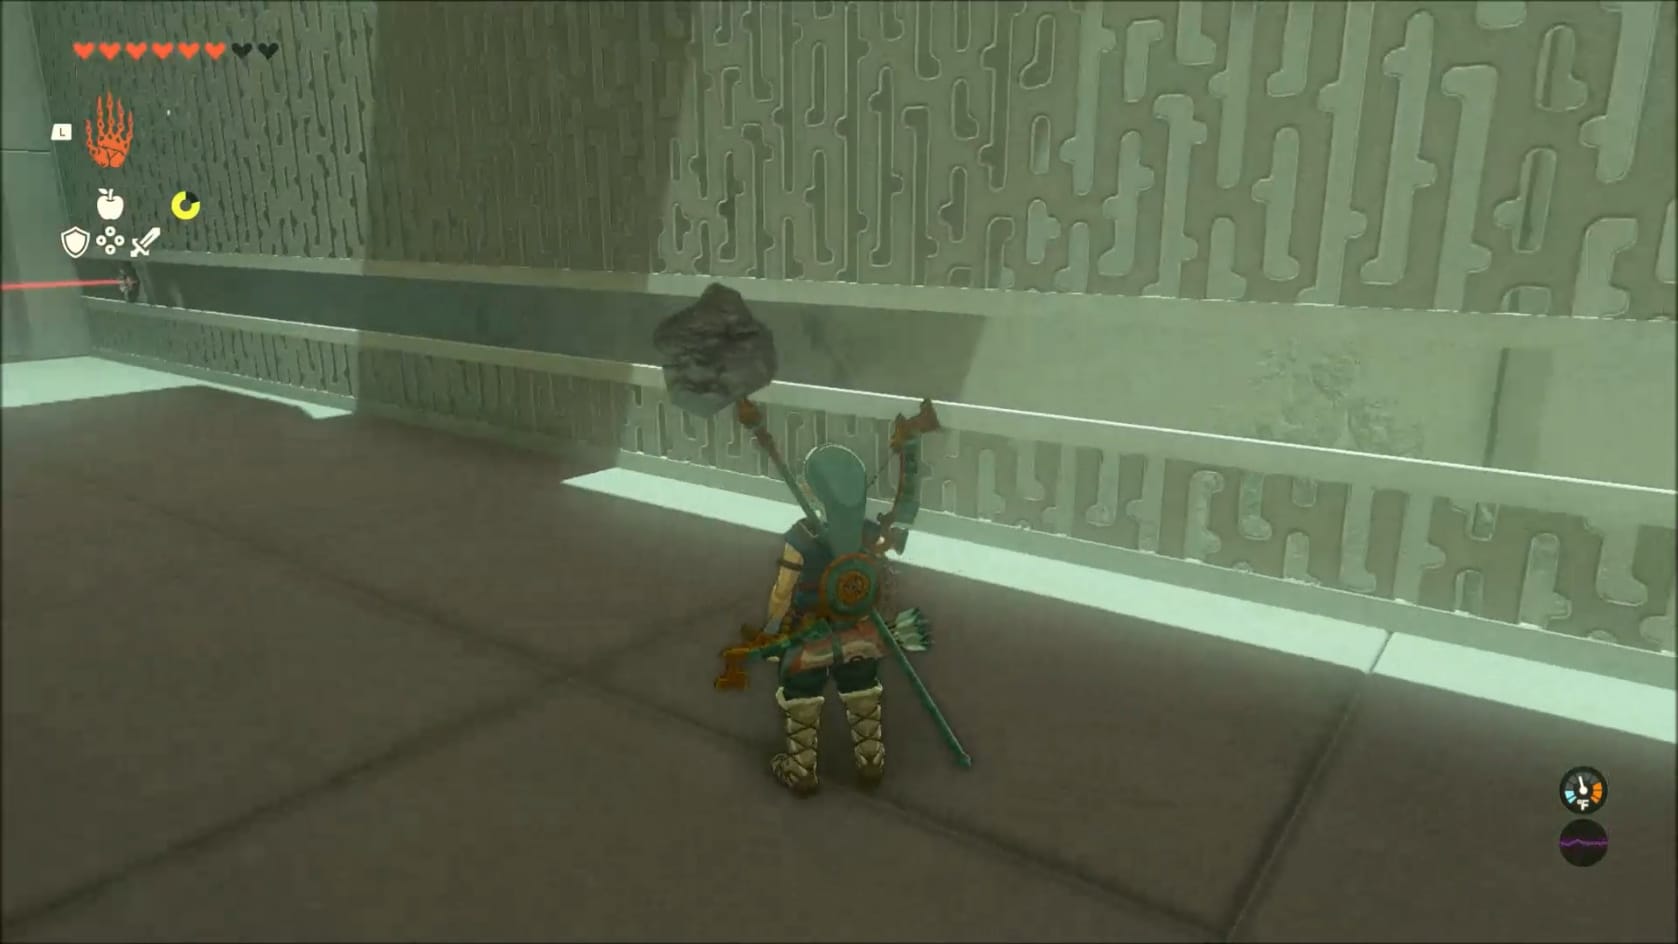
This second corridor has another laser and trap floor. This laser is about chest level on Link. Link can just crouch to avoid the laser. Just continue forward to reach the end of the corridor.
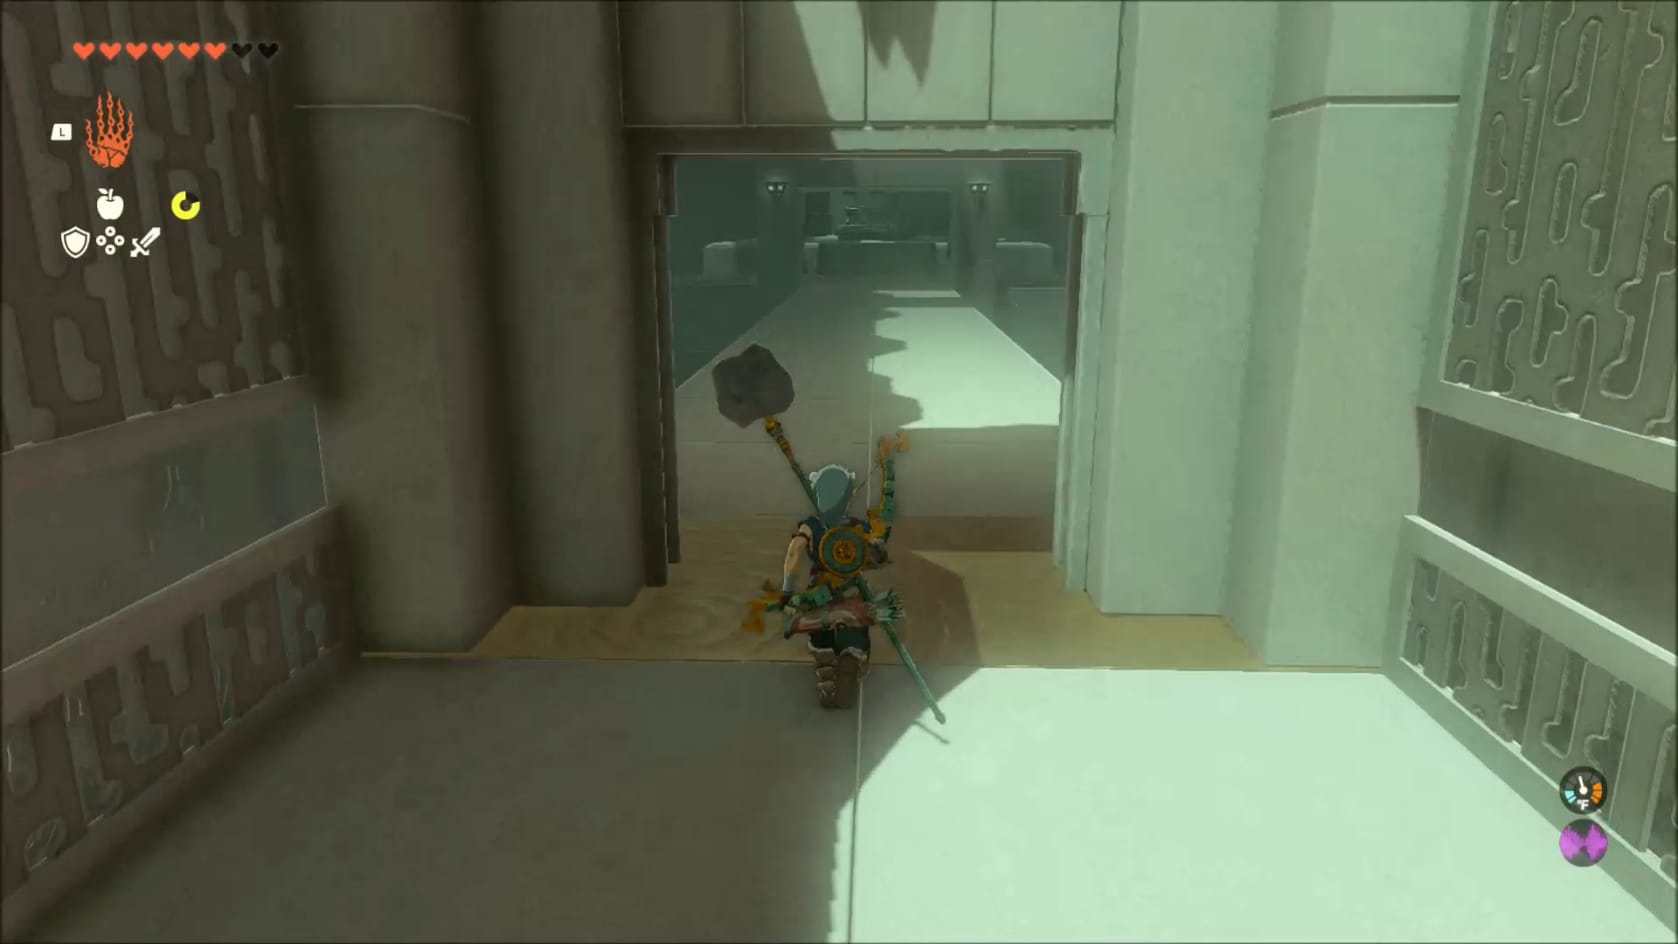
The third corridor is the final one you need to navigate. It’s also easy to deal with. Wait for the frame with the lasers to come toward you. Get Ascend ready for use.
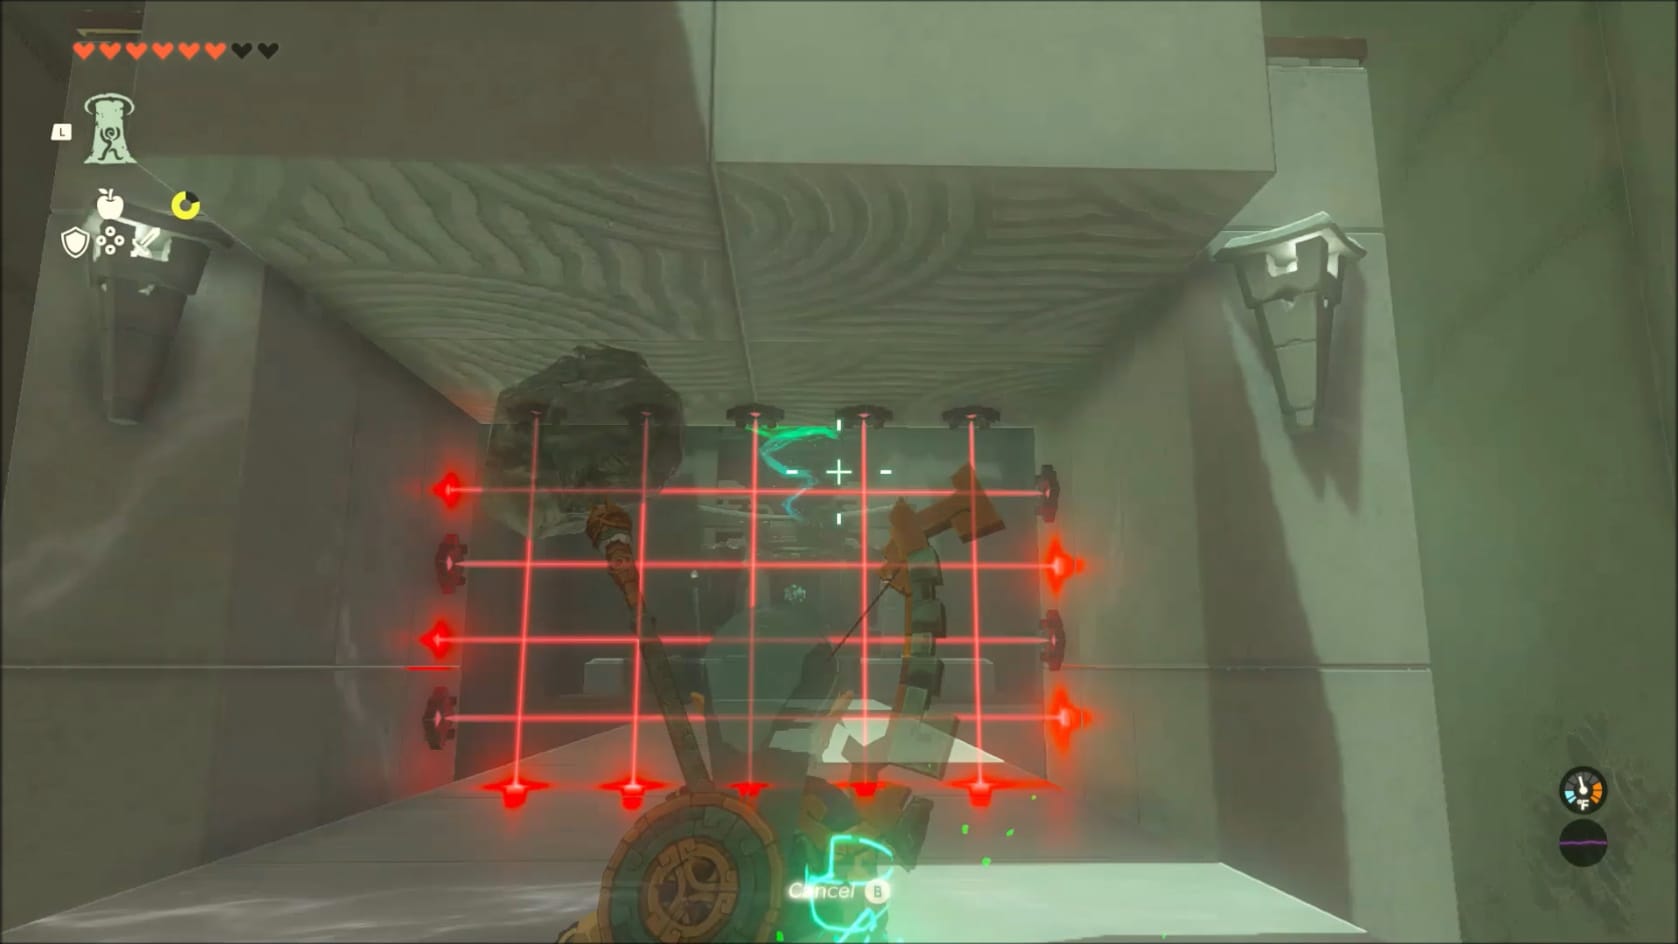
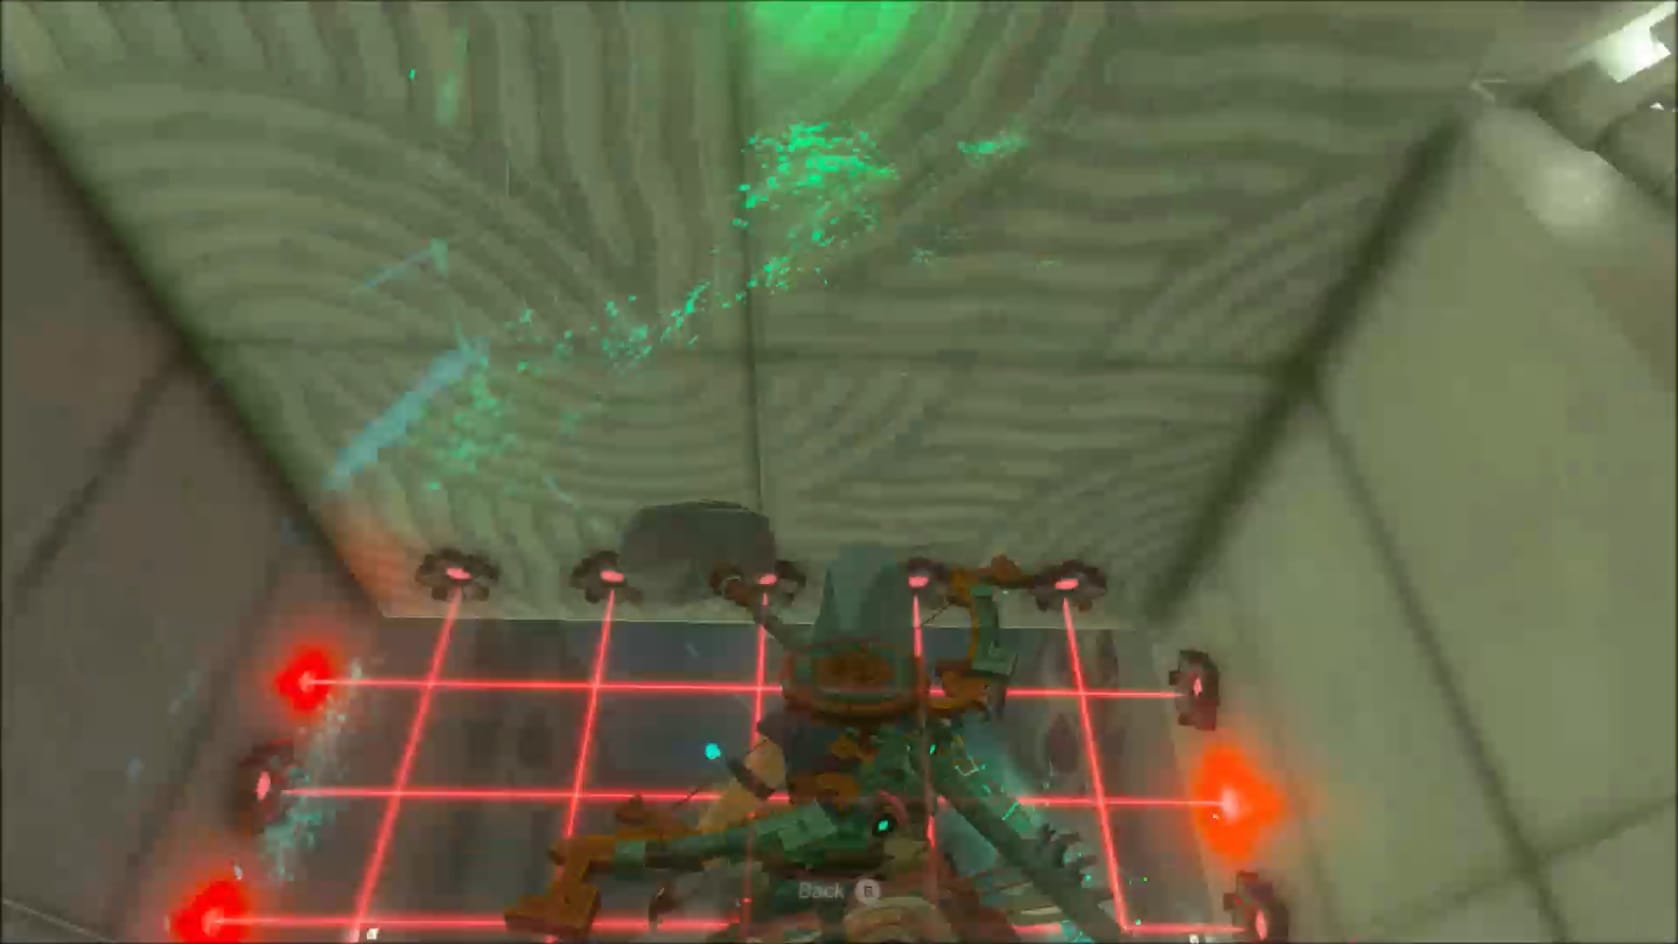
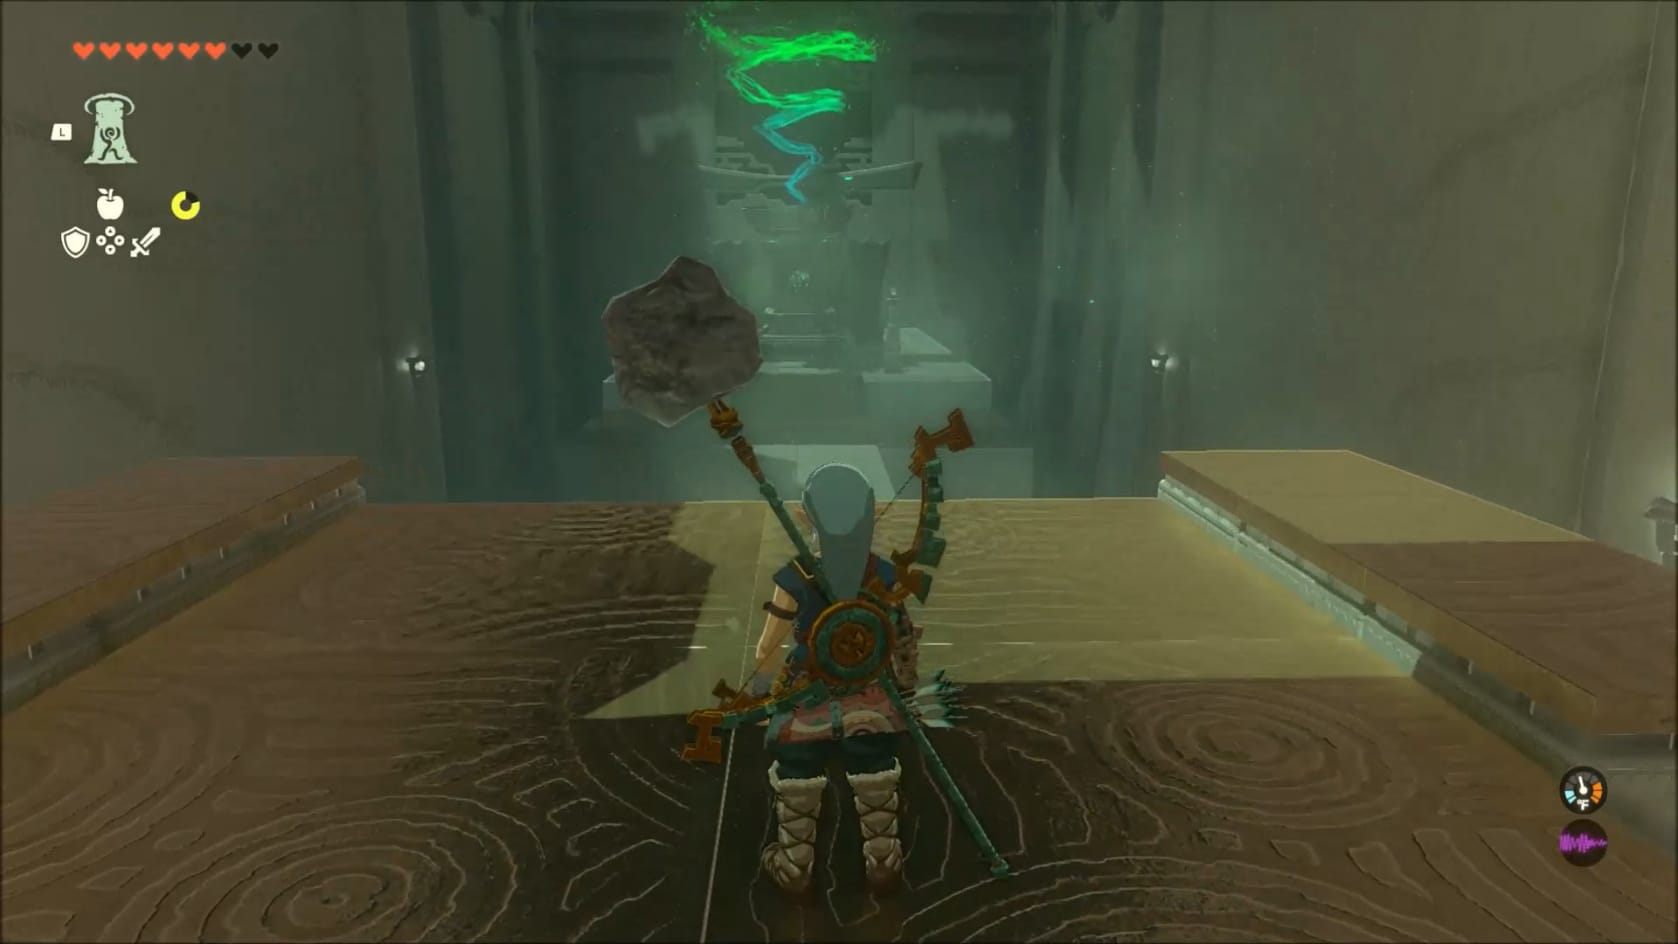
Link avoiding the lasers with Ascend
Once Link is just inside the archway with the laser, activate Ascend to have him launch up and through the frame. This will have you avoid the laser and let Link simply ride the frame to the far end of the walkway.
Activate the Innermost Chamber.
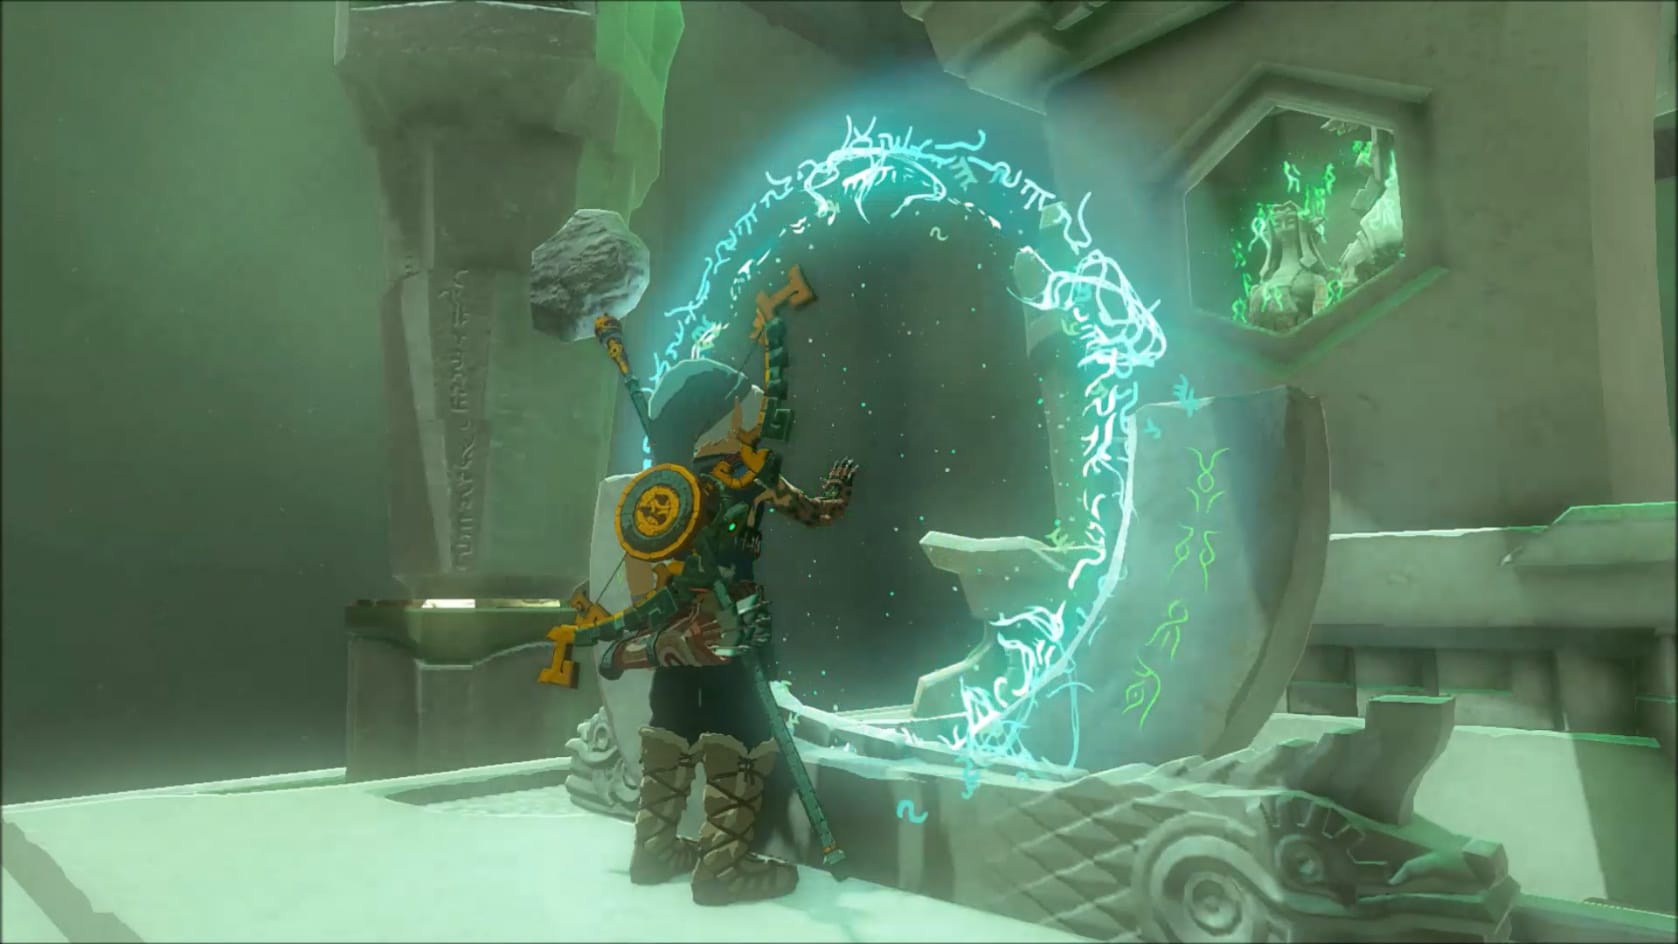
Having reached the far end of the walkway, you will be able to jump off and reach the foot of the Innermost Chamber. Just head on up the stairs to the Glyph. Interact with the Glyph to complete the shrine and its challenge.
Rewards
- Light of Blessing
- Spicy Elixir
Video Walkthrough
Video Walkthrough