Destiny 2: Fire and Ice Exotic Mission Guide
Visit the Praxic Temple and venture through the Praxic Vault in Destiny 2’s Fire and Ice Exotic Mission. Learn how to navigate the Ascendant Plane, how to balance the scales, defeat the Disciple of Harrow, and claim the Praxic Blade.

Summary
Visit the Praxic Temple to complete the Exotic Mission: Fire and Ice.
Navigate through the secrets of the Praxic Vault to retrieve your own Praxic Blade.
Walkthrough
Locate Vault
You will arrive on Europa. The Barant Legion is holding the outside of the vault. You will need to start up the slope. Go straight past the bunker and to the top of the hill behind it. At the top of the hill, go over to the right and down the narrow path just beyond it. Turn to the left at the split to arrive just outside the caves housing the Vault.
Getting down into the lower area, be mindful of the Turret sitting on top of the bunker there. Go just past it and over to the left. You’ll find an open hanger. Just in front of that open hangar door is an Imperium Decurion Psion (With a Deflector Shield). Take them out to make things a little easier. Step into the Hangar itself after that.
Just inside the hangar are a pair of Legionaries. Either deal with them or just ignore them and head over to the left. This is because there are more Barant Imperium there. A few more Legionaries, but more importantly, to the left is the Colossus Val Cal’ric, Door Technician. Nevermind the additional Imperium Electi Psions along with it. There are a few more Psions on the walkway opposite the Colossus.
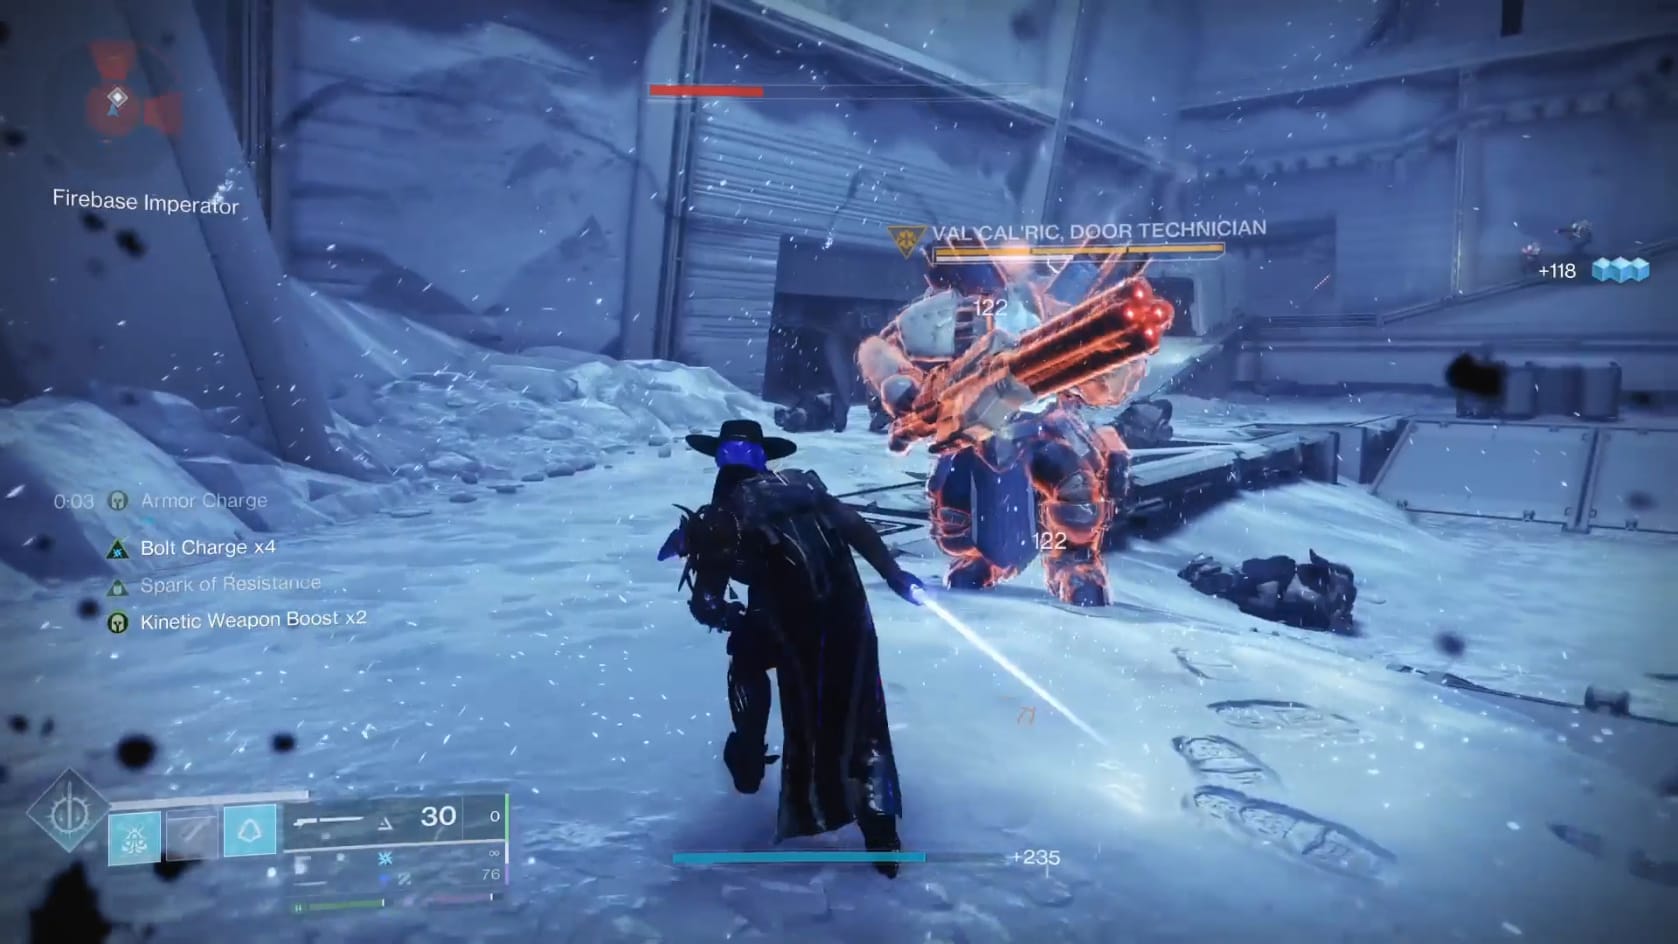
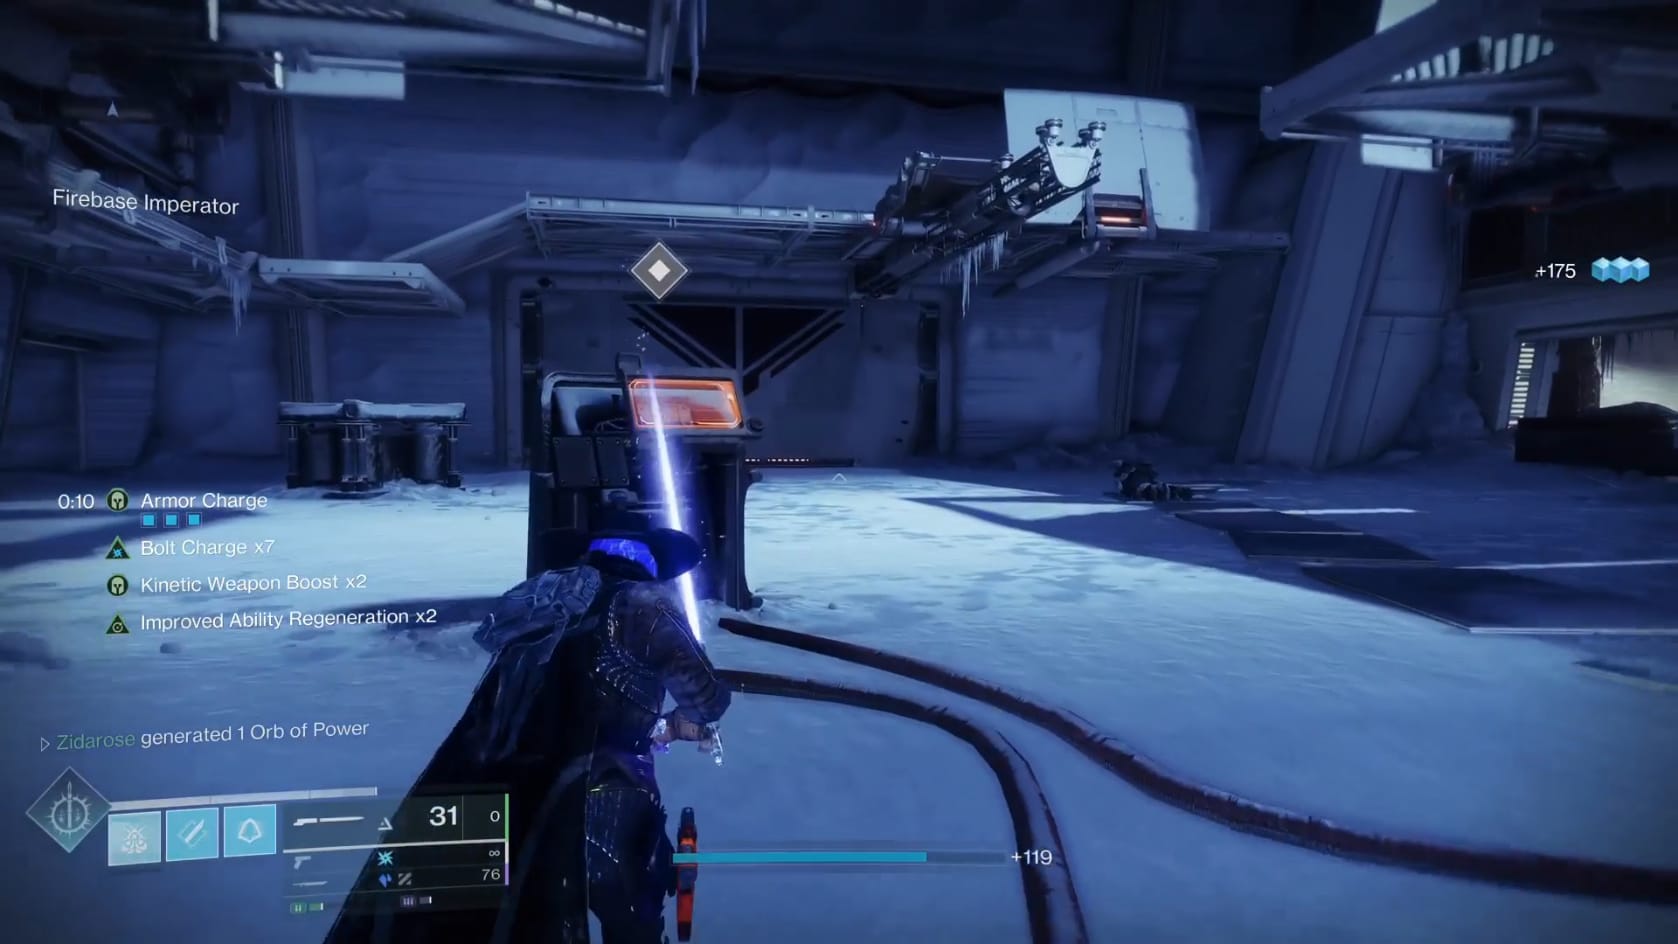
Defeat Val Cal’ric, Door Technician and they’ll drop the Imperium Door Codes. Head back to the first part of the hangar. Sitting off from the middle is a control panel you can interact with. With the door codes, you can open the sealed door across from now. Take that slope down into the entrance of the vault chamber.
Enter the Portal
At the base of the slope, go across the room to the stairs in front of the large door. Approach the Pyramid device there and Taken will start to teleport in. Before you can go deeper, you will need to clear out the Taken that have appeared here. Work your way around the room to clear out the groups that appear.
The way forward will only appear after you’ve eliminated the Taken in this room. You know you’re at the end of it when a Taken Ogre, the Portal Keeper, appears by the door out. Clear out the Taken and the portal will open. Jump on through when it does.
Navigate the Ascendant Plane
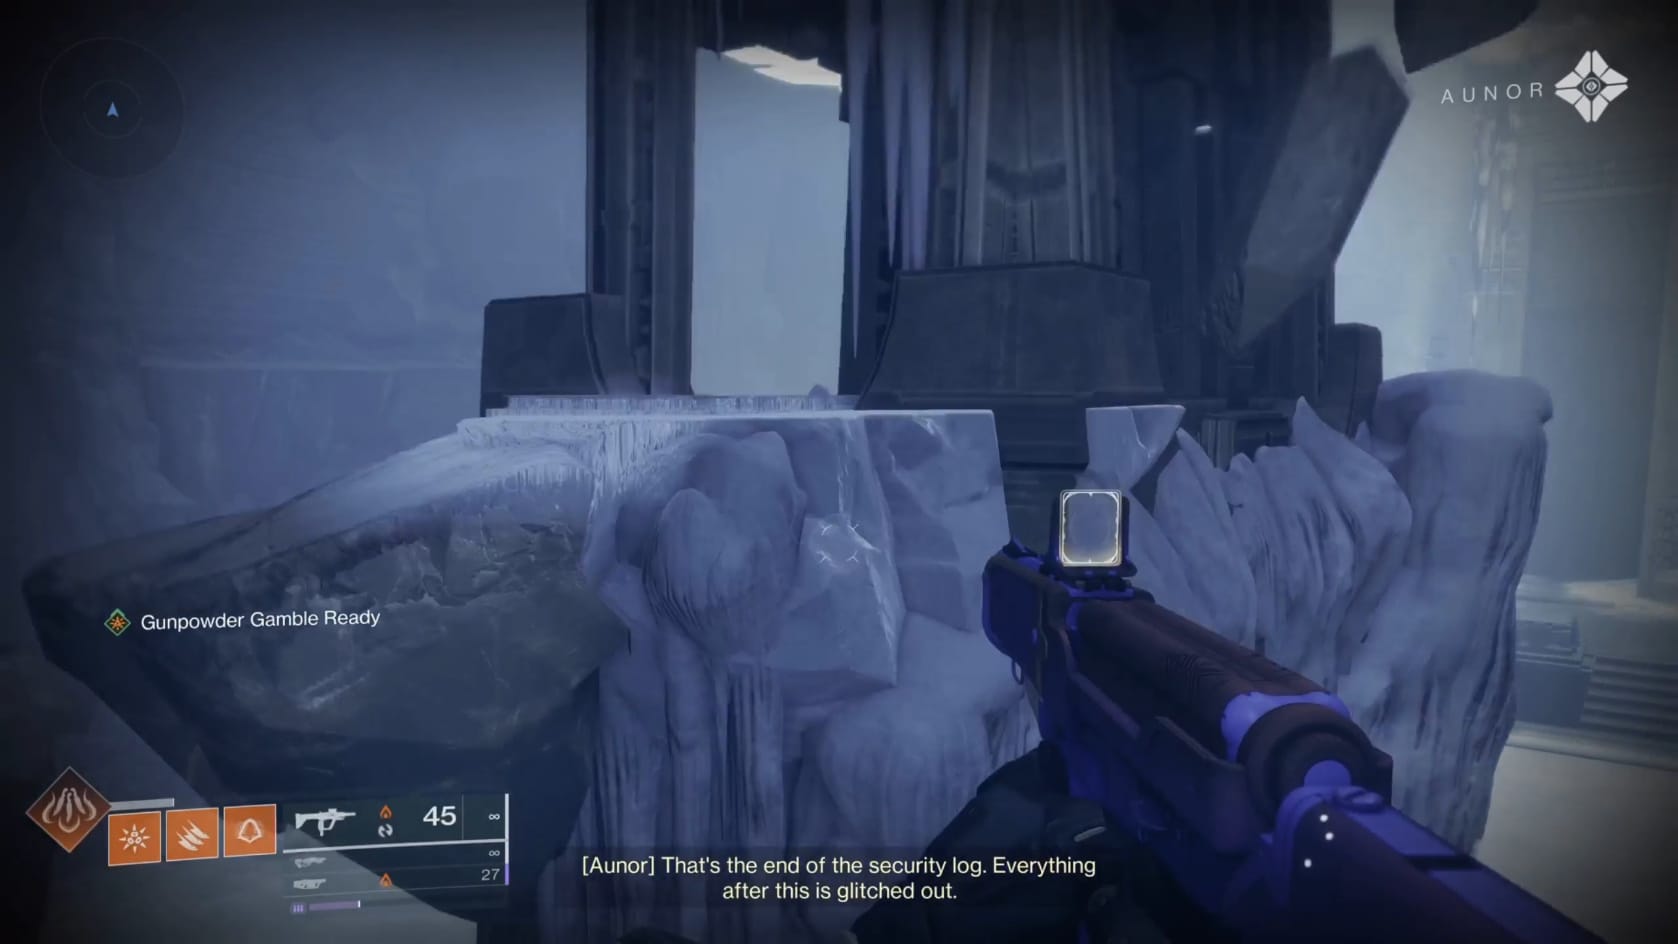
You are inside the Ascendant Plane attached to the Praxic Vault. Once here, collect the Imbalanced Octant just in front of you. This will open the way forward. Head for the Tower that’s in front of you, sitting in the middle of the area. Climb up using the floating stones and then drop down into the opening.
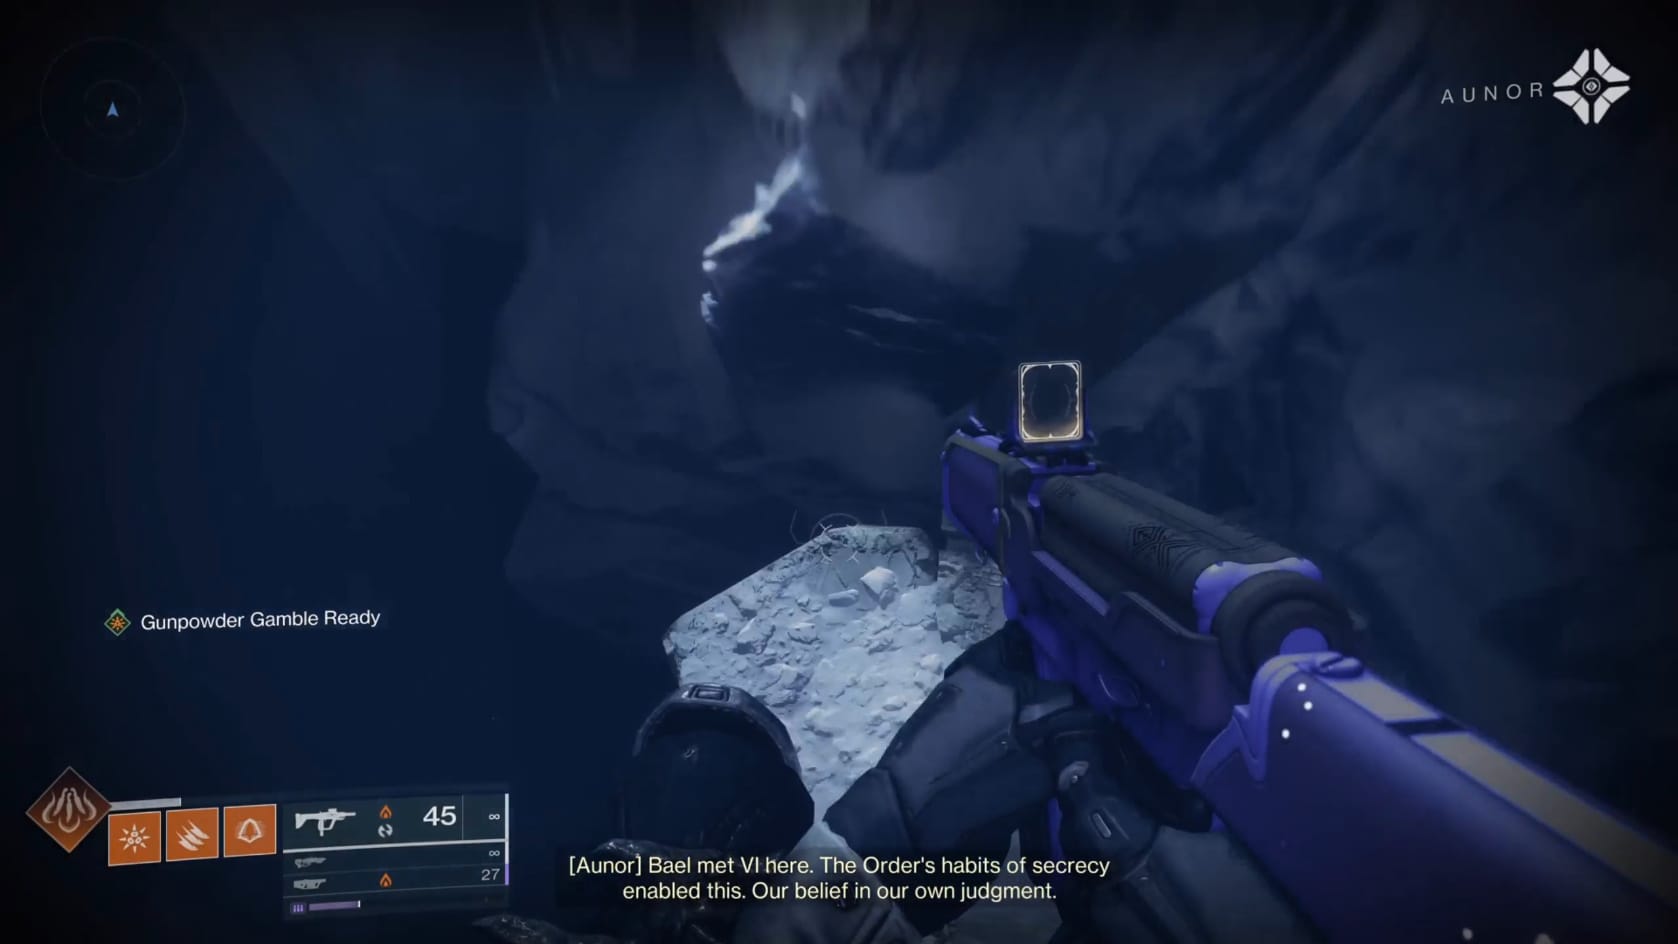
Aim for the ledge you can easily see below you. Turn to the right and start jumping up along the path leading upwards toward the slanted rocks. Follow the short staircase up and get around the larger icy rocks either by going over them or under them.
Keep going ahead in this corridor. Go along the right-hand side and through the small opening against the wall there. On the other side, get to the ledge and carefully jump across it to the stairway/ledge found there. Climb up and jump from there forward to the crest of the hill and descend. Jump the gap and slide under the pillar.
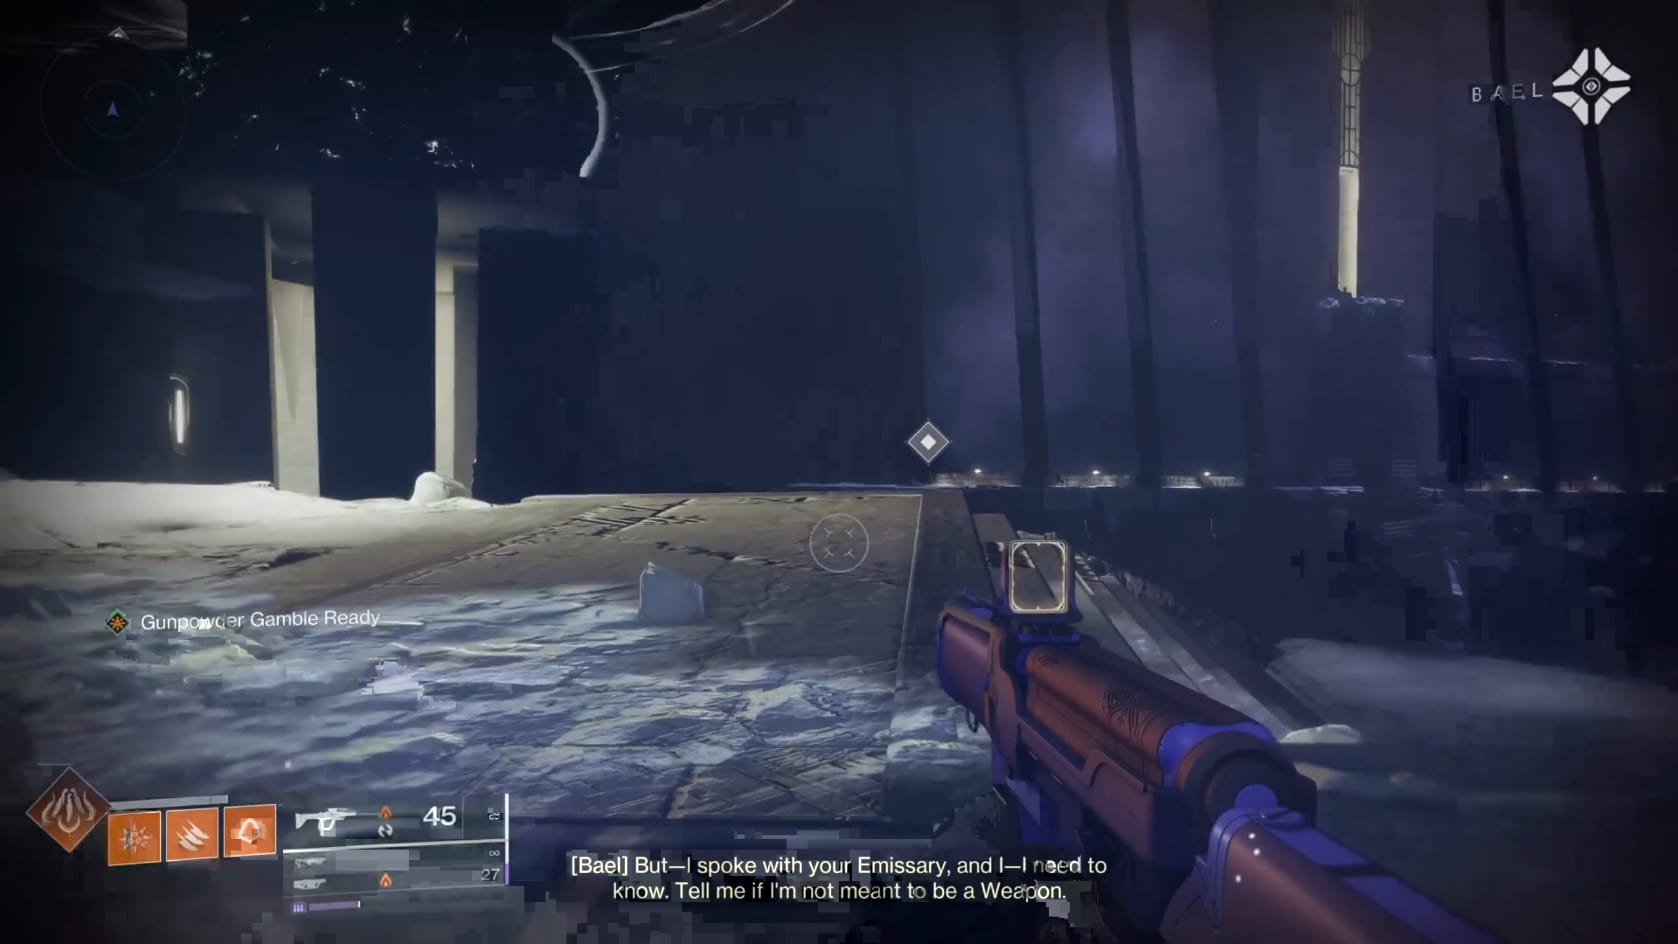
Climb on up the stairs beyond that and climb up them. This brings you to the open area where you can see a Temple across the way. Climb the stairs and head toward the lit structure ahead of you. Jump to the structure and head through the narrow opening on the right-hand side. Jump from there tot he front of the Temple itself.
Getting here, you will need to be mindful of 2 hazards: Taken Energy Bursts that can send you flying and thrusting pillars that can also launch you.
For this part, you will want to press into the front of the Temple. Sprint along, jumping as needed for gaps. You will quickly reach the stairs. You can’t enter the Temple here, you need to continue along the front of the temple.
On the far side of the stairs, slow down. You need to move more carefully, ducking to be on the ledge. Move forward to trigger each the thrusting walls. When you get to the end of the narrow ledge, you will see it turns but there’s an opening as well.
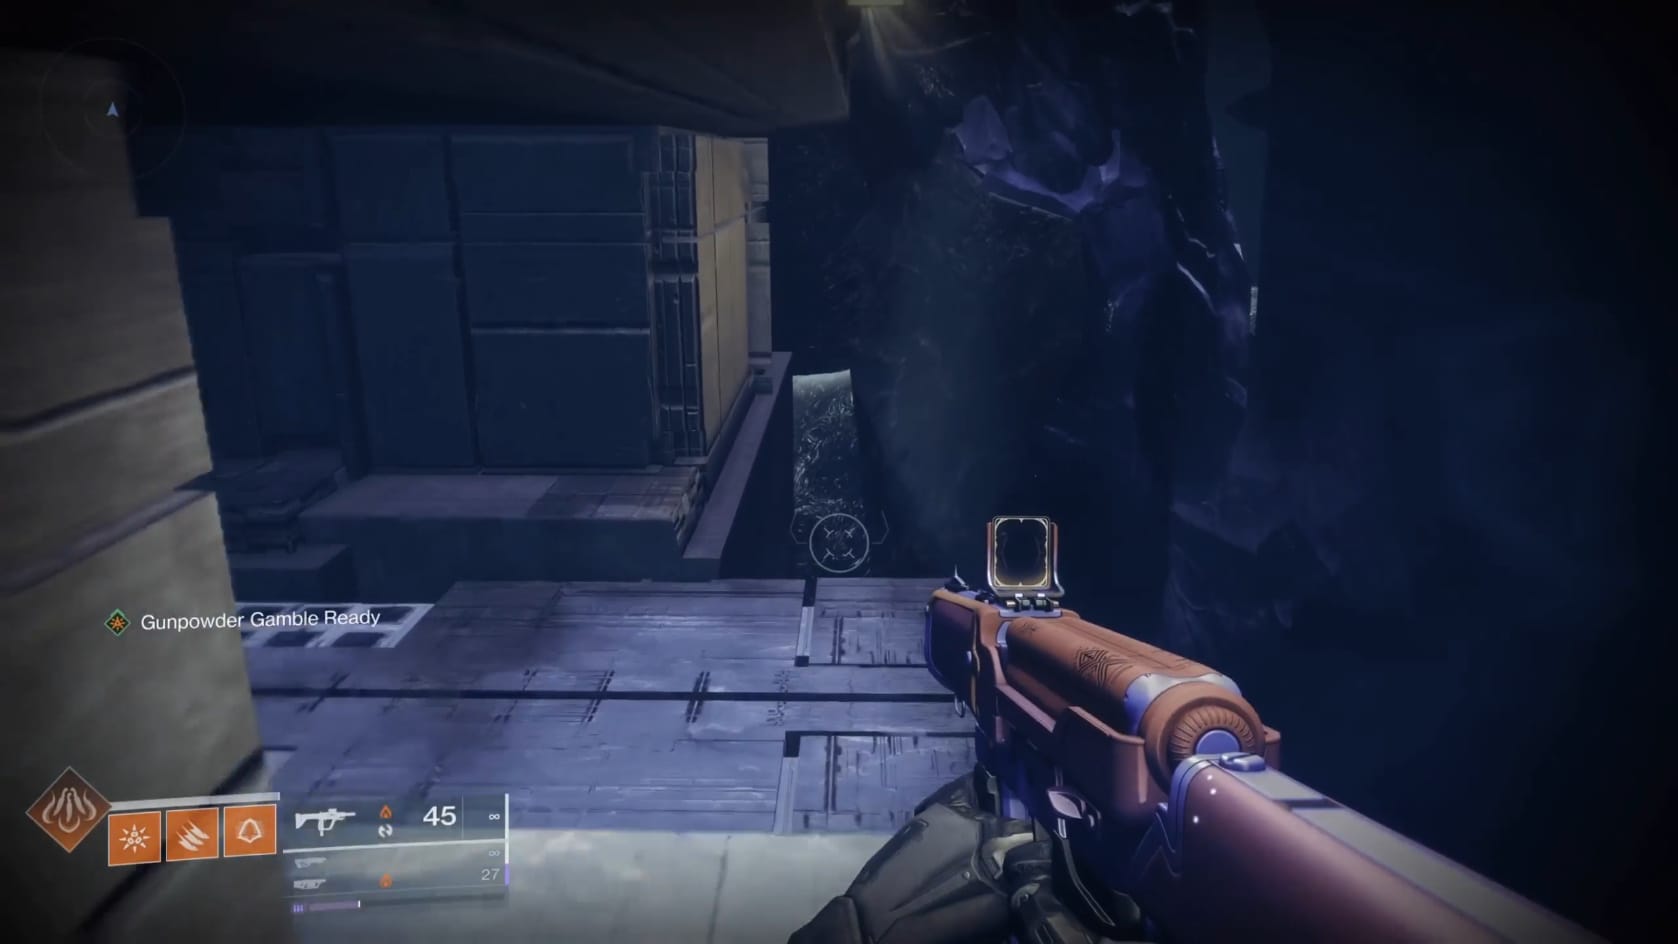
Wait for the wall to come out and return then head into the narrow opening where the wall was. Quickly head down the opening and go to the right at the back of it. Continue along the ledge in this direction. Get to the end of the ledge and then jump up to the right onto the floating rock there.
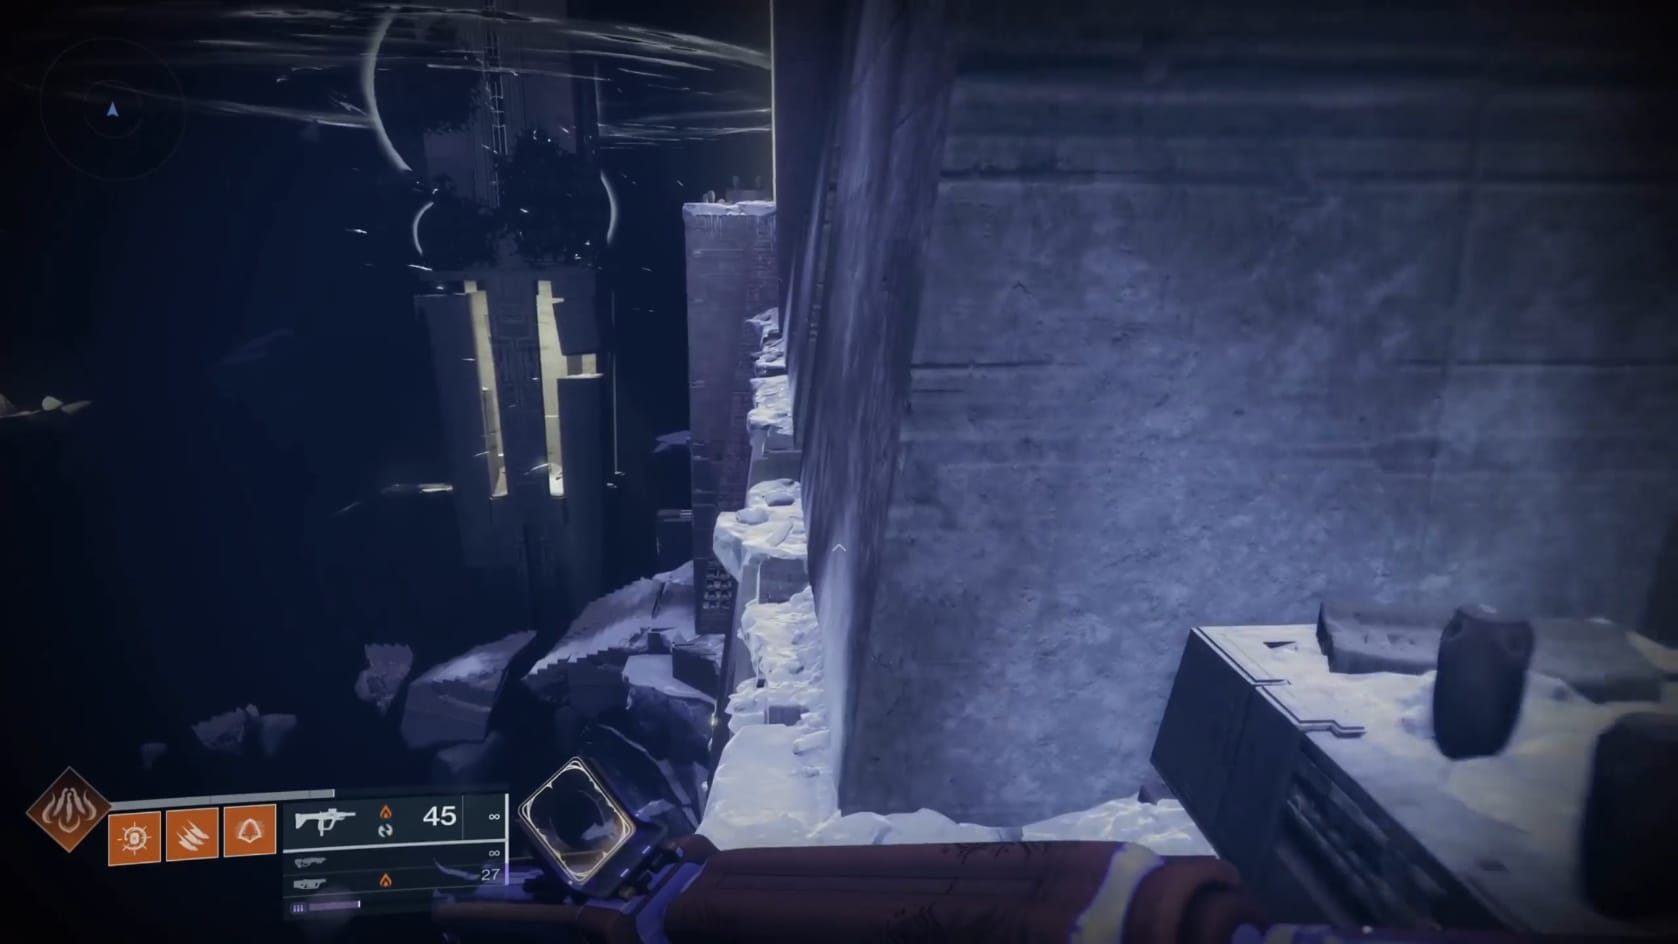
On the floating rock, jump up onto the top of it. Face the Temple itself. Jump for the walkway on the front of the temple. Move along the ledge, being mindful of what’s happening in front of you. The walls will be sliding along at foot level. Get to the last open section, just before the “front” of the temple. Turn into this last open section to find a set of stairs that actually lead into the Temple.
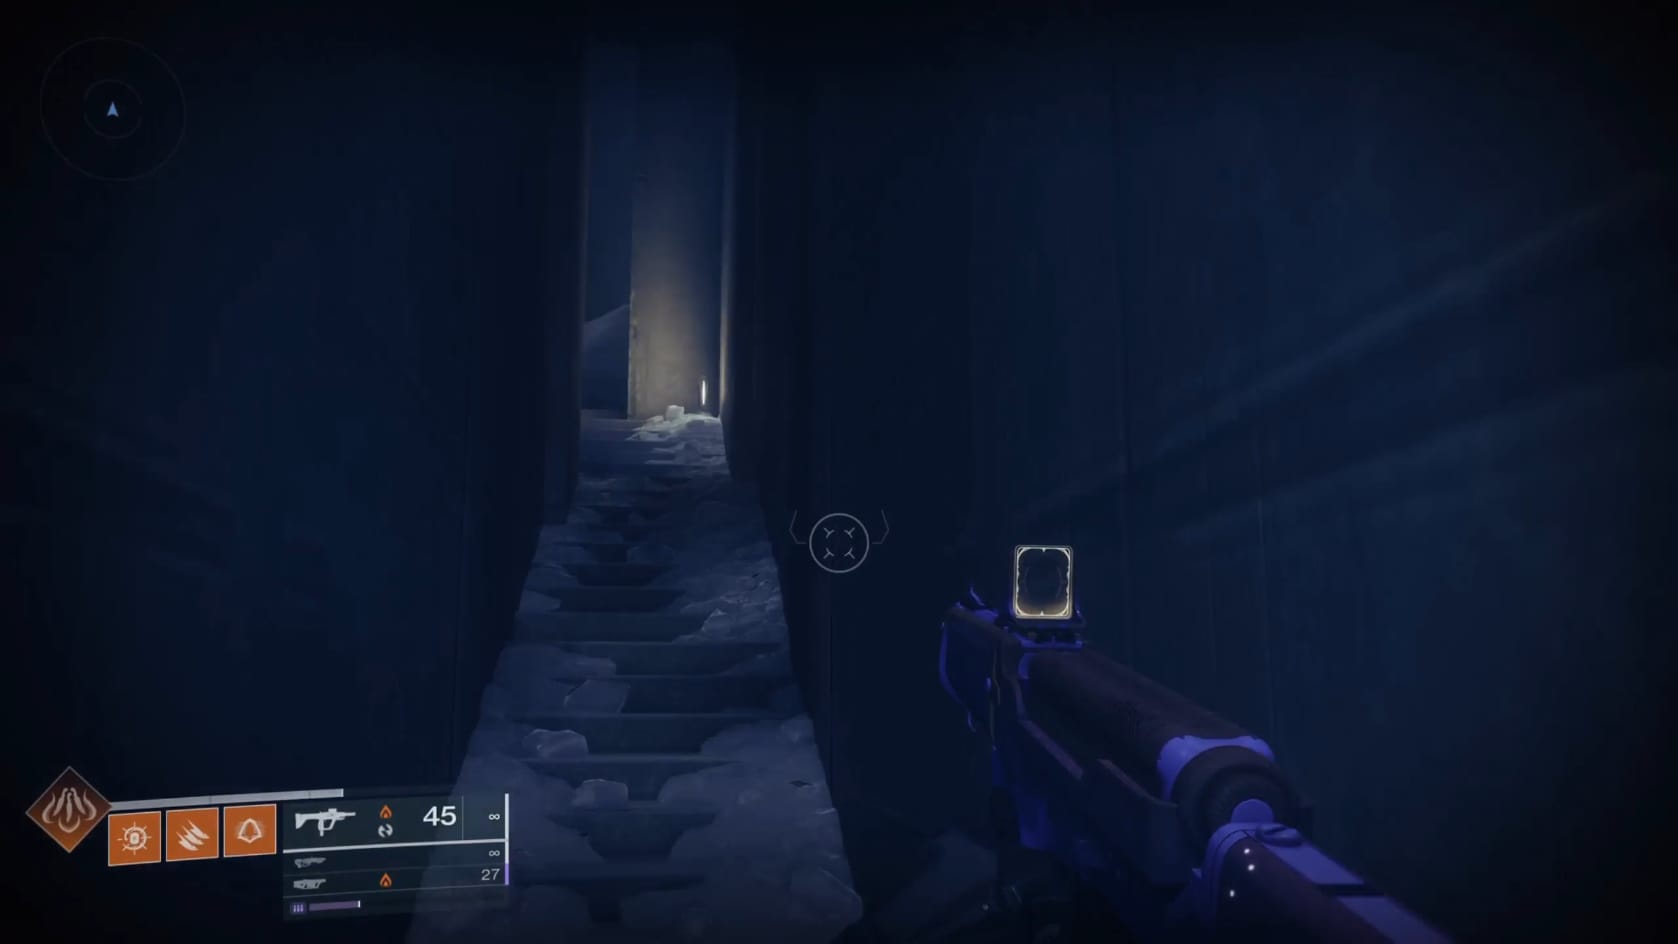
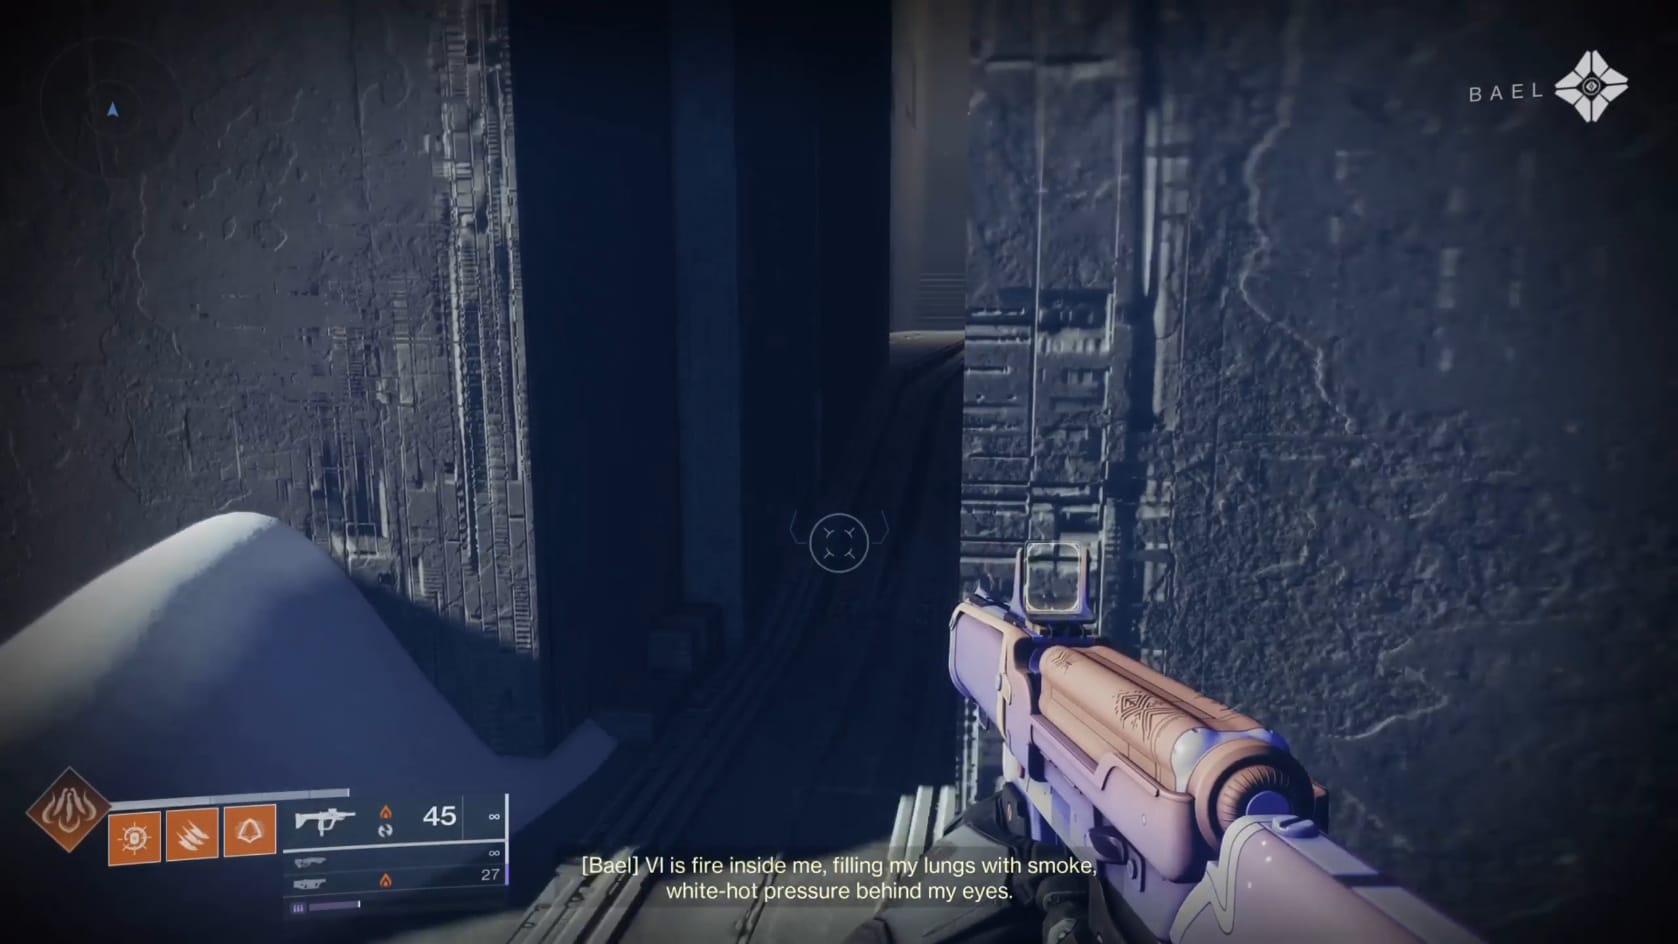
The stairs up and the semi-hidden passage forward to the right at the top of the stairs
Take the stairs inside the temple up. Take the stairs up, but stop IMMEDIATELY at the top of the stairs. Turn to the right there to find a narrow opening. This narrow opening to the right is the path forward. Go to the back, but stop before the last plate on the ground.
Turn around and look behind you. There are floating platforms behind you now. Jump and climb along the platforms to reach the top of the area.
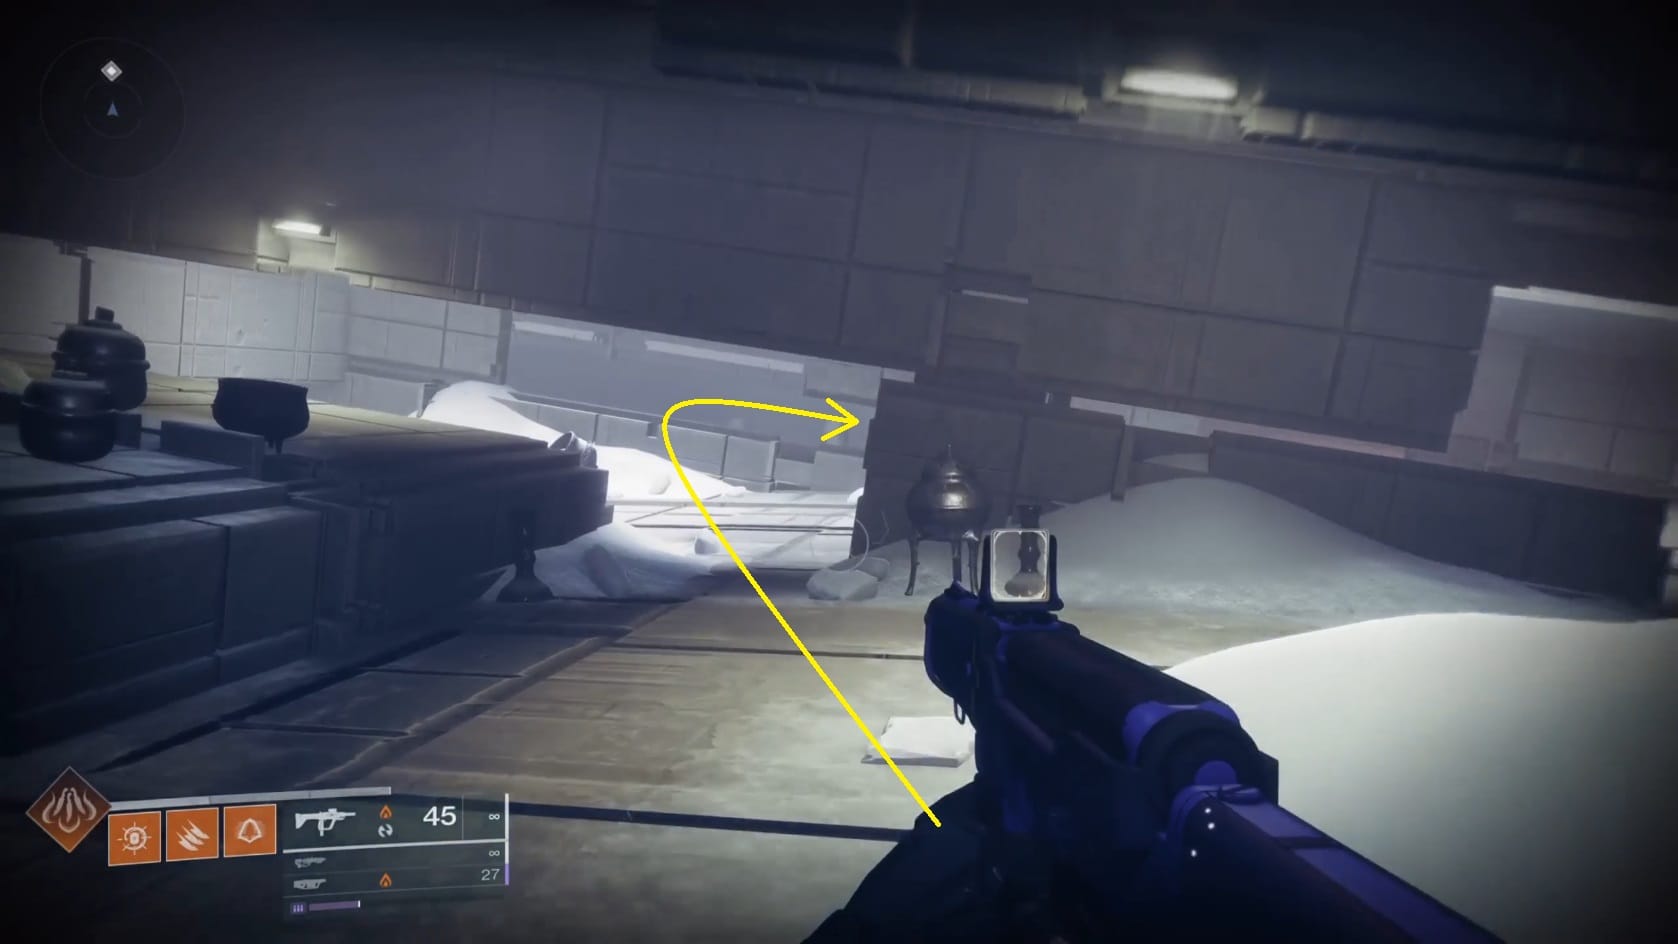
Getting to the top along the platforms that appeared, you will find another chamber. Head through the openings to reach the back. In the back, go over to the right. You’ll see an opening in the floor. Drop on down into it. At the bottom of the drop, duck and look on the left-hand side. You’ll find an opening here. This brings you into a first puzzle room. These ground panels vanish after just a few seconds.
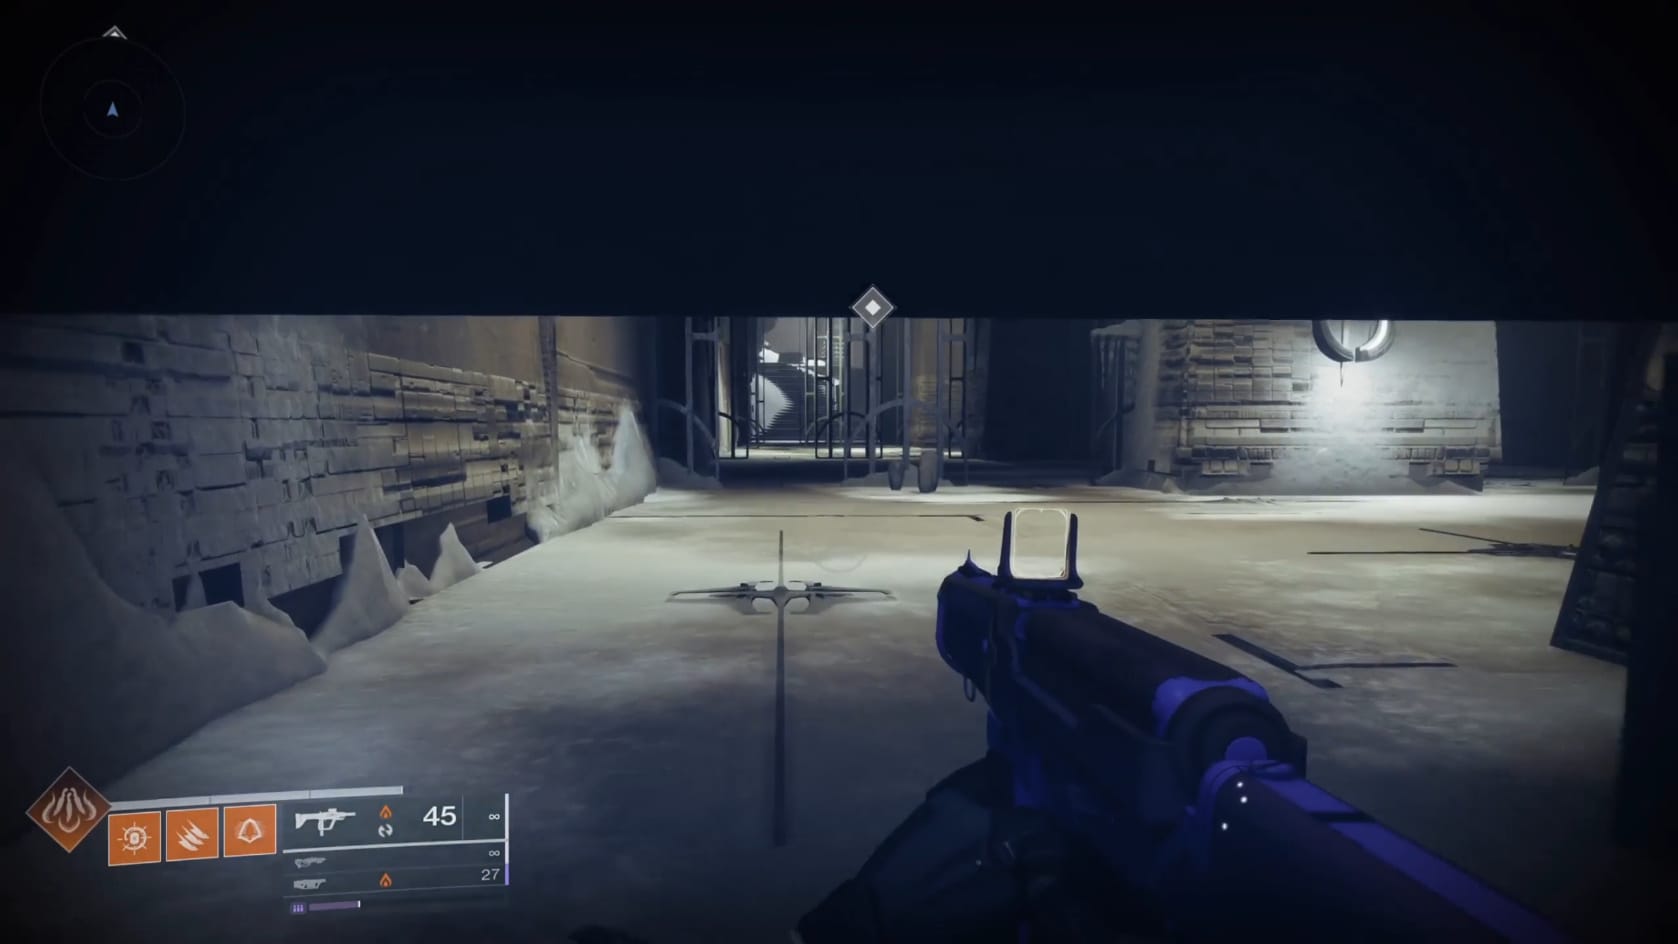
After you get out of the narrow opening, angle to the right and run across the panels on the ground. You’ll see a few sections of grating. Go over to the right-hand side opening. You can slip through here. After that, head forward to the next section of grating. Go to the left-hand opening ahead of you. Rush through that opening. Go against the left-hand side grating this time. The farthest opening will let you through. There’s another set of grating just ahead tot he right. You will want to go through the opening on the left-hand side. This leads to a larger section. Rush across this. Go to the right-hand opening of the grating in front of you. Rush across the remaining panels and up the stairs.
Getting to the stairs, you will need to head up the stairs. At the top of the stairs, you will see a small outcropping. Jump up onto this small outcropping and turn to the left. Jump up onto the next one and look to the middle of the room. There’s another outcropping for you to jump onto. Get onto it and then continue upwards to reach the top of the chamber. You can find a split in the path. The path goes to the left and right.
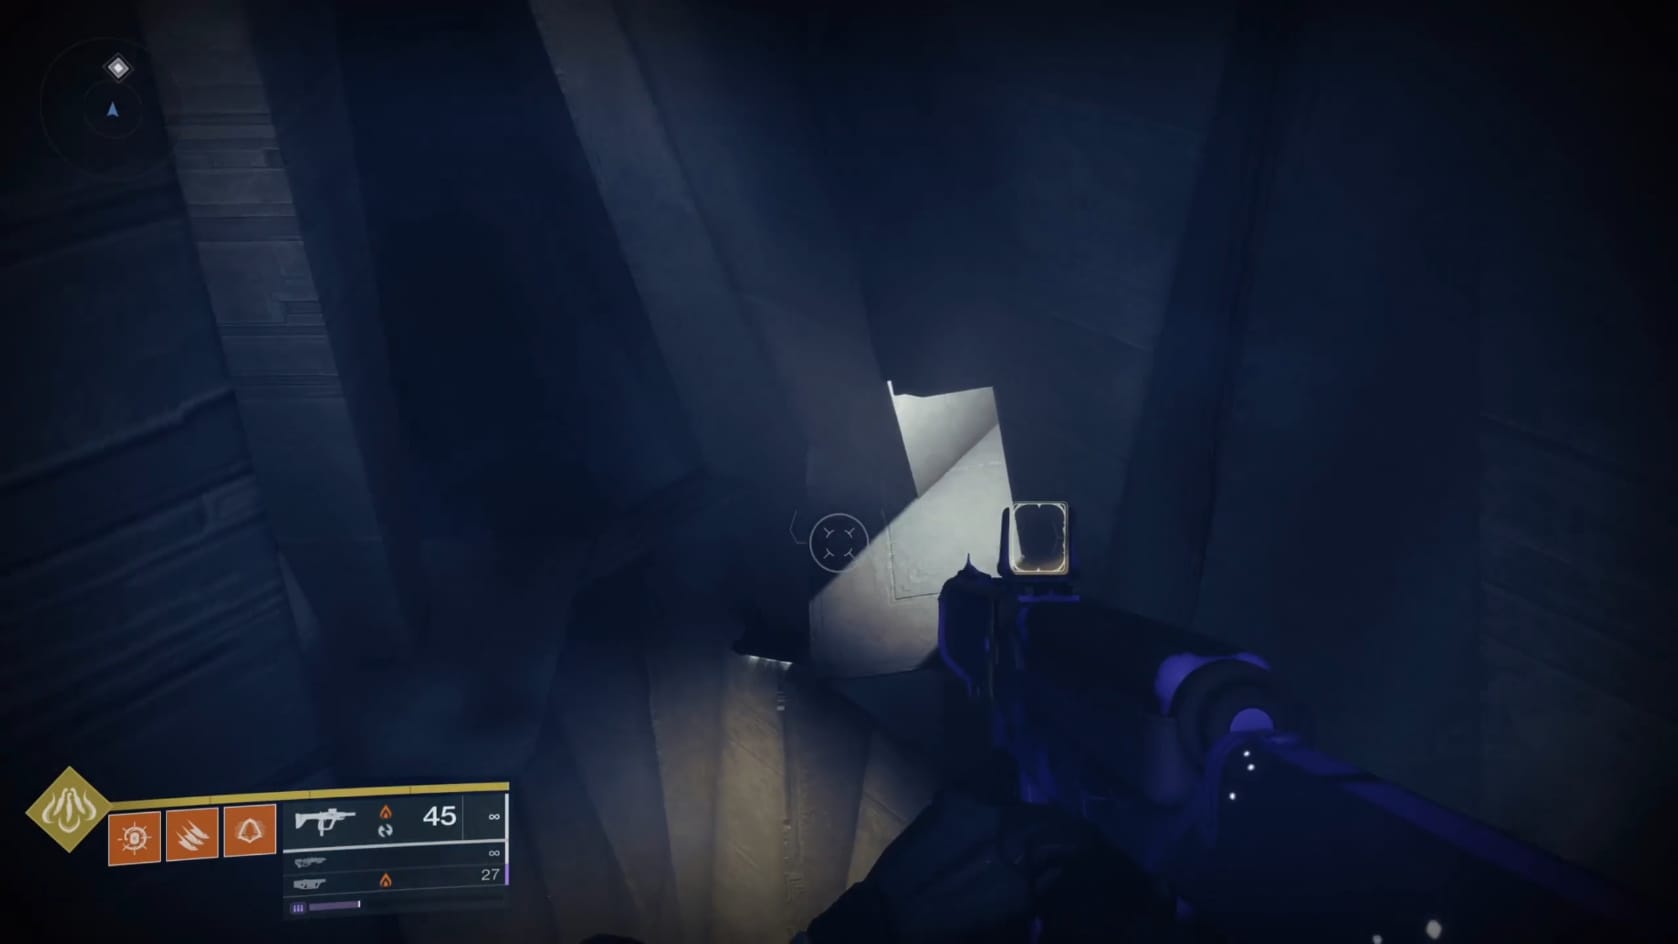
At the top of the chamber, head to the right-hand side. In the back of this upper section you will find an illuminated opening. Drop down and go for the illuminated opening. This will bring you to the next section of the temple.
Destroy the Darkness Spiral to open the path that will let you get through at the end of the section. Start by rushing across the opening panels, jumping the gap to reach the first cluster of platforms. Continue up the vanishing panels and reach the stairs. Be mindful of the Taken Hobgoblins that are scattered around the area.
Go up the stairs and favor the right-hand side. Jump across the gap for the higher ground panel ahead. Slowly turn to the left and continue along the path to reach the next set of stairs. Stay on the stairs along the outside of the platform. Look across the gap for the large ice block. Jump out onto it, aiming for the left-hand side. Get to the back of the area and long jump across the gap to the ledge there. Continue forward and down toward an illuminated ledge in front of you.
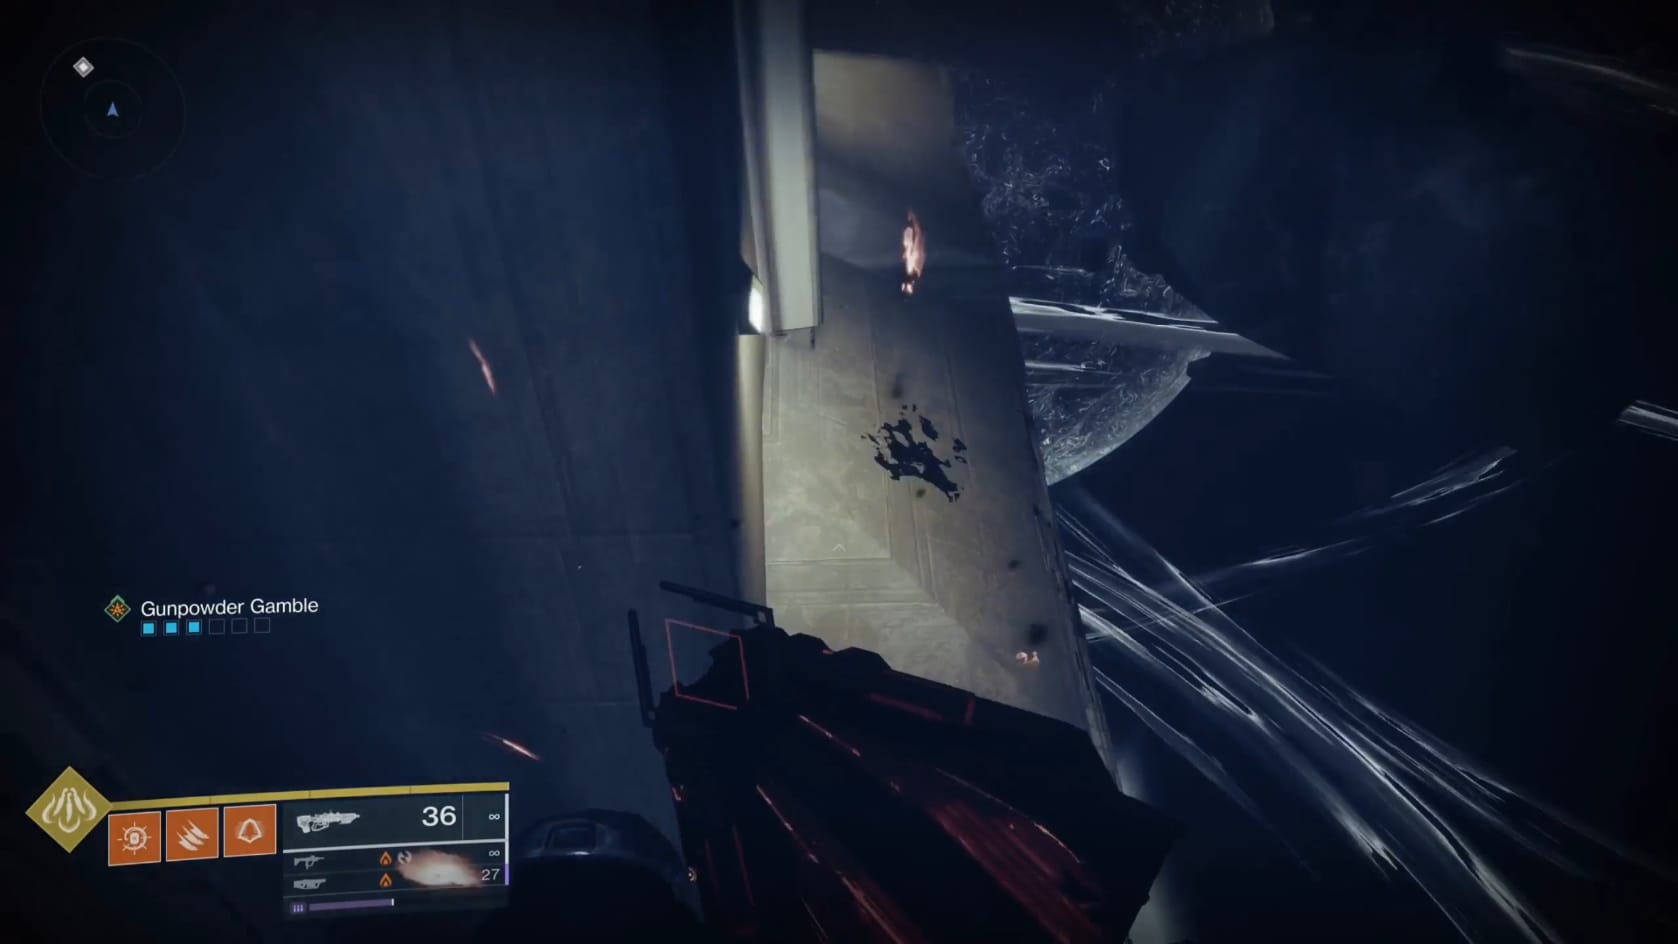
This illuminated ledge is part of a tower you can enter. Go over to the left and head inside. Climb up using the platforms within to get to the top. Be mindful climbing up since each of the platforms has a Taken Energy Bursts. Circle upwards and avoiding the Energy Bursts as you climb. At the top, you’ll find an opening.
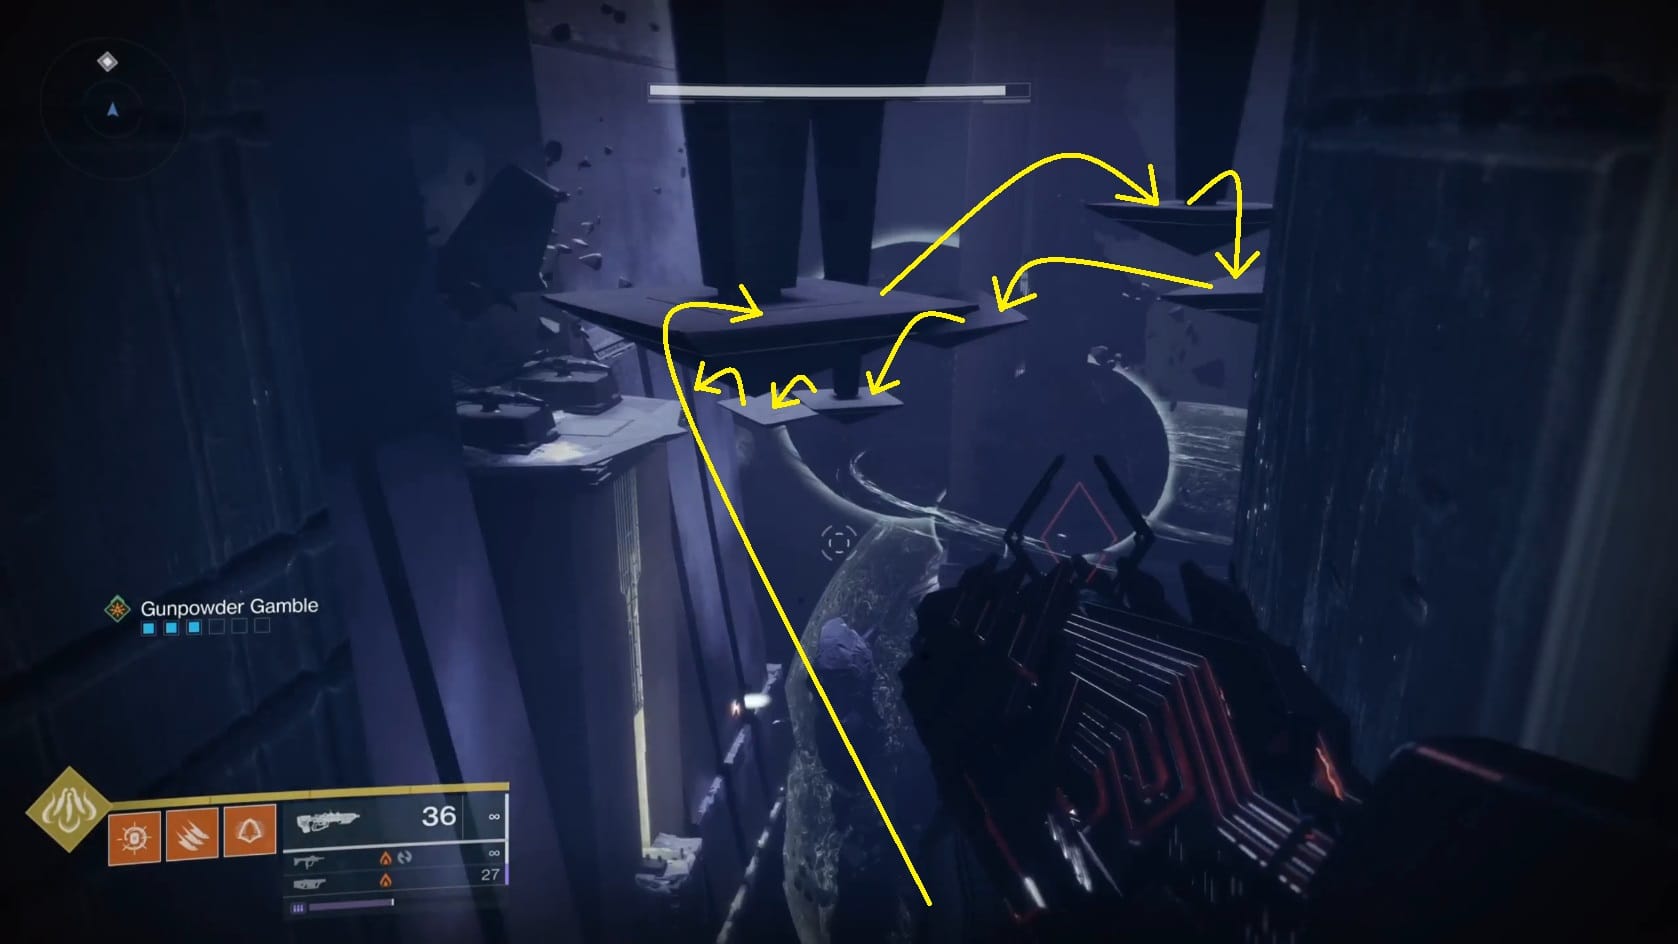
At the top, through the opening, you’ll see suspended platforms. You need to jump out to these and across them to reach the ledge nearby them. Getting onto the ledge, you will see a set of stairs that are leading upwards. Stop at the base and interact with the device, to use the Imbalanced Octant. After that, take the stairs up.
Balance the Scales
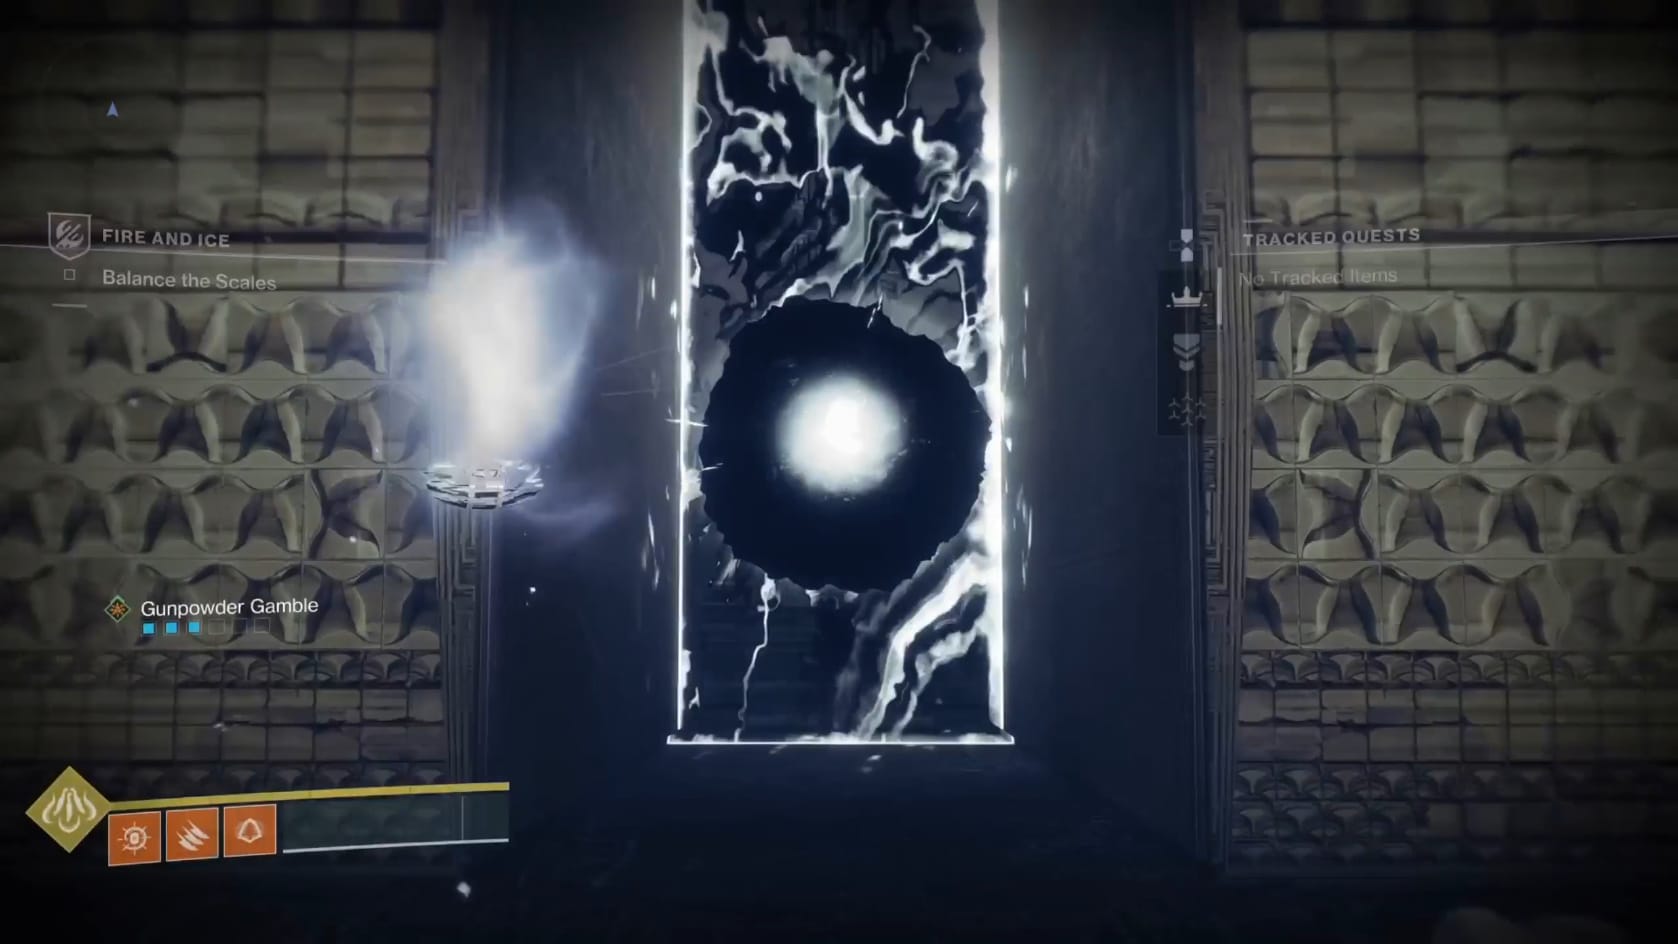
Go up the stairs and through the Taken Portal at the top of the stairs. Through the portal, you will need to jump the platforms to reach the archway. Just past the archway, you will find a Rally Point. Interact with the Rally Point to get ready for the larger fight. Get across the platforms to reach the arena. It’s time to get to work on solving this puzzle encounter.
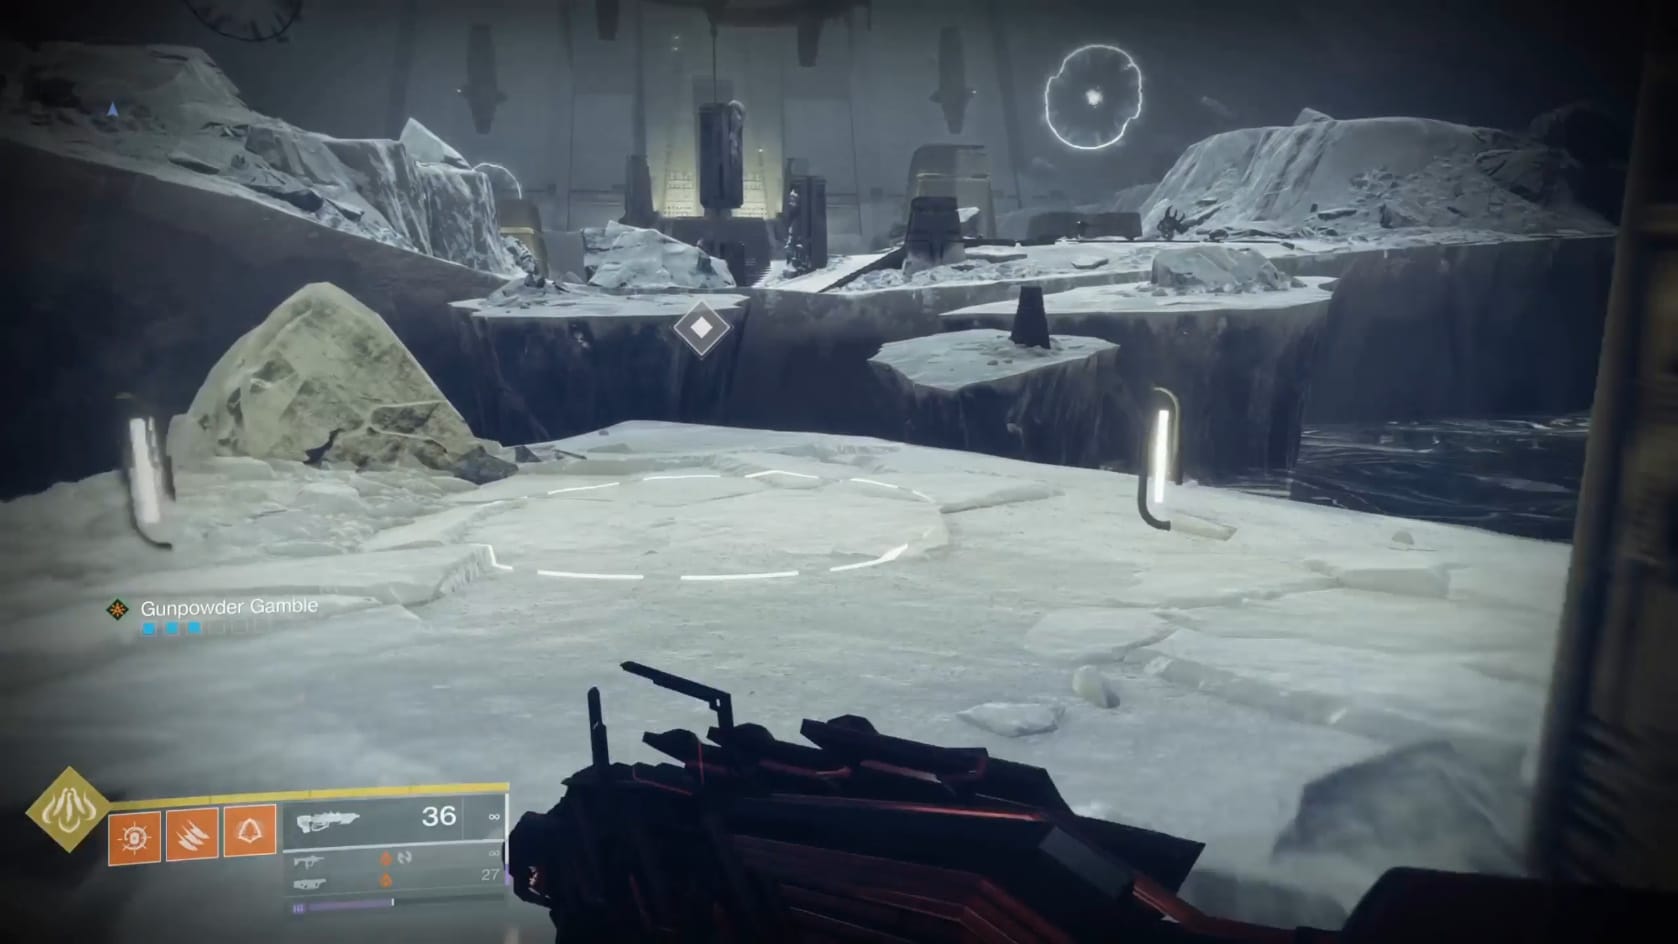
Scattered around the arena there are 4 Giant Orbs floating over the arena. 2 of the Orbs are White, 2 are Black. This means you will need to navigate these orbs, and in a careful balancing act.
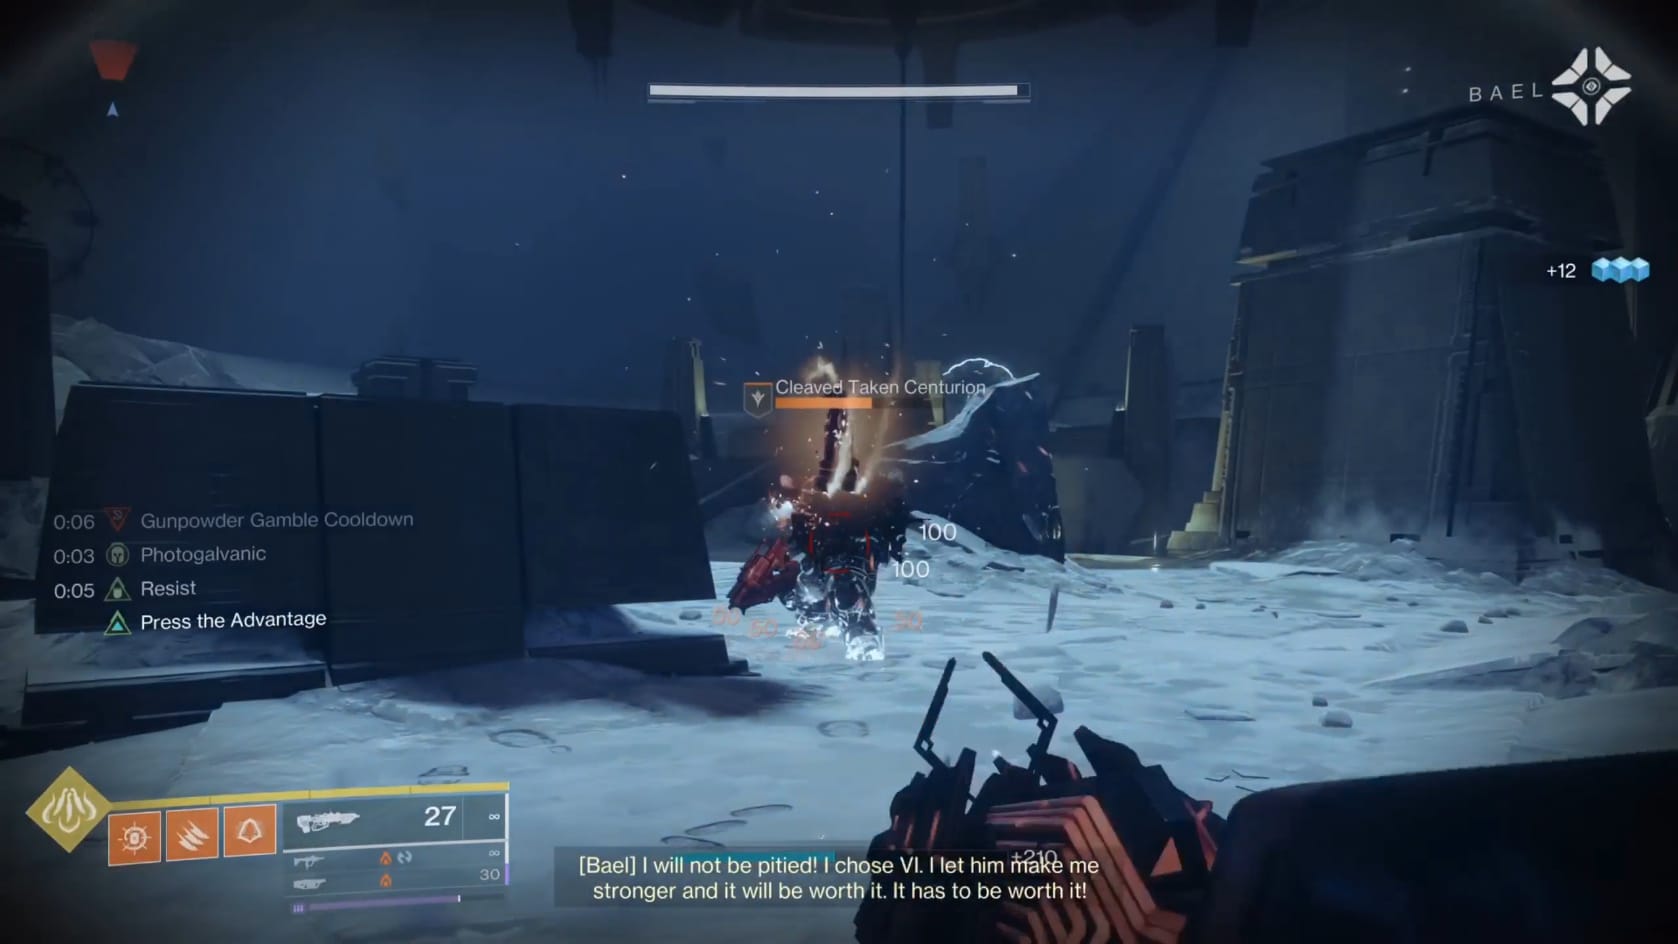
First, how to interact with the orbs. That’s down to the enemies in the arena. There are 2 unique units: the Cleaved Taken Centurion and the Cleaved Imperium Centurion. Defeating the Cleaved Taken Centurion will give you Taken Energy Cleaved. Defeating the Cleaved Imperium Centurion will give you Barant Energy Cleaved.
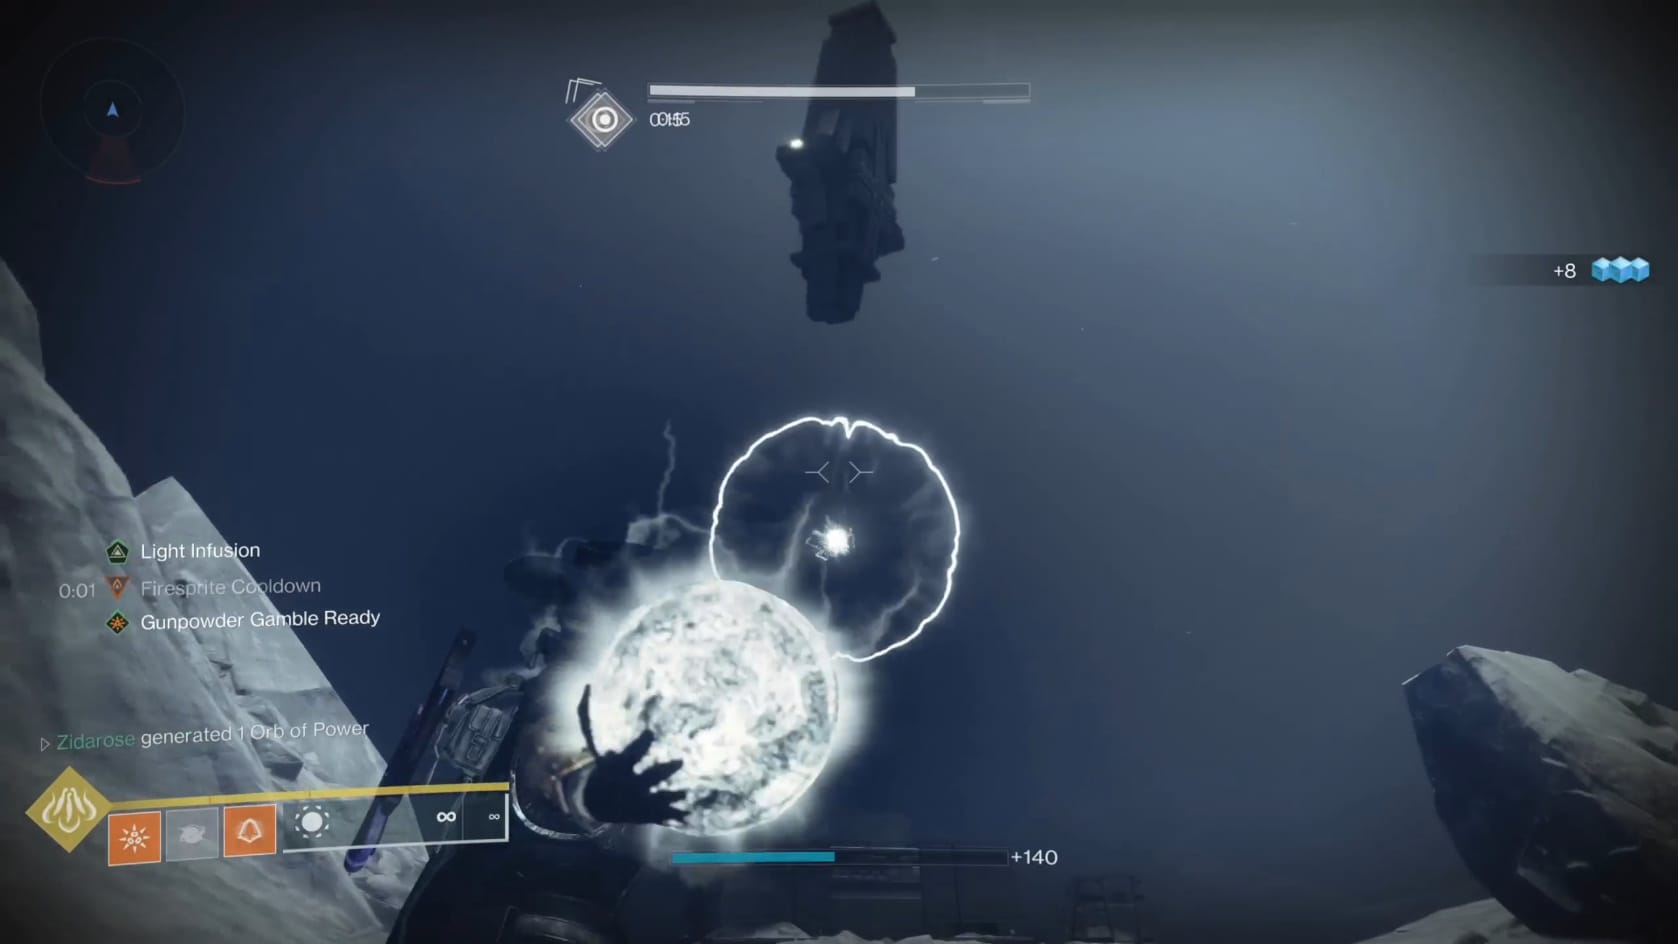
Defeating 2 of these enemies will give you Orbs, based on what you defeated. If you defeat 2 of the same, the second enemy will drop 4 White Orbs (Paired Energy). If you defeat 1 of each kind, then the second enemy will drop 4 Black Orbs (Opposite Energy).
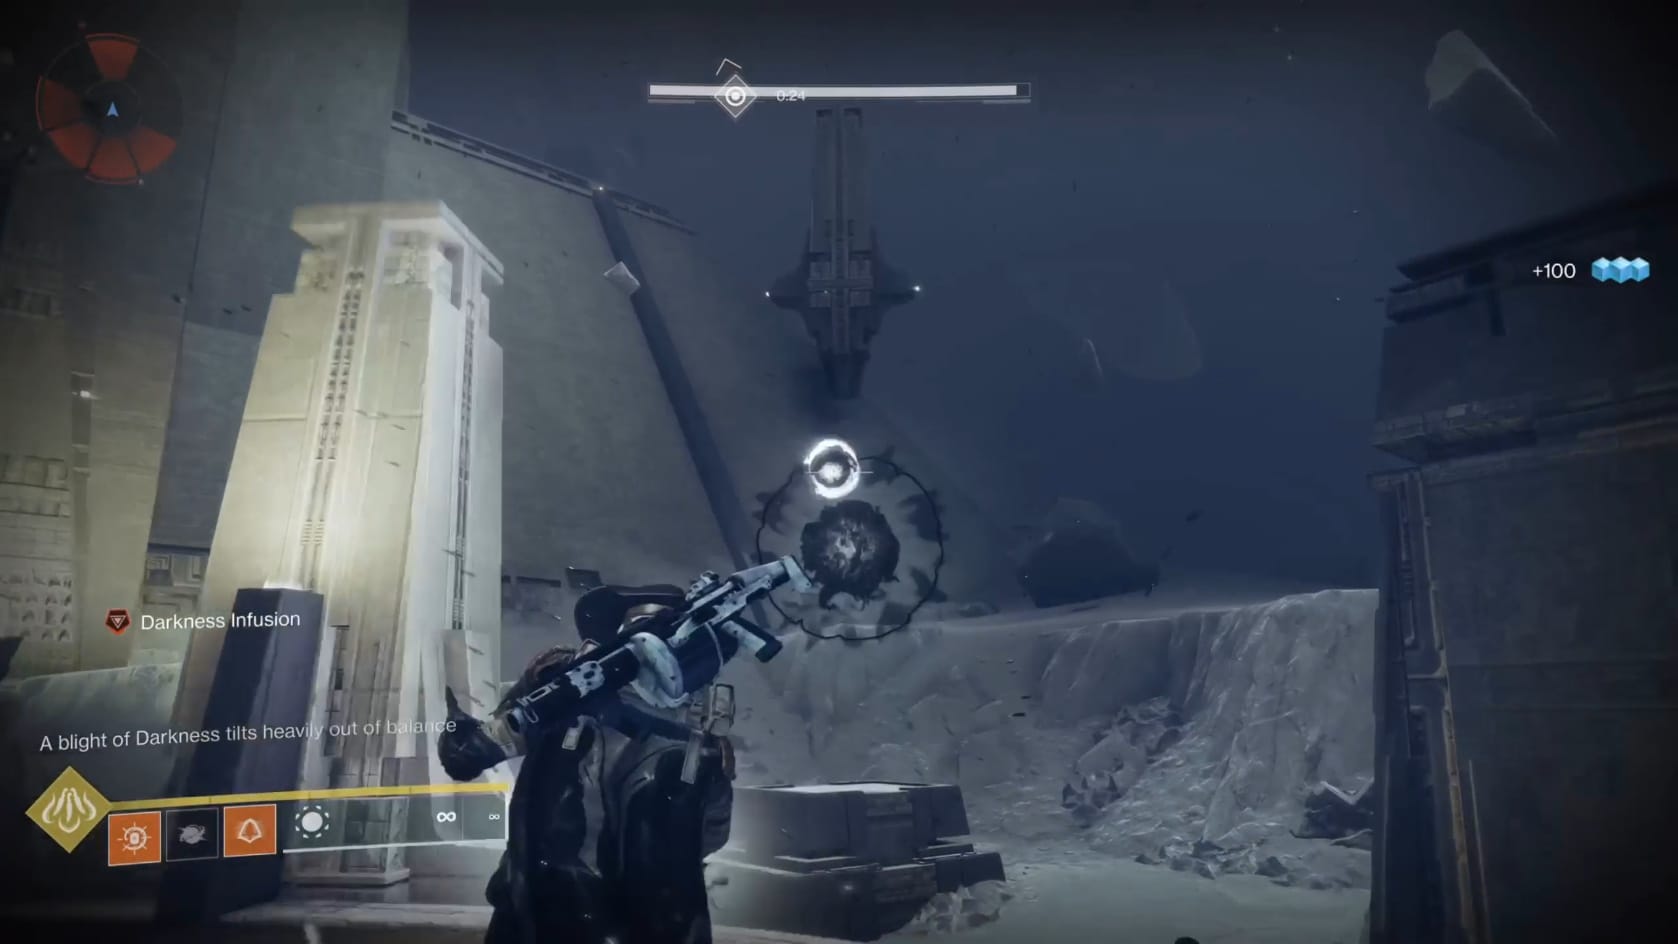
You know how to generate the Orbs, how do you use all this? Remember those large Orbs? You need to throw the Energy into the Giant Orbs, but carefully. The Orbs balance against each other. If you throw 4 energy balls into 1 Giant Orb, then you trigger a boss monster’s appearance. This can occur for EACH of the 4 Giant Orbs. So, alternate which Orb you’re throwing the Energy into. It takes 4 Energy thrown into each to complete the Giant Orb. The Balance collapses if 3 energy goes into 1 Orb before any energy goes into the other.
Of course, while you’re doing this, you will need to deal with a lot of both Cabal and Taken enemies here. Thin the ranks as needed, but your focus needs to be on filling in the Giant Orbs. The arena will empty when the Orbs have been filled up.
Calibrate Octant
“Bring the Imbalanced Octant to the now balanced Pyramid device.”
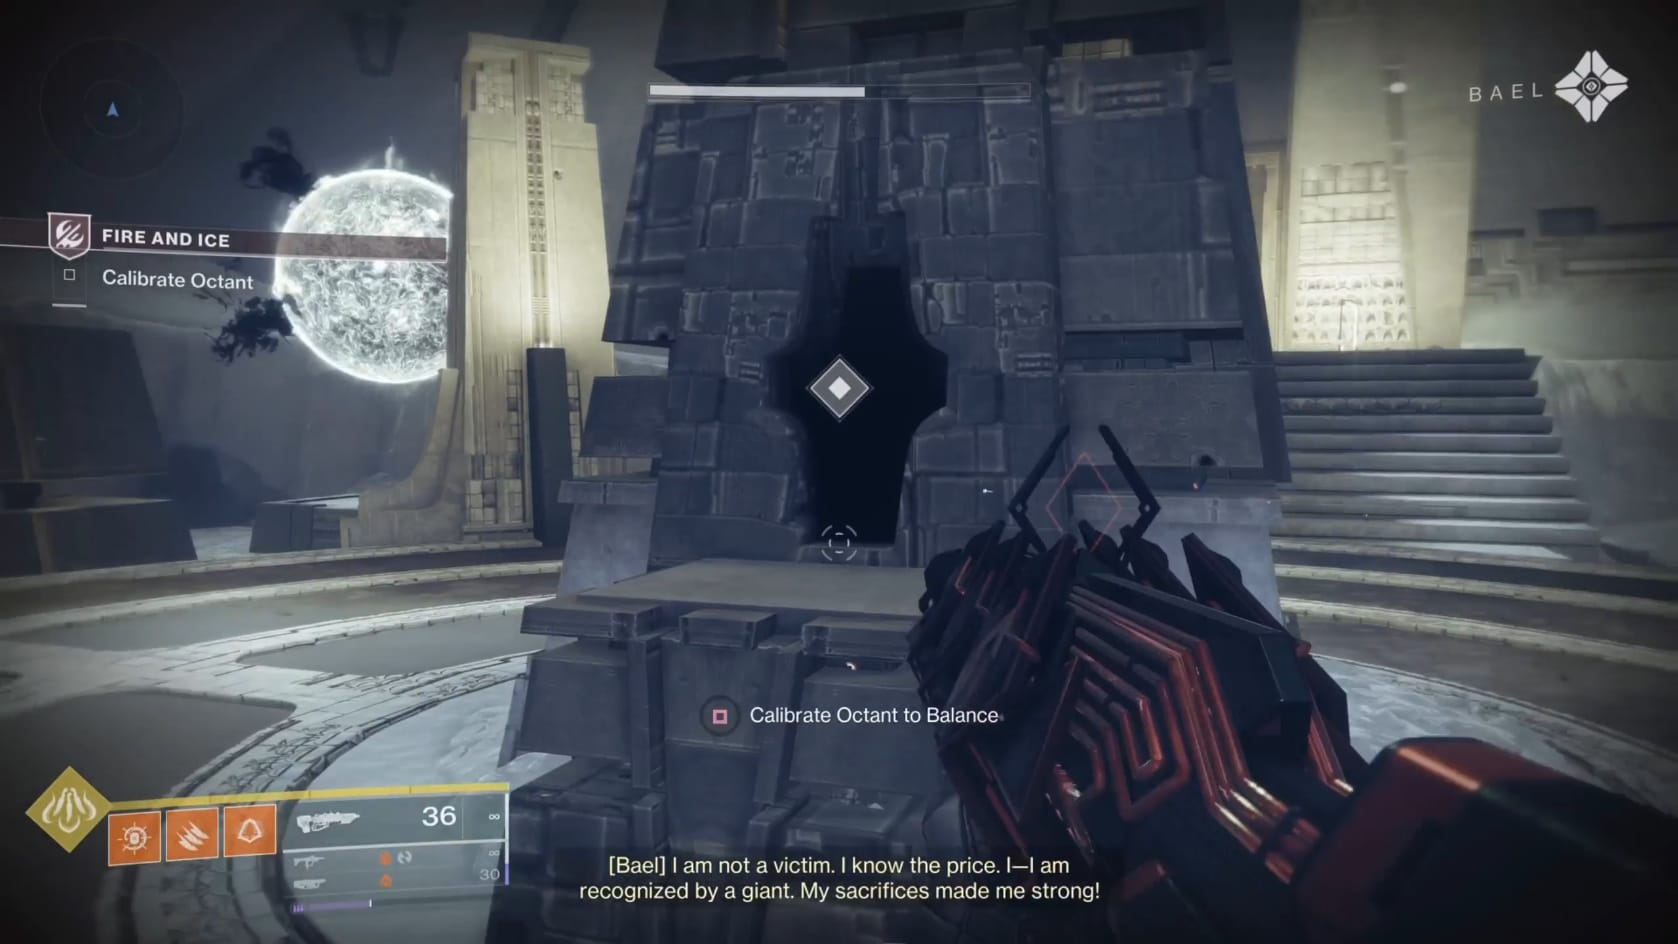
The arena will empty when the Orbs are brought to full power (balanced or otherwise) and the bosses defeated. Go to the middle of the arena, where you find a point to interact with. Do this to “Calibrate Octant to Balance.” The Octant will become a Balanced Octant.
Enter the Portal
“Find a path through the Ascendant Plane.”
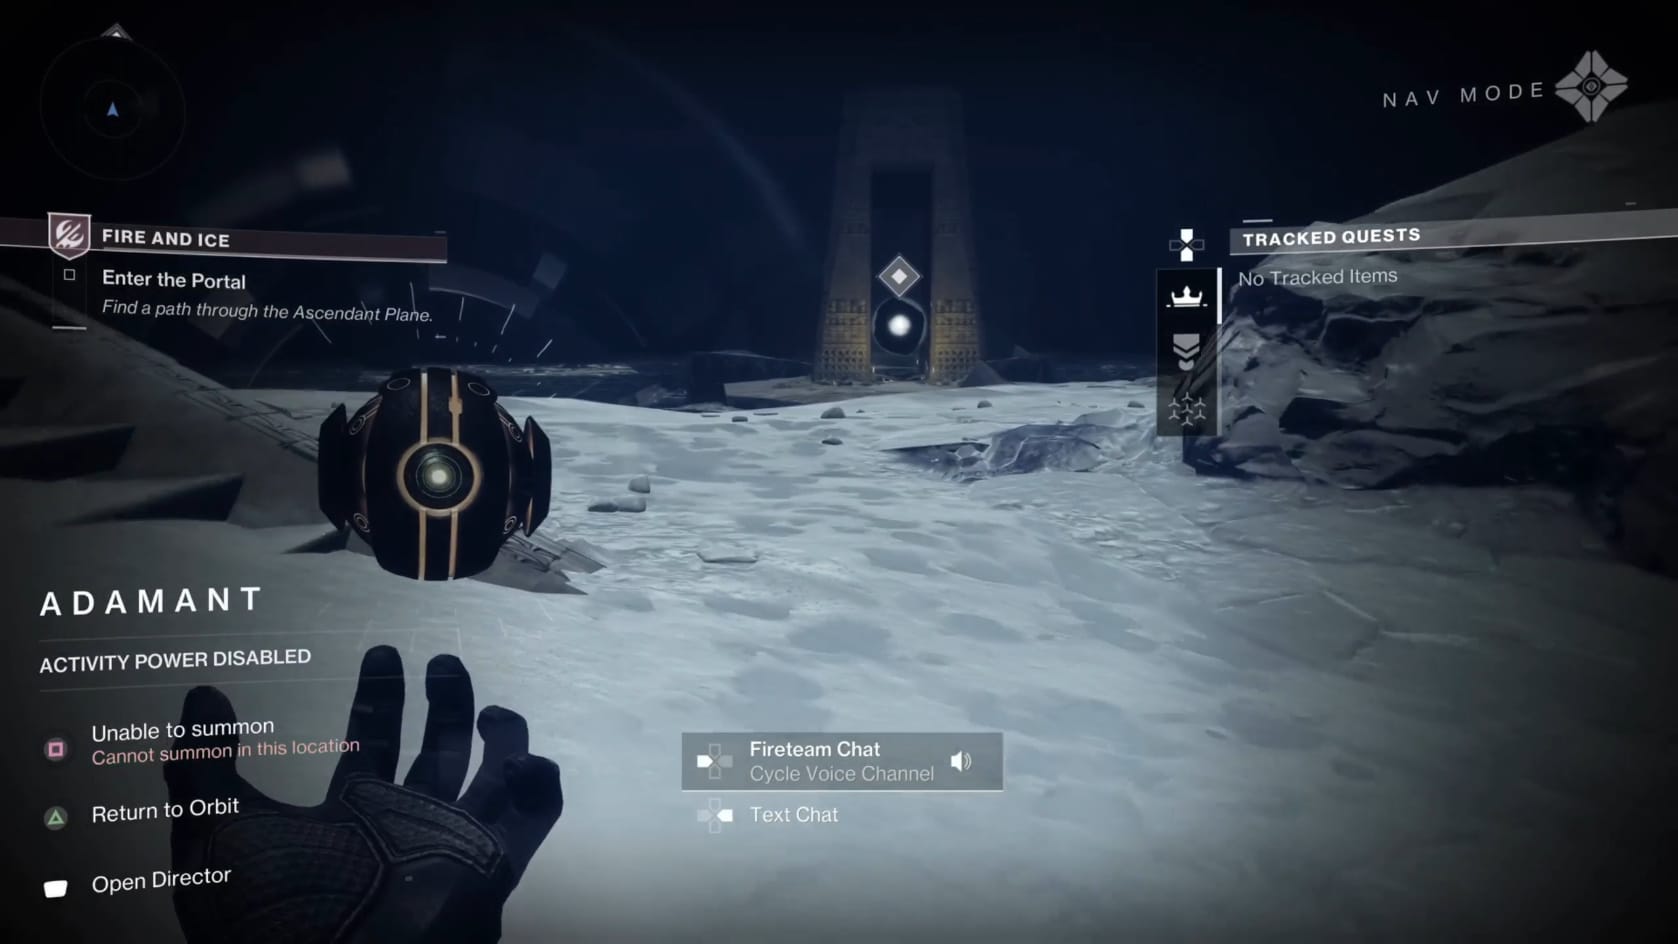
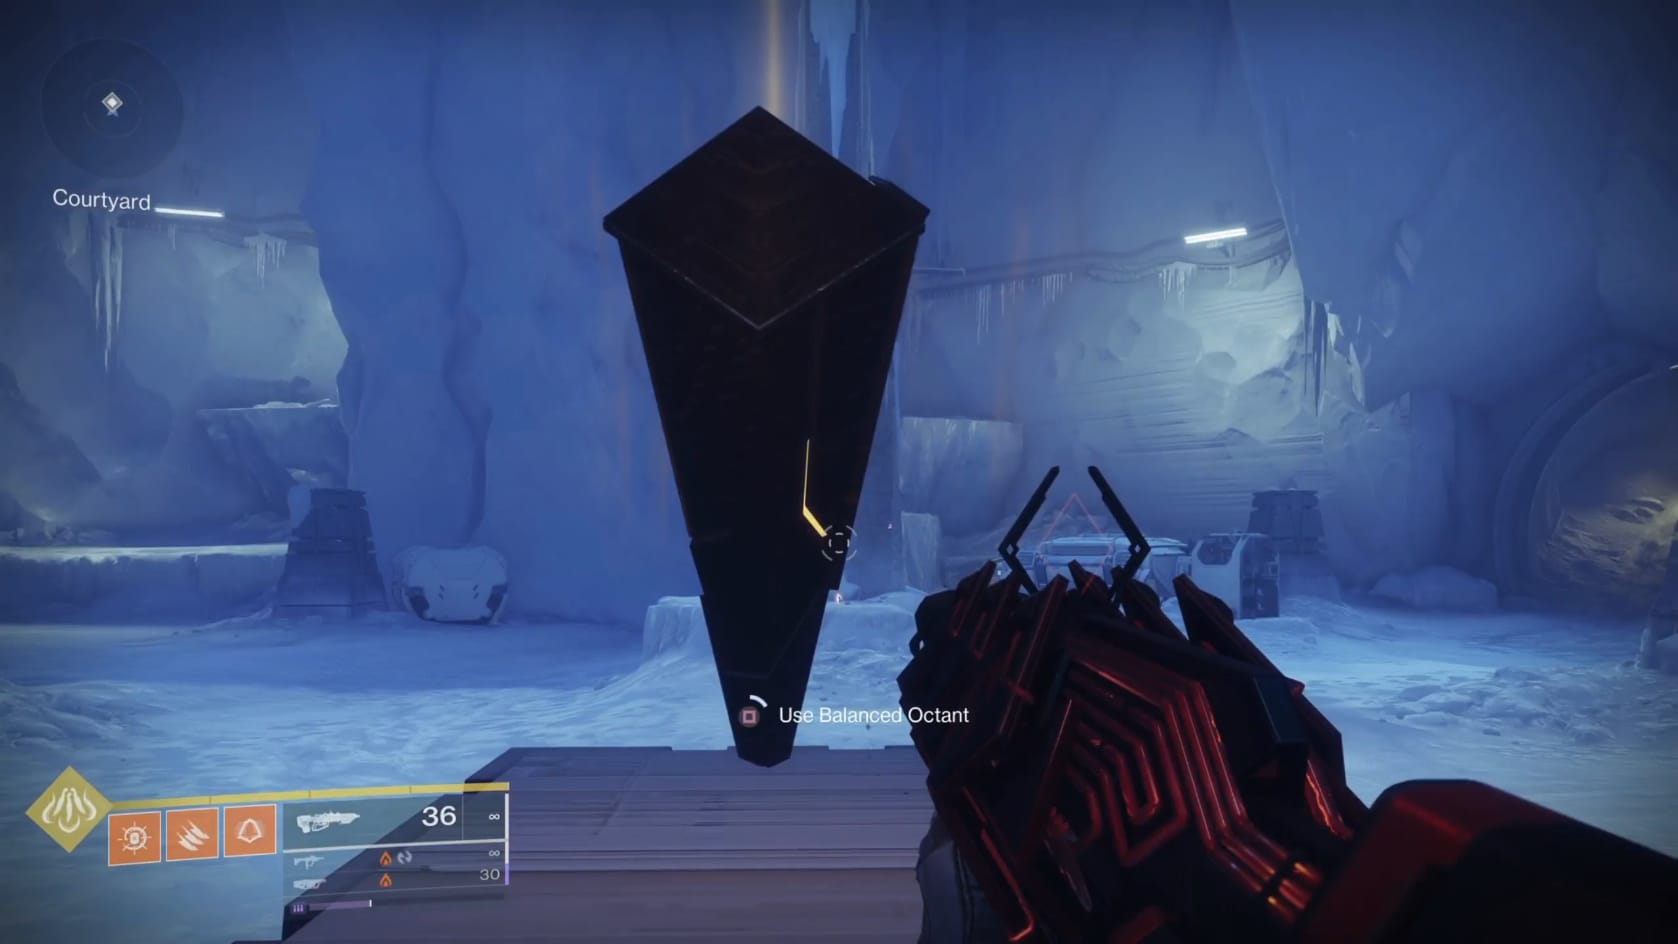
Accessing the final chambers of the Exotic Mission
Turn back toward the archway you rallied nearby. There is a portal there now. Go to the portal and pass through it. On the other side, interact with the device in front of you. A short cinematic will play, showing the arena you just fought in rotate. It’s time to move onto the final encounter of this exotic mission. Head forward to go up the stairs and through the Taken Portal in front of you.
Navigate the Ascendant Plane
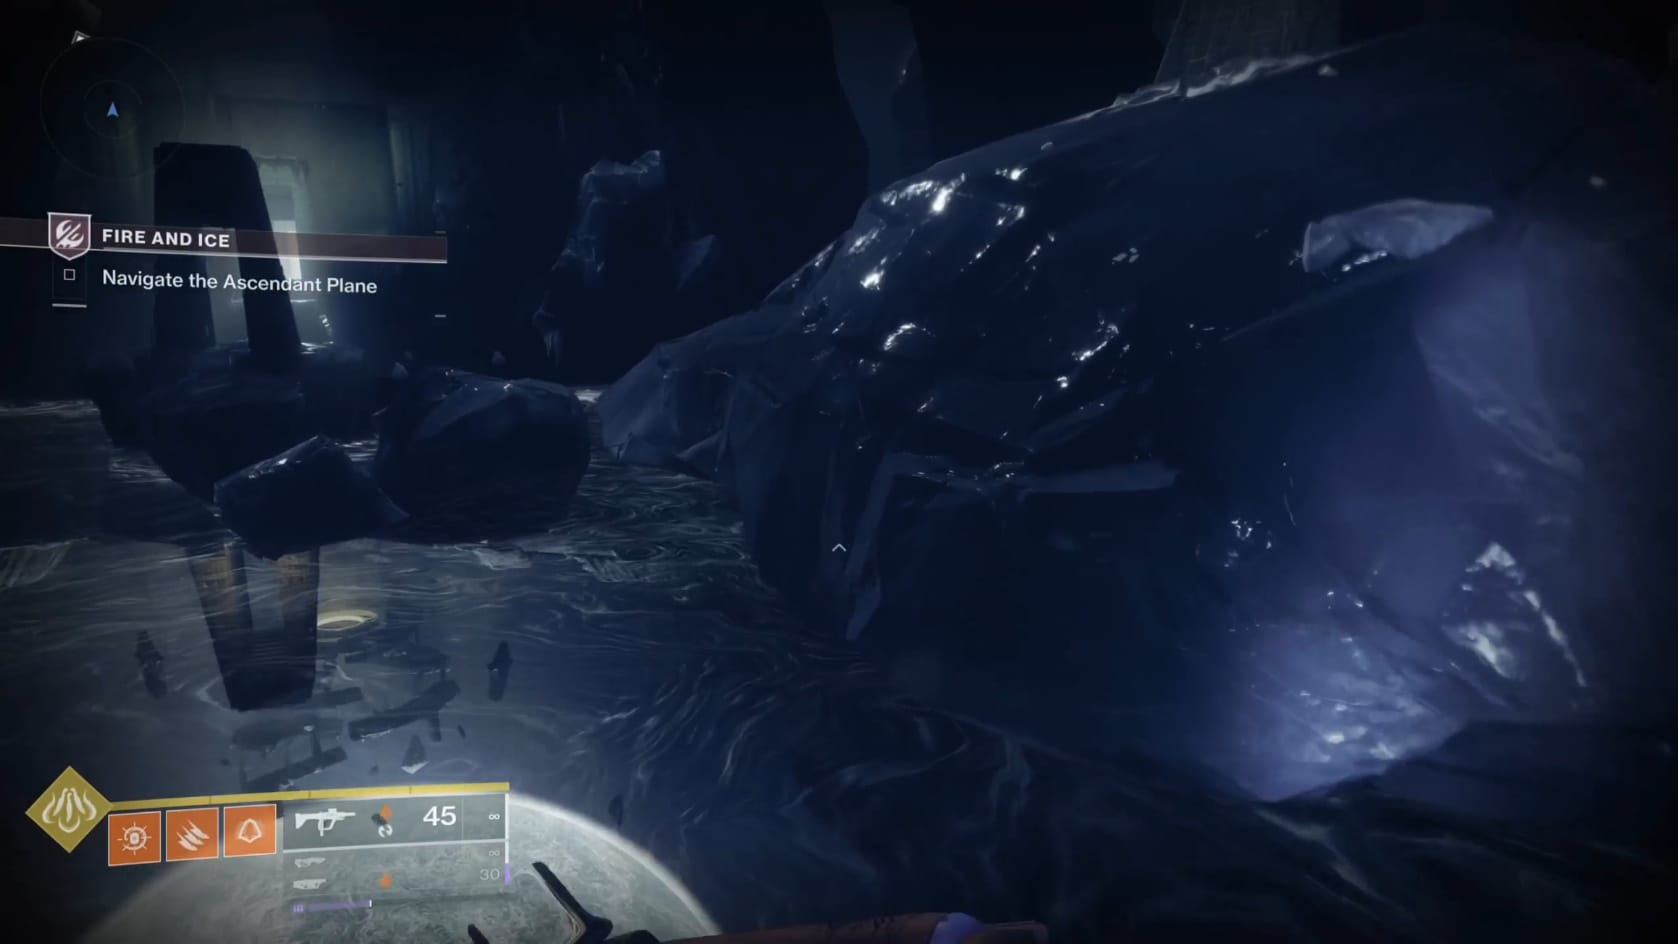
Through the portal, you will need to jump across the various blocks of Ice that leads toward the building with the bright doorway. Enter the doorway and head forward.
Defeat the Disciple of Harrow
“Best the aspiring Dredgen in combat.”
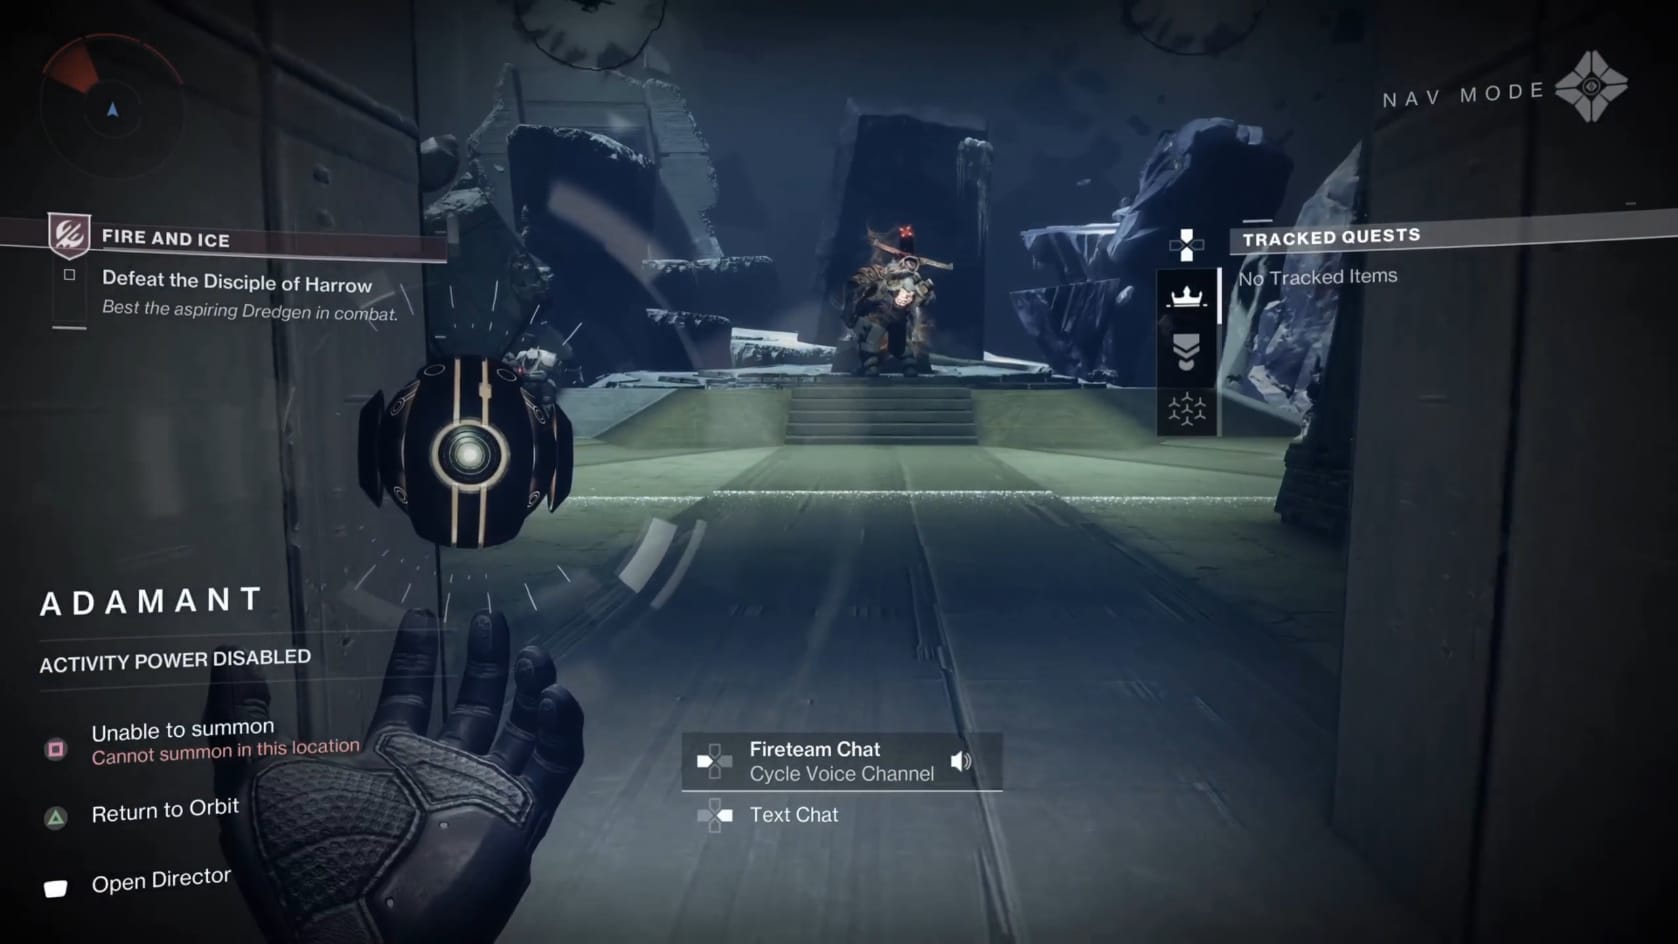
Go through the doorway at the top of the stairs. This brings you into the boss arena. It’s time to get to work on this fight.
When you start the fight, there are just just Barant Cabal on the left-hand side of the arena. Fight them, thinning if needed, but your focus should be on the Colossus in the middle, the Disciple of Harrow. The fight will progress after you get them down by 25%. At this point, the Disciple will leap to the left-hand side and put up a dome shield. Taken will start to appear on the right-hand side of the arena.
With all that, head for the Dome Shield. Slip inside and destroy the generator. Find and defeat the Legatus and the Servile Taken that has appeared. With that done, focus on the Disciple again and return them to 50% health.
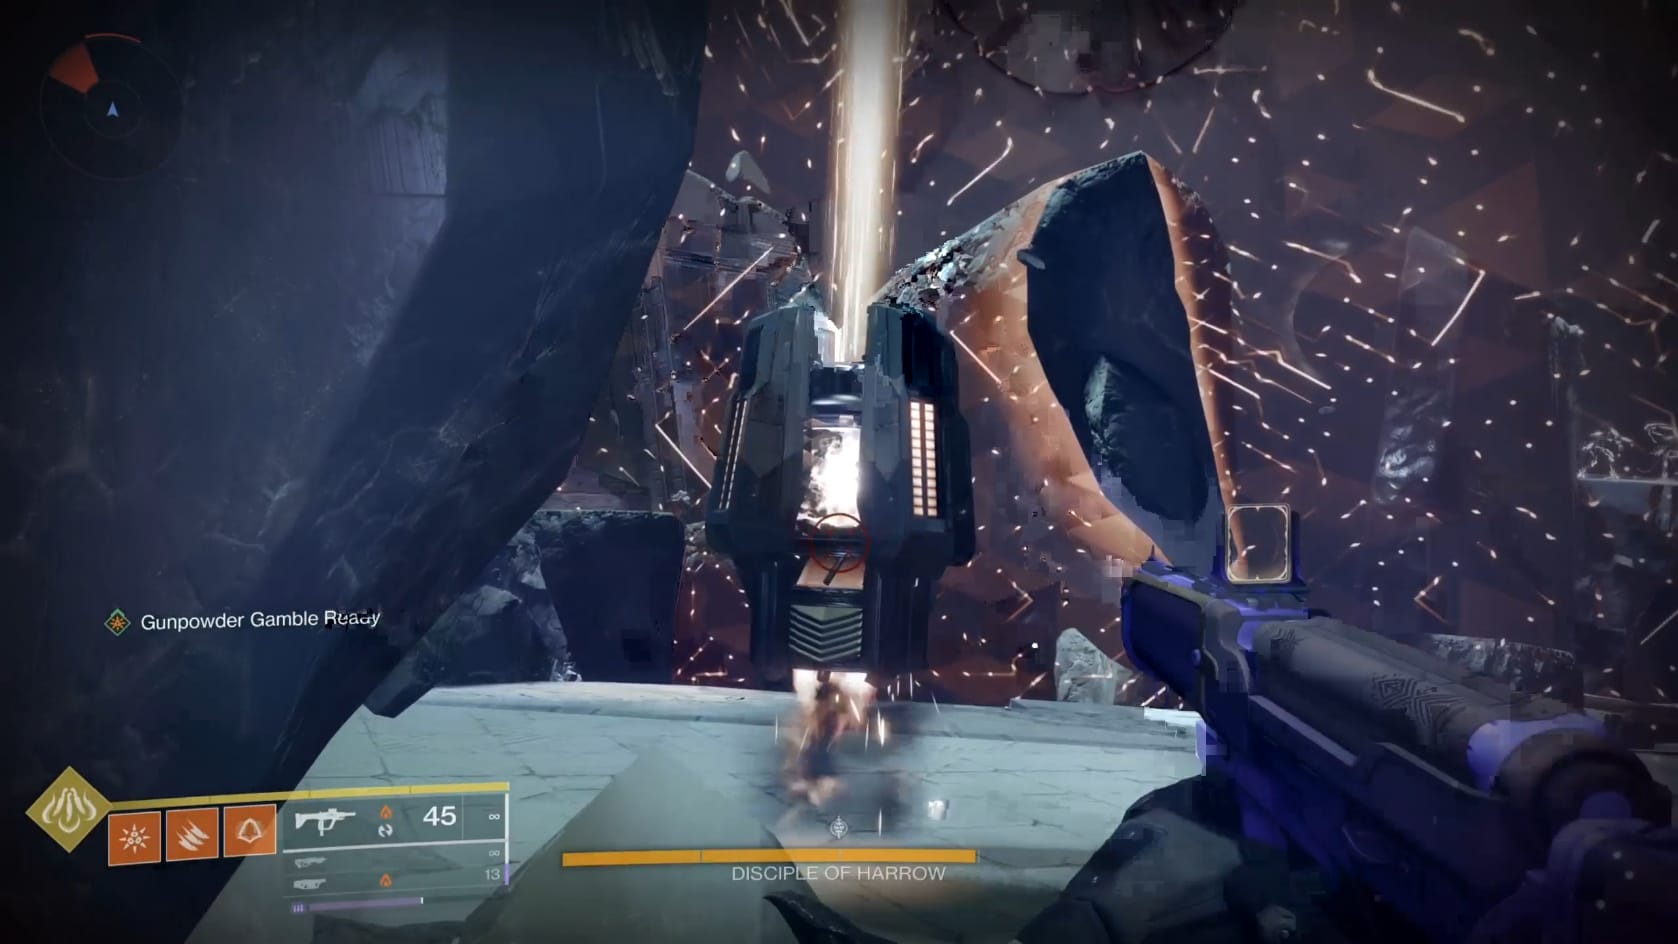
The Disciple is on the right-hand side of the arena now. Once again, they’ve put up a Dome Shield. Again, get inside and break the Generator at the center. Just focus your fire on the Disciple. Destroying the Dome helps because it removes any hiding areas the Disciple has.
This time, with only 25% health left, the Disciple will shroud themselves in Darkness. They are now invulnerable until you can break through their shield. To this end, you will need to Defeat a Cleaved Imperium Centurion or a Cleaved Taken Centurion.
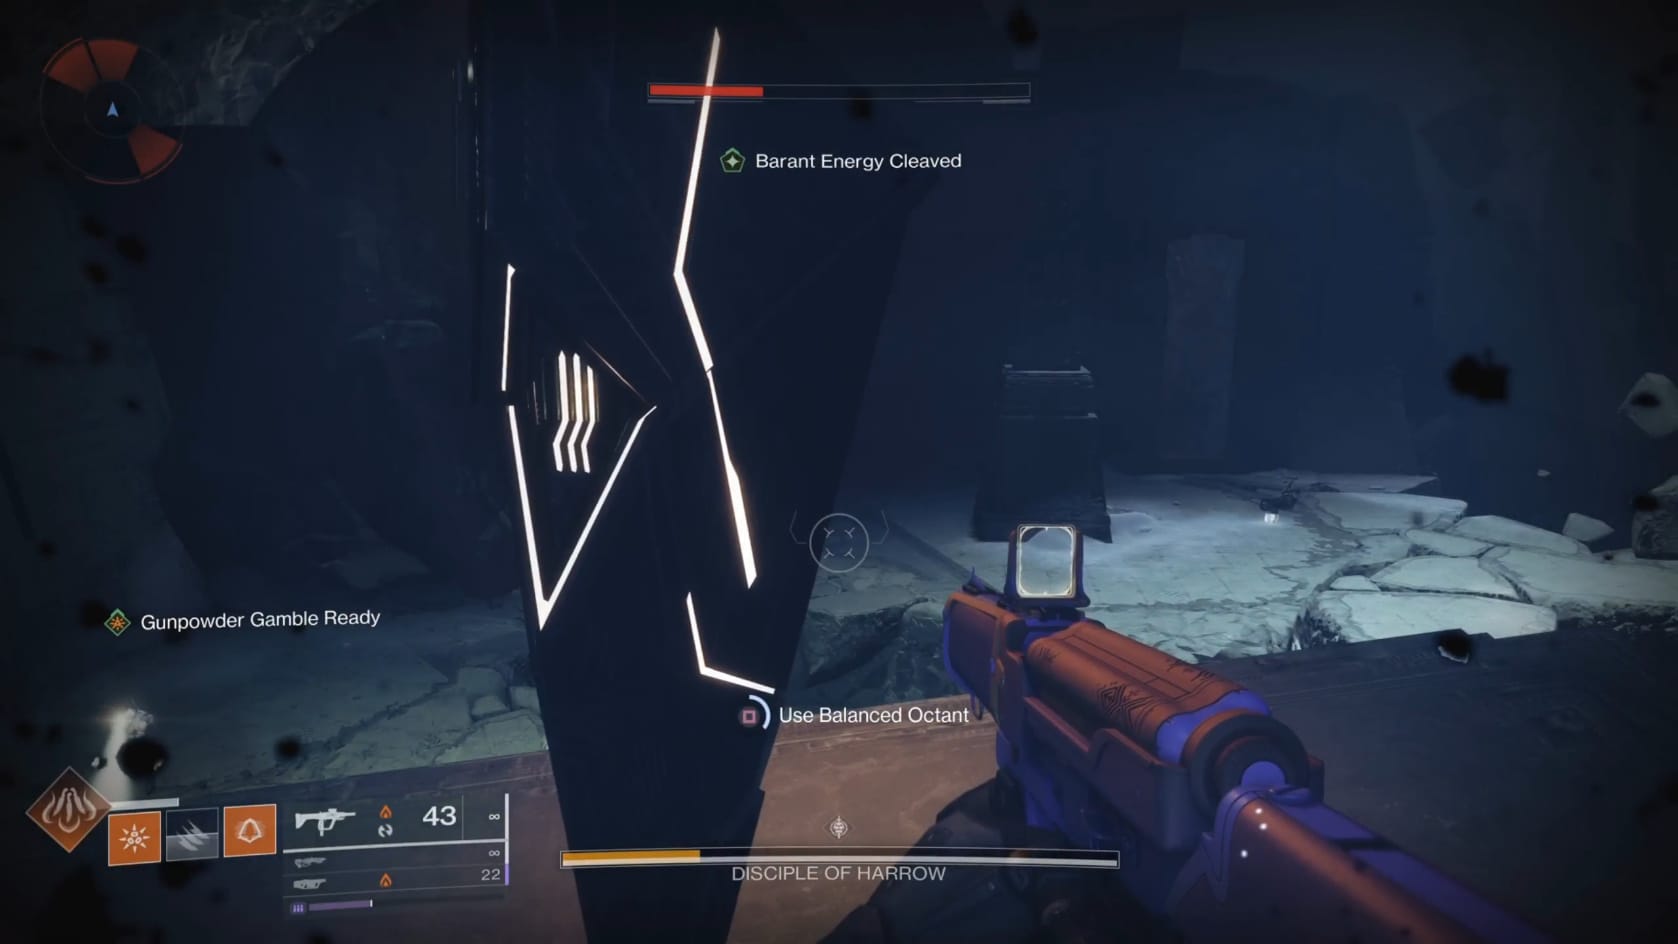
When you’ve defeated 1, you will need to head to the front of the arena, where the fight started. There are now floating platforms above this flat area. Climb up the platforms present and get to the top. Interact with the Device to cause a group of Taken with a Cleaved Taken Centurion in it to appear.
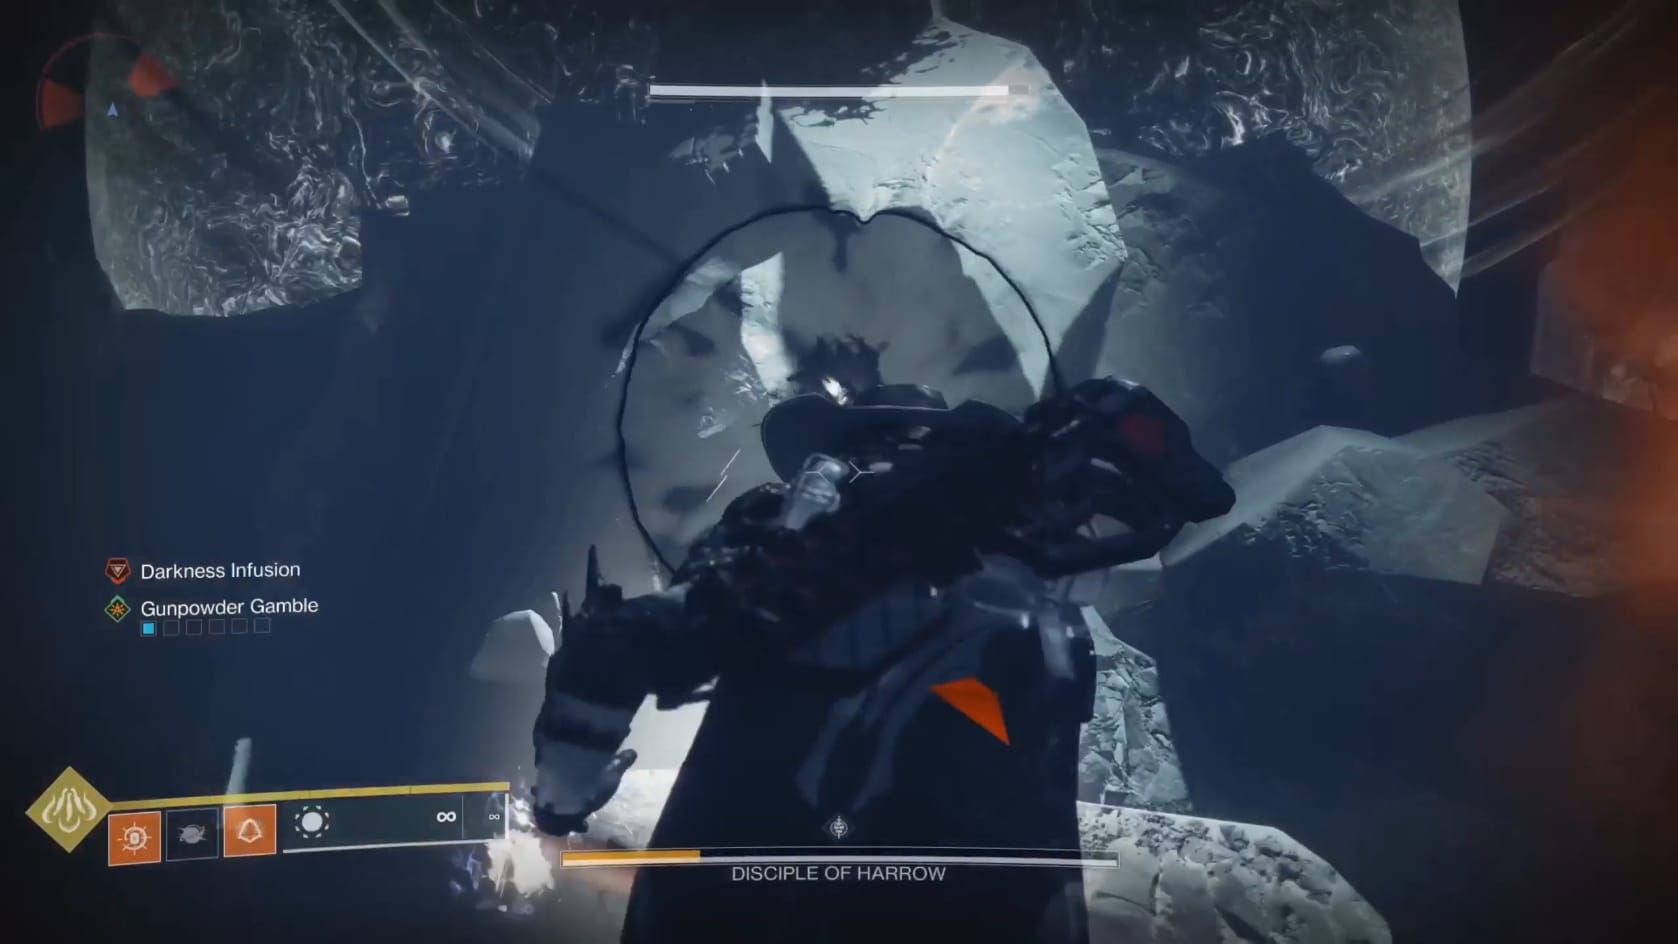
To break the shield, you will need fill the Black Orbs in the Sky, this means getting 8 Orbs of Opposed Energy and feeding them carefully into each Orb to keep them balanced. When you trigger the pair, the Disciple’s Shield will drop. Once its shield drops, it’s vulnerable for a good amount of time.
- If you die while charged with energy, you will need to recollect that energy
Only after both Orbs are charged will the Disciple be vulnerable again. This does mean needing to climb and interact with the controls over the center of the arena to alternate the Cleaved.
Defeat Combatants
“Clear out the remaining combatants”
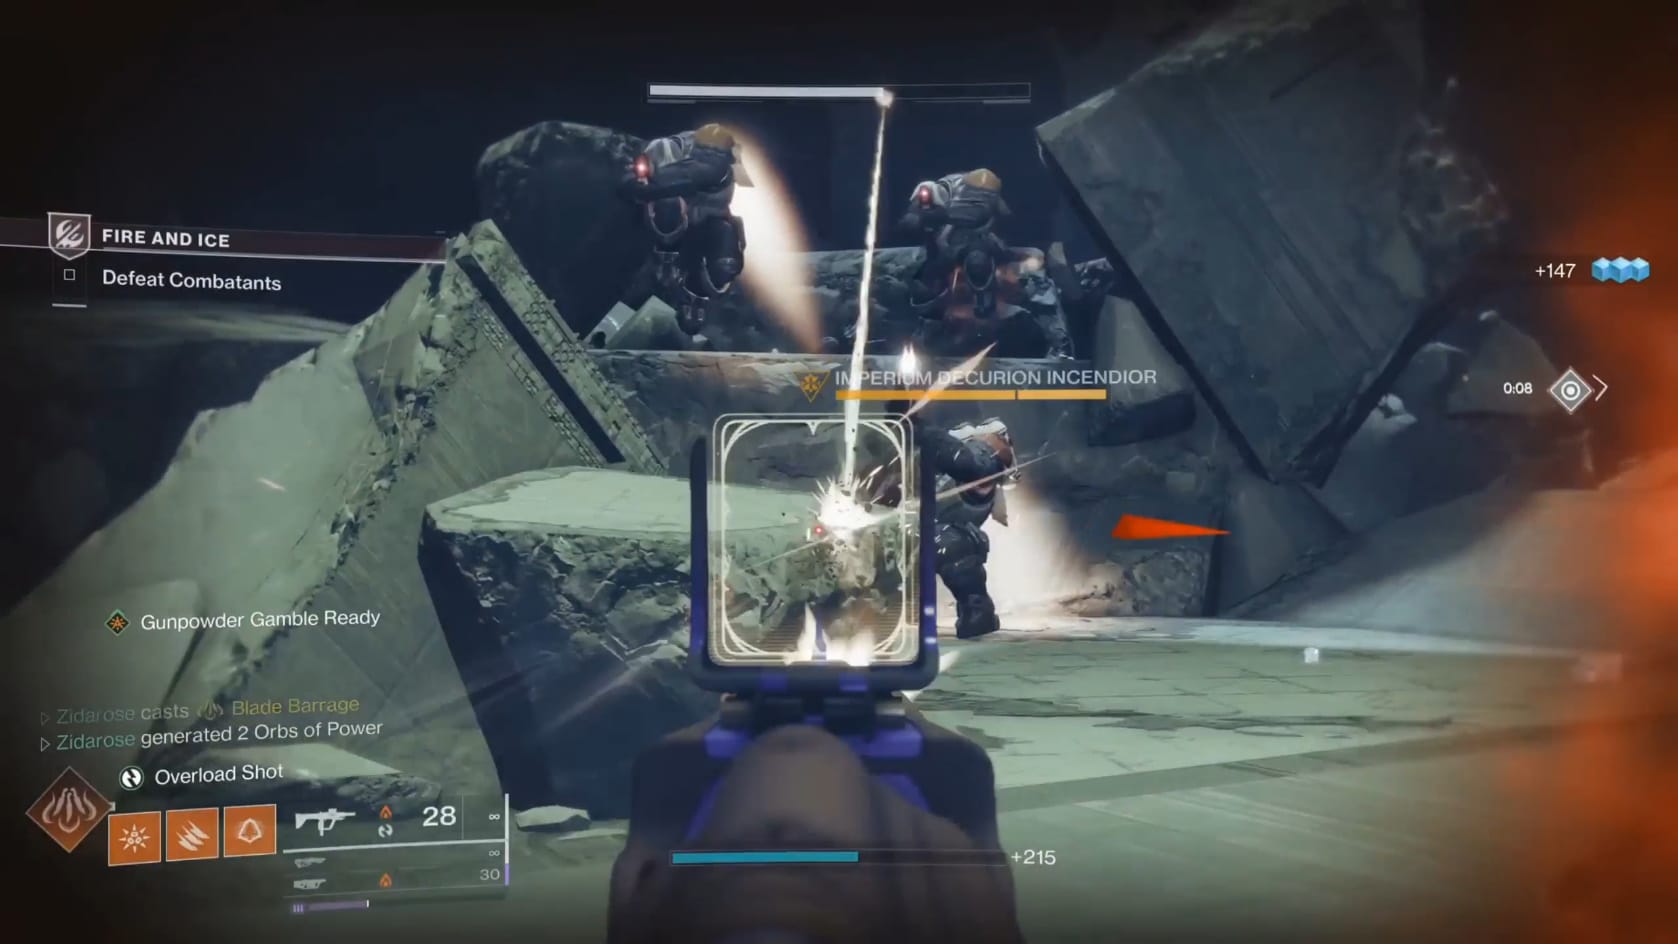
Having defeated the Disciple of Harrow, the Guardian just needs to clean up the remaining enemy forces. They won’t respawn anymore, so what’s on the field is all there is to deal with. When they’re defeated, you will be teleported to the treasure room of the temple.
Claim Your Weapon
“Take the Blade locked away in the Praxic Vault.”
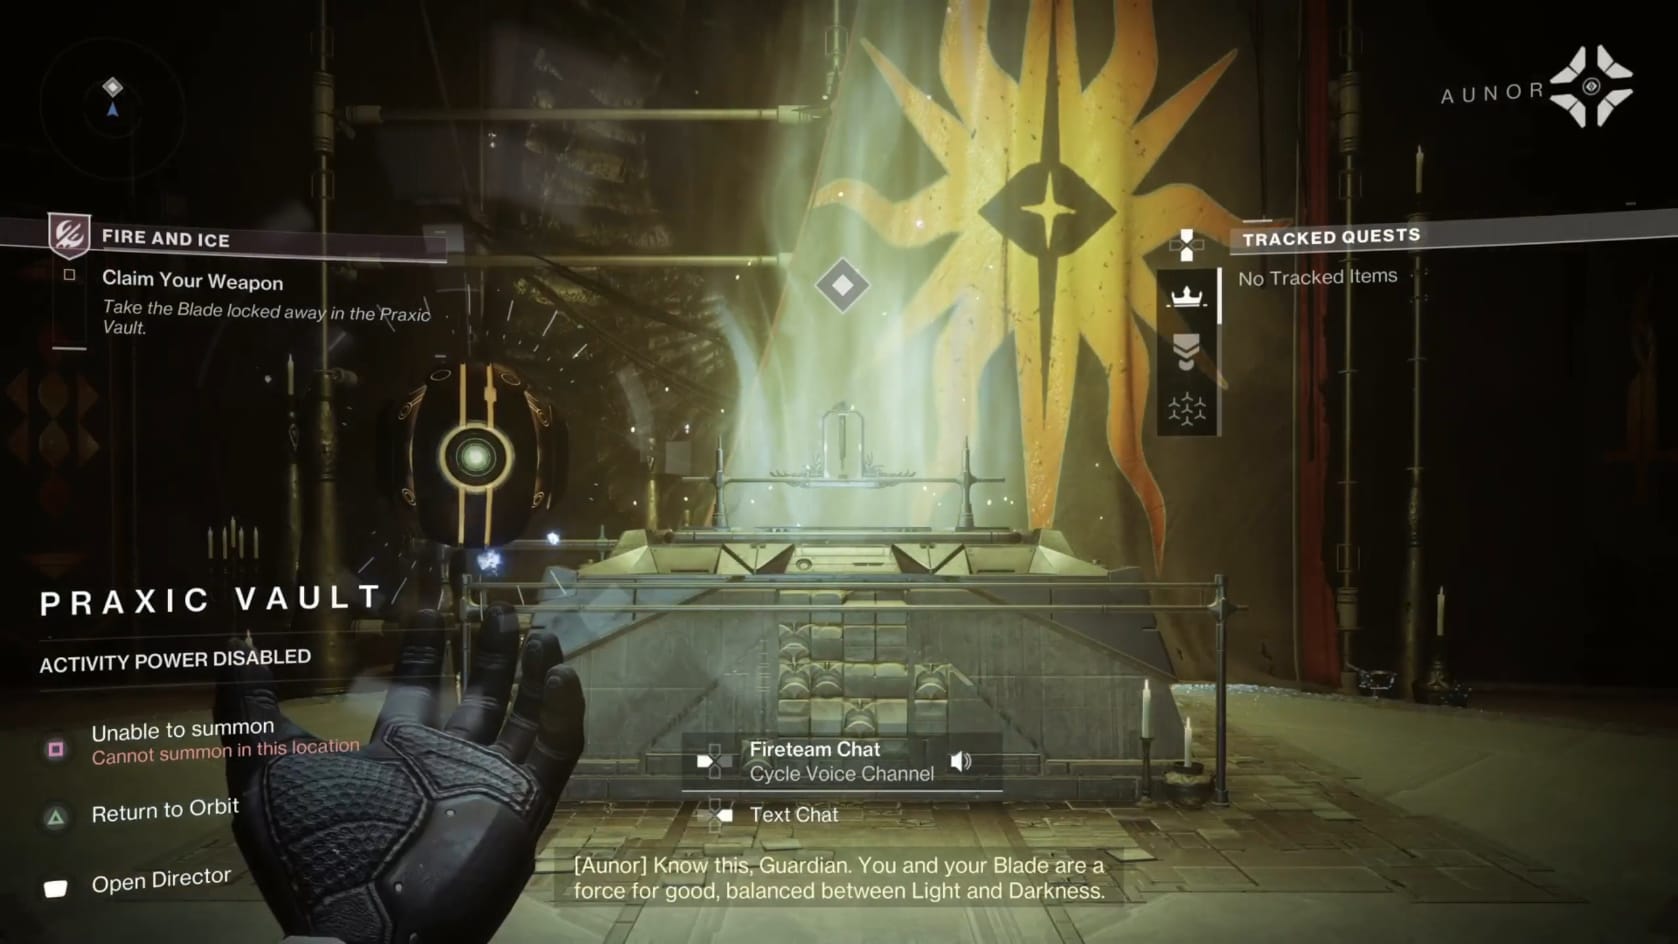
You arrive inside the Praxic Vault. Just climb up the stairs and approach the altar in the middle of the room. There you’ll be able to claim the Praxic Blade. To the left of the altar, a chest will appear, giving you a loot drop.
- The mission will generally end here, except for the first run. You need to learn to use the blade.
Exit the Vault
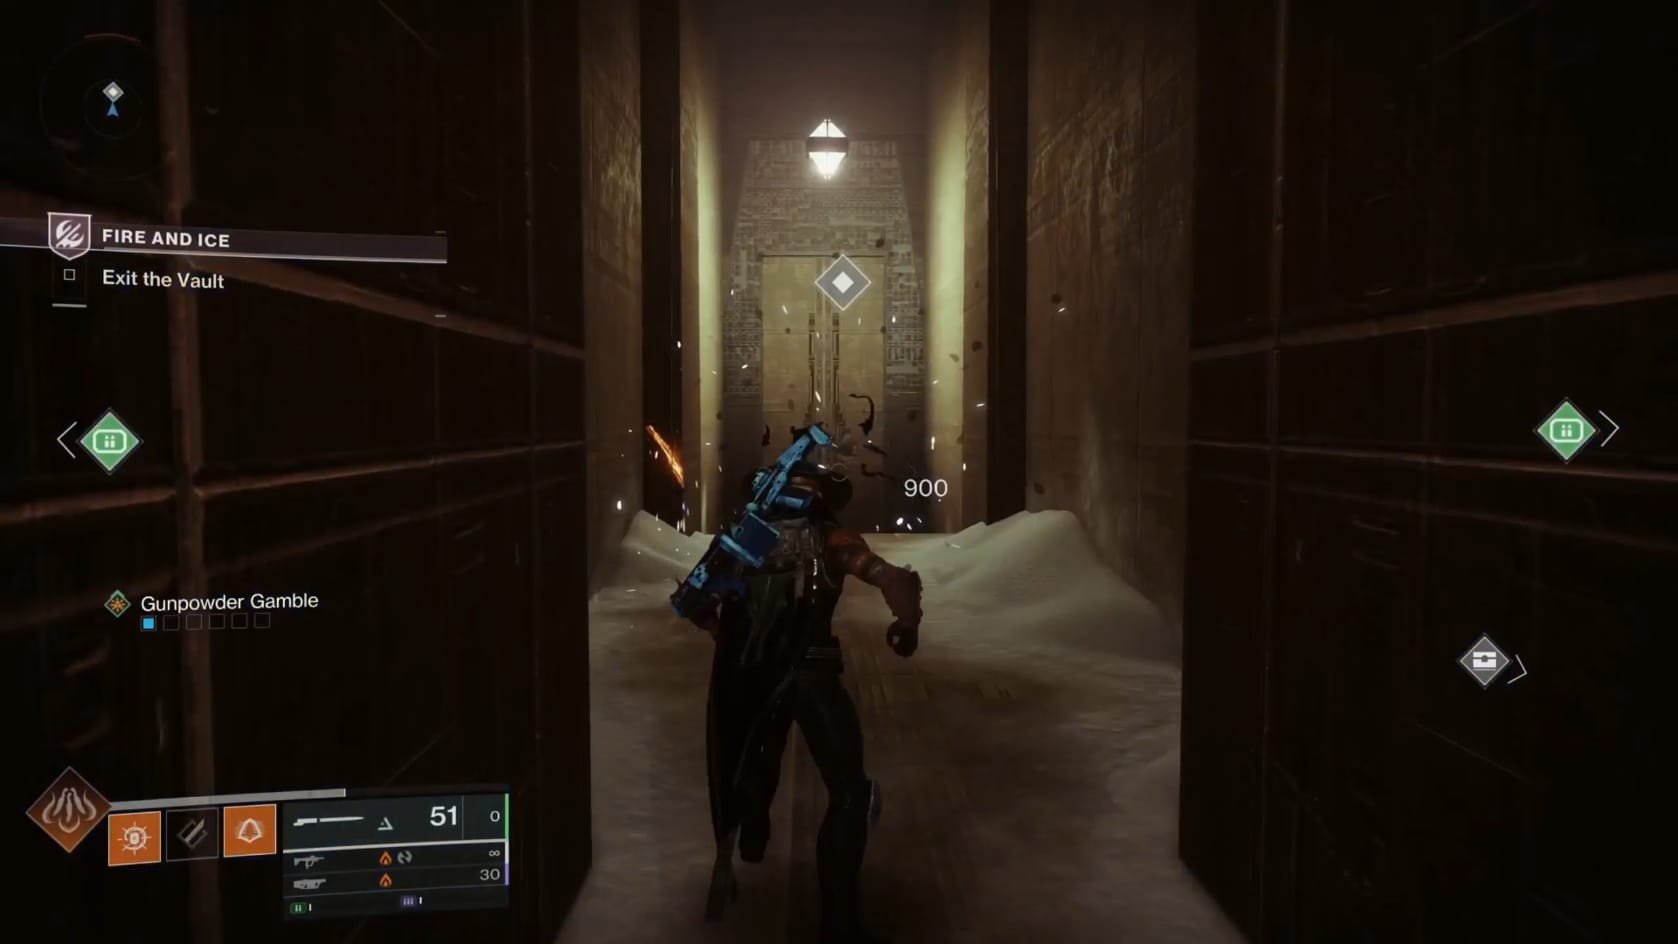
- This is unique to the first play through of Fire and Ice
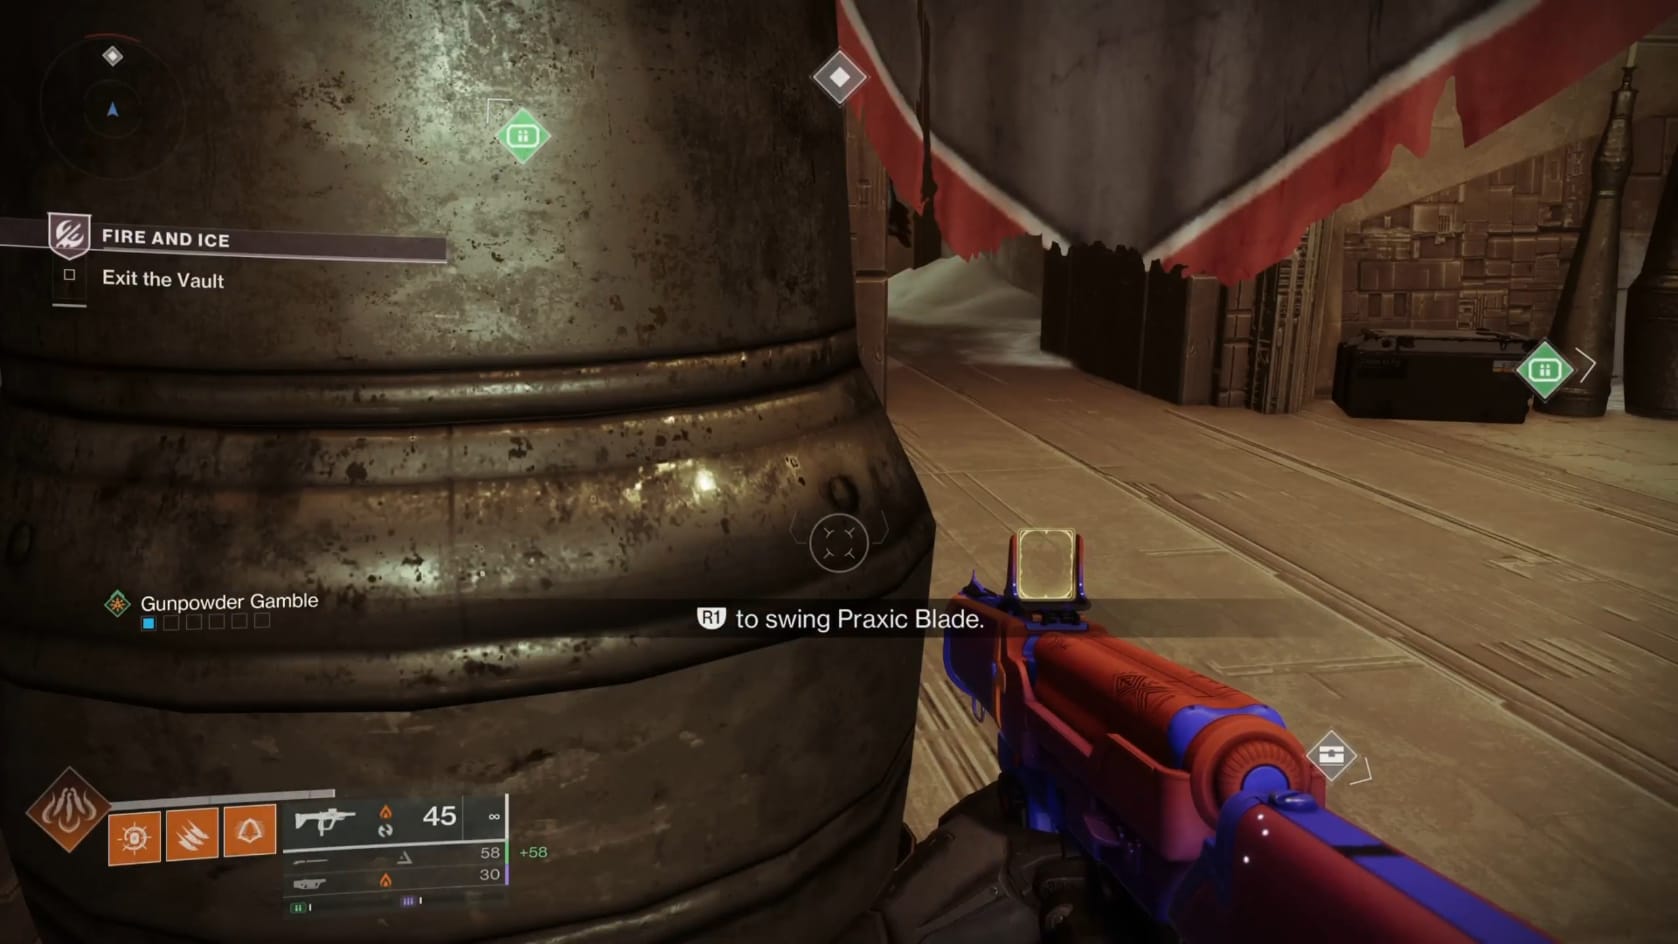
Equip your new exotic, the Praxic Blade in the Primary Weapon Slot. Turn around and head forward down the stairs in front of you. There’s an Orb of Taken Energy. Destroy the Orb by hitting it with your Praxic Blade. By default, this is R1/RB, (Melee attack). The door beyond it will open up after that.
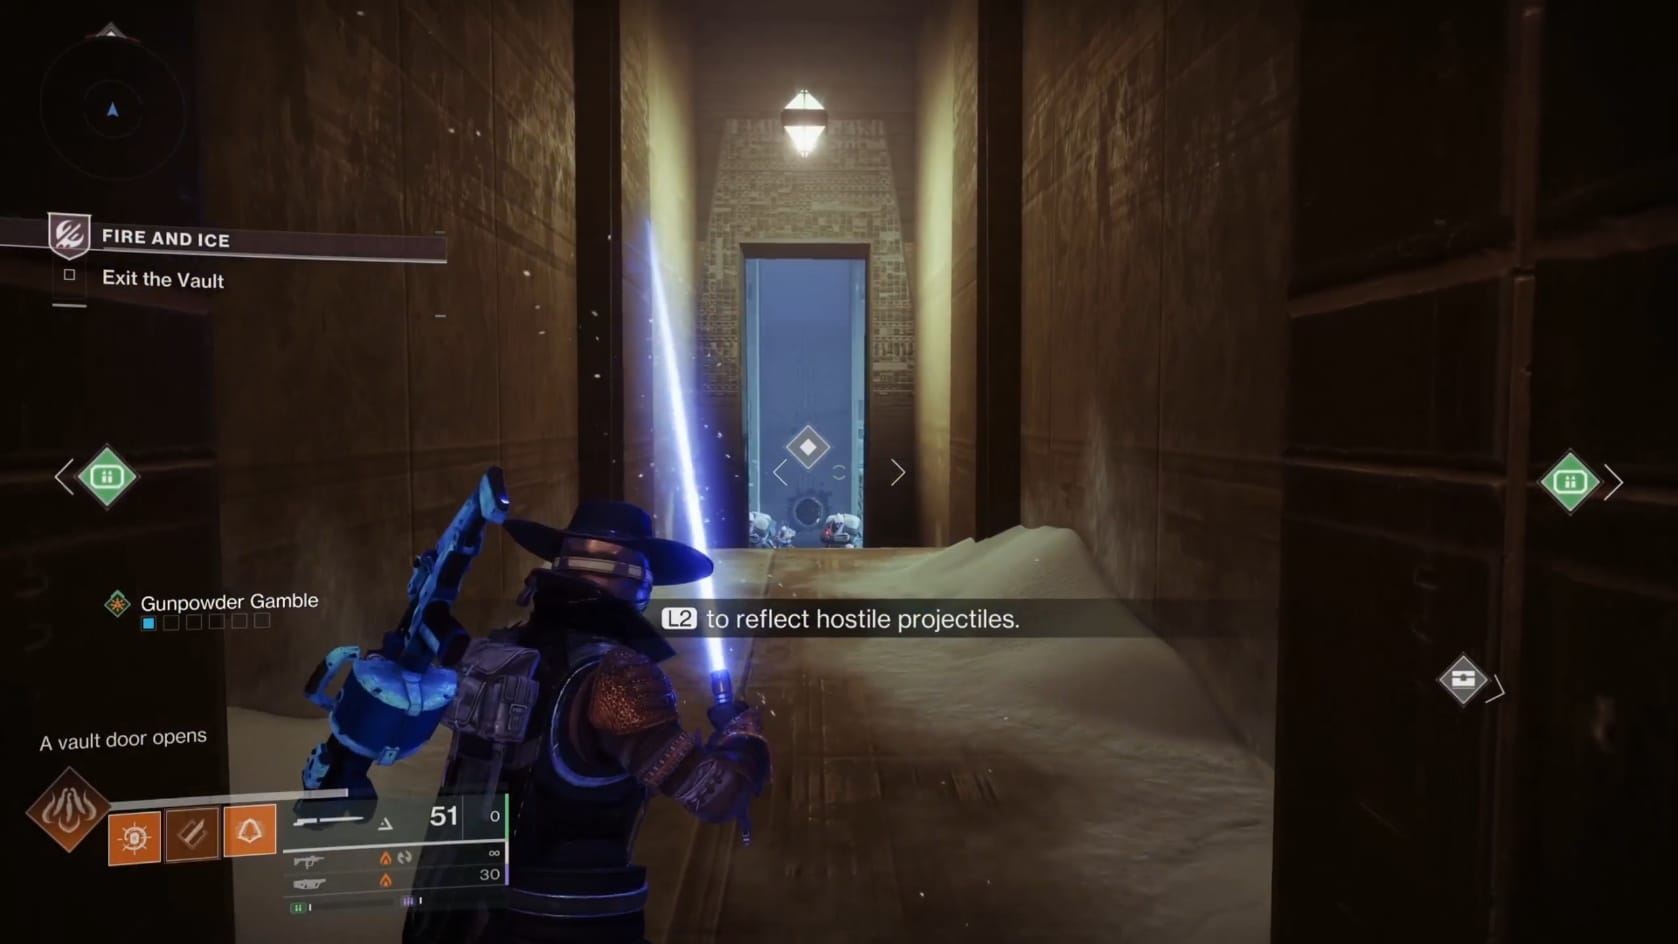
Through that door, you will quickly be assaulted by a few Barant Cabal. Hit the Prompted button (Aim Down Sights by default (L2/LT)) to reflect hostile projectiles. This will slowly drain the energy in the Sword (its icon replaces your melee while the Praxic Blade is held).
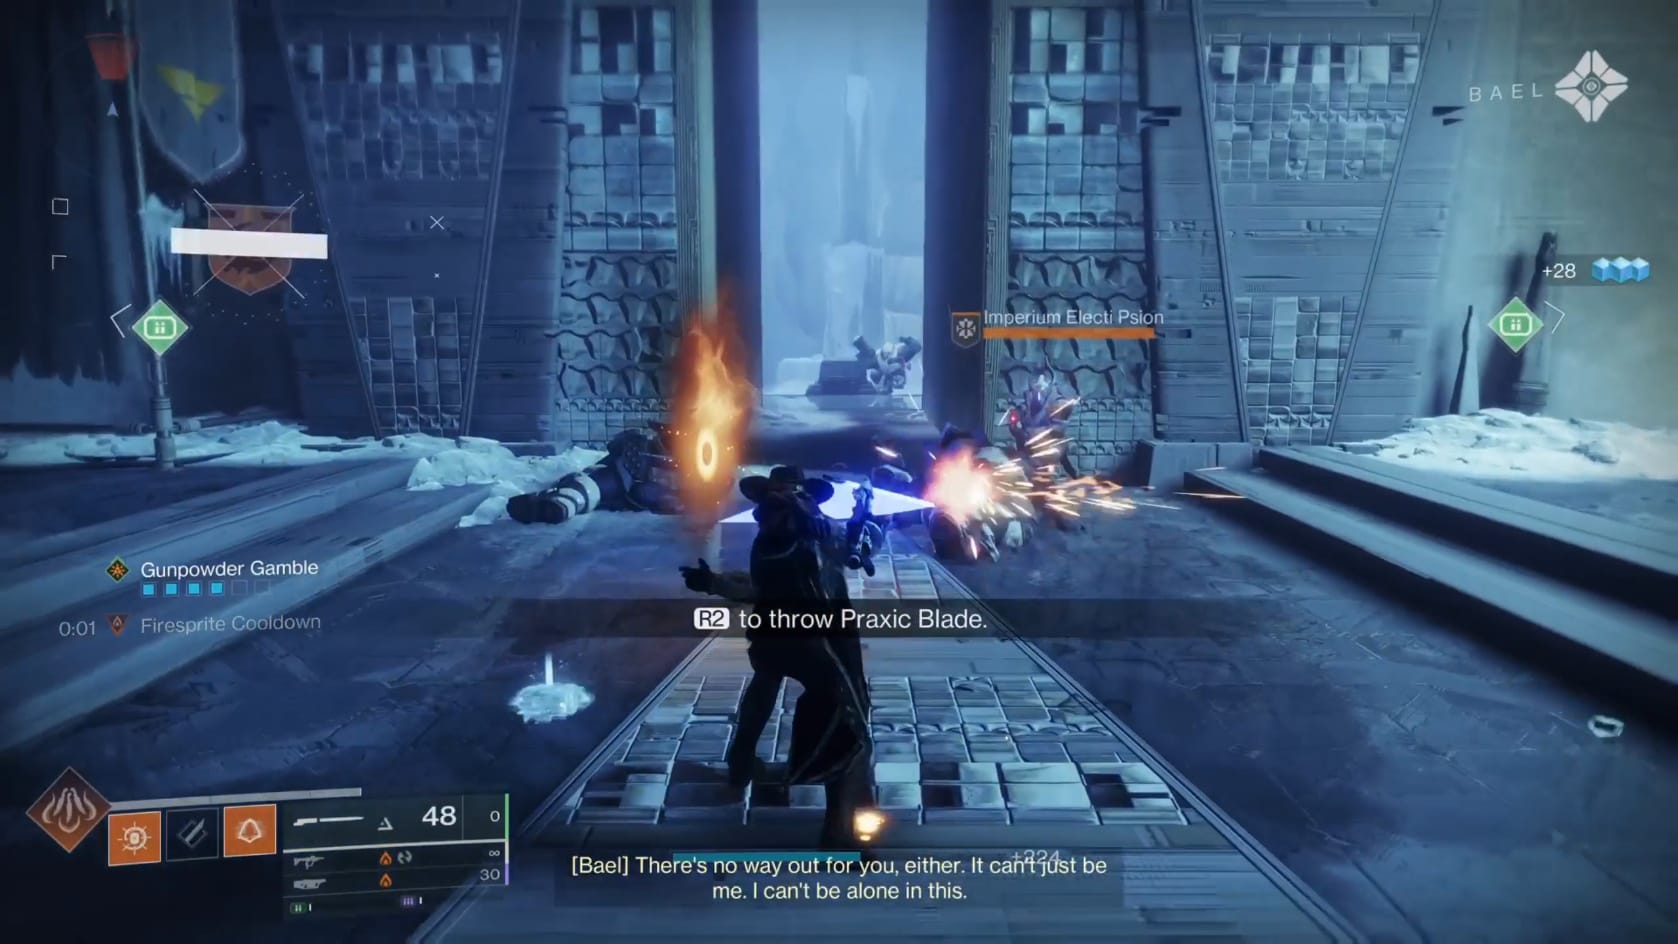
Finally, the game will explain throwing the blade: R2/RT, Fire Gun. The Guardian can only Throw the Praxic Blade with a full charge of energy.
Defeat Reinforcements
“Show the Imperium the strength of your Blade.”
- This is unique to the first play through of Fire and Ice
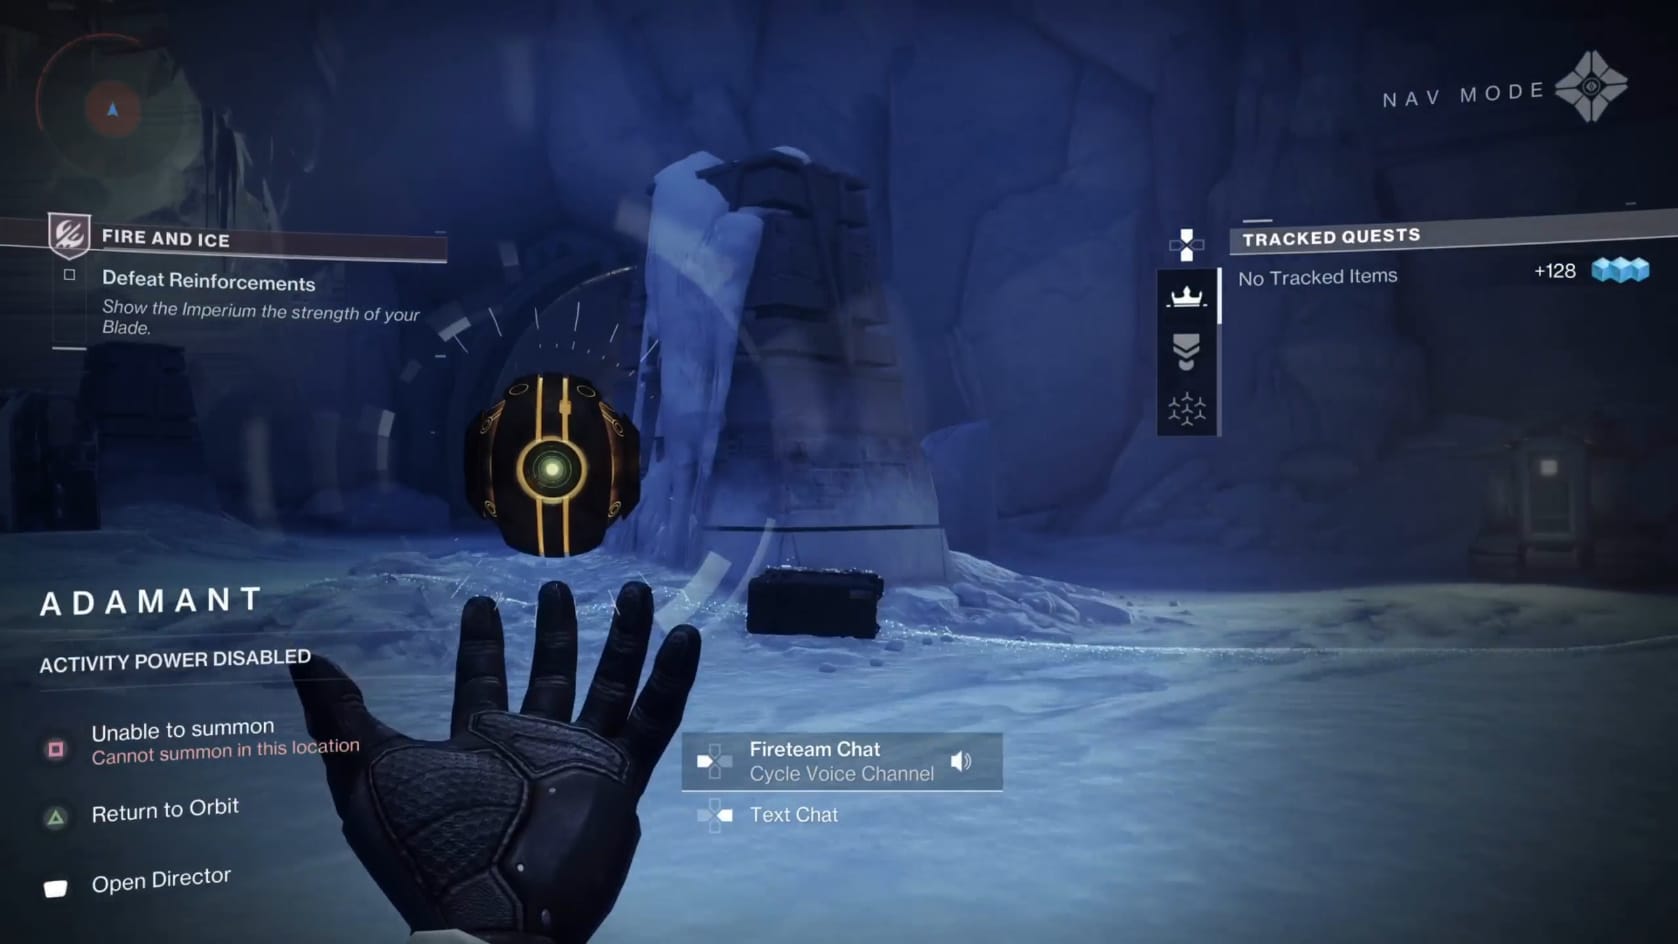
Continue through the doors that open in front of you. But, if needed, go into the sides of the room to find more Special ammo if you need it. In the Courtyard of Adamant, clear out all of the Barant Imperium Forces that come after you. Use the Radar to hunt them down as needed. You aren’t restricted to your Praxic Blade, so mix in your other 2 weapons as well.
Video Walkthrough
Video Walkthrough