Destiny 2: Pantheon 2.0 - Morgeth Surpassing Guide
Master Destiny 2 Pantheon: Morgeth Surpassing with complete walkthroughs for the Consecrated Mind, Warpriest, and Morgeth. Learn every mechanic, team roles, callouts, and DPS strategy.
Morgeth Surpassing
This Pantheon has 3 Encounters:
1) The Consecrated Mind
2) The Warpriest
3) Morgeth, the Spirekeeper
Each of these encounters has been substainally altered from their initial appearance in their respective Raids. Most are the combination of 2 encounters now. While elements remain the same, you are playing through something different.
The Consecrated Mind
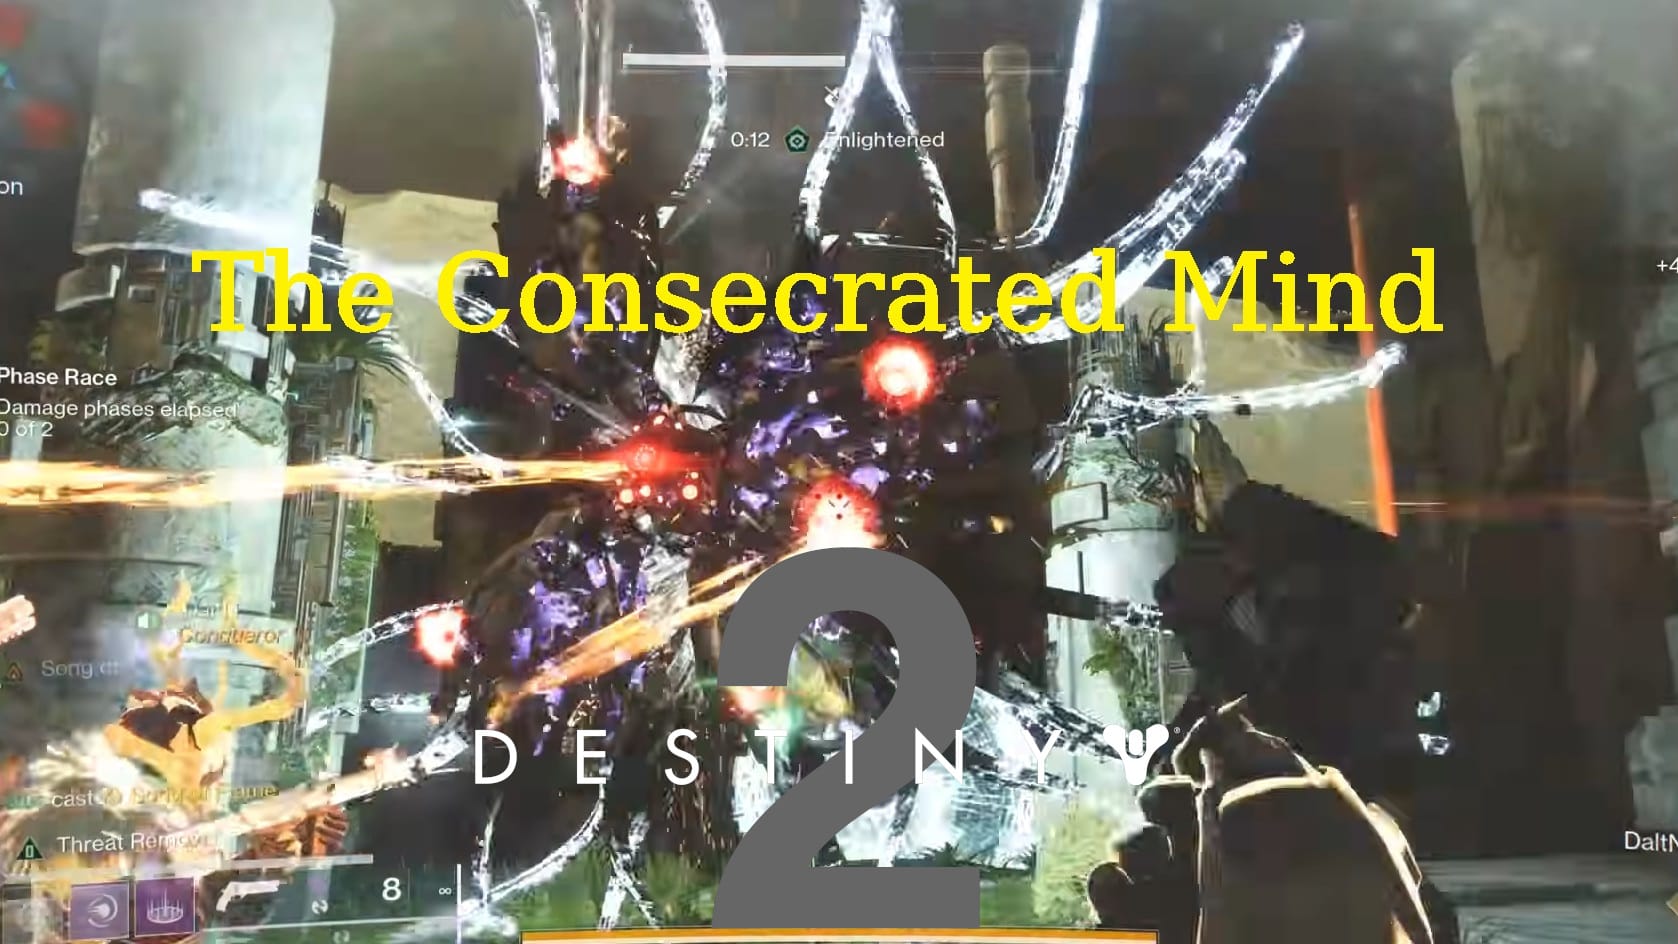
- This is the first boss fight of the Raid: The Garden of Salvation
This encounter is revamped, bringing two encounters together. This unites the Undergrowth encounter with the Consecrated Mind Boss Fight.
Additionally, Teleporters have been added onto the map. This means that as the Totems are activated, Teleporters come online. These will allow you to move easily to the next totem in that direction or go from the center to the corresponding Totem.
Summary
The Fireteam needs to trigger a Damage Phase by collecting and depositing Vex Motes into the Bank in the middle of the Map. The Vex that drop the motes are rare. And throughout this, the Fireteam needs to defend the Totems on the edges of the map to stop Vex from sacrificing themselves to it. If too many Vex Sacrifice to a Totem, it triggers a Wipe.
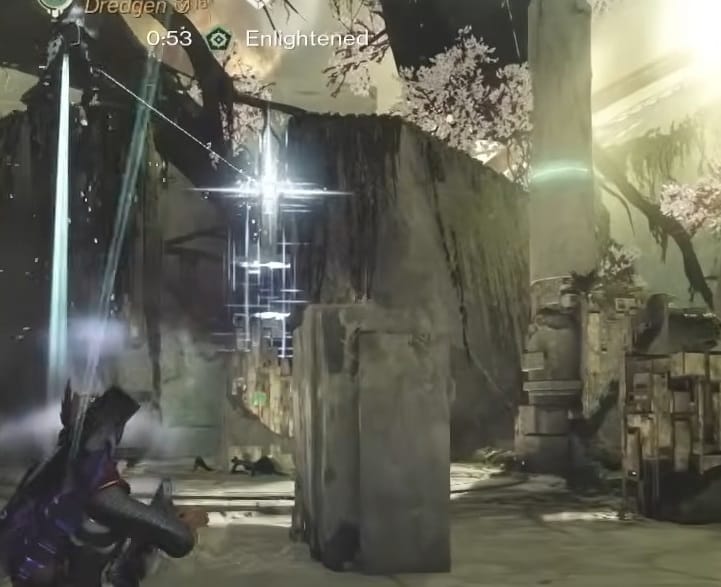
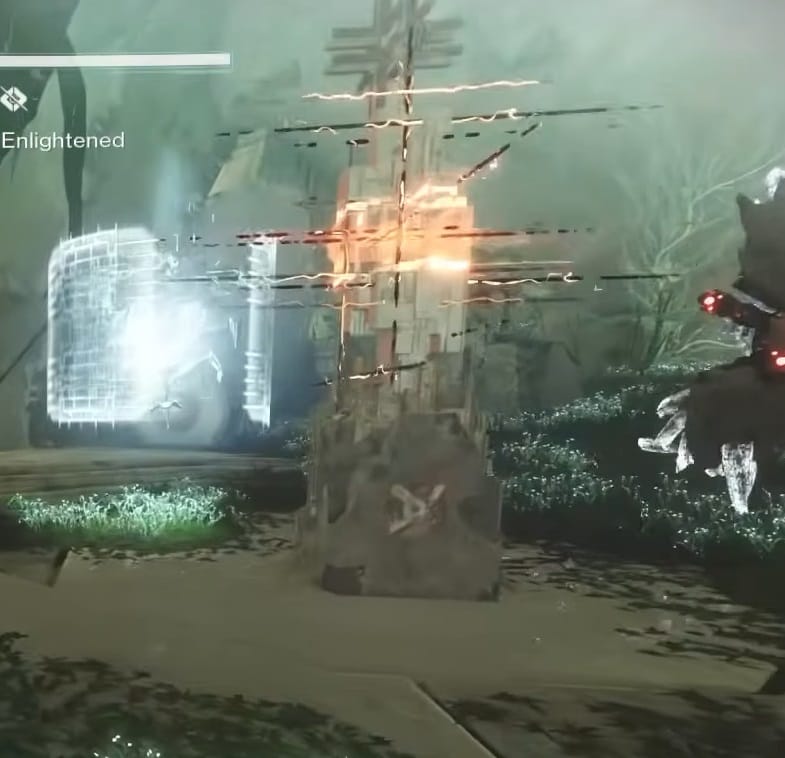
There are Vex approaching the Totem protected by a White Shield. Guardians can only break this Shield if you have the Enlightened Buff (Acquired by activating the Totem and nearby Vex Cube and working with your partner to connect the line of energy from the Cube to the Totem).
Additionally, you can refresh the Buff by being tether to the Cube in the hallway when the team at the Bank refreshes their Enlightened Buff.
You need to watch out for the Consecrated Mind at the Totem locations as well. It can cause a wipe with its Voltaic Overflow mechanics.
When the Bank is full, Damage Phase Begins. Target and break the red glowing eyes on the arms before unloading on the central White Eye to destroy the boss.
The Arena
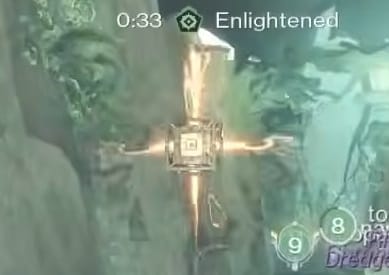
This Arena is a massive Diamond. There is a Totem at each Point of the Diamond (North, South, East, and West, but the Fireteam needs to agree on names). In the middle of the Arena is a Bank (aka Middle). Nearby each Totem, and the Bank, are Teleports. While the Totem is active, the Teleporters are powered and allow for easy travel to either the Middle (Teleporter behind the Totem) or the next Totem in Rotation (Left going Counter-Clockwise and Right going Clockwise).
Walkthrough
Starting the Encounter
Starting this encounter isn’t too bad. There’s a trio Vex Goblins in front of the Bank that needs to be damaged/destroyed. As soon as it is, the Consecrated Mind will appear and the barriers around the center will drop.
The goal is to spread the Fireteam throughout the Arena. You will want at least 1 Guardians (the floater) going between locations to activate the Totems and Refreshing the all important Buff: Enlightened. Additionally, the Floater will be collecting and depositing the Motes from each of the Totems into the Bank in the middle.
Filling the Bank
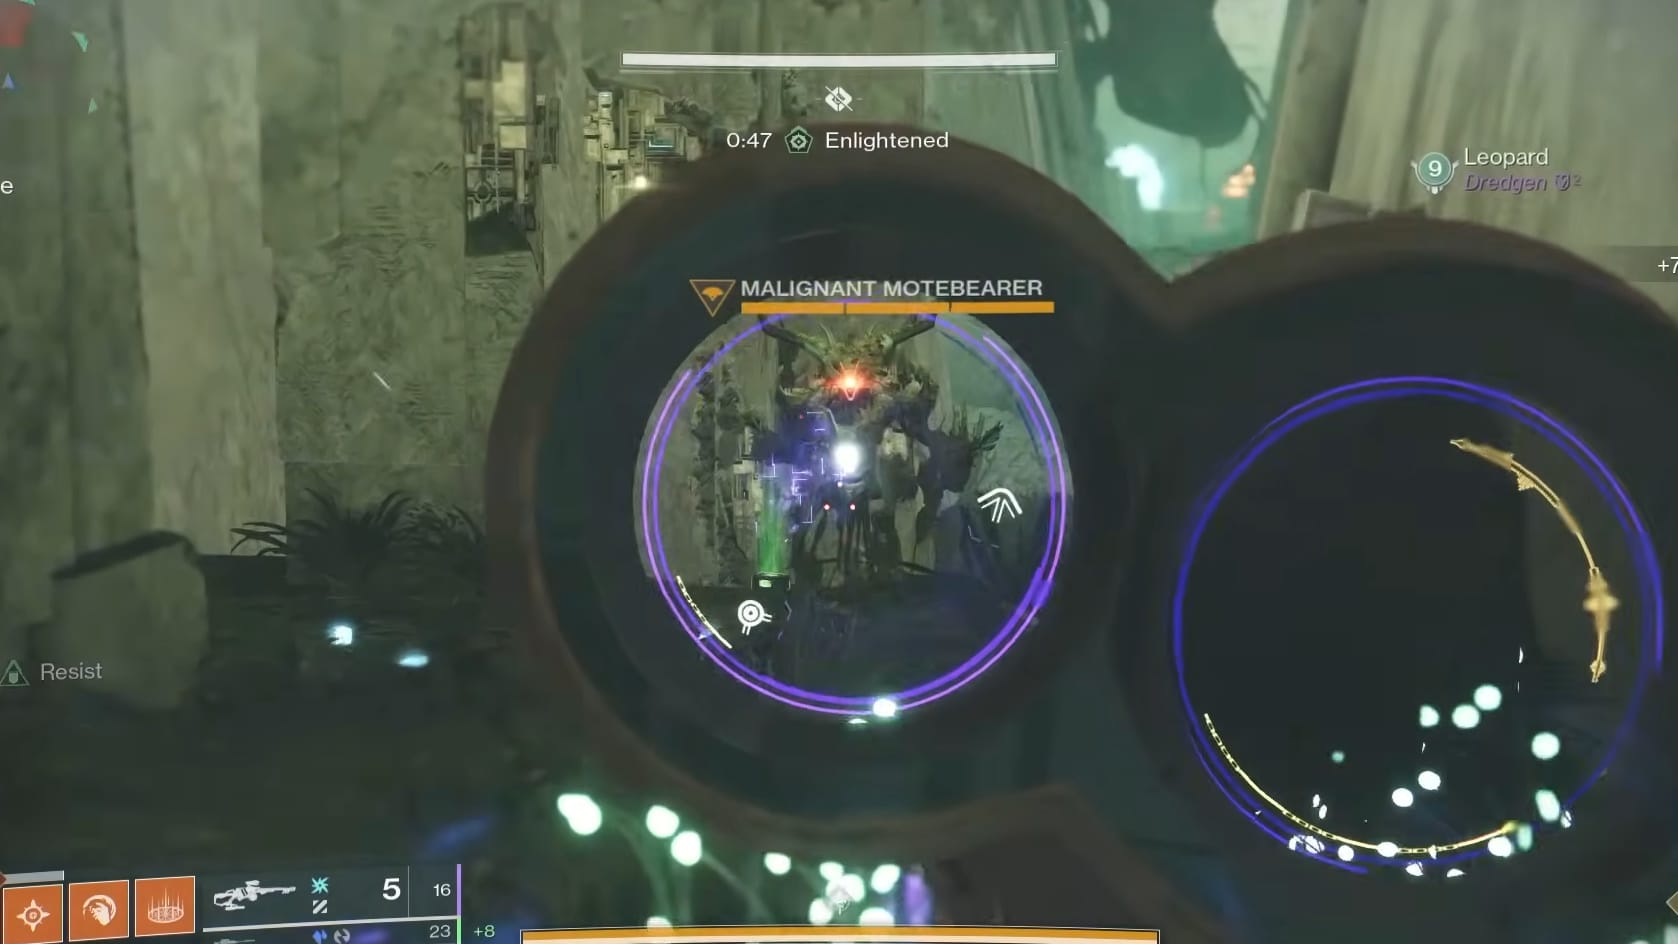
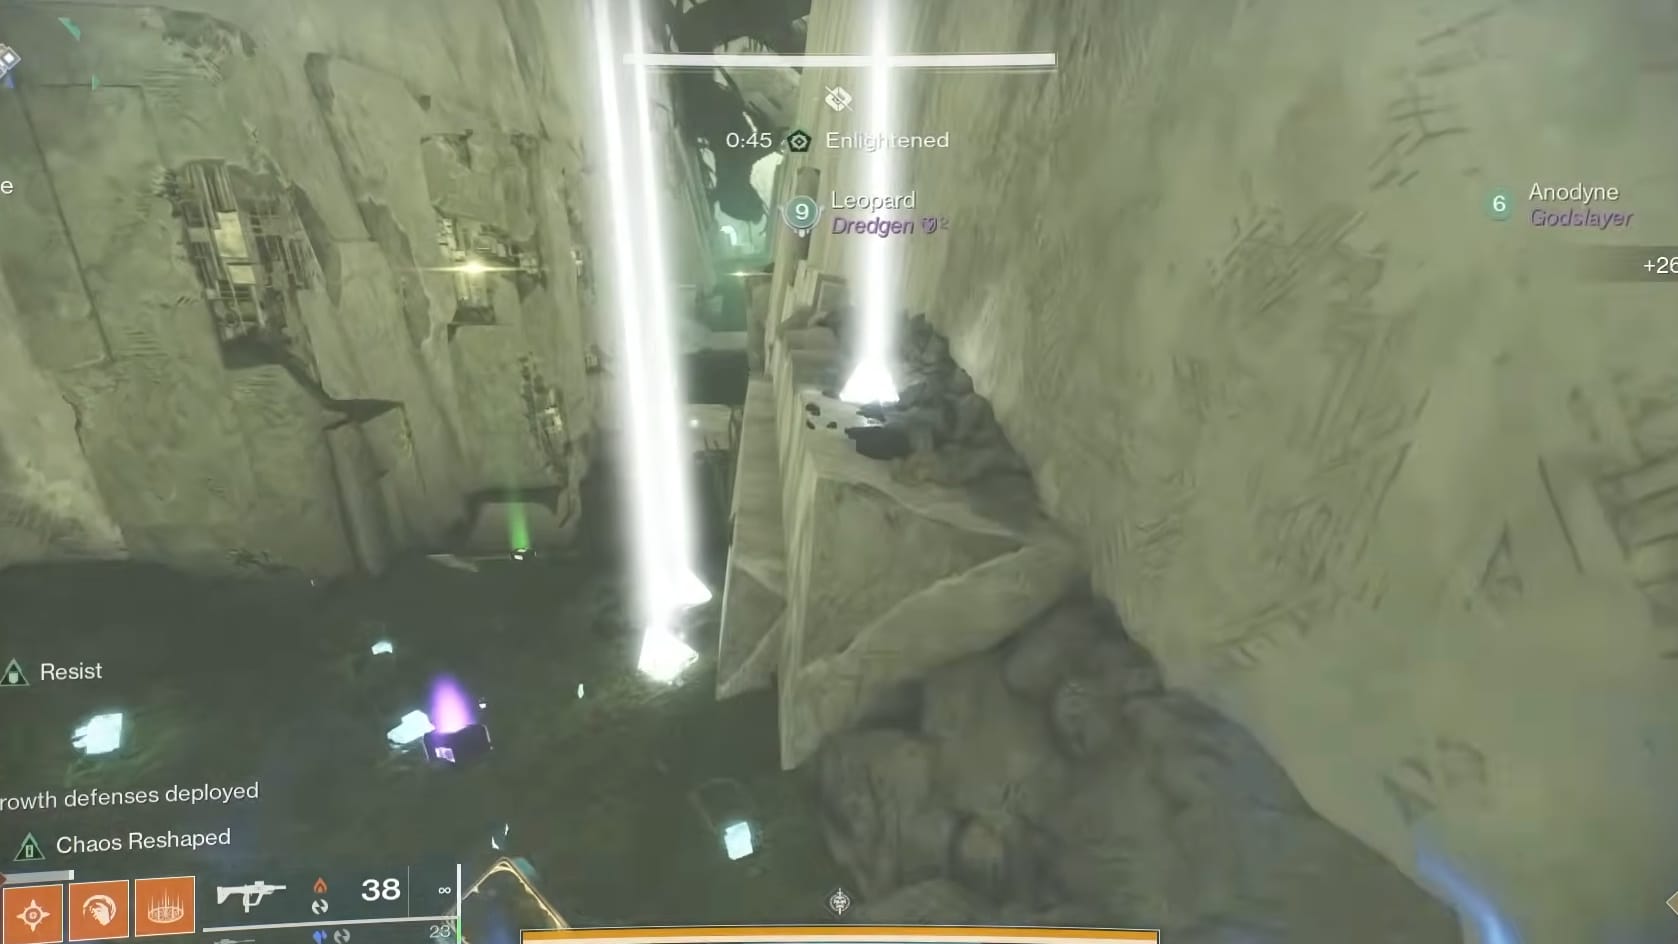
Filling the Bank will take time. The Vex that drop the motes are the Maligant Motebearers. Defeating each will drop 5 Voltaic Motes. These need to be collected and run to the Bank in the center of the map. There should be a single Floater helping each of the Guardians at a Totem to do this.
Collecting the Motes
Defending the Totems
All this starts when you see the prompt “Vex Deployed in the Pavilion.” appear on your screen.
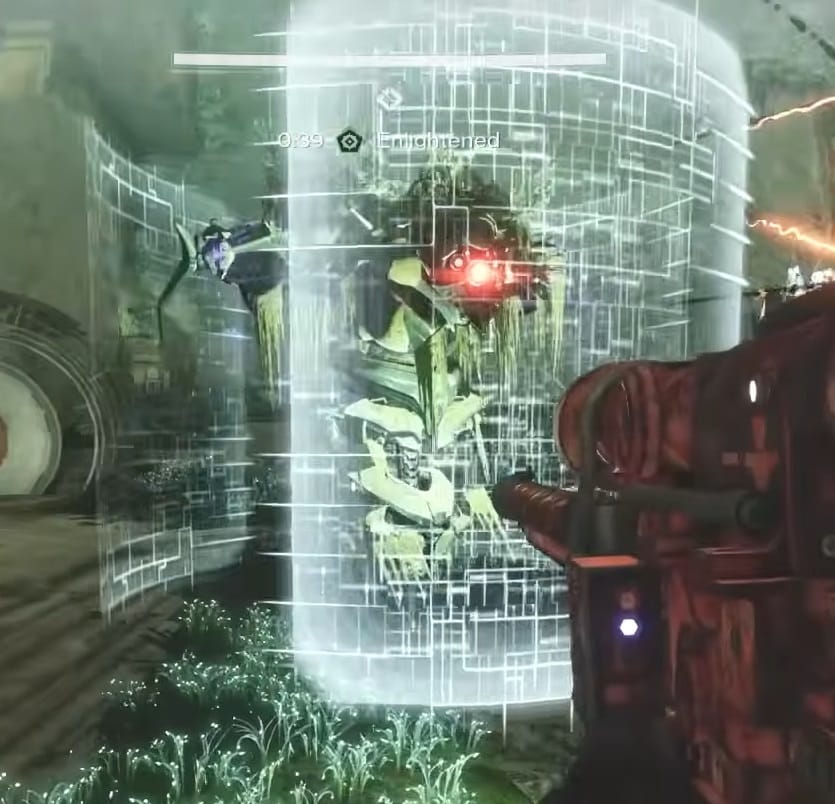
Throughout the encounter, each of the Totem Teams will need to watch out for the Angelic Hydra that can appear. It will appear nearby your Totem. While the Angelic is nearby the Totem, the Totem will be disabled. Destroy it in a hurry every time.
After so long, you will get the message, “Undergrowth defenses subsided”. This is a brief window of reprieve. You get a chance to collect ammo, Orbs of Power, and calmly refresh the Enlightened Buff. When it’s time for the fight to resume, you will get the notice, “Undergrowth defenses deployed.”
The Consecrated Mind will be flying around throughout the encounter. It will be stopping at random Totems. Most of the time, the Guardians will just need to avoid the additional fire and keep on with the add clear. The problem arises when the Consecrated Mind stops.
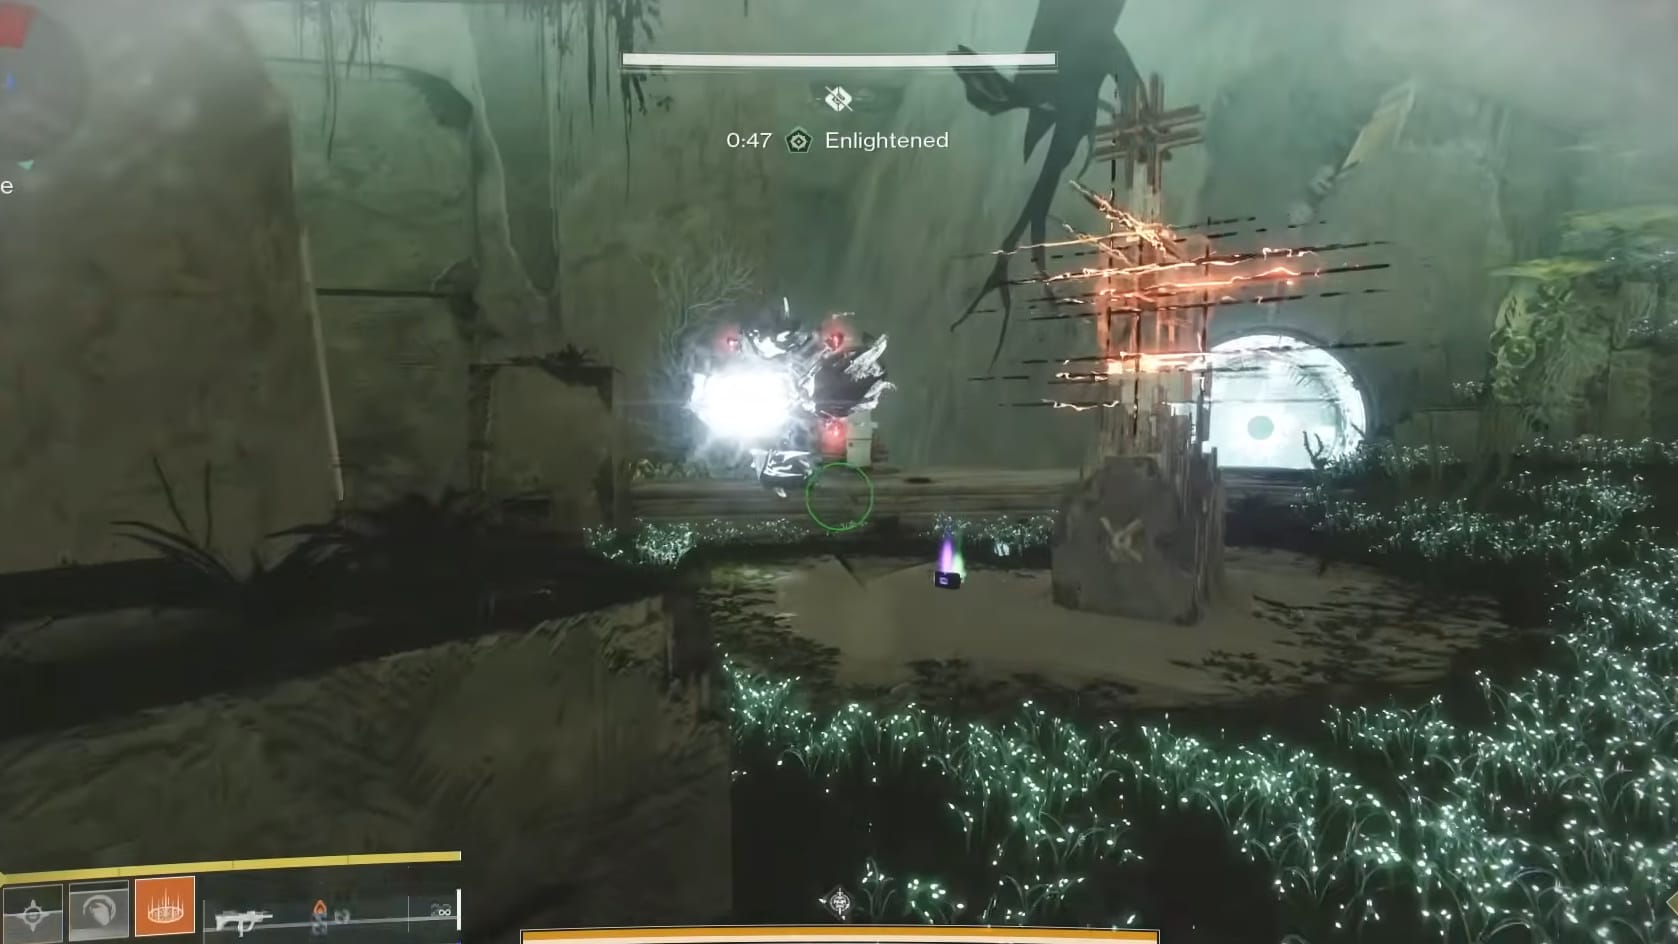
When the Consecrated Mind stops at a Totem, it will begin to charge an orb in front of its main eye. It then launches this charge that becomes a pool of energy on the ground. This is accompanied with the prompt of “Voltaic Overflow created.” A guardian needs to immediately move into the pool, gaining the Voltaic Overflow debuff. Otherwise, the fireteam will Wipe.
With the Voltaic Overflow debuff, while still in the pool, you will see the Consecrated Mind spread its wings out. 3 of the “eyes” on the wings will glow. The Guardian in the pool needs to very quickly destroy all the illuminated eyes. If not done fast enough, it will result in a Wipe.
The Voltaic Overflow debuff will remain in effect after you defend the Totem. This means that with that Debuff, you cannot stand in another pool from the Consecrated Mind and defend a Totem until it has faded.
Damage Phase
When enough Motes have been deposited, the Fireteam will get the notification: “The Consecrated Mind is drawn to the overloaded relay.” The Consecrated Mind will hover over to the Bank in the middle of the map. The fireteam needs to quickly destroy the numerous Red Eyes on the Wings of it. After that, it’s time to unload on the central White Eye.
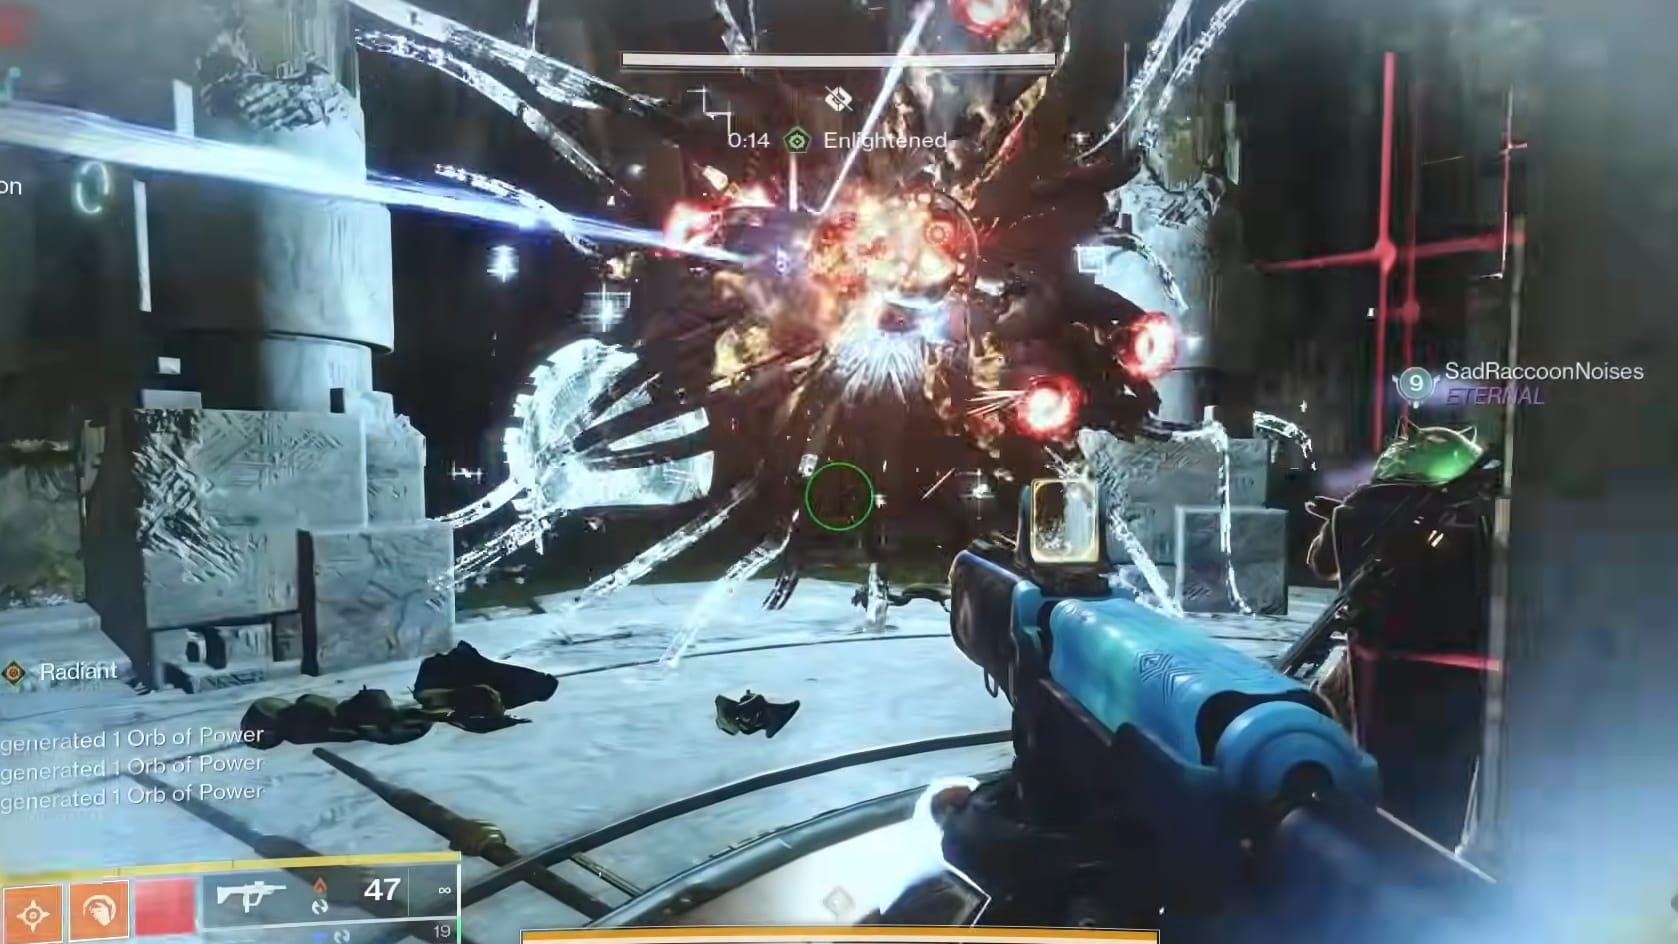
The Mind will start to drift toward one of the Totems after a very short while. The Fireteam should attempt to move with it and keep shooting. Otherwise, they need to deploy their long range weapons to damage it.
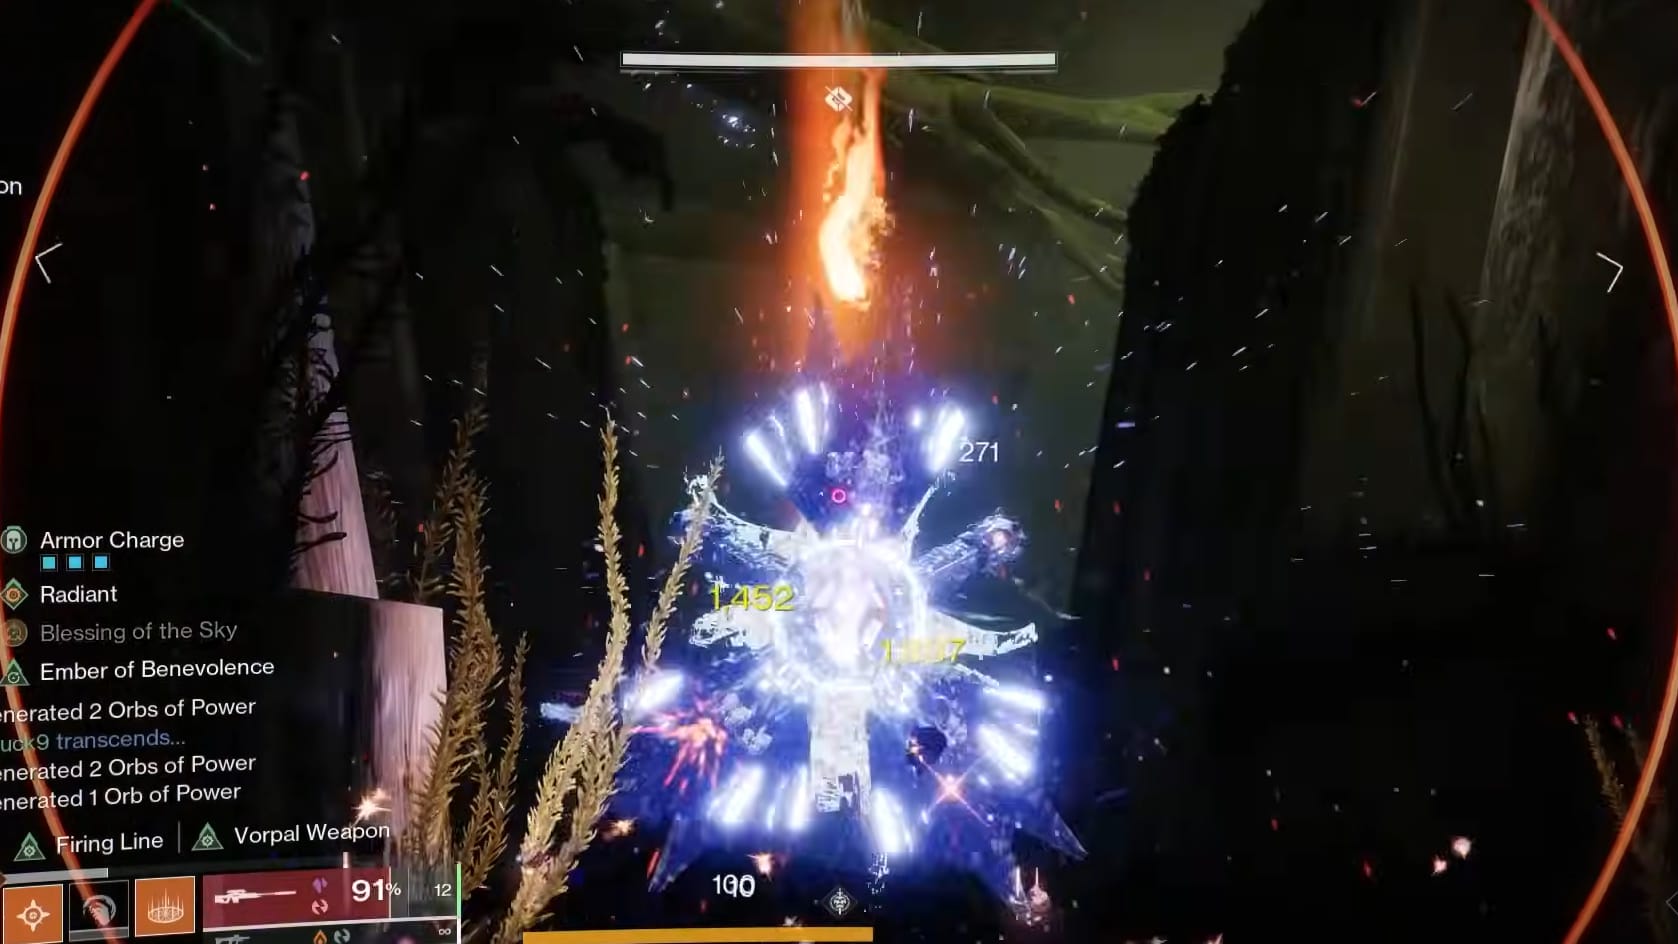
Final Stand
Good News! The Consecrated Mind doesn’t have a final stand. Just blast them away and you’ll be ready to move onto the next encounter. Be ready, because Morgeth is unforgiving.
The Warpriest
- The Warpriest is the first Boss encounter with the King’s Fall raid.
This encounter now works as 2 encounters combined together: Death Totems and the Warpriest. This makes it much more complicated to complete. The elements are the same, but skips what was called the “reading” phase to trigger Damage. Instead it opts for a simpler charge-up system.
Summary
Start by figuring out the Plate Order and where you’re doing damage. The Fireteam then splits in half, with teams of 3 taking each side of the arena. Guardians need to empower the Plates with Deathsinger’s Power, collected using the Brand of the Weaver and rotating it through that half of the Fireteam with Brand Claimer. Once enough is collected the Warpriest deems you worthy and you can begin Damage. The Fireteam gathers, transferring the Brand of the Initiate as needed then hiding behind the totem to prevent a wipe.
Arena
The arena is now huge with the 2 rooms combined. The Lower room is Death Totems and the Upper Room is the Warpriest’s Chamber.
The Death Totems room has a bit for you to work with. For most of the encounter, you will have the Warpriest in the middle, firing on the Guardians.
With the combination of the 2 encounters, there’s a lot more to manage, but it is very possible. Every Guardian will need to gather Deathsinger’s Power, be on Ad Clear, and eventually hit DPS.
Starting the Encounter
The Encounter begins when a Guardian either enters the area around the totem or takes the Brand of the Weaver from the middle of the pathway into the Totem chamber.
Infusing Deathsinger’s Power
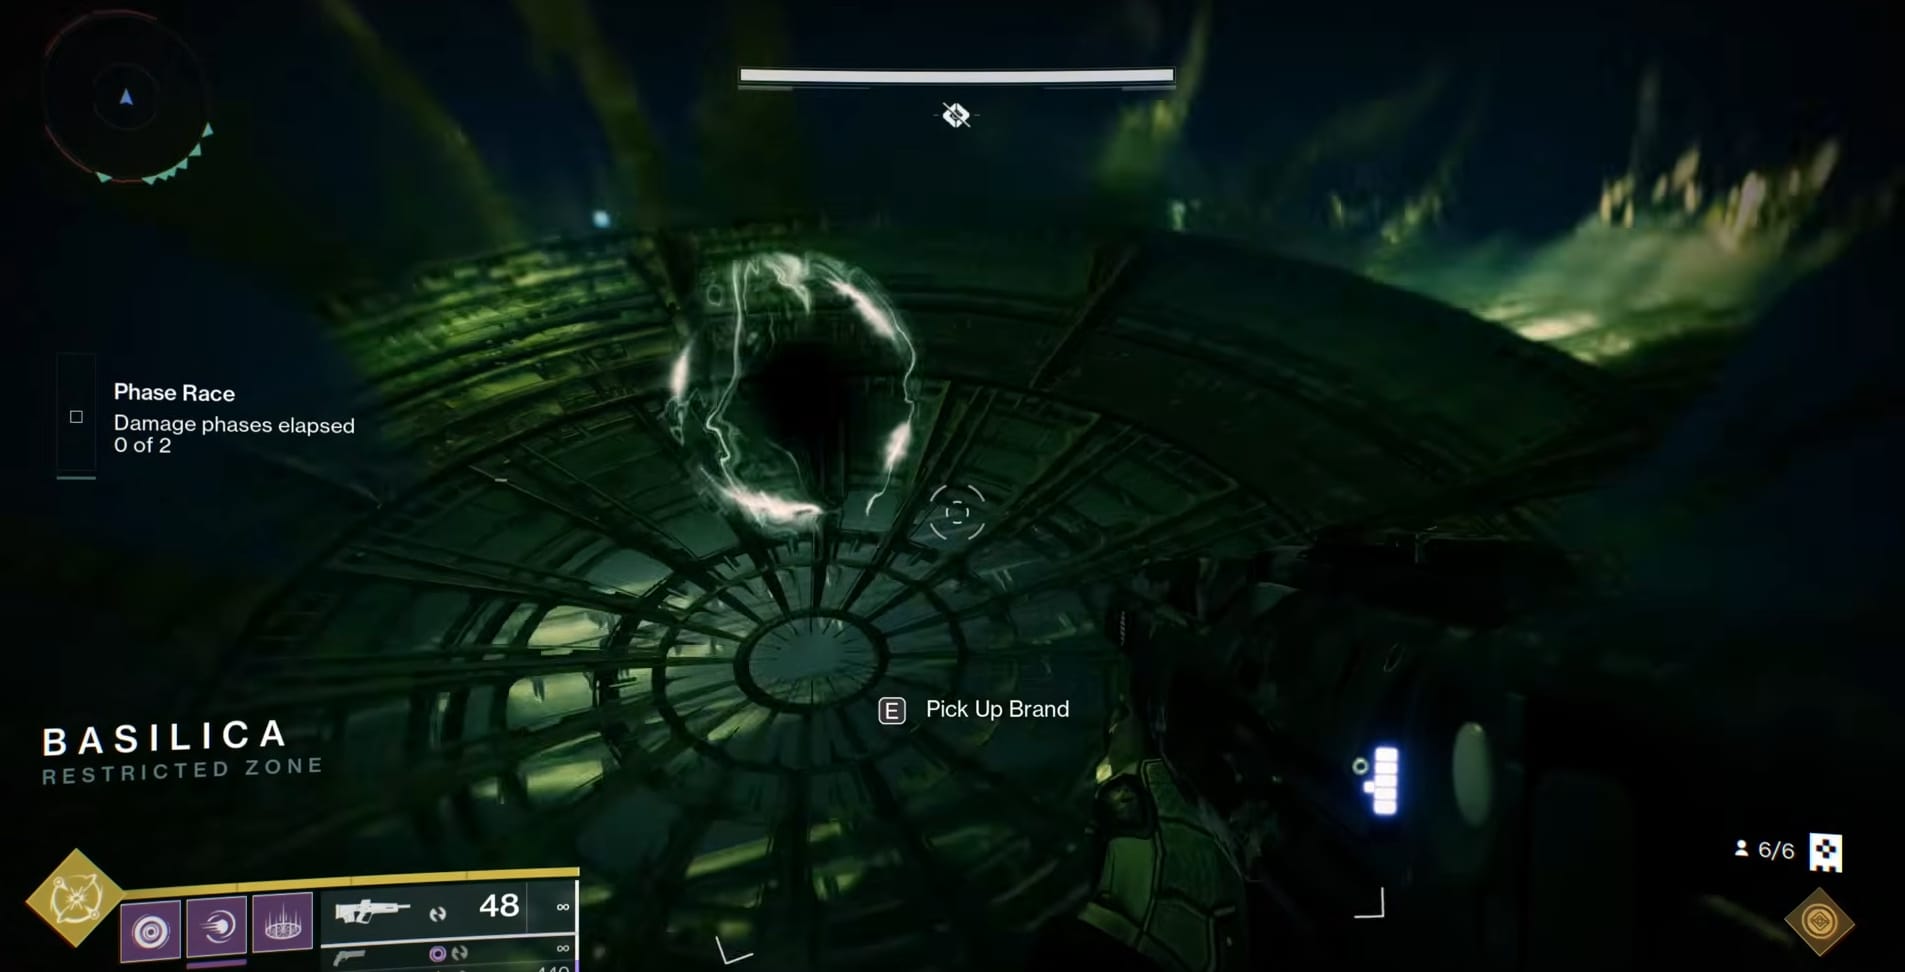
Gathering this power starts with getting the Brand of the Weaver from the middle passage leading off of the Lower Room with the Warpriest. There are 2 Brands of the Weaver, one on each side, and a Guardian on both sides needs to run into the Totem Chamber to start gathering Deathsinger’s Power. You gather Deathsinger’s Power in the Totem room by standing under the Death Totem and killing the Hive in this room.
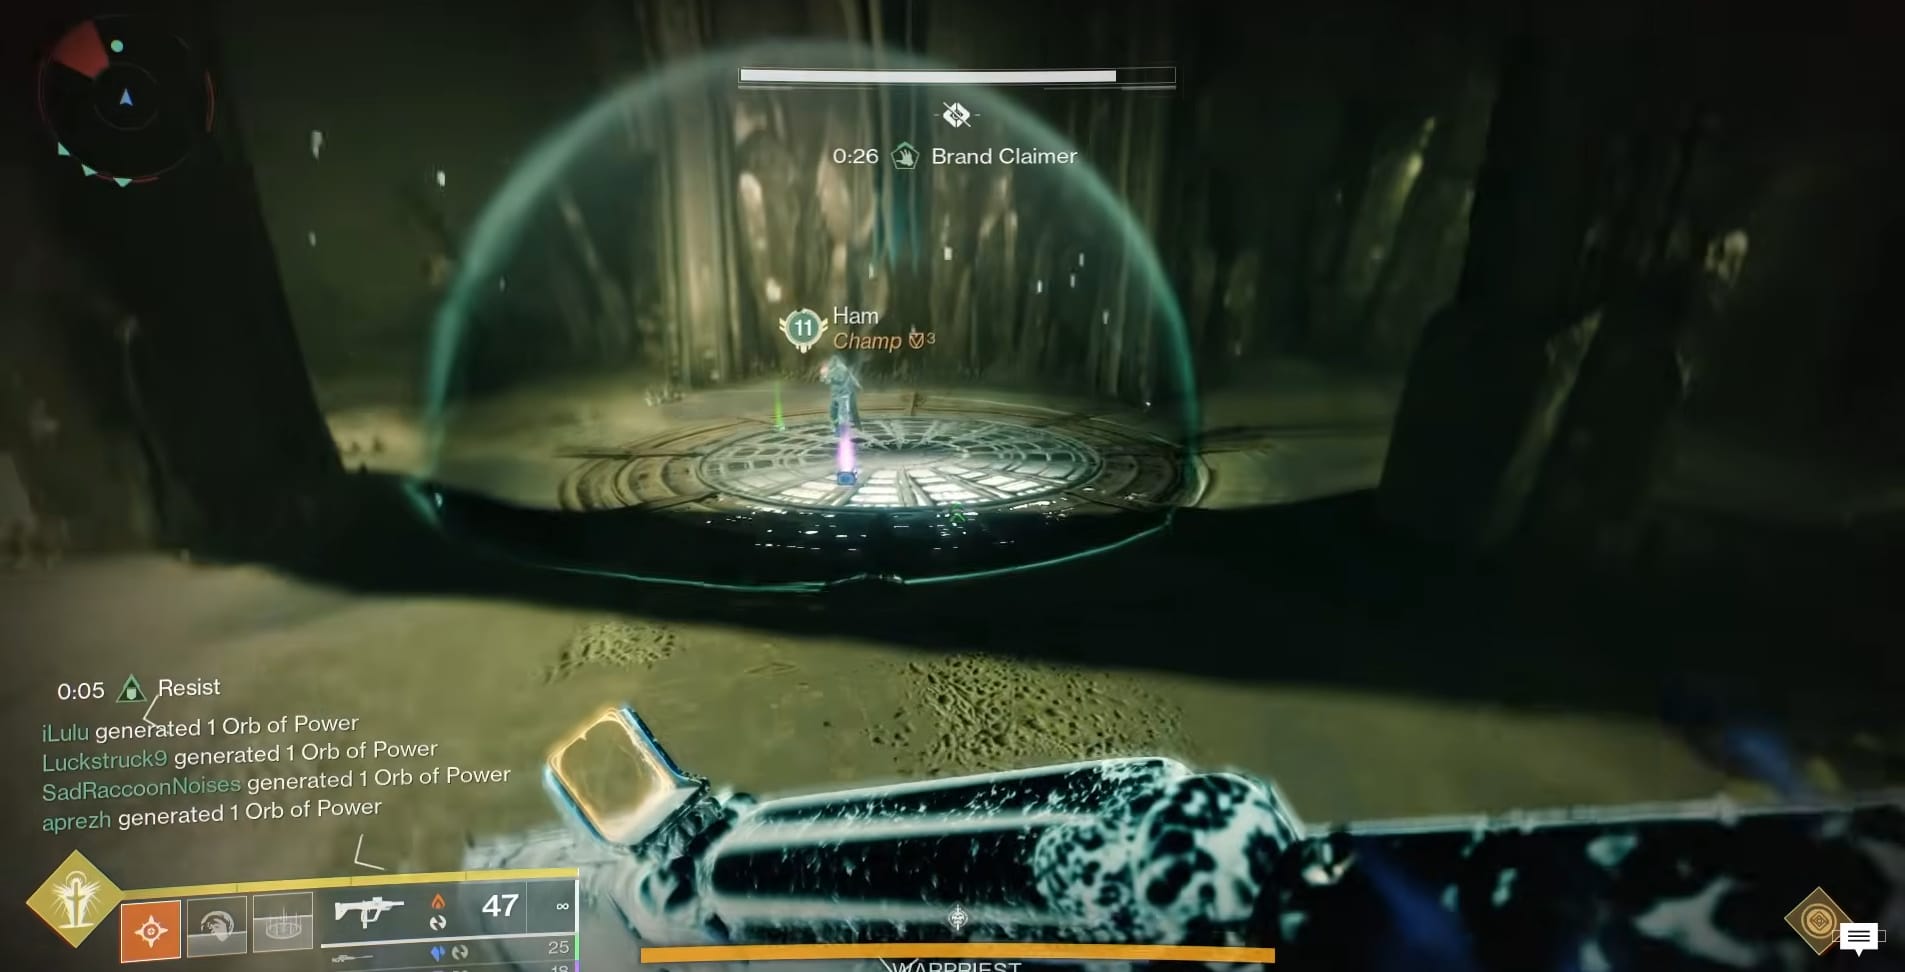
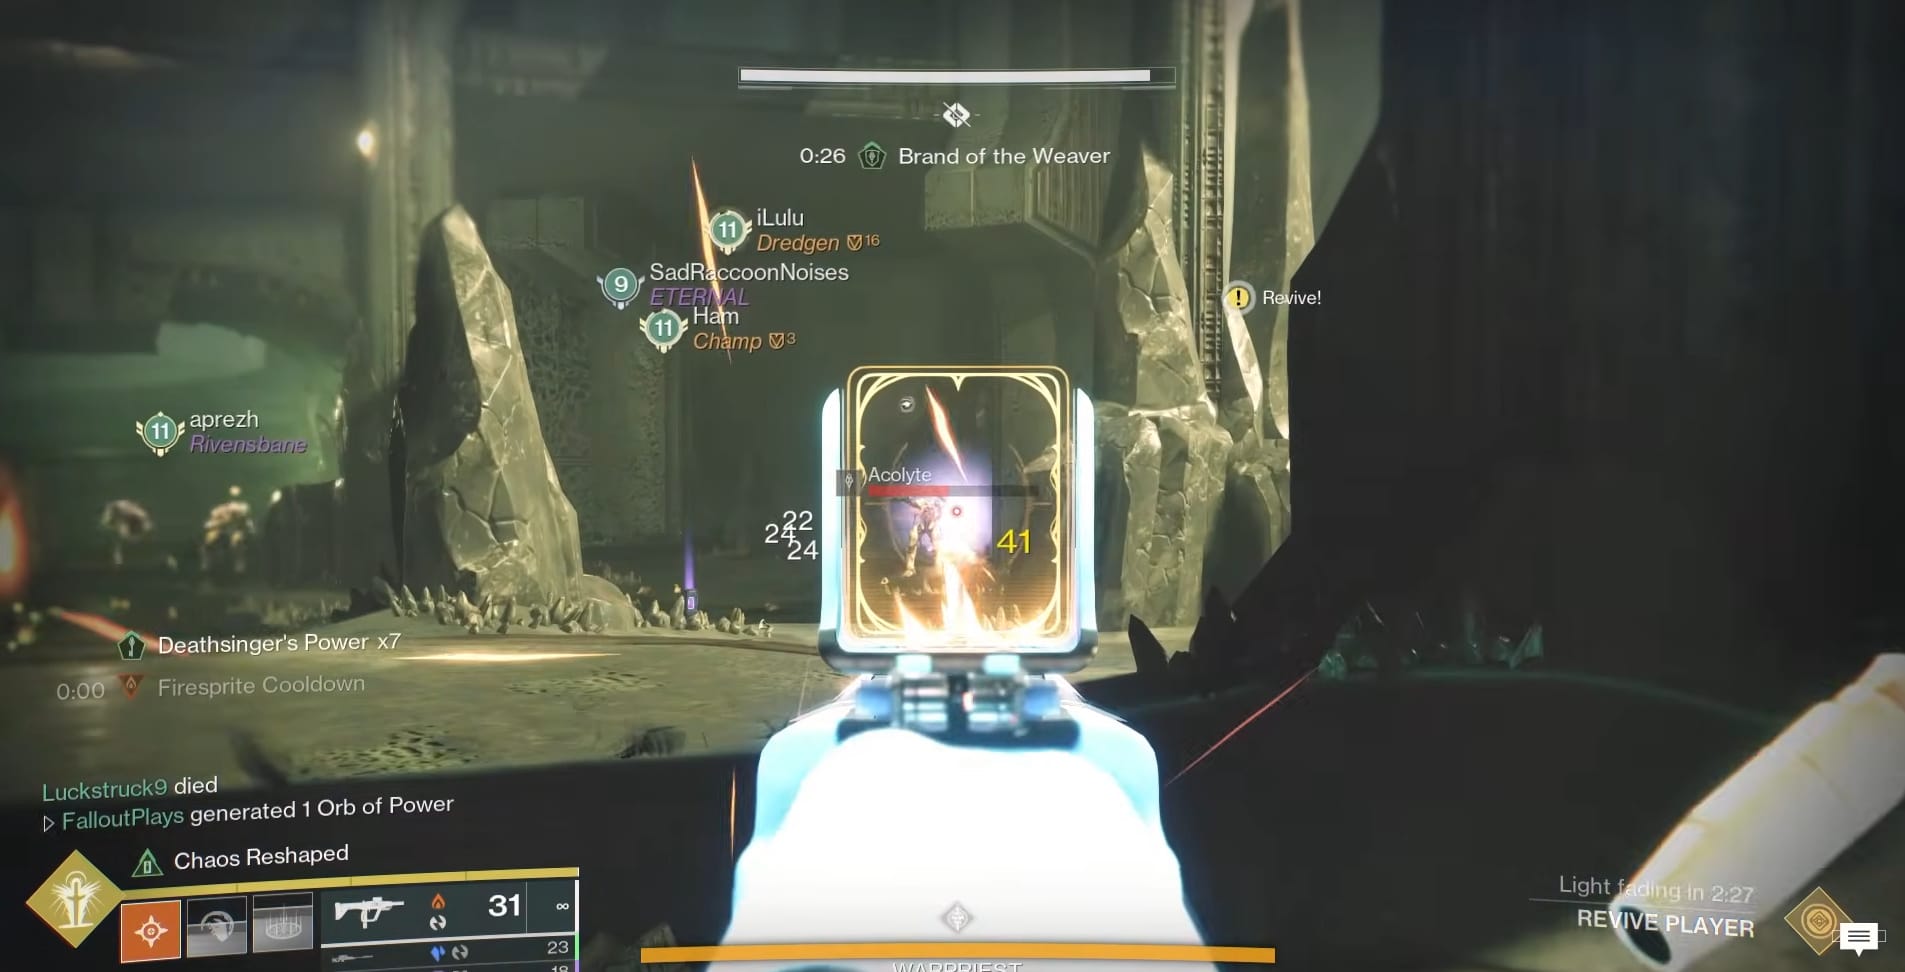
Eventually, as your timer is approaching Zero (you should start the countdown either at 10 or 5 seconds remaining but be consistent), a Teammate with a Different Brand, Brand Claimer, will come and take the Brand of the Weaver as well as your post under the Totem. It’s time to deposit the Deathsinger’s Power.
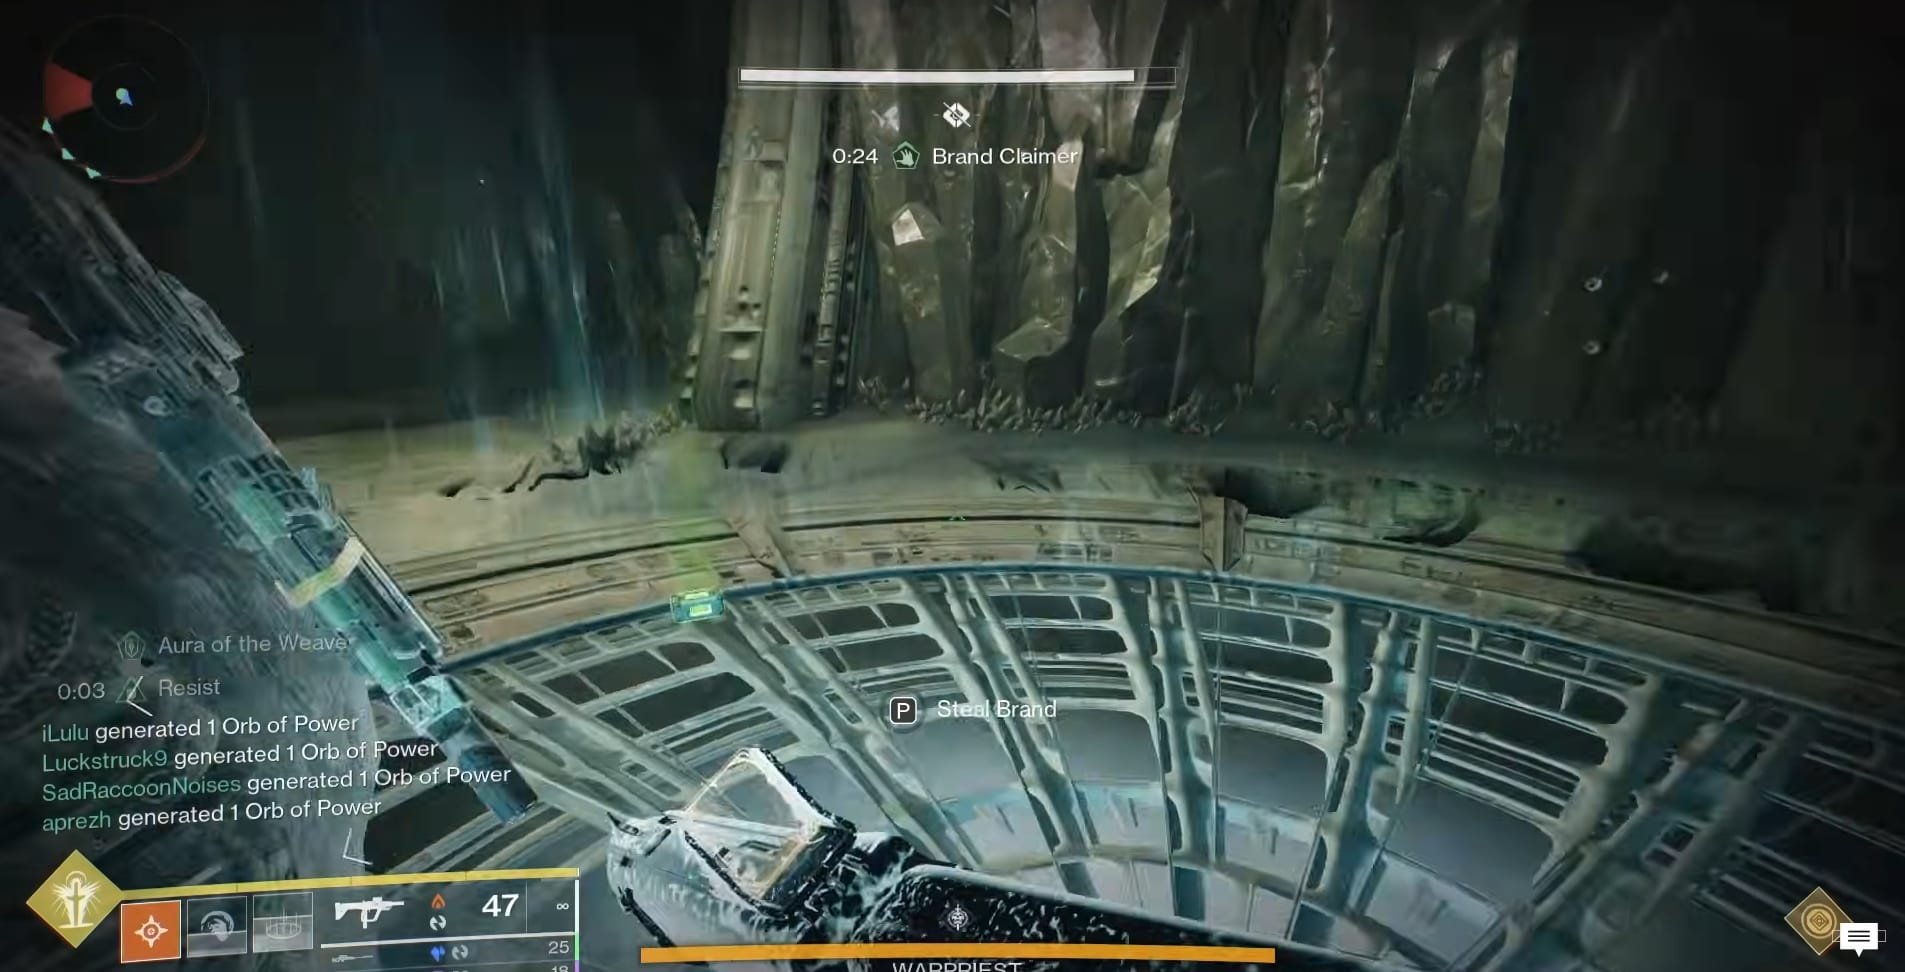
Holding the Deathsinger’s Power, you will need to head into the Upper Room and go to the Middle Plate. Stand on the Plate and your Deathsinger’s Power will slowly drain away. Keep blasting through the adds until you’ve deposited all of it.
Once the Deathsinger’s Power has drained out of the Guardian, you have a very specific job to complete. You need to head to either the right-hand ledge or the left-hand ledge. There you’ll find a Hive Wizard floating. Quickly defeat them. Immediately upon their death, a Taken Knight: Blightguard will appear nearby. Defeat the Knight and a Taken Orb will appear. This grants the Brand Claimer buff.
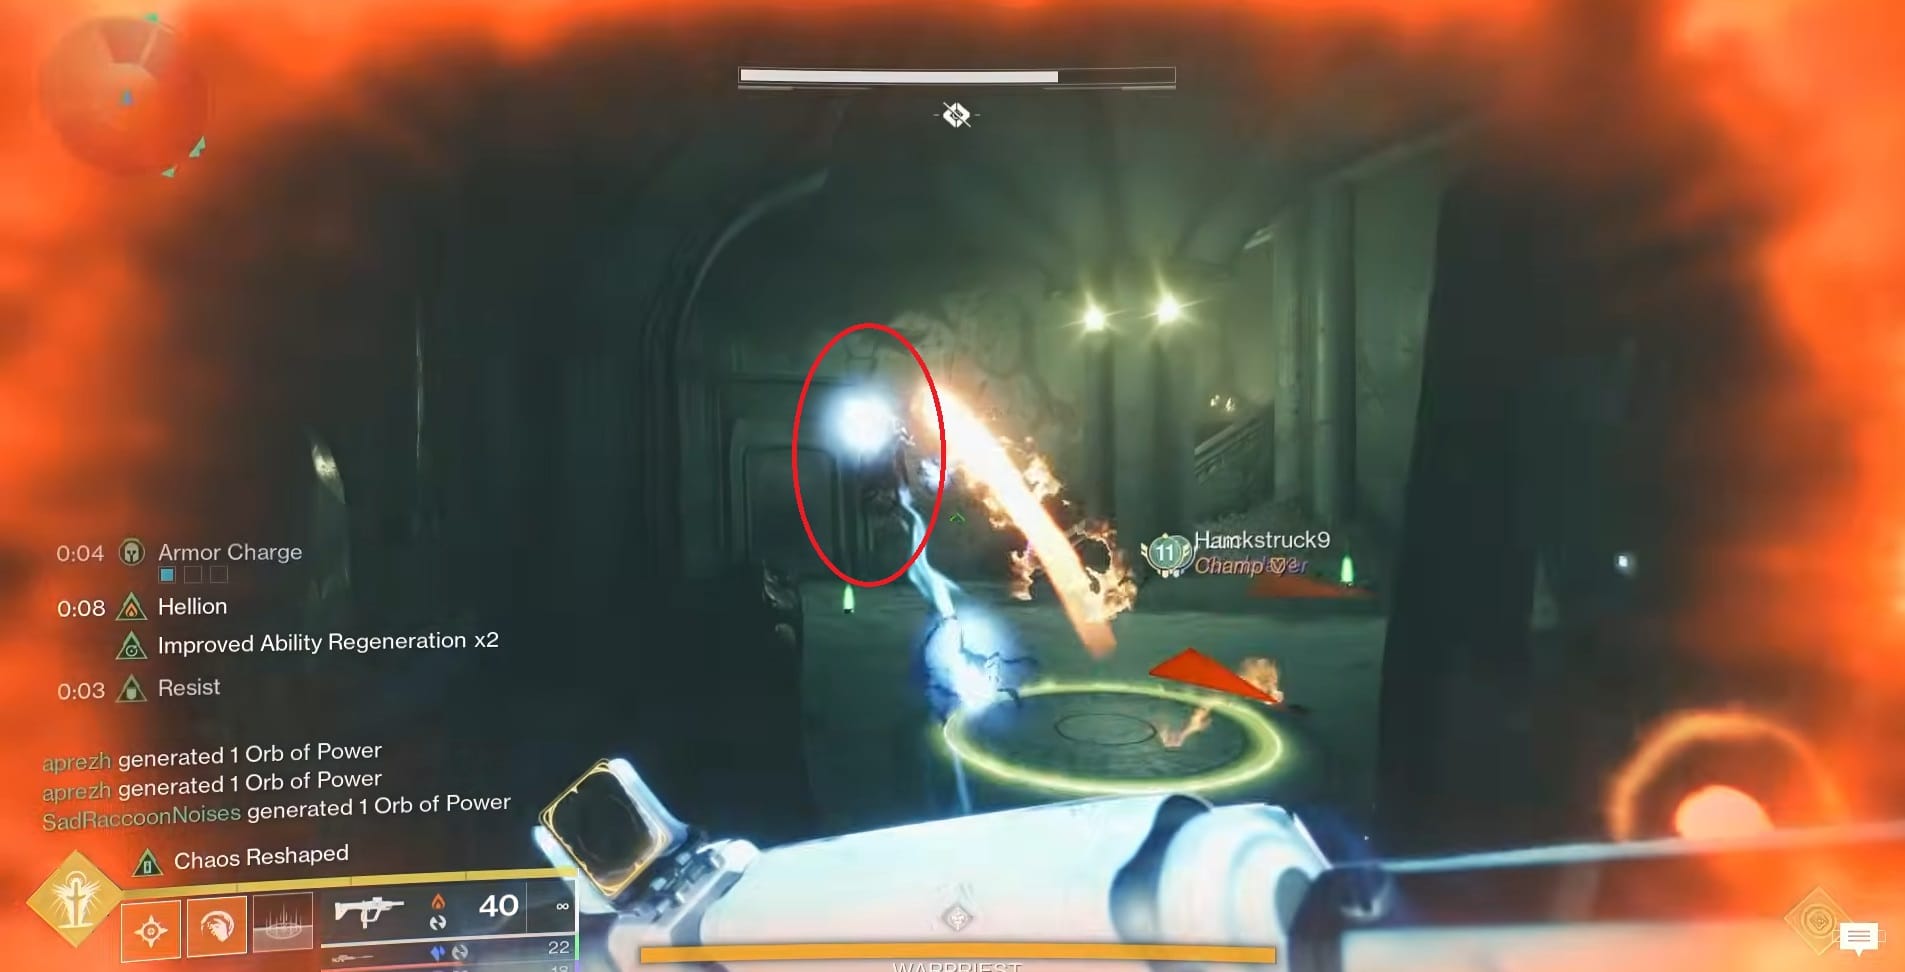
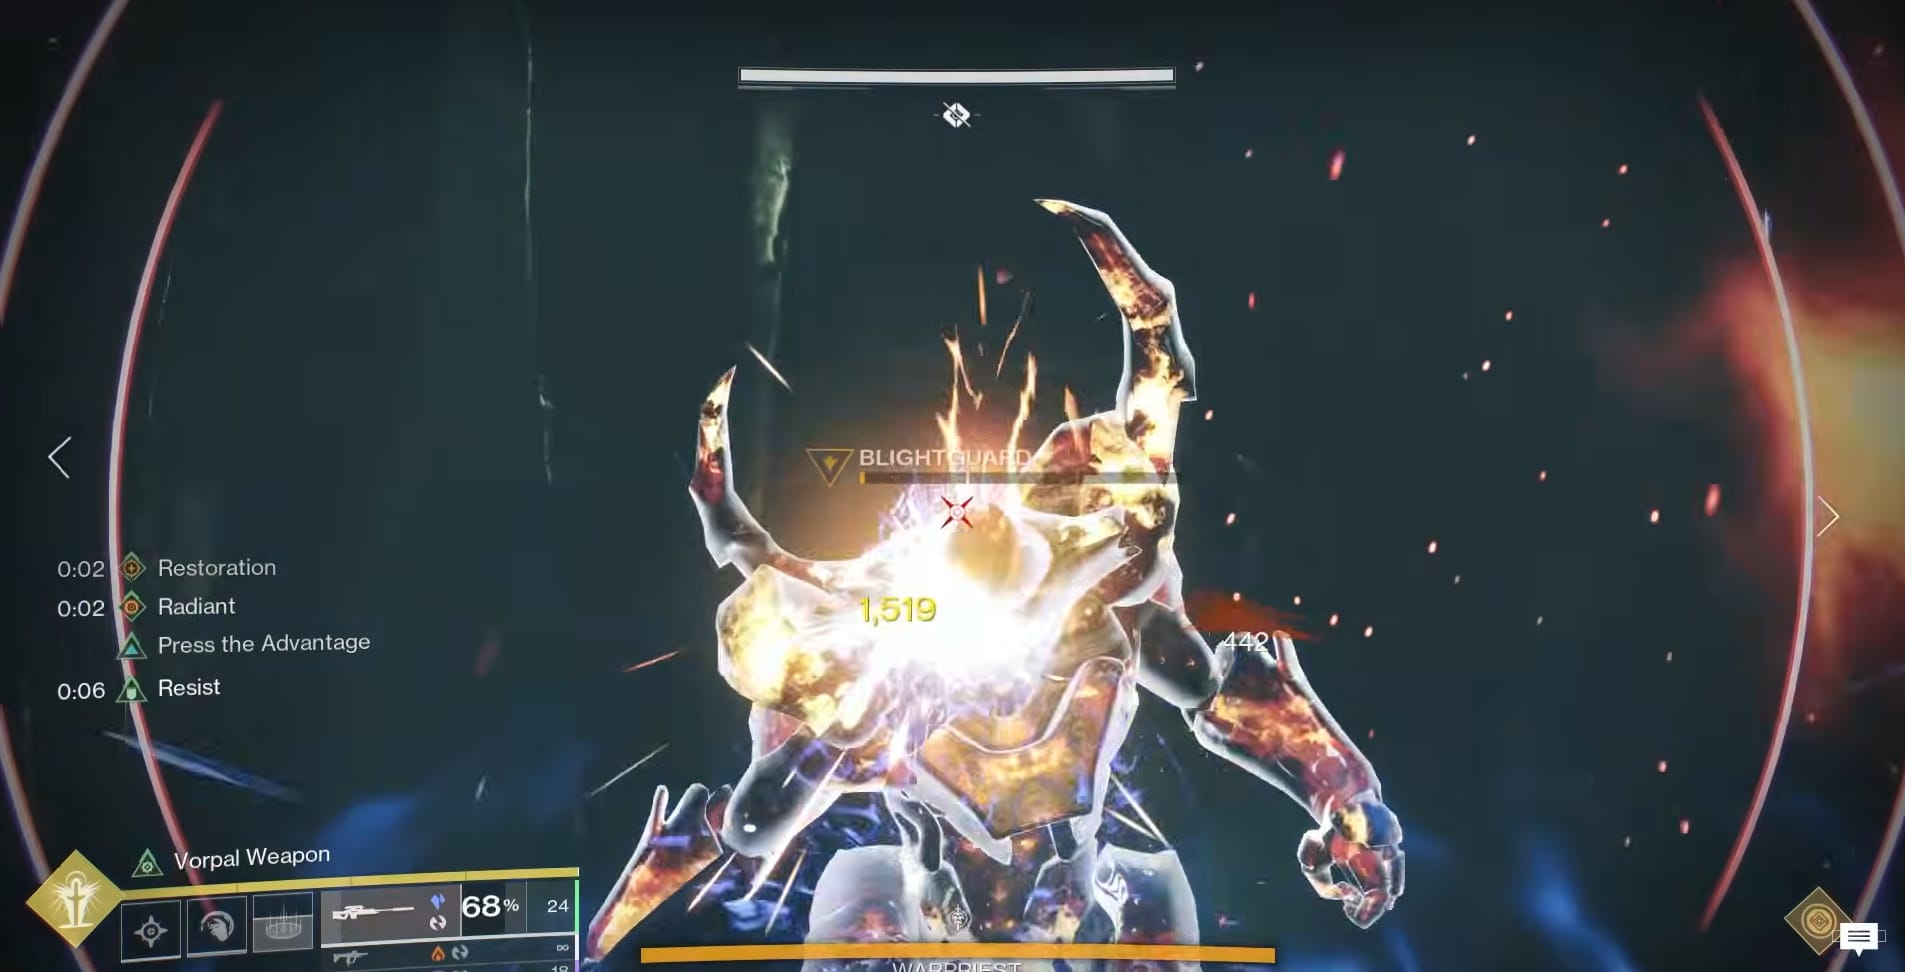
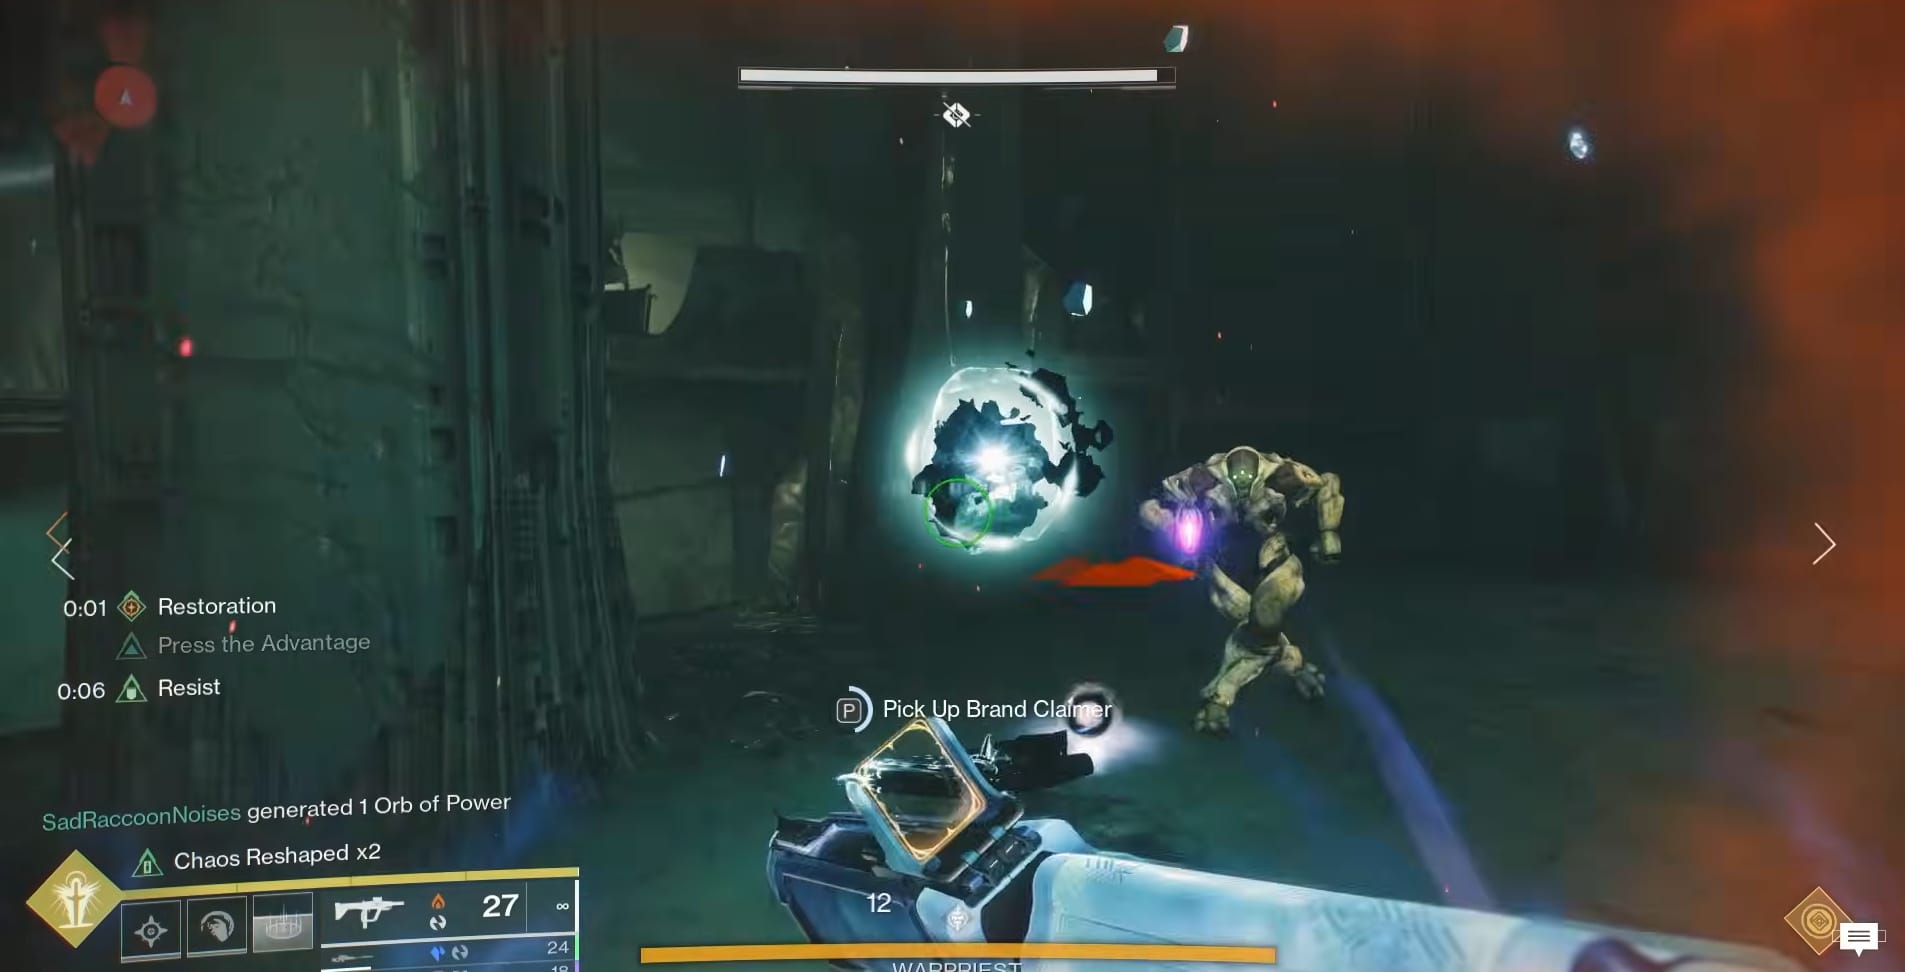
Getting the Brand Claimer Orb
With the Brand Claimer, you need to head back to the Totem room that you started in. Listen to the Guardian with Brand of the Weaver. Grab it as close to Zero as you can manage. That is the cycle you will be in.
This is the main element you need to gather to empower the Plates. The Recommended Order is Middle, Right, then Left (this is easiest to reach to hardest to reach).
Tracking Progress
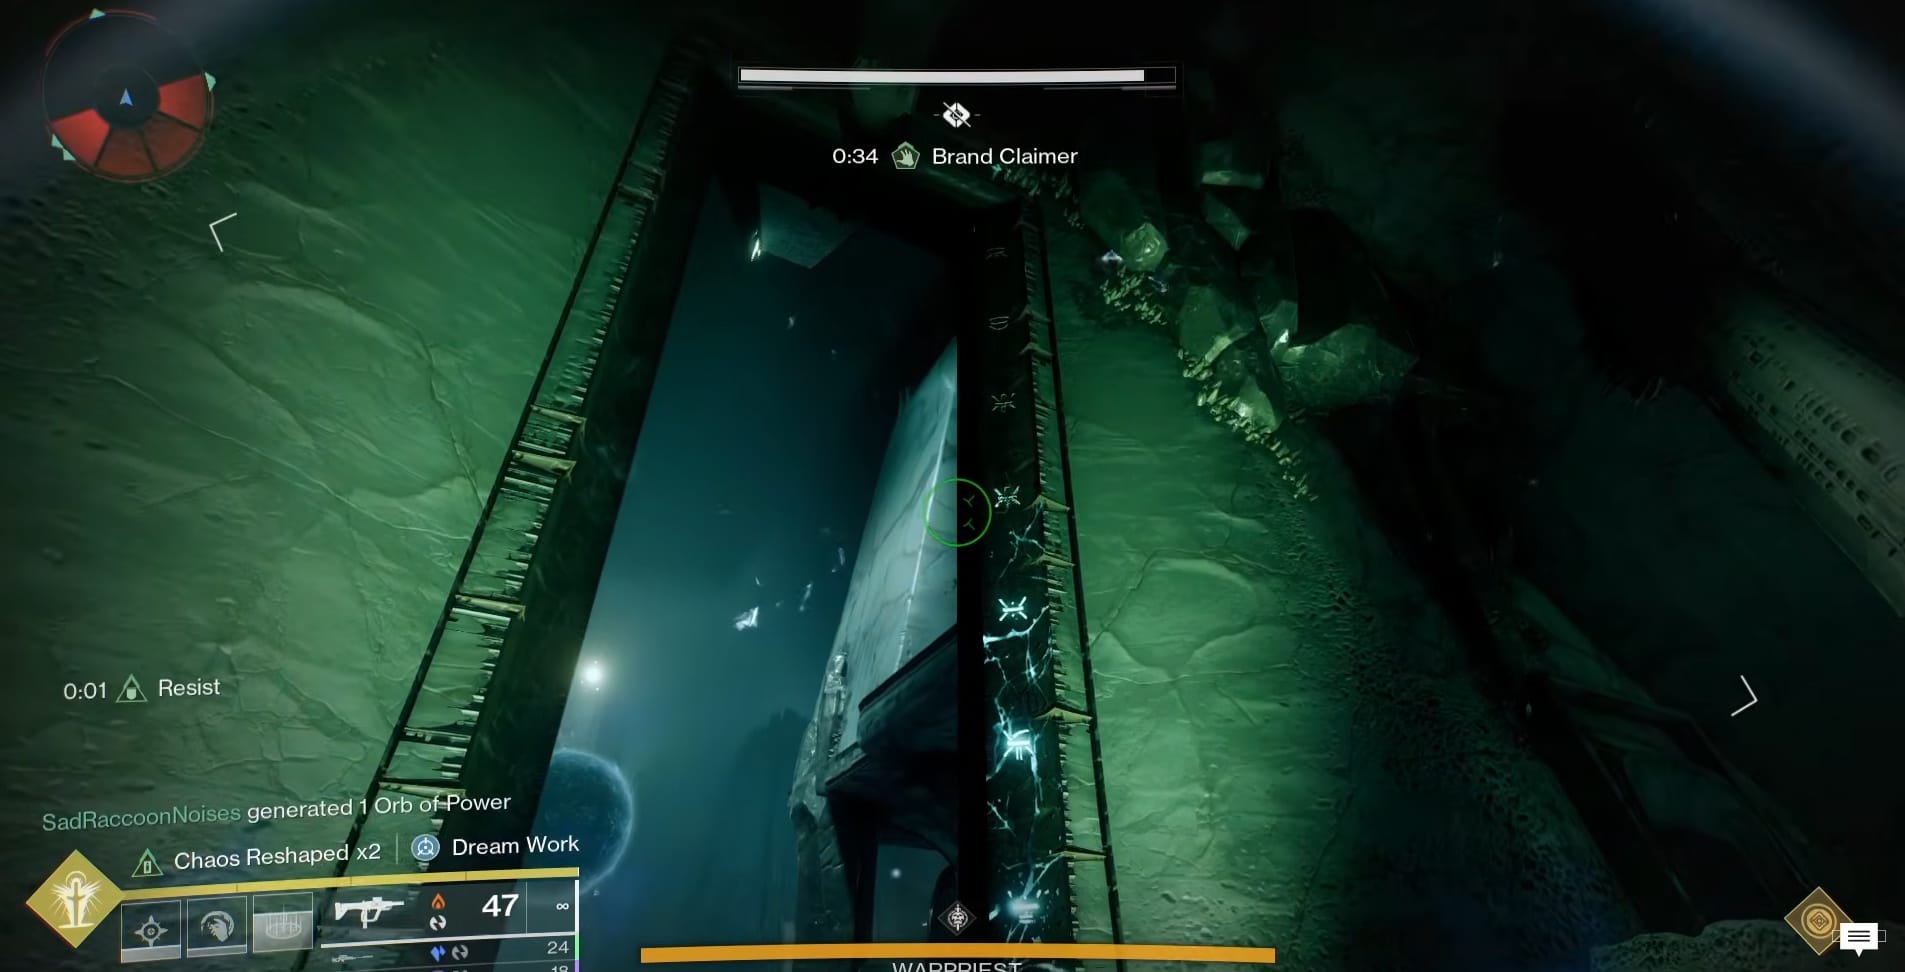
To see your progress toward the Damage Phase is shown by the Hive Runes along the inside the Totem Room’s Doorframe. The runes will fill up as more Deathsinger energy is deposited into the Plates. Otherwise, you can just keep up the cycle until you see the message, “The Warpriest deems you worthy.”
Triggering Damage Phase
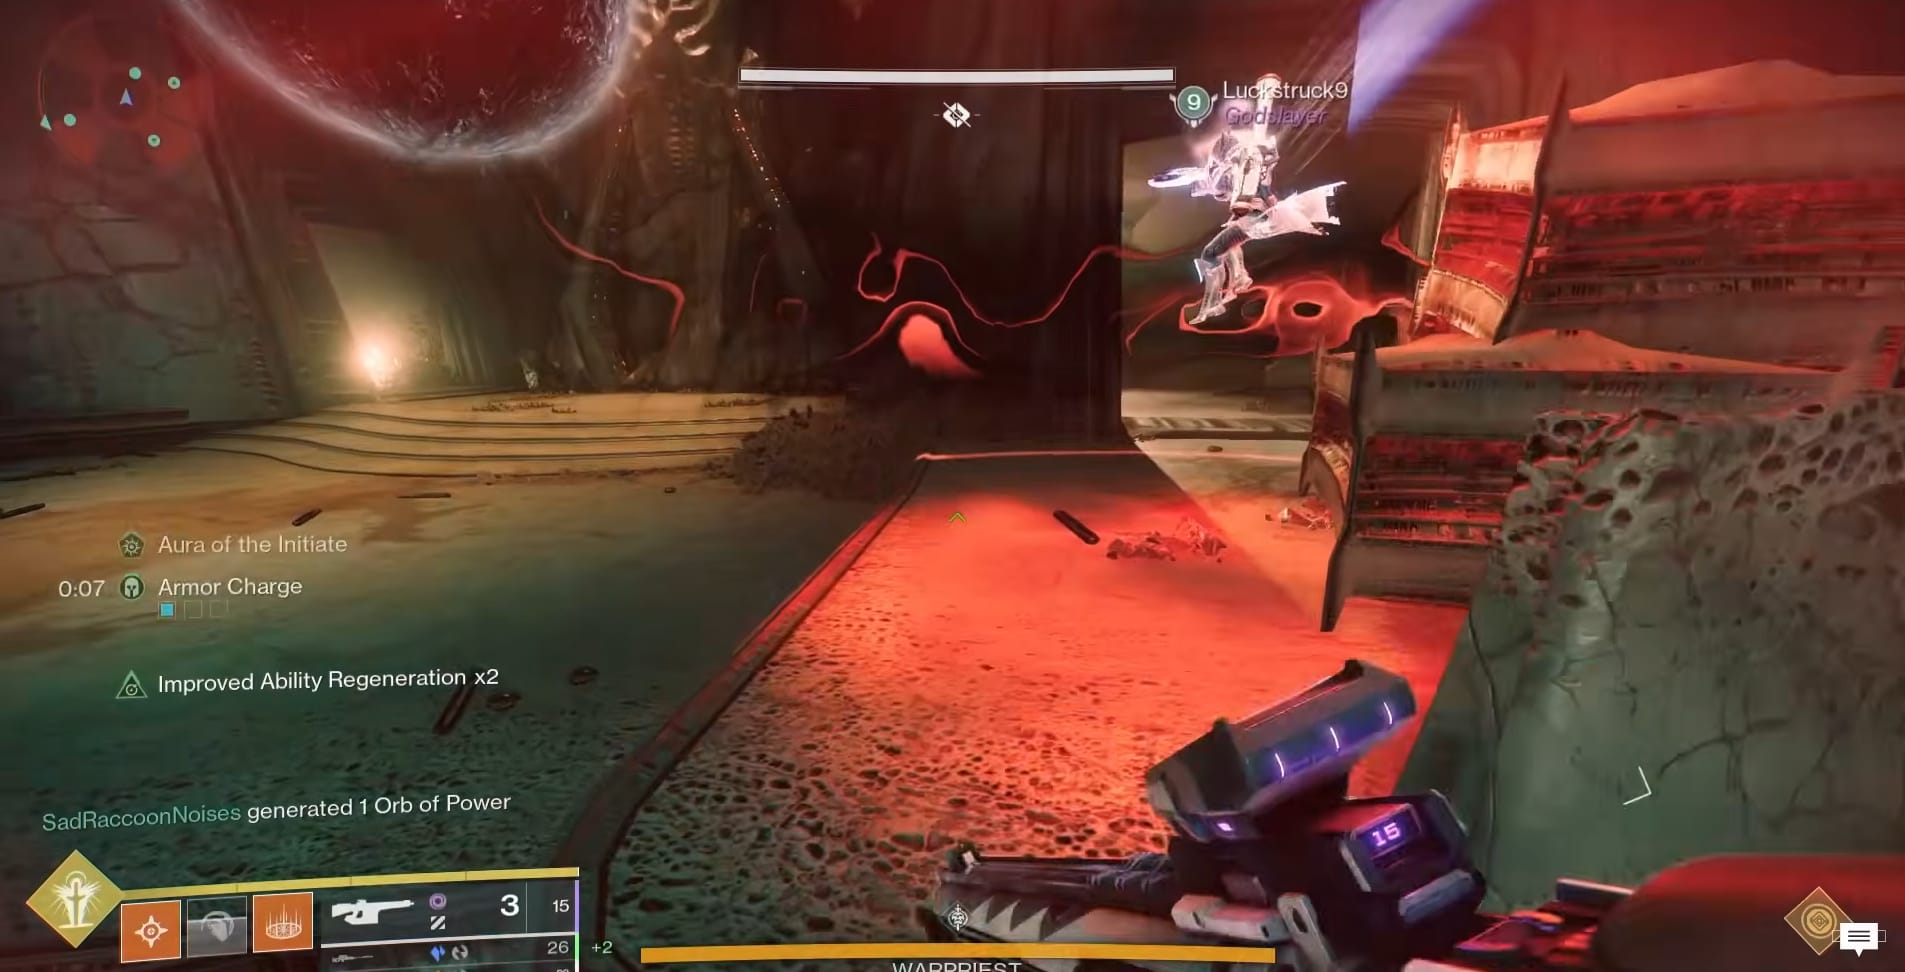
Once you get the message “The Warpriest deems you worthy,” its time for the fireteam to gather where they agreed. Whoever is on a plate needs to IMMEDIATELY get off the plates or 1 of them will get the Brand of the Initiate. When the Brand of the Initiate is claimed, that’s when Damage starts.
The best practice is to have the Fireteam clear the plates and quickly gather in the appointed spot for damage. Only then should the first Brand Holder grab the brand from the glowing plate.
The Brand of the Initiate will start counting down from 30 seconds. If the timer reaches zero, the holder will die. Everyone needs to gather around them at the appointed spot and start shooting the Warpriest unless you have another job.
Damage Phase
Keeping the Damage Phase going requires effort from other Guardians (2 total). They need to go onto the ledges within the Warpriest’s Room and take out the Blightguard to get the Brand Claimer buff once again.
Preferably both these Guardian still have some Deathsinger’s Power lingering on them with their Brand. The Deathsinger’s Power seems to extend the time granted when they claim the Brand of the Initiate.
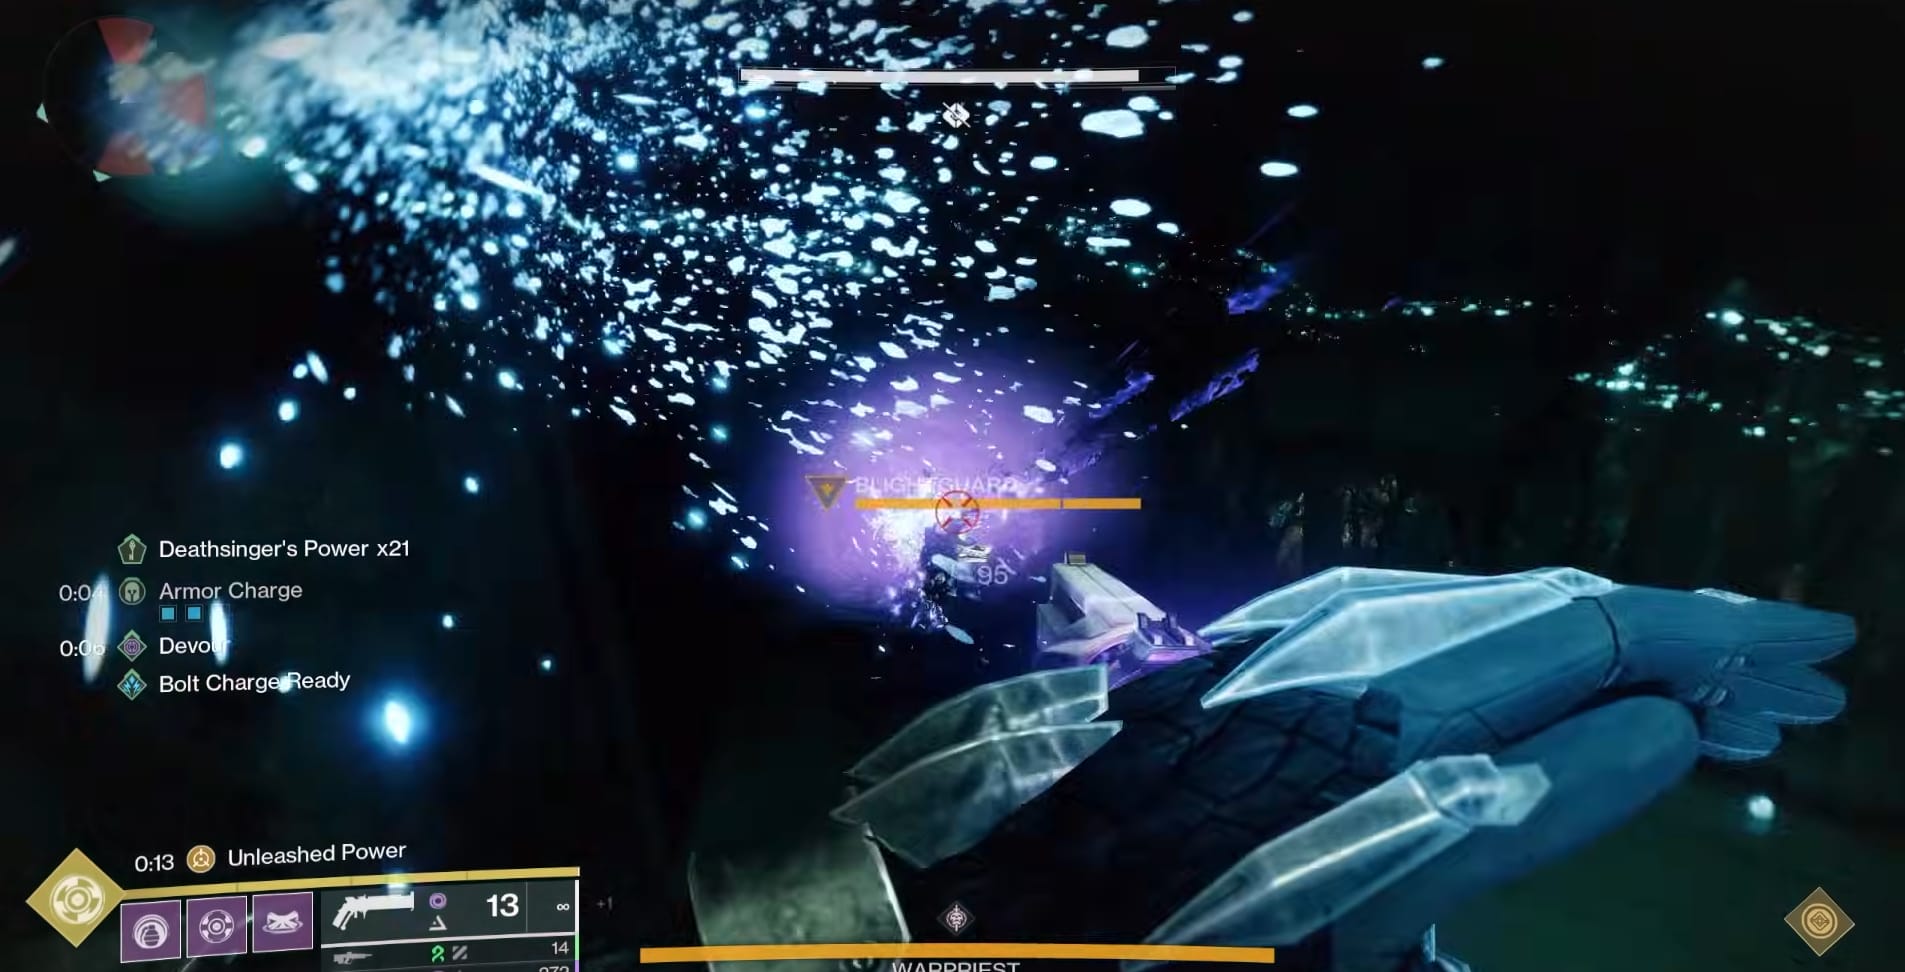
When they have the Brand Claimer, the need to head to the Holder of the Brand of the Initiate. Once again, you will want to wait to get as close to Zero as you can before grabbing the Brand. The Brand will transfer, but the maximum stacks will reduce.
A 3rd Brand Holder should start moving at the same time as the second. They are also looking for the Wizard/Blight Guard to defeat. They are the second and last Brand Holder for this Damage phase.
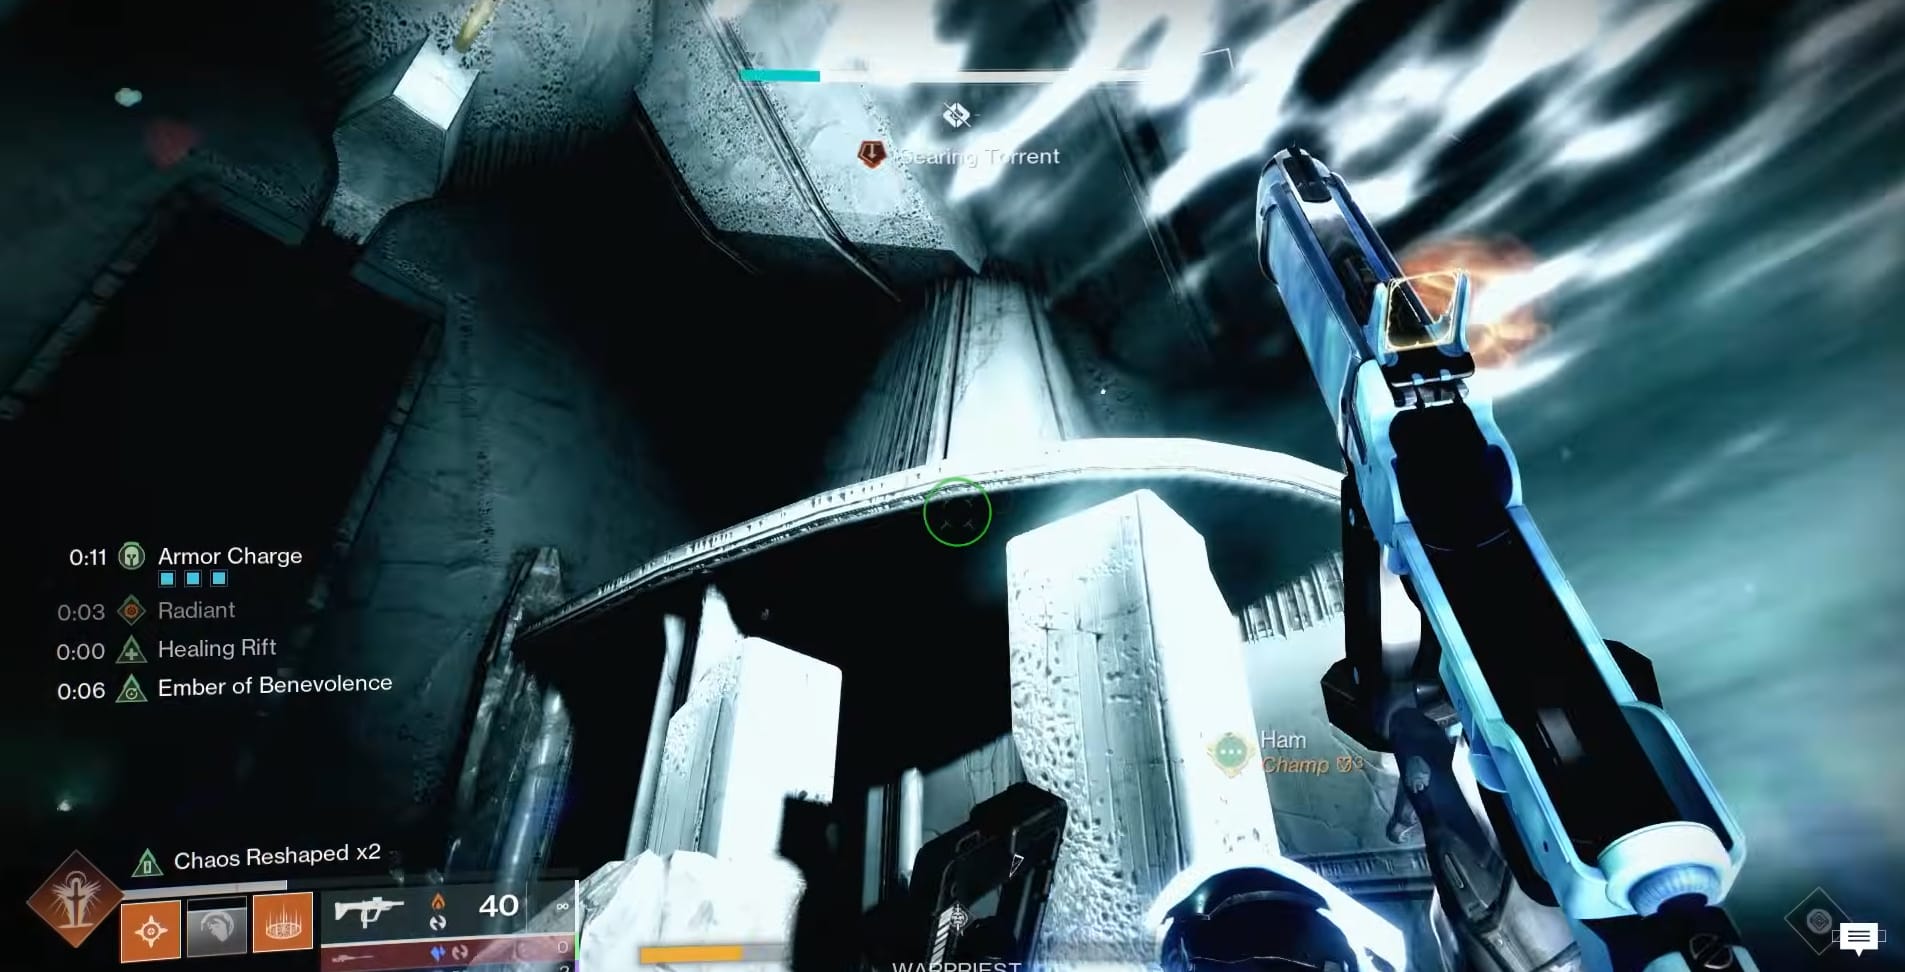
Keep damaging the Warpriest until you defeat it or hit a health gate and it becomes immune. You will see the message, “The Warpriest calls upon the Oculus.” When it does this, the fireteam needs to gather behind 1 of the 3 totems spread in front of the plates in the room. The room will start filling with intense White Light. The Totems can protect Guardians behind them. After the Searing Light fades, teams return to their sides and repeat what they just did.
A totem will be expended if even 1 Guardian hides behind it. You will have 3 Damage Phases to finish the fight before you get wiped by the Searing Light.
The encounter’s mechanics reset at this point and it’s back to gathering Deathsinger’s Power in the same rotation you were on before.
Final Stand
Thankfully the Warpriest does NOT have a Final Stand mechanic. Just get them down to Zero health and you’re done!
Morgeth, the Spirekeeper
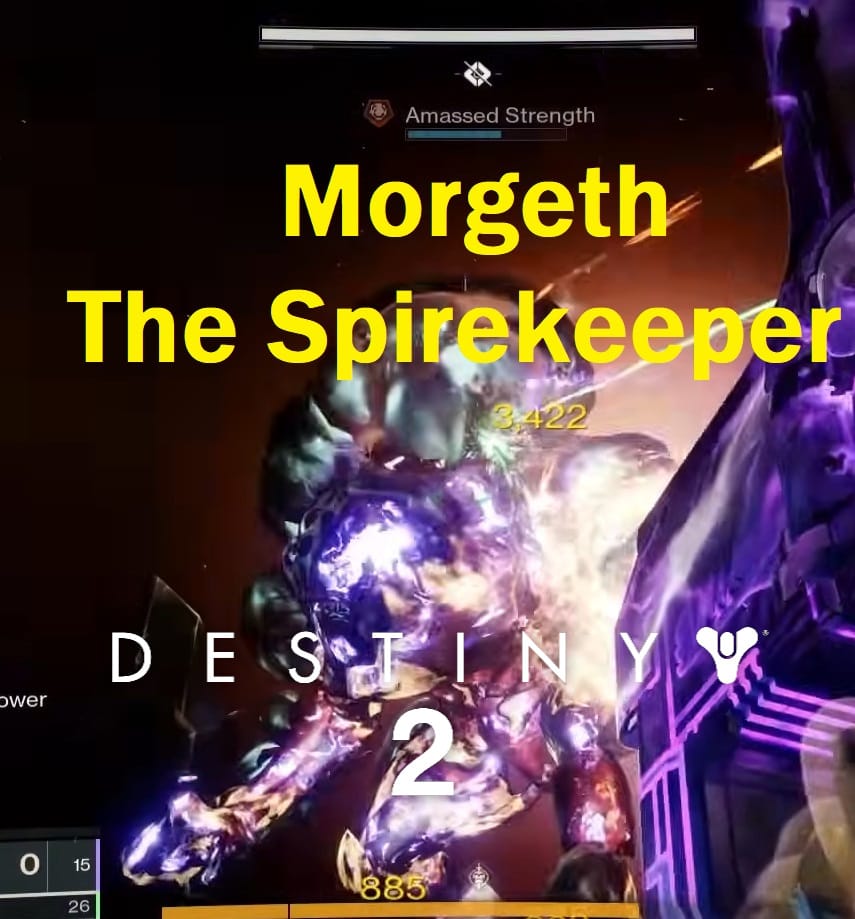
- Morgeth is the third boss encounter in the Last Wish Raid.
Like the other encounters in this playlist, it is a combination of two encounters within the Last Wish. In this case, Morgeth and the Heart of Riven (with Symbols added in). Coordination is key to success here with the team forcibly being separated to complete the mechanics.
Summary
The Fireteam will be divided for portions of this encounter. Everyone should be passingly familiar with the mechanics to make it simple. Everyone is working in pairs. One grabs the Taken Strength and one grabs the Taken Energy. Morgeth will imprison the Holder(s) of Taken Strength
Once liberated, the Taken Strength Holder and their liberator will be taken within the Heart. Inside the Heart, these two will need to fight through the adds and collect more Taken Strength. But the Orbs of Taken Strength now have Symbols attached to them.
The Team outside the Heart will need to look to the wall behind Morgeth. There will be 2 Symbols on it. These need to be called out for the Taken Team to hear. These are the Symbols to AVOID. Two pairs will need to be teleported in and go through this process.
When the third pair is teleported in, Morgeth is brought in as well. Damage Phase starts as soon as someone claims the Taken Strength that appears next to them. The Fireteam can then start damaging Morgeth, shooting the various growths all over.
Damage Phase isn’t a safe phase though. As Morgeth takes damage, they will continue to build strength. At 80% Strength, a Fireteam member (predetermined) needs to break away and find the Eye of Riven. Destroying the Eye of Riven will drop a Taken Essence. Collect it and face Morgeth. Fire your “Super” at Morgeth and it will break his concentration and reset his amassed strength. This will end the Damage Phase and reset the encounter.
Starting the Encounter
Starting this encounter is simple. A fireteam member needs to approach the curled up Morgeth and grab the Orb of Taken Strength just in front of him.
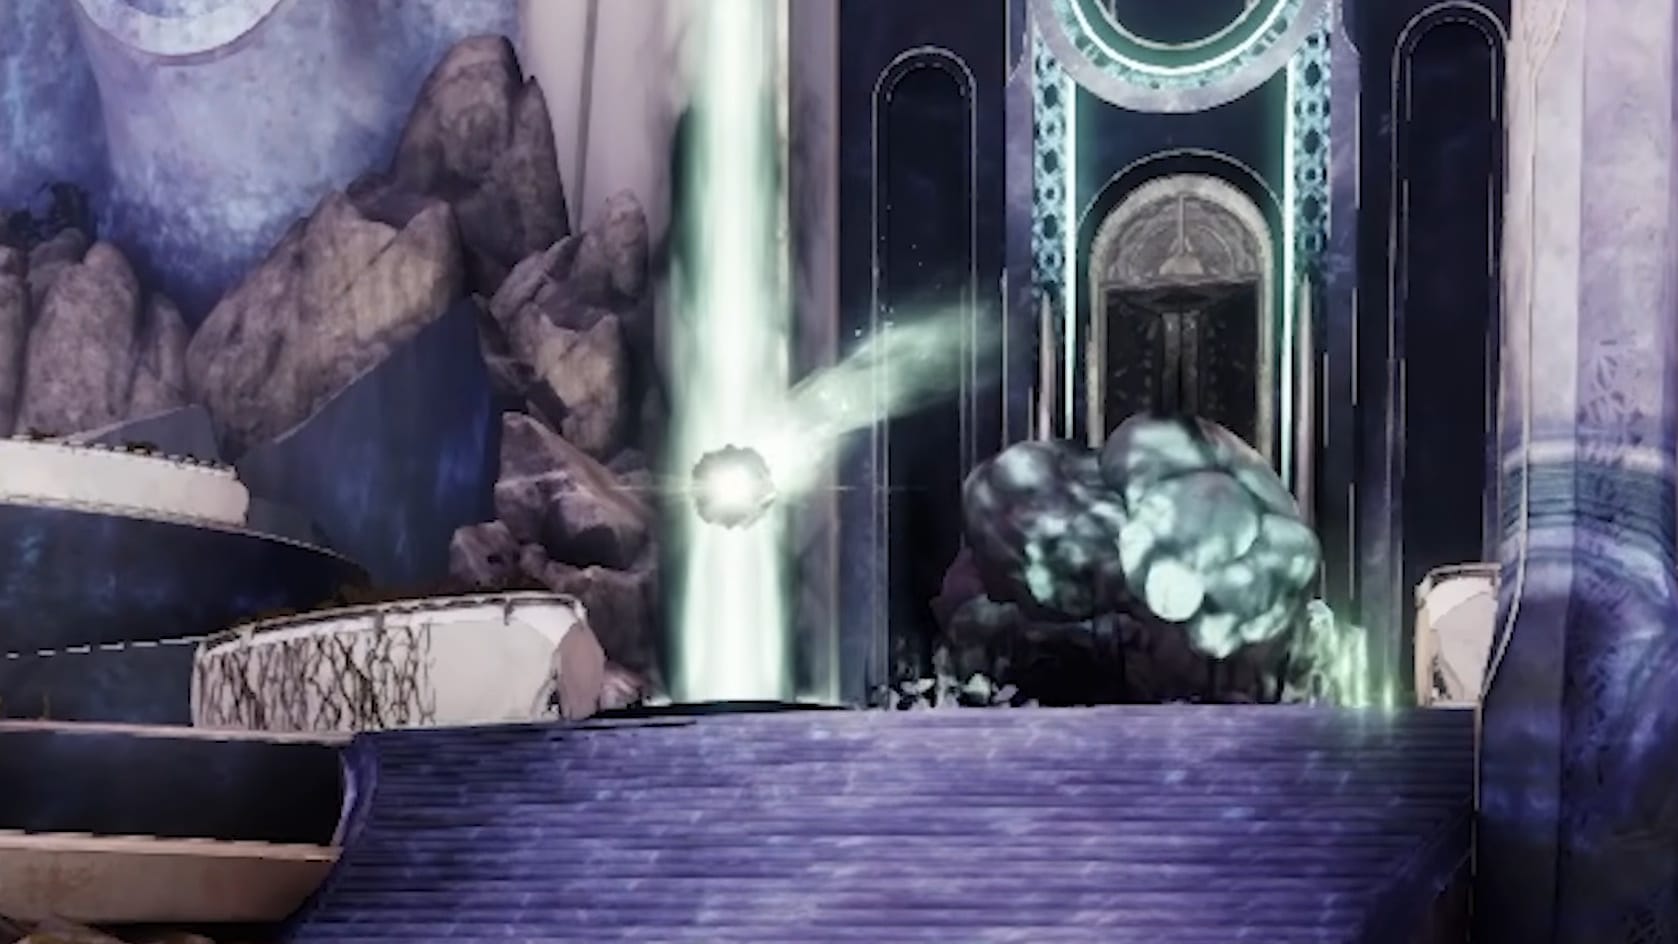
Reading Symbols
Throughtout this encounter, there are the Wish Wall Symbols that will appear in various places. While they have canonical names, the best call outs are simple. Describe the Symbol simply in just a few words. Describe the creature, its position, and its action.
Amassing Taken Strength
A Fireteam member needs to get a maximum of 2 Taken Strength (collecting a 3rd Taken Strength will kill the holder). Shortly after, Morgeth will raise his hand up in the air and inflict Umbral Enervation. If the timer on Umbral Enervation reaches Zero, those inside will die.
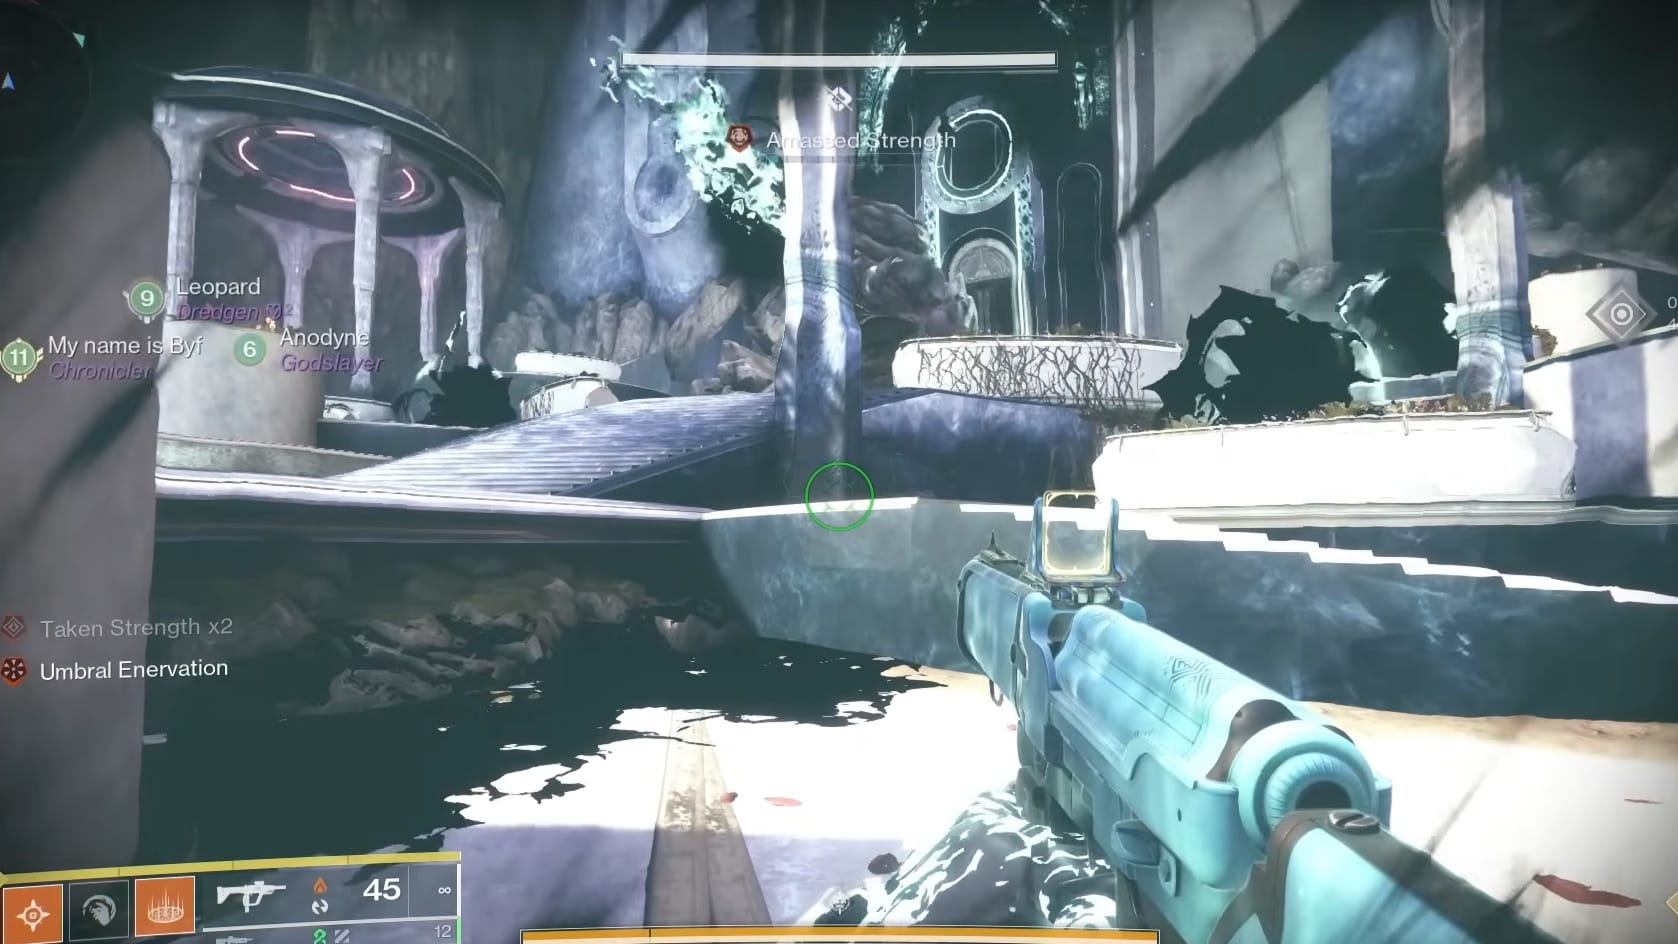
Another (predetermined) member of the Fireteam needs to find and kill a Taken Captain to get the Taken Essence. Once they have it, they need to run to the held Taken Strength Holder and use their Grenade to free them. However, this will teleport both of them into the Heart. The one who held the Taken Essence will now have the Taken Strength. The one who had the Taken Strength will now have Taken Essence Antumbra.
Now, you have the Morgeth Team and the Taken Team, both with different responsibilities.
Morgeth Team
Once the Heart team has been teleported, the remaining guardians need to look to the wall behind Morgeth. There will be 2 Symbols there. These need to be called out. The Heart team needs to avoid those Symbols.
All the while, others need to repeat what the Taken Team did. 1 fireteam member needs Collect the Taken Strength. After that, they will need to be freed by their partner with Taken Essence. They will then join the Taken Team inside the Heart of Riven.
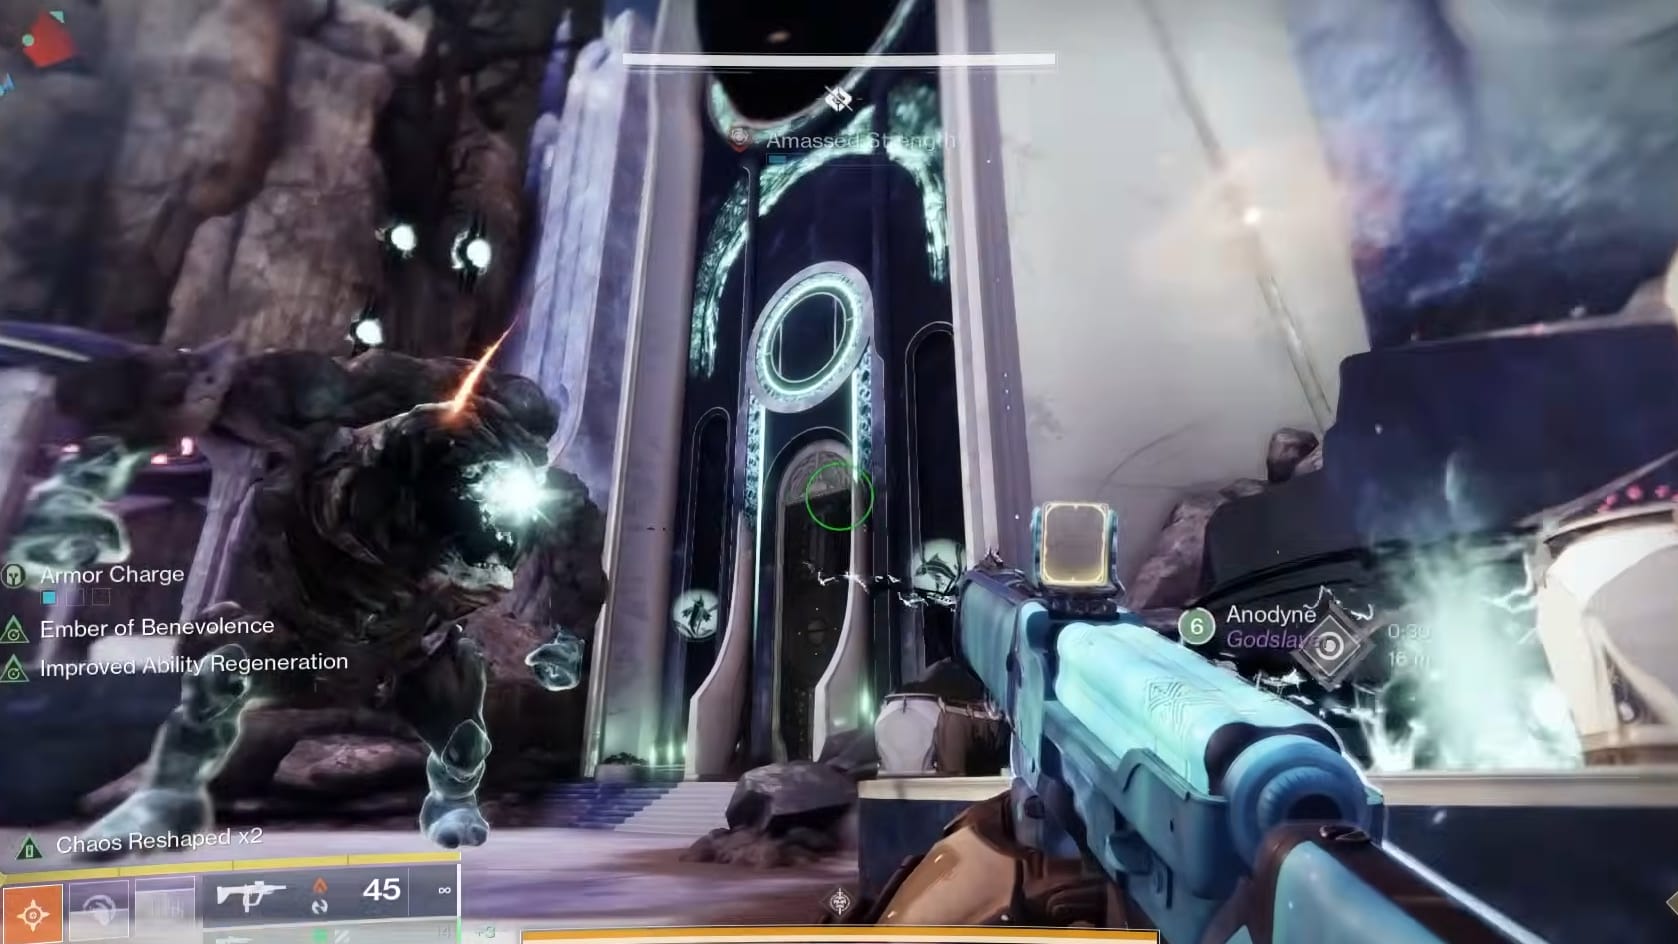
After the second pair has gone in, the Morgeth team will need to call out 4 Symbols. These Symbols cannot be collected by those inside the Heart.
Taken Team
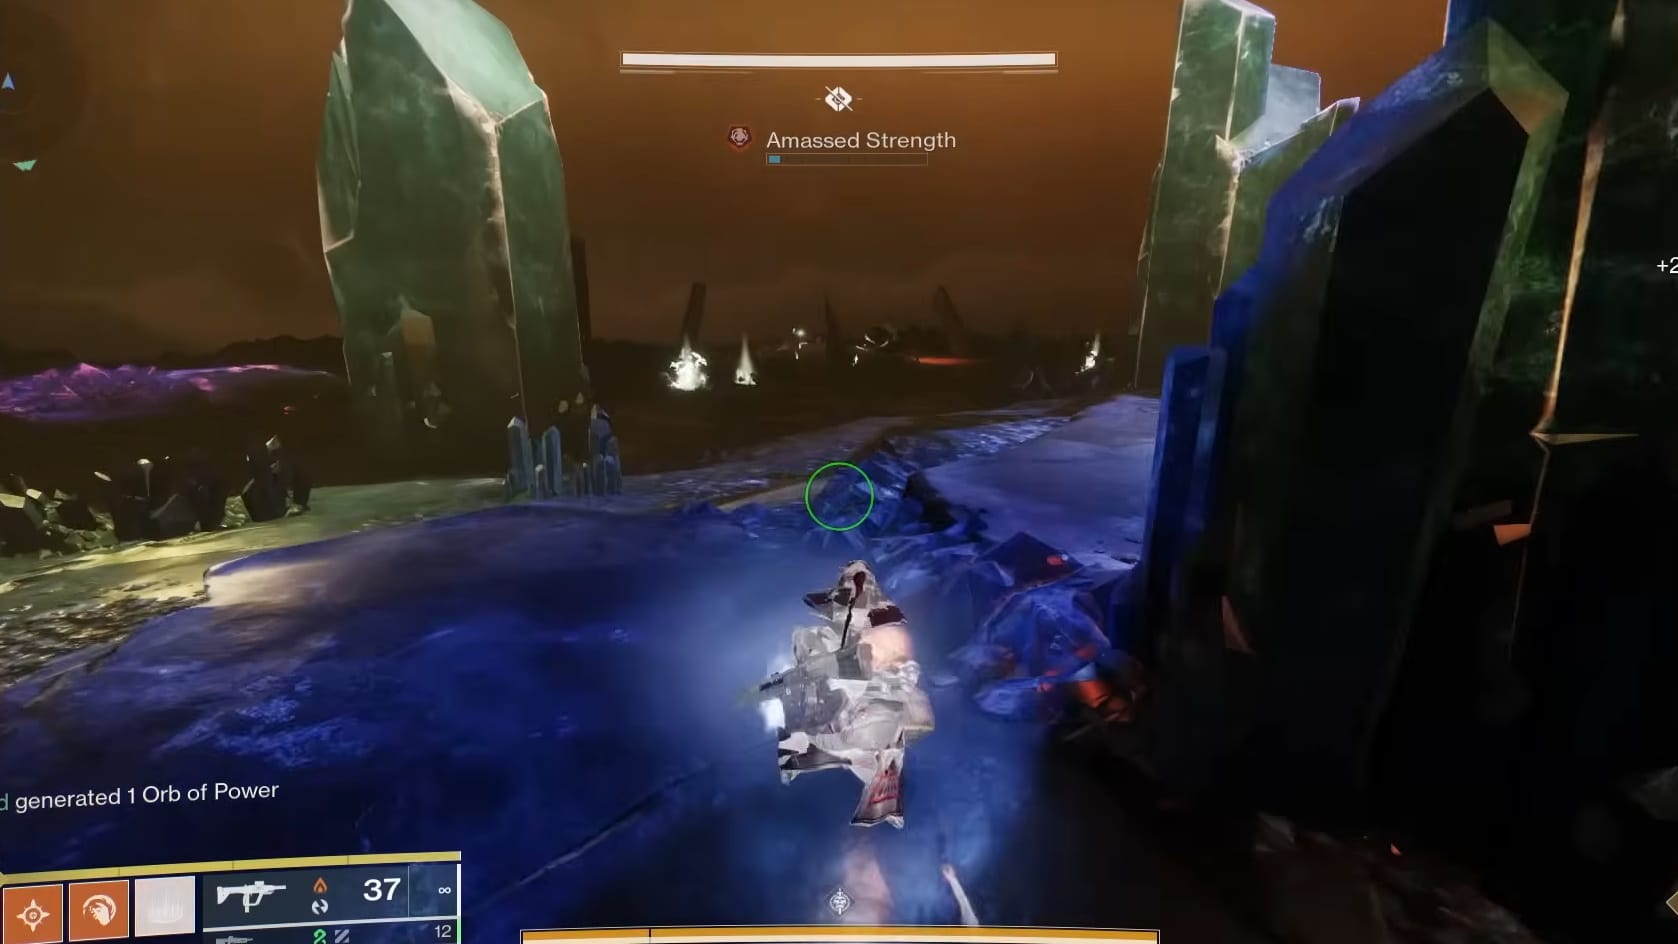
The Guardians who were teleported into the Heart of Riven now have more work to do. There are Orbs of Taken Strength but they have Symbols attached to them. The Morgeth team will call out 2 Symbols. These need to be avoided. Taking the called out Taken Strength will kill the Guardian who does so.
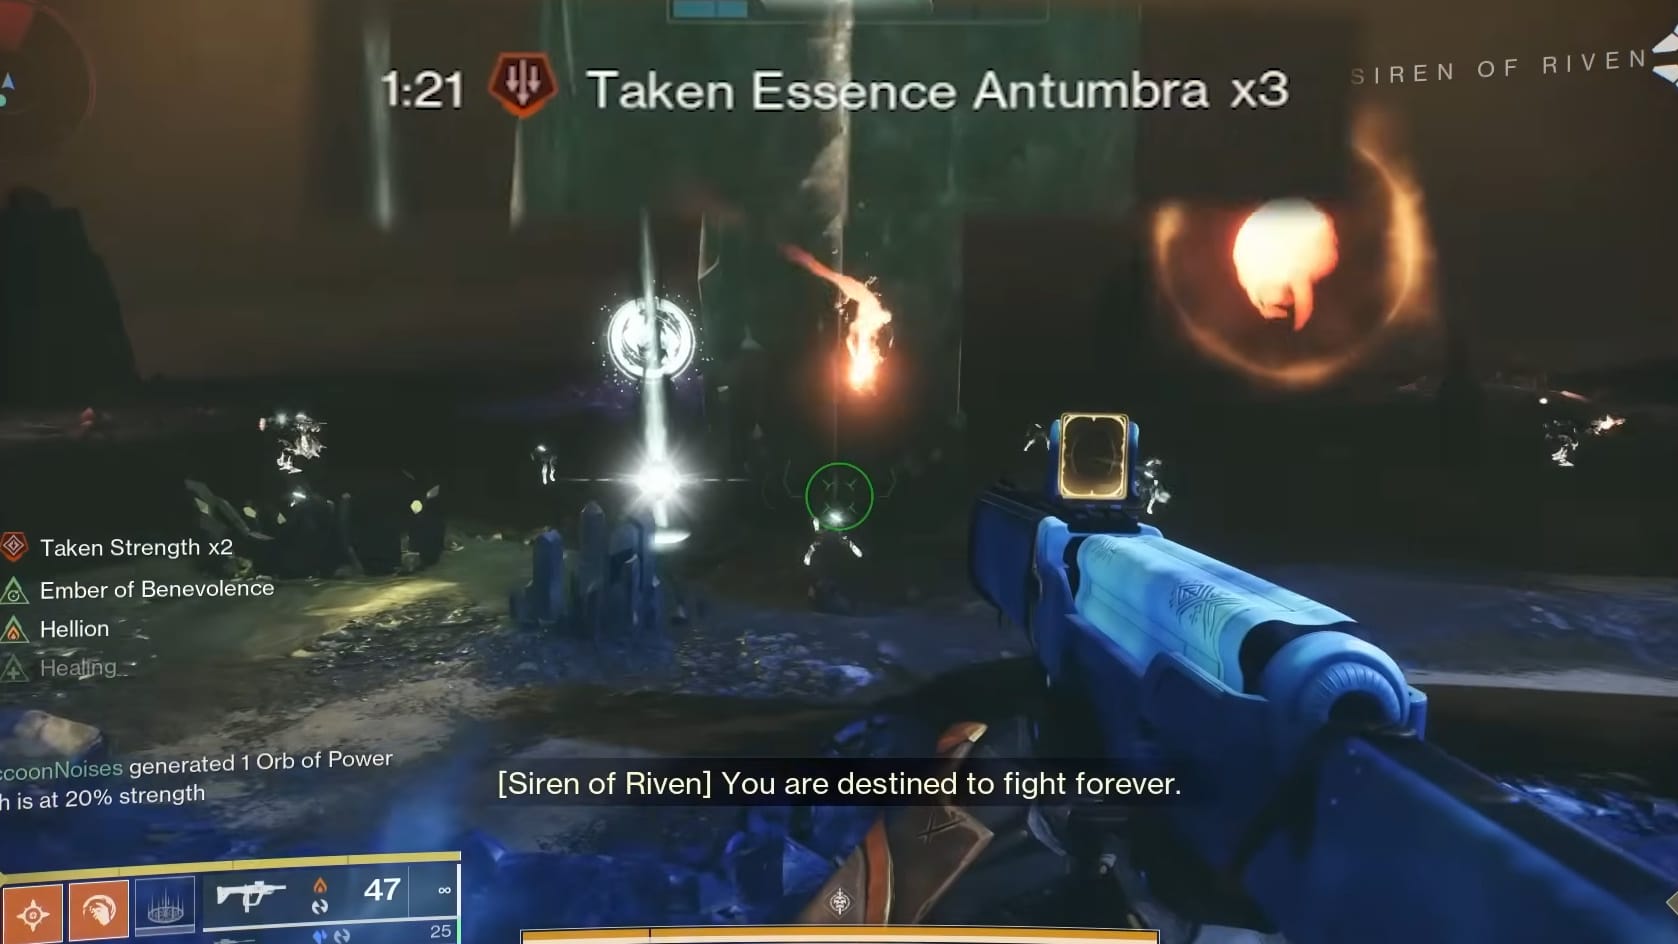
The one with Taken Essence Antumbra needs to point out or lead the other Guardian to the appropriate Taken Strength to collect.
When the second pair comes in, the group will need to repeat what they just did. The ones with Antumbra leading the ones with Taken Strength to the appropriate Taken Strength to collect.
Remember, you are looking for the Symbols that were NOT called out.
Damage Phase
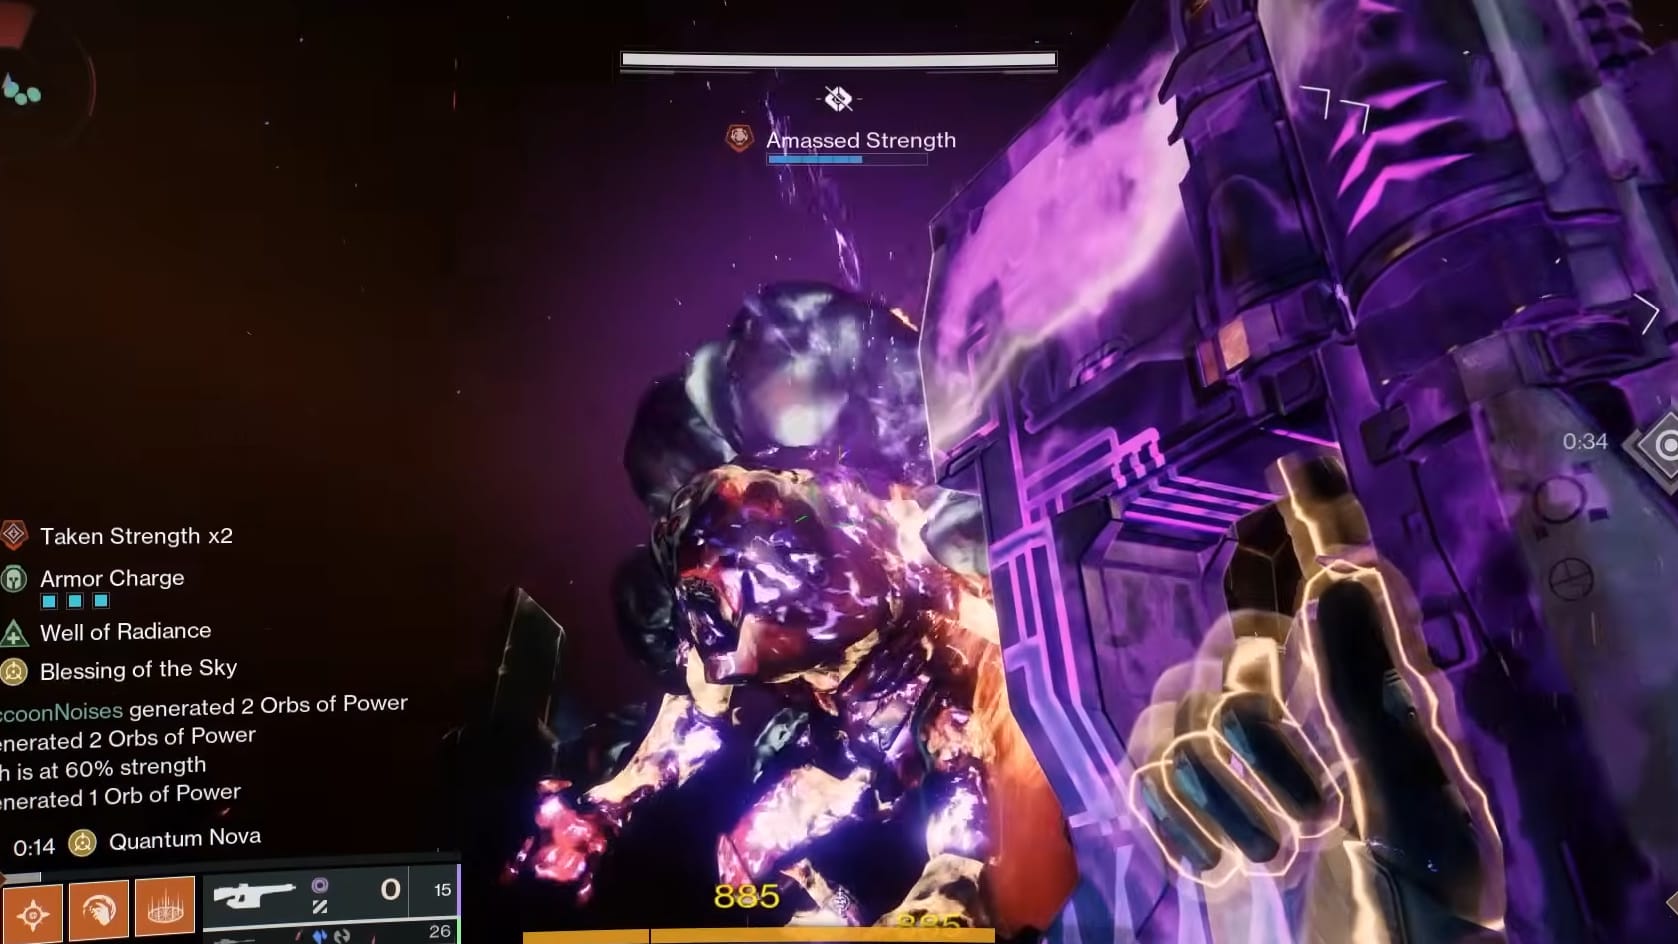
Having done the Symbols callout twice, collecting the needed 2 Taken Strength, once again the process repeats in the world itself with the Taken Strength Holder getting locked in a bubble and the Taken Essence Holder needing to break them out. This will teleport them into the Heart of Riven. This will also teleport Morgeth into the Heart of Riven as well.
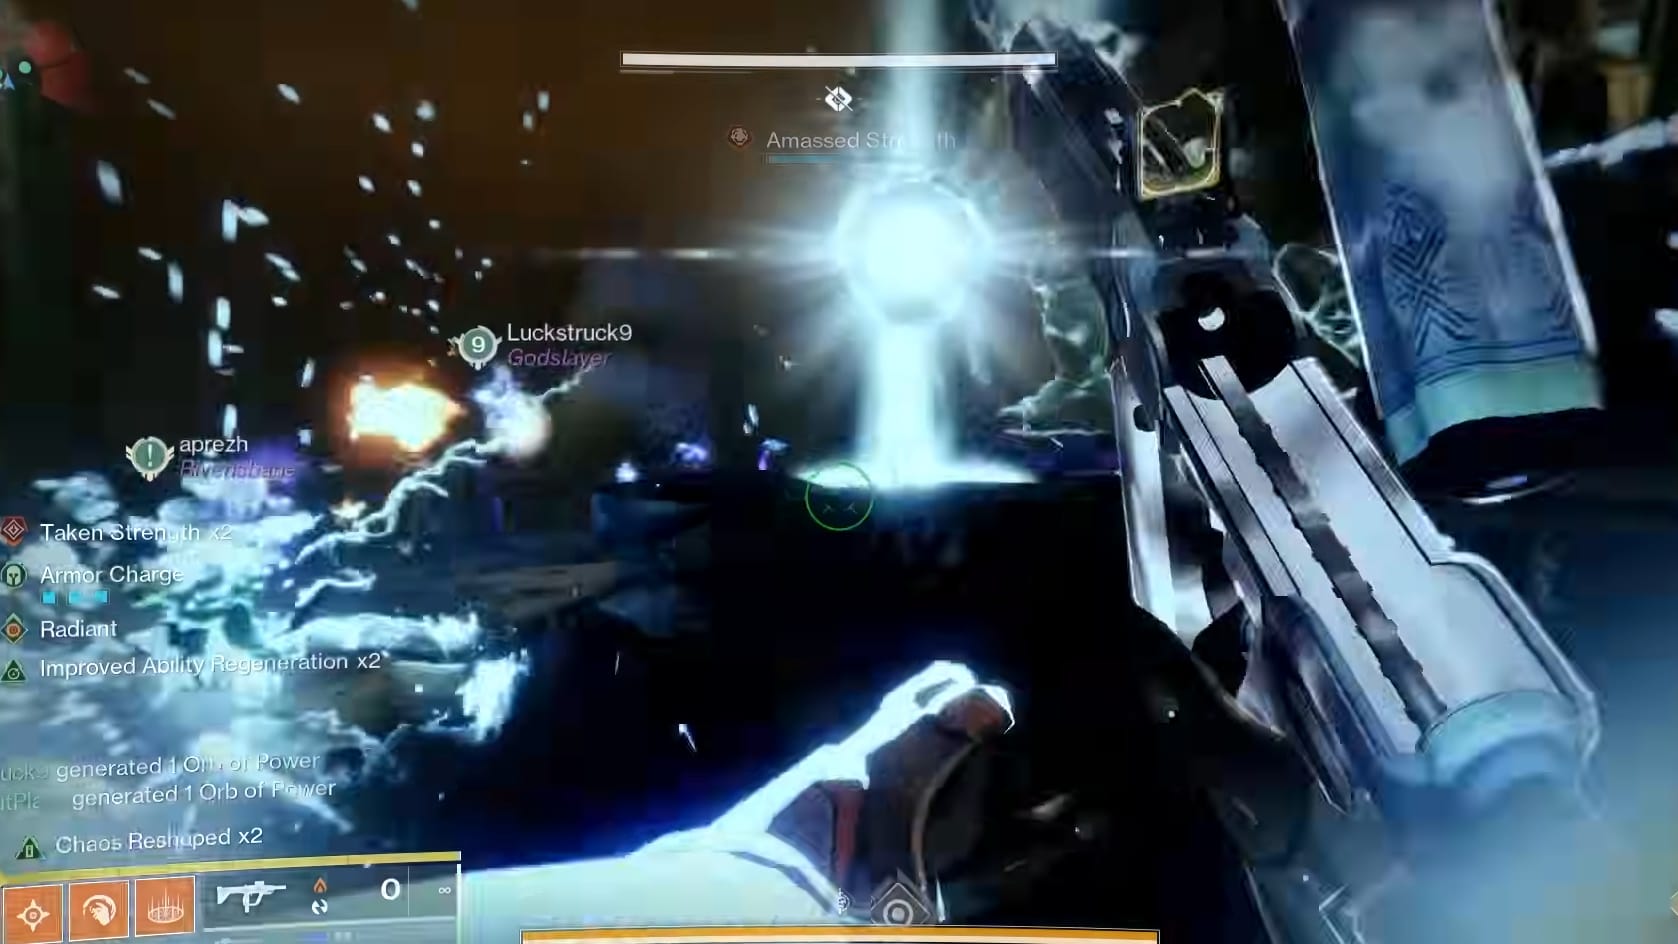
With Morgeth inside, a new Taken Strength will appear next to them. As long as you don’t have Taken Strength x2, you can collect this (one of those just teleported in), you can safely claim this. Grabbing this Taken Strength will trigger the start of Damage Phase. Everyone needs to go to the spot agreed on (nearby the Eye of Riven) and start unloading on Morgeth. You need to target the various growths on his body. The best one is the large growth on his back.
It’s also during this time that Morgeth’s Strength is likely getting close to 100% and getting augmented some by the influx of Damage. Nearby, there will be an Eye of Riven, a unique type of Taken Captain. When Morgeth crosses 80% Amassed Strength, a chosen player needs to break away to defeat and collect the Taken Essence it drops. They then need to face Morgeth and use their Super with the Taken Essence. This will interrupt Morgeth Amassing Strength but it will also end the Damage Phase. This means you need to fire it as close to 100% as possible.
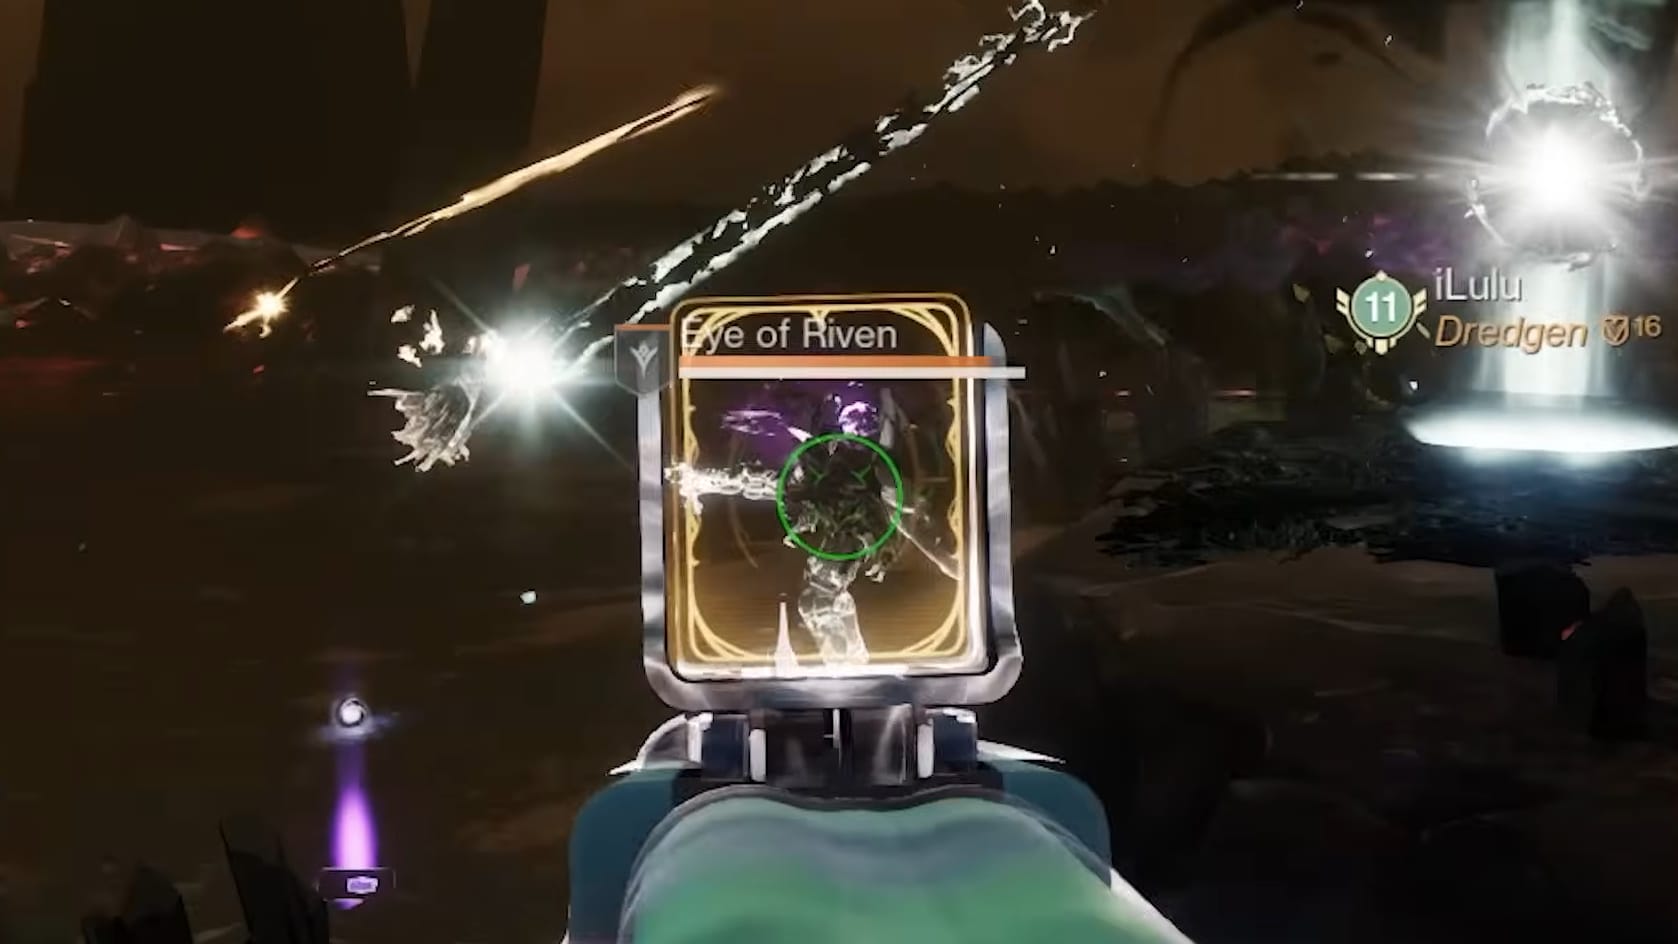
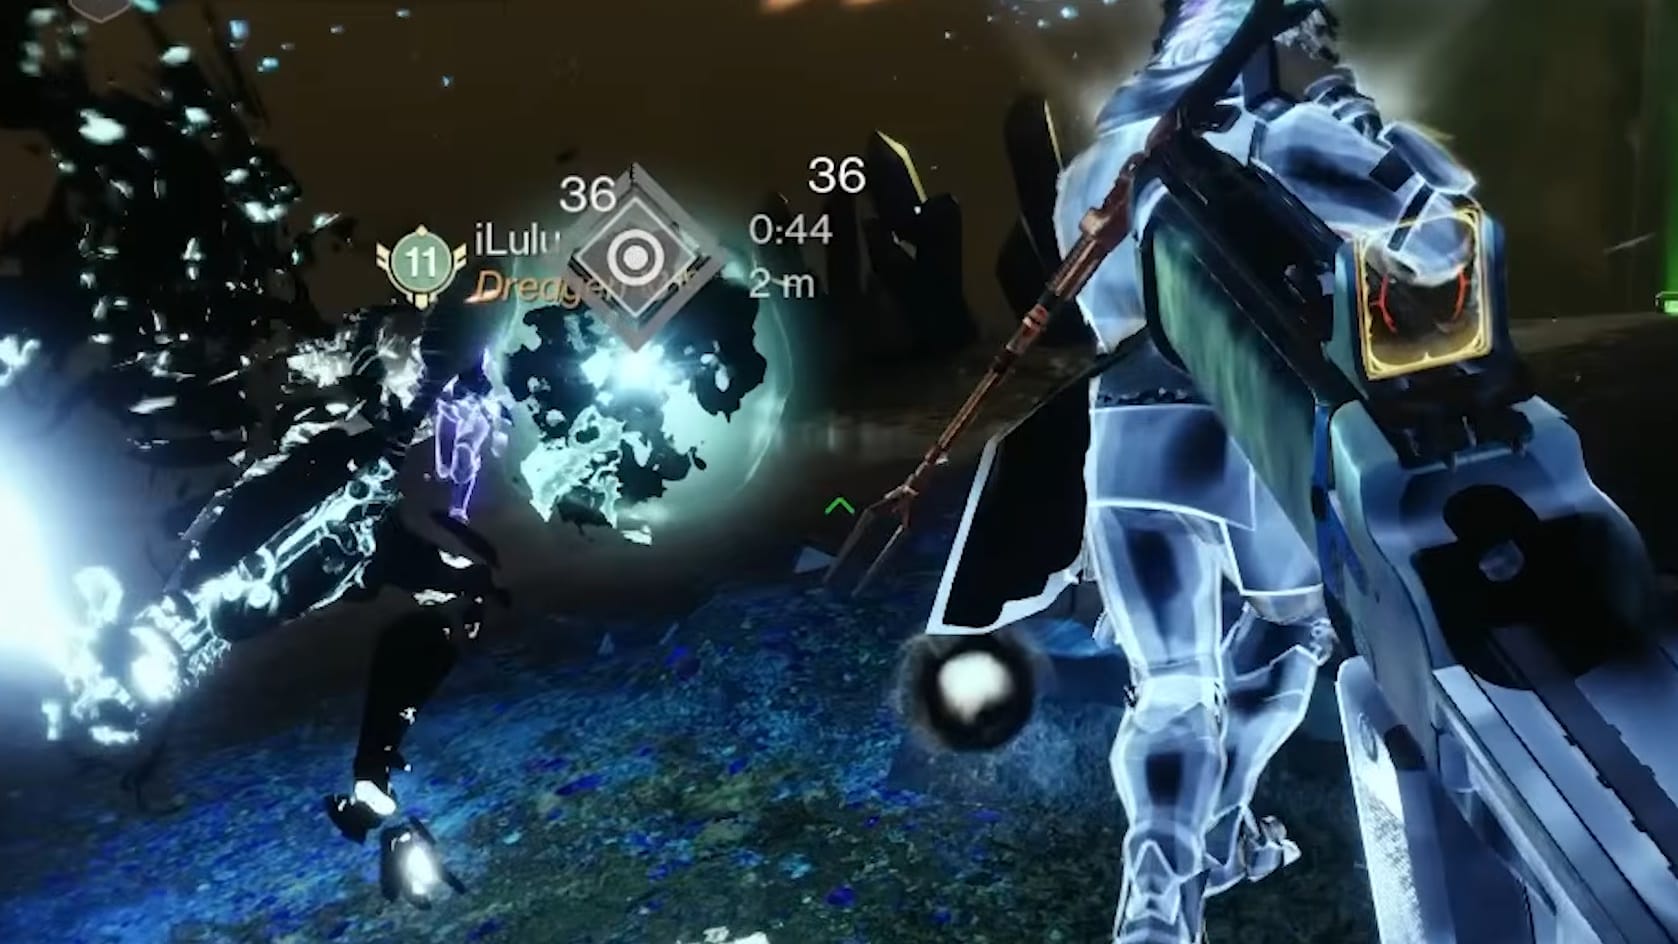
The Eye of Riven and the resulting Taken Essence
Final Stand
Morgeth has a Final Stand! He will teleport away, leaving a Taken Portal. Jump on through it and you’re faced with a long Jumping Puzzle through the Ascendant Realm. The Fireteam needs to quick navigate it. Morgeth continues to Amass Strength so it remains that the Fireteam will wipe if he reaches 100%.
Once across the broken bridge in the Ascendant Realm, you will see Morgeth in front of you. There are numerous Taken around him. More importantly, there are Taken Strength scattered around the Arena. Everyone who can grabs 2 Taken Strength. The first to arrive should be nice and grab the farthest Taken Strength.
When the Taken Strength has been collected, regroup VERY quickly and open fire on Morgeth one more time. Bring him down with everyone you’ve got at this point.