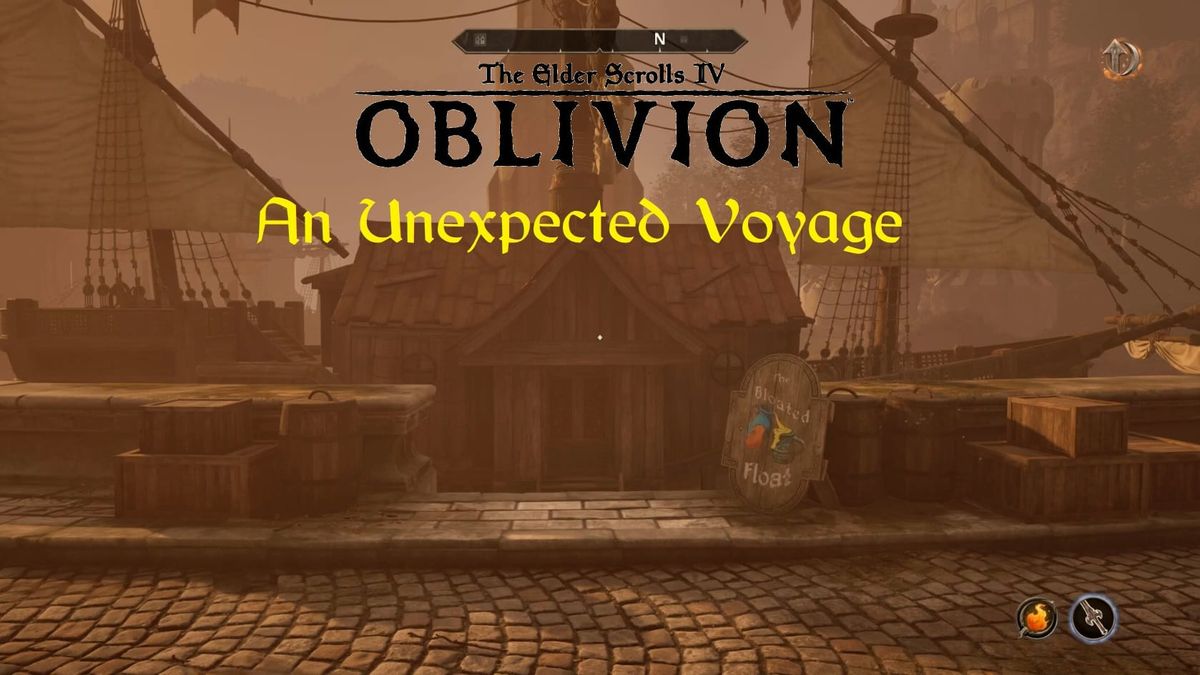
Elder Scrolls IV: Oblivion Remastered - An Unexpected Voyage Guide
Follow our An Unexpected Voyage guide for Oblivion Remastered to defeat the Blackwater Brigands, save the Bloated Float, confront Selene, and earn the Blackwater Blade.
Summary
The Hero of Kvatch spends the night on the Bloated Float. They awaken to find the Inn has been hijacked and they need to fight through the Blackwater Bandits and regain control of the Inn.
Location
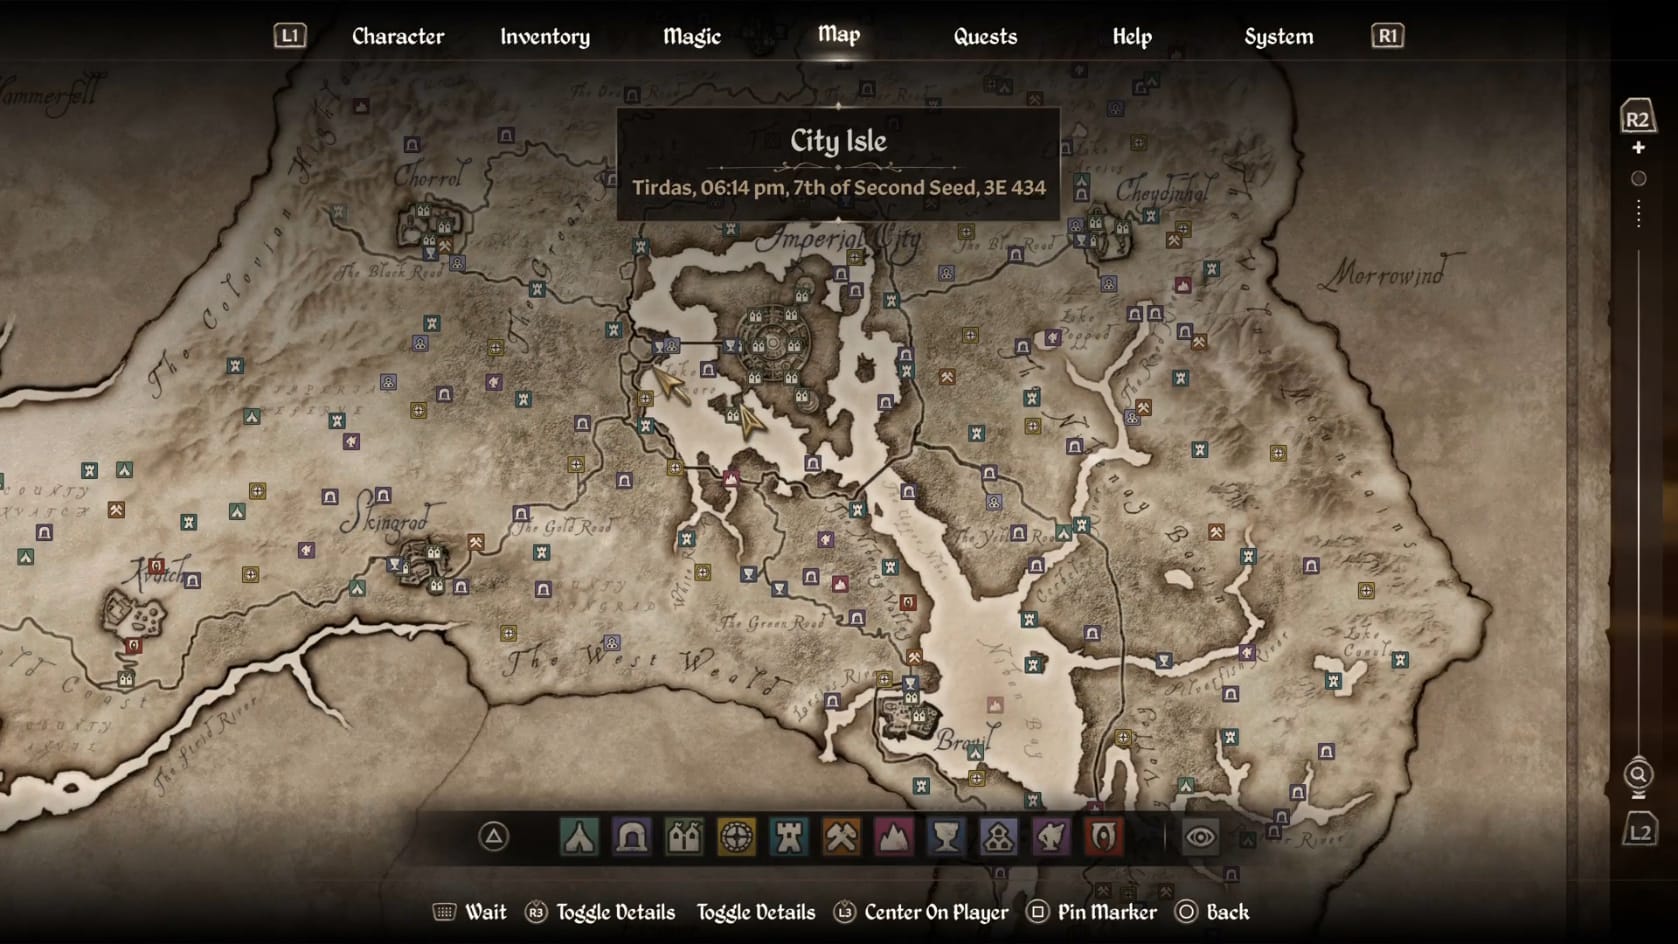
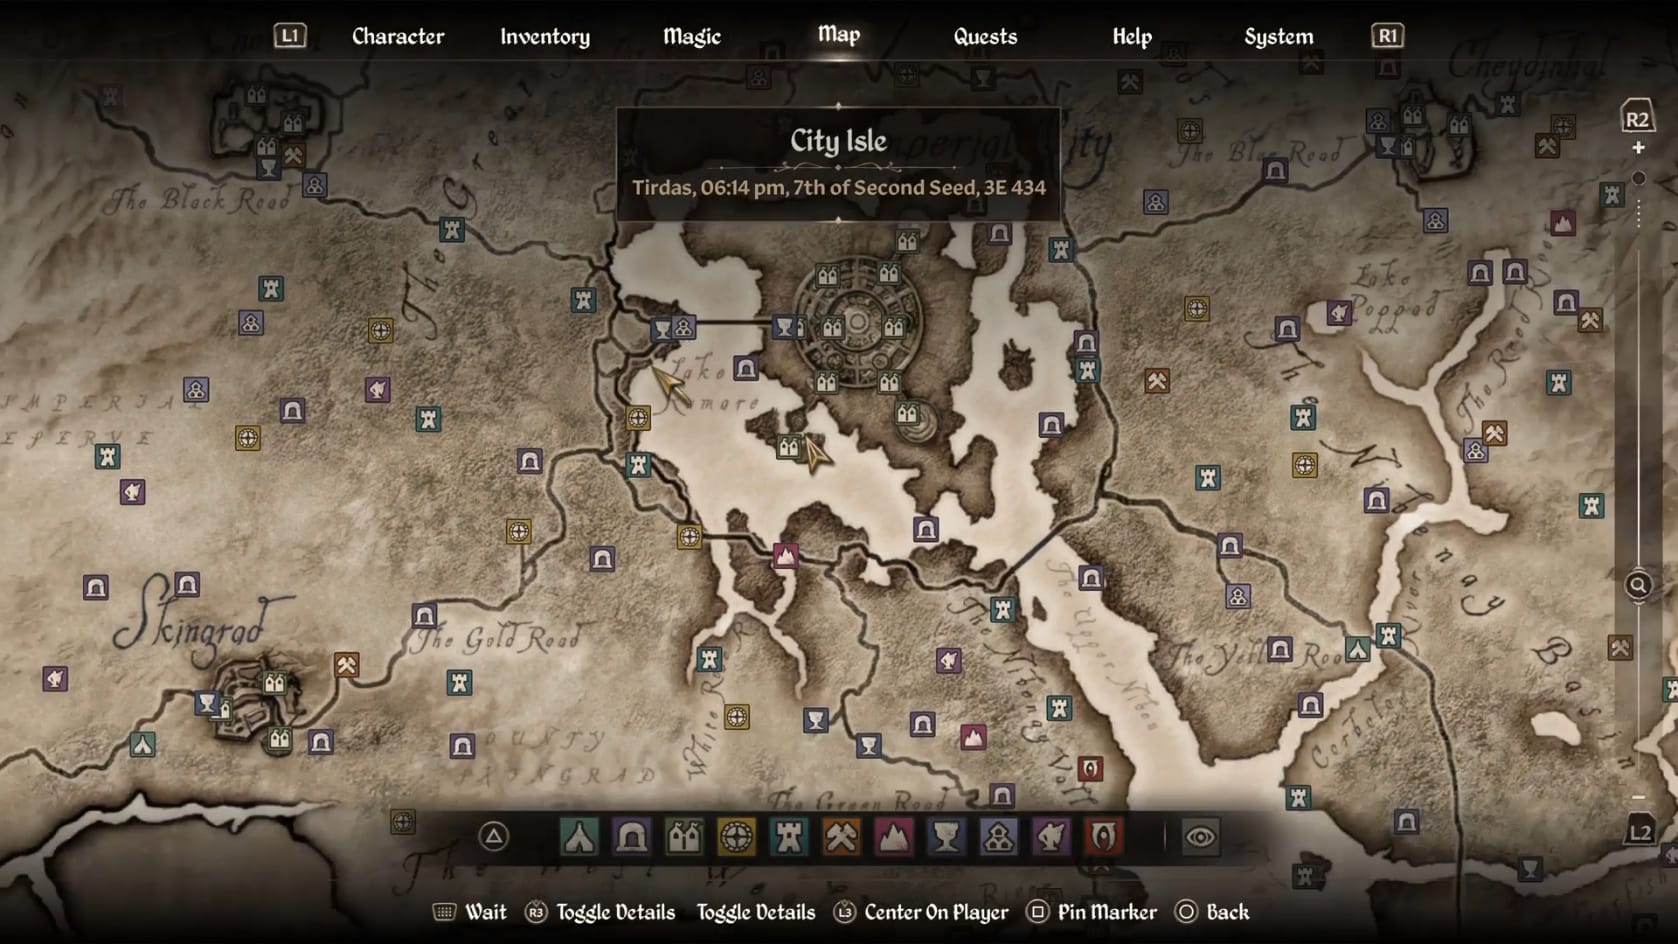
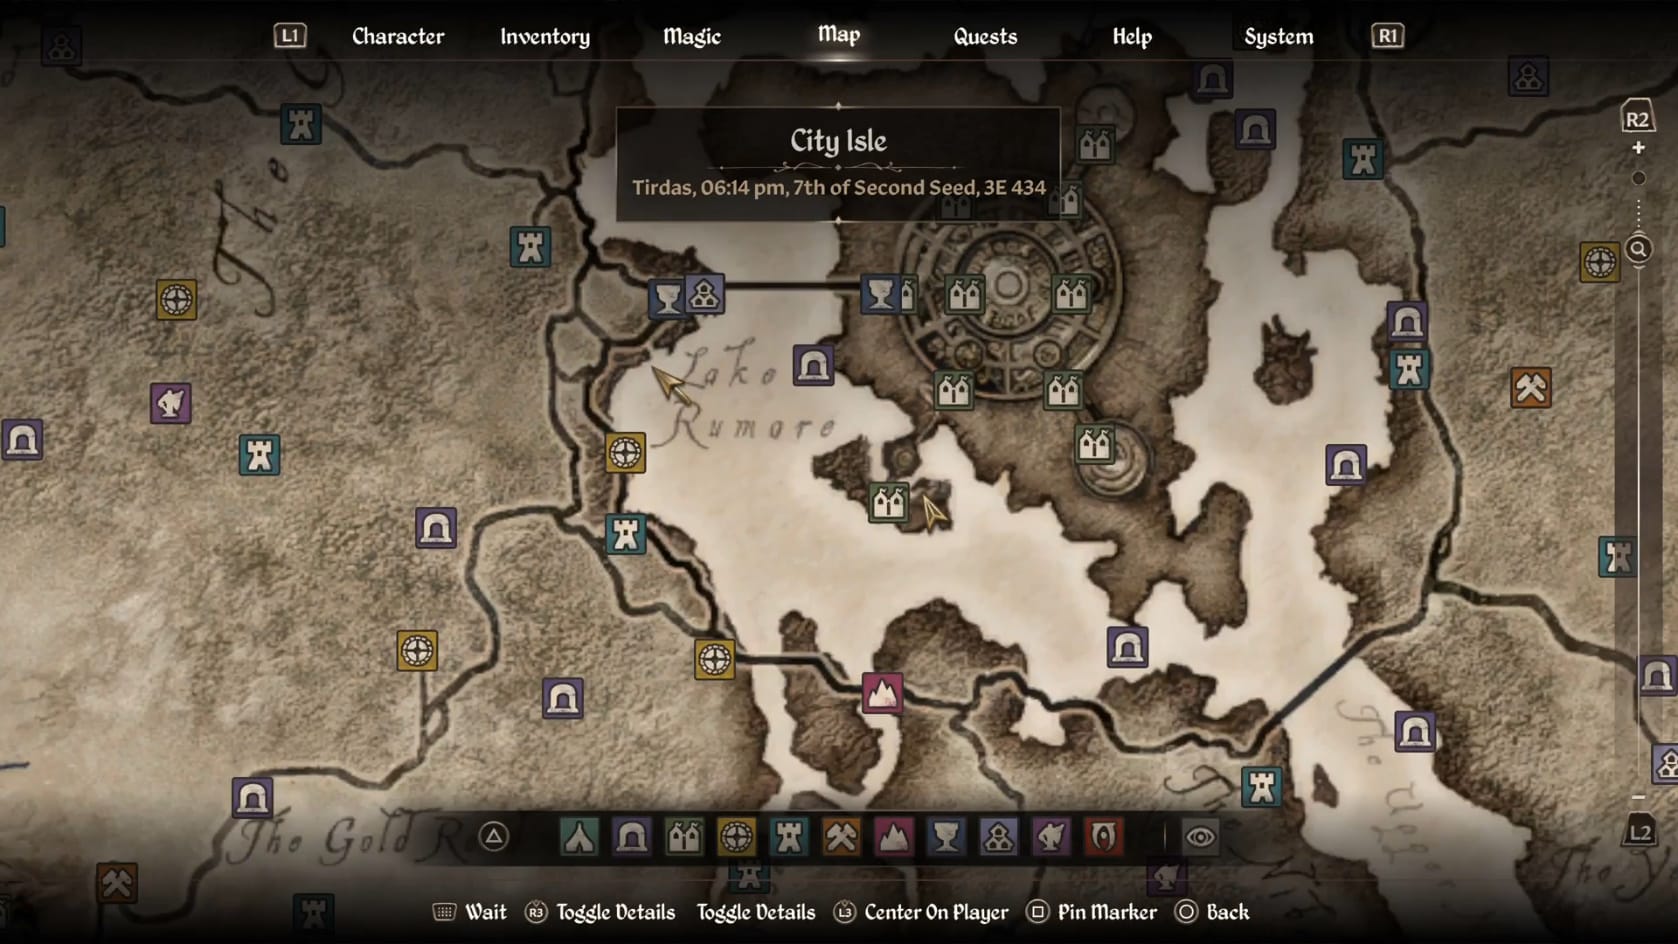
Location of the Bloated Float on the map of Cyrodiil
Walkthrough
- This Side Quest requires going to sleep twice. Once to begin the Side Quest and once to end it. Both will trigger level-ups if you have any.
Book a Room
Find the Bloated Float in the Waterfront District of the Imperial City. It’s easily found at the Northeastern end of the Dock. Step onto the gangway and head inside the Inn.
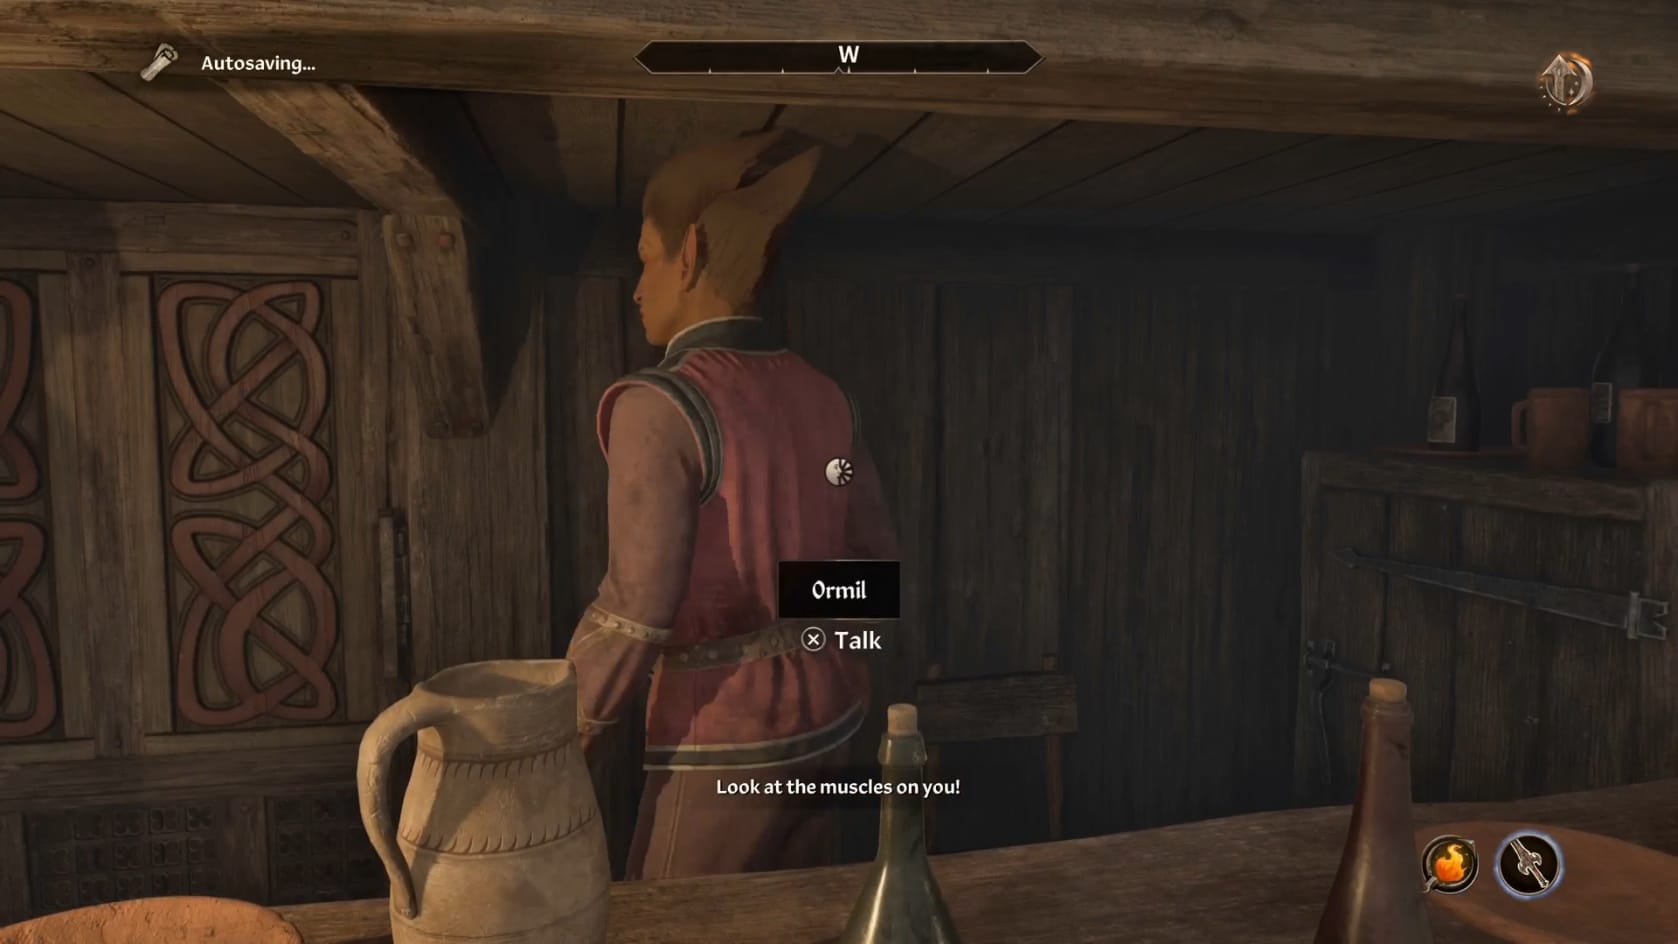
Once inside, start by going to the counter on the left and talking with Ormil. Ask him for a Bed. He’ll offer you a bed for 10 gold a night. Accept the price. To ensure the quest activates proper, take a little time to talk with people in the Inn.
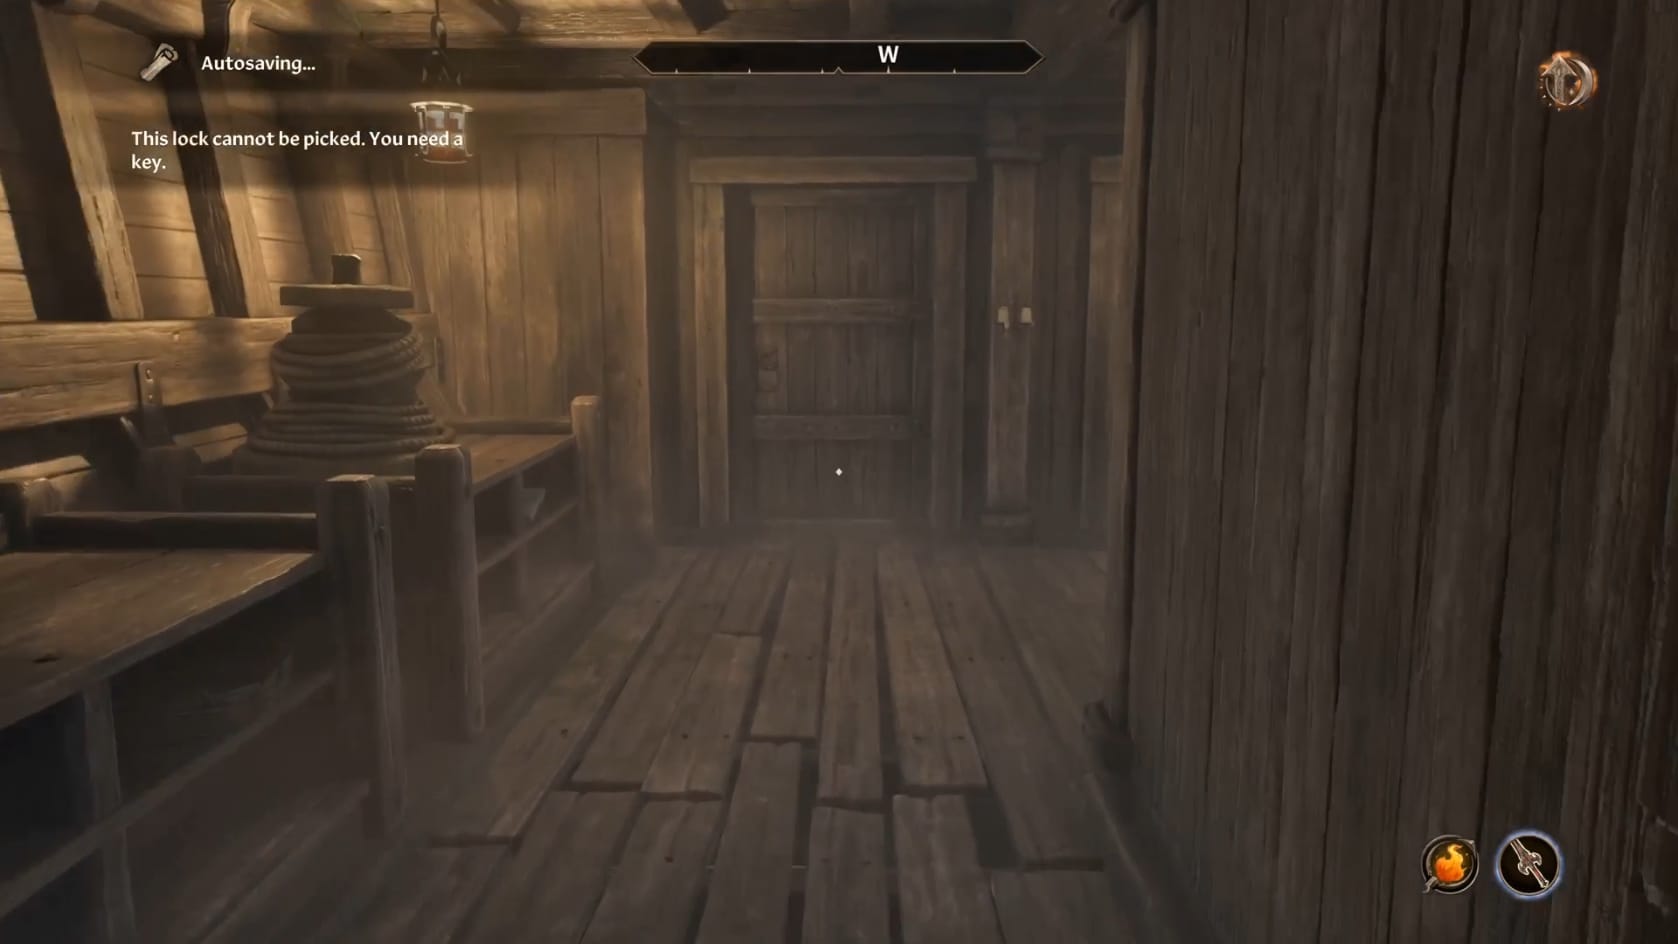
After a bit of that, head to the East and down the stairs there. Open the door at the base of the stairs. This will bring you to the Rooms Deck for the Bloated Float. Turn to the right (West) and go into the room in front of you.
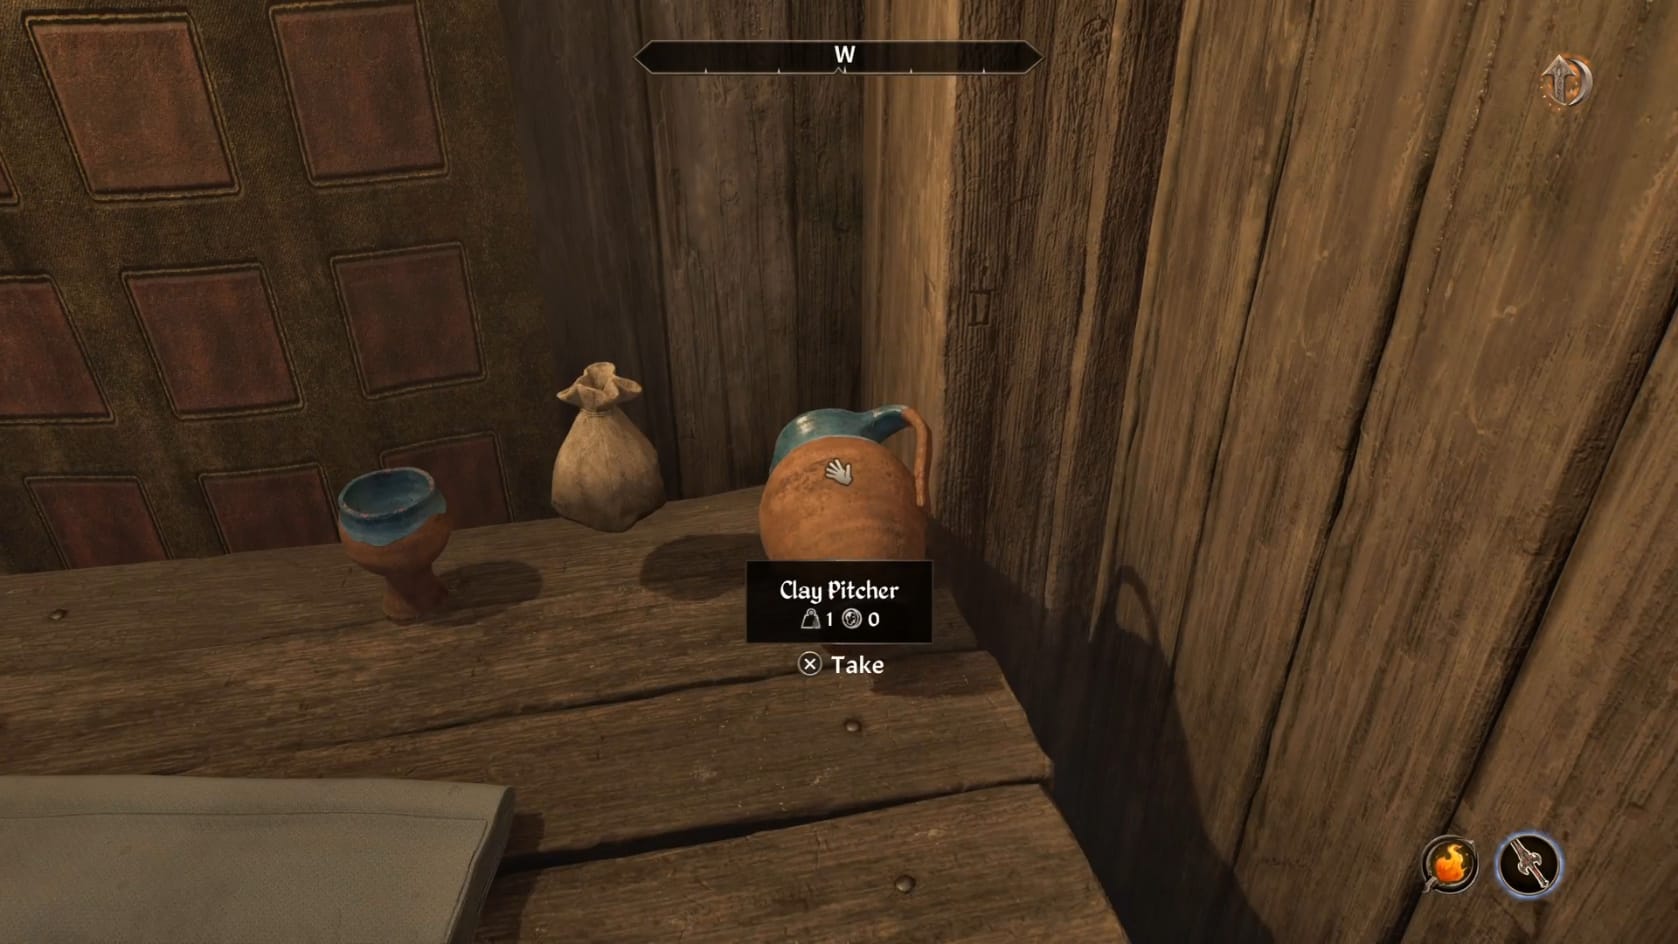
Inside here, go over to the table. Move the pot (or get around the pot) on the table to find a hidden bag. Loot it to find some gems inside it. After that, interact with the bed. just interact with the bed. Have a long sleep to ensure the quest activates properly.
Taken to Sea
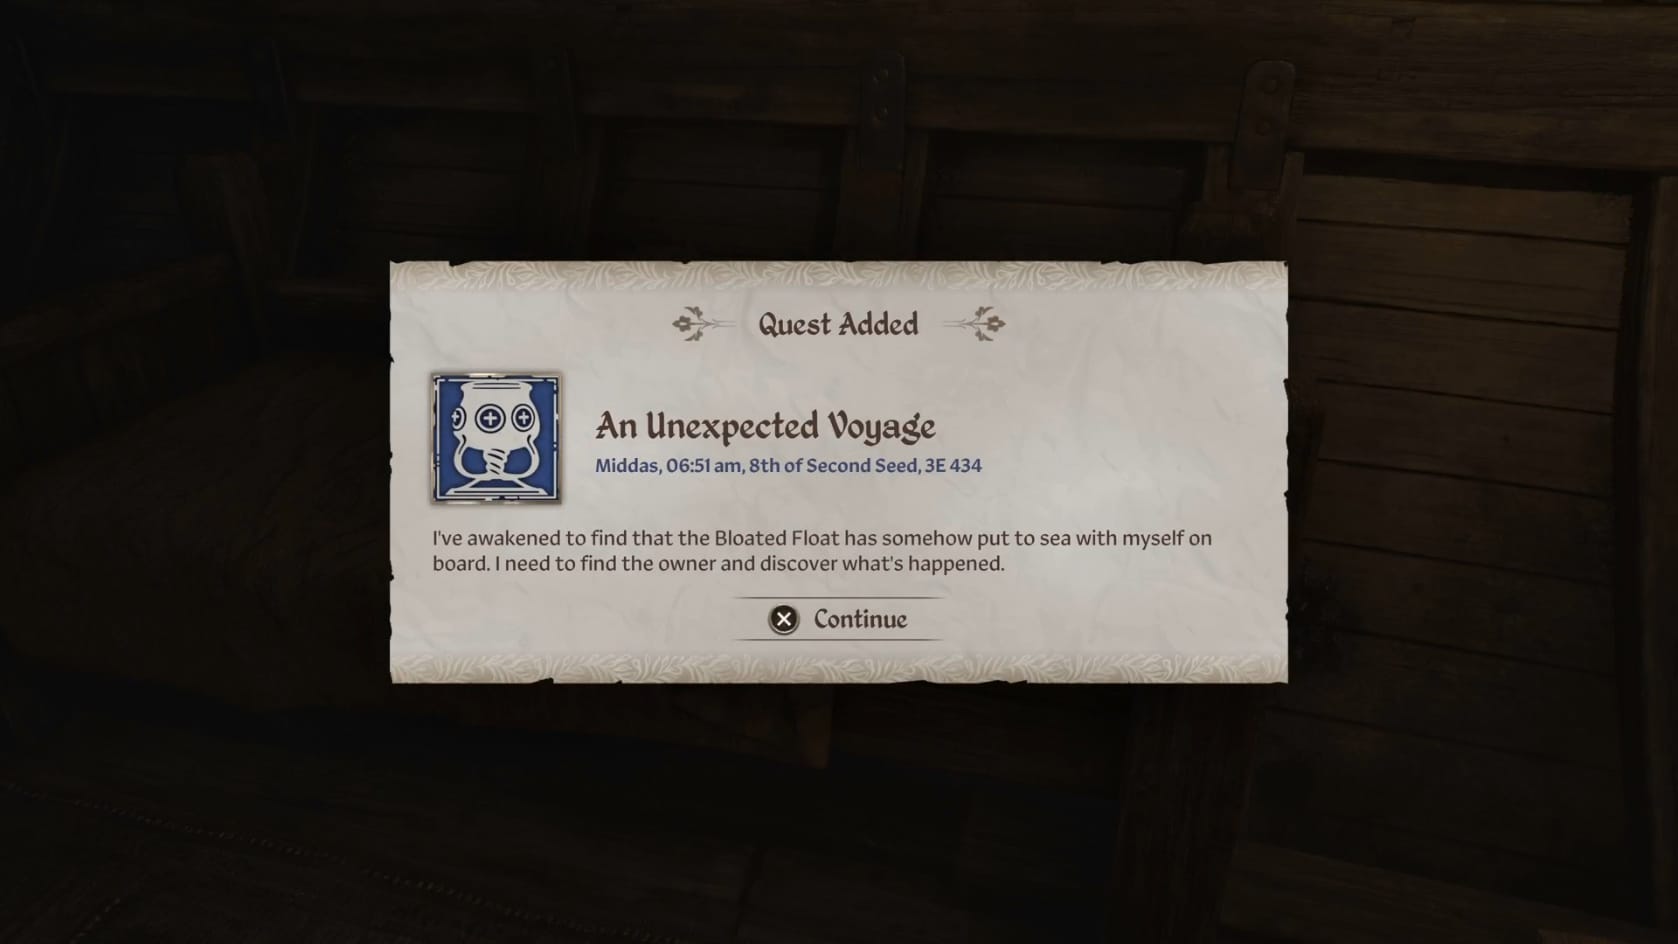
When the Hero awakens, you’ll get a quest notification. The quest has officially begun. To find out more about what’s going on, you will need to venture out of the room you’re staying in.
Lynch
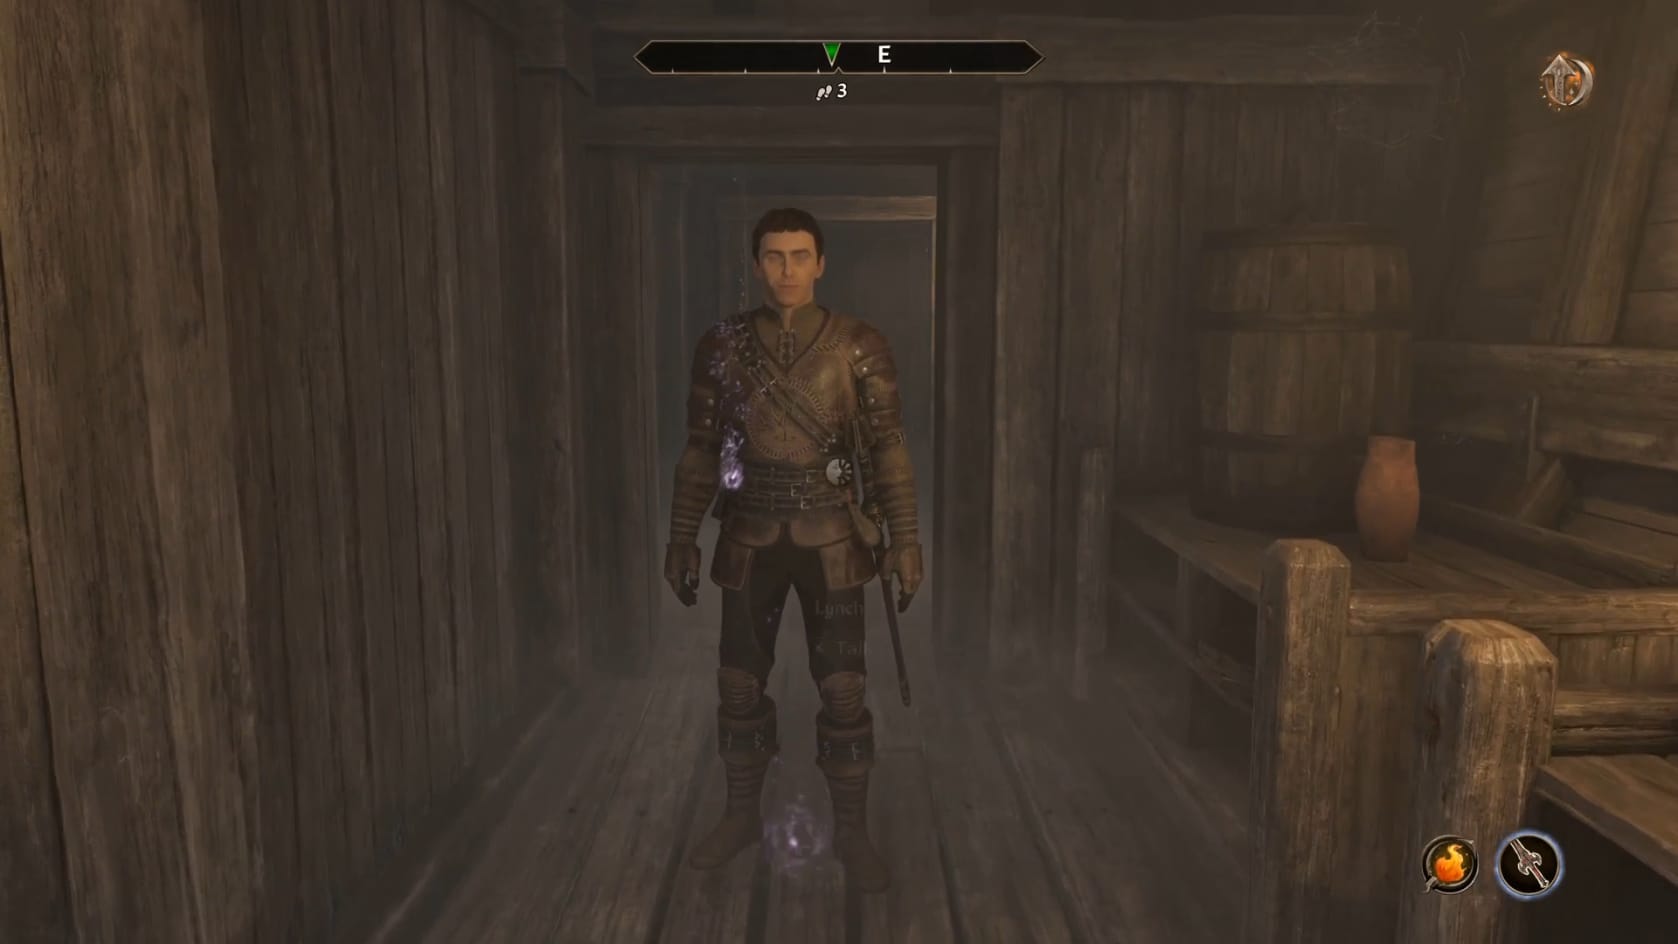
Exiting your room, you’ll encounter the first the Blackwater Brigands: Lynch. The easiest way to learn about everything from these bandits is to choose the bottom option. Choosing the top option ends the conversation before you can learn about what’s happening here. For the easiest resolution, you want to know.
Across the conversation you will want to choose:
- “Just a passenger”
- “I’m a member of your gang”
- “I’m not going to say”
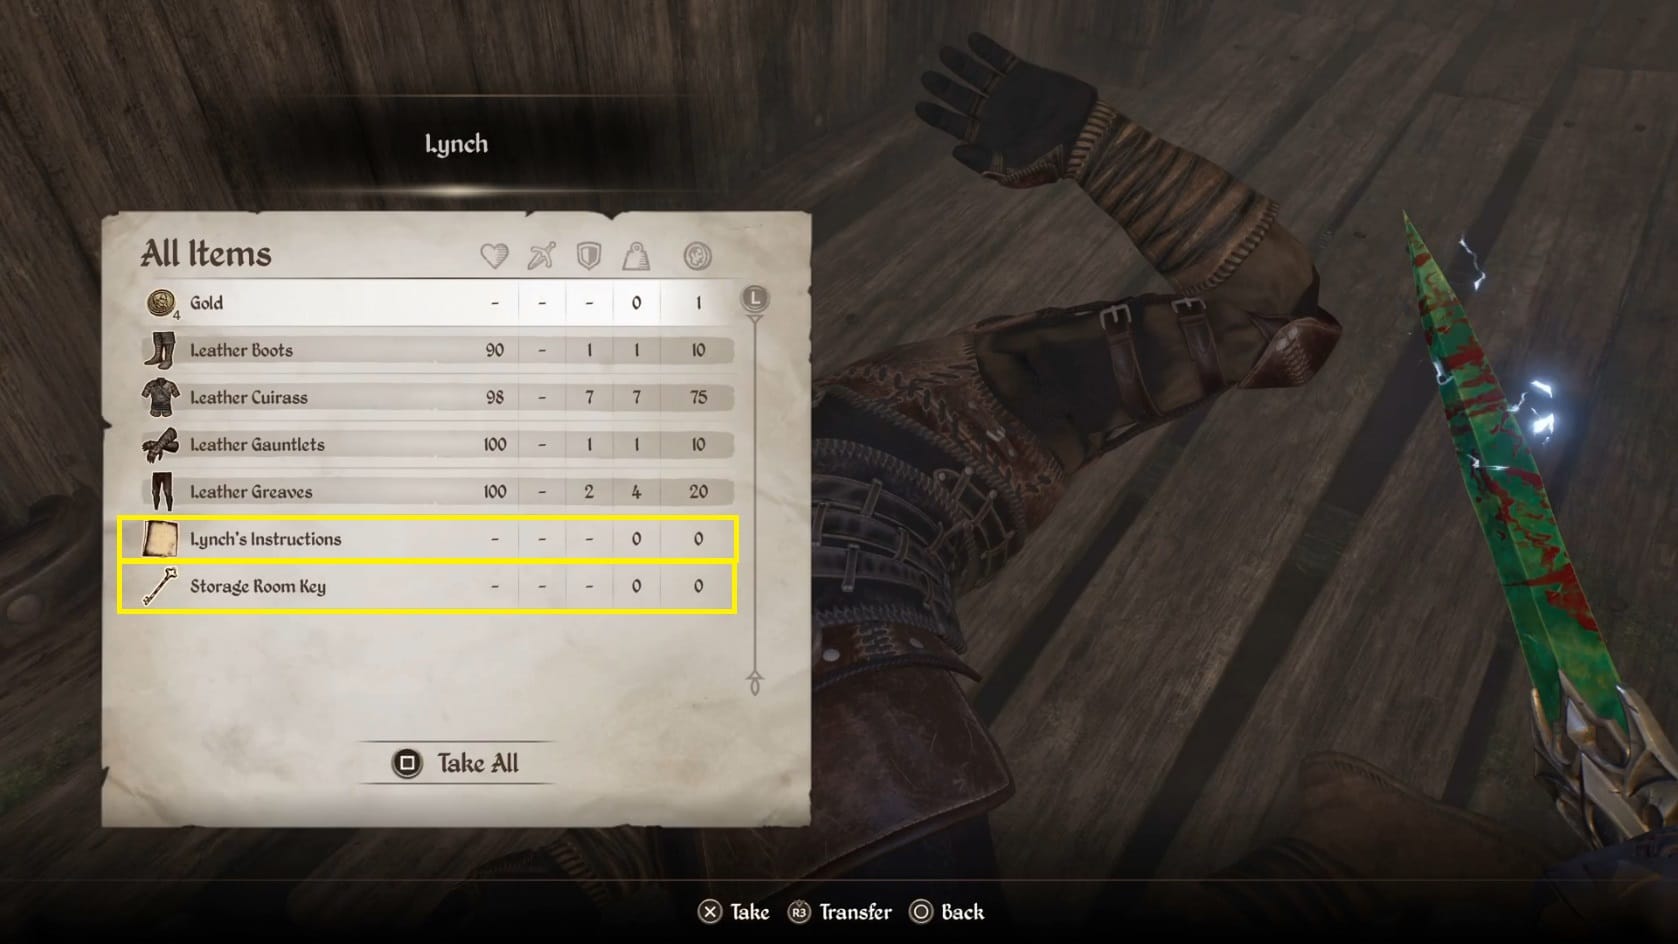
At this point, Lynch will attack the Hero. Defeat him and loot his body. You want to claim the Note: “Lynch’s Instructions” and “Storage Room Key” that he has most of all.
Release Graman gro-Marad
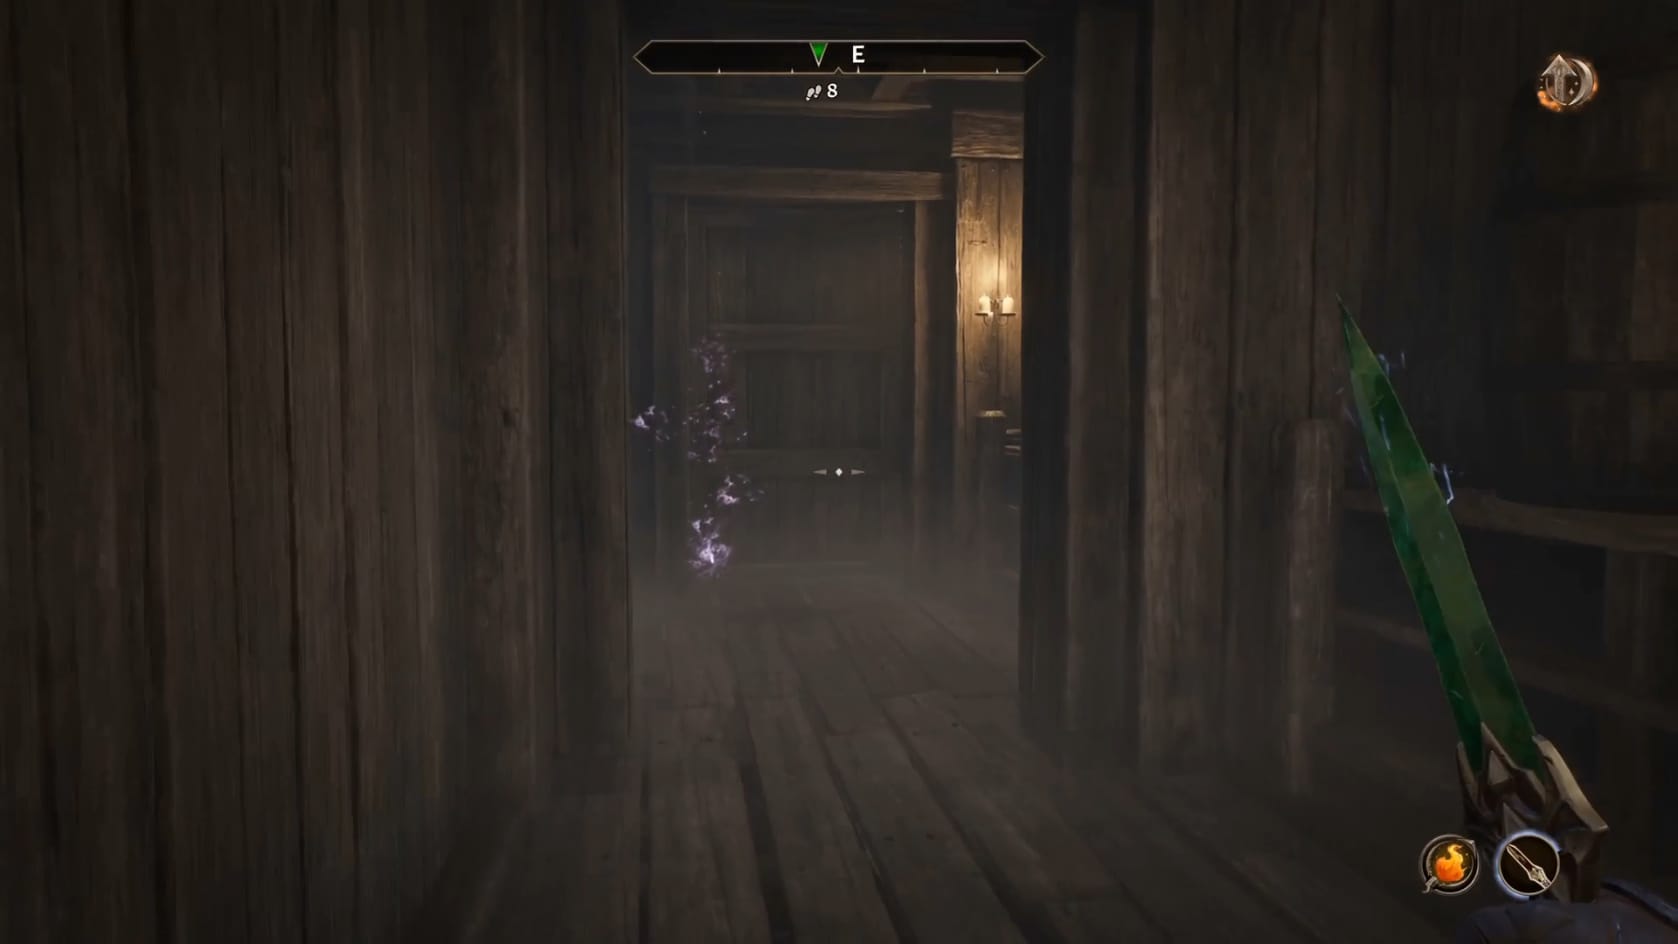
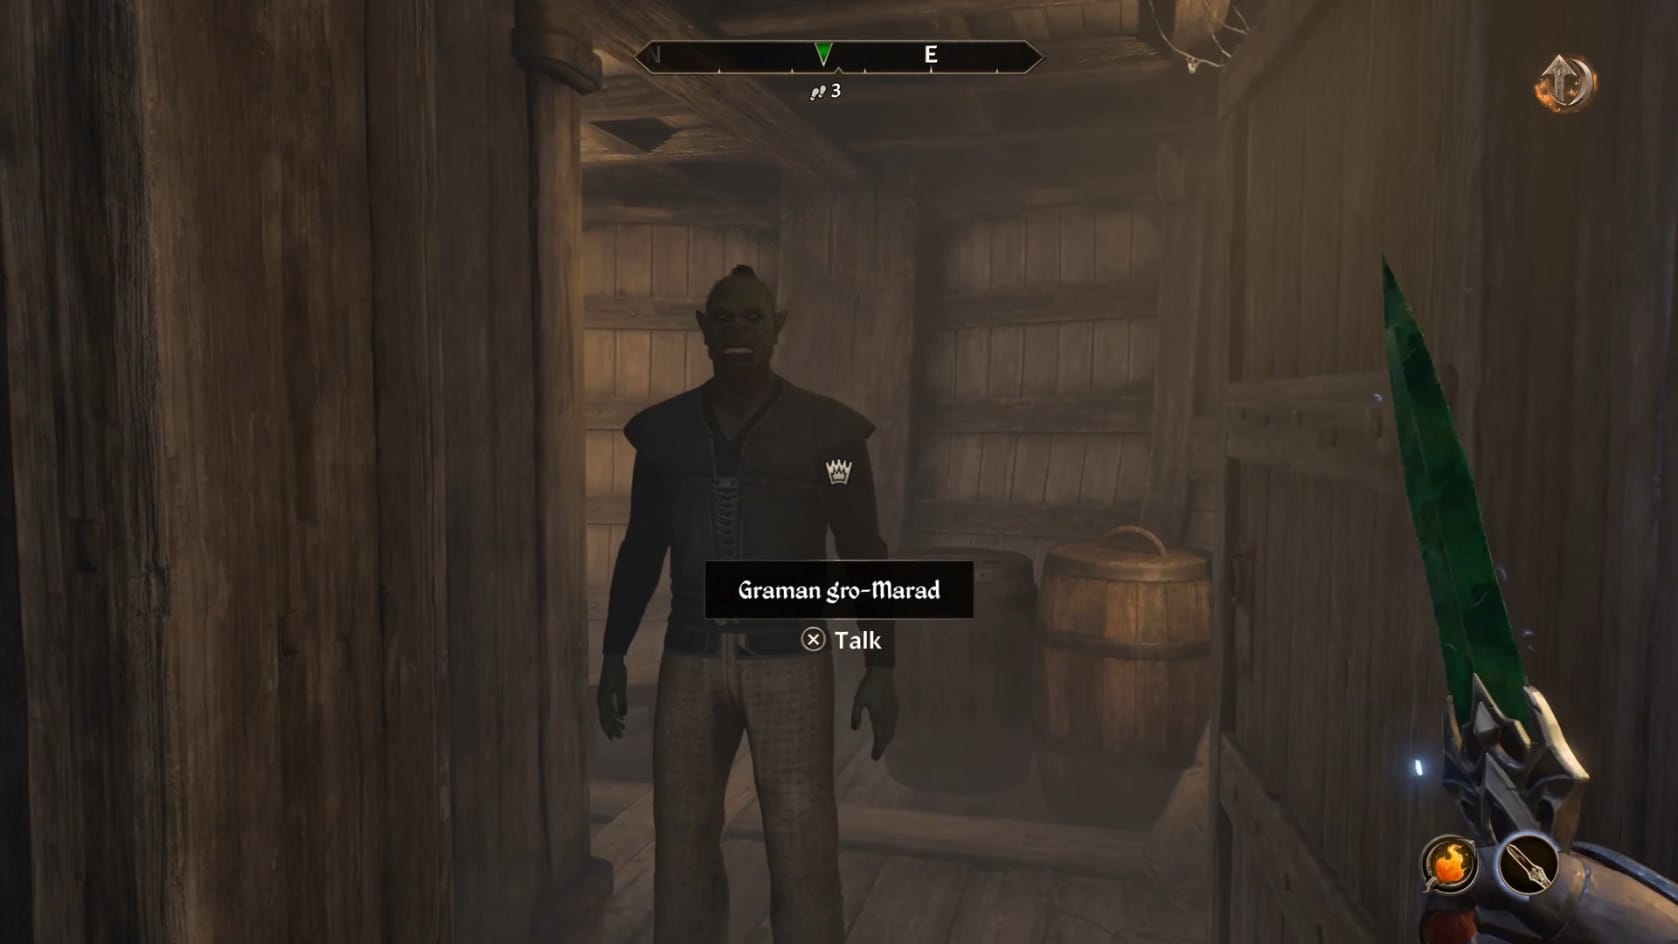
Releasing Graman gro-Marad
Head to the East and over to the Storage Room. Just interact with the door to open it. Inside, you’ll find Graman gro-Marad. Talk with him. He’ll explain that he can steer the Bloated Float back to the dock, but won’t until both: the path is clear and Ormil is safe. He’ll start following the Hero at this point.
With Graman gro-Marad in tow, head back to the West and open the door leading back to the Inn portion of the Bloated Float. This is on the Northern wall.
Confront Minx
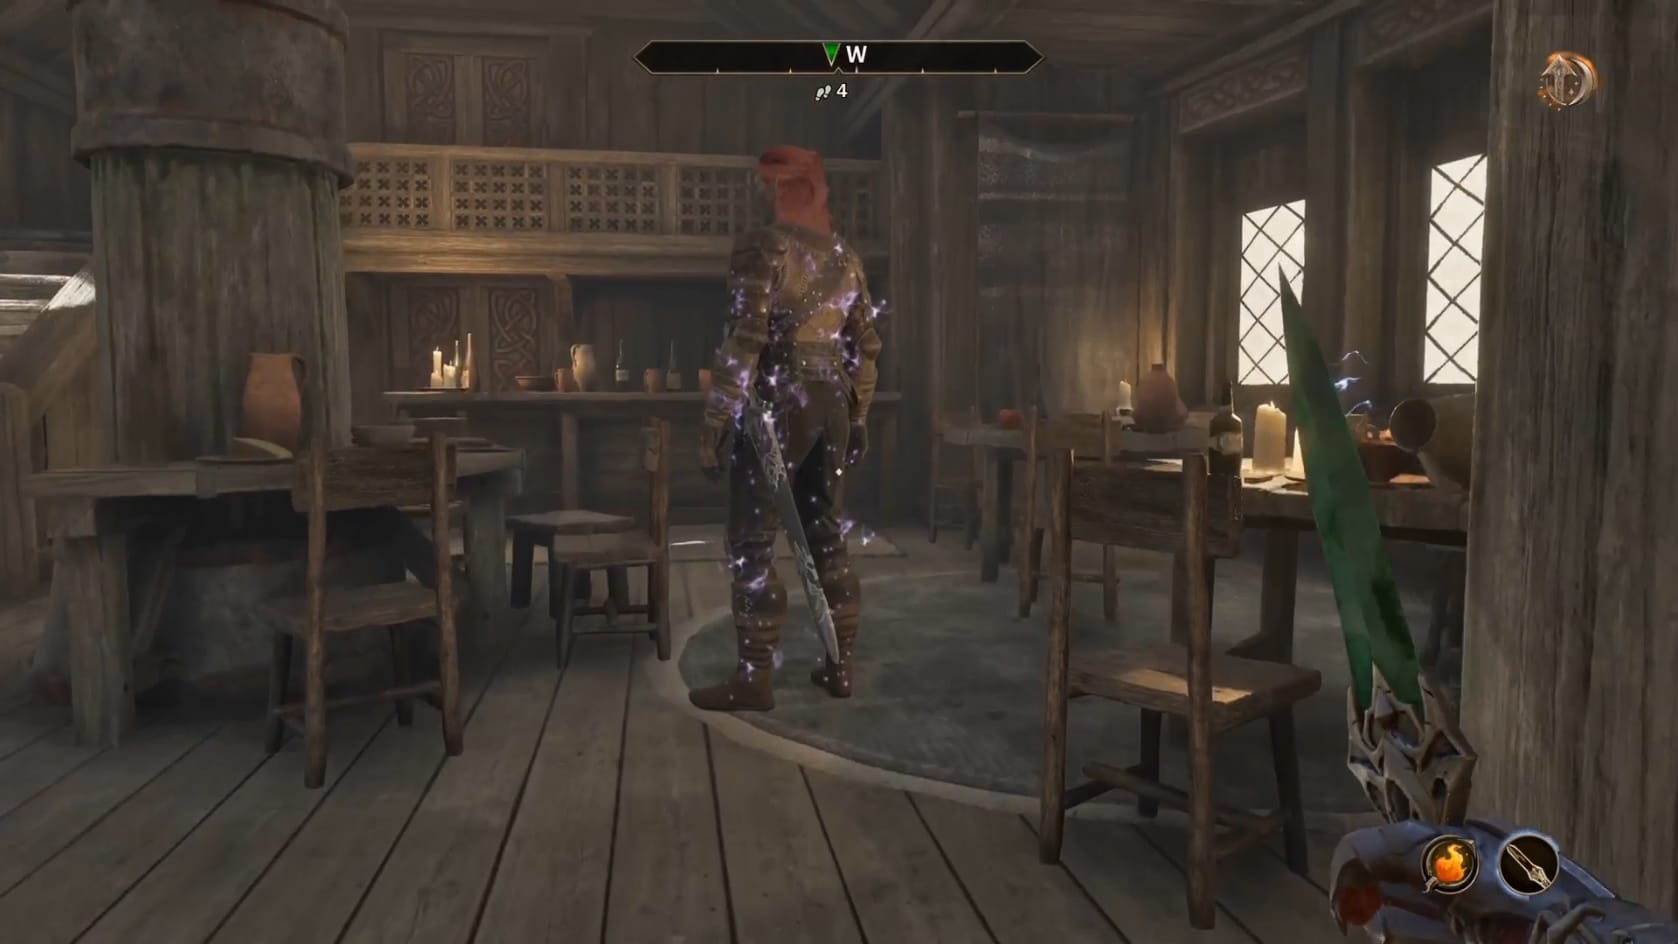
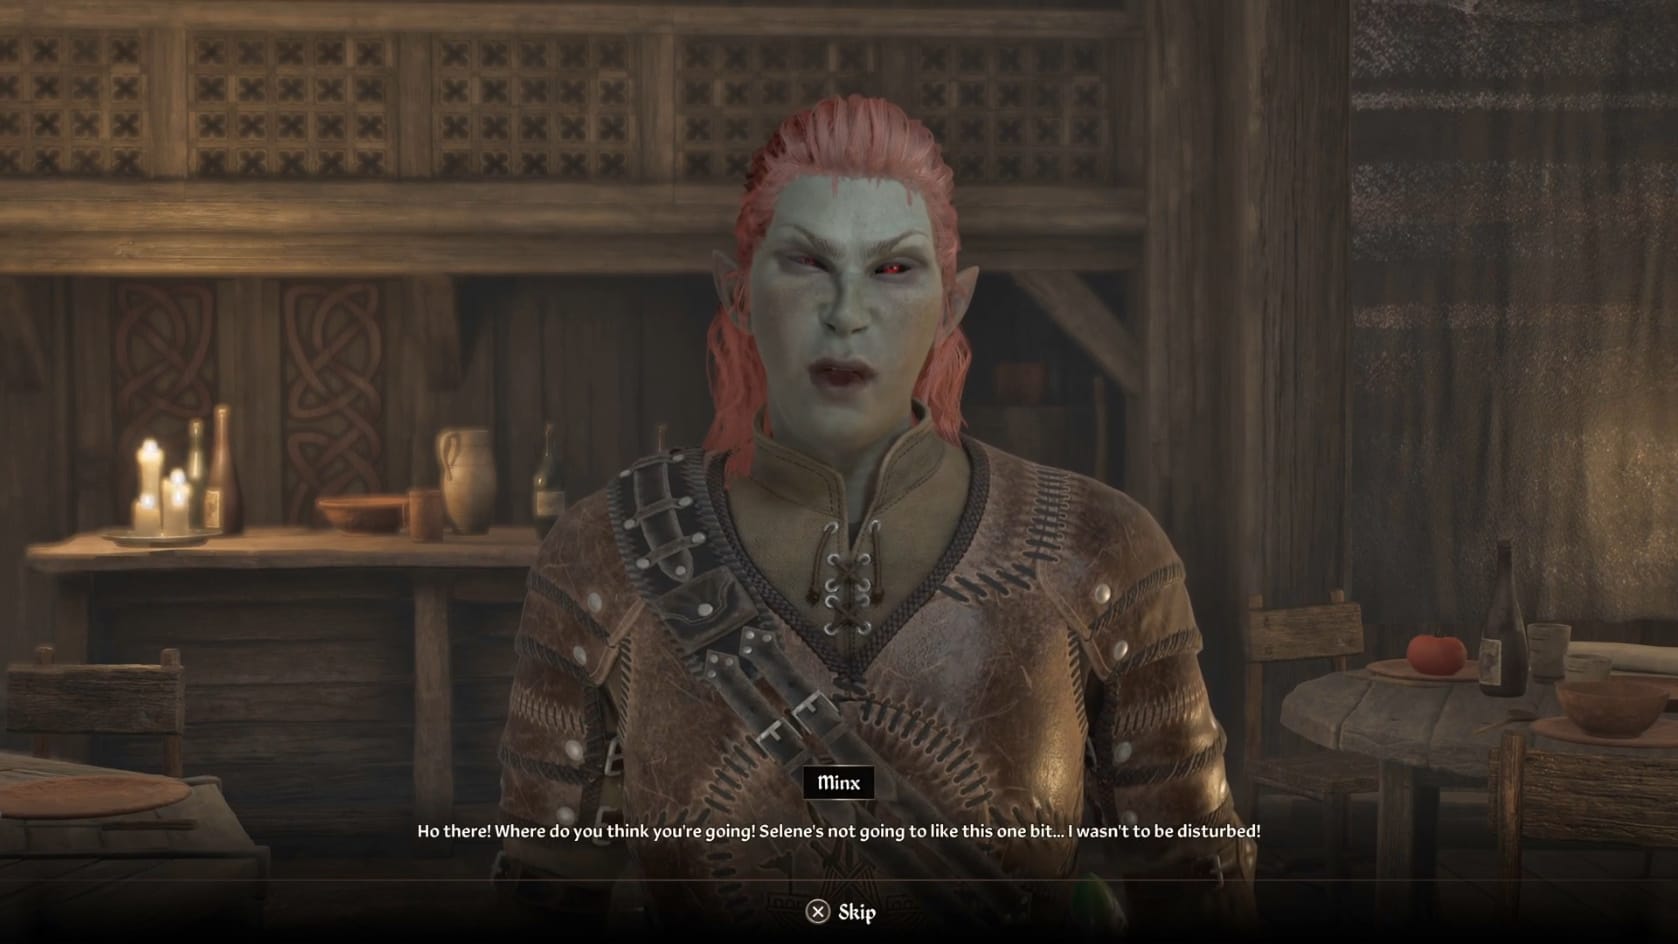
Confronting Minx
Back in the Inn portion of the Bloated Float, turn to the left and take the stairs up. You’ll encounter the second of the Blackwater Brigands waiting at the top: . Talk with her and always choose the second option. Choosing the top option will immediately provoke her into attacking.
Across the conversation you will choose:
- “Lynch sent me up”
- “Yes, I’m to assist her”
- “He’s dead”
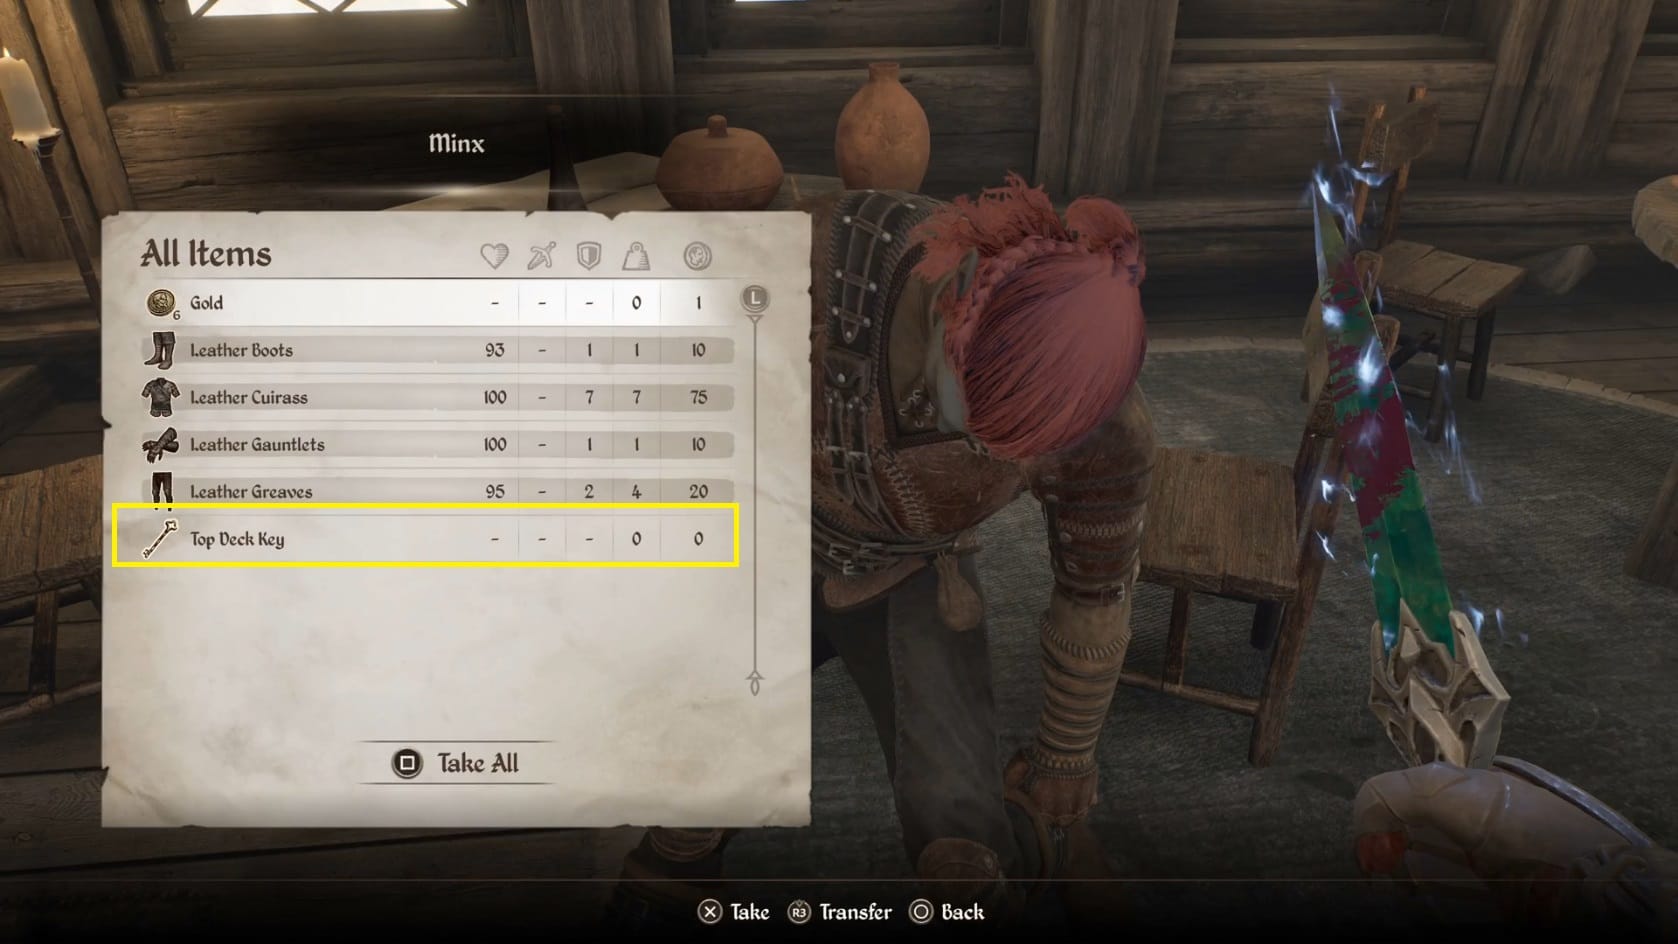
She’ll attack after that, regardless. Defeat her and check her body for hints. You’ll want to grab the Top Deck Key.
Confront Wrath
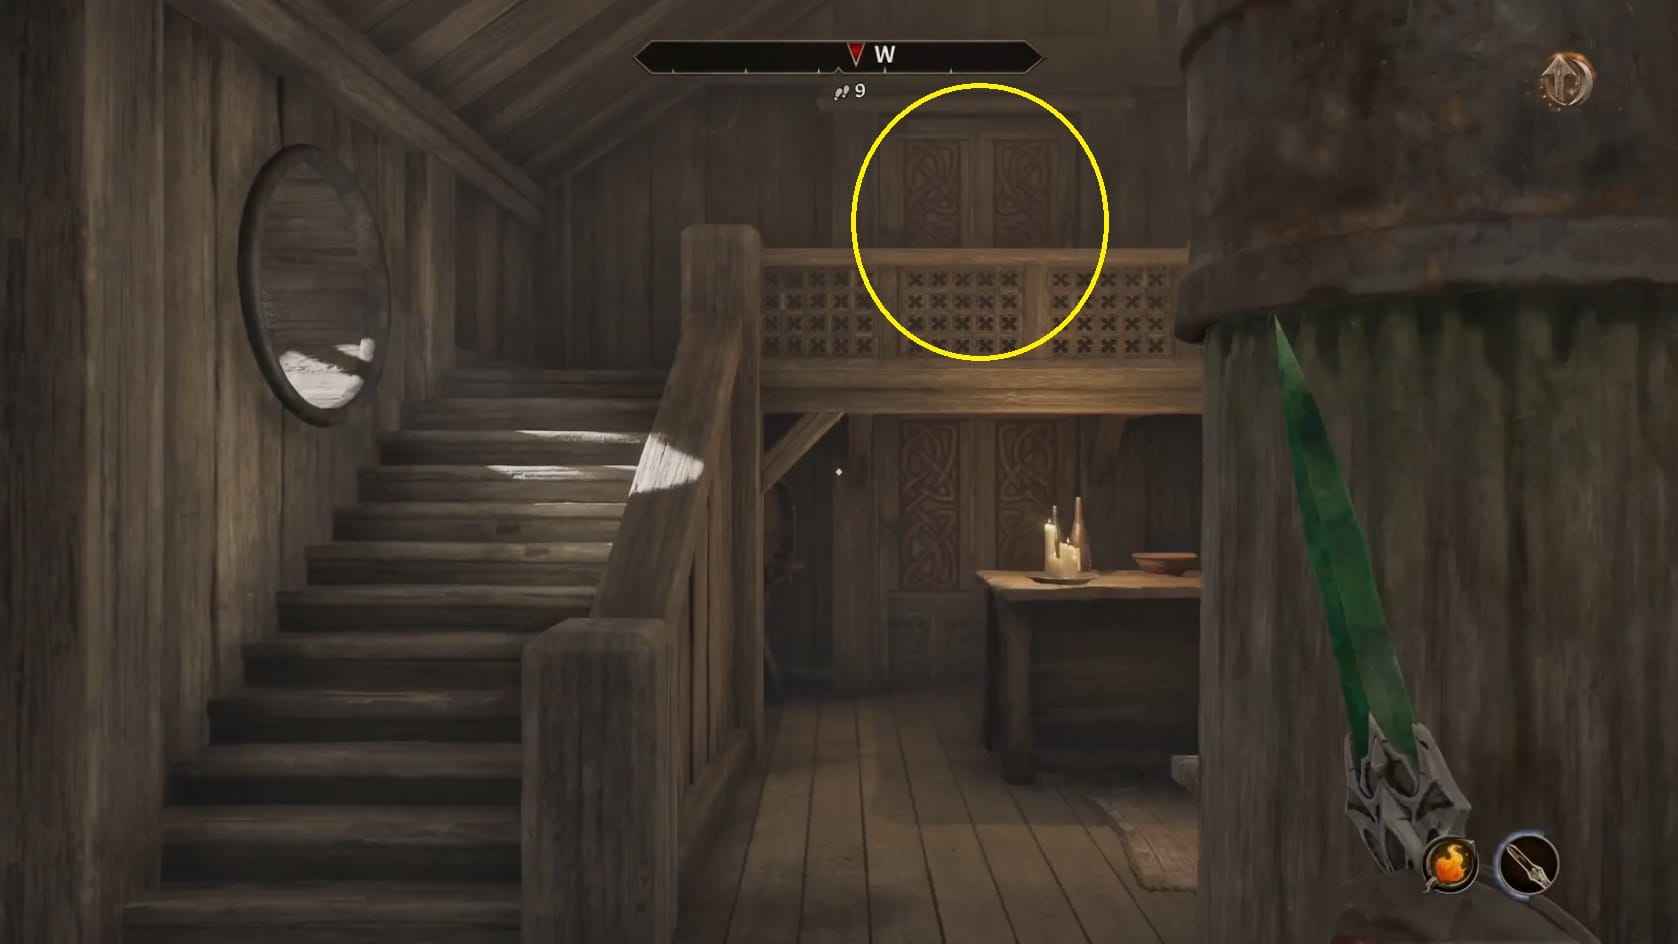
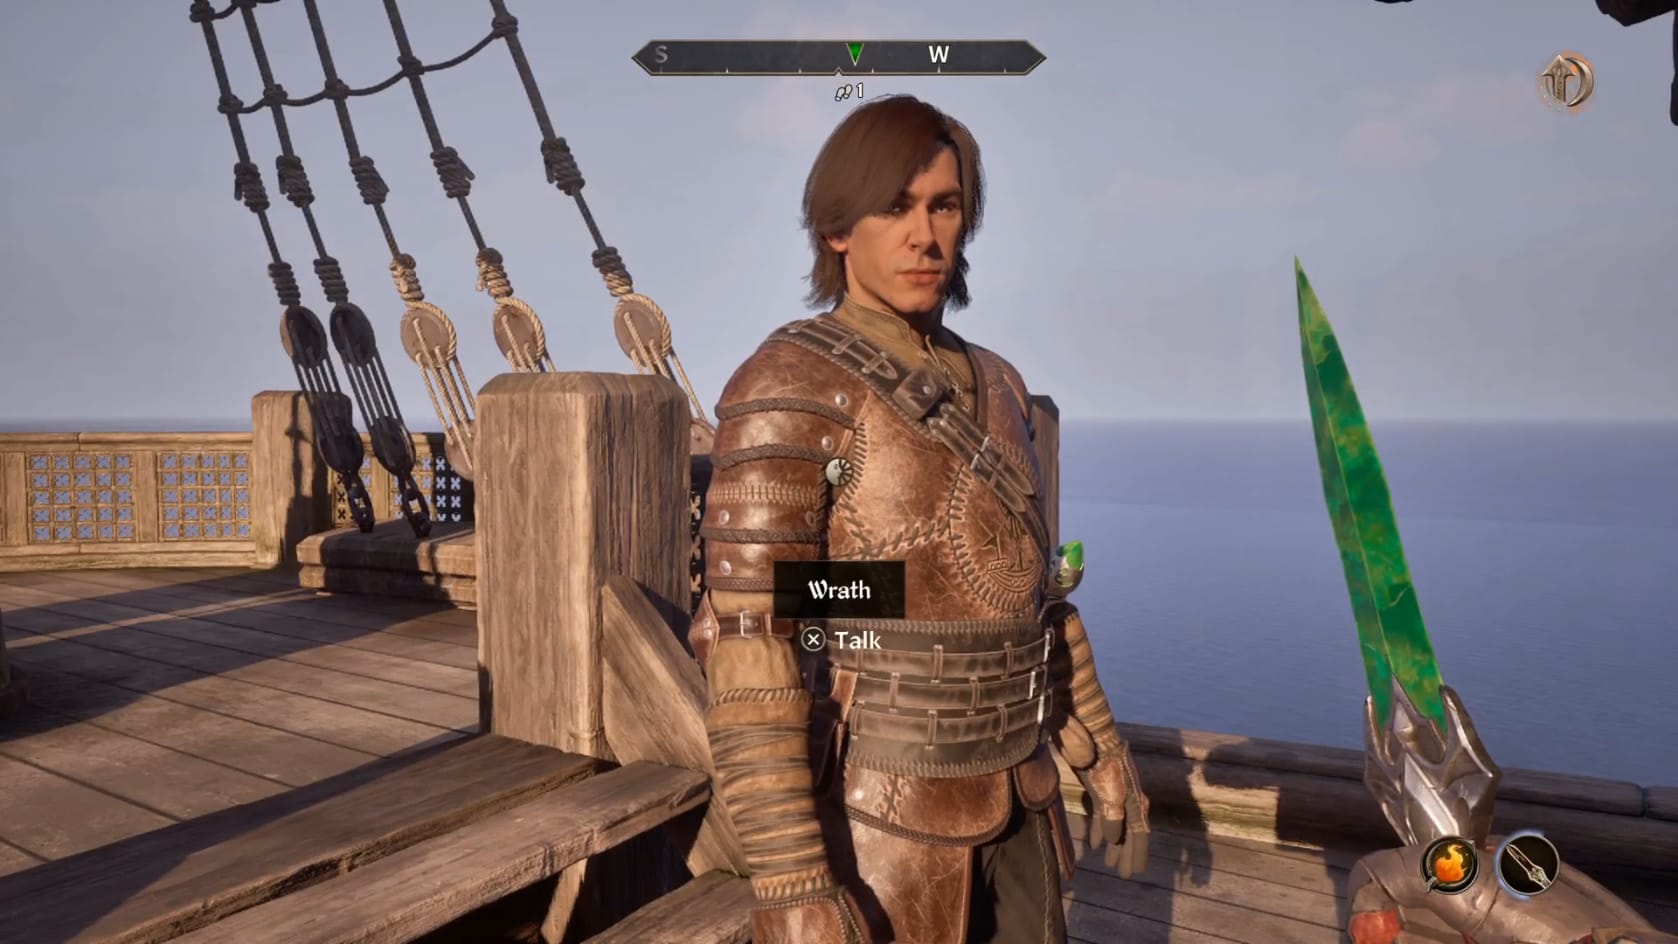
Confront Wrath on the Top deck of the Bloated Float
Go to the door above the counter, to the West. This will bring you out to the top deck of the Bloated Float.
- You can head to the East, but that portion of the deck is empty
Here, you’ll find another member of the Blackwater Brigands: Wrath. Approach and talk with him. Once again, choose the bottom option with the conversation to learn everything you can about their plan.
Across the conversation you will choose:
- “I’m awaiting orders”
- “Three days ago”
- “Lynch and Minx are dead”
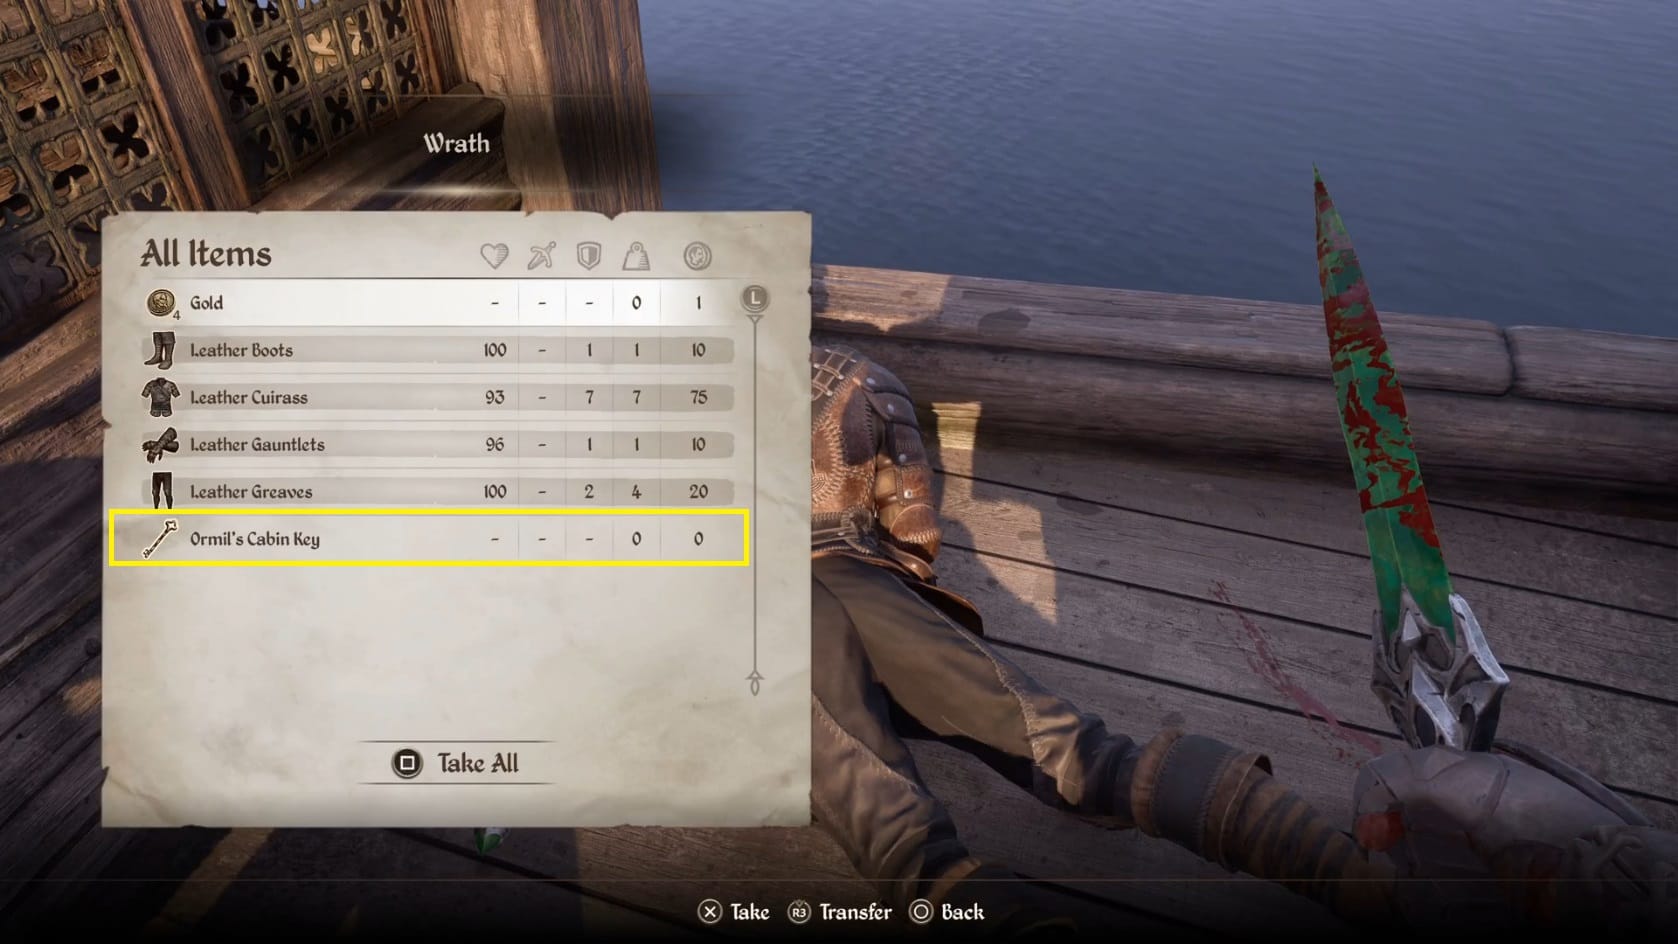
Defeat Wrath and loot his body. You’ll get the final key you need: Ormil’s Cabin Key.
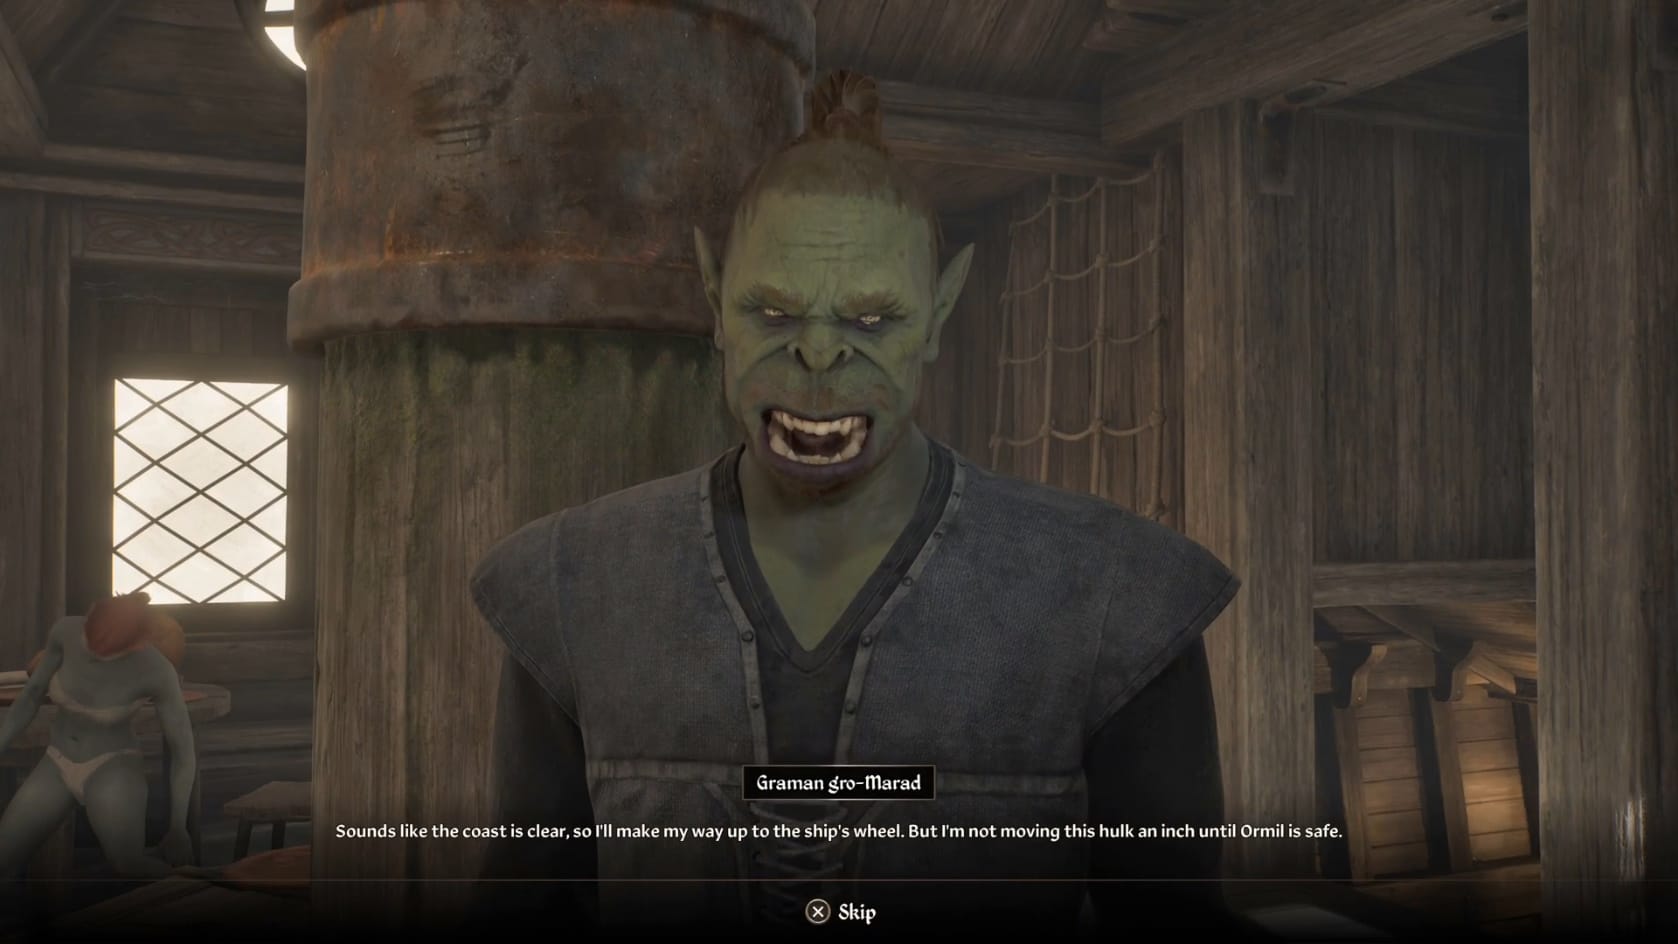
Head back inside the Bloated Float. Go and talk with Graman gro-Marad. He’ll get in position to steer the ship but won’t do anything until Ormil is safe.
Confront Selene
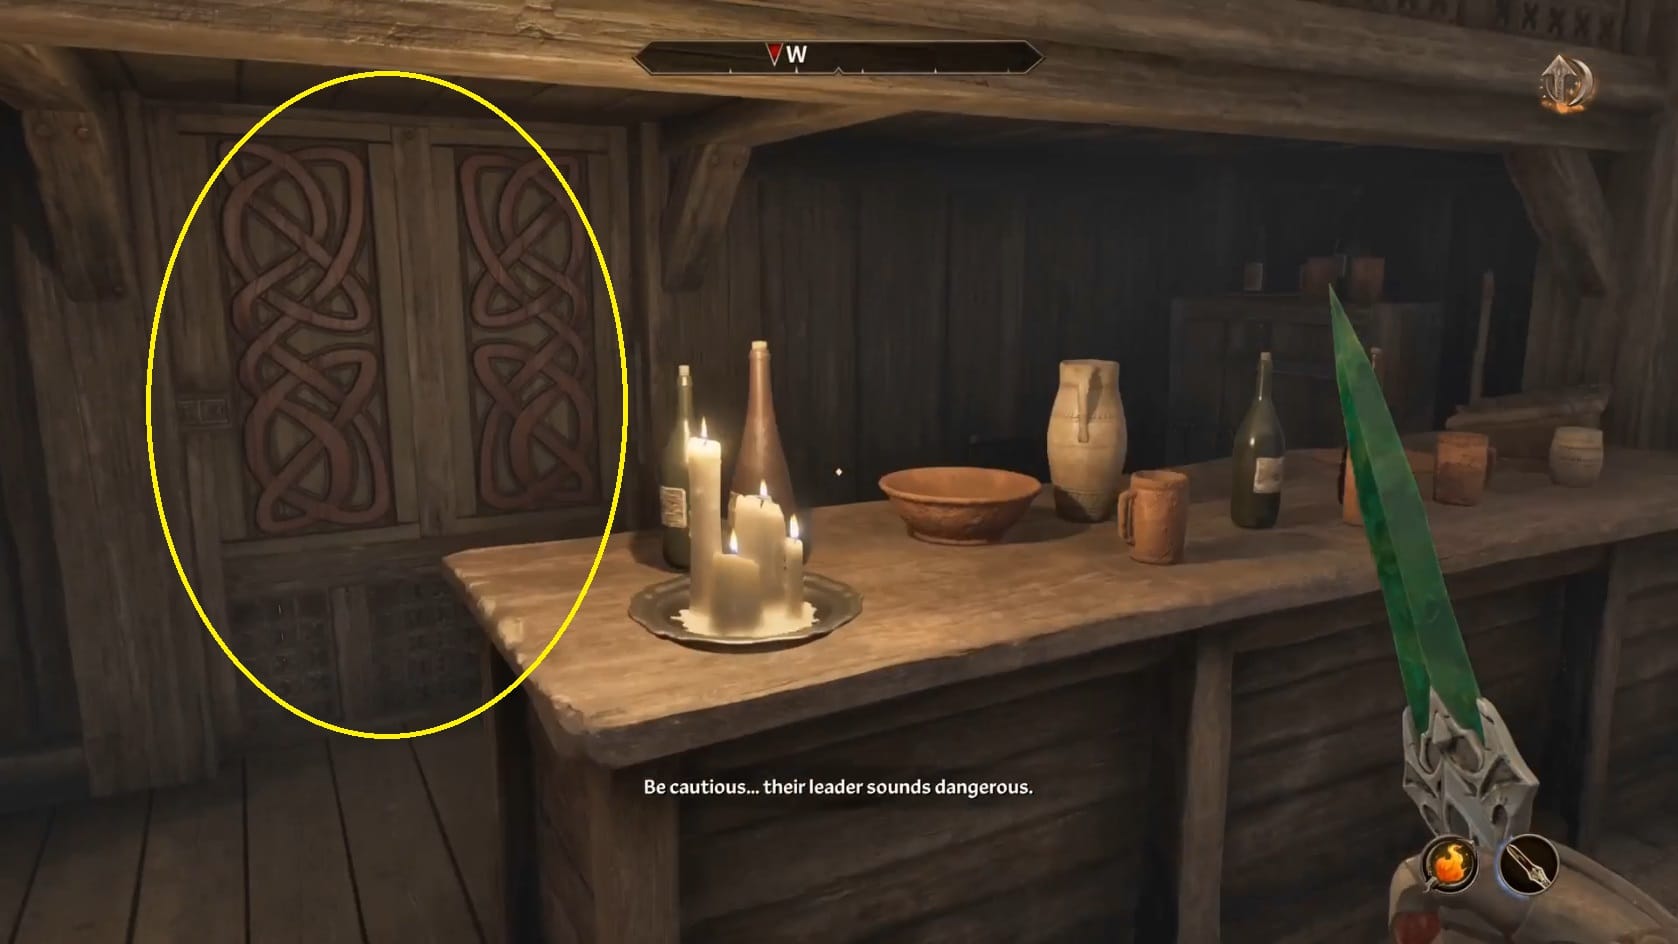
Inside the main room of the Bloated Float, look to the door behind the Counter in the Western wall. Interact with it to enter Ormil’s Cabin.
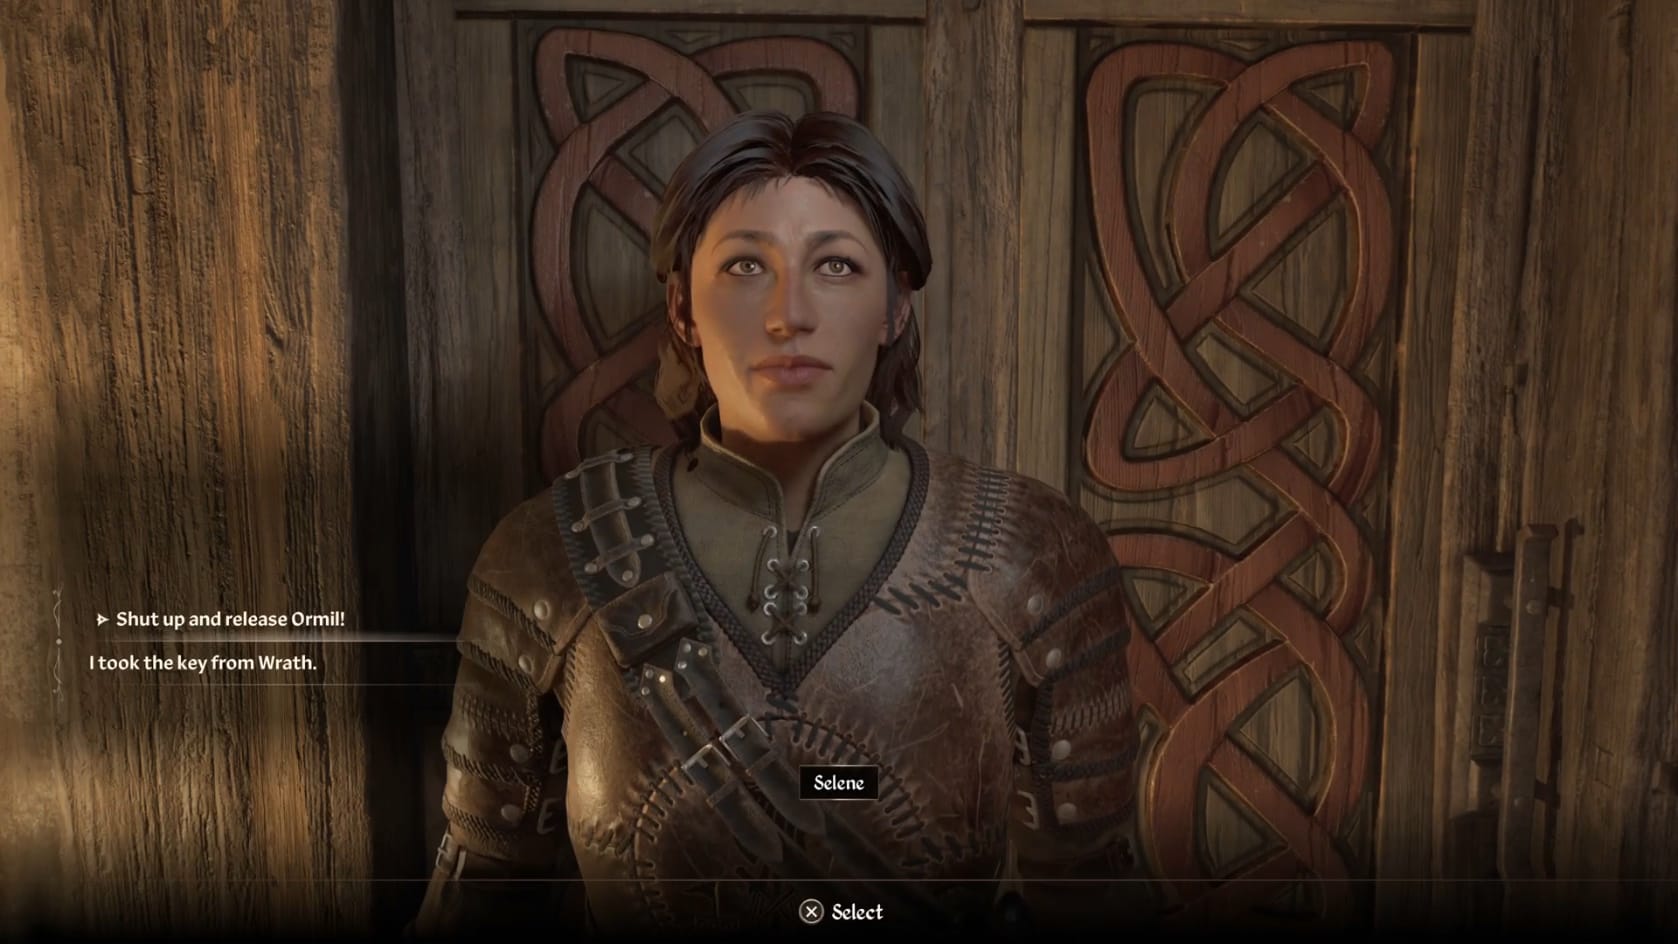
Inside, you’ll quickly encounter Selene. Approach and talk with her. It’s not hard to provoke her into attack you, but if you navigate the conversation, she’ll surrender. Just like before, choose the bottom option each time.
In the conversation, you will want to choose:
- “I took the key from Wrath”
- “I’m here to join the gang”
- “...three months ago?”
- “To find the Golden Galleon”
- “You mean in Bravil?”
- “I killed them all”
Selene will turn over her sword: the Blackwater Blade to you when she surrenders.
Talk to Ormil
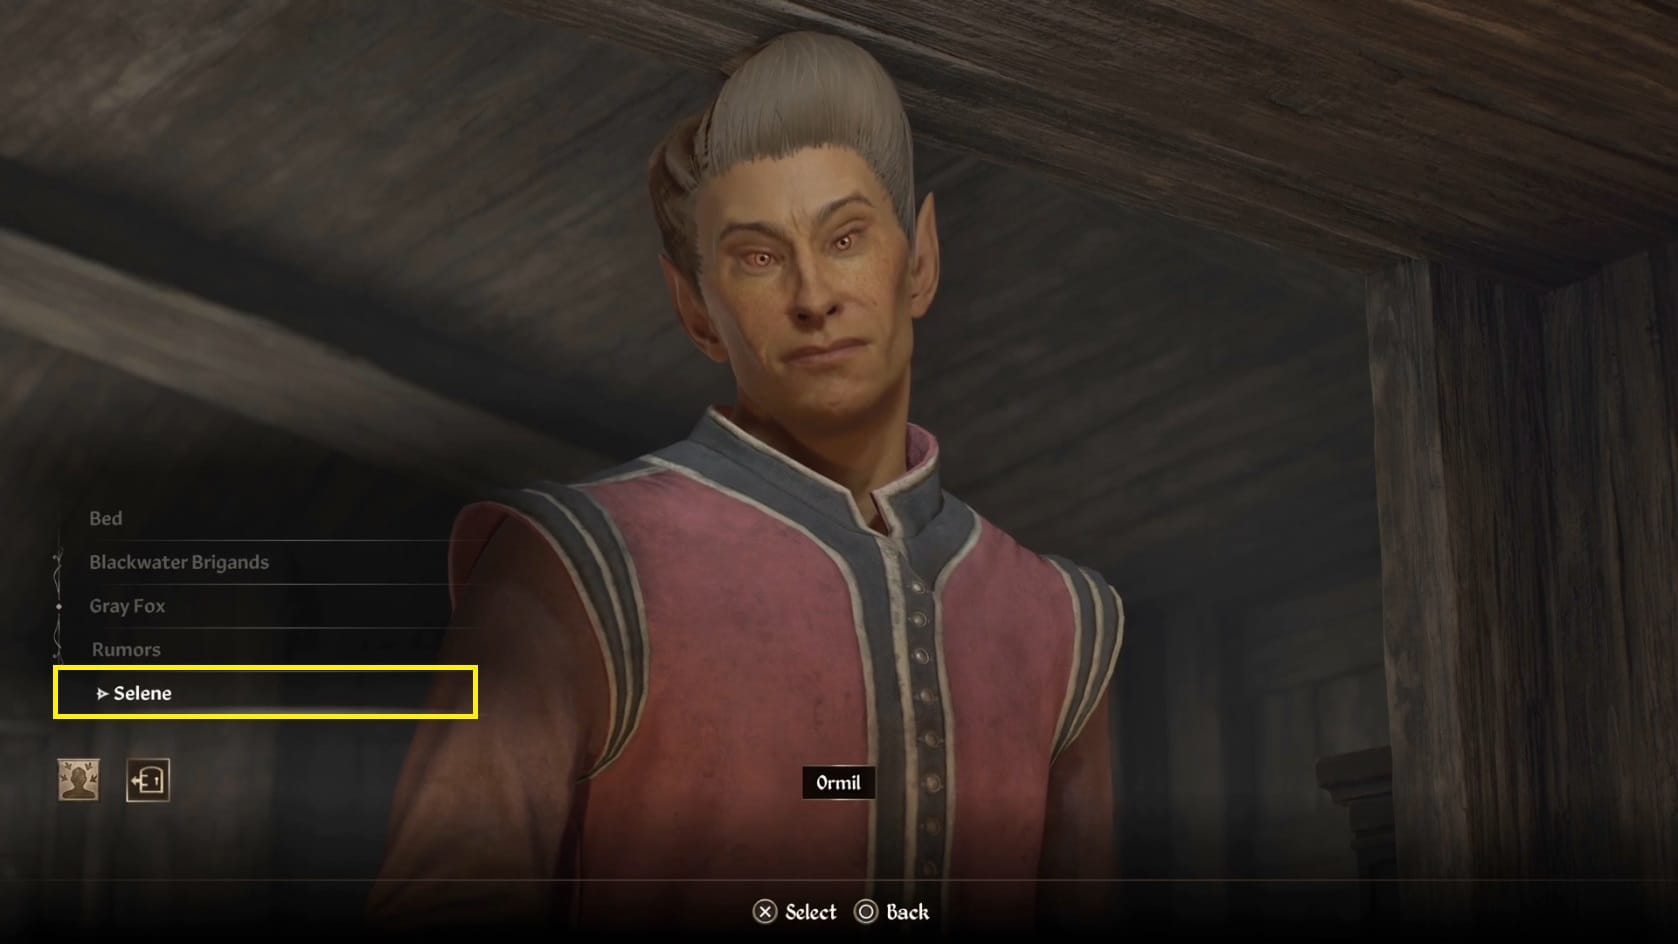
Now that Selene’s surrendered, go to the middle of the room and talk with Ormil. Talk to him about Selene. He’ll tell you to take her to the Bloated Float Private Room.
Incarcerate Selene
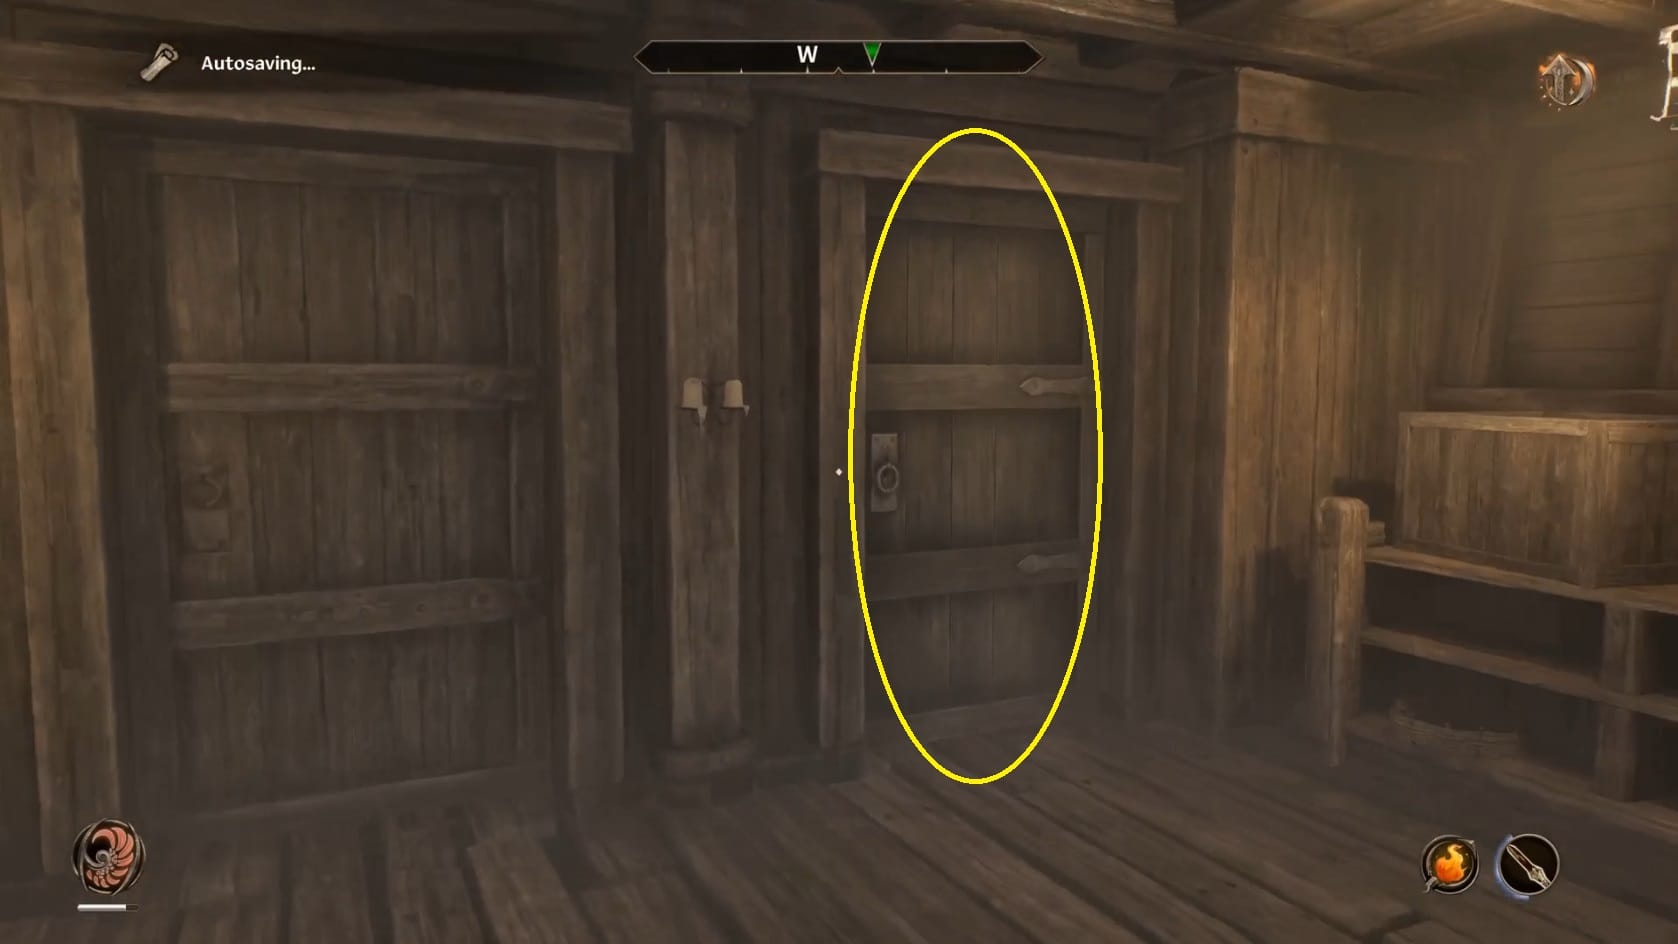
Go back into the main room of the Bloated Float. Head to the East and take the stairs down. Go through the door back into the Rooms section. Turn to the right and head toward where you had just slept. You want to approach the door to the right of the Inn room. Selene will follow you here and go into this room.
Return to Ormil
With Selene locked in the Private Room, return to Ormil’s Cabin on the Tavern level of the boat. Go into the room and talk with him. He’ll come clean about the “Golden Galleon.” He needed to boost business and the story did the trick. He’ll tell you that he’s got Graman gro-Marad ready to steer the ship back to dock. He asks you to go rest so time will pass quickly for you to return.
Go to sleep
Go back to the Room you rented on the Inn Deck of the Bloated Float. leep again in the bed and you’ll be taken back to port in the Waterfront District of the Imperial City. Leave the room and head back into the Inn Portion.
Talk to Ormil
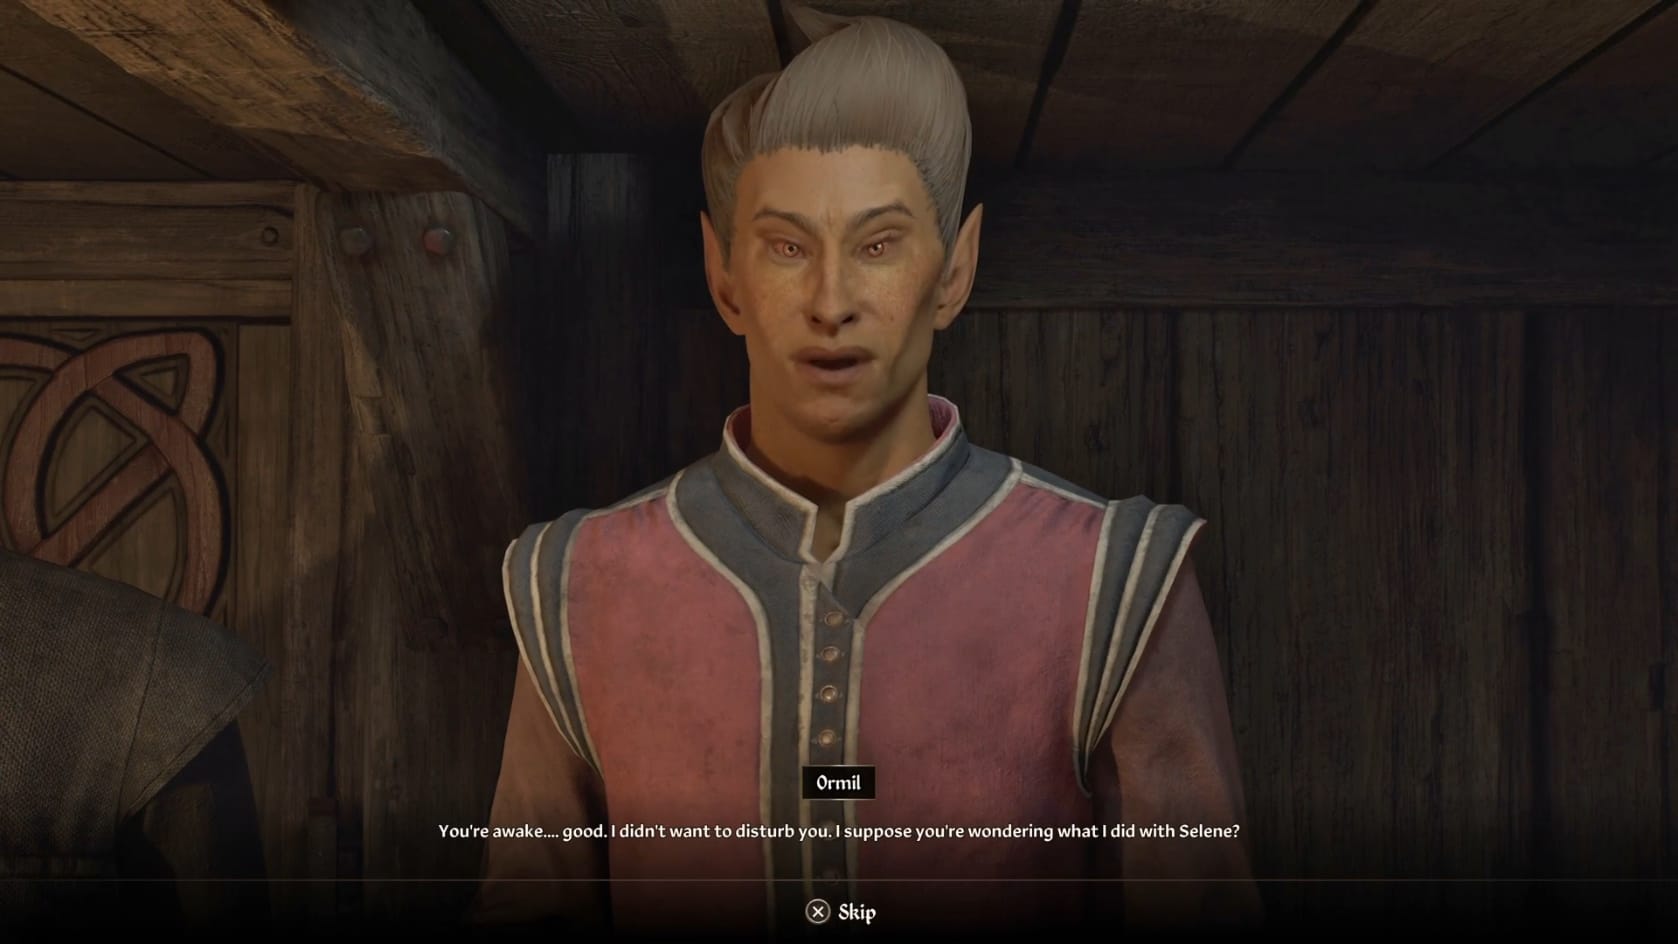
Back in the Inn Portion, approach the counter and talk with Ormil. He’ll thank you for your help dealing with the Blackwater Brigands. He’ll also give you the reward for dealing with Selene. The amount of gold scales based on the Hero’s level when you complete the side quest.
Rewards
Gold given by Ormil
Level |
Gold |
1-4 |
75 |
5-9 |
150 |
10-14 |
225 |
15-19 |
300 |
20-24 |
375 |
25+ |
450 |
Blackwater Blade
This sword is either given to the Hero by Selene (if she surrenders) or can be looted from her body after you’ve defeated her.
Level |
Weight |
Durability |
Value |
Charges |
Effects |
1-4 |
75 |
170 |
428 |
50 |
|
5-9 |
150 |
220 |
861 |
50 |
|
10-14 |
225 |
350 |
1628 |
50 |
|
15-19 |
300 |
510 |
2880 |
50 |
|
20-24 |
375 |
615 |
4250 |
50 |
|
25+ |
450 |
725 |
6670 |
50 |
|
Video Walkthrough
Video Walkthrough