Elder Scrolls IV: Oblivion Remastered – Deserted Mine Guide
Explore both zones of the Deserted Mine in Oblivion Remastered. Fight bandits, navigate its branching tunnels, and collect the chests and loot hidden throughout.
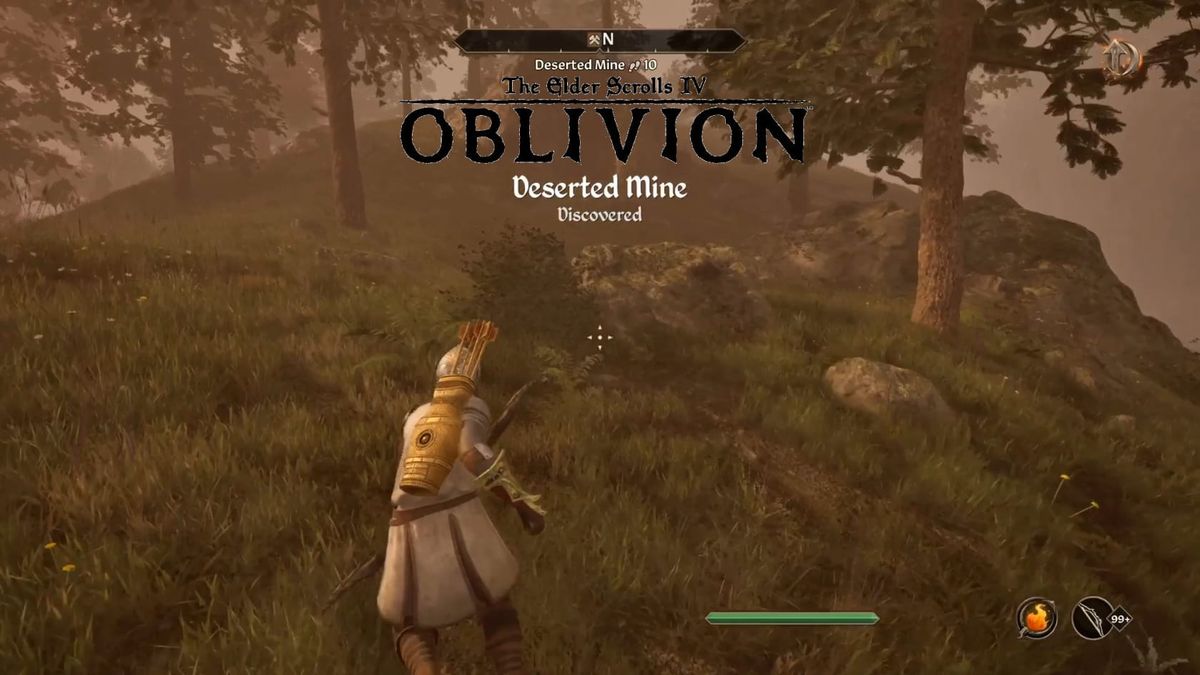
Summary
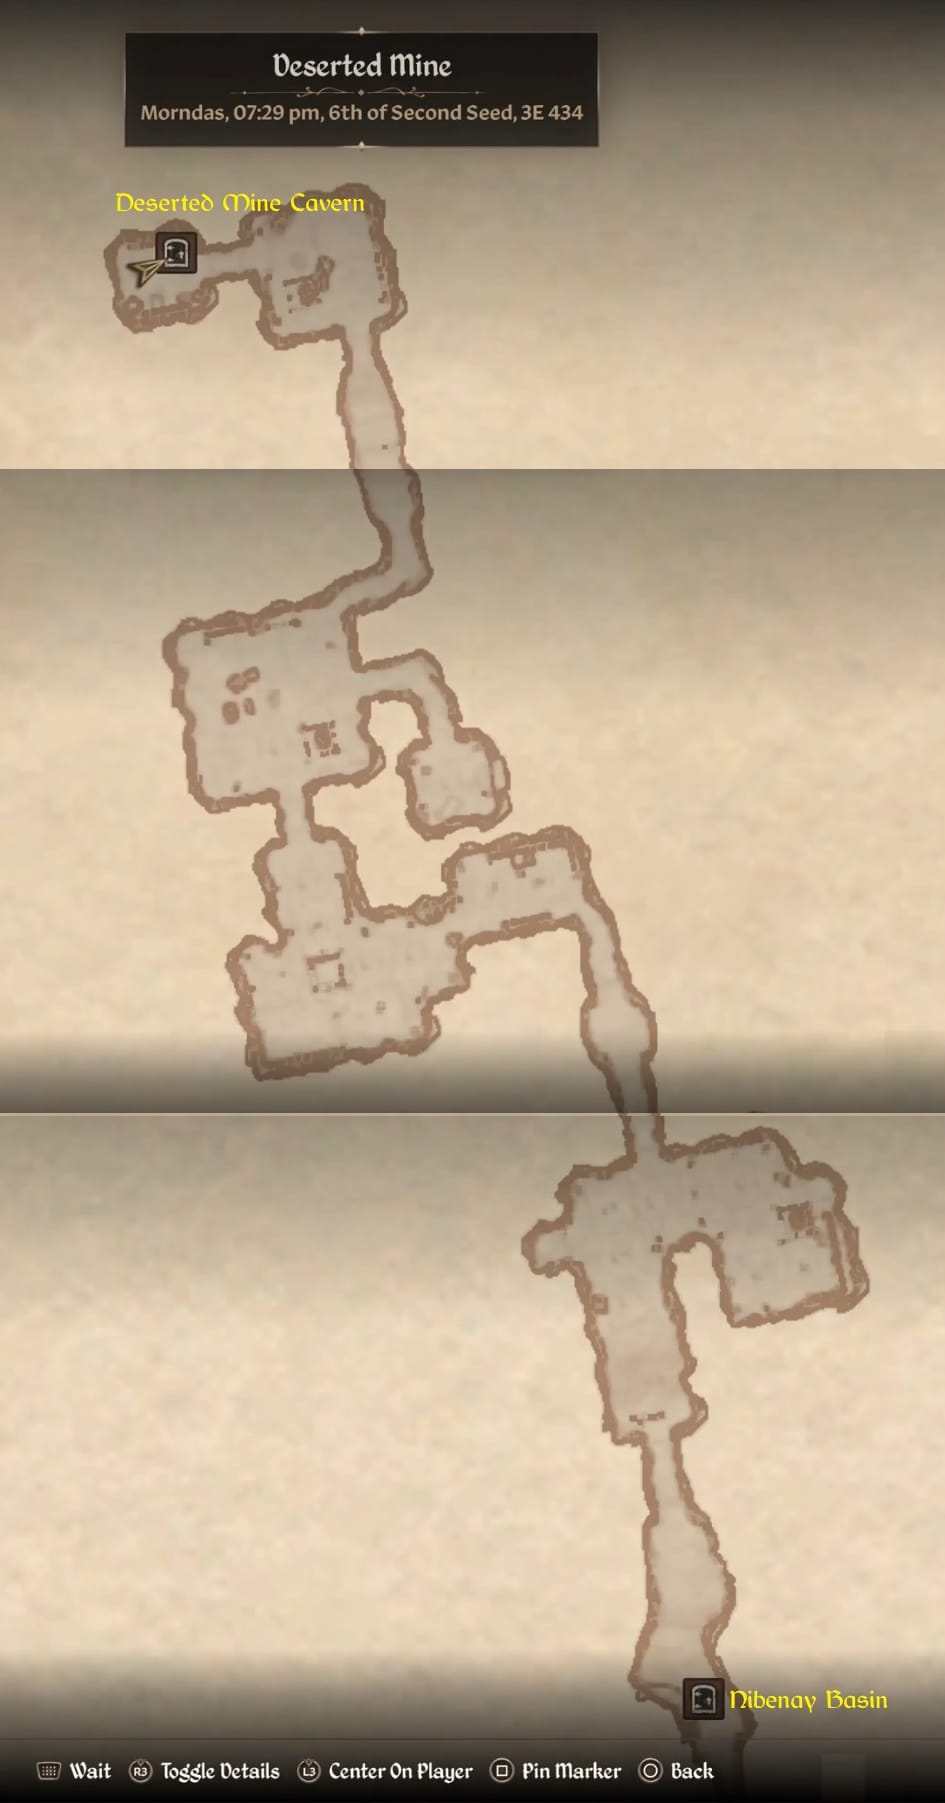
Explore the 2 zone Mine: the Deserted Mine and the Deserted Mine Caverns. There are a number of bandits scattered throughout to deal with. It’s a simple layout with a few small branches. It’s found in the Nibenay Basin.
Location
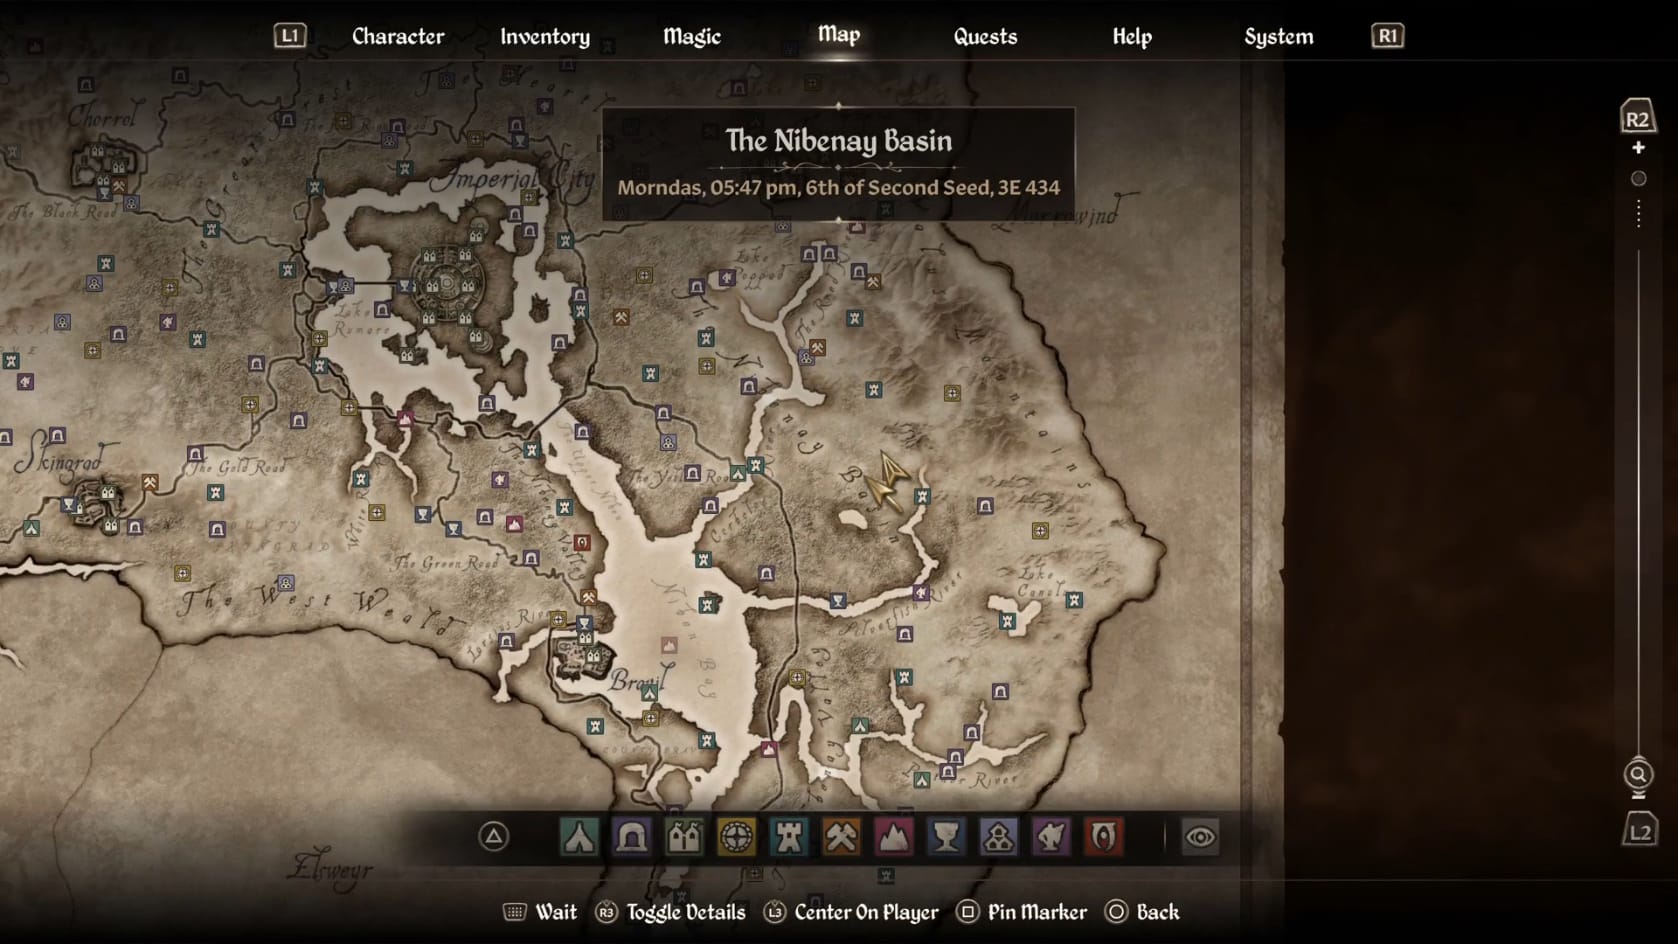
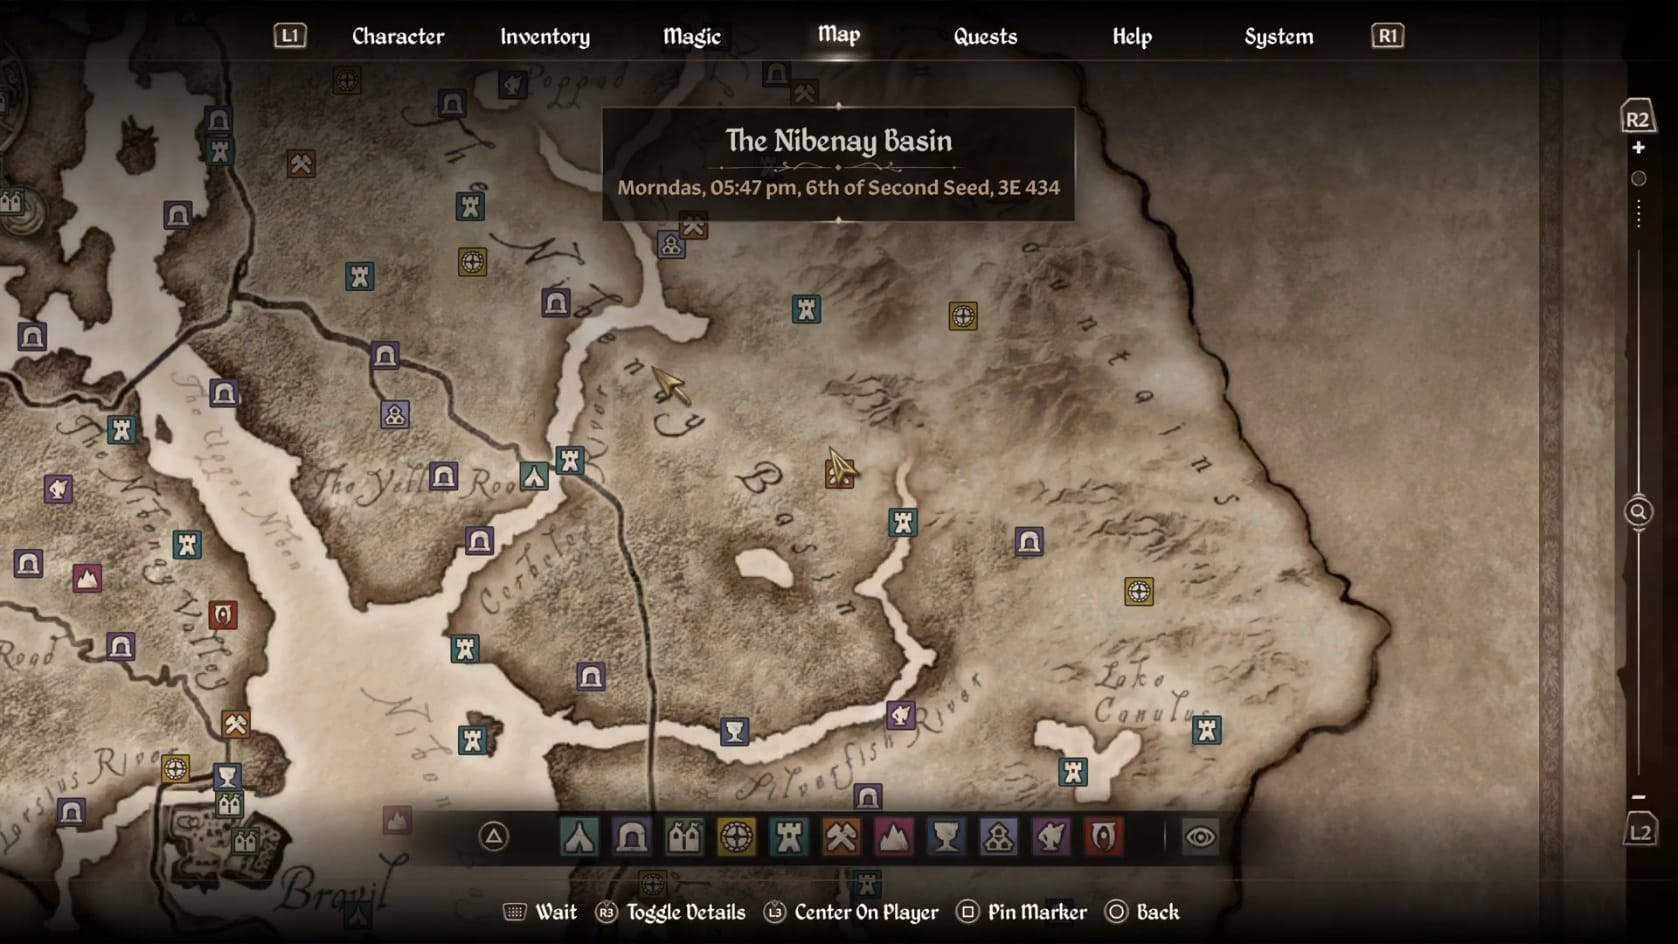
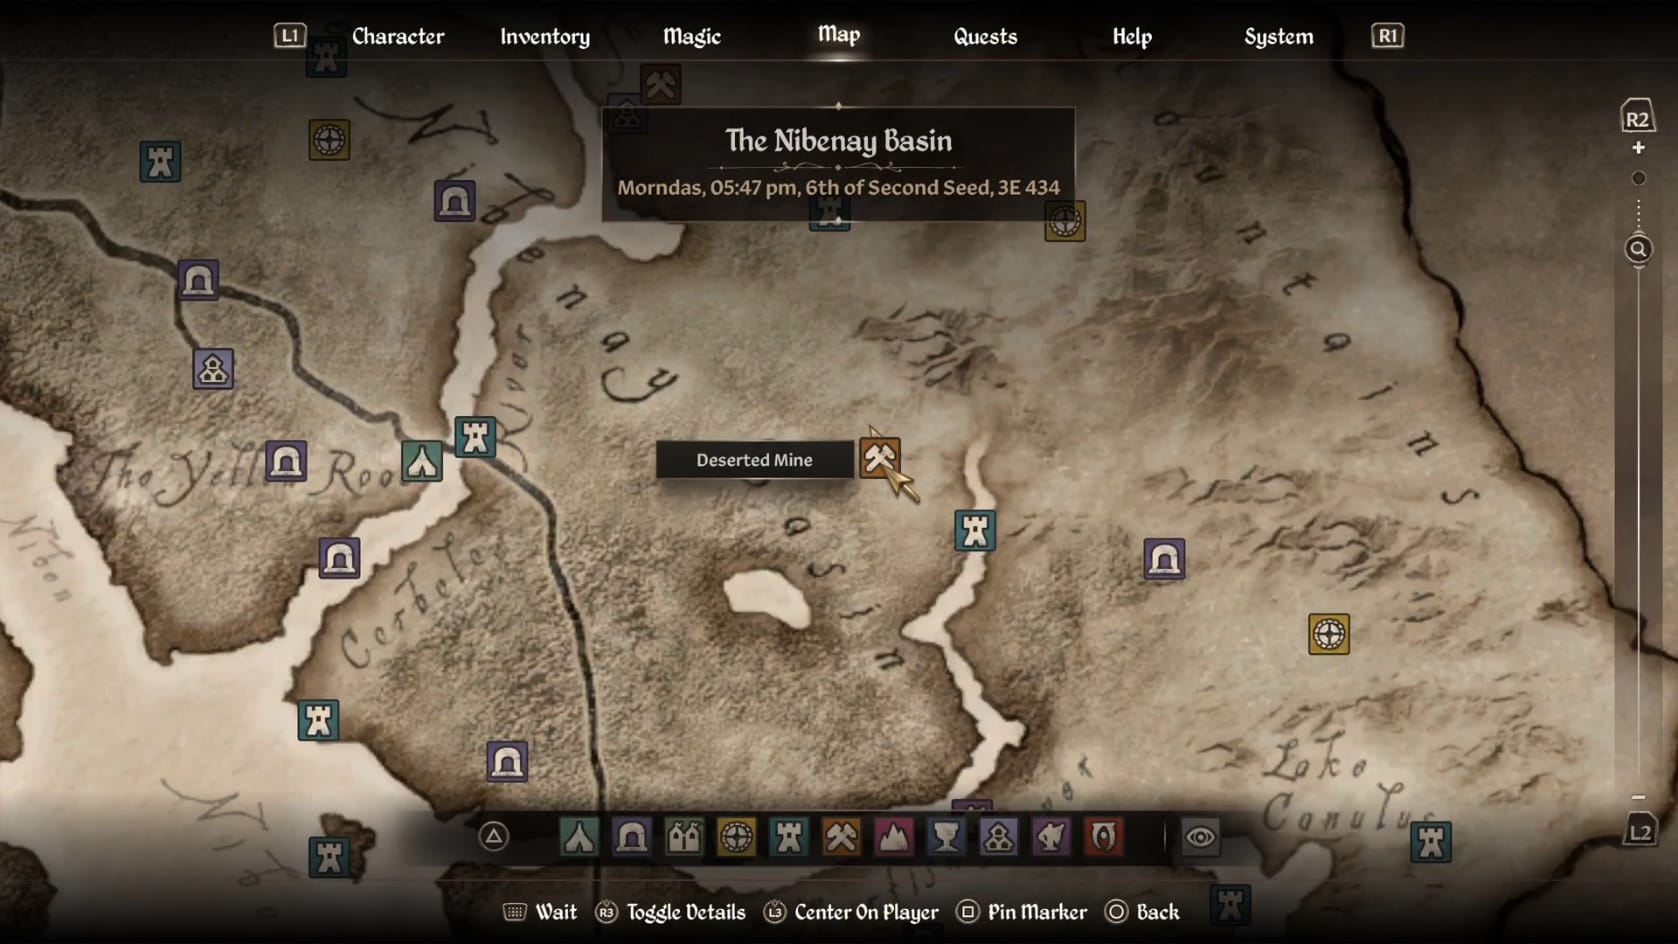
Location of the Deserted Mine in Cyrodiil
Walkthrough
Entrance
There can be nothing or a few animals around the entrance of the Mine itself. There are only a Monkshood and Motherwort plant found nearby it.
Deserted Mine
Inside the mine, head down the slope carefully. As you approach the wooden half-wall ahead of you, look to the ground. You’ll find a Tripwire. Either you can activate it, sending the logs on the other side of the wall. You can easily just jump over it. Continue down the slope to the first chamber.
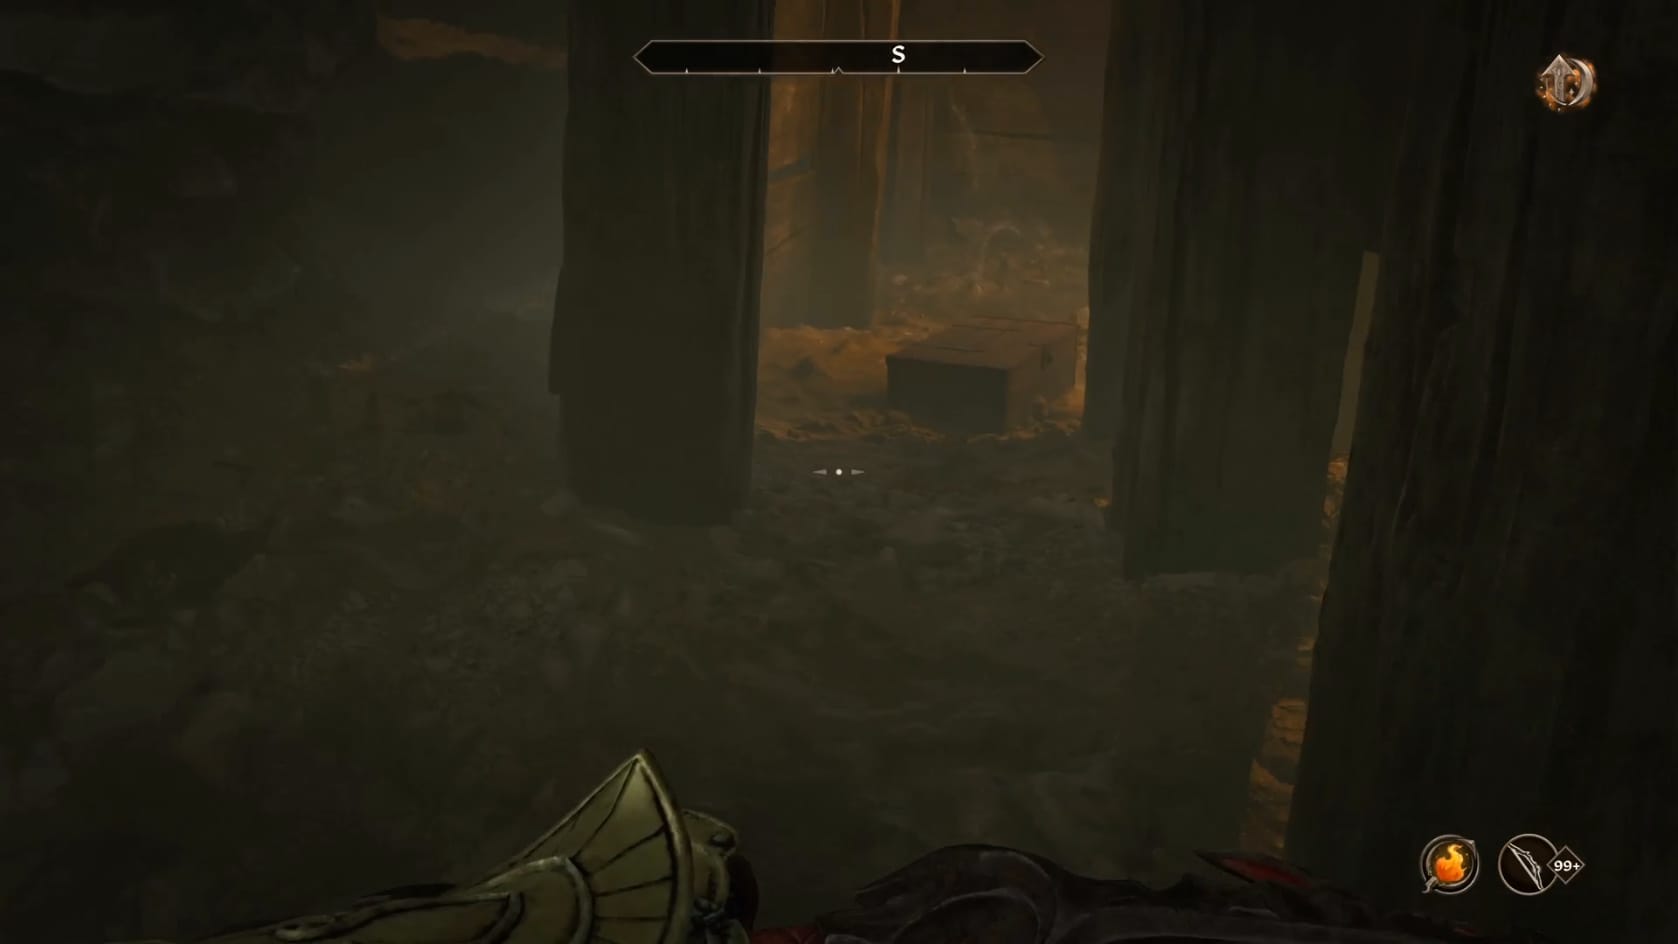
This first chamber can have a pair of bandits. Be mindful of the bandits and deal with them as you desire. Move to the Southern part of the chamber. You’ll find a large support structure. Sitting on the Southeastern side of that is a Chest you can loot. Head to the Northwest after that and through the tunnel there. Follow it to the North.
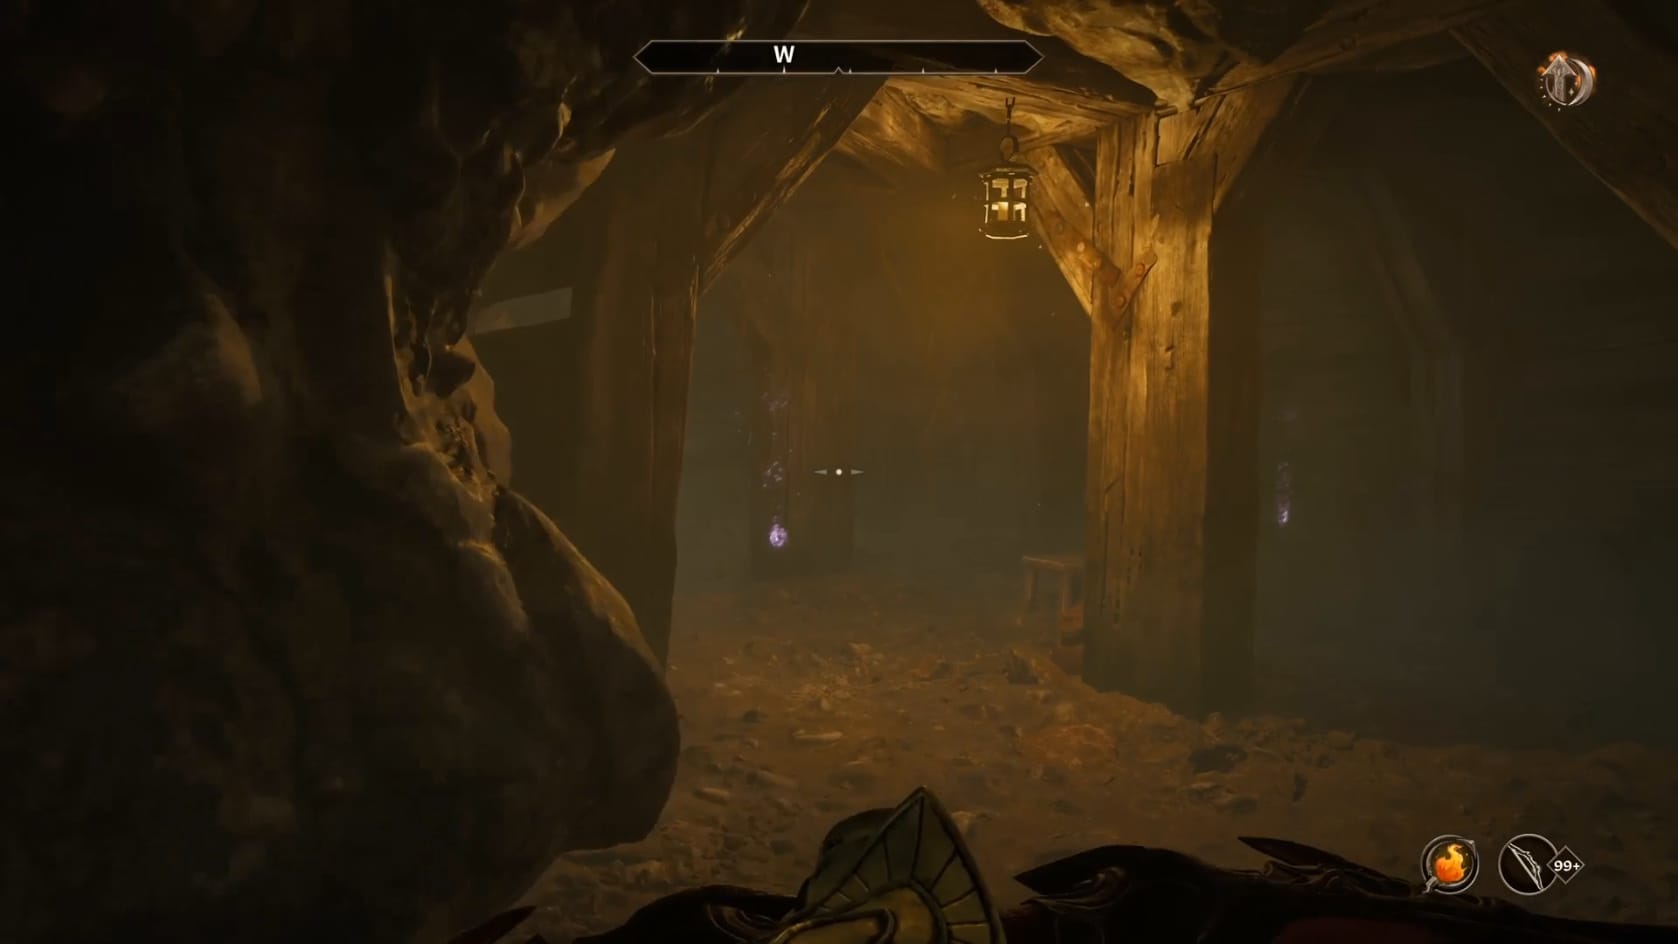
Going down this tunnel, you’ll reach another chamber. It has another Bandit moving through it. Defeat them and head to the North. You’ll find the rest of the room. Look to the North to find a pair of Bandits, who occasionally talk to each other. There’s a third nearby patrolling a different section of the chamber. Move to the center of the chamber and look on the right-hand side of the pillar there to find a Chest.
With that chamber cleared, head out of it to the Northeast. Follow that passage to the next chamber. Here, pick off the Bandit nearby the entrance. You can also see a chest sitting in front of a Chest ahead. It sits just in front of a broken crate on the left-hand side of the chamber.
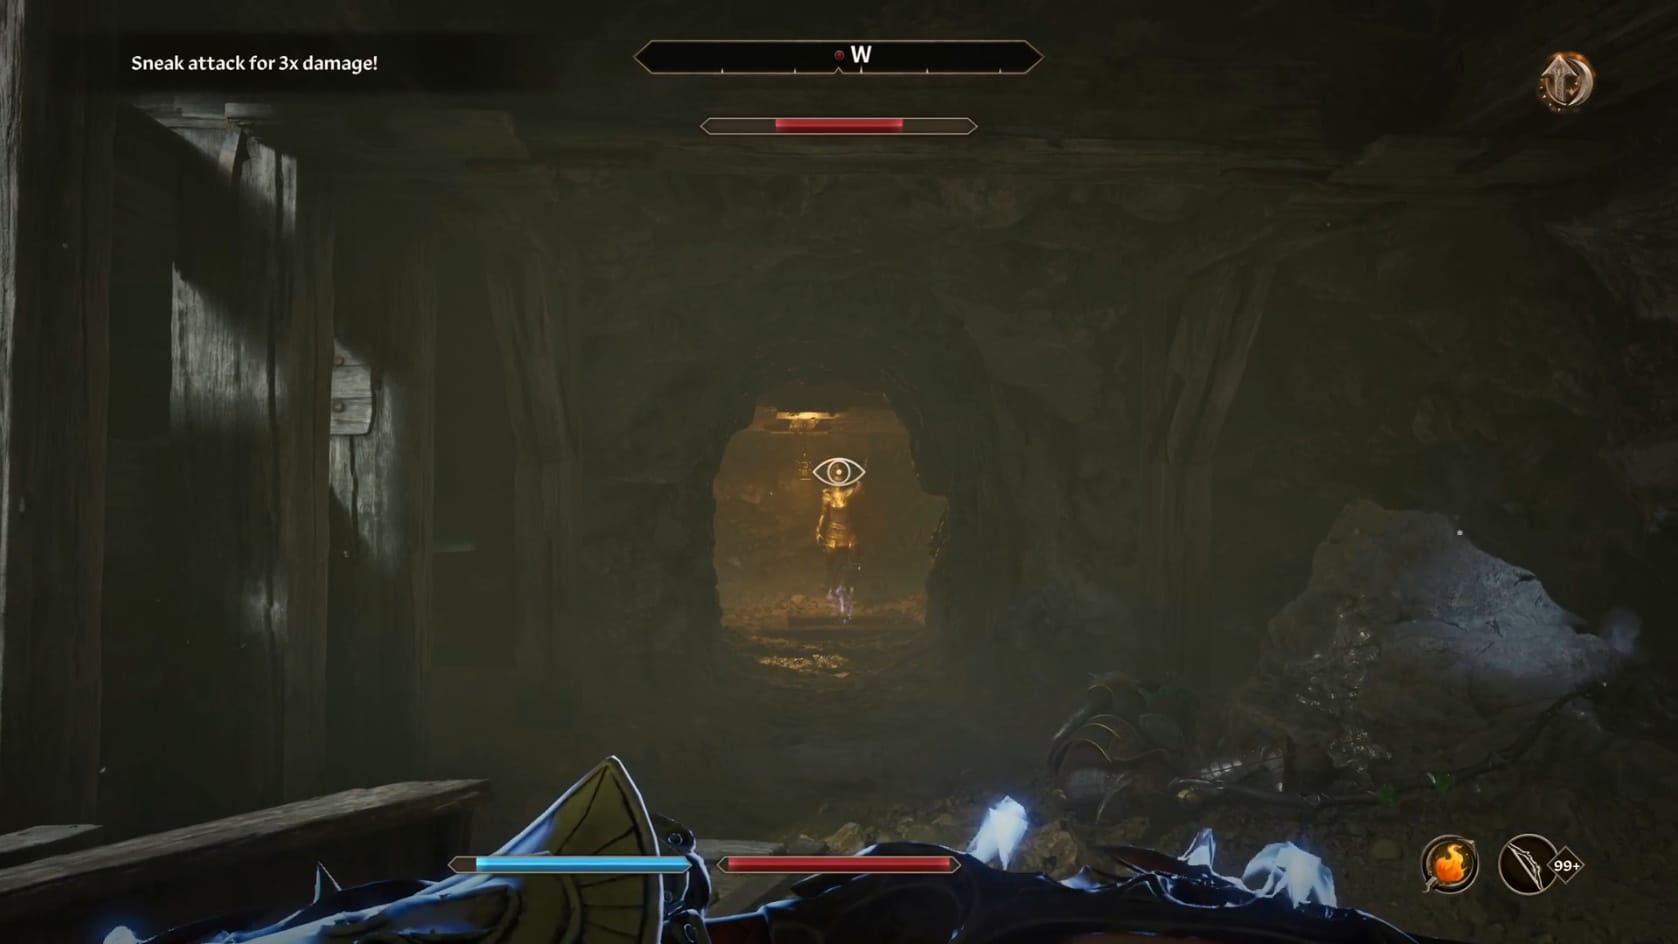
Move to the Northern side of the chamber and look to the West. You’ll see a small chamber there with another Bandit. They’re guarding the entrance to the Caverns. Look to the left of the Caverns entrance. You’ll find a Chest that you can get.
Deserted Mine Caverns
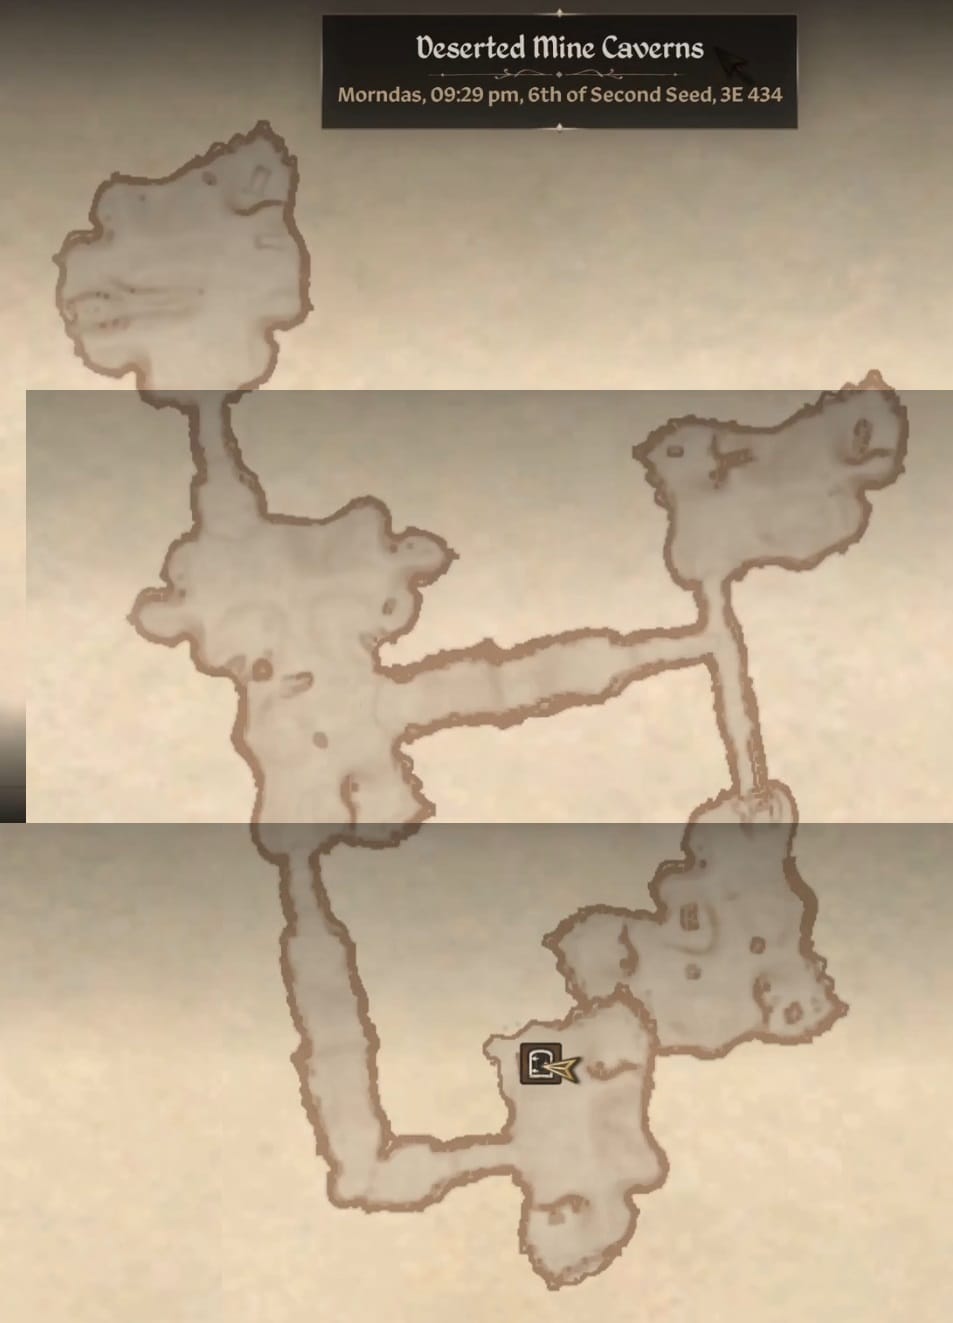
Inside the Caverns, you will want to head to the Southern part of the chamber you arrive in. Sitting on the right-hand rise there is a Locked Chest (Average). Open it up and then look to the Western wall to find the path out of this chamber.
Traveling through this tunnel, be mindful of the Bandit that can be patrolling here. Follow the tunnel as it bends to the North and slopes downward. Follow this to reach the next larger chamber.
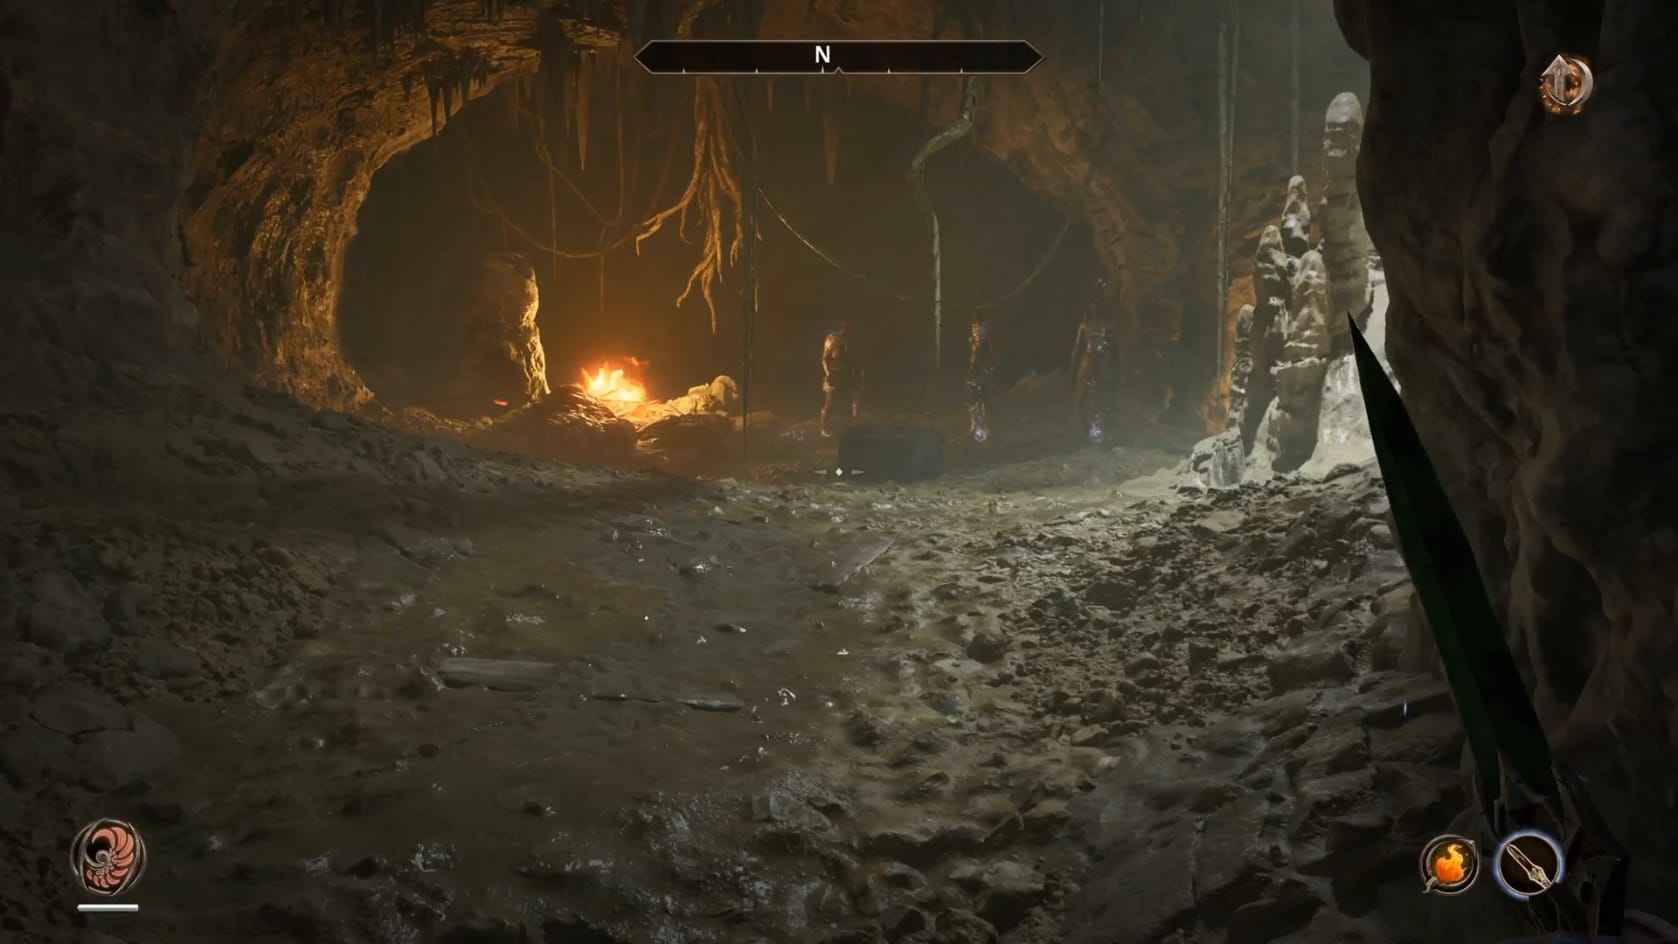
Inside this chamber, you can find a few Bandits. Pick them off or just fight them. Sitting nearby the middle of the room is a Chest. Continue to the Northeastern corner of the room to find another Chest. Continue deeper into the Caverns by heading North.
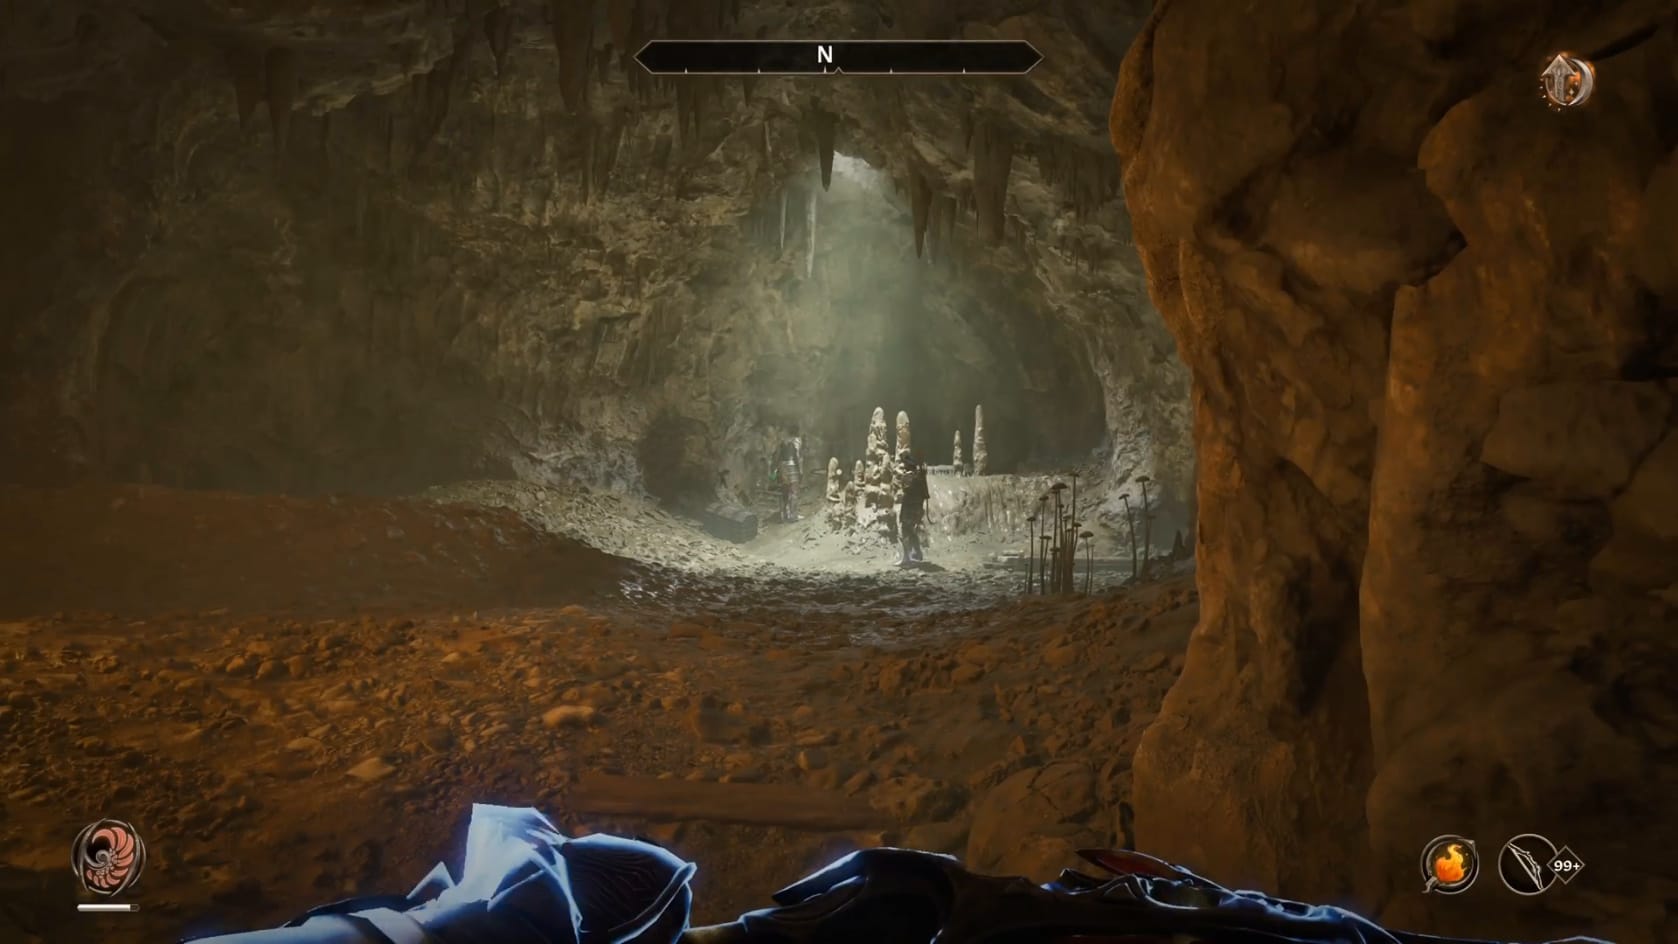
In the next chamber, you can see another pair of Bandits. Sitting along the Northern side, nearby the rise is a Chest. After that, turn to the South and head through the tunnel there. In the adjoining chamber, head across it to the Eastern tunnel. Follow this downward then turn to the North.
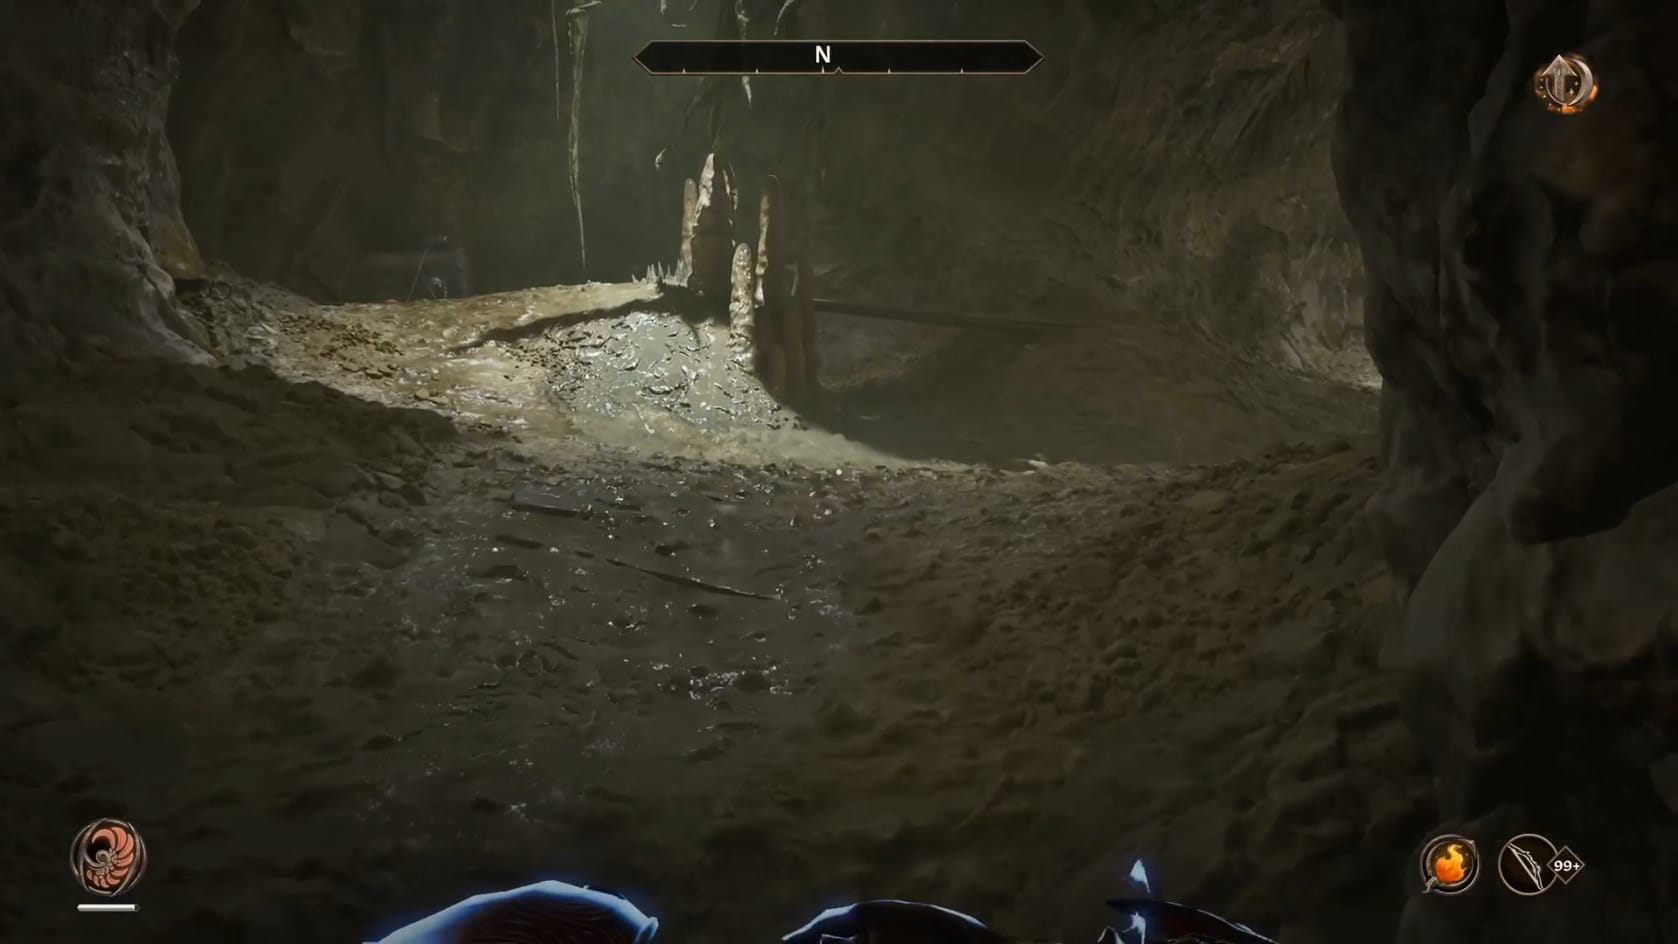
There is a Chest sitting in the Northwestern corner of this room with an Iron Warhammer and Iron Helmet sitting in front of it. Do be a little mindful of the Bandit patrolling the chamber as you explore it.
The sealed chamber
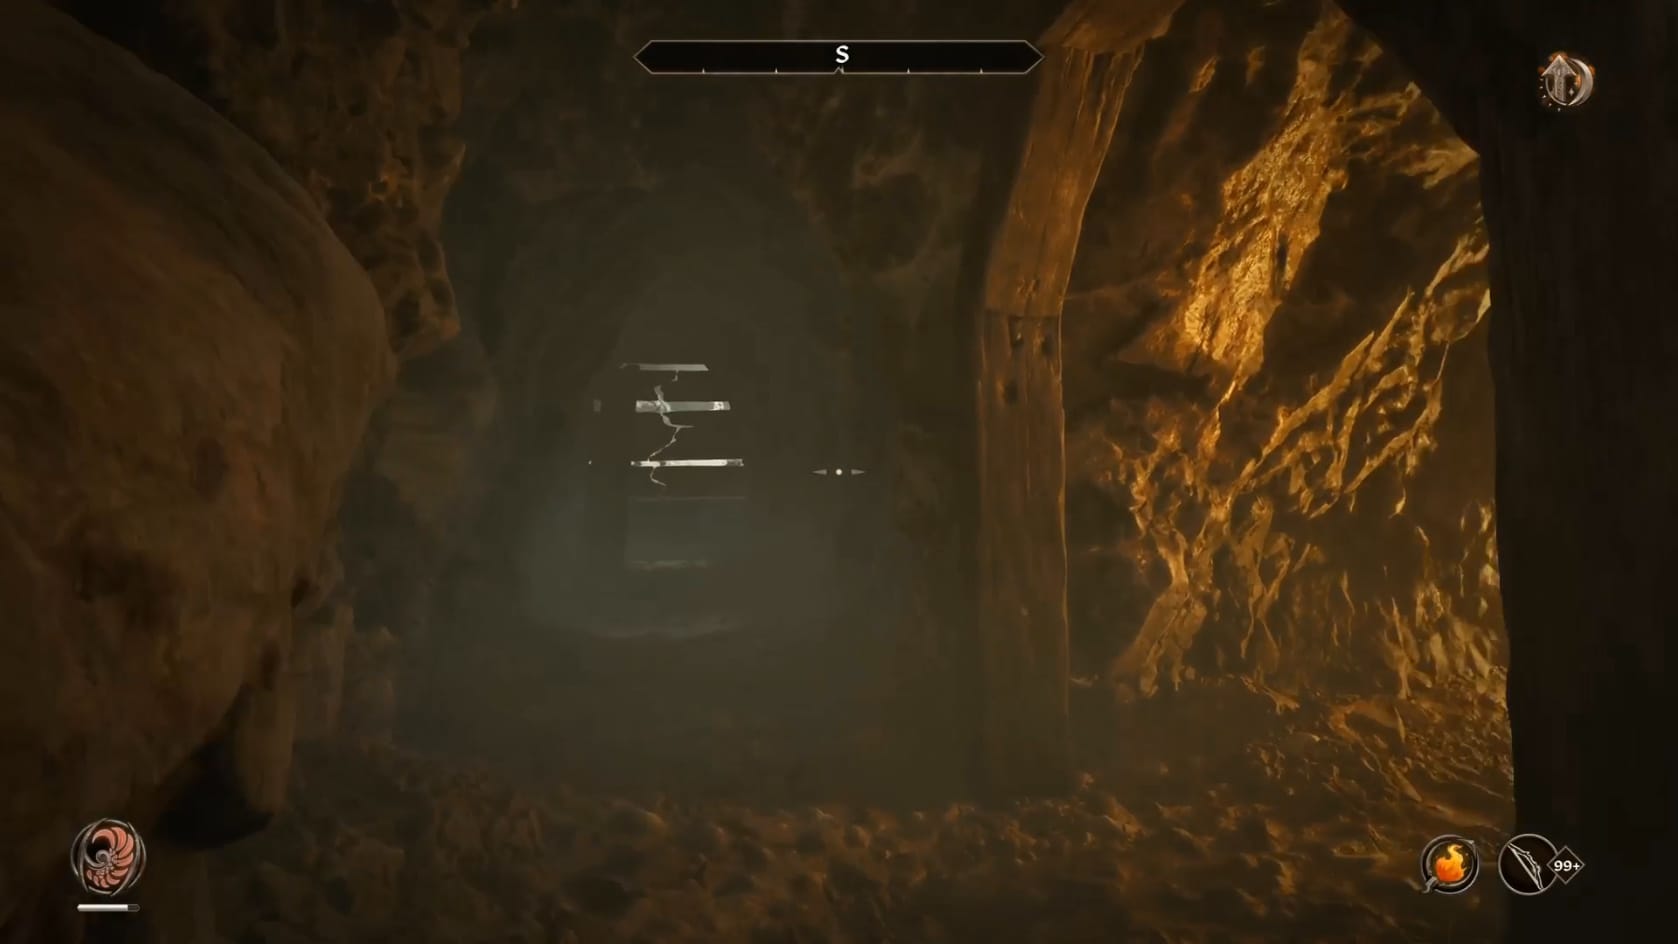
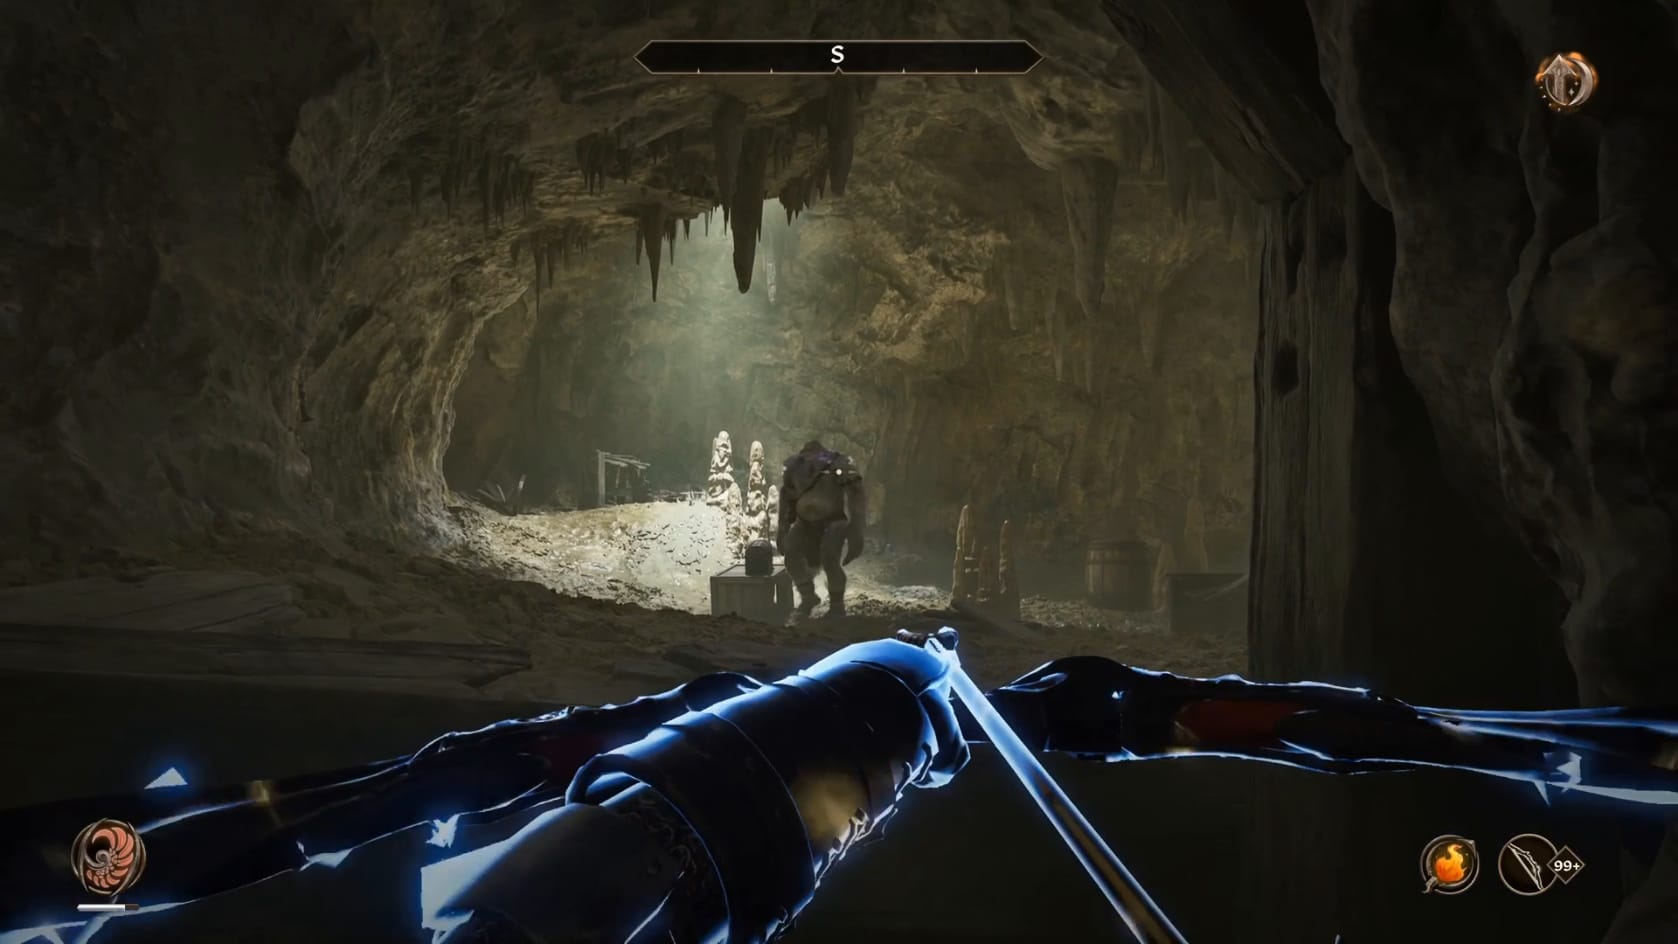
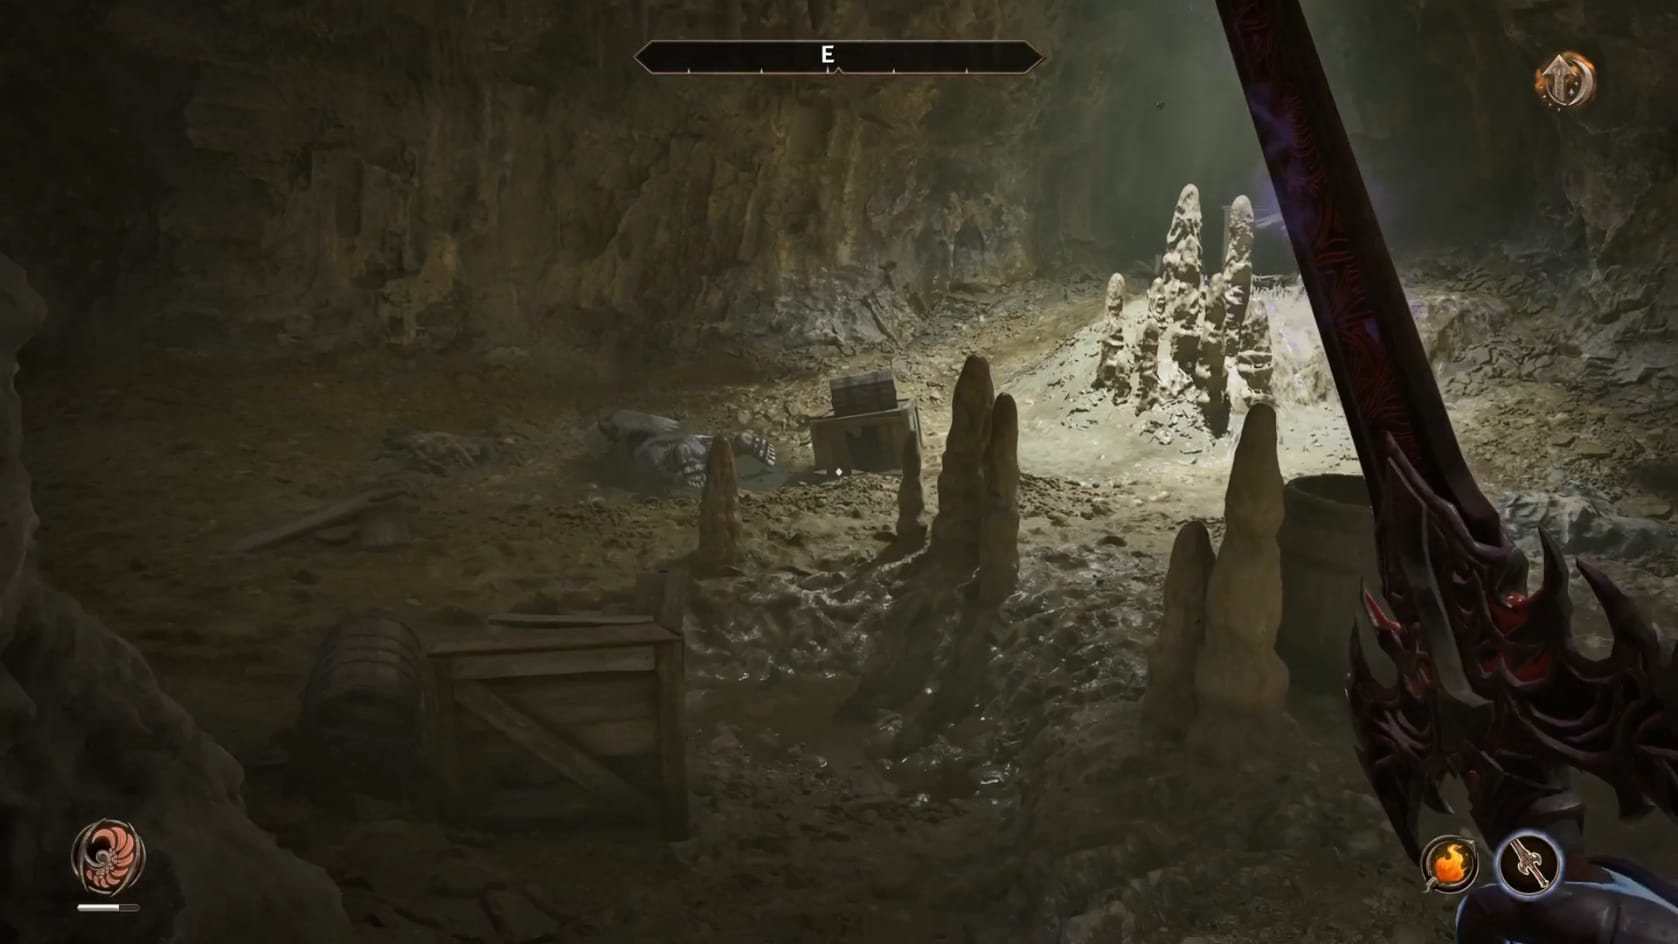
Go back to the tunnel you entered from and look straight across to the South. You’ll see a set of Cracked Planks. If you interact with those, you can break through and get at the Monster behind them. Go forward to the middle of the room to find a Chest sitting on top of a Crate. Search the room for other lootable objects, mostly crates and barrels. If you got a little to the West from the Chest on the crate, you can find a broken crate in the Northern part of the room. Just just next to it is another Chest.
After all that, you’ve explored the Mine. Make your way back outside.