Elder Scrolls IV: Oblivion Remastered – Garlas Agea Guide
Explore Garlas Agea in Oblivion Remastered, an Ayleid ruin filled with Necromancers, undead enemies, poison traps, Welkynd Crystals, Alchemy gear, and valuable loot.
Summary
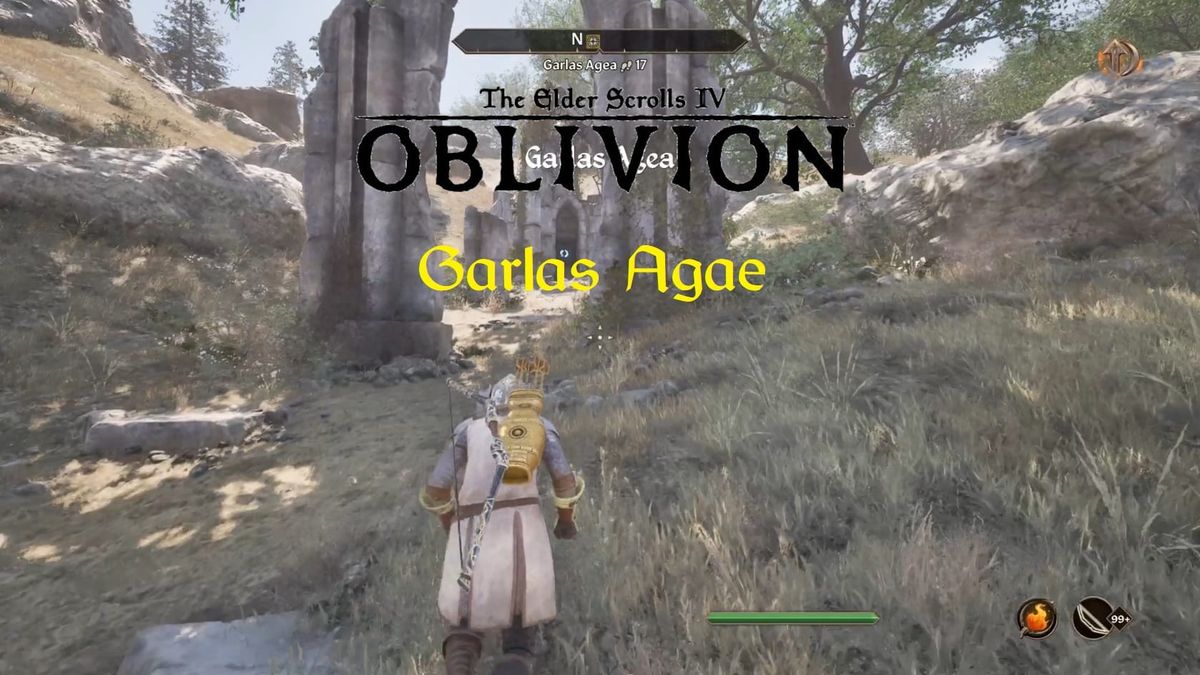
Explore the Alyeid Ruin Garlas Agea in detail. Reach all the rooms and defeat the Necromancers and undead minions within. This small Alyeid ruin sits roughly halfway between Kvatch and Anvil.
Location
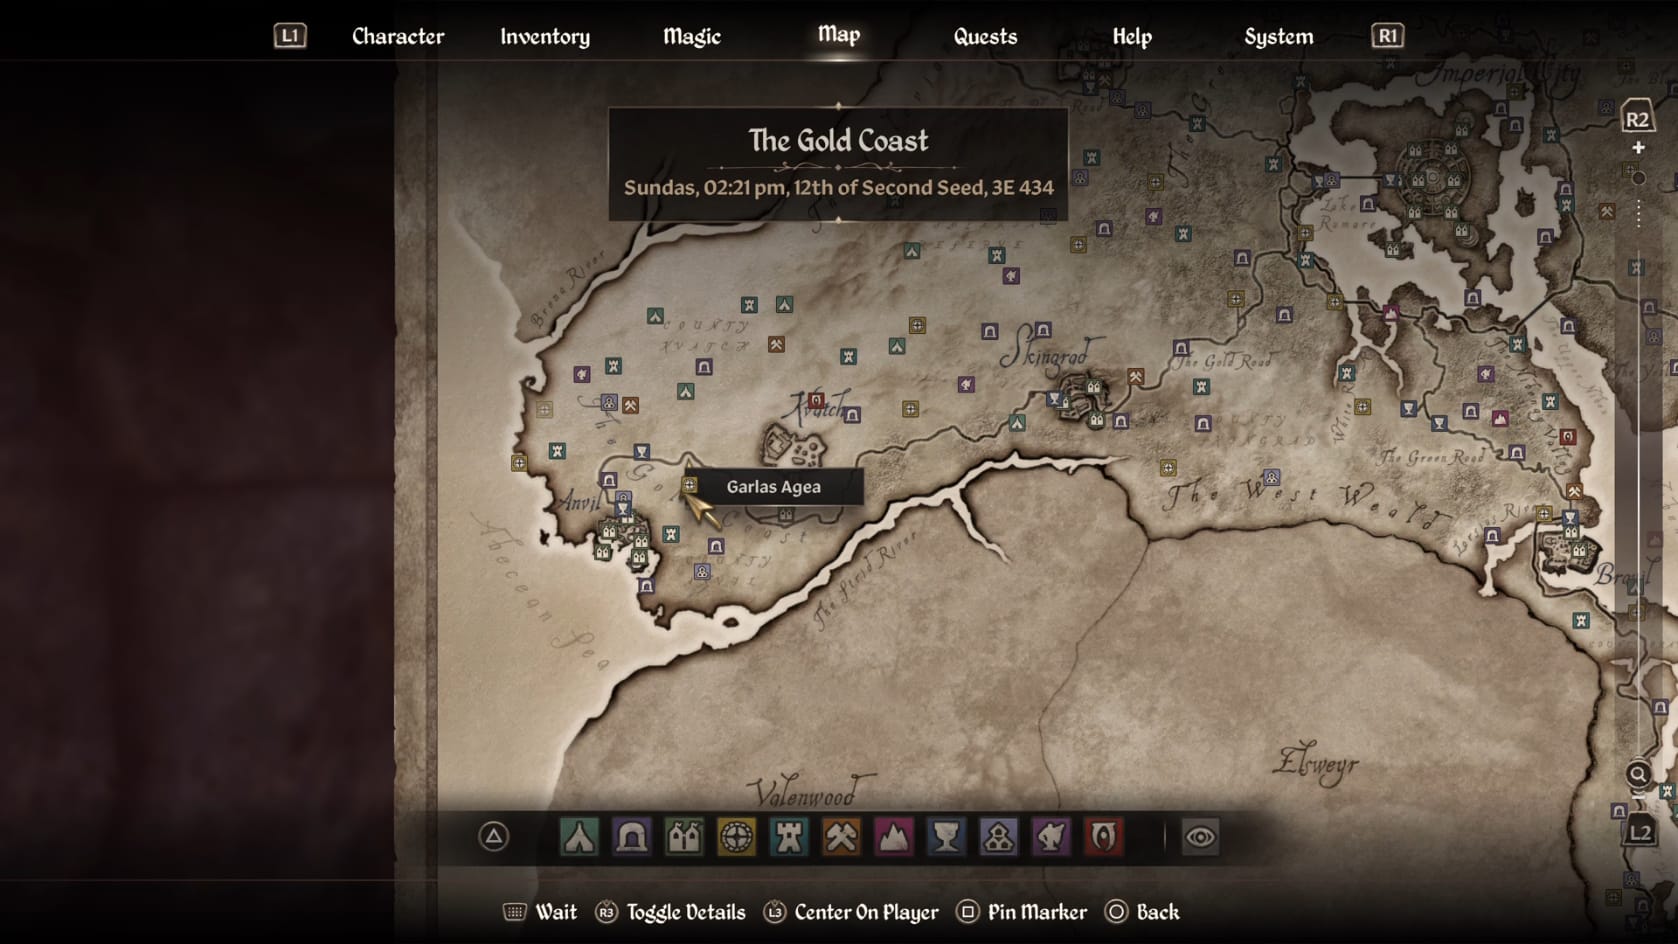
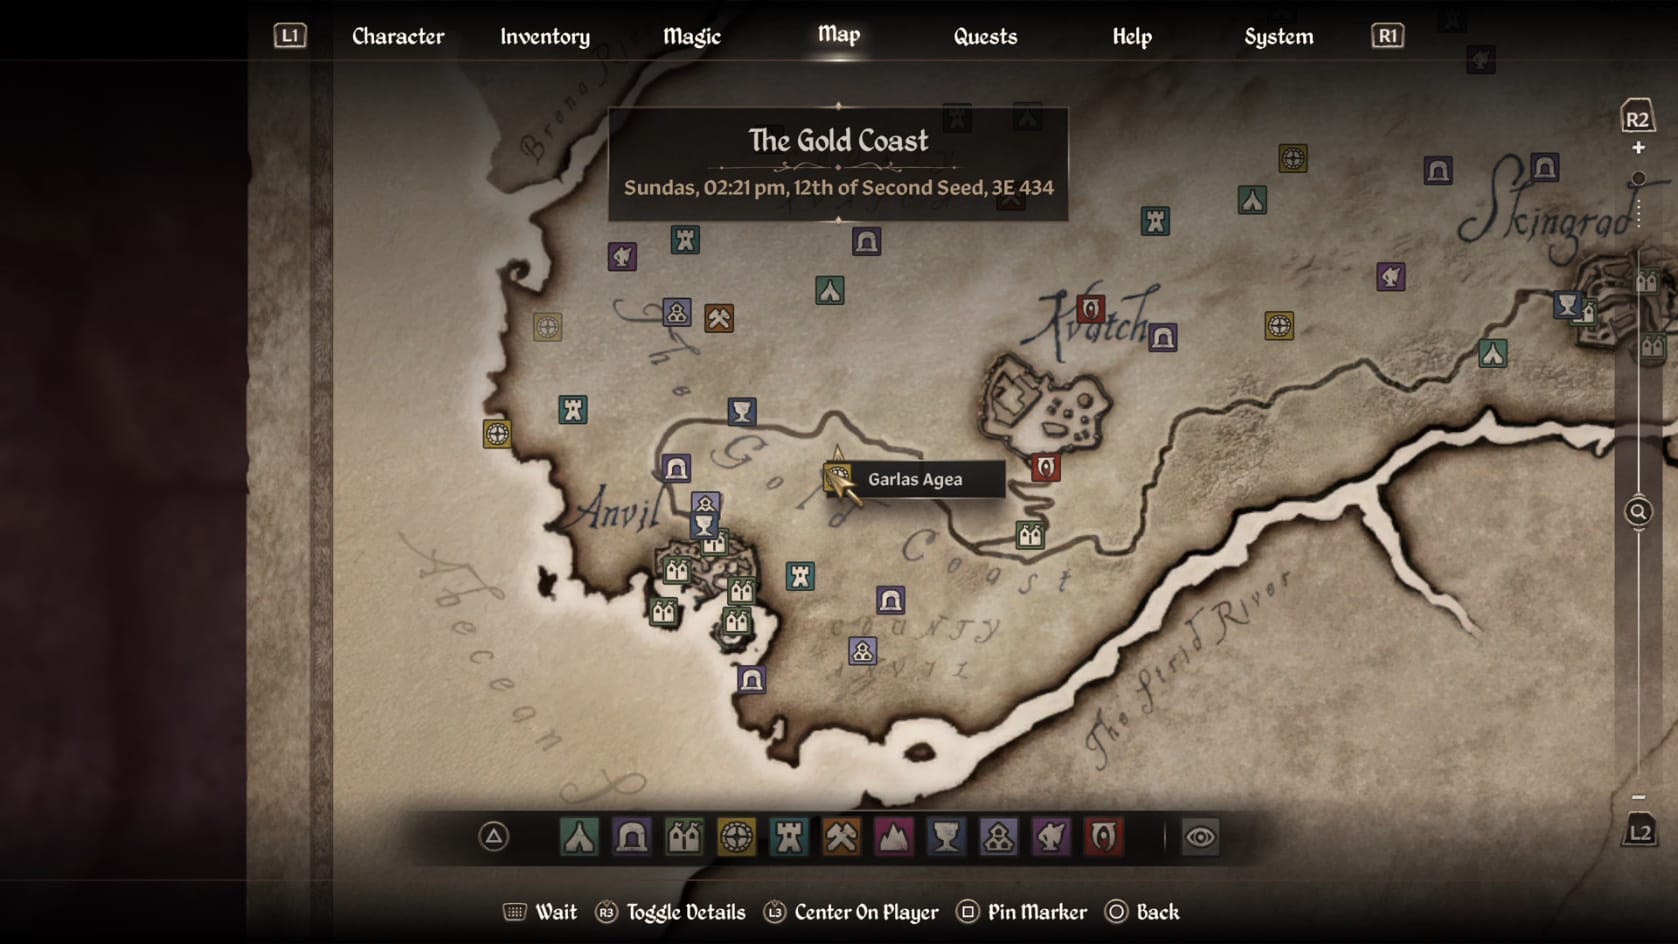
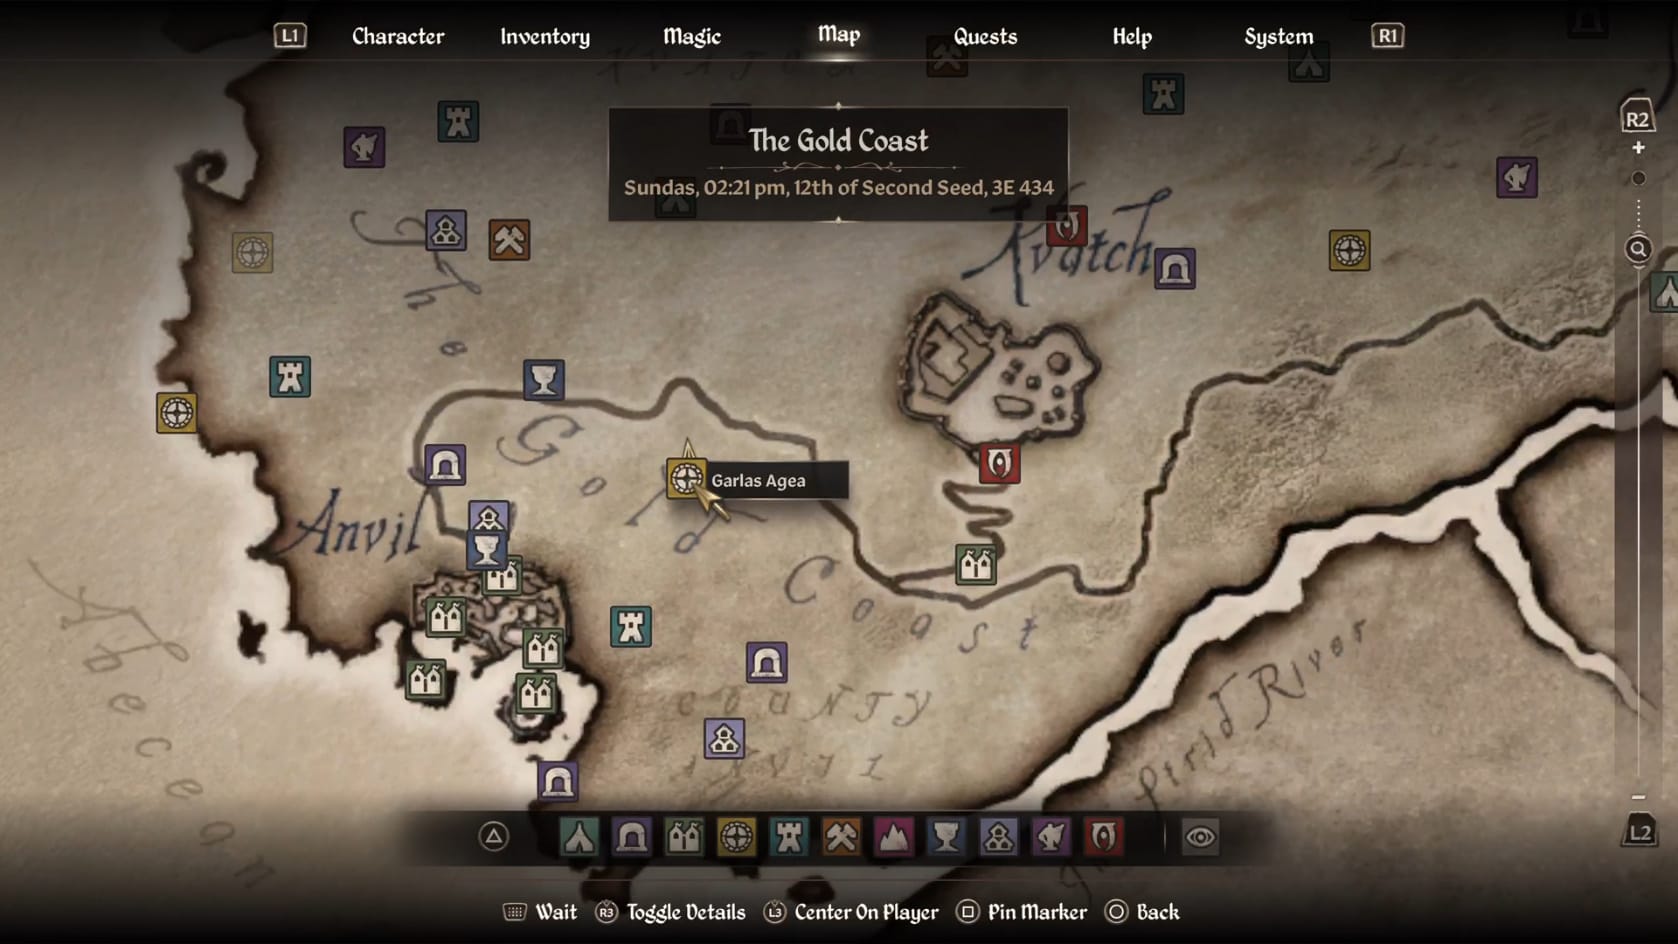
Location of Garlas Agae in Cryodiil
Walkthrough
Entrance
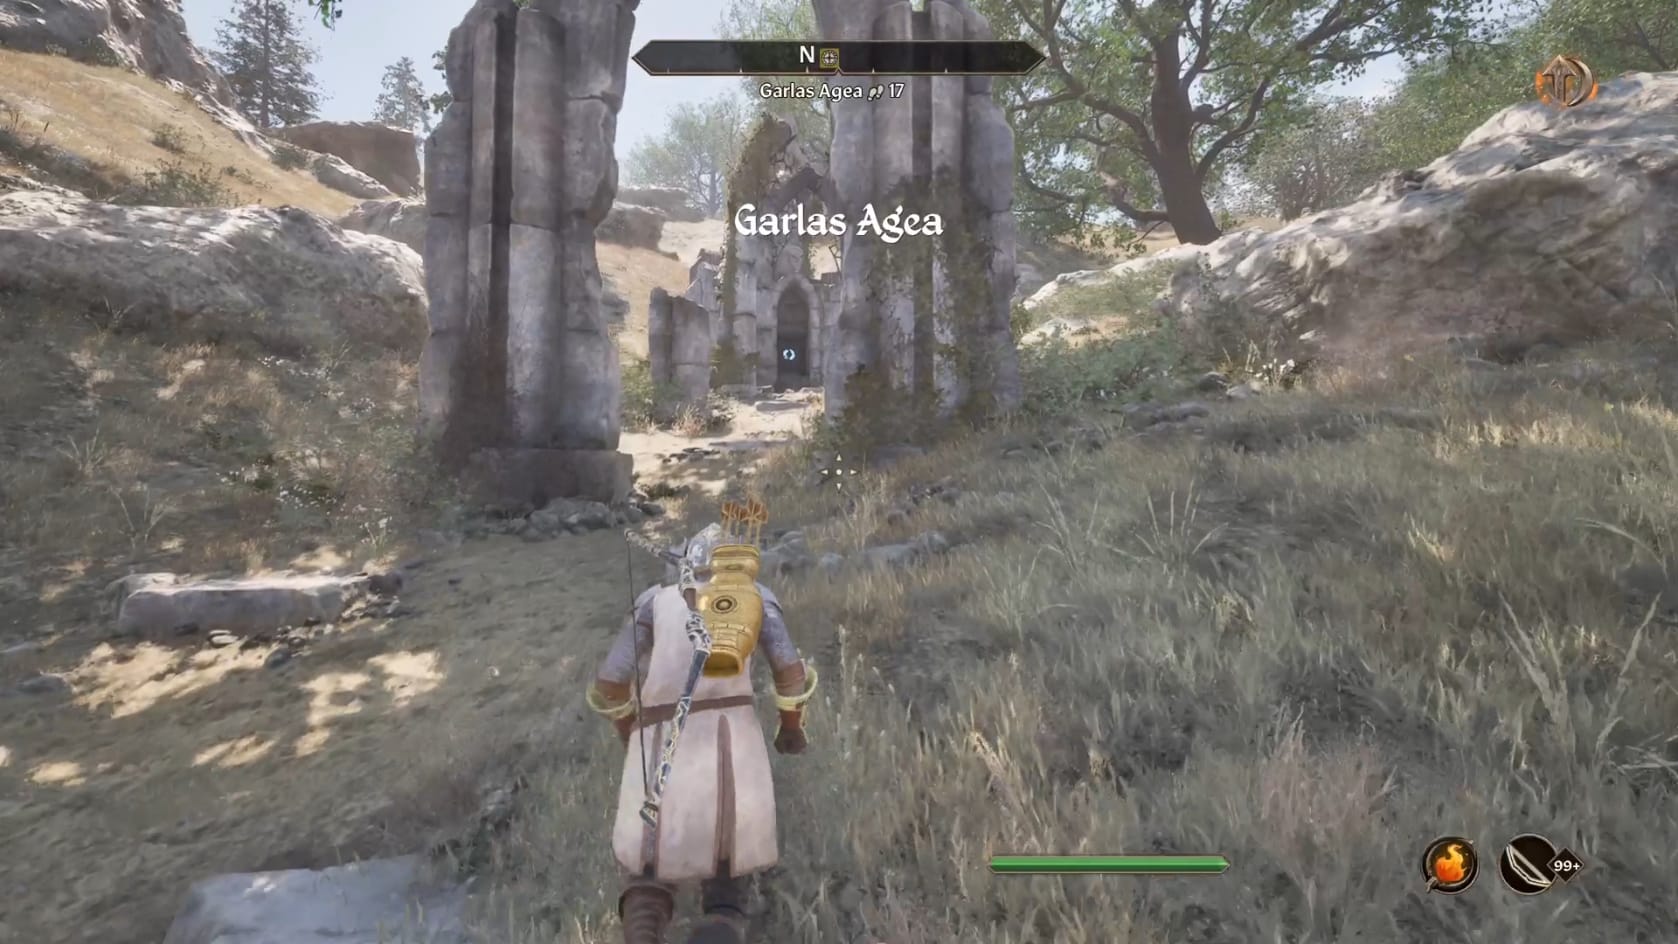
Outside the entrance of Garlas Agea, you can encounter wilderness creatures. There are some useful plants scattered around the entrance hall as well: Aloe Vera, Fennel, Flax, Lady’s mantle, Milk Thisle, and St Jahn’s Wort.
There’s nothing of note beyond that at the entrance. Head on inside.
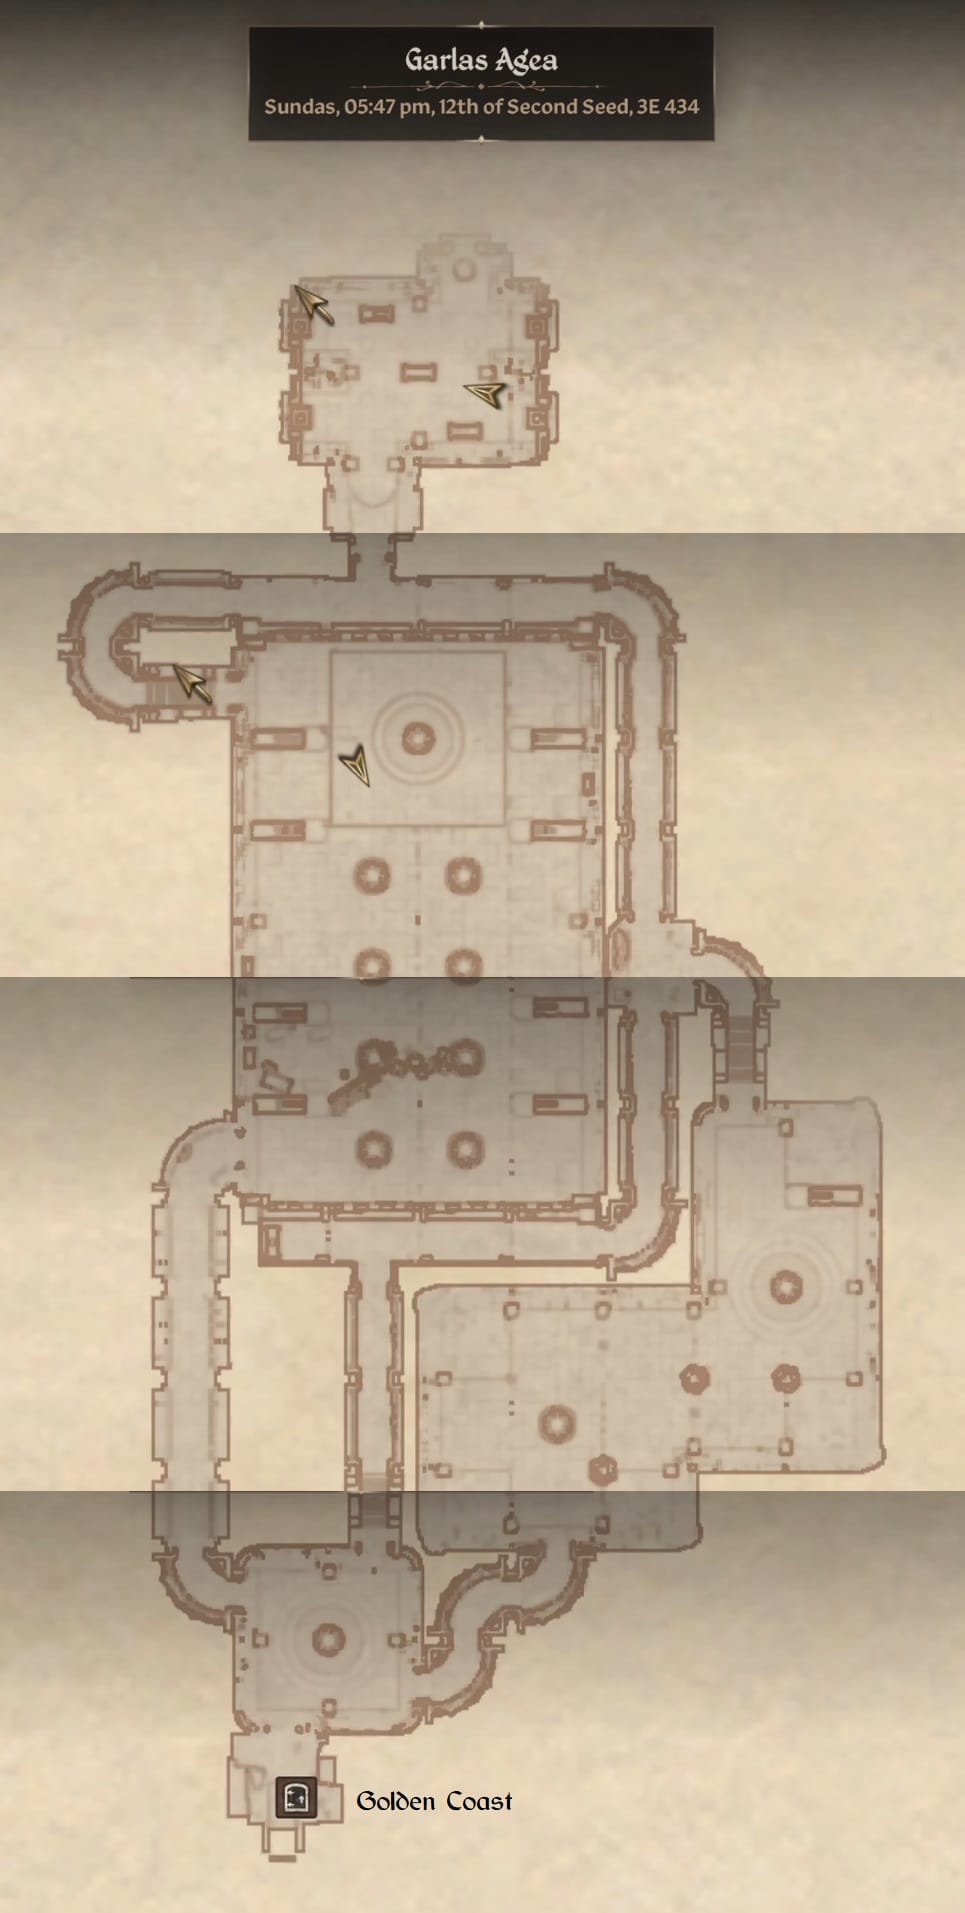
Go down the stairs to the first chamber. This has 3 corridors that lead off from it: to the West, North, and East.
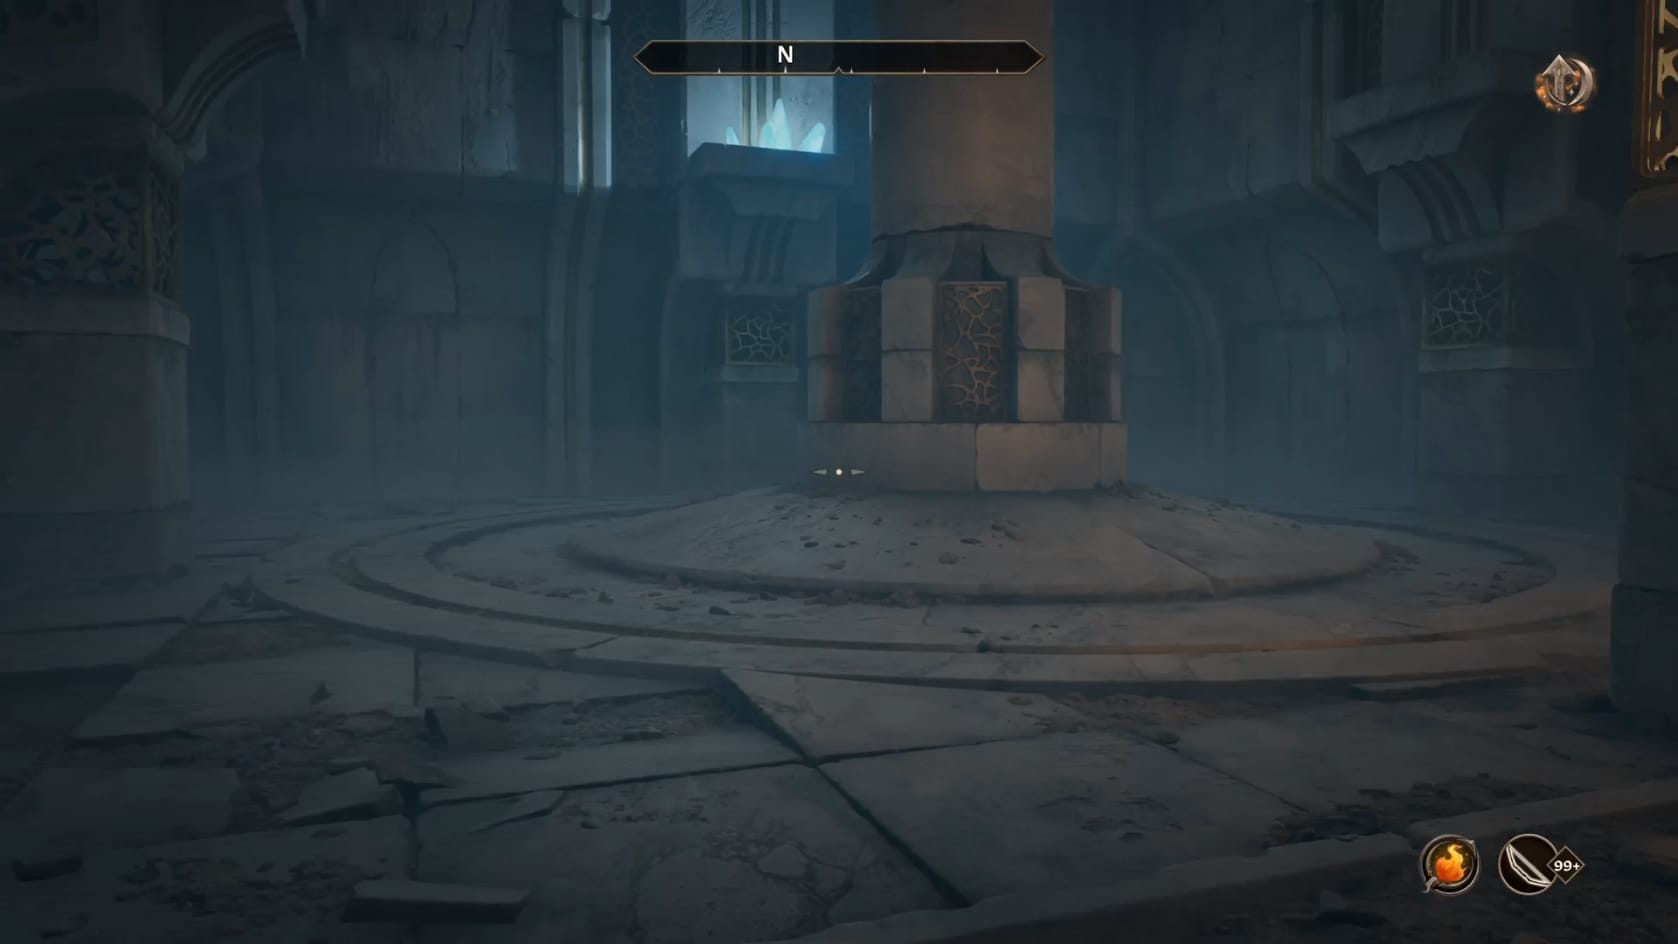
Each leads to the back of the Ruins, but follows a different amount of challenge.
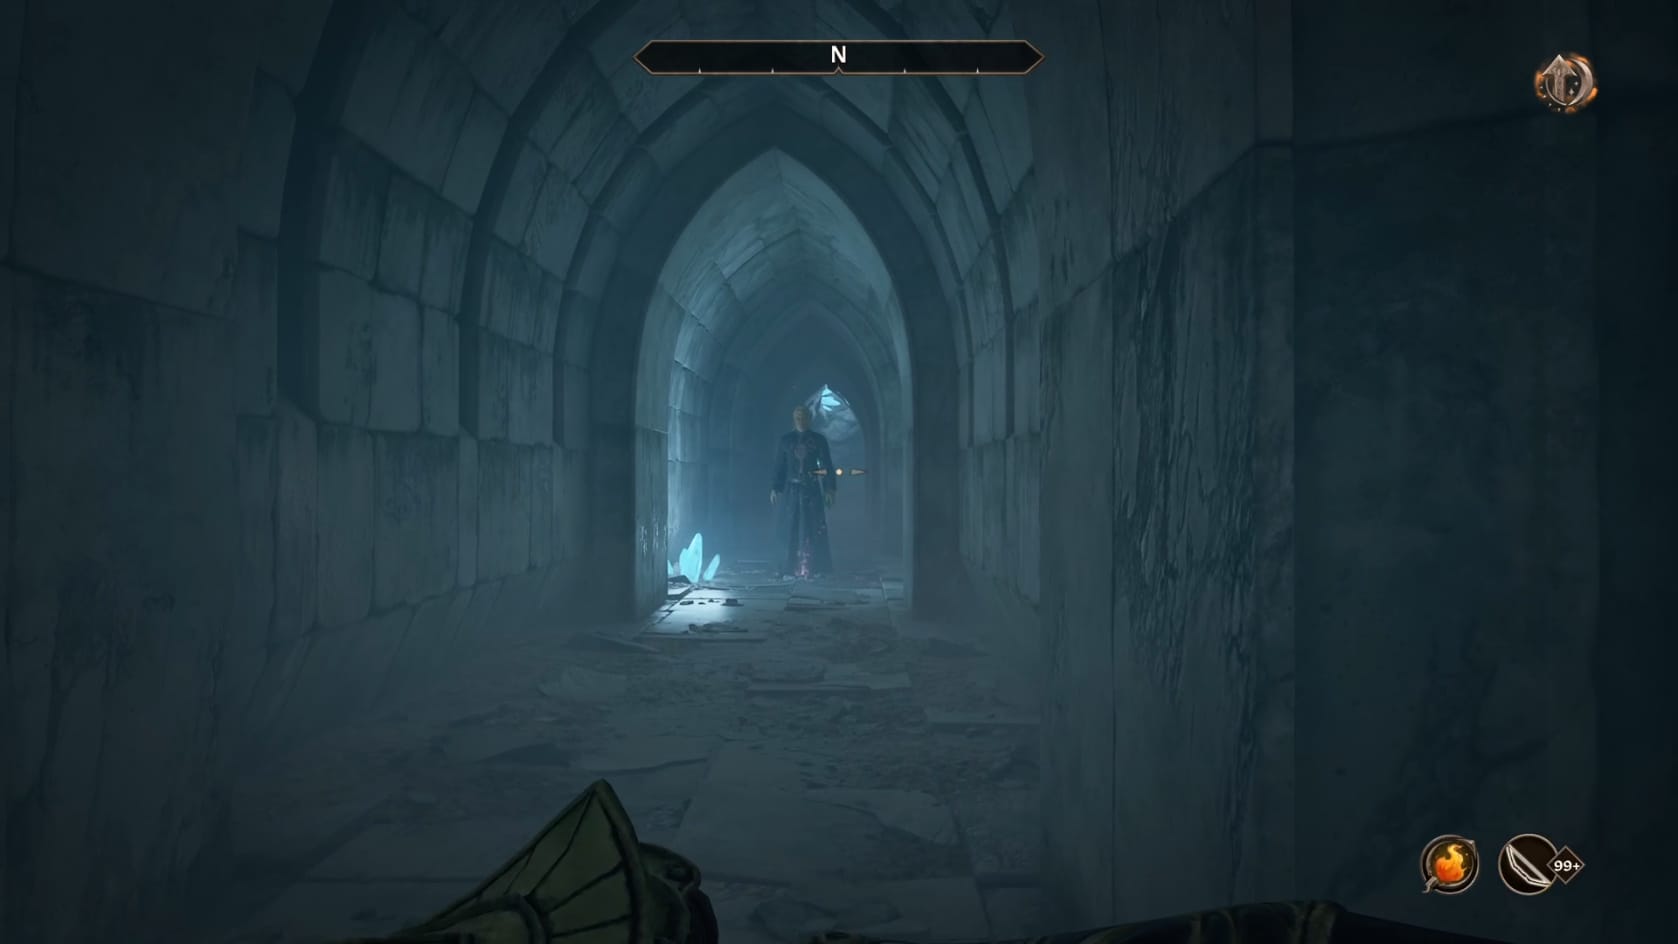
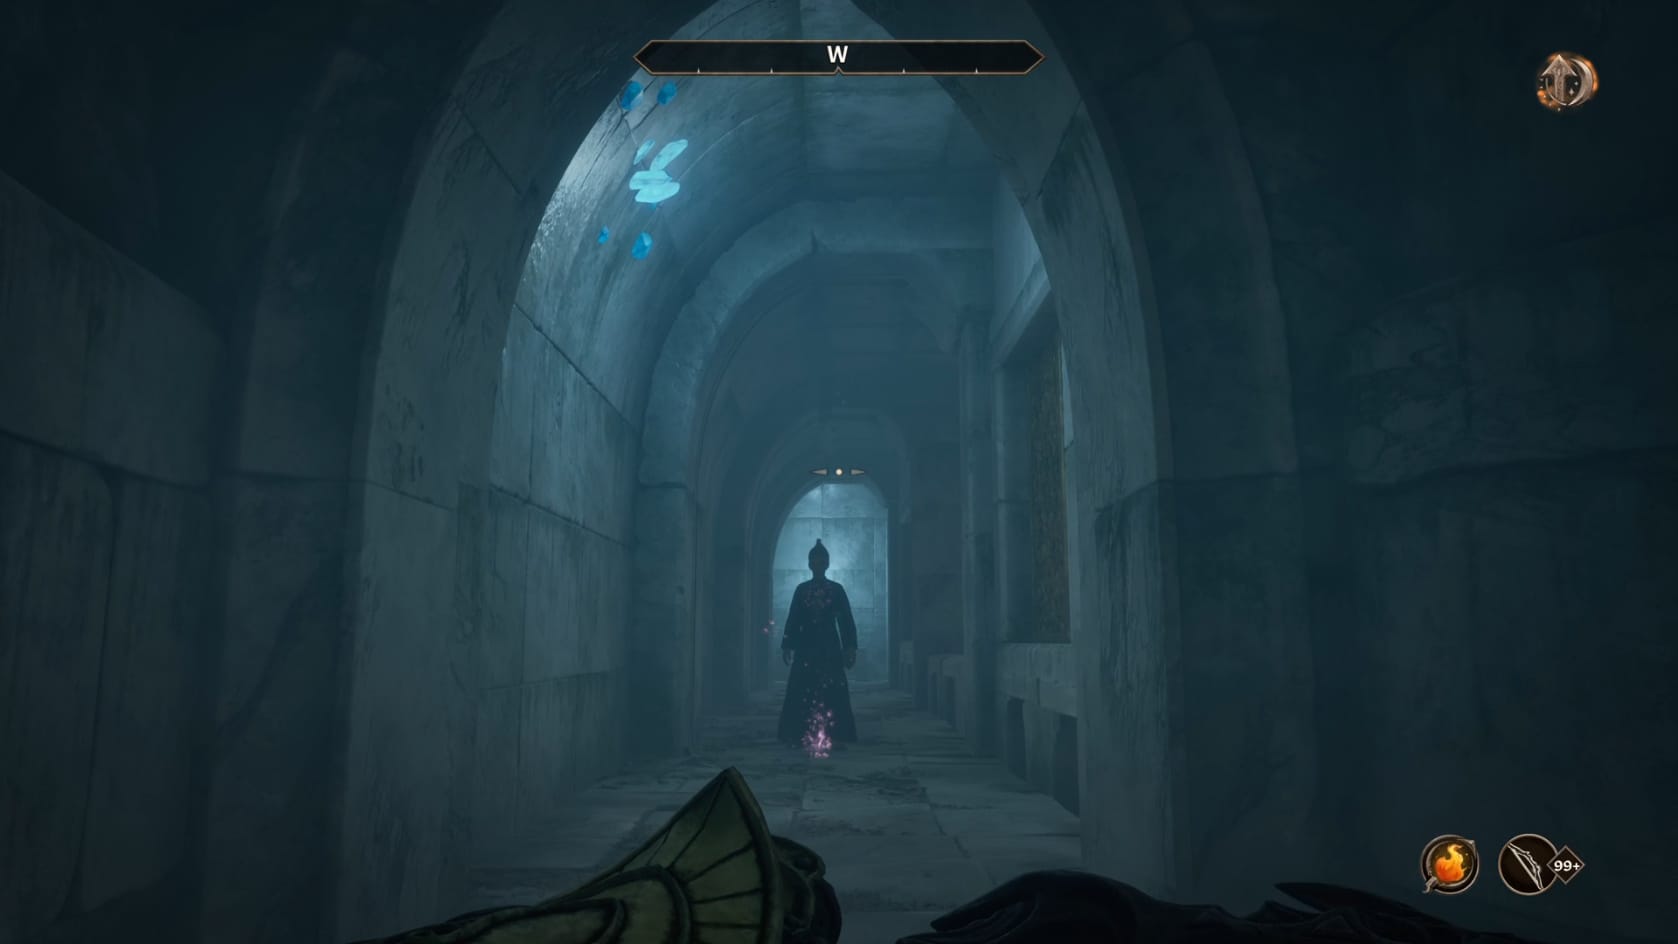
Going down the Western corridor, there will likely be a Necromancer none to far into it. But it’s not as safe as it looks. As you approach the Necromancer, they will start to run back (if they notice you) and trigger the swinging blade traps that fill the second half of the corridor.
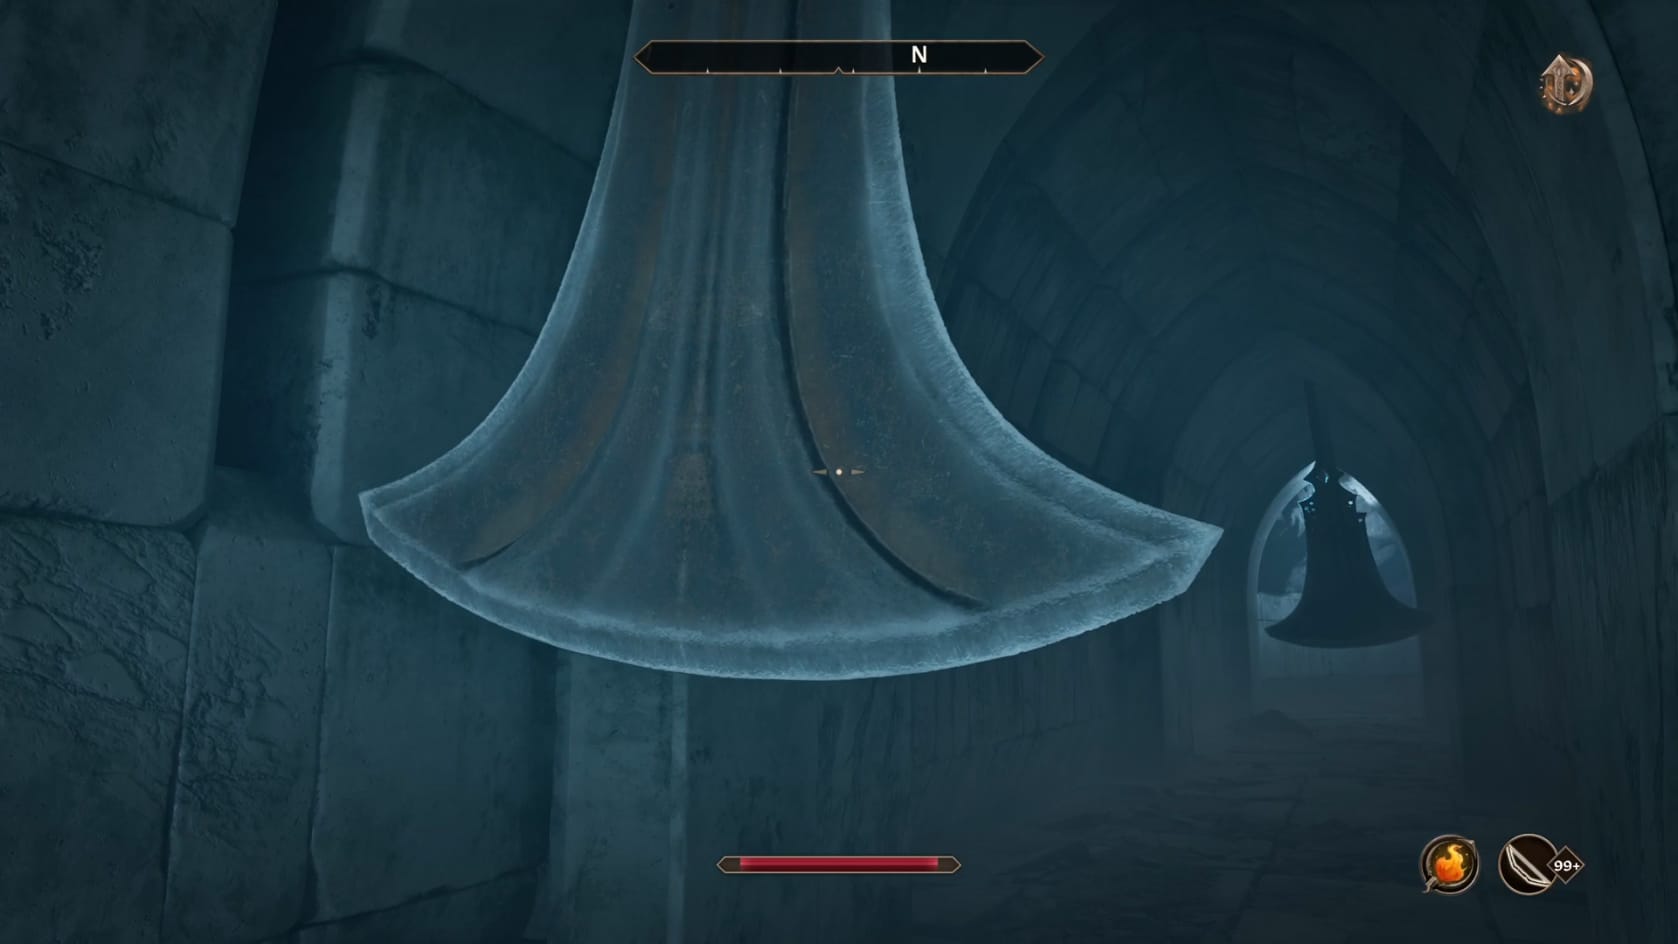
The Swinging blades are rhythmic, making them easy to avoid. There are 3 pairs of them. Observe for a minute. After that, carefully dash between each of them. Without much trouble you can make it through to the back of the corridor.
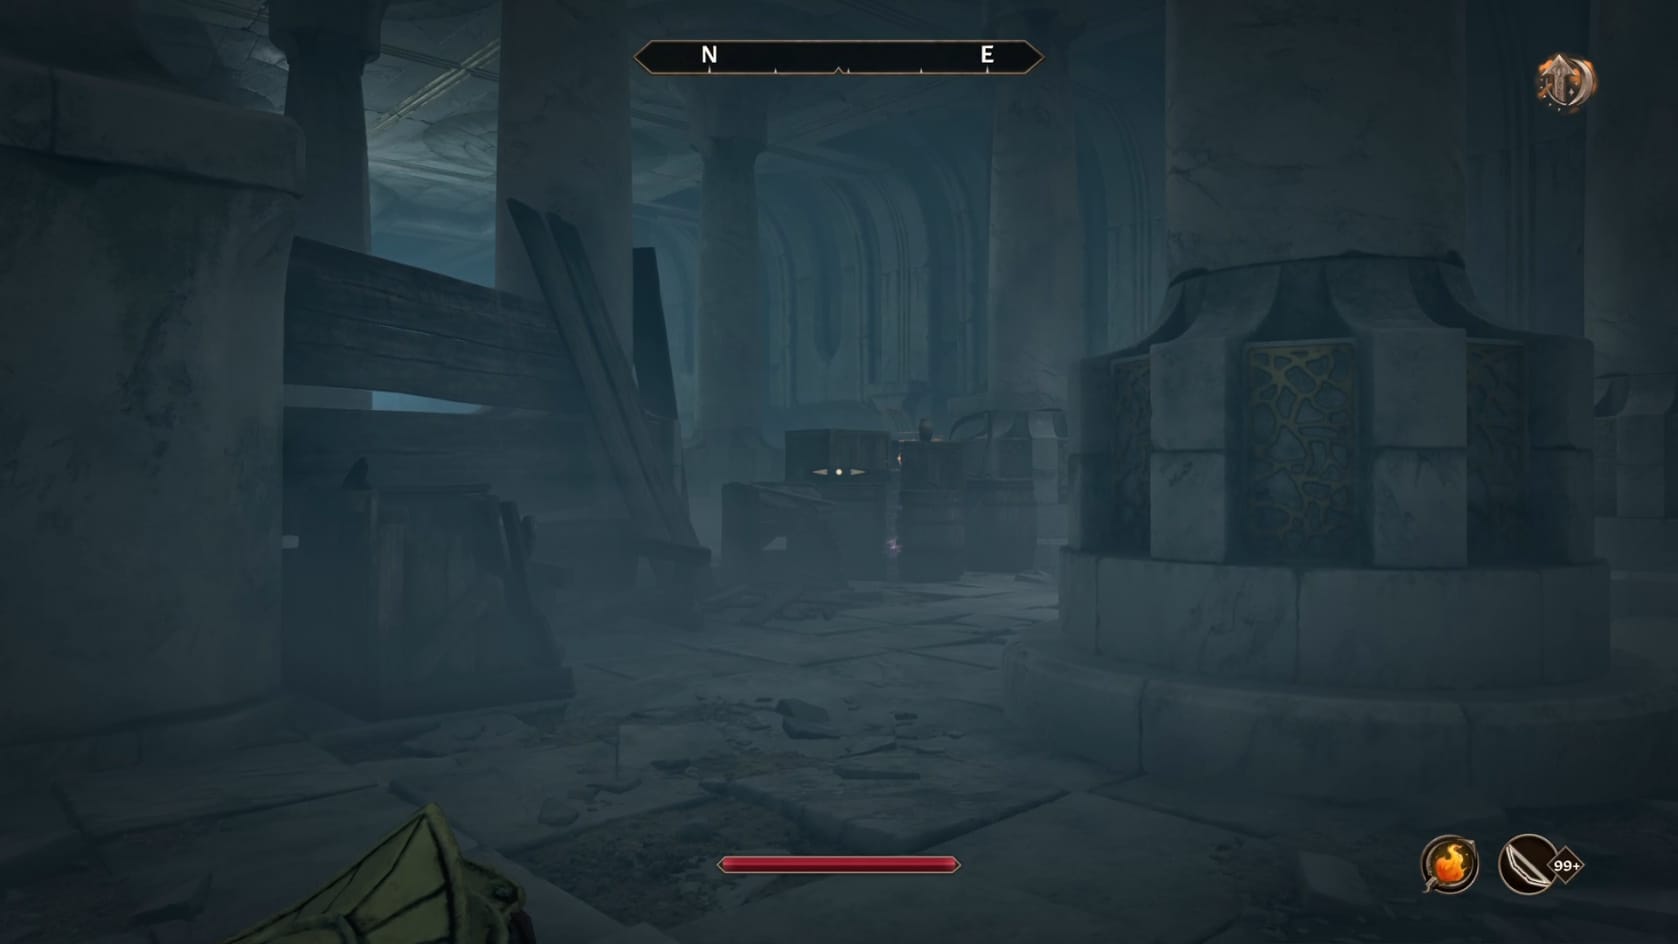
The corridor turns to the North and brings you to a medium-sized chamber. This room has a number more Necromancers scattered throughout it. Slip along the Southern wall to the East to get a good view. Once you pass the second set of pillars, go forward and around the “barrier” of crates and barrels that marks this section of the room. Go over to the camp site found there.
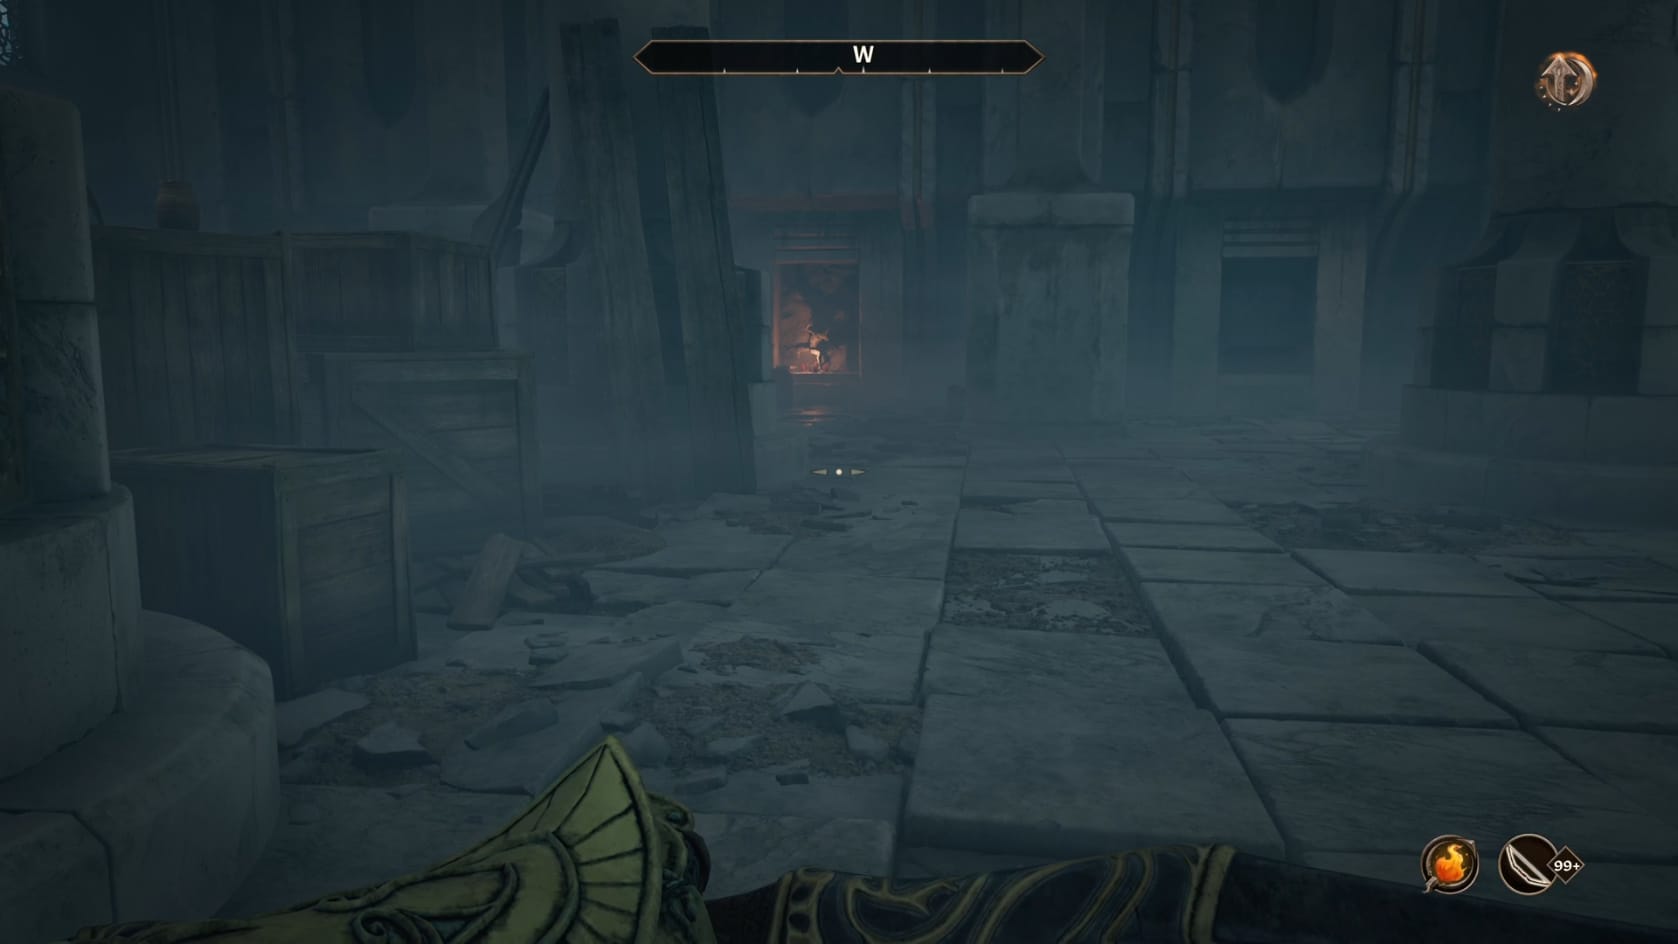
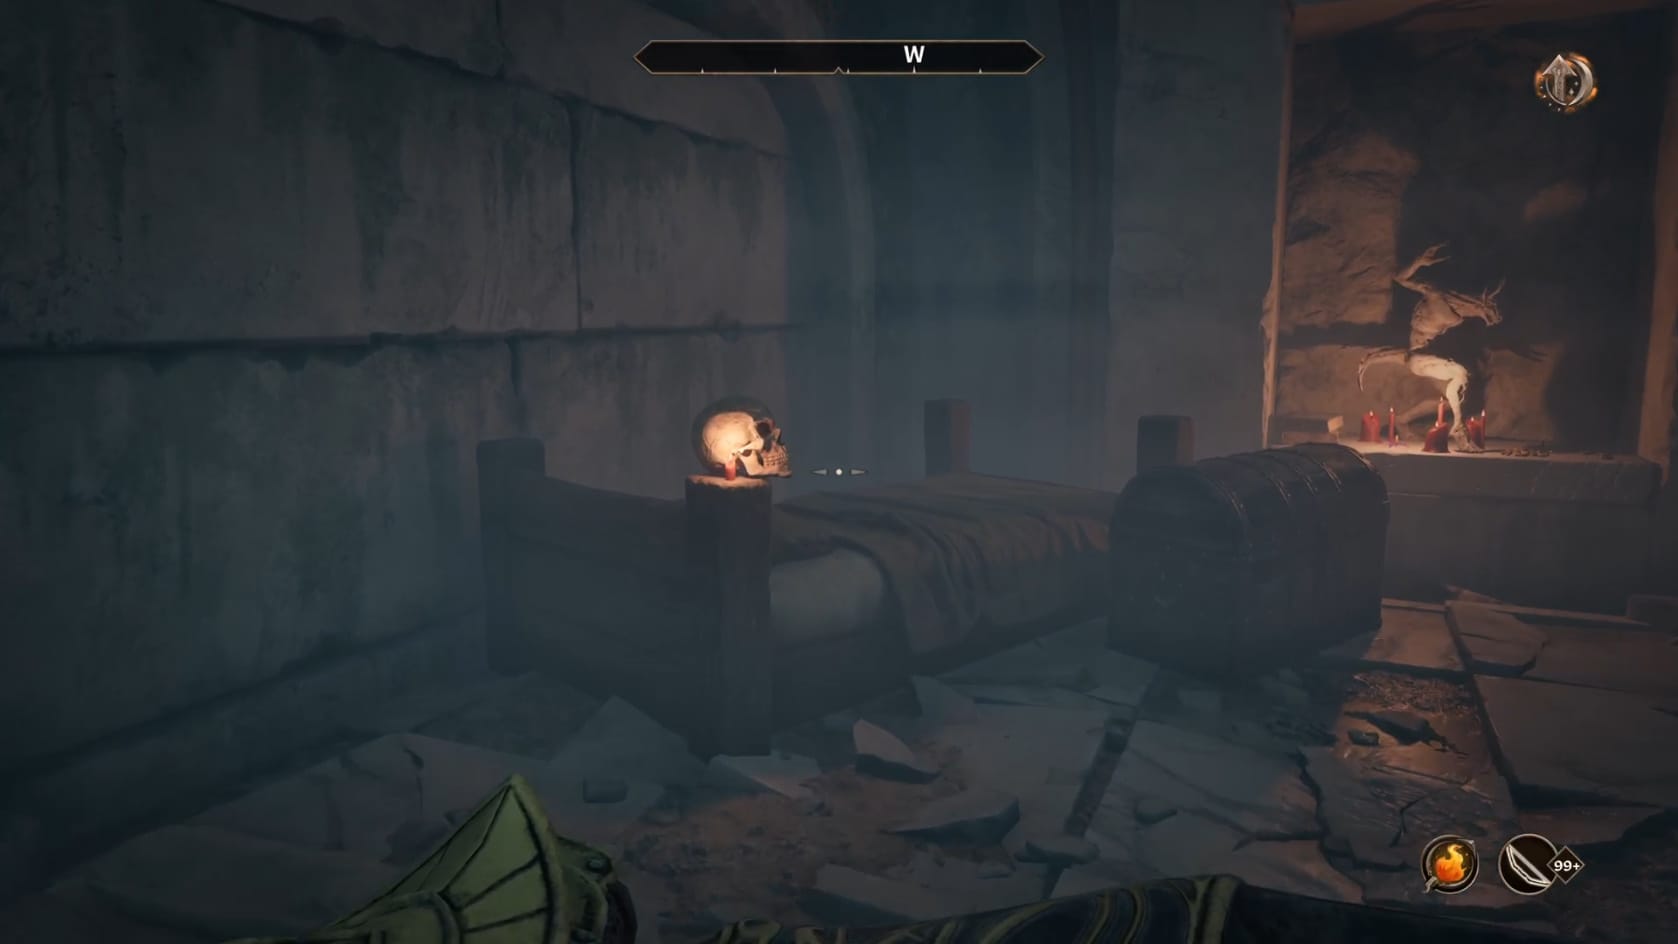
The Necromancer campsite in Garlas Agae
Here, you will find a small campsite the Necromancers have set up. Check the barrels and crates to, possibly, find a few useful items. Otherwise, head along them to the West. When you get to the bed with the Chest next to it, look to the nearby shelf. You can find a small statue of Molag Bal sitting there. You can find some Alchemy ingredients there as well as a number of gold coins. Collect them all.
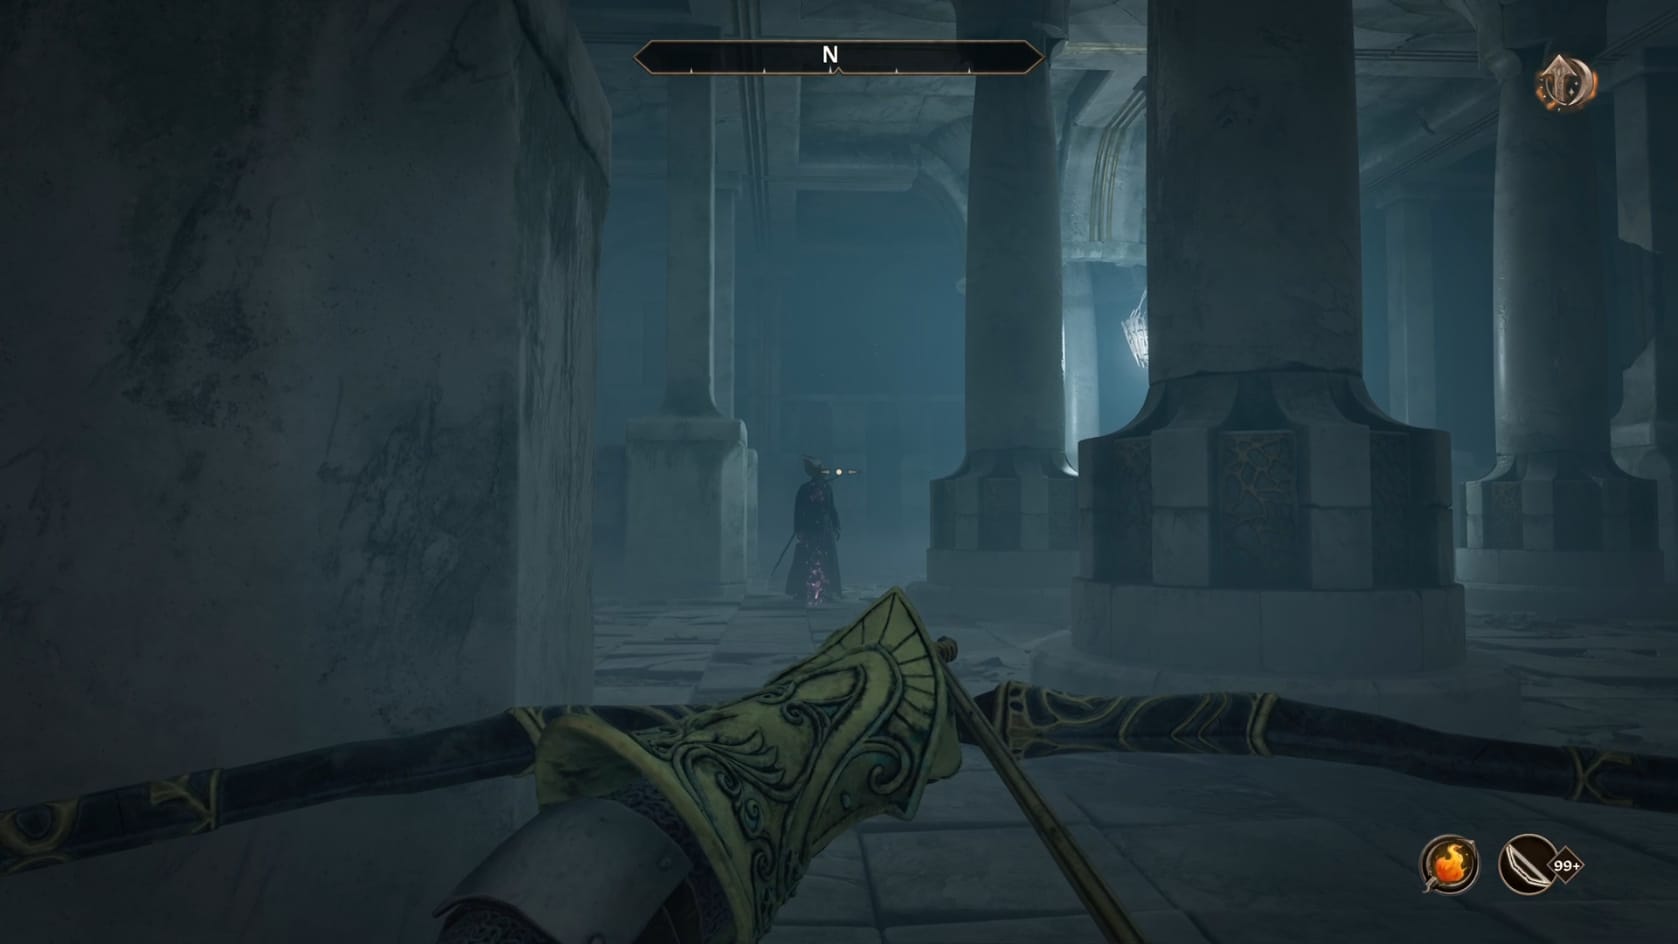
Move to the North. As you emerge from behind the wall nearby the bedroll opposite the bed, you can spot a wandering Necromancer.
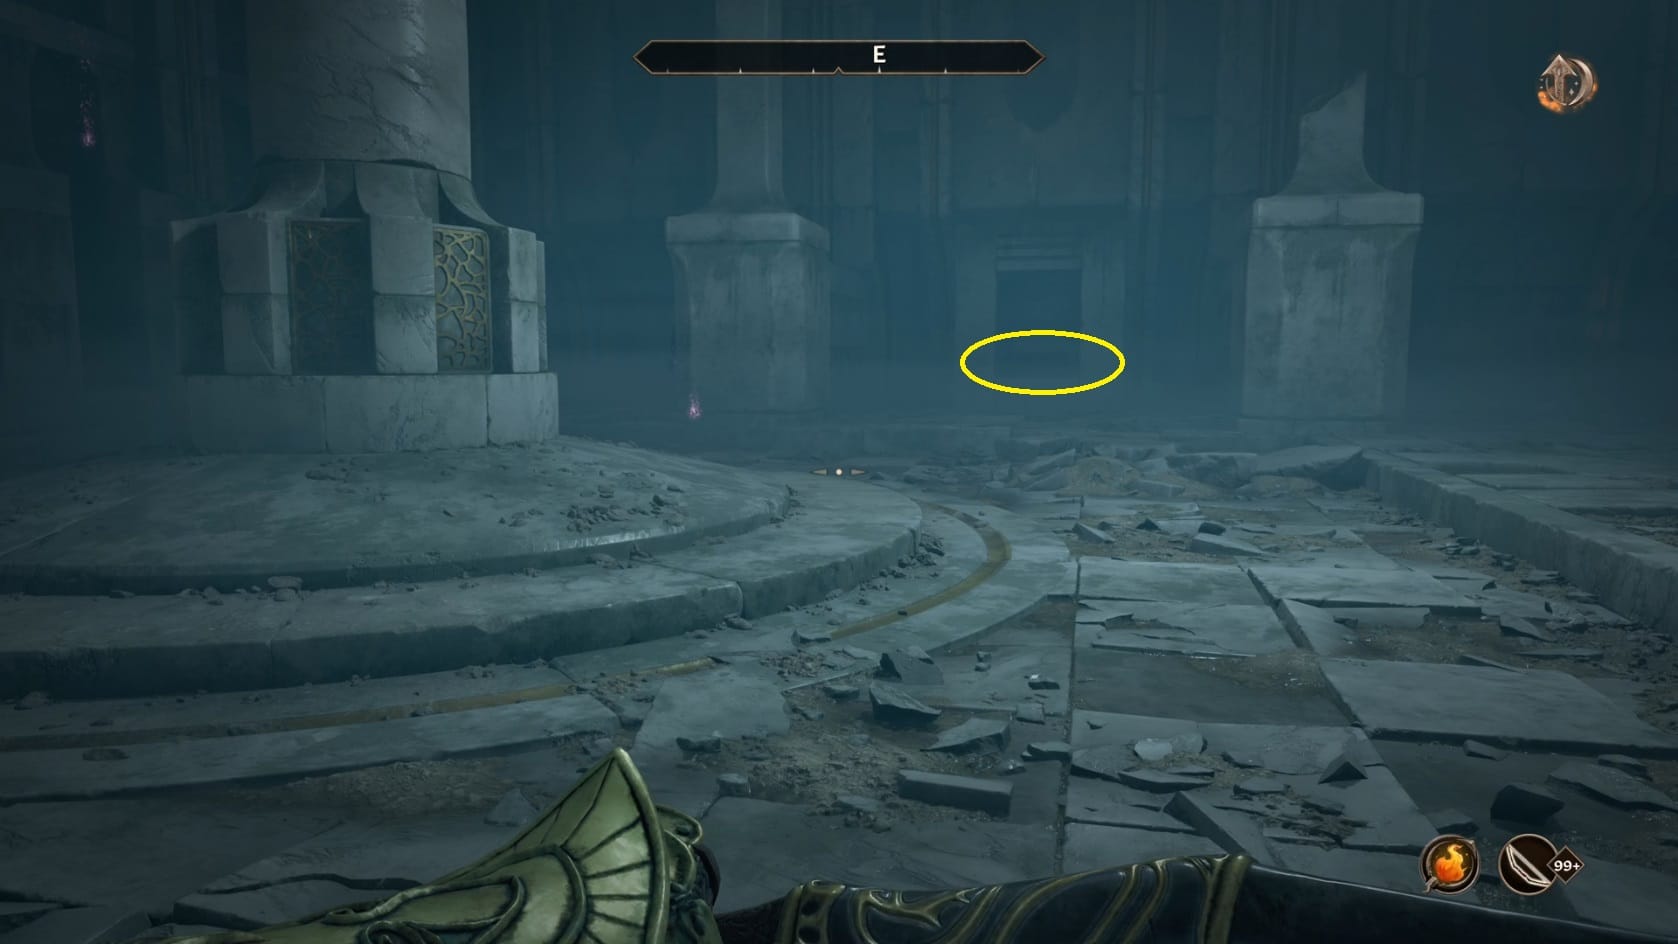
Turn back to the West after that. Along the Western wall to find an Ayleid Cask sitting on a shelf. Loot it then head to the North.
Look to the Eastern side of the room after that, as you are getting to the back of the chamber. There’s a small section with low walls. Sitting between them is a shelf with a Locked Ayleid Cask (Average). Go over and open it to claim its contents.
Turn to the Northeast and slip up to the back of the room. Be mindful of the Necromancer who is in this section of the medium-sized chamber. Turn to the Northwestern corner to find the doorway out of this chamber. Follow the corridor along carefully and you can surprise the Necromancer wandering about here.
If you continue to the West, you will find yourself looping back toward the front of the Ruins. This corridor is the Northern passage out of that first chamber. Following it back toward the first chamber, there is a second archway that connects to the East (that connects to the Eastern path from the first chamber). You will encounter another Necromancer just before reaching the first chamber. Just before that turn, you can look to the West. Sitting on a podium there is an Alyeid Cask.
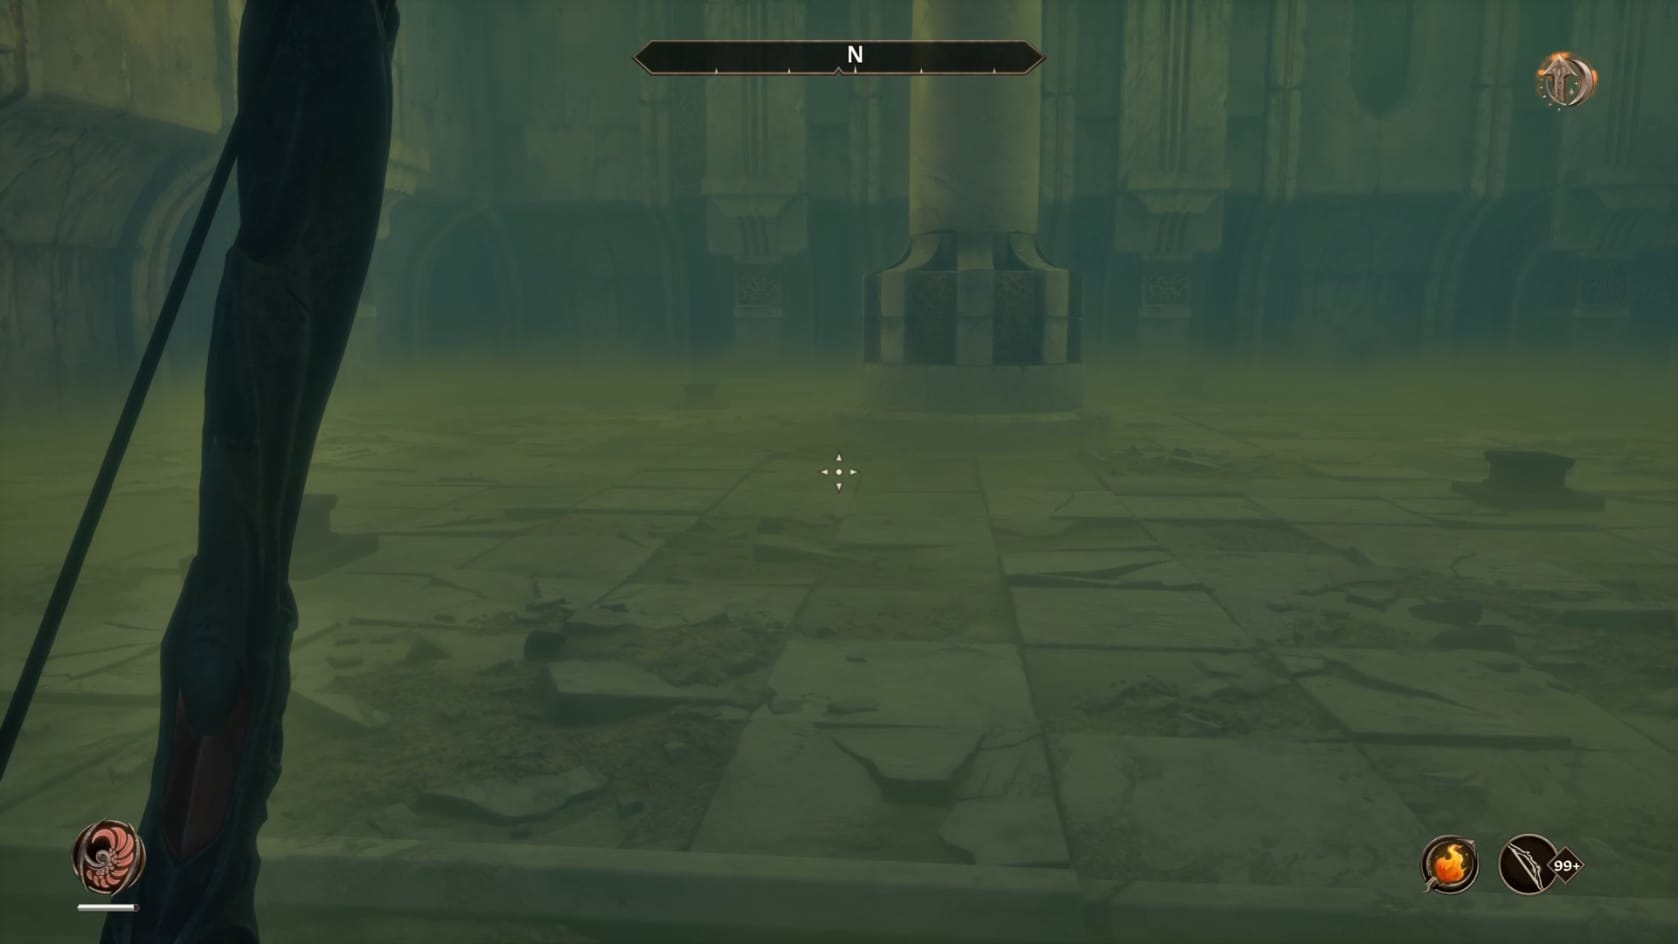
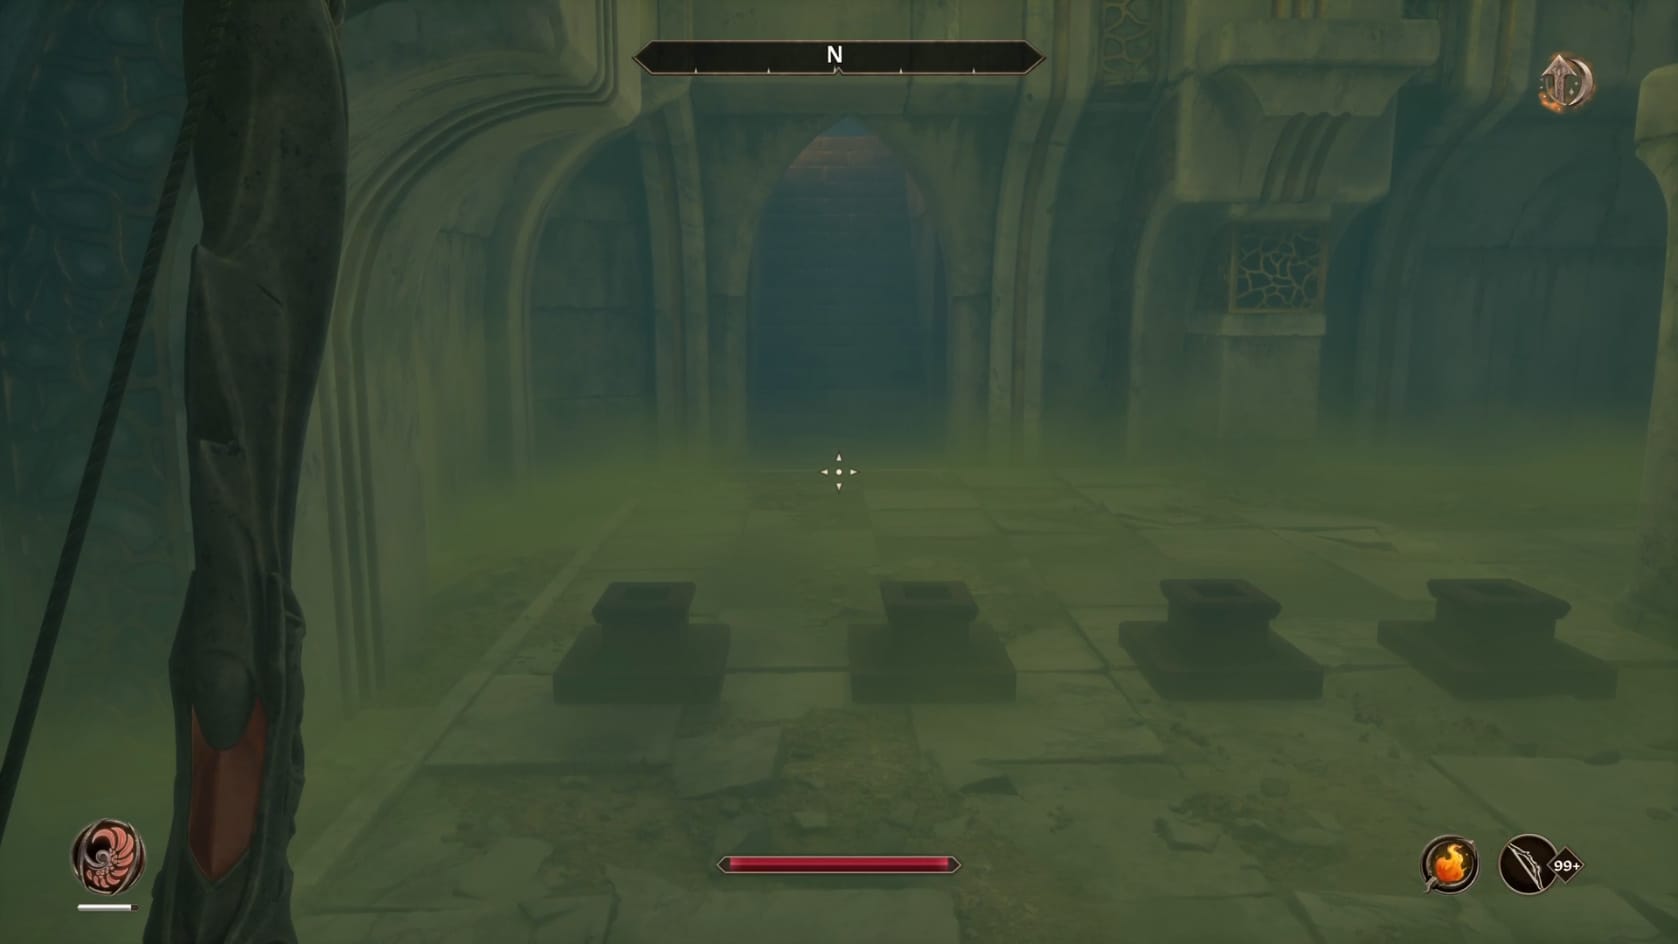
The poison-filled room
If you head to the Eastern passage from the first chamber, you will need to be ready. This room is filled with poison gas traps. Getting through this room is simple. Head to the Northeast until you reach the circular marking on the ground with a pillar in it. At that point, turn to the North. Look ahead to find the stairs leading up and out of this gas-filled chamber. There’s a line of gas traps on your path. Be mindful of them. Take the stairs here up to the North.
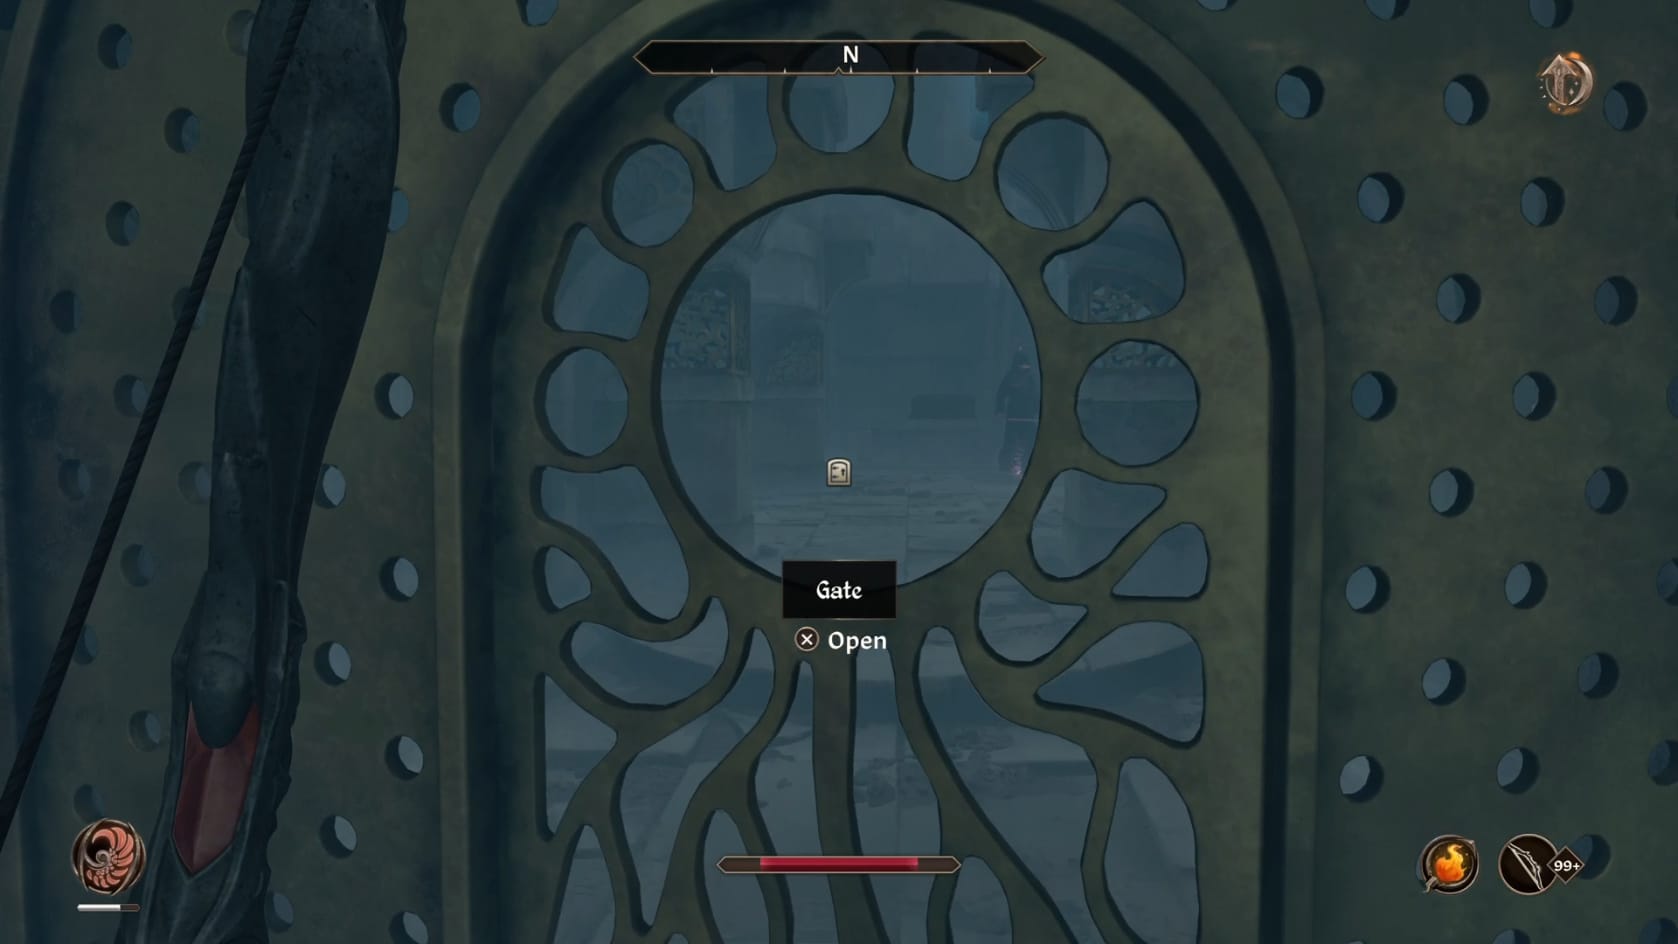
With all of the ruins explored, head to the Northern end of the ruins. Open the gate along the middle of the Northern wall. Through here you can find the Boss Necromancer. Defeat them. Sitting against the back center of the Northern wall is an Alyeid Reliquary. Claim its contents.
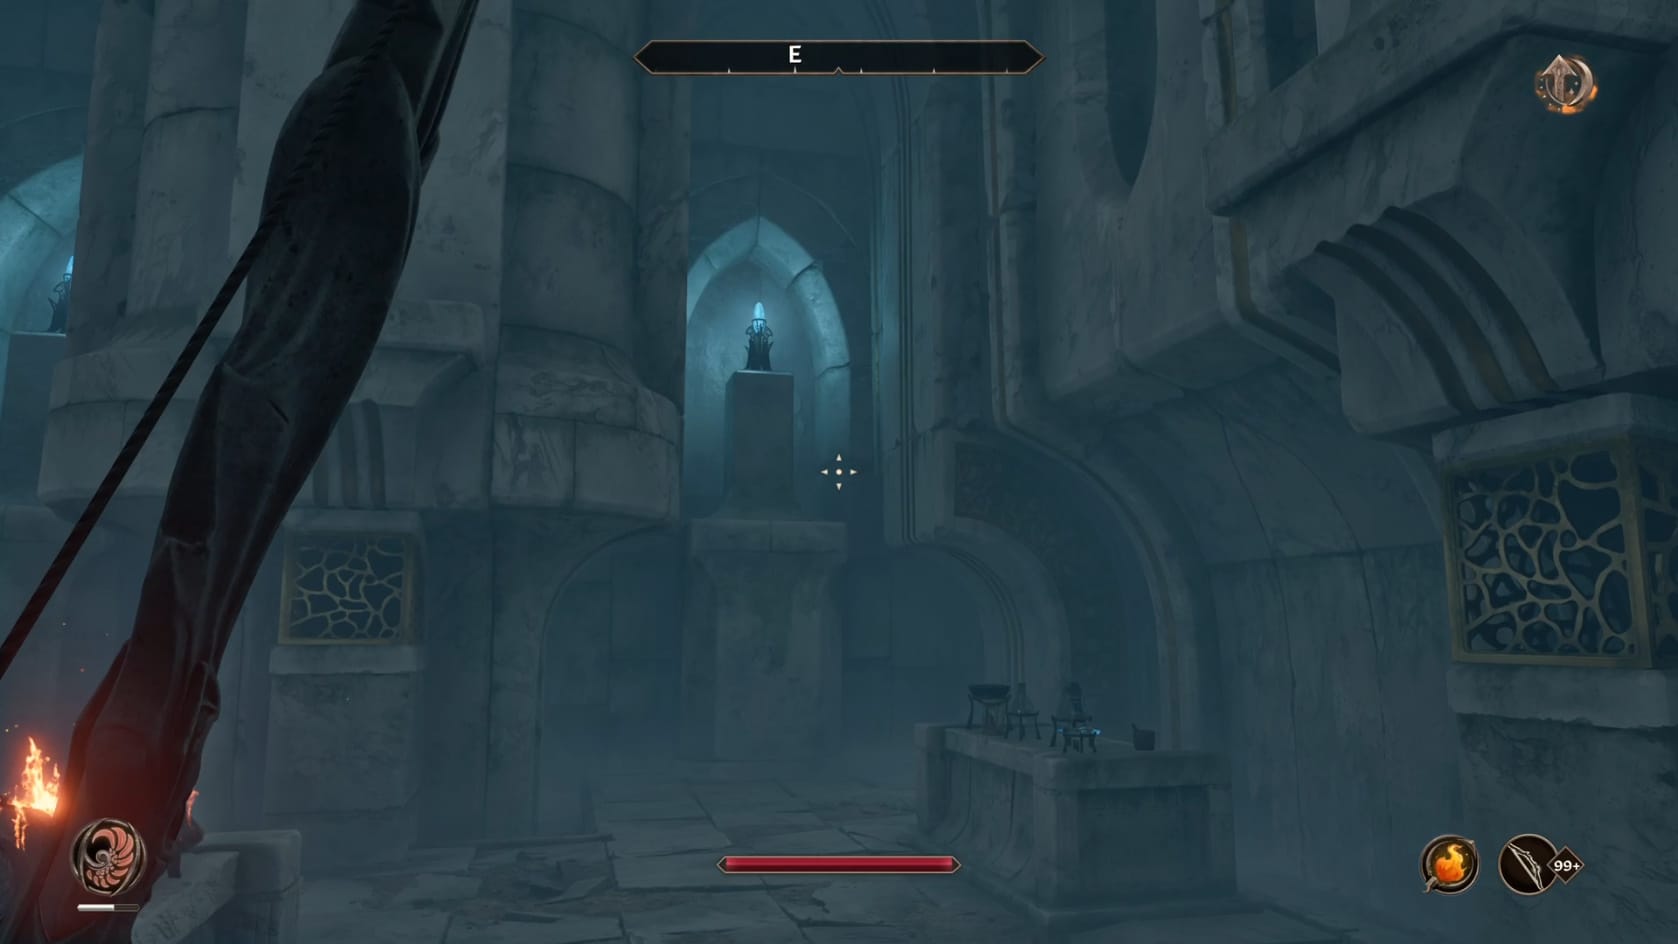
Scattered around this room you can find raised podiums that have Welkynd Crystals on them. Careful arrows shots can bring them down to the Hero so they can collect them. Look to the Southeastern corner of this room. You’ll find an altar with a complete Novice Set of Alchemy equipment. Plus a few soul gems. That finish this Ayleid Ruin, so head to the South to leave. Just avoid the Eastern-most path to keep out of the poison-filled room.
Video Walkthrough
[]