Elder Scrolls IV: Oblivion Remastered – Nonungalo Guide
Explore Nonungalo, a medium-sized Ayleid ruin between Chorrol and Skingrad. Navigate deadly traps, defeat monsters, and loot Ayleid Casks and Welkynd Stones.
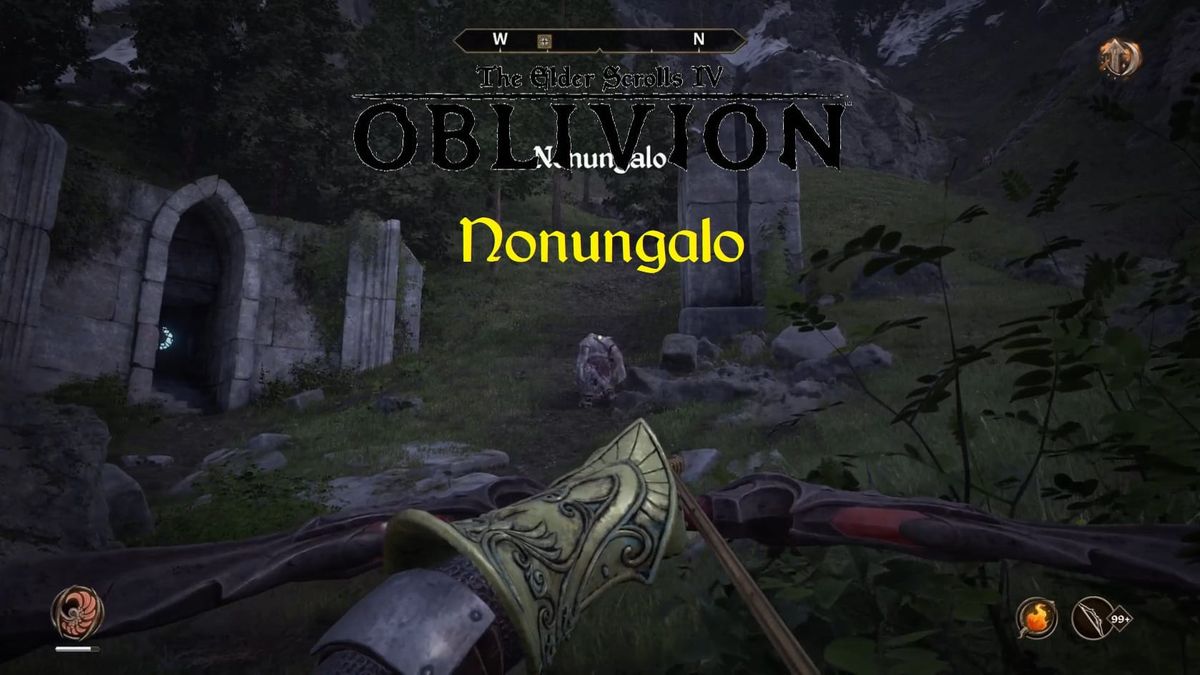
Summary
A medium-sized Ayleid ruin between Chorrol and Skingrad. It contains a number of monsters and 2 zones: Nonungalo and Halls of Nonungalo.
Location
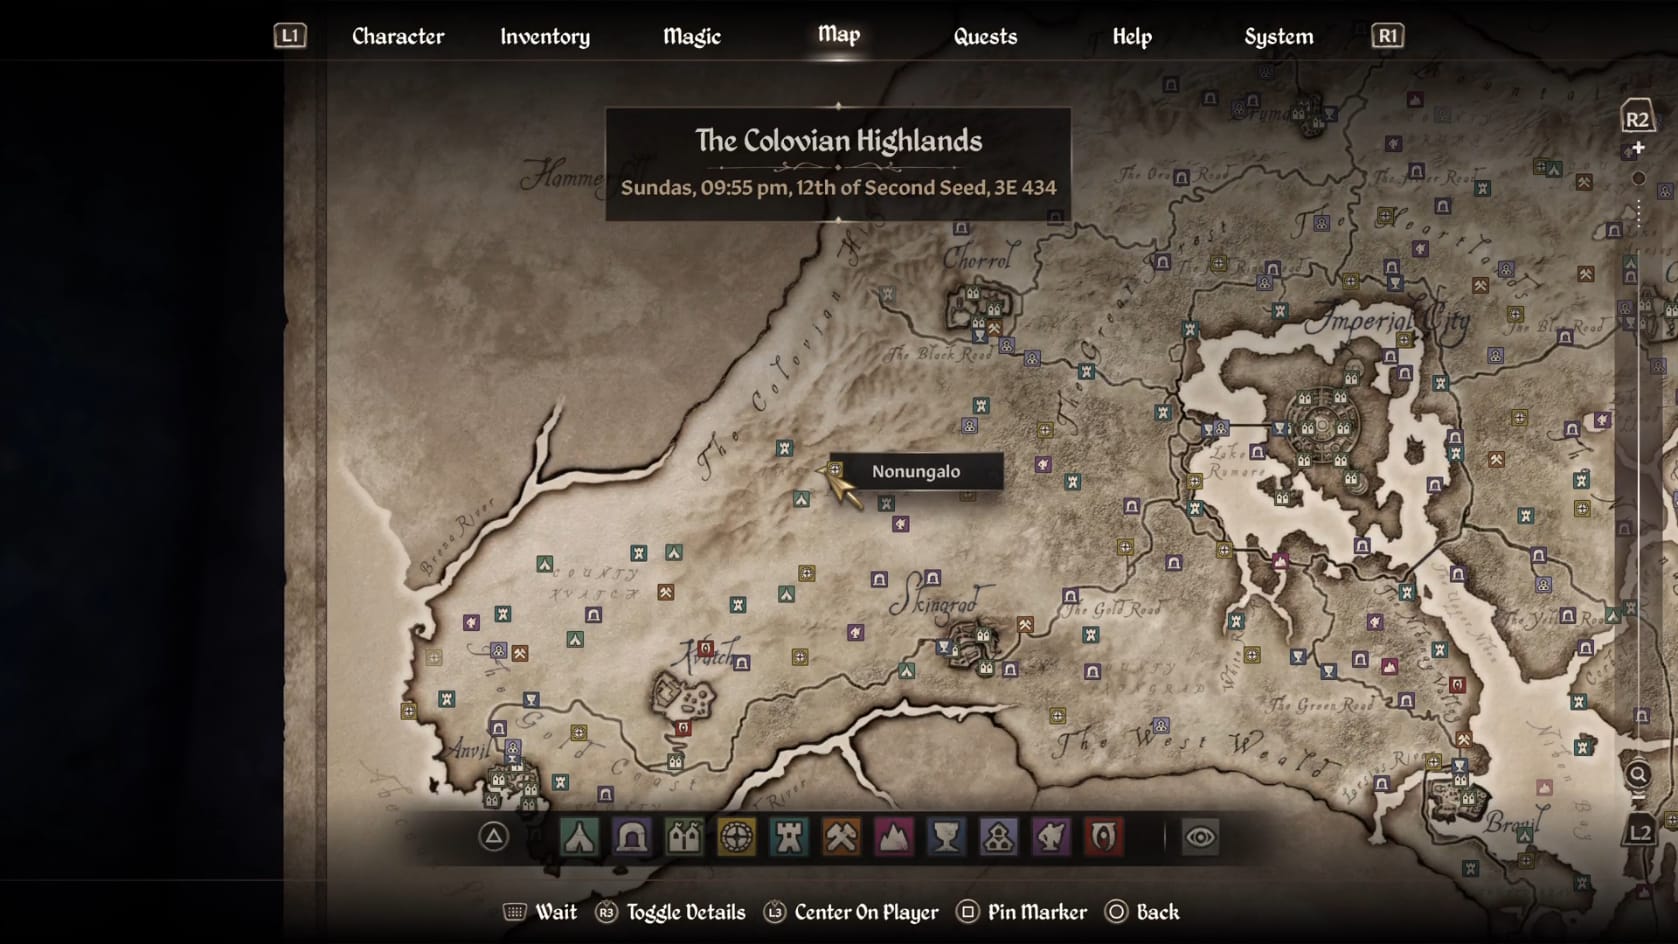
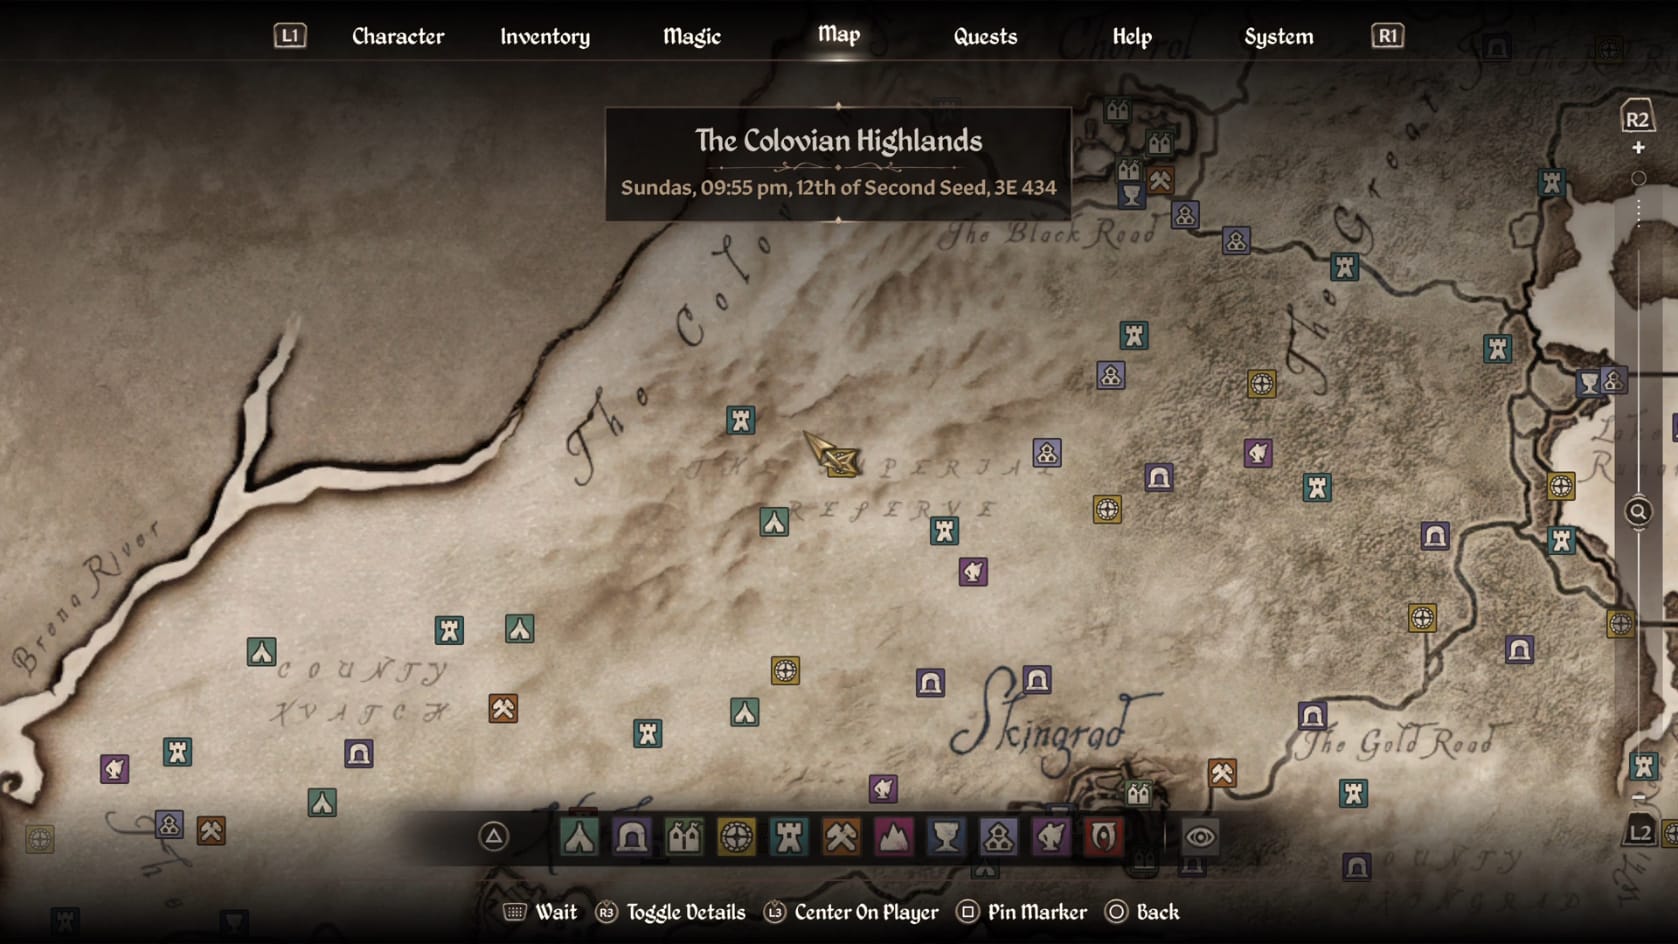
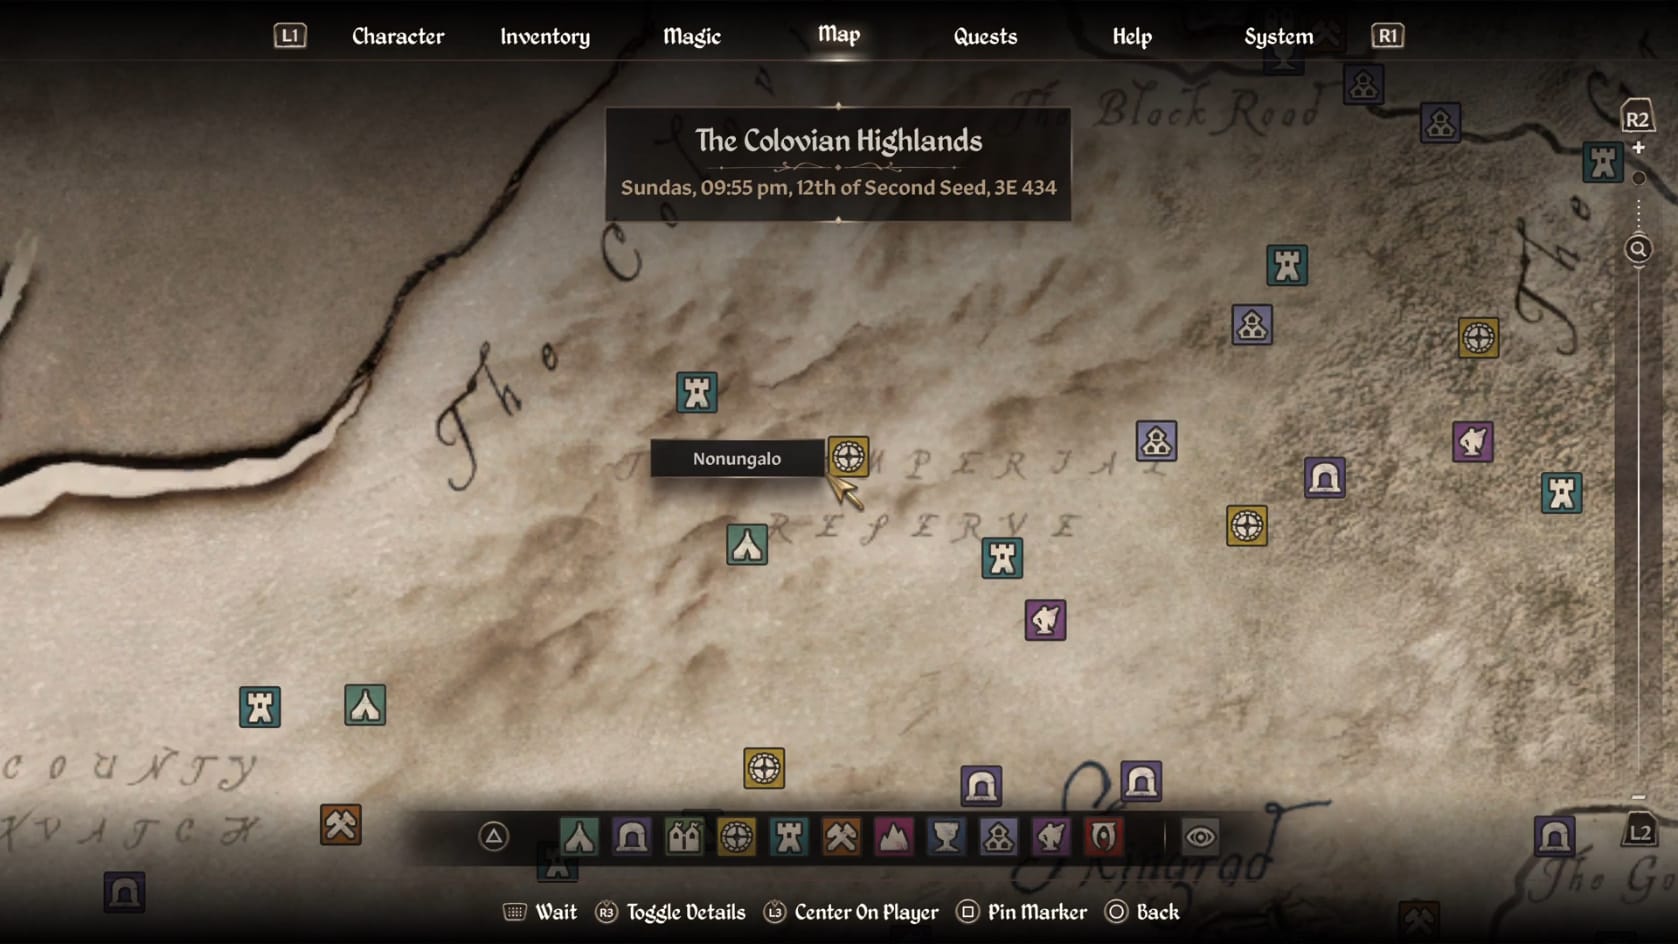
Location of Nonungalo in Cyrodiil
Walkthrough
Entrance
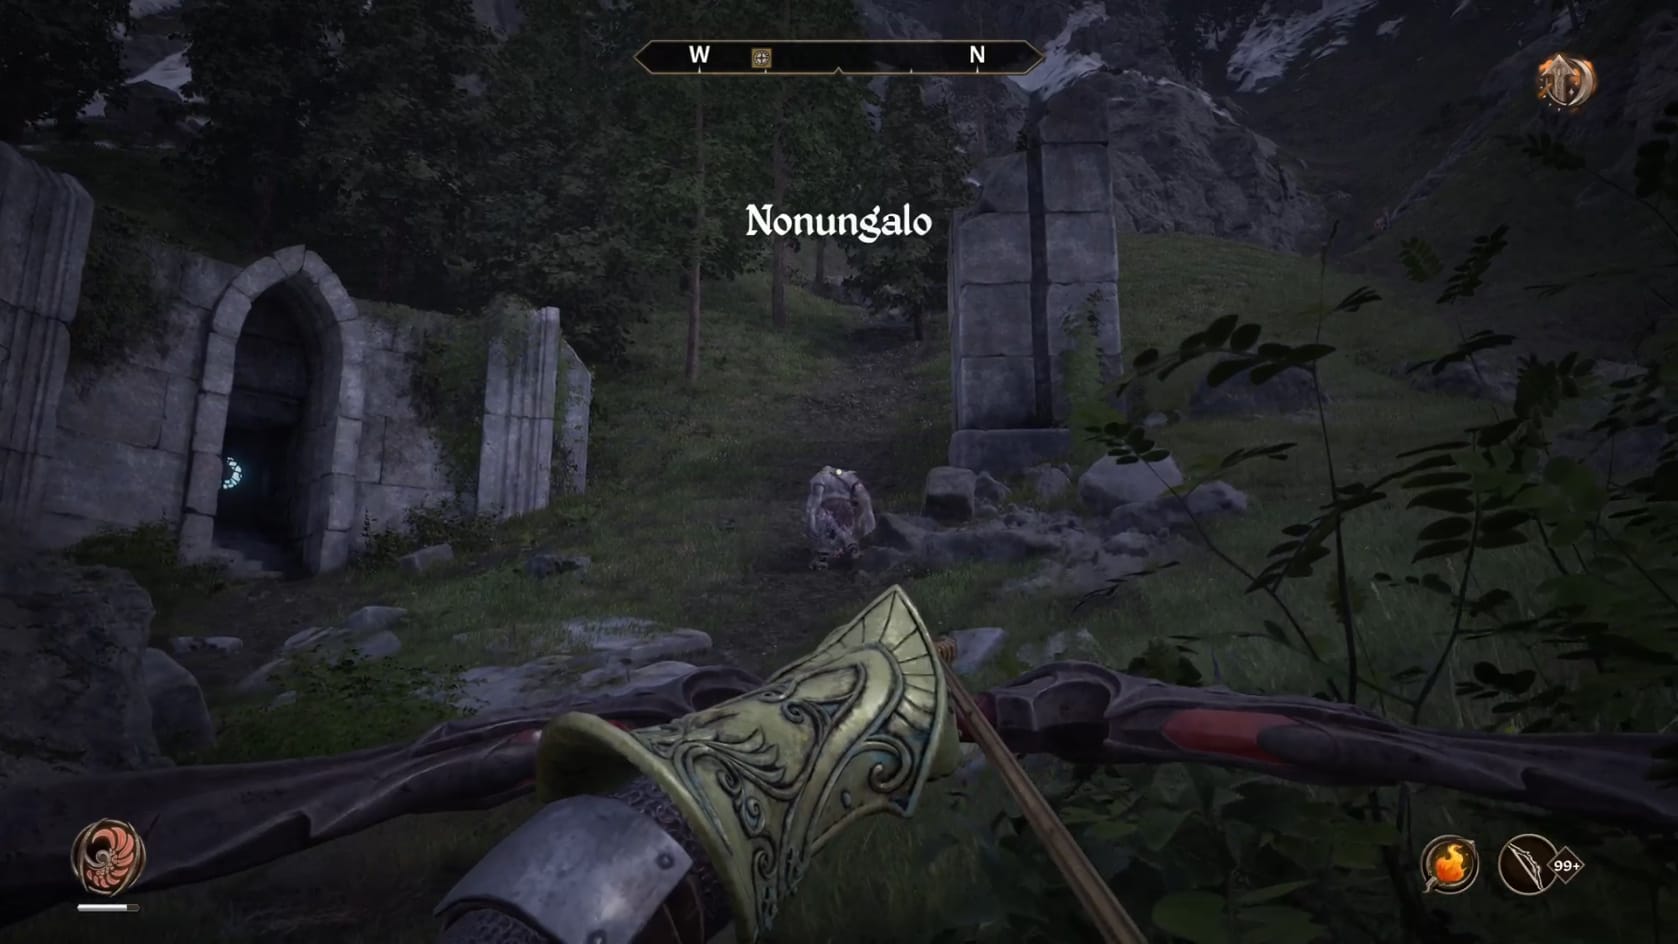
There are a few dangerous animals scattered around the front. You can find a number of Motherwort plants. There is a Chest found above the entrance of the Nonungalo. After that, go forward and head into the door that goes into the Ayleid Ruins.
Nonungalo
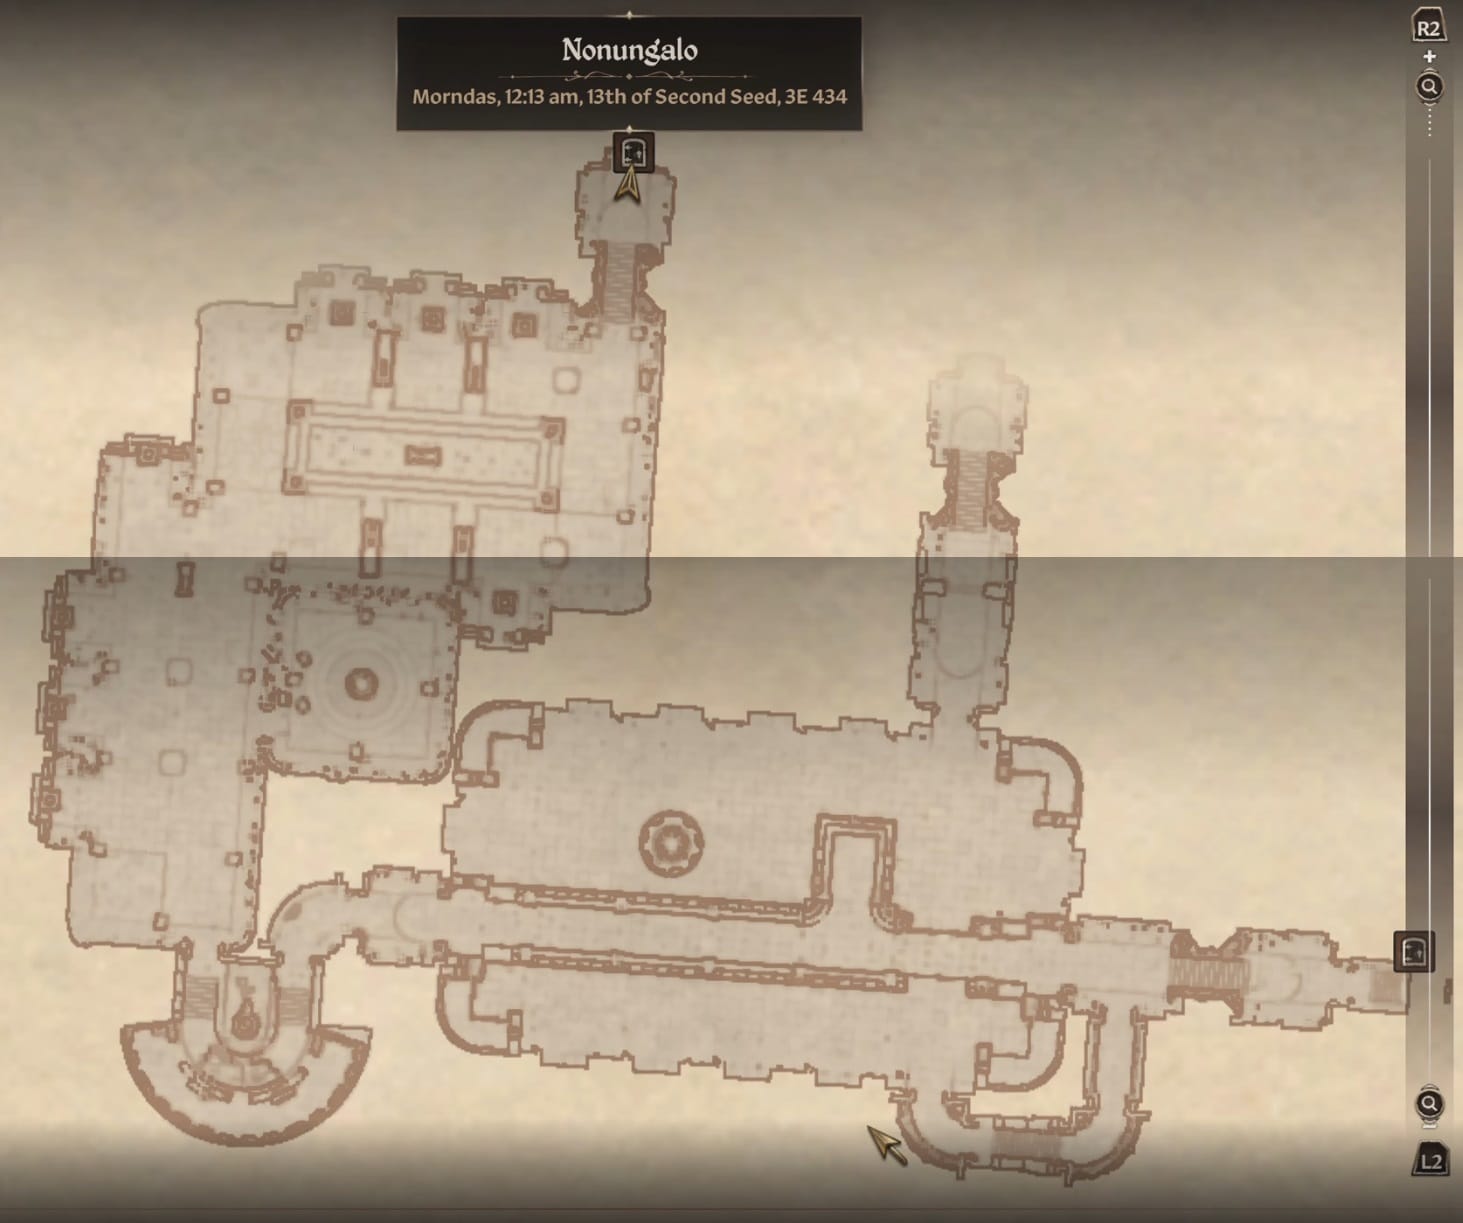
Inside the Ruins, start down the stairs. At the base of the stairs, you can encounter a few monsters.
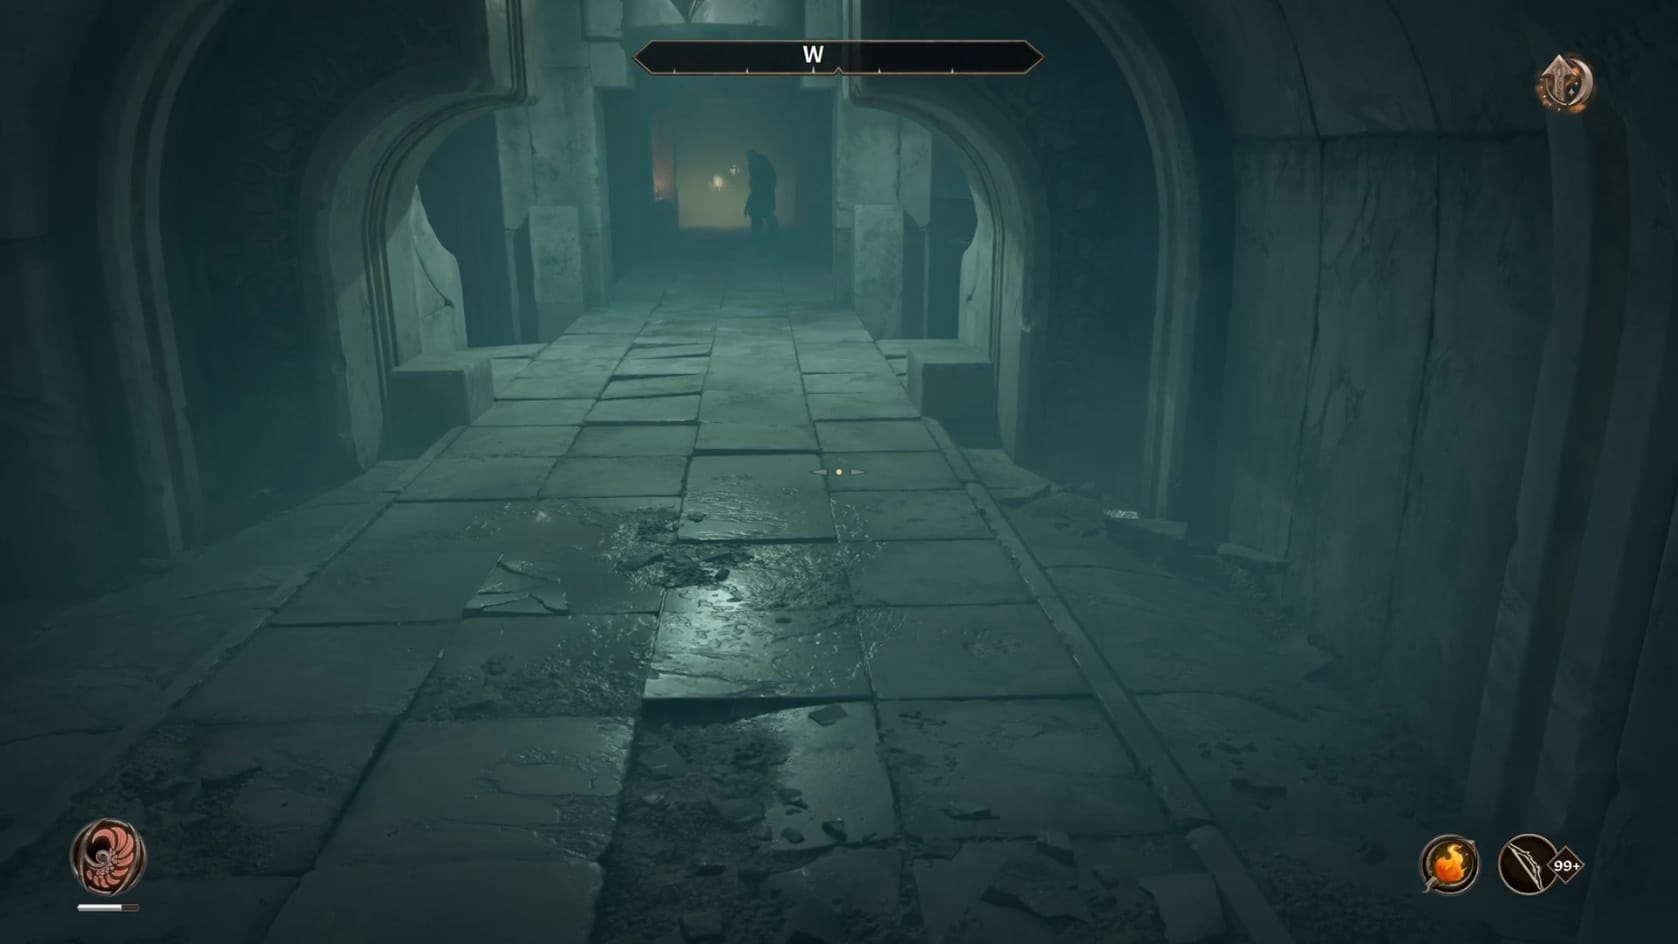
If you head through the archway to the South, you can find a corridor that leads to the lower area within the large room connected here. This lower area has a dangerous monster patrolling nearby it. There is a Gate to the North. It blocks access into the Halls of Nonungalo, and the switch to activate it is on the other side of the Gate. The rest of this lower area has a little to explore, but nothing of value to claim. Head back through the Corridor and to the entrance hall you were in.
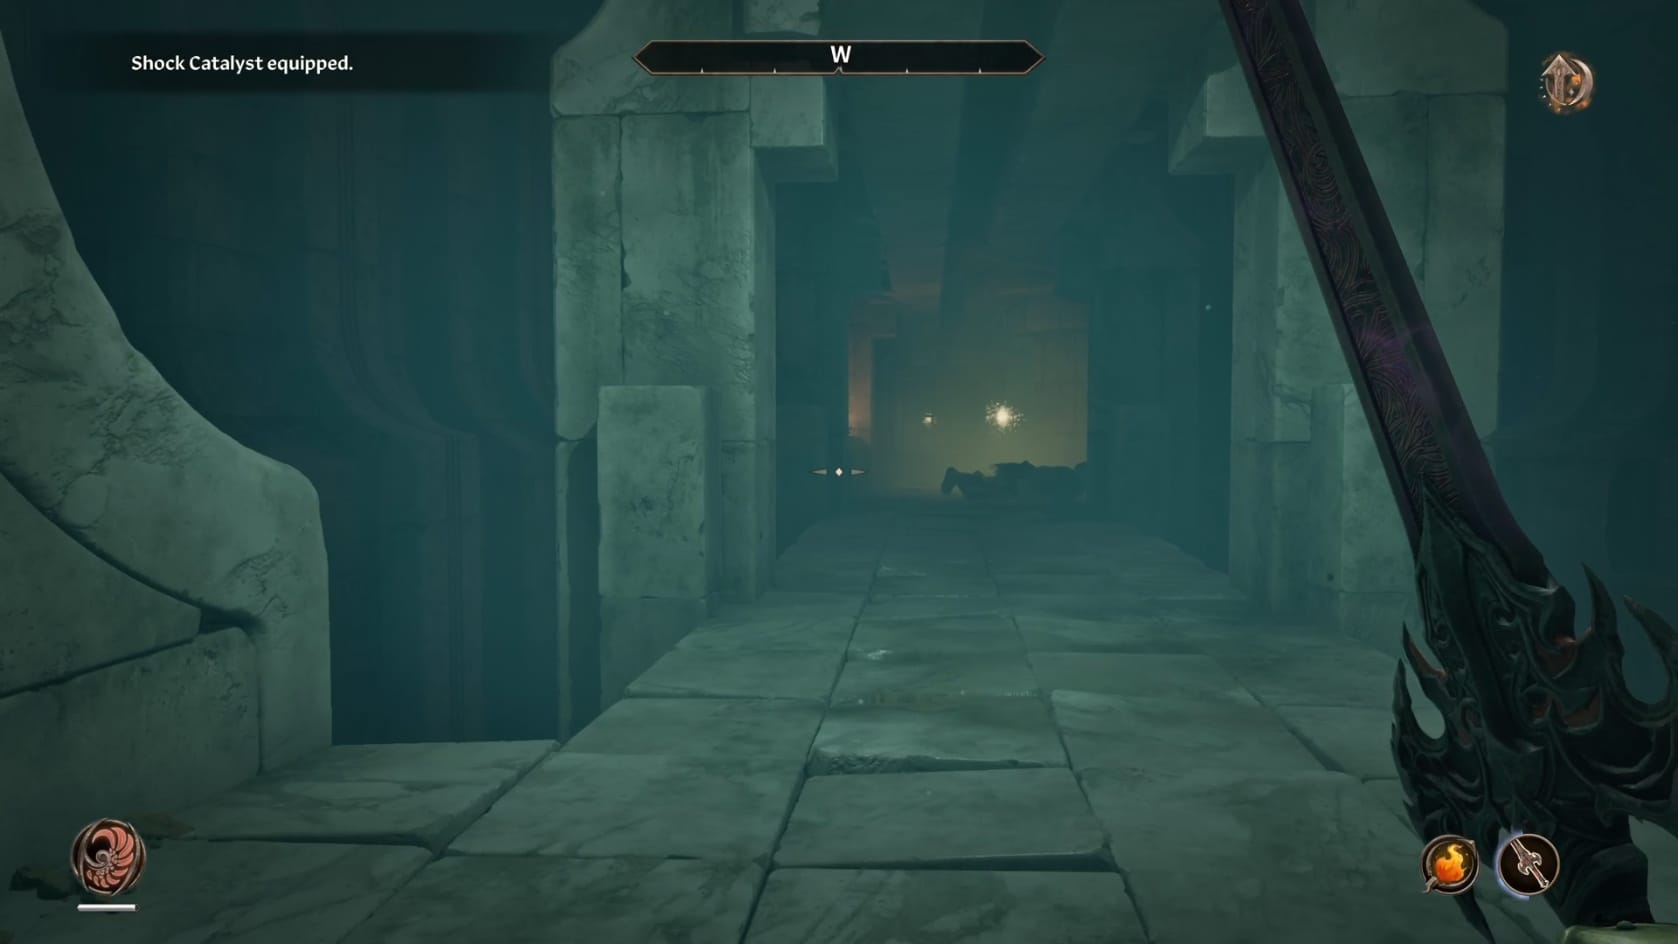
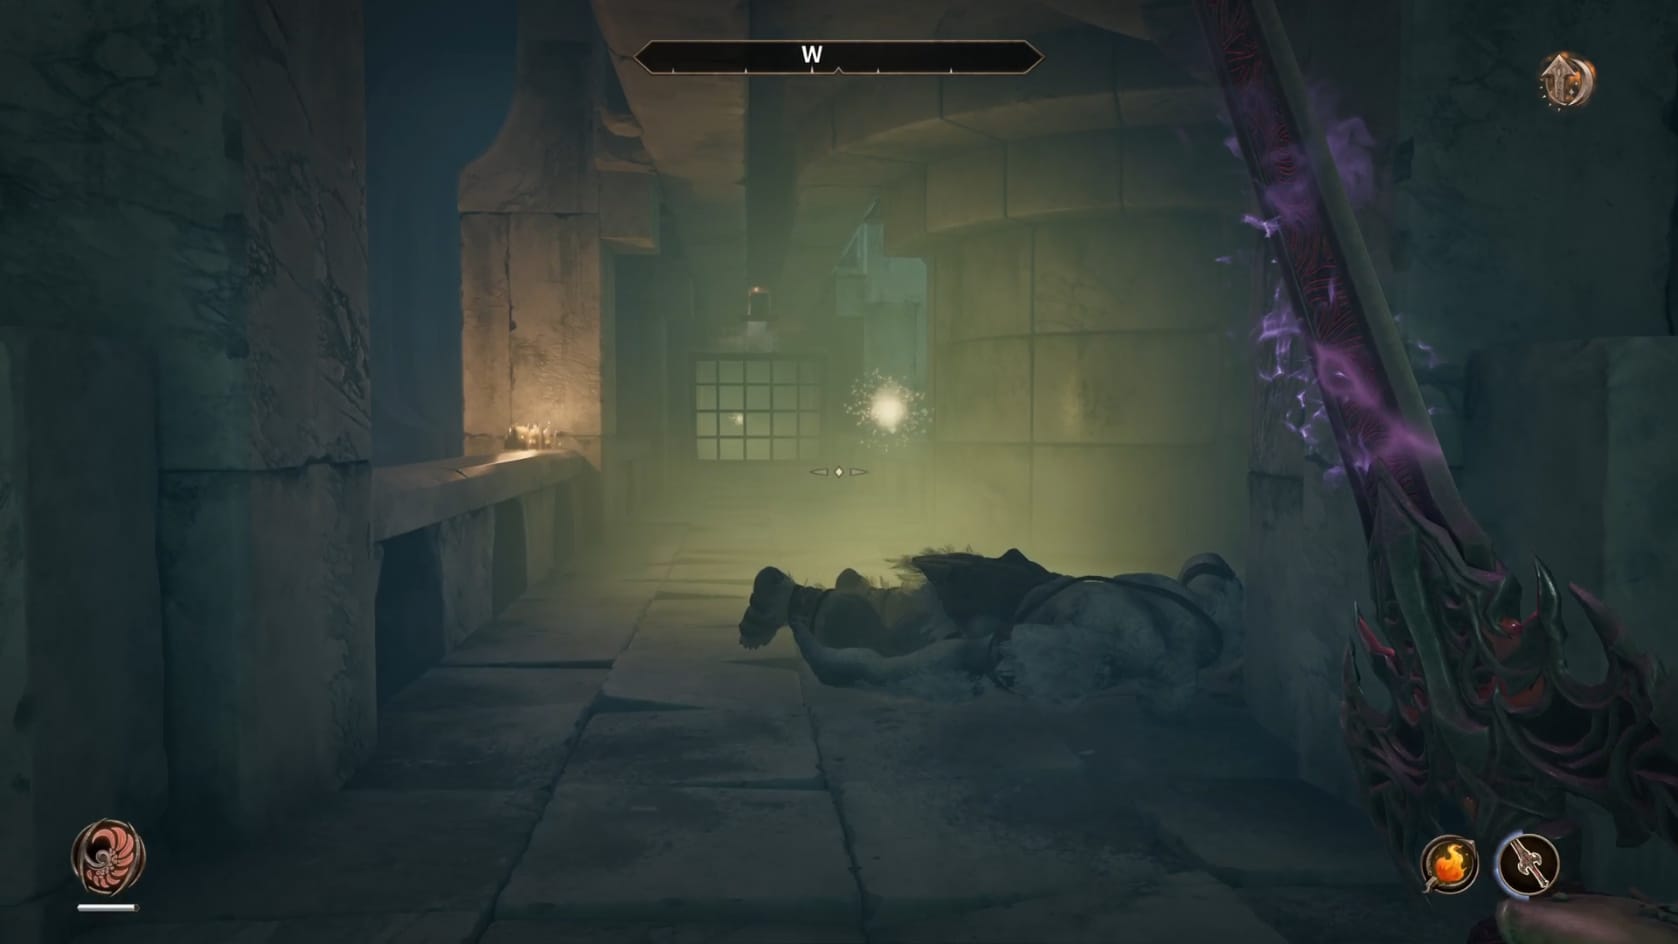
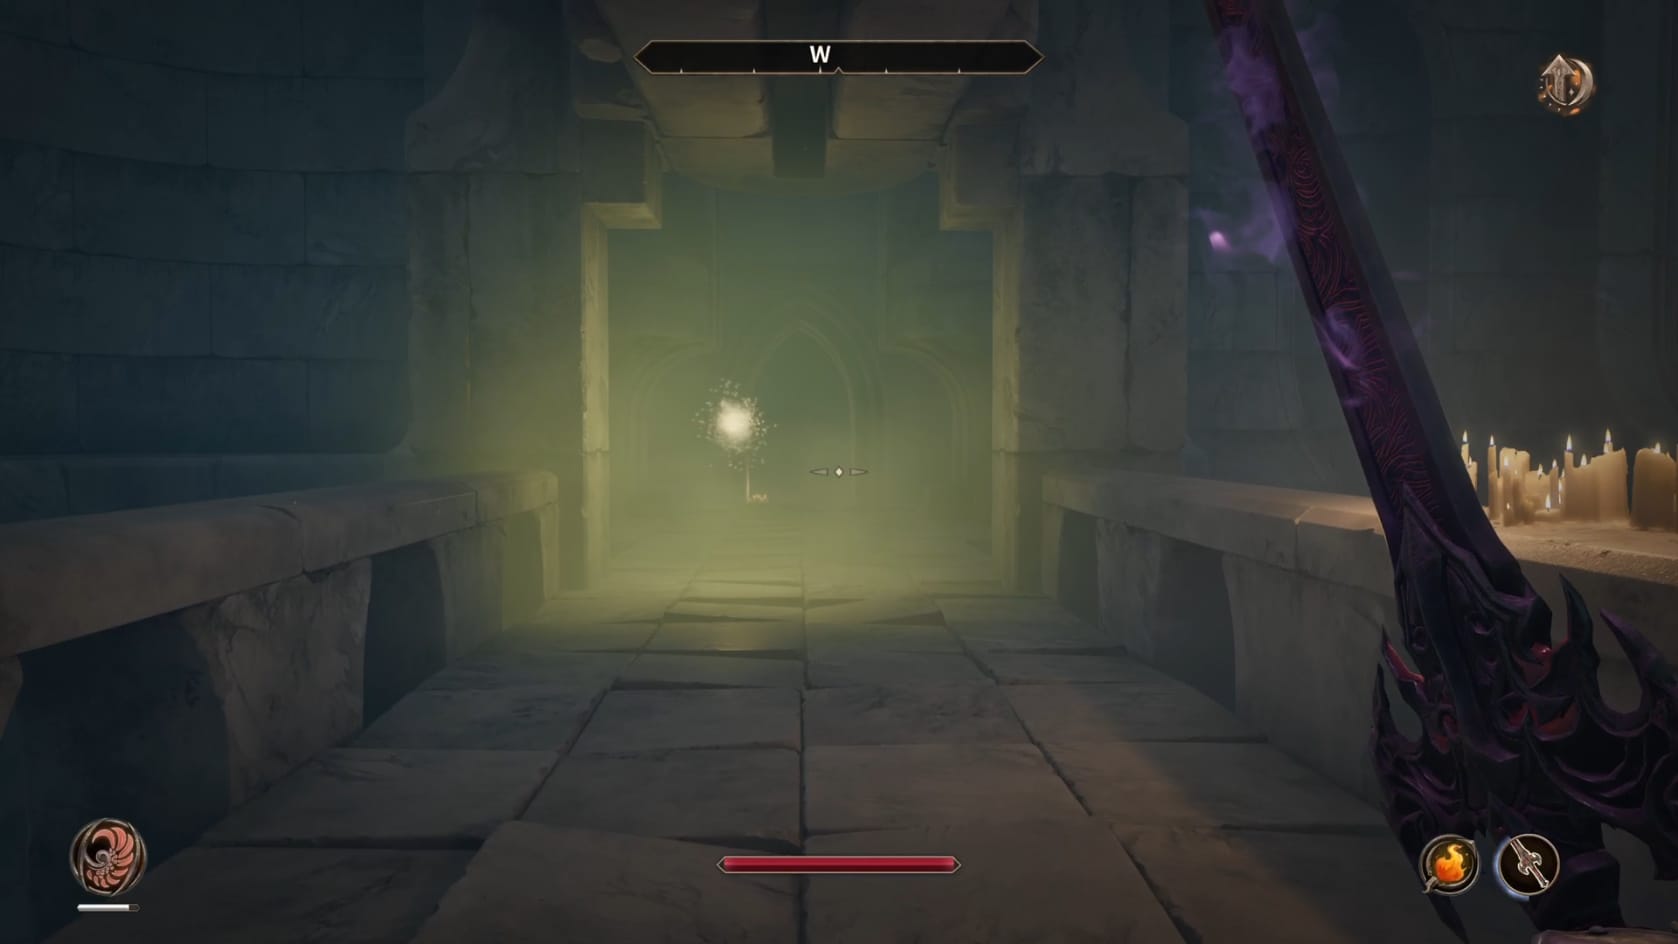
The walkway with the sliding spike trap
Along this path, going to the West, you will need to be mindful of 2 things. First is the Will-o-the-Wisp that is moving along the walkway. The second, and larger, concern is the spiked metal plate moving on a track along the whole length. You will need to carefully avoid this Spiked Trap as it goes back and forth. Start by taking out the Will o’ of the Wisp. Get to the middle of the walkway and wait a minute. You need to the Spiked Trap to go to the Eastern end of the walkway. Once it does, rush down the walkway to the West.
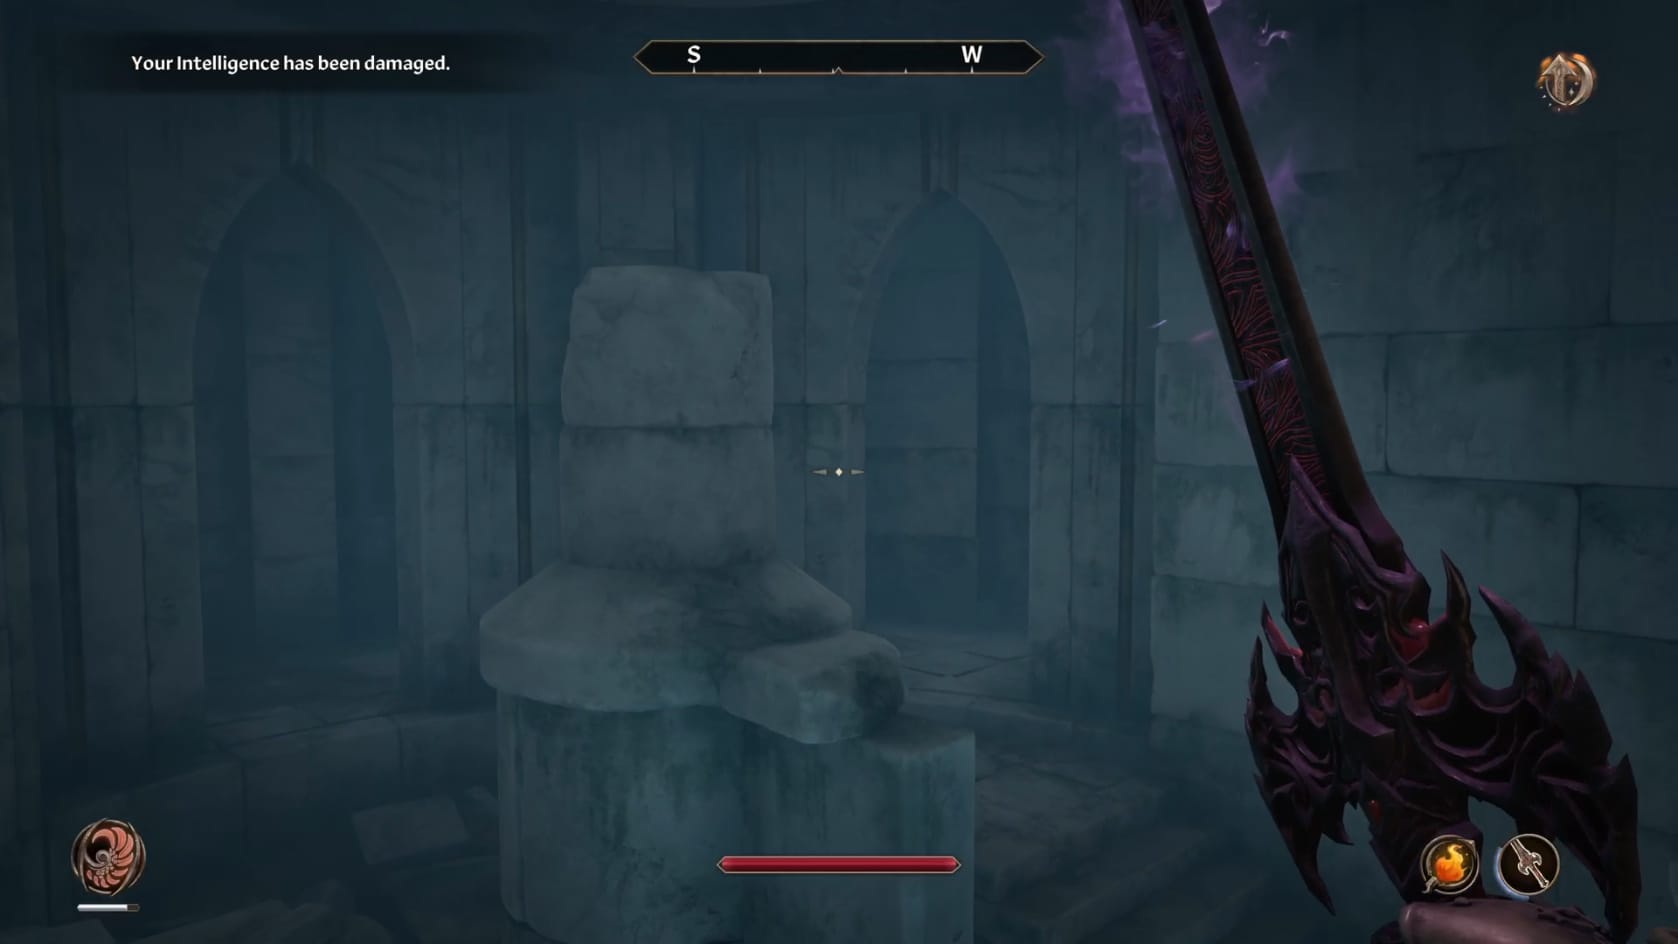
On the far side of the walkway you will want to defeat the next creature. Go forward to the West and through the corridor in front of you. This leads to a stairwell chamber. Loop around it. Take a moment to go to the outer Western portion. This is right at the top of the stairs. You can find a Locked Ayleid Cask (Average) sitting in that outer portion. Continue down the stairs into the large room beyond.
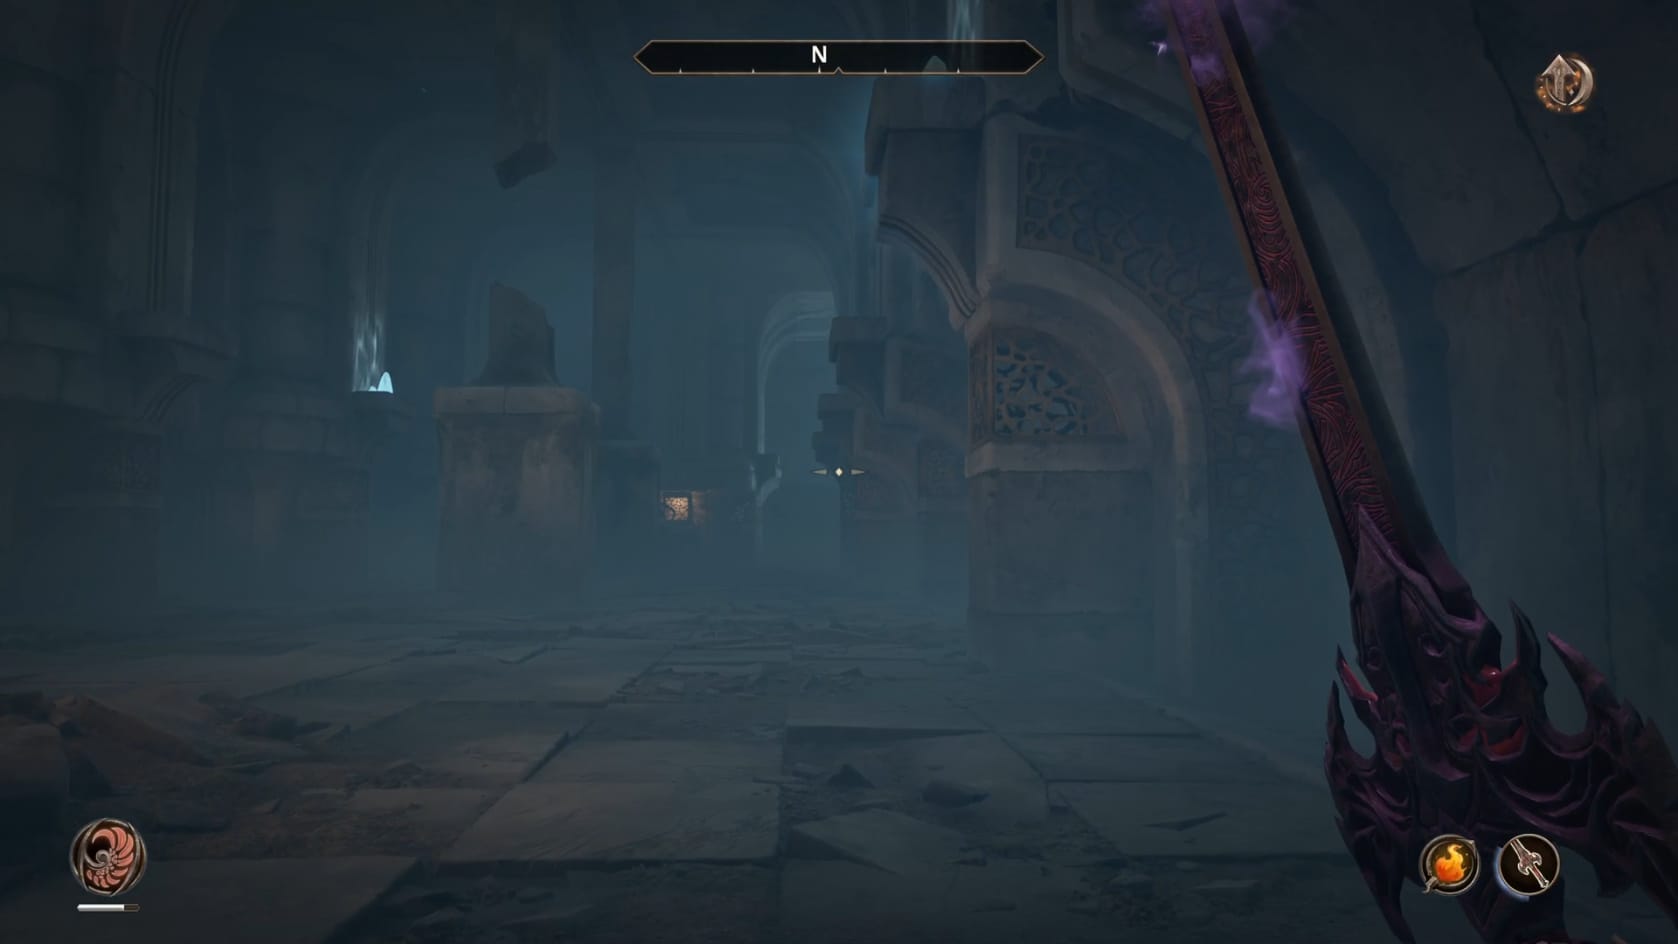
This is a massive room. Go ahead to the second alcove on the left. You can find an Ayleid cask sitting there. Each of the Alcoves on the Western side of the room has a Welkynd Stone sitting in a cradle at the top of a tall podium. These are very hard to get.
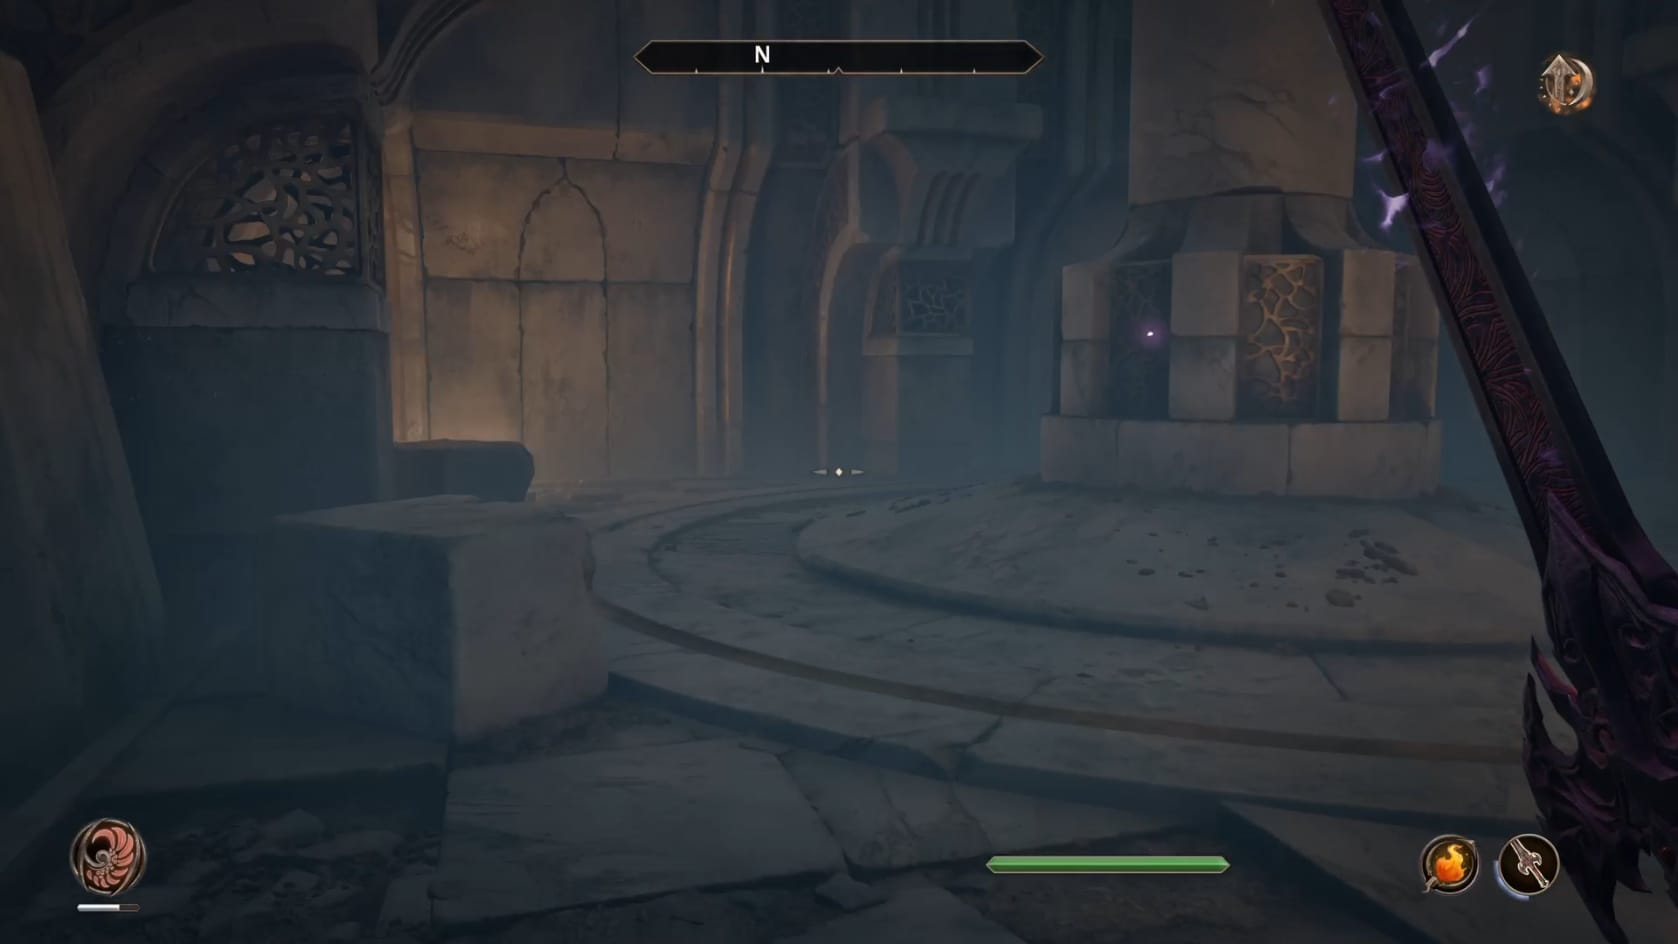
Opposite that alcove is a small attached chamber. There isn’t much in here, just a little extra area to explore.
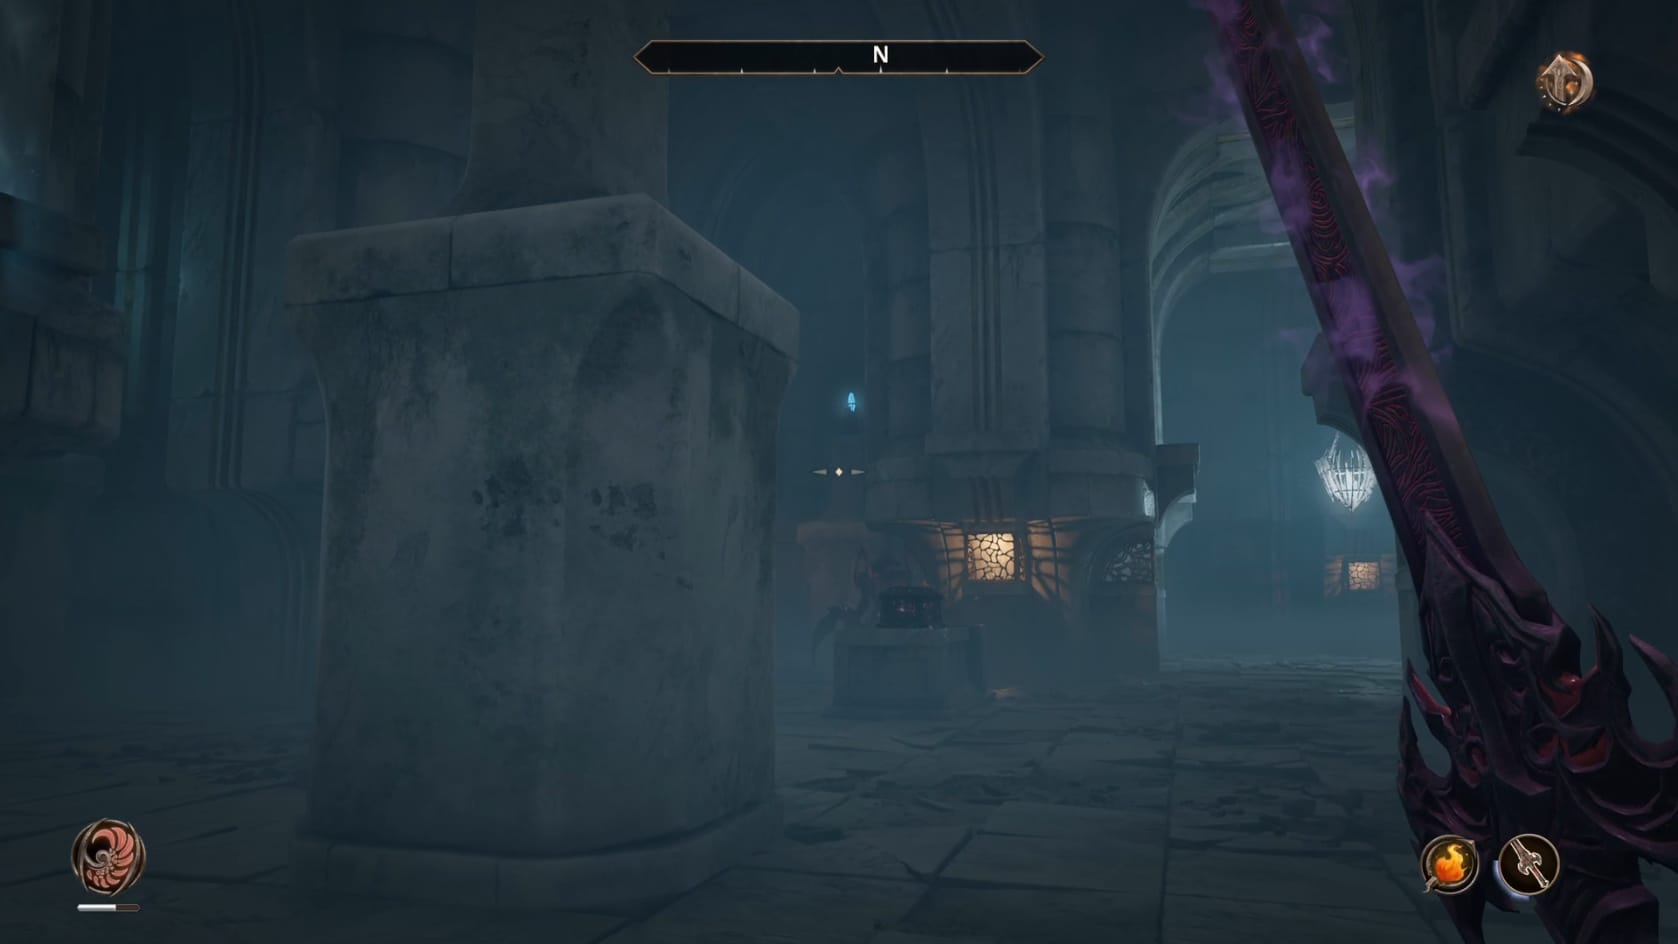
Return to the main chamber. Head to the North and look to the middle. There’s another monster wandering about here. Sitting nearby the large pillar in the middle is an altar with an Alyeid Cask on it. Head to the Northeast after that. Another pair of monsters are in the center of the raised area. Sitting on the Eastern end of that raised area is a Locked Alyeid Cask (Average). Collect the easily accessible Welkynd Stones here. After all that, head to the Northeast and through the archway there into the next corridor.
This is a short corridor. It will lead you directly to the accessible door going into the Halls of Nonungalo.
Halls of Nonungalo
Start by going going down the hallway and turn to the left. Keep the open balcony portion of the walkway in mind.
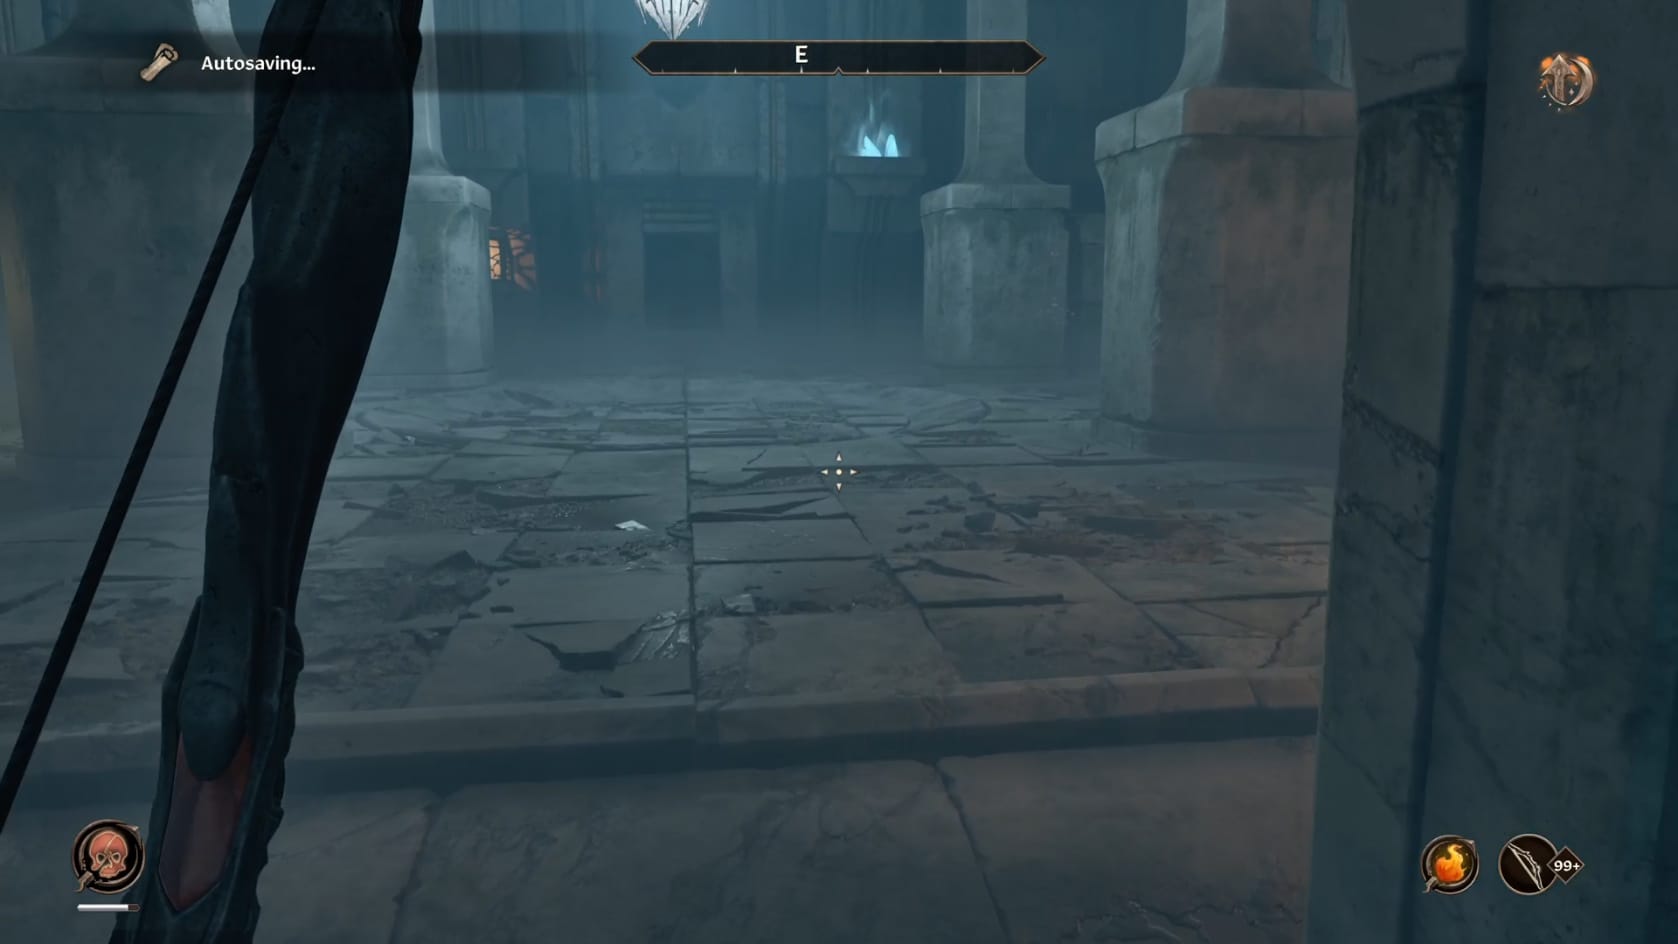
Going to the Left (East) into the connected chamber brings you into a small chamber. There can be a pair of monsters lurking around here so be mindful. Head for the center of the Eastern wall to find an Ayleid cask sitting there.
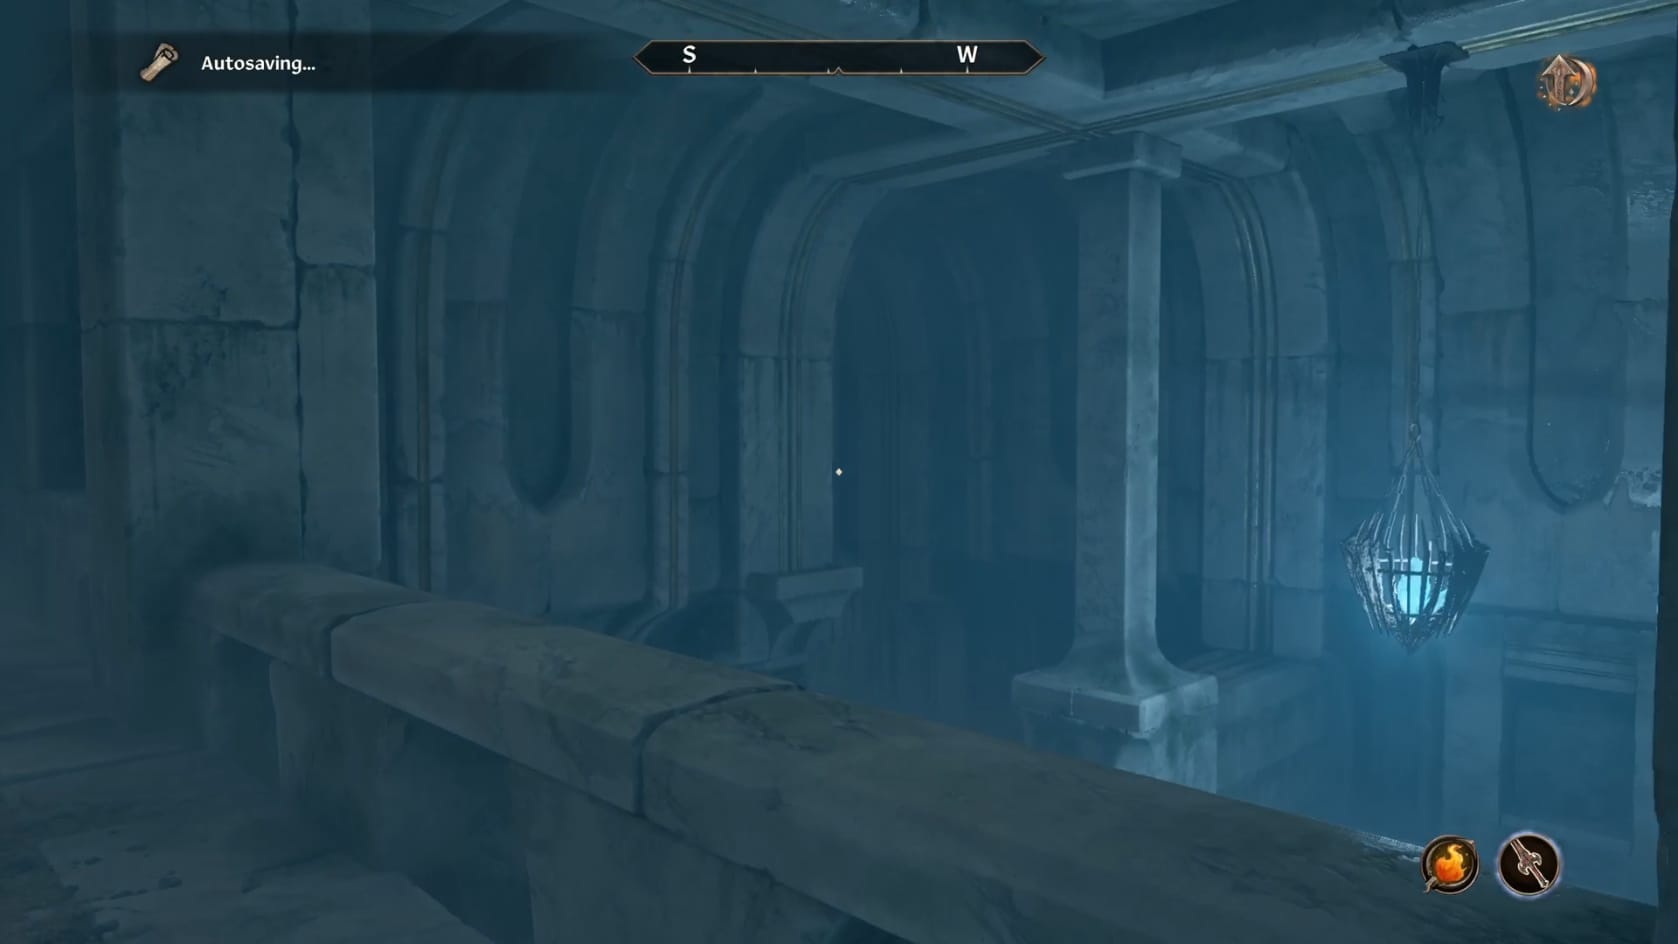
The balcony reaching the rest of the Halls of Nonungalo
With the room explored, head to the West. You need to jump down from the open section of the balcony into the room below. In the middle of this lower portion of the room, you can find an Ayleid Cask on a small podium. Collect its goods then head to the Southeast. Go through the archway there to continue forward.
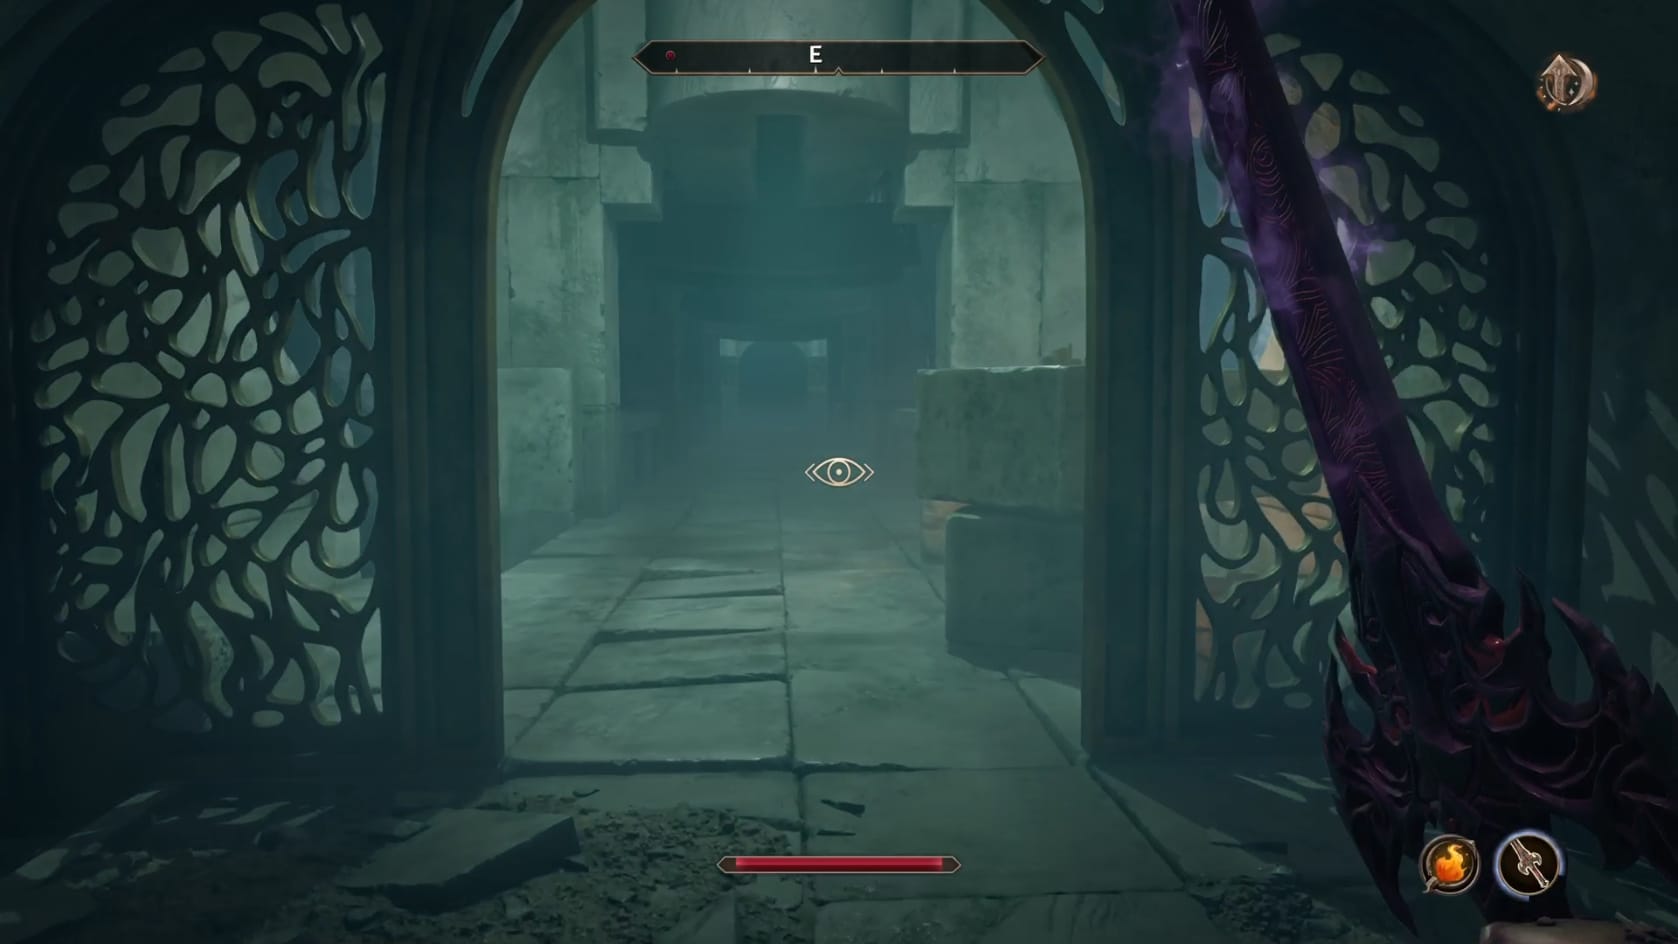
This leads to a small area under a walkway. There’s not much to find to the sides of the walkway itself. There’s 1 small Locked Alyeid Cask (Average) on the Southern side, to the right of the archway. After that head to the South and into the next archway. Go to the West and through the corridor there.
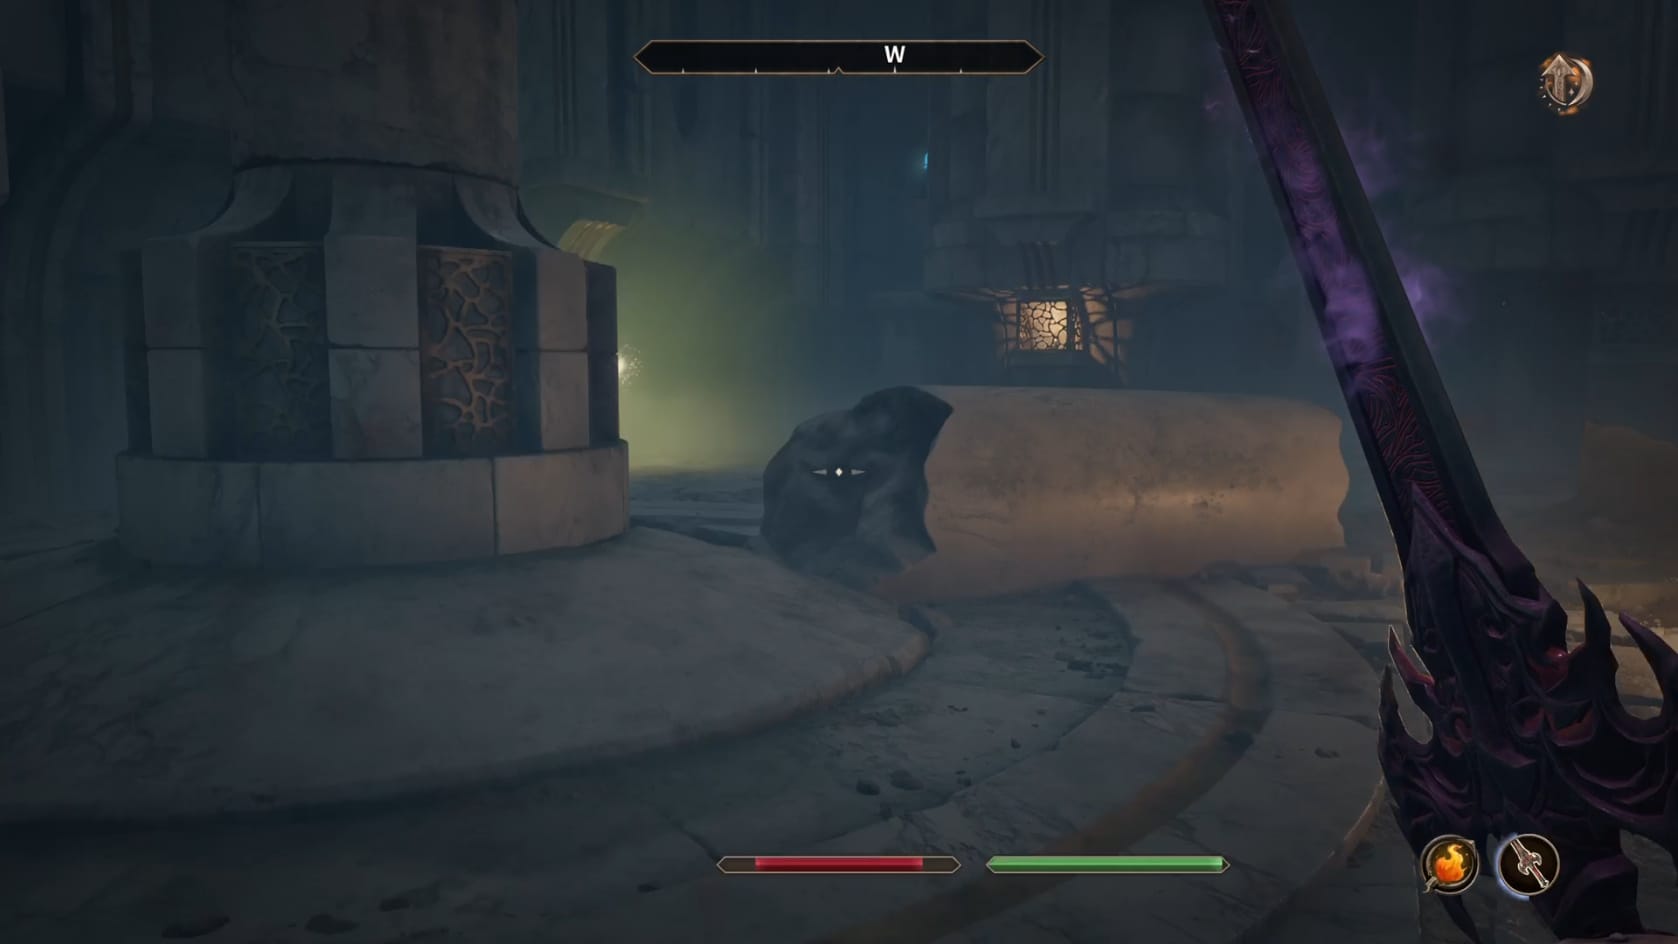
Take the stairs up and over to the East. This brings you to the walkway you just passed under. There can be a found monsters around here, so be on guard. Getting across the walkway isn’t straight forward. There are a 6 Blade Traps above the stone that will come down on the Hero as they pass across the walkway. Move forward enough to trigger the Blade Trap to come down without hitting the Hero. Quickly jump over the Blade while its down. Repeat this process as needed to get across the whole of the walkway. Go forward from there to get into the next room.
Inside this room, head to the North. As you do, look to the Eastern side. Between the first few low walls there is an altar with a Locked Ayleid Cask (Average) on it. Getting there, you want to jump over the middle of the room. The floor there will drop underneath you, revealing Spikes ready to skewer you. After that, carefully make your way to the Northern end of the room. There is 1 monster about the middle of the room. Another patrols in the Northwestern exit of the room. Defeat them and head through the archway to exit it.
Just through the archway, having dealt with the monster there, look to the left. You will see a shelf with an Ayleid Cask sitting on it. Continue down the corridor to the West after that into the next chamber. Once again, there is likely a Boss Monster in your way to cut through. Inside this room, head to the Southwestern corner. You can find a small Ayleid Cask siting there. Collect its contents. Be mindful of another monster lurking around this chamber. Change to the Northeastern side. Look for the shelf to the North of the door in. Sitting there is an Ayleid Coffer.
Loop to the West and turn to the North. This will let you get into the back corridor of this larger chamber. Follow the corridor to find that it leads to back to the zone of the Ayleid Ruin. Open the door.
Nonungalo
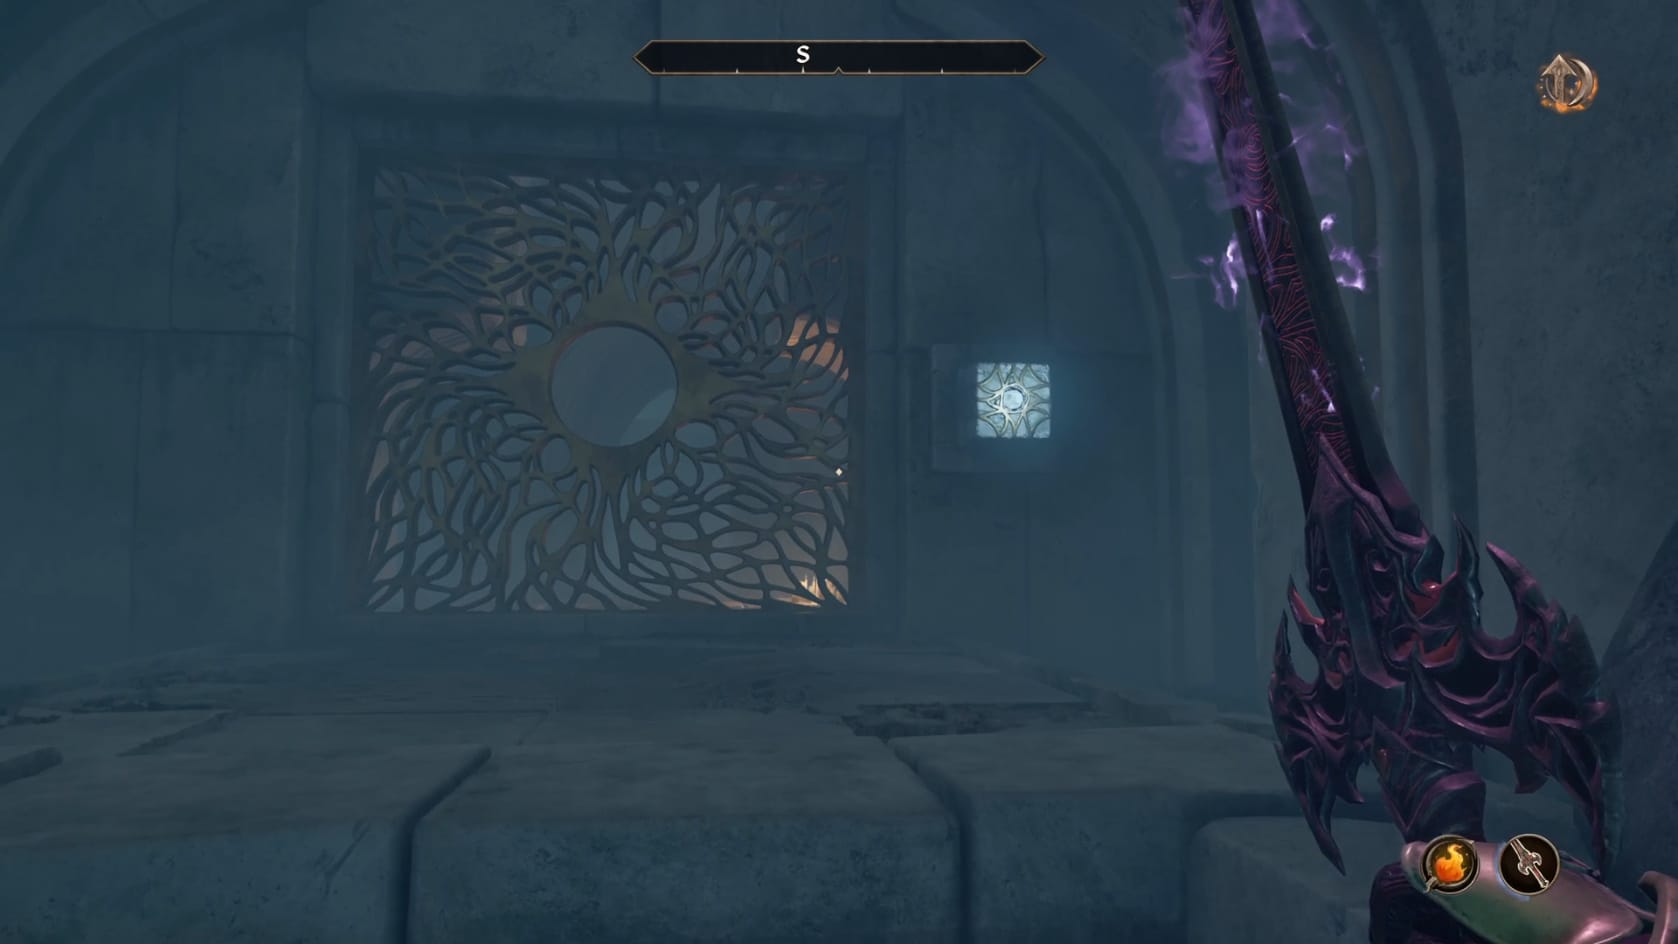
You’re back in the first portion of the Ayleid Ruins. Here, take the stairs up. Just to the right of the gate you can find switch to activate the Gate. Use the switch to raise the gate, giving access back to the main part of the Ayleid Ruins. At this point, you’re free to leave. Exit on out of the Ruins.