Elder Scrolls IV: Oblivion Remastered – The Ghost Ship of Anvil Guide
Help Varulae investigate the haunted Serpent’s Wake, recover the missing Crystal Ball, defeat its spectral sailors, and claim the enchanted Redwave cutlass.
Summary
Found in the Anvil Docks, the first ship there has Varulae onboard. Talk with her to learn about the fate of the crew onboard the Serpent’s Wake. She tasks you with delving into the haunted ship and collecting the Crystal Ball she sent them to retrieve. Complete this task to be rewarded with the enchanted Cutlass, Redwave.
- Enchanted, Silver, Daedric, or Dremora Weapons can hurt Ghosts
Location
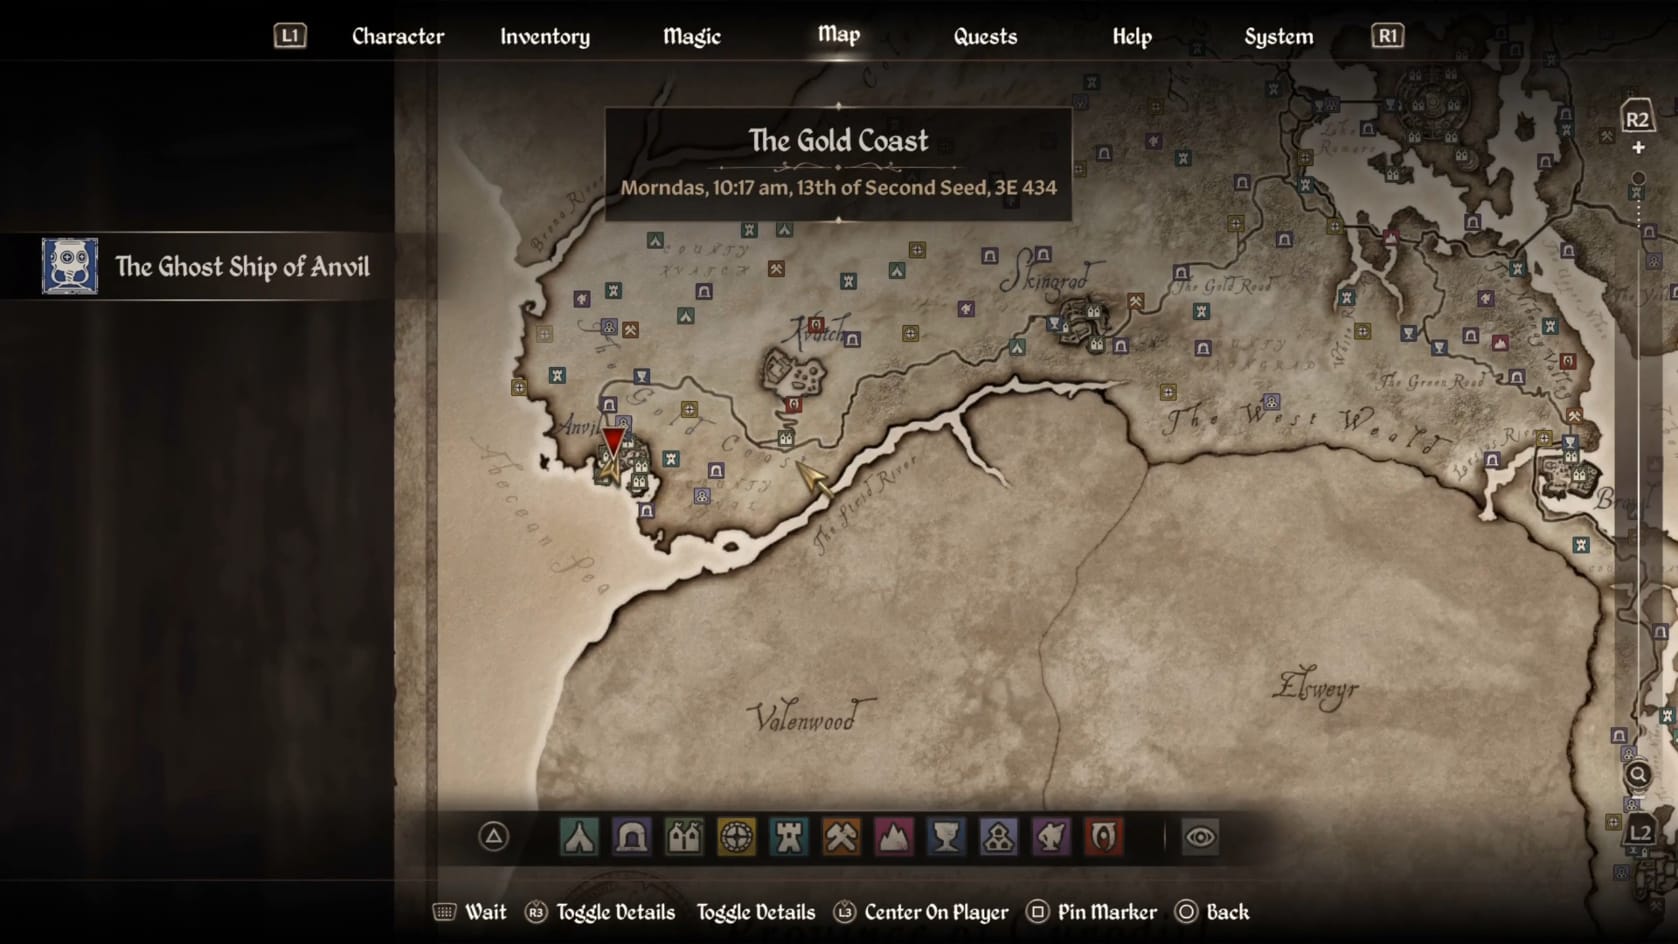
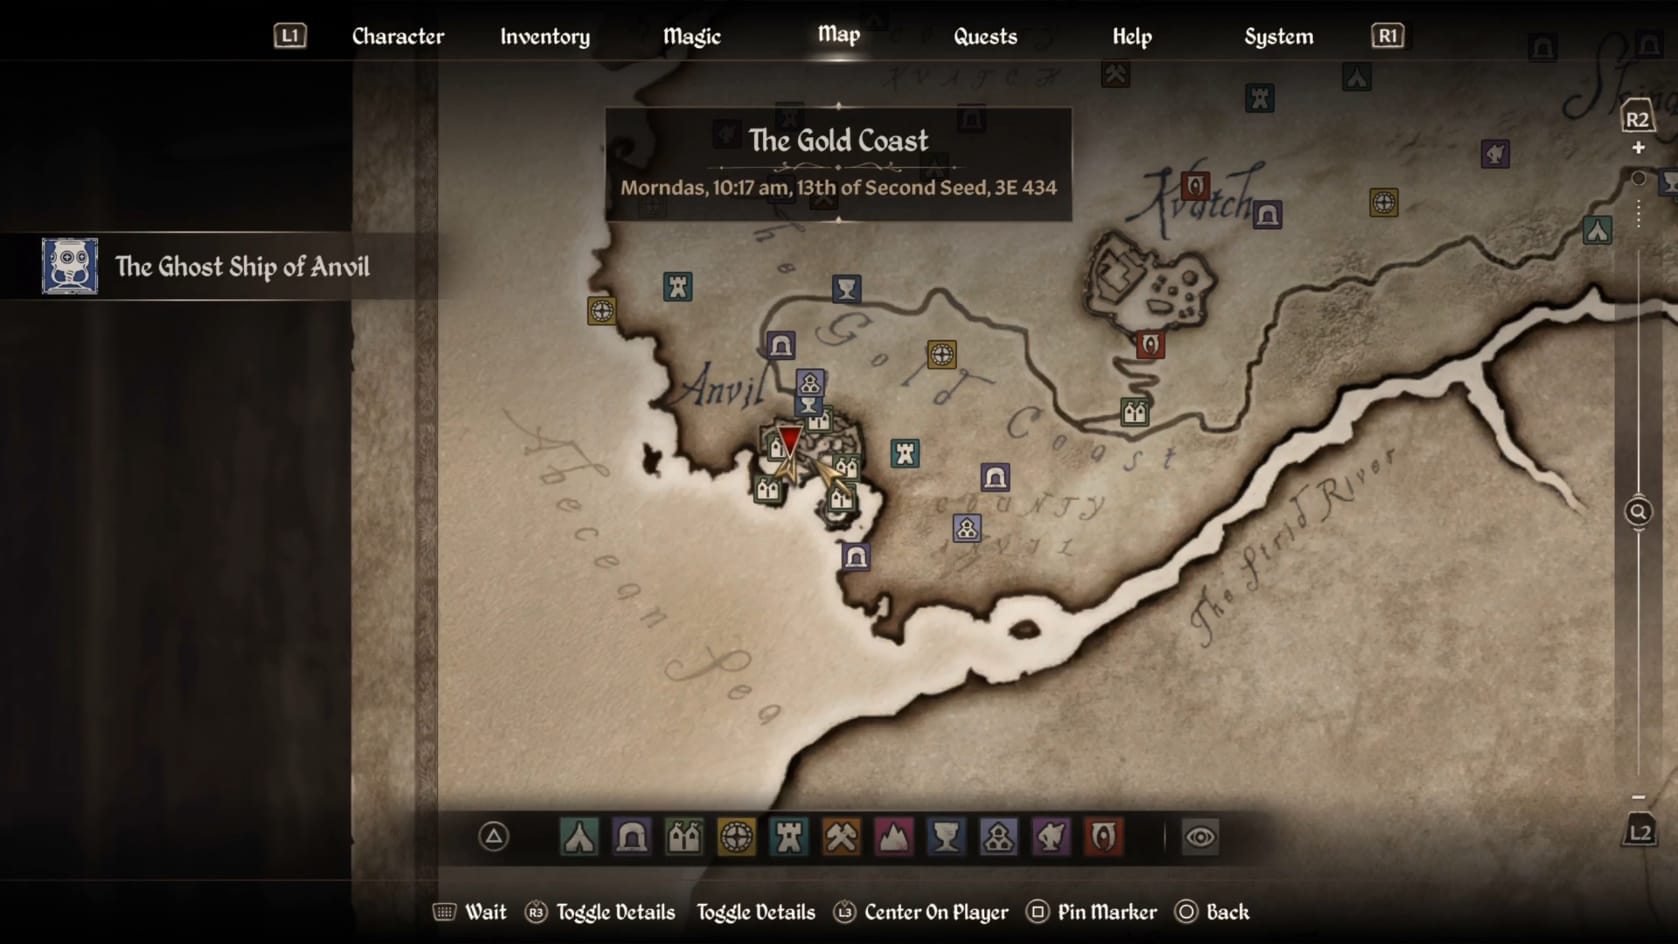
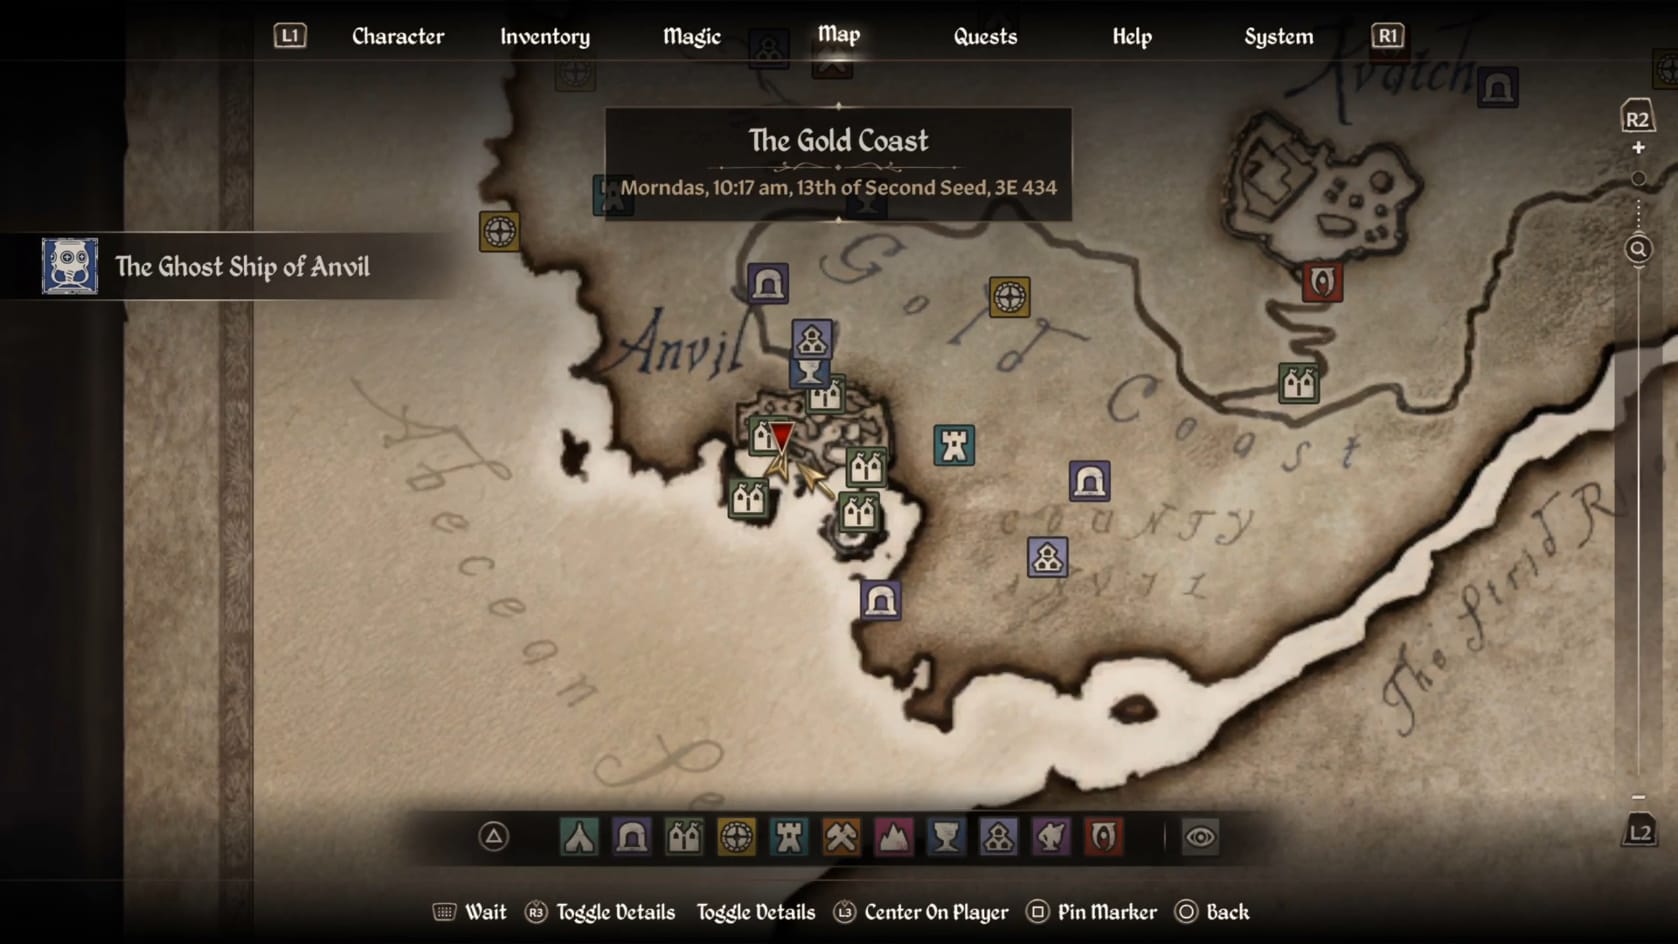
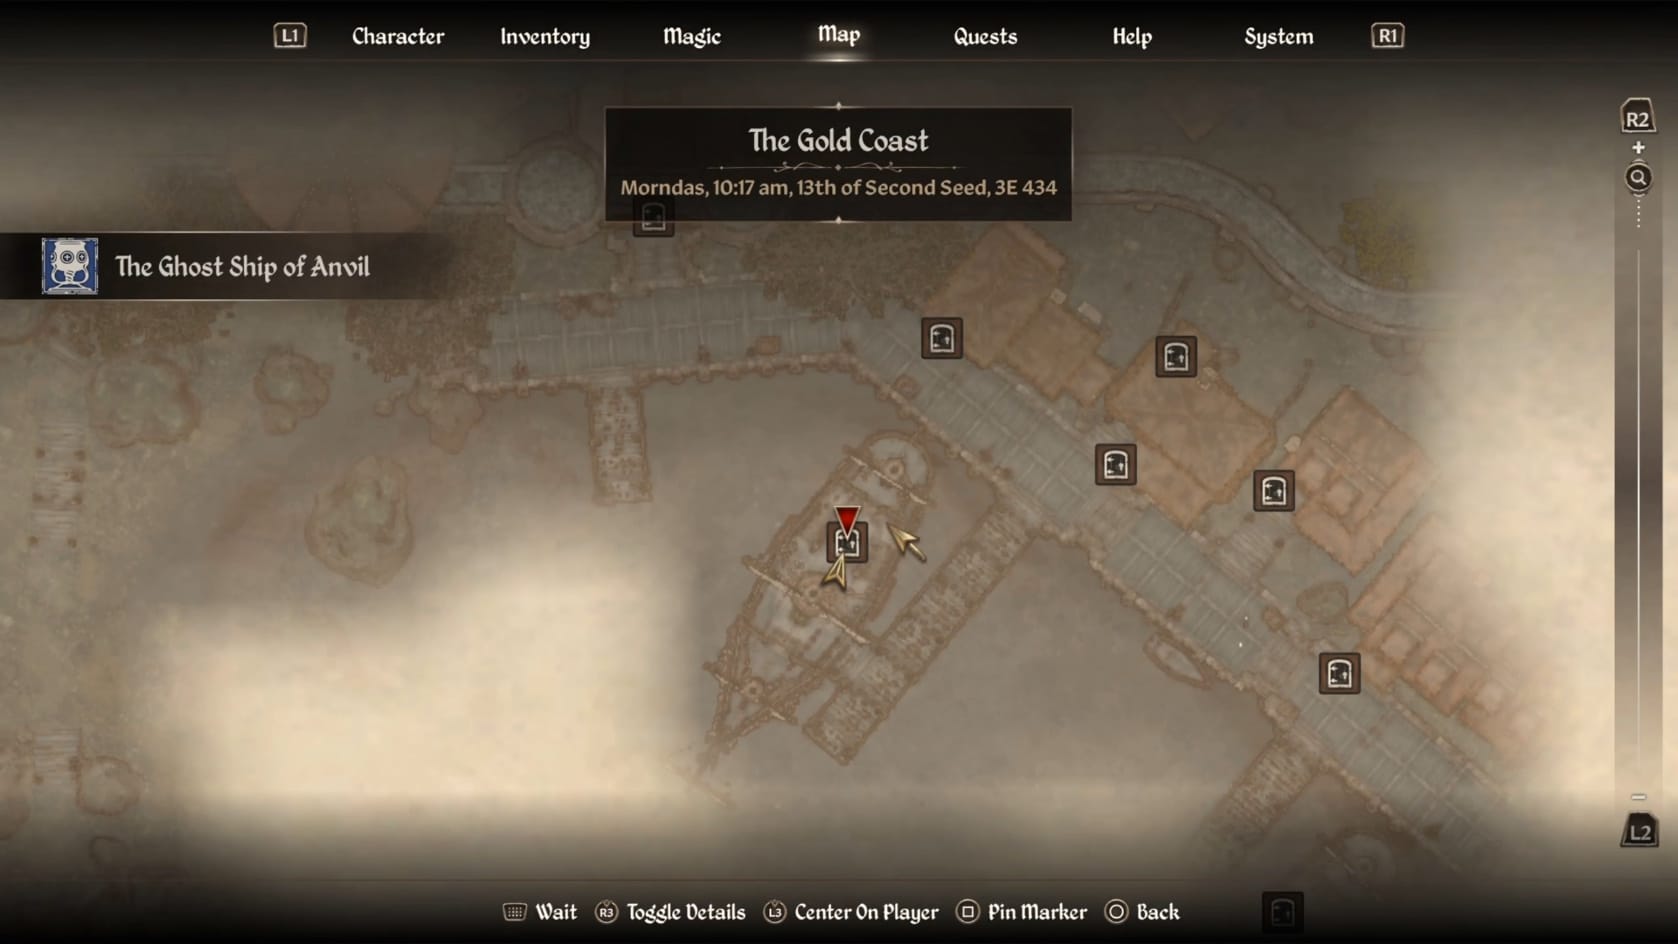
Location of the Serpent's Wake (Quest start location) in Cyrodiil
Walkthrough
Talk to Varulae
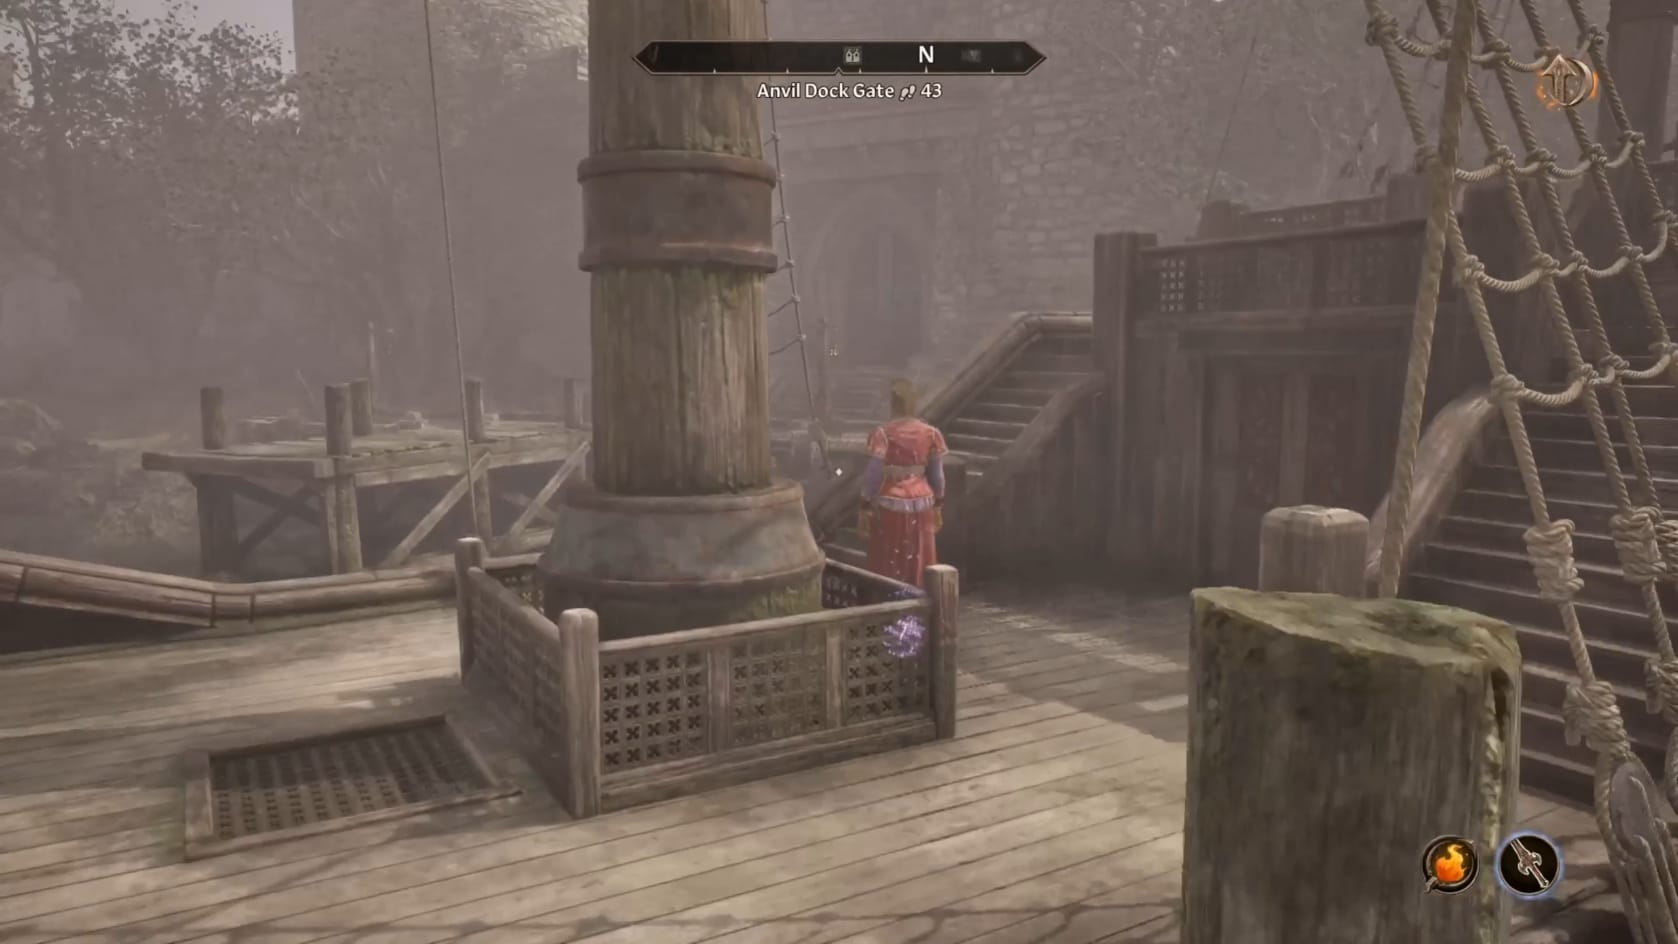
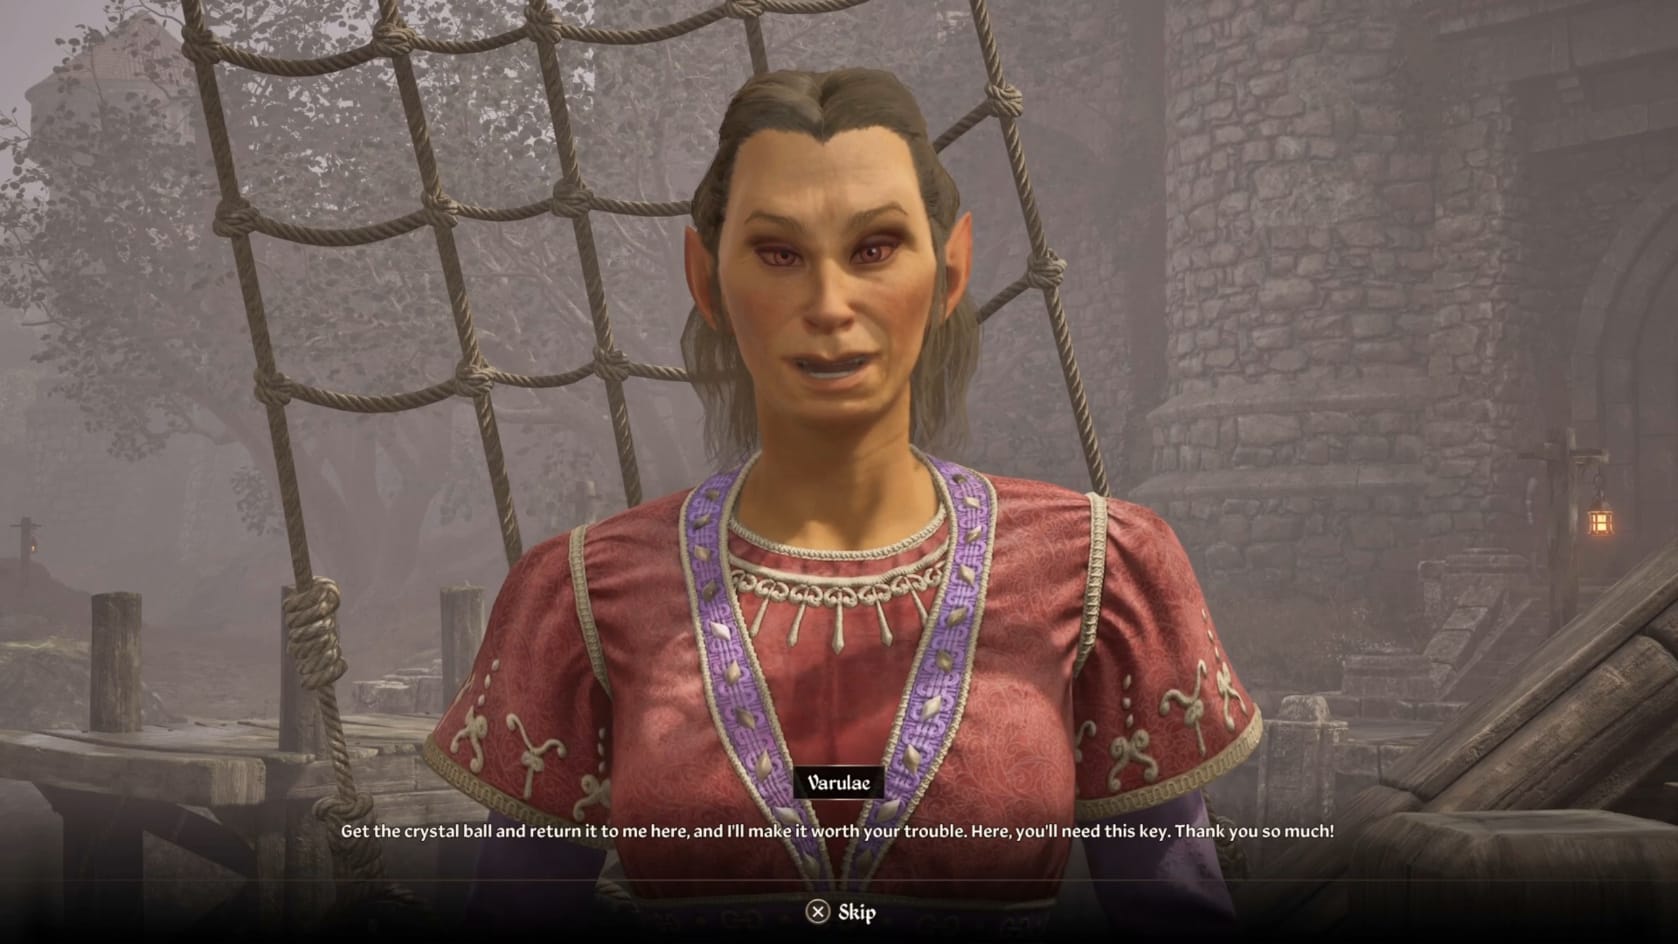
Talking to Varulae to start the Quest
When you enter the Anvil Docks, you can see a ship docked nearby the Flowing Bowl. Head over and onto the deck of the ship. There you’ll find the Altmer, Varulae. Talk with her about the ship to learn what she’d commissioned the ship for. Agree to help her and she’ll give you the key to get into the Serpent’s Wake itself.
Search the Captain’s Quarters
With the Serpent’s Wake Key in hand, go over to the door at the stern of the ship. Just interact with it to get inside.
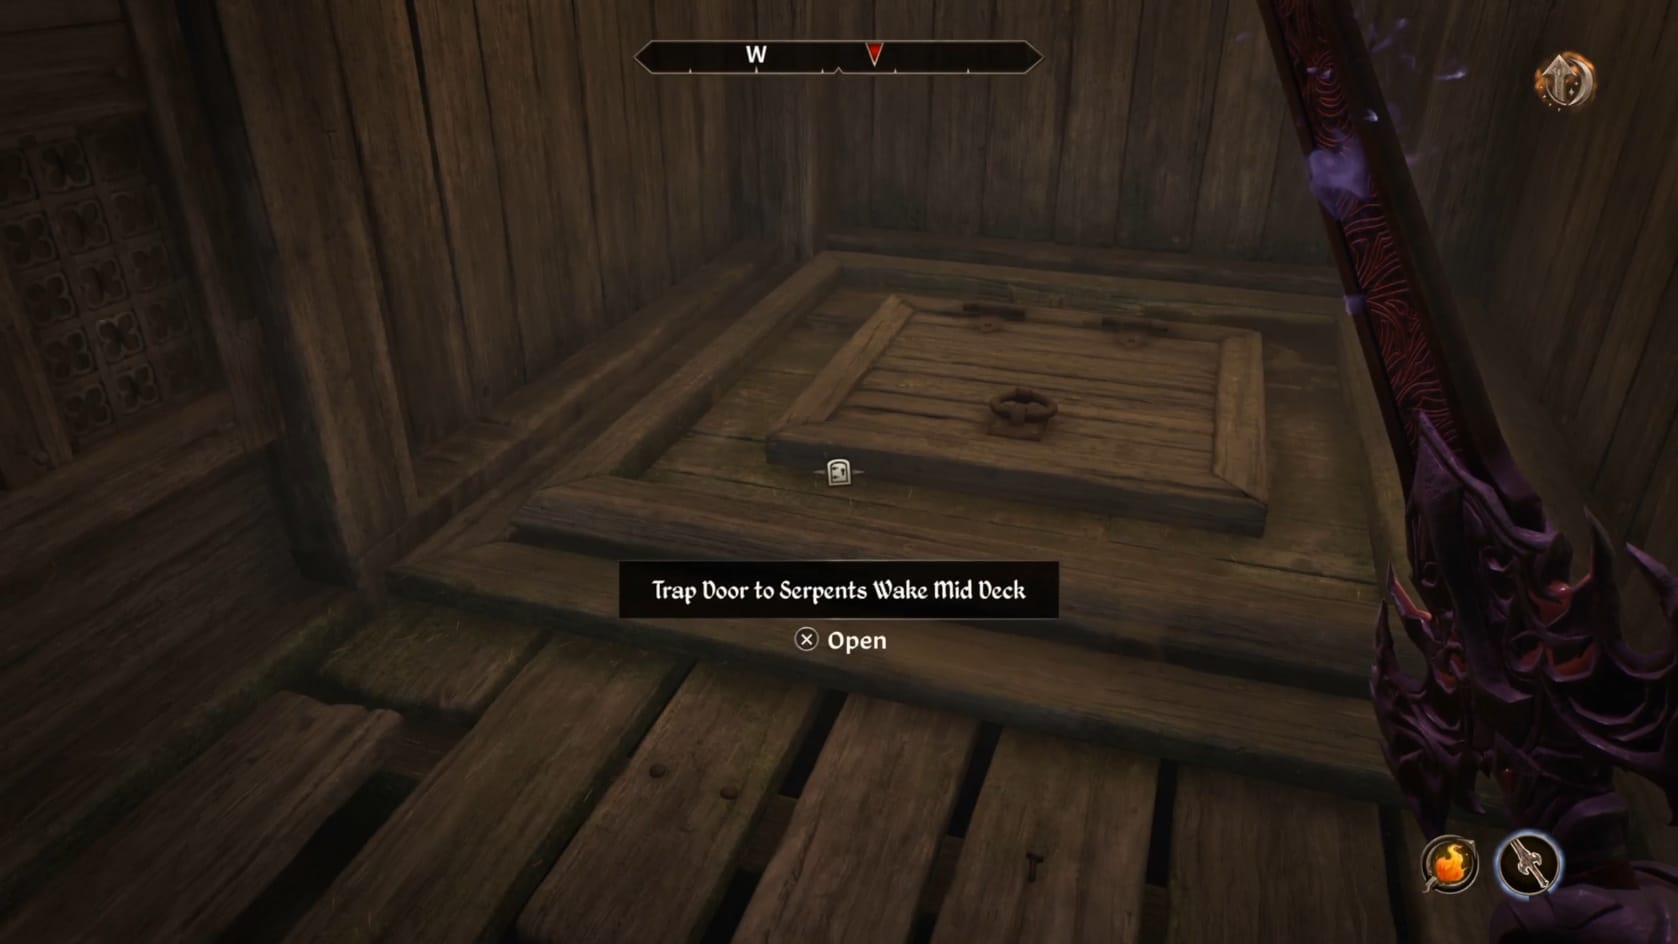
Inside the ship, you can open the door in front of you. The hatch down to the next level is on your left to the West. You should take a minute to explore this cabin though.
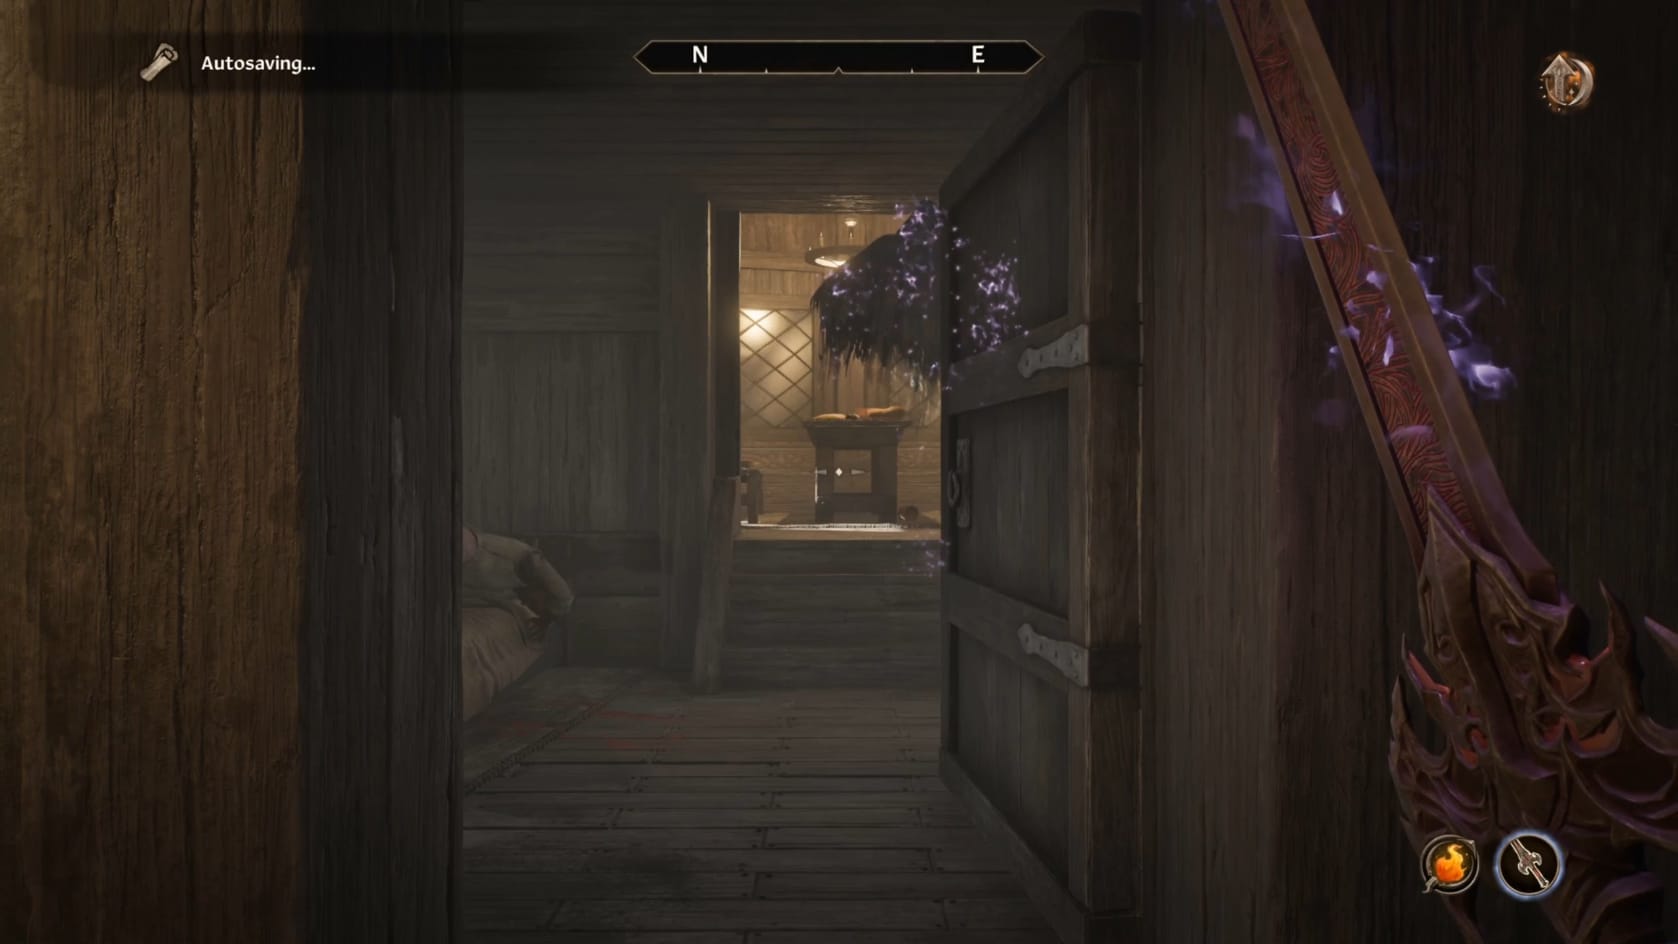
You will encounter the first of several Spectral Sailors. You will need any weapon that’s: Enchanted, Silver, Daedric, or Dremora. Anything like that will be able to affect the Spectral Sailor normally. Otherwise, you will be do vastly reduced damage to it. Defeat the Spectral Sailor. If you don’t have one of the mentioned weapons, take the Cutlass it drops. It will work fine on the remaining Sailors.
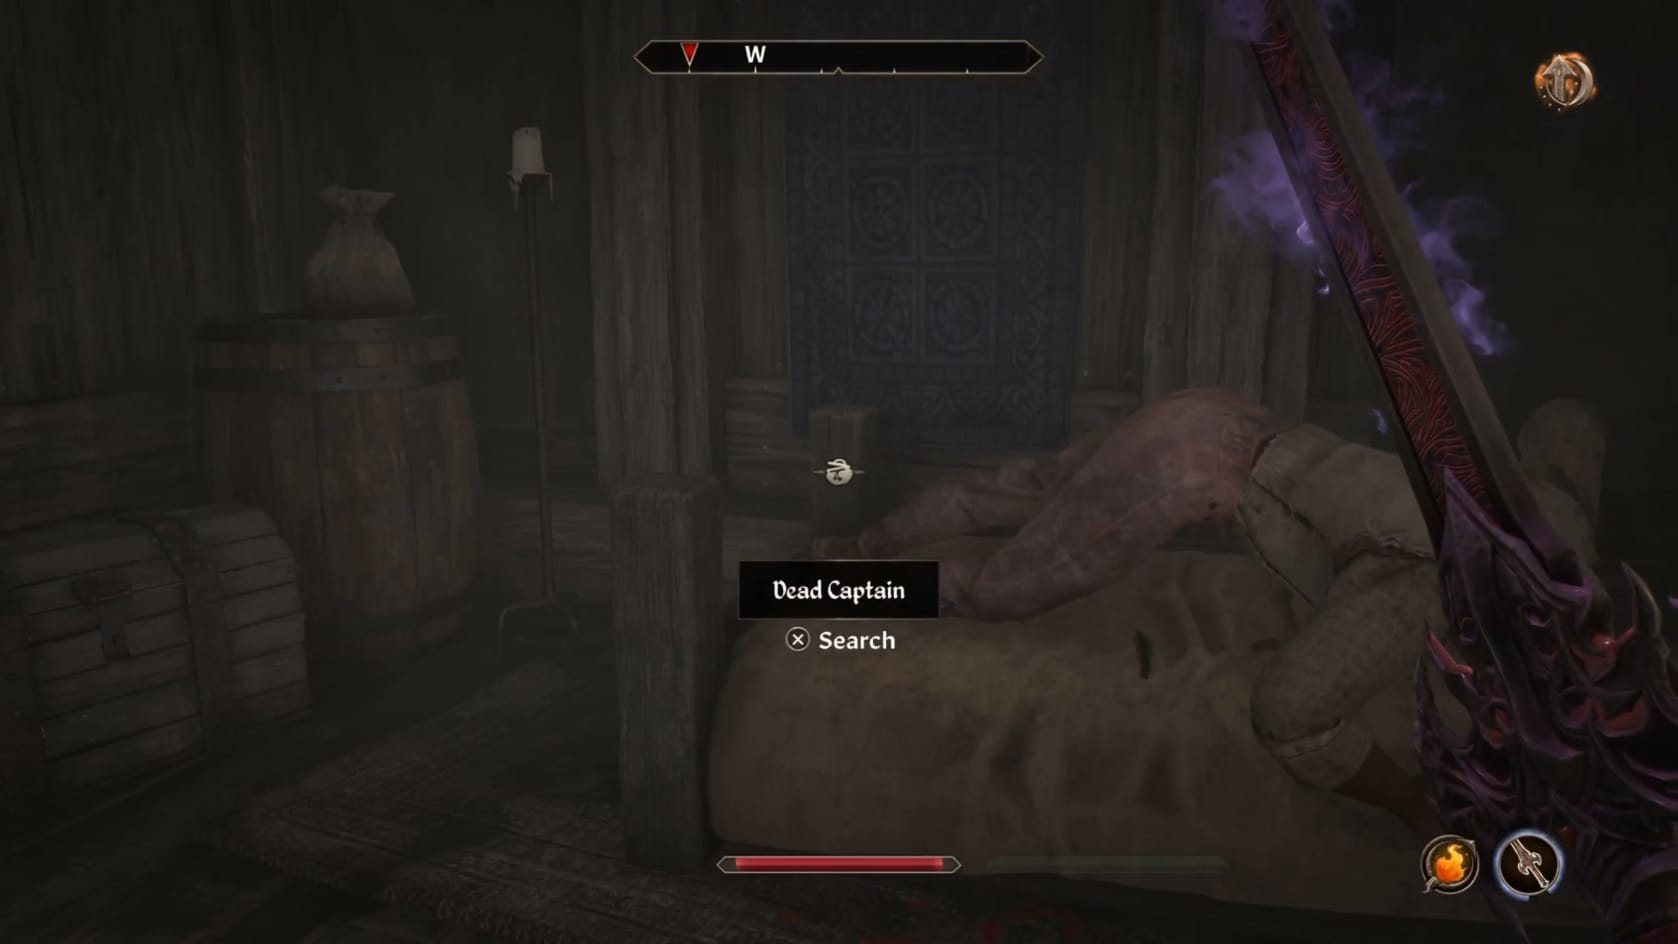
The big reason to explore is laying on the bed (or elsewhere in the cabin), the remains of the Captain. Loot the body to get the Captain’s Key. That will let you open the chest (Locked: Very Hard) at the foot of the Captain’s Bed for good loot.
After all that, head back to the door you entered through. You will find the hatch that leads down to the Mid Deck sitting in the floor to the West of the door into the Captain’s Quarters.
Search the Mid Deck
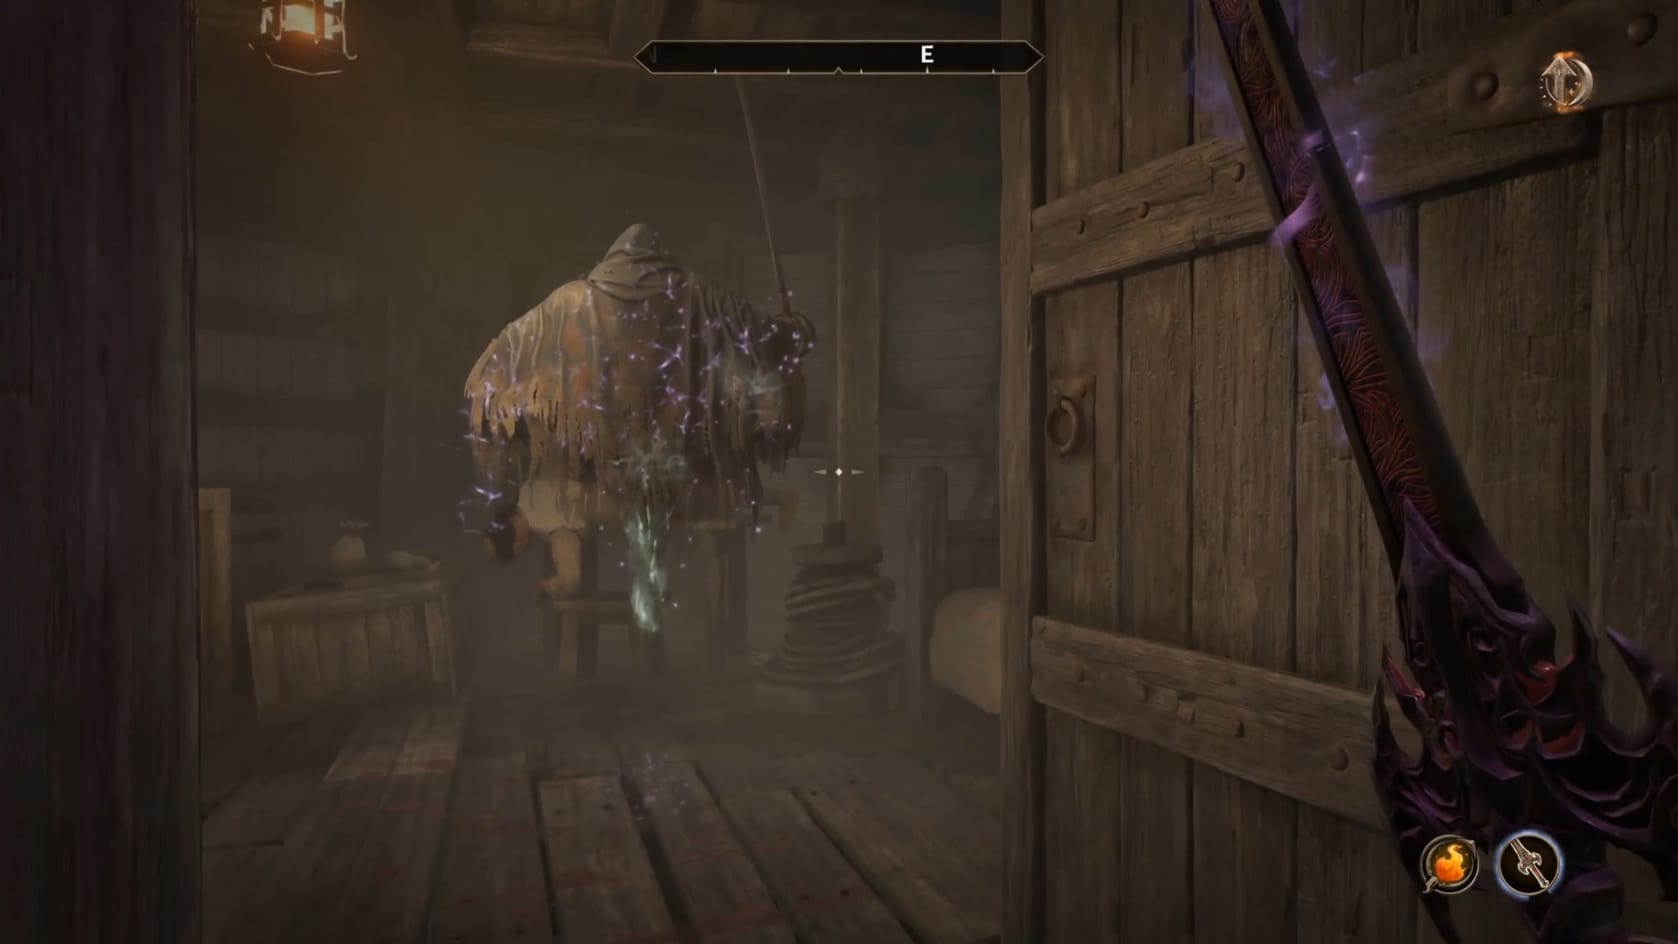
There are 2 more Spectral Sailors on this level. 1 is found to the East, through the door just to your left from where you enter.
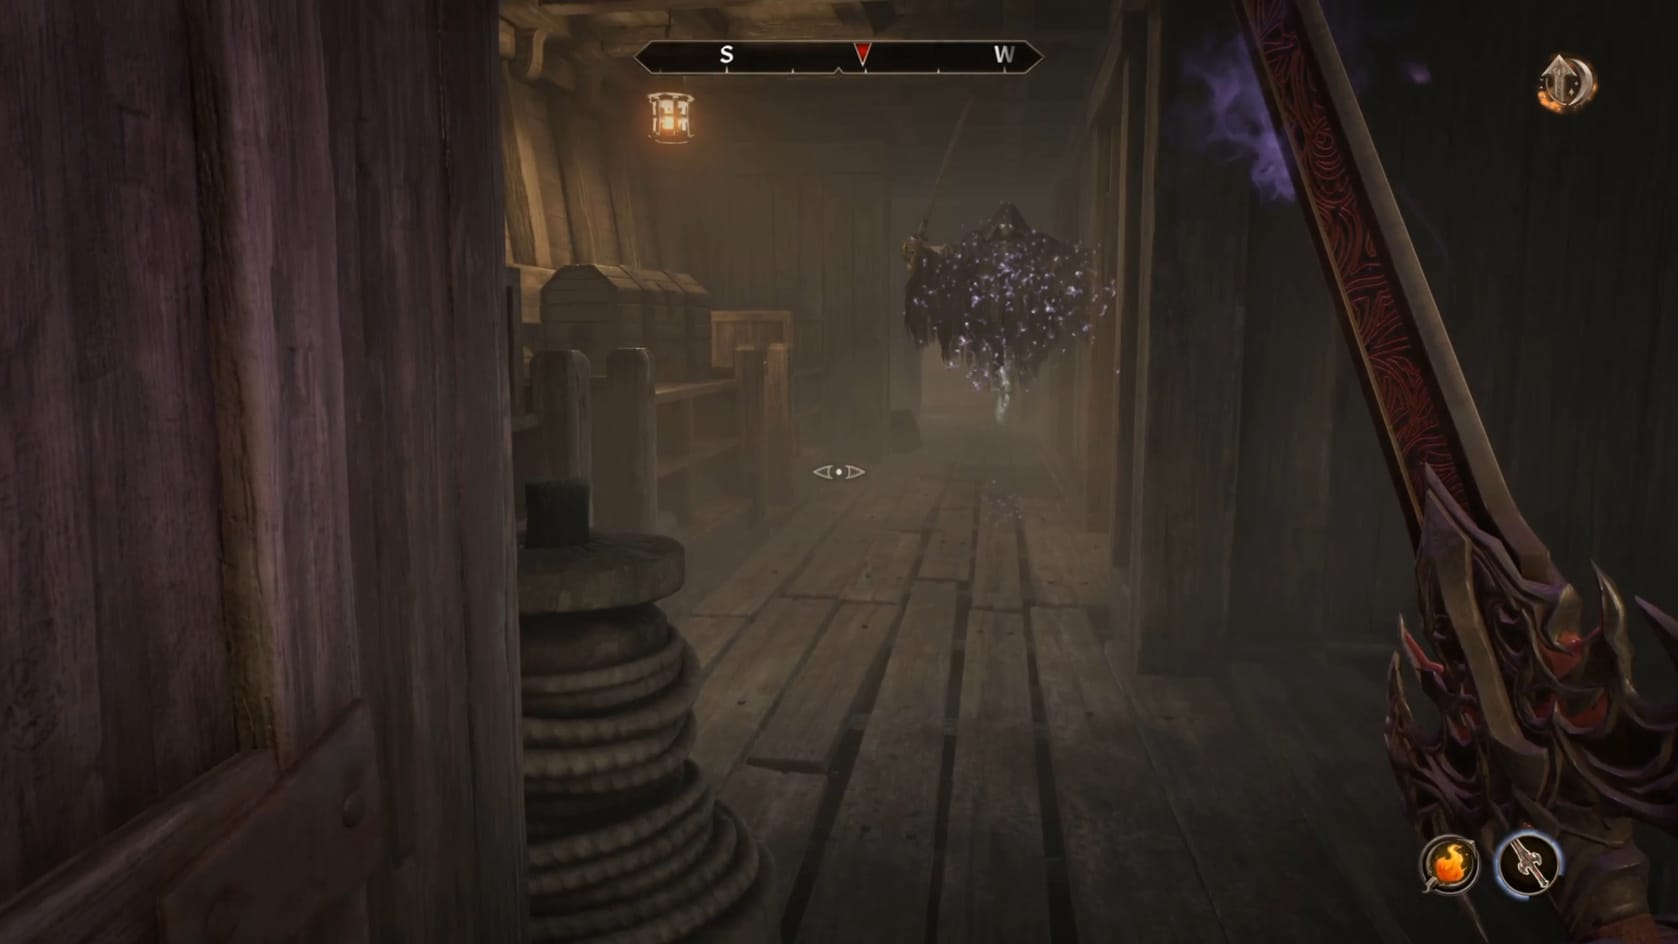
The other Spectral Sailor is to the West, to the right of where you appeared.
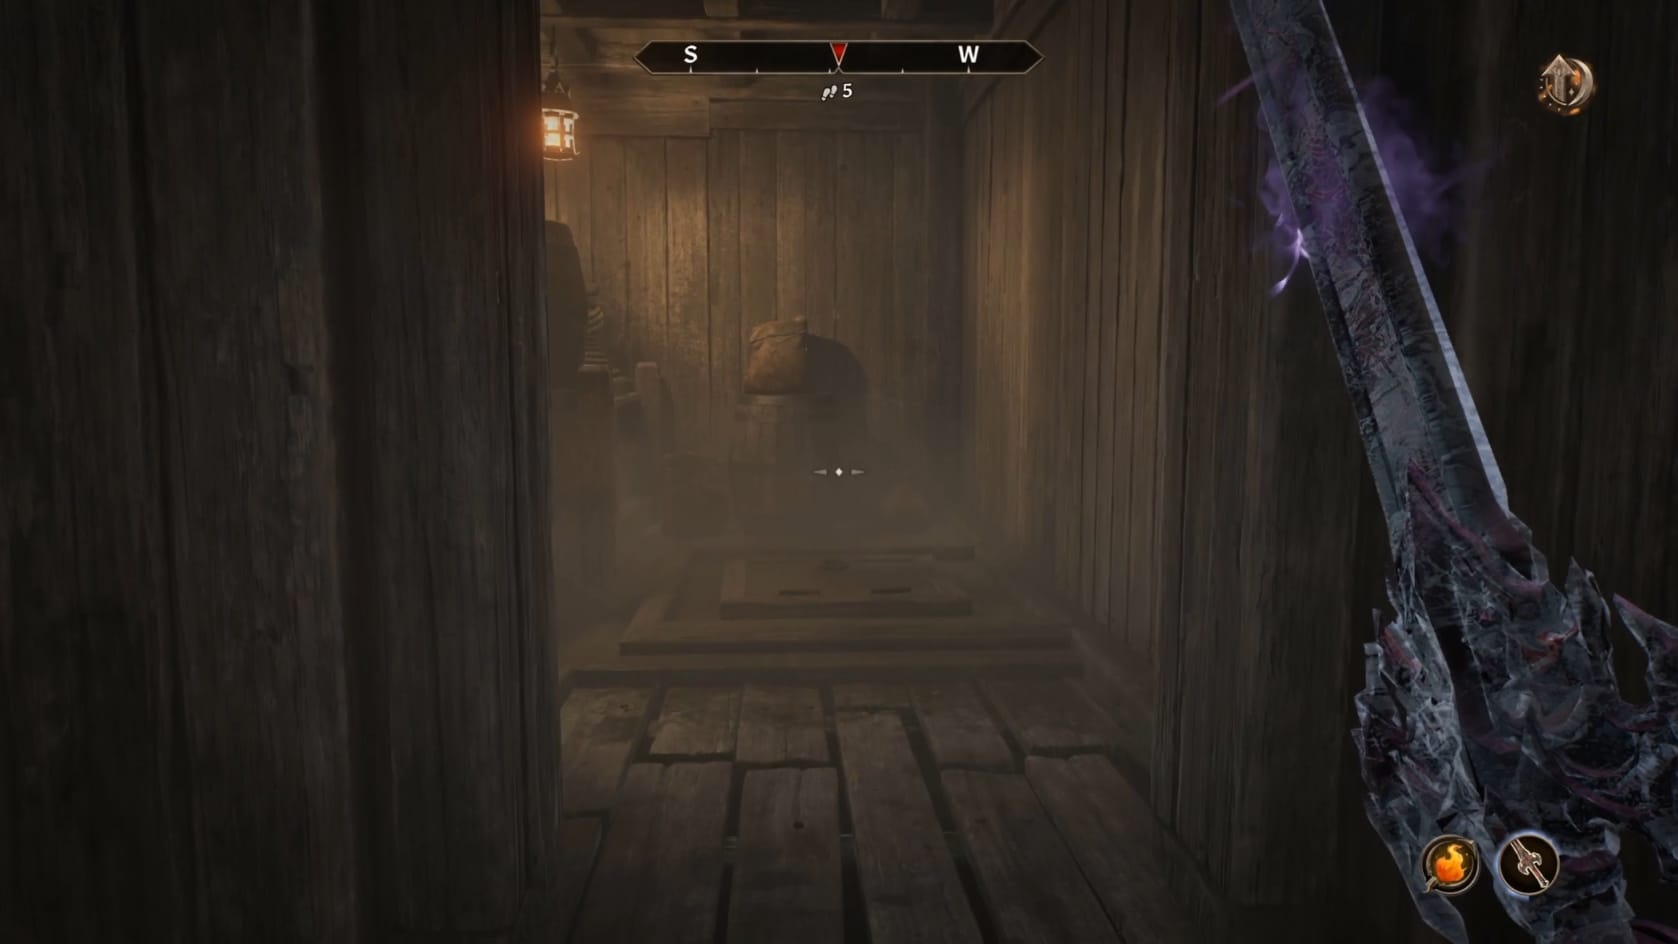
There’s very little that’s useful in the containers spread across this floor. Instead, focus on going to the West. You can find the hatch that will lead you into the Cargo Hold there. It’s at the far end of the hall.
Search the Cargo Hold
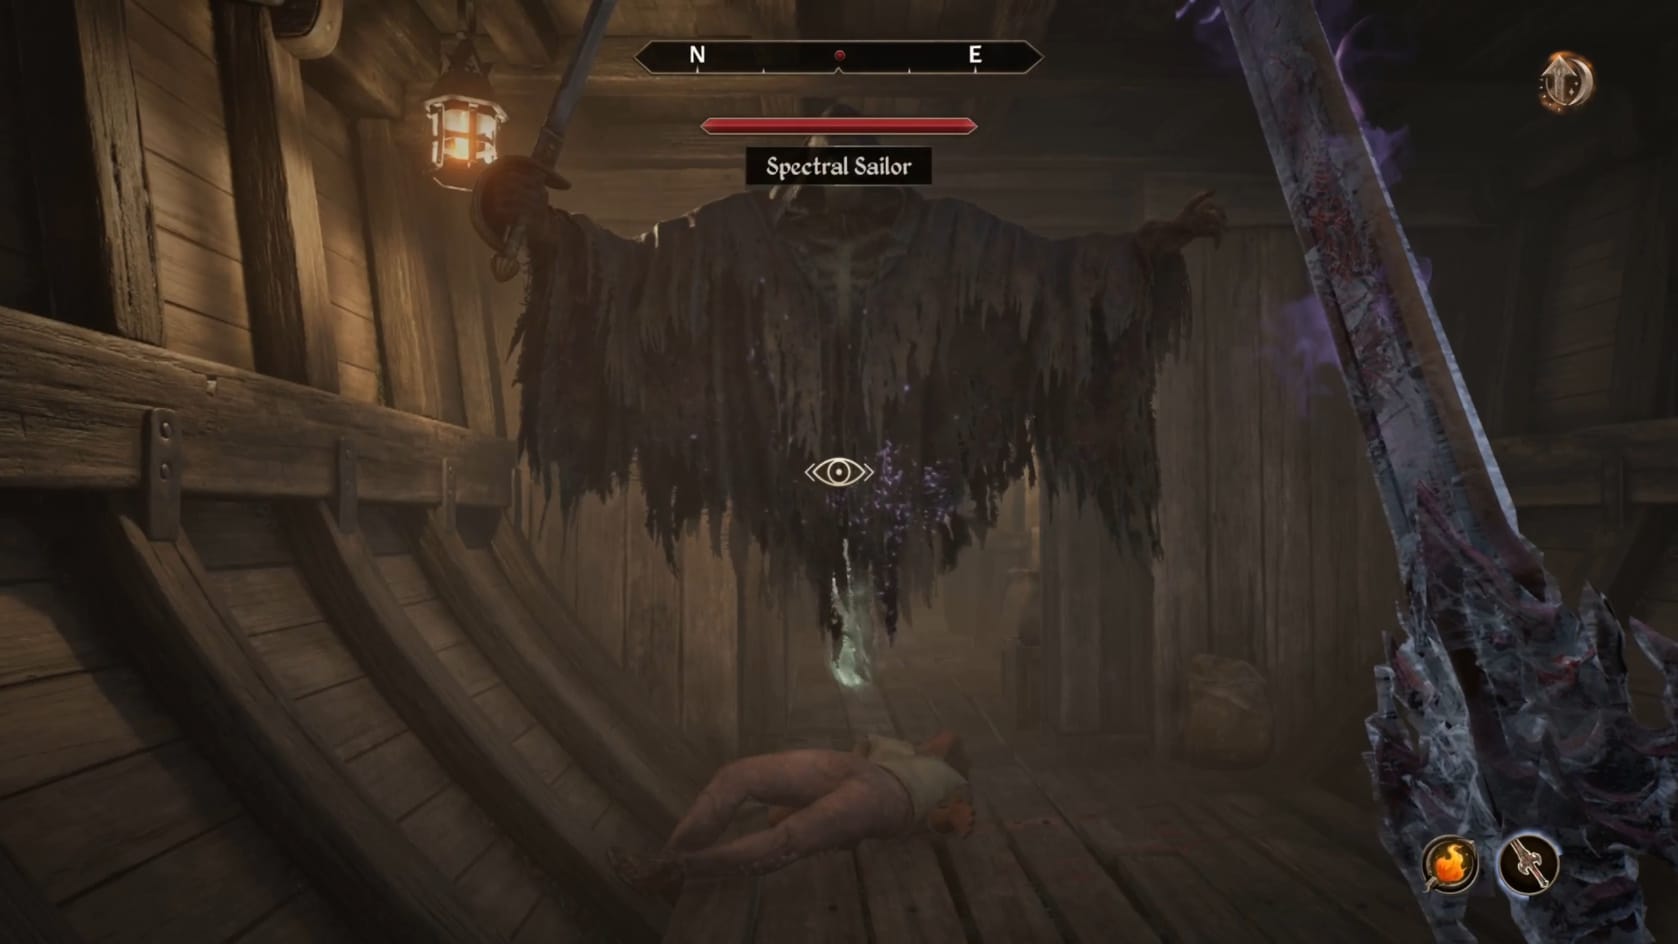
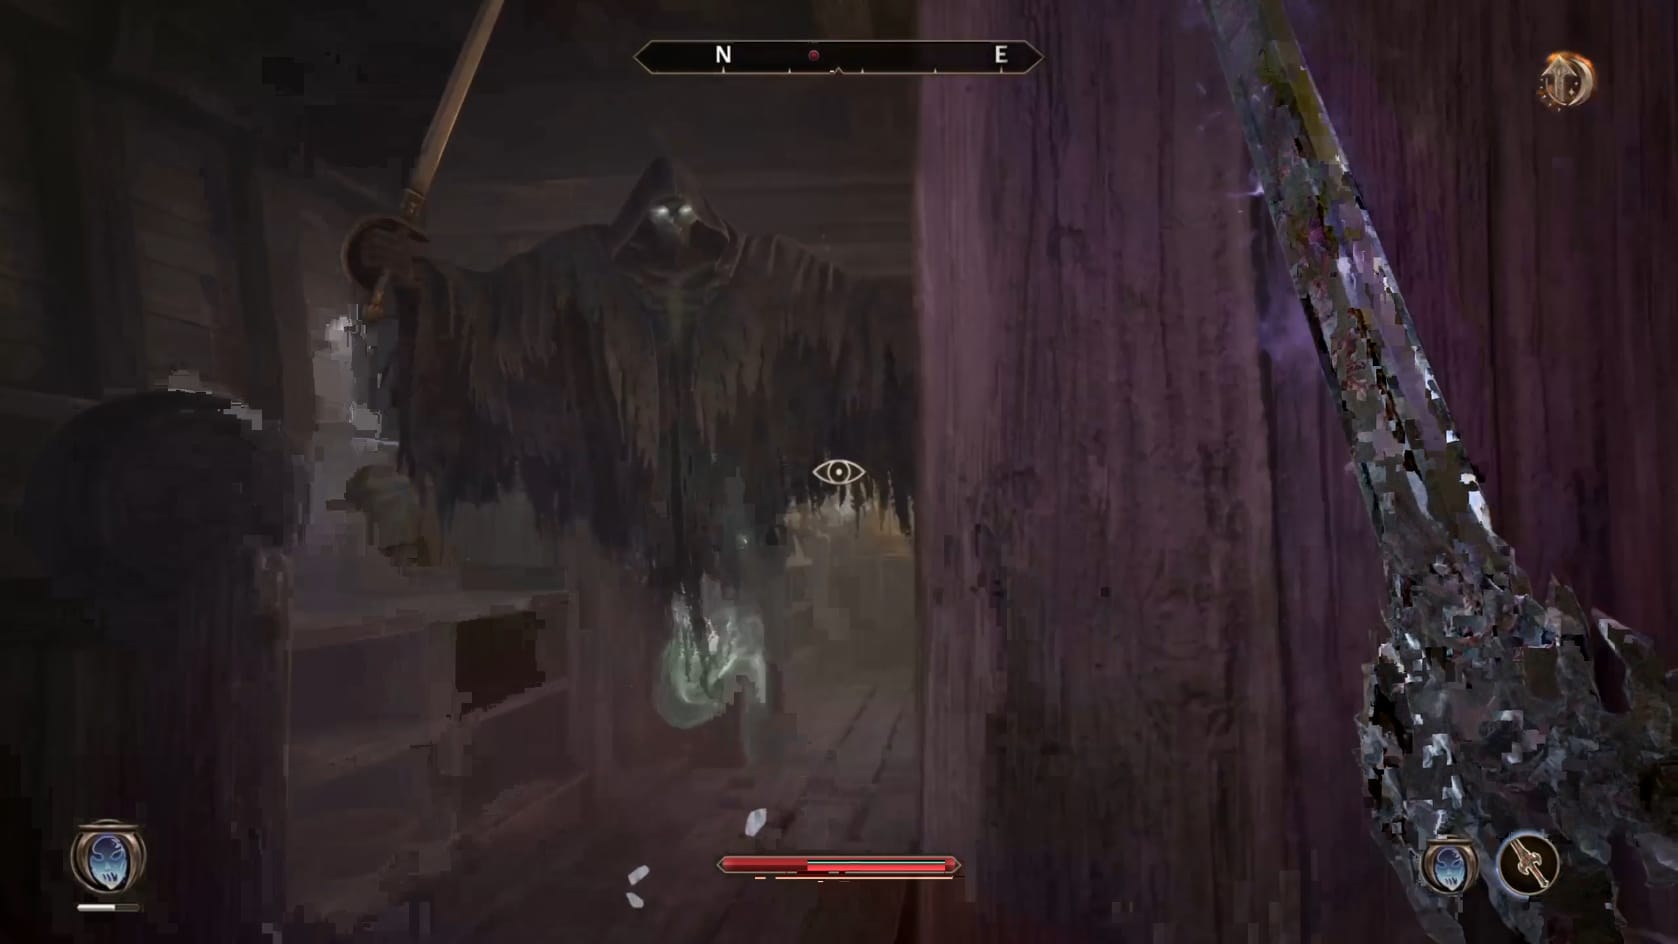
The final Spectral Sailors in the Cargo Hold of the Serpent's Wake
This is the deepest level of the Serpent’s Wake. There are 2 more Spectral Sailors here that you will need to worry about. There’s 1 nearby the ladder you climb down, so be ready to get into combat immediately. The other Spectral Sailor is to the East.
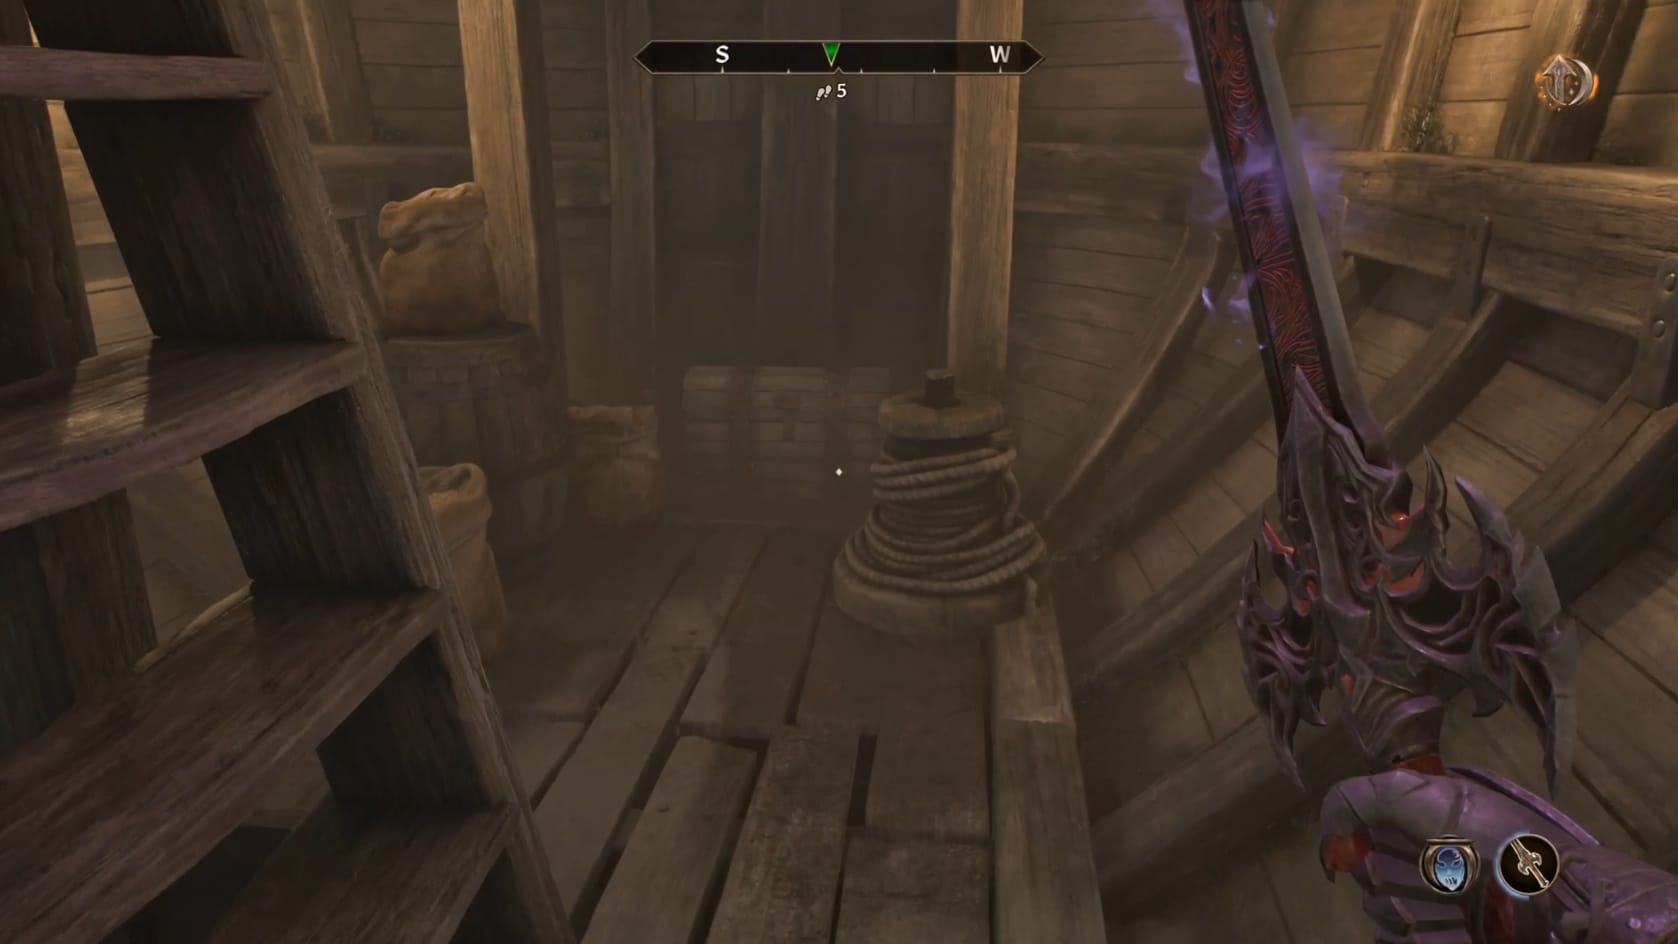
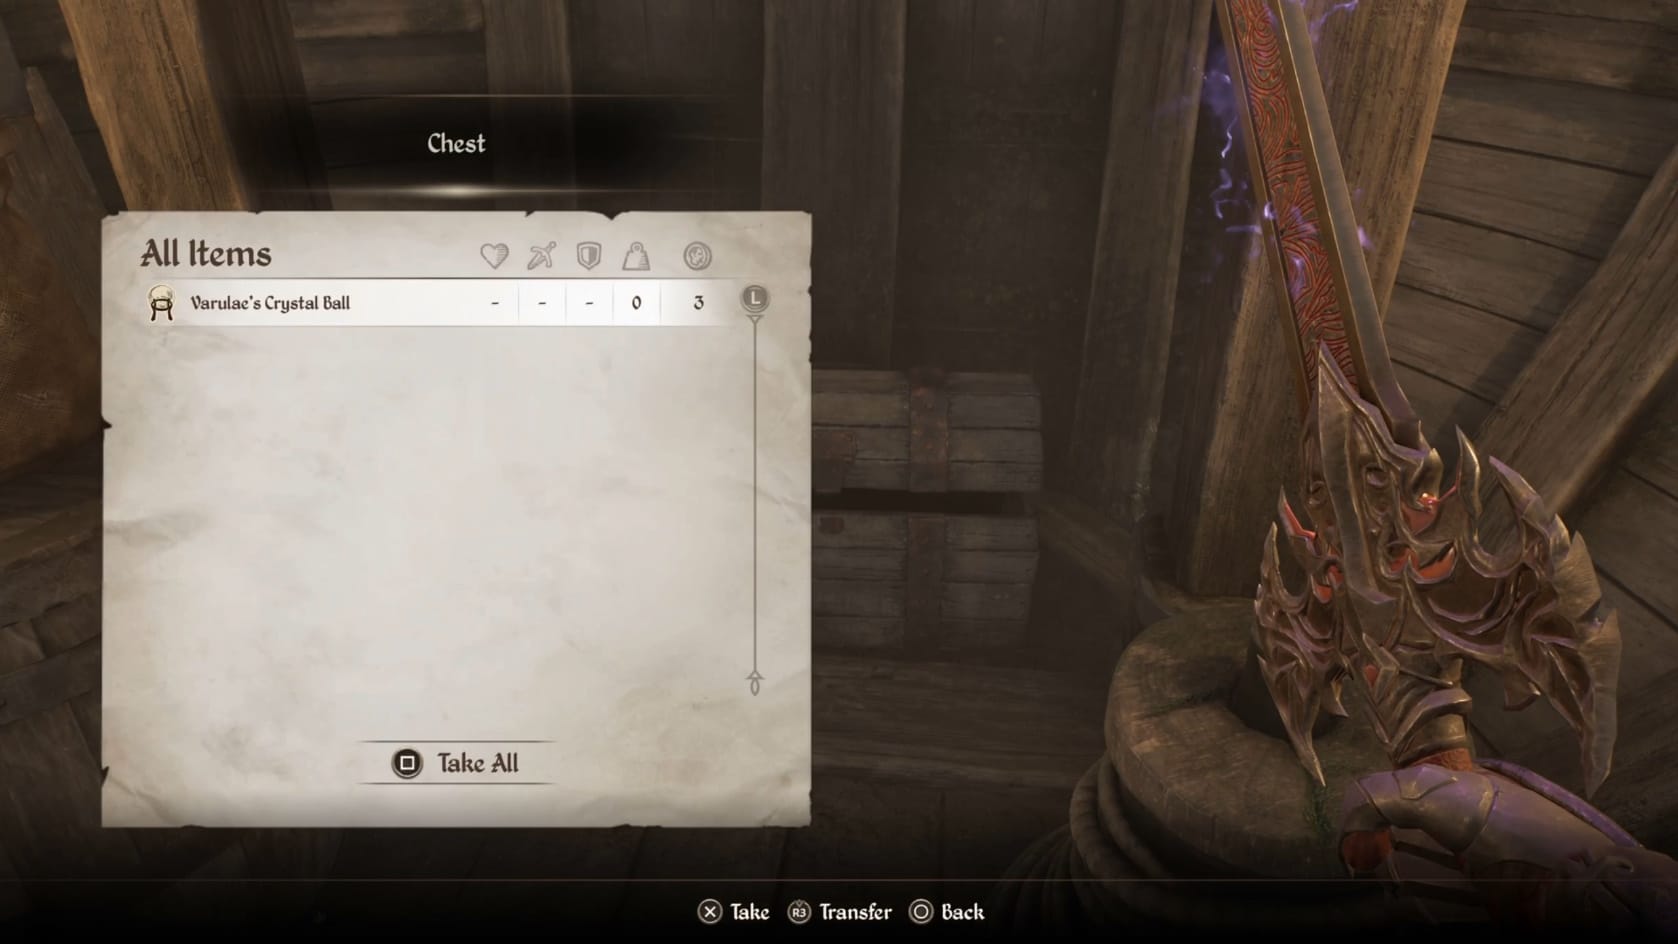
The chest in the Cargo Hold of the Serpent's Wake that holds Varulae's Crystal Ball
To find the Crystal Ball, you want to head to the West, not the East. Go passed the ladder you climbed down and through the doorway. There’s a chest sitting against the back wall. Open it to find Varulae’s Crystal Ball. Collect the Crystal Ball. It’s time to return to the deck and Varulae.
Return to Varulae
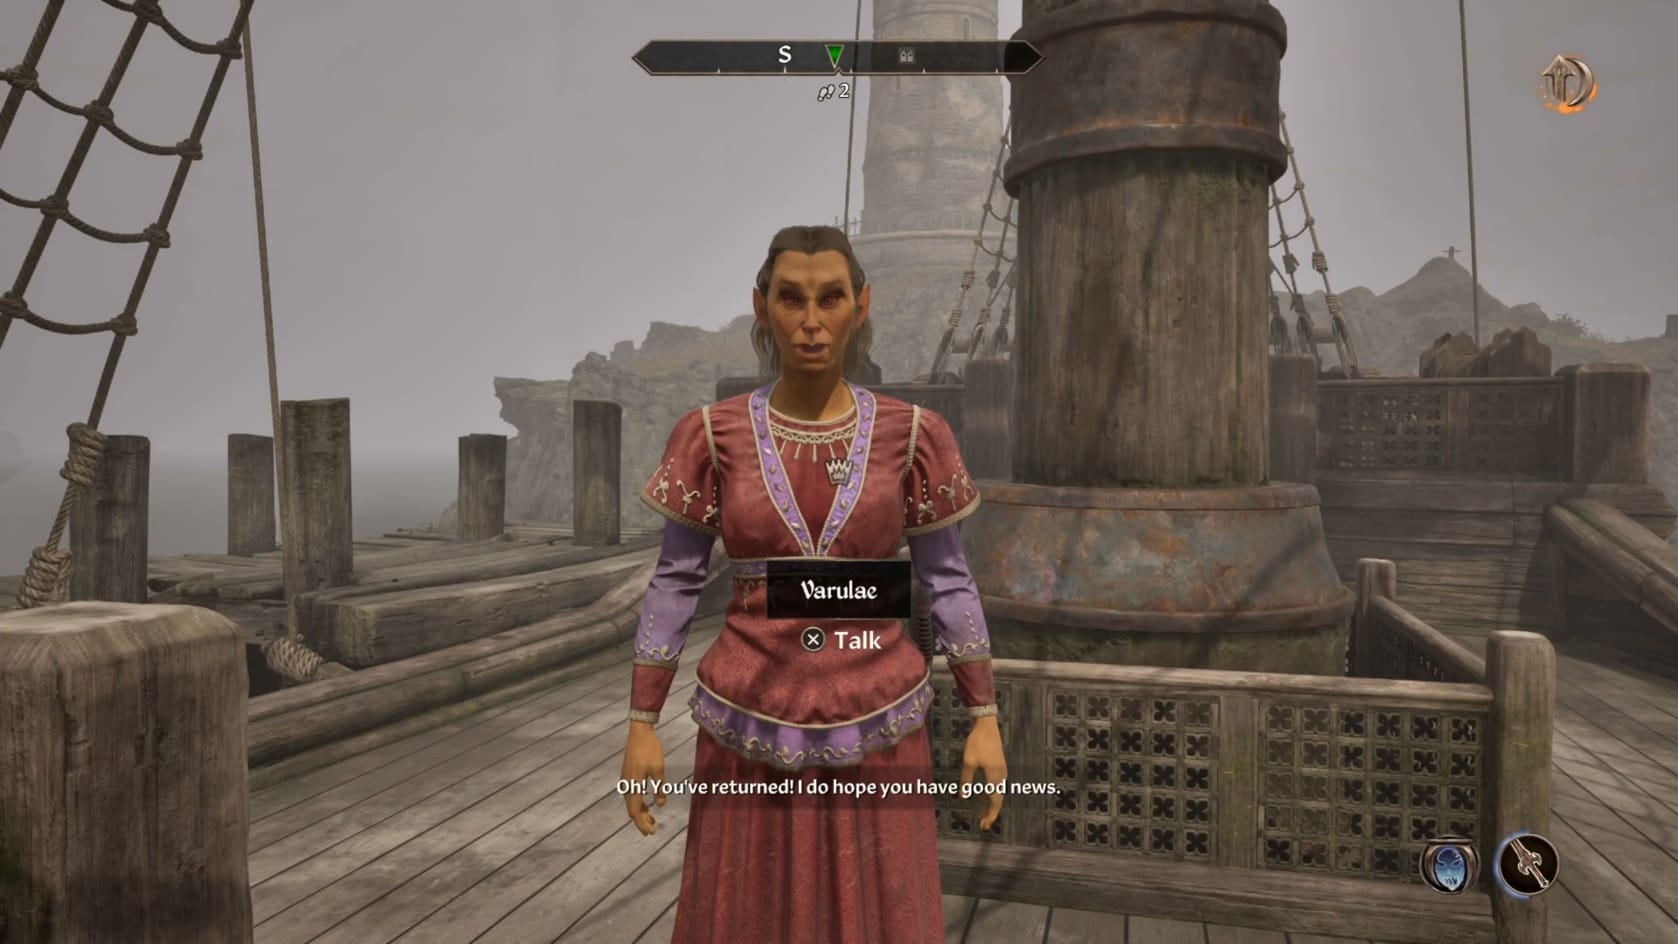
With Varulae’s Crystal Ball in hand, it’s time to return to her. If you defeated all the Specters on the way down, you can just easily take the ladders up to return to the Mid Deck before reaching the Captain’s Quarters. Exit the Captain’s Quarters to the West. This will bring you back onto the deck of the Serpent’s Wake. Varulae will be waiting for you. Just approach and talk with her. Tell her you’ve finished, handing over the Crystal Ball. She will reward you with Redwave, the deceased captain’s cutlass.
Rewards
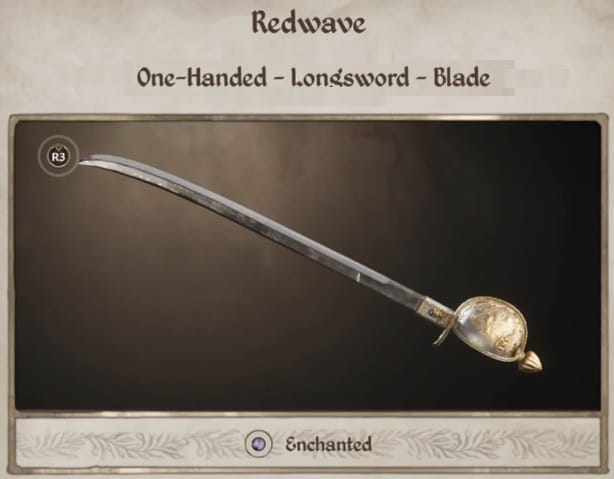
Redwave
Level |
Weight |
Durability |
Value |
Damage |
Charges |
Effects |
1-4 |
25 |
125 |
35 |
8 |
13 |
Drain health 15 pts for 6 secs |
5-9 |
25 |
250 |
100 |
10 |
27 |
Drain health 15 pts for 6 secs |
10-14 |
25 |
375 |
250 |
12 |
41 |
Drain health 15 pts for 6 secs |
15-19 |
25 |
500 |
500 |
15 |
55 |
Drain health 15 pts for 6 secs |
20-24 |
25 |
625 |
900 |
18 |
66 |
Drain health 15 pts for 6 secs |
25-29 |
25 |
750 |
1600 |
20 |
77 |
Drain health 15 pts for 6 secs |
30+ |
25 |
875 |
3000 |
22 |
88 |
Drain health 15 pts for 6 secs |
Video Walkthrough
Pending