Elder Scrolls IV: Oblivion Remastered – The Sunken One Guide
Discover Shetcombe Farm, explore Sandstone Cavern, find all three pages of Slythe’s journal, recover The Offering, and defeat The Sunken One.
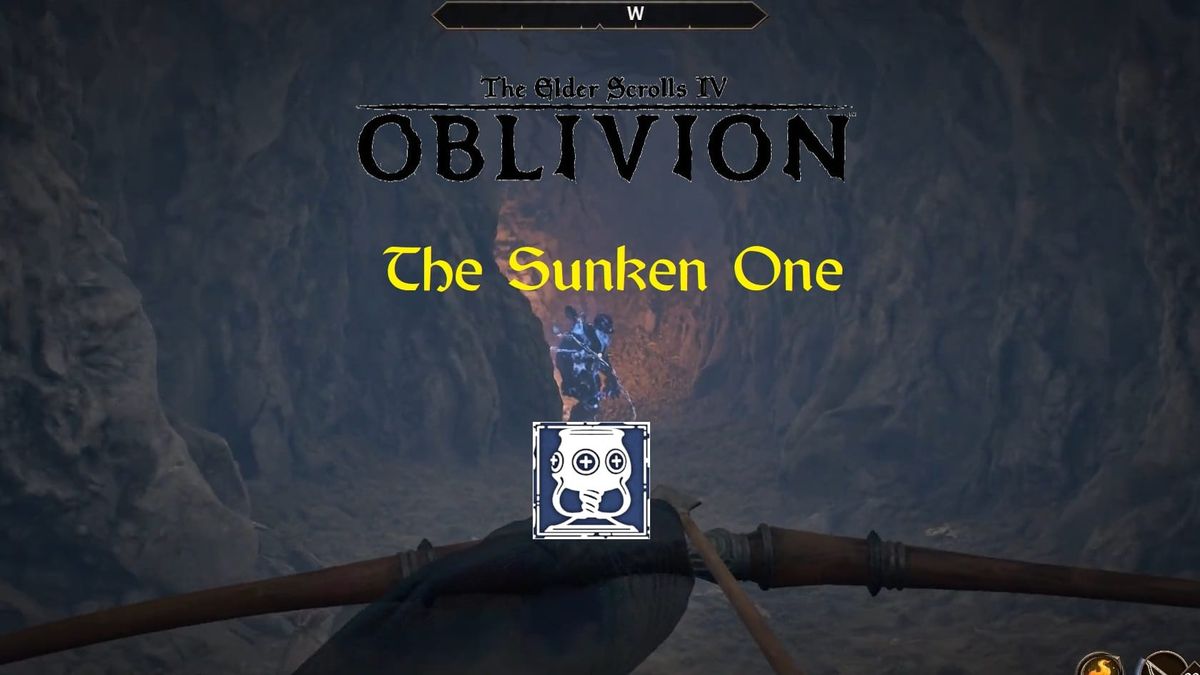
Summary
The empty Shetcombe farmstead with a note leads the Hero into the Sandstone Cavern. Inside there, another page from the diary can be found. This leads you deeper inside. Within, you can find a final note, the Offering, as well as the unique Storm Atronach: The Sunken One.
Location
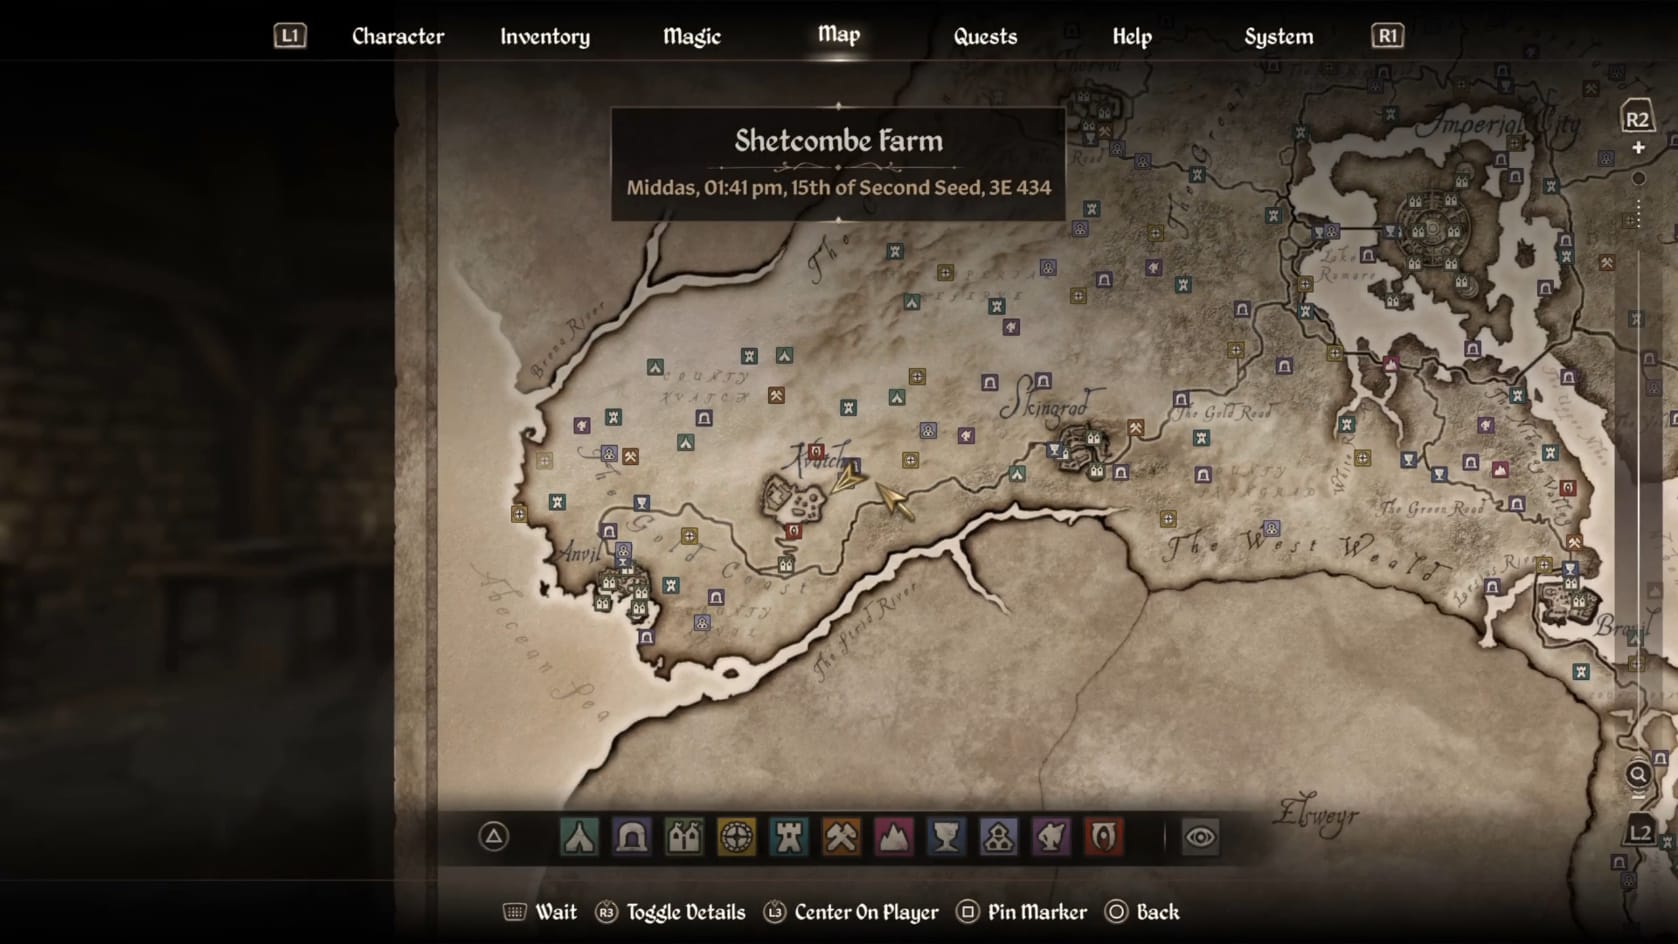
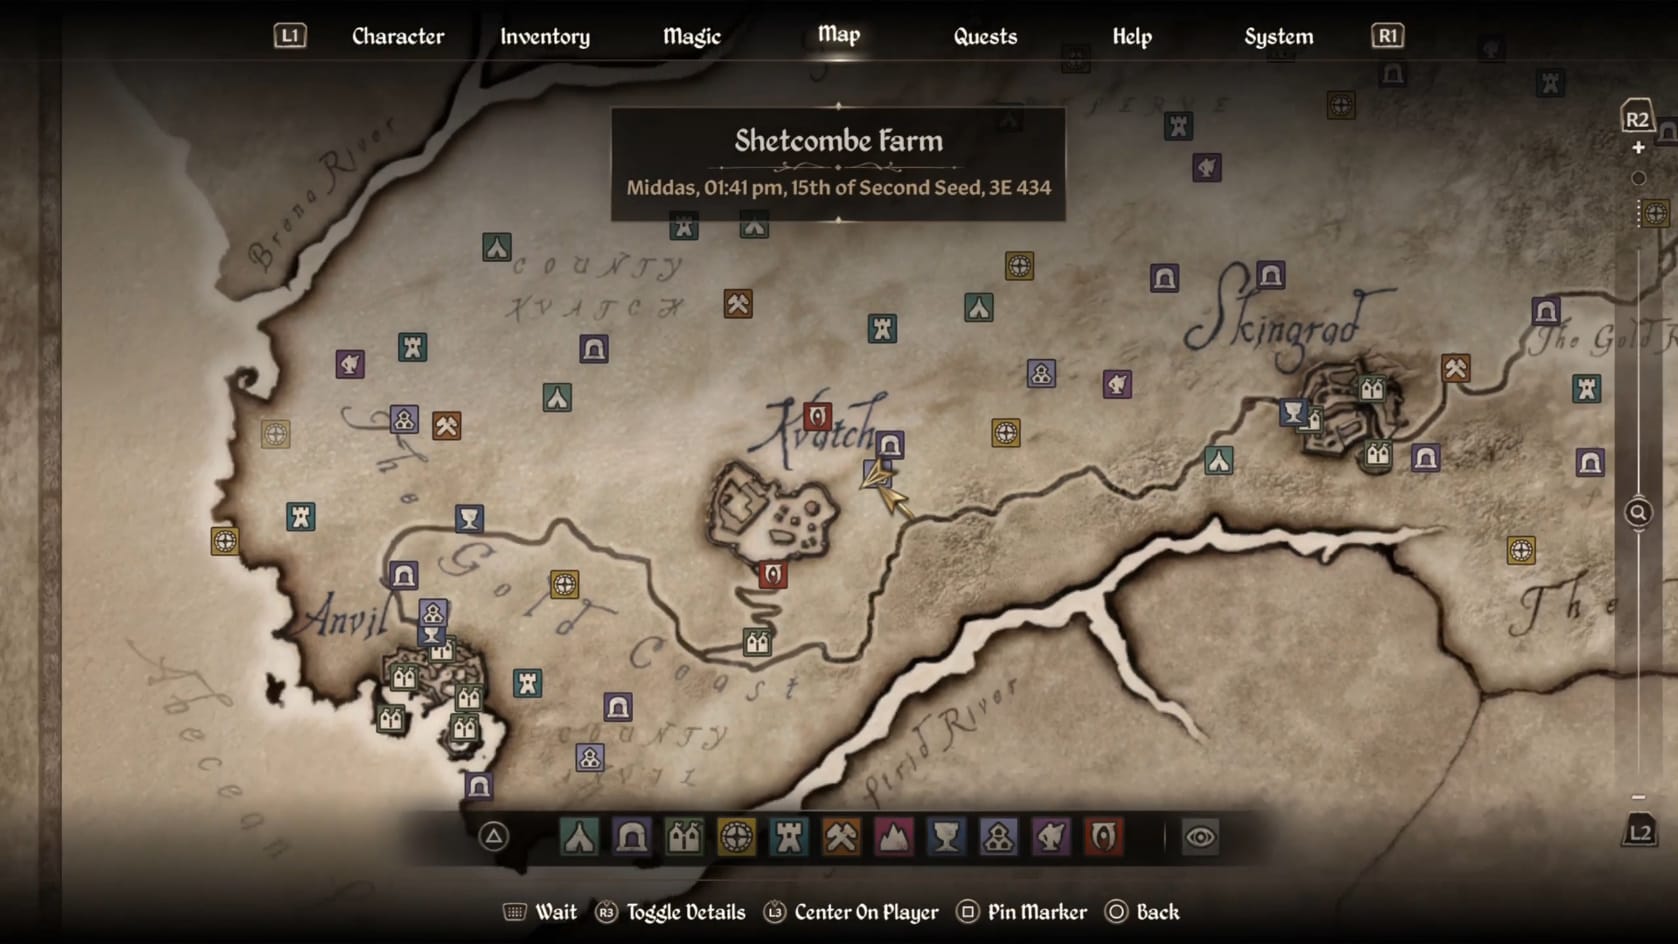
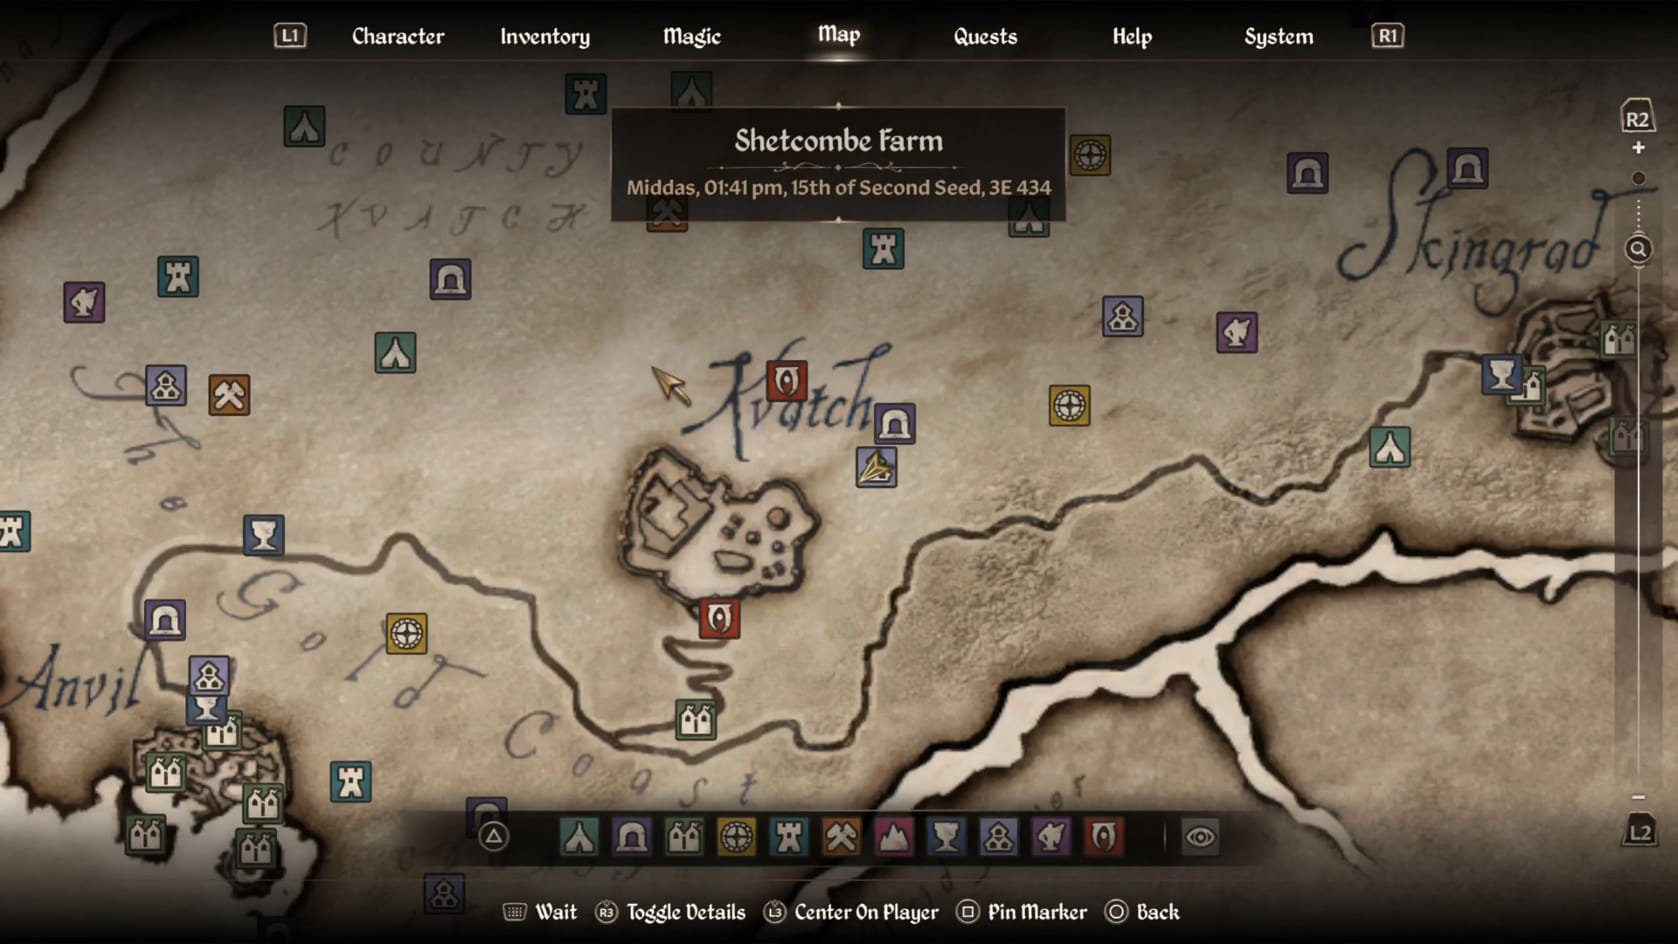
Location of Shetcombe Farm in Cyrodiil
Walkthrough
The Empty House
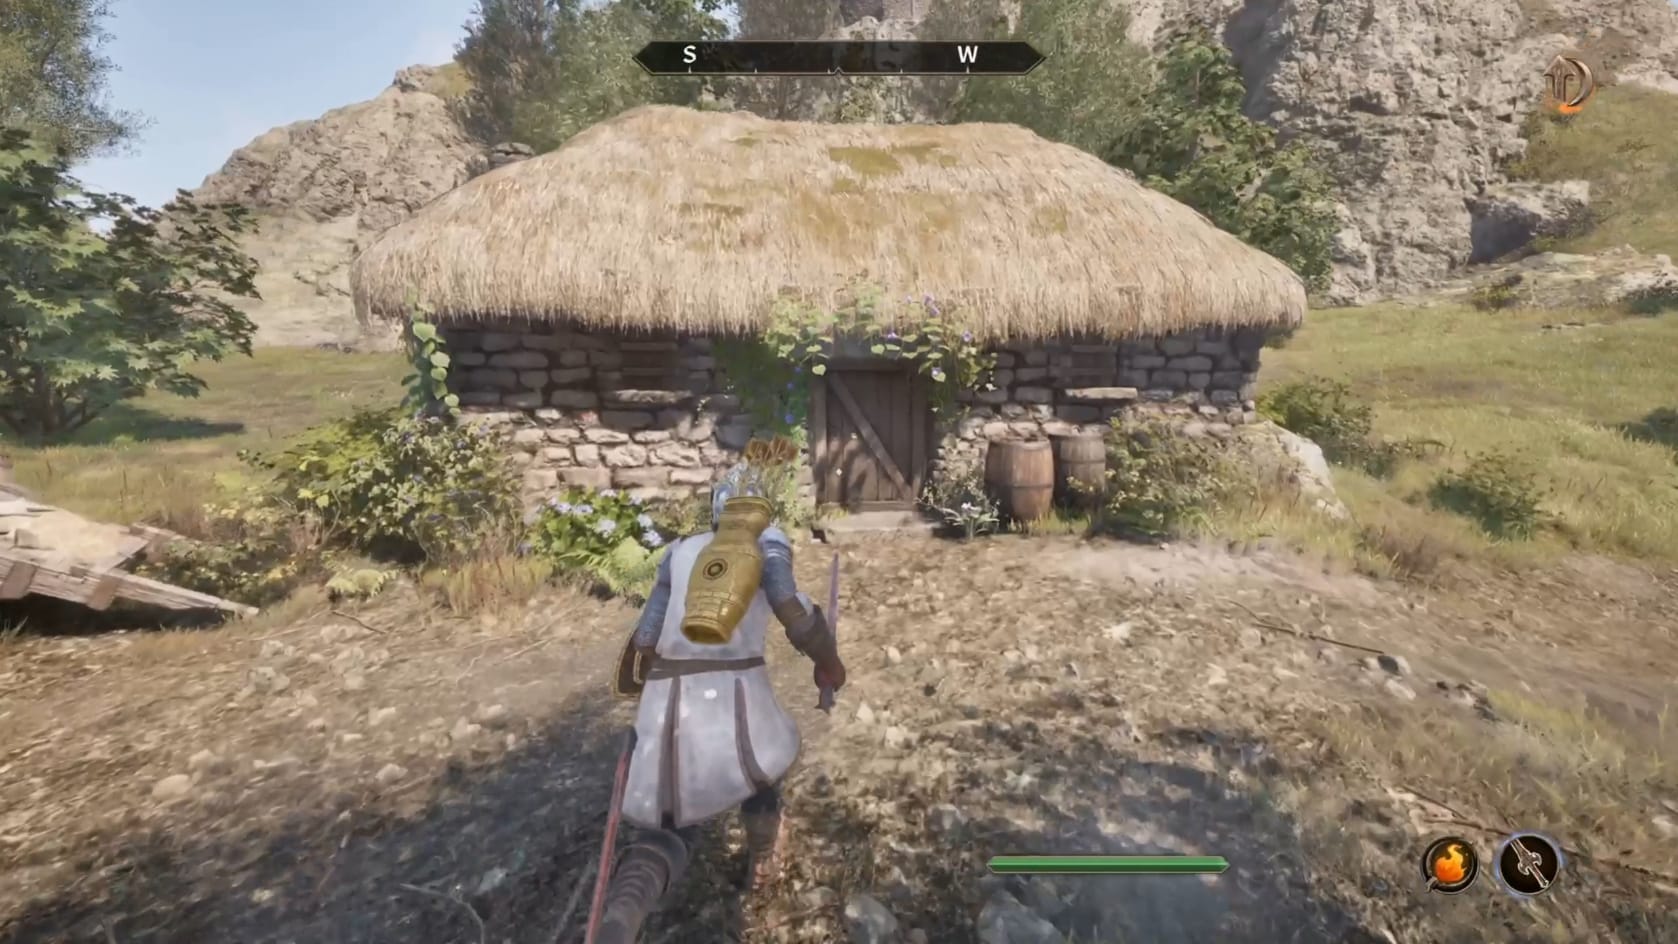
You need to find the Shetcombe Farm, found in the Gold Coast. Once you do, head inside the main farm building. Head over to the table and look for the only bowl on the circular table. Sitting inside the bowl is a note. Read it to begin this quest.
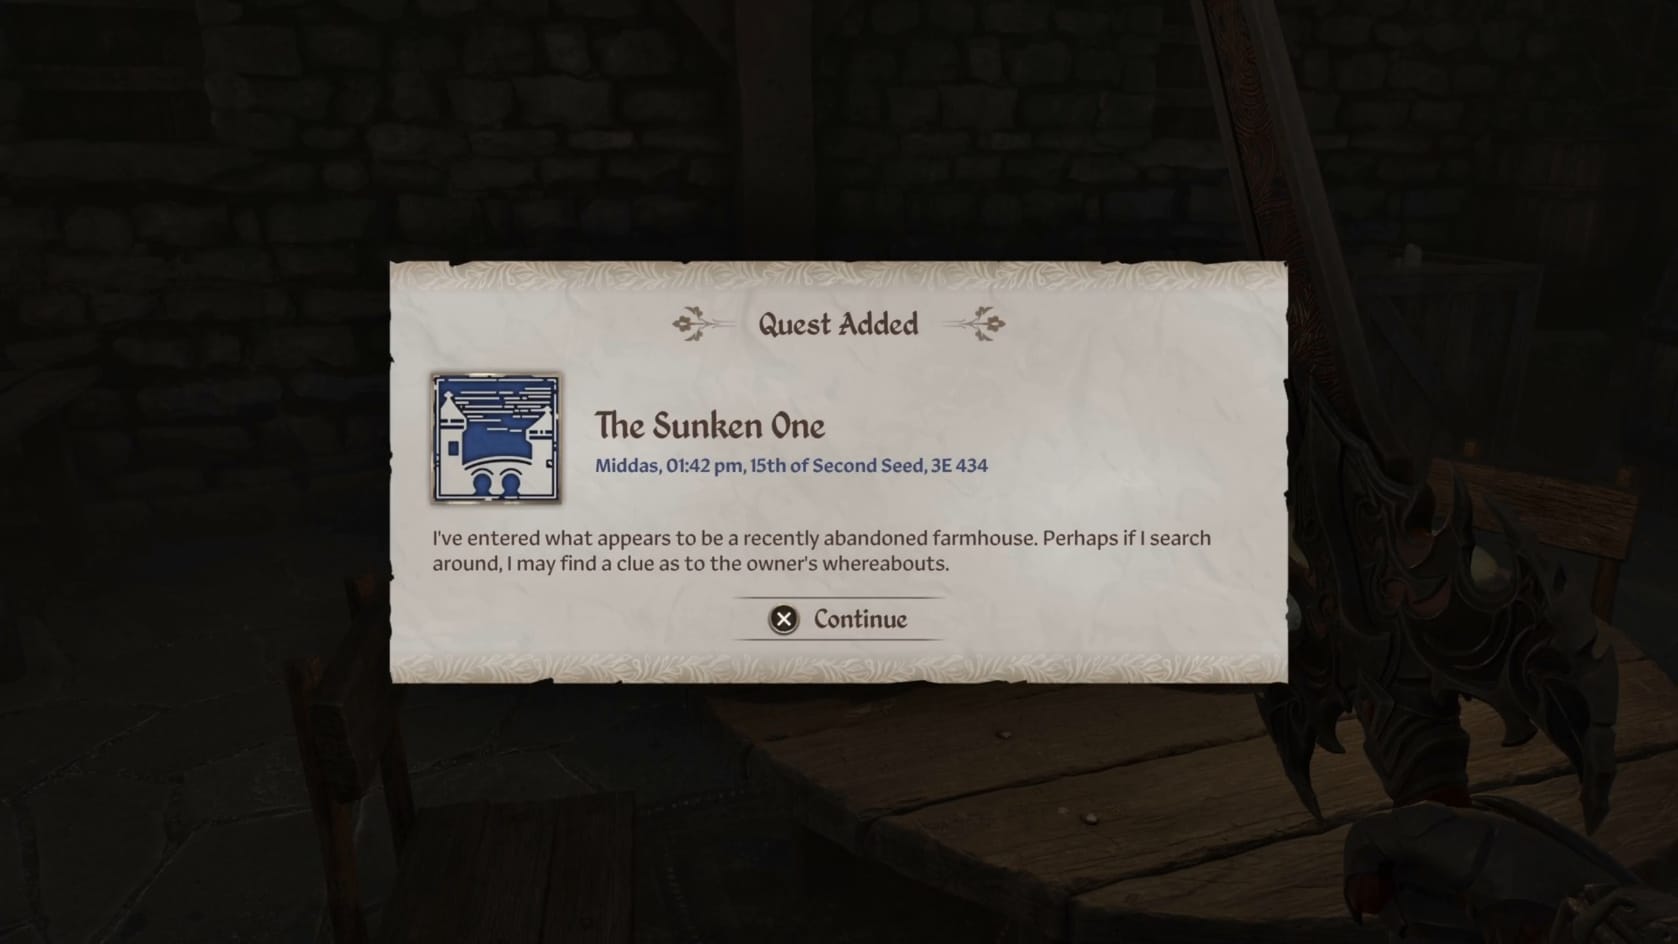
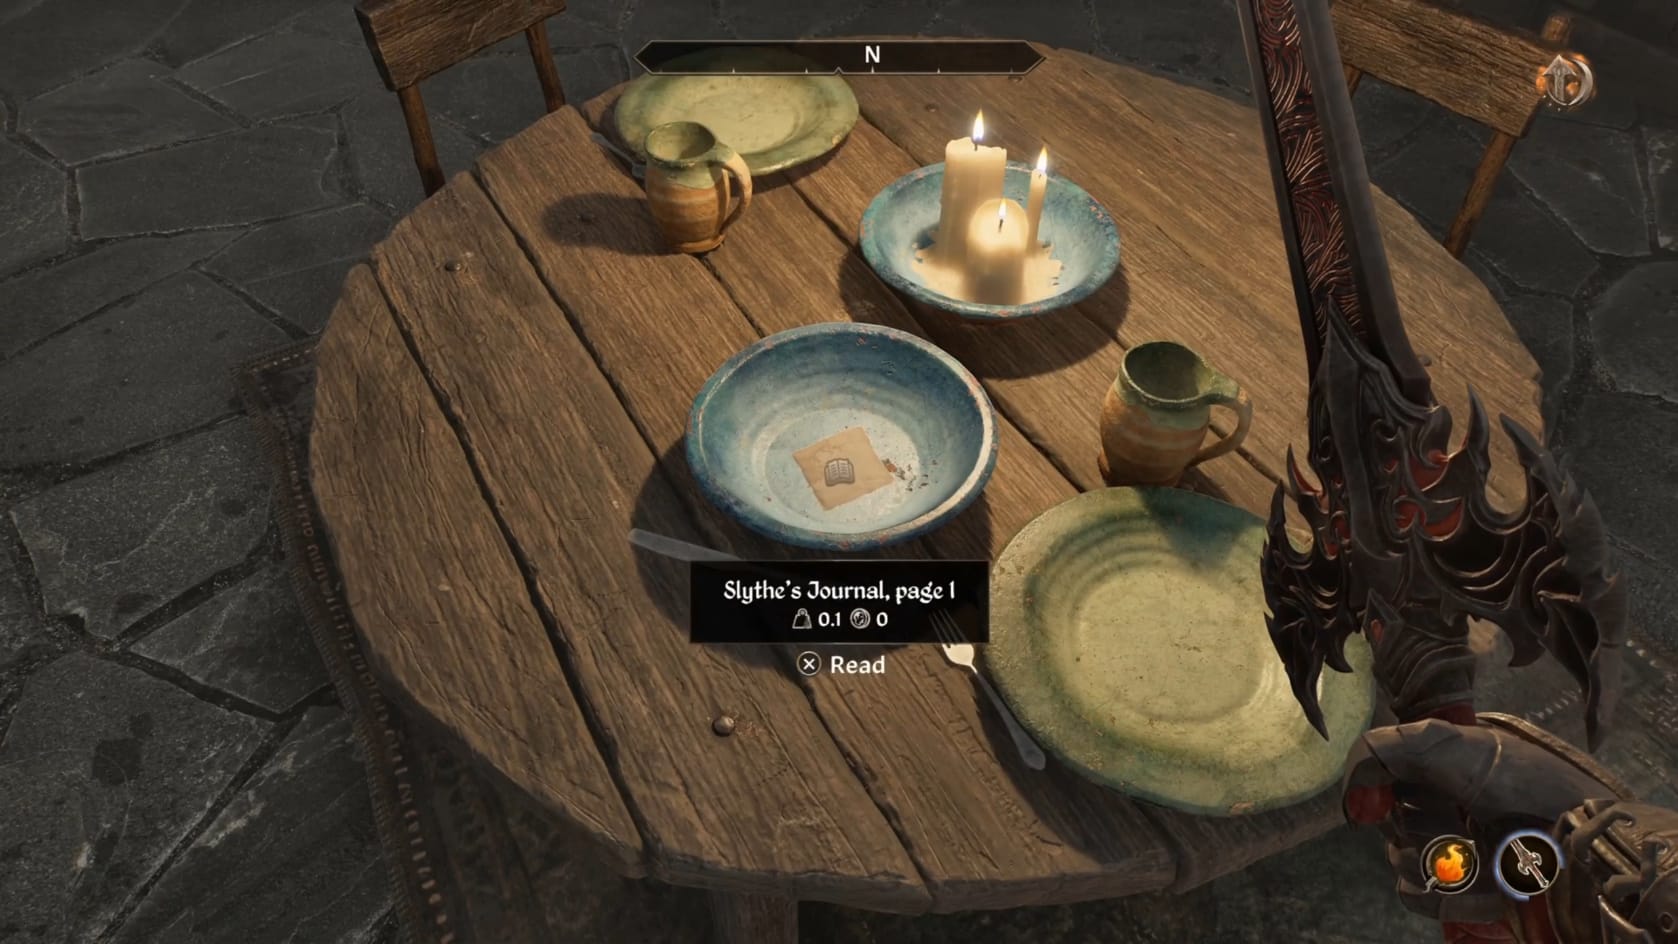
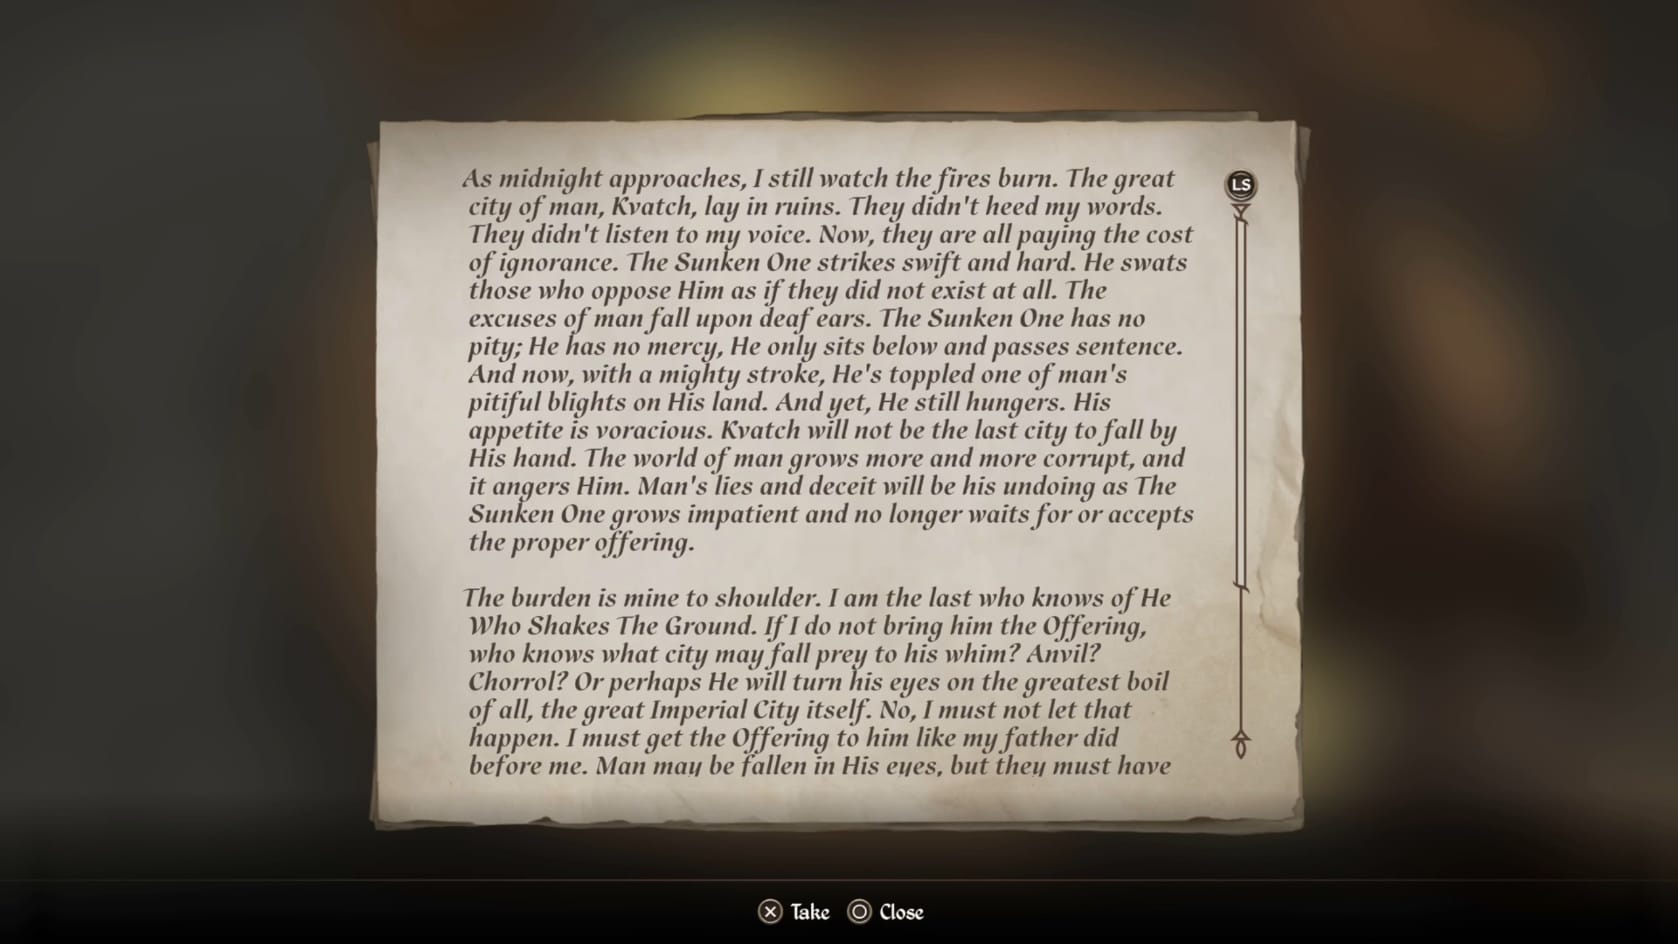
Starting the quest itself
The note says that Slythe, the owner of Shetcombe Farm has undertaken a pilgramage to calm the spirits within Sandstone Cavern. He has an offering and must deliver it.
Travel to Sandstone Cavern
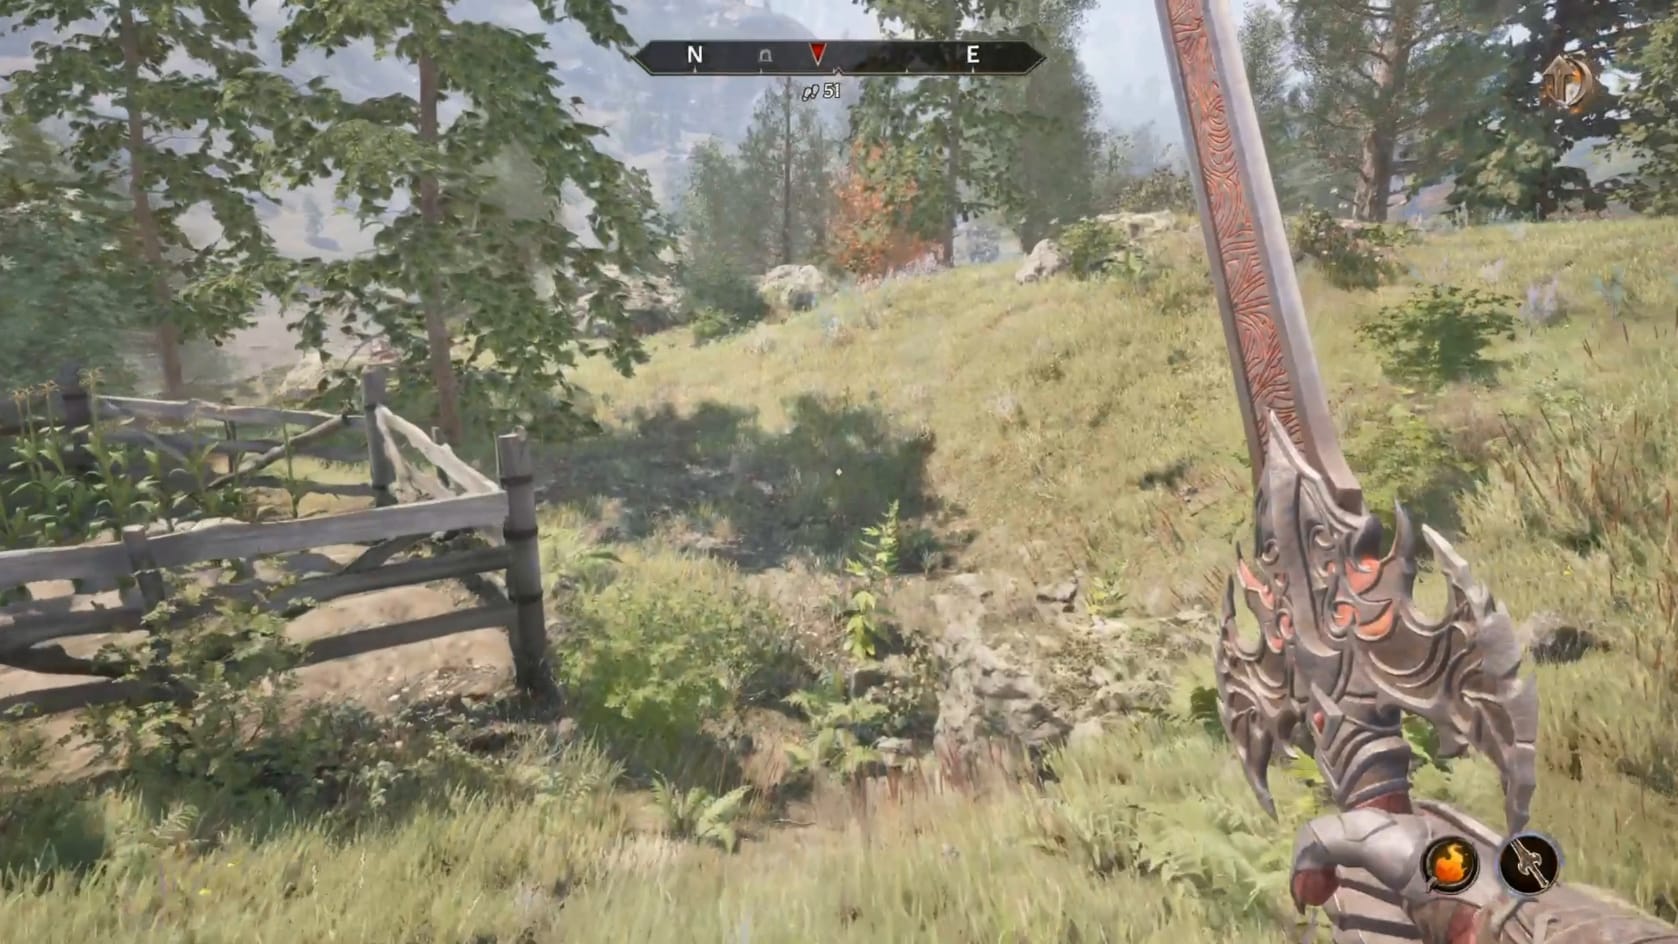
The good news is that Sandstone Cavern is just North of Shetcombe Farm. Travel the short distance to the North. The cavern is just beyond the Eastern edge of the fenced in land.
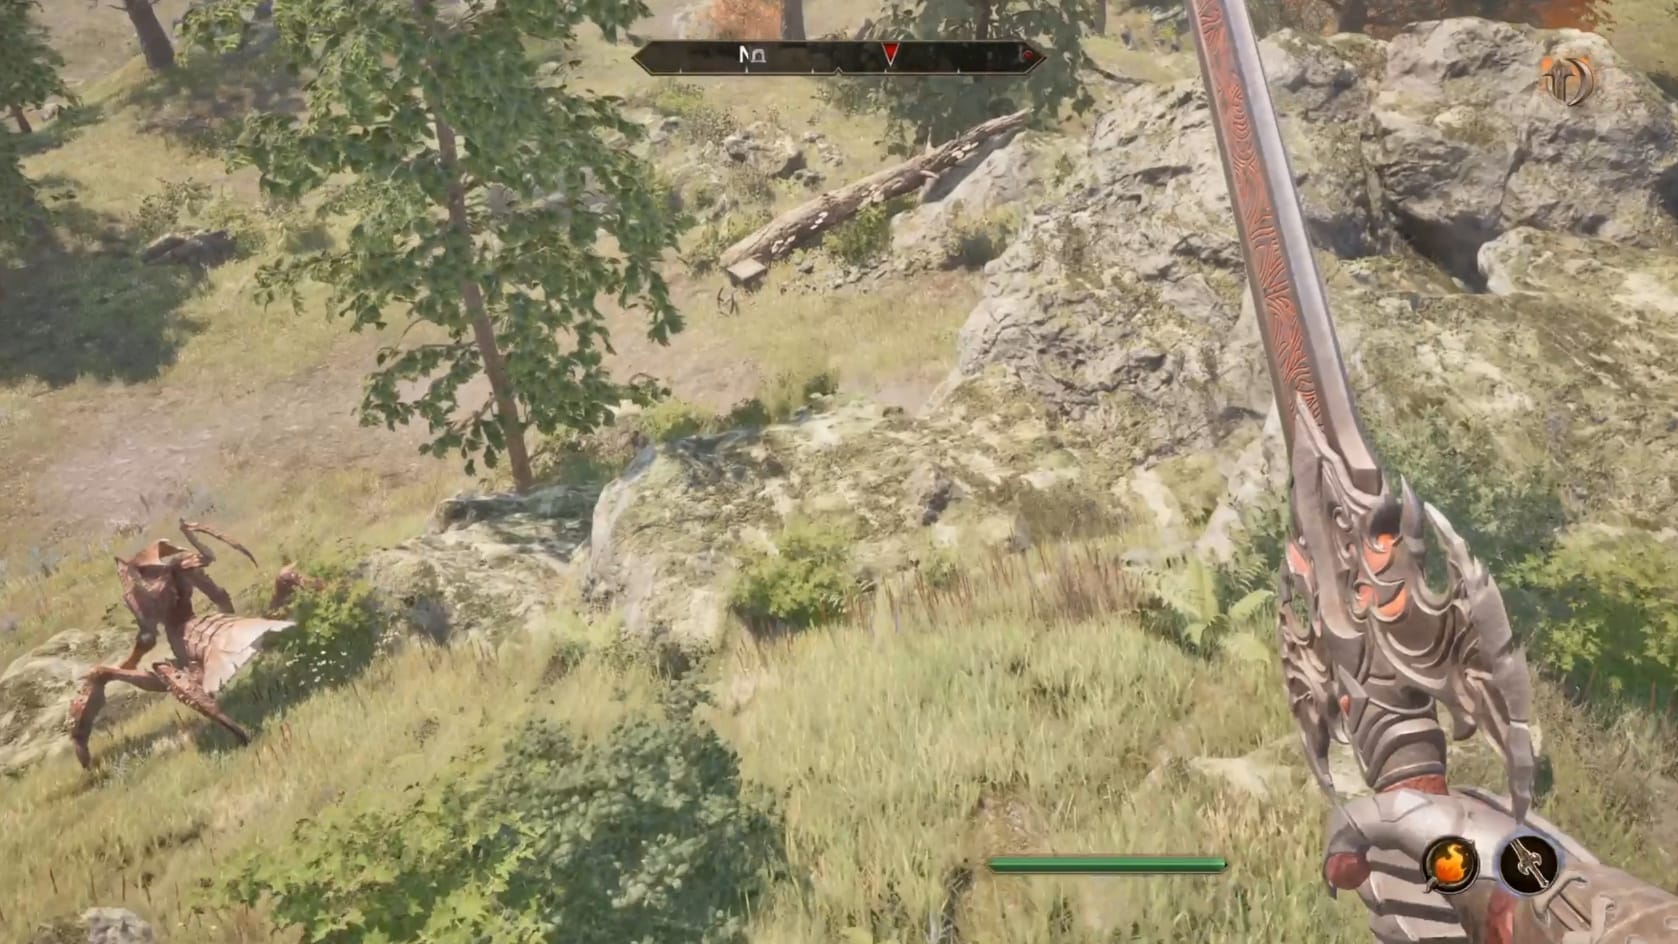
You will quickly encounter the dangerous animals outside the entrance. Defeat them or simply slip inside while their backs are turned.
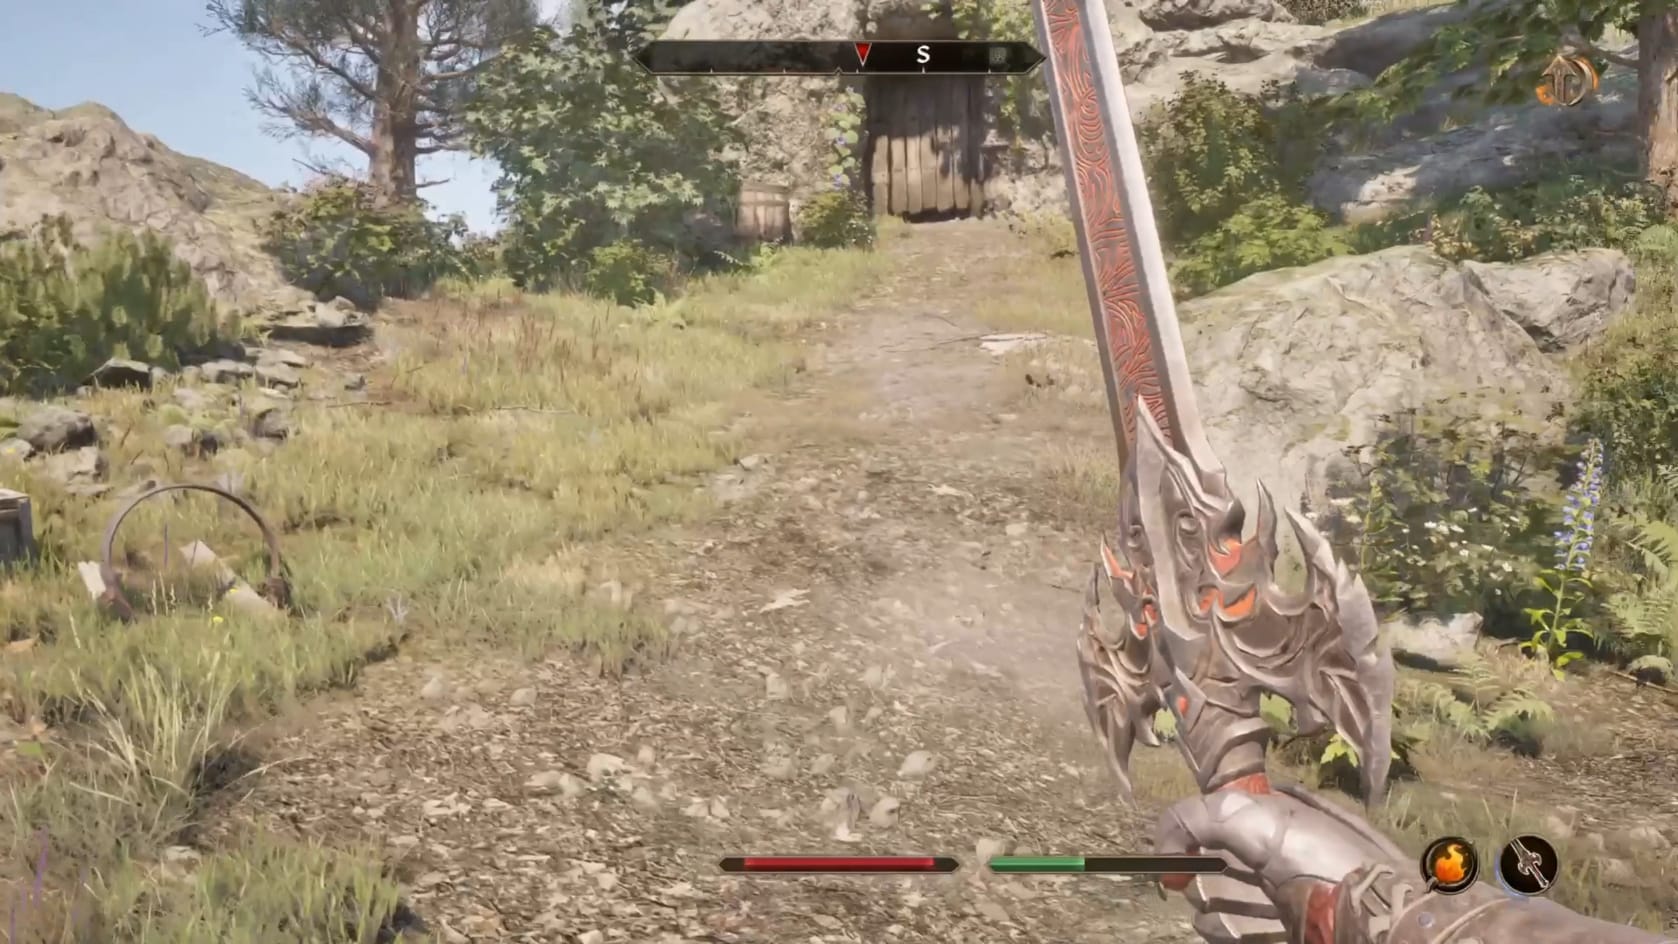
Sandstone Cave: Diary Page 2
Inside the Cavern, head down the slope into the first chamber. There are a few animals in here. Head over to the West. As you head to the West, look to the right of the archway entrance of the tunnel. There’s a chest sitting on a crate right by it.
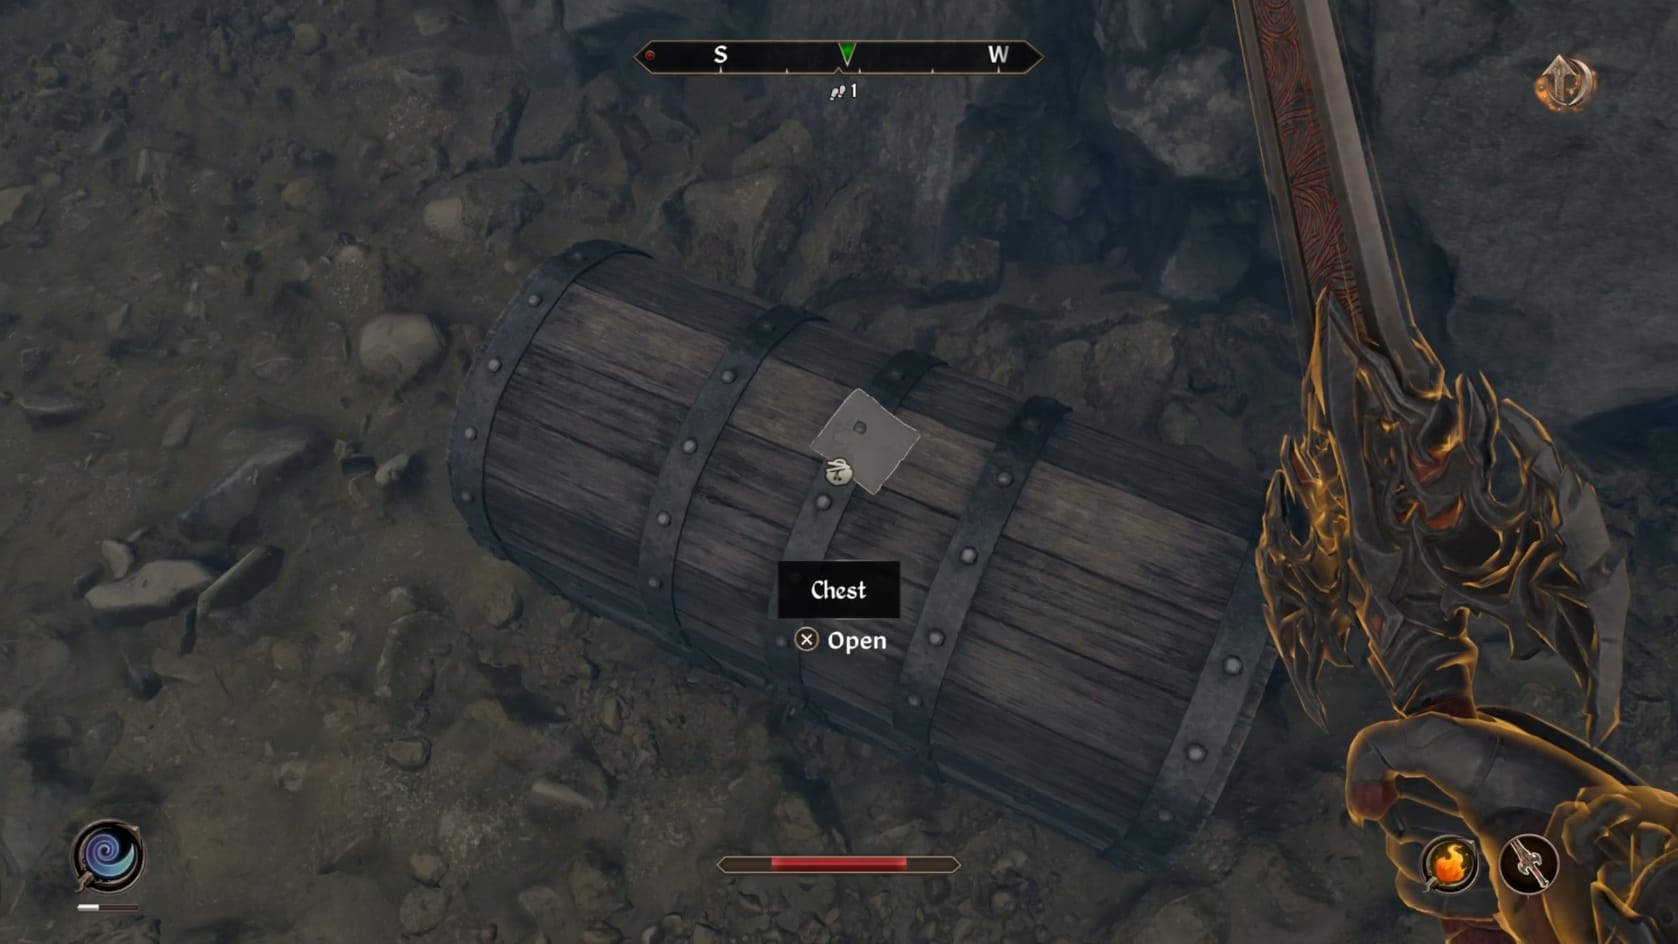
Follow the tunnel down and to the West. Fight anything that gets in your way. In the next chamber, you will want to head to the Southern side of it. From there, turn to the East and look for the tunnel there. Go through there and follow it through the Chasm that you will be at the bottom of.
Head forward and look to the chest sitting on the right-hand side. Get to the Chest and LOOK at the top of it. Sitting on top of the Chest is “Slythe’s Journal, page 2.” Collect it and read it. You are pointed deeper into the Cavern. Head to the South and through the door there. This will bring you into the Big Rooms.
Sandstone Big Rooms Find Slythe
Inside the Sandstorm Big Rooms you are almost done. Turn to the East and head for the pit in front of you. Just inside the chamber is a chest at the lip of the pit. After that, head across the chamber to the East. Go through the tunnel and take it down.
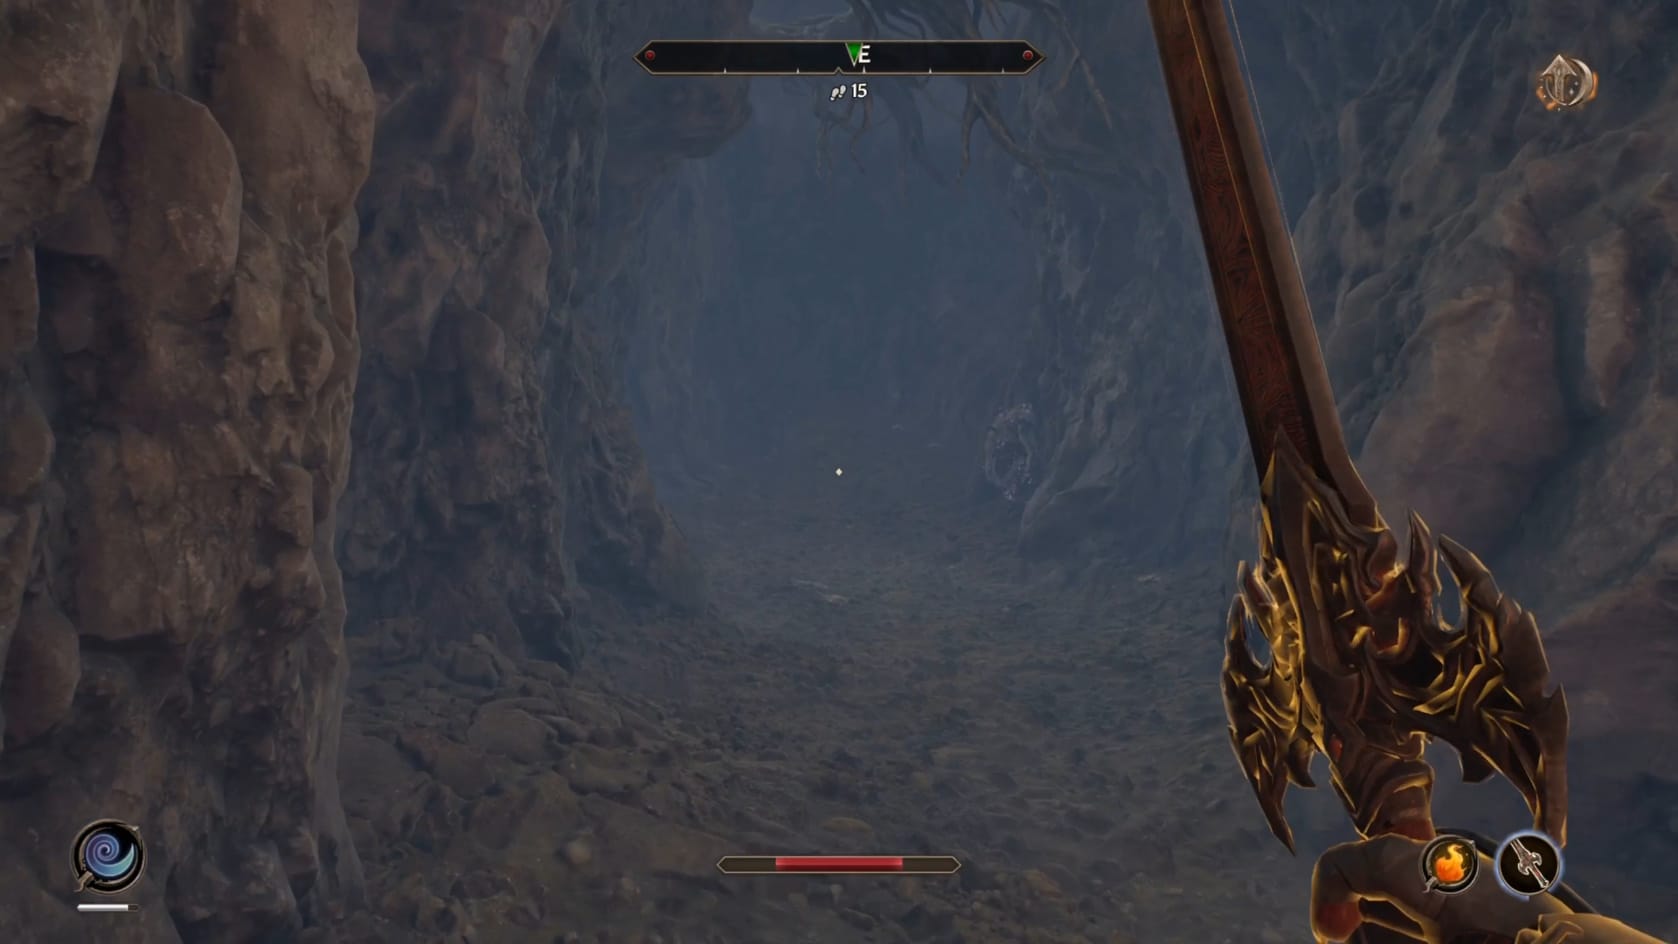
This leads to a chasm. You can find a bag labeled “The Offering.” You should find the body of Slythe nearby the Offering. Go to Slythe’s body and loot it to find “Slythe’s Journal, page 3.” The quest is completed at this point
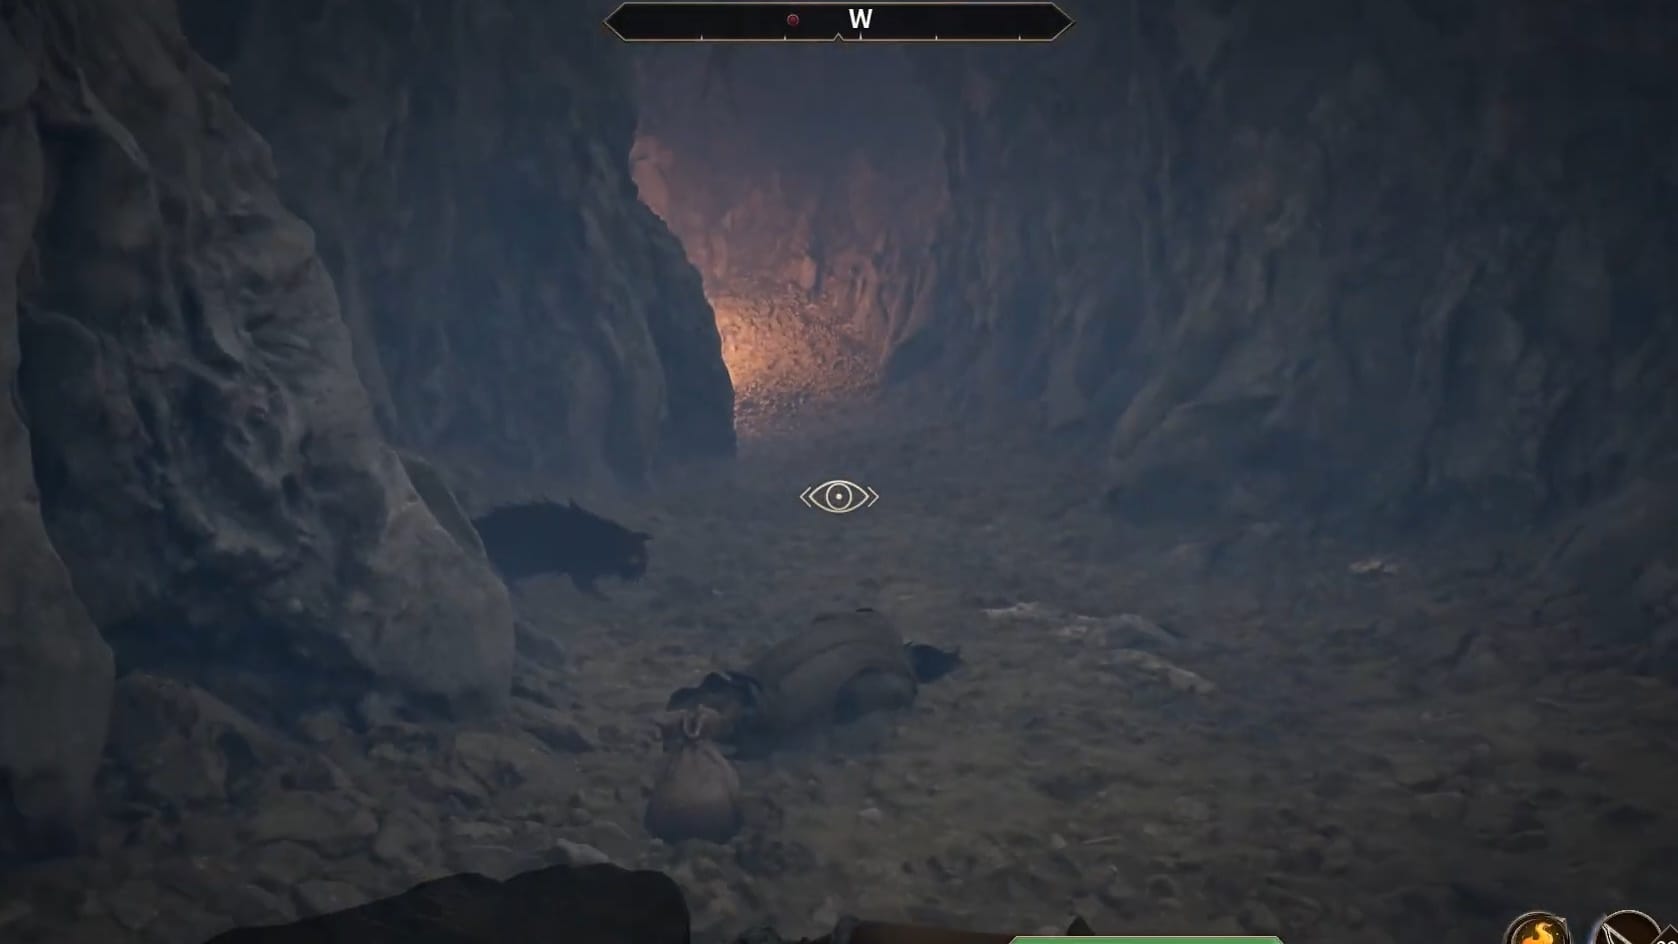
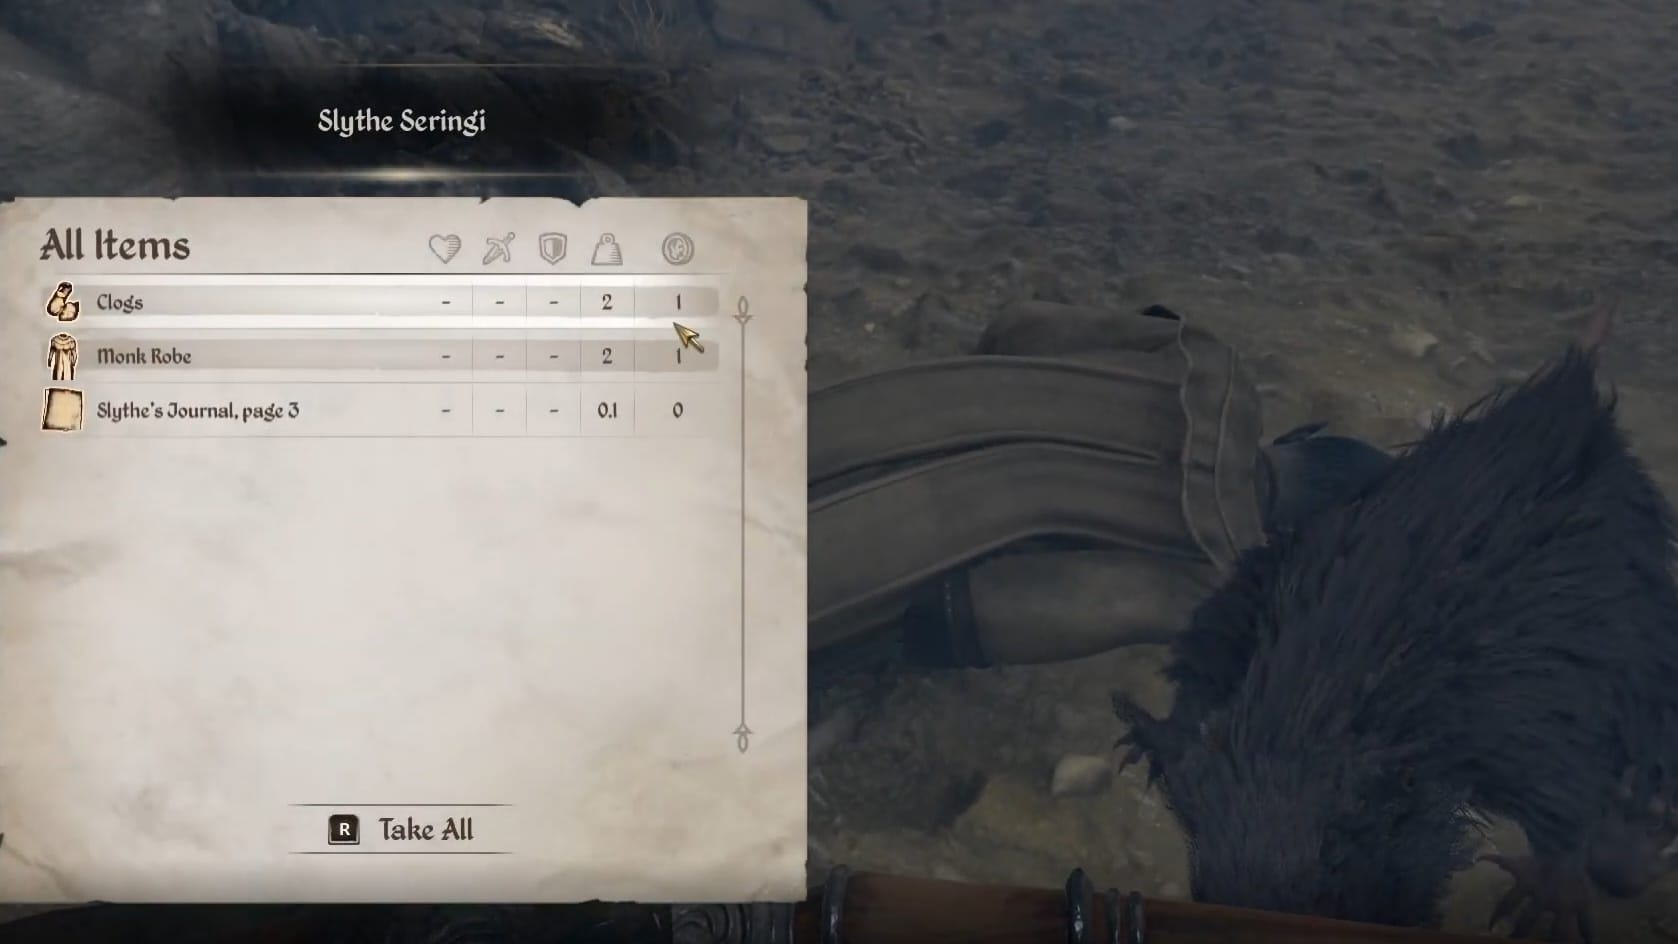
Slythe's body and the final diary page
Defeat the Sunken One*
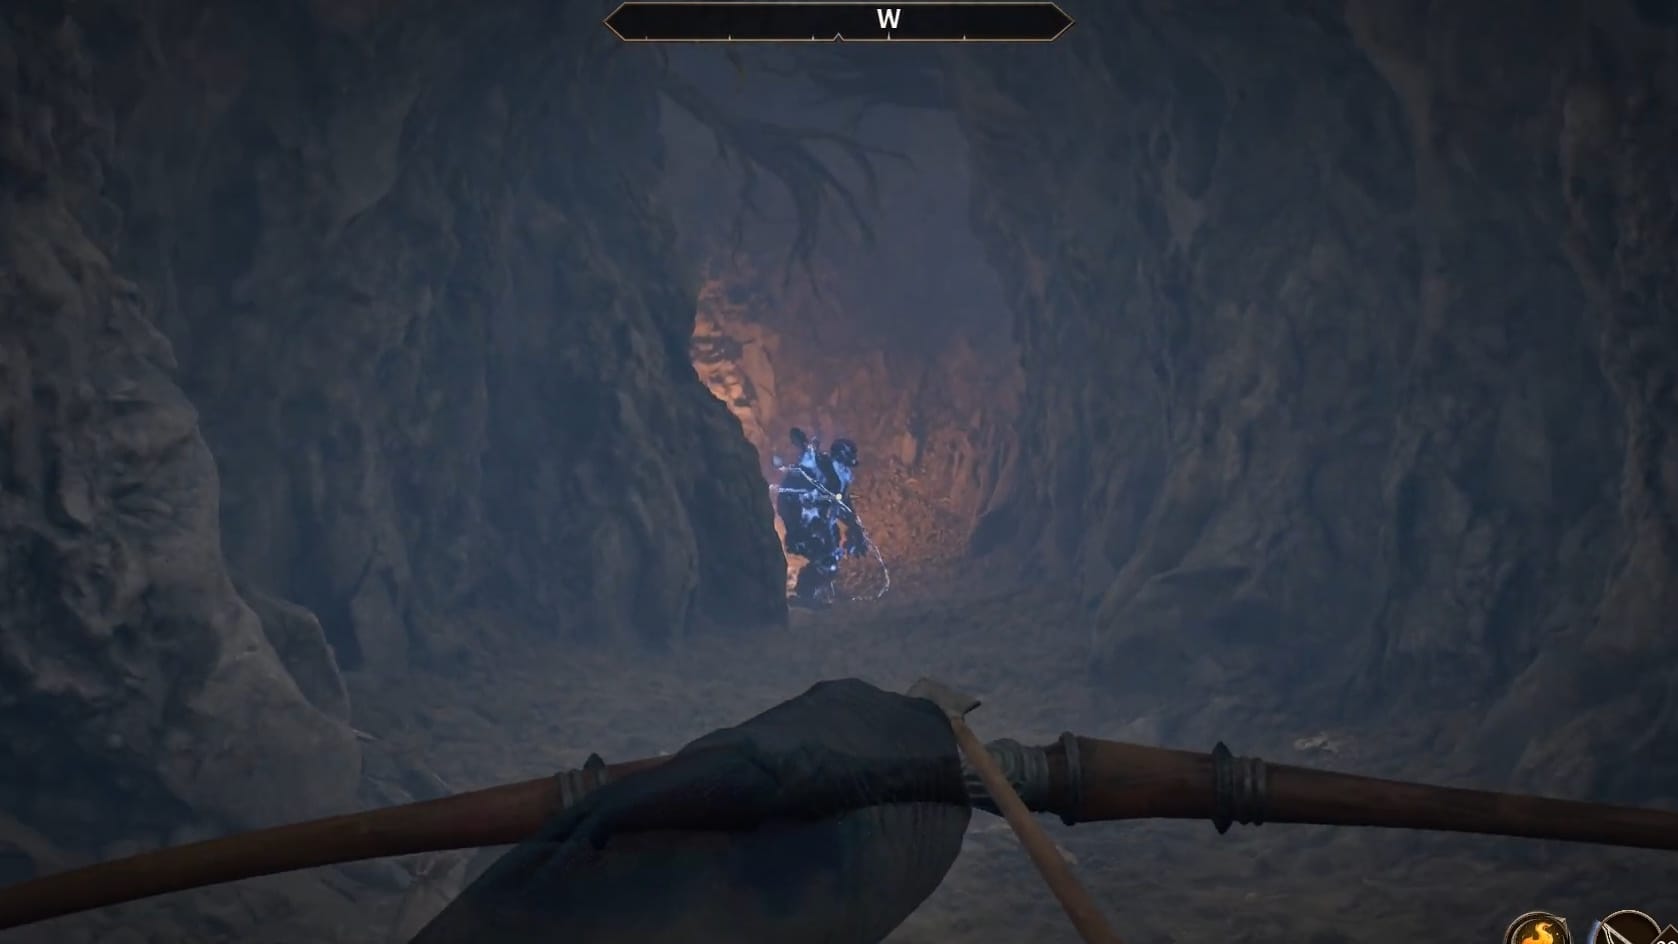
Having gotten the note, the Sunken One, a unique Storm Atronach will appear from the West. You can either fight them or just run away from them. It can be a harder fight, but anything that increases your Lightning Resistance will be very helpful. Otherwise, slip passed it and get out of the area.
Bugs
Slythe’s body can disappear if you leave the cavern before completing this quest. Without console commands, that renders this quest impossible to complete.
Console Commands:
Spawn in Slythe
Start with: “prid 00185DCA,” then “enable”, then “moveto player” to cause Slythe to spawn and you can collect the last diary page from him.
- Some console commands can spawn Slythe alive, and you will need to kill him to get the page from his corpse
Advance Quest Stage
Start with “setstage SQ07 __”
- Setting the Stage to 40 will have the game treat things as though you’ve found Slythe’s body.
- Setting the Stage to 100 will have the game treat things as though you’ve completed the quest