Elder Scrolls V: Skyrim – Bleak Falls Barrow Guide
Summary
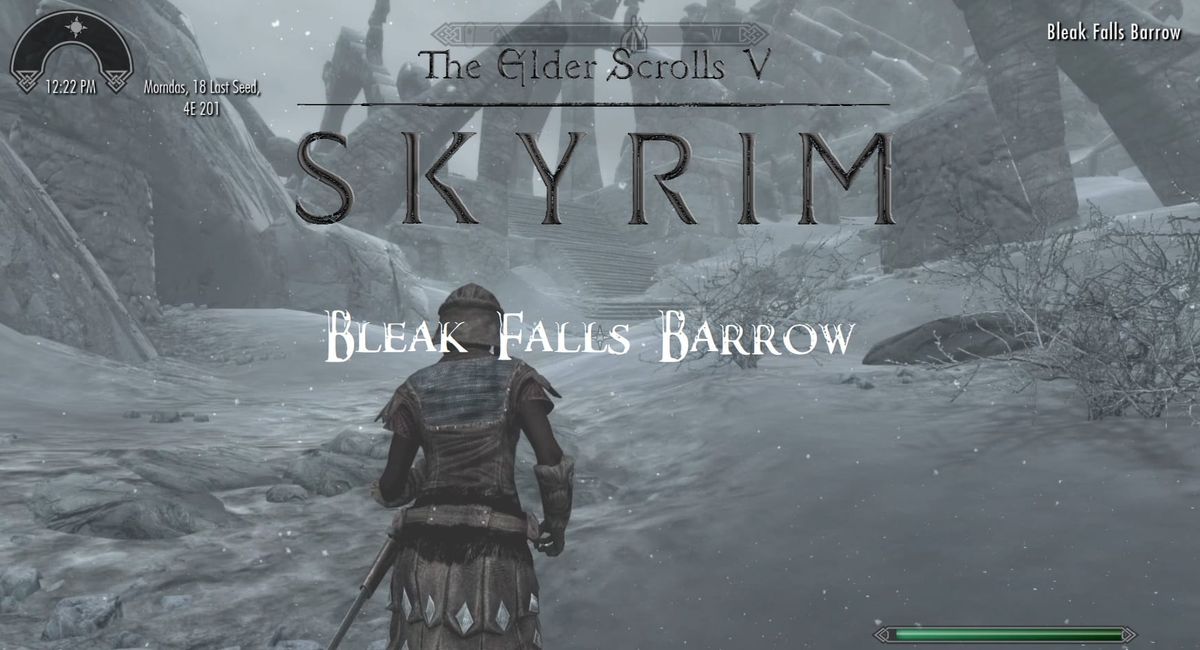
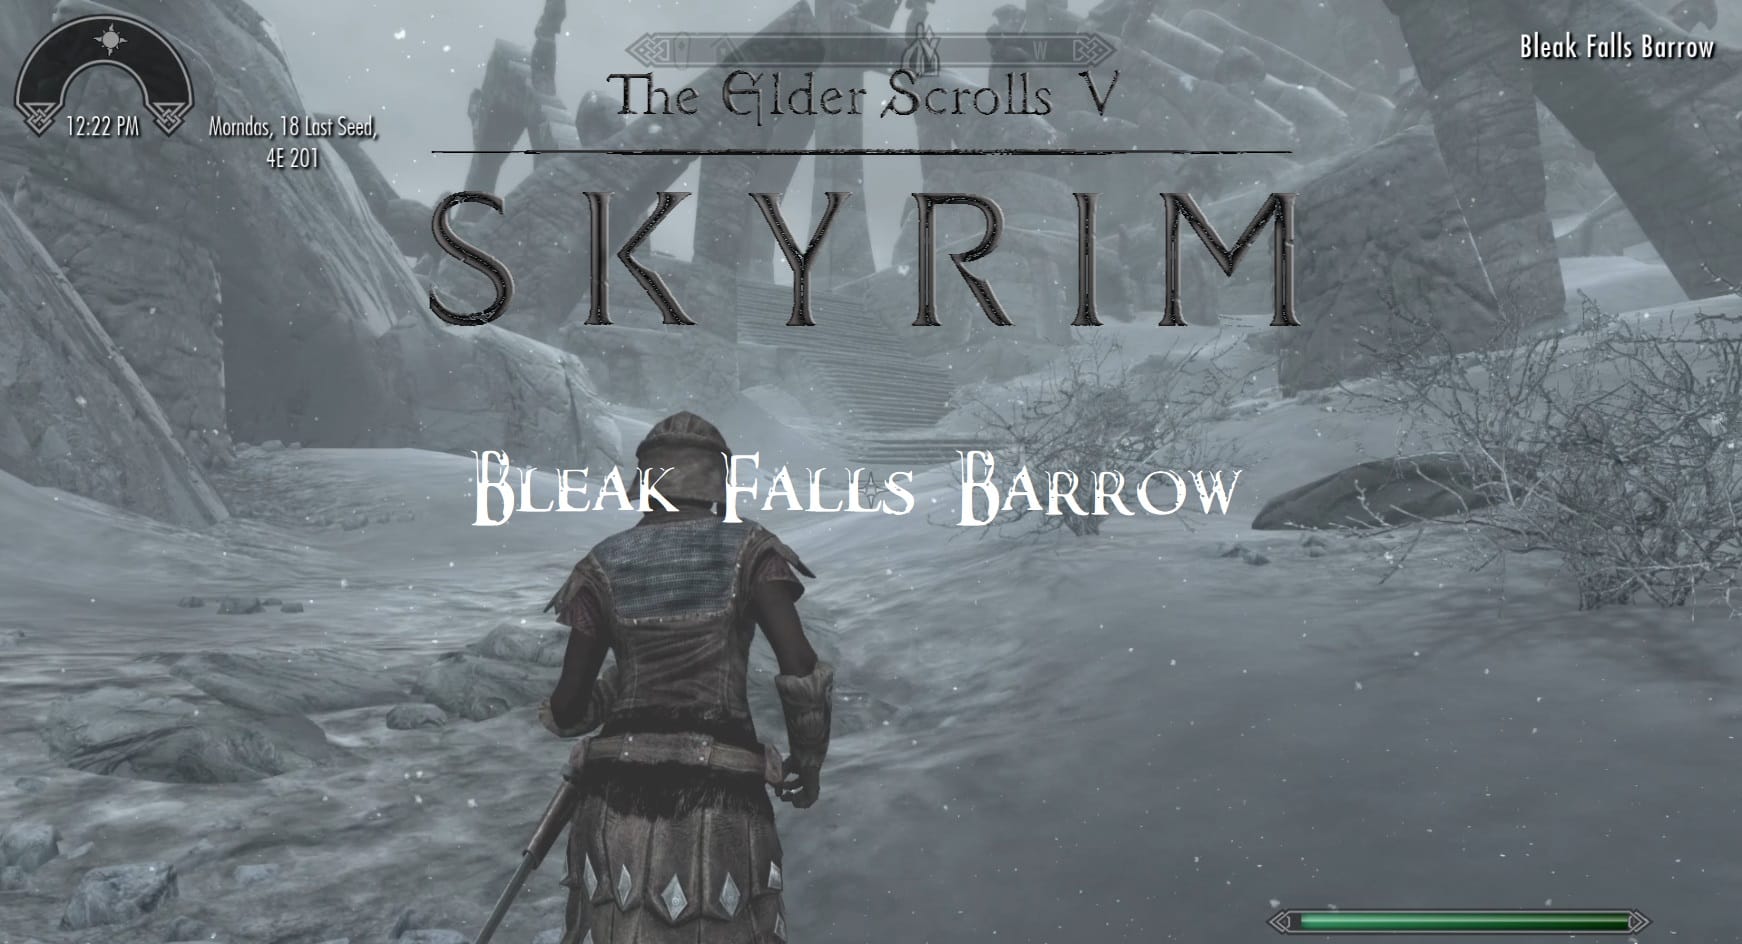
The first Nordic Ruins the Dragonborn is sent in to investigate. It has 2 zones, has Bandits, Draugr, Skeevers, and Frostbite Spiders.
- This is part of the Main Story Quest “Bleak Falls Barrow”
- This is part of the Side Quest “The Golden Claw”
Location
Walkthrough
Entrance
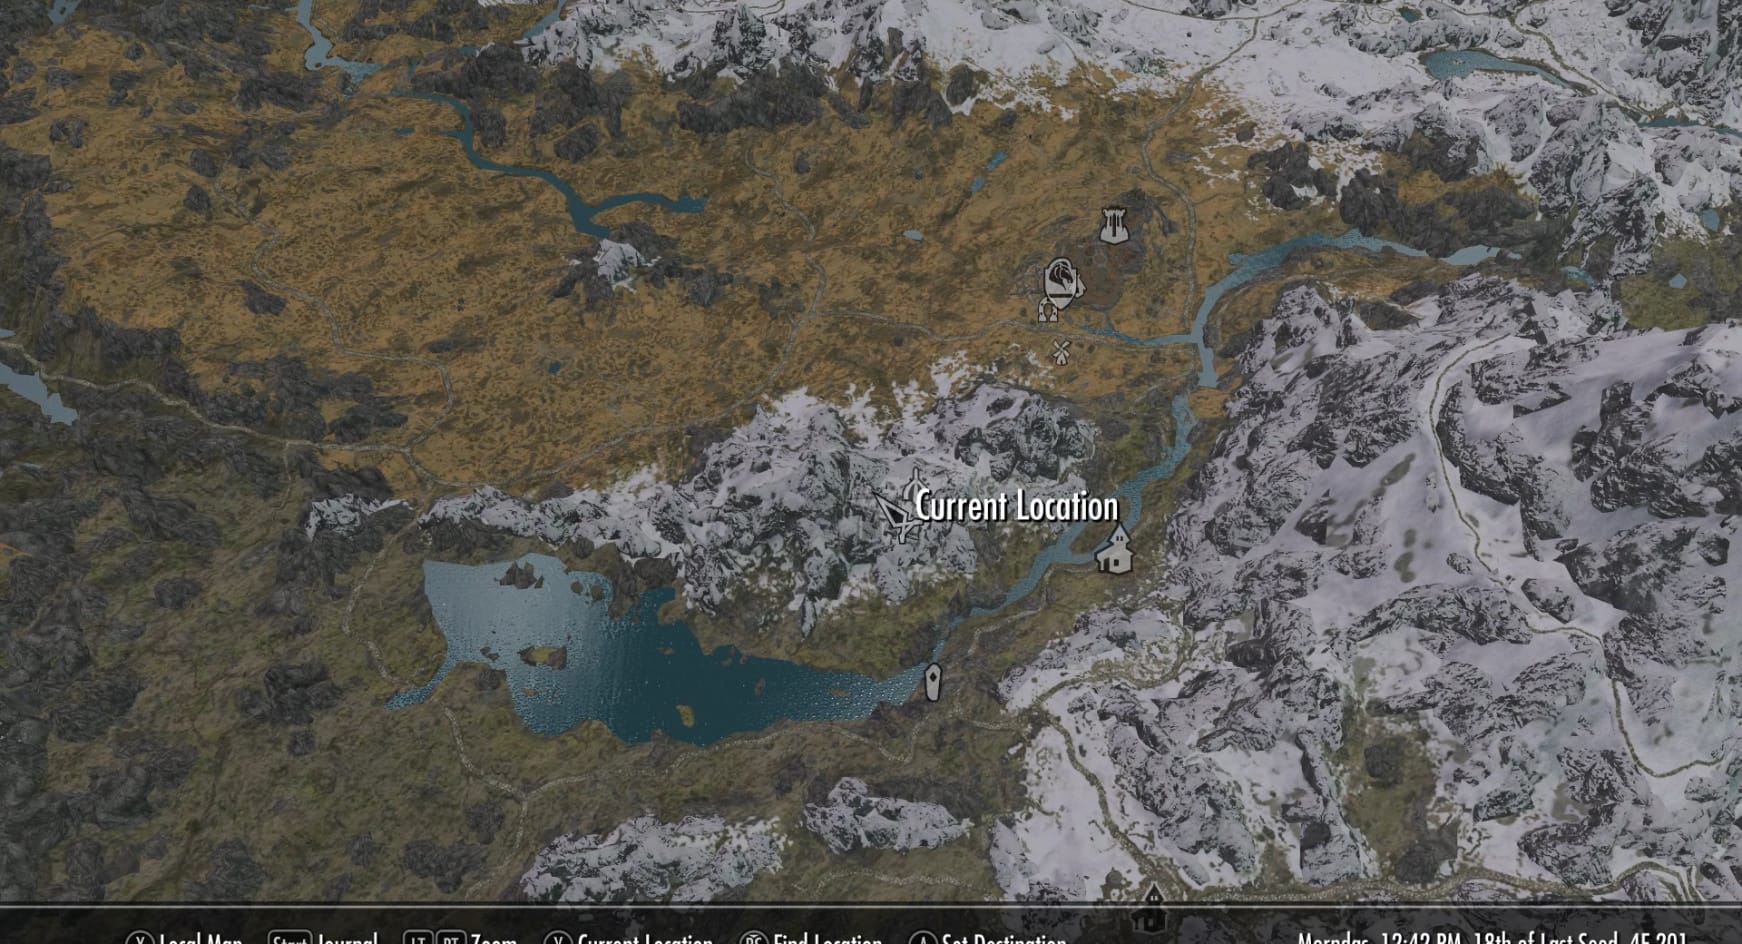
You need to travel out to the Nordic Ruins. The easiest way to get there is to travel to Riverwood. Once there, you can visit the Riverwood Trader to begin the concurrent quest: “The Golden Claw” which will begin inside the Ruins later on.
Head through Riverwood, traveling along the road to the (possibly with Camilla leading you). Make your way up the mountain to the Northwest. Weave along the trail. There’s a watchtower with Bandits that’s optional to clear. After that, just keep going up the slope.
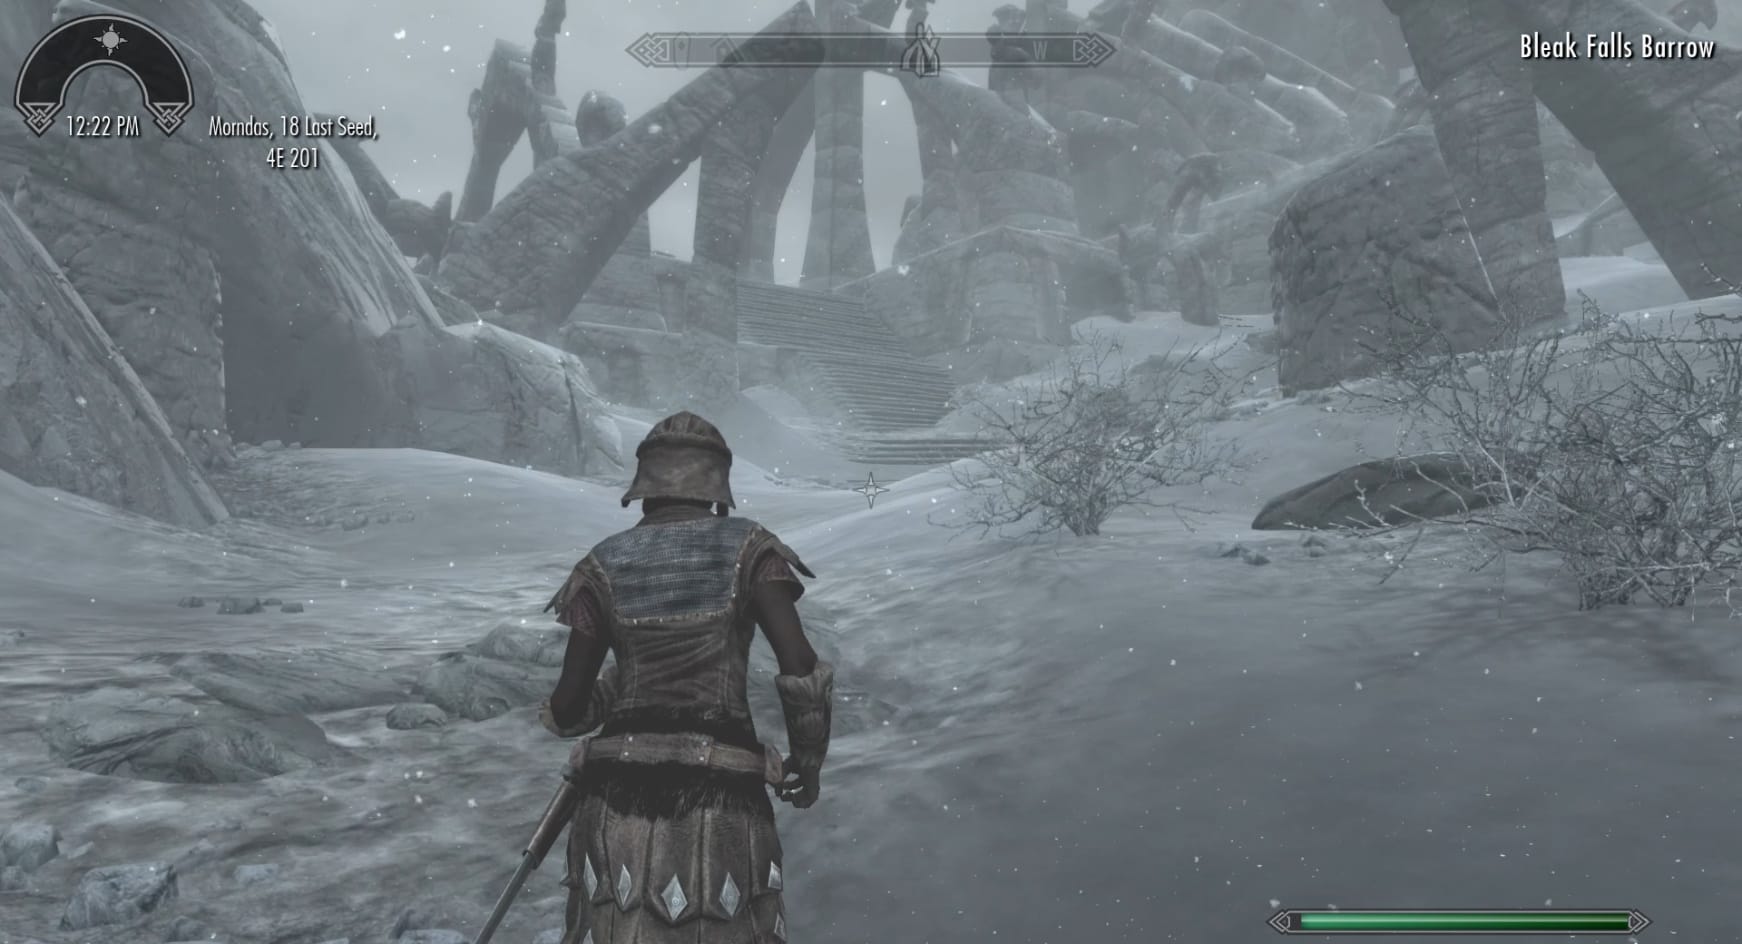
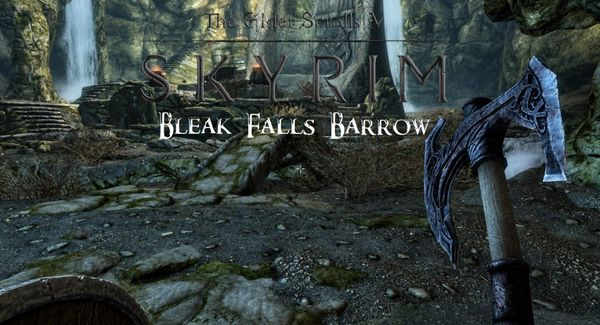
Getting up the mountain, you will easily find the Barrow’s entrance. There are 3 Bandits scattered around the entrance. Defeat them and head up the stairs. Go to the West, up the stairs to reach the entrance of the Barrows itself.
Bleak Falls Temple
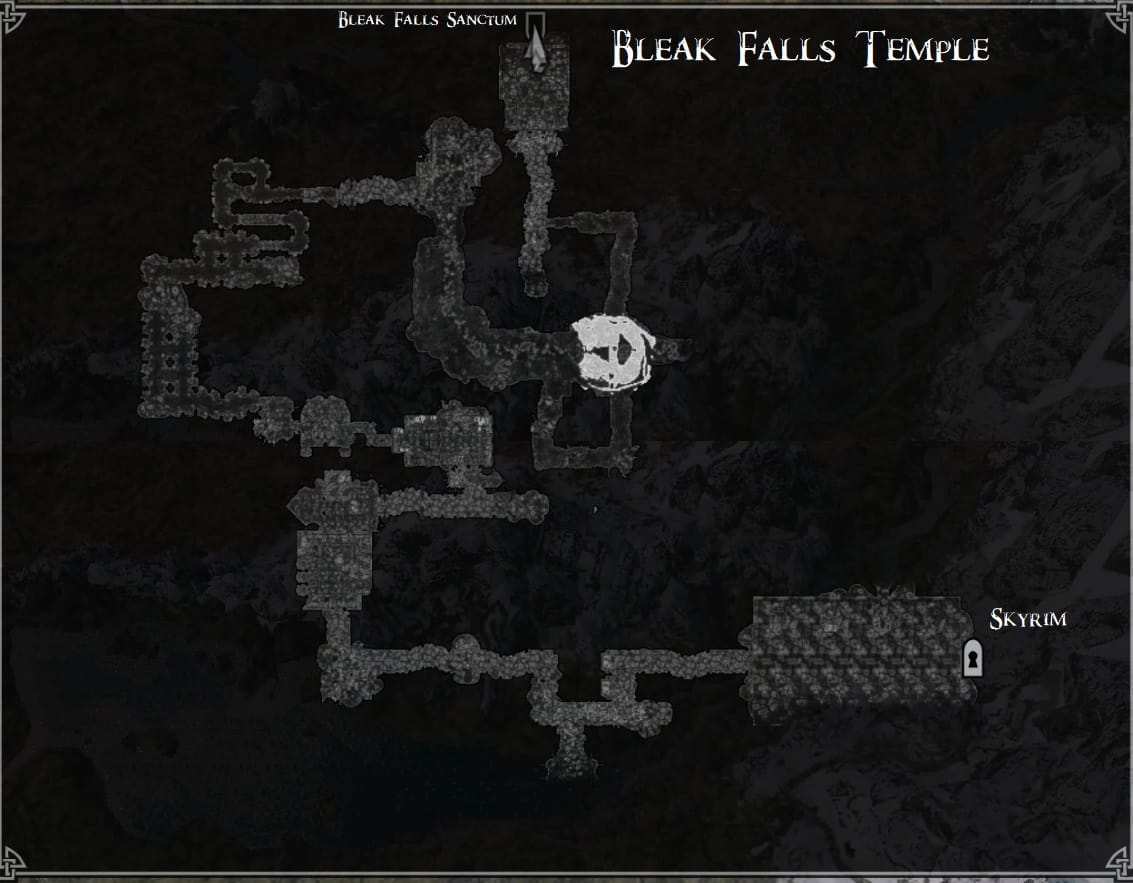
Go forward inside the Barrow itself. Crouch and sneak to listen in on the conversation between the two Bandits.
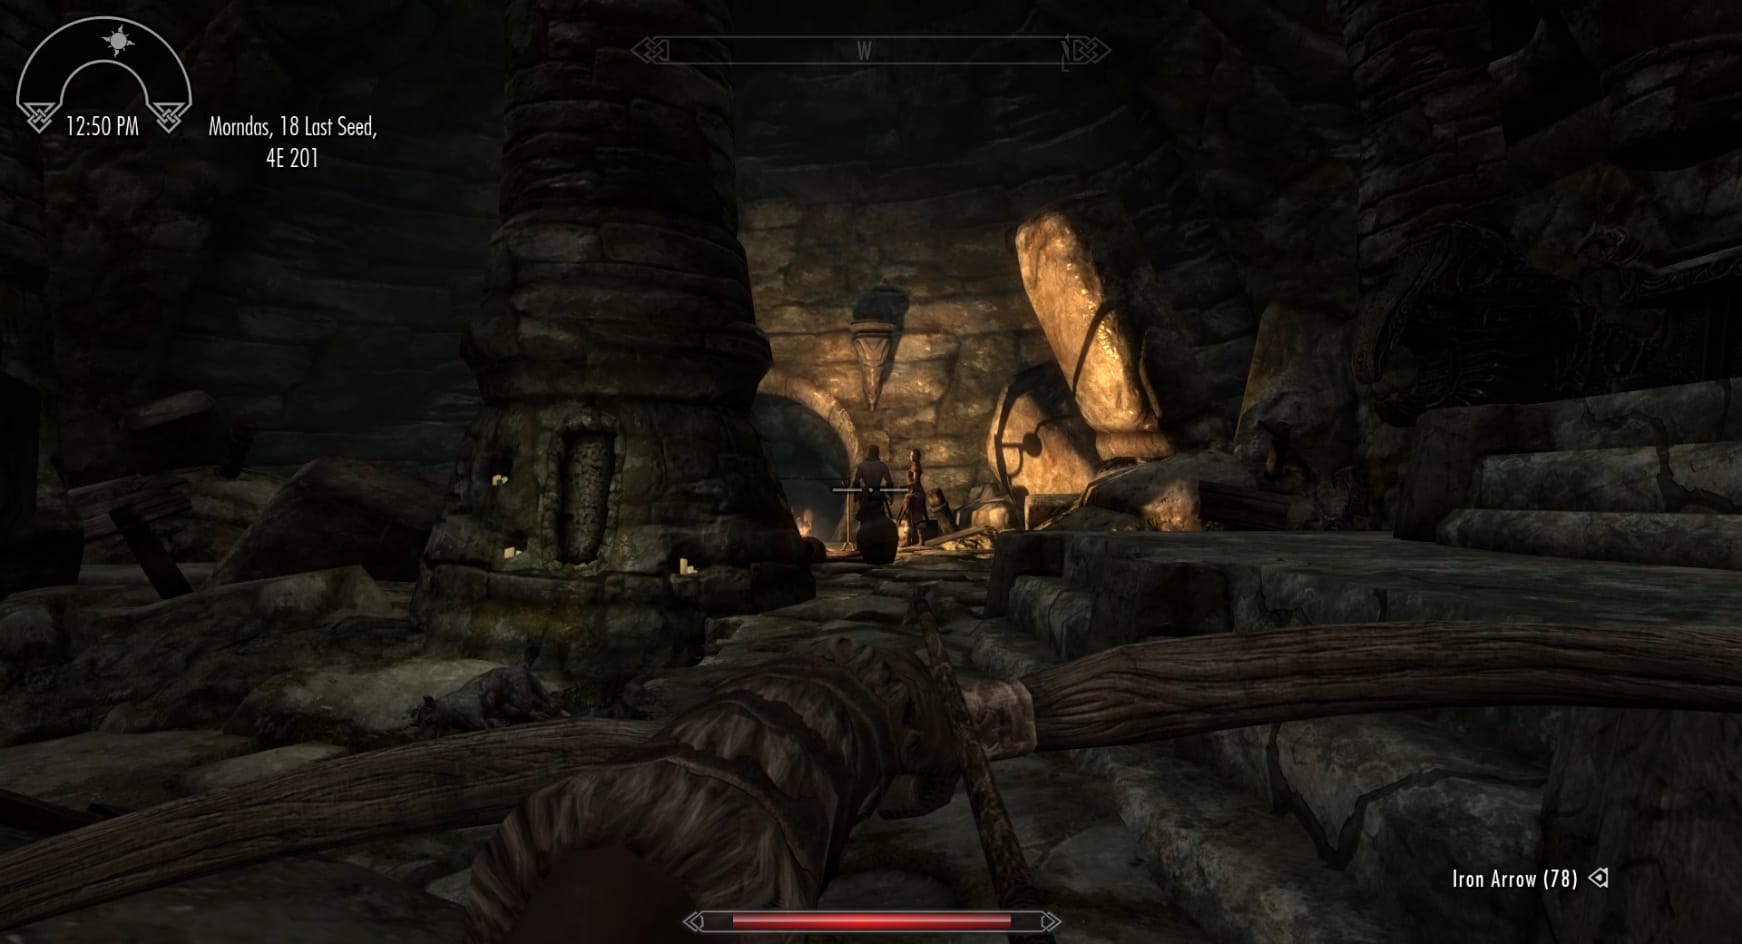
Getting to the camp site within the entrance hallway, look to the right of the tunnel entrance leading down. Sitting to the right of the fire is Locked Chest (Novice). Pick it, grab the goods, and then head through the tunnel in front of you.
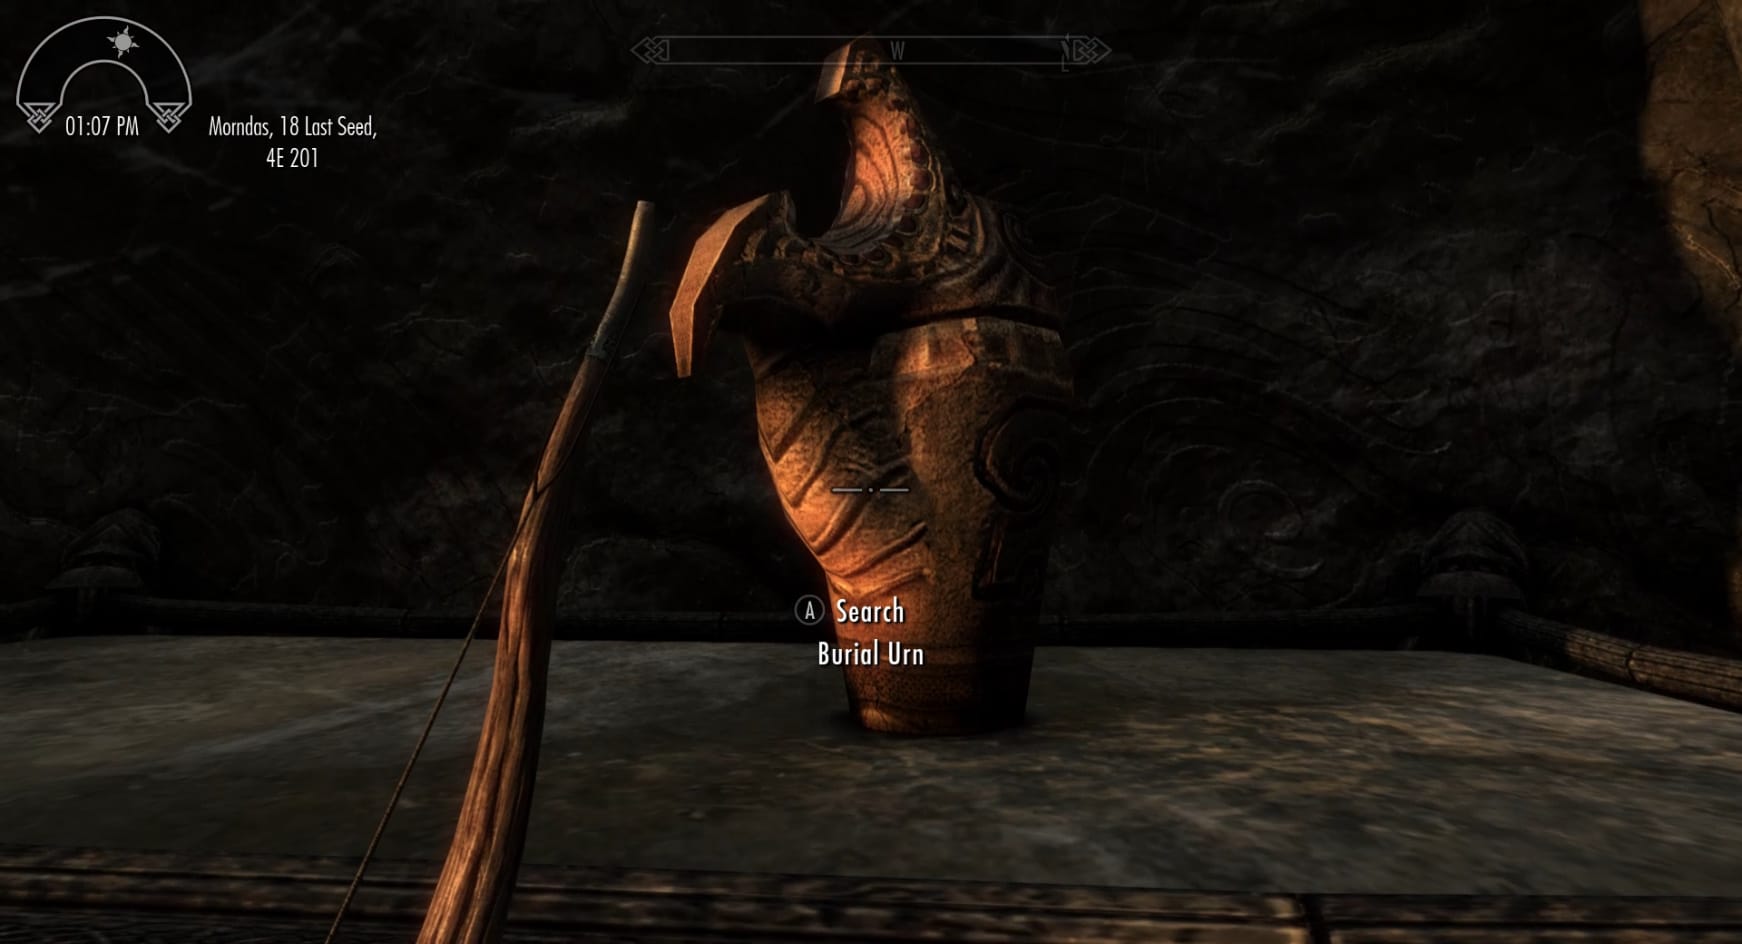
Descending down into the tomb itself, there are going to be a LOT of burial urns. These can be checked for the odd supplies and a few pieces of gold (if there’s anything in them). Otherwise, follow the corridor down and to the left.
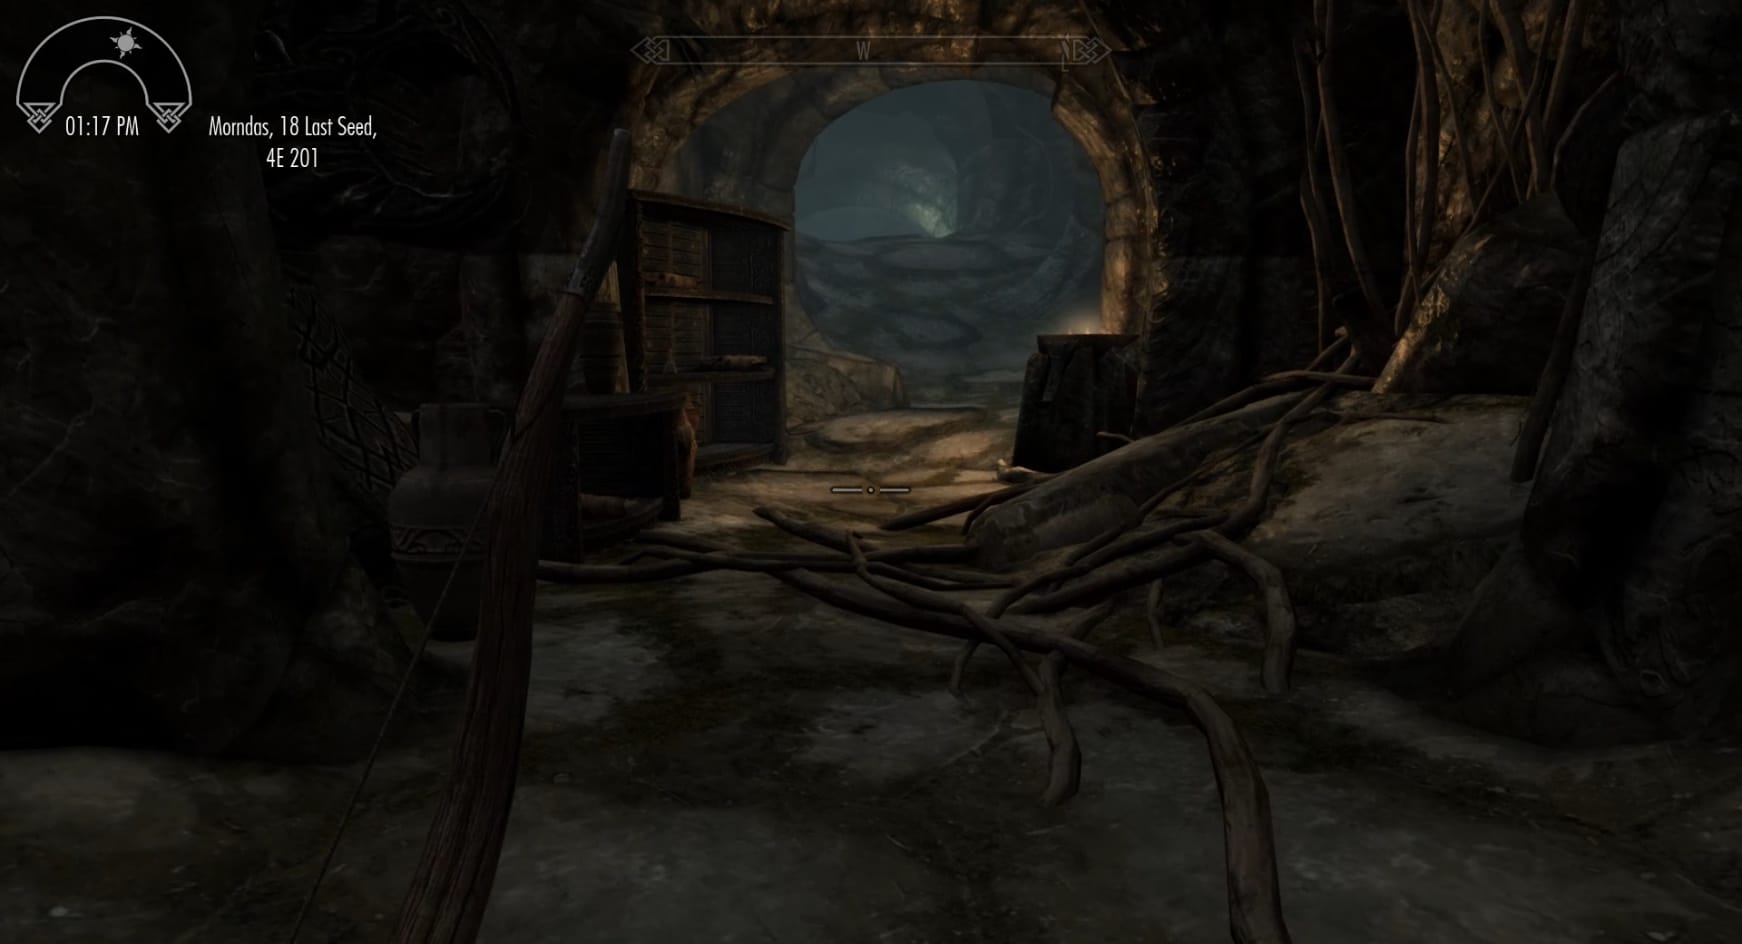
Continue down the hallway, as it turns to the North with a dead skeever in front of you. Turn to the West from there and down the slope to the next landing. Take a moment here to investigate for a few odd supplies. Continue to the West and up the slope after that.
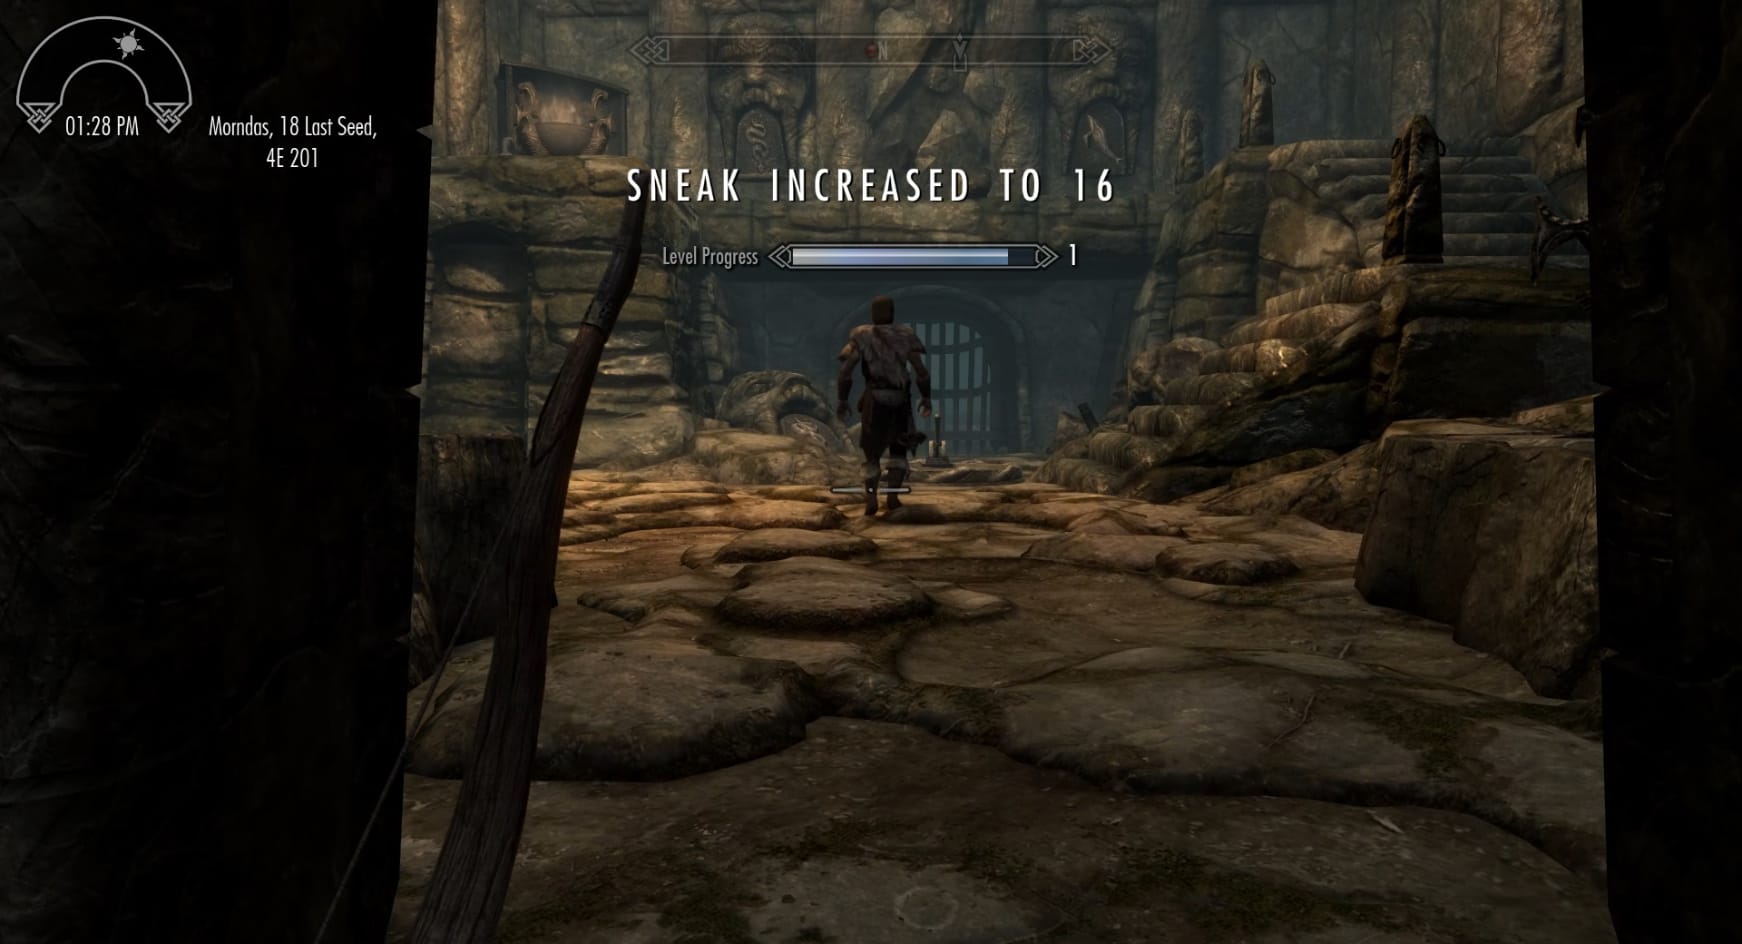
Continuing through the hallway, you will arrive at the first puzzle of the Temple. Just watch, and you will see a Bandit walk up to the lever in front of the door and pull it. Darts will hail down on them, and they will fall. To progress forward, you will need to solve this first puzzle.
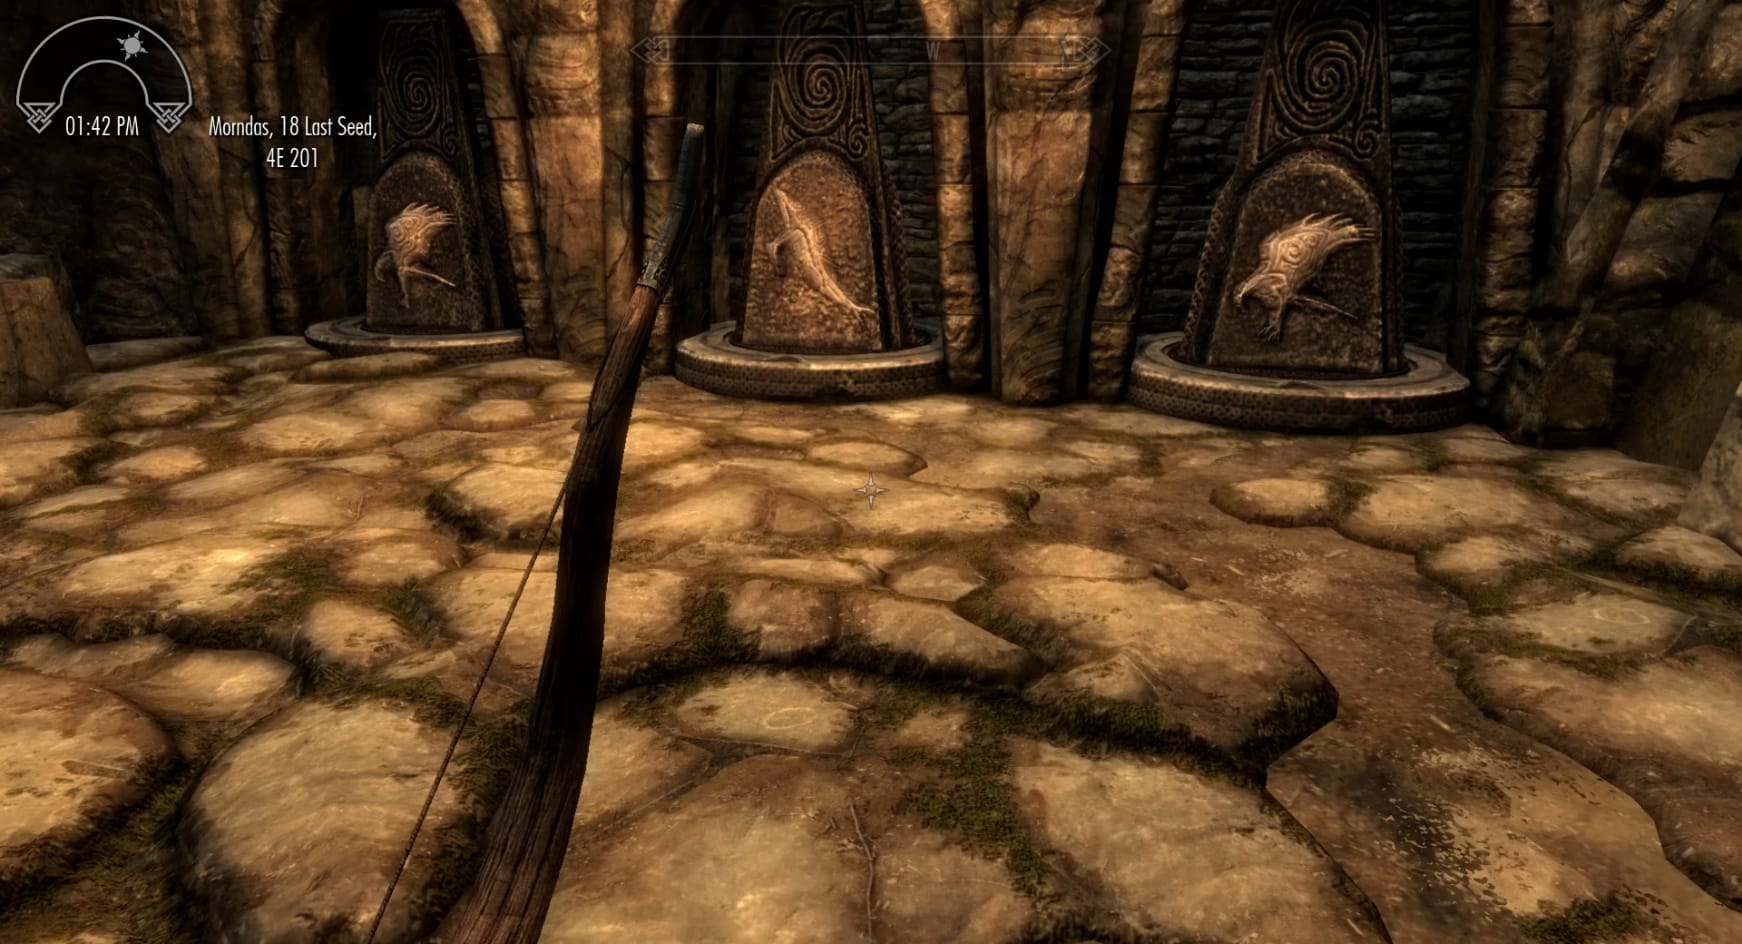
If you look above the walkway above the gate, you can see 2 Faces with a Symbol in their mouth. If you look to the left of the lever, you will see a third Face with a Symbol. These Symbols tell you want to arrange the nearby pillars to. Go to the left of the entrance of the room to find a set of 3 rotating pillars. Interact with the pillars so they have the listed symbol facing out toward the Dragonborn.
- Leftmost – Snake
- Center – Snake
- Rightmost – Whale
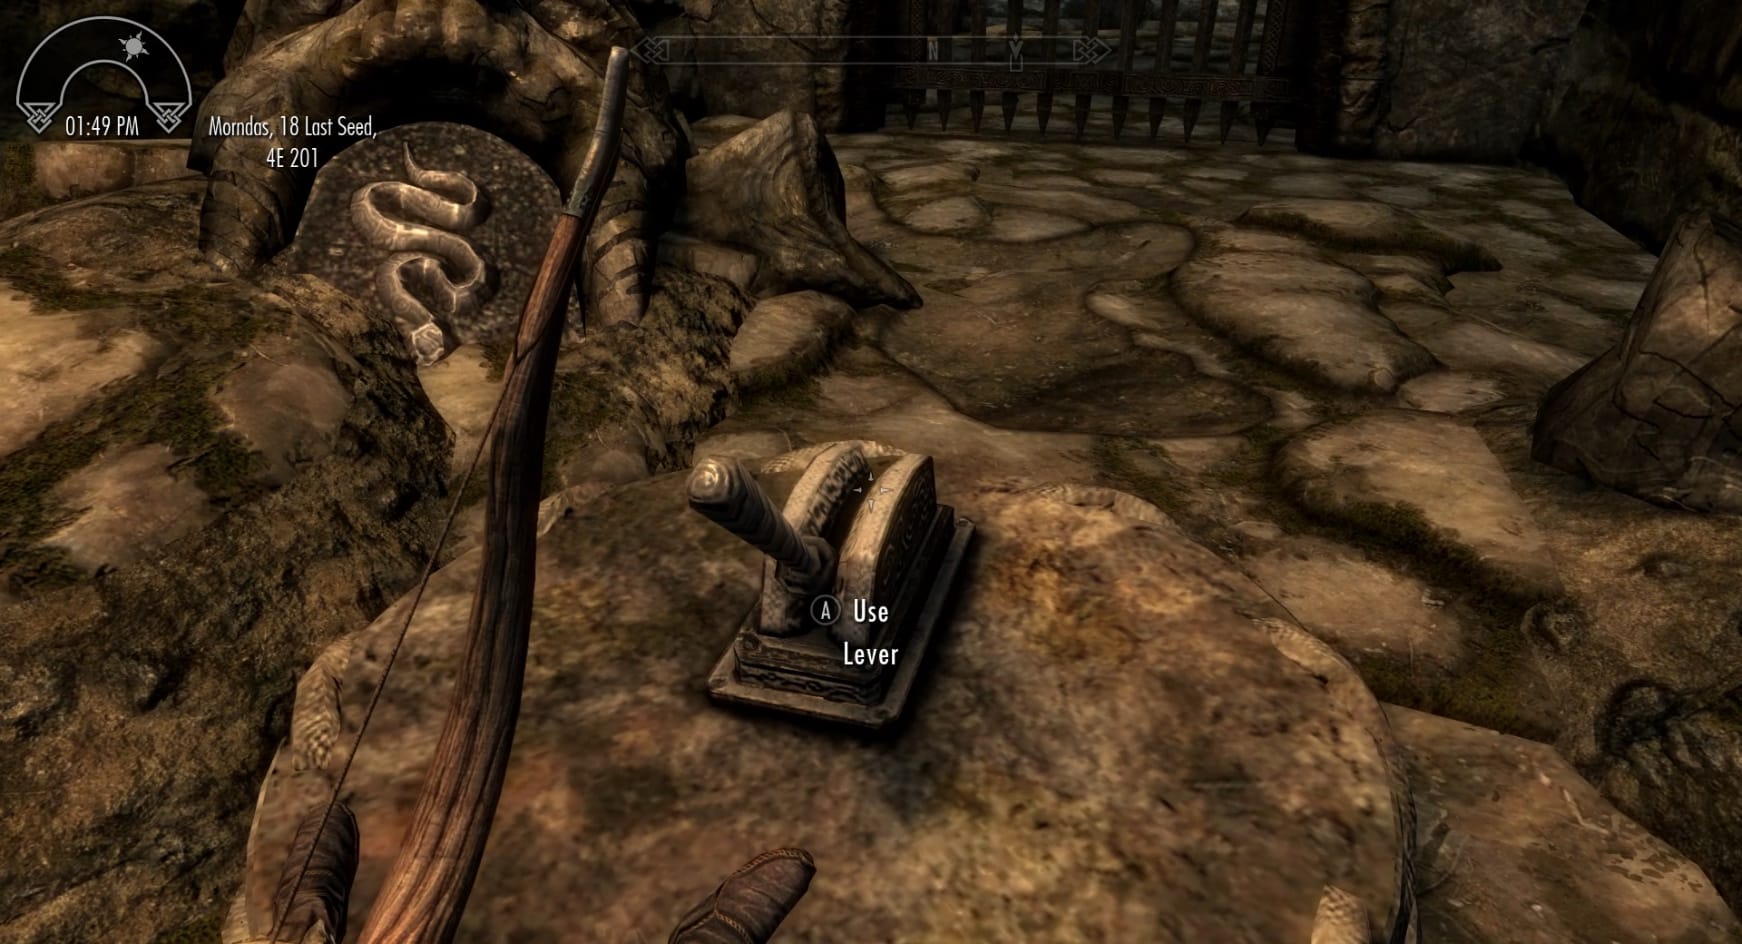
Only when you have the symbols on the aligned properly should you head for the lever. Interact with it to open the gate. If a pillar does not have the right symbol out, then the hail of Darts will come for you. The only defense is to quickly jump onto the stairs or otherwise just get out of the way of the shots.
Through the door, you can see a landing ahead with a chest and table. There’s also a candle stick nearby on the left-hand side that has a Lesser Soul Gem. Loot the chest, collect anything in the Burial Urn or anything useful sitting on the table. Be sure to at least read the book on the table: Thief. This is a Skill Book that will increase your Pickpocket by 1.
After all that, head to the left and take the stairs down. Be ready as you descend because there are Skeevers that will come rushing up at you from below. Clear them out. Exit the stairwell. Go forward to the East and down the far side of the web-filled room. Be sure to check the table in this room for a Scroll of Fireball.
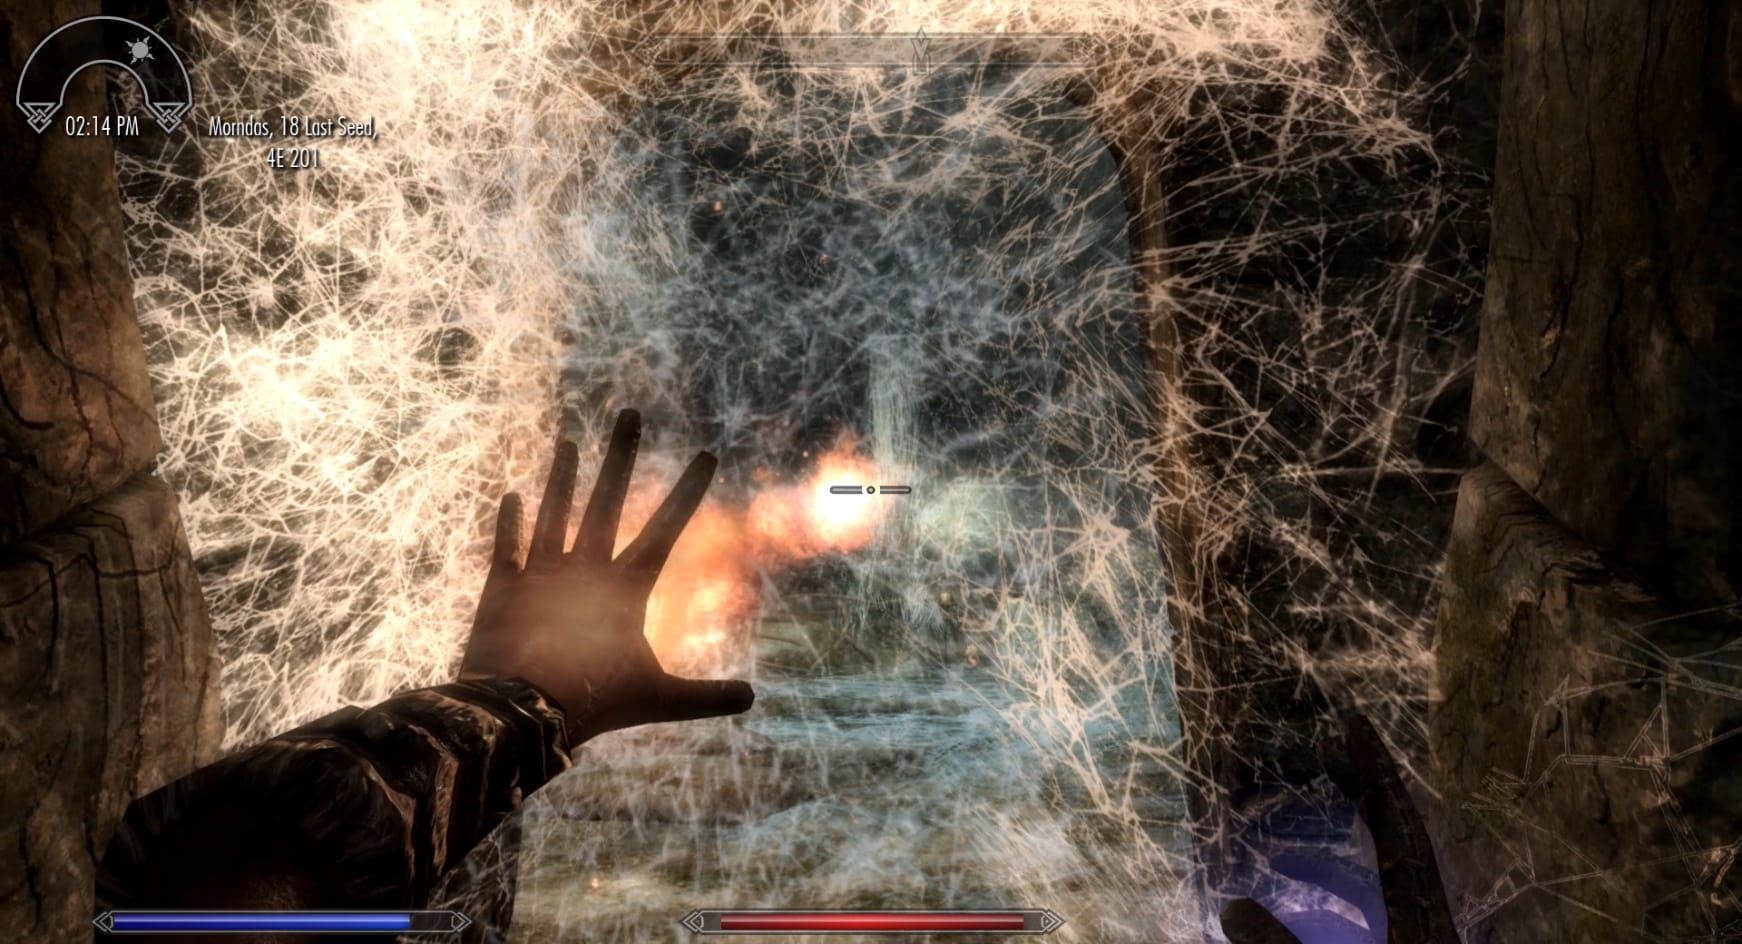
Get into the hallway at the base of the slope. Look to the left (North) to find a web-filled door. Either cut through it with a weapon or burn through it with a Spell. Either way, you will find yourself in a large chamber. From above will descend a large Wounded Frostbite Spider.
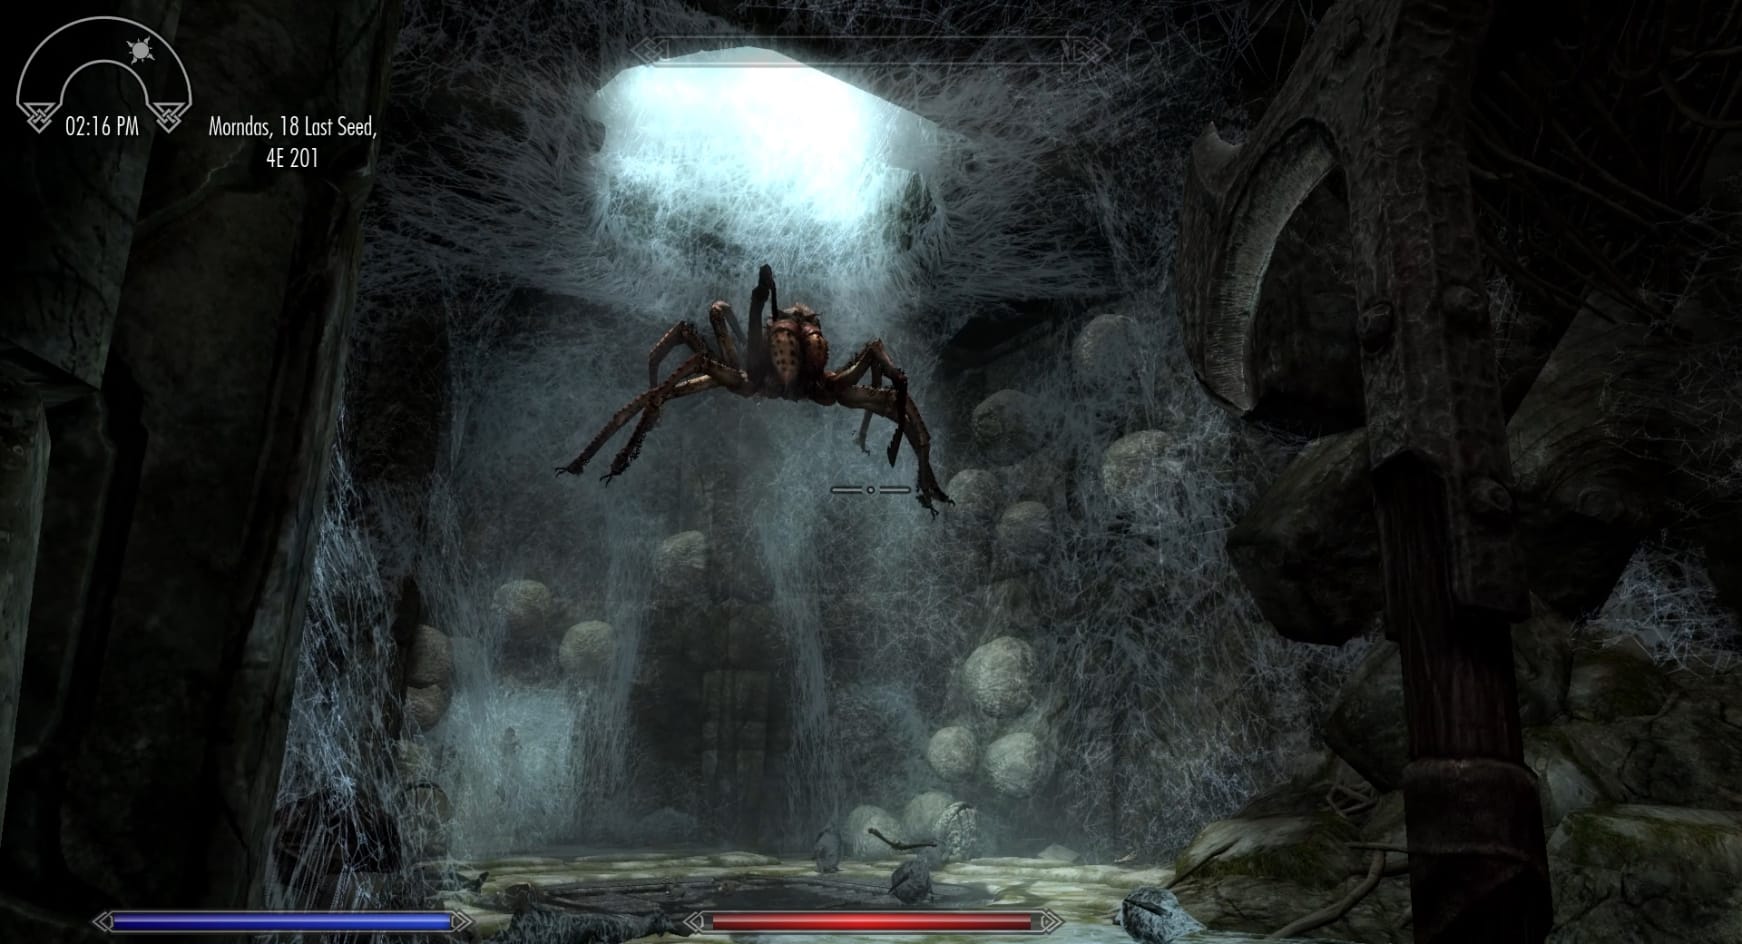
Fighting this spider can be tricky because of its ability to poison you. Some doesn’t care, most very much mind being poisoned. You can rush in on the Spider and start attacking with melee weapons for a simple approach.
If you’re more for range, shoot at it with arrows or spells and draw it to the doorway you entered this chamber. The Spider is large enough that it can’t fit through the doorway. It can still spit poison at you, but it won’t be able to overwhelm you in quite the same way.
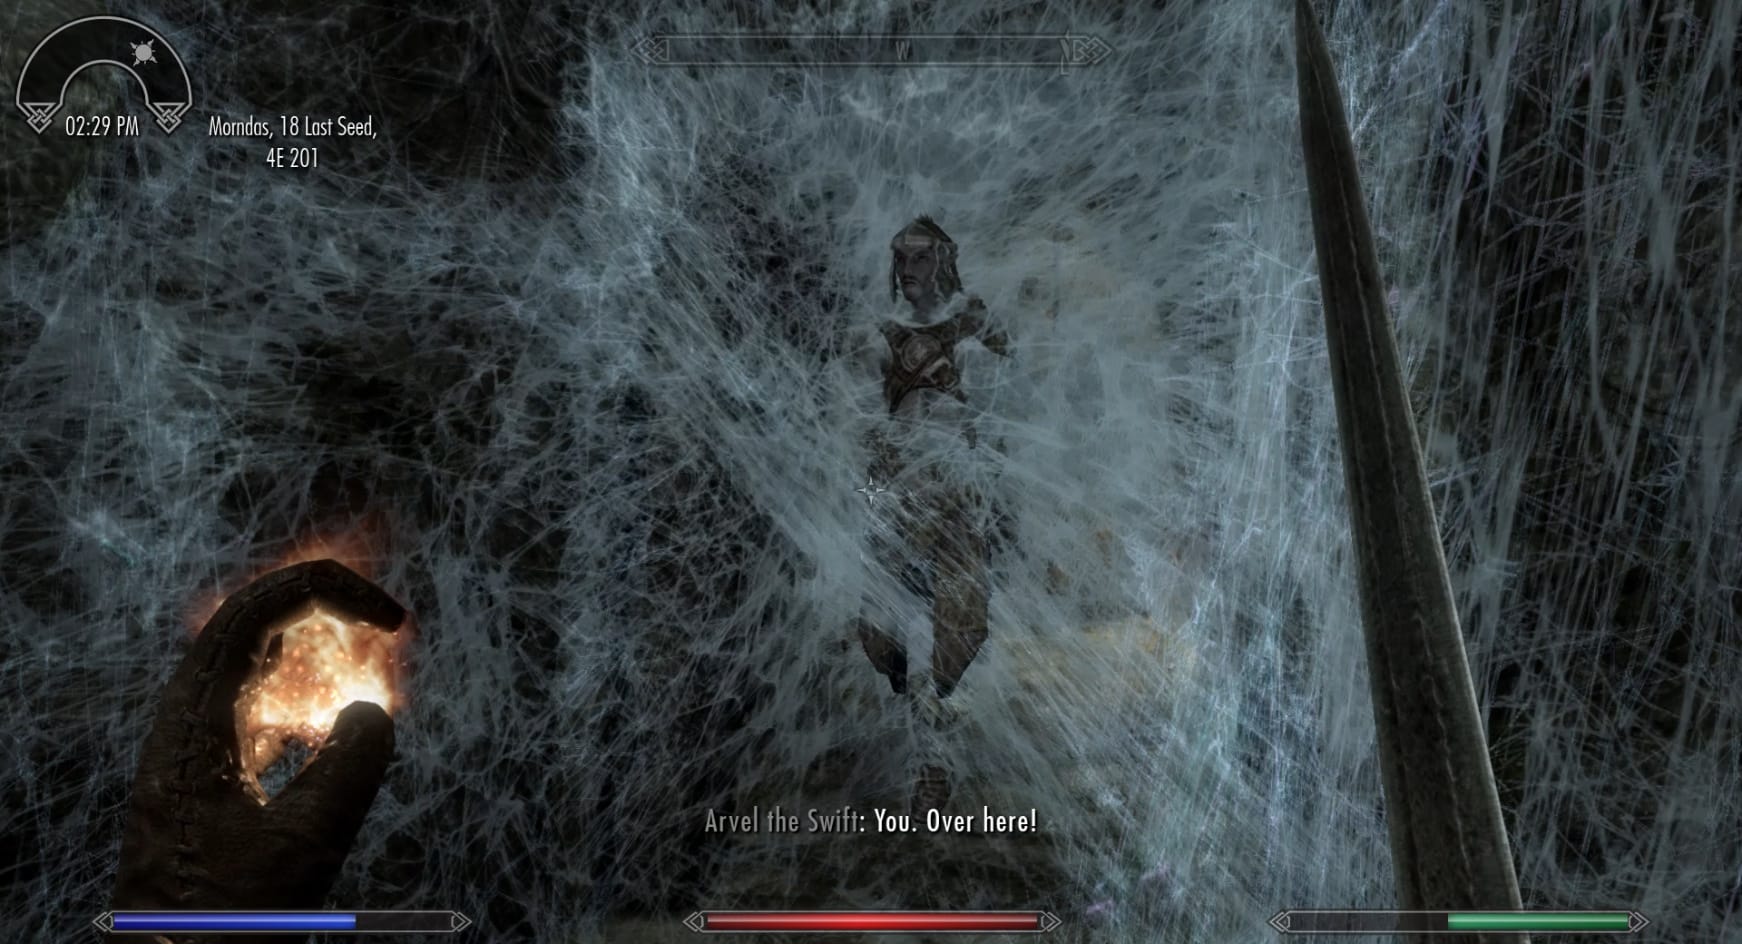
Having defeated the spider, you will hear the Dunmer calling out to you from the Western side of the room. Approach and talk with him. He is Arvel the Swift. He knows about the Golden Claw and how to use it. However, he refuses to tell you anything until he is freed from the web. Doing so will have him mock you for helping him and then he runs away.
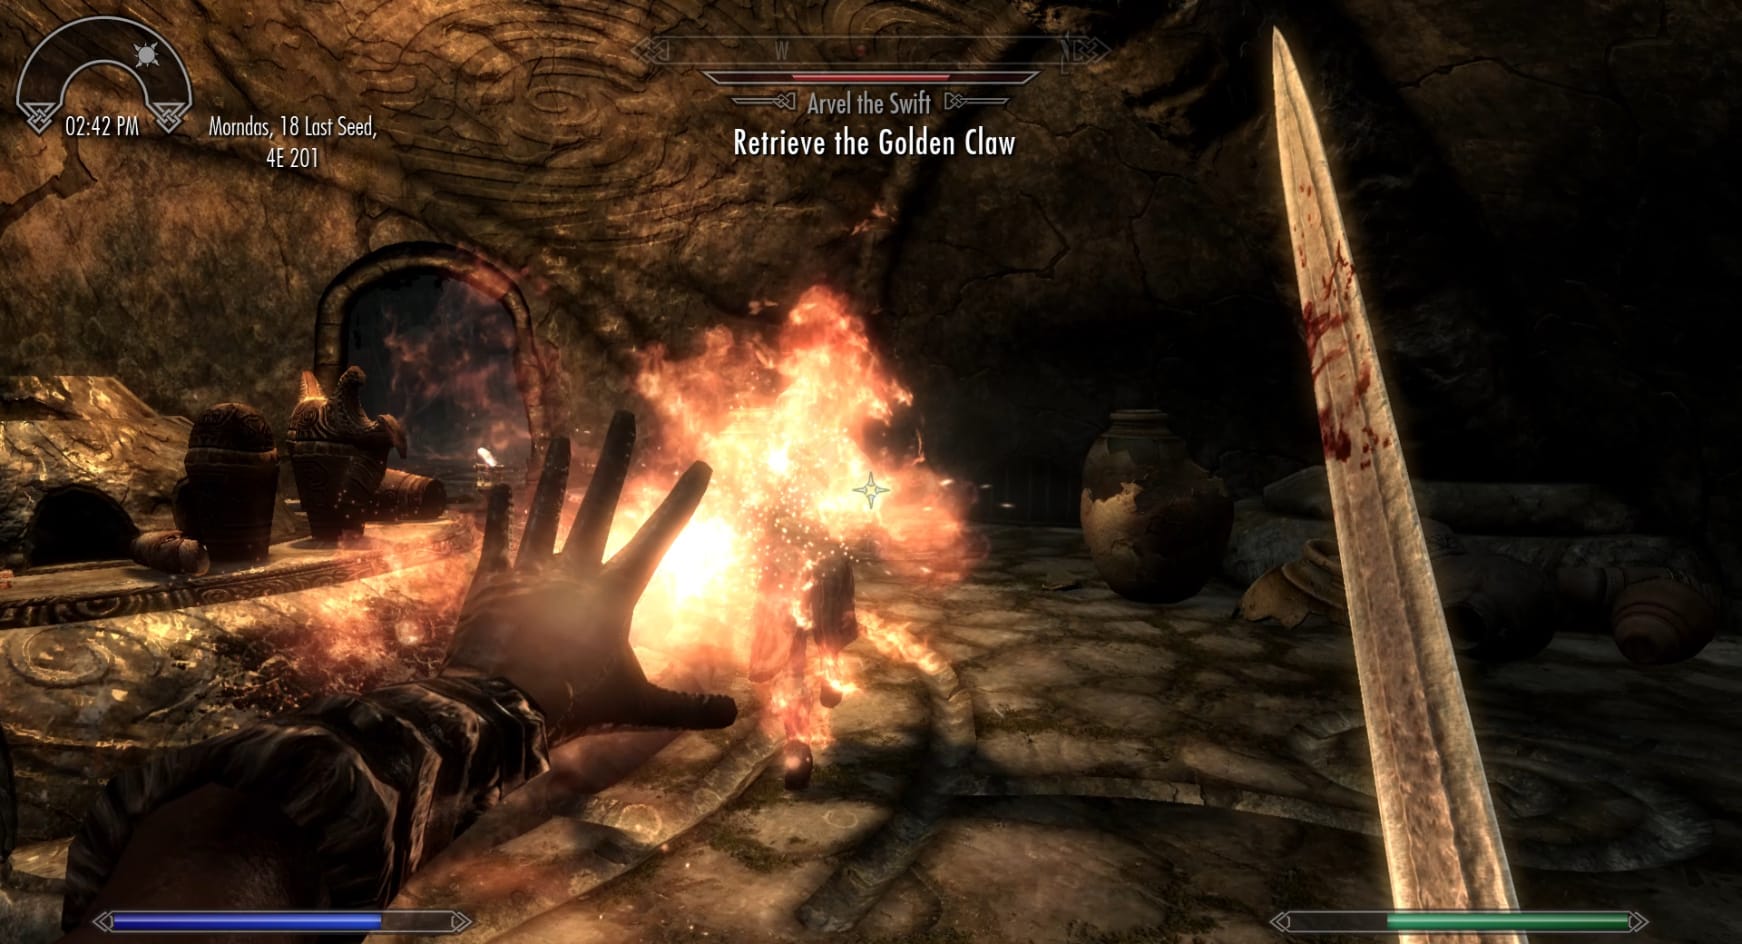
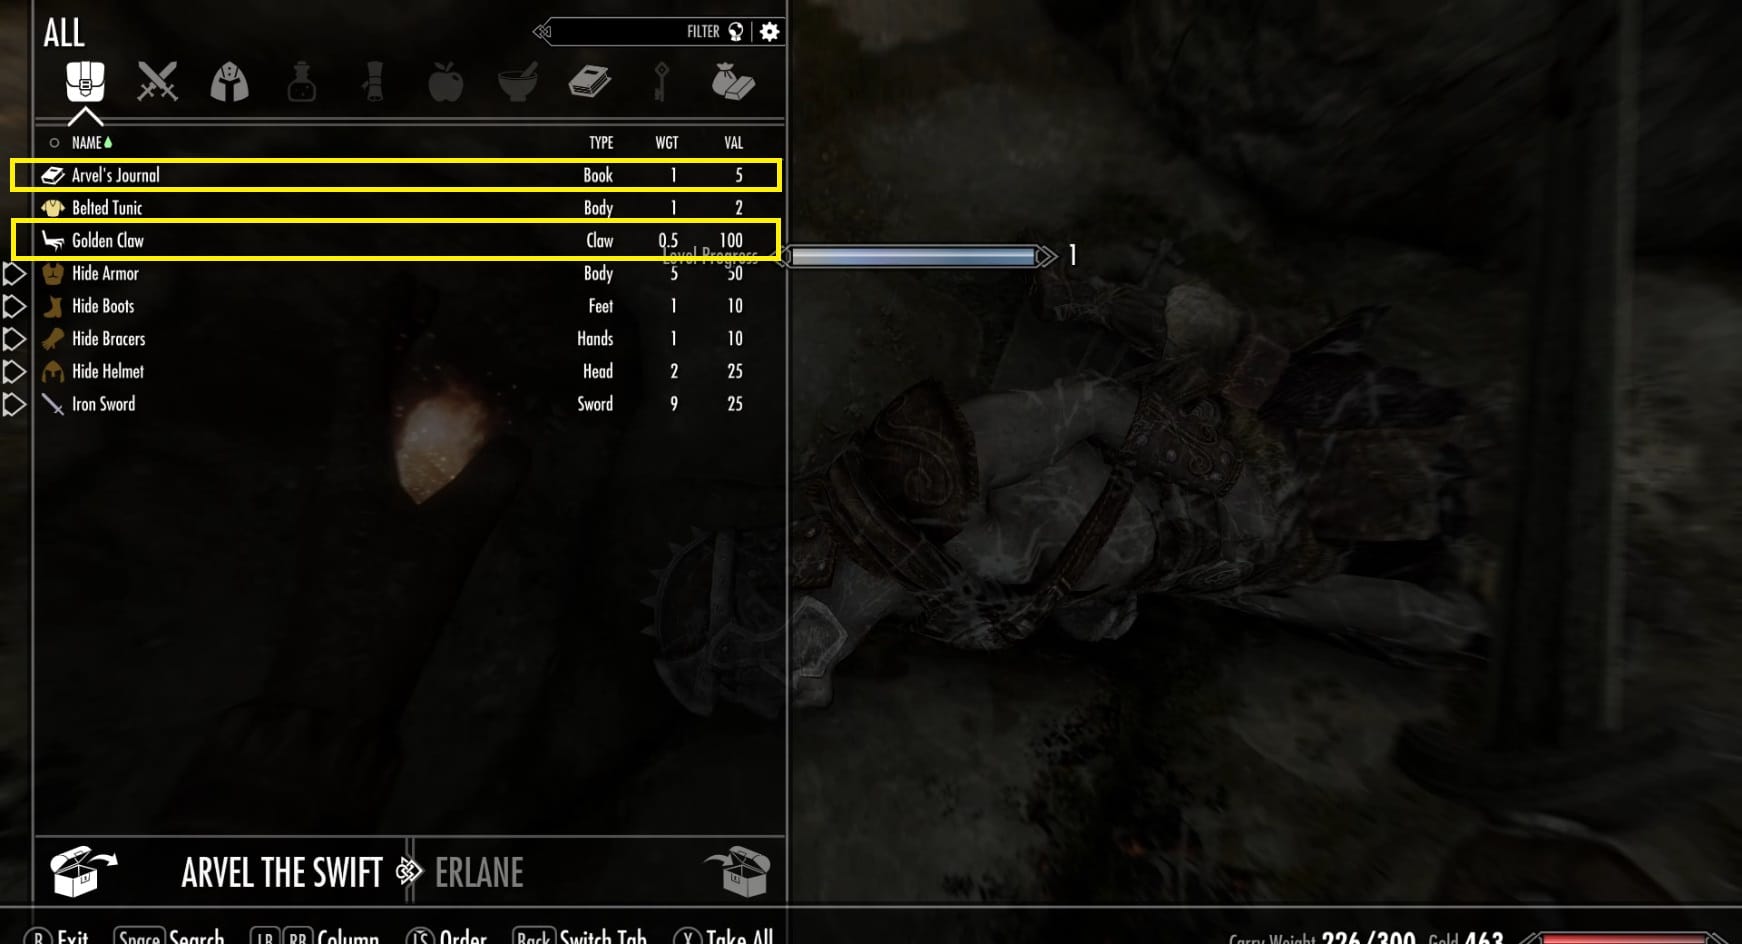
Defeating Arvel the Swift and what to claim from him
Quickly cut him down. Investigate his body to get the Golden Claw as well as his journal. Reading his journal will give you the clue to figure out the puzzle door. If you just want the answer with less reading, then keep going in this walkthrough.
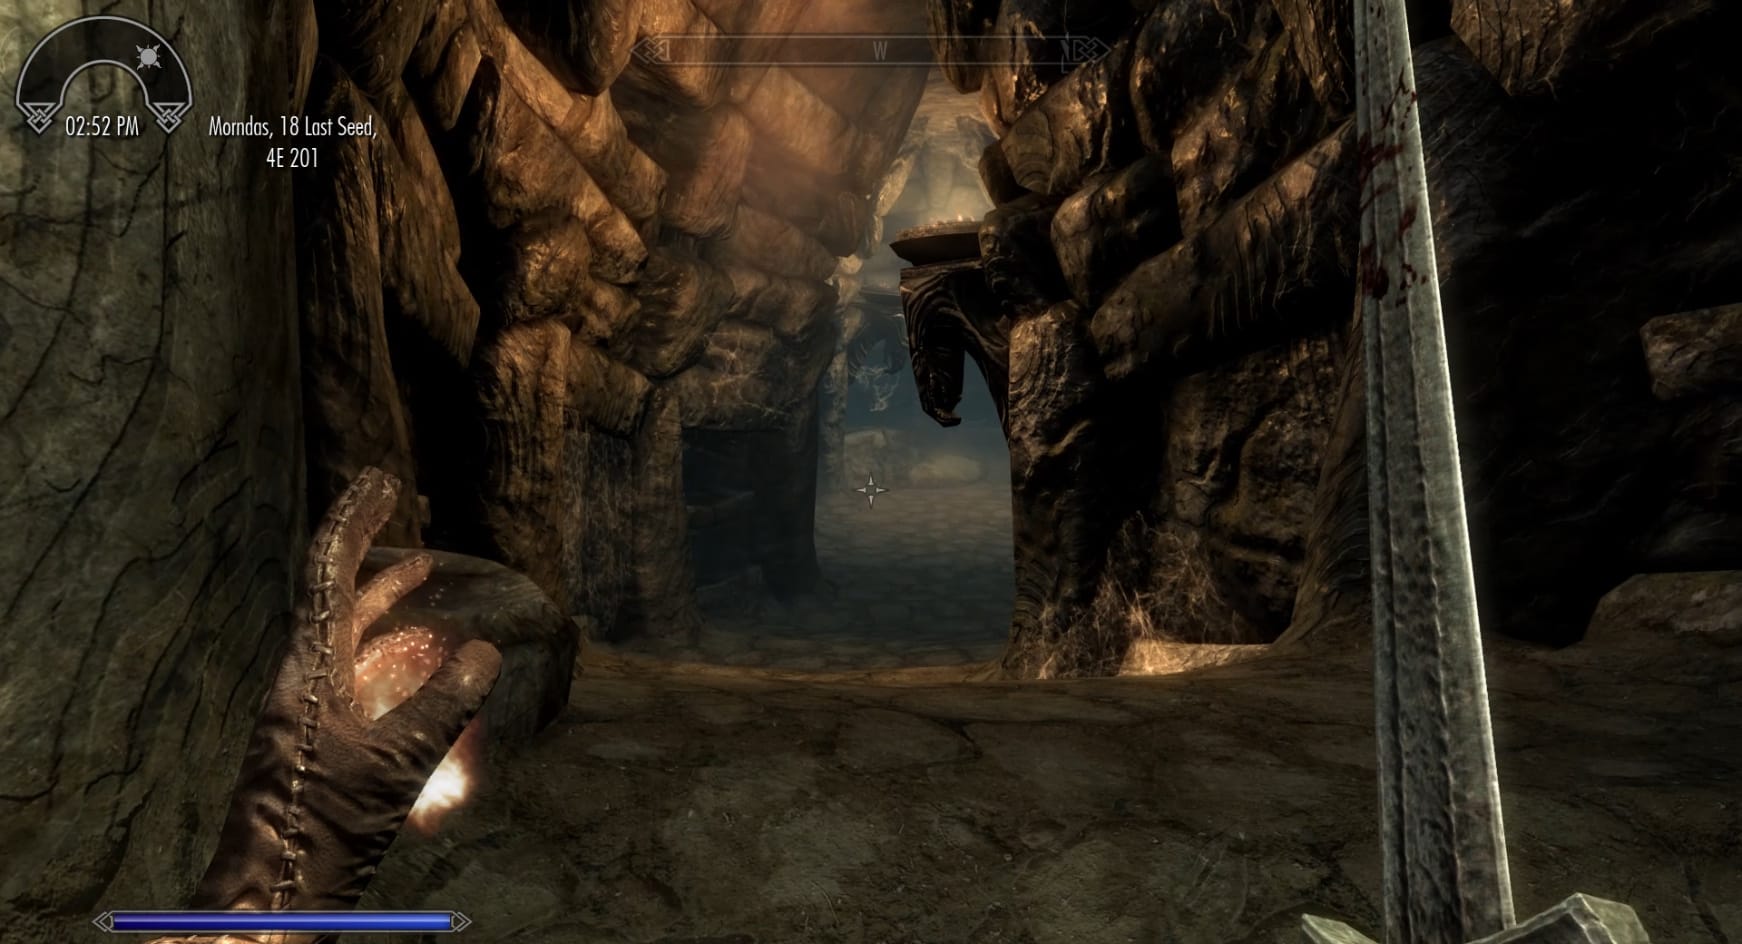
Go down the hallway behind where Arvel was held in the webs. This leads you into a massive catacomb area. Be wary as you descend, since there are Draugr spread throughout that will rise up and attack the Dragonborn. There are at least 3 of them in this first section.
Be mindful as you head to the North and out of this chamber. Hug the left-hand wall as you leave, staying at the shelves with the corpses on them. This will help you avoid the pressure trap in the floor. Triggering the trap has a Spiked Wall swing out from the right-hand wall. This trap can easily kill a low level character.
Beyond that, there’s another Draugr sitting on a shelf at the top of the next downward slope. Defeat it and go down the slope to the right. There’s another that will emerge from the right-hand wall at the bottom of the slope. 2 more will come from elsewhere in this secondary chamber. Getting into this smaller chamber, turn to the East and look for the doorway at the far end.
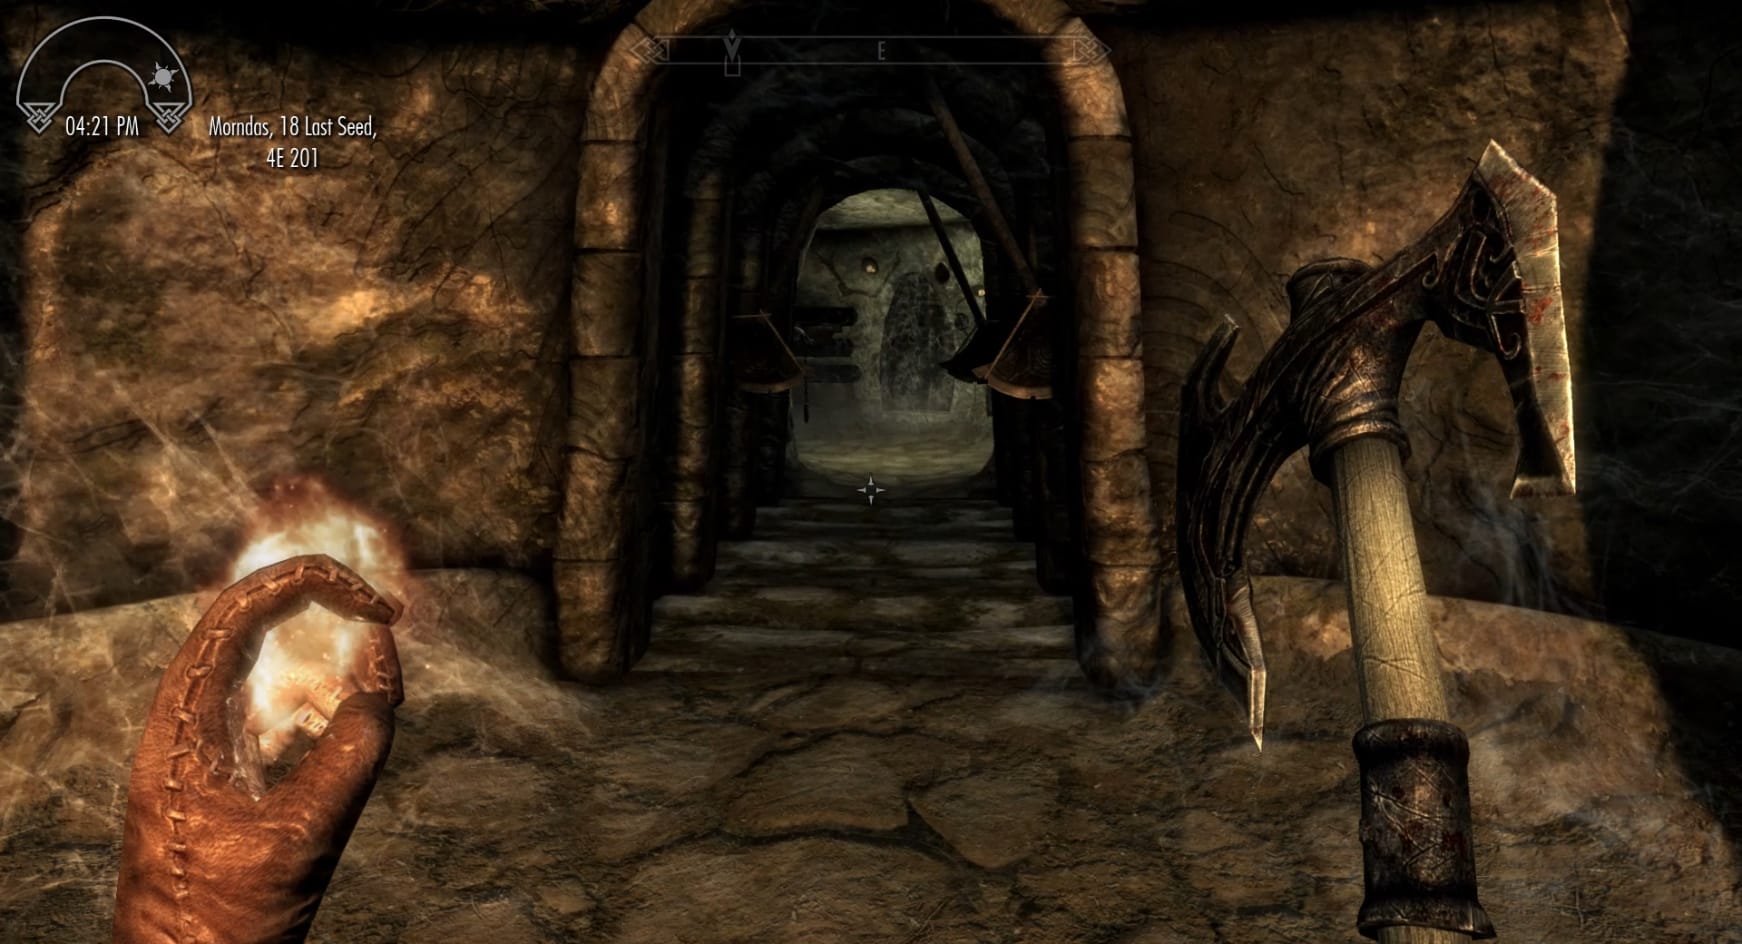
That small hallway has a trio of swinging blades that you will need to avoid. The best way is wait until the blades have crossed the midpoint of their swing. IMMEDIATELY start Sprinting through the hallway. Turn around at the far end.
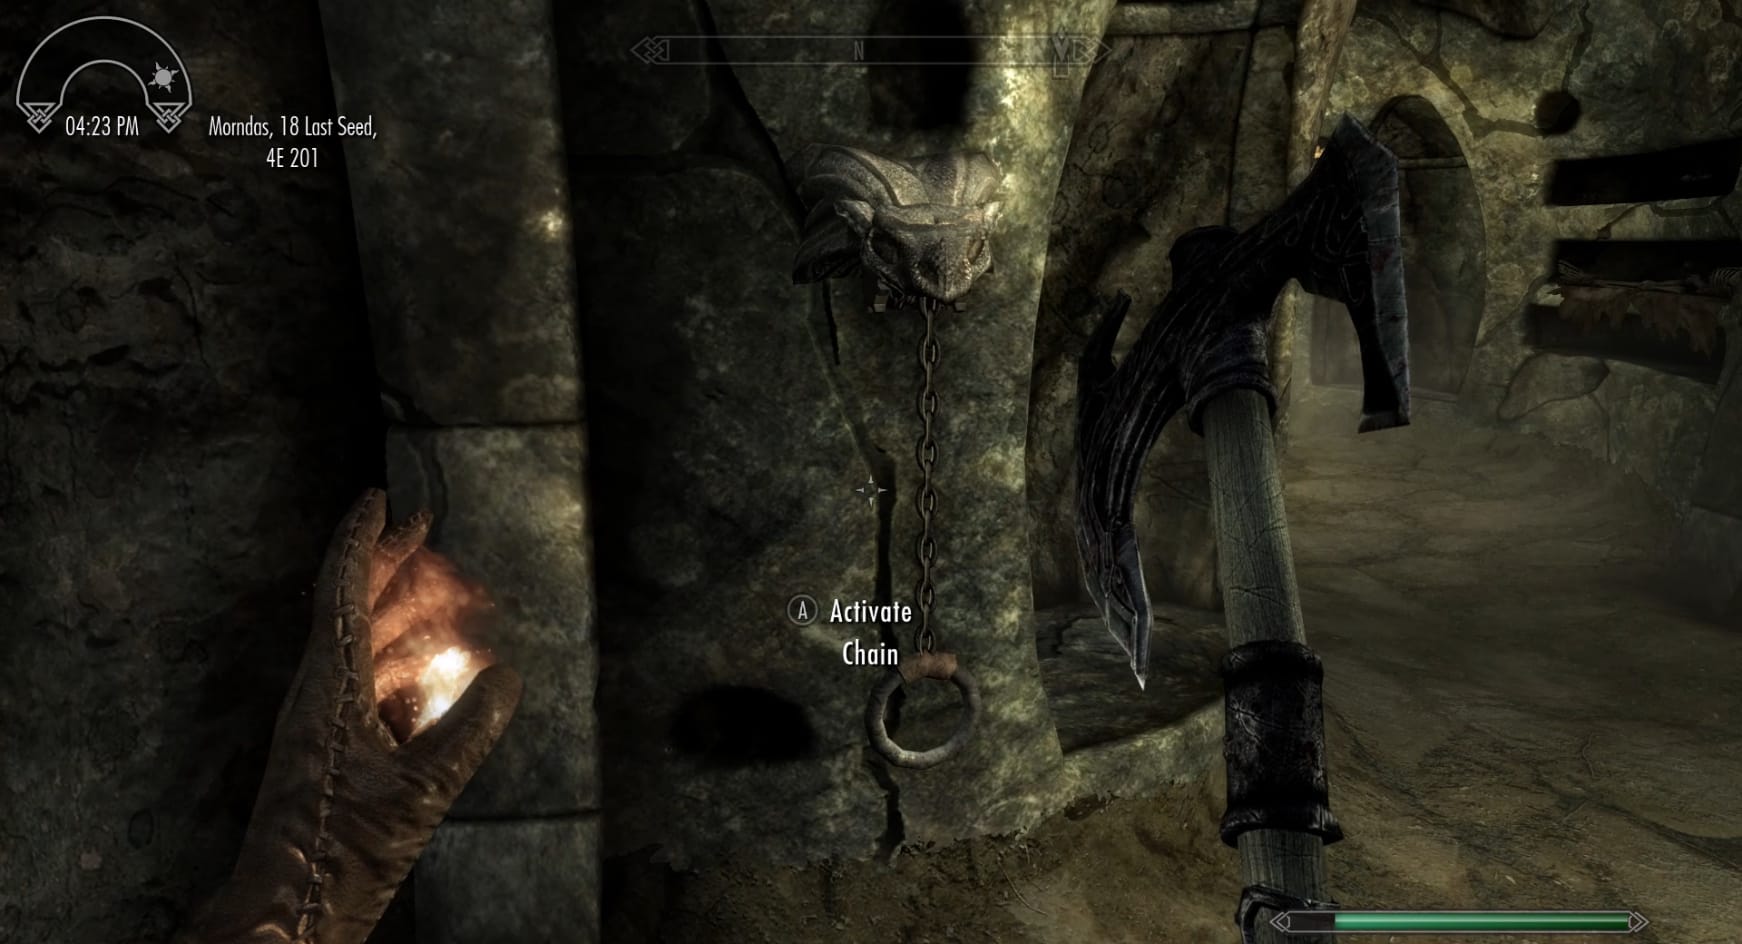
You will find a switch on the left-hand side at the end of this small hallway to disable the trap. Activate the chain to disable the trap.
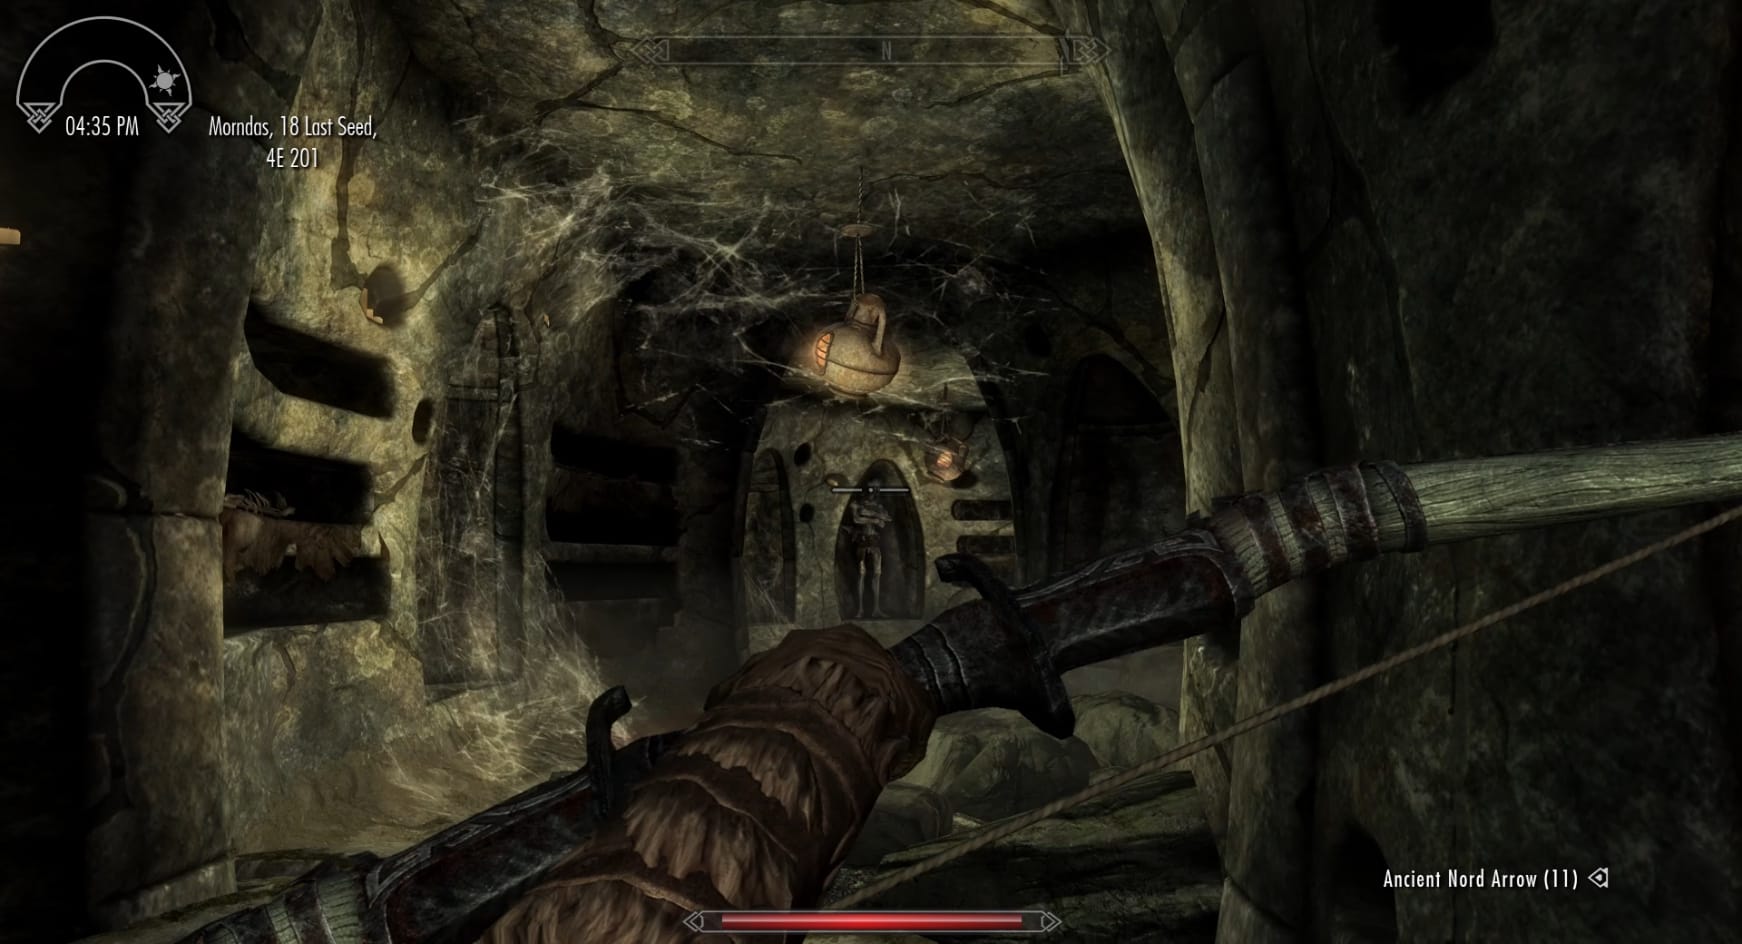
You’re now in a hallway of shelves with corpses on them. As you turn to the North, just note the pot on a rope, suspended from the ceiling. These have fire in them, and can be very useful for lighting oil or trigger other traps. Follow the hallway to the West after that. Take the stairs down.
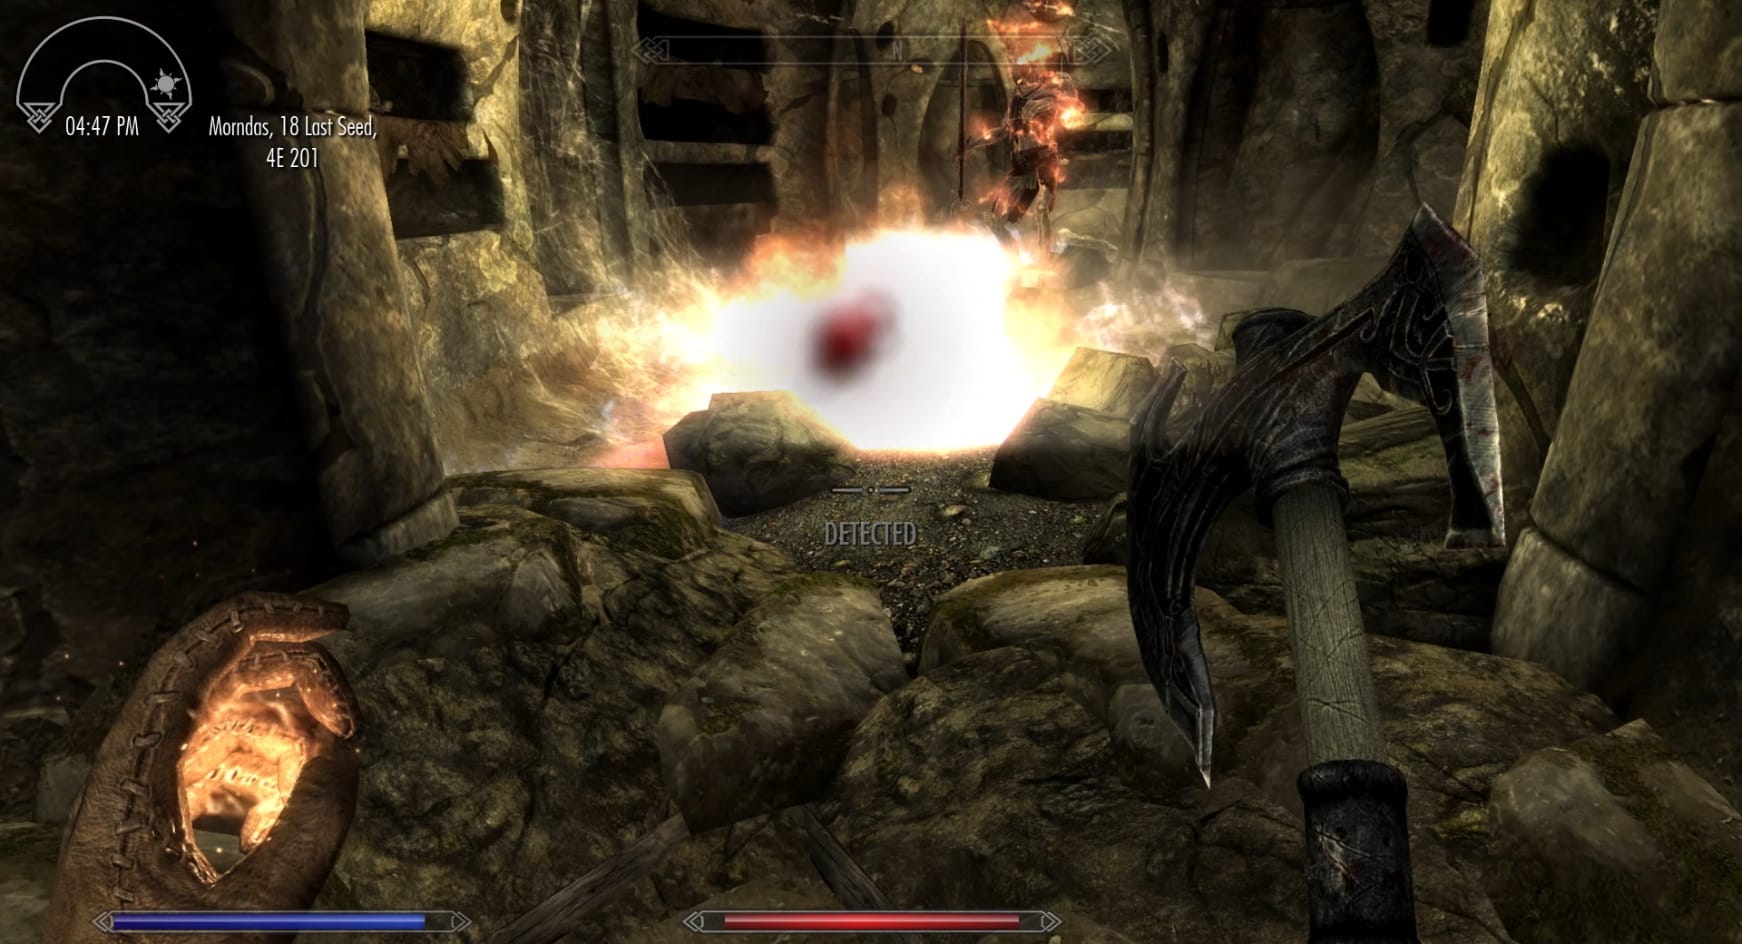
At the base of the stairs, be wary since there is another Draugr that will merge from an Alcove to attack the Dragonborn. Go to the North after that. You can see another Draugr in an alcove at a corner ahead of you. You can also see something glistening on the floor in front of you. You can break either of the pots suspended from the ceiling to ignite the oil on the ground. Doing this will burn the Draugr down in front of you.
There’s another pair of Draugr just around a corner from that one. You can easily bait them to you and then use the oil on the floor to burn them (if you haven’t used it already). Continue to the East and deeper in. Take the stairs on up.
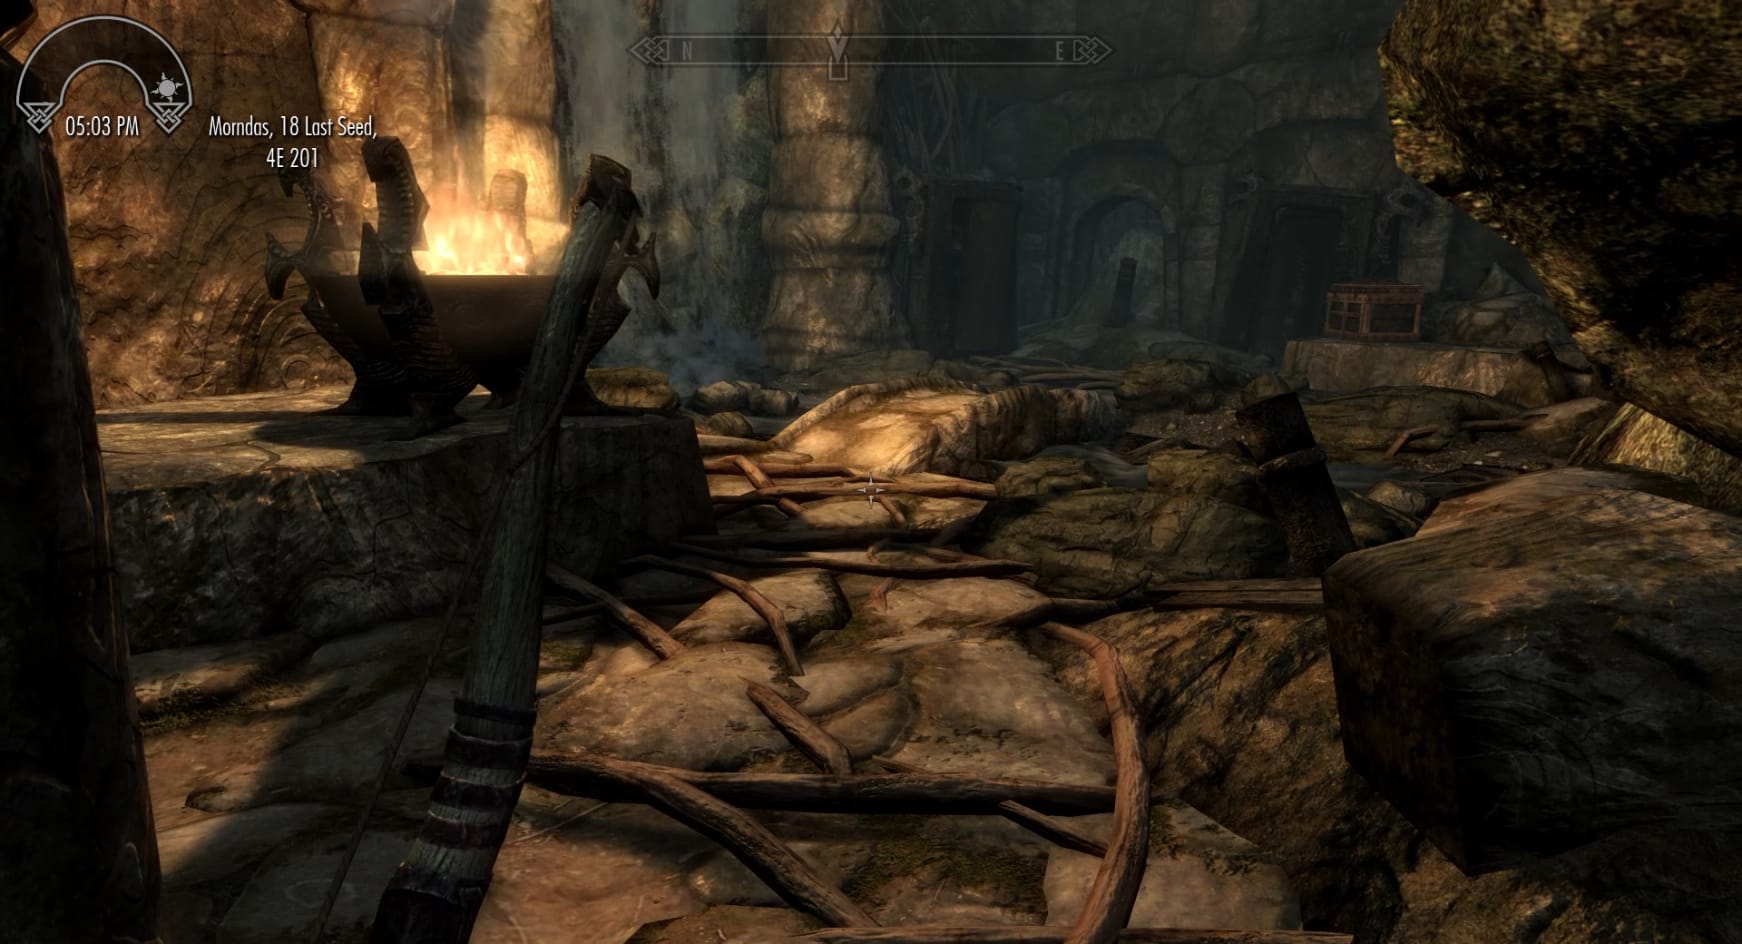
Continue forward to the next chamber. This is a medium sized one with water flowing through it and a pair of sarcophagi on the Eastern side of the chamber. 1 will open to reveal another Draugr. To the right of that sarcophagus you can find a chest for looting. After that, head to the South. Go to the gate. Use the pull chain on its right-hand side to open the gate and let you follow the water deeper inside.
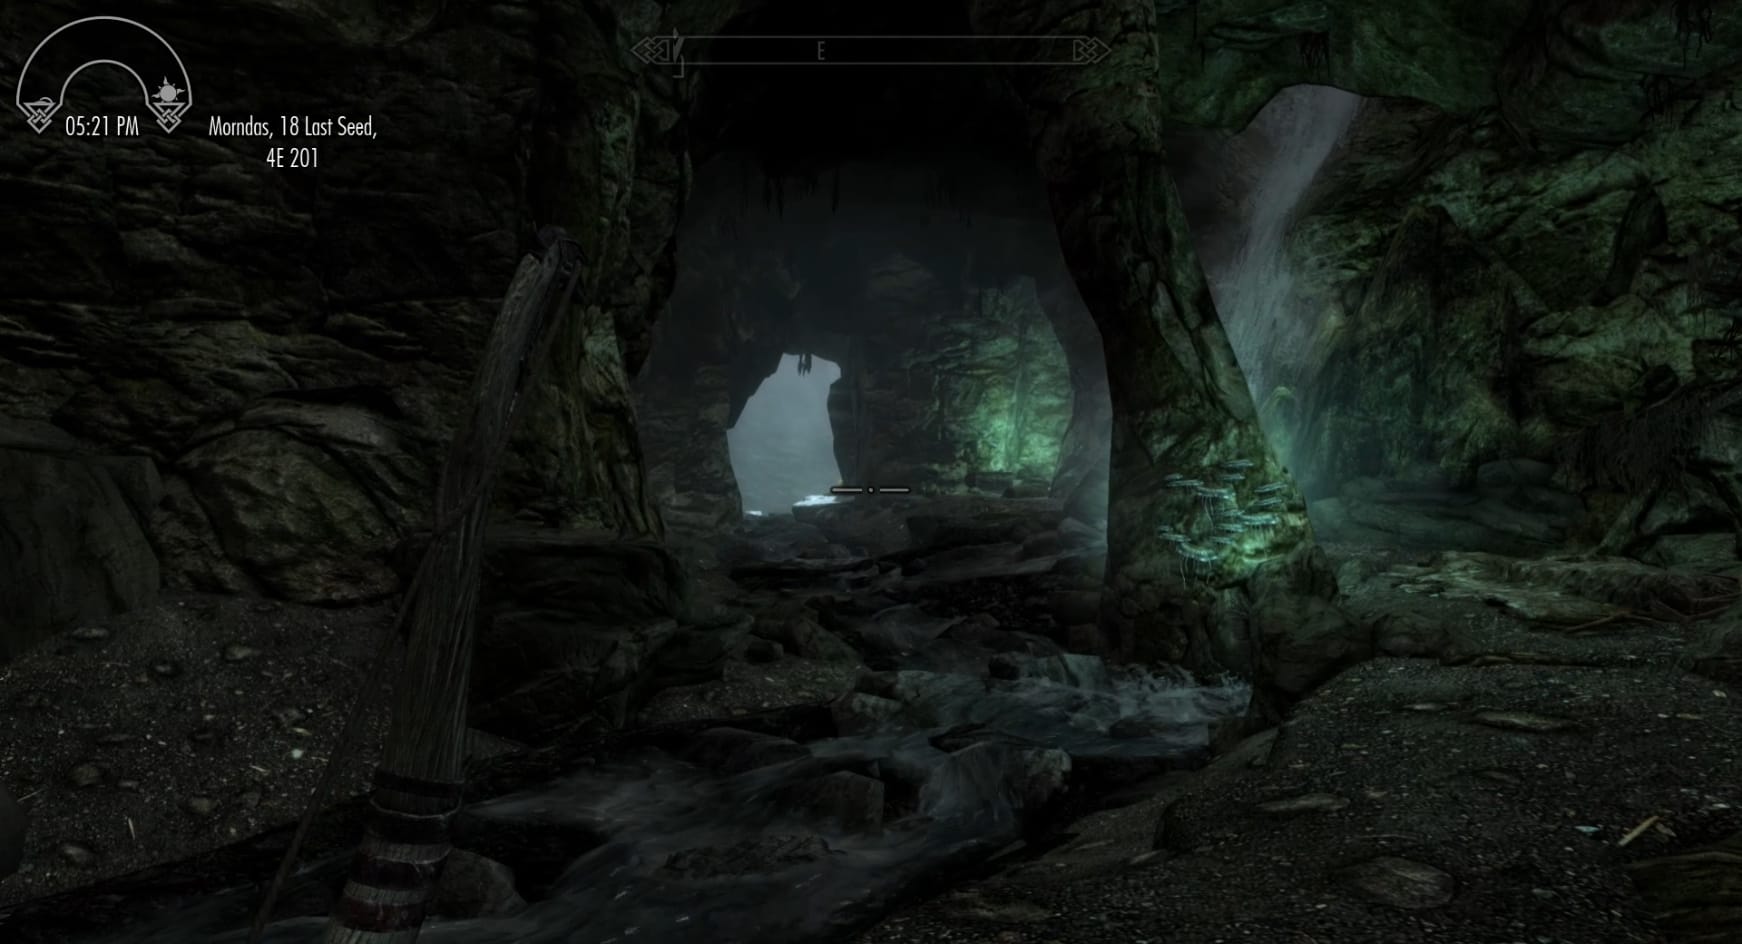
The path will open to a larger cavern at this point. Follow it to the Southeast. Stay on the right-hand side and take the path there downward. The opening the water is spilling through is a drop. You might be able to survive landing on the land bridge, but why take the chance? Be sure to loot the chest to the right of the opening. Take the tunnel on the right down. Take on the Draugr patrolling the land bridge and go across it.
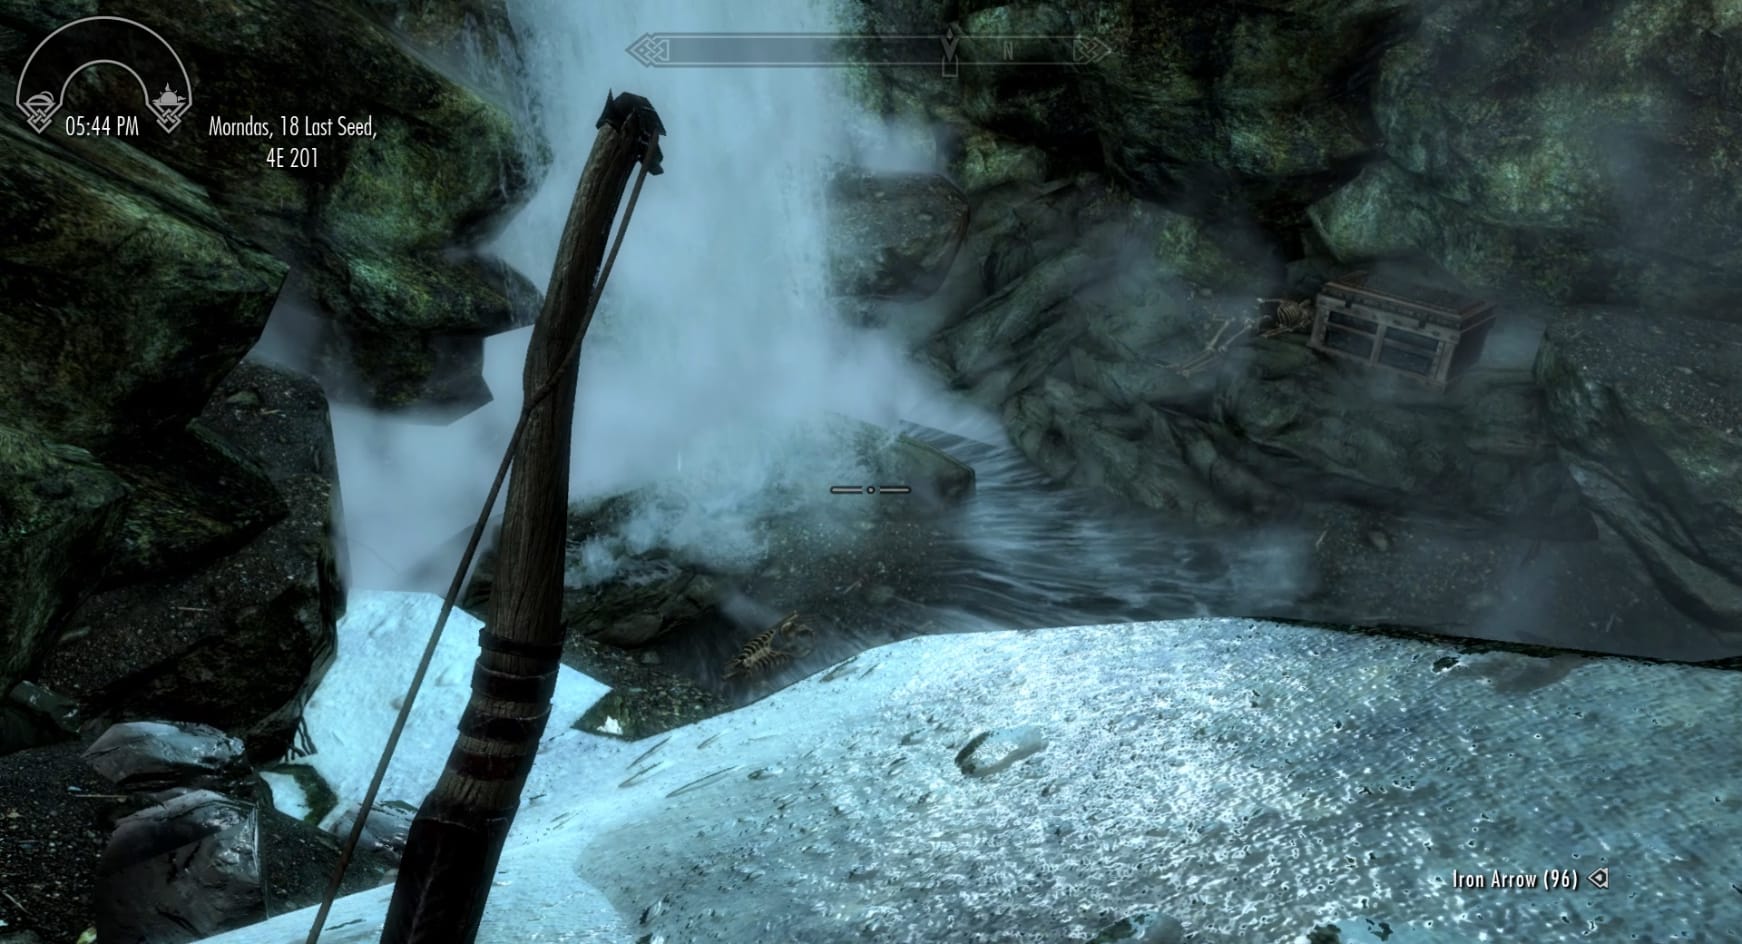
If you go downward at the far end of the land bridge, you can find a few things. There are a few skeletons to loot for Bone Meal and Gold. There’s also a Locked Chest (Novice) on the Northeastern side of the river with items inside it.
Go back up the slope and through the hallway. Head through either door when you reach the entrance of the next chamber. You can see another Draugr on the far side of the room. They pace about, protecting the far door. That door gives access into the Sanctum section of Bleak Falls Barrow.
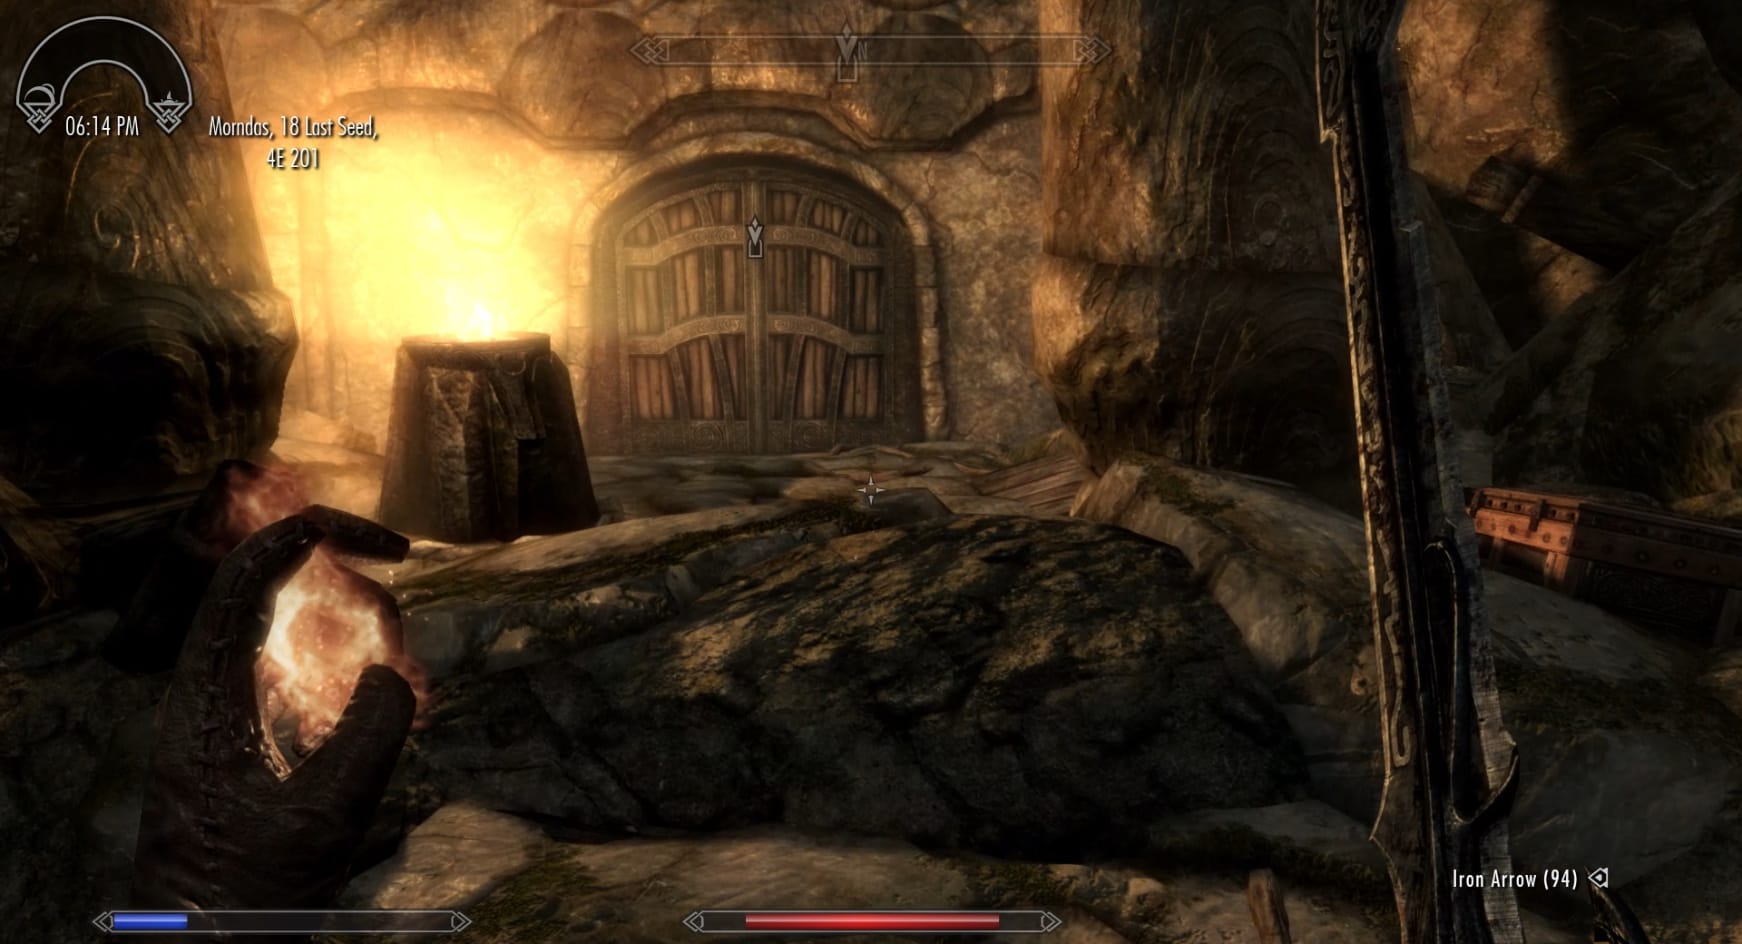
Before you cross that threshold, look to the right-hand pillar closest to the door. There you can find a Locked Chest (Apprentice). Open it up for some useful items. Otherwise, you will want to head forward and open the door to get into the next section.
Bleak Falls Sanctum
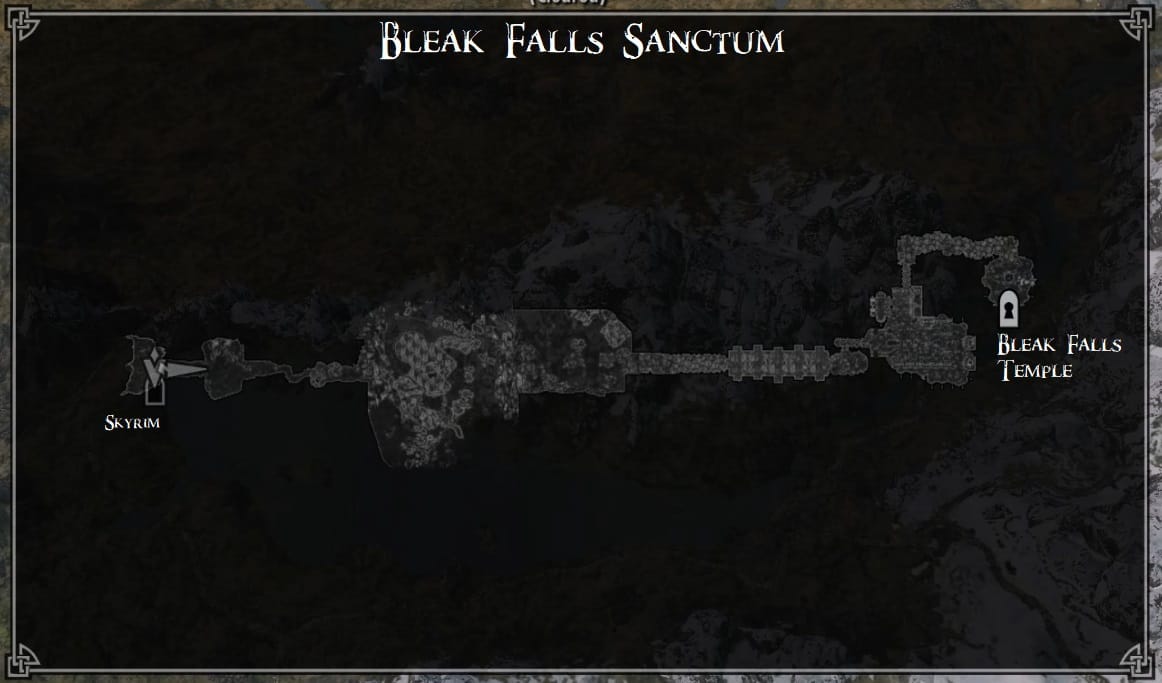
Welcome to the second portion of the Barrow, Bleak Falls Sanctum.
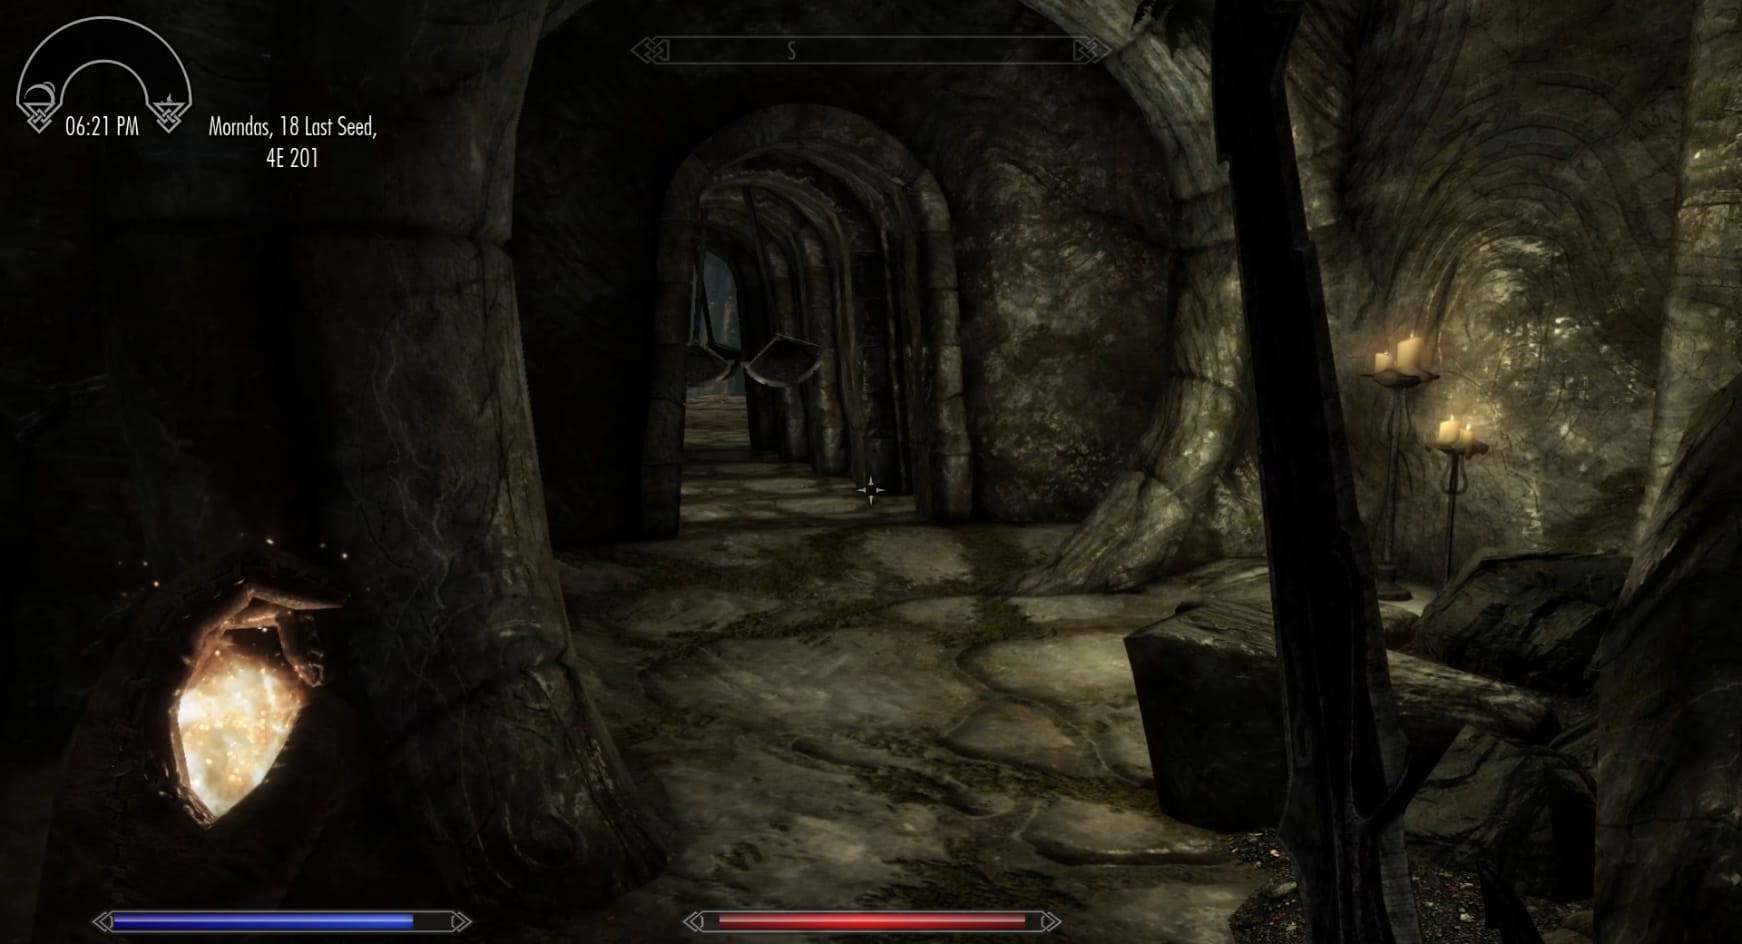
Start by going around the brazier on either side. Follow the hallway downward, to the landing and up again. Be mindful as you approach the doorway lined corridor at the end of this, leading into the next chamber. Once again, there are swinging axes that you will need to avoid. Wait for the axes to swing and then sprint through to reach the chamber beyond in relative safety.
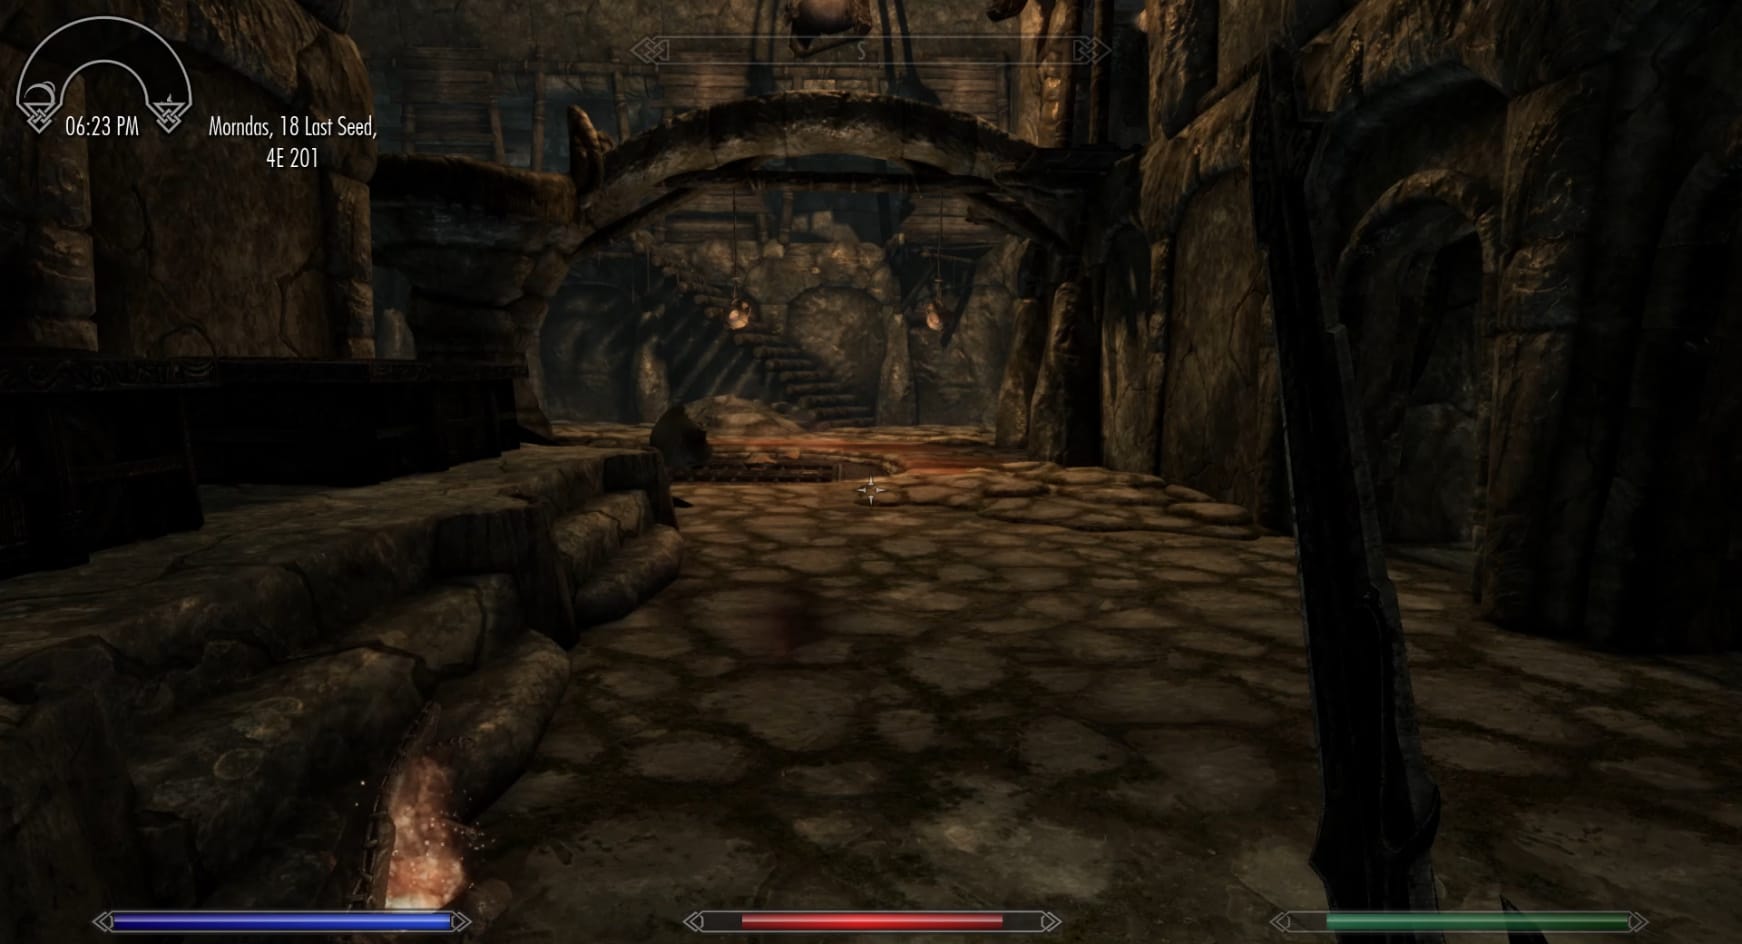
In this chamber, you will want to be alert since a Draugr will emerge just ahead of you on the left. Another stalks the walkway above you, with a third moving in as well. If you are having trouble with the fight, you will want to use the Oil Spills and the Fire Pots to quickly burn down the Draugr coming after you. Go to the southern stairs, take them up and to the East. Loop around to the walkway that was above you. Head across that to the West across the bridge. Continue to the West and follow the corridor. Open the Iron Door that you are led to.
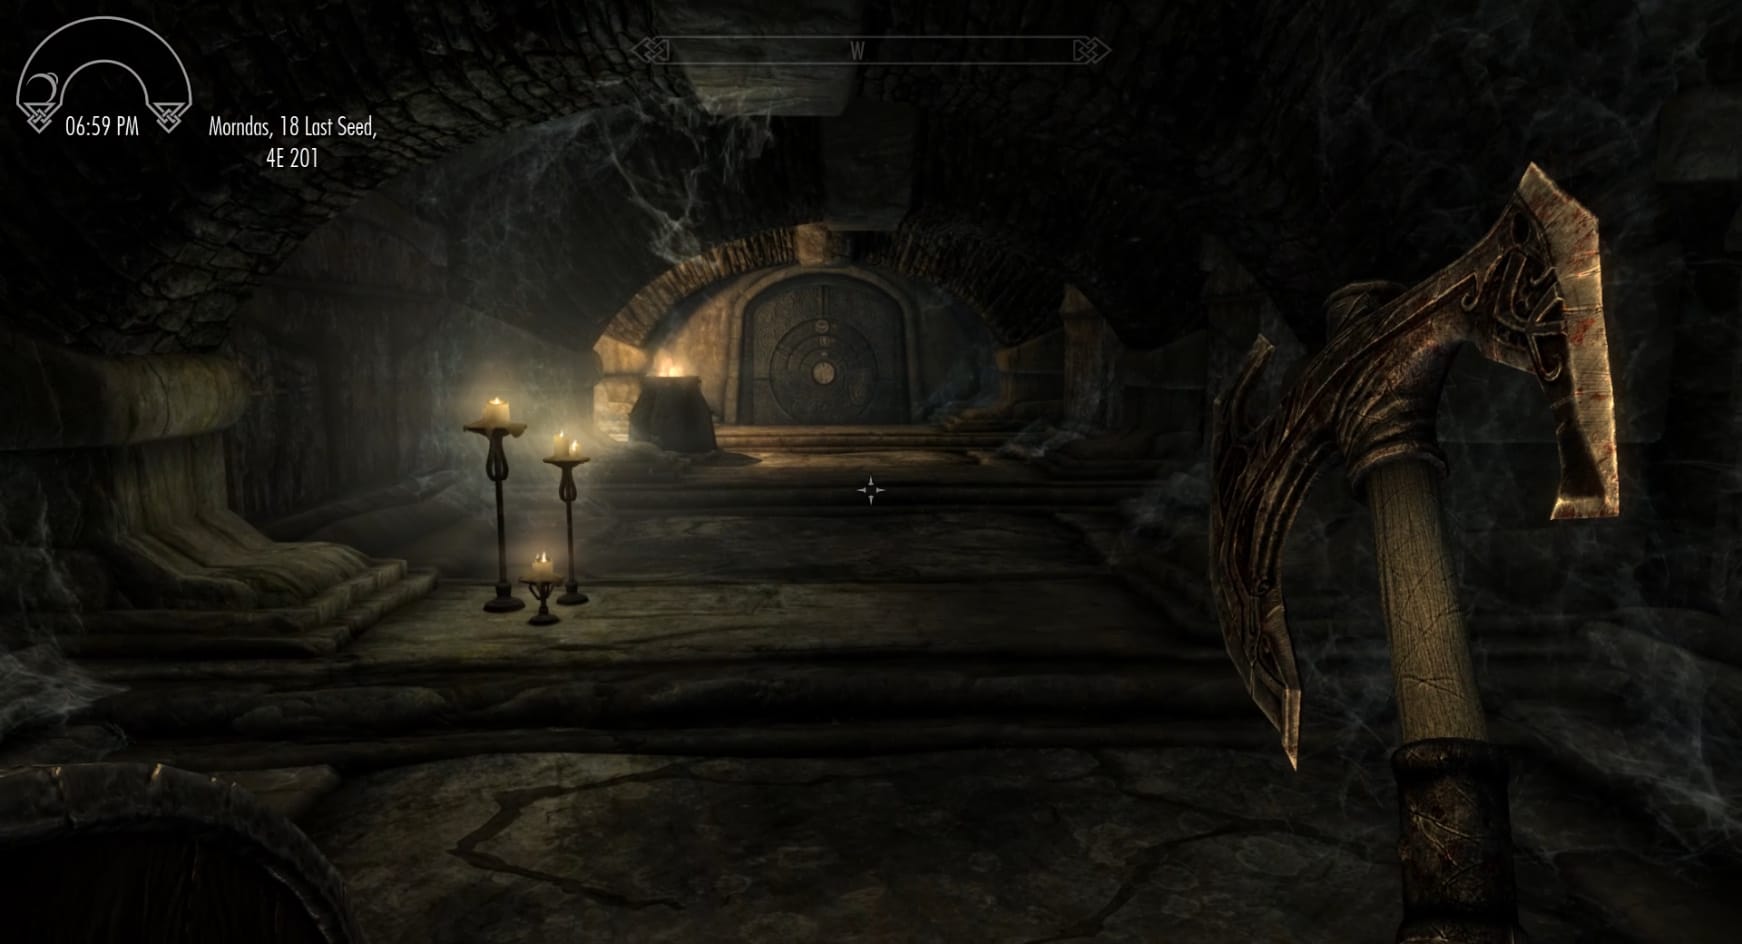
This will bring you to the first Puzzle door of a Nordic Ruin. These are uncommon, and found scattered throughout Skyrim. Go to the far end of the hallway and approach the door. It’s time to get this door open.
Examining the Golden Claw
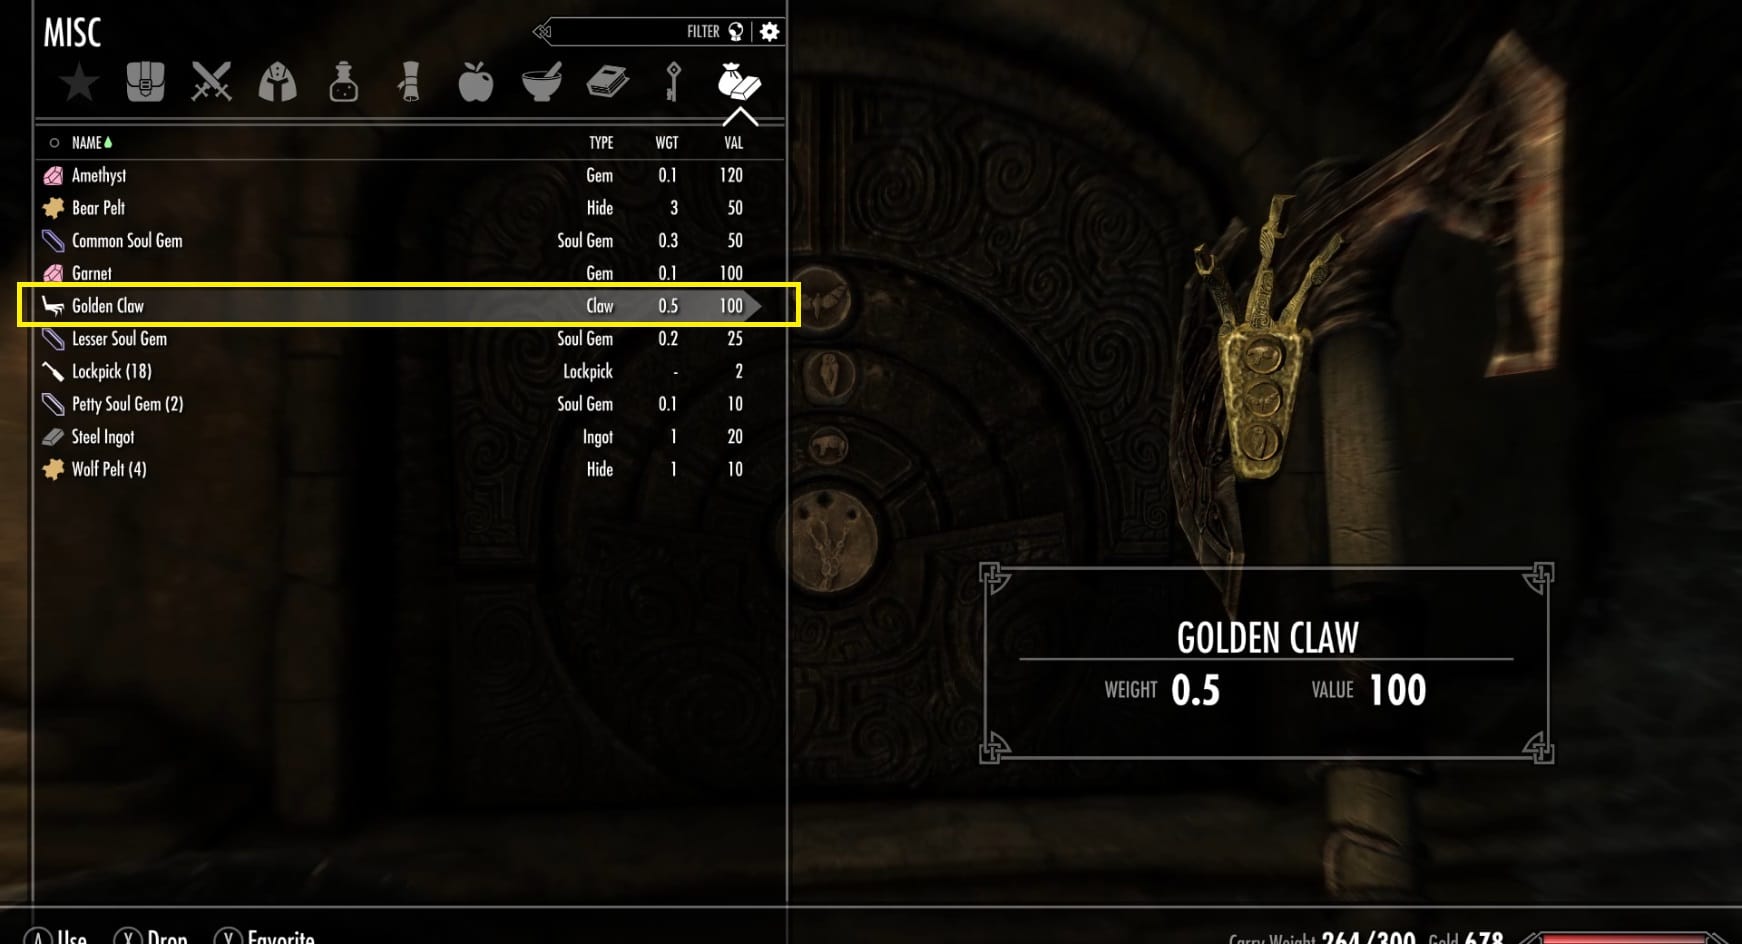
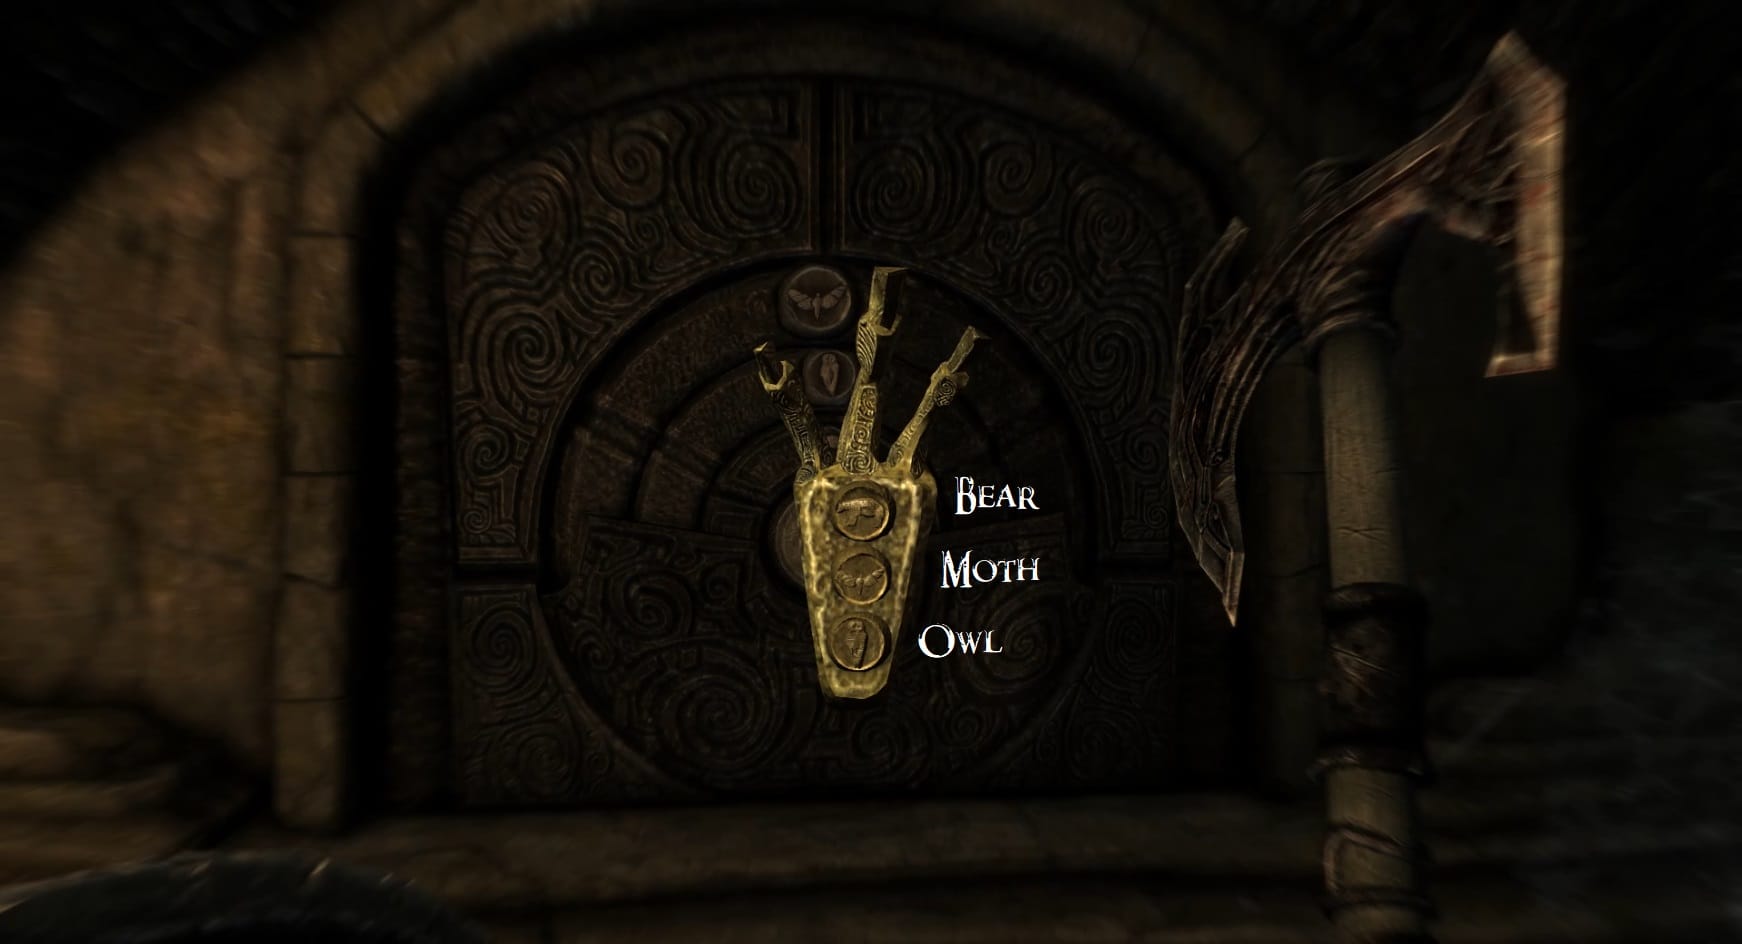
Opening this door is simple, when you know the trick. You will want to open your inventory and go into the Miscellaneous. There, you can find the Golden Claw. Highlight that with your cursor. Now, the same way you look around, you can twist the Claw itself. There is also a prompt to zoom in on the item as well. Rotate the Golden Claw so its palm and its 3 circles are facing the you. Zoom in if needed so you can clearly see the 3 symbols on the palm of the claw. You can see a Bear at the top of the palm, a Moth in the middle, and an Owl at the base of the palm.
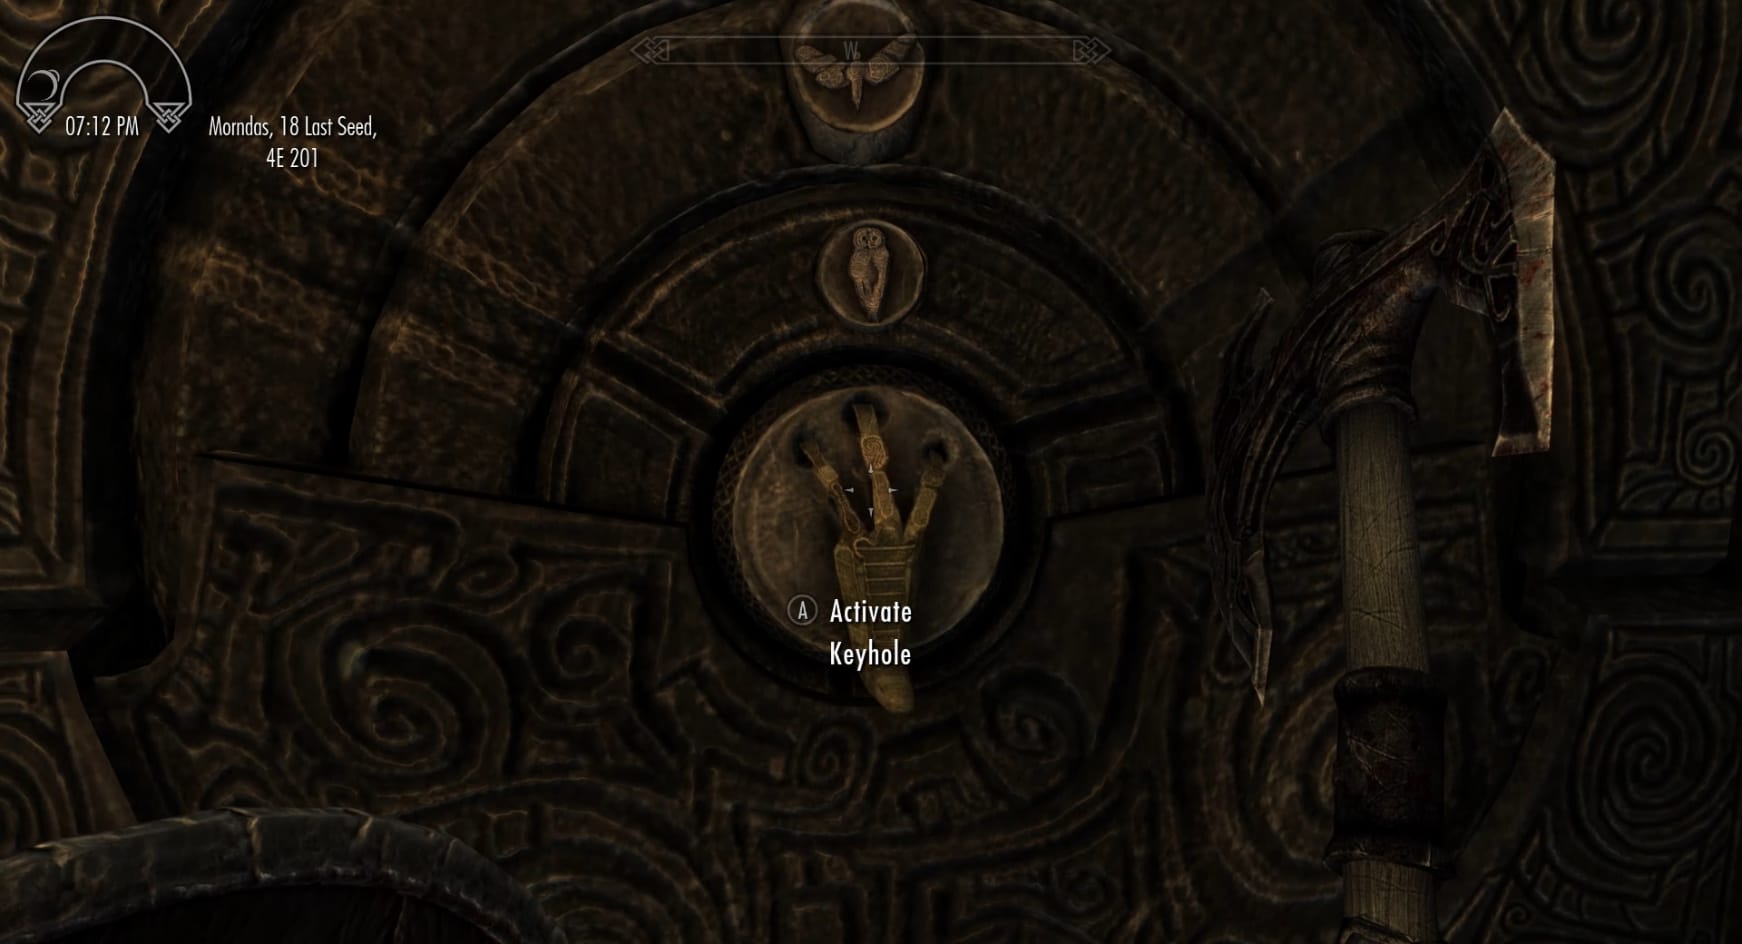
Go up to the Puzzle Door. It has 3 rings in the middle, the Outer, the Middle, and the Inner. This correspond directly to the symbols you saw on the Golden Claw.
- Interact with the top ring, with it showing a Moth, twice.
- Interact with the middle ring, with it showing an Owl, twice.
- Interact with the bottom room, with it showing a Bear, twice.
Finally, bring your focus to the center of the door. You will see the prompt “Activate Keyhole.” Interact with it to have the Dragonborn put the Golden Claw into the keyhold. They will twist to activate it, and the door will open.
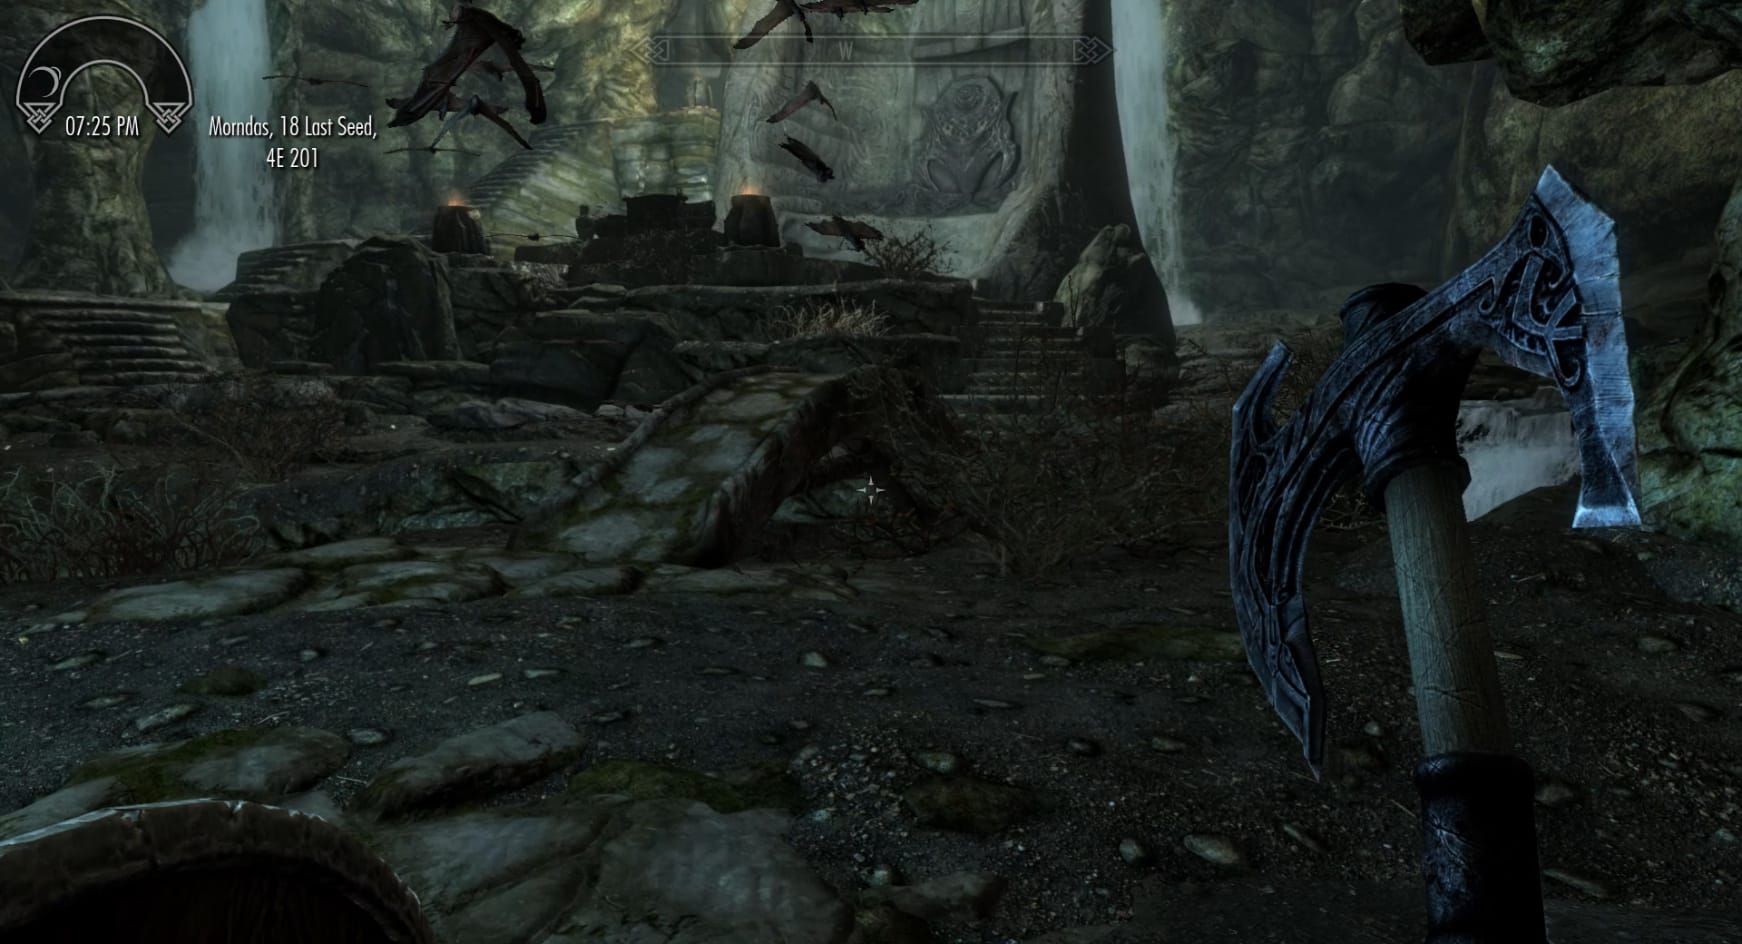
Beyond the Puzzle door is a massive room. Head forward to the raised platform in the back of it. First, approach the large wall at the back of the Platform. You’ll want to get familiar with these, this is a Word Wall. Approach the center of it to be gifted a Word of Power. This is a fragment of a Shout.
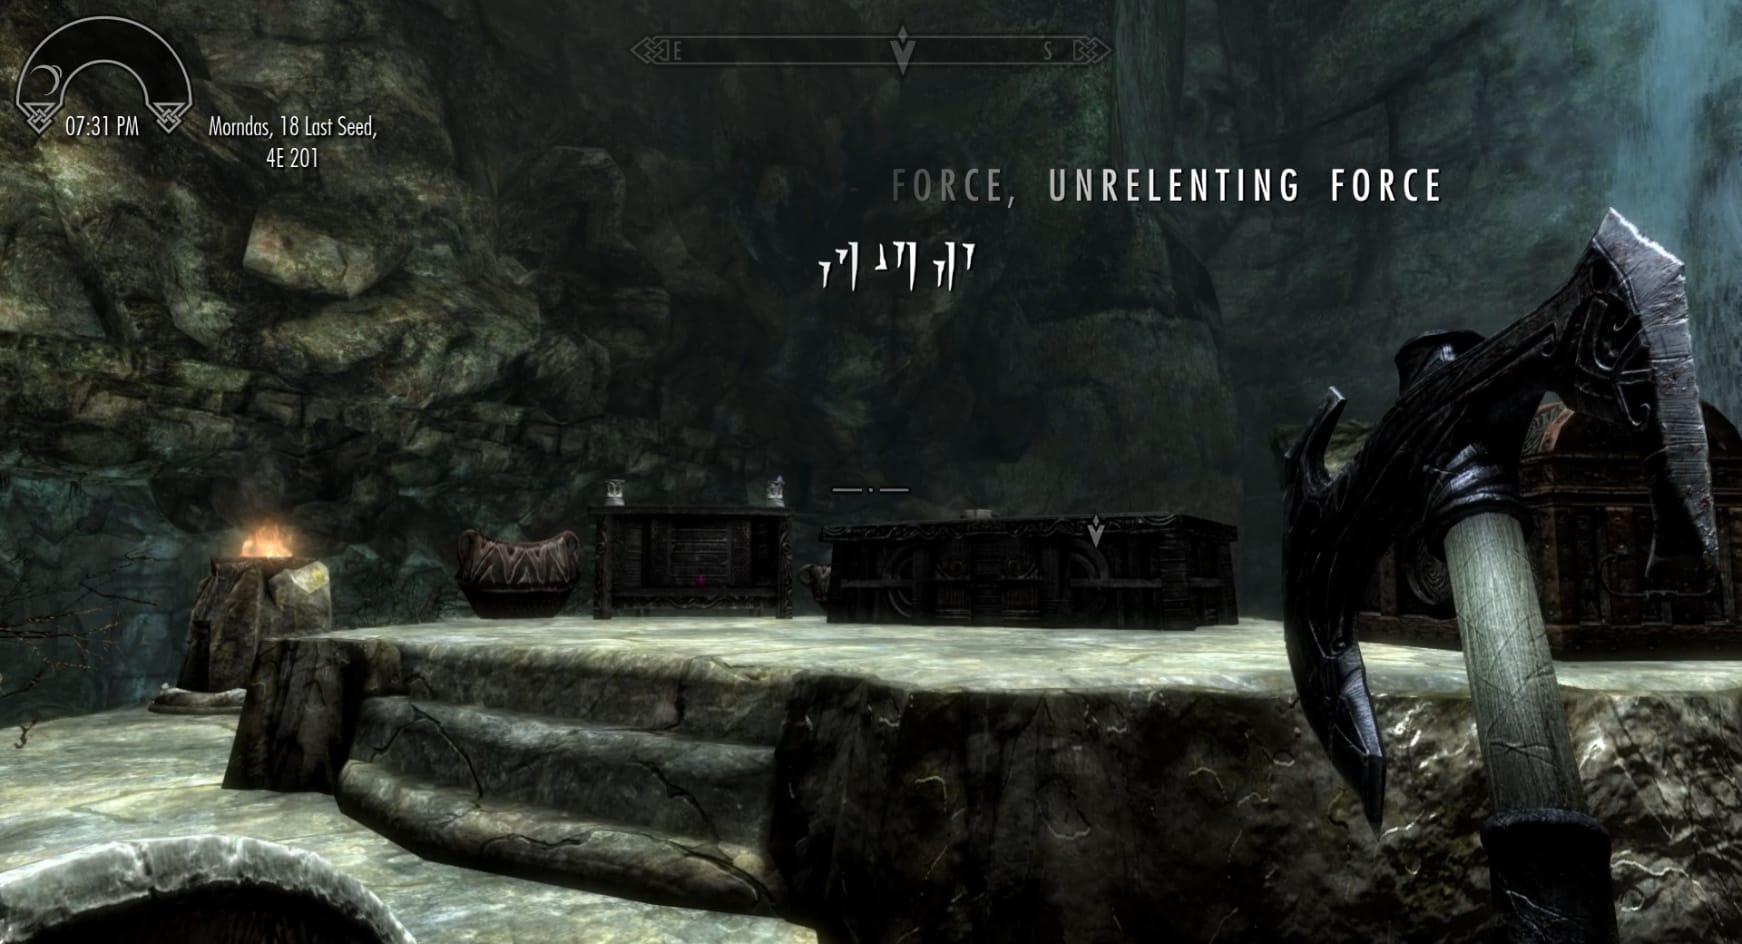
Turn around and look to the front of the platform after all that. Sitting there is a Sarcophagus. Inside there is a deadly Draugr Overlord.
- Do note that you can move up to the Sarcophagus and attack it to start damaging the Ruin Boss before they emerge.
This Draugr is capable of using the Shout, “Unrelenting Force.” This can do some ranged damage to you. It has a good amount of health and does a lot of damage. Be mindful of all this and fight it carefully.
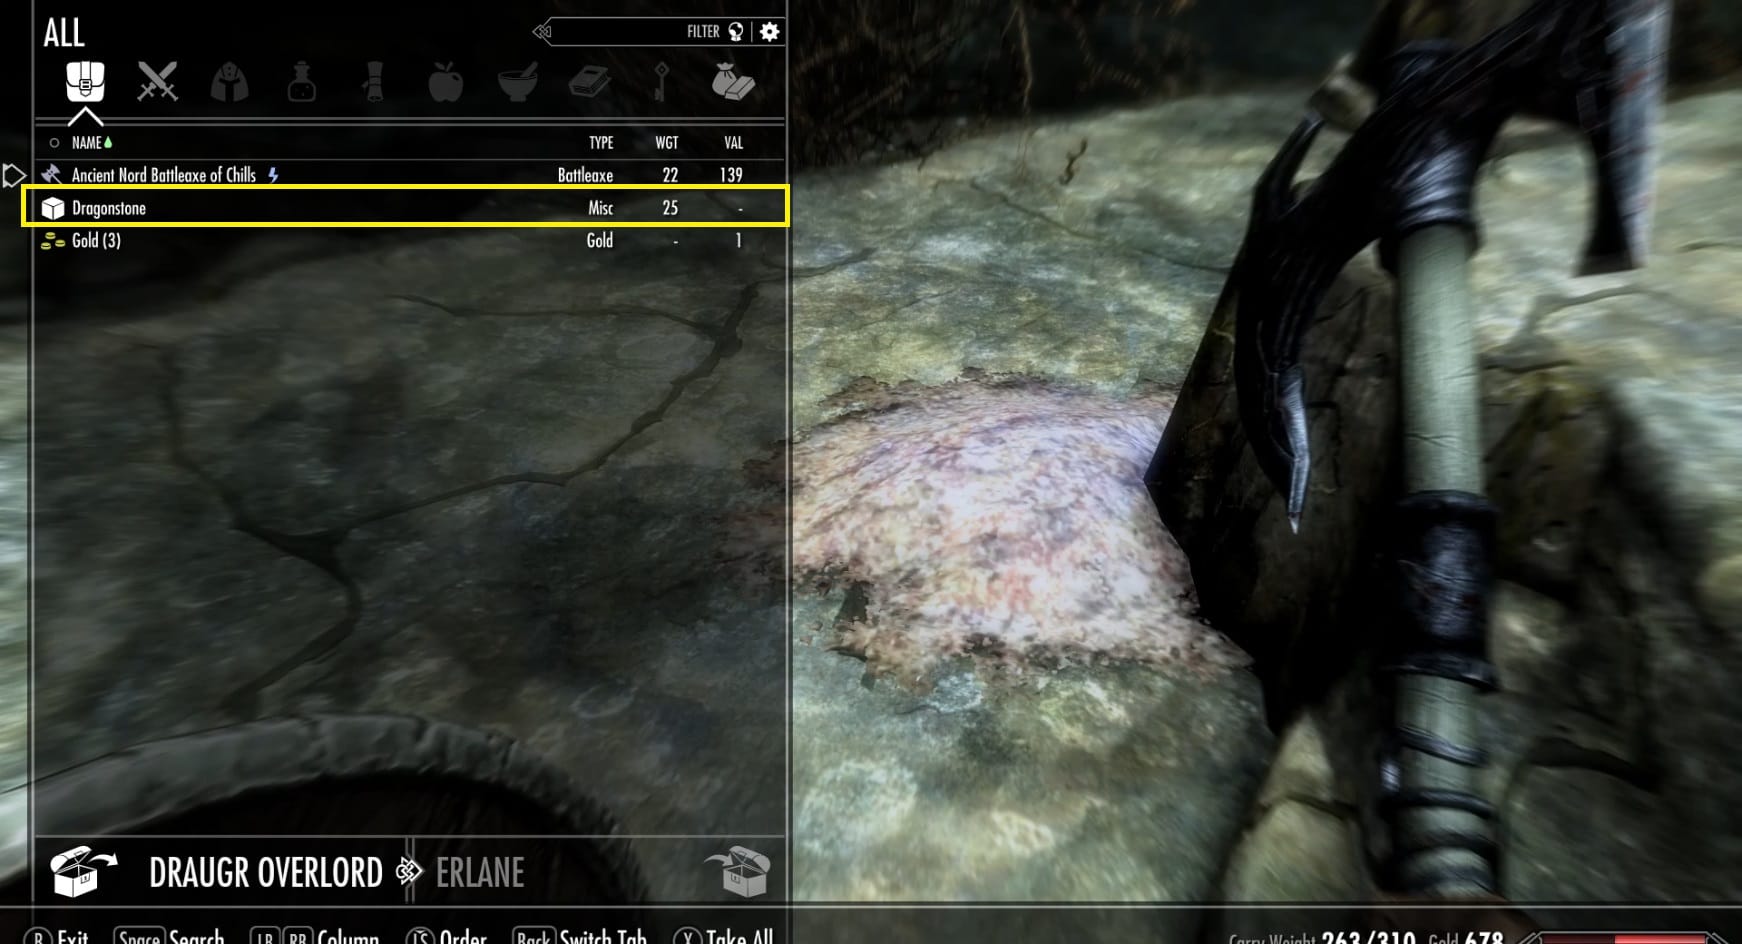
Be sure to loot their body. Claim the Dragonstone that they’re holding (and any enchanted equipment). You’re done in this ruins now. Head over to the Chest to the Right (West) of the Sarcophagus. Loot the Boss Chest. It’s time to leave this place.
Leaving the Barrow
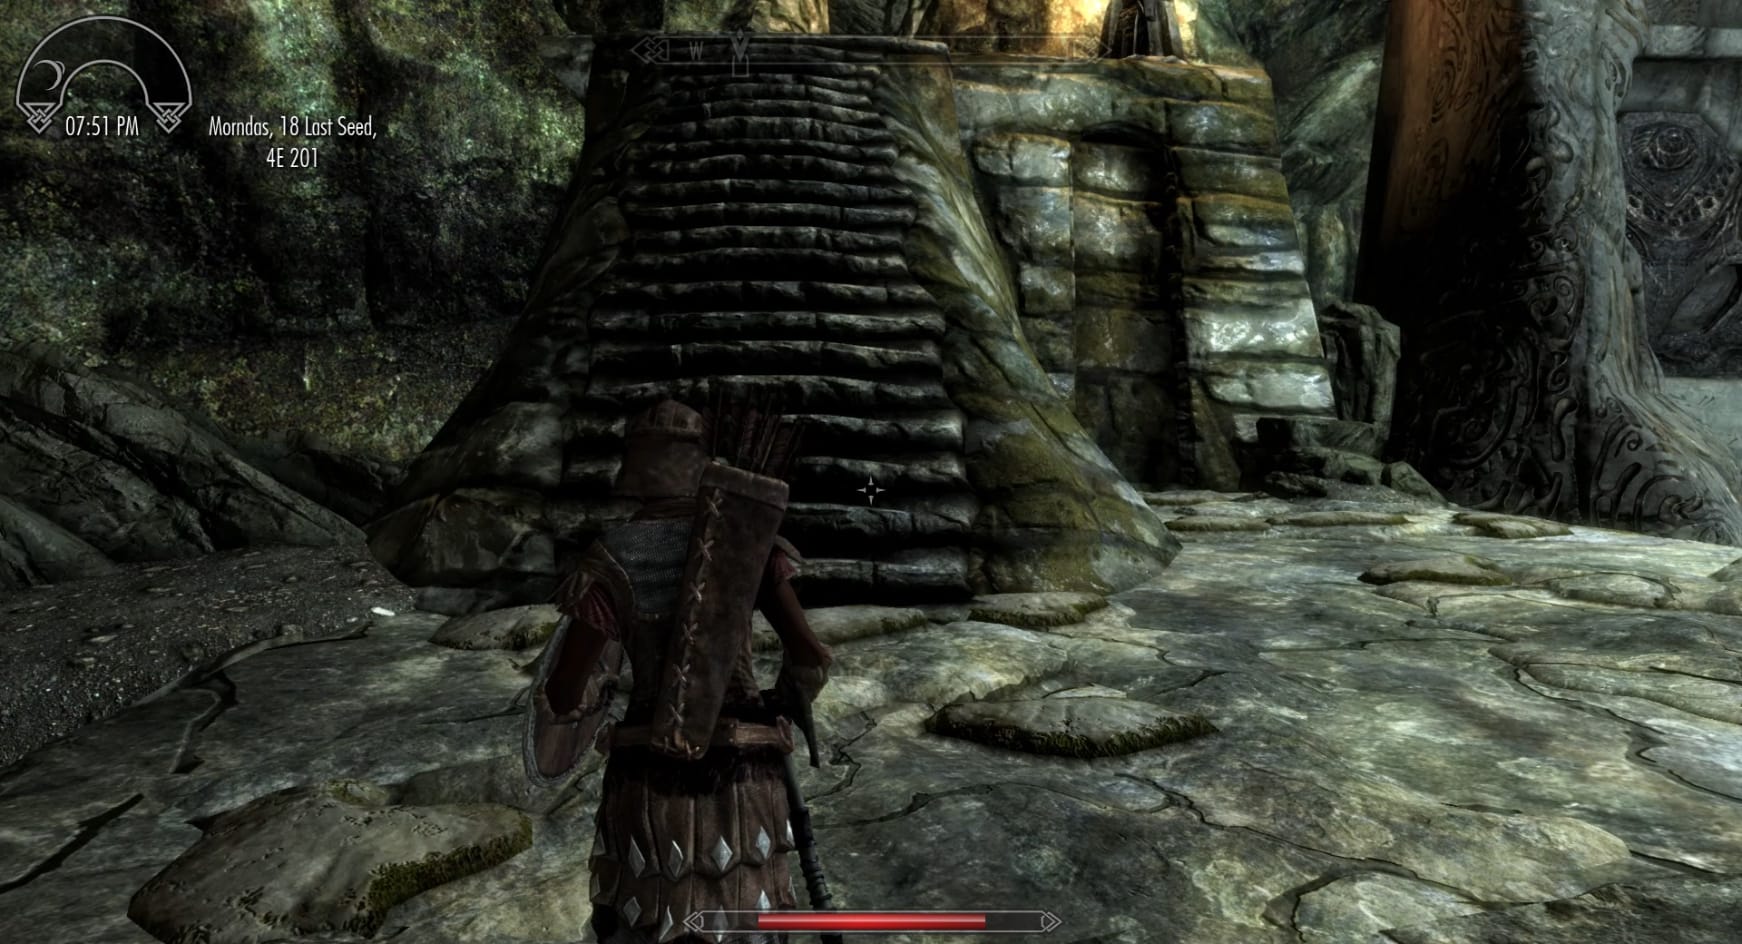
Head to the West and take the stairs there upwards. Follow them up. Where the path seems to run into a wall, there is also a podium with a handle. Interact with the handle to reveal a hidden door to your left. Go on through this opening. Drop over the ledge to the Northwest.
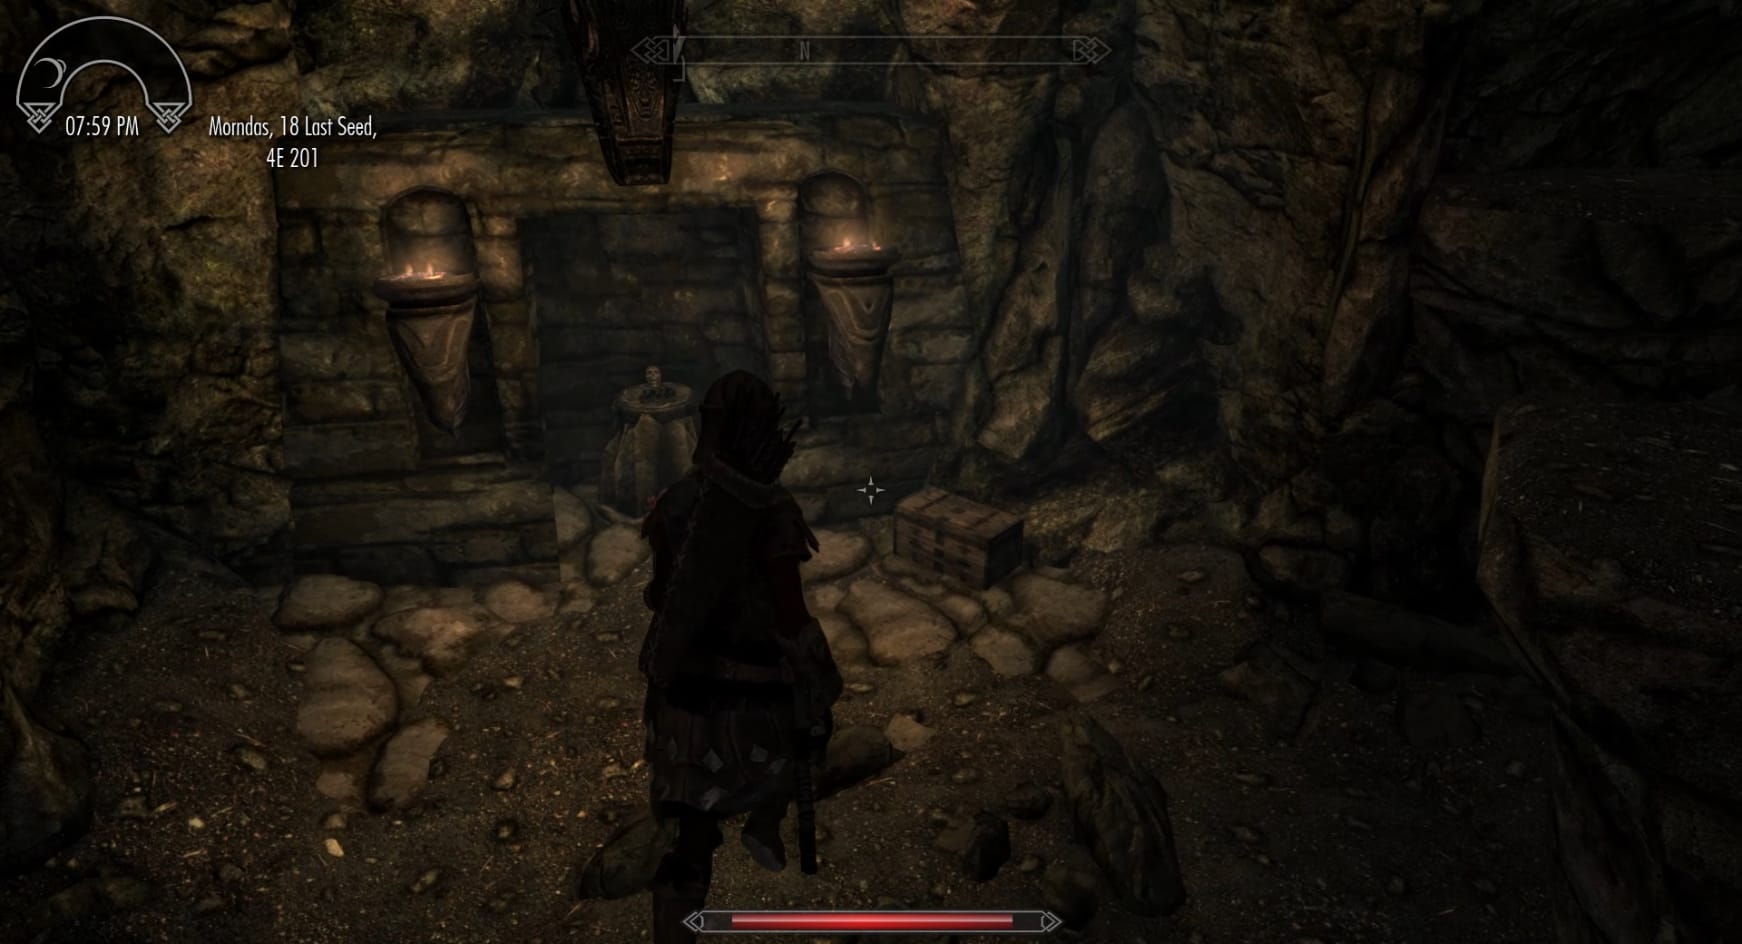
Sitting below the ledge is another Chest to the right of the podium with the skull in it. Check the podium after that. There are a number of Mountains Flowers that you can collect for use. Finally head to the West to get back outside.
Rewards
- Word of the Unrelenting Force Dragon Shout
Leveled Enchanted Armor
Video Walkthrough
[]