Legend of Zelda: Tears of the Kingdom – Ijo-o Shrine: More than Defense Shrine
Complete Ijo-o Shrine: More than Defense in Zelda TOTK. Learn how to melt ice, block flames, defeat Constructs, and use a Rocket Shield to reach the Light of Blessing.
Summary
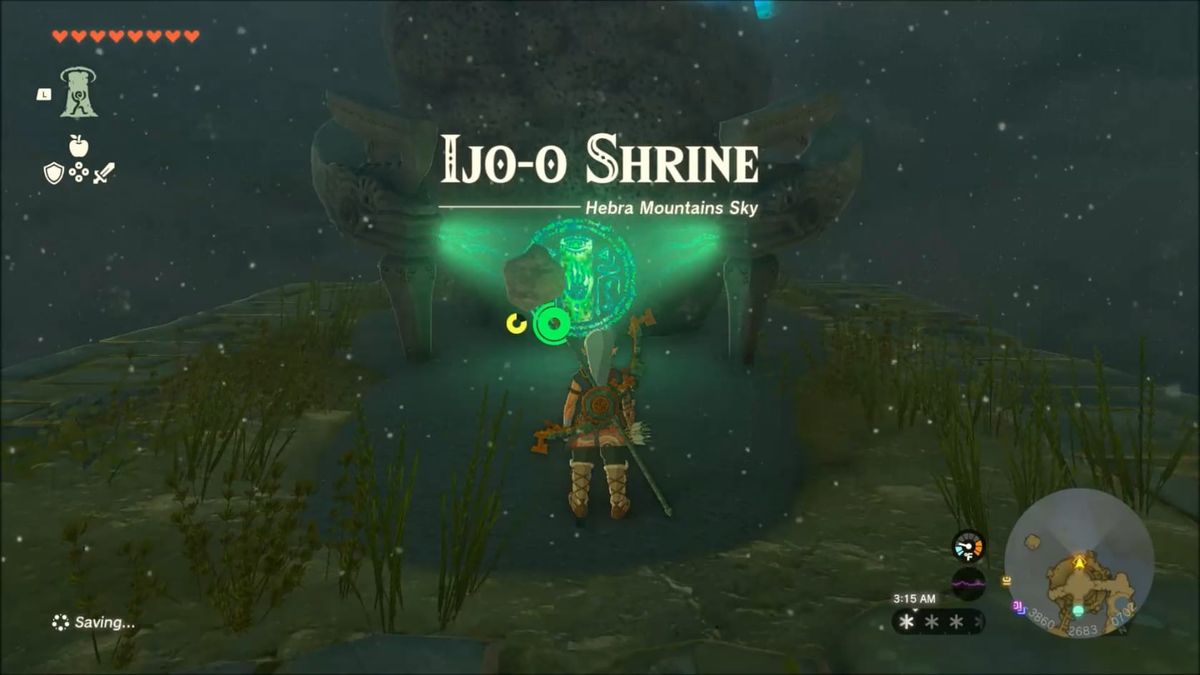
Enter this shrine in the Hebra Sky Archipelago. Complete its challenge of puzzles focused on using your Shield and Fusion. Complete it and claim the treasure of 5 arrows and the Light of Blessing.
Location
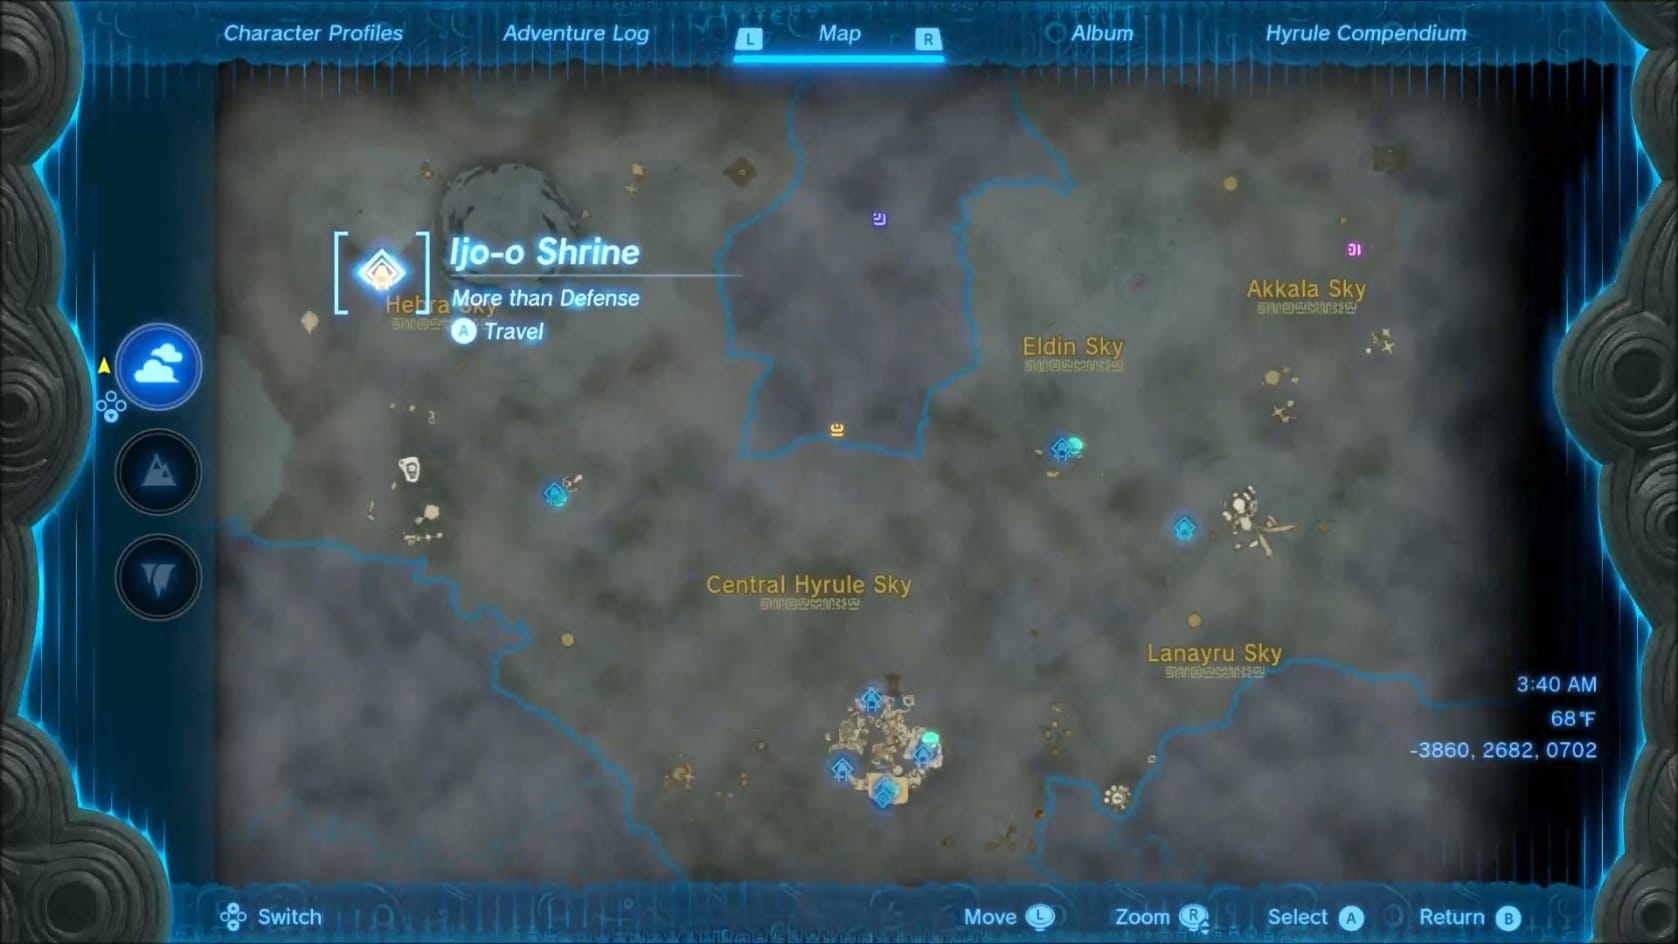
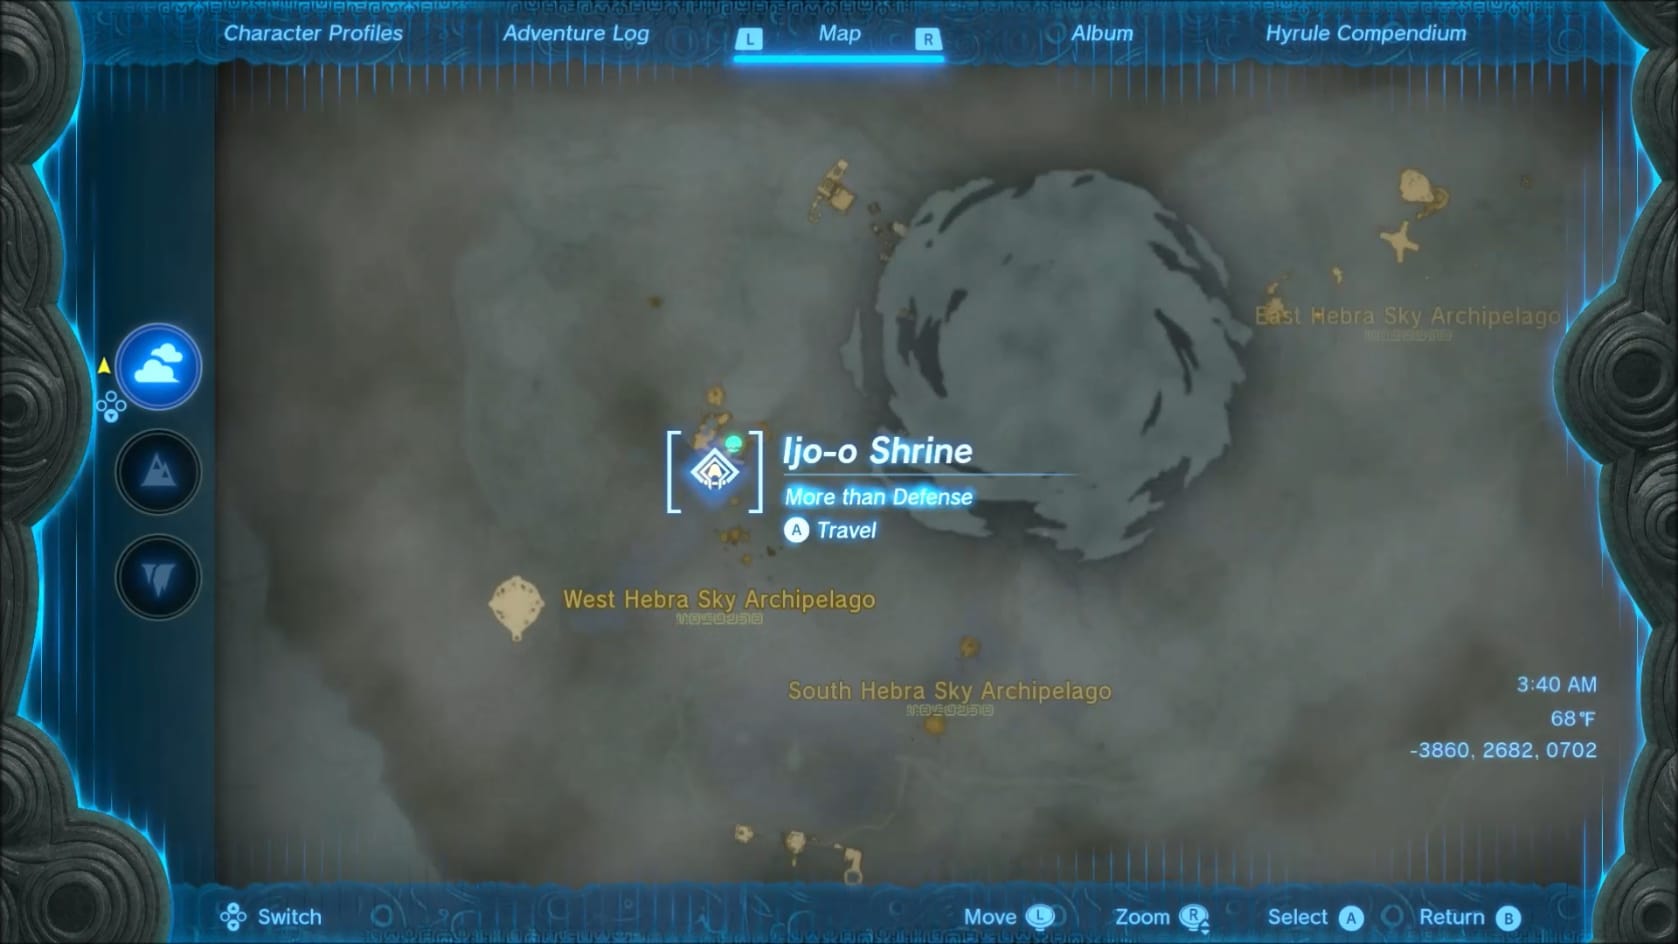
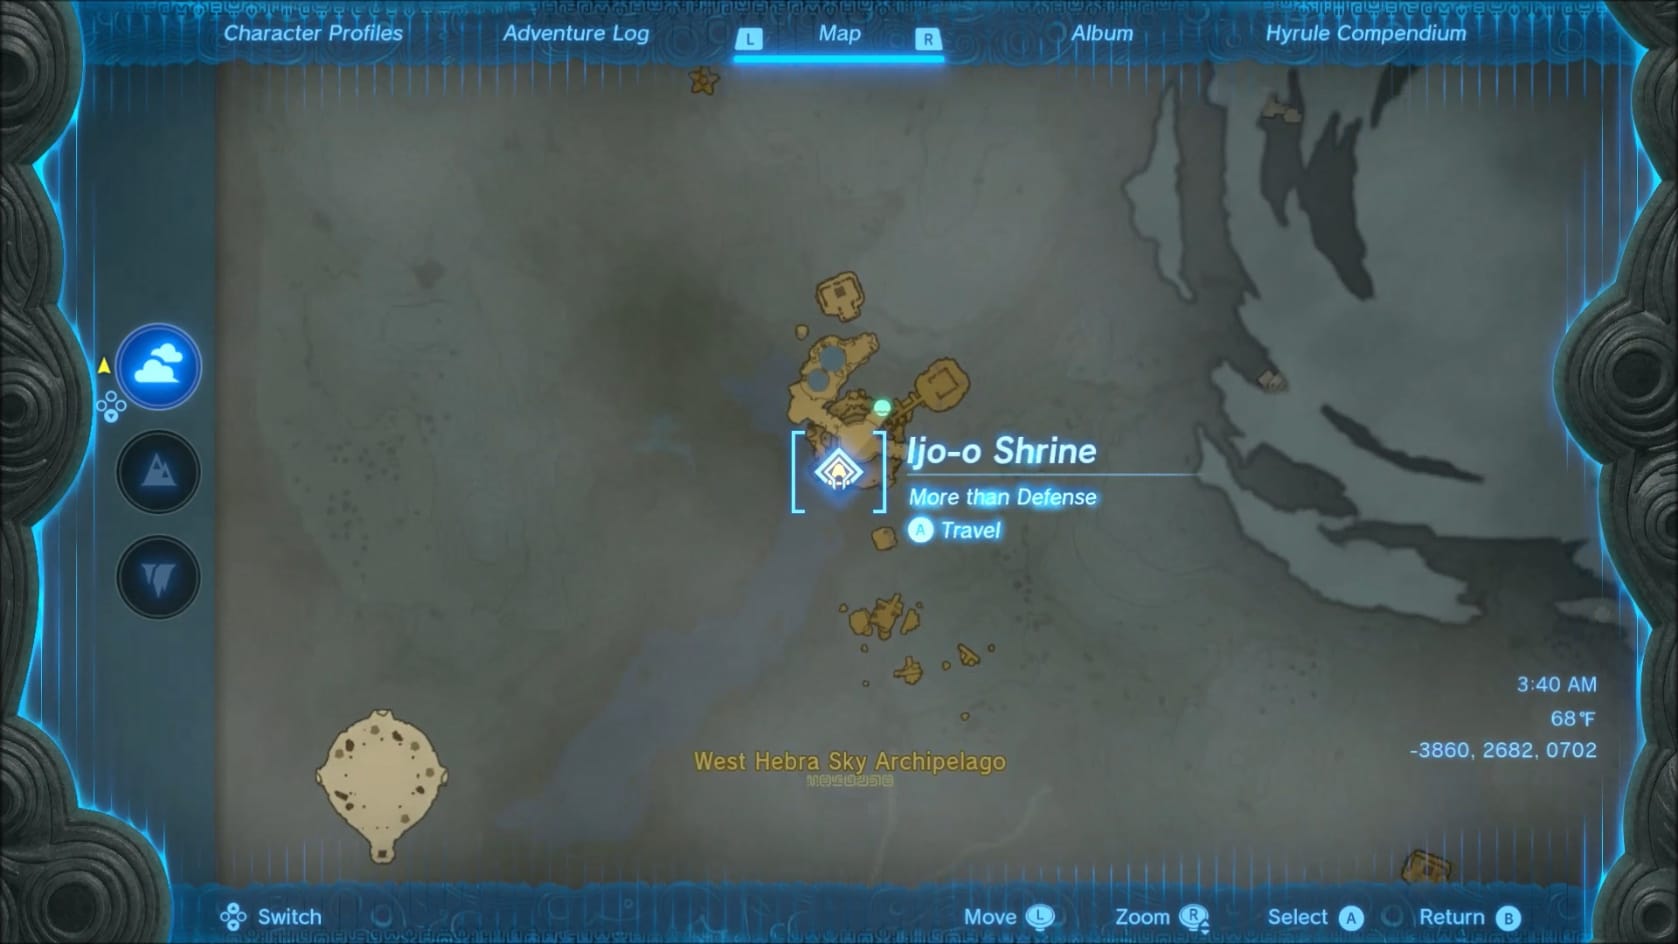
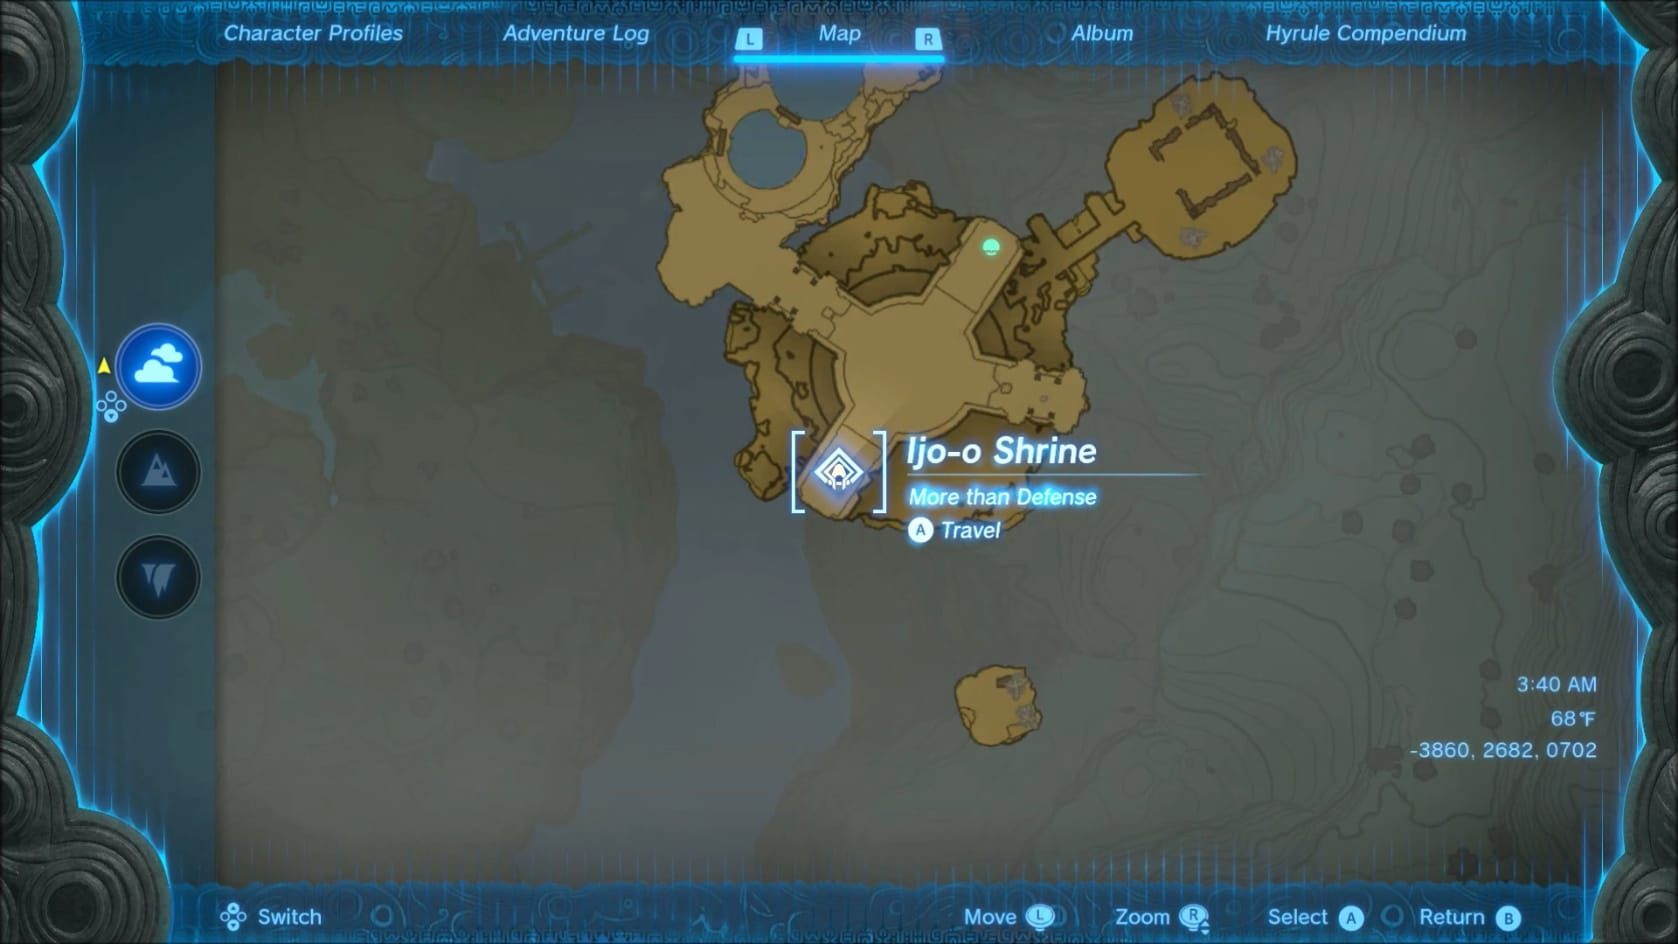
THe location of Ijo-o Shrine in the West Hebra Sky Archipelago
Coordinates: -3860 2682, 0702
Walkthrough
Entrance
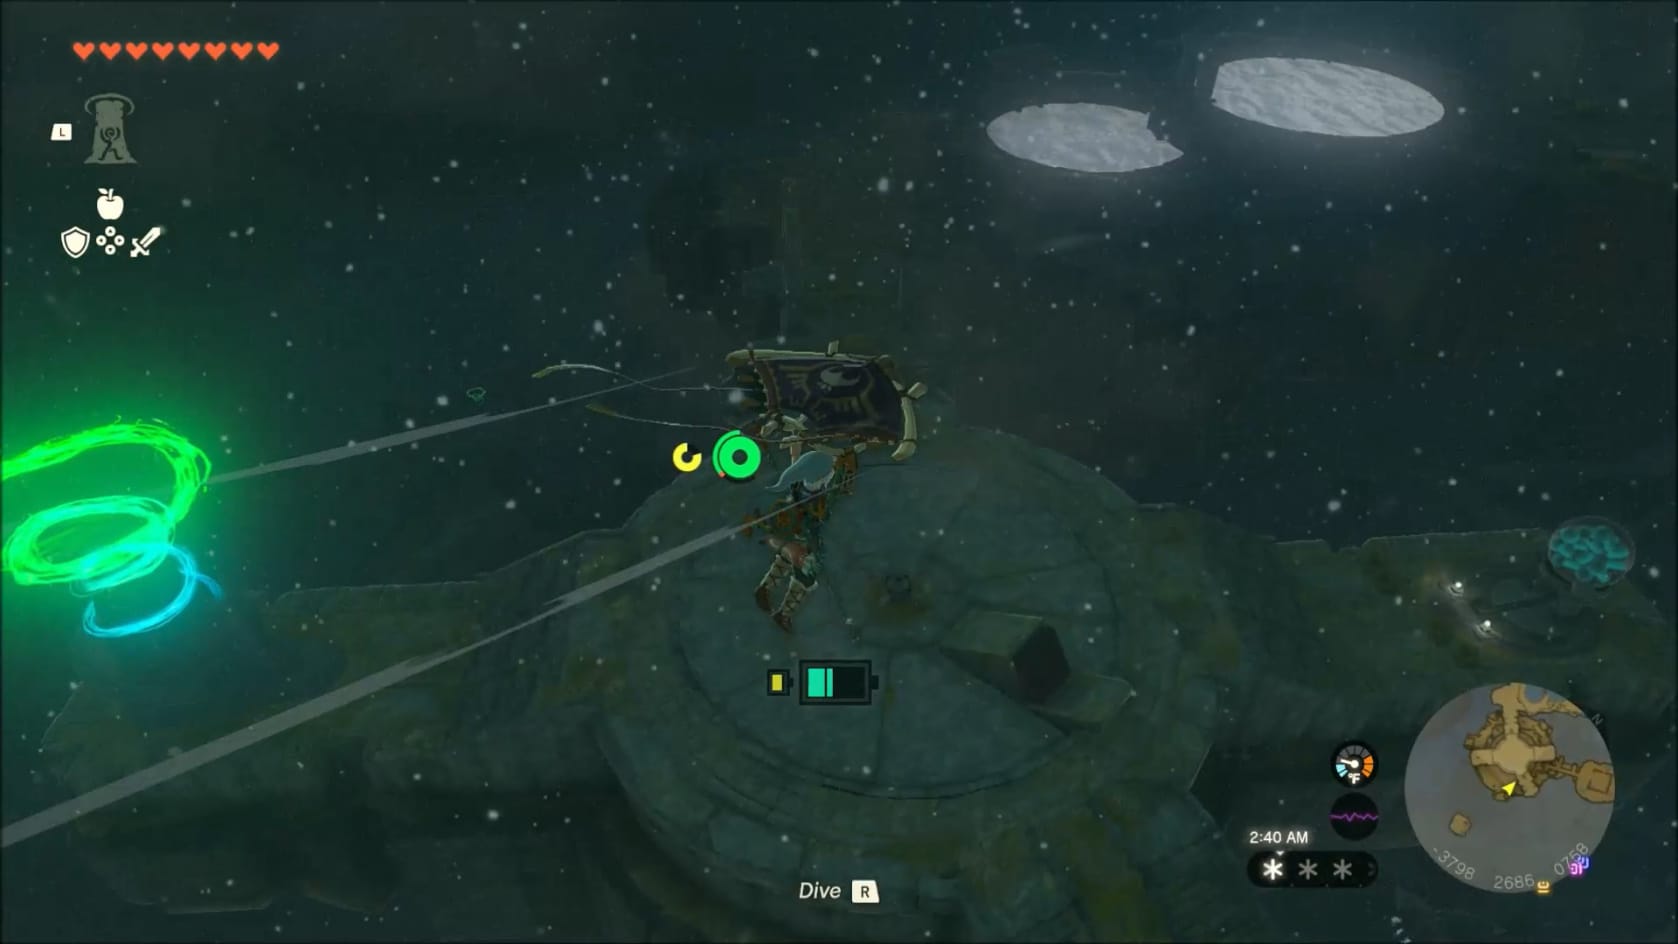
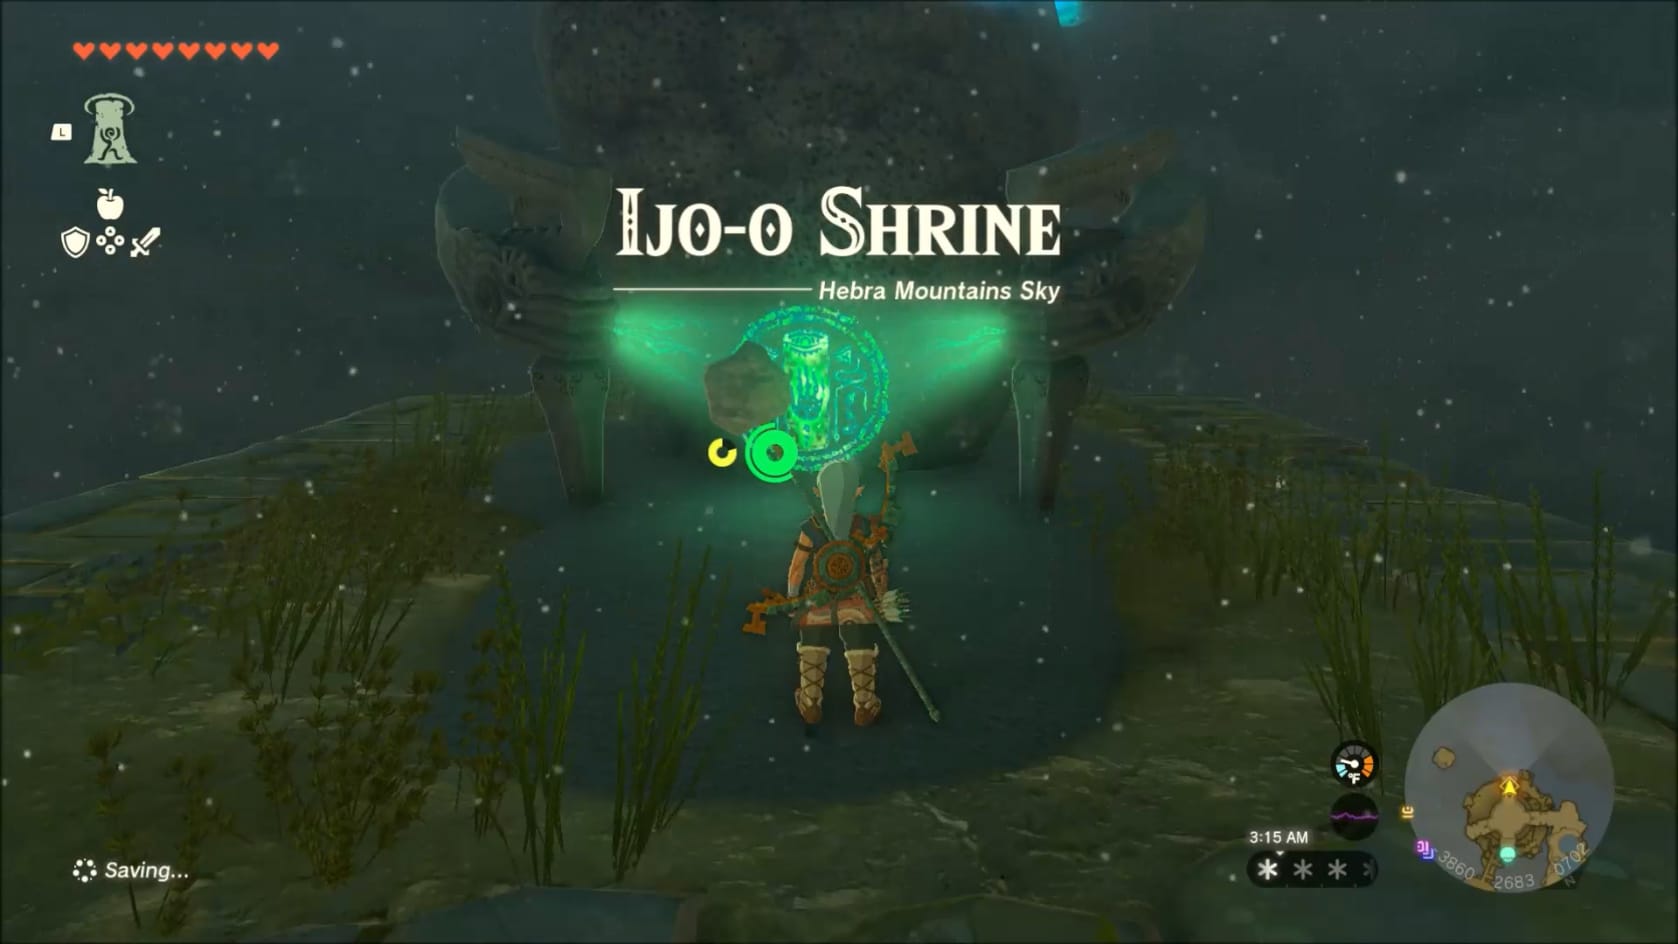
This Shrine is found in the heights of the Western Hebra Sky Archipelago. Getting here can be done easily enough from the Rospro Skyview Tower within the Hebra region. This platform has a Zonai Device Dispenser, a rotating launcher, and the Shrine. The Shrine sits along the Southeastern side of the platform. When you’re ready, head to the Shrine and interact with it to add it to your map. After that, head inside.
The dispenser sits along the Northern side and contains:
- Time Bombs
- Portable Pots
- Flame Emitters
- Rockets
The First Chamber
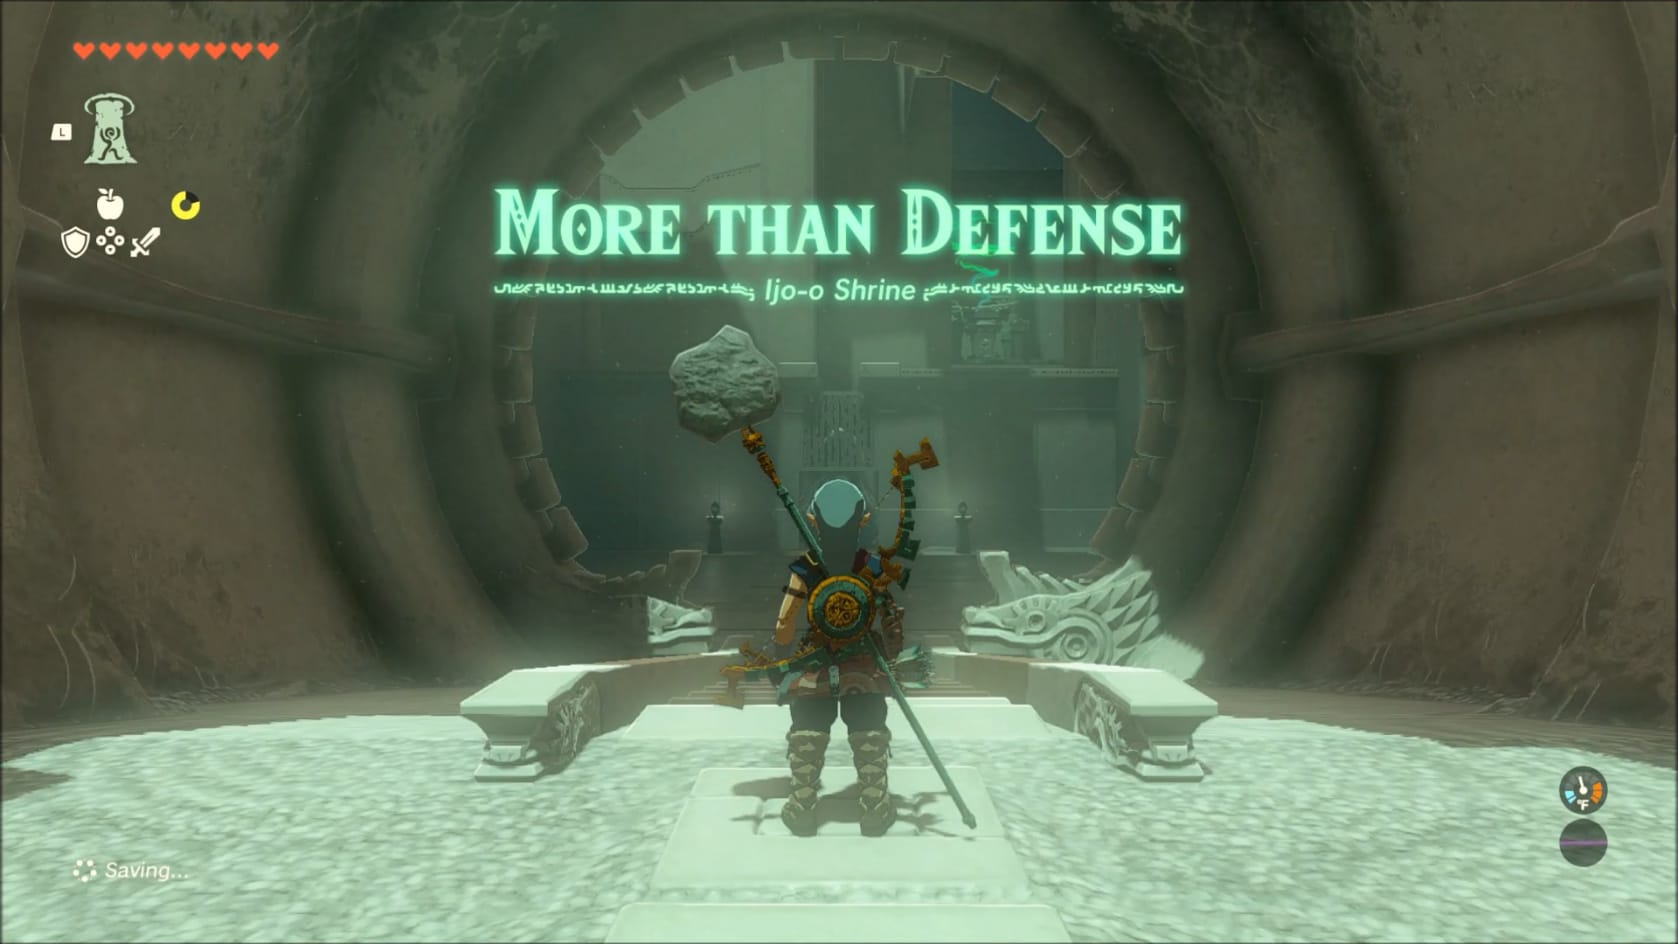
Start by heading down the stairs into the first section of the Shrine. While you can see the Innermost chamber in the upper-right, you’ve got work to do before you can reach it.
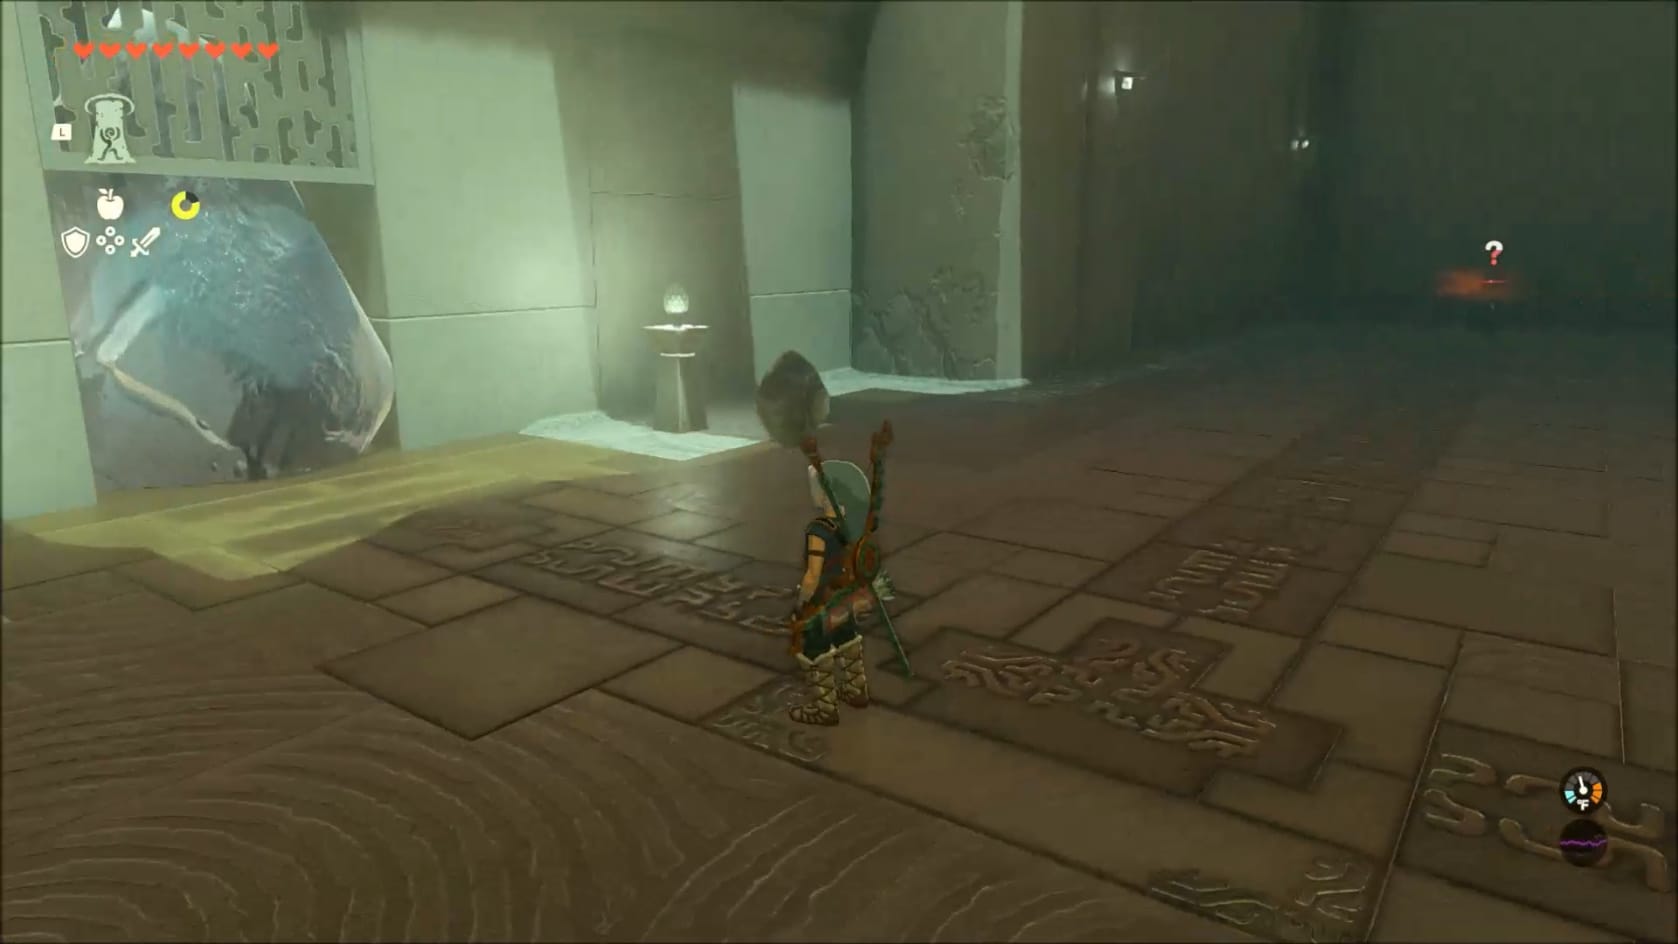
Arriving at the first wall, the way forward is barred by a large block of ice. To move forward, Link will need to melt the Ice.
If you have something on-hand or in your inventory, you can easily use that. A good example is a Magic Rod or Shield with a Ruby fused onto it.
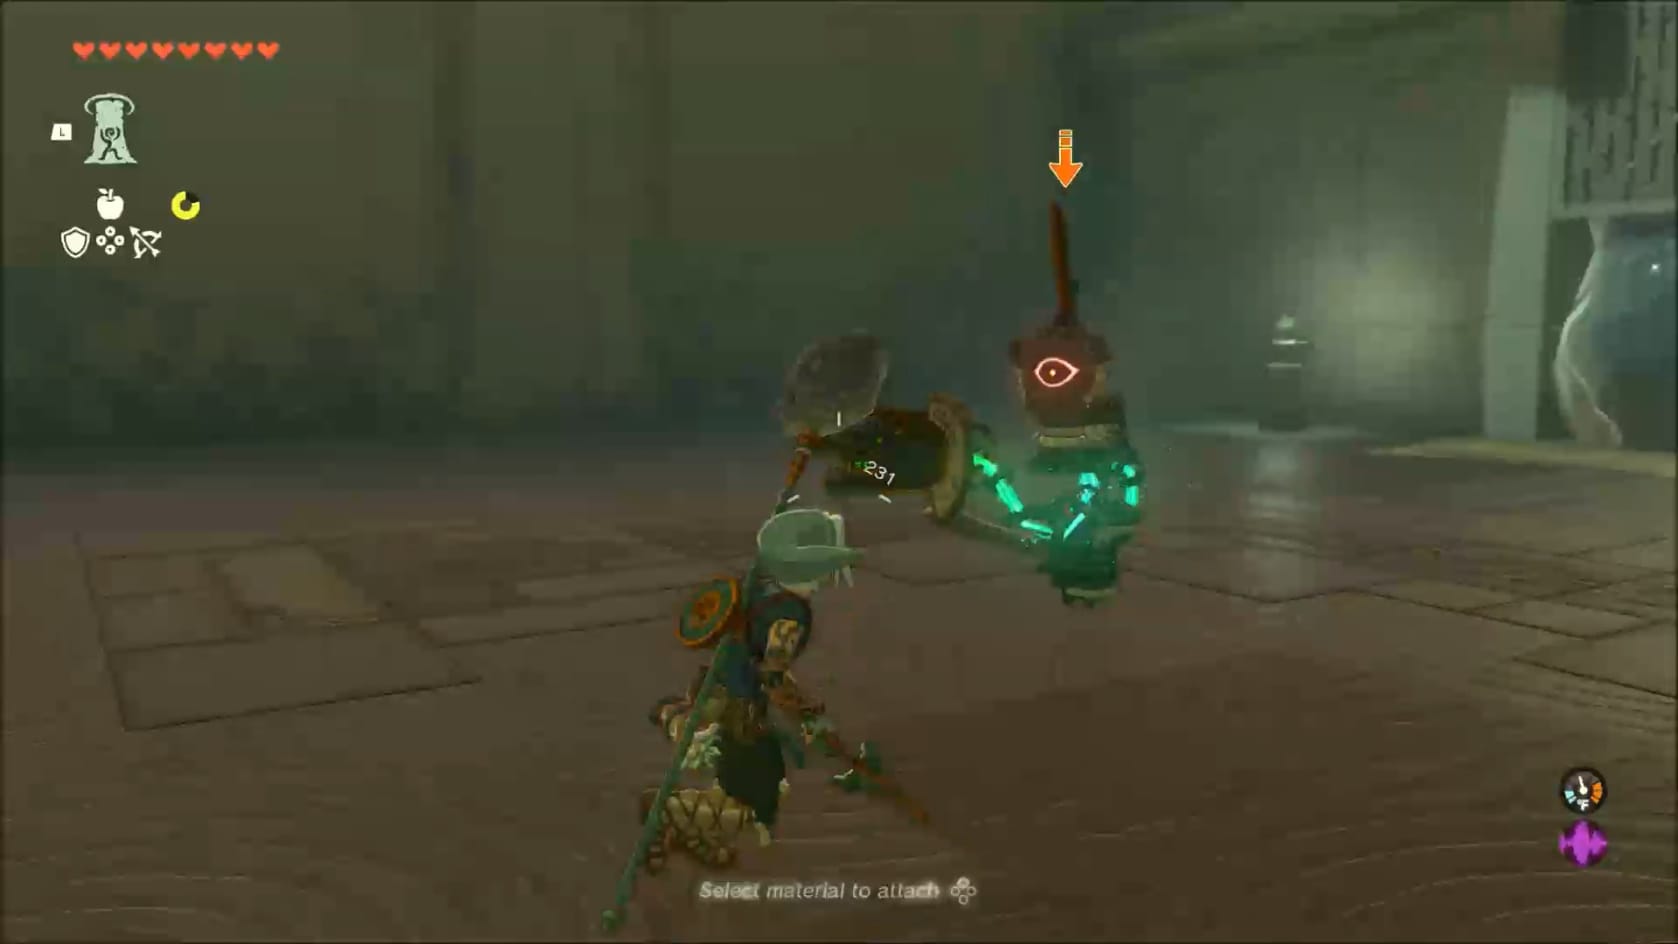
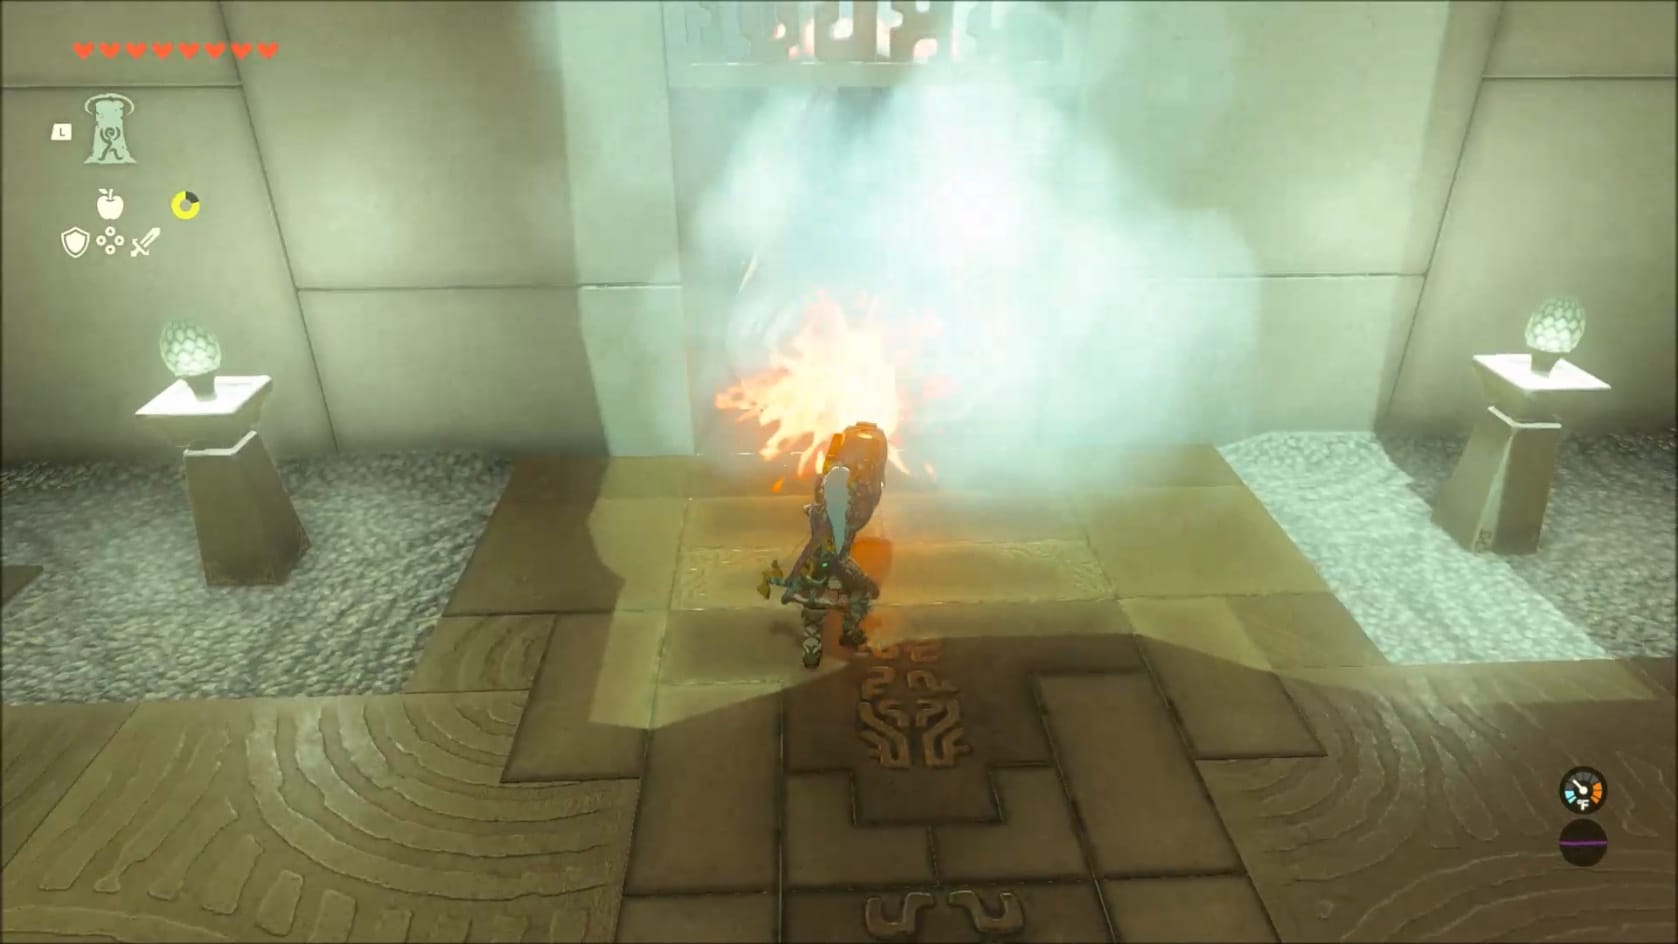
Otherwise, look to the right of the door. You’ll see a Soldier Construct. This creation has a Flame Emitter mounted on a Shield. If you defeat it, you can easily use its Shield to unleash a gout of flame onto the ice and melt it. Just remember, to use your shield, you need to have any two-handed weapon sheathed.
The Second Chamber
Once the Ice has melted, the path into the second chamber is clear.
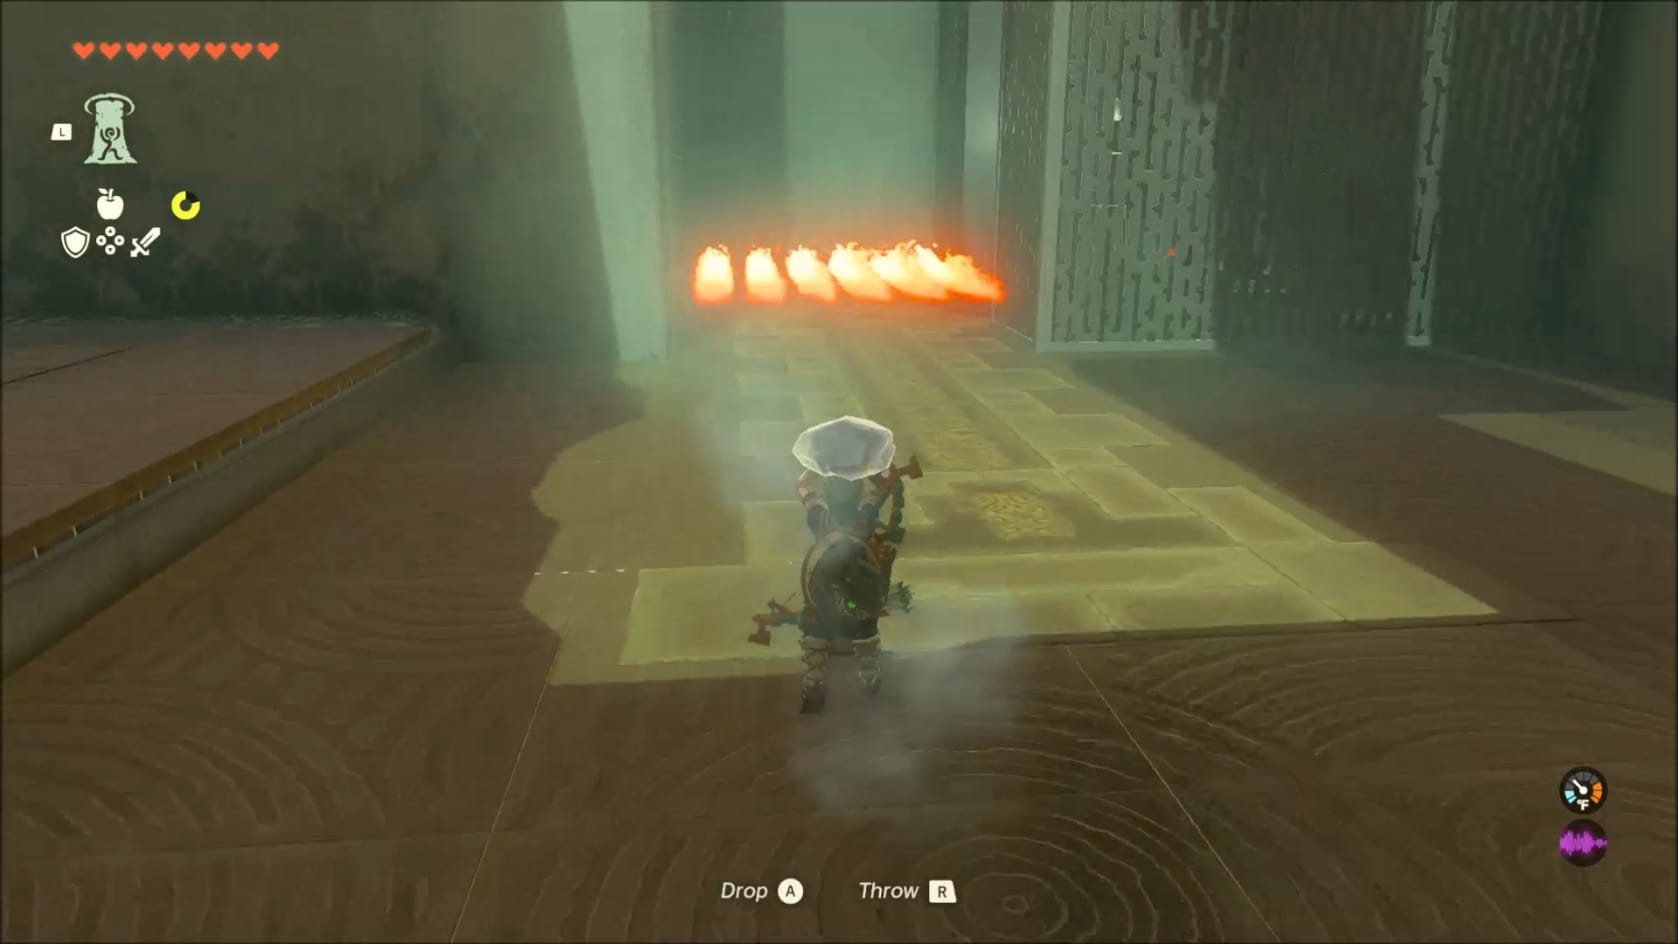
You can see a number of flame sprouts in front of you.
To start, head over to the left. Jump up onto the ledge there and head to the back of it. There’s another Soldier Construct. It has a Stone-Slab Shield. Defeat it and claim the Shield.
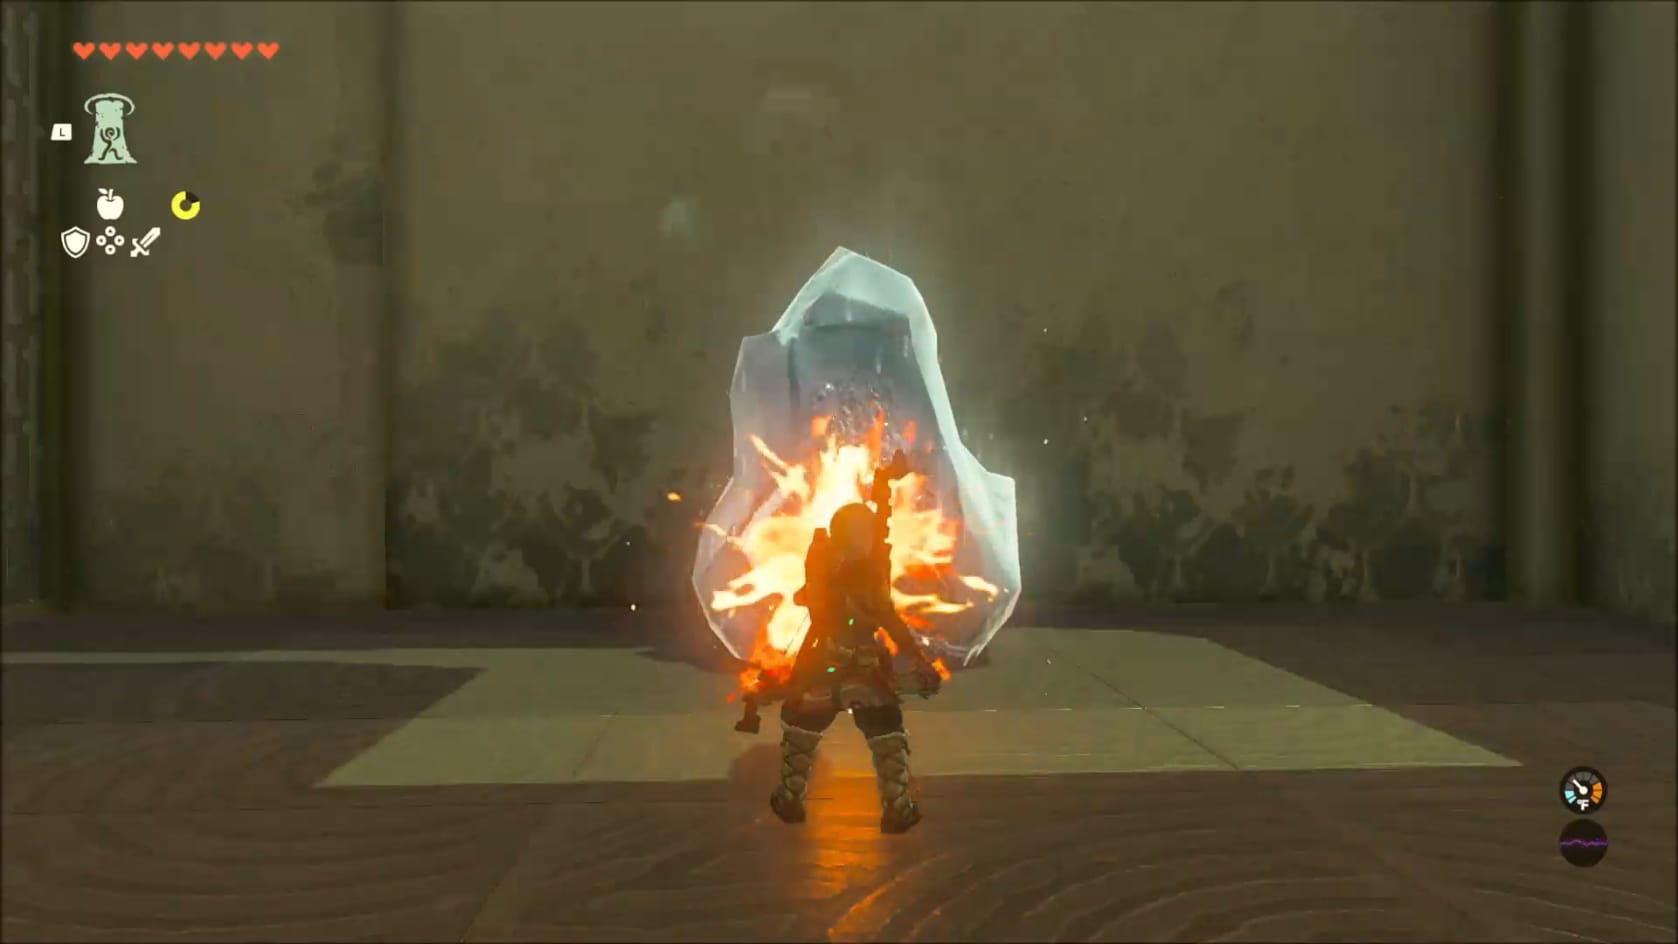
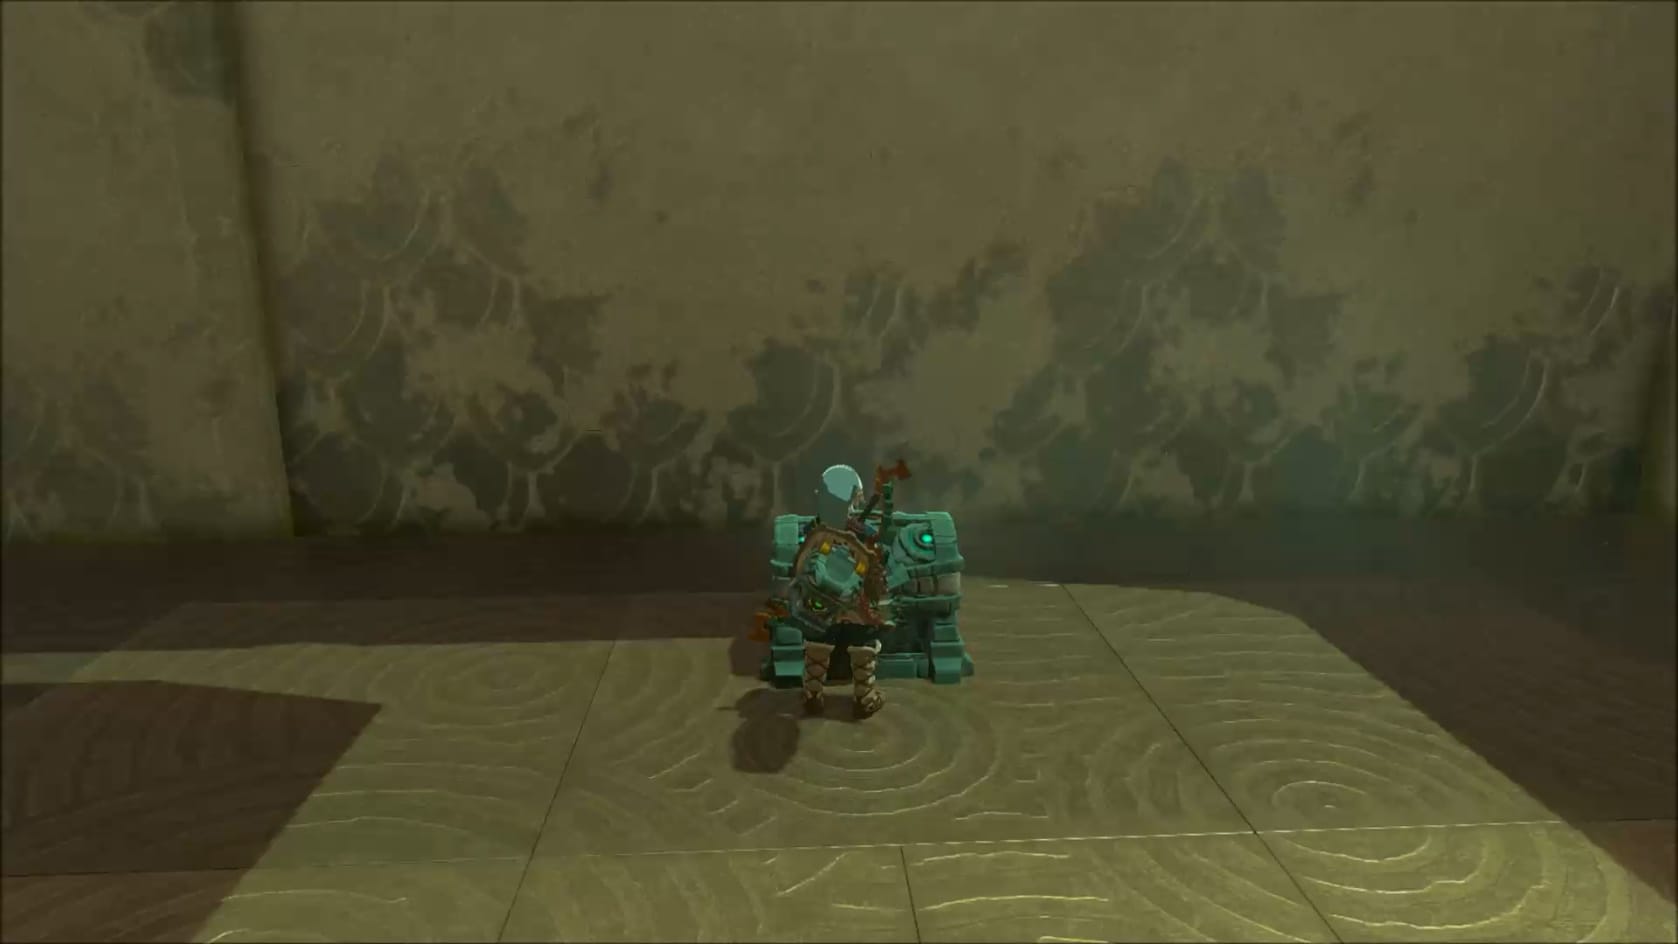
Melting the ice blocking the chest for the shrine
Now, before facing the flames, head to the right-hand side of this chamber. You’ll find another large chunk of Ice you can melt with your Flame Shield. Melt the Ice to reveal a Chest with 5 Arrows inside it. With that collected, head to the Flame Emitters barring your path. Equip the Stone-Slab Shield that you just got.
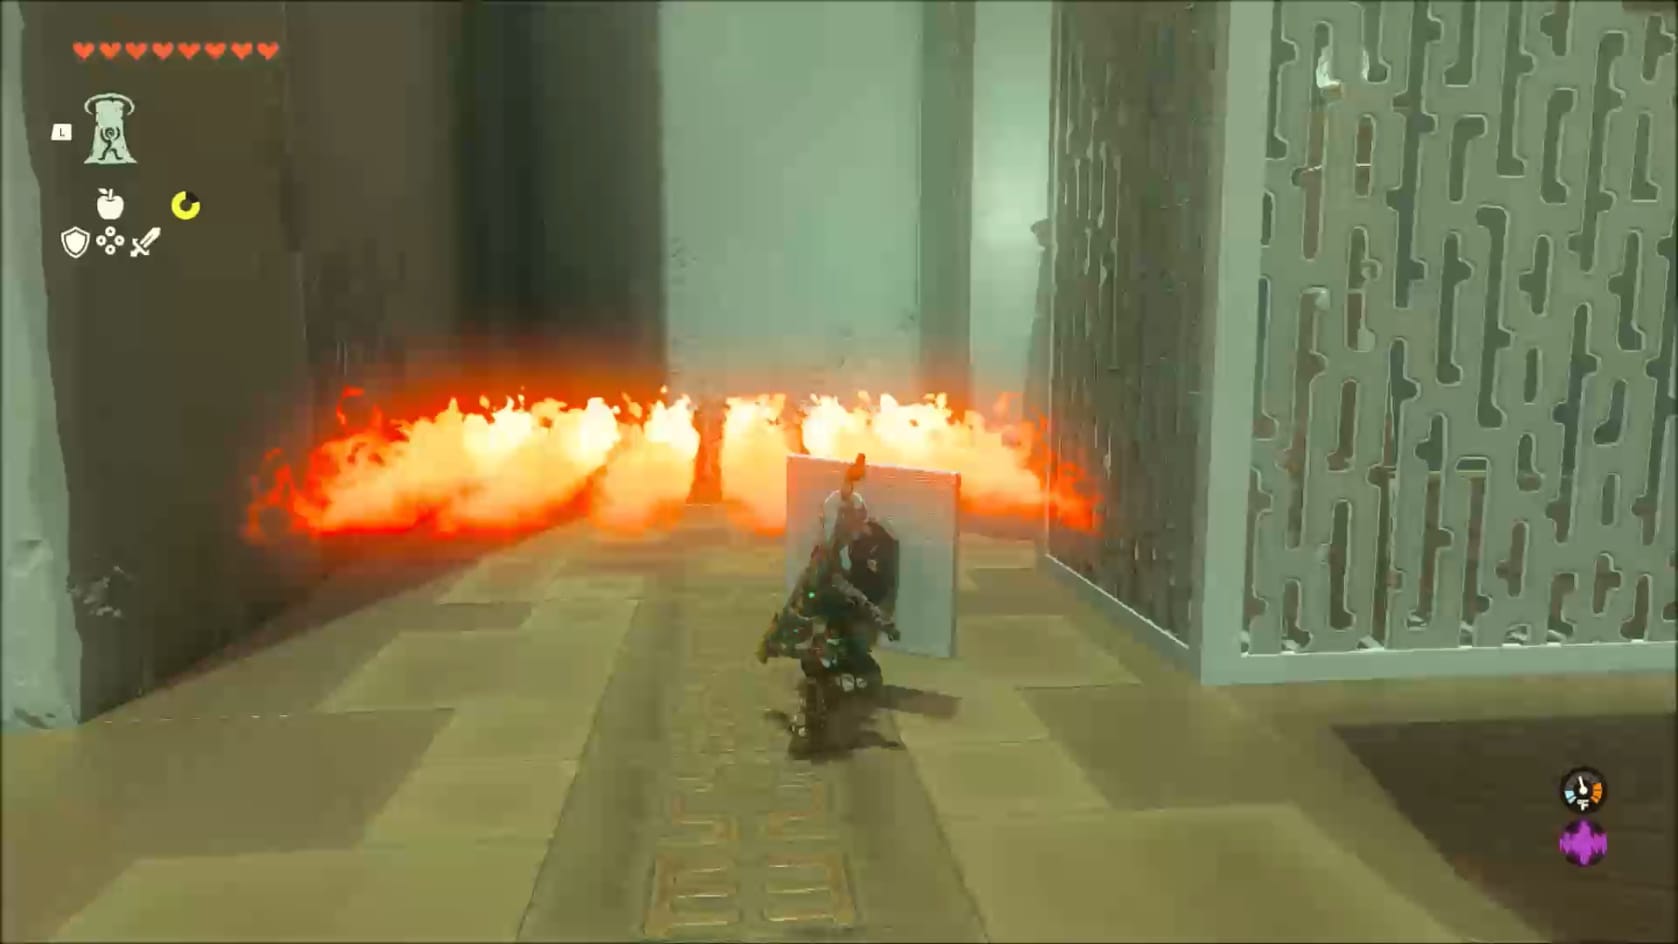
Approach the flames with the Stone-Slab Shield raised in Defense. This will let Link safely approach and take the turn to the right. Get clear of the fire and you’re through this puzzle.
The Third Chamber
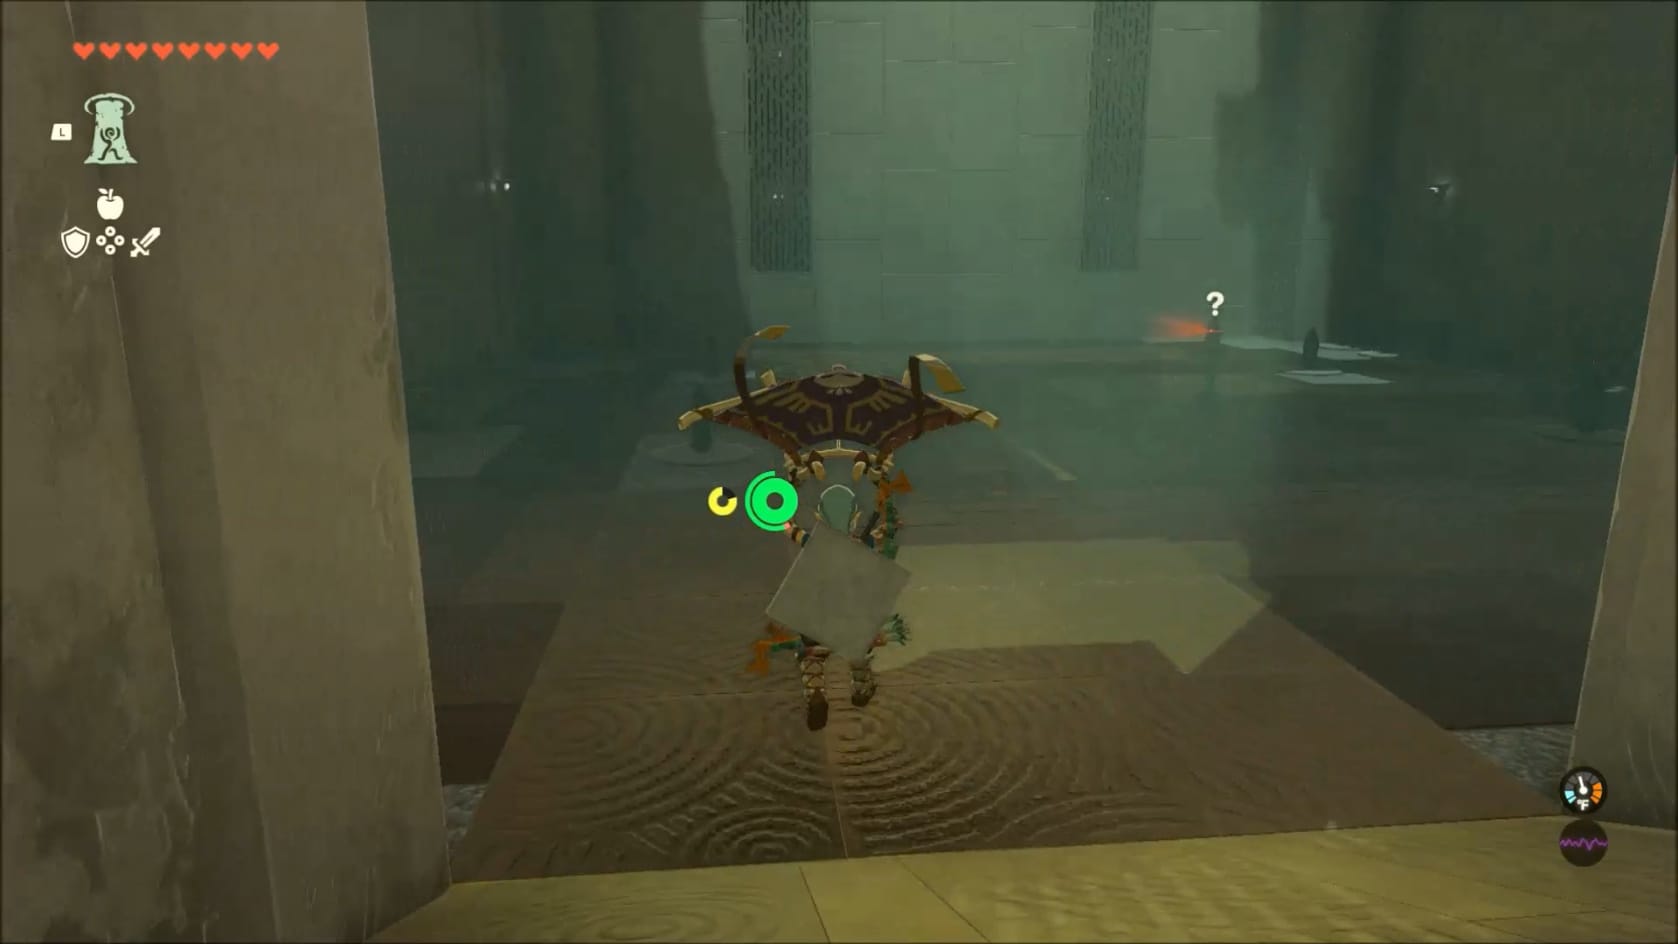
Go to the left and down the ramp into the next chamber. You can see a Captain Construct close to the middle of this chamber. It will have a Rusty Sword and a Construct Bow. Defeat it, claim its Horn, Charges, and whatever else it drops.
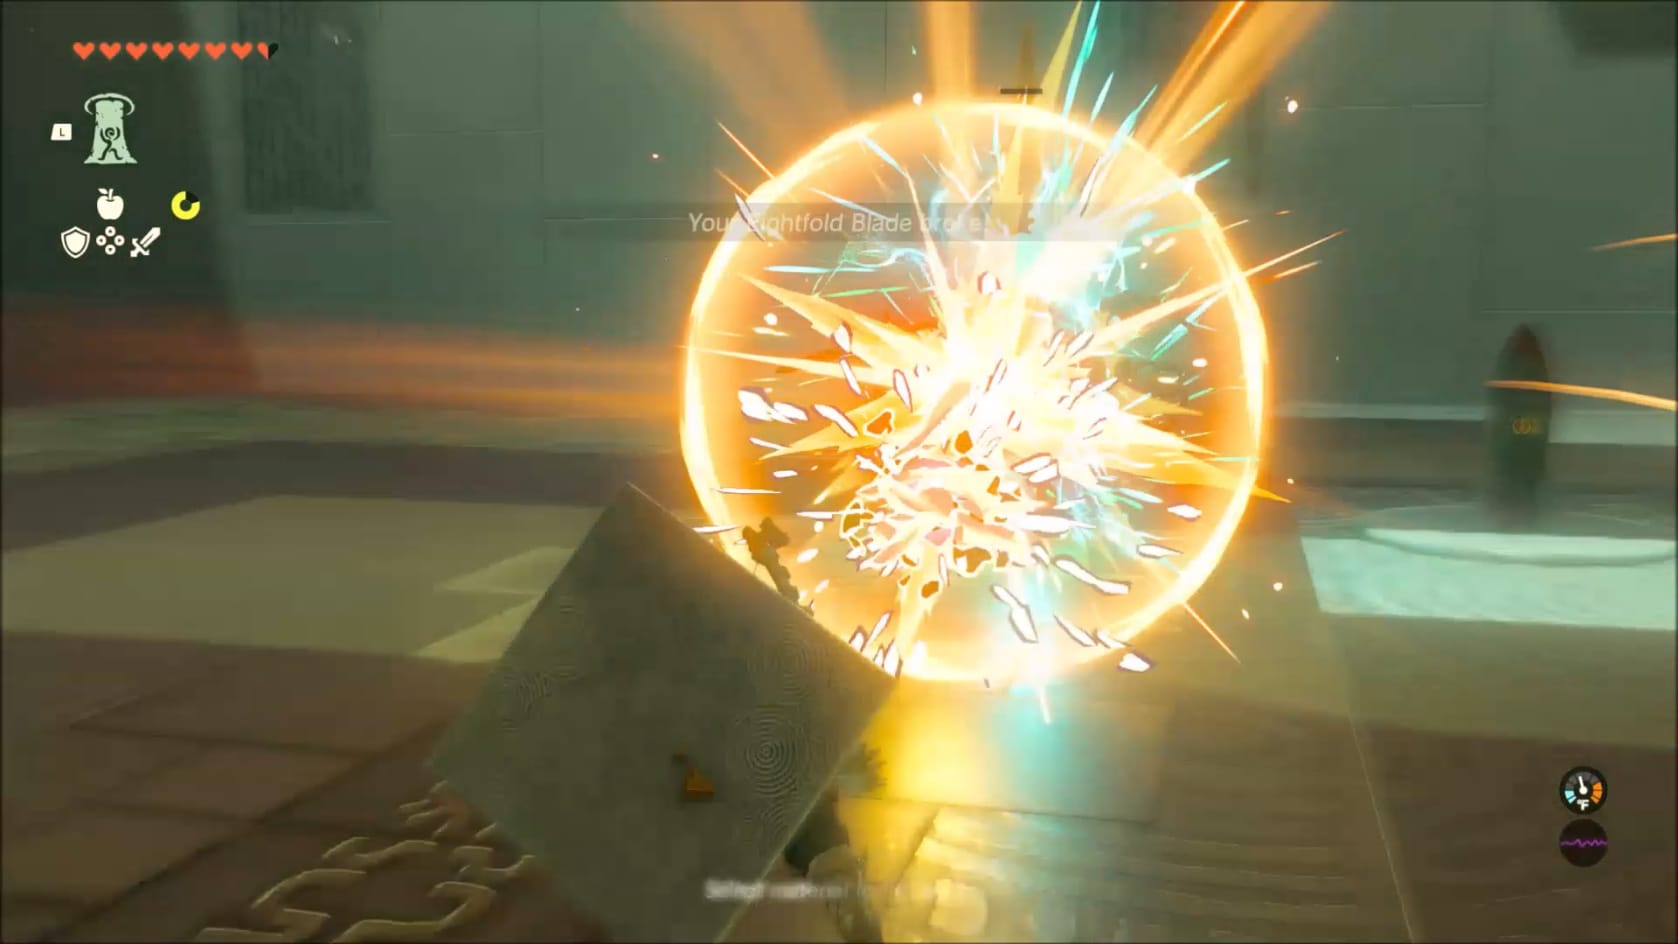
Reach the Innermost Chamber
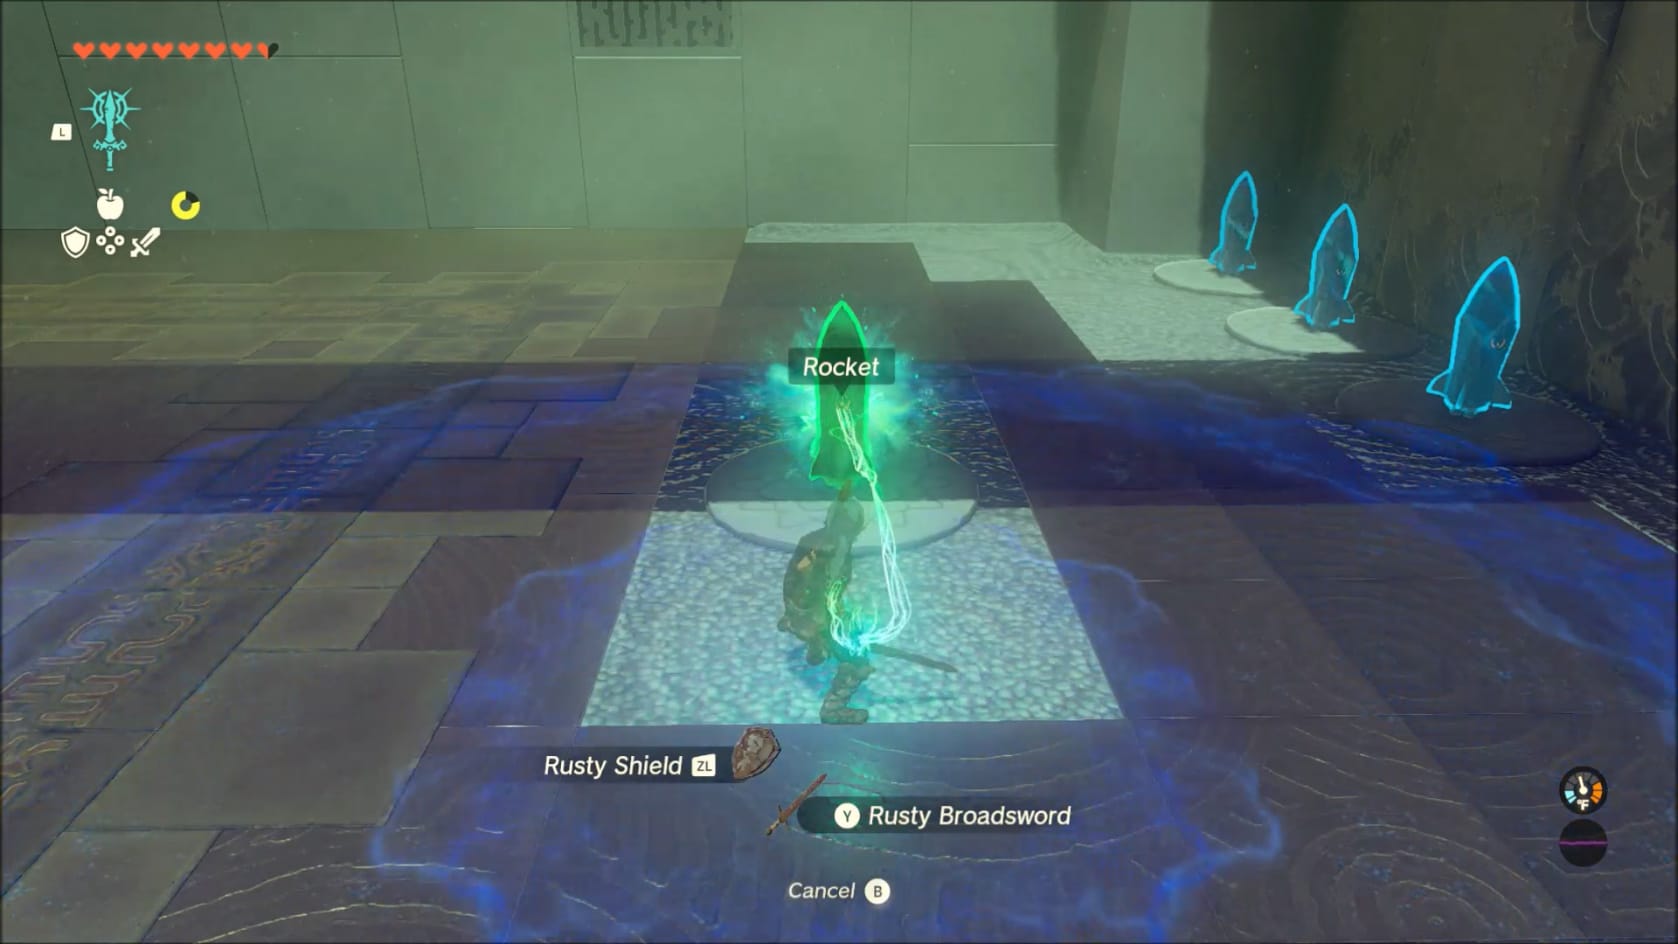
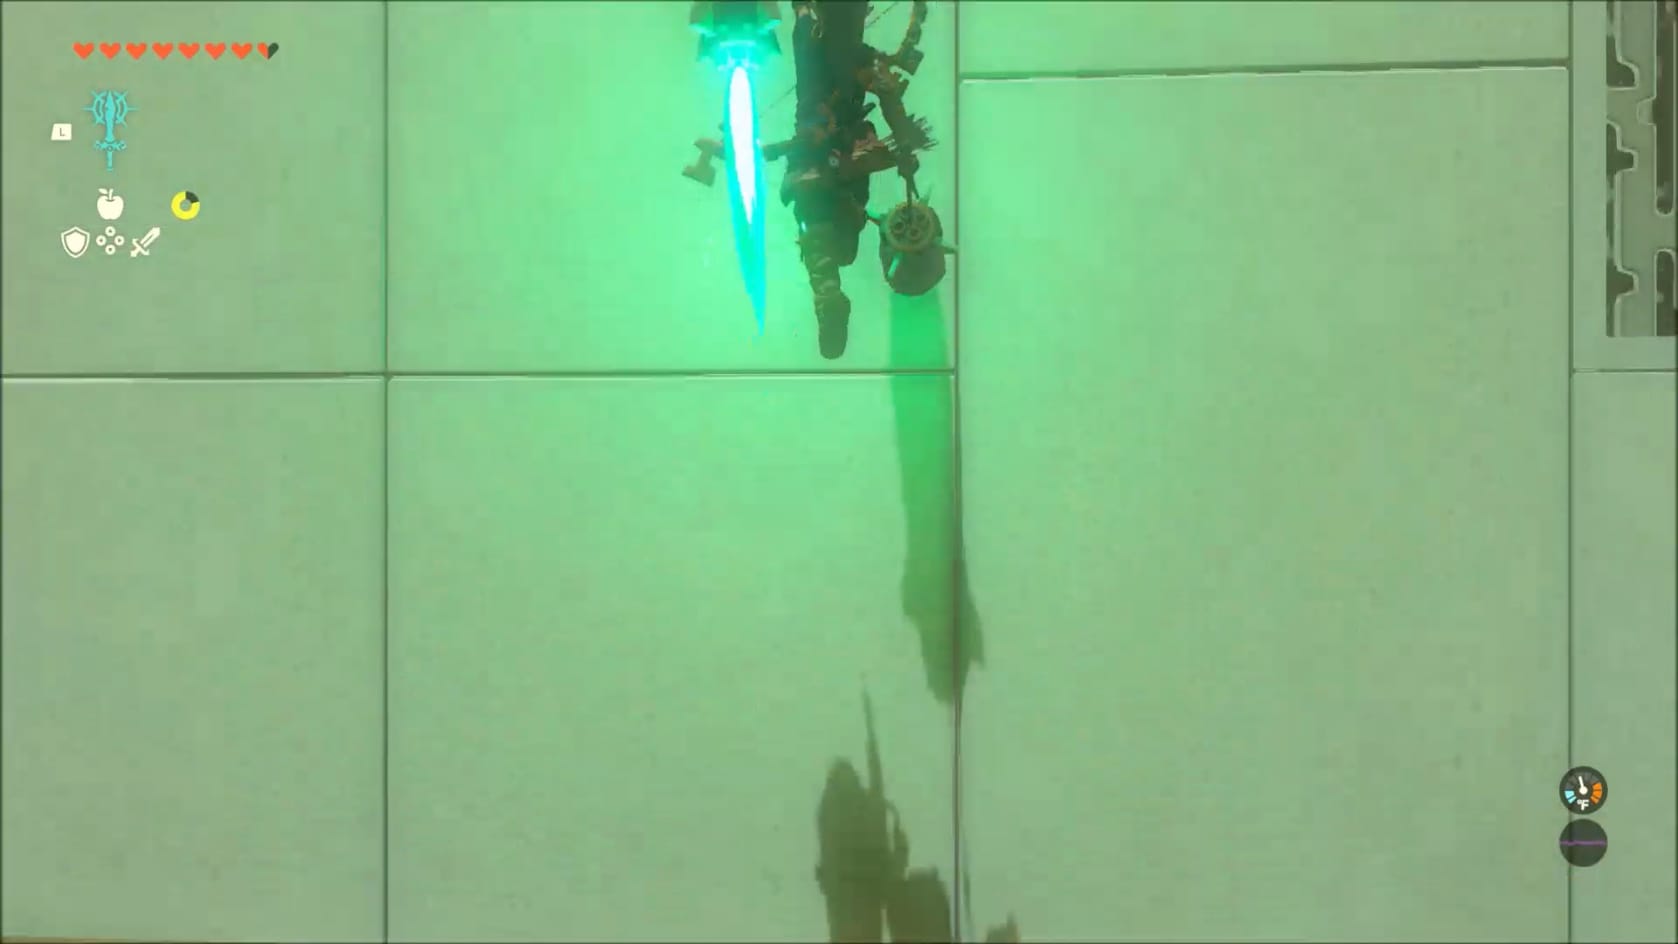
With the Captain Construct defeated, the room is safe to navigate. For this, you will need to connect a Zonai Rocket to a Shield using Fusion. If your shields have all broken, there are a few Rusty Shields scattered throughout the room you can grab and use.
Create a Rocket Shield by fusing a Zonai Rocket onto any Shield in your Possession. Face the back wall and hold out your shield. This starts the Rocket and will have Link be launched up into the heights of the Shrine. The Rocket will break and Link will automatically start gliding.
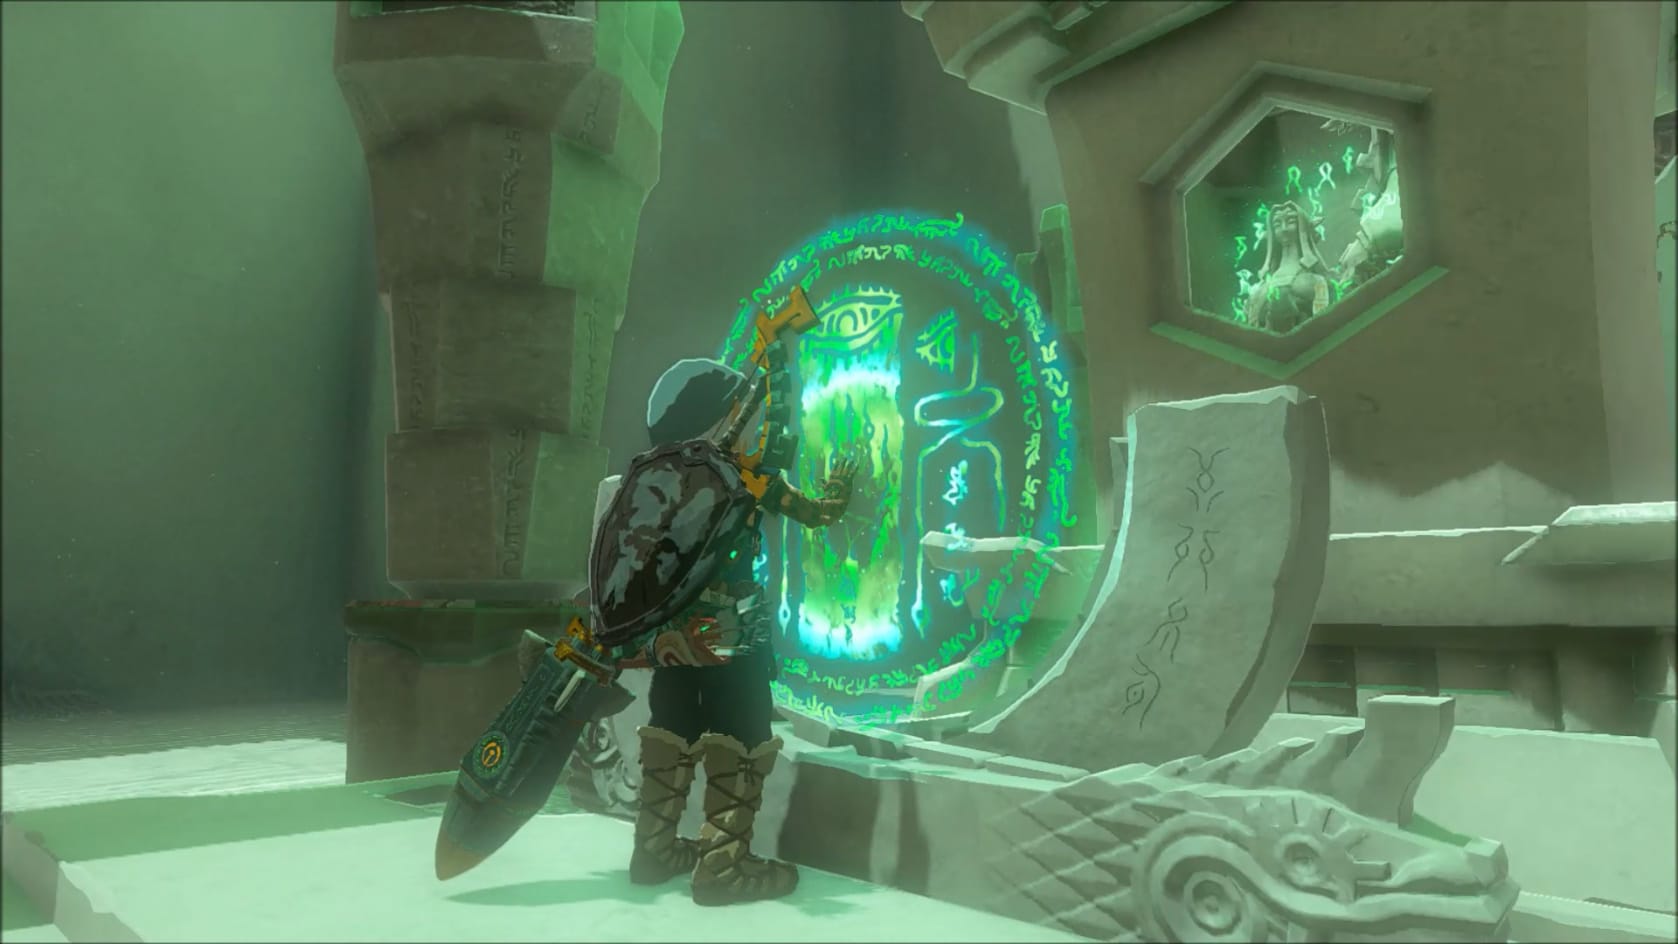
Drop down to the top of the high ledge that you’ve just gotten to the top of. Head for the Gylph Ring and interact with it. Link will be rewarded with a Light of Blessing.
Video Walkthrough
Video Walkthrough