Legend of Zelda: Tears of the Kingdom – Mayachin Shrine: A Fixed Device Guide
Master Mayachin Shrine: A Fixed Device in Zelda: Tears of the Kingdom. Learn how to build the paddle, hit both targets, unlock the chest, and claim your Blessing of Light.
Summary
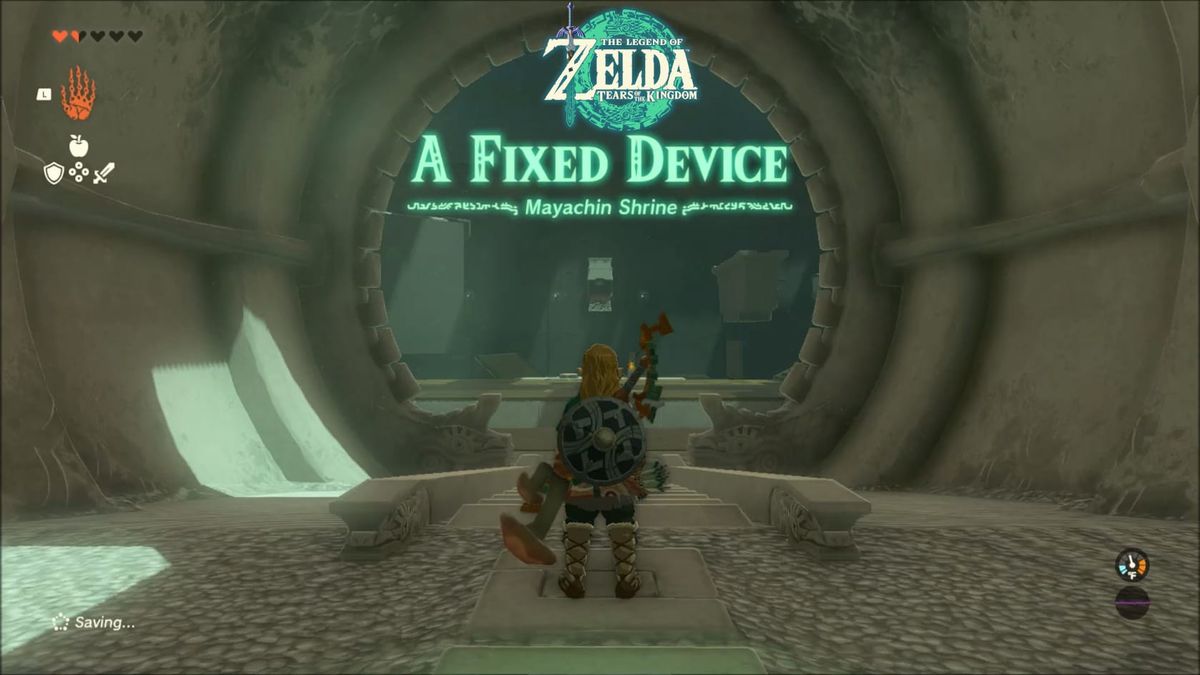
Found in Hyrule Field, to the East of the Exchange Ruins. Inside, you will need to use Ultrahand to construct a simple arm to swing at Spheres to hit targets to gain access to the Statues and treasure chest containing an Energizing Elixir.
Location
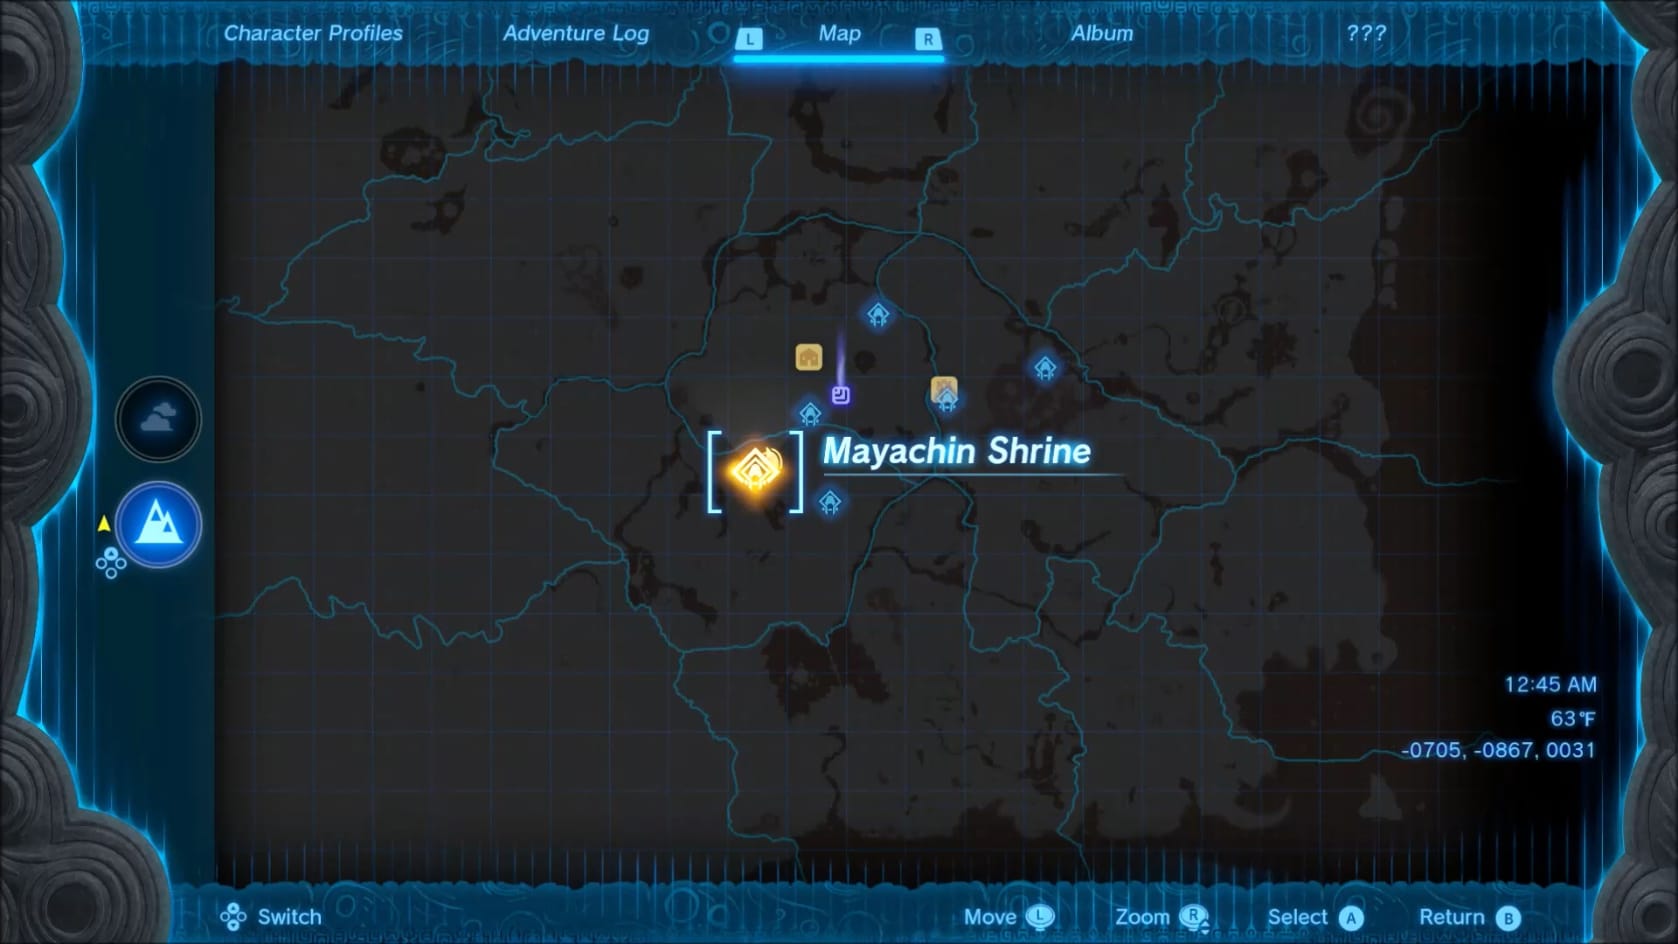
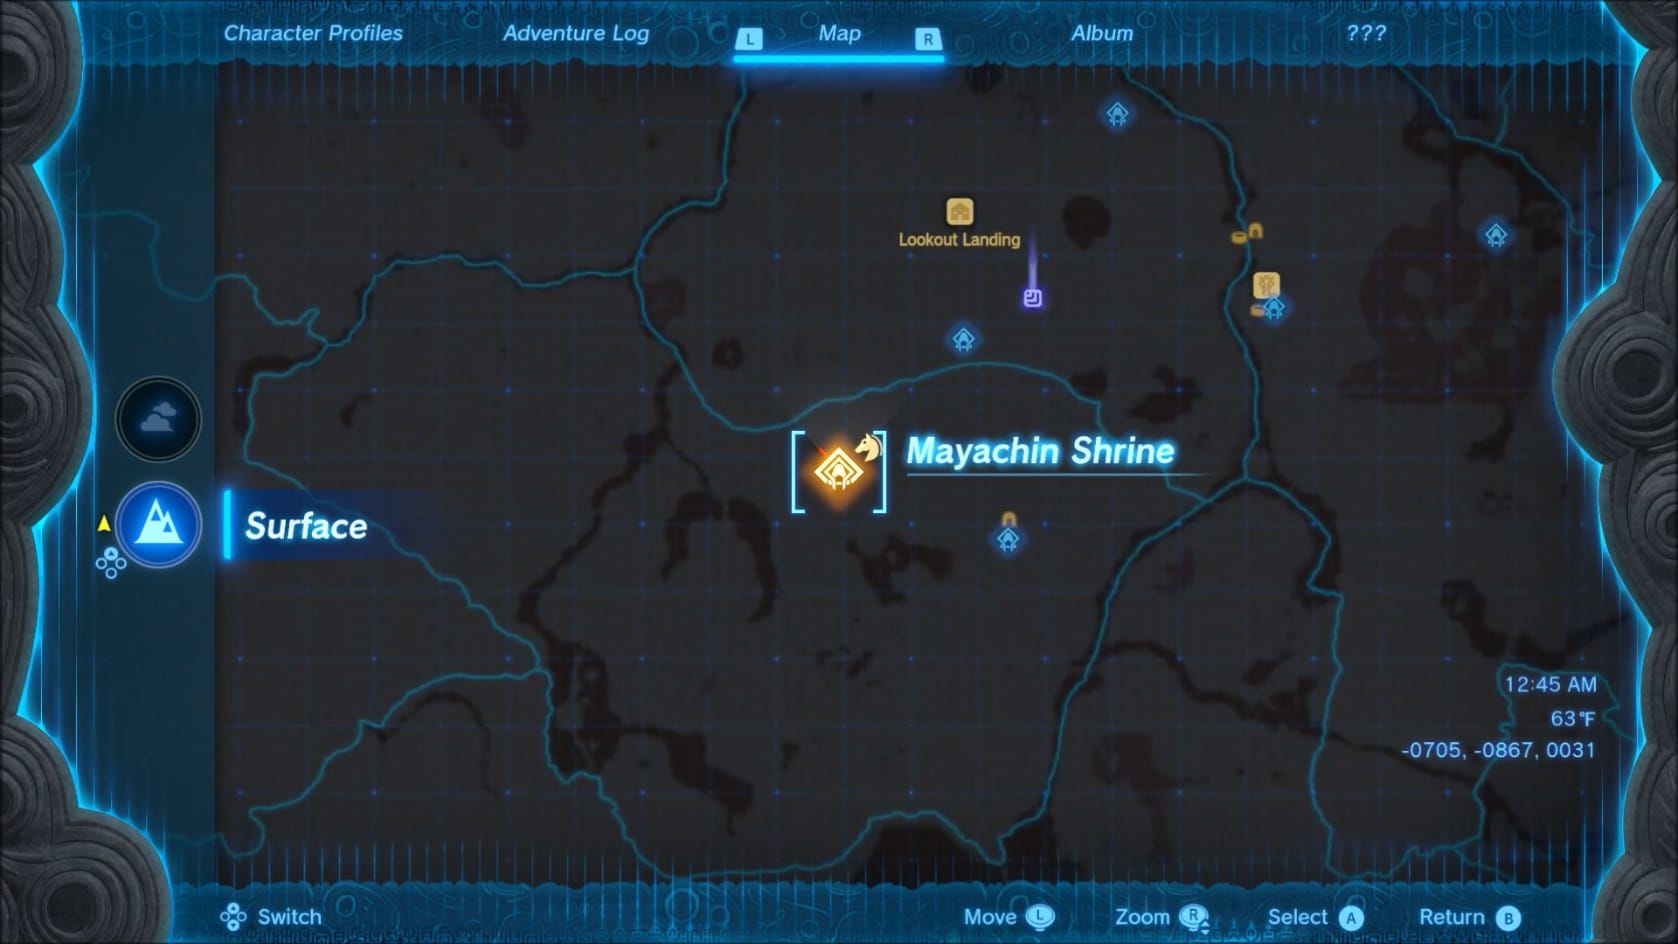
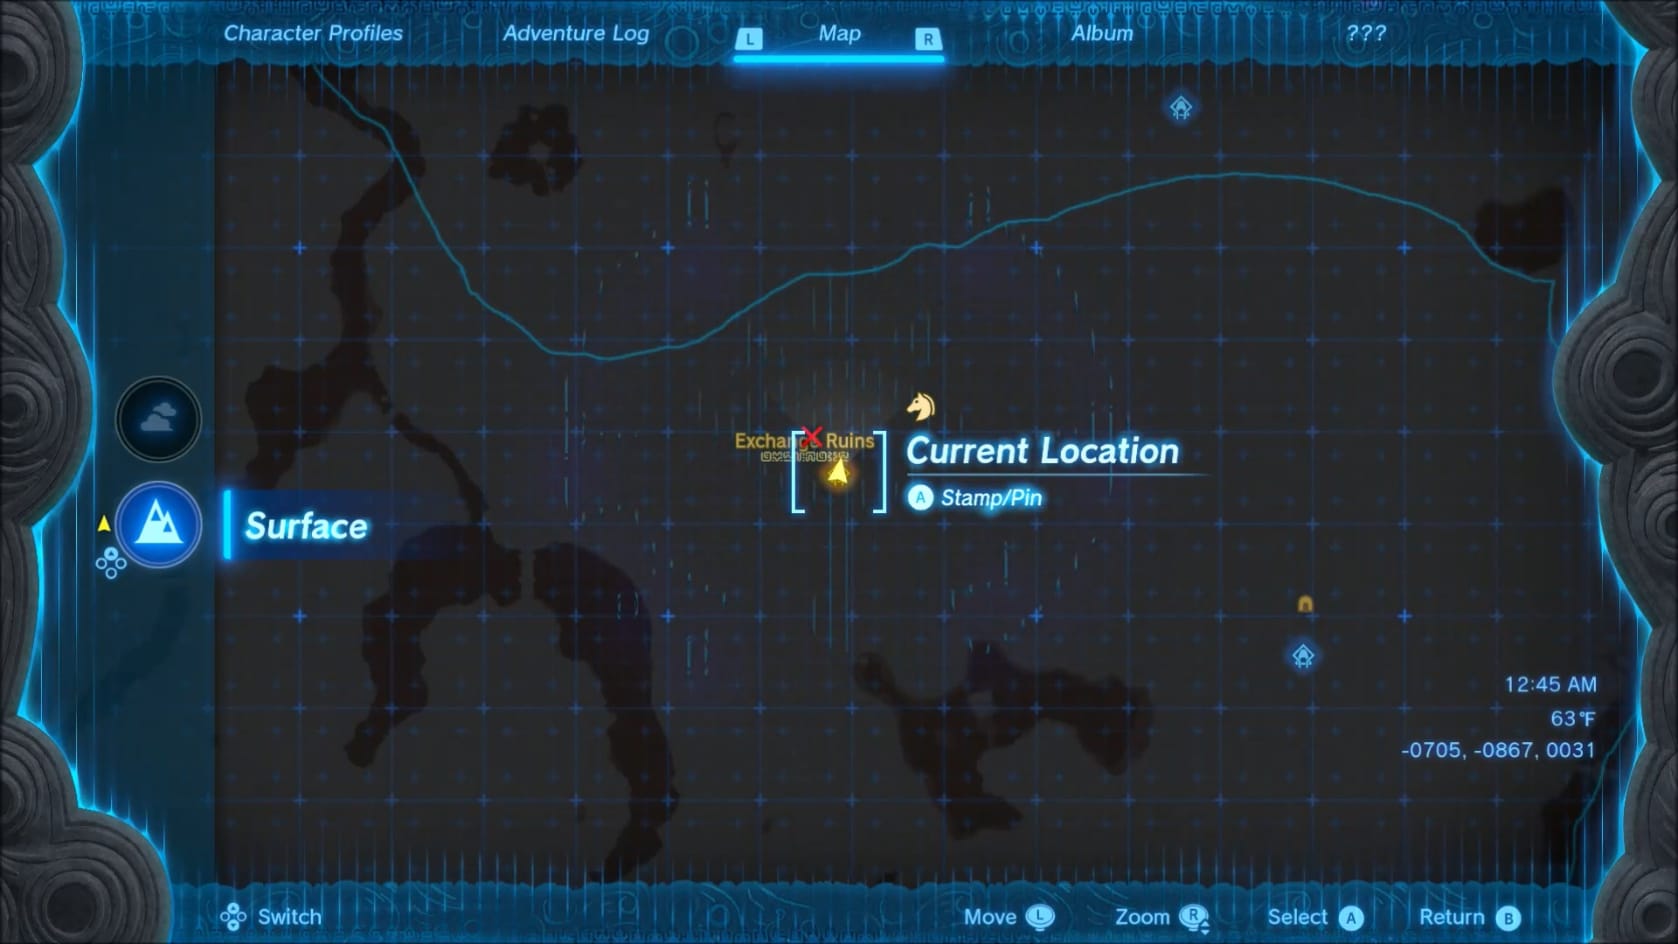
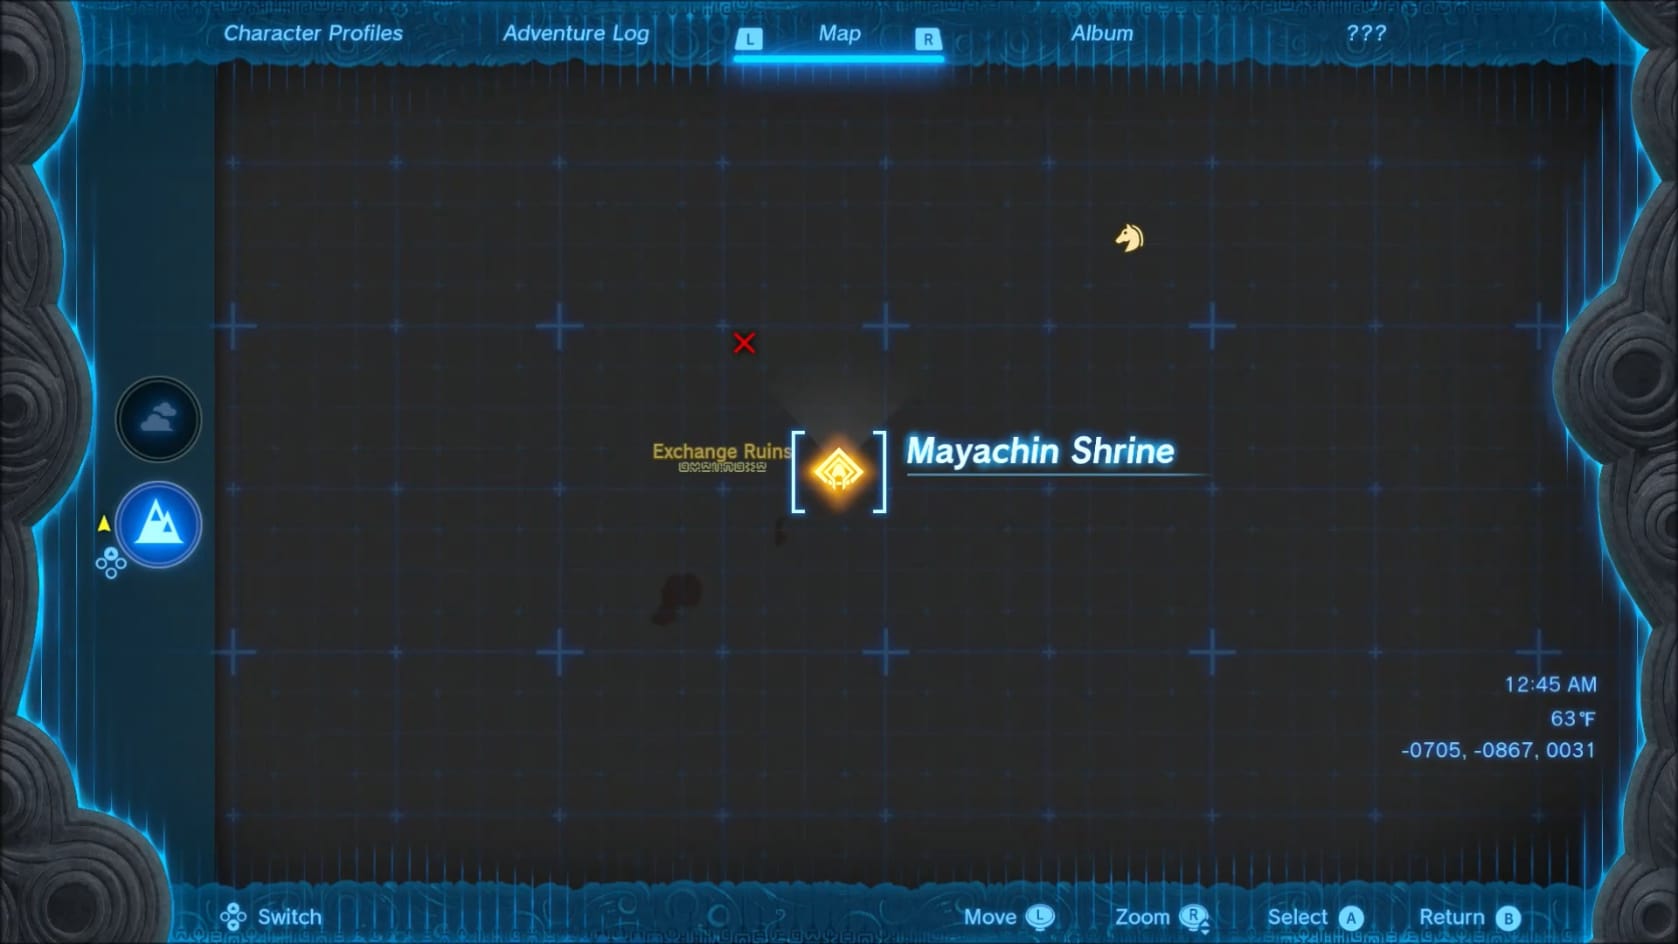
Location of Mayachin Shrine in Hyrule
Coordinates: -0705, -0867, 0031
Walkthrough
Entrance
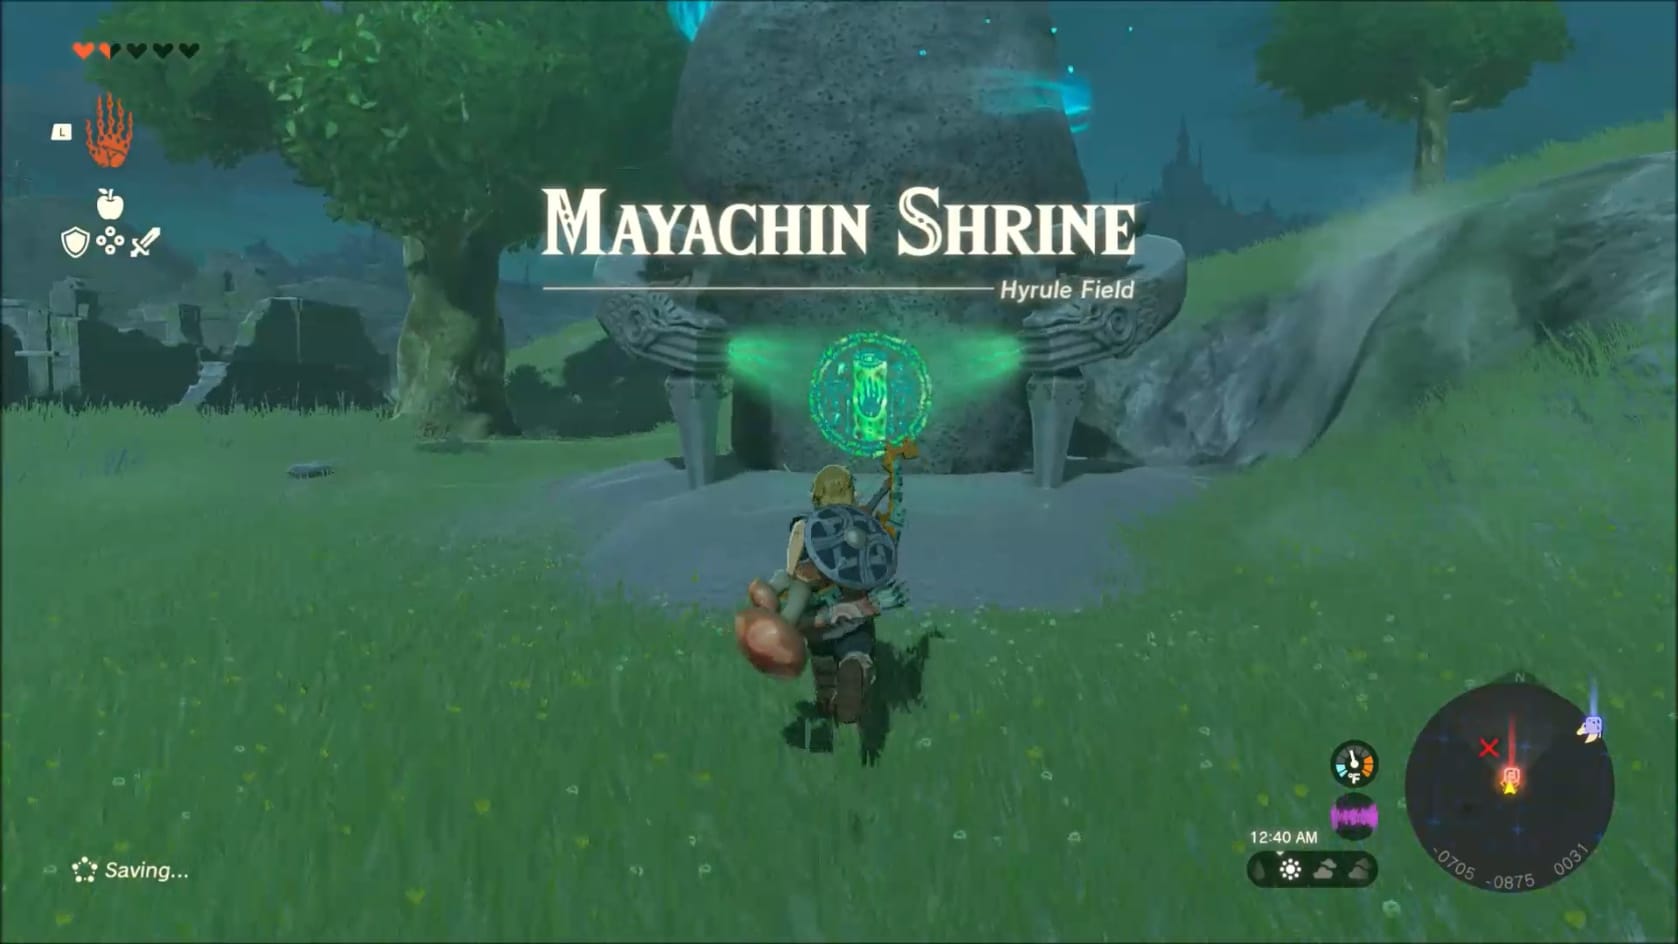
Approaching the Shrine is simple. It’s found to the East of the Exchange Ruins within Hyrule Field. Simply approach the Glyph and activate it to gain admittance to the shrine and add it to your Fast Travel network.
Reaching the Device
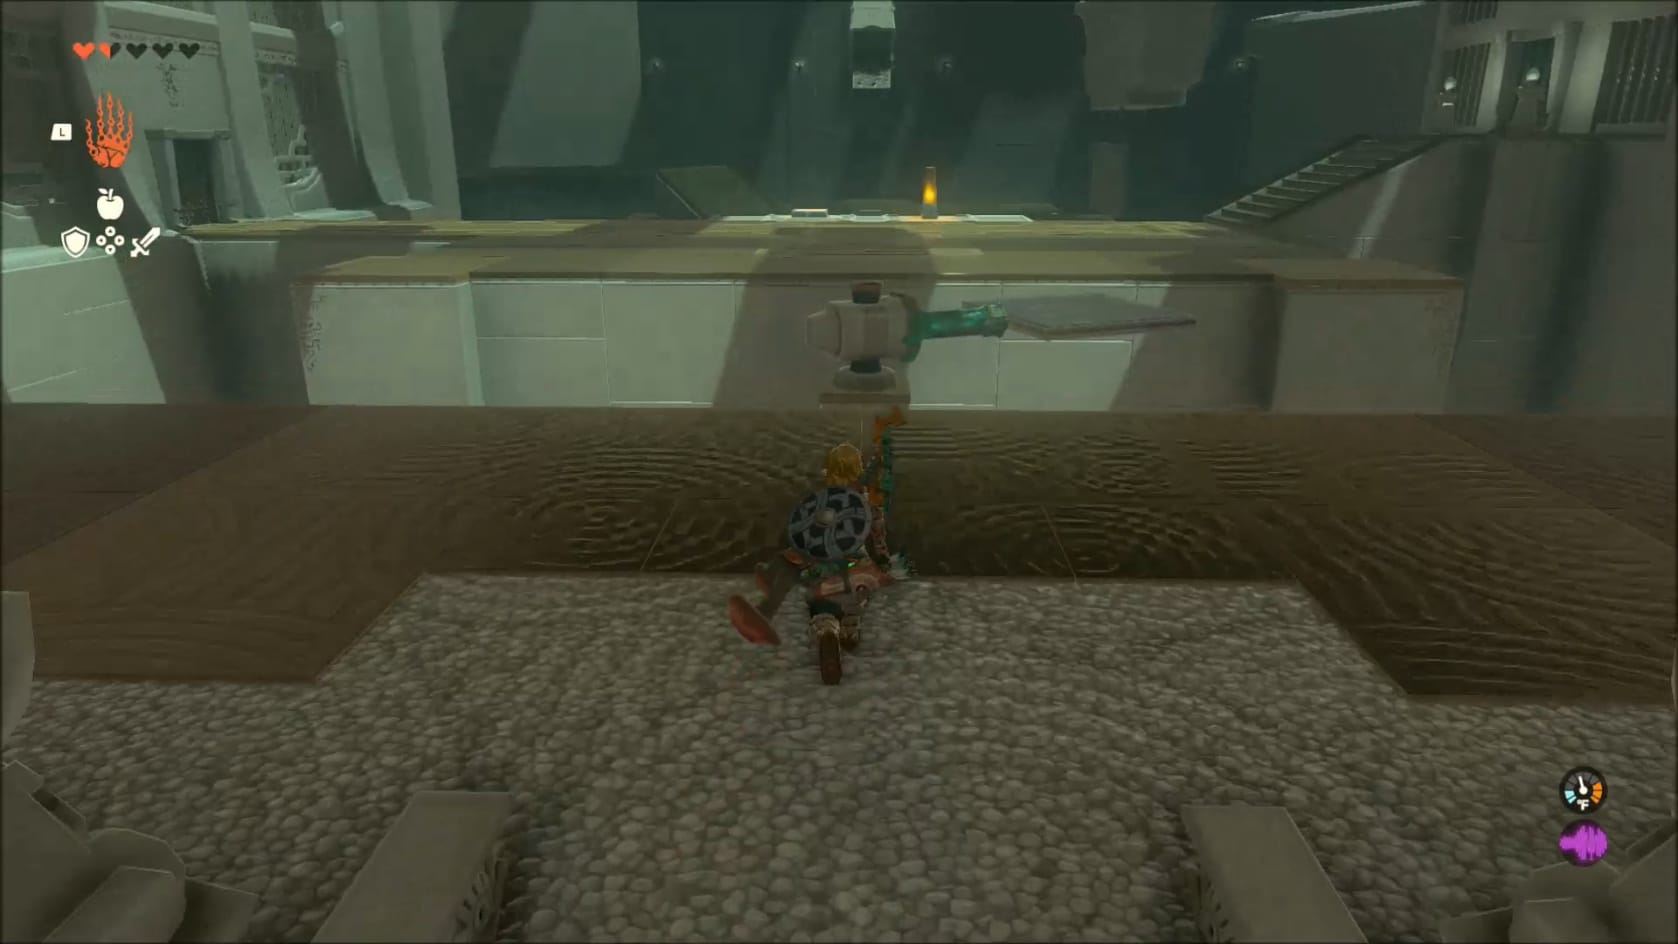
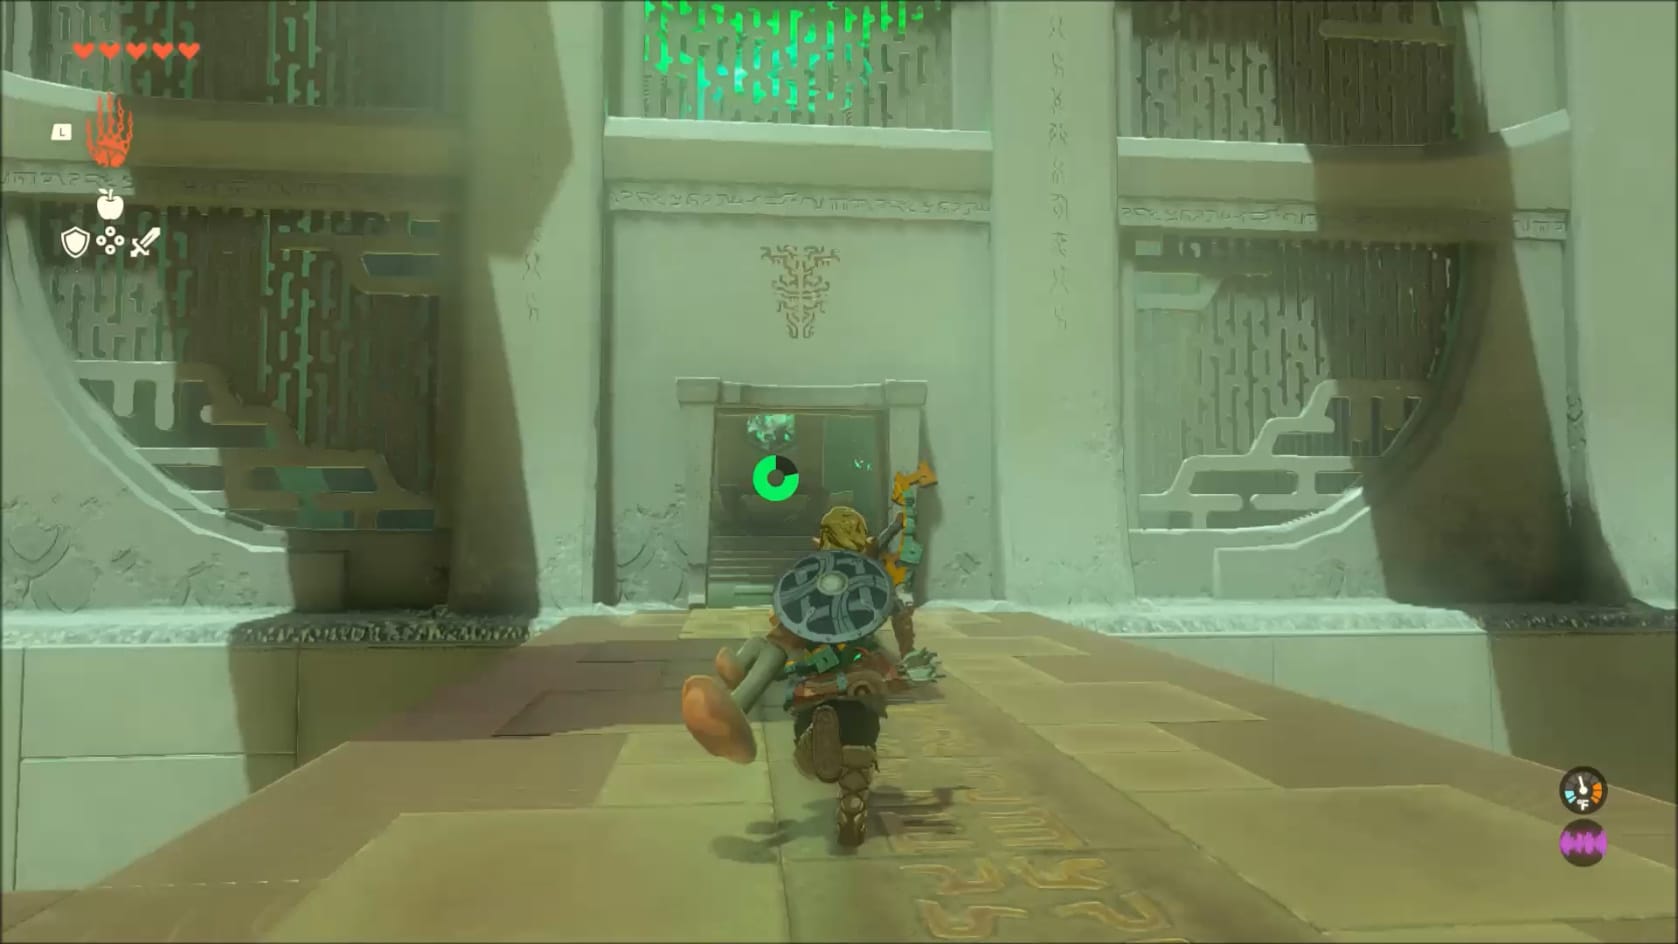
Inside the shrine, start by heading forward. You will see a slow rotating platform that’s connected with a green spike splattered onto a stone device. Wait for the platform to reach you. Step onto it and ride it across to the far side.
This will bring you to the middle of the room. If you go to the right, you will see a set of stairs leading to a Chest just beyond a barred door. To the left, you can see the Innermost Shrine and its Statue.
Sitting across from the platform is the Fixed Device you will need to work with.
Target 1 – Innermost Chamber
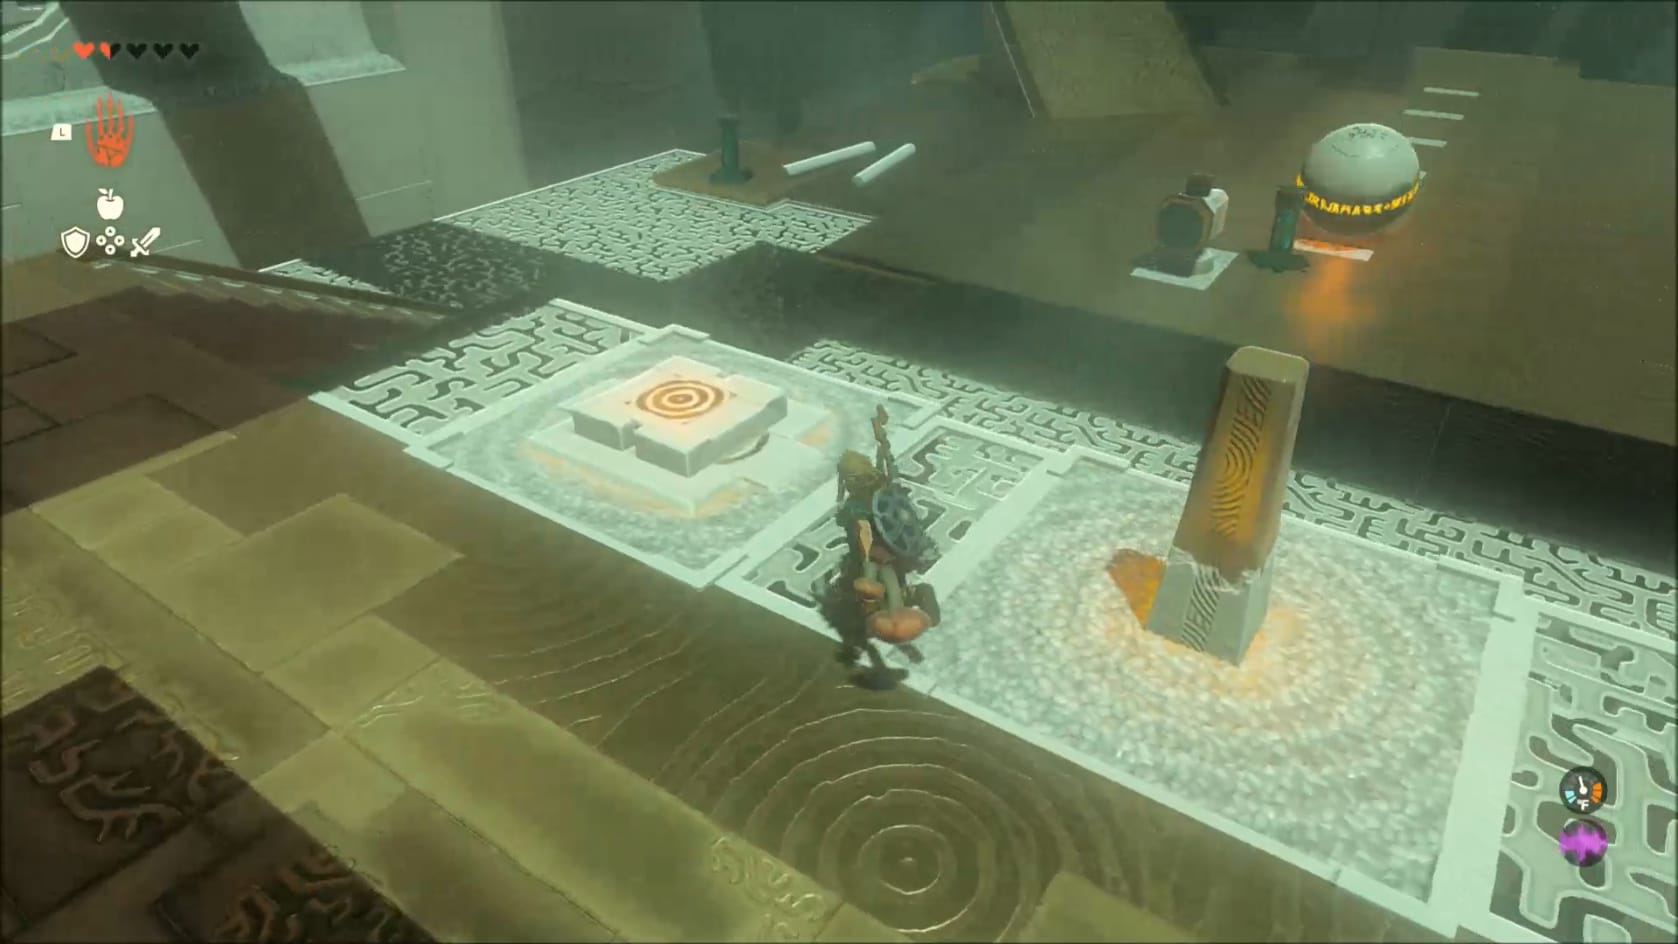
With a little time to be oriented, go to the grating with the Orange Crystal on the right and floor switch on the left. Go and stand on the floor switch. This will reveal a large target on the left-hand side of the chamber. It sits just beyond a ramp
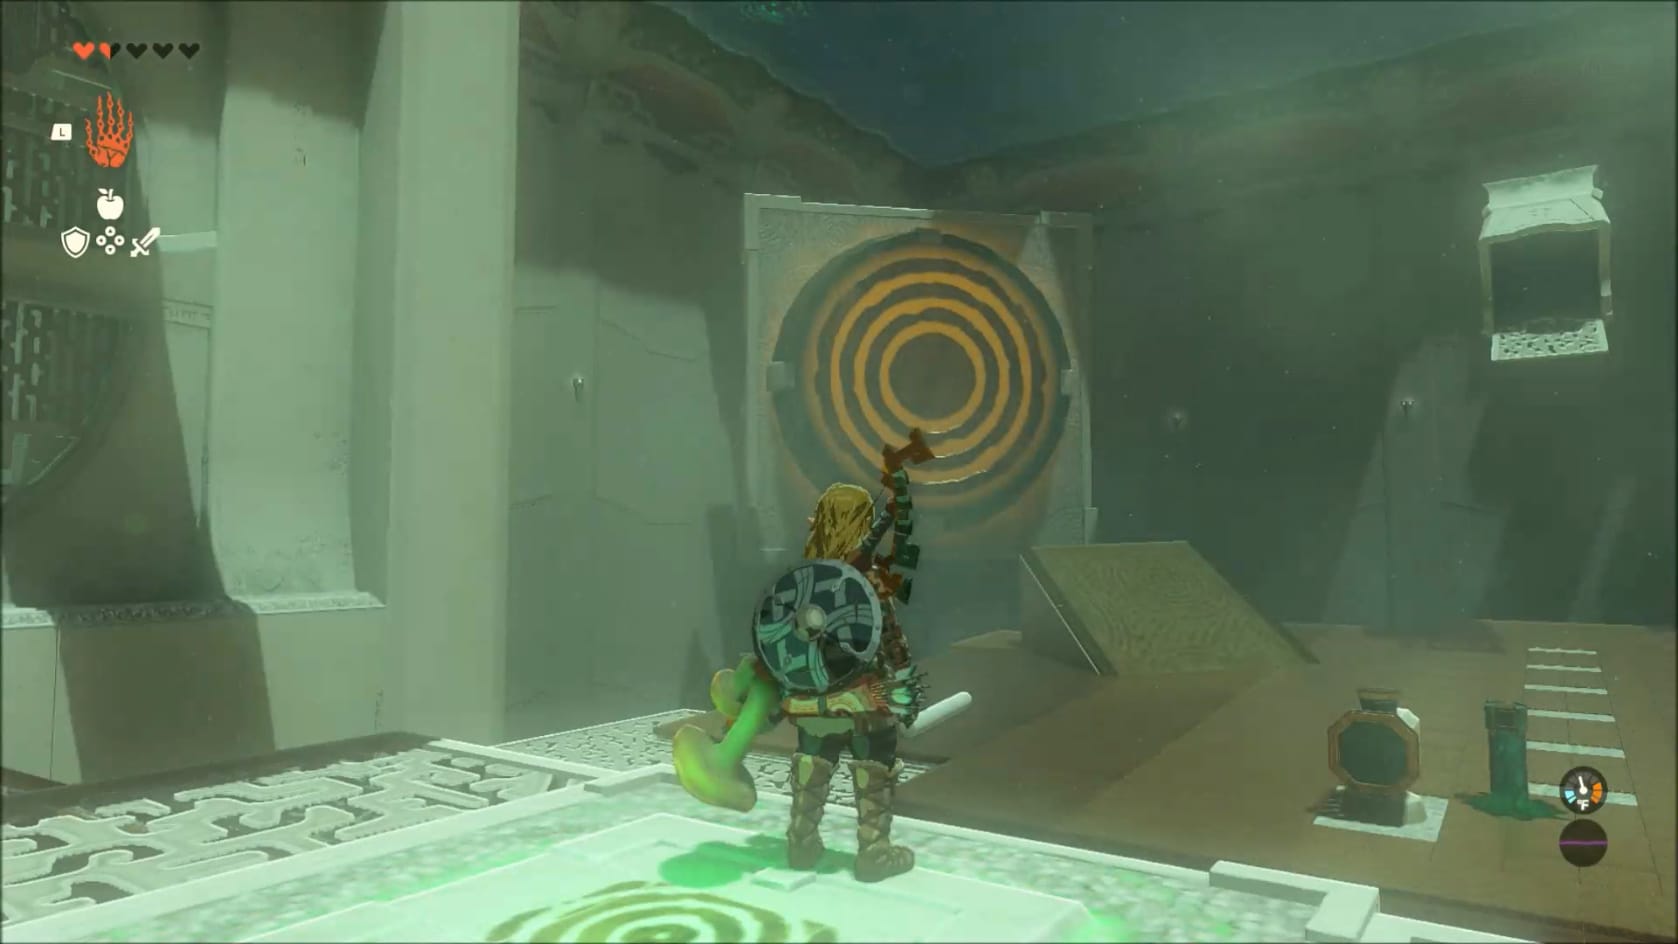
To hit this target, you will need to use a few things in here to build a paddle. Get down to the area below the grating either by using the stairs on either side or jumping and gliding across the gap. You can see a spike next to a Stone Device in the middle of the area, close to where you’re standing. Sitting on the left-hand side of this area is another spike nearby a pair of narrow stone columns on the ground. You can also see that Large Spheres are rolling down from a dispenser at the top of the room.
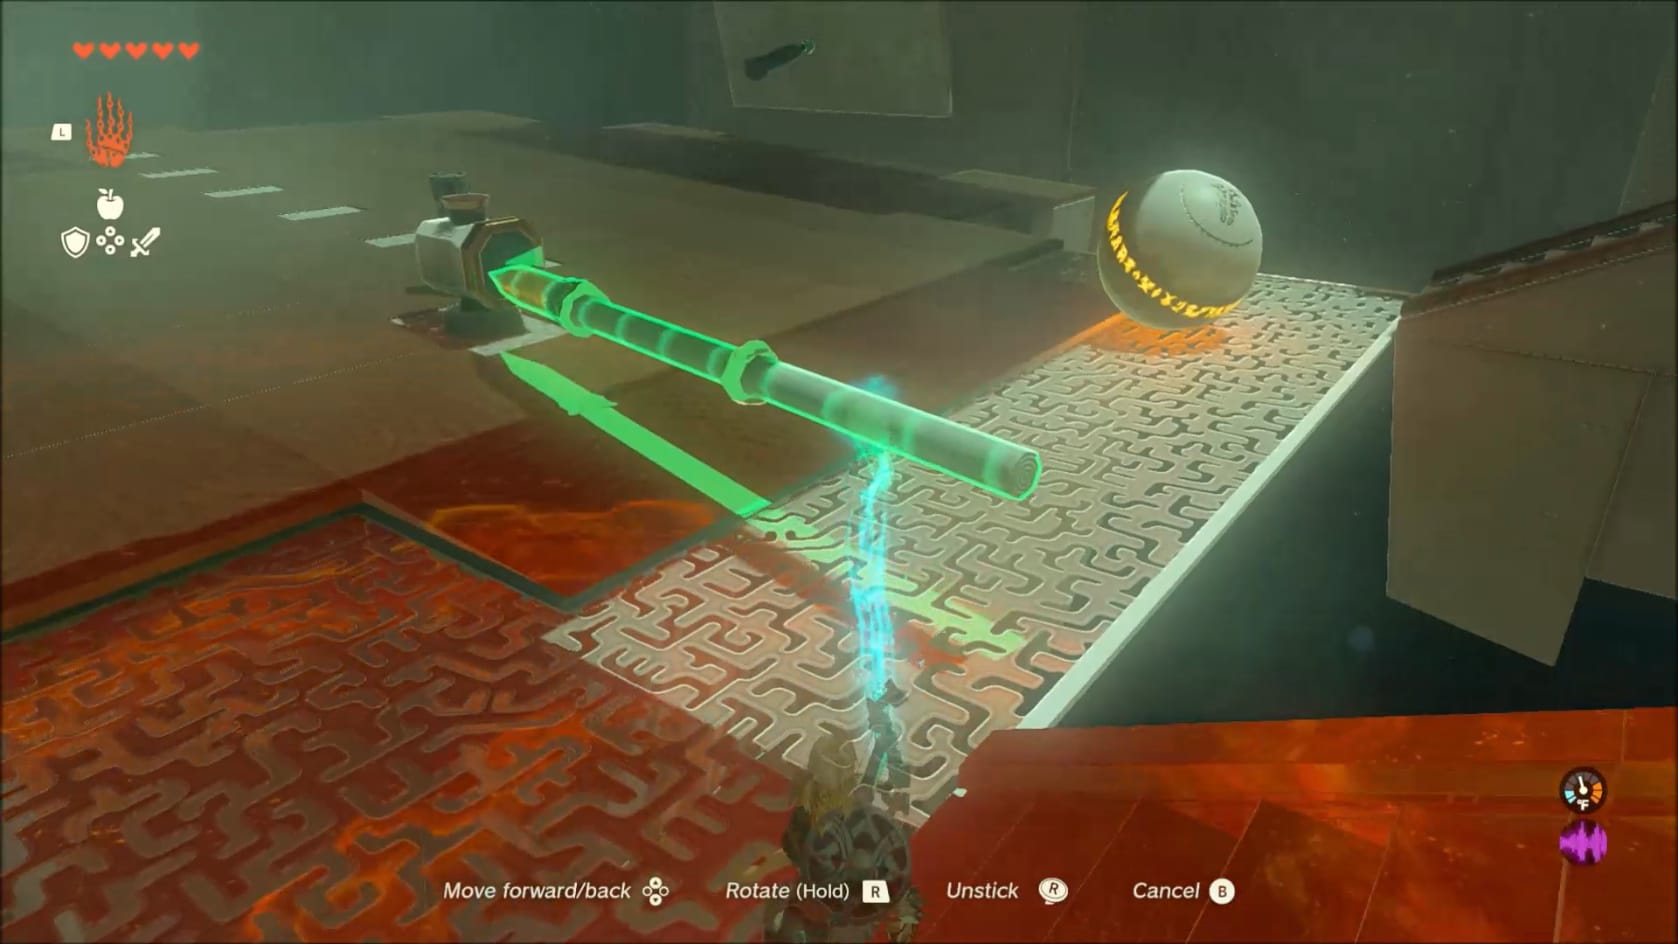
To this end, you will want to use Ultrahand to connect the long stone columns together, end to end. After that, you will want to use Ultrahand to pull one of the Zonai Stakes (the green stakes in the ground) out of it. Bring it into alignment with you connected columns and join the FLAT end to one of the ends.
With your “arm” build of the stone columns and the Zonai Spike, you’re ready to get everything in place. The Stone Device sitting nearby the end of the platform, close to the grating? Connect the arm to the Stone Device by putting the pointed end of the Arm into the center of the flat face of the device with Ultrahand. Release the construct with the Spike sitting in the Stone Device. This will fuse all this together.
- Take a little time to move the Zonai Spike that sitting near the Stone device out of the way if you didn’t use for the construct. You’ll need that second spike a bit later.
[]
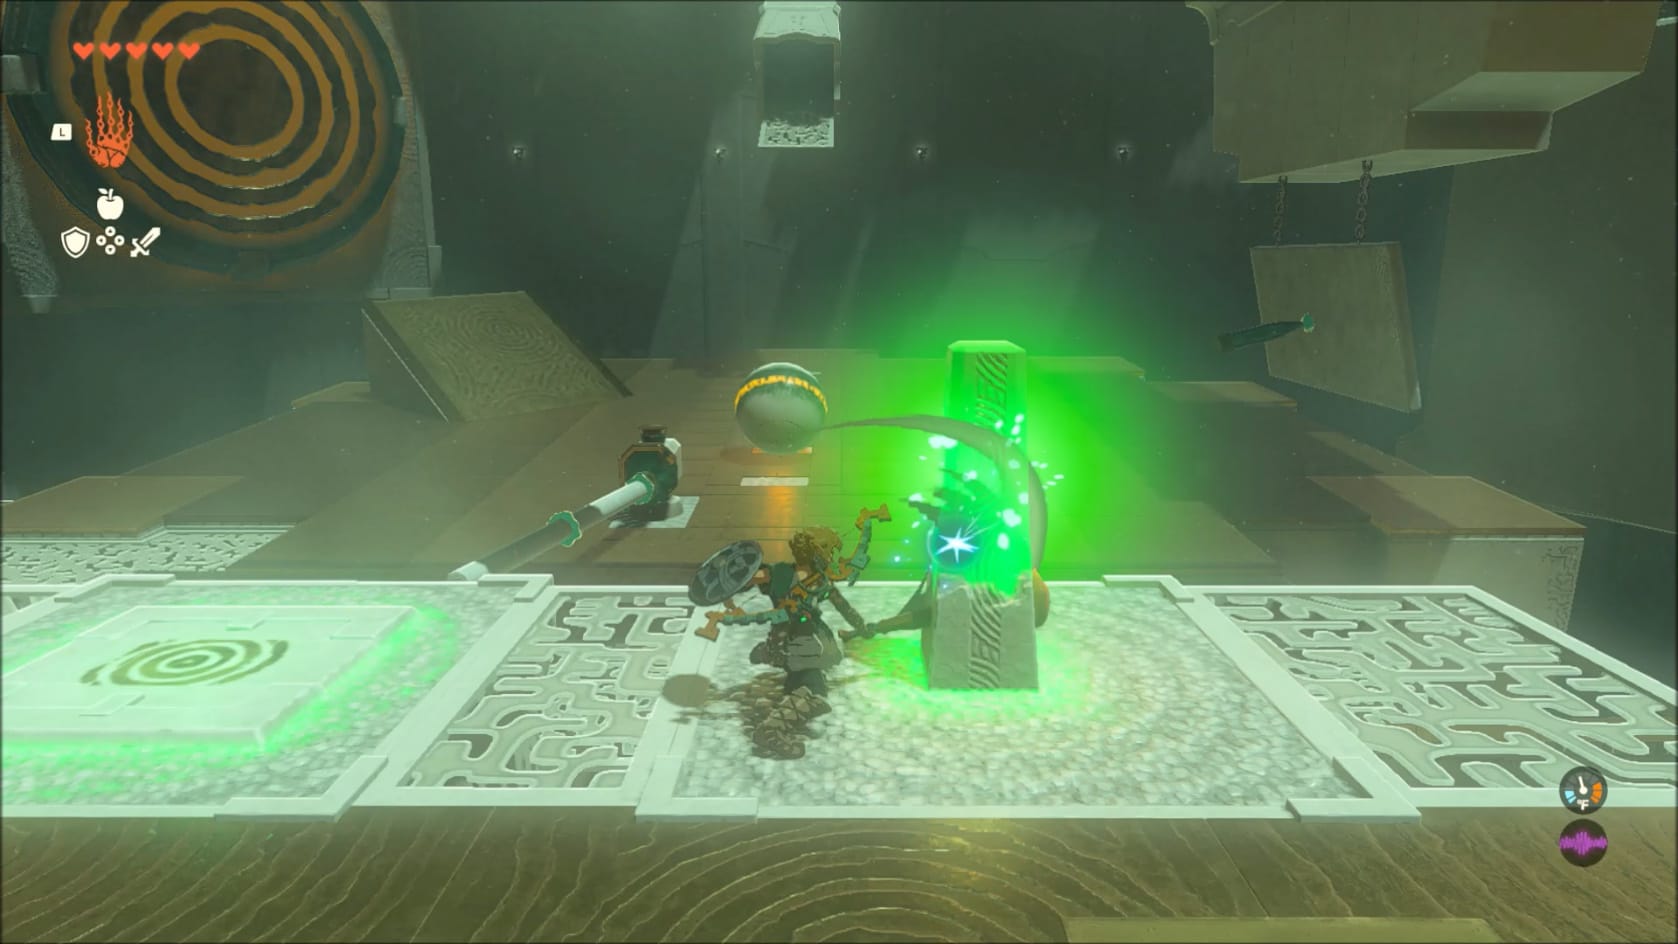
Take the stairs on either side up to get onto the grating platform overlooking this area where you build a little device. Now it’s all about timing. Watch the Large Sphere emerge and roll down the center of the platform. As it reaches the second white tile from the Arm you’ve constructed, hit the Orange Crystal Switch. It will turn green, and the arm will swing. Done right, the Large Sphere will get launched up the ramp and fly into the large Target.
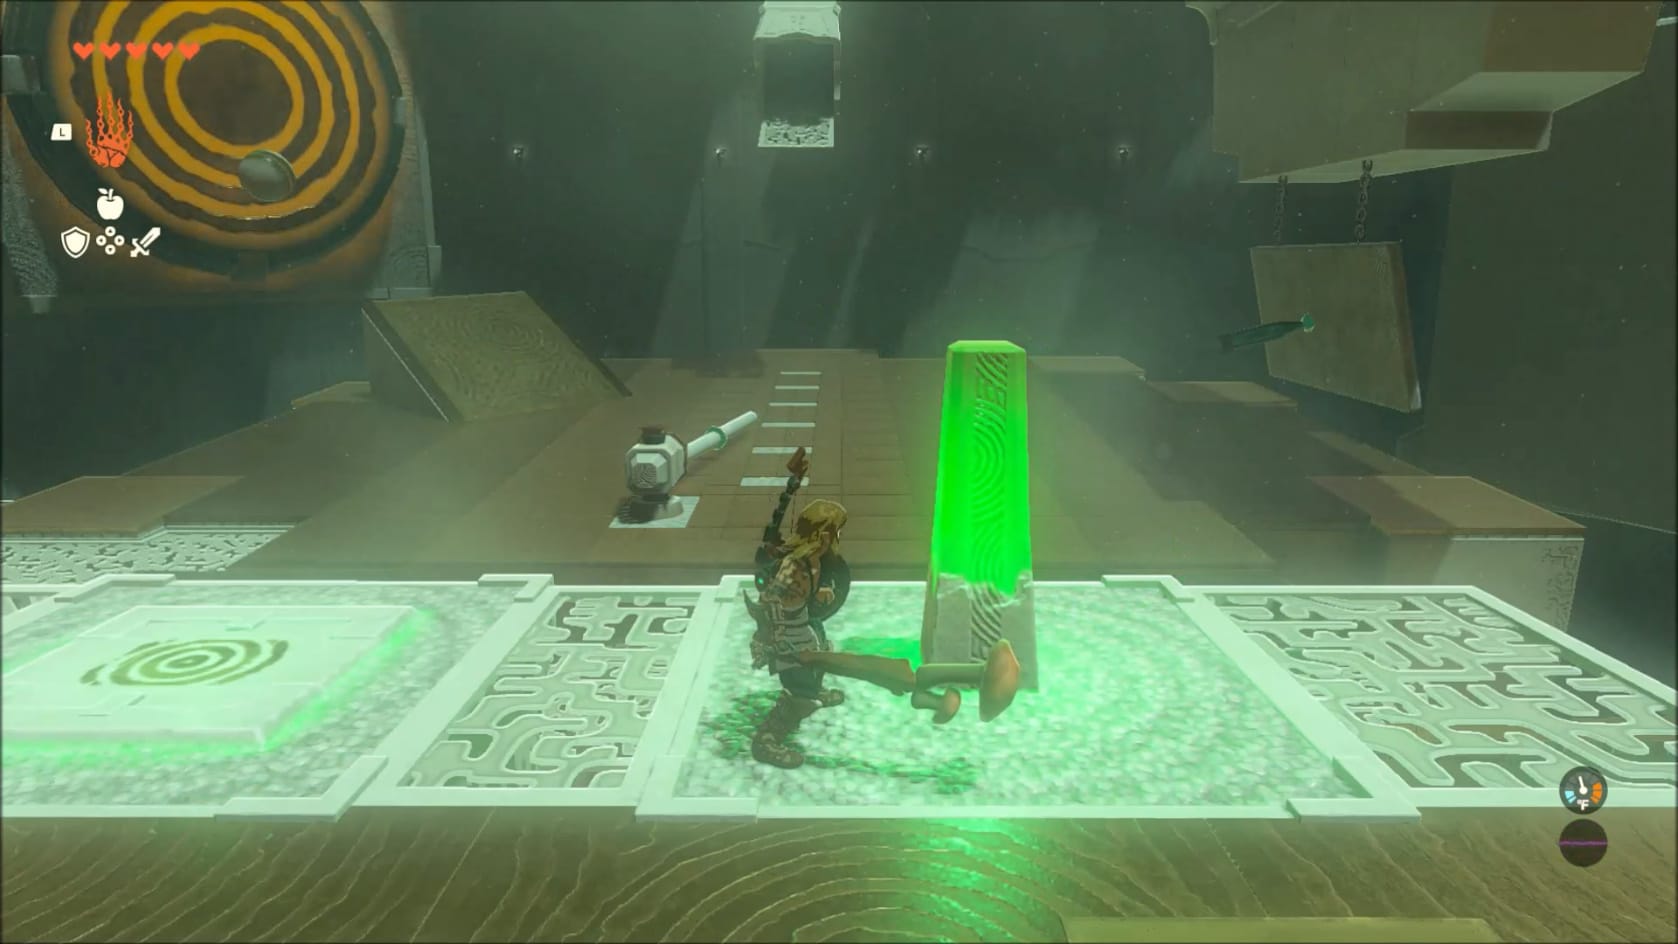
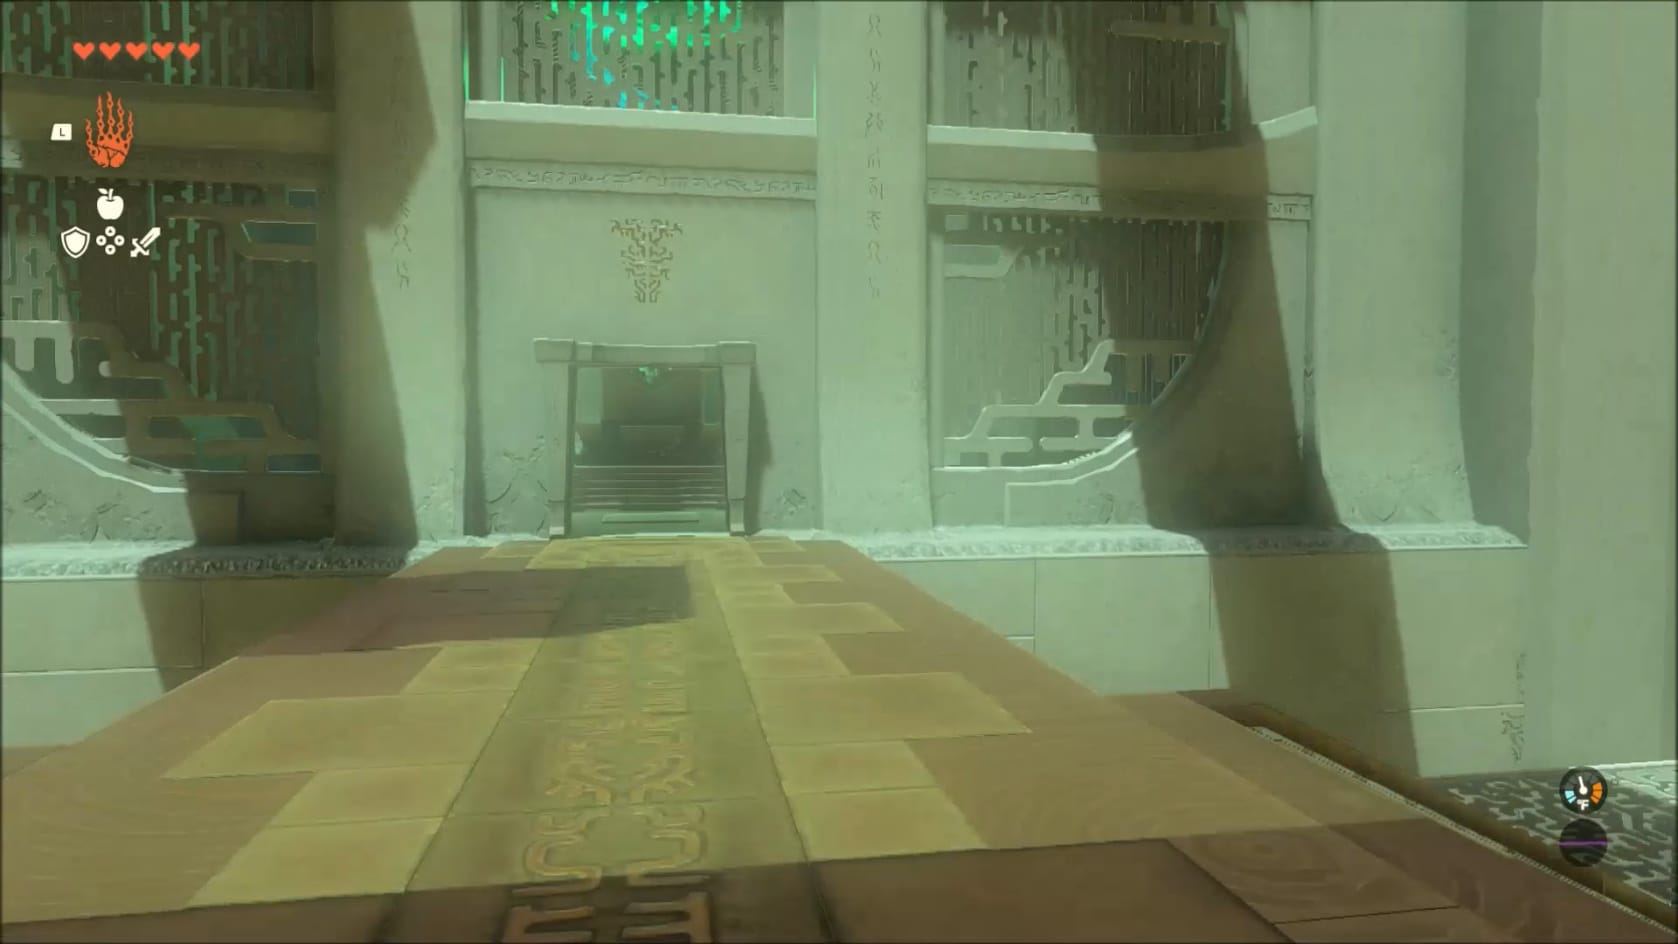
The Sphere strikes the target and opens the door to the Innermost Chamber
All that effort, and it will open the door on the left-hand side of the room. Link can now finish the Shrine. But there’s still the Chest to reach. This one is a bit more complex to execute. But you have the most important part, your device.
Target 2 – Chest
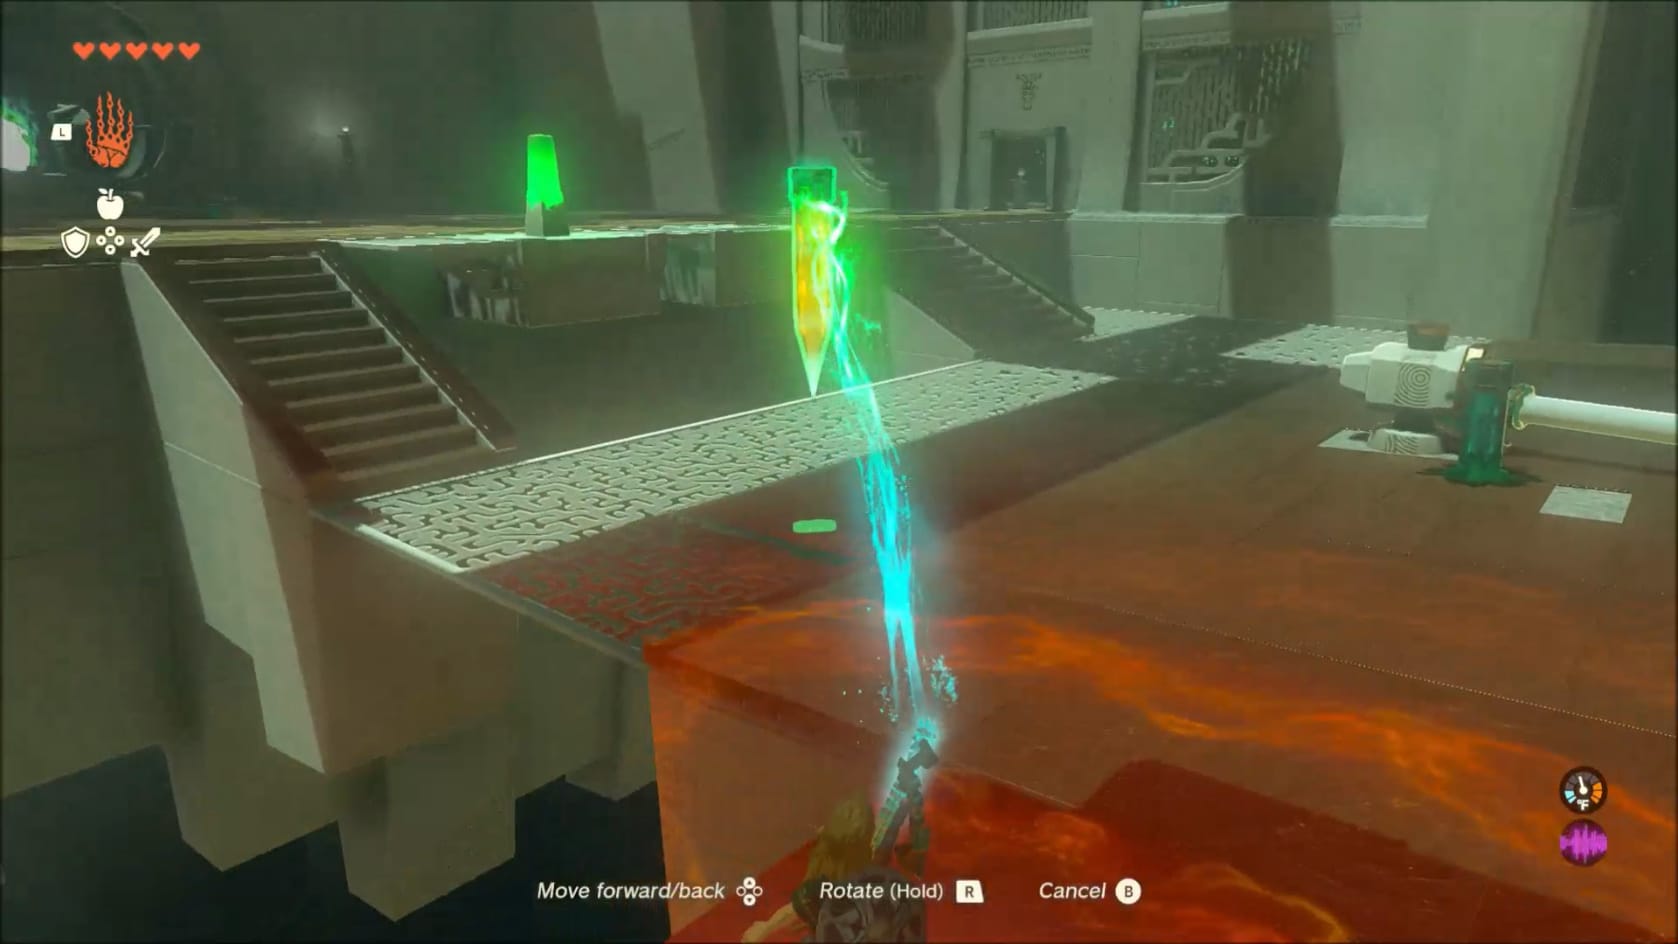
Go back down into the rink. Remember how there are 2 Zonai Spikes? It’s time to use the second one. Grab it and head over to the right-hand side of the rink. You can see the second target sitting behind suspended stone slab that has a Zonai Spike in it.
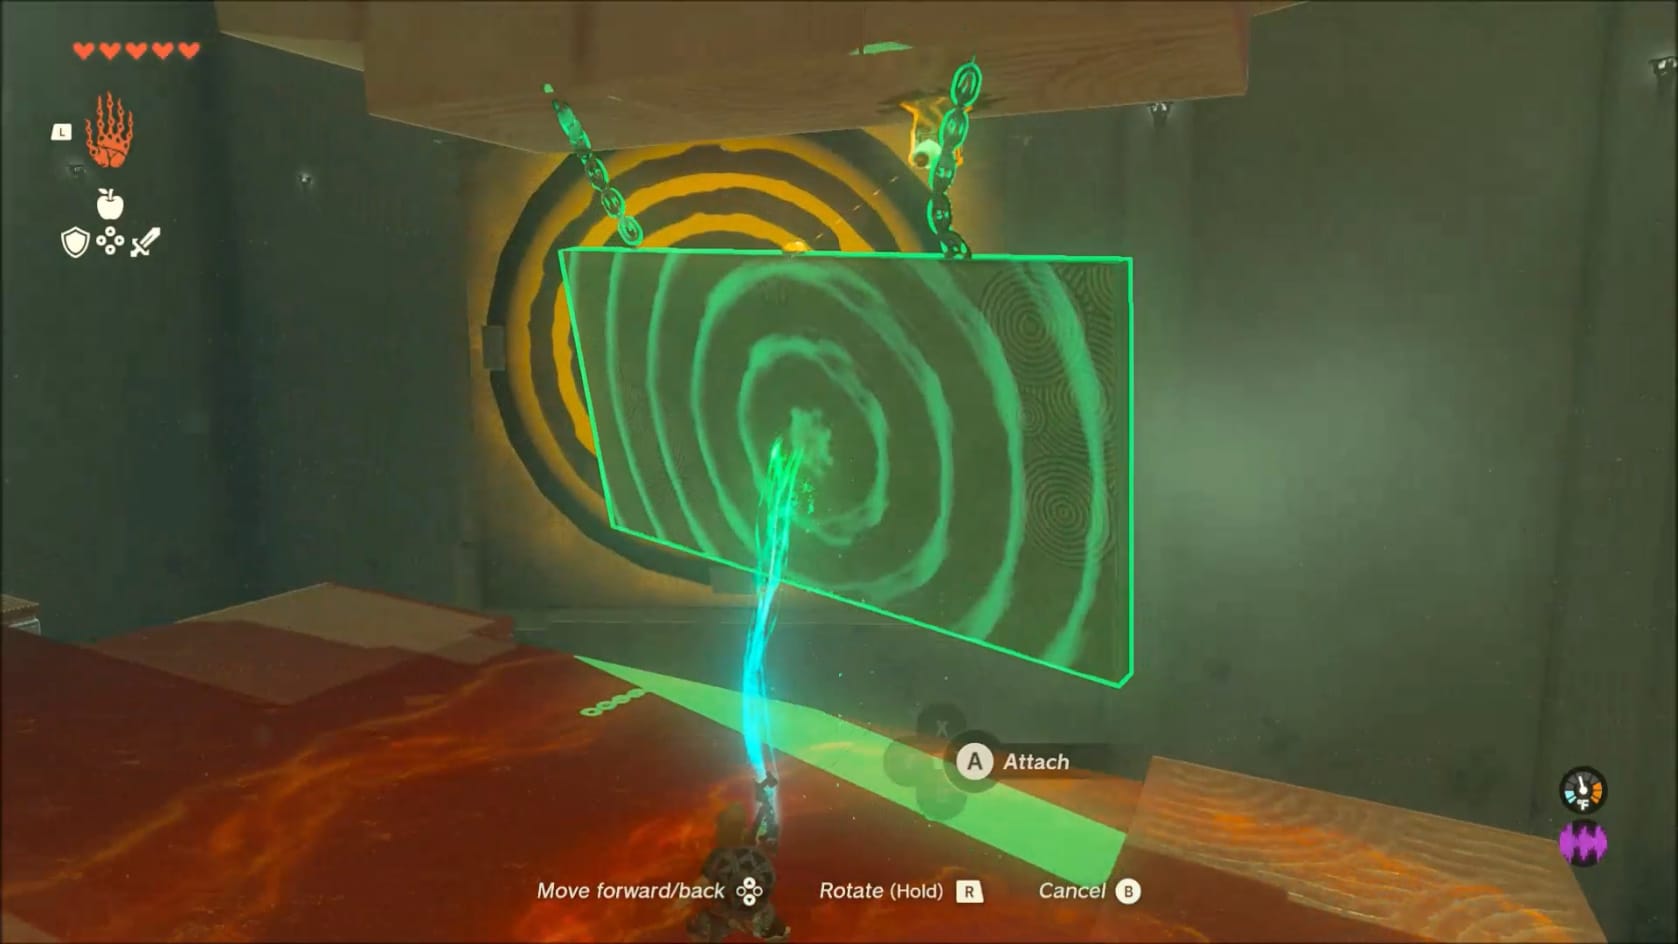
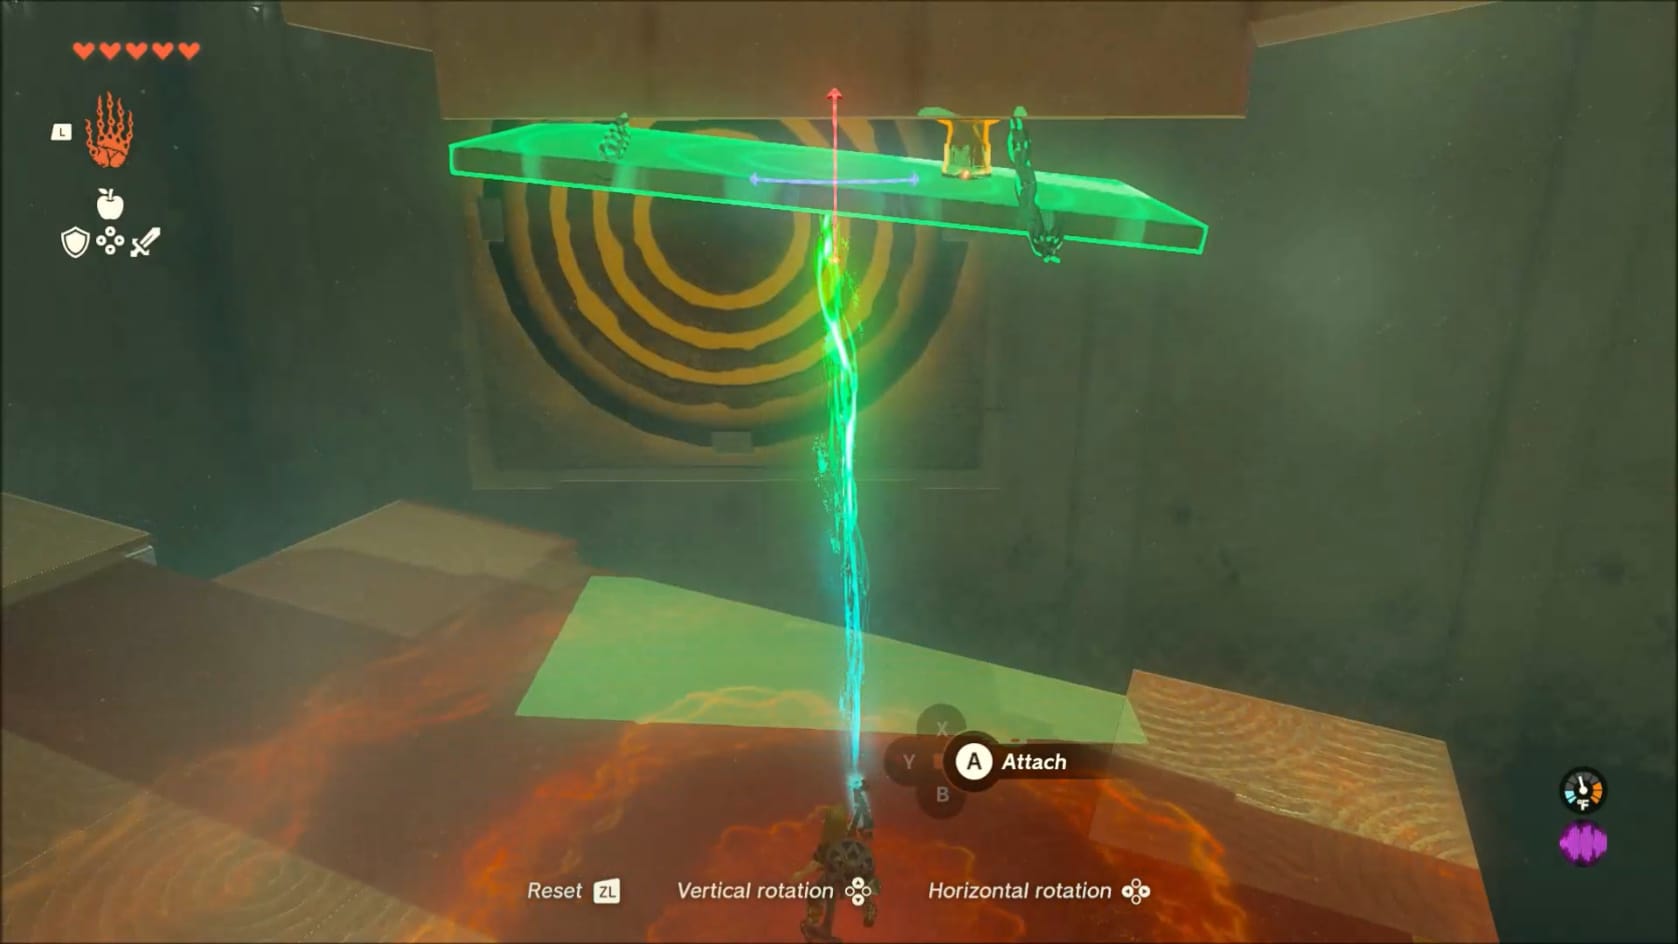
Having sunk the Zonai Spike into the ceiling above the slab, you rotate it to stick it to the Spike to get the Slab out of the way.
There are a few ways to do this, but the core idea is to use the Zonai Spike to get the Suspended Stone Slab out of your way. You can use Ultrahand to stick the flat end of the Zonai Spike to the back of the Stone Slab. Once you do that, grab the spike and slab, rotating them and sticking them into the ceiling above the Slab.
Alternatively, you can use Ultrahand to sink the Spike into the Ceiling above the Slab. With it secured, then use Ultrahand to connect the Stone Slab to the Spike in the Ceiling.
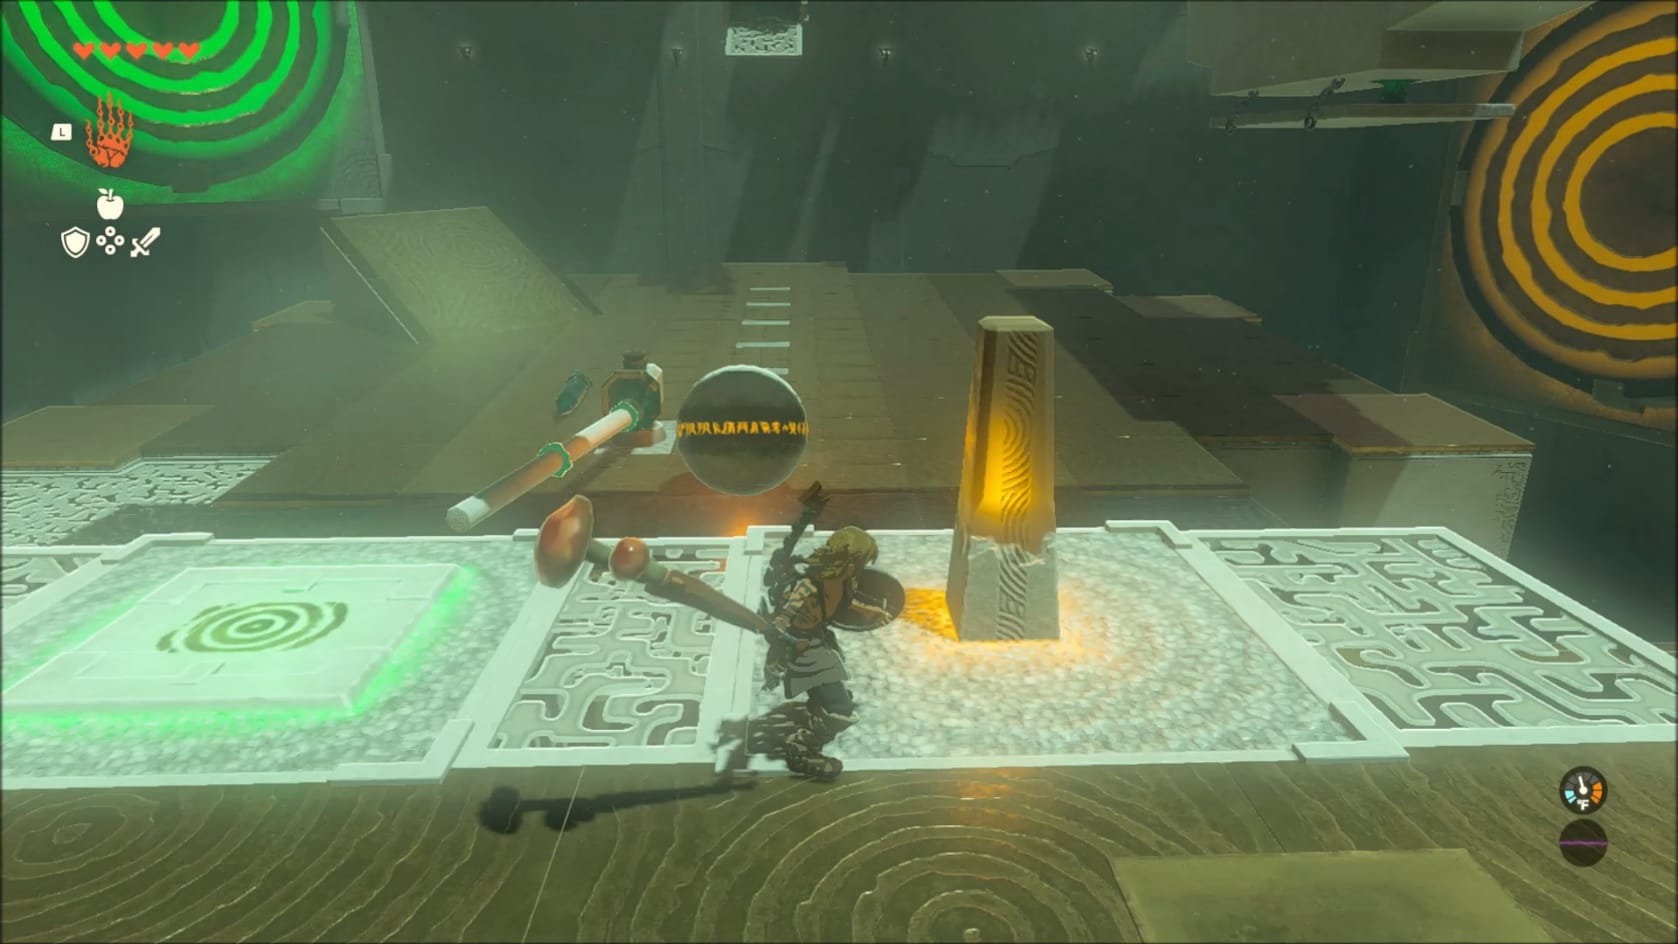
Either way, the Slab is now out of the way. Go back up the stairs and over to the Crystal Switch. Attack the Crystal Switch as the Large Sphere reaches the top of the grating of the rink below you. This will cause the arm to swing with the right timing to send the Sphere into the second target.
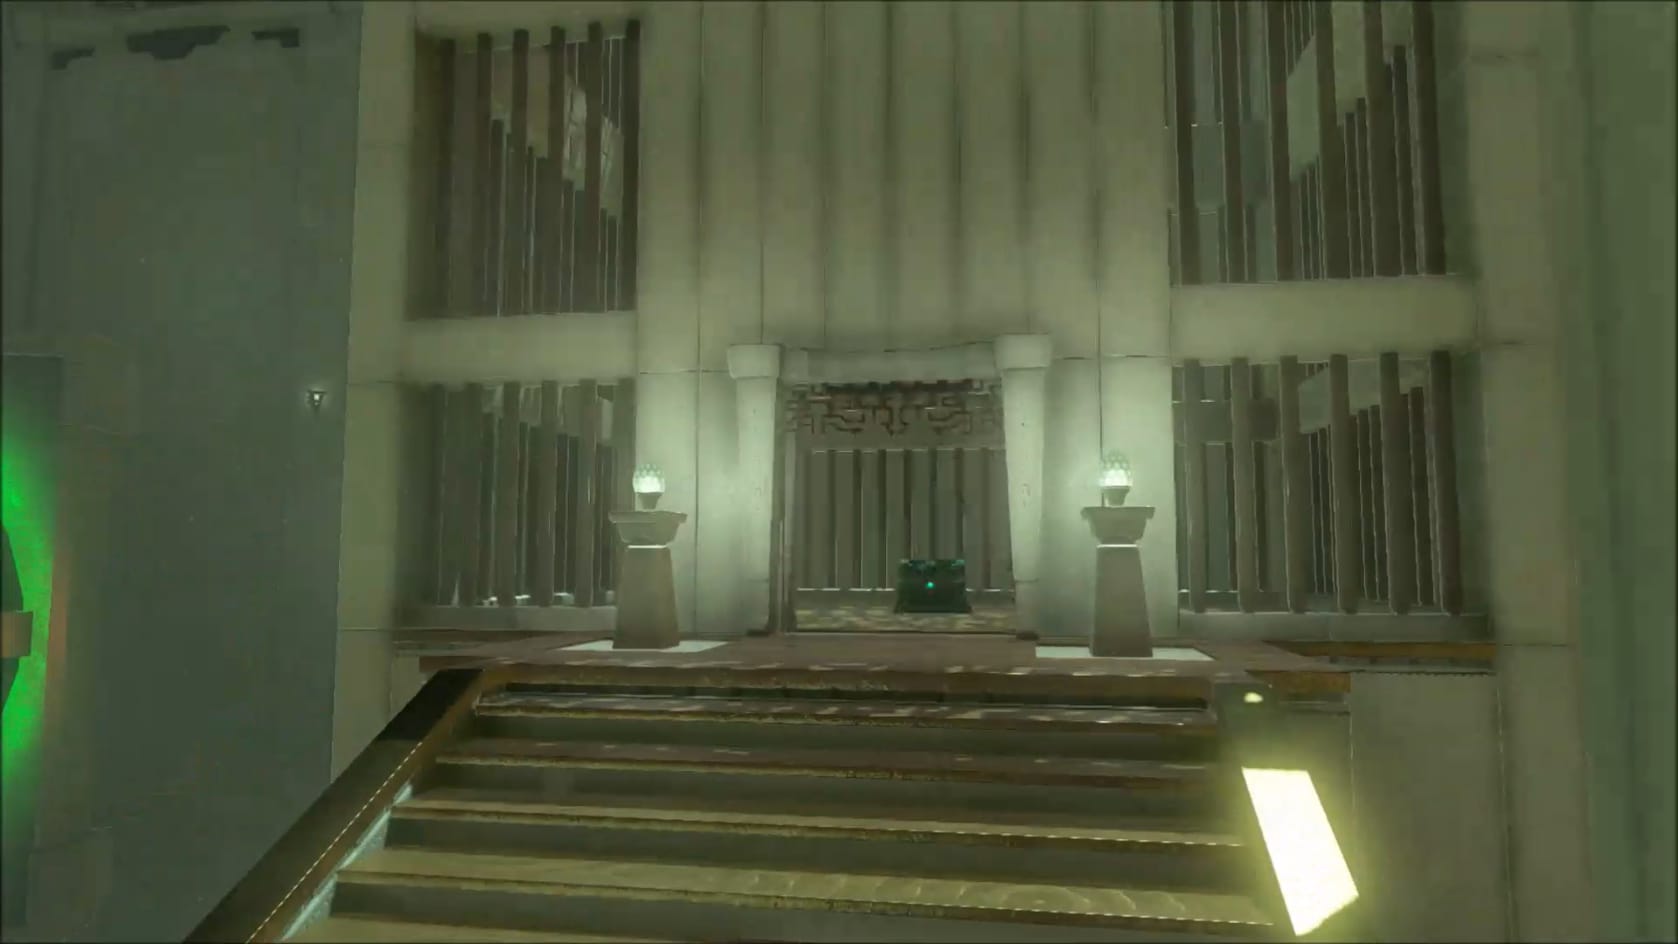
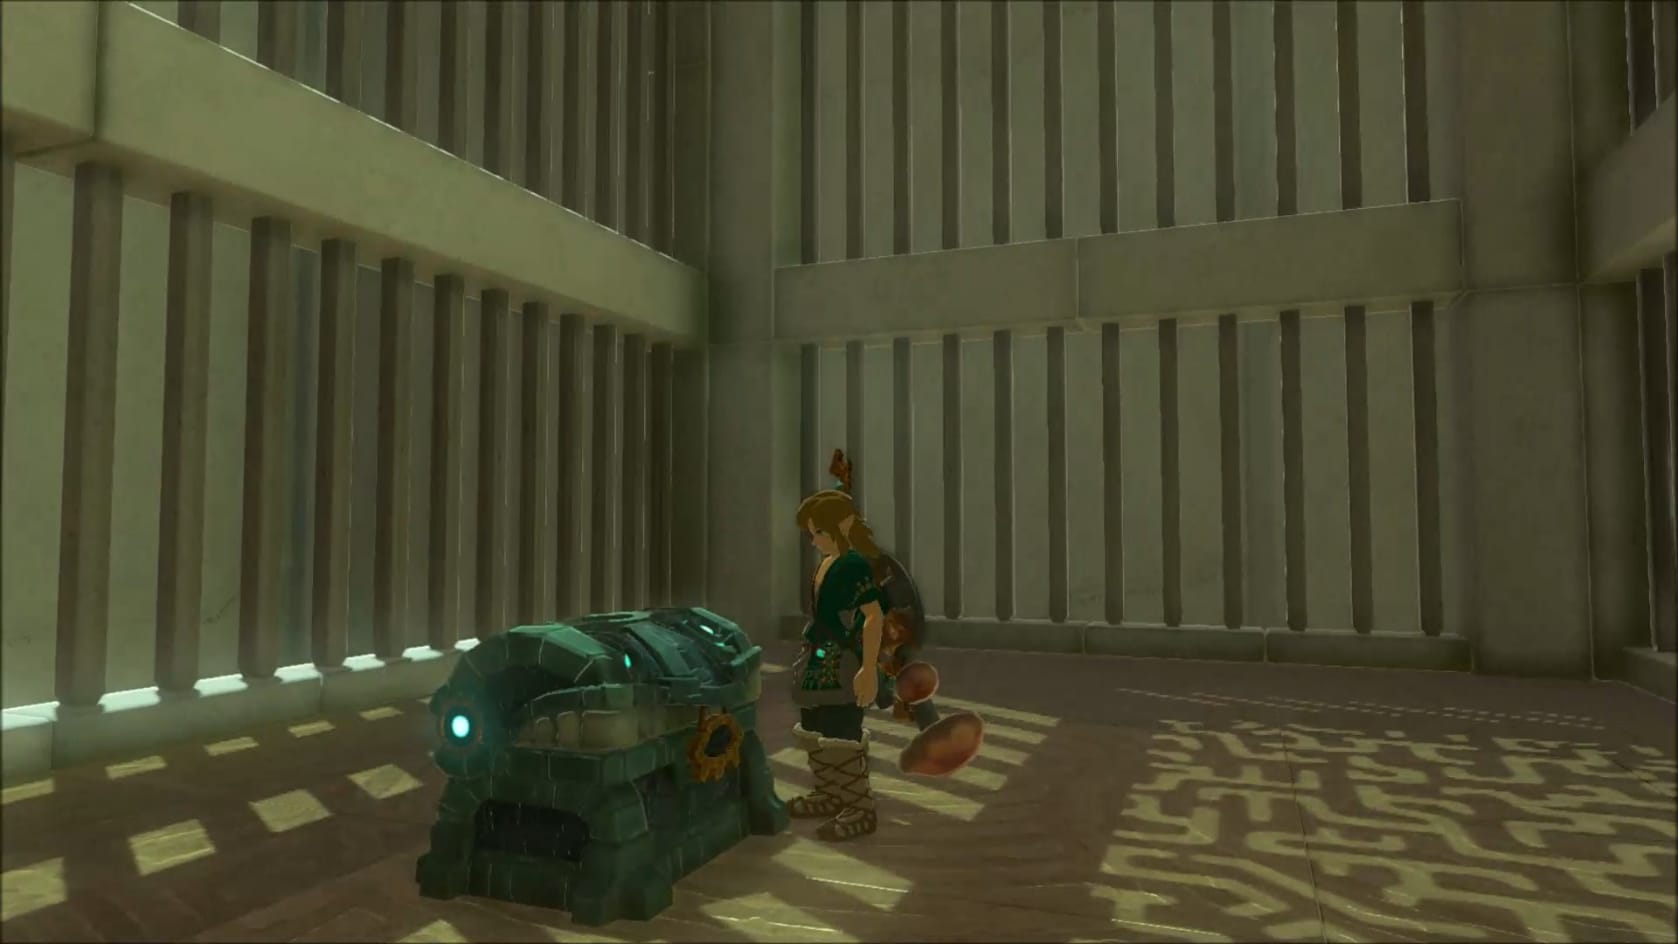
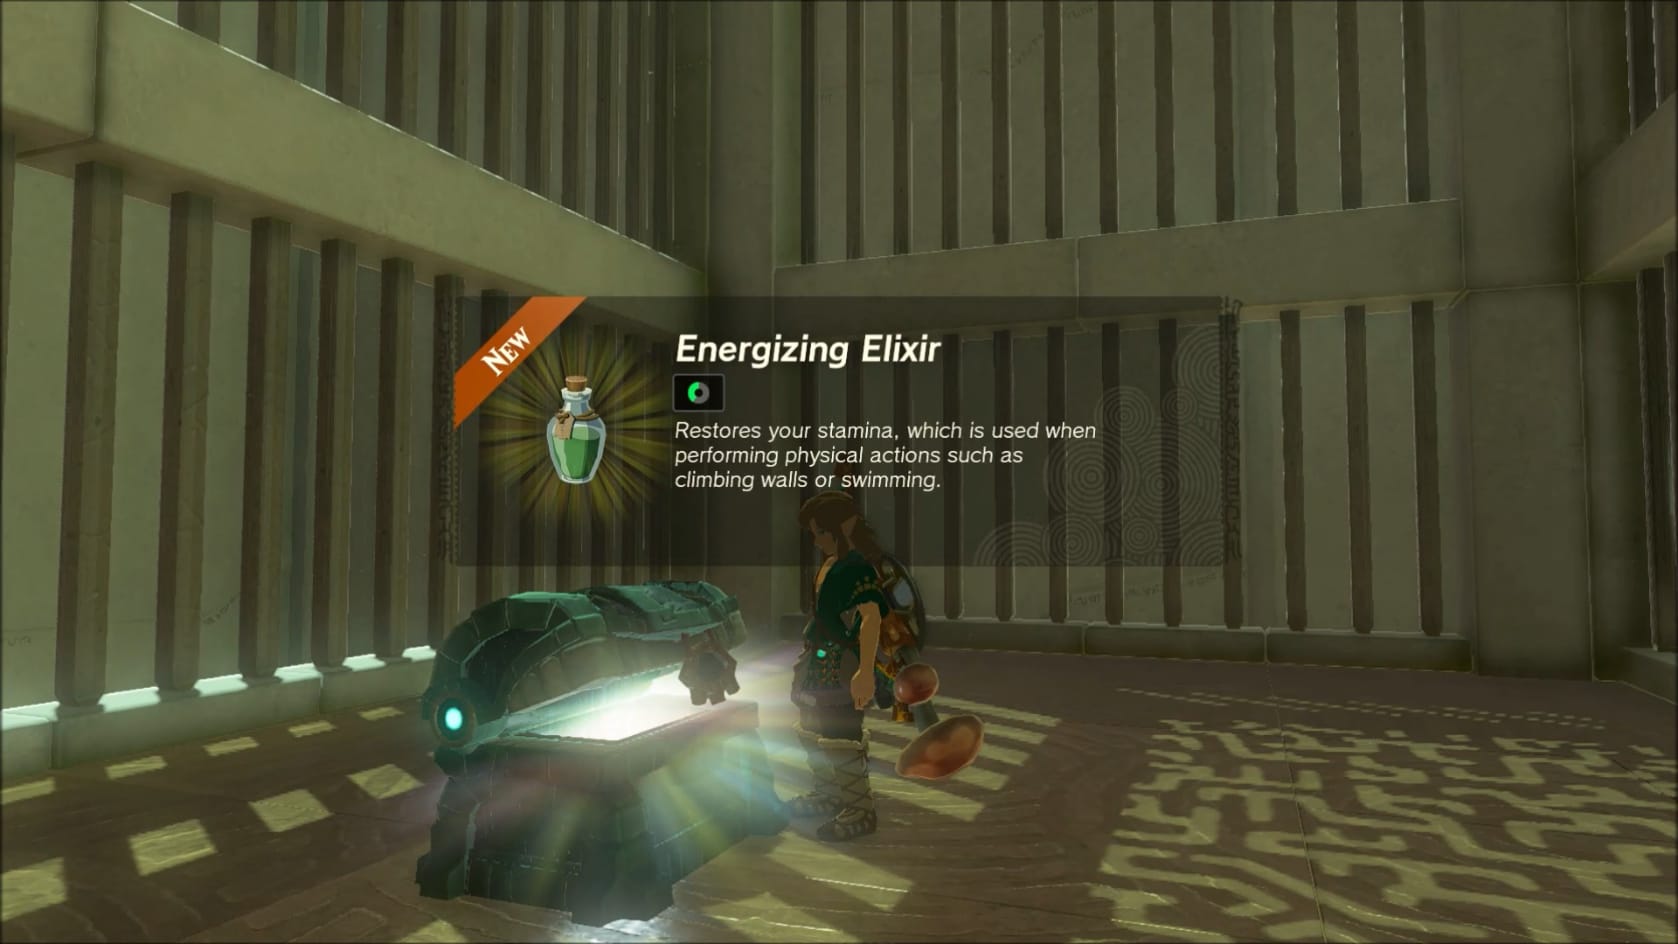
Reaching the Chest and claiming its contents.
Head over to the right and up the stairs. Get into the previously inaccessible chamber. Open the Chest to receive an Energizing Elixir.
Innermost Chamber
Finishing the Shrine and claiming the Light of Blessing
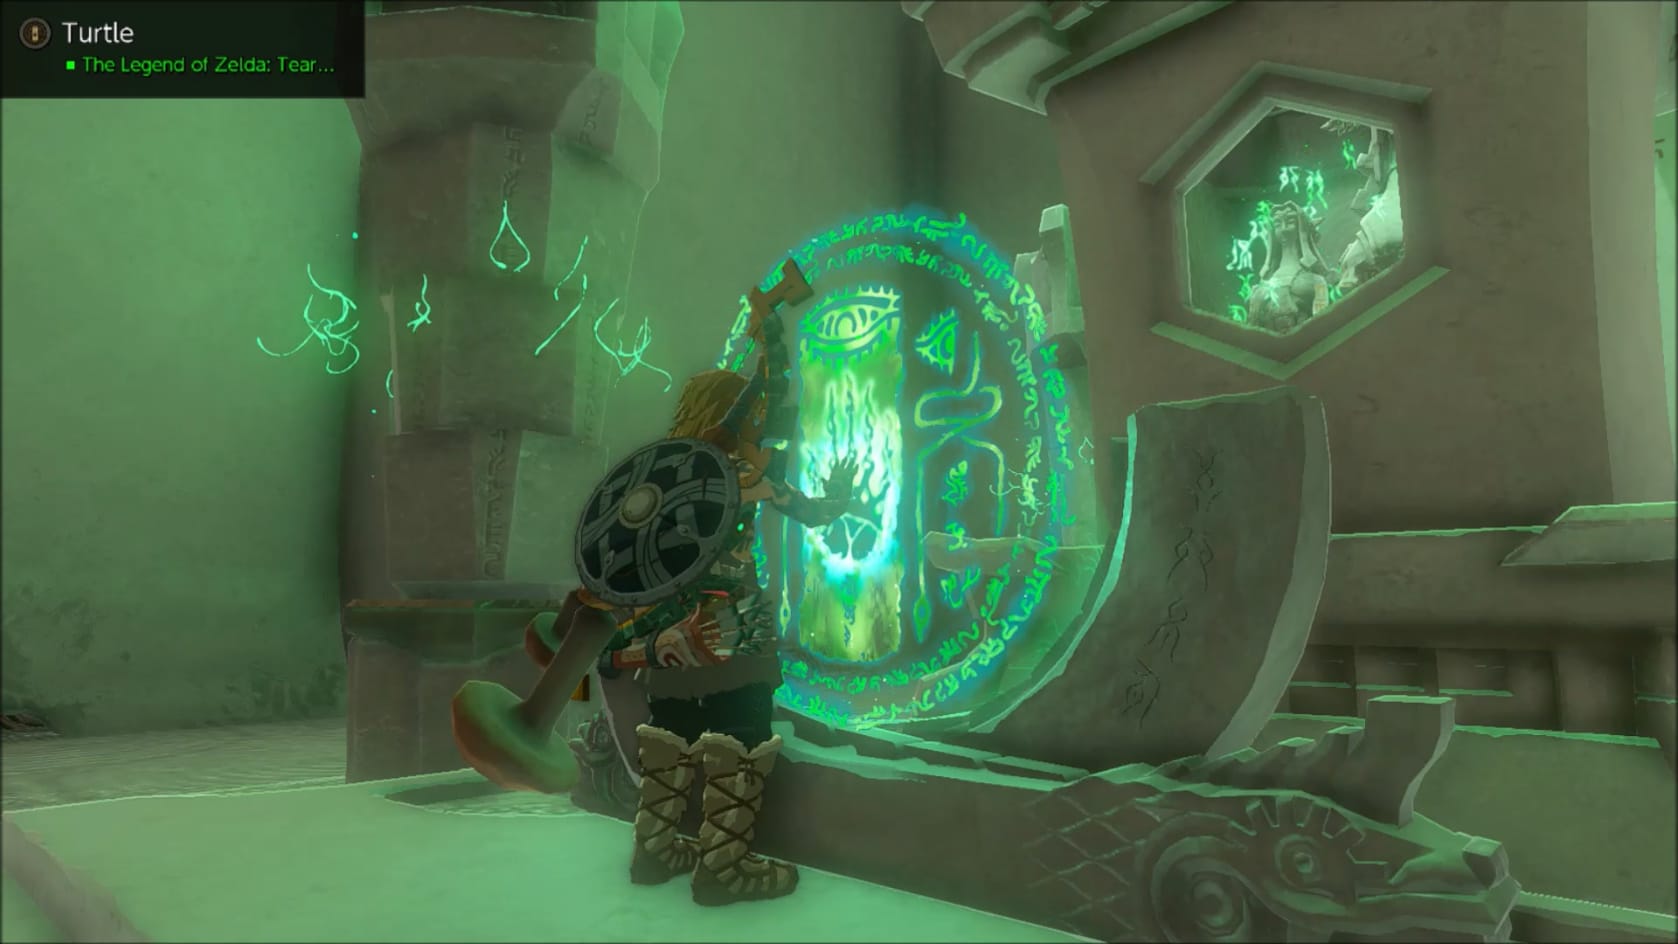
With everything collected now, head across the room into the opposite doorway. This will bring you to the Innermost Chamber. Approach the statues and interact with the Glyph in front of them. This will have the statues appear and grant Link a Blessing of Light.
Video Walkthrough
Video Walkthrough