Legend of Zelda: Tears of the Kingdom – Oromuwak Shrine: A Launching Device Guide
Discover how to complete Oromuwak Shrine in Zelda: Tears of the Kingdom. Use Zonai Rockets and mine carts to solve puzzles, reach the chest, collect a Ruby, and unlock the innermost chamber.
Summary
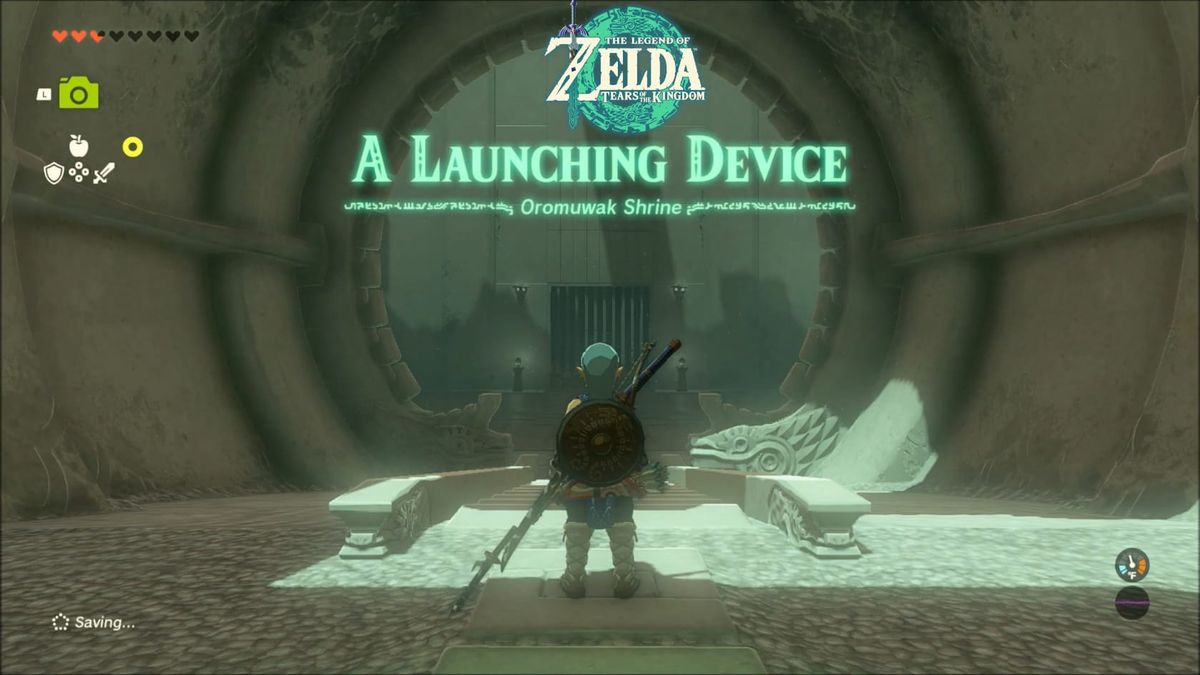
Found surrounded by spines in the Tabantha Frontier, you can either use the nearby ledges to glide over the spines or use Fire to burn the spines and clear them away. Inside, you have the challenge: “A Launching Device.” This is about using Zonai Rockets to solve puzzles. Solve the few puzzles to complete this shrine.
Location
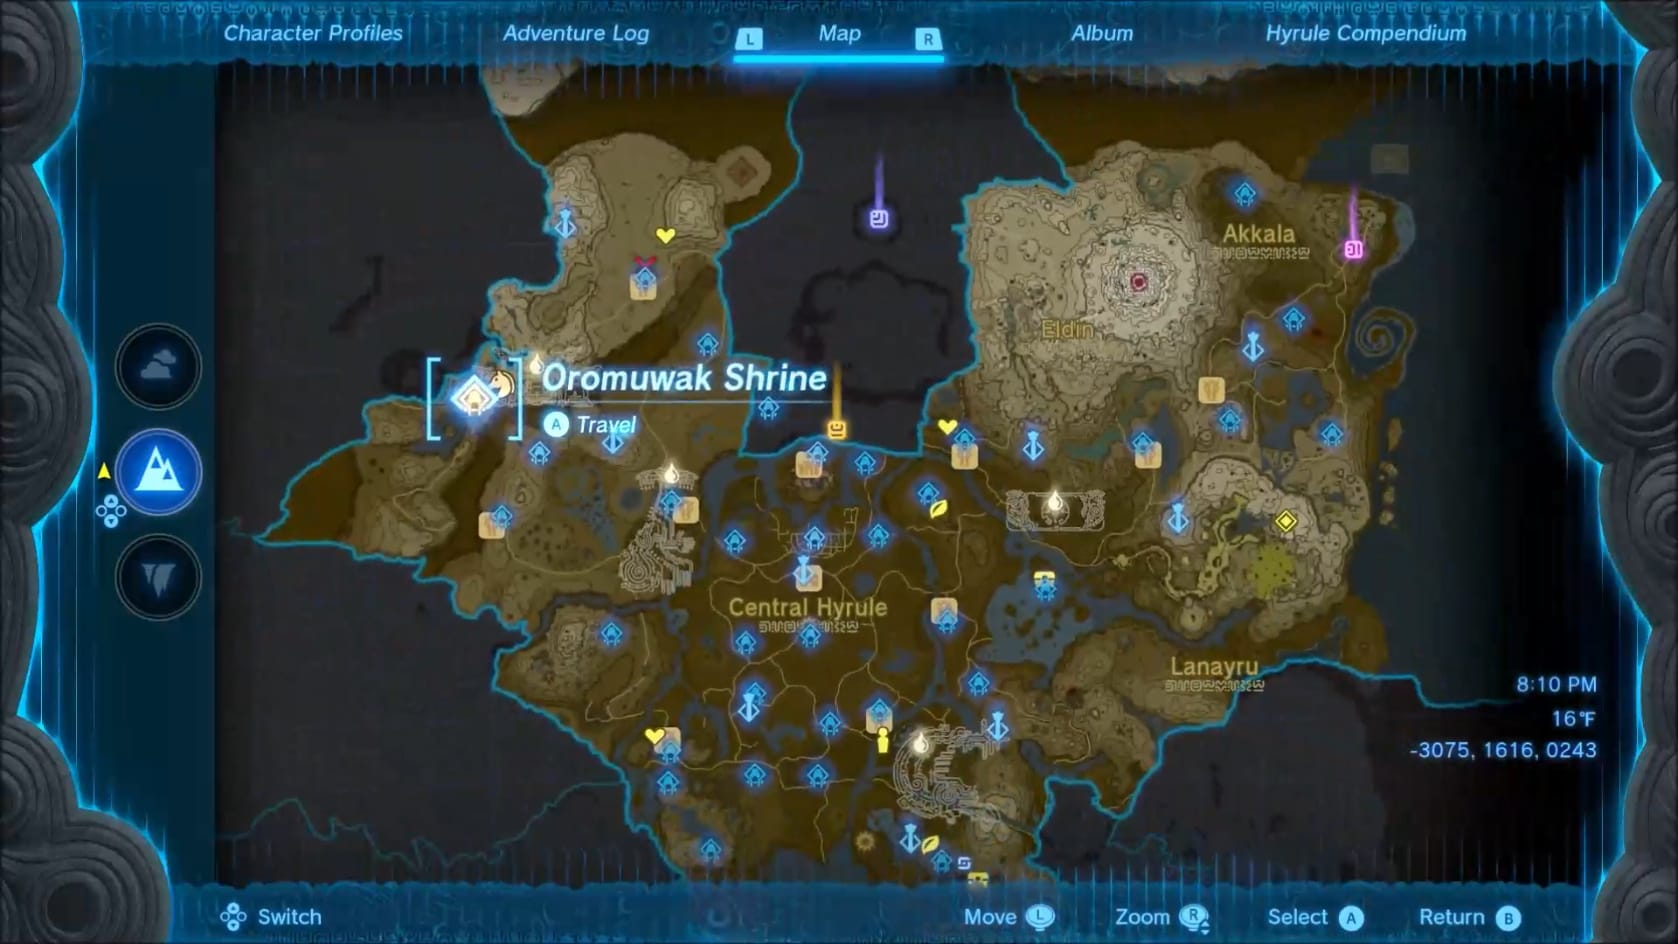
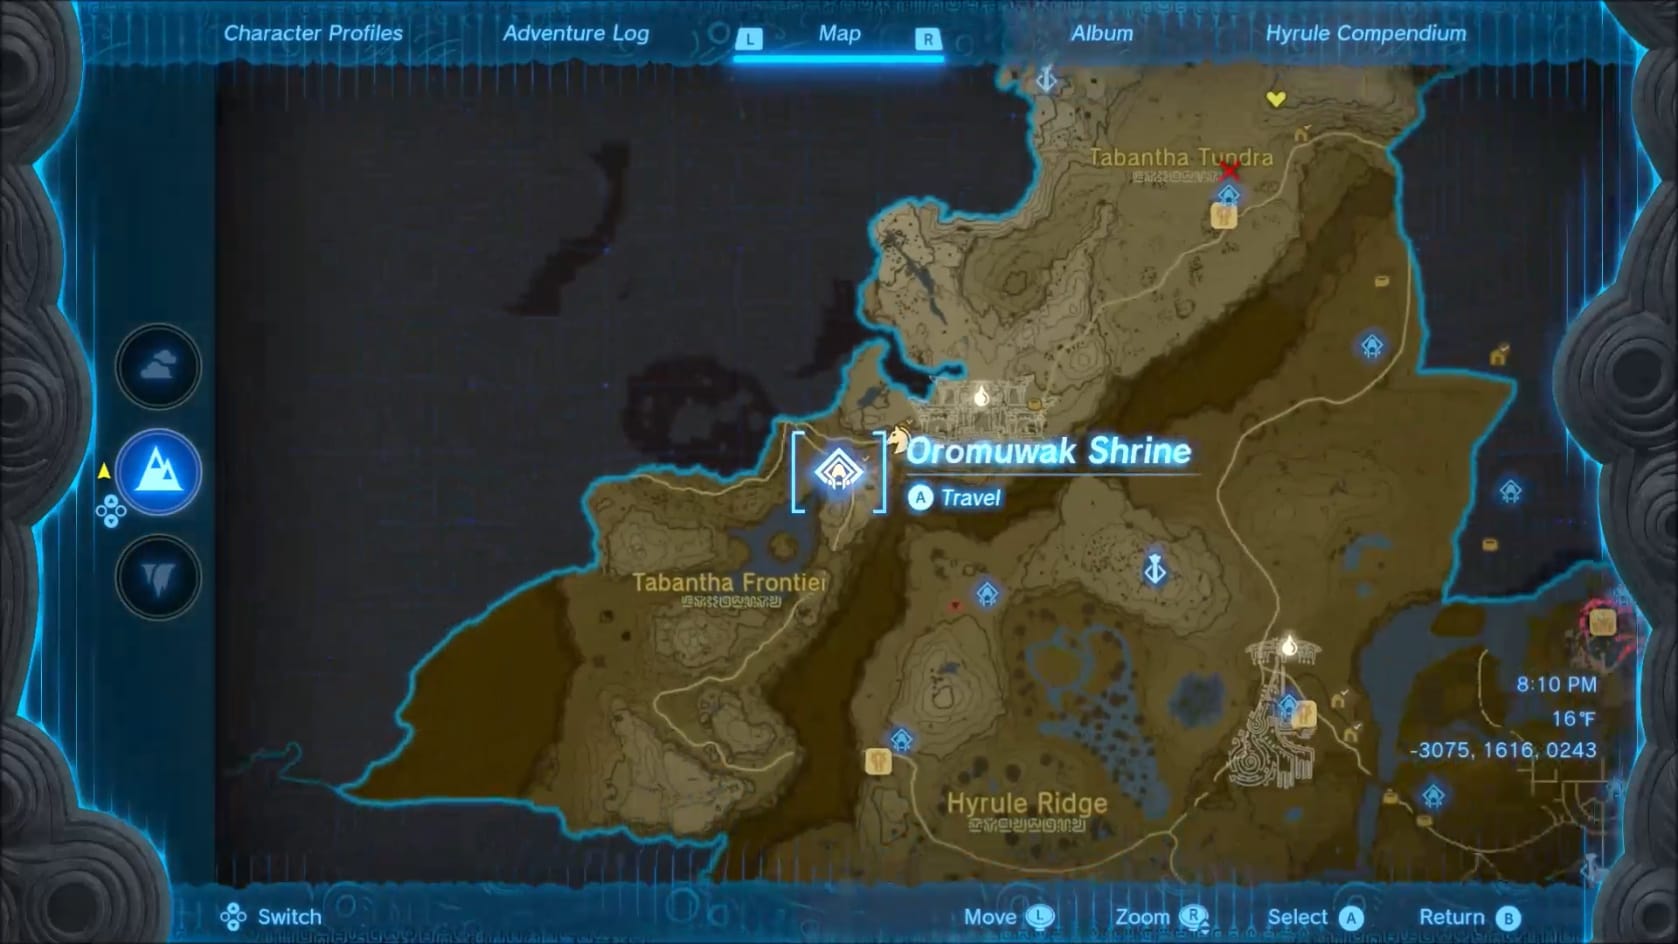
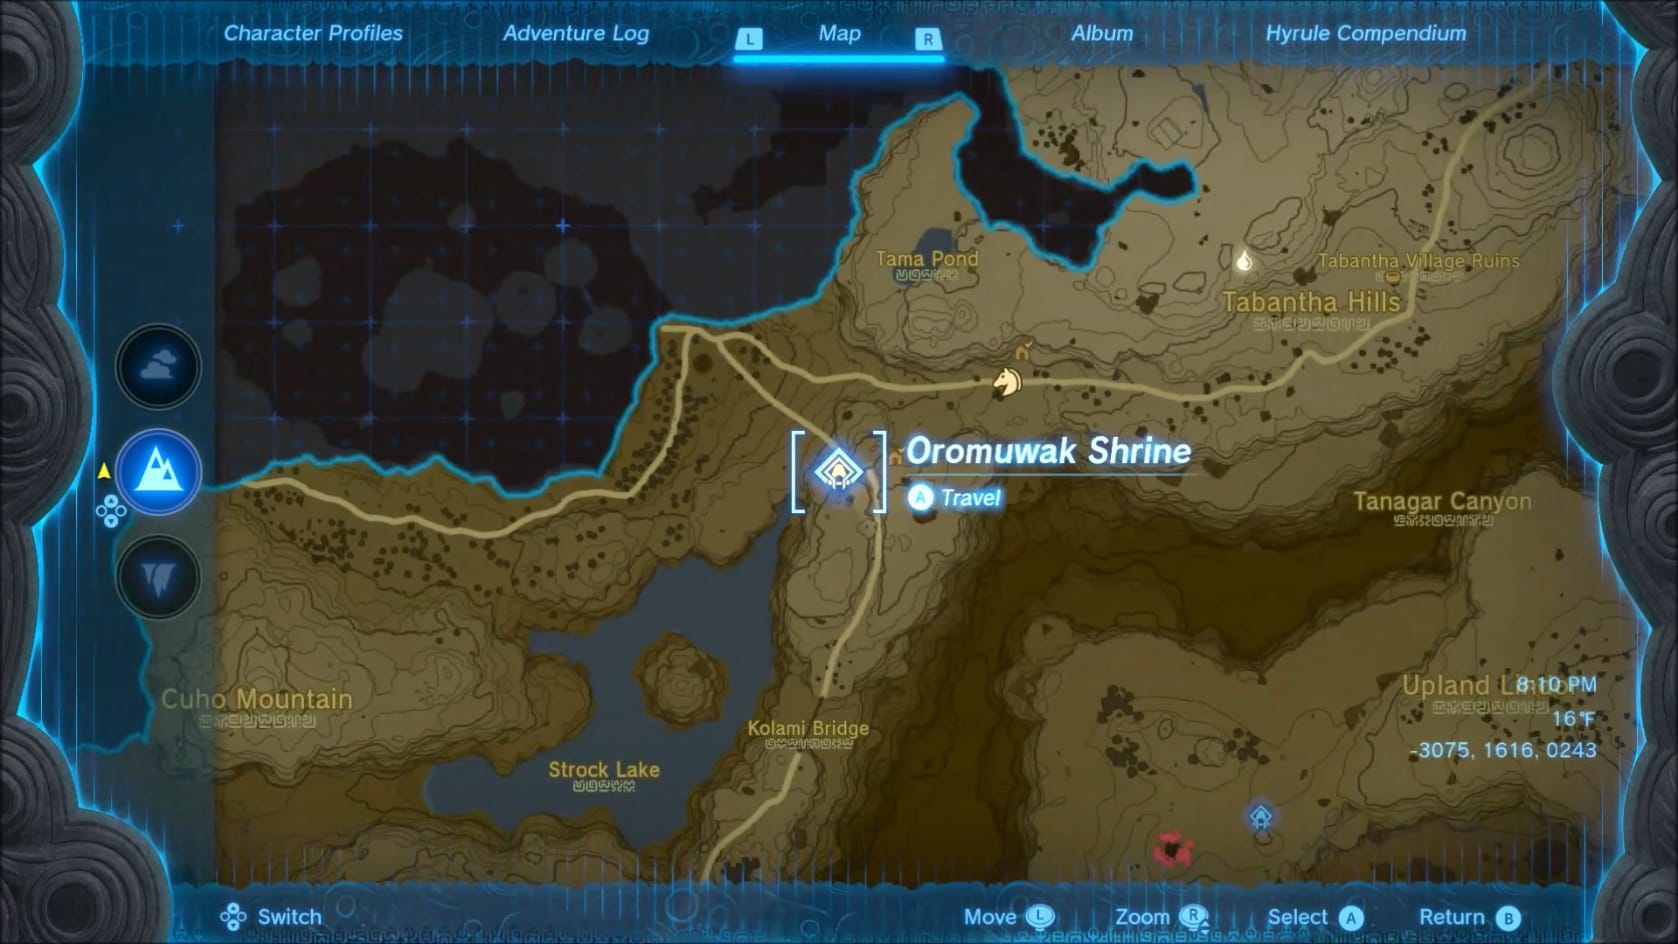
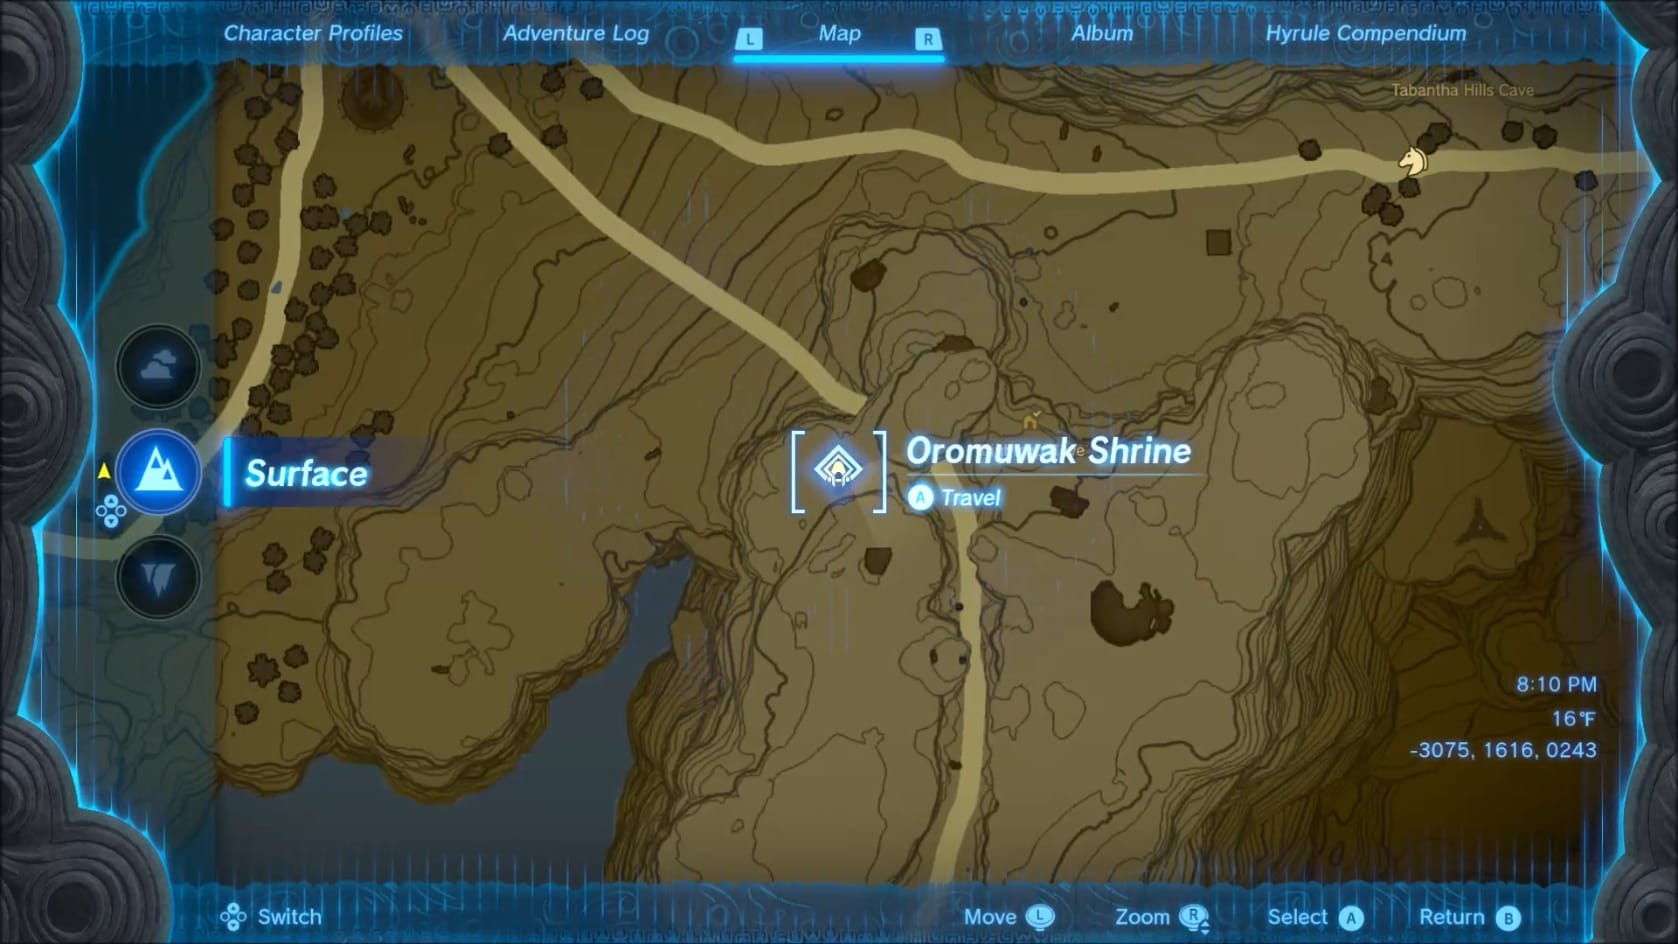
Coordinates: -3075, 1616, 0243
Walkthrough
Entrance
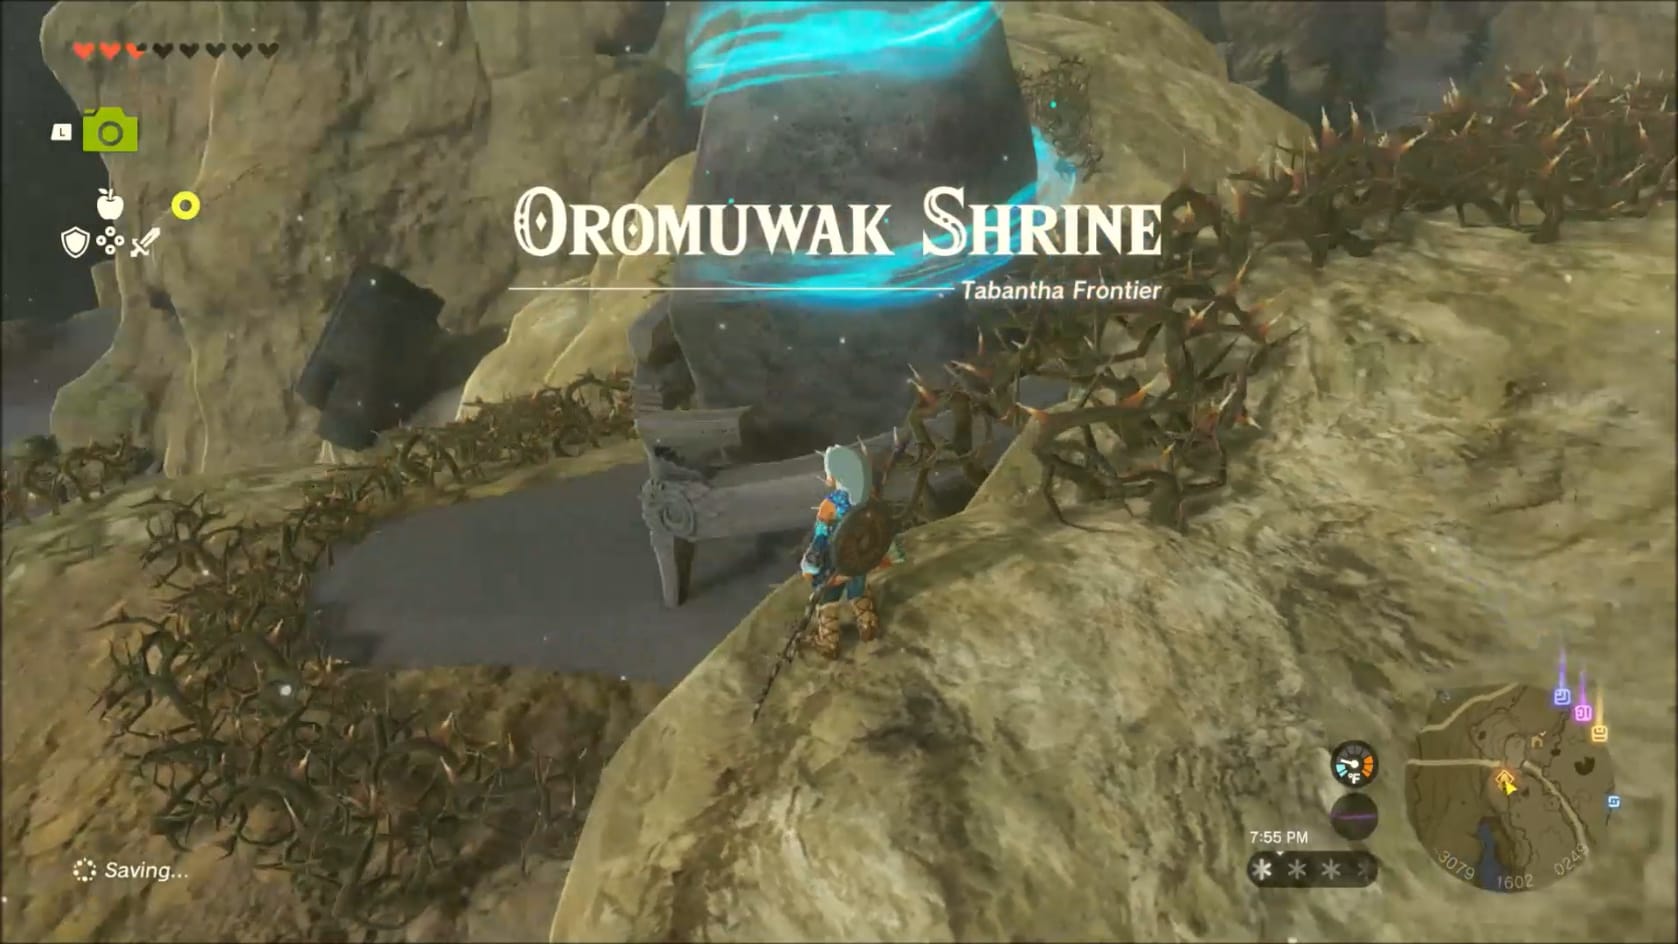
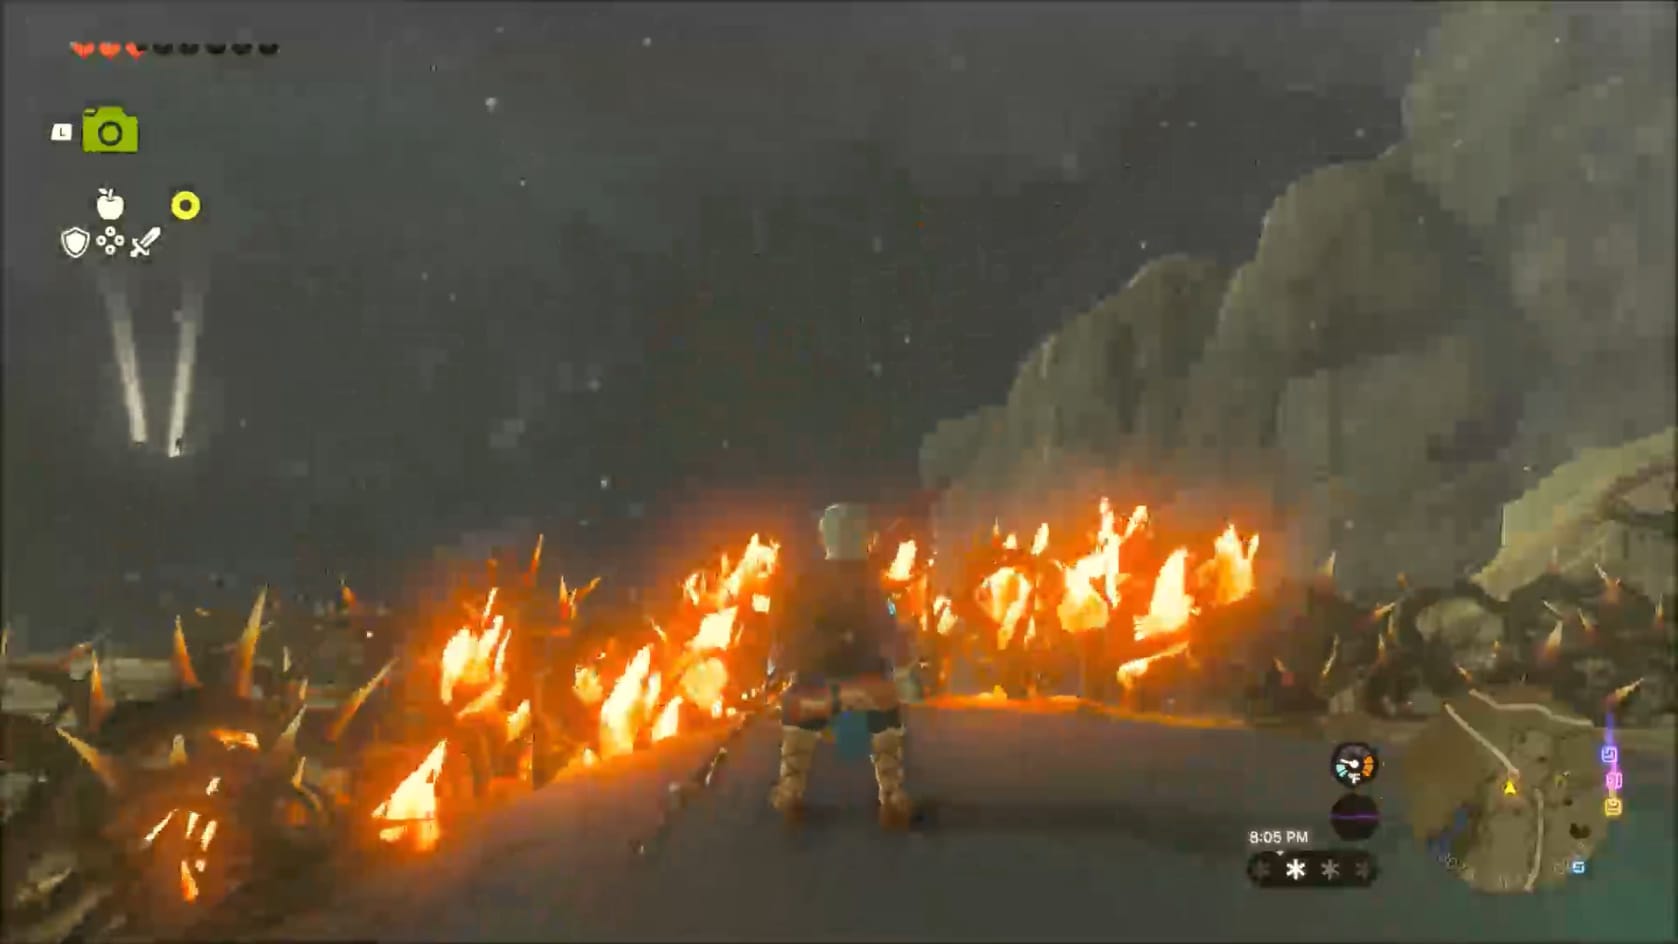
Getting to the entrance of the Shrine
Finding this shrine on the cliff side isn’t too hard. Getting to it poses slightly more of a challenge. The shrine itself is surrounded by spines. To reach the Shrine, you will need to either burn the Spines around it down with a Fire-item or use the nearby ledge to glide over the spines.
Puzzle 1
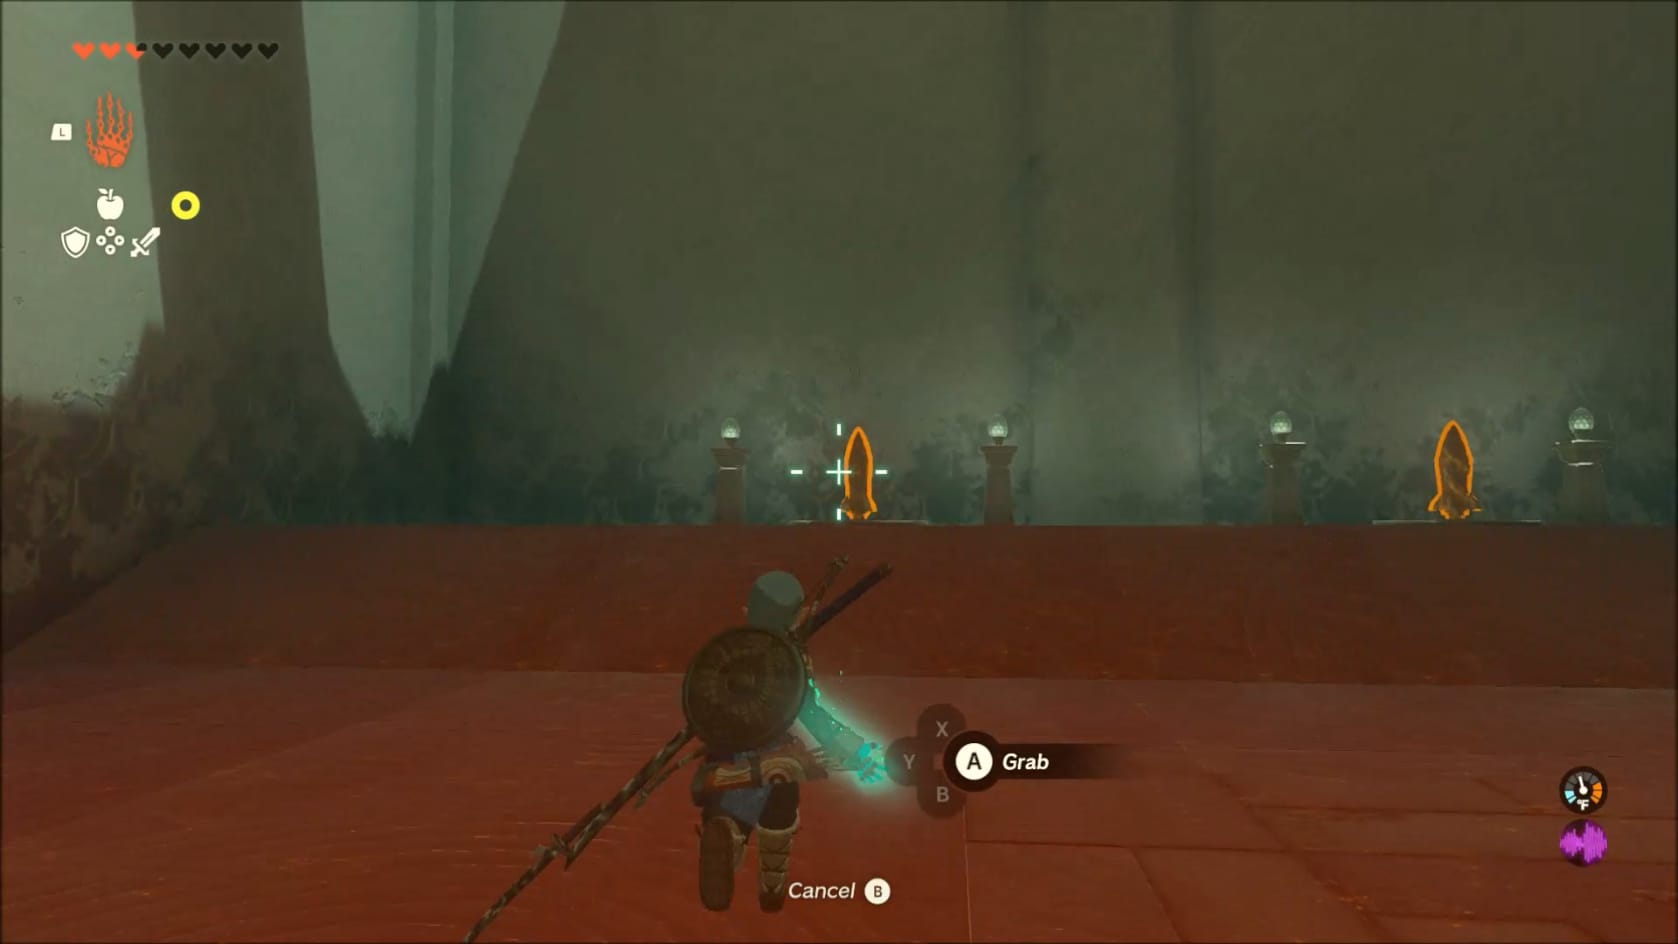
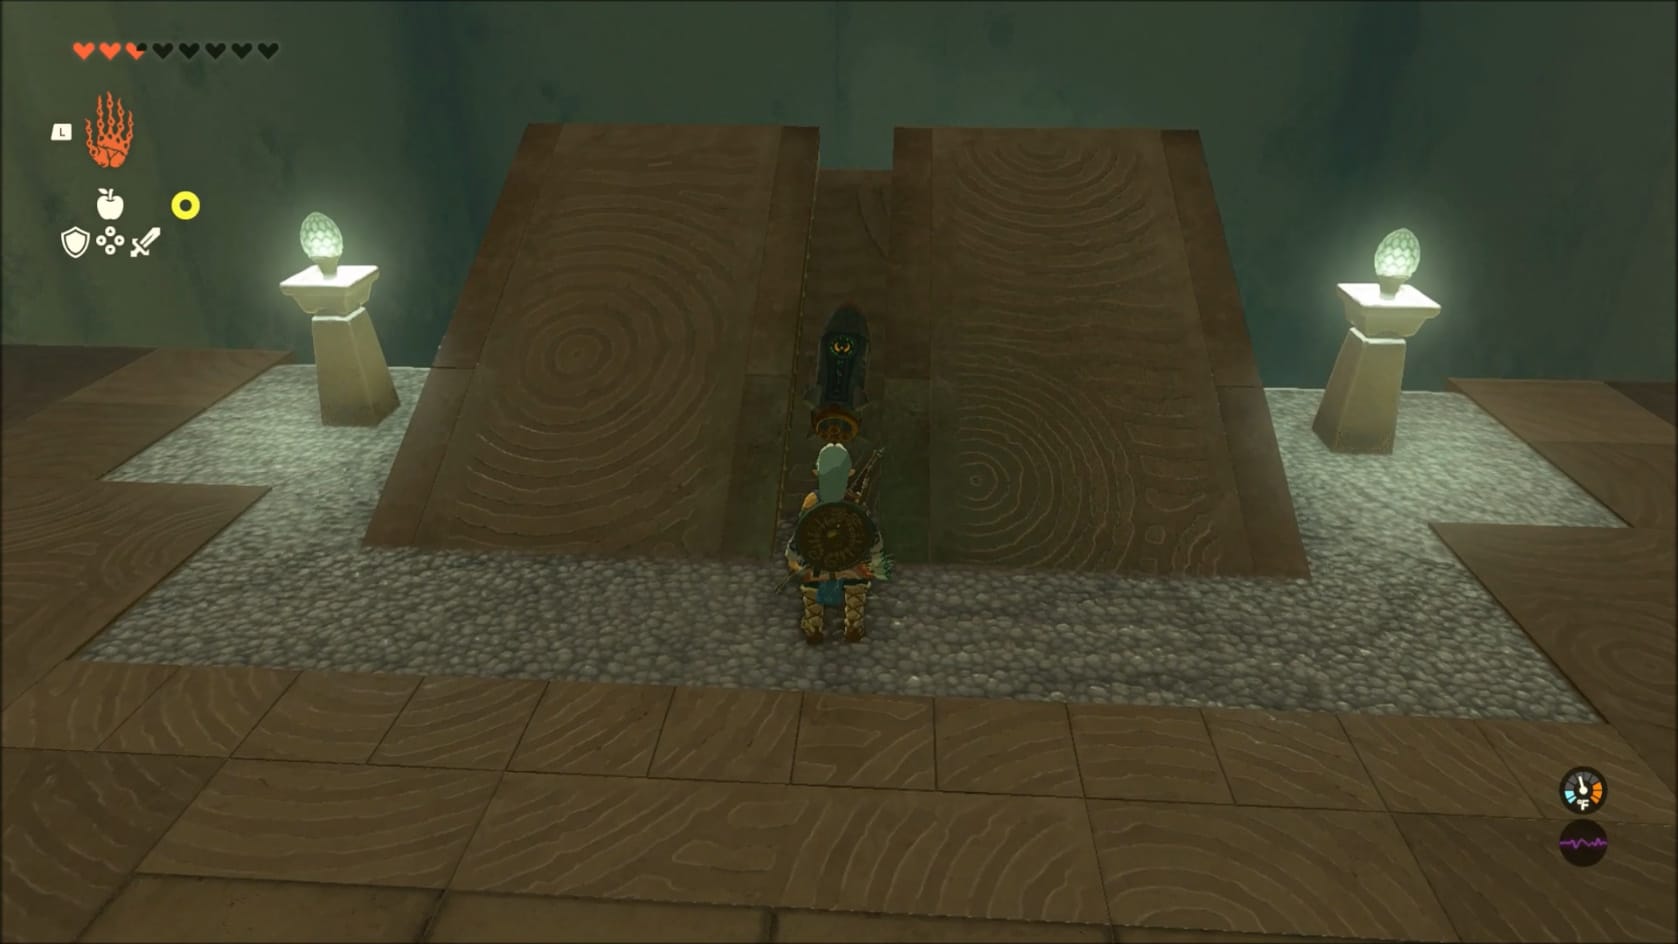
Solving the first Puzzle with a Zonai Rocket
Take the stairs down into the first chamber. Getting into this first chamber, you will find a pair of Zonai Rockets on the right. On the left you will see a ramp with a target set on the wall.
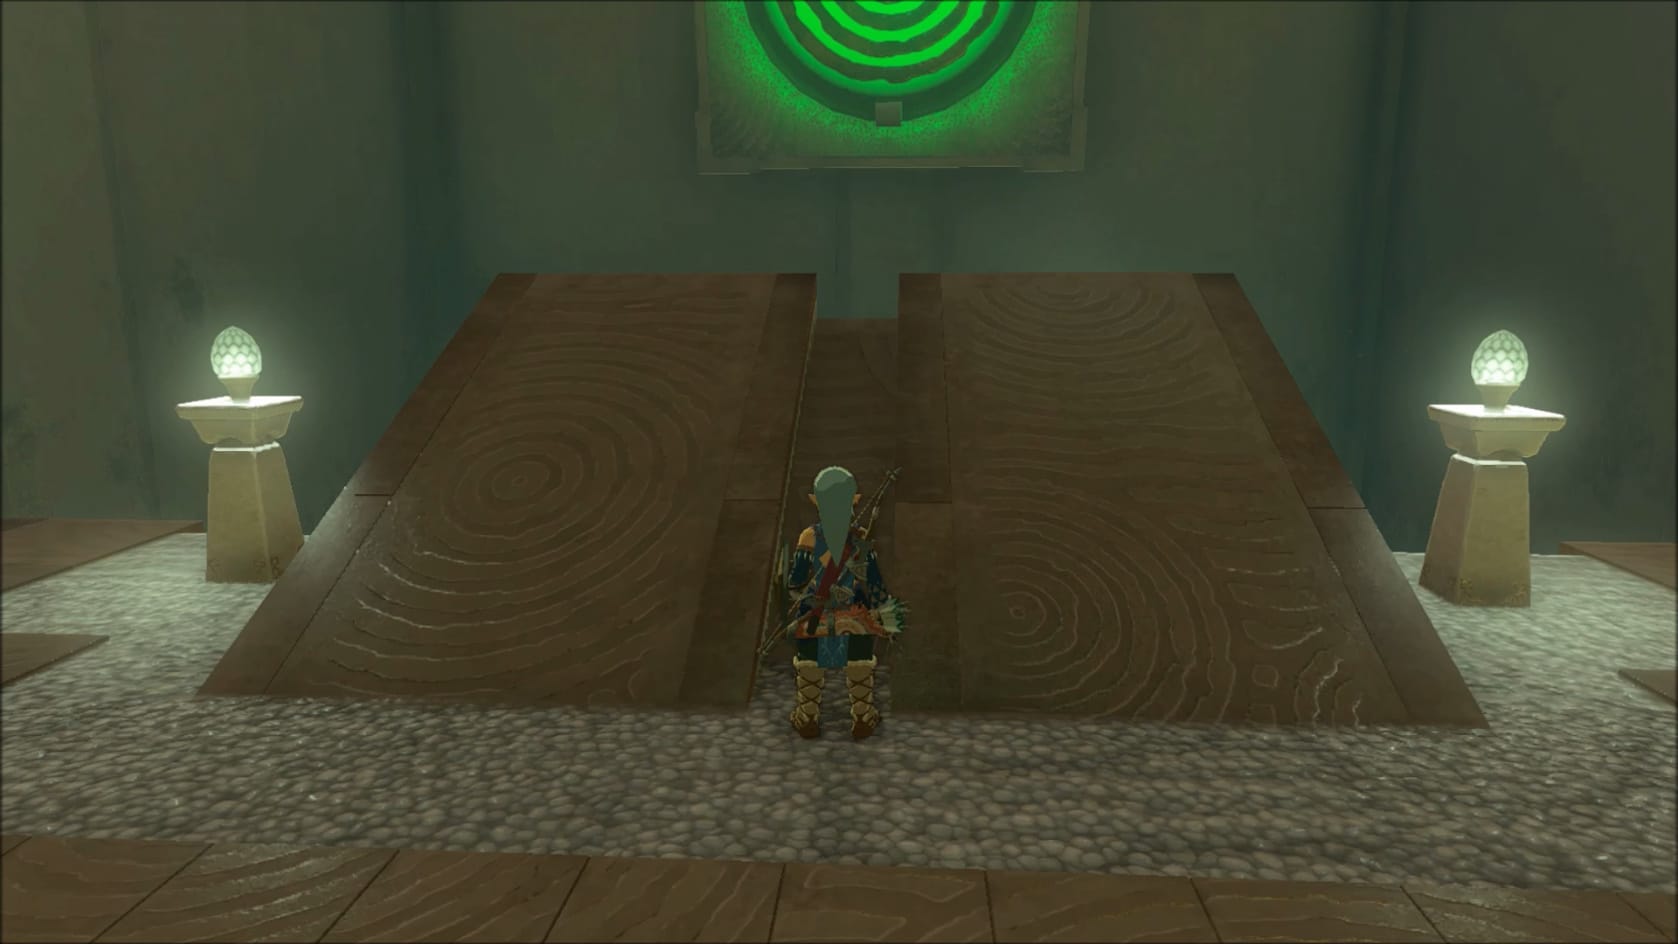
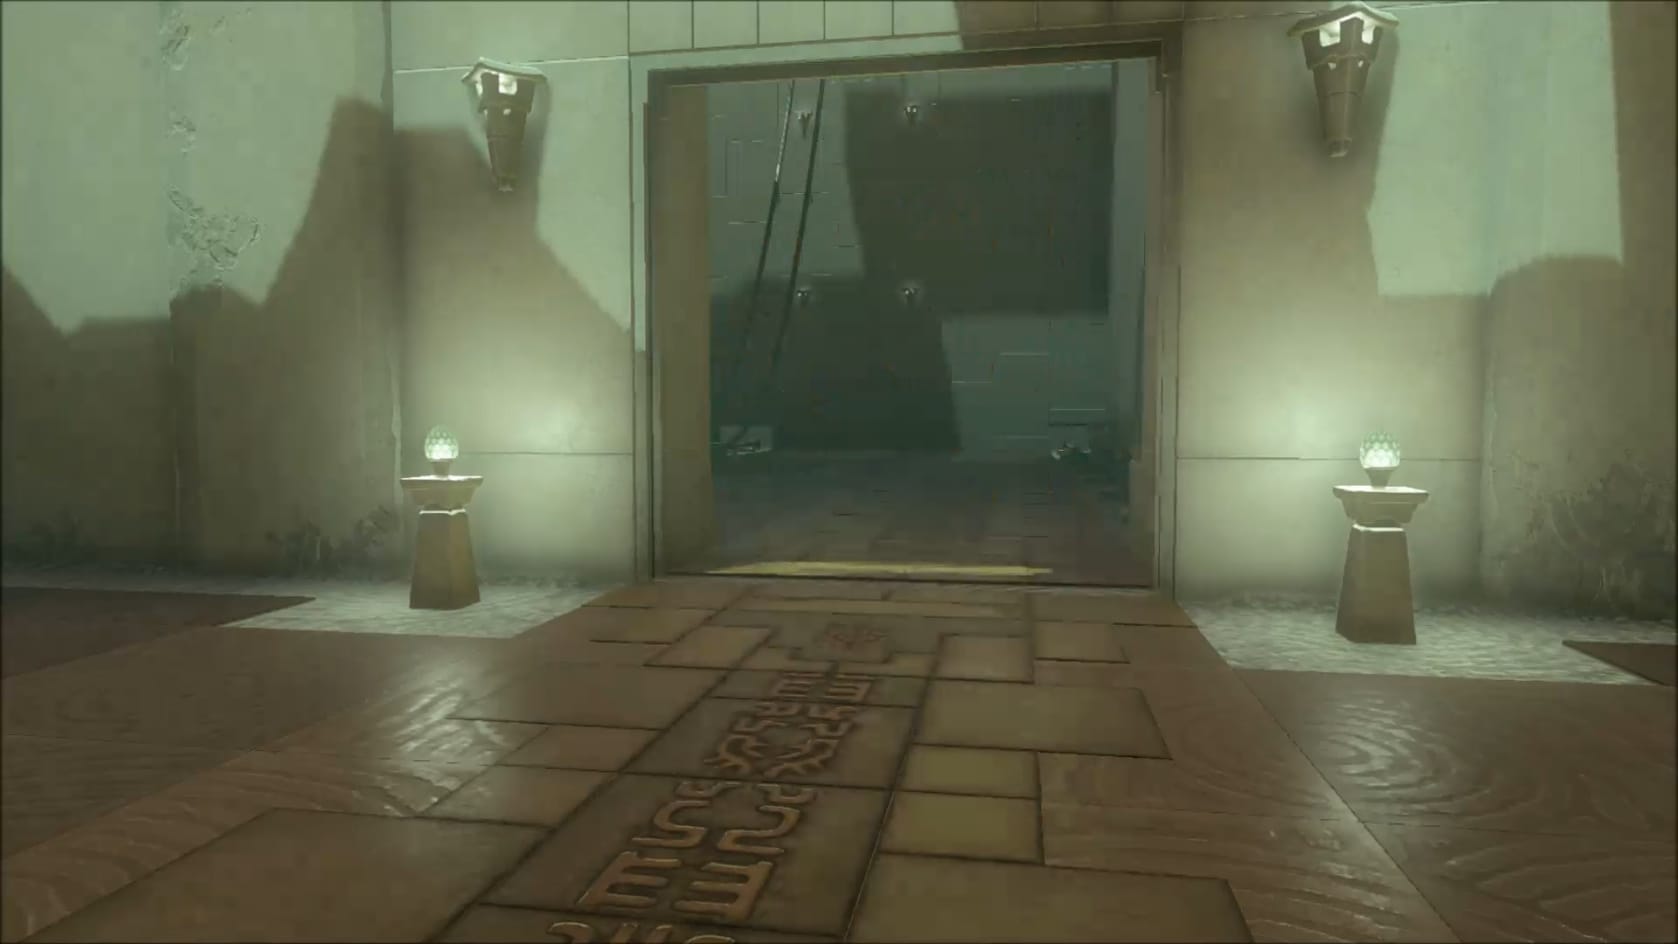
Grab one of the rockets and set it on the ramp. Activate the Zonai Rocket and it will launch. This will send it right into the target. This will open the door opposite the entrance. Step on through.
Puzzle 2
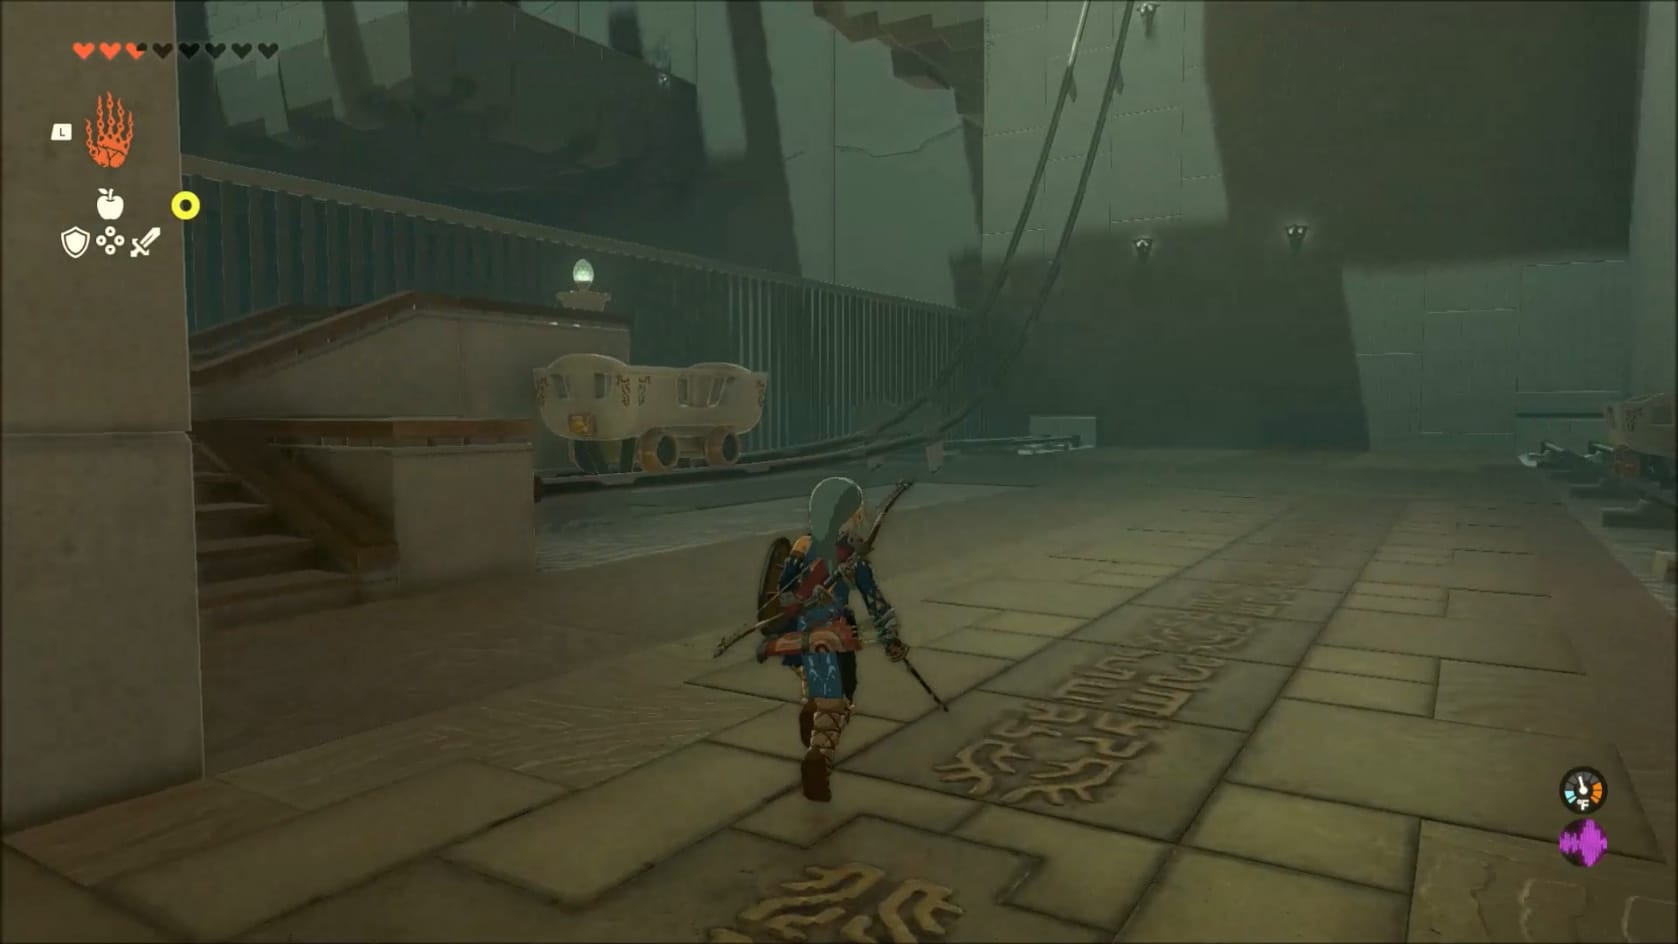
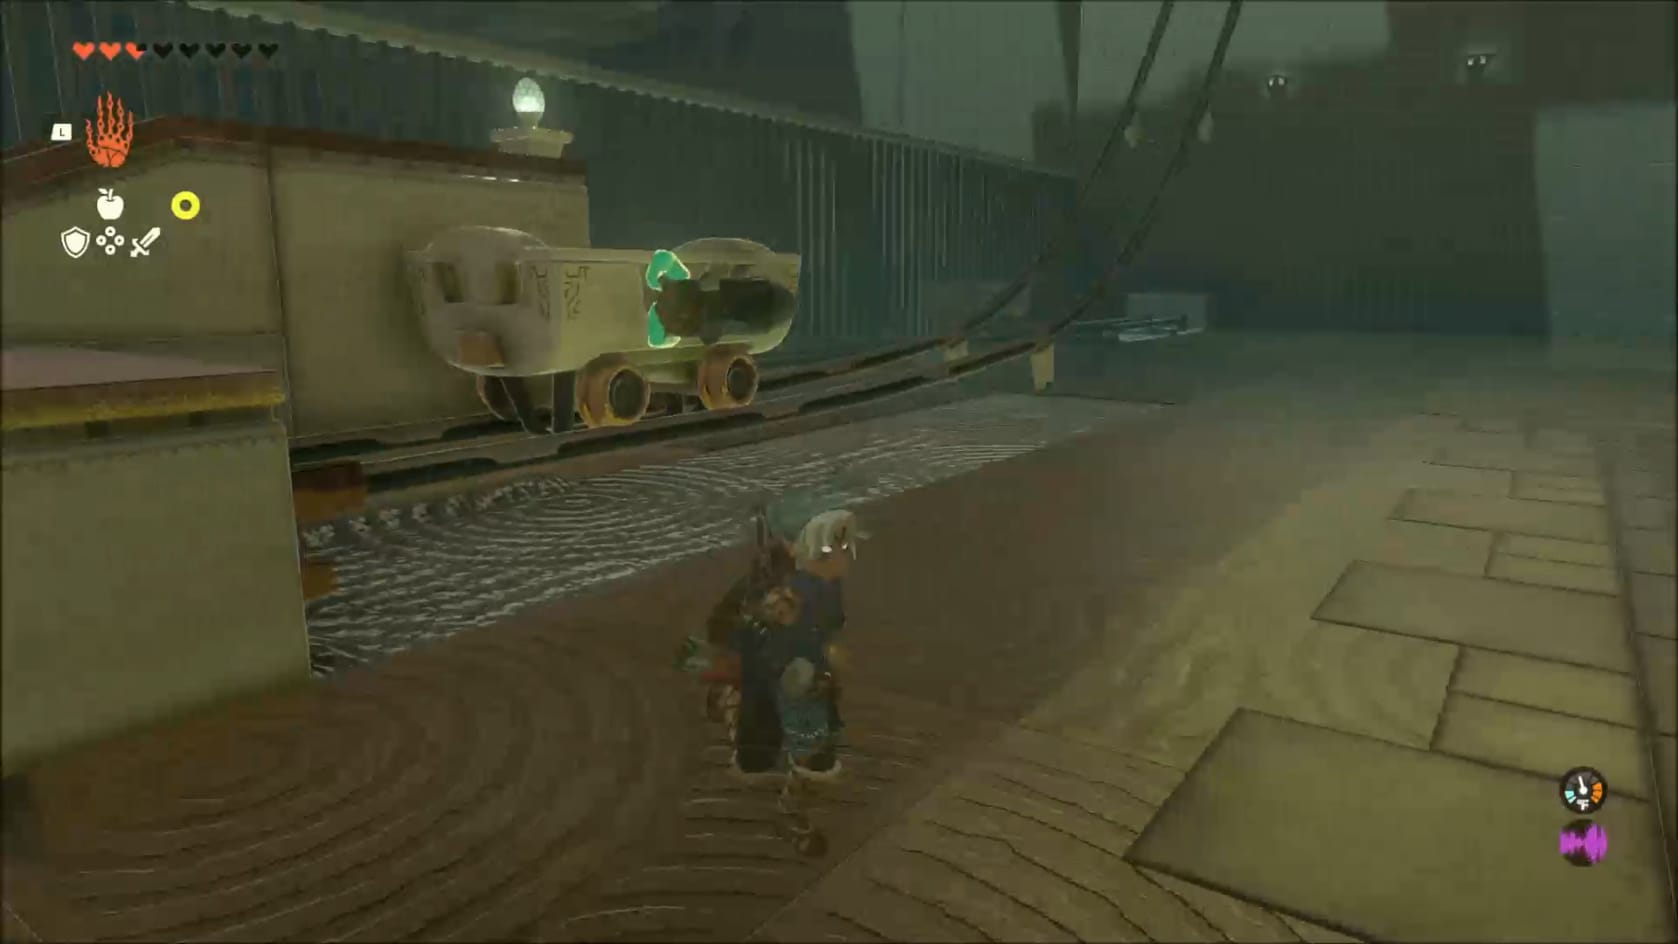
Setting up the Mine Cart to reach the higher area of the Shrine
Through the door, you will see tracks on the left with a mine cart on it. There are a few other mine carts scattered around the room. But, you’re going to need to grab a Zonai Rocket from the first room to get anywhere.
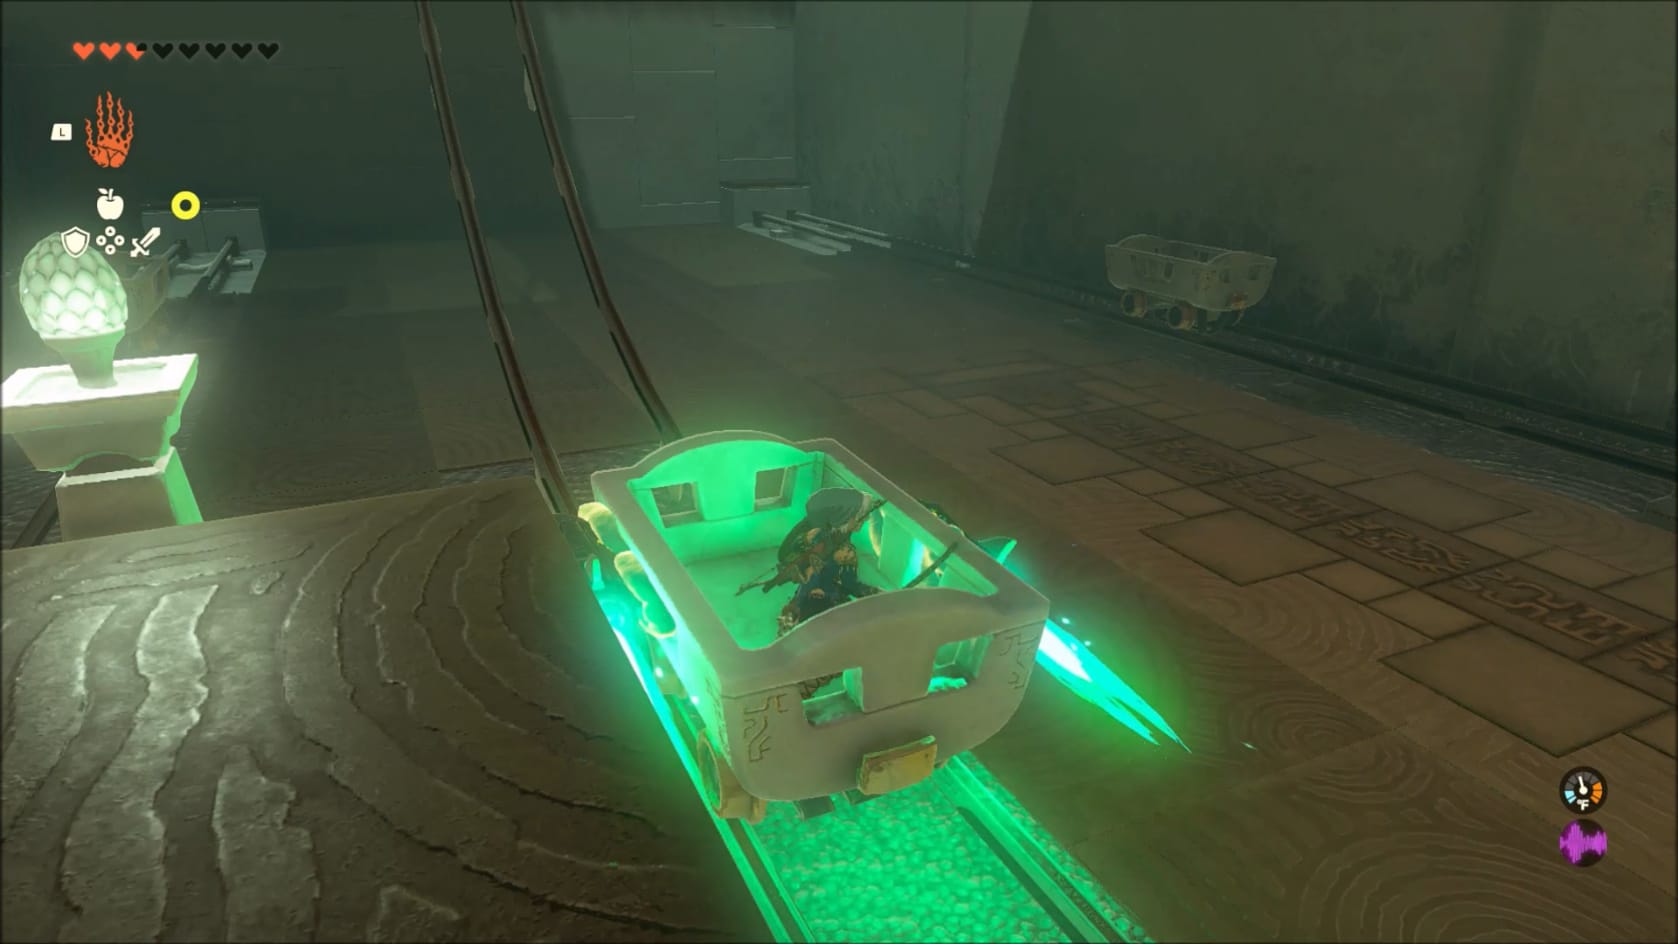
Grab 2 Zonai Rockets and attach them onto the Mine Cart with Ultrahand, on its sides: parallel with the cart. Put 1 on each side of the Mine Cart. Have Link jump into it using the elevated platform. Activate the rockets to shoot up the tracks.
Puzzle 3 – Chest
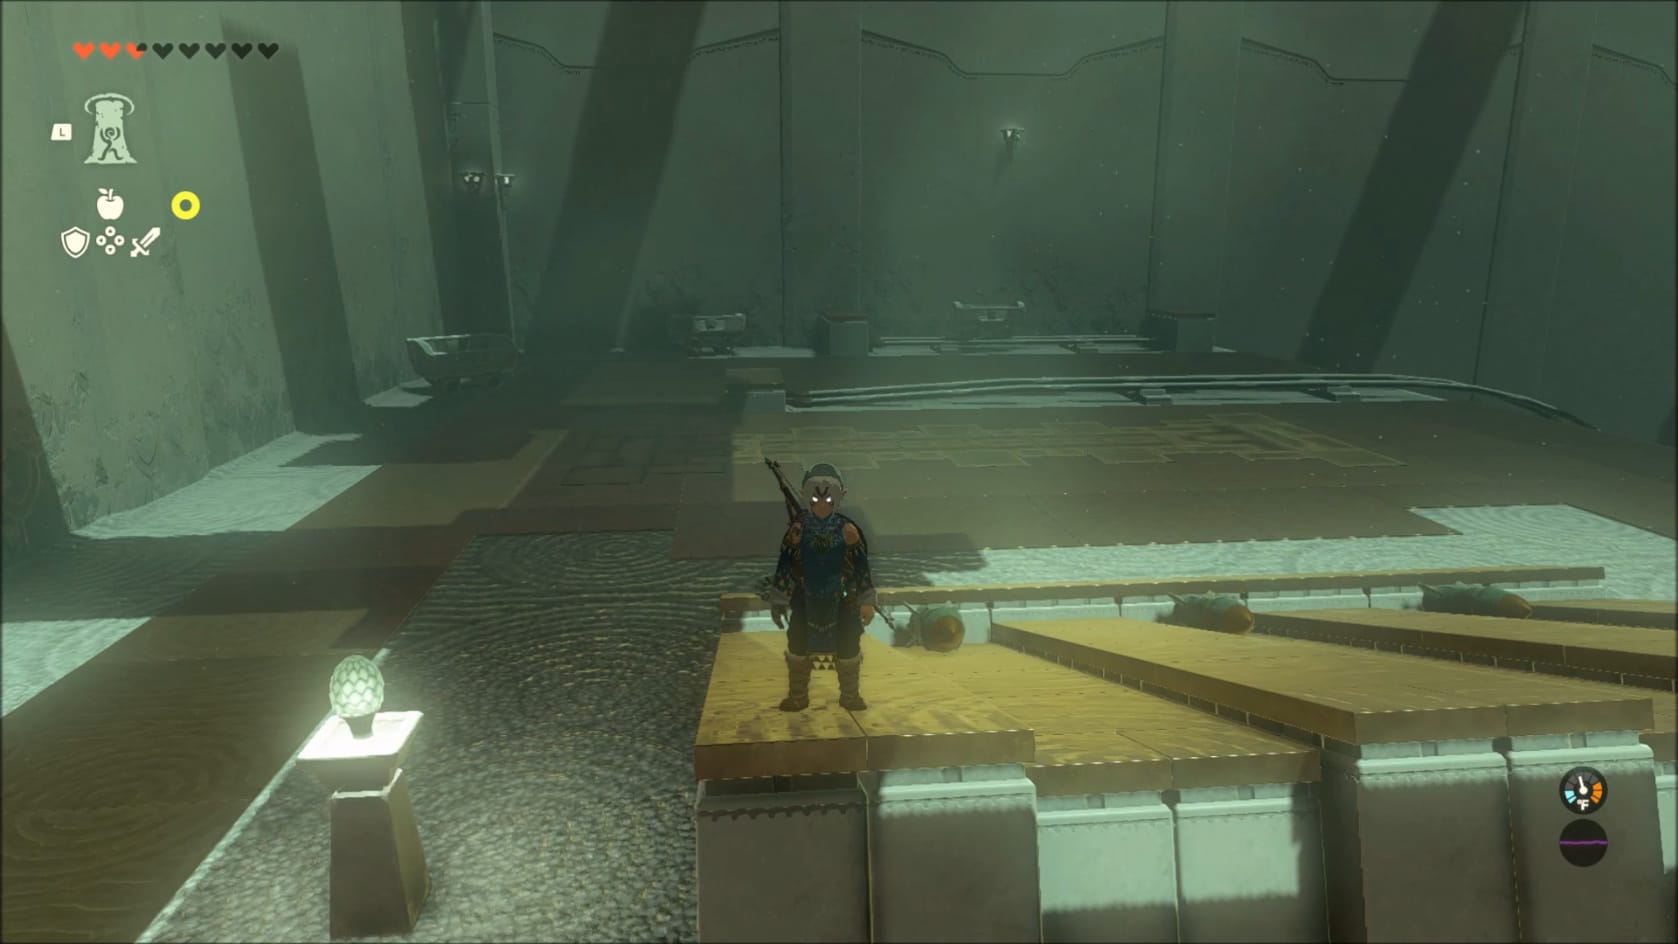
At the top of the tracks, you will find more mine carts against the right-hand wall or back wall. Over to the right are some ramps with a trio of Zonai Rockets.
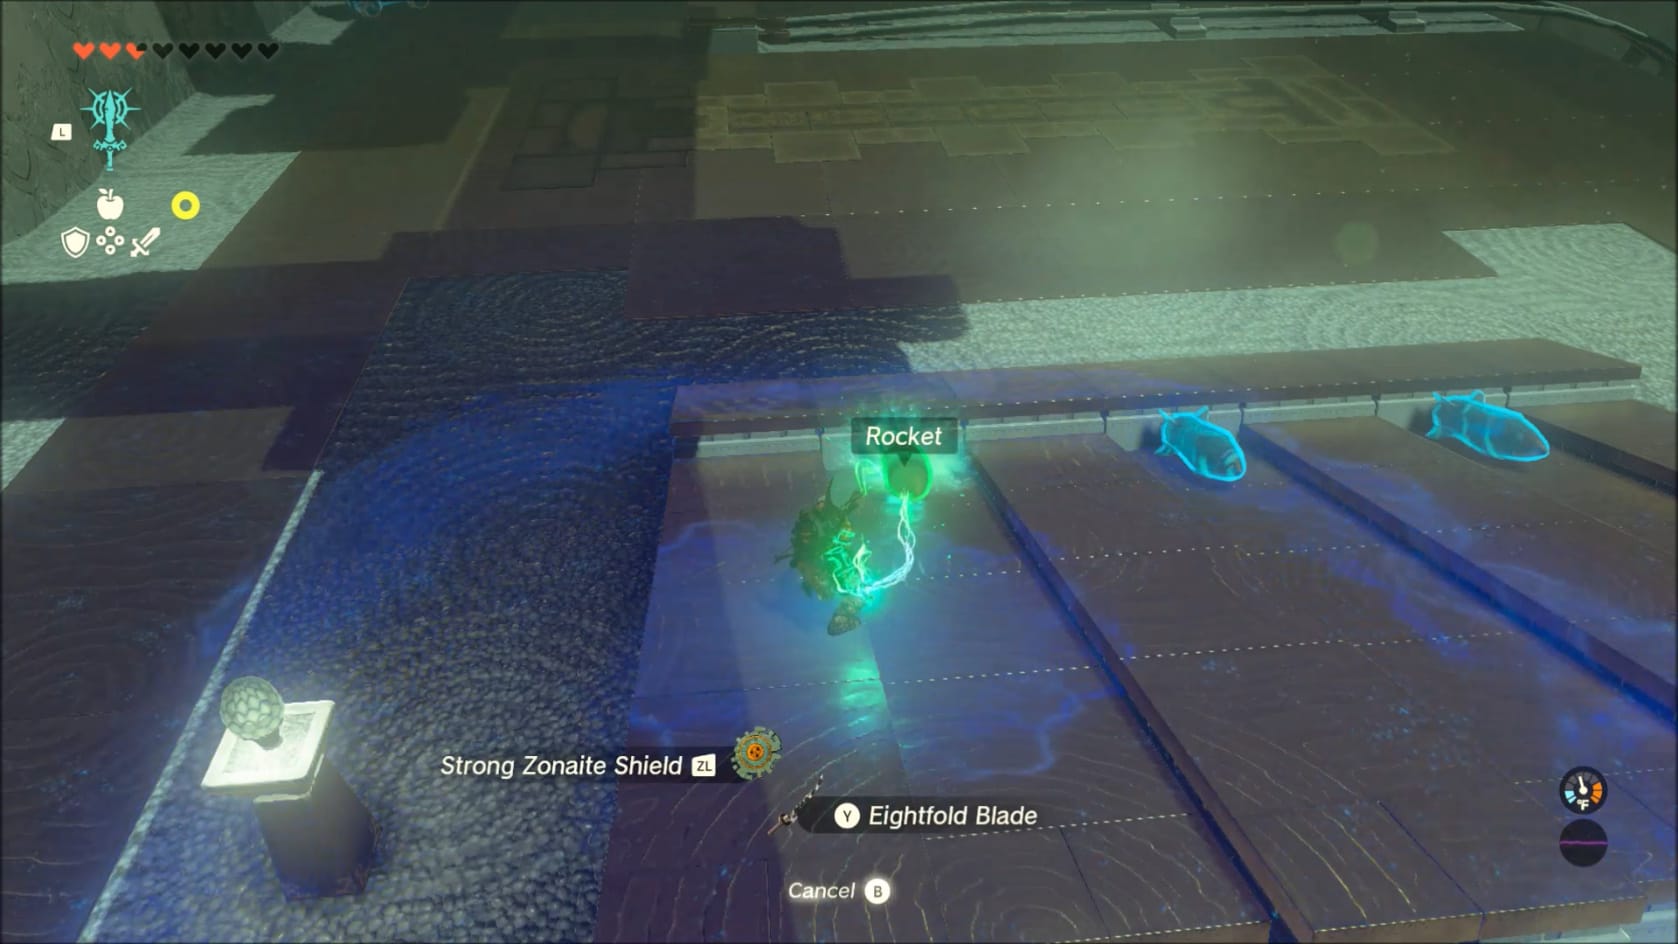
Either use Ultrahand to set Rockets Upright, perpendicular to any of the carts or attach a Zonai Rocket to your Shield.
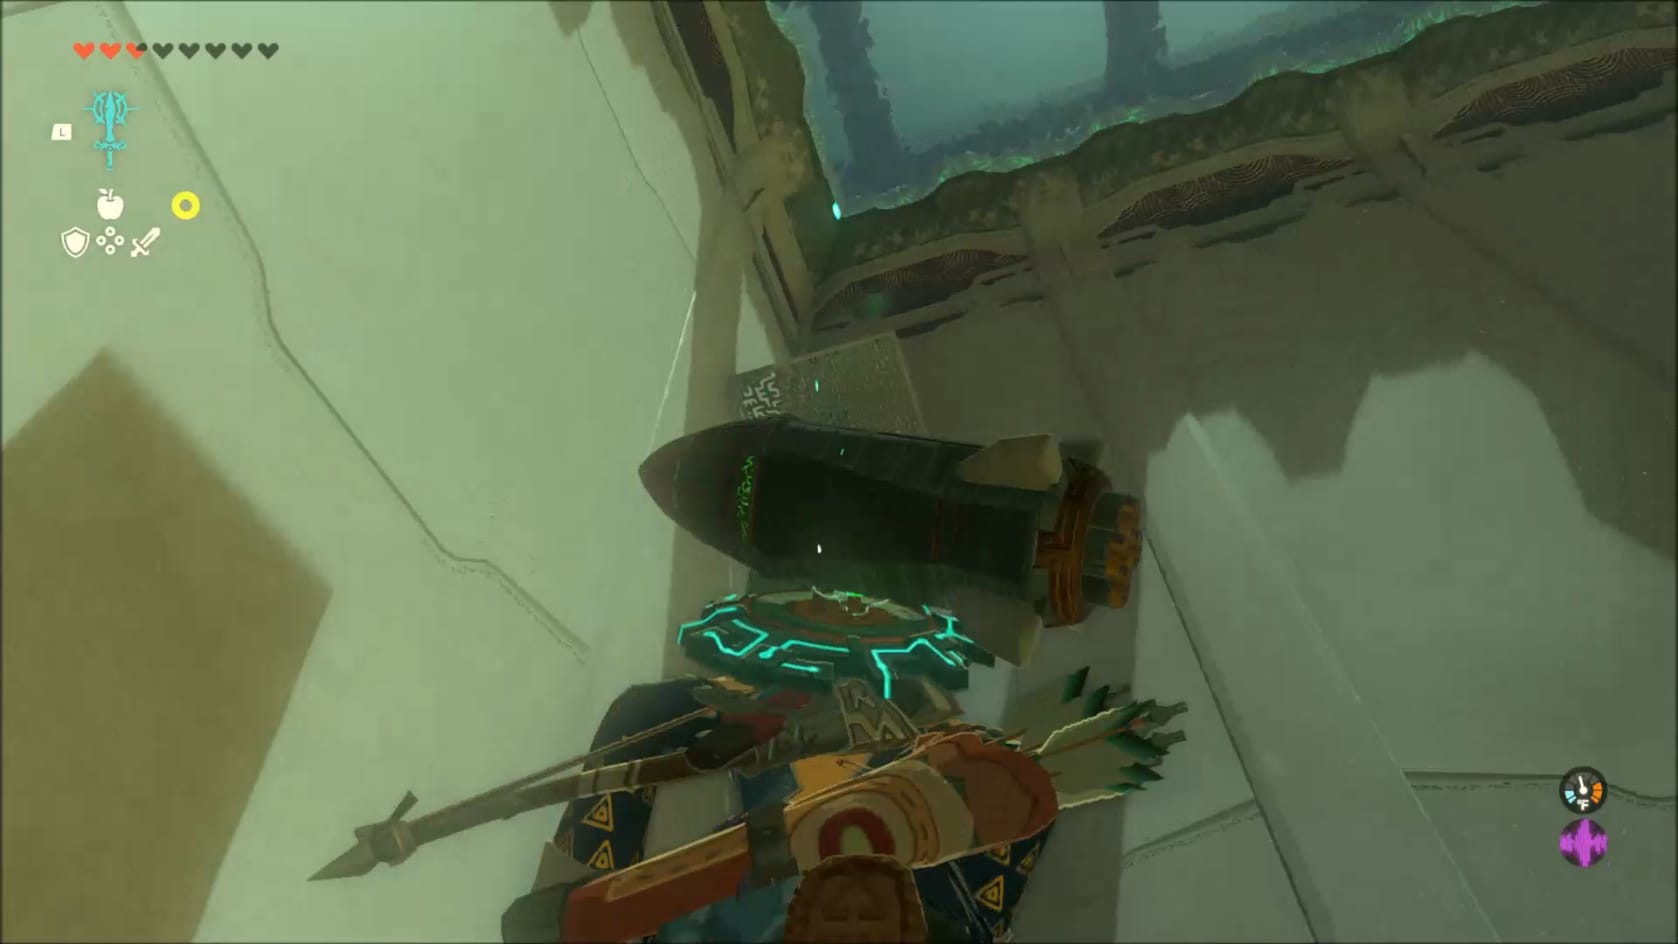
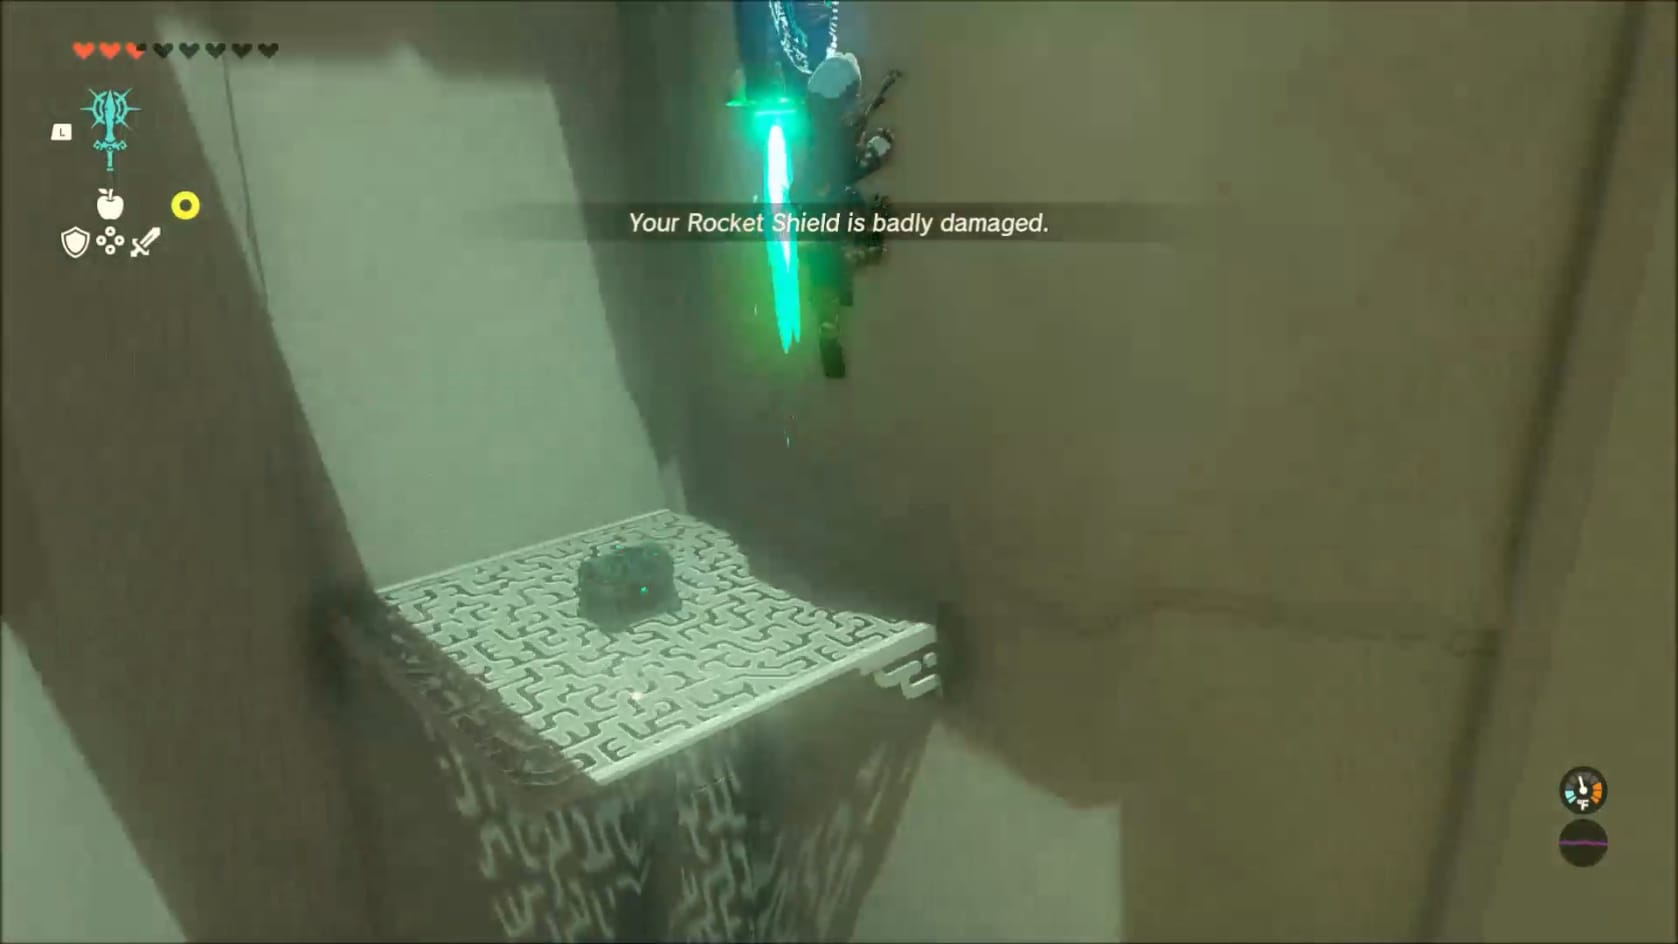
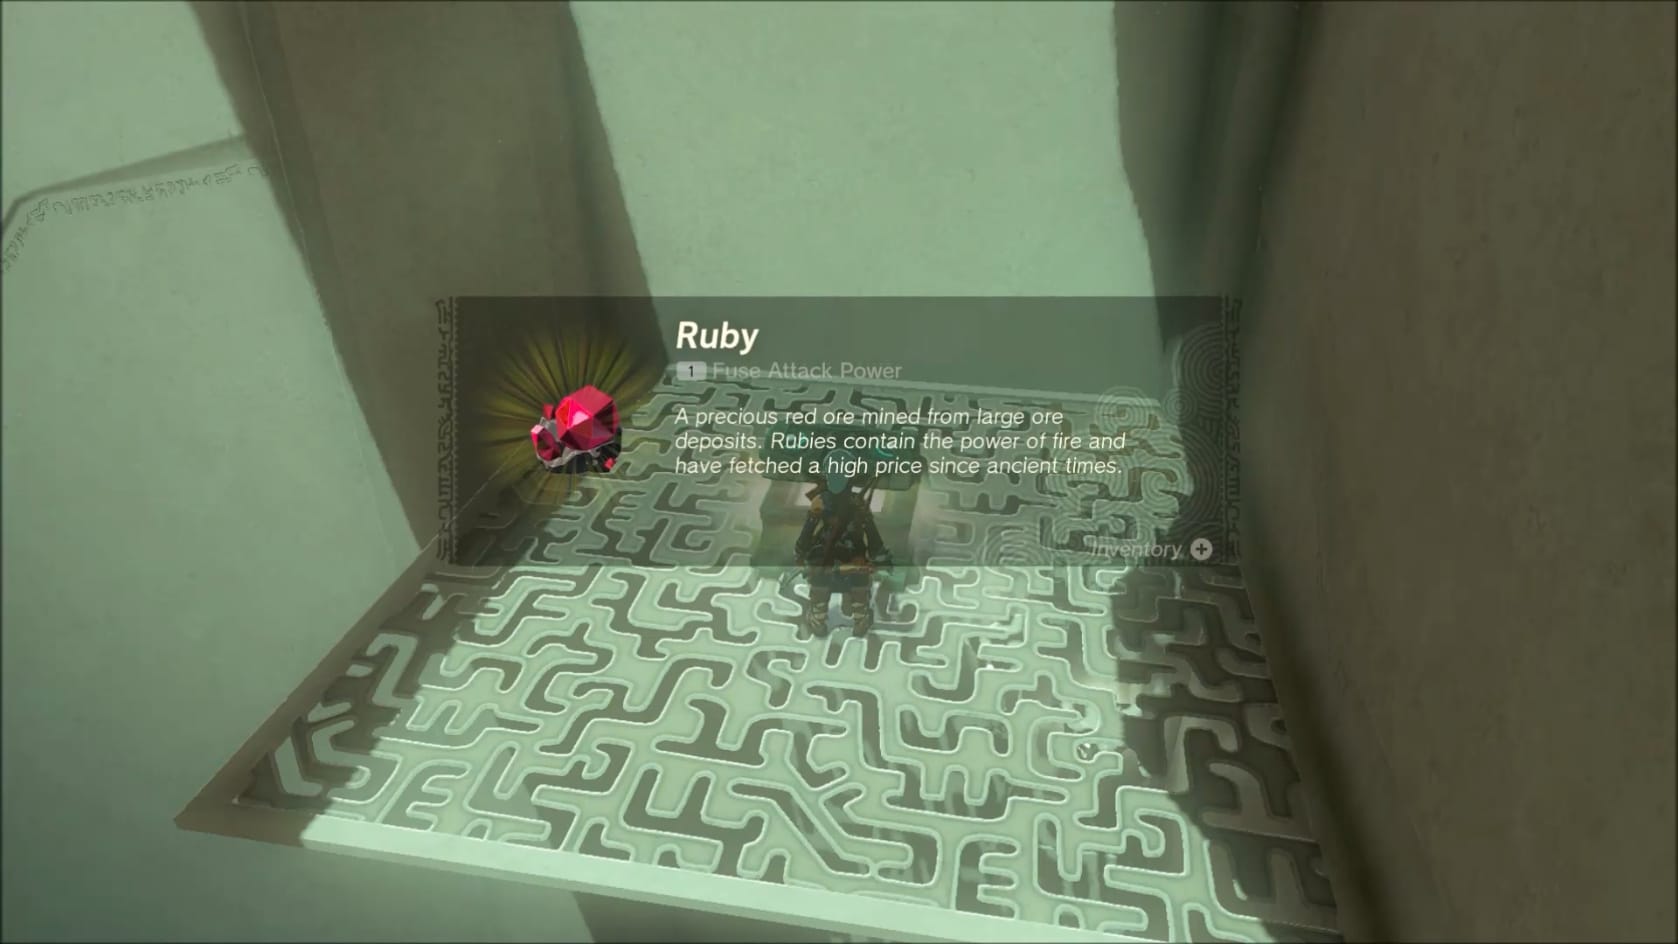
Reaching the Chest on the semi-hidden platform
Activate the Zonai Rocket either on your rocket or the Mine Cart. This will bring you to the ceiling of the room. Move to the back right corner, but stay away from the corner itself. This will let you easily reach the highly elevated platform. It will get you to the Chest inside this shrine. Open the chest to claim the Ruby within.
Puzzle 4 – Innermost Chamber
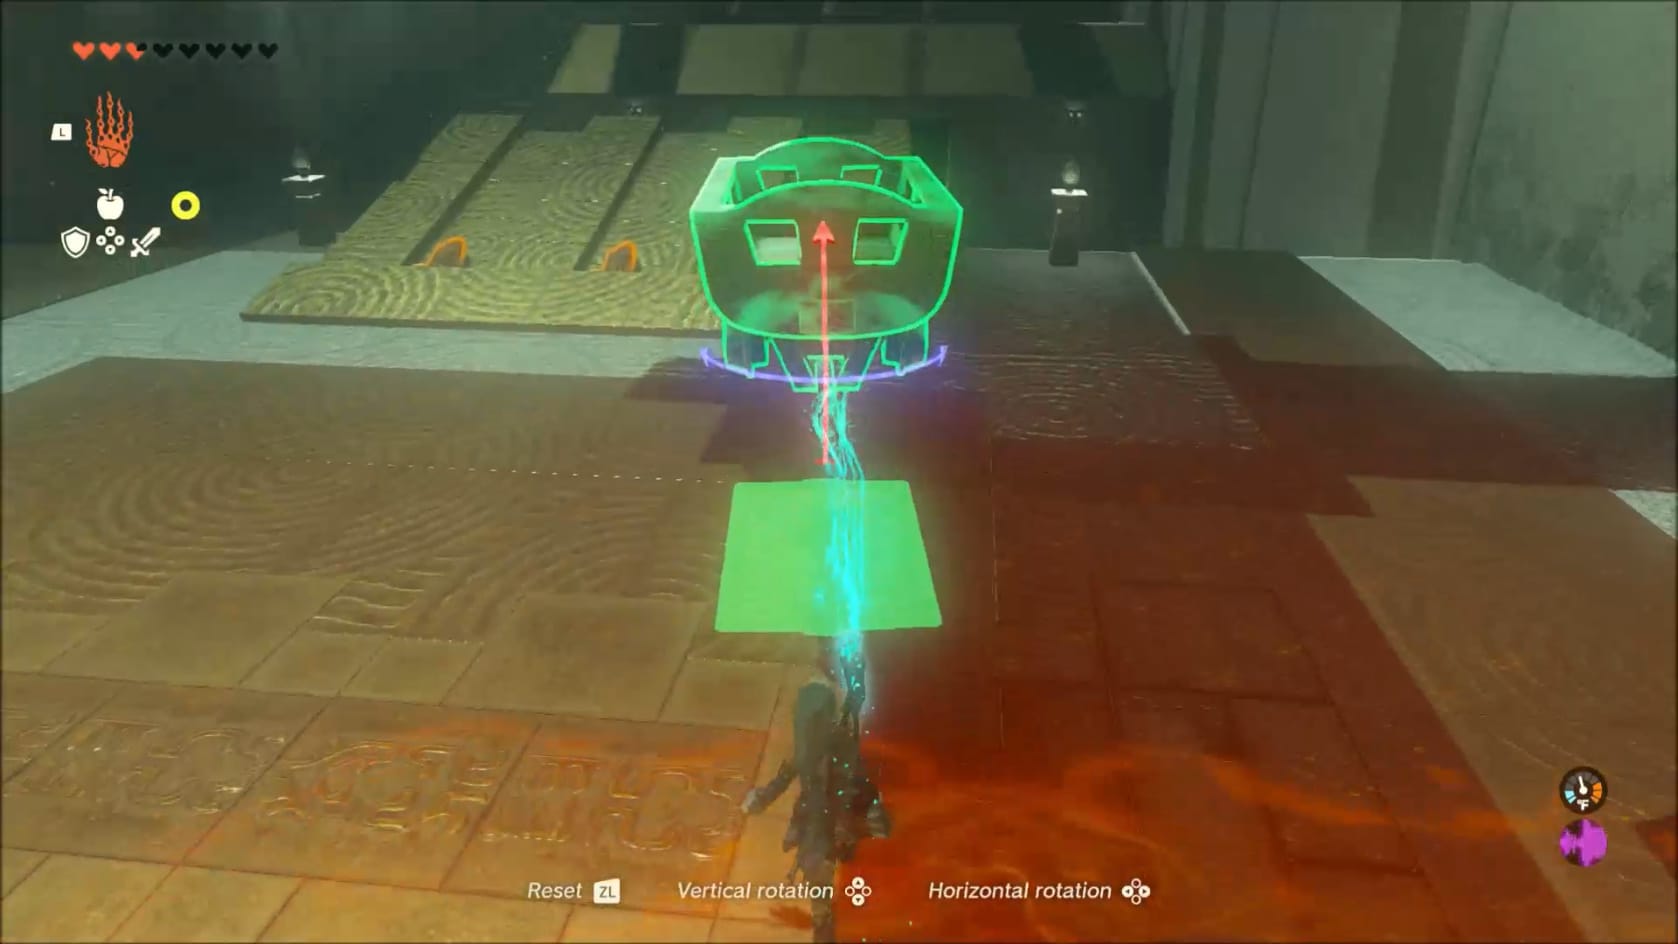
It’s time to finally get to the Innermost Chamber. Go to the right-hand side of the room and use Ultrahand to grab a Mine Cart and set it on the ramp. Connect the Mine Cart to Zonai Rocket on the back of the cart. Set into the Cart and activate it. It will launch across the gap and reach the far side of the room.
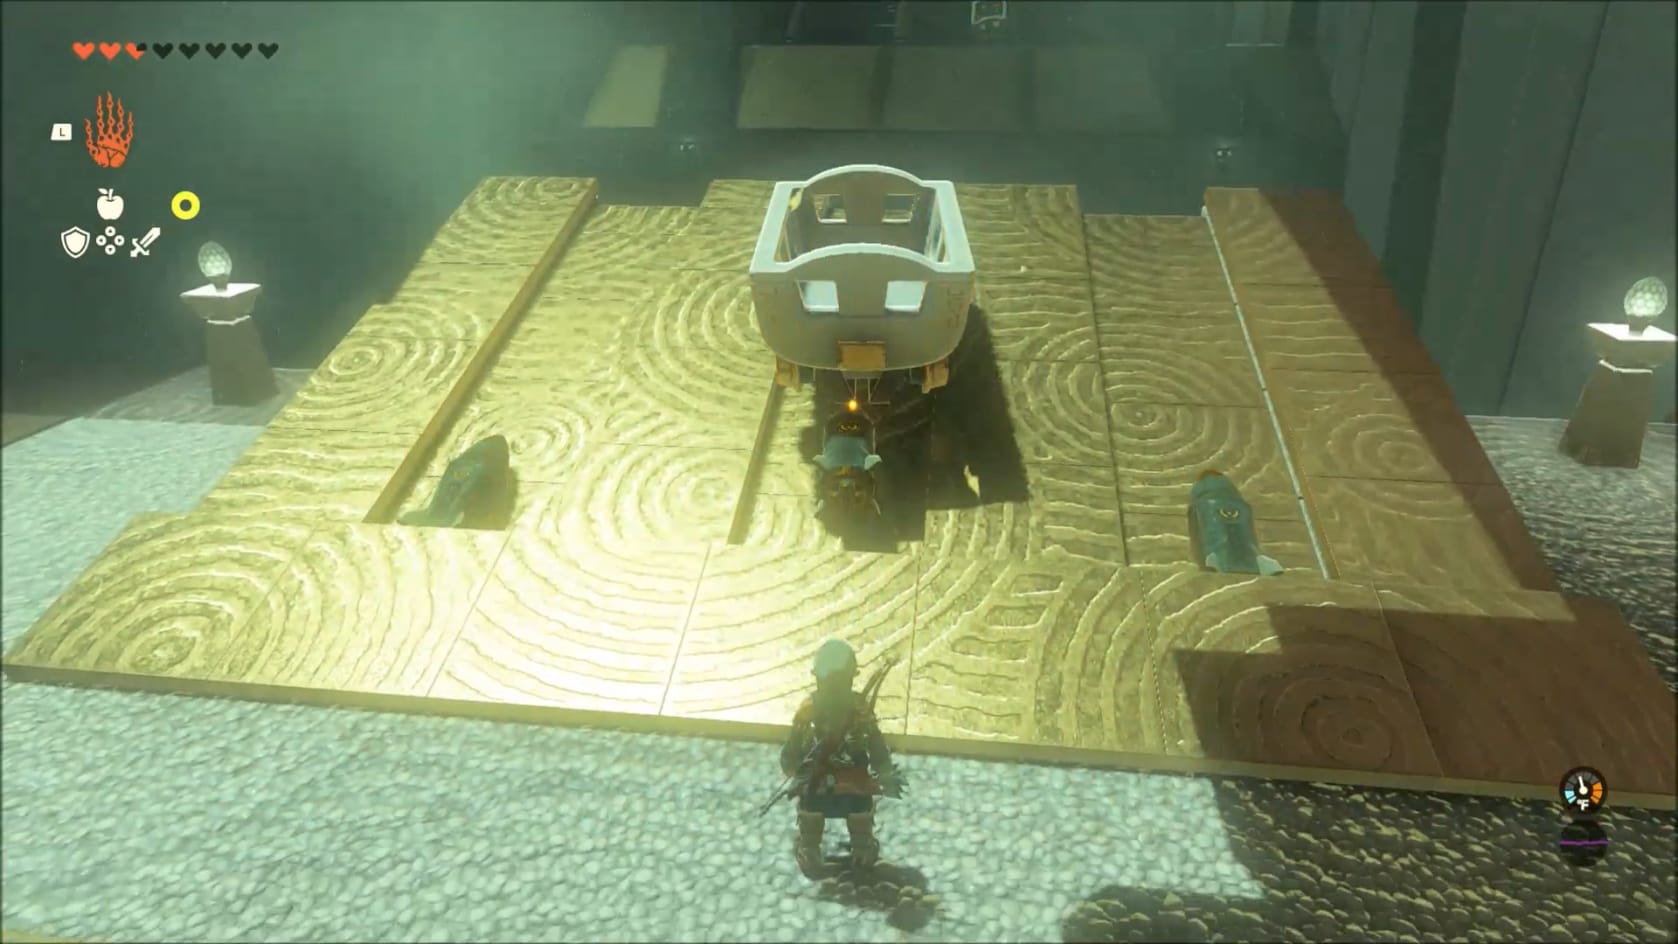
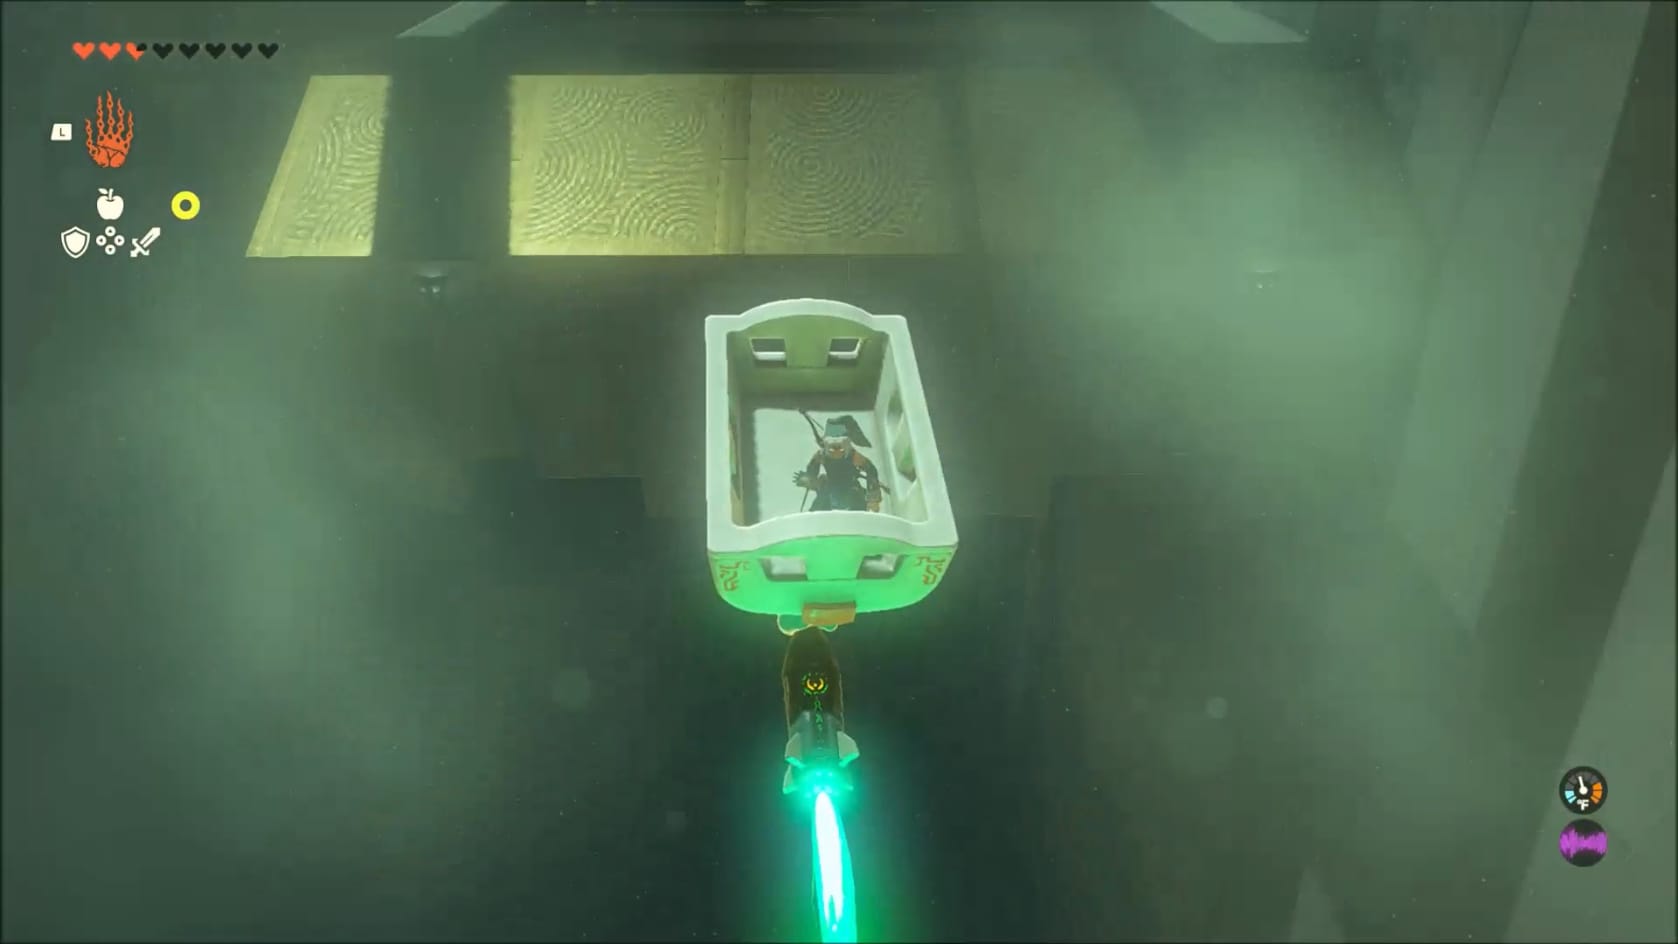
Getting across the gap with the Mine Cart and a Zonai Rocket
Go over to the left and take the stairs up. This will bring you to the Glyph to activate the Statues and finish the Shrine.
Video Walkthrough
Video Walkthrough