Legend of Zelda: Tears of the Kingdom – Side Quest – North Lomei Prophecy Guide
Explore the North Lomei Labyrinth, Sky Labyrinth, and Depths Labyrinth in Zelda: Tears of the Kingdom to complete the prophecy and earn the Evil Spirit Greaves.
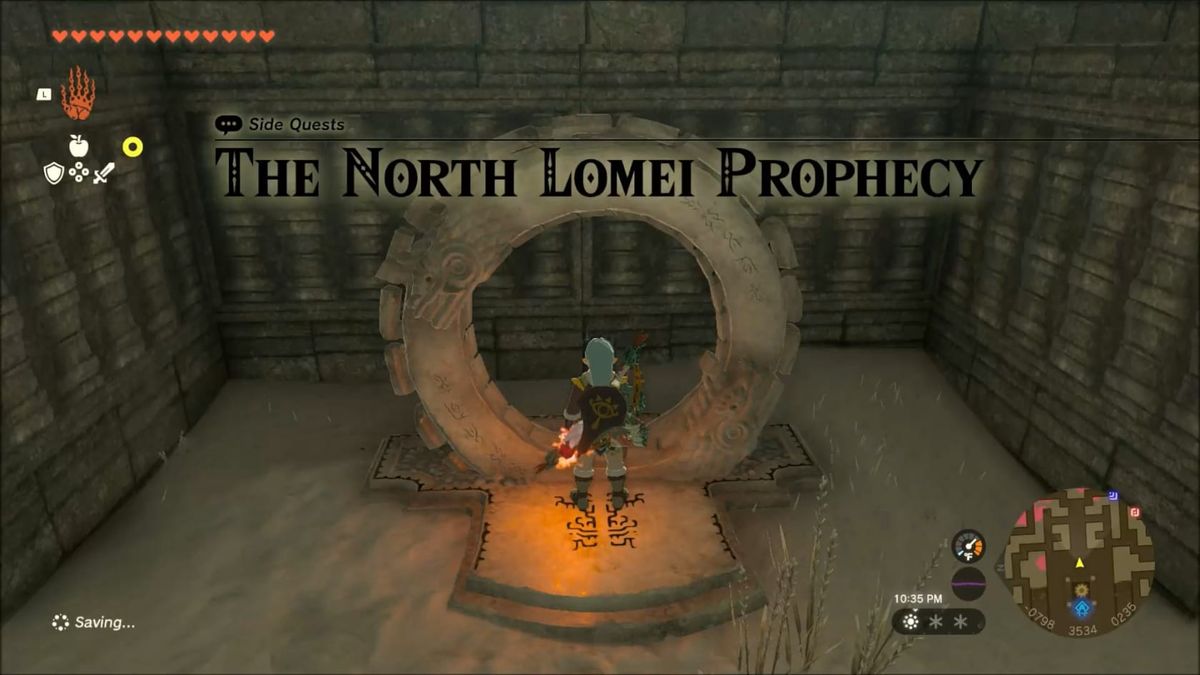
Summary
Explore the 3 Labyrinths of North Lomei: Sky Labyrinth, Depths Labyrinth, and the Labyrinth itself. Completing these 3 challenges will get you the Evil Spirit Greaves.
Description
“At the entrance to a labyrinth in northeast Tabantha, there is a tablet engraved with word of prophecy. It says whoever wakes the dragon ring deep in the maze will be rewarded.
“When you reach the deepest part of the labyrinth, a voice told you to visit the west side of the labyrinth in the sky.”
Location (North Lomei Labyrinth)
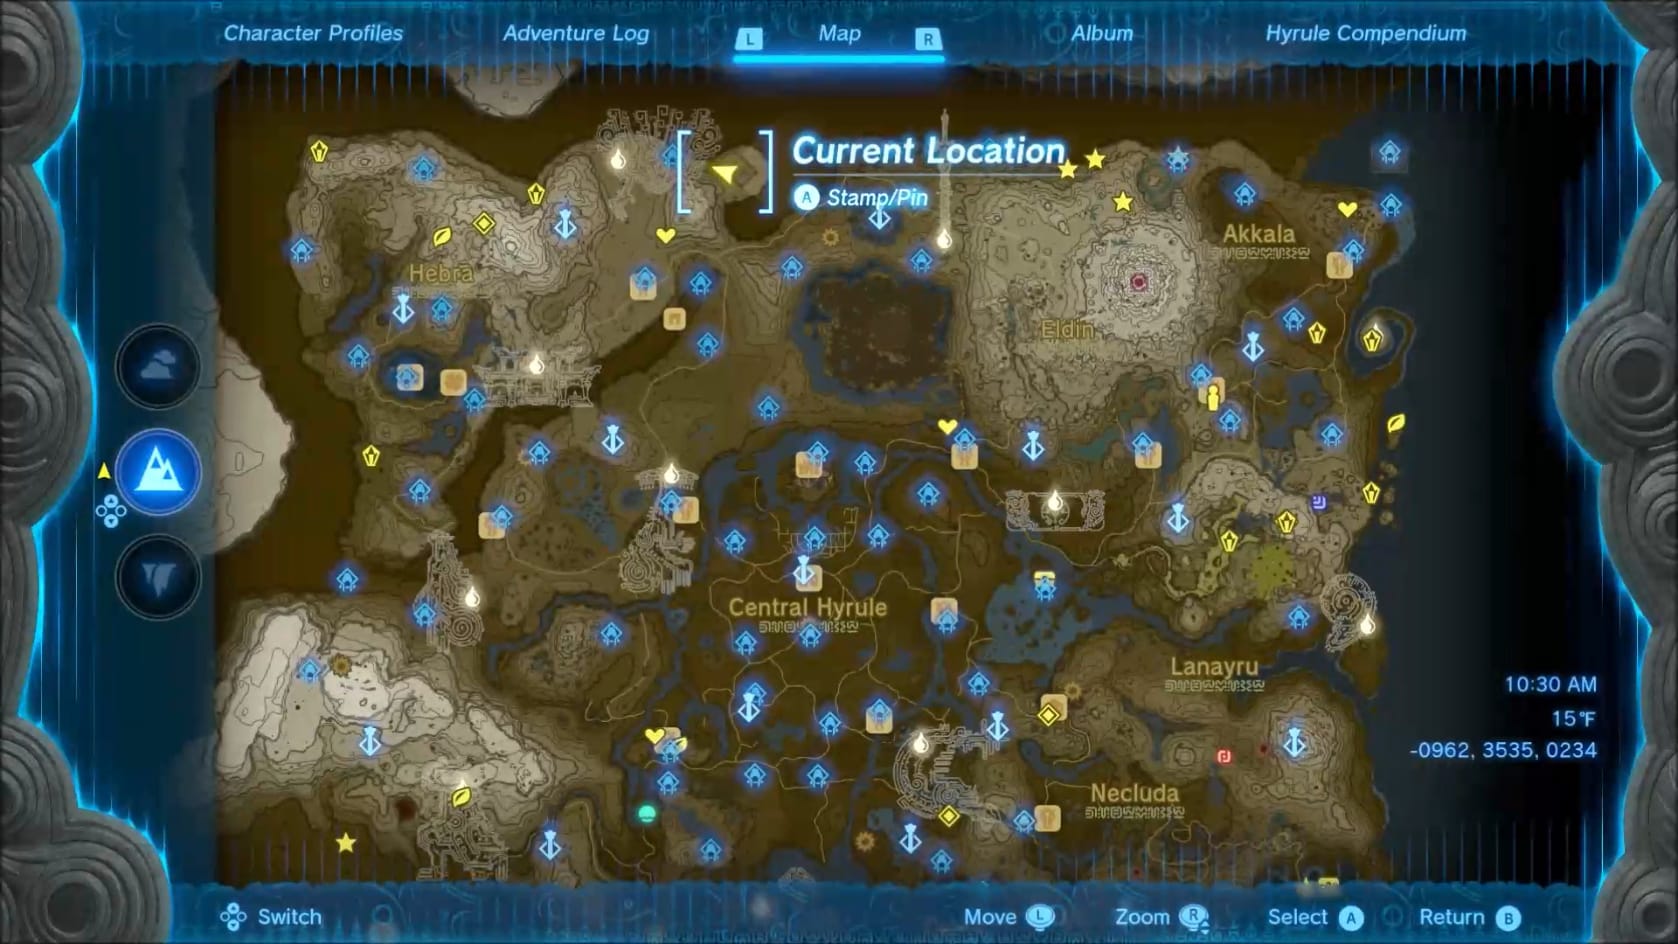
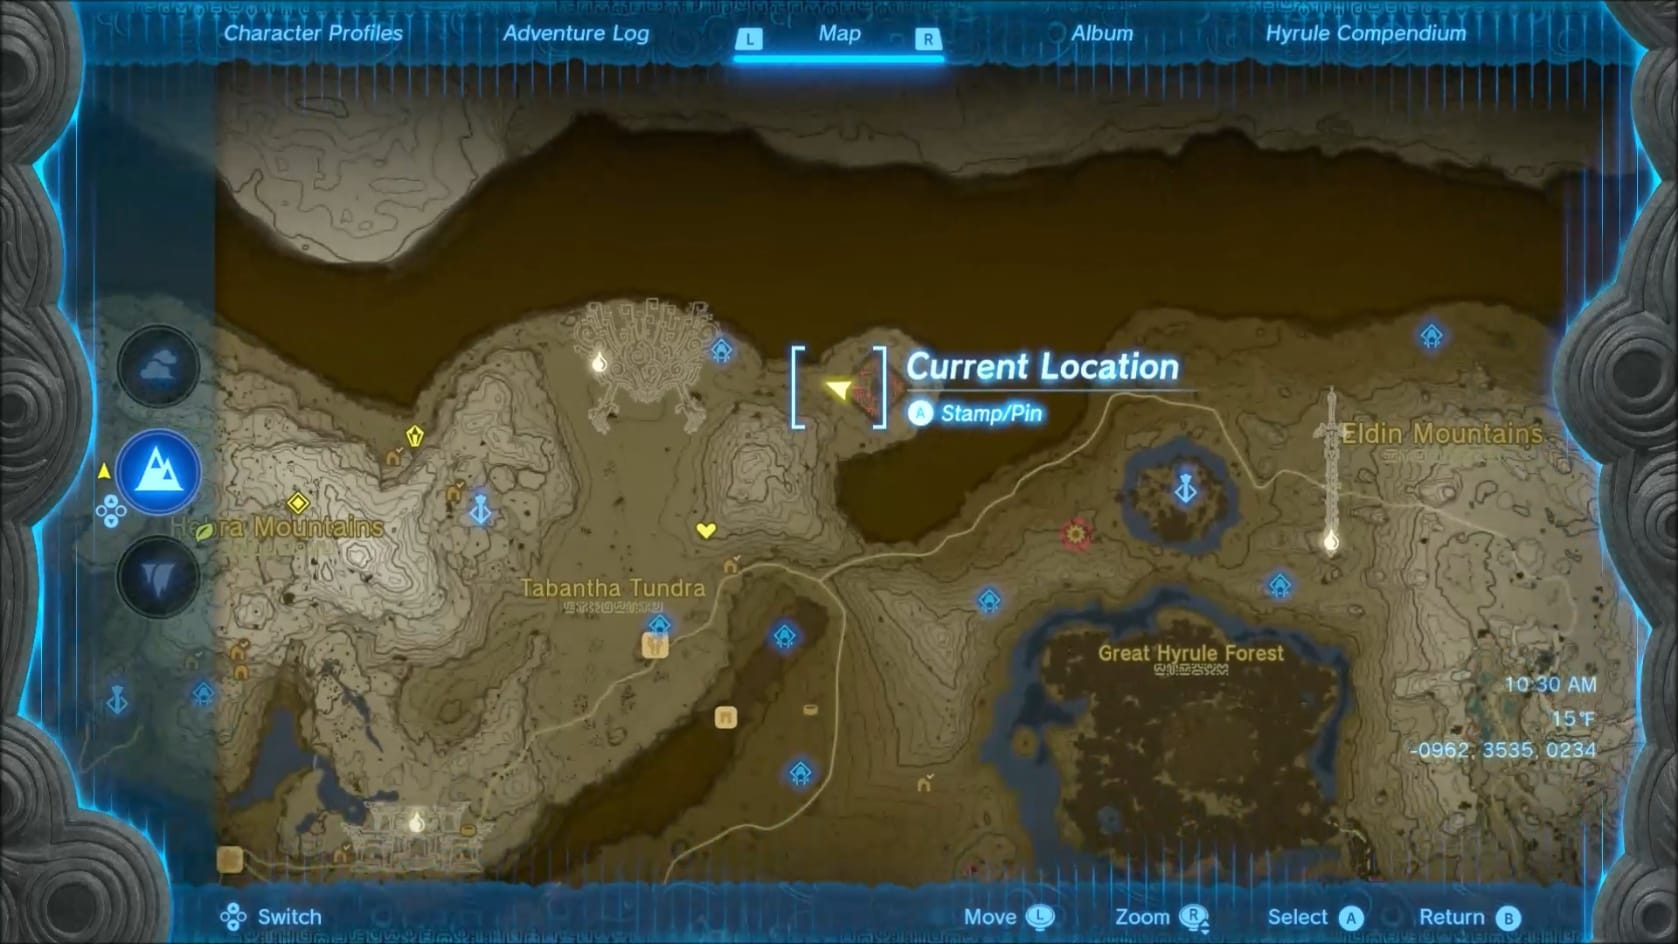
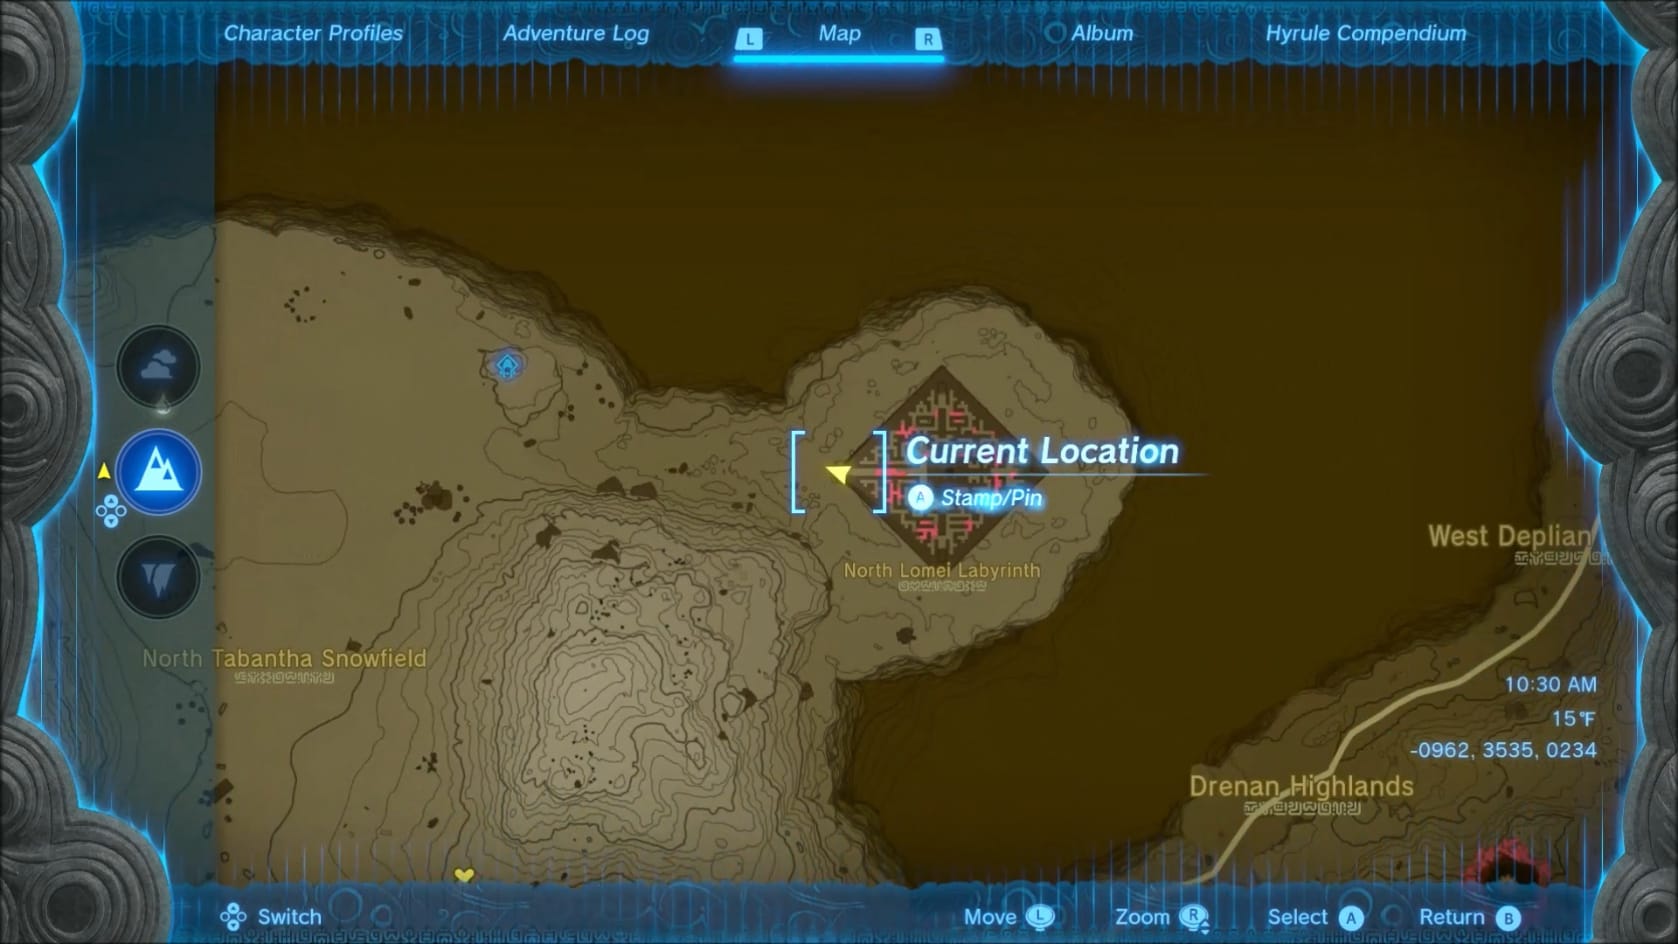
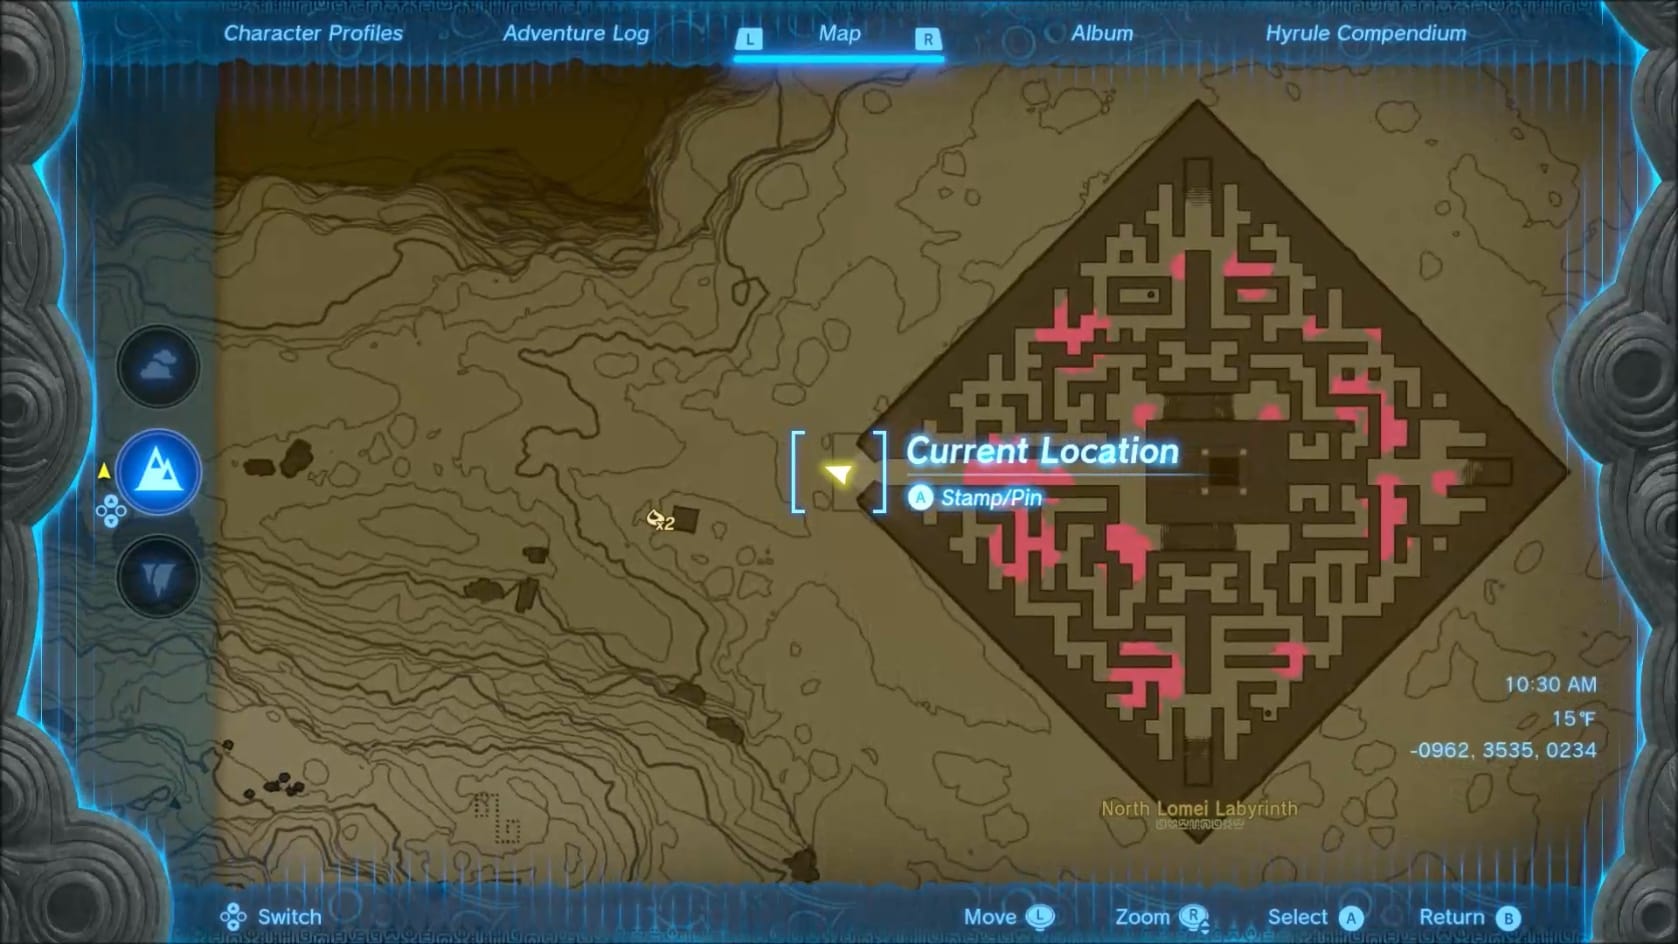
Location of the North Lomei Labyrinth on the World Map.
Coordinates: -0962, 3535, 0234
Walkthrough
Navigating the North Lomei Labyrinth
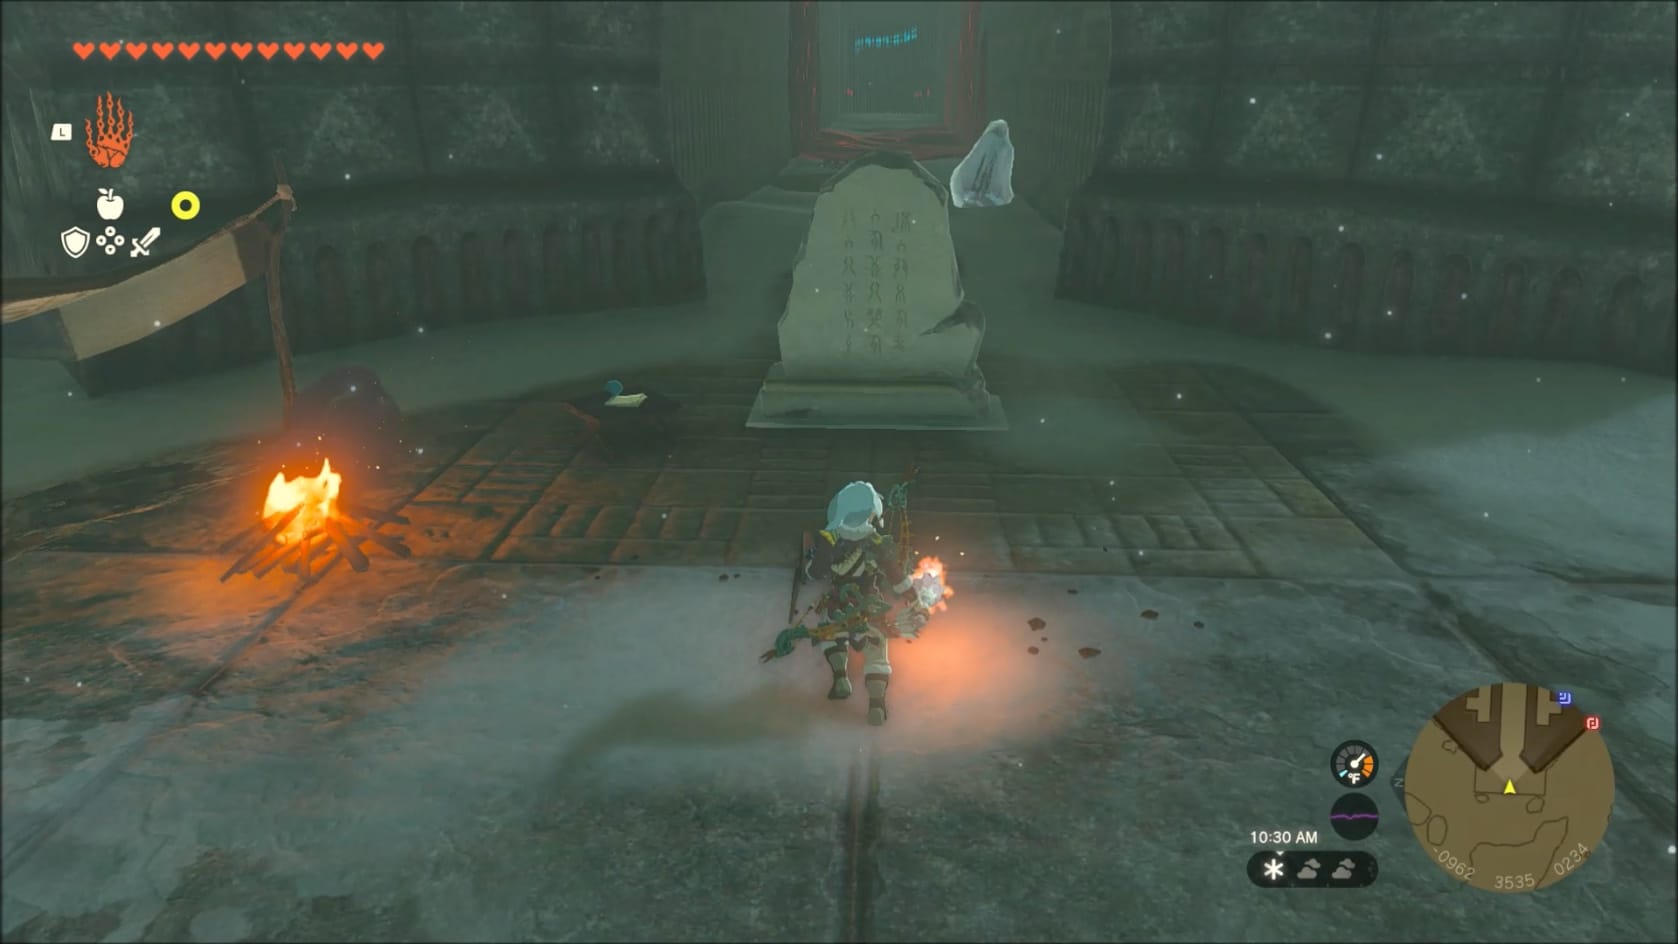
At the entrance of the North Lomei Labyrinth you will find a camp site with a note from an Explorer. There is also a Slab with an inscription just in front of the entrance of the Labyrinth itself. This will yield the tip that the explorer went in and laid down Hylian Pine Cones as a trail to help themselves navigate within.
- It can help a lot to have a weapon or Shield that has a Ruby Fused to it. There will be a bit of Ice Melting
- Be sure to have a decent stock of Hylian Pine Cones as well. These can be used to flare a campfire, creating a strong updraft, and allow you to get across the Gloom that will slow your progress.
Start by heading East into the Labyrinth from its proper entrance. Just ahead is a Campfire you can use. Ignite it with
To reach this Shrine, you will need to get through the North Lomei Labyrinth. Going in front the front, you will need to get around a portion of the path that’s covered in Gloom. Ignite the nearby campfire and use a Hylian Pine Cone to flare it. Quickly jump into the updraft and use that to sail across it. You can, with a bit of risk, run straight through the Gloom.
On the far side, turn to the right at the intersection. As you reach the stairs, turn to them and go up. There’ll be another Pine Cone sitting at the top. Continue forward to the campsite in front of you. Another note can be read there. Otherwise, just head to the South, past the ice blocks.
When you reach the next intersection, turn to the left and follow the Pine Cone. Go around the corner to the right that’s ahead of you. You’ll see Gloom in front of you. Go up to it and turn to the left. You’ll see the next Pine Cone there. Continue forward and go to the left.
At the intersection, collect the Pine Cone then go to the right. Pass all the ice blocking your way and find the next clear passage. Follow it as it bends to the North.
Ahead you’ll see another patch of Gloom across your path. You can head over to the right of the Gloom to find a small passage that leads to a Construct Bow, and Campfire. Nothing else of note. Once again, use the Campfire and a Pine Cone to get over the Gloom easily.
Landing on the far side, there’s more Gloom to be navigated. If you melt the large Icicle to the left you’re likely to get a Zonaite Sword. Take a little time to go to the right (East) as well. There’s several blocks of ice there you can melt. Be mindful since boulders will roll out. But behind them is a Chest you can open for a Zonaite Bow.
Go back between the Gloom patches. There’s another blocking your way to the North. In this Gloom patch, on the right, is a Construct Bow. If you need one, go for it, otherwise just run across (or keep gliding if you haven’t landed yet).
On the far side of the Gloom, continue to the next Pine Cone. There, turn to the Northwest. Go 2 Pine Cones in. At the second Pine Cone, turn to the East to find an Icicle you can melt for another Zonai Weapon. Otherwise, continue to the Northwest.
The next Pine Cone sits just next to a patch of Gloom. Move against the Western wall to avoiding walking through the Gloom. Head to the North after that. Turn to the West and you’ll need to cross a patch of Gloom. Just Sprint across it to minimize your time on it.
On the far side of the Gloom, go to the right. You’ll find a camp site in the nearby corner. Just to the North of that are the stairs that lead to an Icicle. Melt it to find a Chest with a Zonaite Shield inside it. Collect it if needed.
Finally, turn to the South from the Campsite and head down the hallway there toward the light at the end of it. Turn to the left in front of the alcove with the light and head into the next corridor. Follow this path as you get across the Gloom.
On the far side of the Gloom, the path has a split in it. You will want to head to the South, past the Ice. Head around the corner and look along the right-hand side. You’ll see a Light.
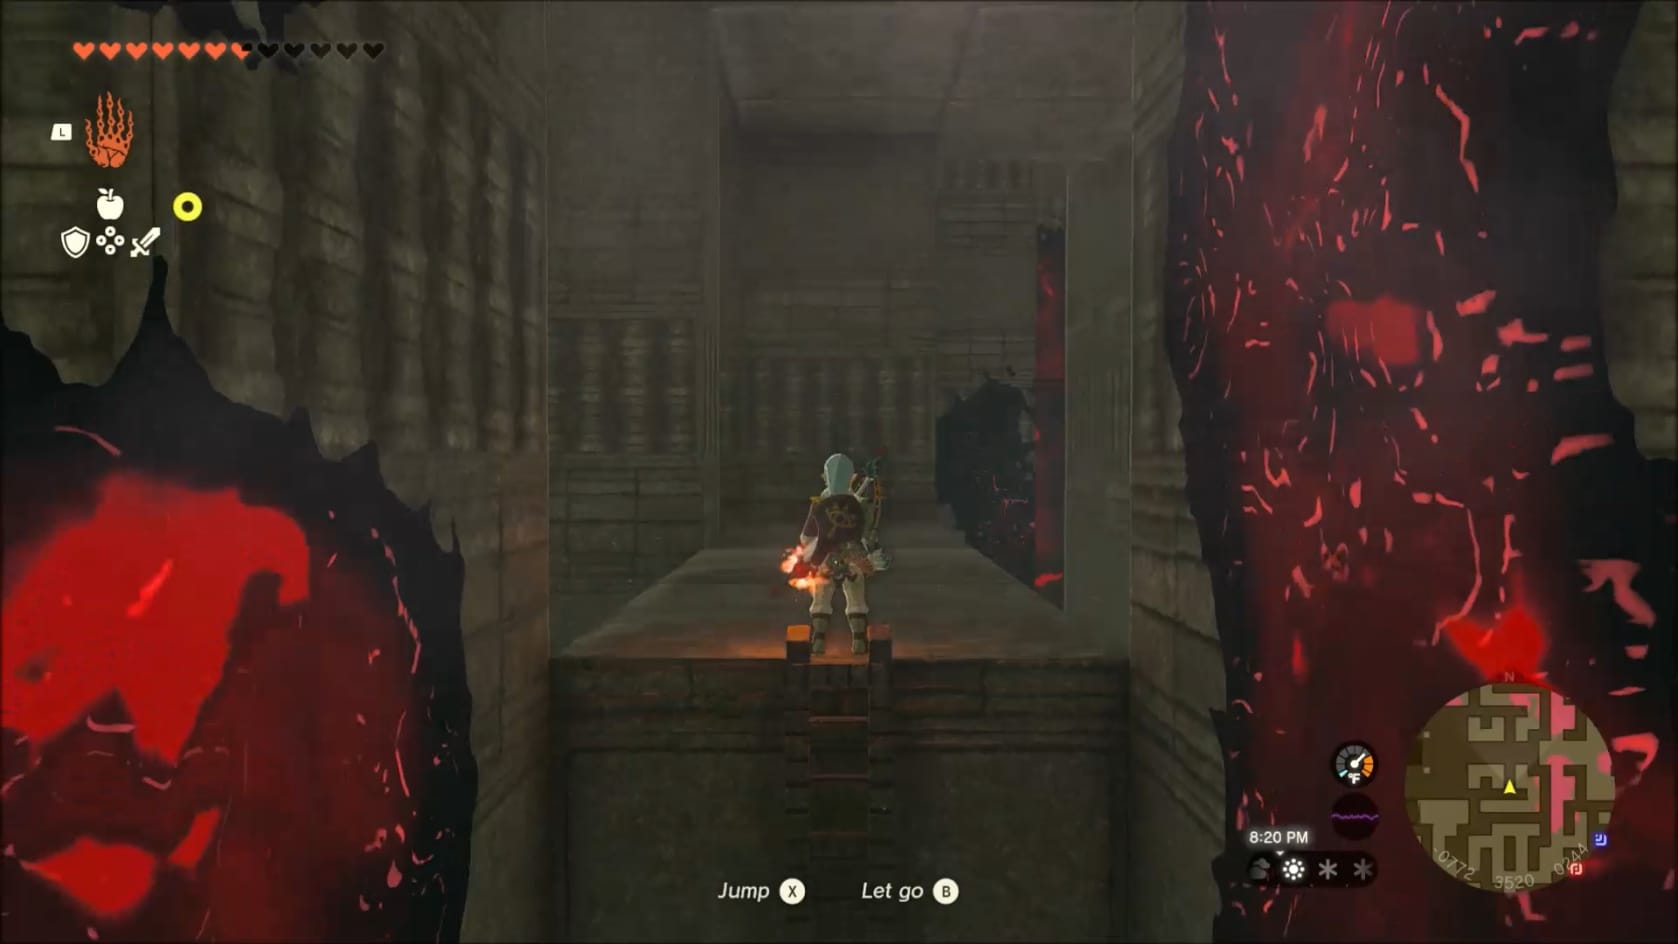
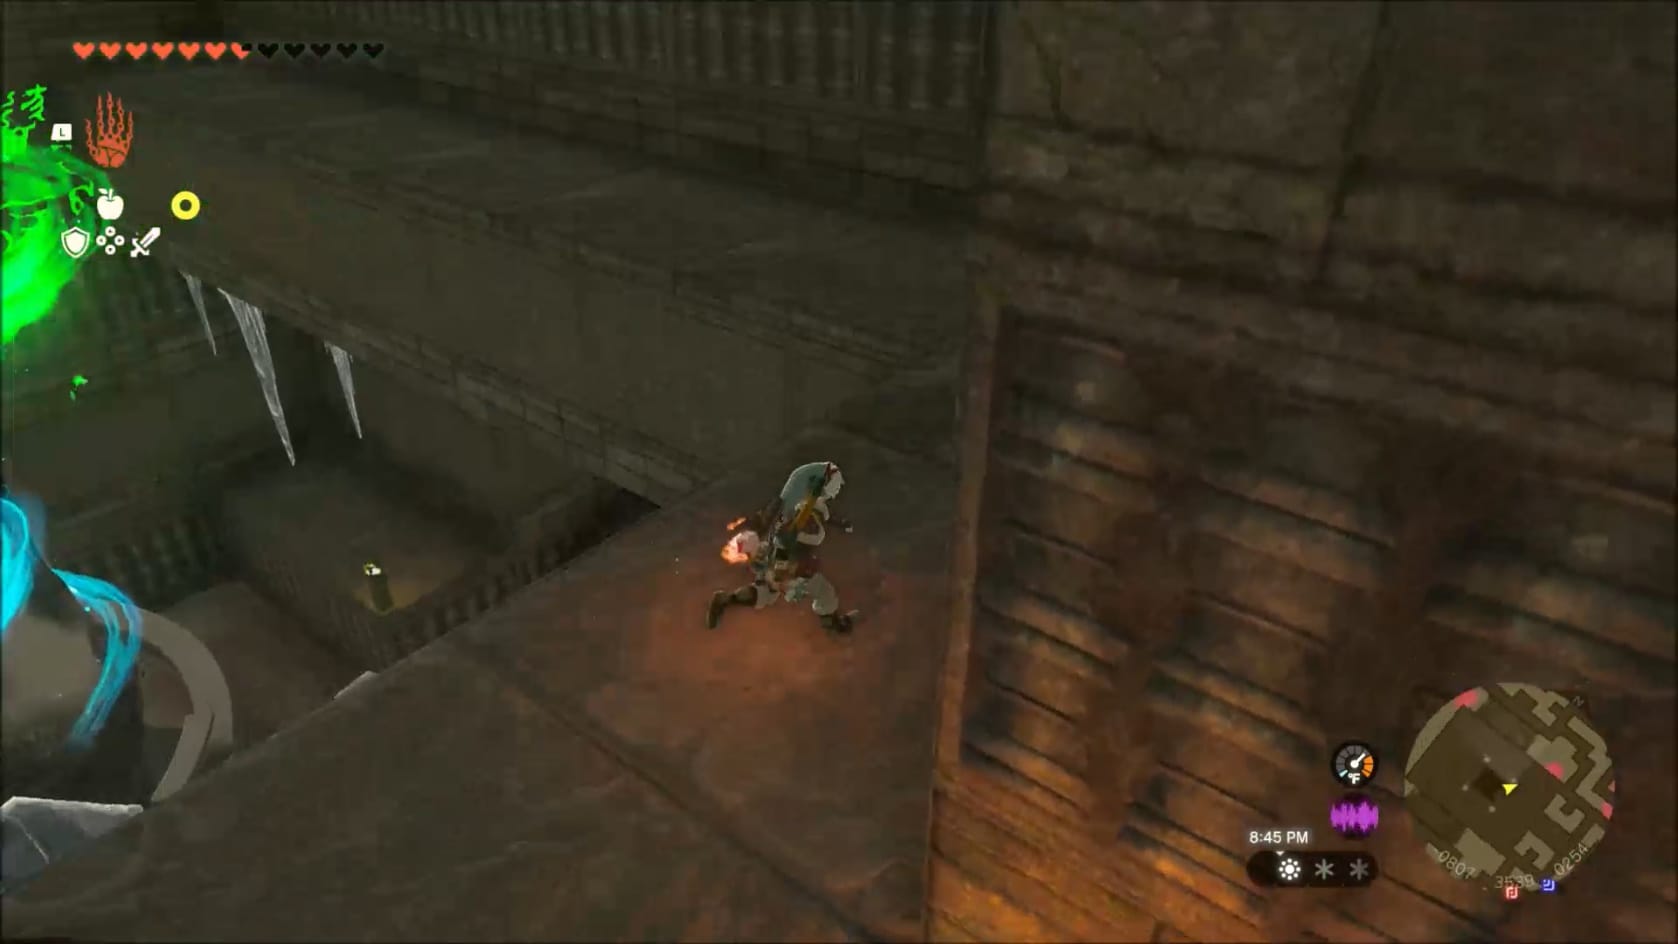
Link follow the path to the center of the North Lomei Labyrinth.
Go over to the and head to the North from it. Climb up the ladder there. Go across the walkway and take the stairs on your left up. You’ll find the final research note here. Jump down into the pit in front of you with the Shrine inside.
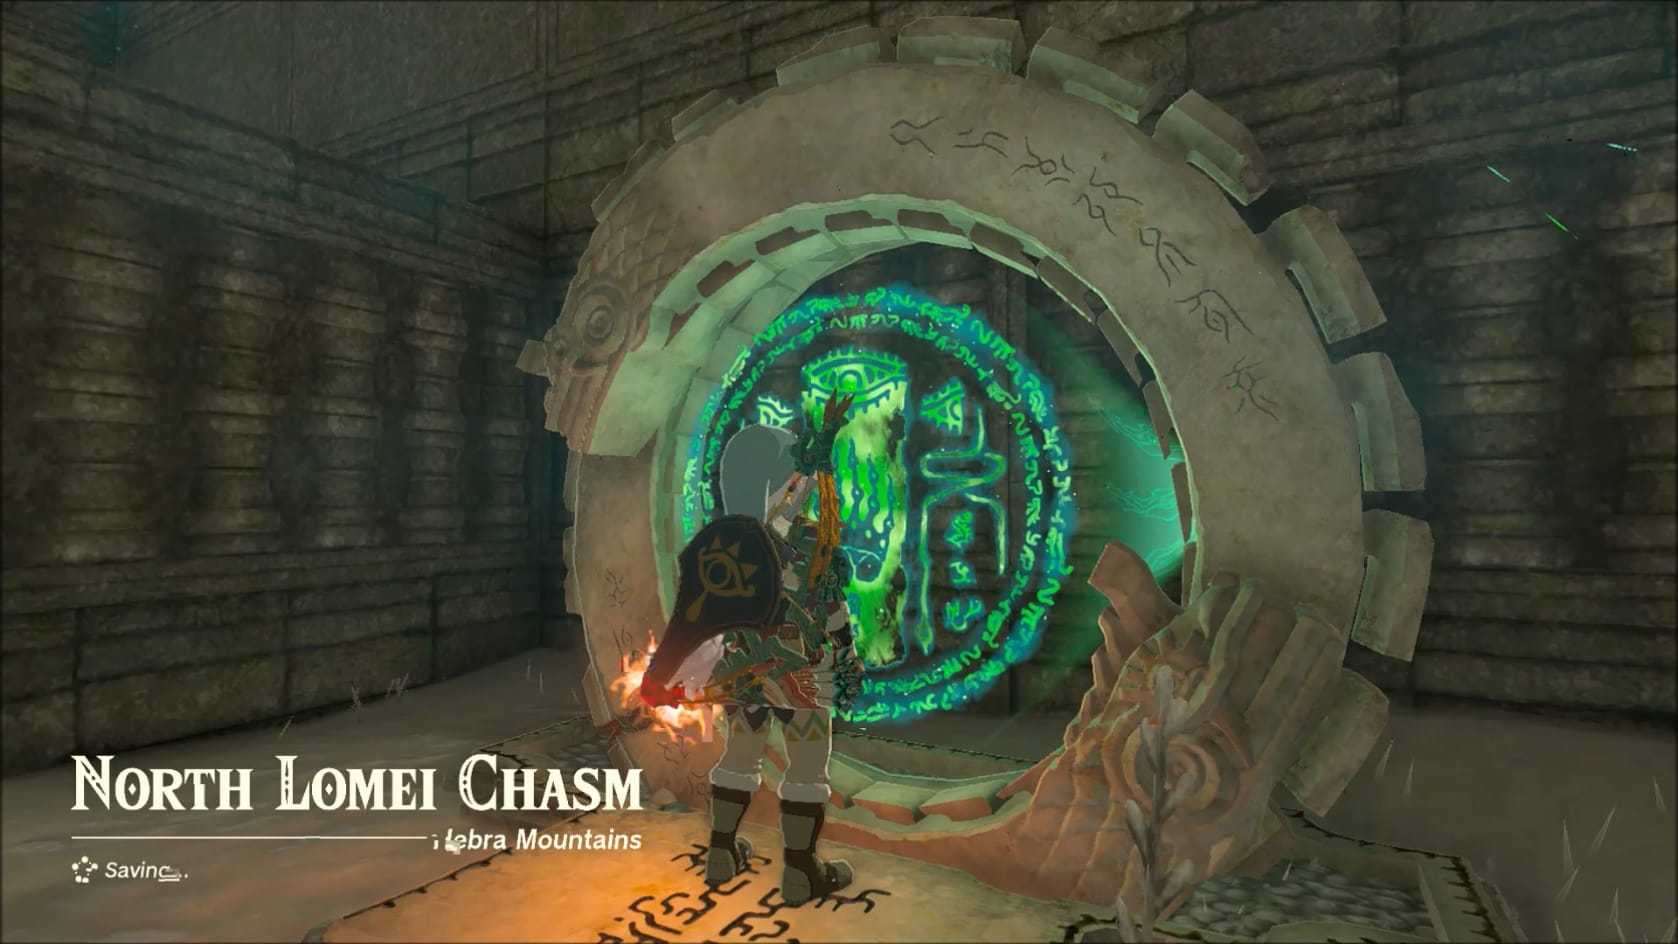
Once here, go to the Eastern side where you can see the ring. Interact with the Ring to activate the North Lomei Prophecy Quest itself.
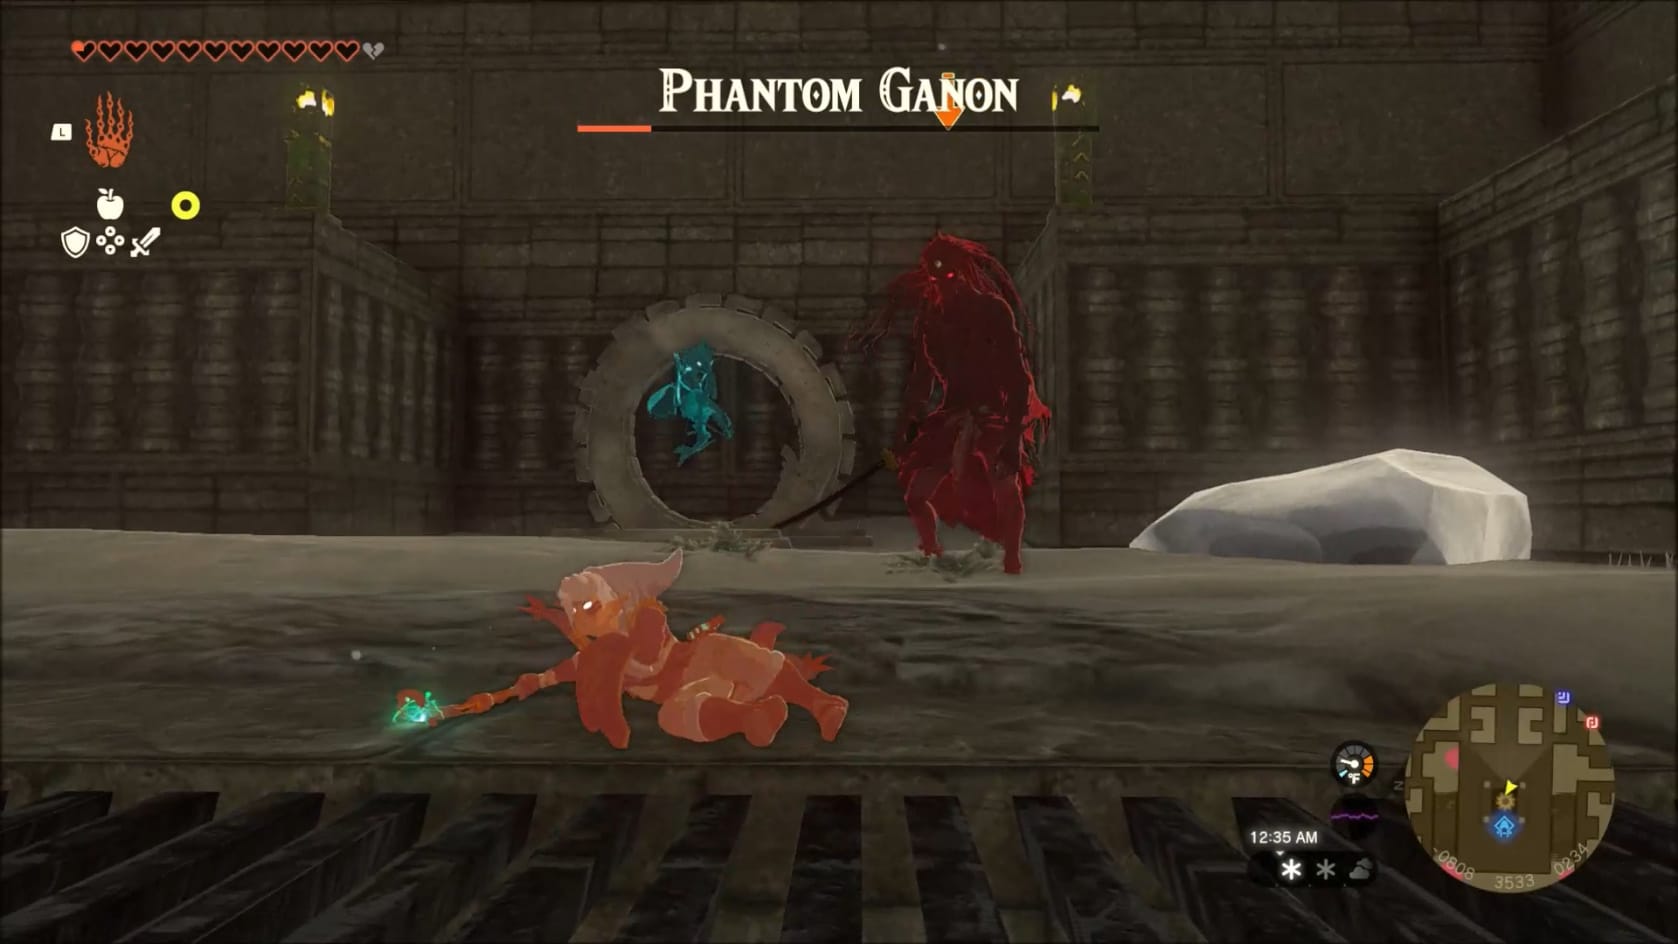
- Be sure to activate to the nearby Mayaotaki Shrine and complete its challenge: Rauru’s Blessing.
- There is a set of Gloom Hands you can be fighting over the North Lomei Chasm. This means you can wind up fighting a Phantom Ganon.
Location (North Lomei Sky Labyrinth)
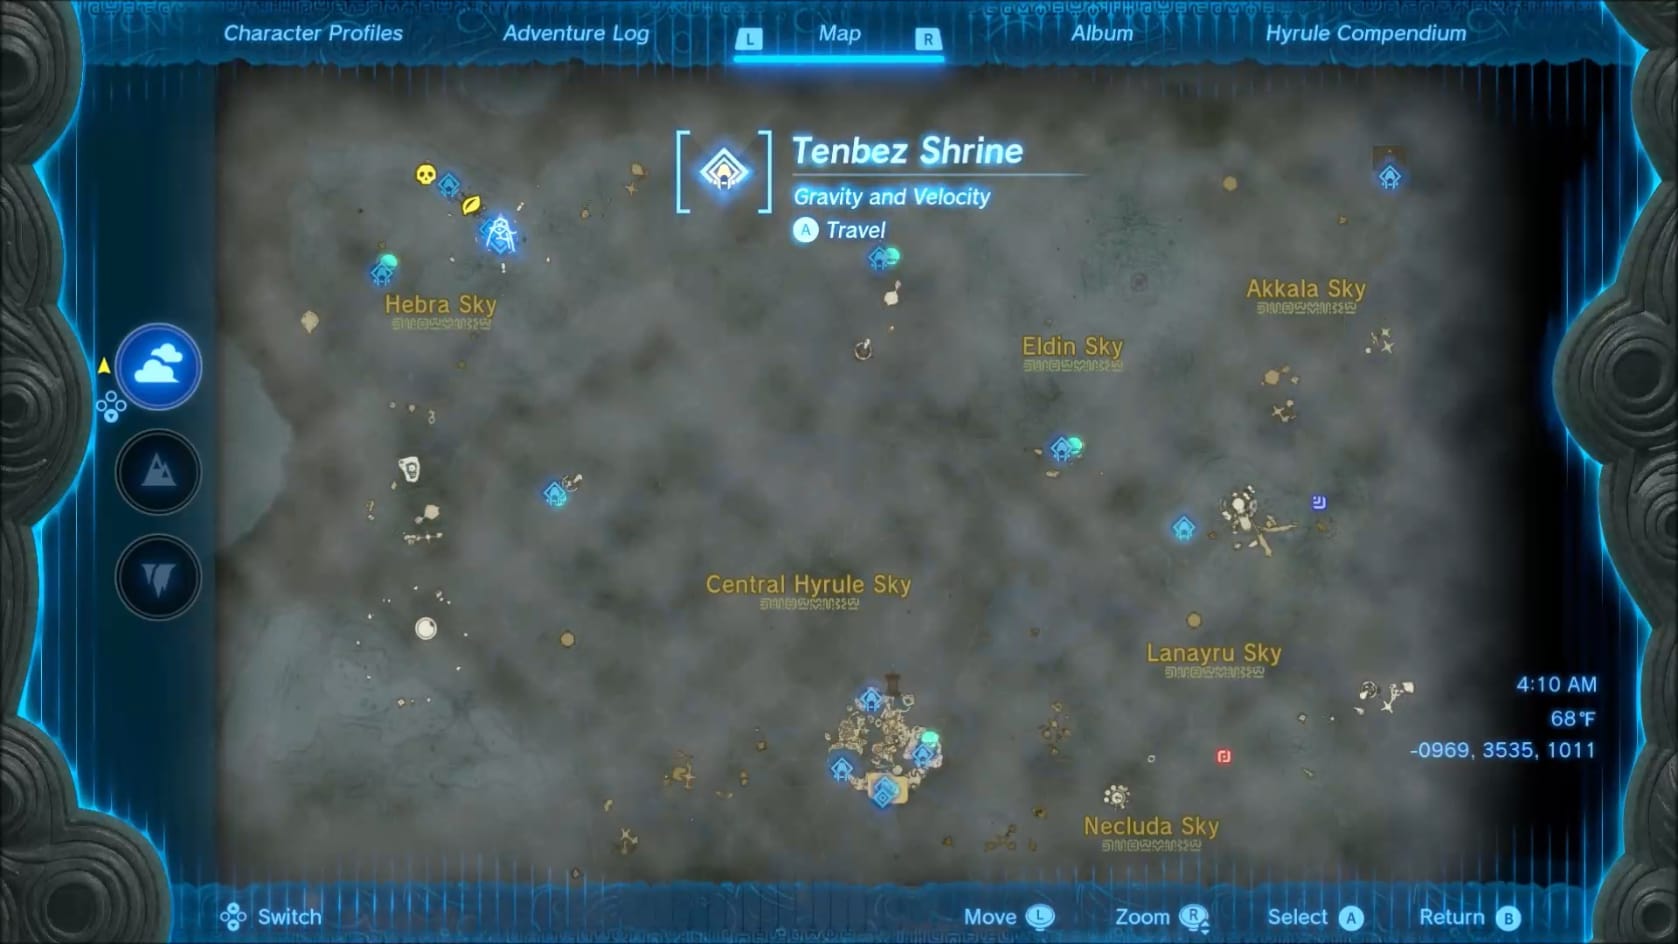
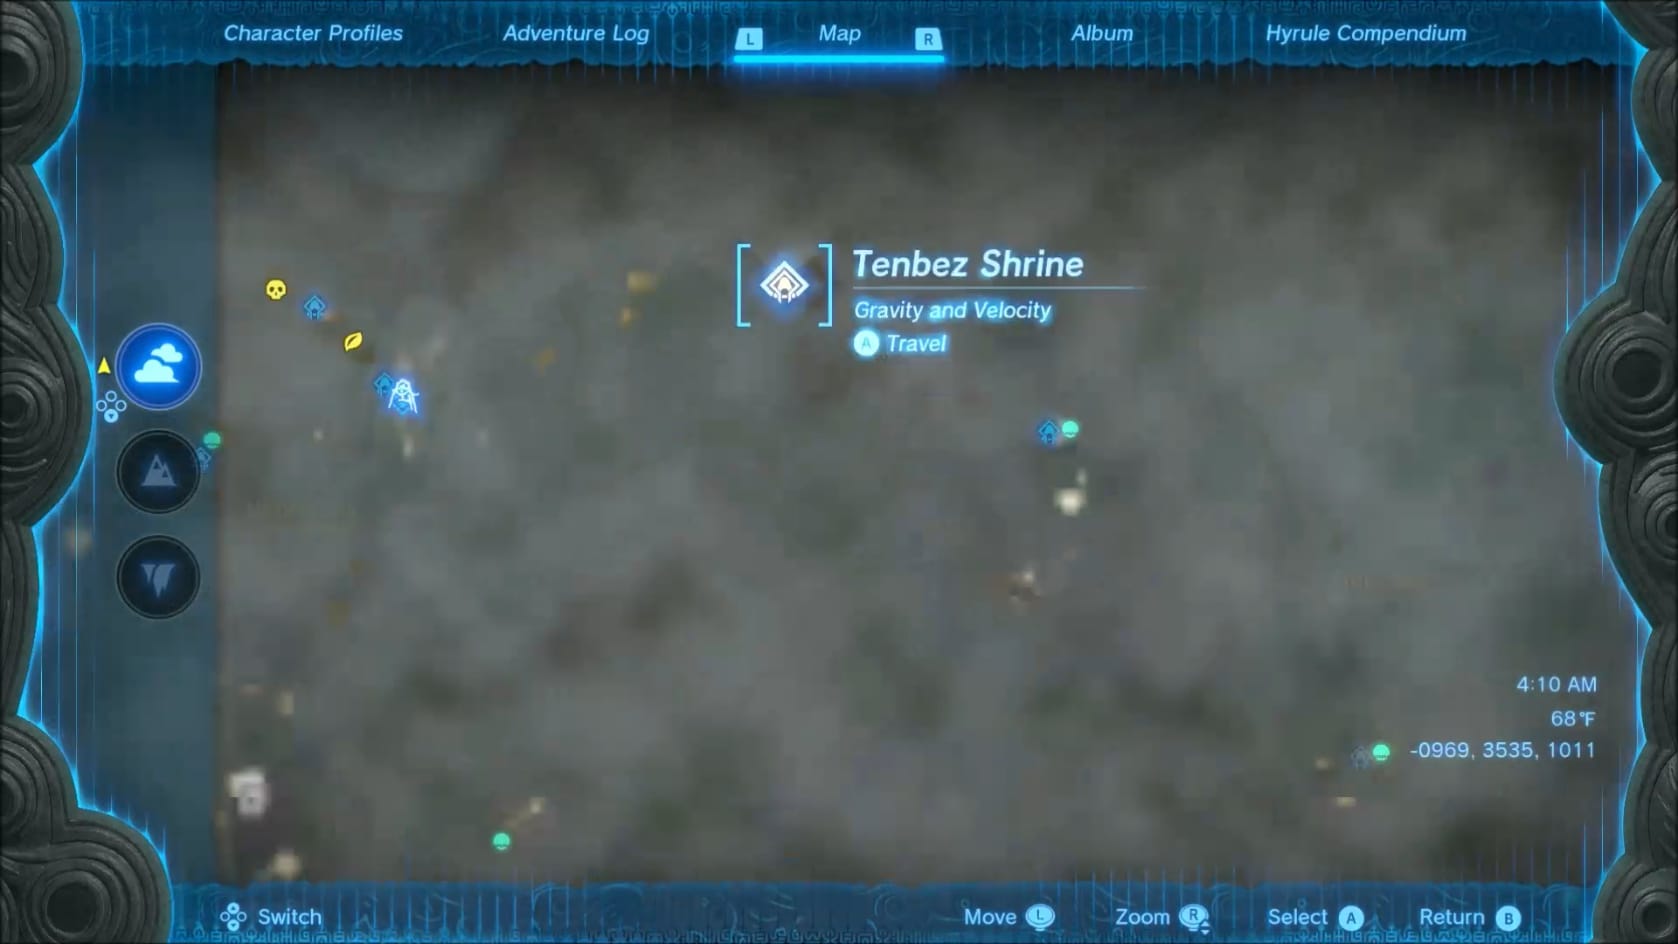
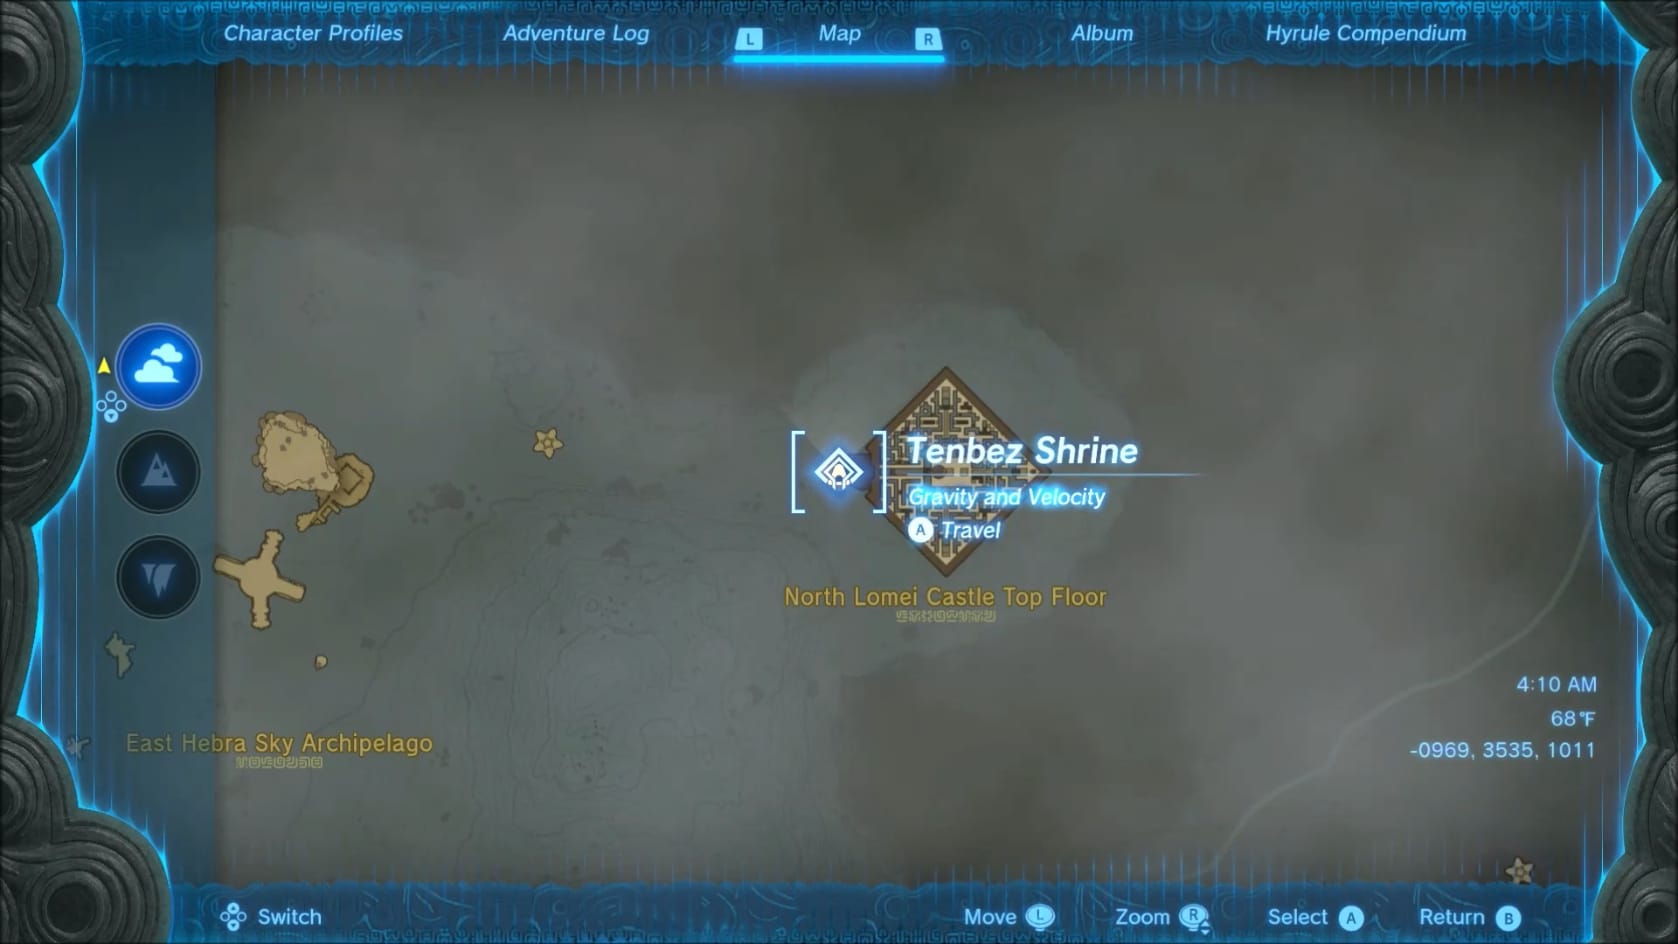
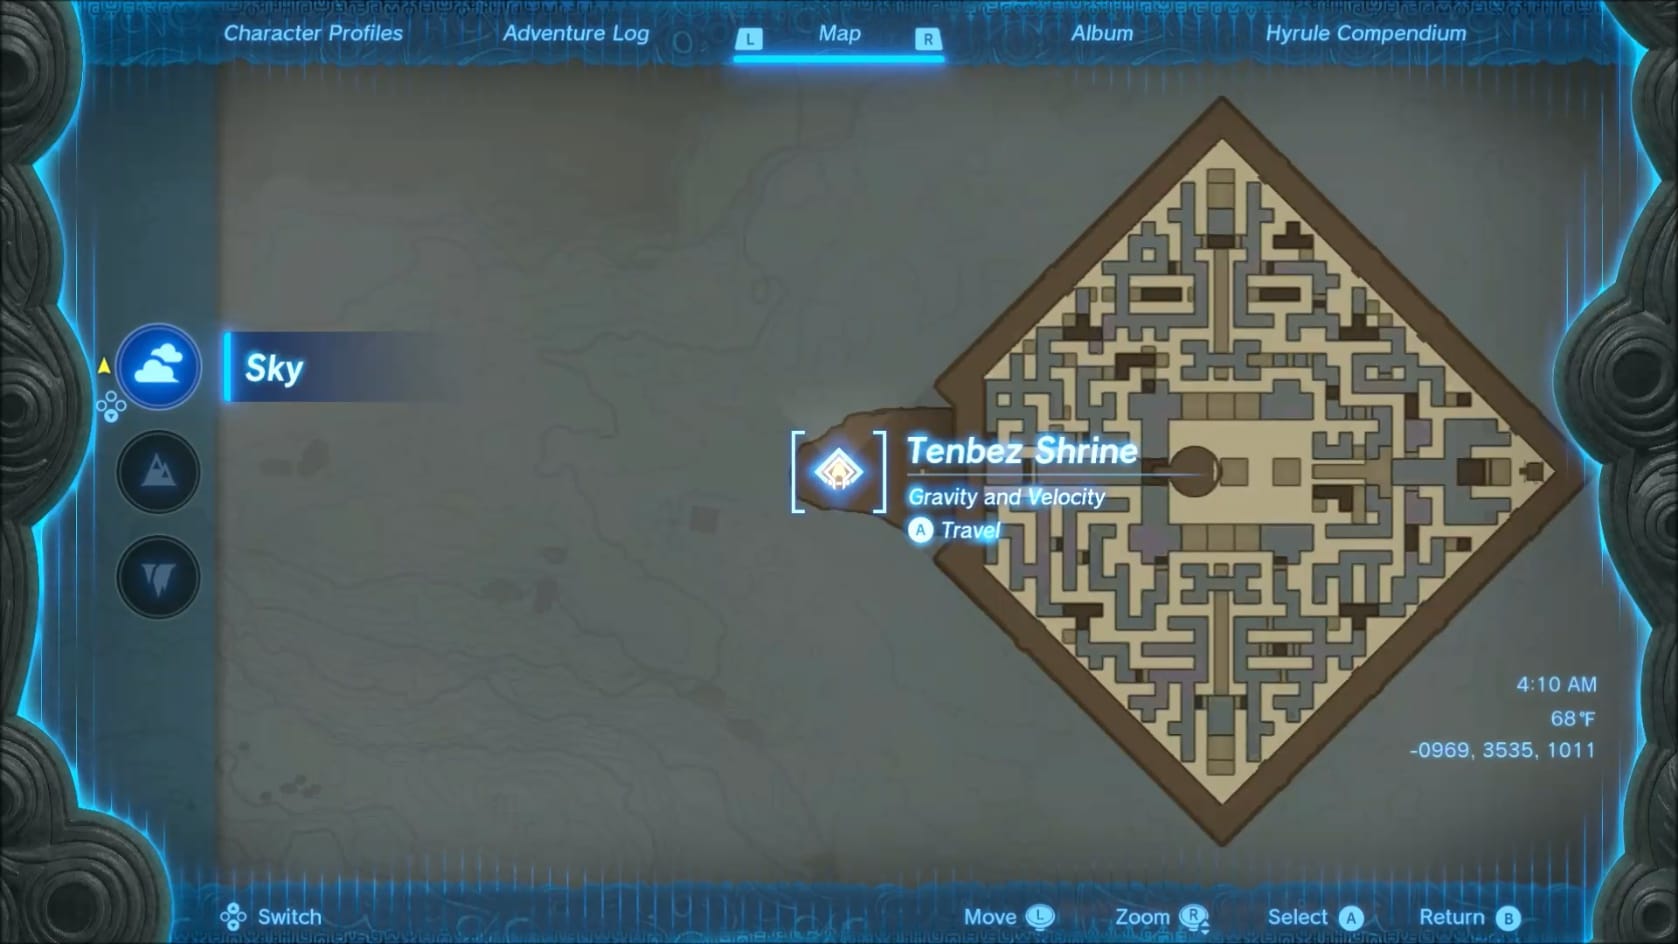
Location of the North Lomei Sky Castle (Labyrinth)
Coordinates: -0940, 3535, 1016
Description
“At the entrance to the giant ruin floating in the sky above northeast Tabantha, you heard a voice once again.
“The voice told you to activate the four terminals hidden within the labyrinth.”
Navigating the North Lomei Castle Top Floor
North Lomei Castle Top Floor
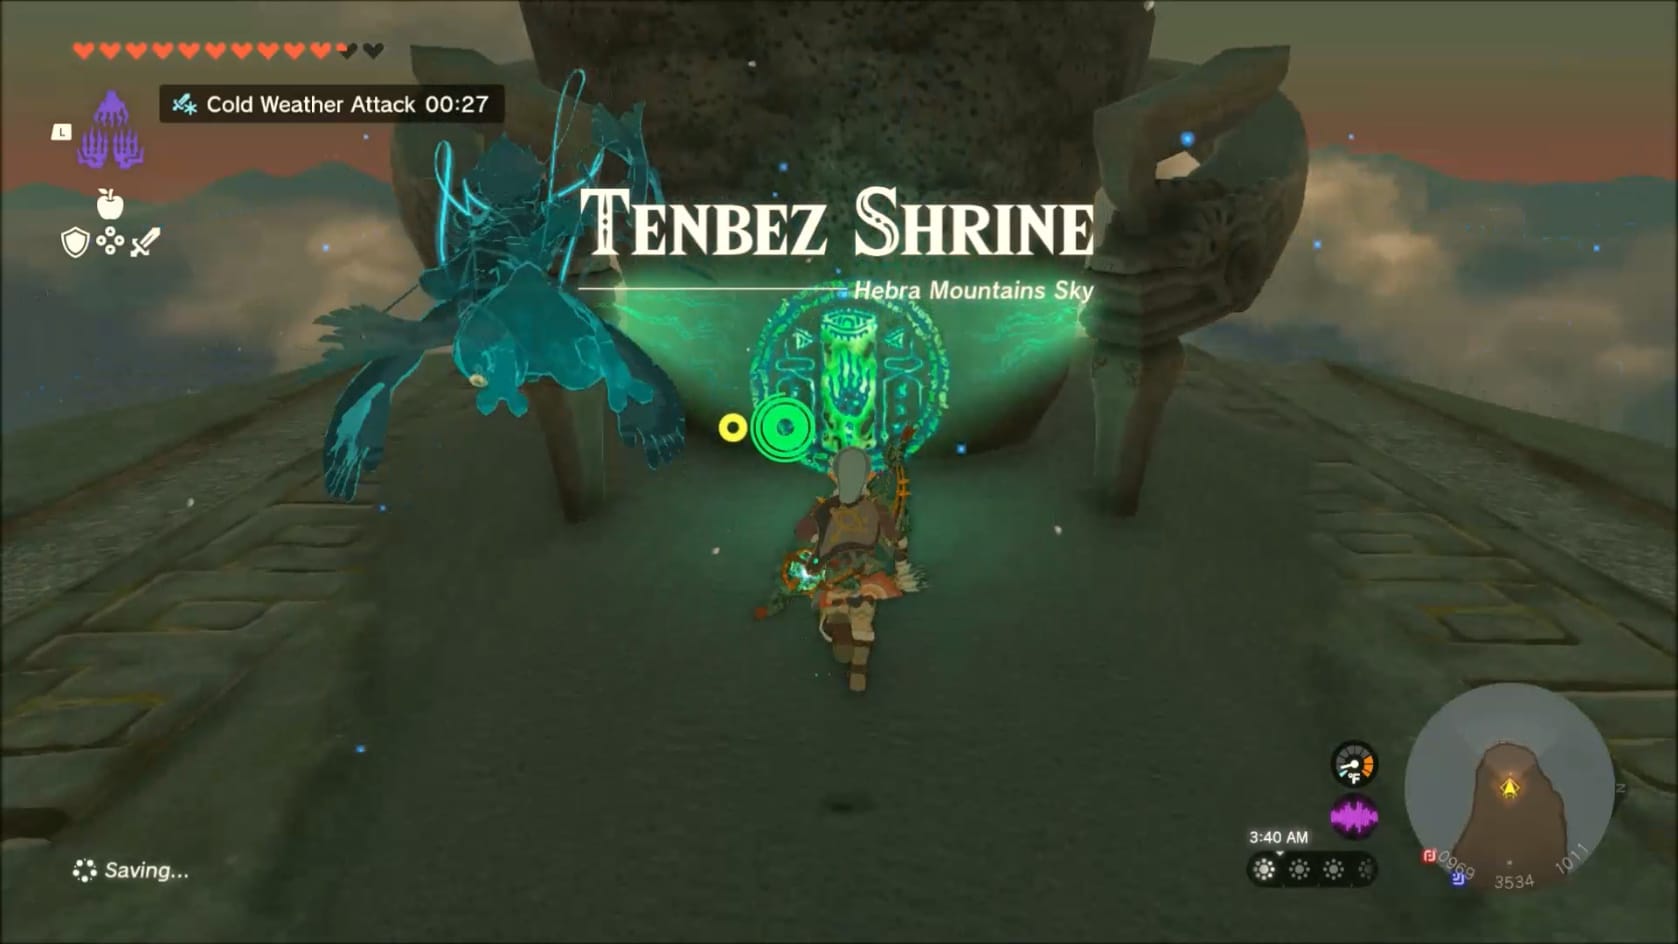
Having activated the Dragon Ring inside the North Lomei Labyrinth, you need to ascend upwards to the Sky Labyrinth above. This is easily done with a Zonai Vehicle. When you arrive, the best place to do so is along the Western side. This will give you very easy access to Tenbez Shrine. Take a few minutes to complete the shrine to get the Light of Blessing.
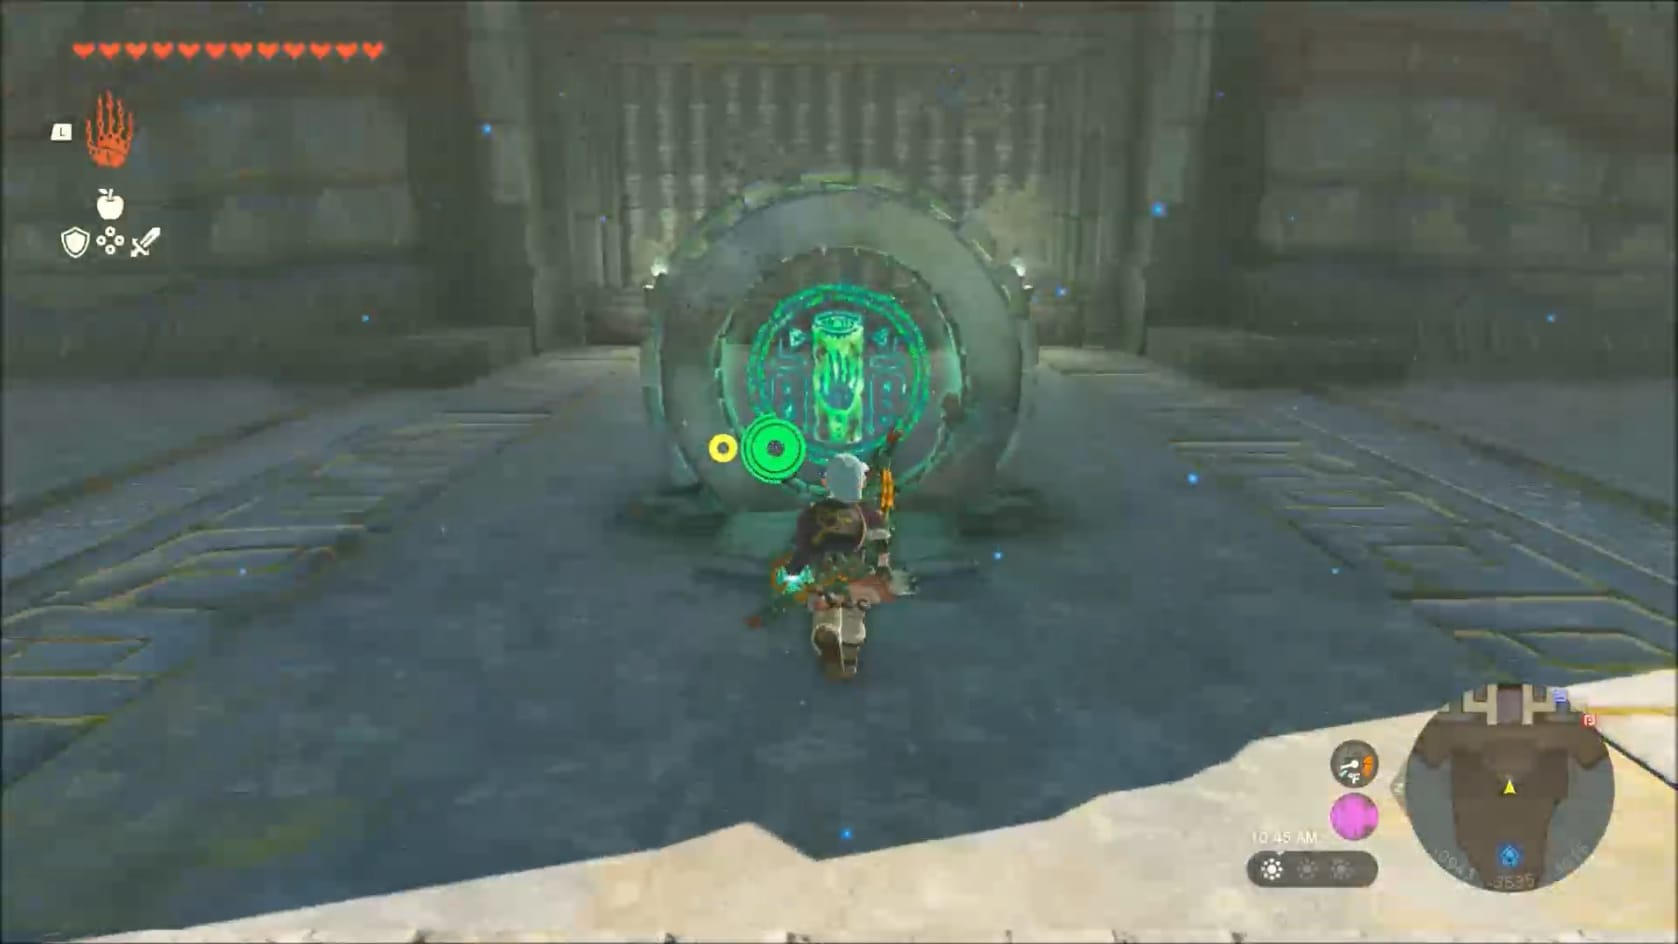
When you’re ready, head over to the Dragon Ring up from Tenbez Shrine to there. Interact with the Dragon Ring to activate this Sky Labyrinth.
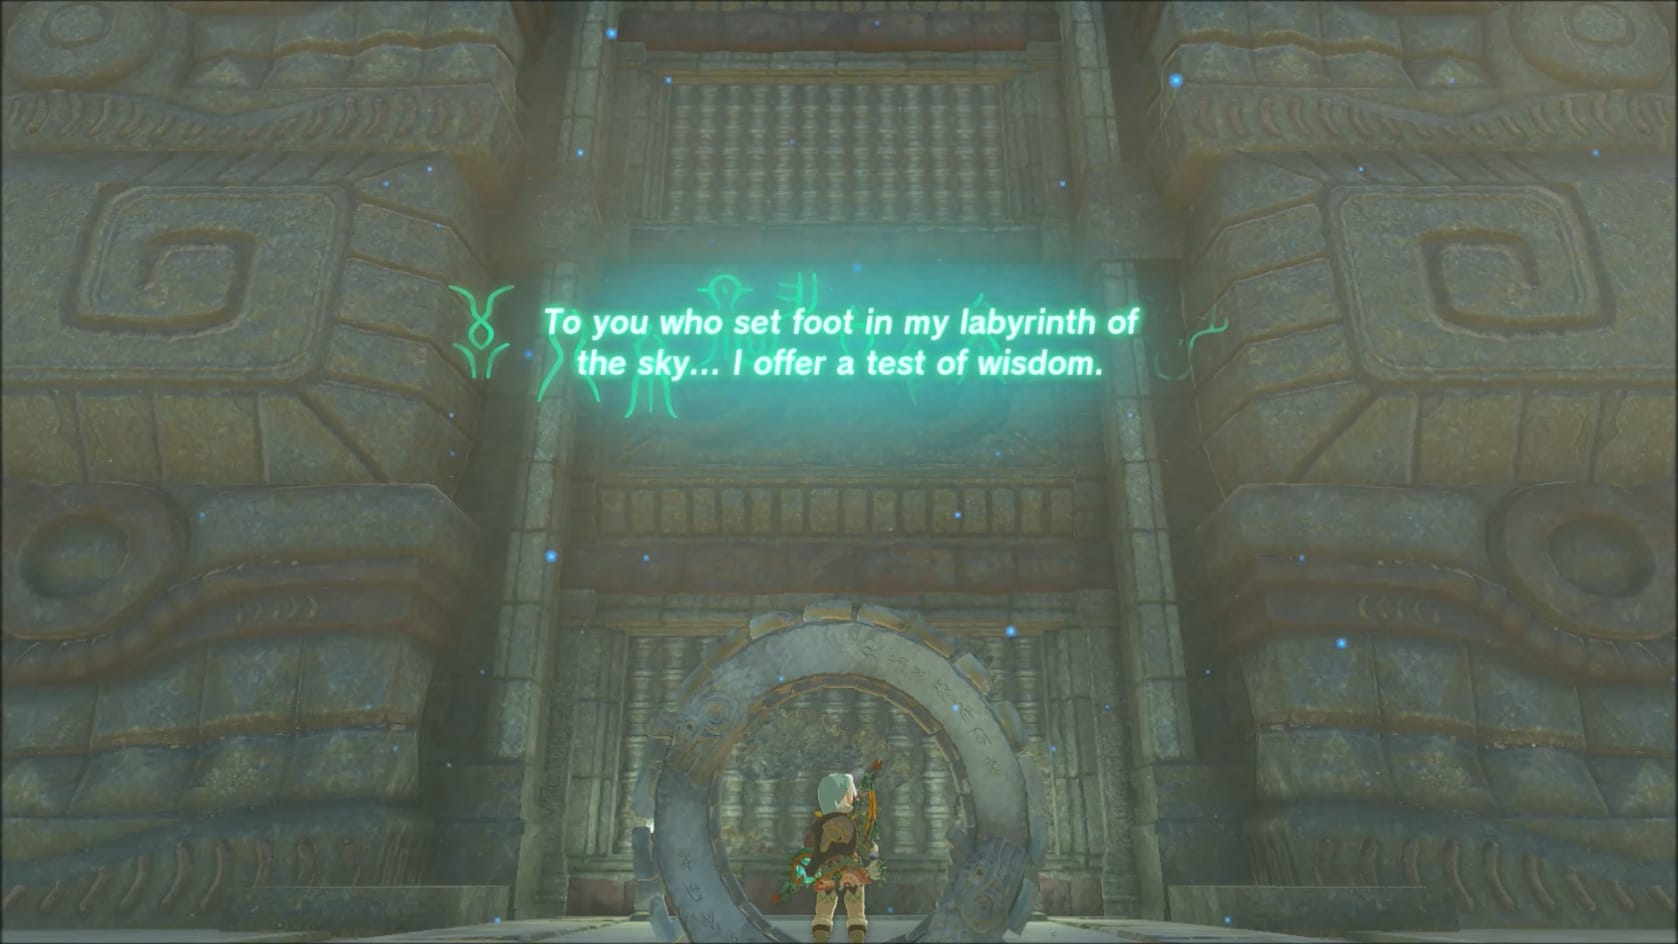
There are 4 terminals spread throughout the Labyrinth that need to be activated before you can move onto the final part of the Labyrinth itself. 1 sits in the center of the Labyrinth. The other 3 sit in the Northern, Southern, and Eastern corners respectively.
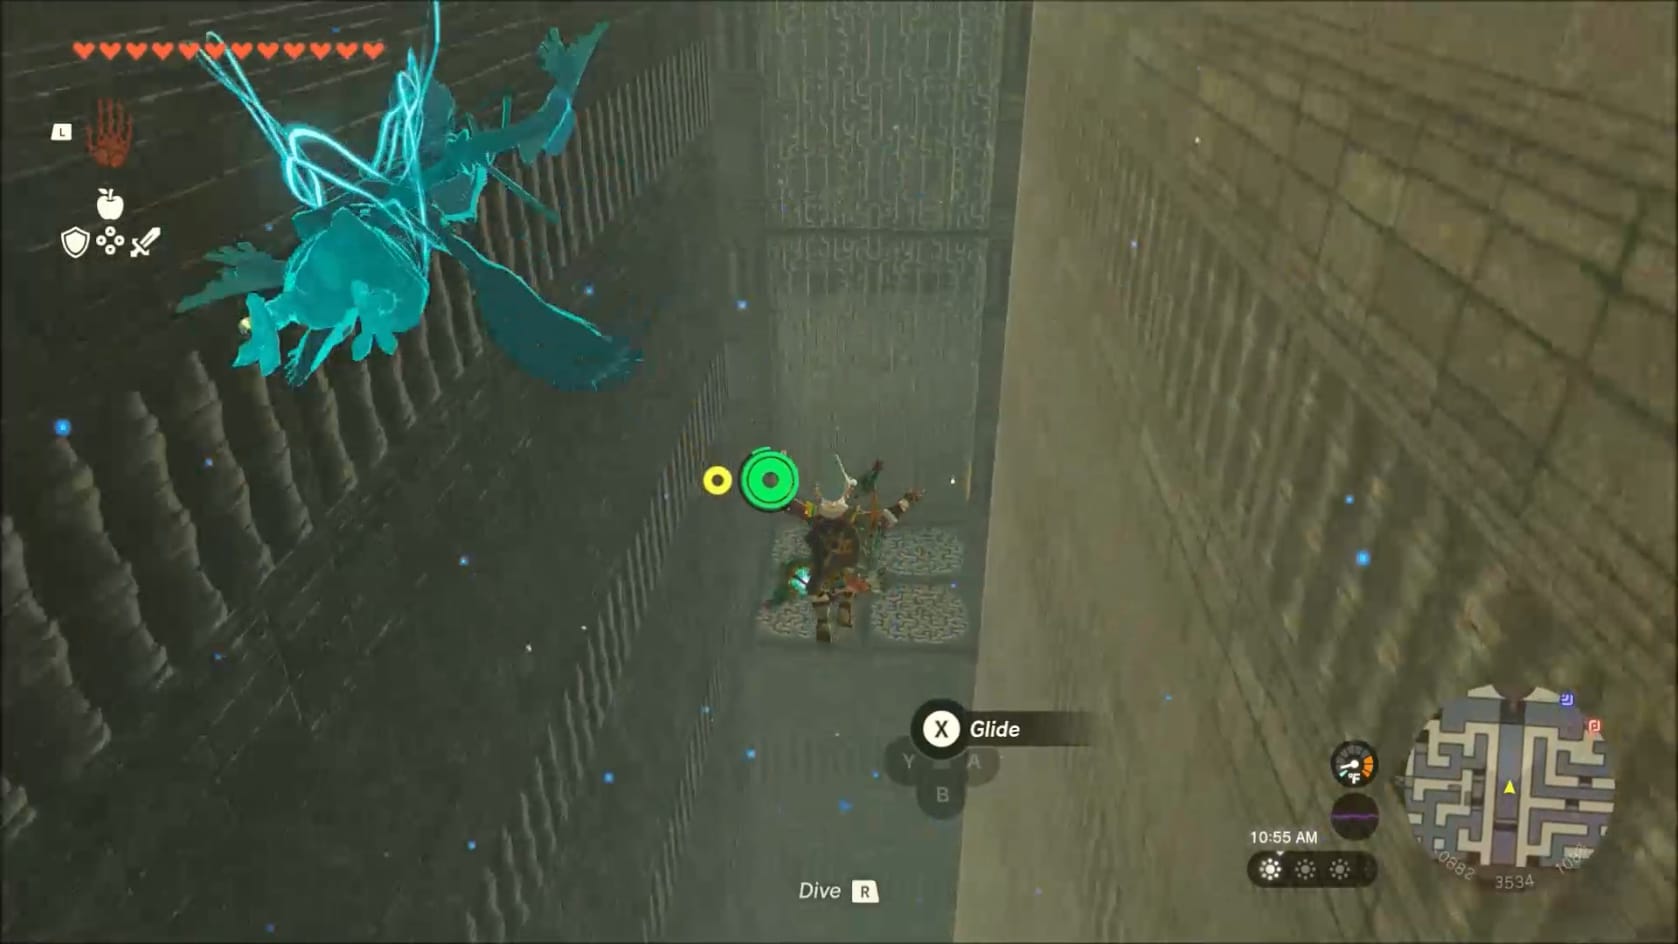
With the Dragon Ring activated, the large door in front of you will open. Throughout the whole of this Labyrinth is constant strong updraft. On top of that, it’s a low gravity area. This is going to be how you navigate the Labyrinth itself.
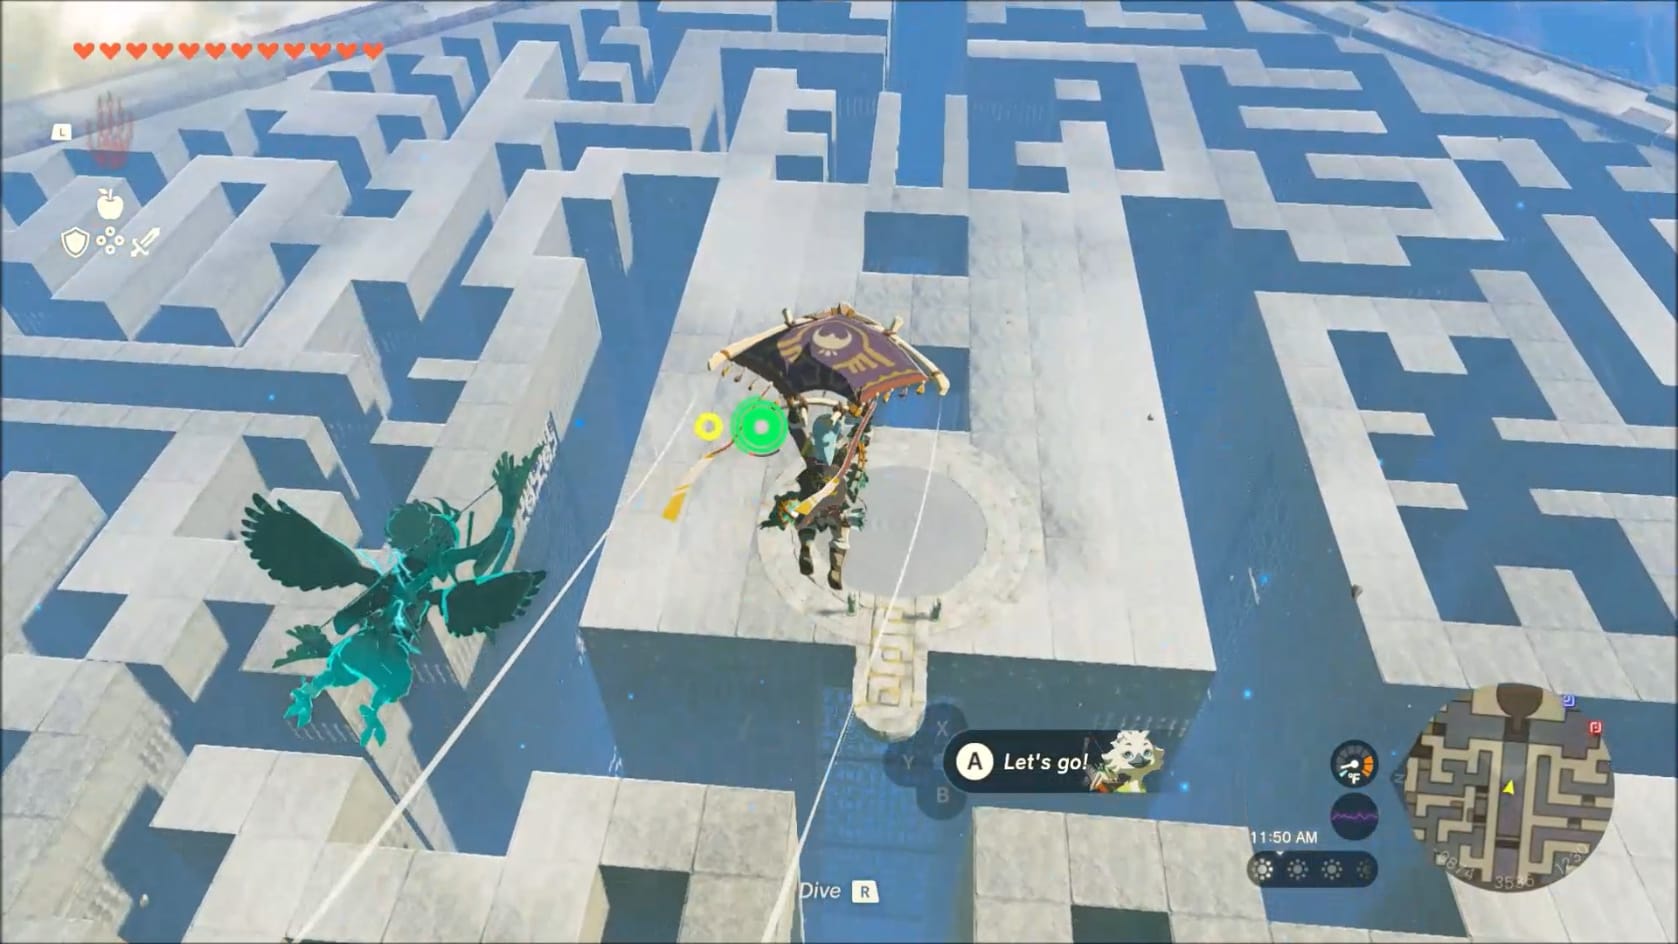
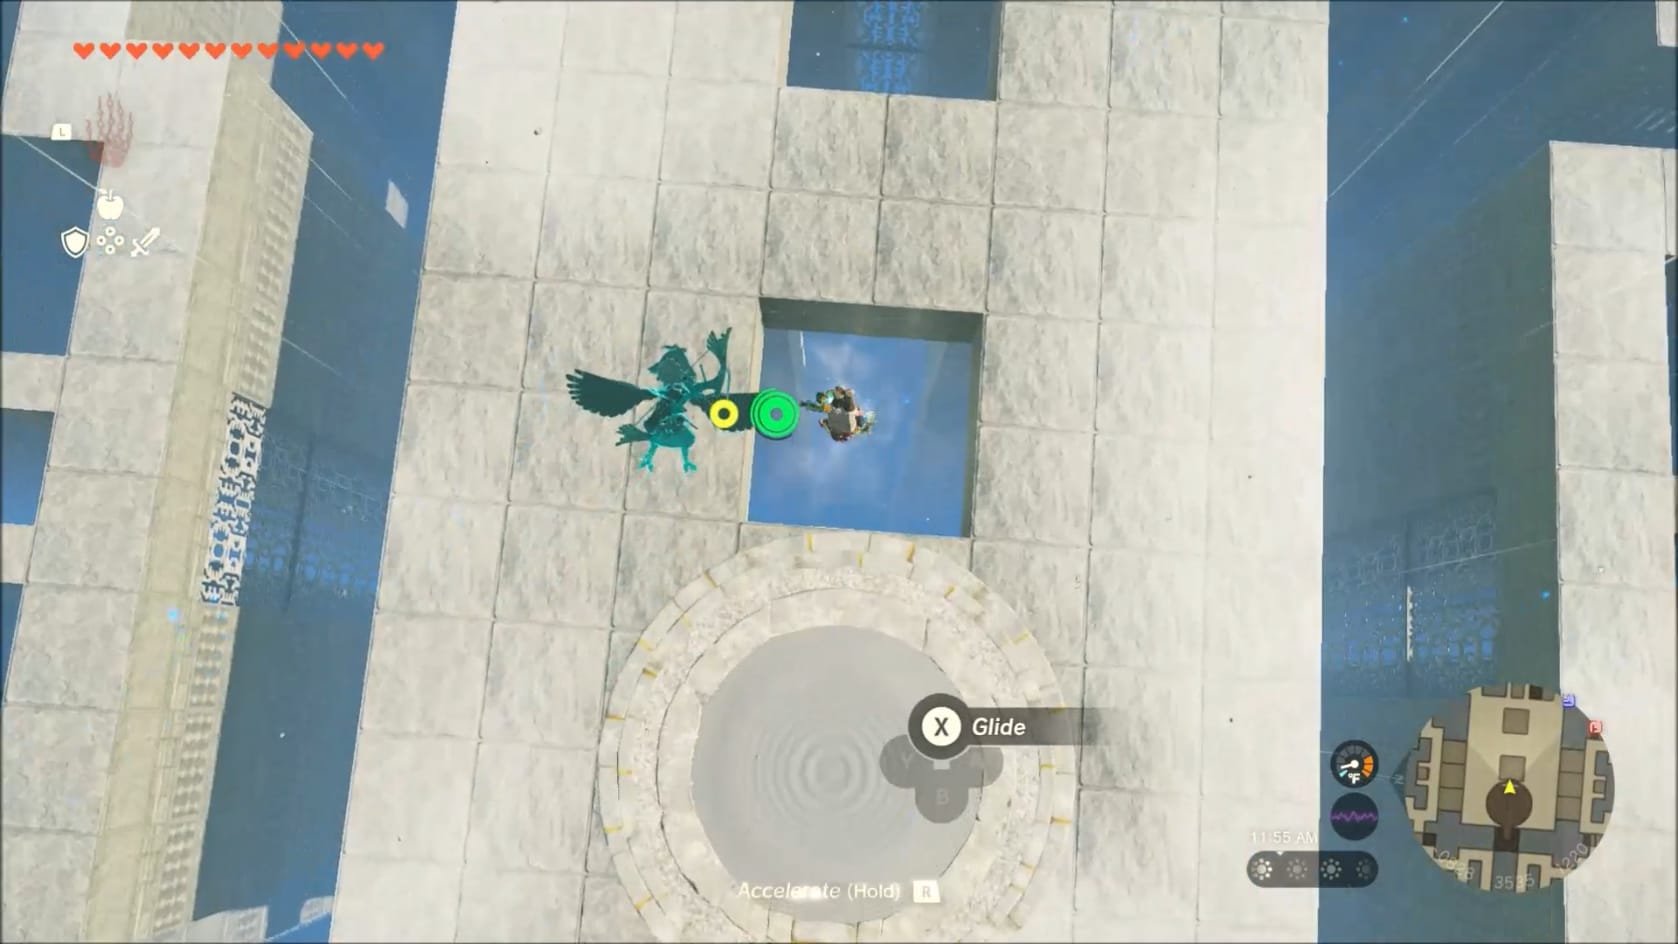
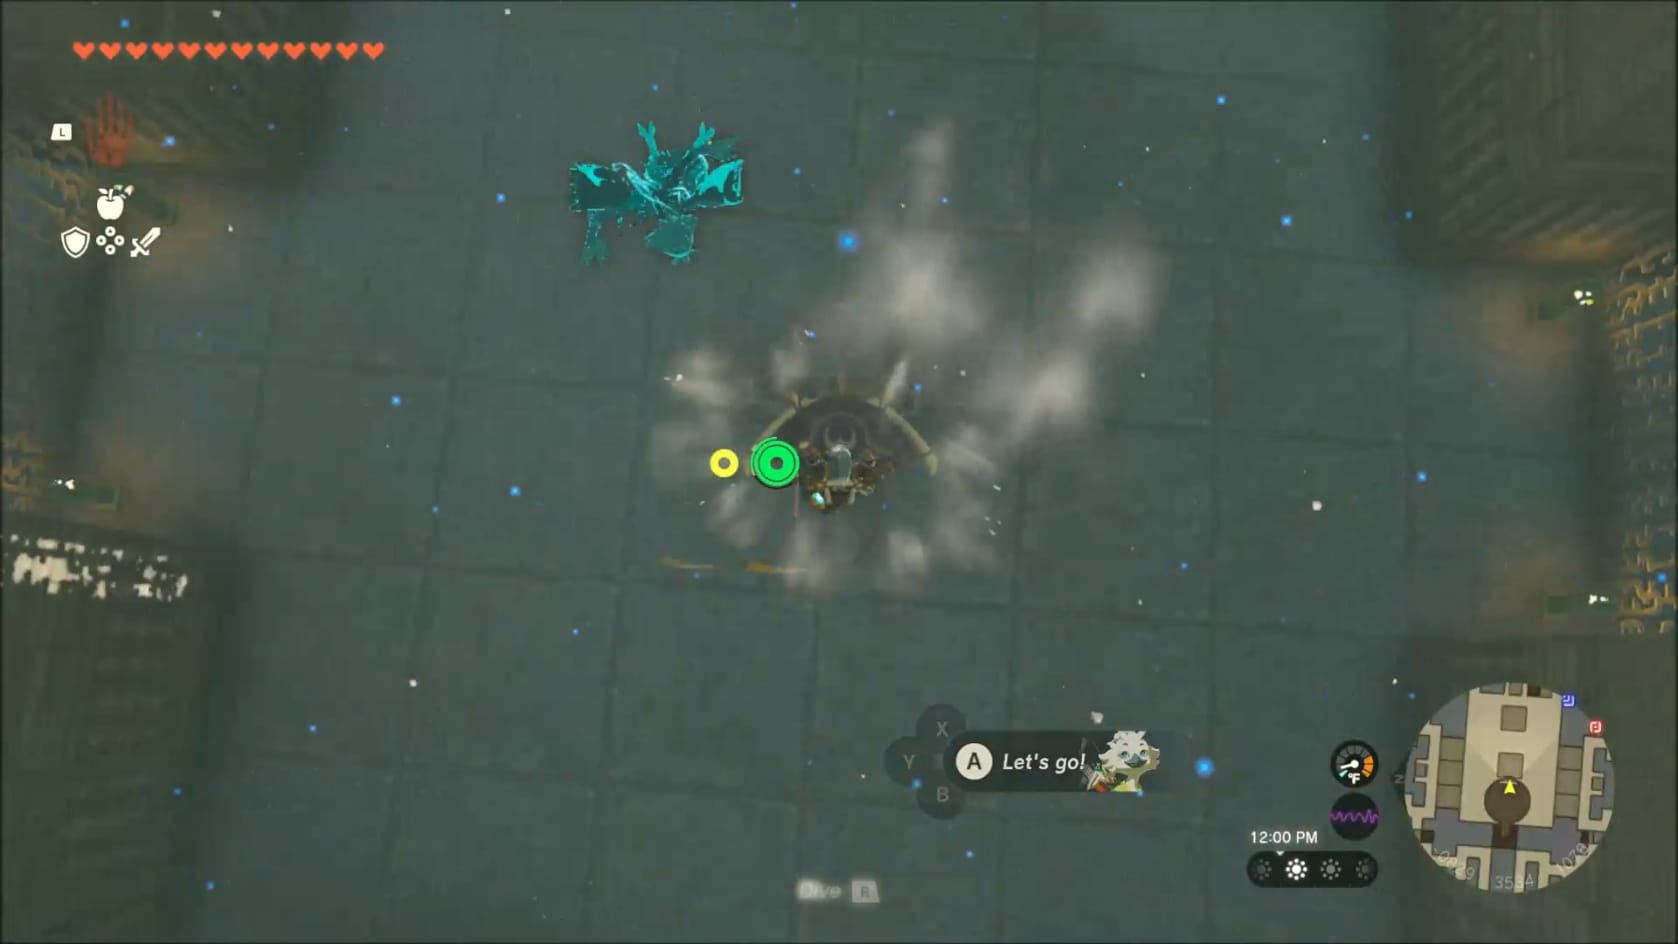
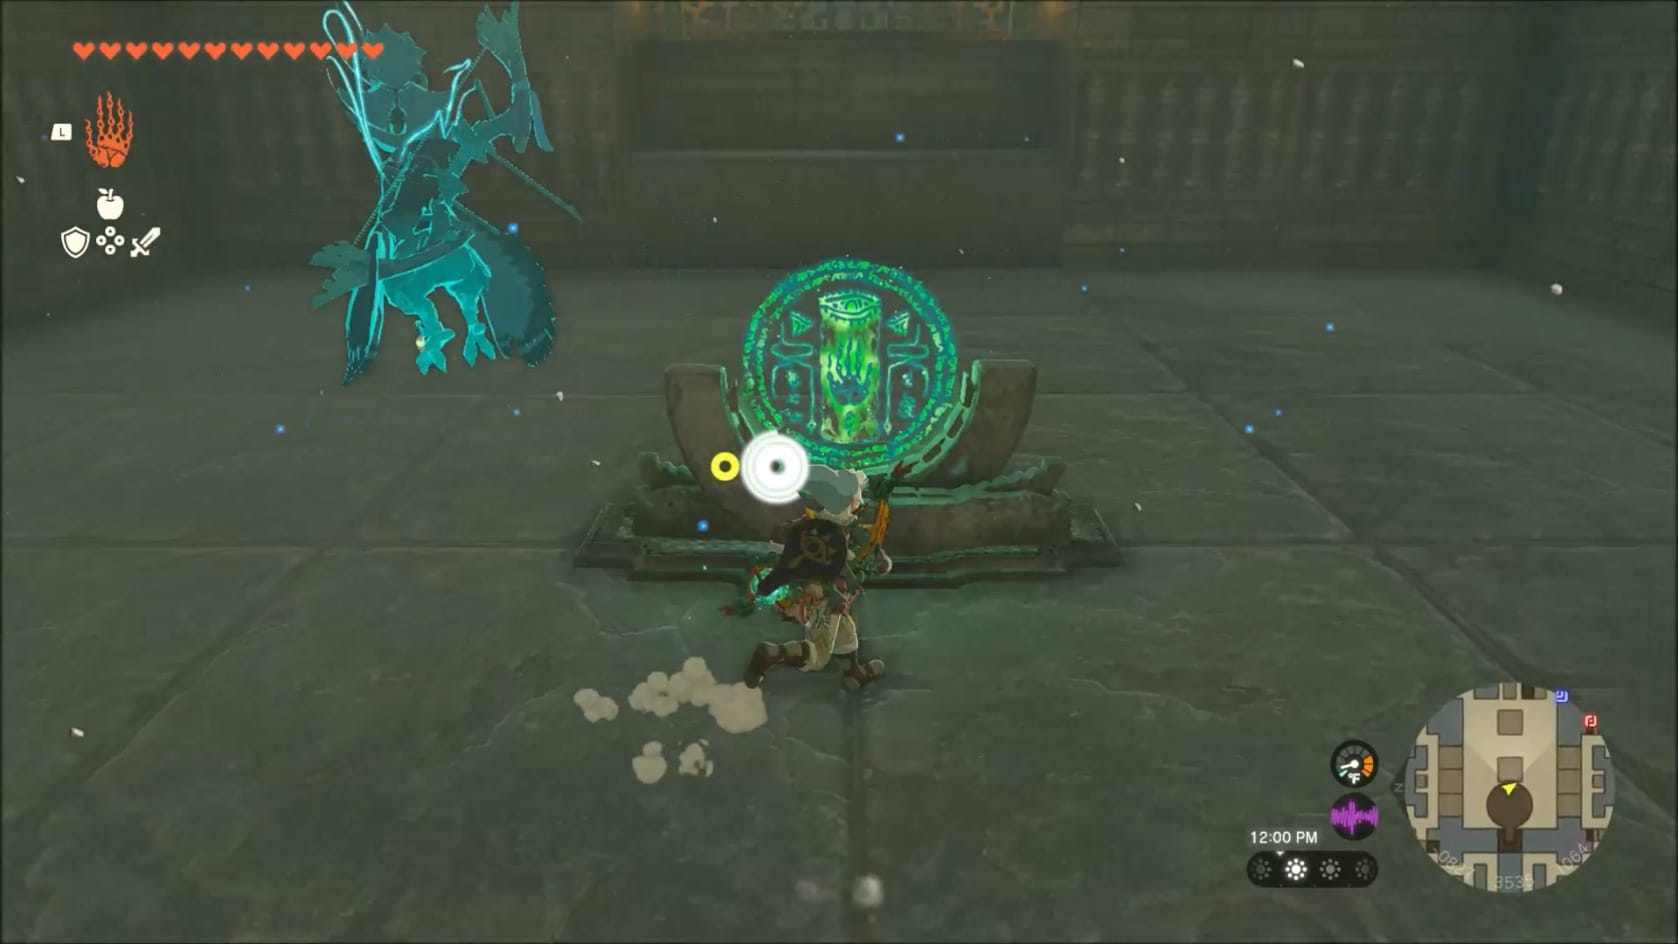
Reaching the center Terminal
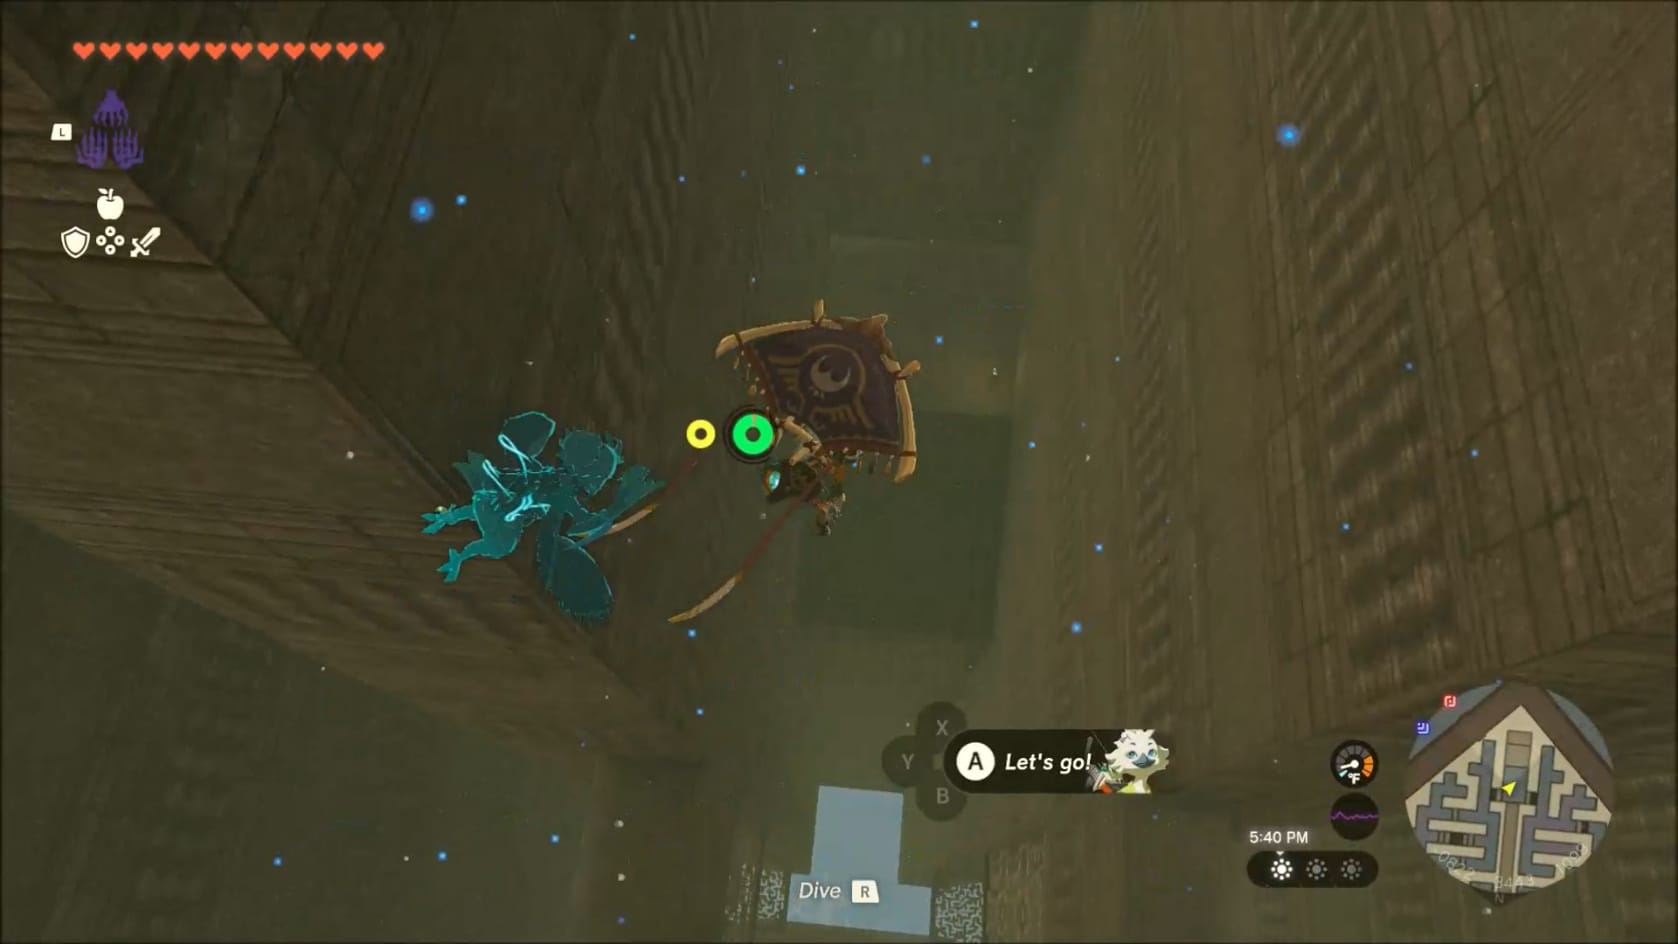
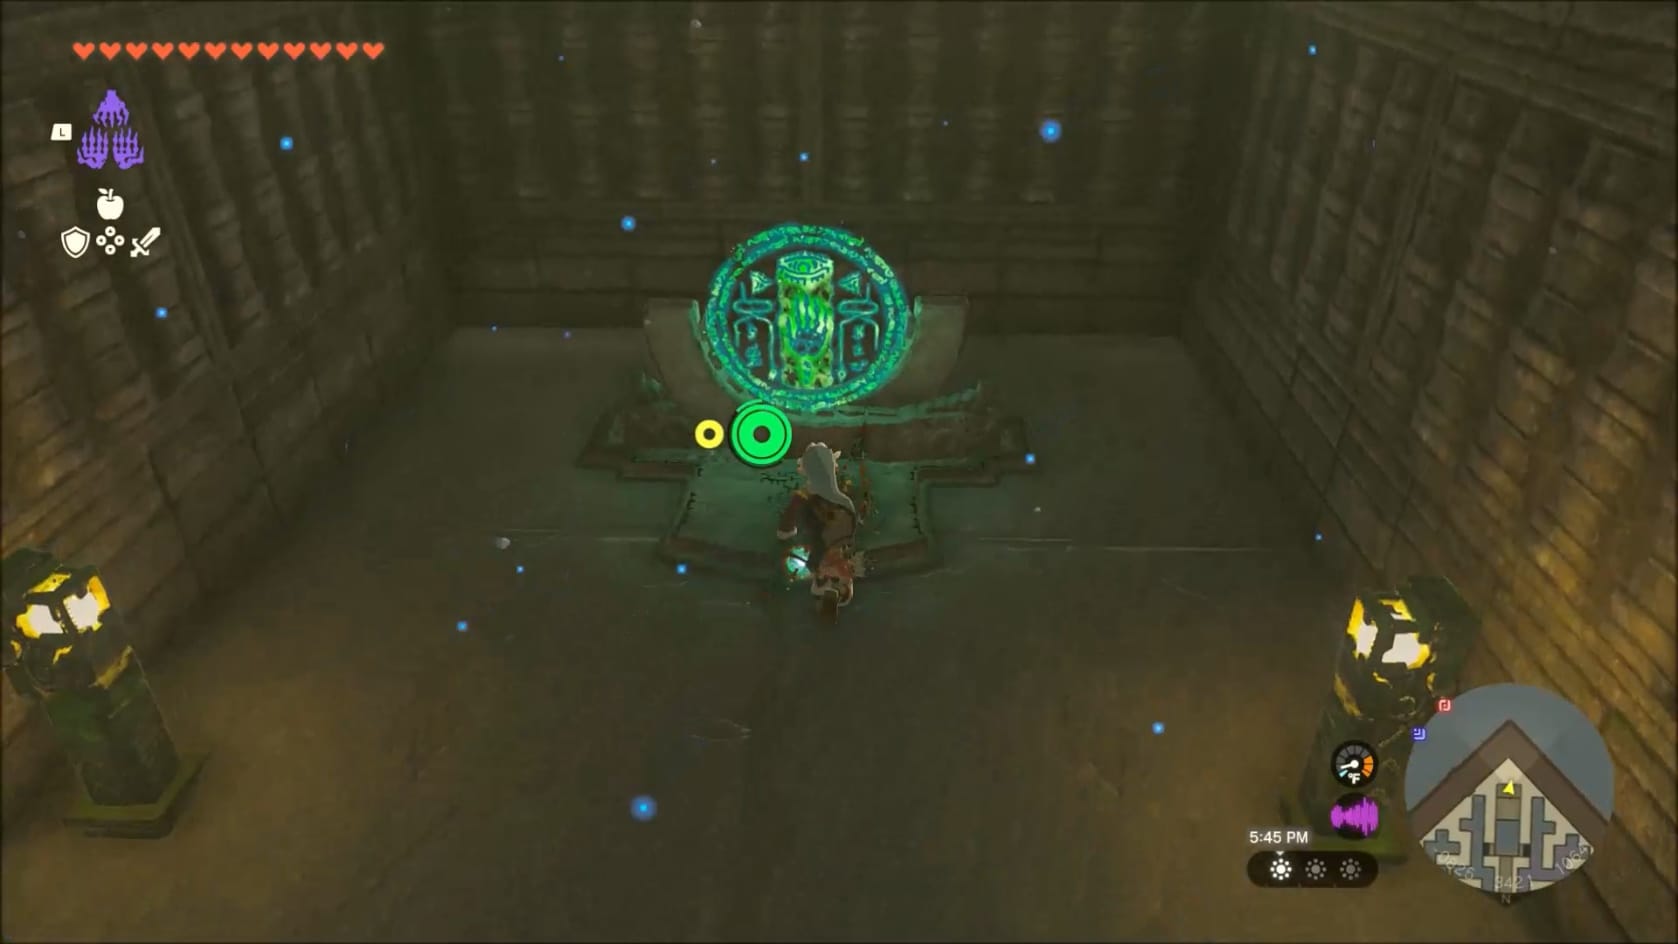
Start by jumping into the updraft and gliding forward just a little. You must ascend to the top of the Labyrinth. Here you’ll want to reach the top of the Labyrinth. Go East just a bit, past the ledge and into the first opening just beyond the circle of sand. Drop down through here. You’ll find 1 of the Terminals that you need to activate. It’s coordinates are: -0823, 3535, 1064.
Head to the East from the Terminal. Run and Jump to climb up the ledges. Jump out to East and it’s time to make for any of the other 3 terminals. It’s fairly easy to travel up with a simple Zonai Flight Device. Use this to get up to return to the grate nearby the entrance of the Labyrinth.
Head to the North from this Grate and go North. Take the first turn to the right. Go across the landing and then jump out to the right (east). Go forward then turn to the Left (North). Weave to the North until you reach the wall in front of you. Turn to the left (West) and weave through this area. It will go to the South for a moment before turning West again. As you approach the Western edge of the Labyrinth, you will need to turn to the North. Once you do, take the first turn to the right to start weaving your way to the North.
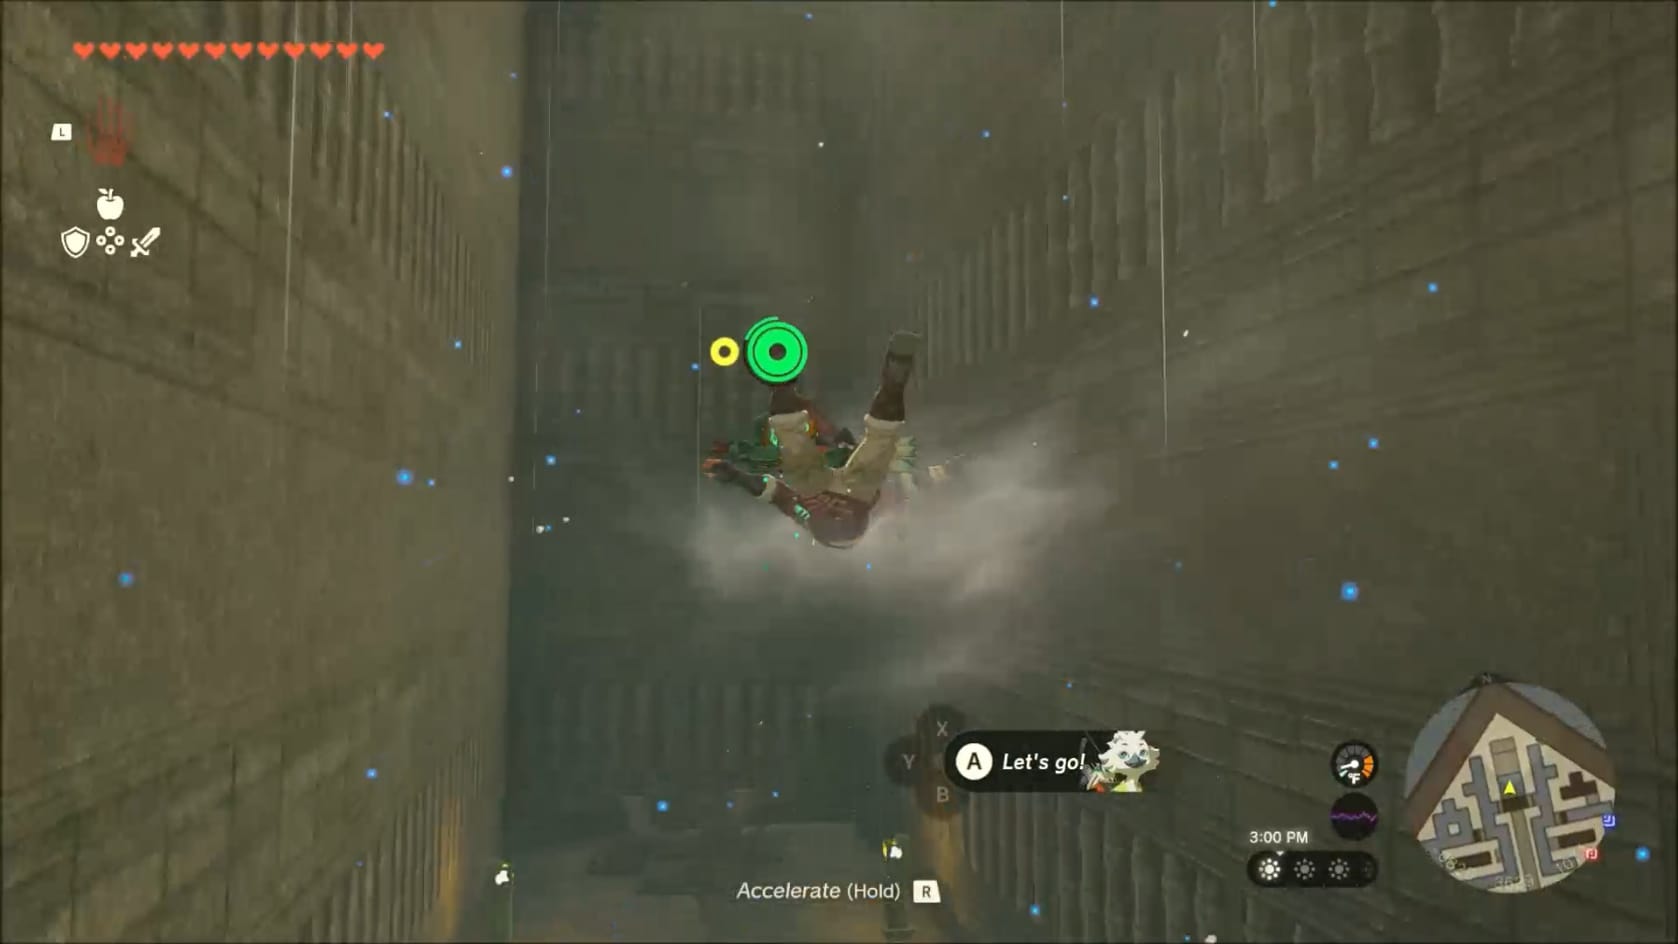
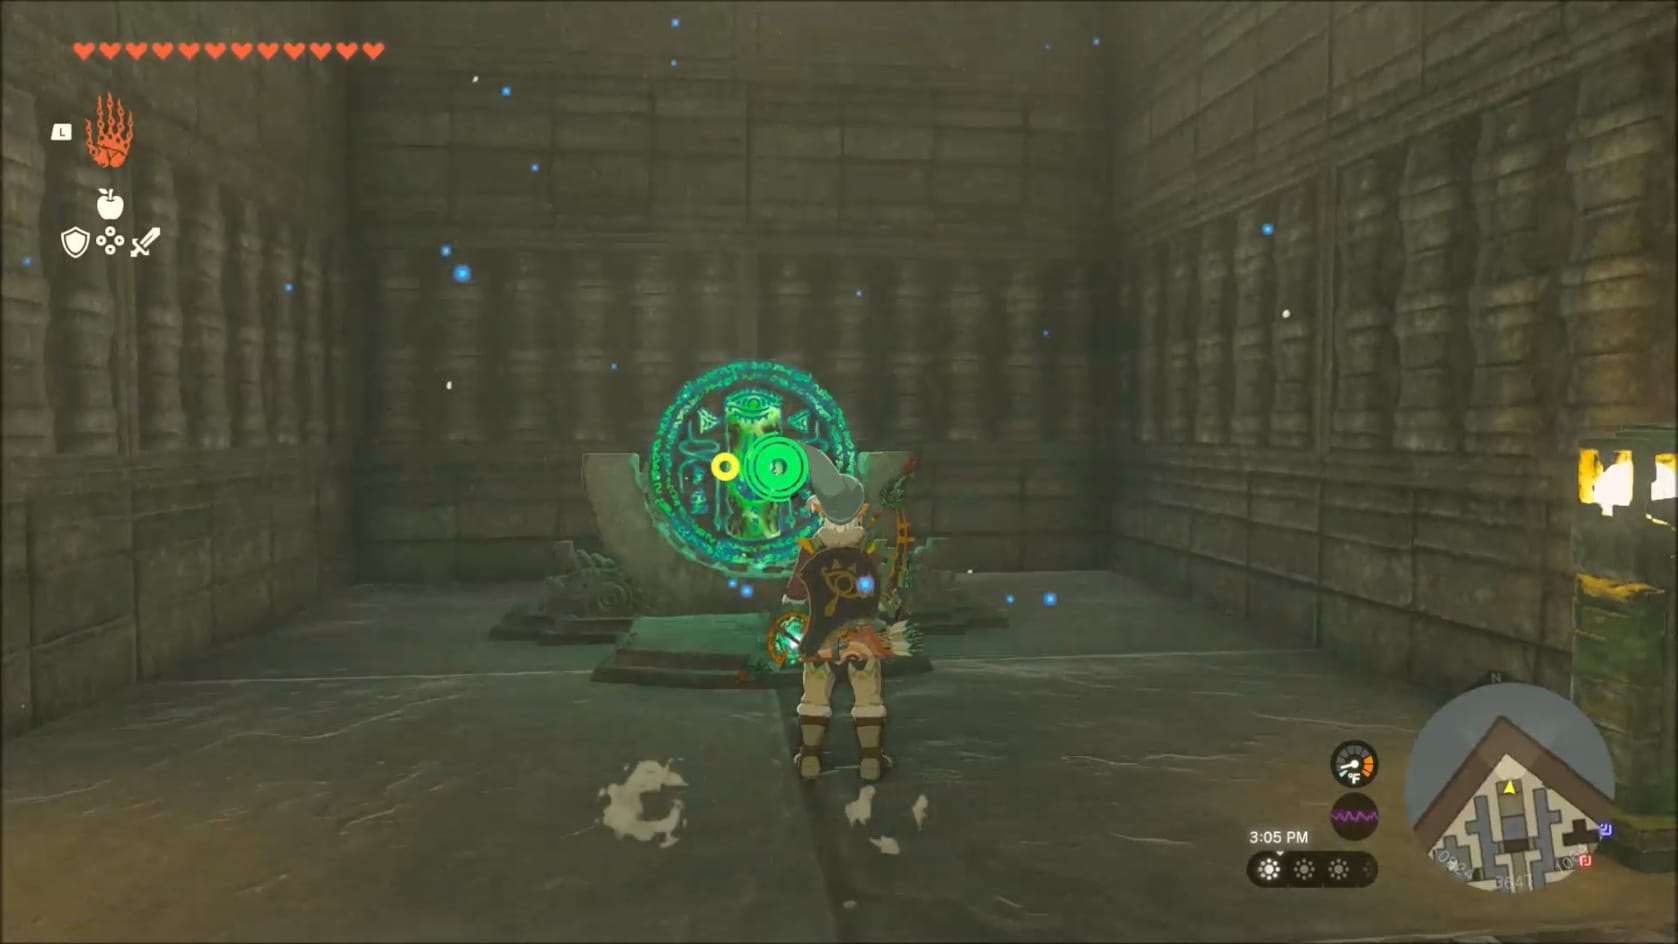
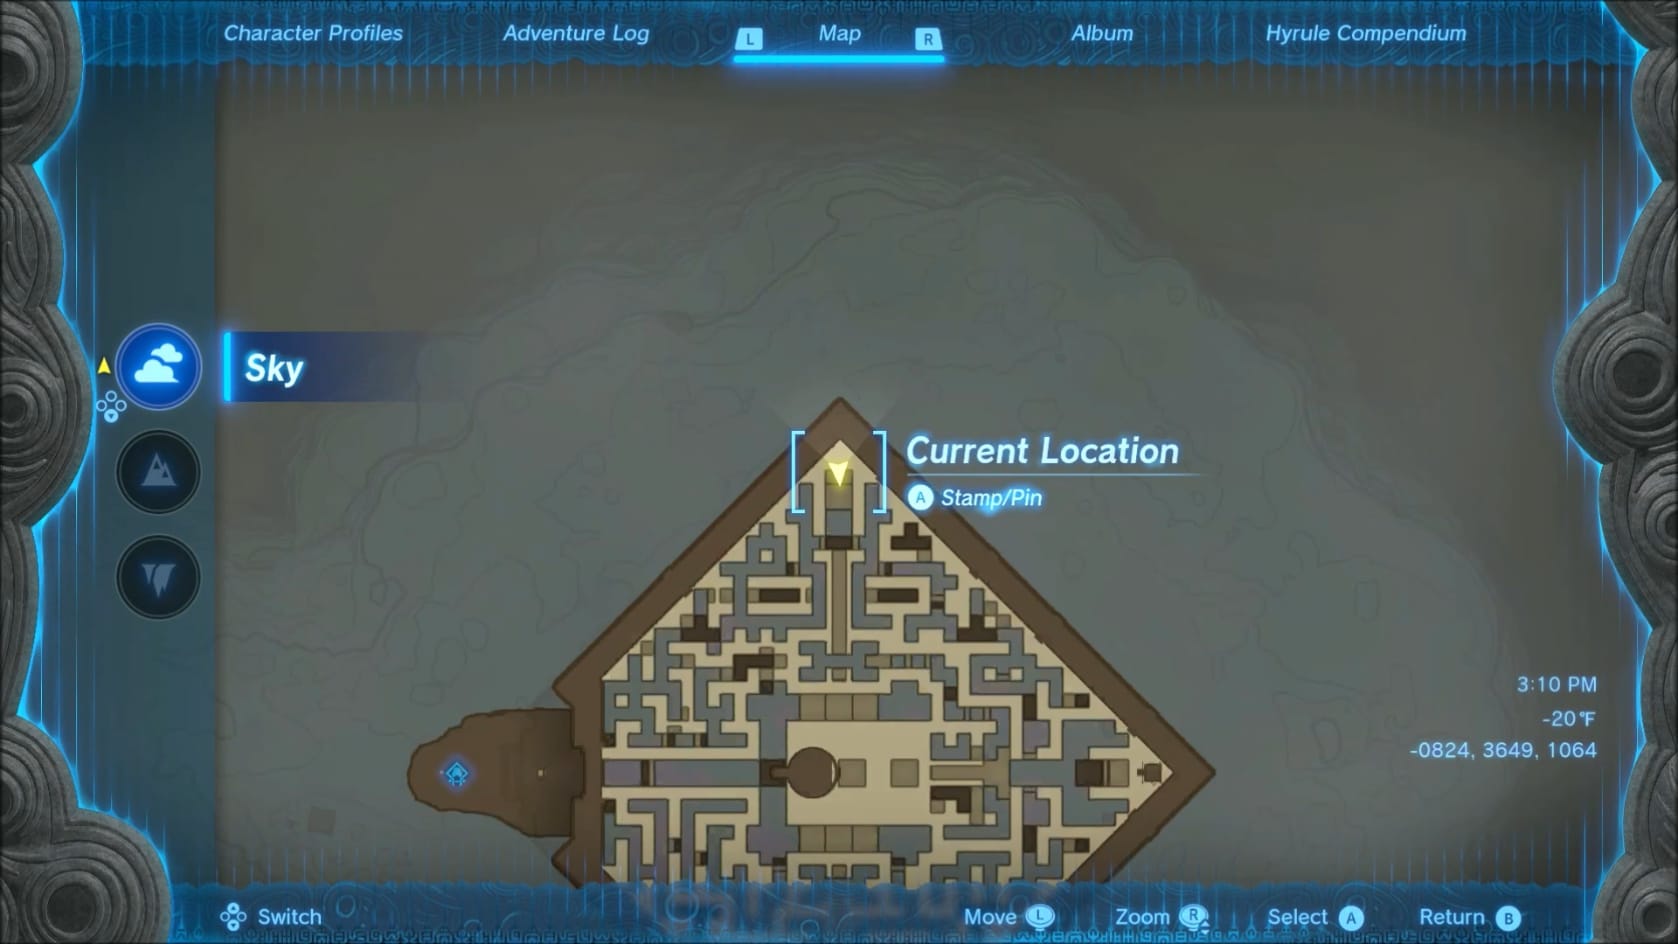
Location of the Northern Terminal
Getting here, you will need to go to the East. Go to the end of the corridor and then turn to the North. Weave through to the North. Go around the corner and look for the cross-over portion. Dive down to reach the middle section of the labyrinth. This will let you get to a point you can pass through. Once there, move into the cross-over. Get to the middle of it and move to the North. This will let you reach the second Terminal, the Northern Terminal. It’s Coordinates are: -0824, 3649 1064.
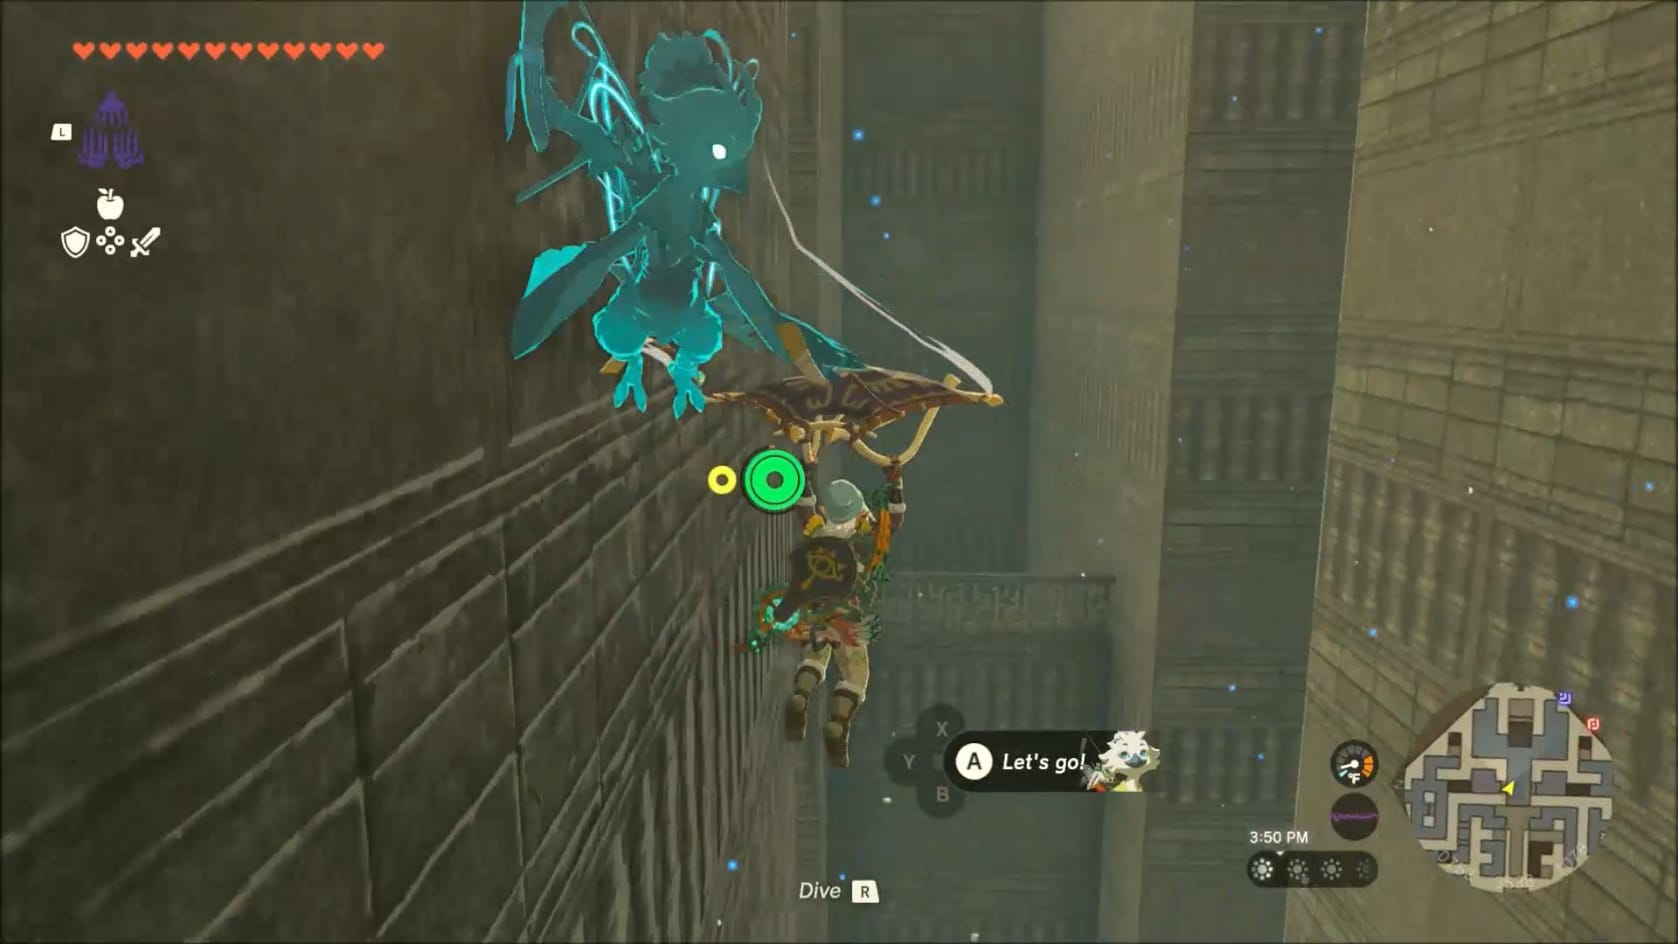
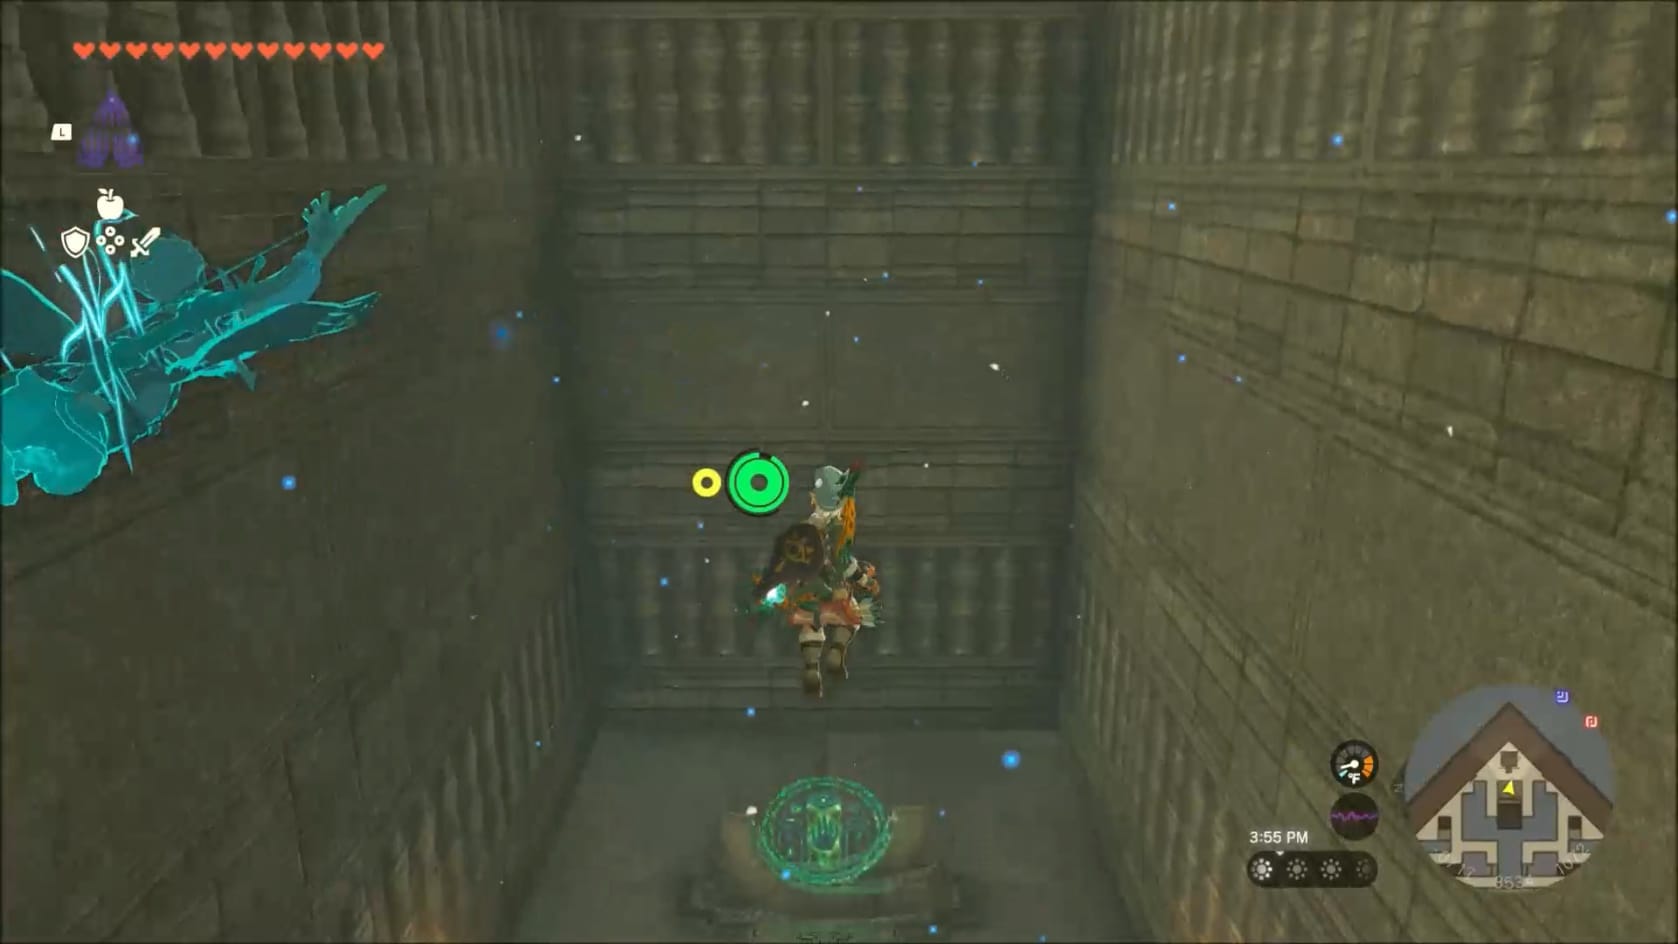
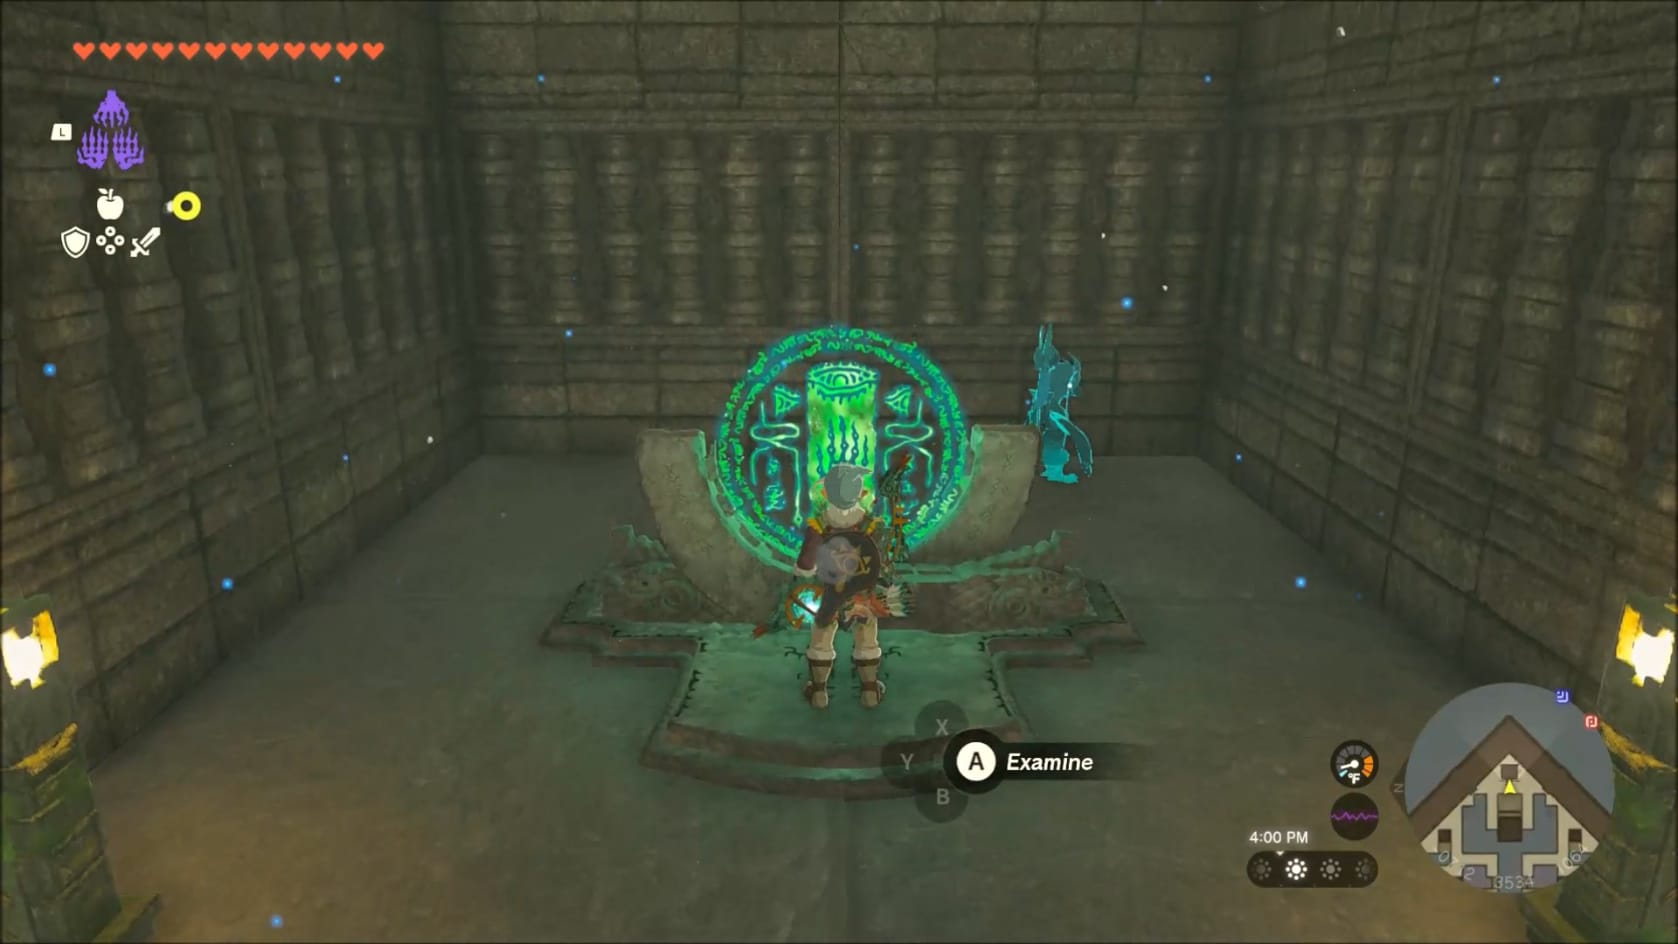
Reaching the Eastern Terminal
With the Northern Terminal activated, head to the South toward the center of the Labyrinth. Reach the section of the Updraft. Use that to ascend upwards. At the apex (when Link starts to bob), glide over to the right (East). Follow this as it bends to the South. As soon as you can, head to the East. This will let you get to the Eastern corner. Glide over to the corner itself, going over the tall barrier in this section. You will find the Terminal sitting at the top of this barrier. The Coordinates are: -0712, 3534, 1064.
Reaching the Southern Terminal
It’s time to head for the last, Eastern Terminal. Jump out of the area with the Eastern Terminal. Glide over to the West and get to the landing. From this landing, jump to the West and look for the grating on the Southern wall. Drop down to get below the grating and then continue to the South. Weave your way to the South and East. Following that pattern, you can easily make your way to the Southern tip of the Labyrinth. As you reach the corner, you will want to favor the Eastern path. That will let you reach the Southern corner. Drop down to the Southern corner to find the Terminal. The coordinates are: -0825, 3419, 1064.
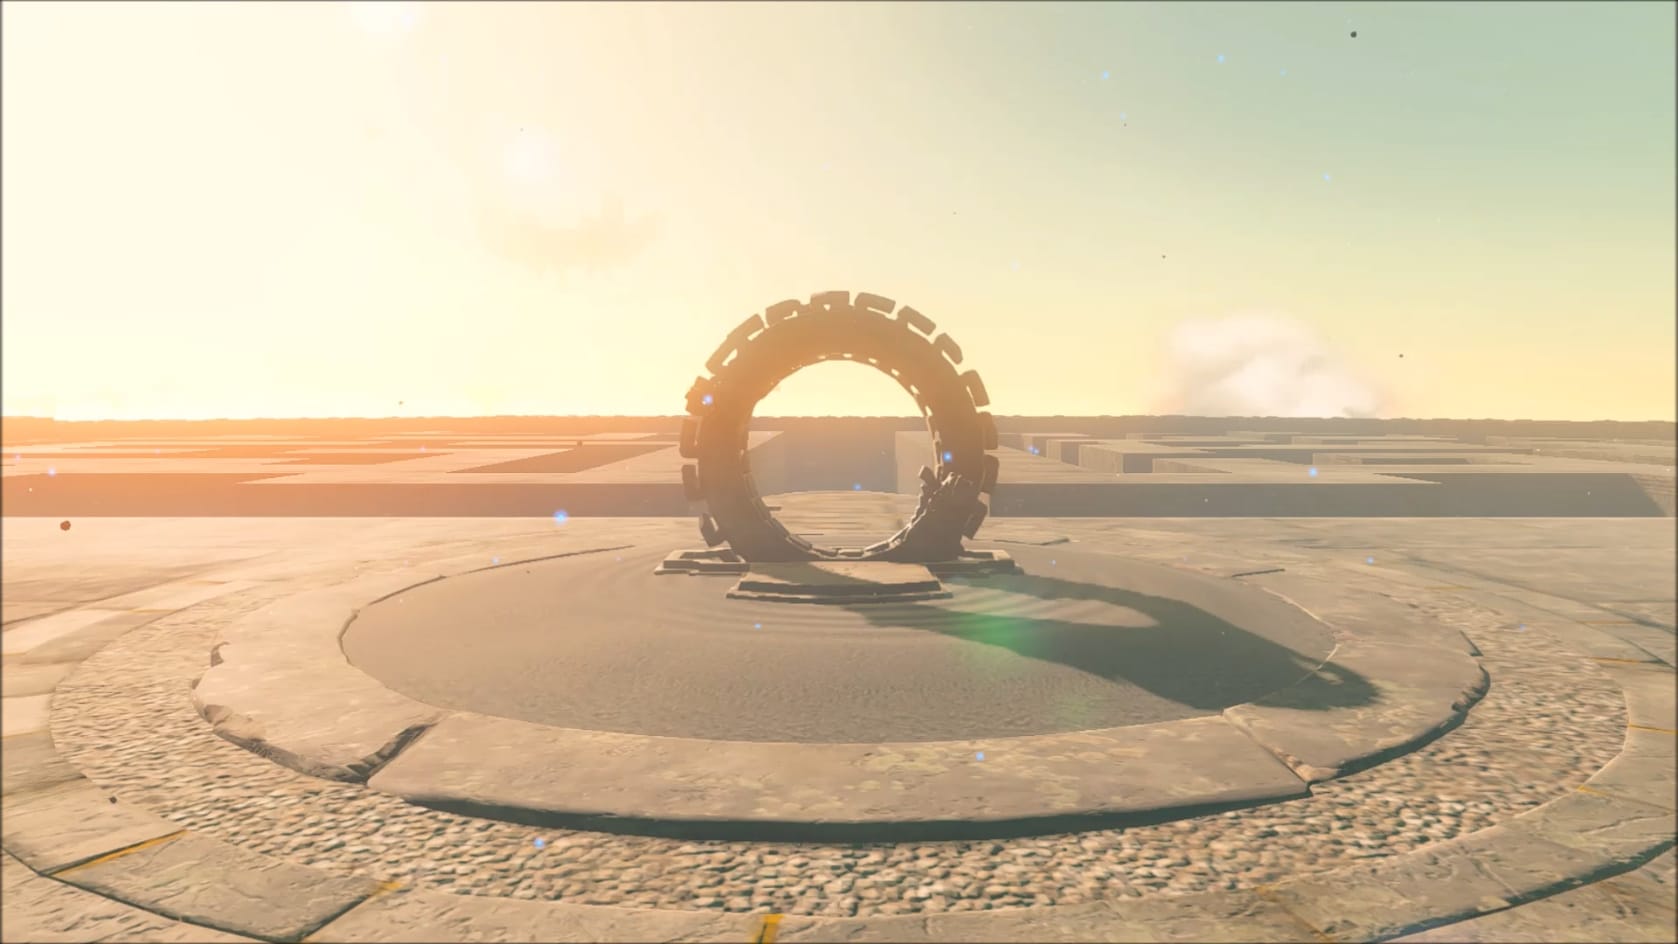
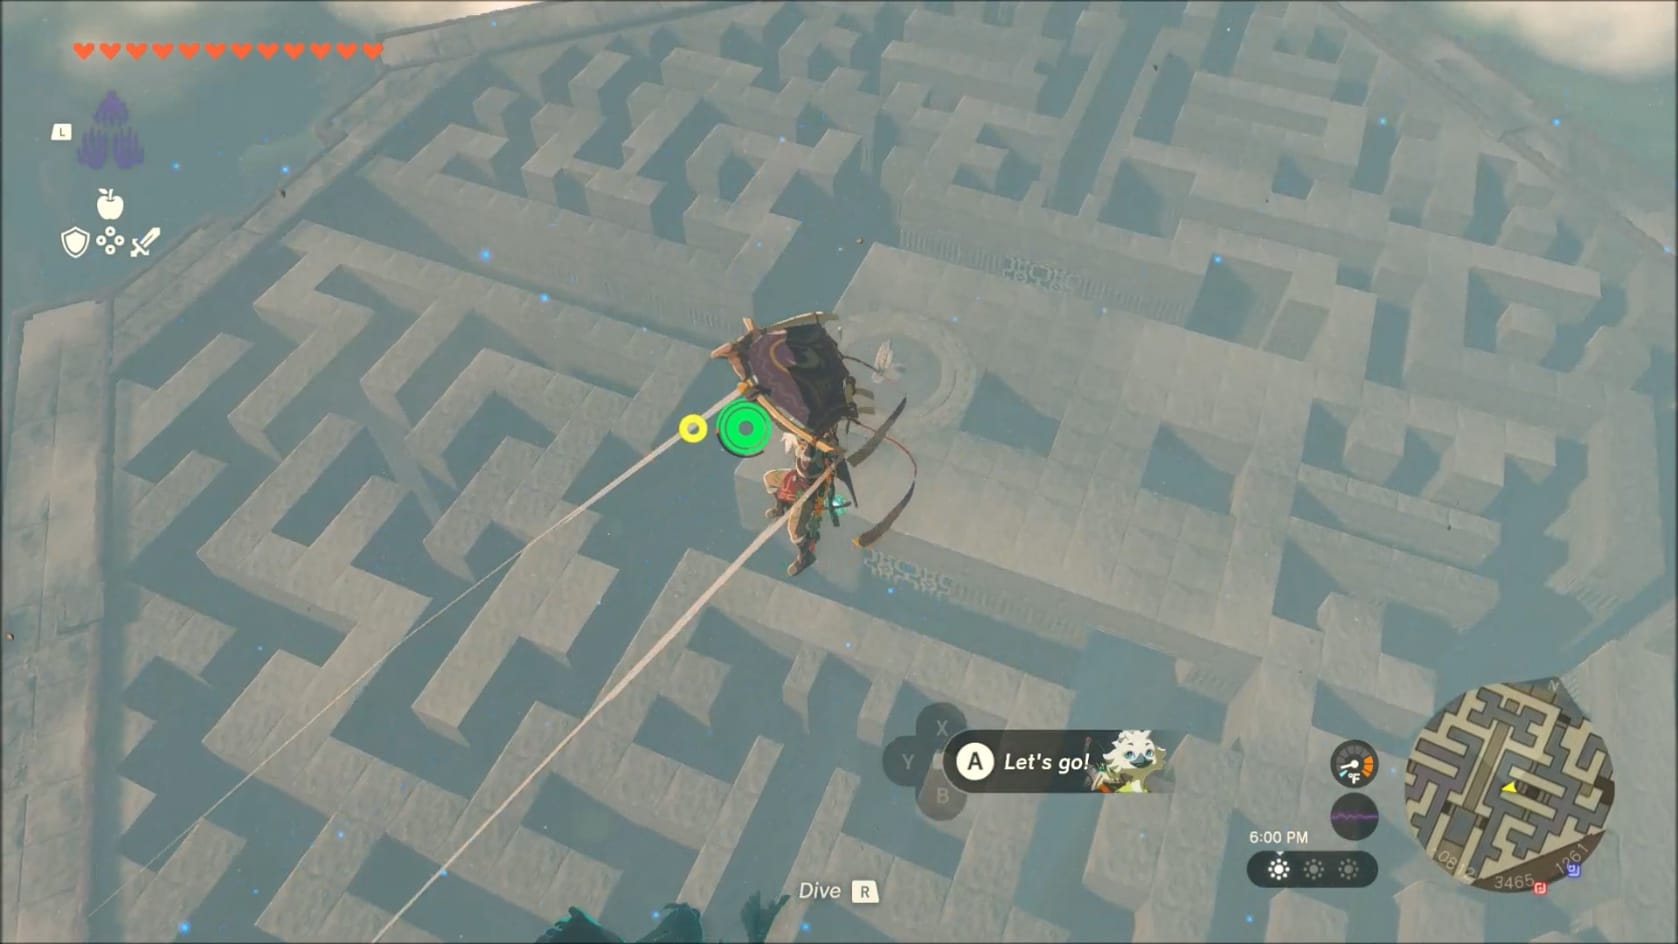
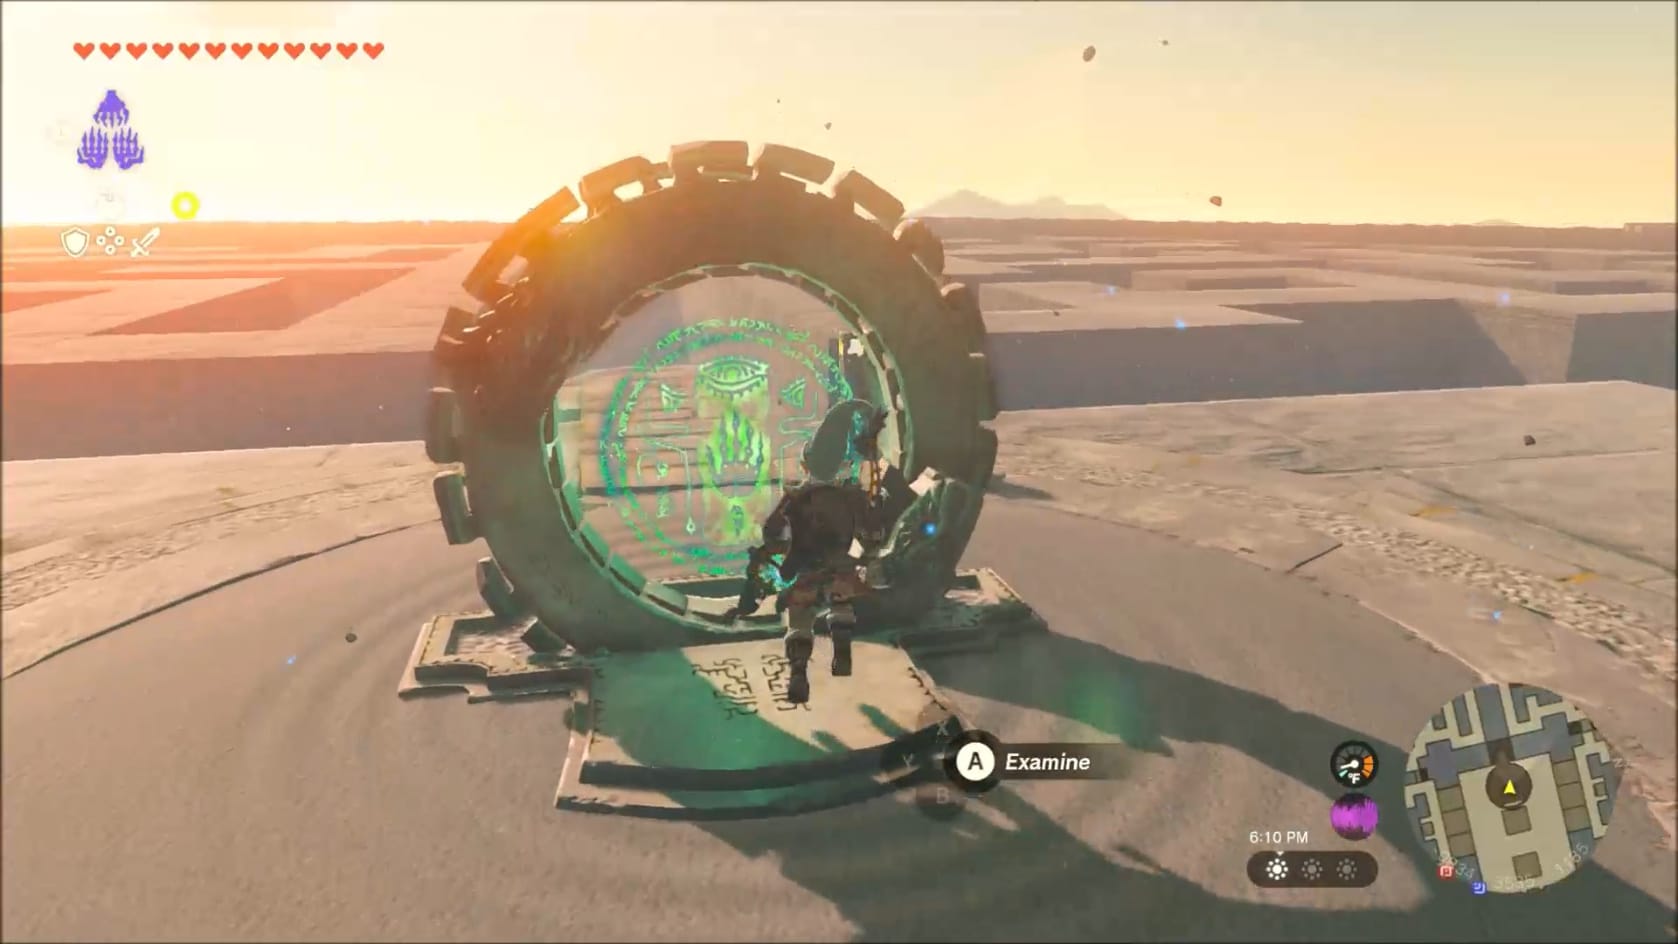
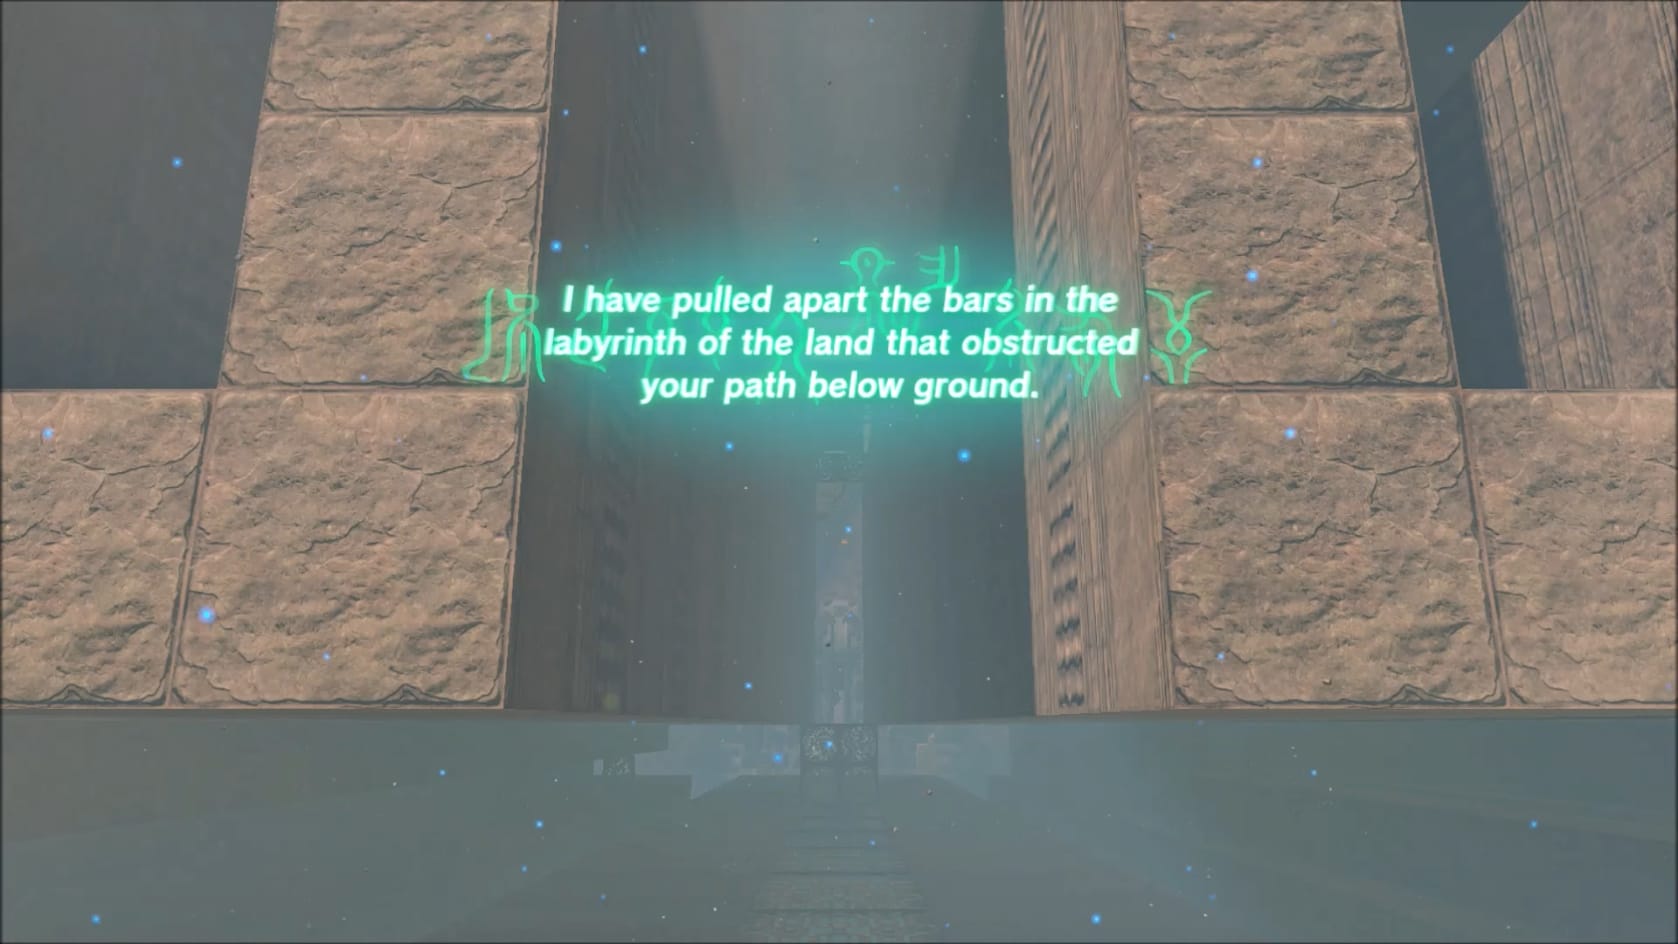
With the fourth terminal activated, a Dragon Ring will emerge at the top of the Labyrinth. Use the Paraglider to get up to the top of the Labyrinth. Get to the center of the Labyrinth itself. Go to the Dragon Ring and interact with it. This will open the grate down int the Lomei Labyrinth itself. It’s time to descend down and reach the depths.
Location (North Lomei Depths Labyrinth)
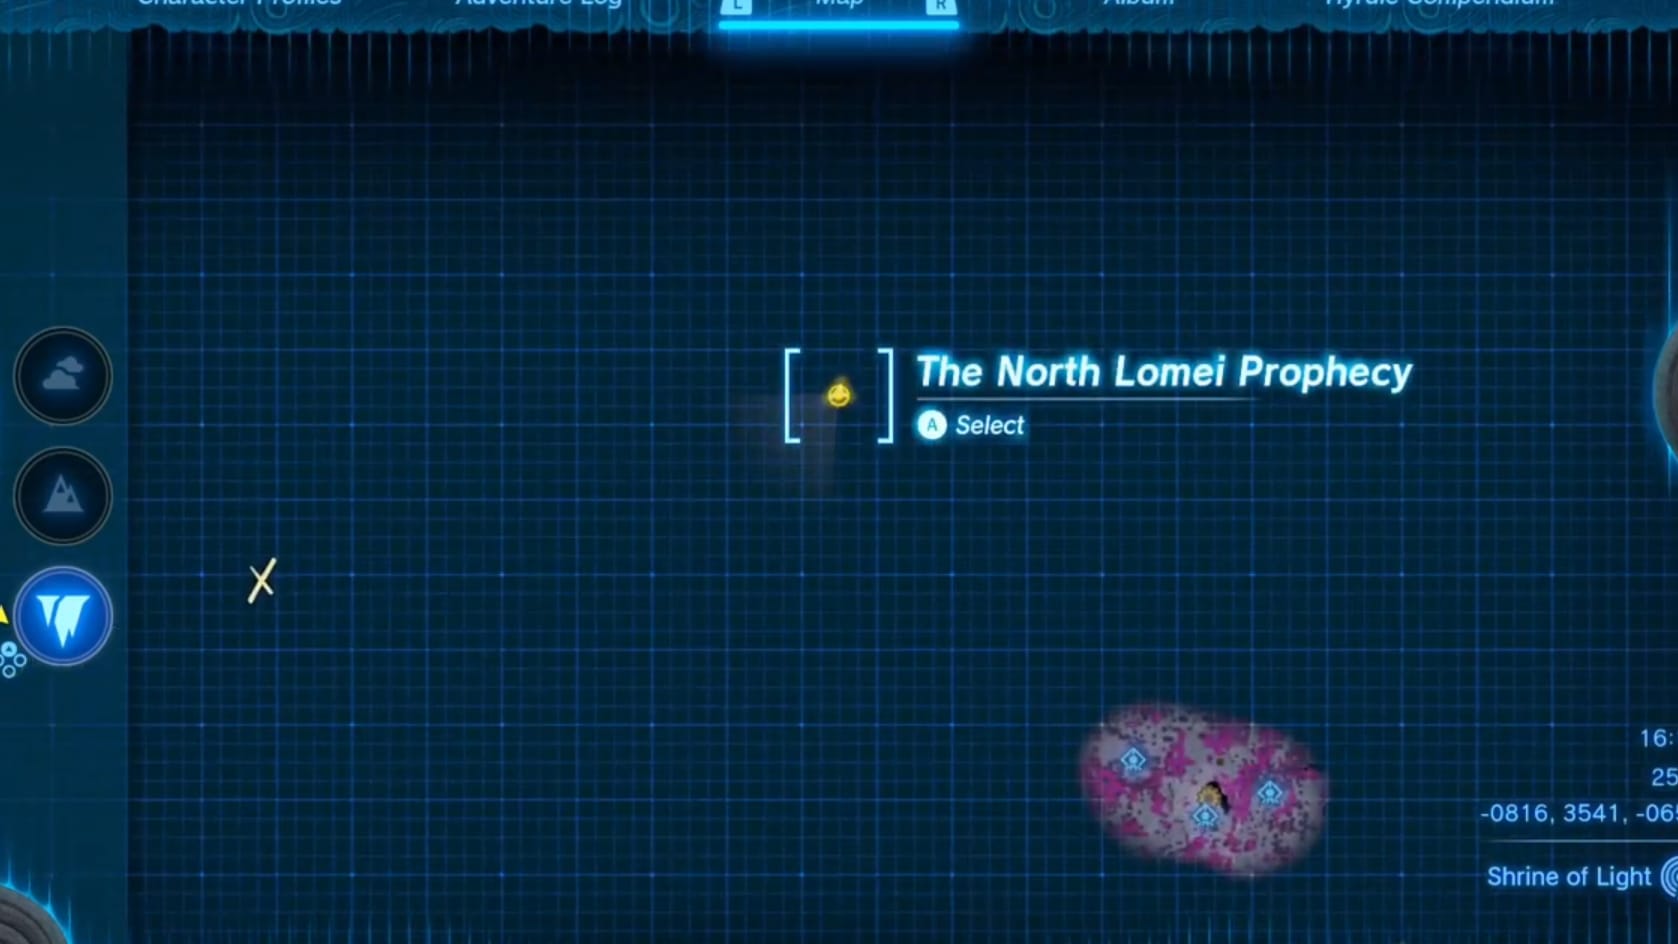
Coordinates: -0813, 3534, -0652
Description
“At the entrance to the giant ruin floating in the sky above northeast Tabantha, you heard a voice once again.
“The voice told you to activate the four terminals hidden within the labyrinth.”
Walkthrough
Reaching the North Lomei Depths Labyrinth
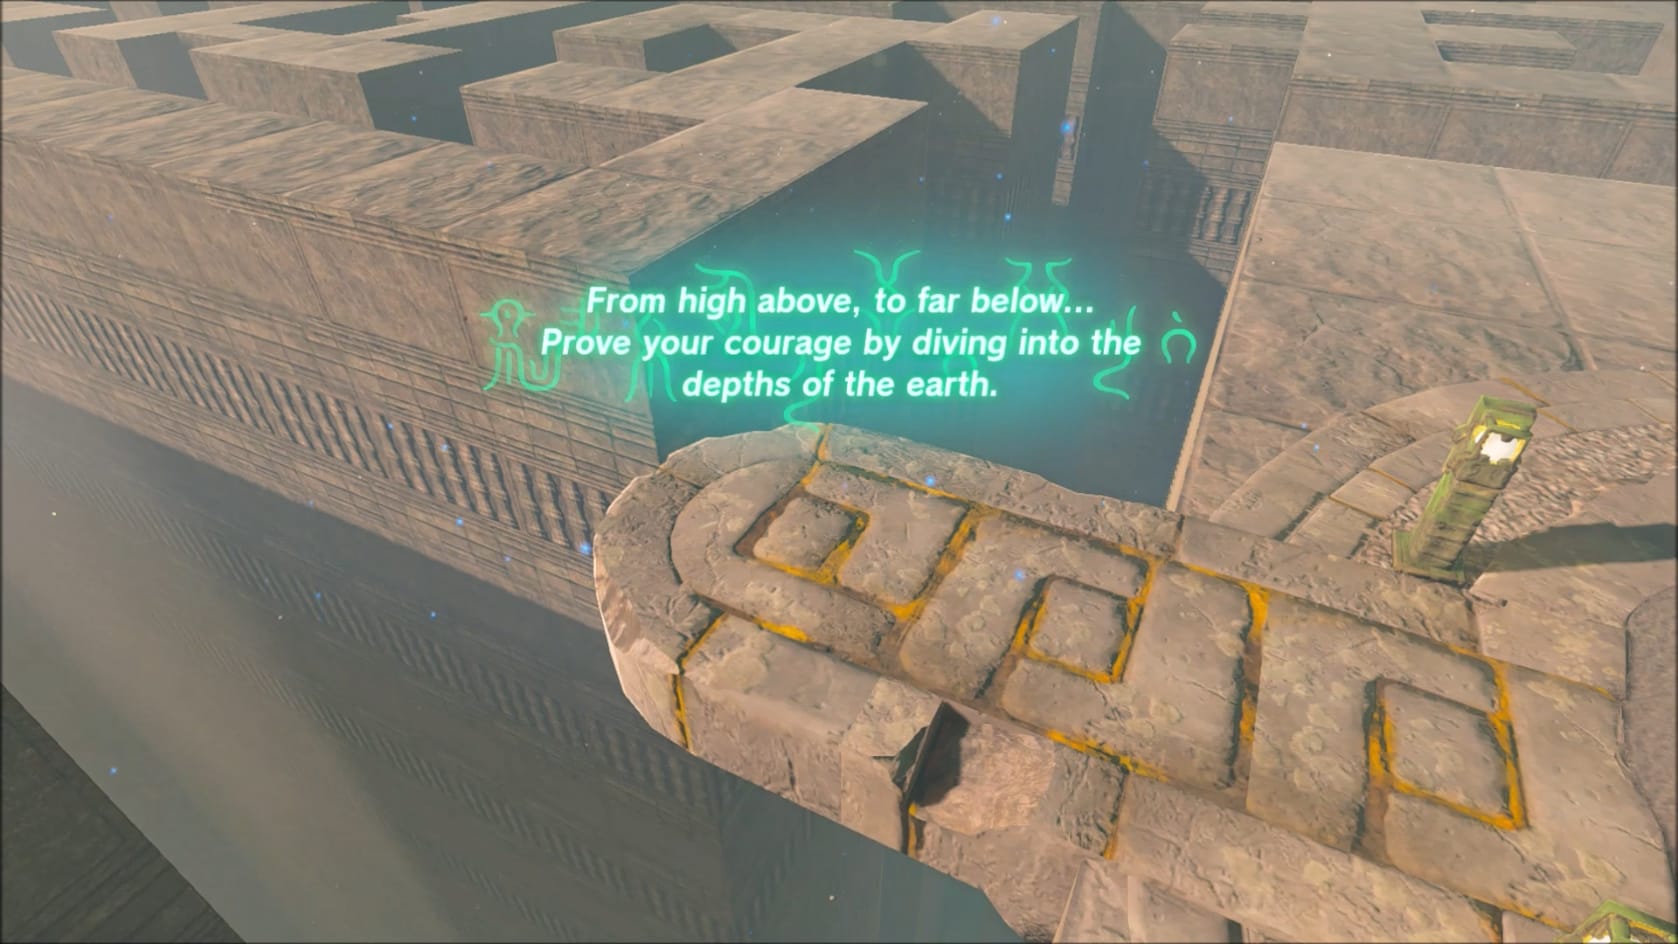
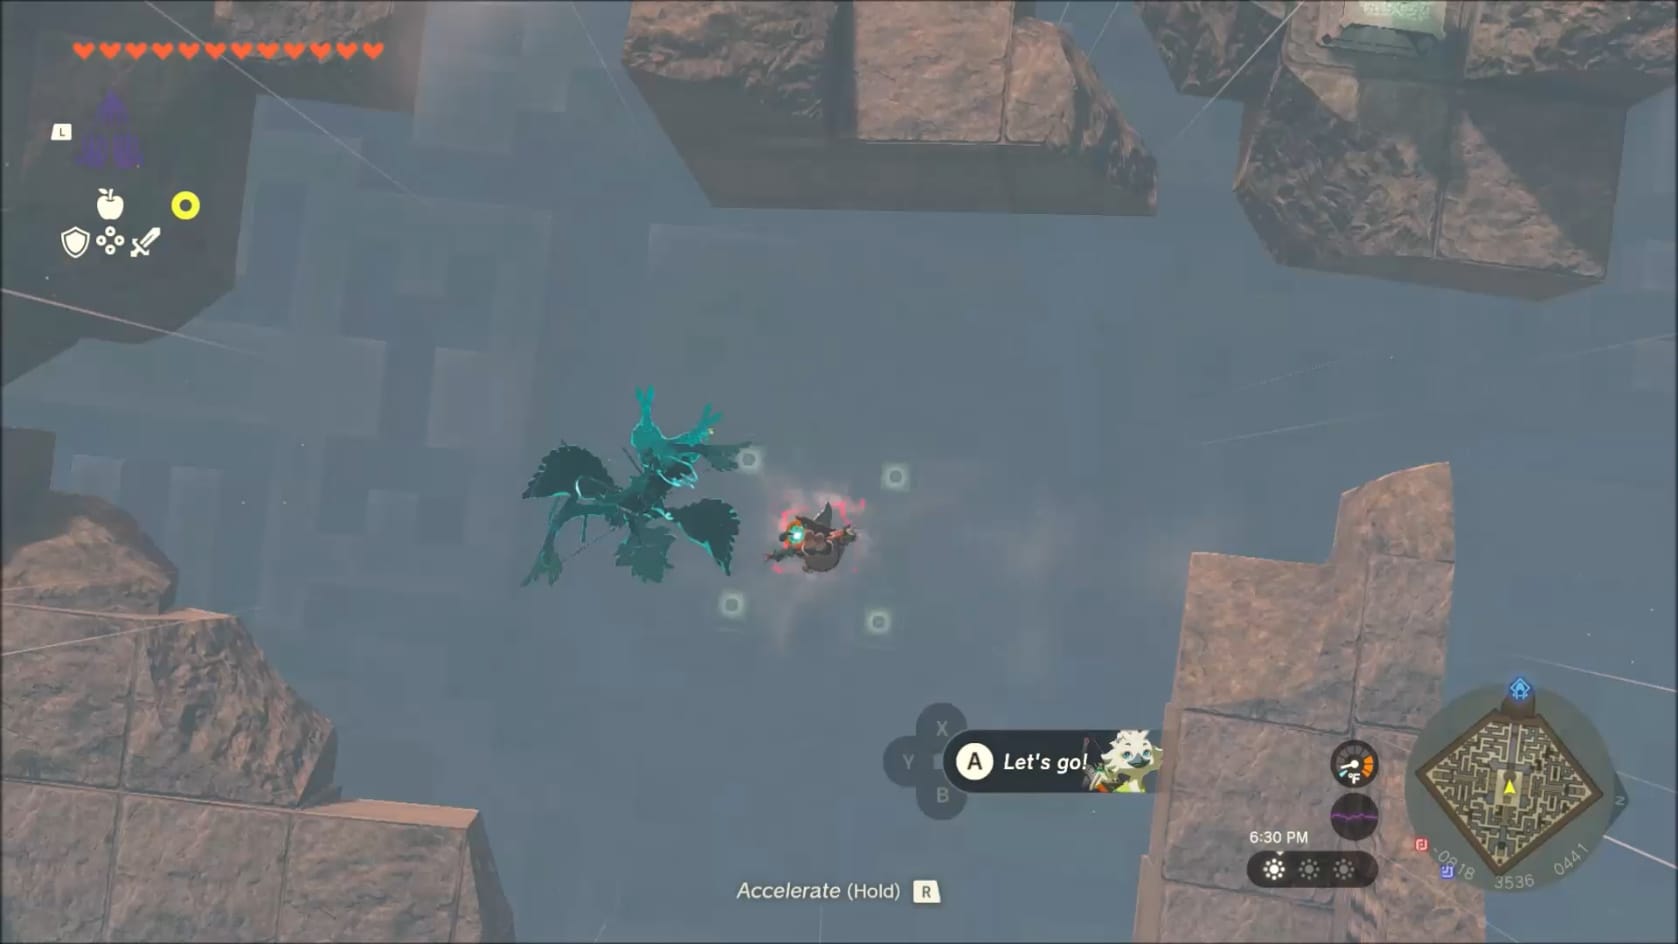
Diving down to the North Lomei Depths Labyrinth
Once you have activated the terminals within the Sky Castle, you have activated the Dragon Ring on top of the center of the Labyrinth. With the Dragon Ring activated, the grates below within the Lomei Labyrinth. Go to the ledge and dive down.
Navigating the North Lomei Depths Labyrinth
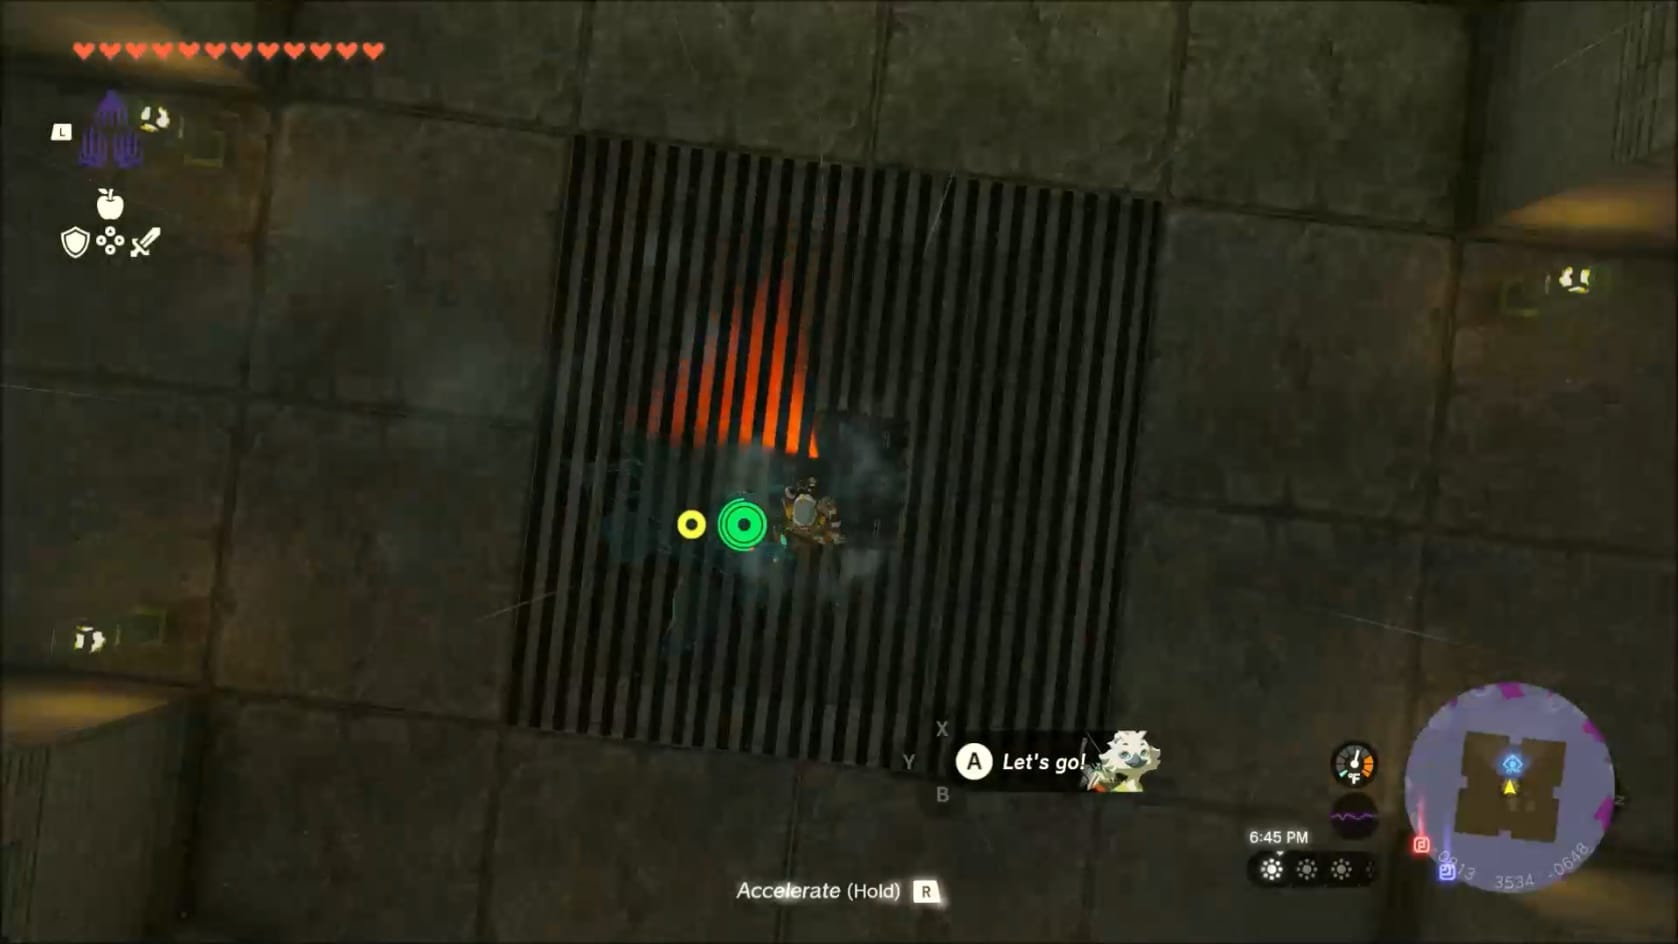
When you reach the North Lomei Depths Labyrinth, it’s time to get to the center of this much smaller labyrinth. You can head forward or around to the left or right on either side. Take the stairs down and around the corner. This will lead to the center area. You will see the Boss of the Labyrinth: Flux Construct II.
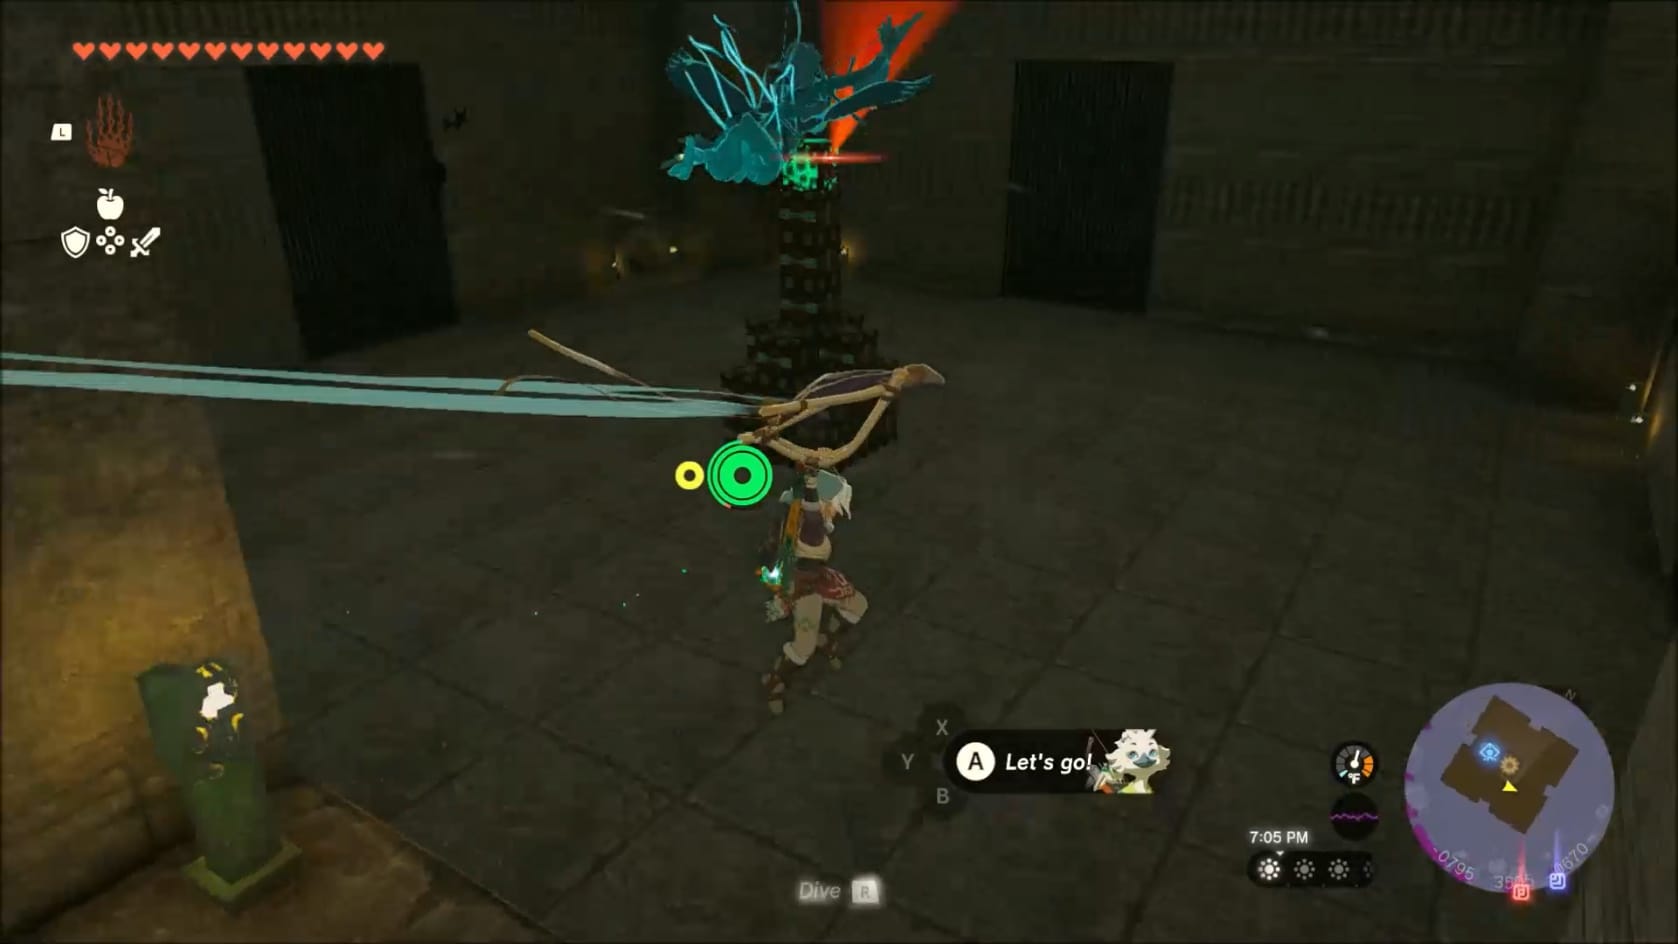
Defeating the Flux Construct
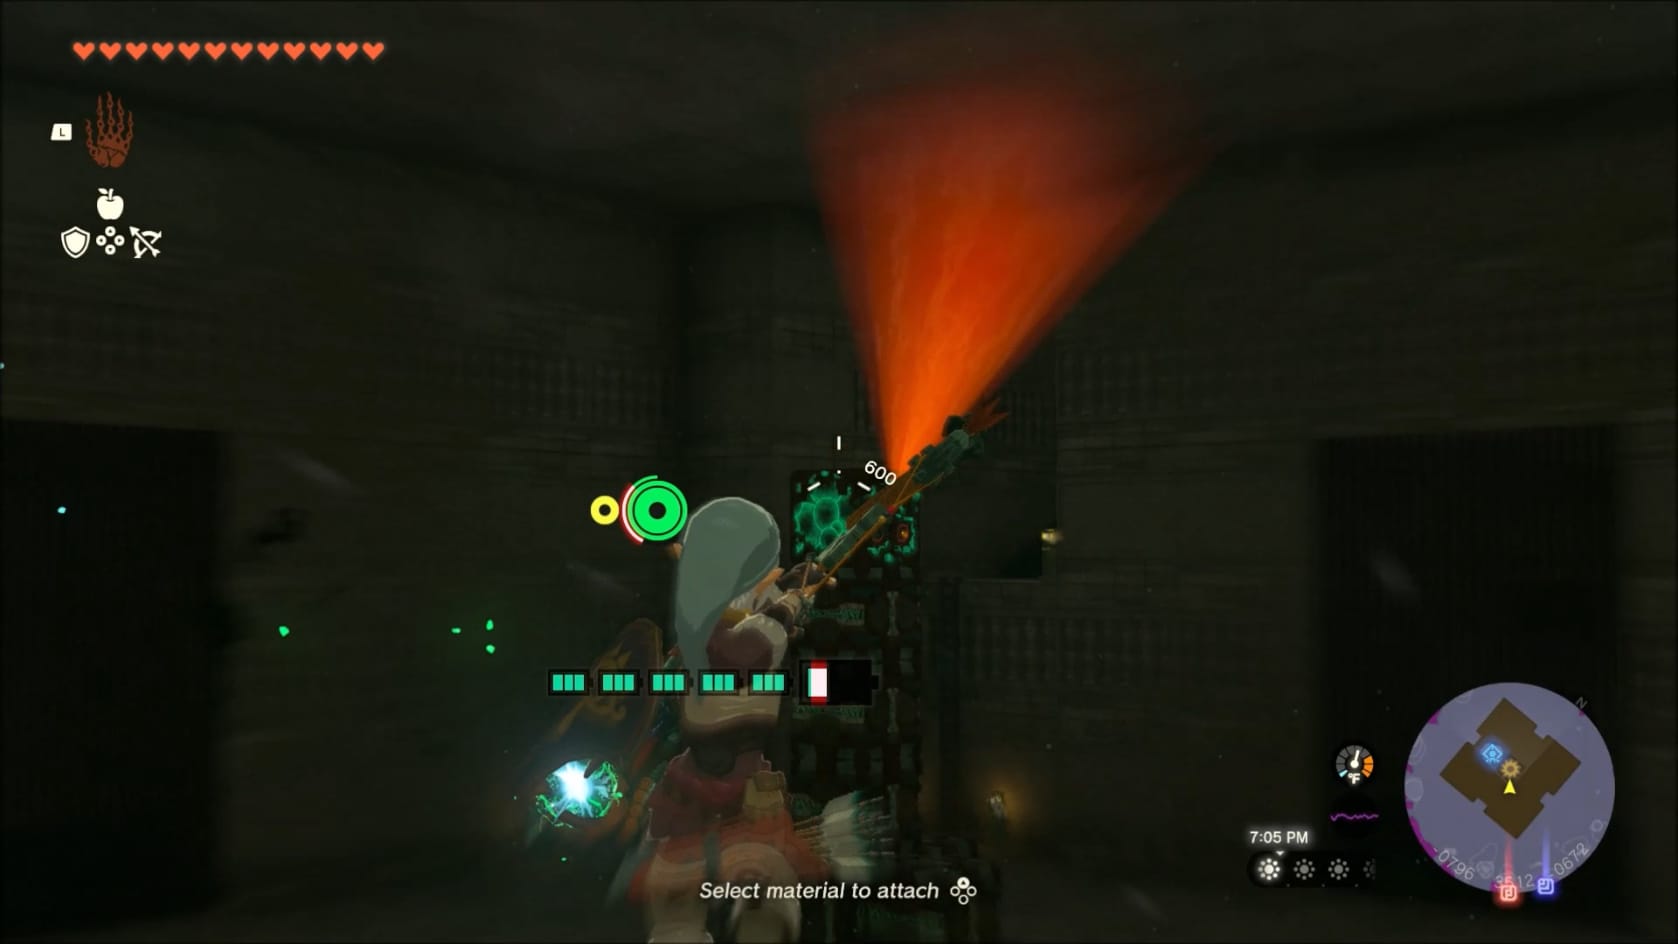
Fighting the Flux Construct II is a challenge. There’s a glowing cube that’s its core. Throughout the fight, you’ll need to target this to do damage.
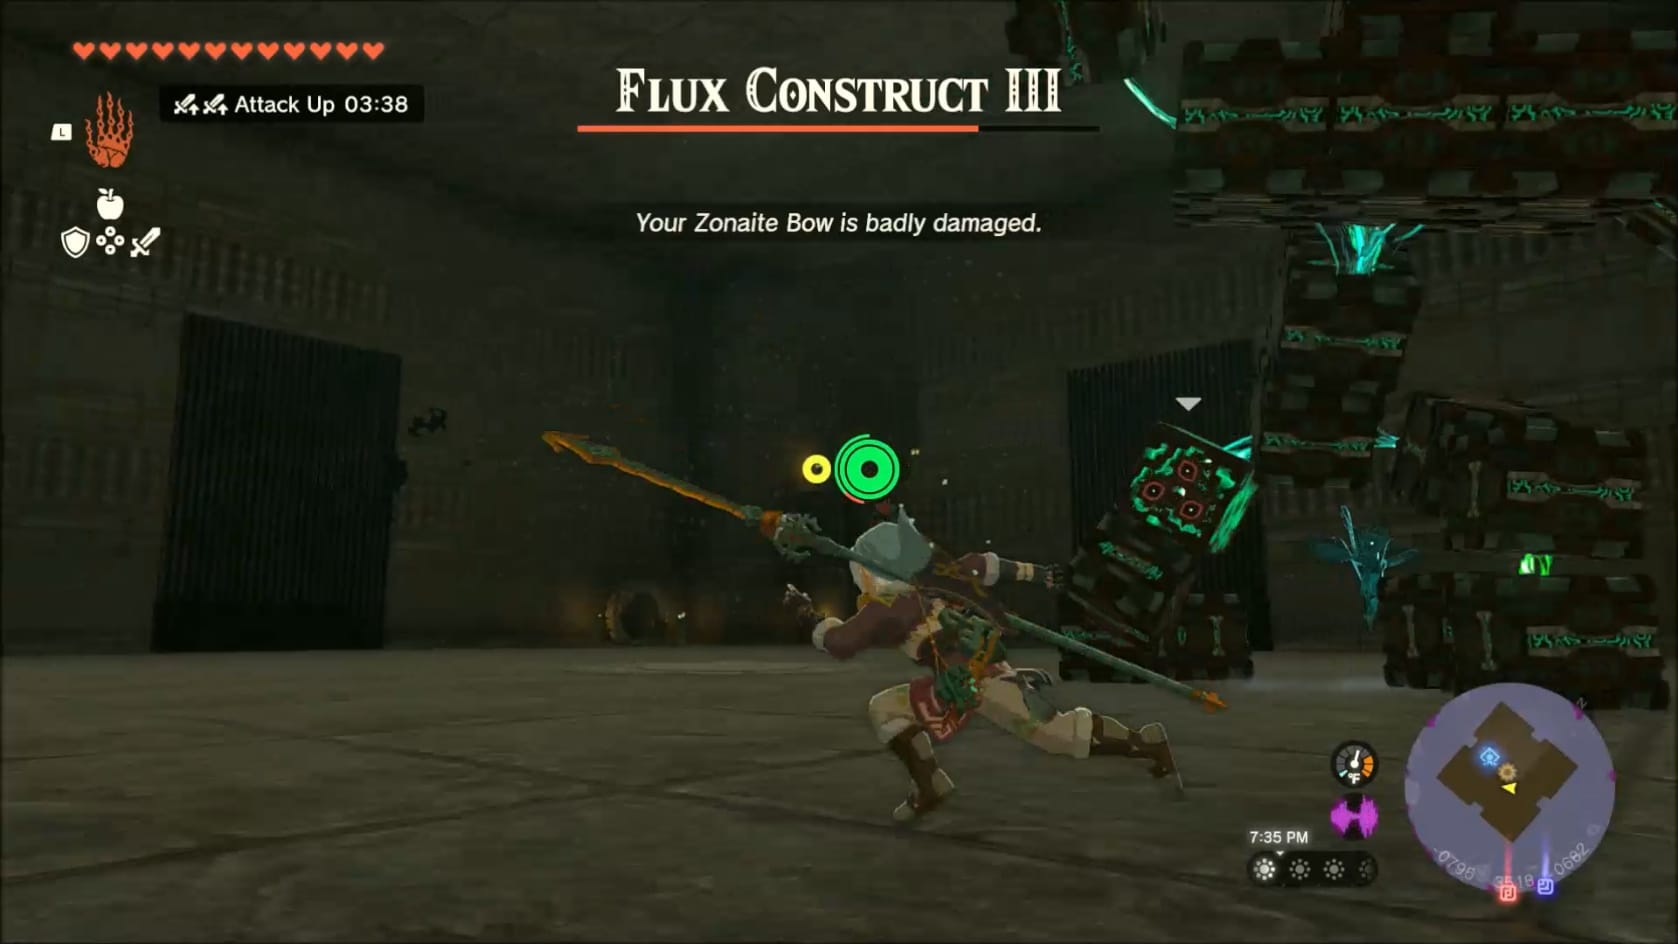
Likely it will first form into a golem. Look for the Core, which will be somewhere on its body. Evade its attack while you search for it. Once you find it, attack it with your Bow and Arrows. If you hit it with a Bomb Arrow, it can be shattered.
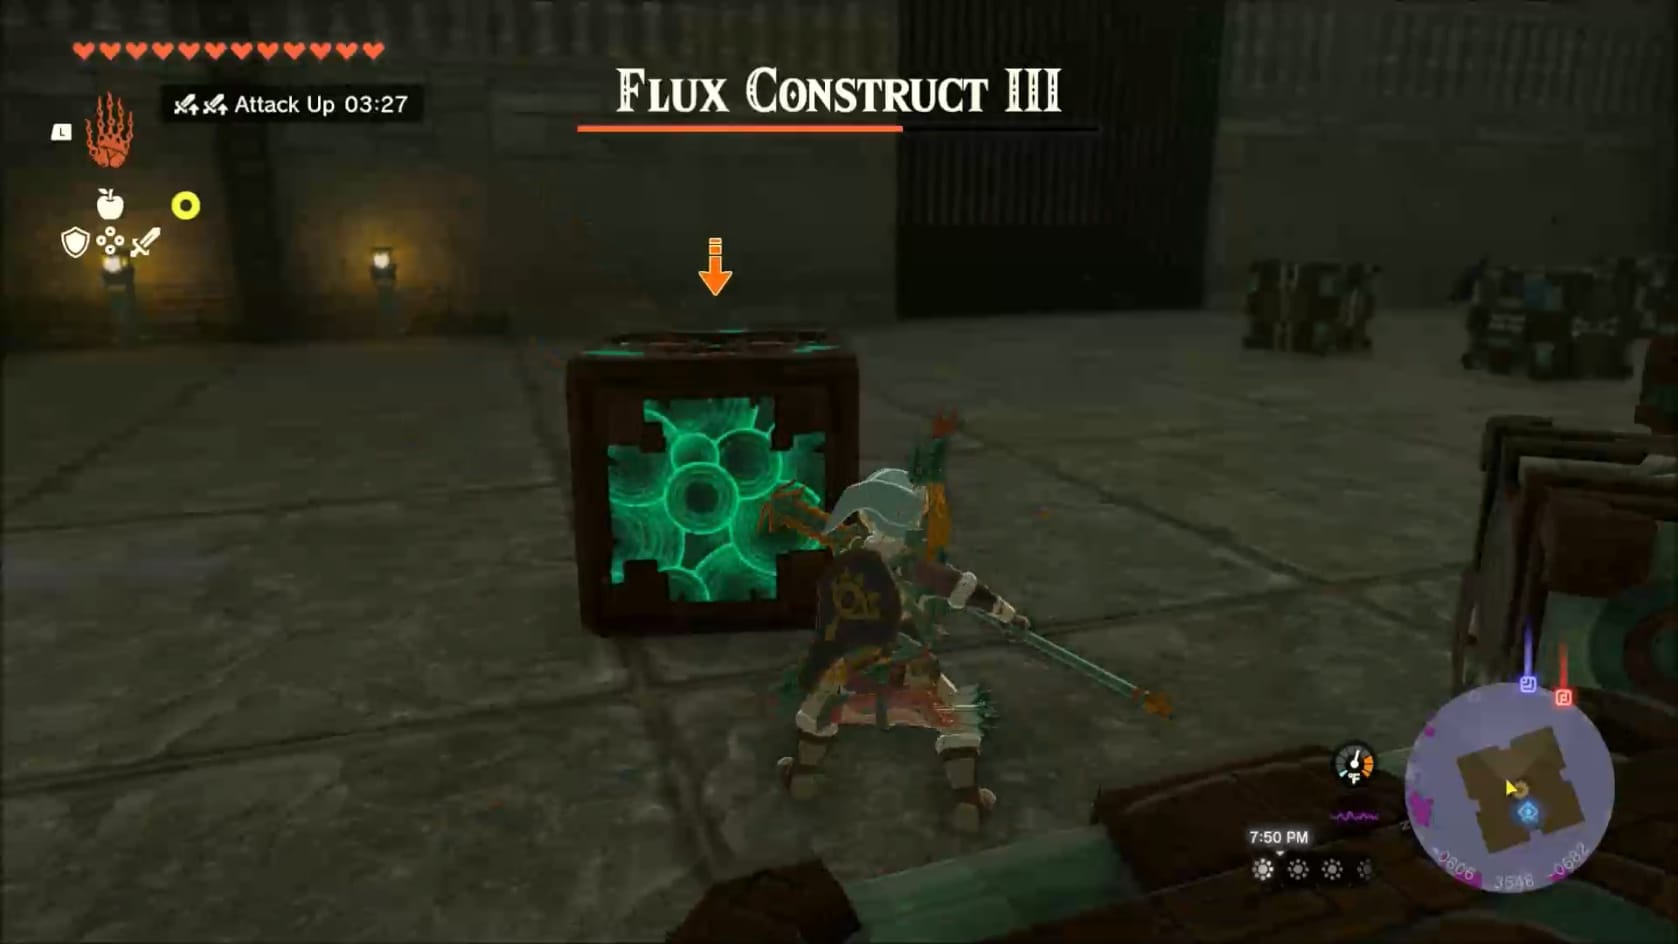
When the Flux Construct is shattered, this is the best time to do heavy damage quickly. Find the Flux Construct Core and attack it. Use your highest damage weapon to quickly destroy it.
After this, the Flux Construct can take different forms:
A Giant Cube that “rolls” after Link. It can also hover, trying to get over Link and then slam down.
You can use Bombs to blast the Core when it’s not directly facing you.
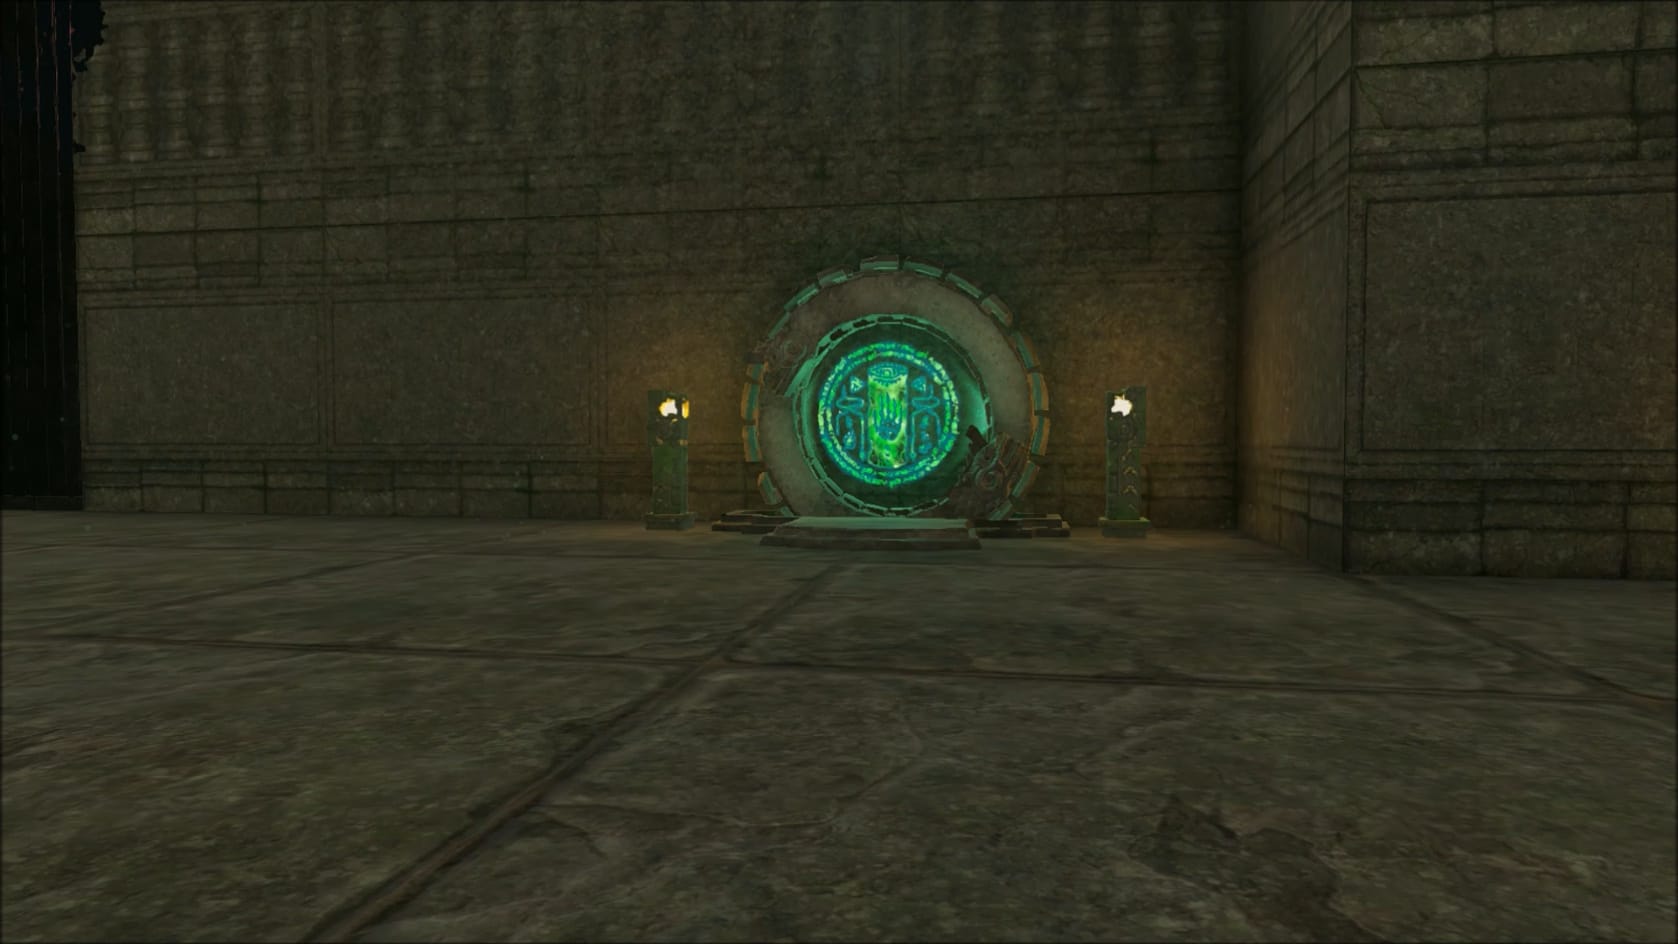
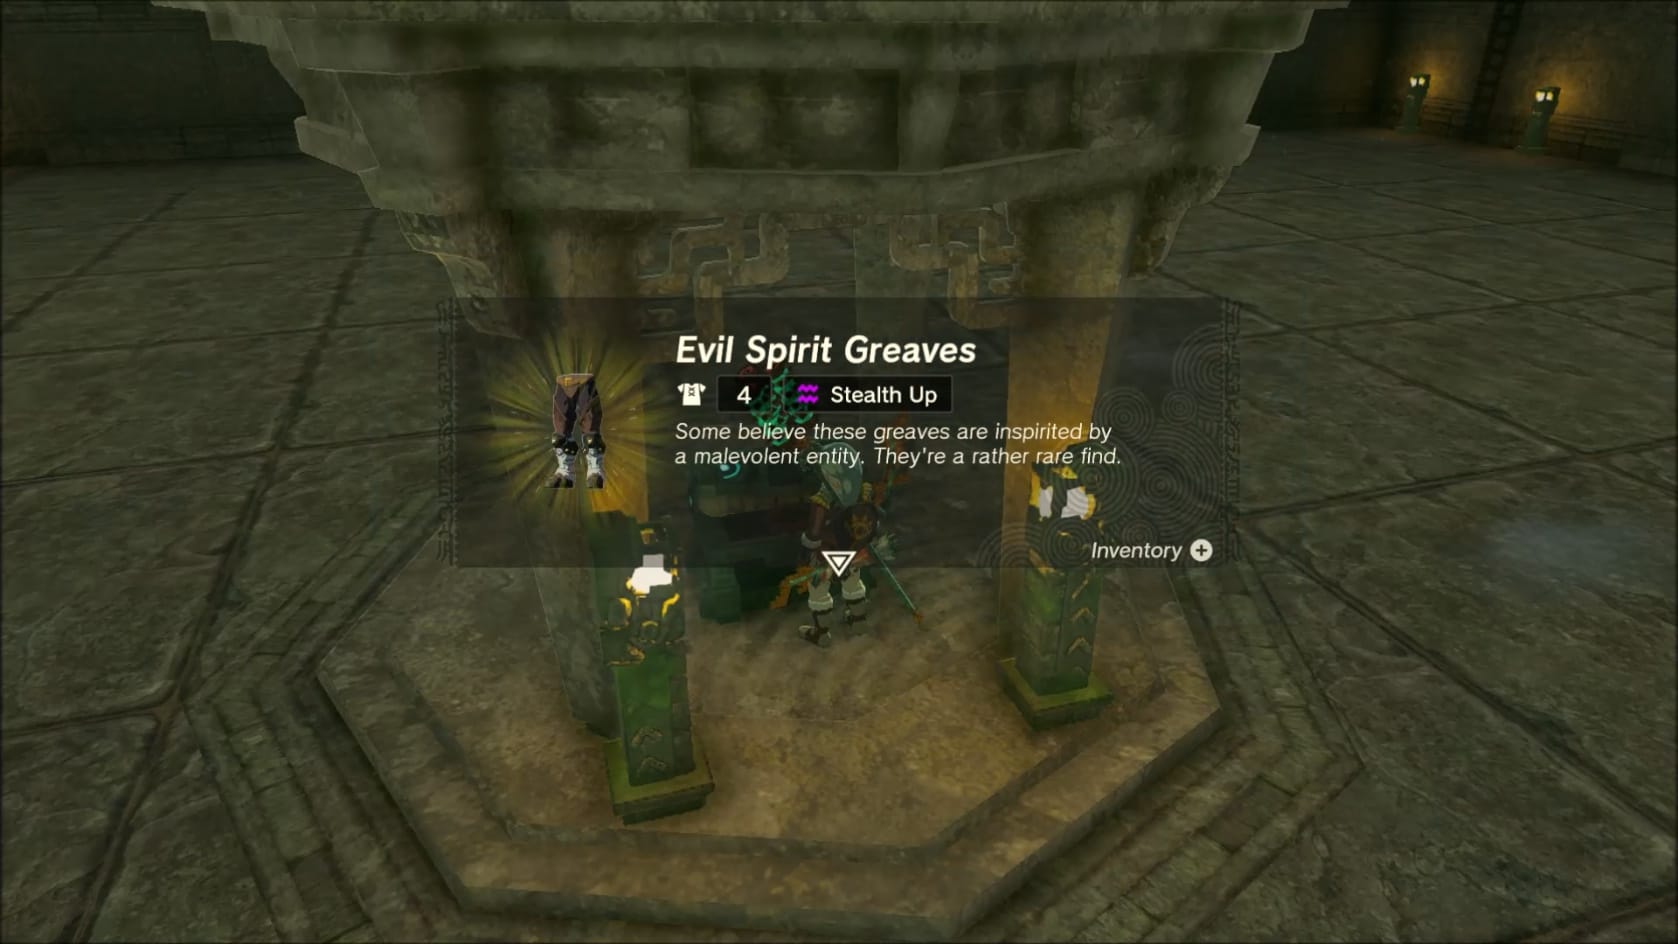
Once this Flux Construct has been destroyed, the nearby Dragon Ring will activate. Doing so will bring up the hidden chest that contains the Evil Spirit Greaves.
Reward
- Evil Spirit Greaves
Evil Spirit Greaves
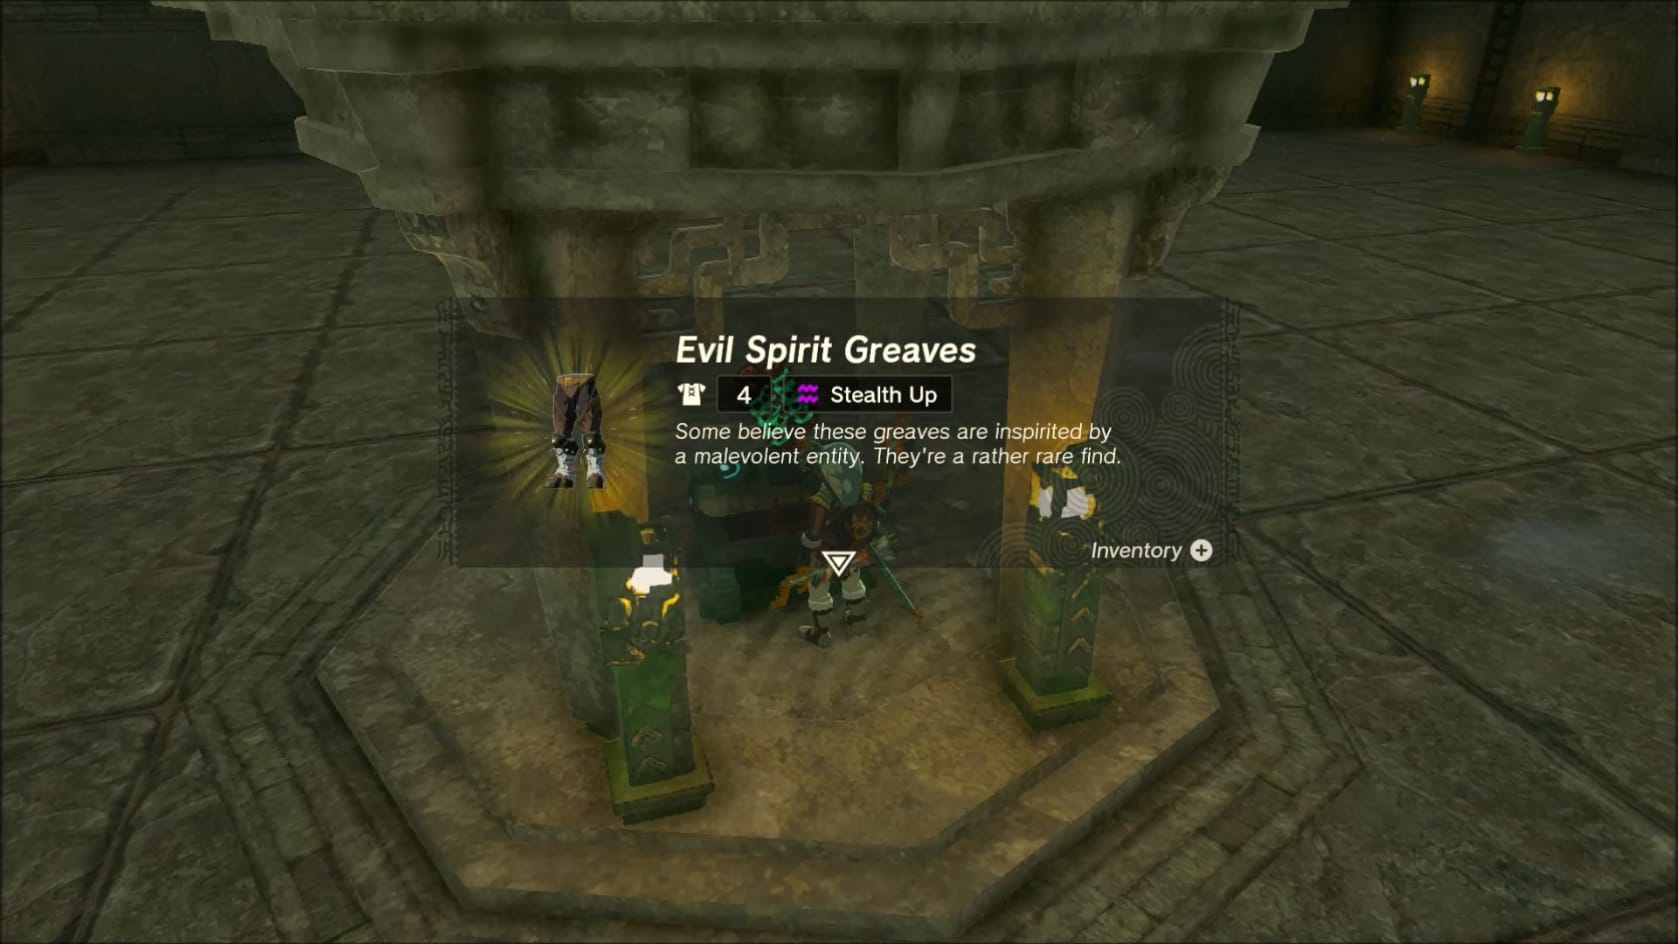
“Some believe these greaves are inspirited by a malevolent entity. They’re a rather rare find.”
The complete outfit will grant a disguise effect. Additionally, it improves proficiency with Bone weapons.
It will prevent these enemies from attacking you:
- Stalkoblin
- Stalmoblin
- Stallizalfos
Video Walkthrough
Video Walkthrough