Legend of Zelda: Tears of the Kingdom – Sinakawak Shrine: An Uplifting Device
Learn how to complete Sinakawak Shrine: An Uplifting Device in Zelda: Tears of the Kingdom. Solve all three puzzles using hot-air balloons, find the hidden Opal chest, and claim your Light of Blessing.
Summary
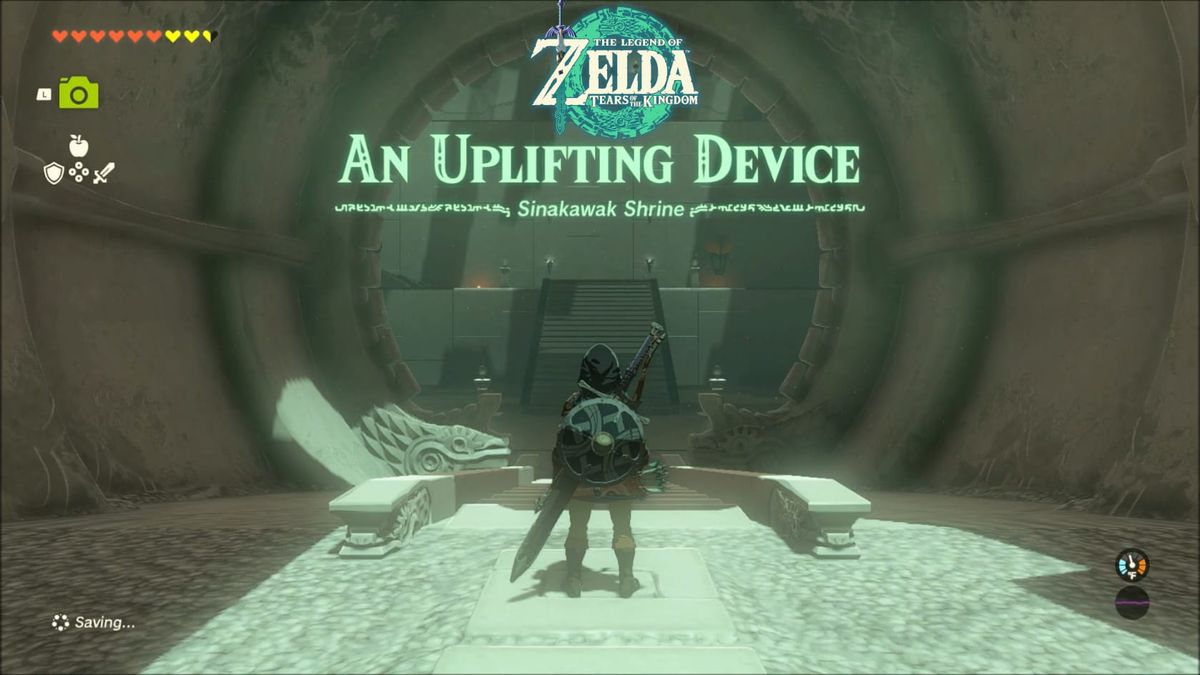
Step into Sinakawak Shrine to complete its Challenge: “An Uplifting Device.” By using the provided torches, platforms, and hot-air balloons, you will need to navigate 2 rooms and 3 puzzles. Solving all the puzzles nets you the hidden chest with an Opal inside it.
Location
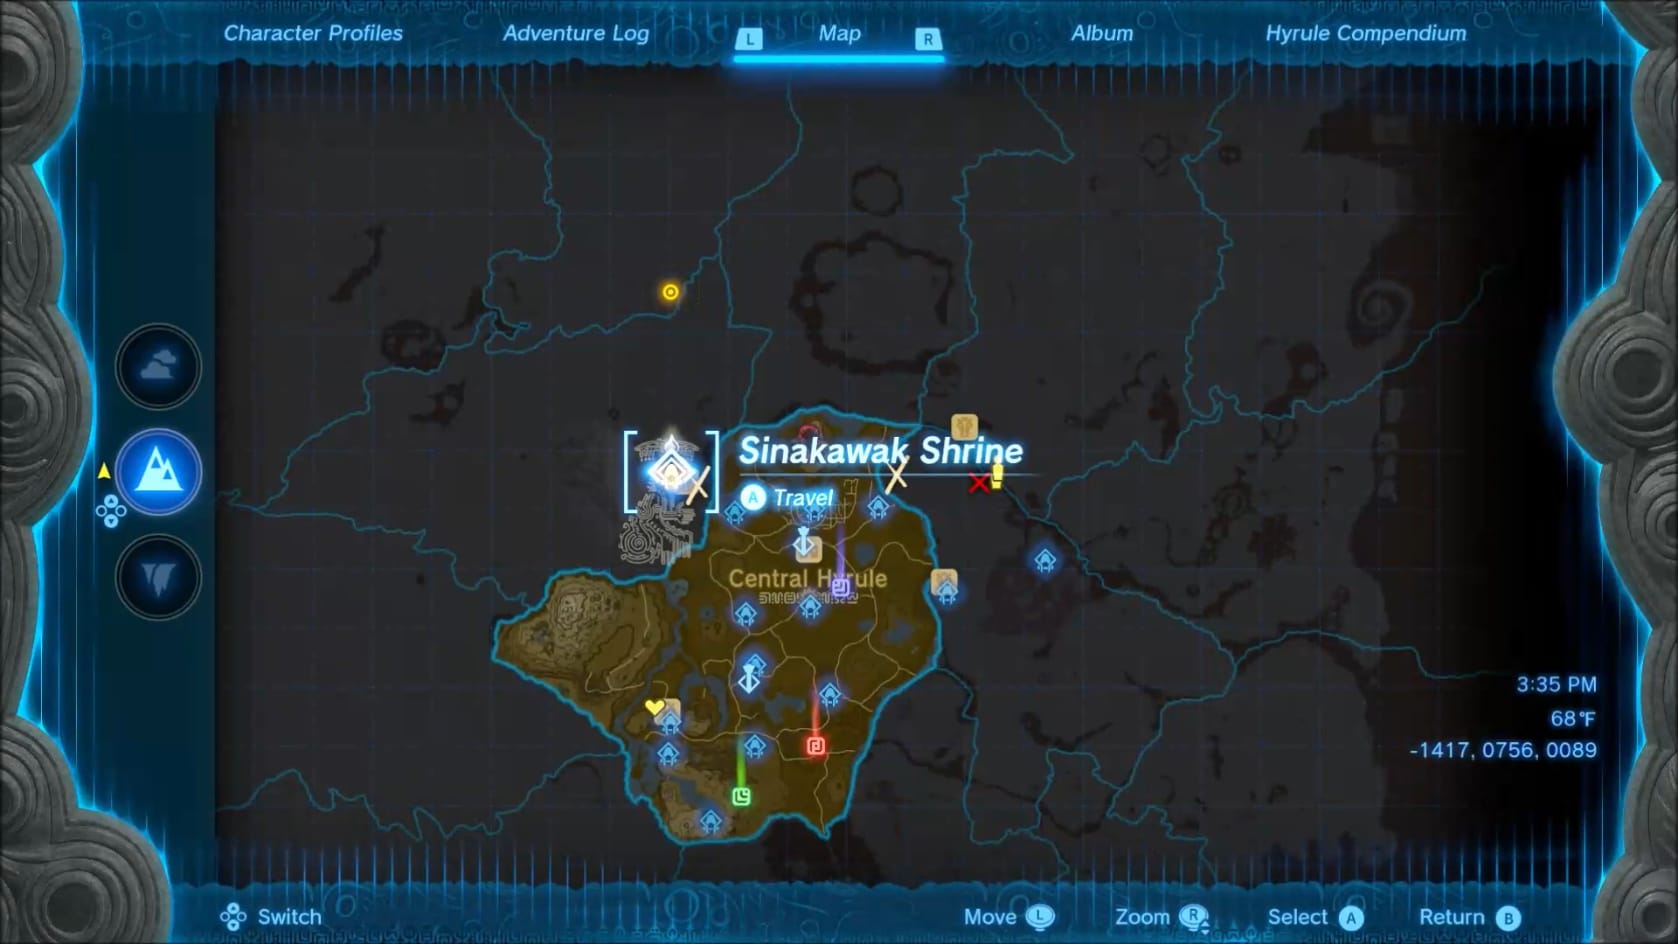
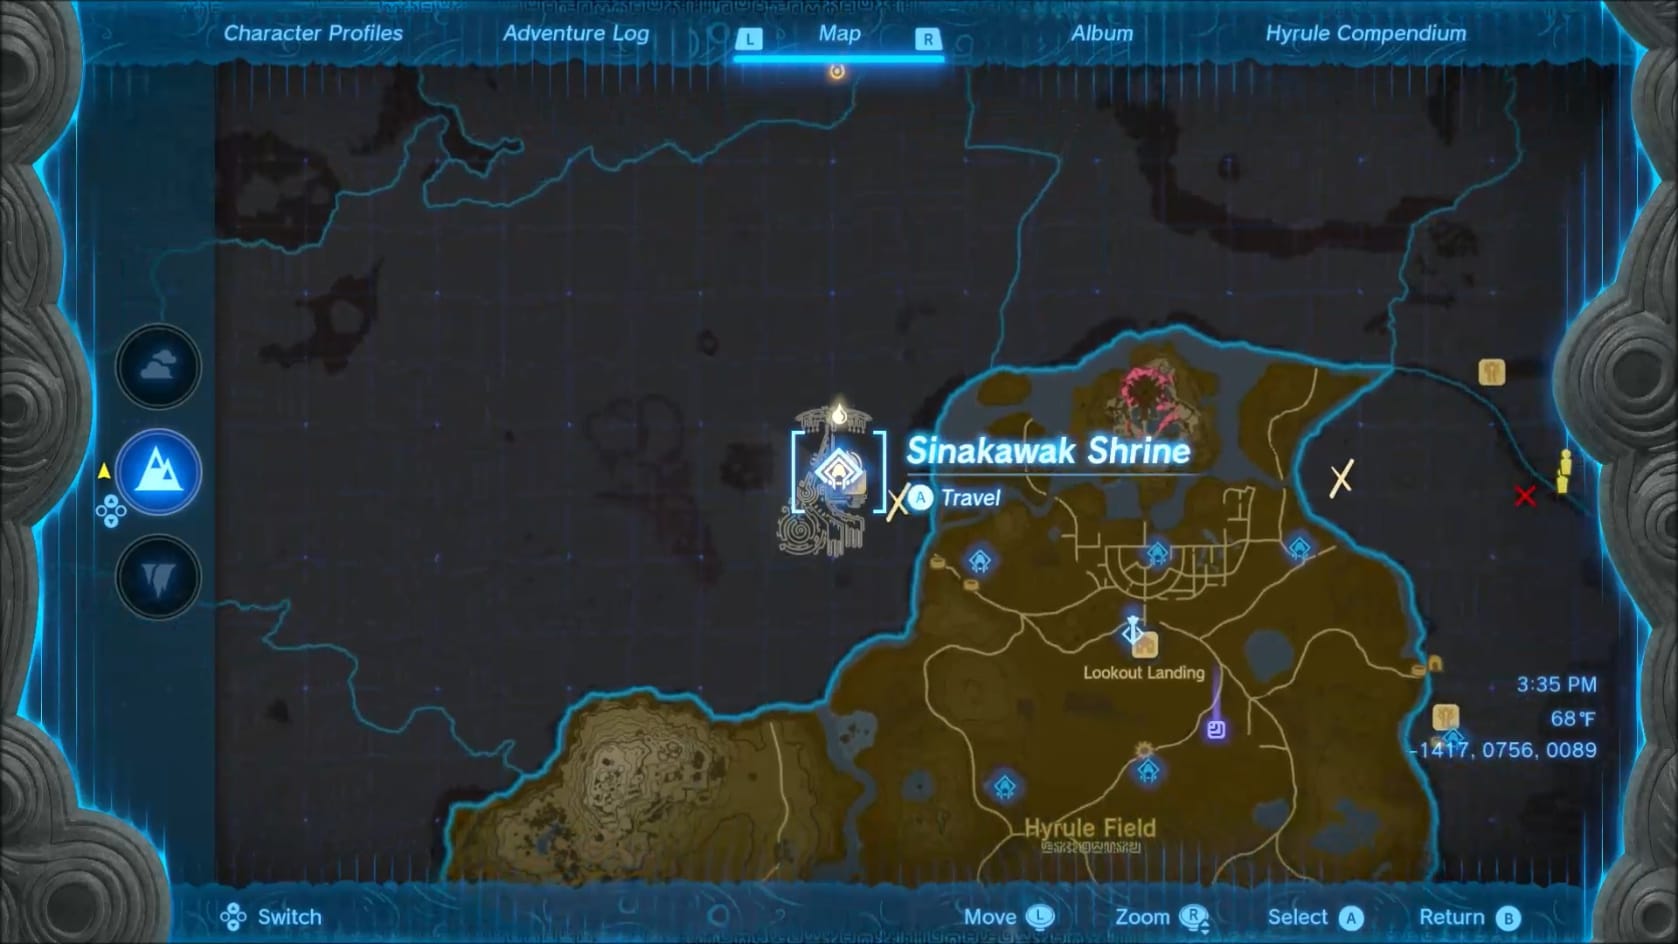
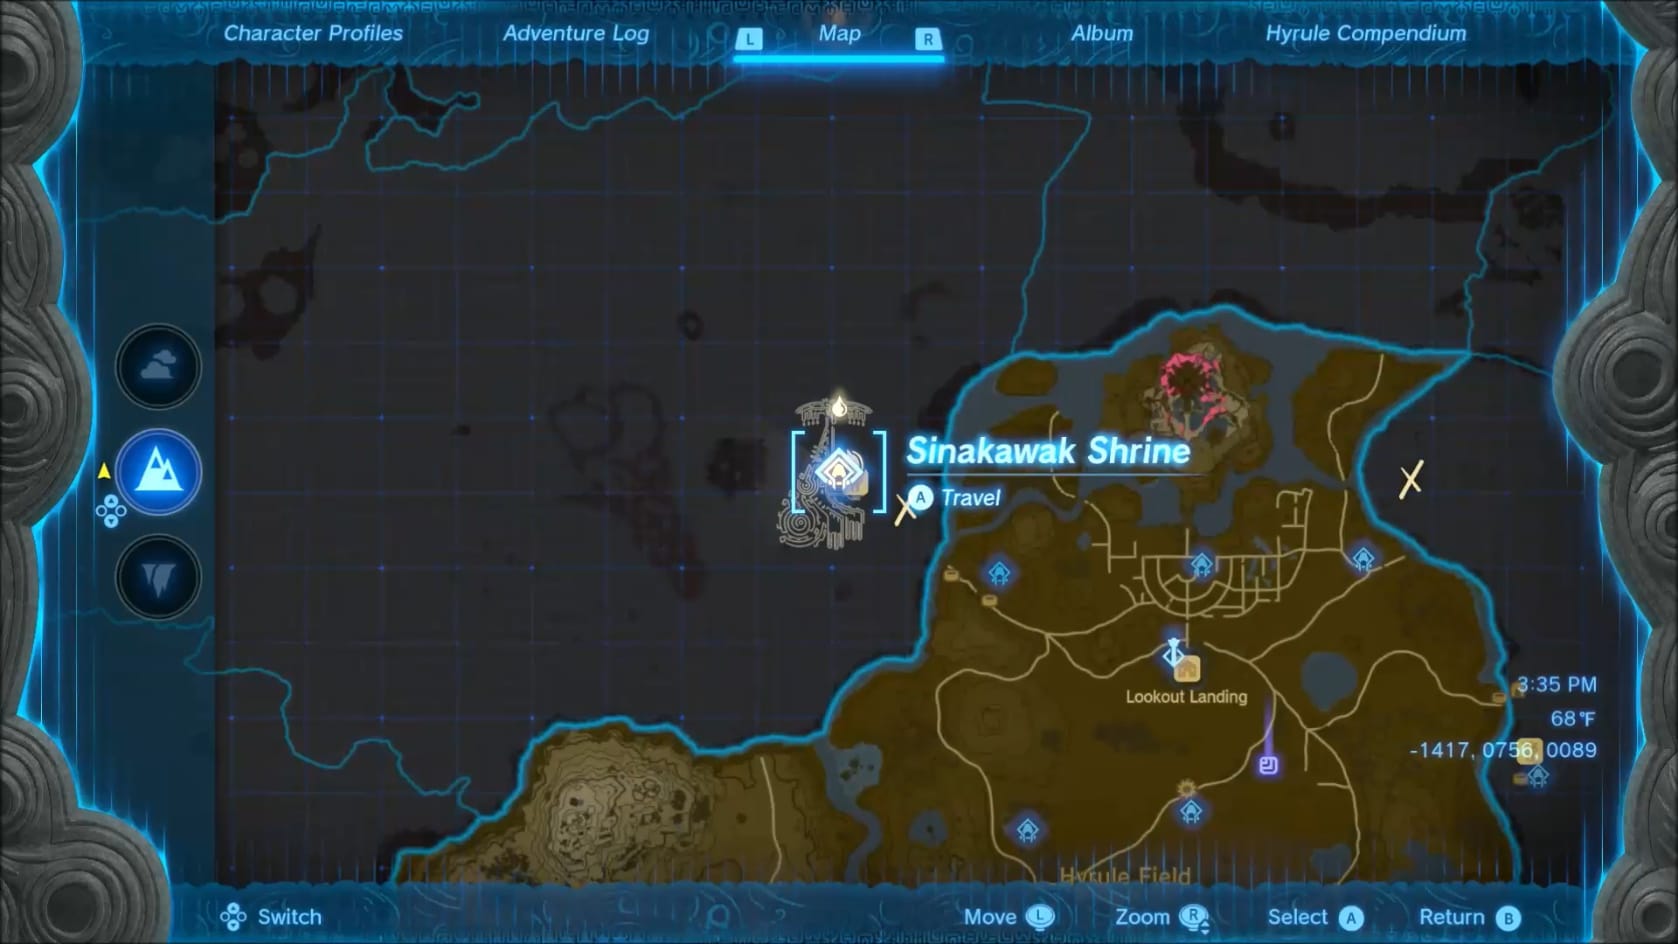
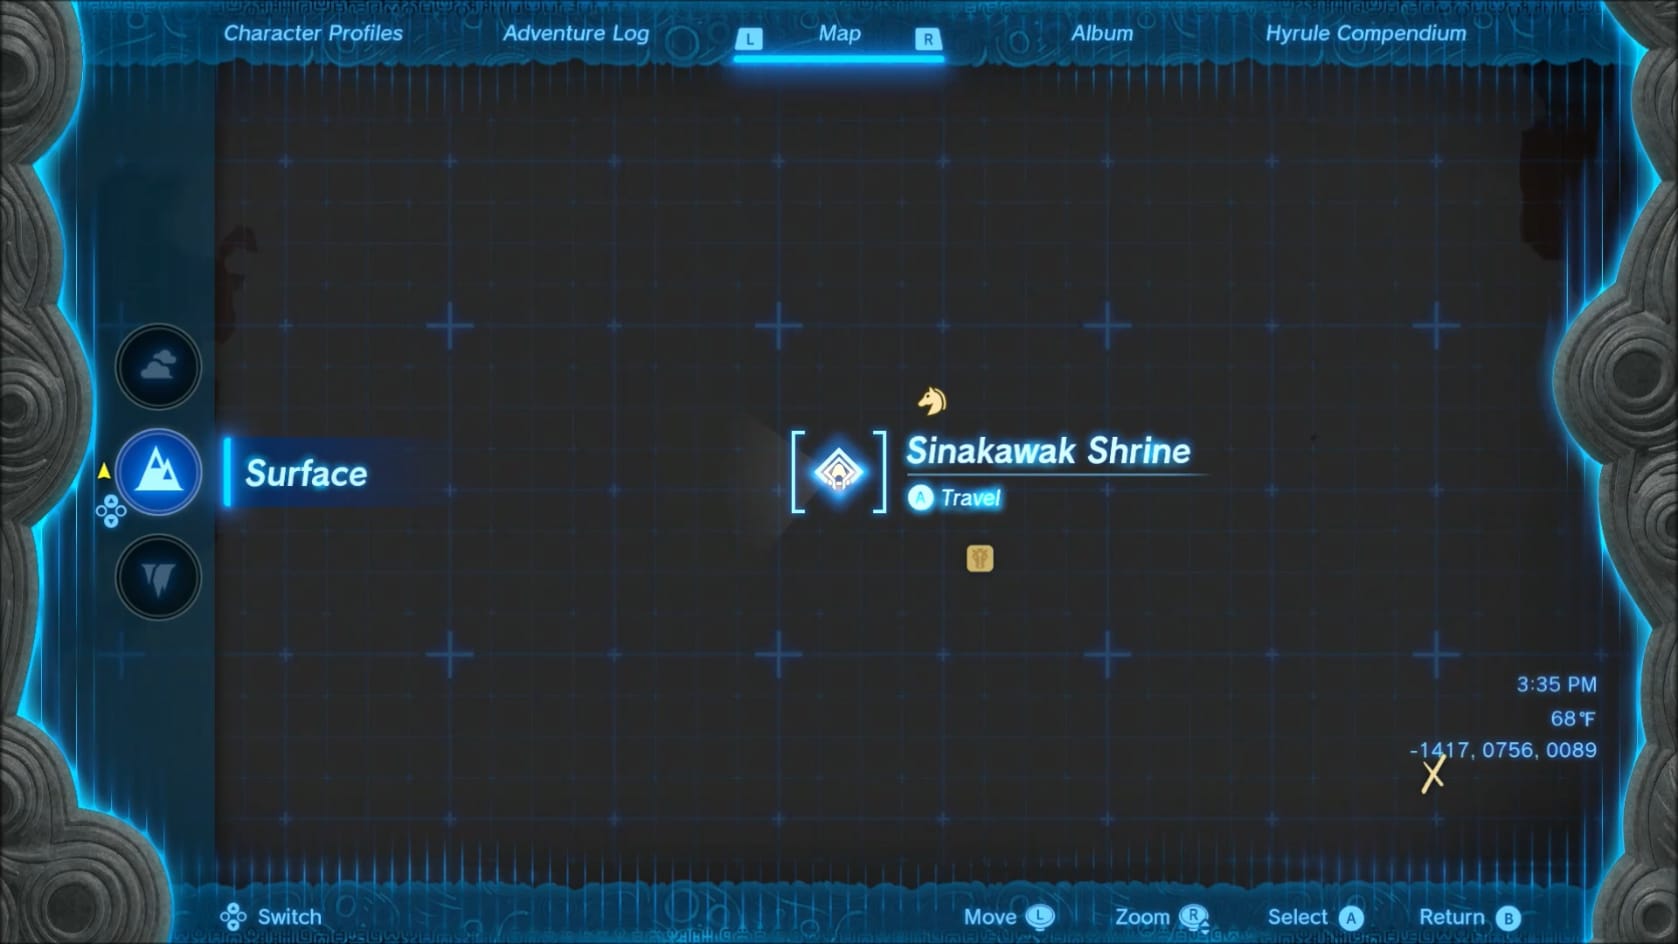
Coordinates: -1417, 0756, 0089
Walkthrough
Entrance
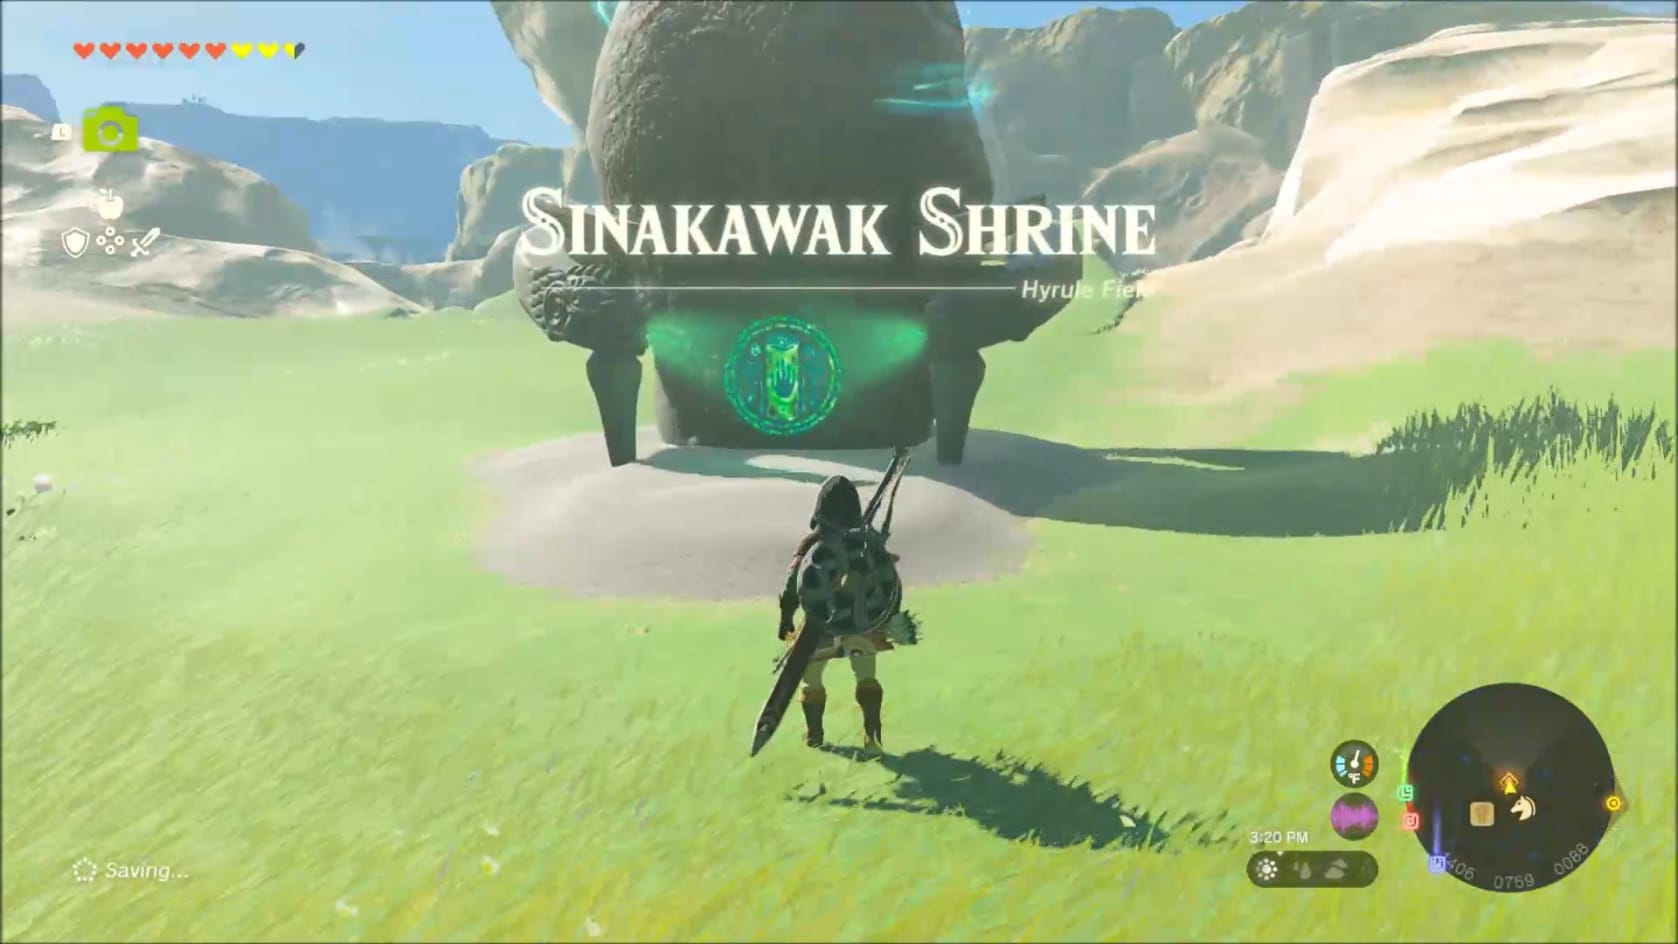
This shrine is found to the West of the New Serenne Stable. It sits behind the stable itself, but is very easy to spot. You just need to approach and interact with the Glyph in front of the Shrine to add it to your Fast Travel Network. This will also let you get inside the Shrine to complete its challenge.
Puzzle 1
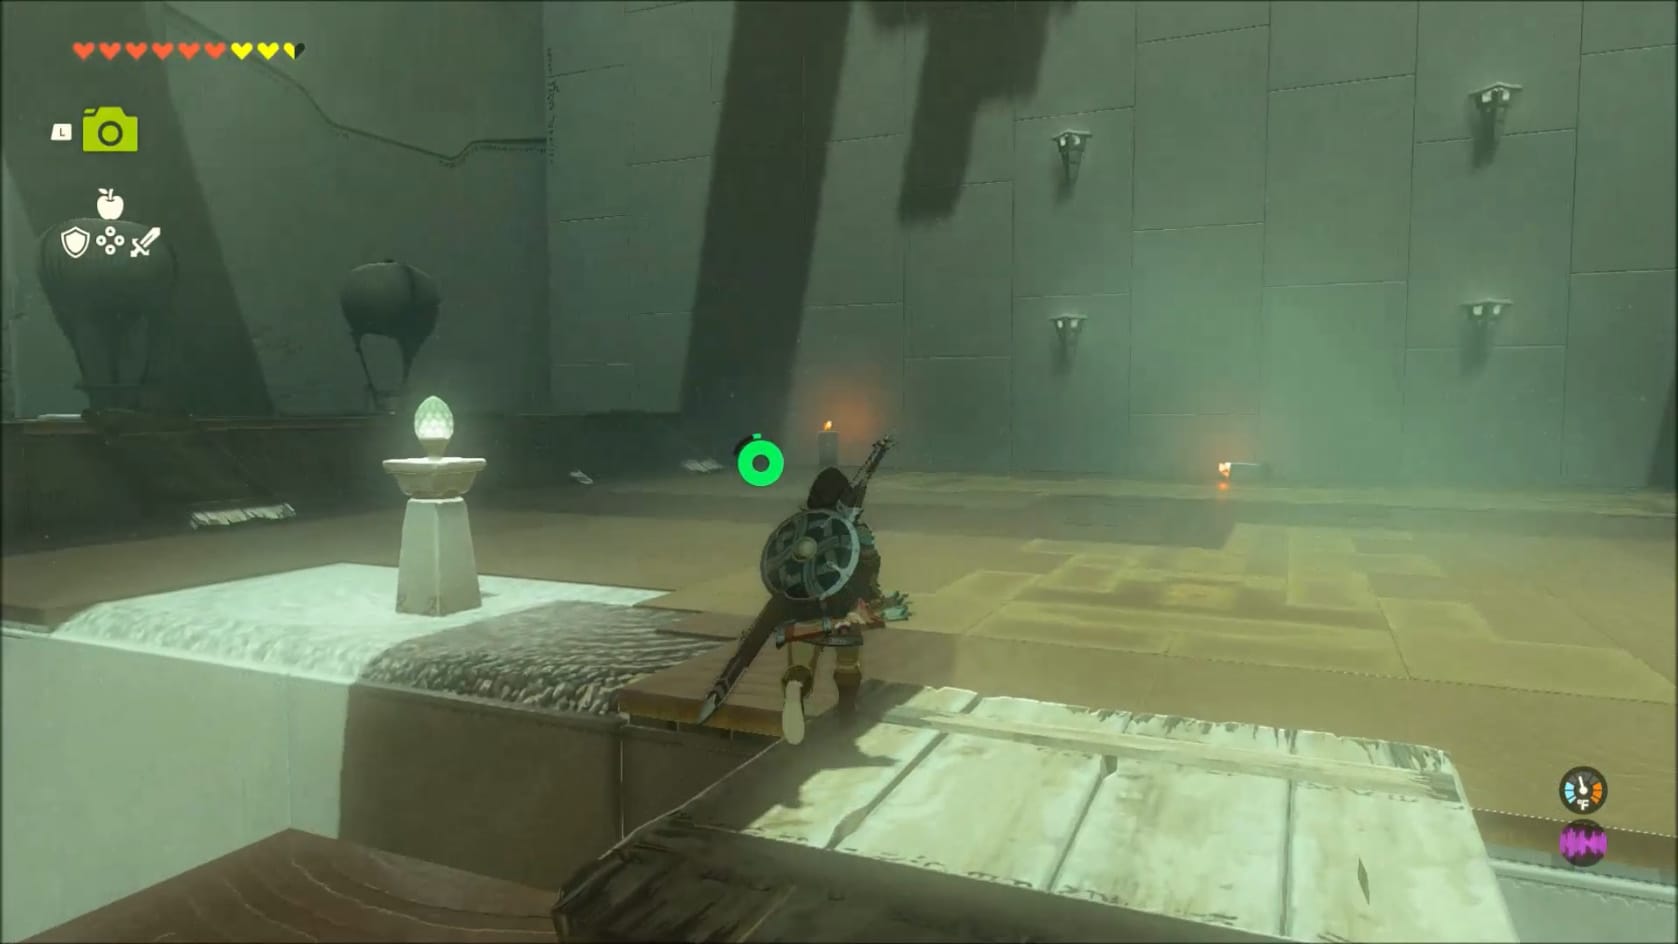
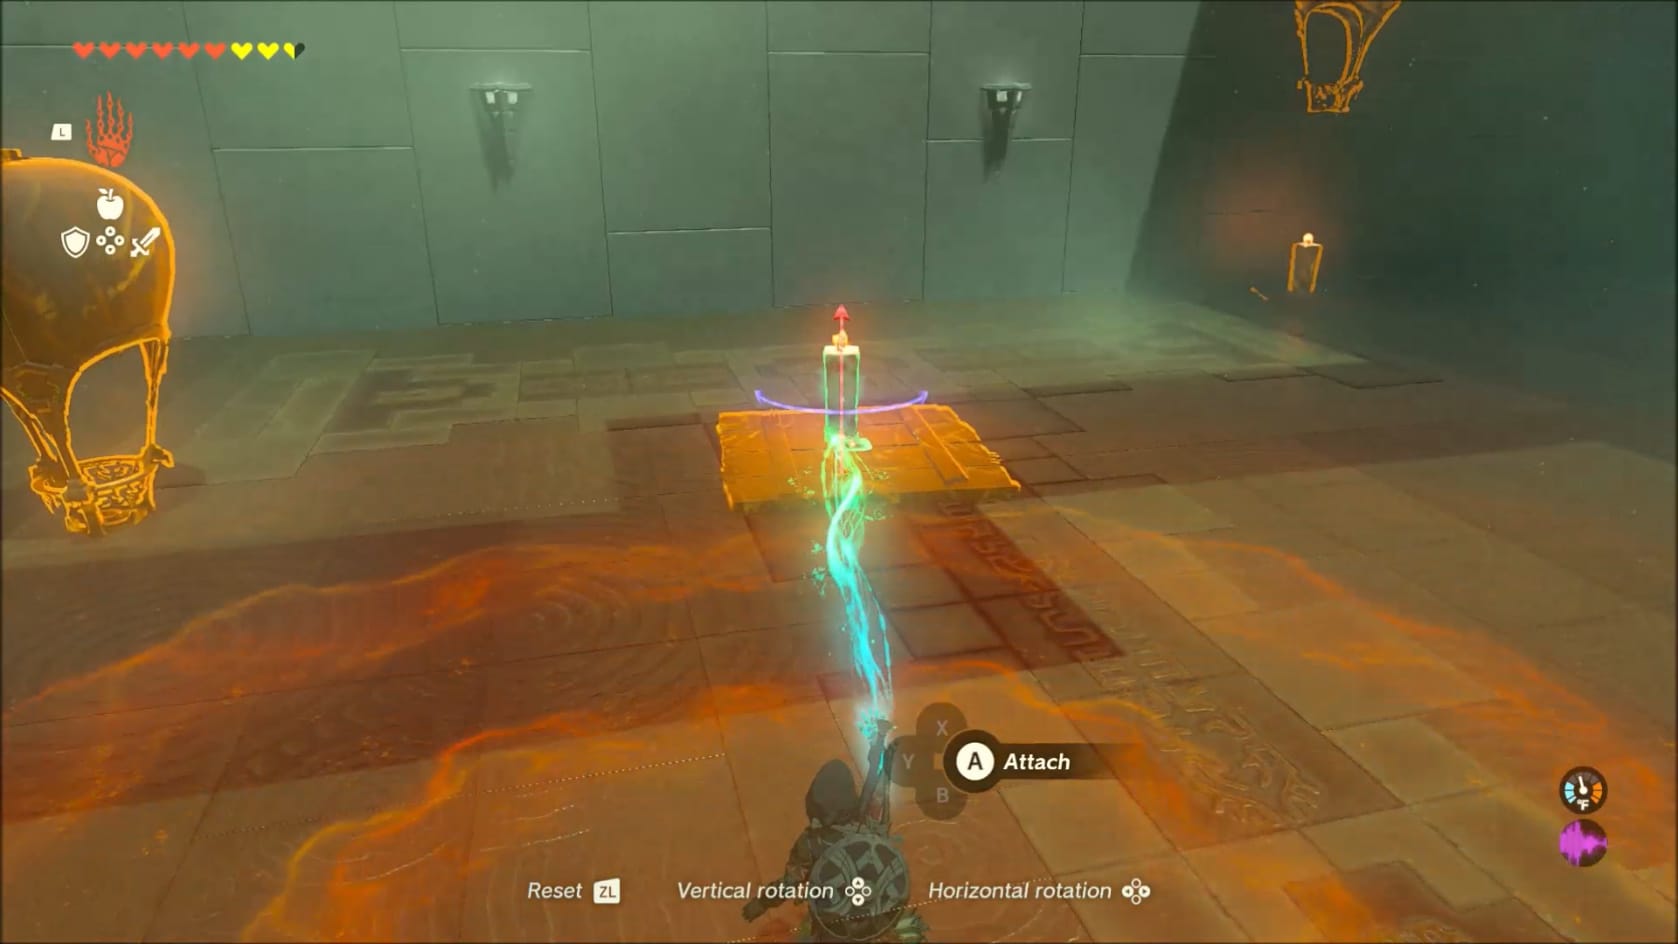
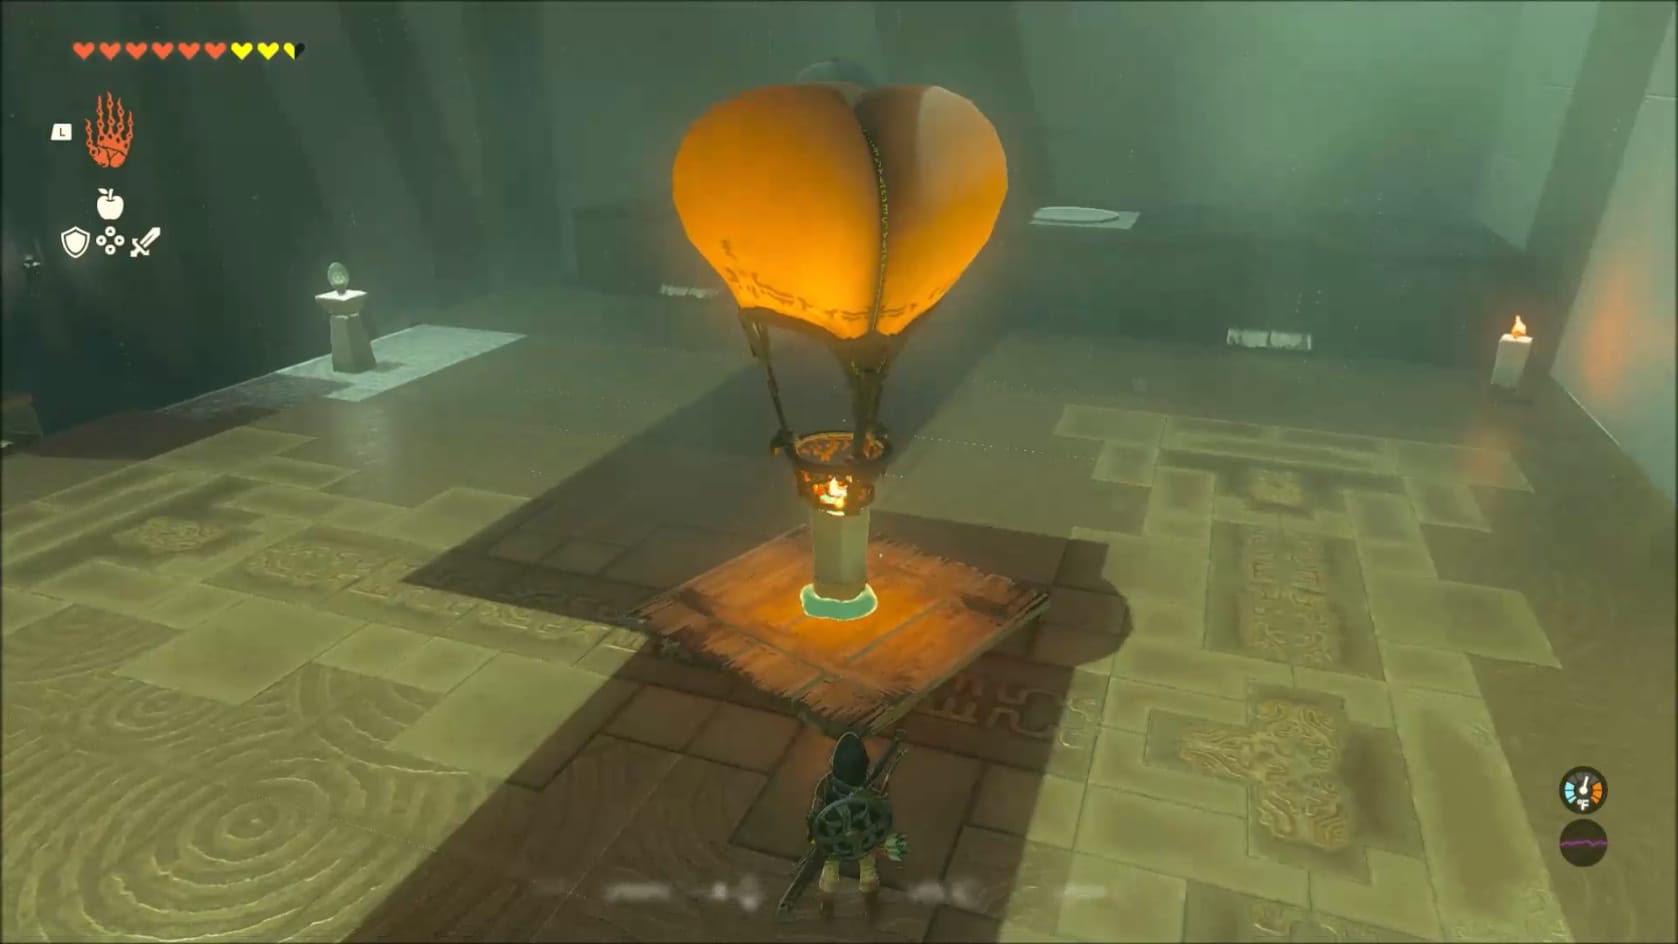
Inside the Shrine, go up the first set of stairs you are face to face with a massive wall. Along the right-hand side, you can see a Zonai Hot-Air Balloon bobbing up and down on the hot air from one of the “Torches” by the wall.
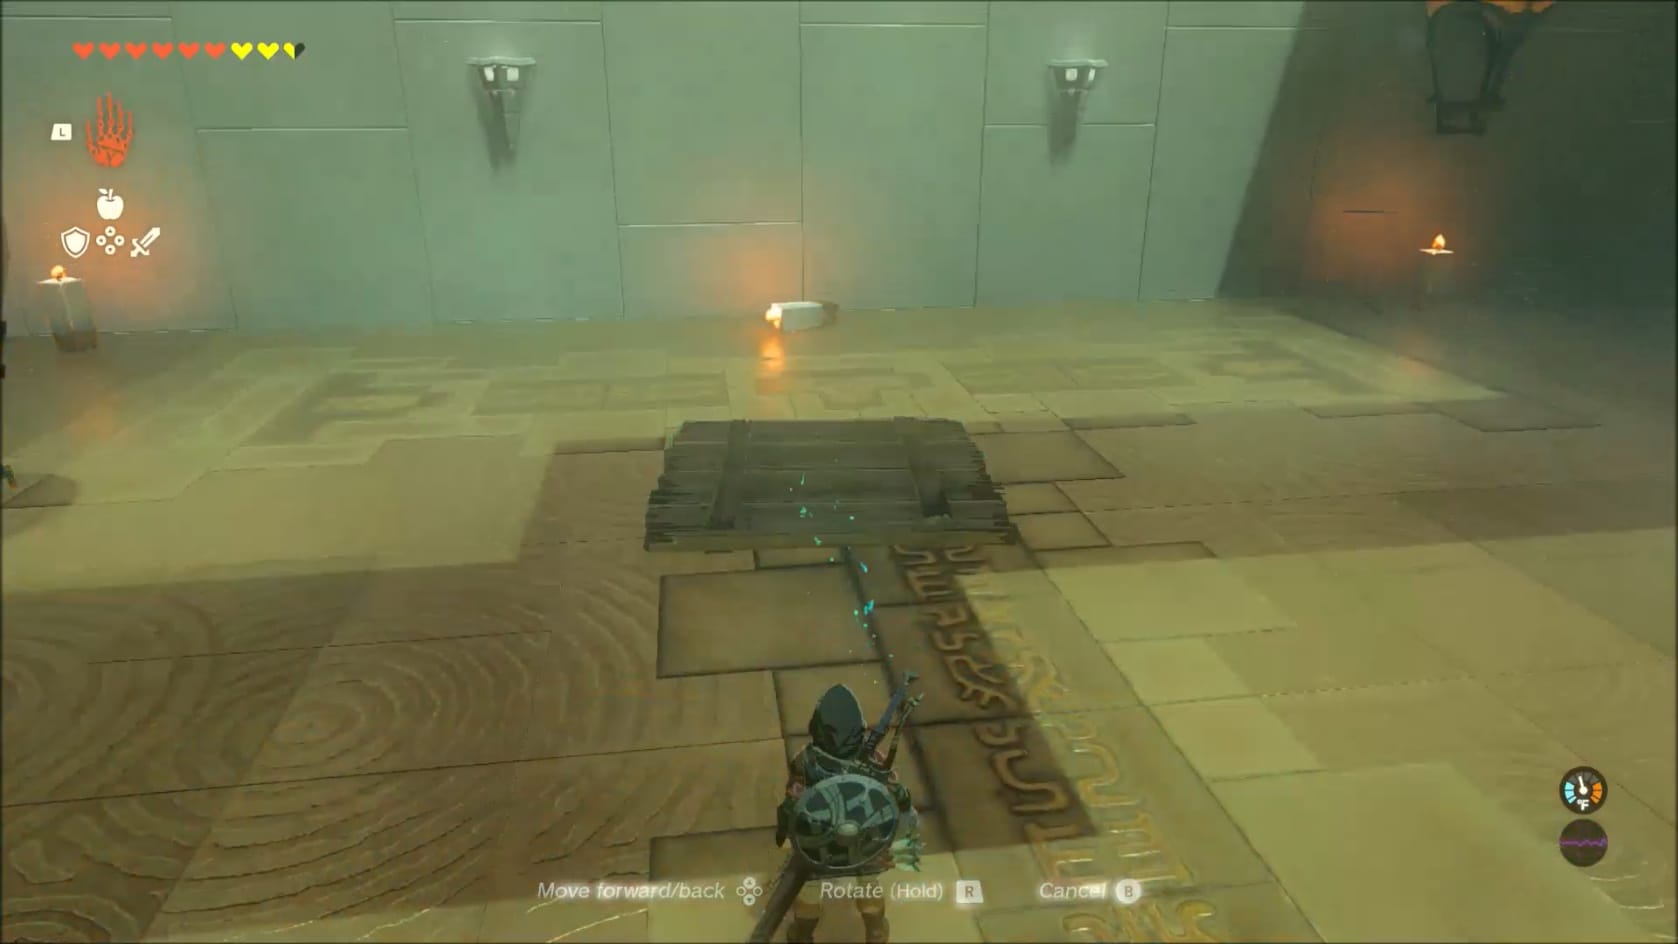
Assembling the Hot-Air Balloon
To the left of the ramp up, you can see a number of wooden planks as well as a pair of Zonai Hot-Air Balloons. It’s time to do some construction with Ultrahand. Start by grabbing one of the larger wooden planks. Set it flat on the ground. Use Ultrahand to grab any of the nearby Torchs and attach the Torch to the plank. Finally, grab either of the balloons. Attach the Zonai Hot-Air Balloon to the Torch.
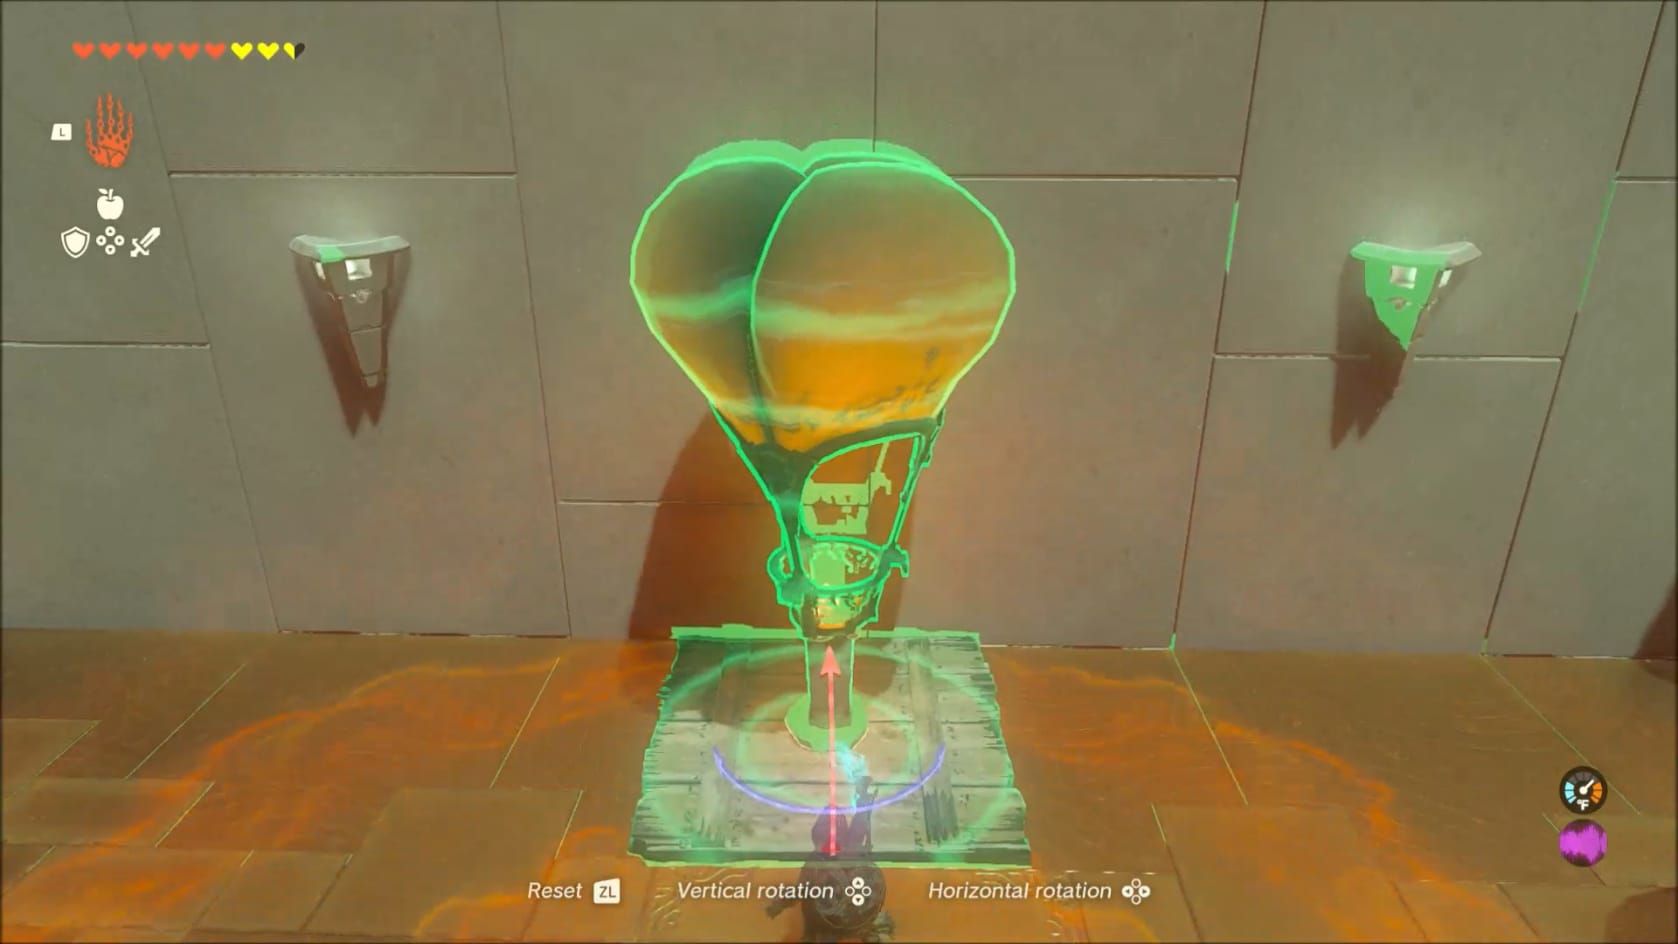
Grab the assembled “Hot-Air Balloon” with Ultrahand. Move it up against the wall, and move Link onto the platform. Release the Balloon from Ultrahand and let the contraption rise. Step off it at the of the wall.
- Either let the contraption float to the ceiling or grab it with Ultrahand to spare yourself a little building.
Puzzle 2
At the top of the first wall, you will see a doorway that has a gate down across it. Just above it, you can see a target sitting in an alcove above the doorway. It sits under a walkway. There’s nothing up on the walkway, so it’s better to just focus on solving the puzzle.
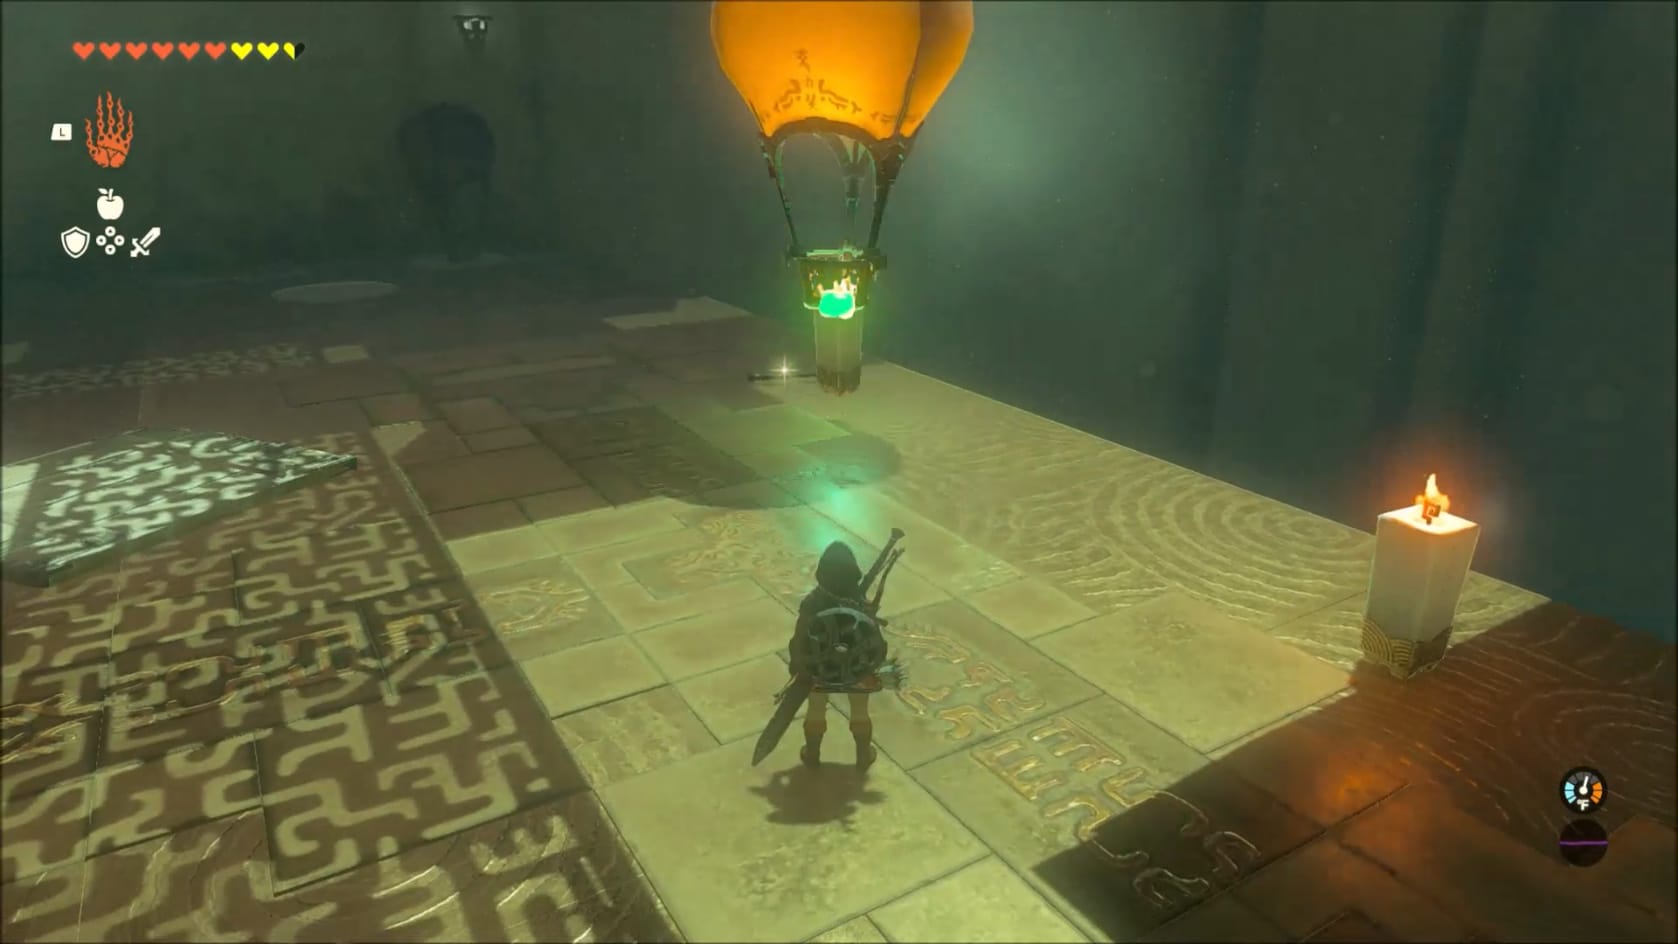
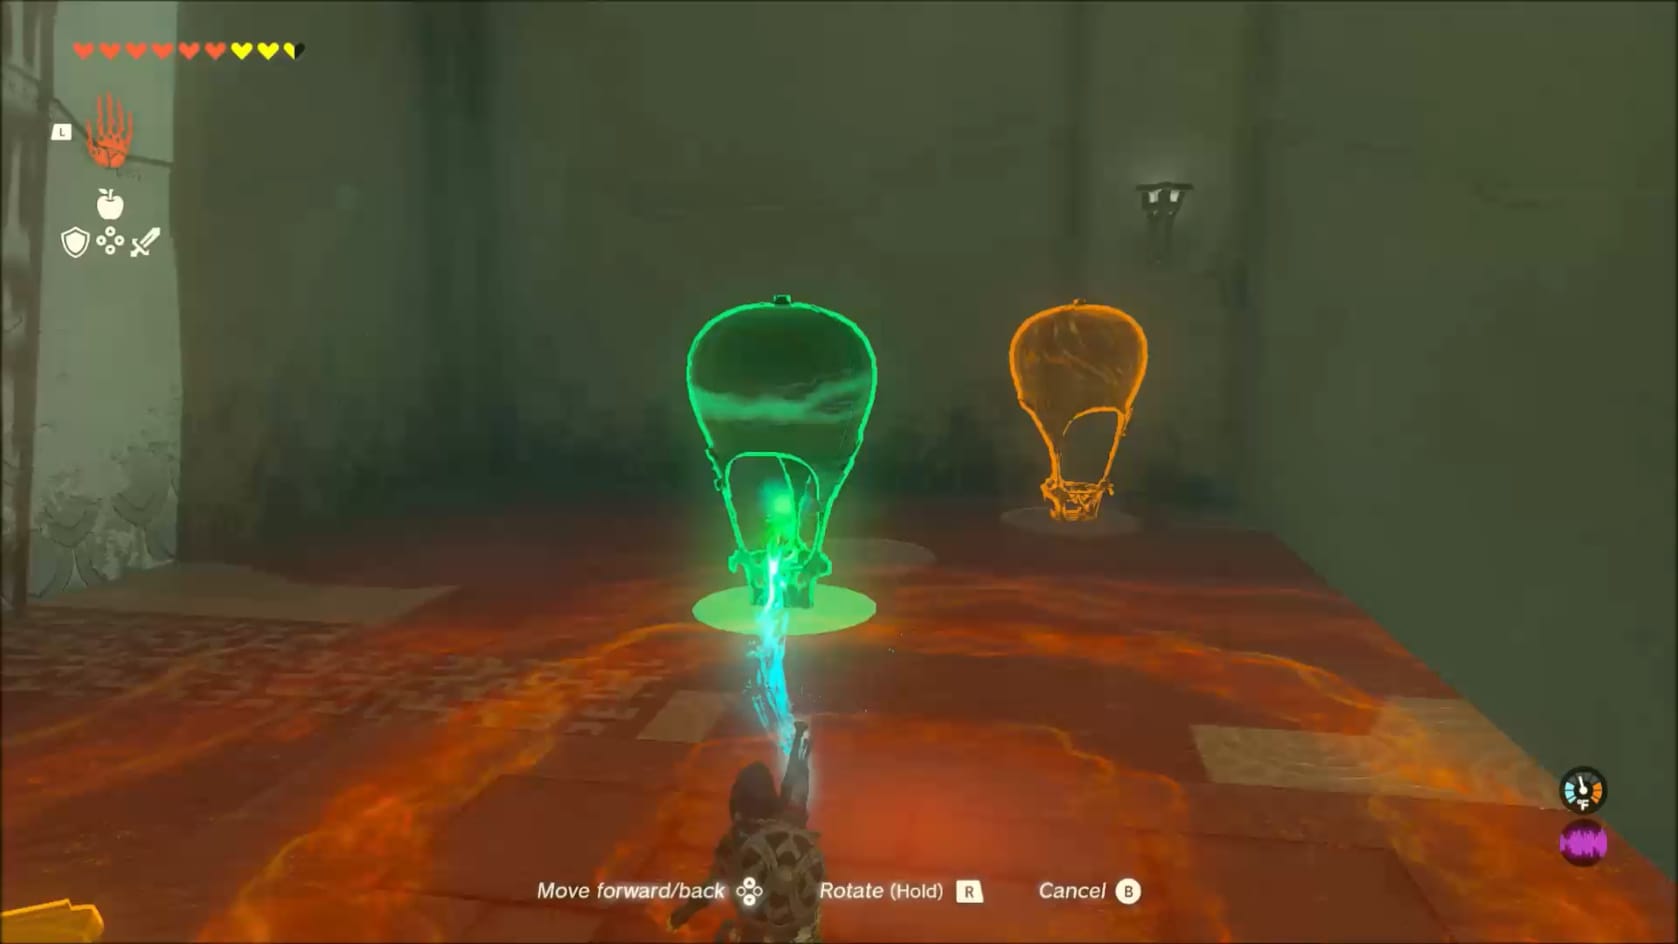
Look to the right-hand side of the platform to find another pair of Zonai Hot-Air Balloons. Along the middle of the front edge you can find find another set of Torches. Nearby those is another large wooden plank. You only need the Hot-Air Balloon and the Torch.
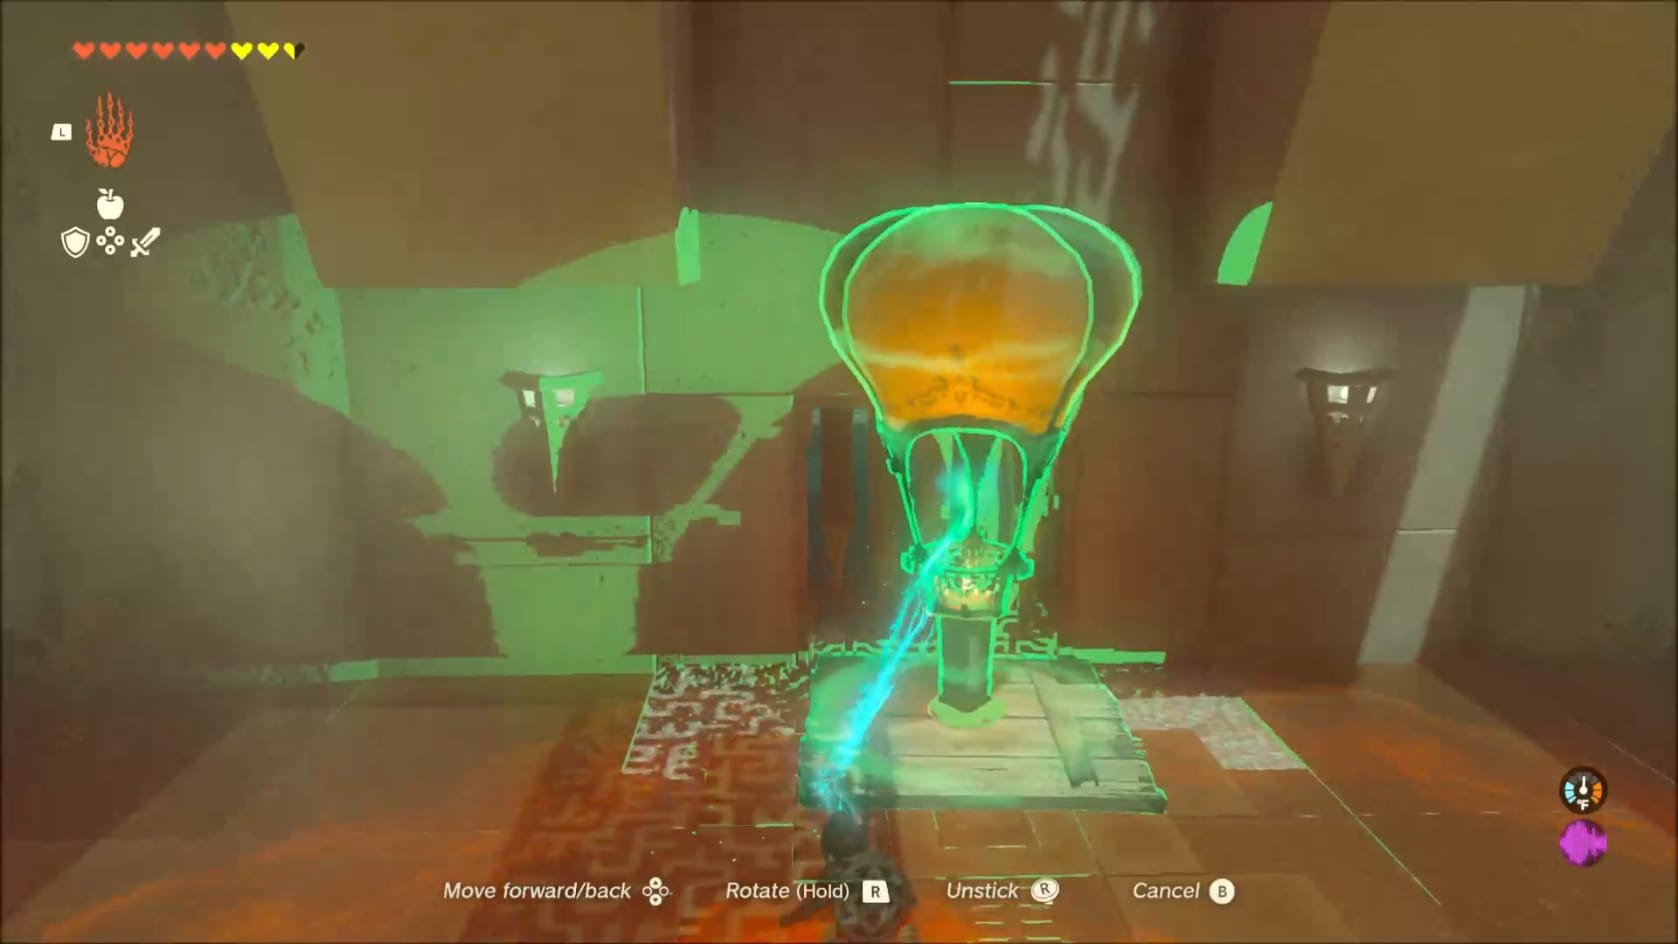
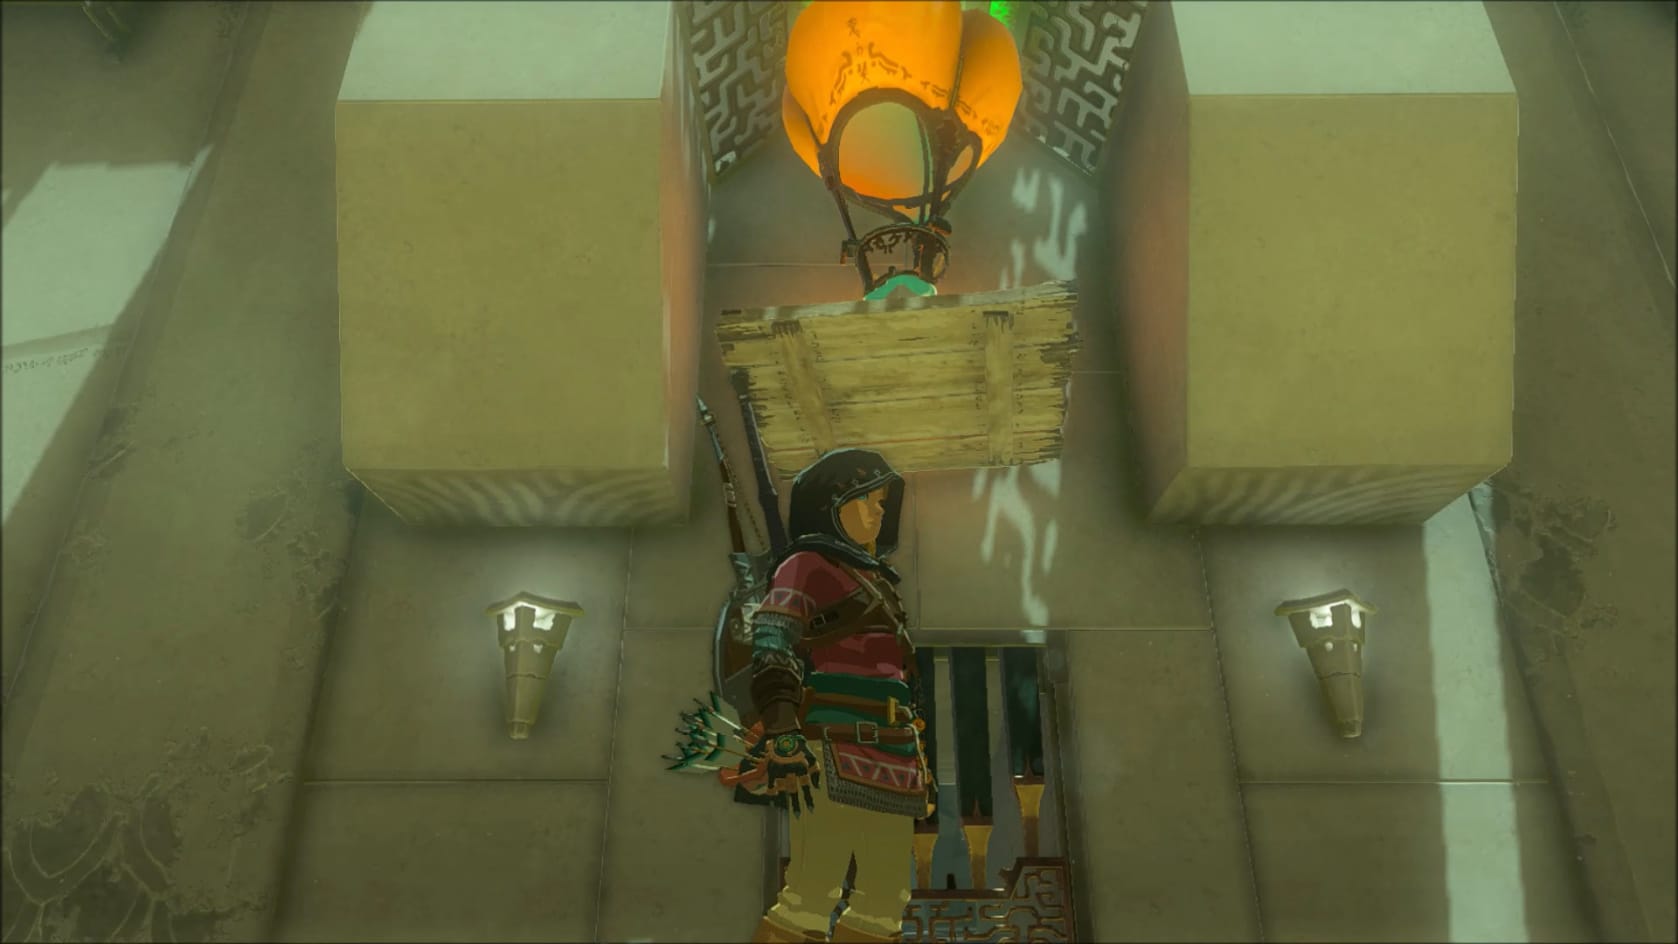
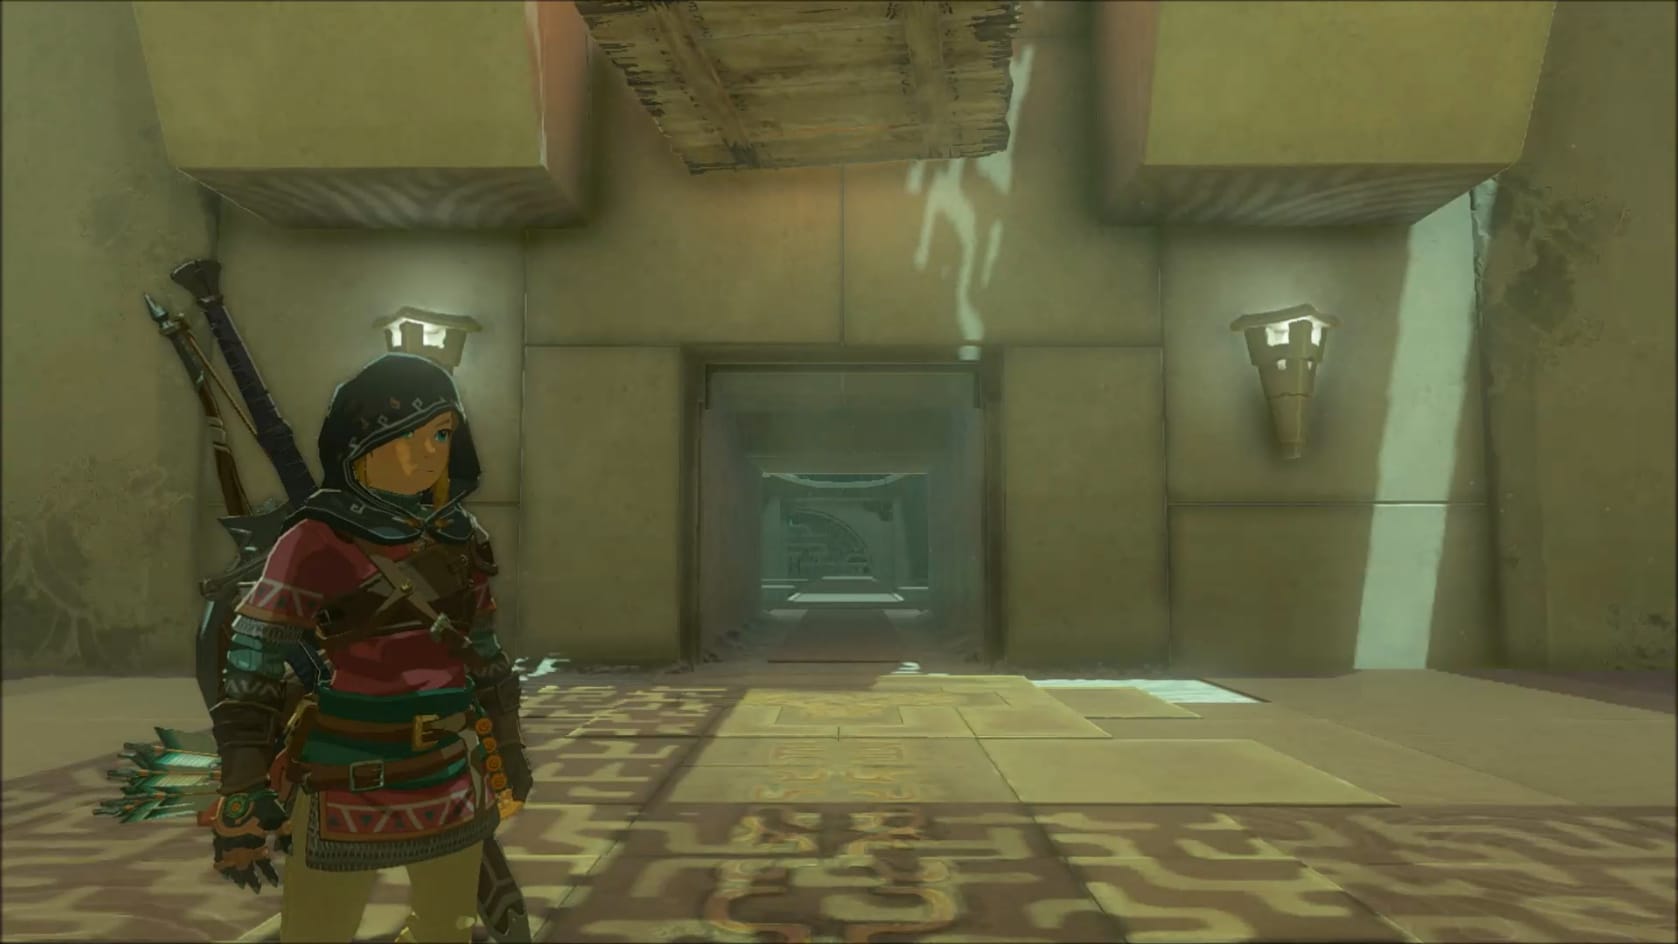
Opening the the first gate of the Shrine
Connect the Hot-Air Balloon to the Torch and grab it with Ultrahand. Bring this construct to be in front of the doorway. Release it to have it float up and activate the switch above the doorway. Step on through to reach the final puzzle room of the Shrine.
Puzzle 3
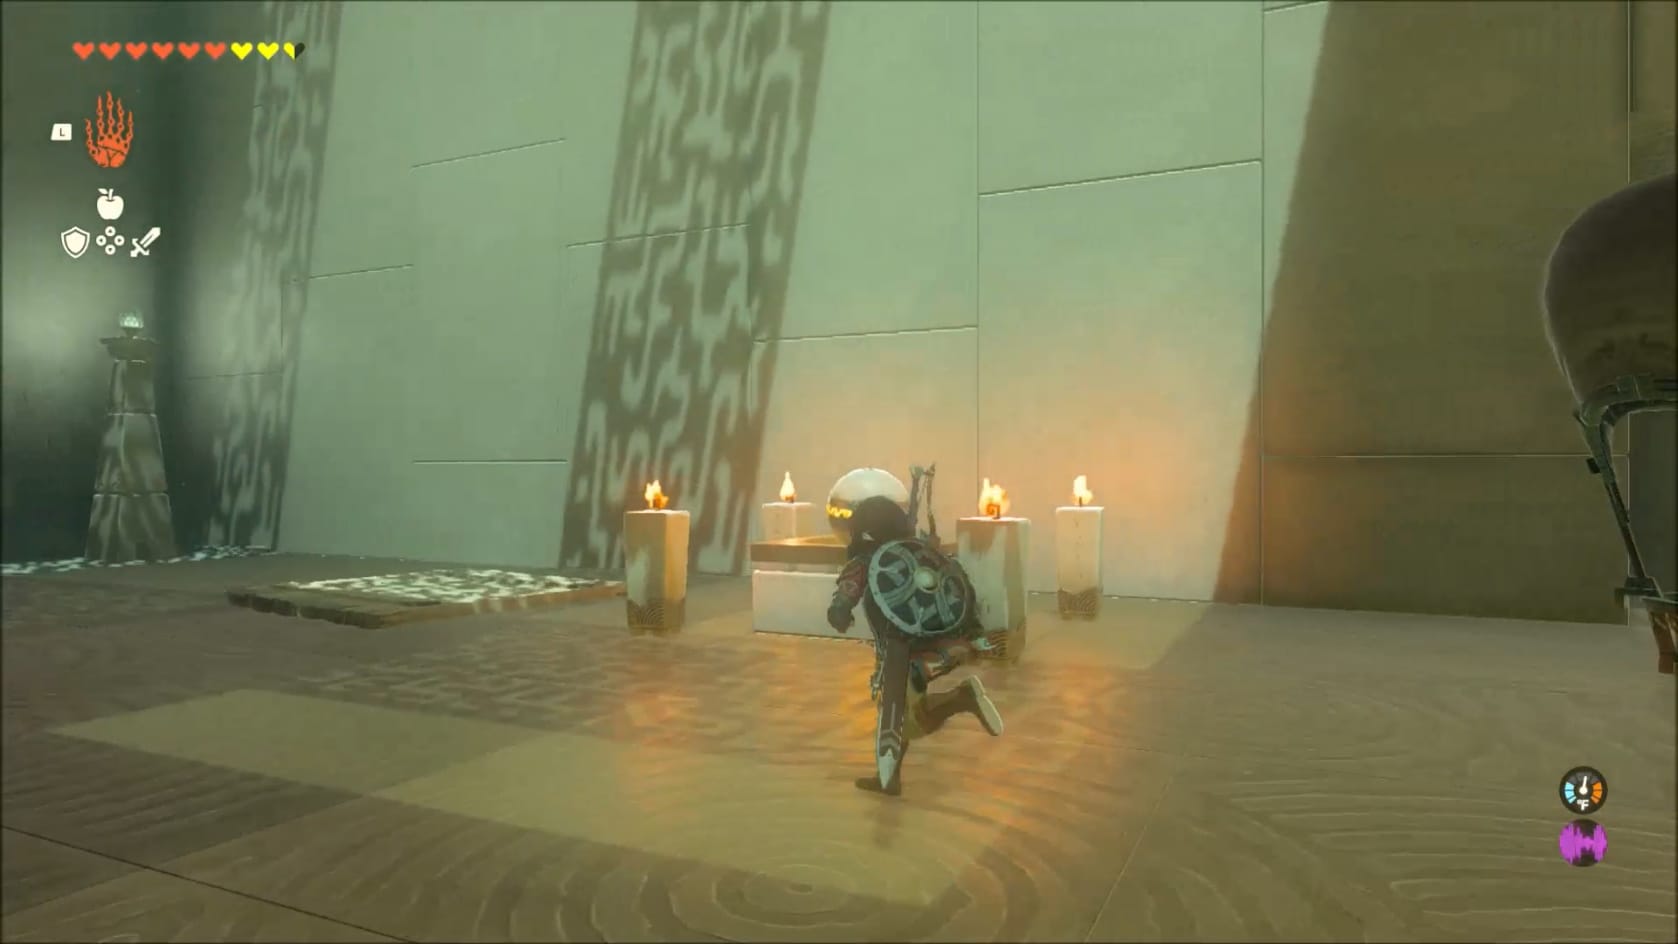
Just like before, this room’s puzzle will revolve around using the Torches to create a Hot-Air Balloon. This will let you reach the parts you need to not only complete the shrine, but also reach the hidden chest.
Drop down to into the pit, the bottom of the room. Here you will find what you need to get started. There’s a large wooden plank on the left-hand side, nearby a set of 4 Torches around a Small Sphere.
To this end, you will want to use Ultrahand to grab 1 of the Torches and set it onto the large wooden plank. Take a moment to also use Ultrahand to grab the Small Sphere and attach it to the plank as well. Finally, use Ultrahand to grab and attach the Hot-Air Balloon to the construct on top of the Torch.
- Alternatively, you can simplify and only connect the Torch, Balloon and Sphere. There’s a small alcove in the middle of the wall that you can use Ascend in to quickly reach the top of the wall.
Now, let the construct rise all the way up the wall. At the top, hop off and quickly grab it by the Balloon. Use Ultrahand to break the connection so it will stop floating. Go over to the left-hand side of this upper platform with the Small Sphere in tow (held either in hand or by Ultrahand).
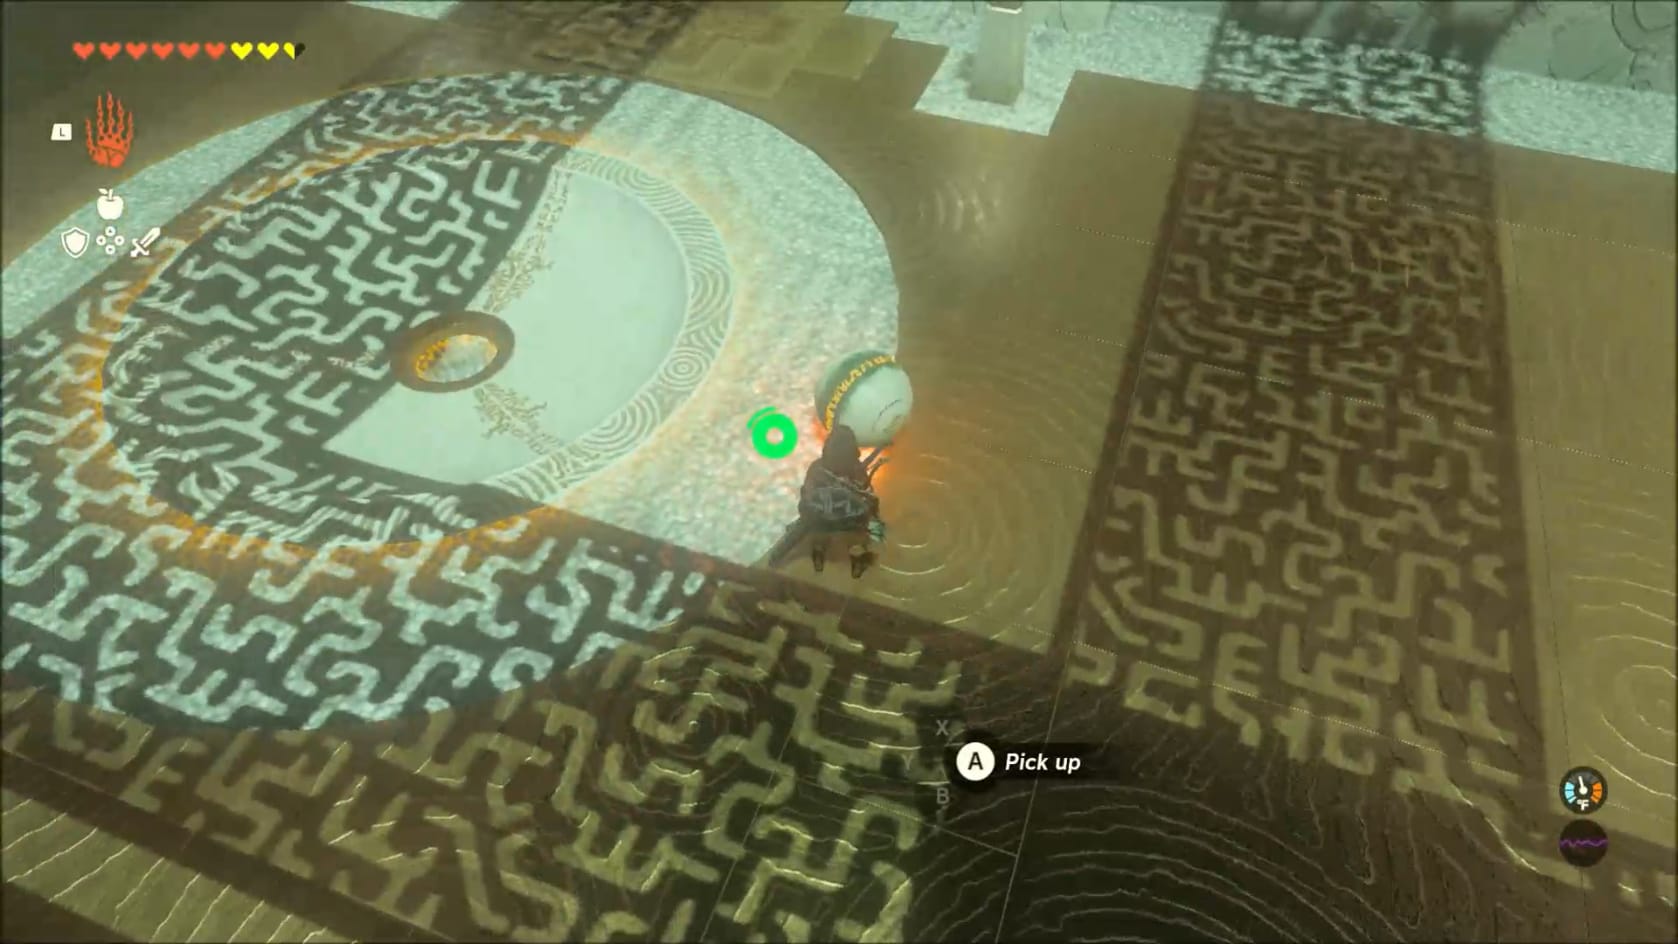
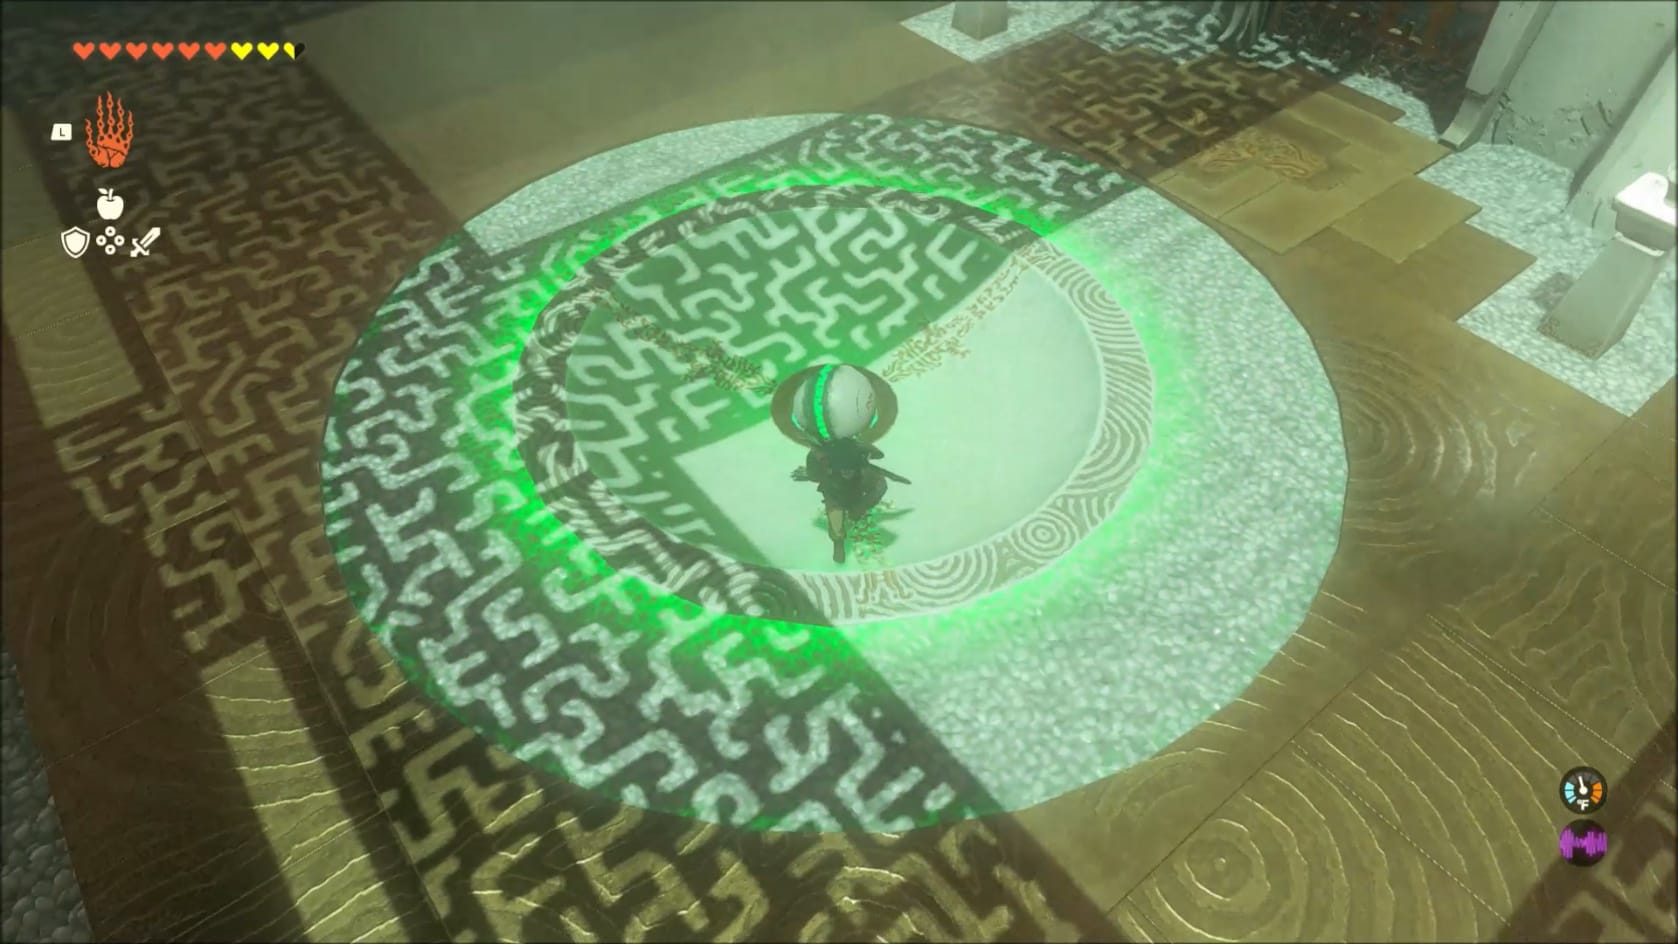
Depositing the small sphere into its indentation
Deposit the Small Sphere into the indentation for it. This will open the door into the Innermost Chamber. But here’s a little more to do in this Shrine.
If you look on the right-hand side of this platform, you can see a large indentation in the floor for a much larger Sphere.
Access the Hidden Chest
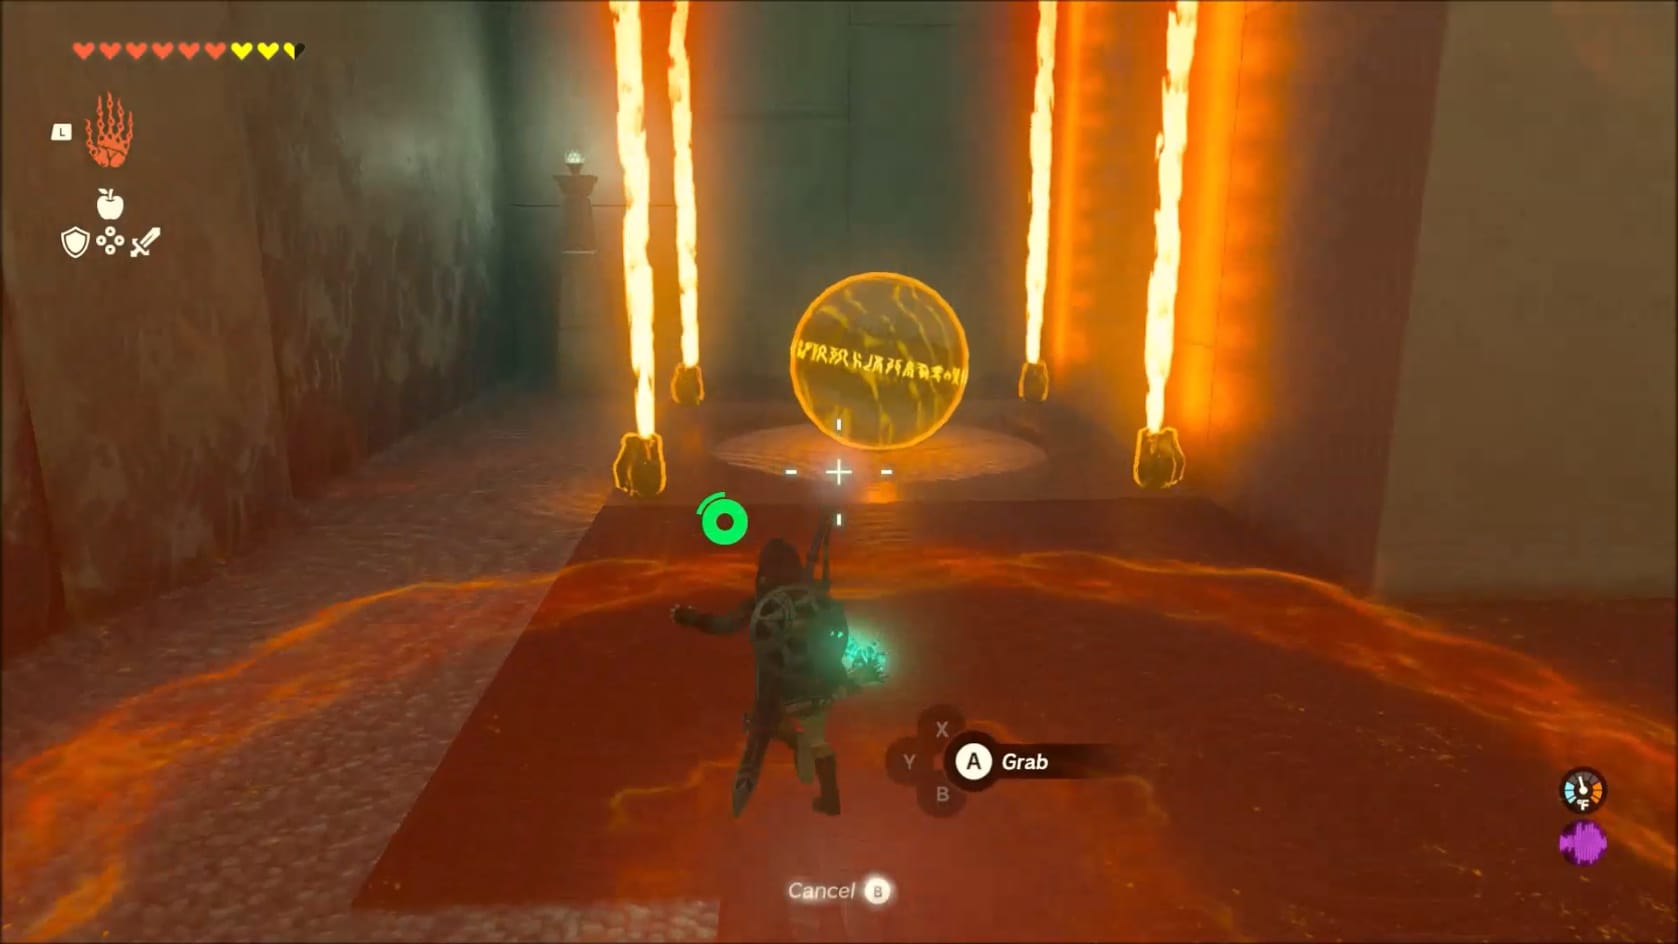
Time to get the chest that behind the locked doorway to the right of the Innermost Chamber. Dive back down into the pit of this chamber. Go over to the right-hand side of the pit and look back toward the entrance of the chamber. Sitting in the back right of the pit, behind a wall, is a large Sphere. There are 4 Zonai Flamethrowers active around it. You can grab these for lift with your construct, if desired.
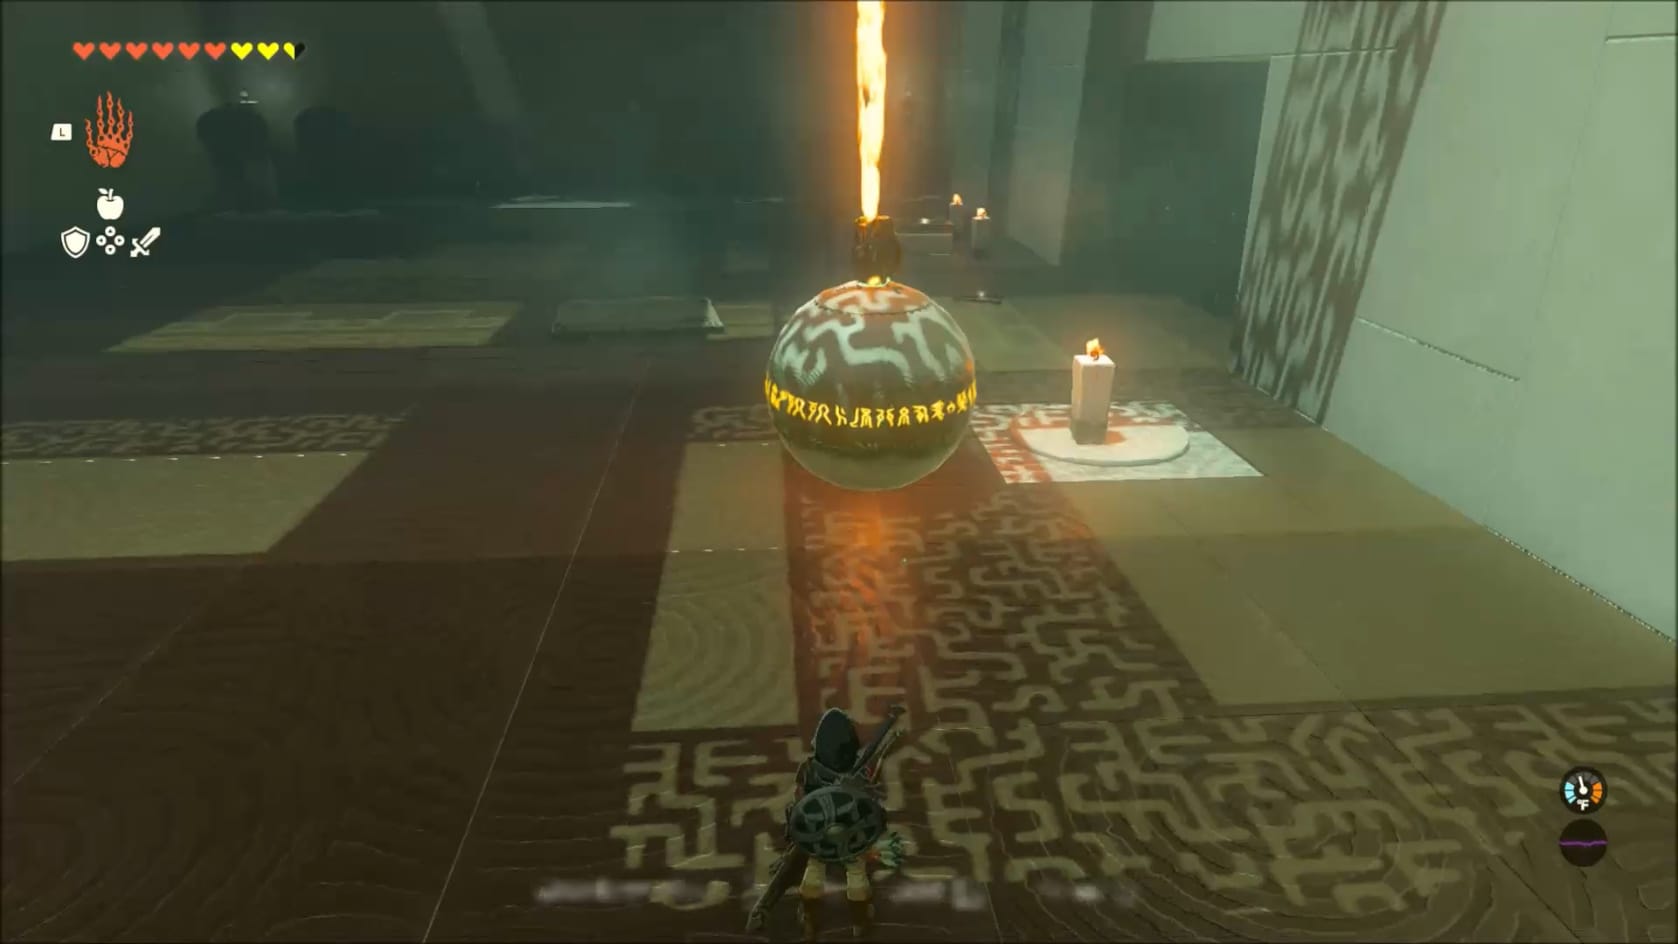
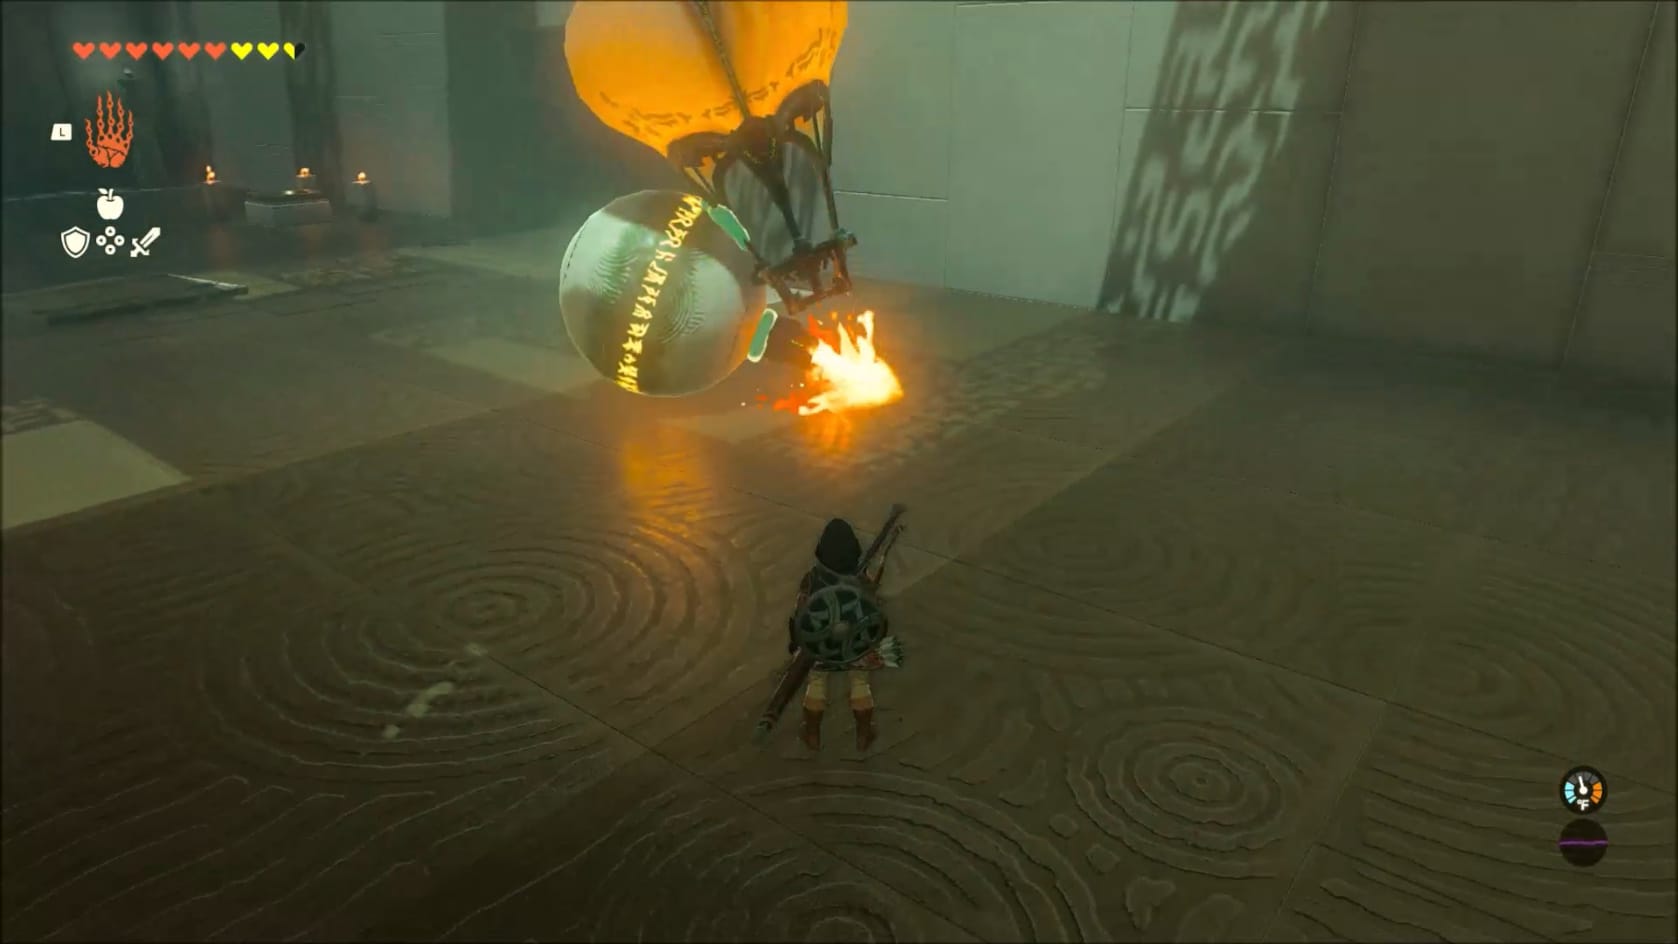
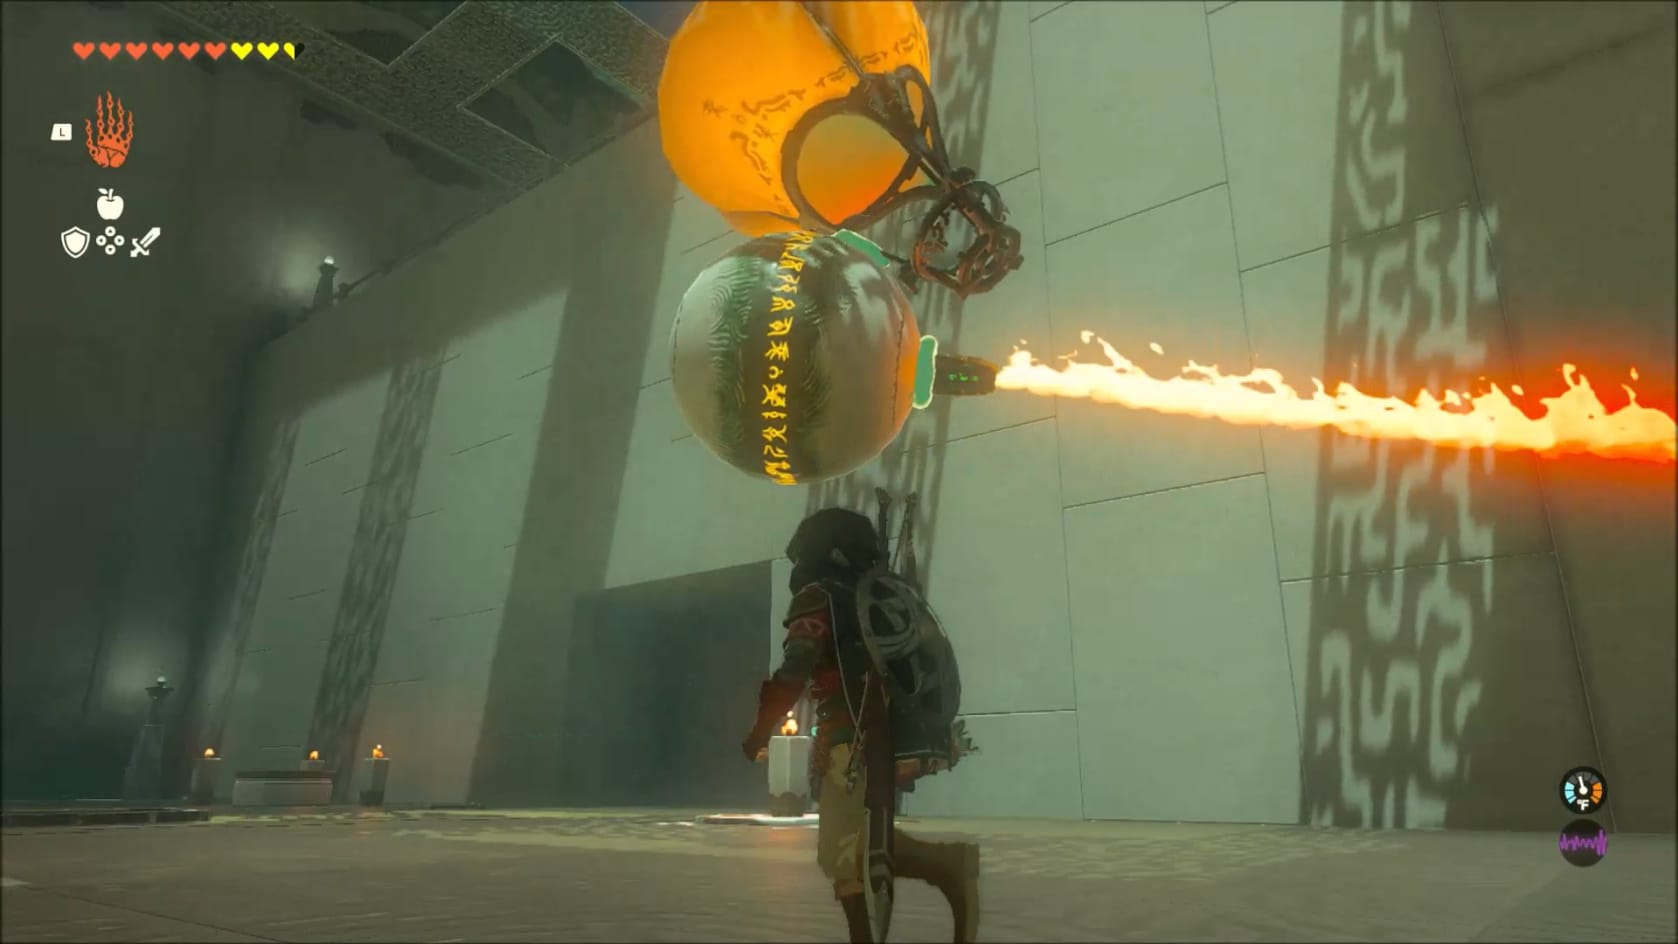
Assembling a construct to carry the Large Sphere
Grab the Sphere with Ultrahand and bring in to the front of the Pit. Attach the Large Sphere to the Large Wooden Plank. After that, either grab one of the Torches or one of the Flamethrowers and attach it to the top of the Sphere. Finally, attach one of the Hot-Air Balloons to the flame source and hop onto the platform.
- Alternatively, skip the platform, just attach the Hot-Air Balloon with a Torch or Flamethrower and let it rise.
- While it rises, go to the alcove in the wall and use Ascend to reach the top of the wall quickly (possibly used again to reach the grated walkway above you.
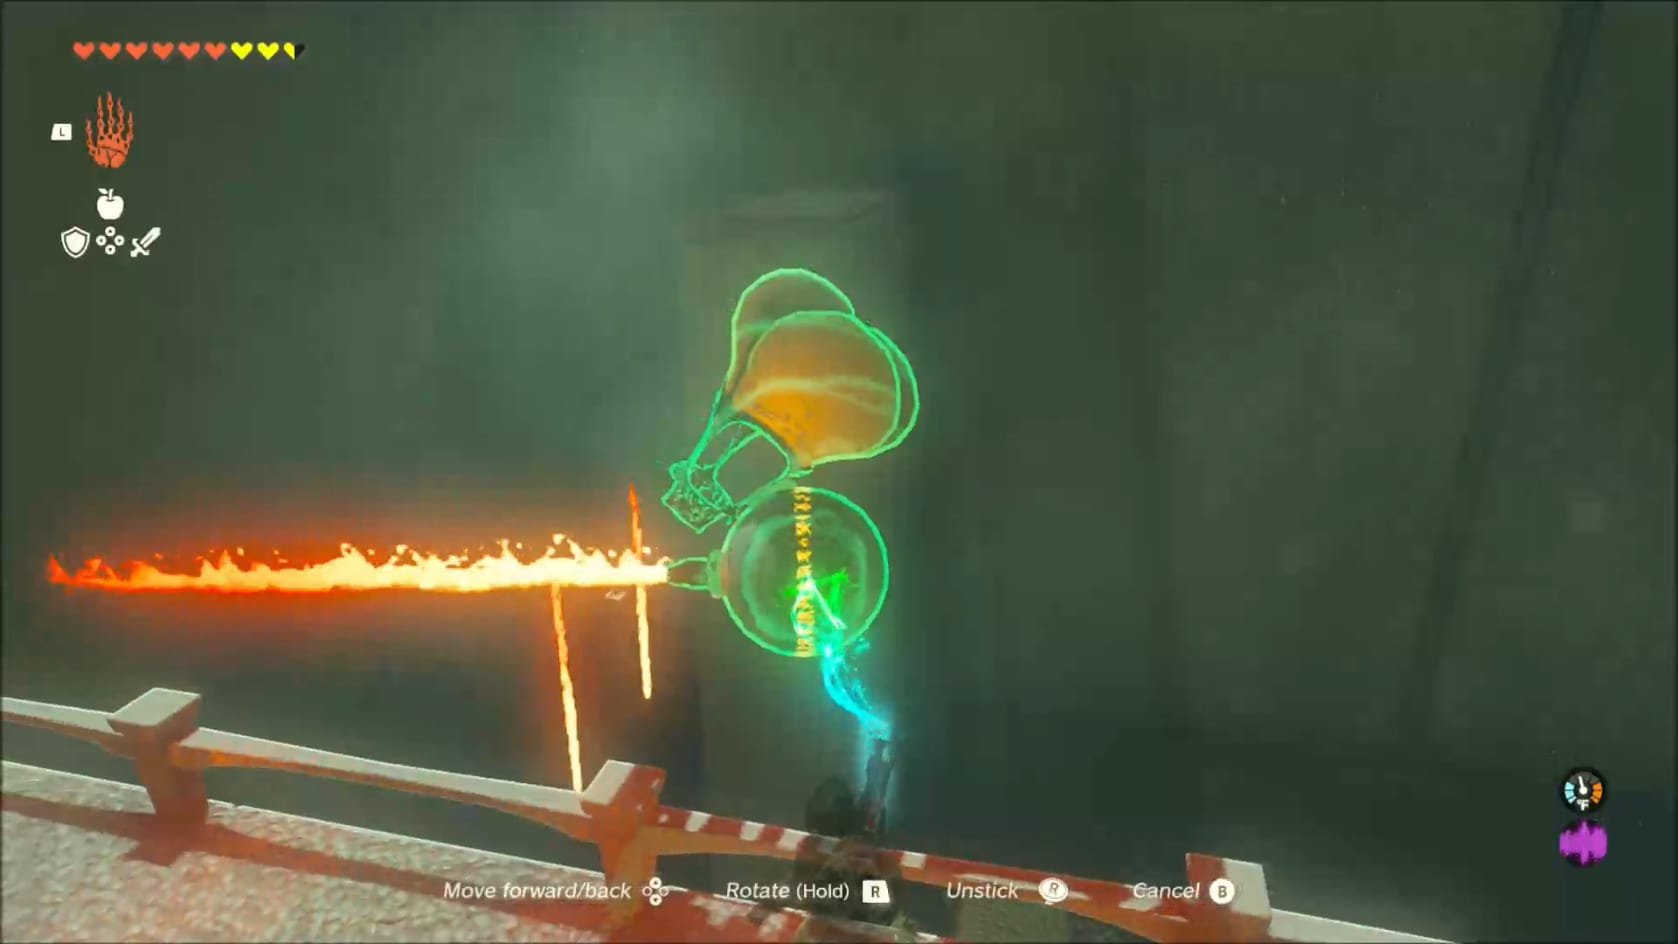
Once again, let it rise up to the top of the wall and grab the construct by the Sphere once there. Break the Sphere out of the Construct after that.
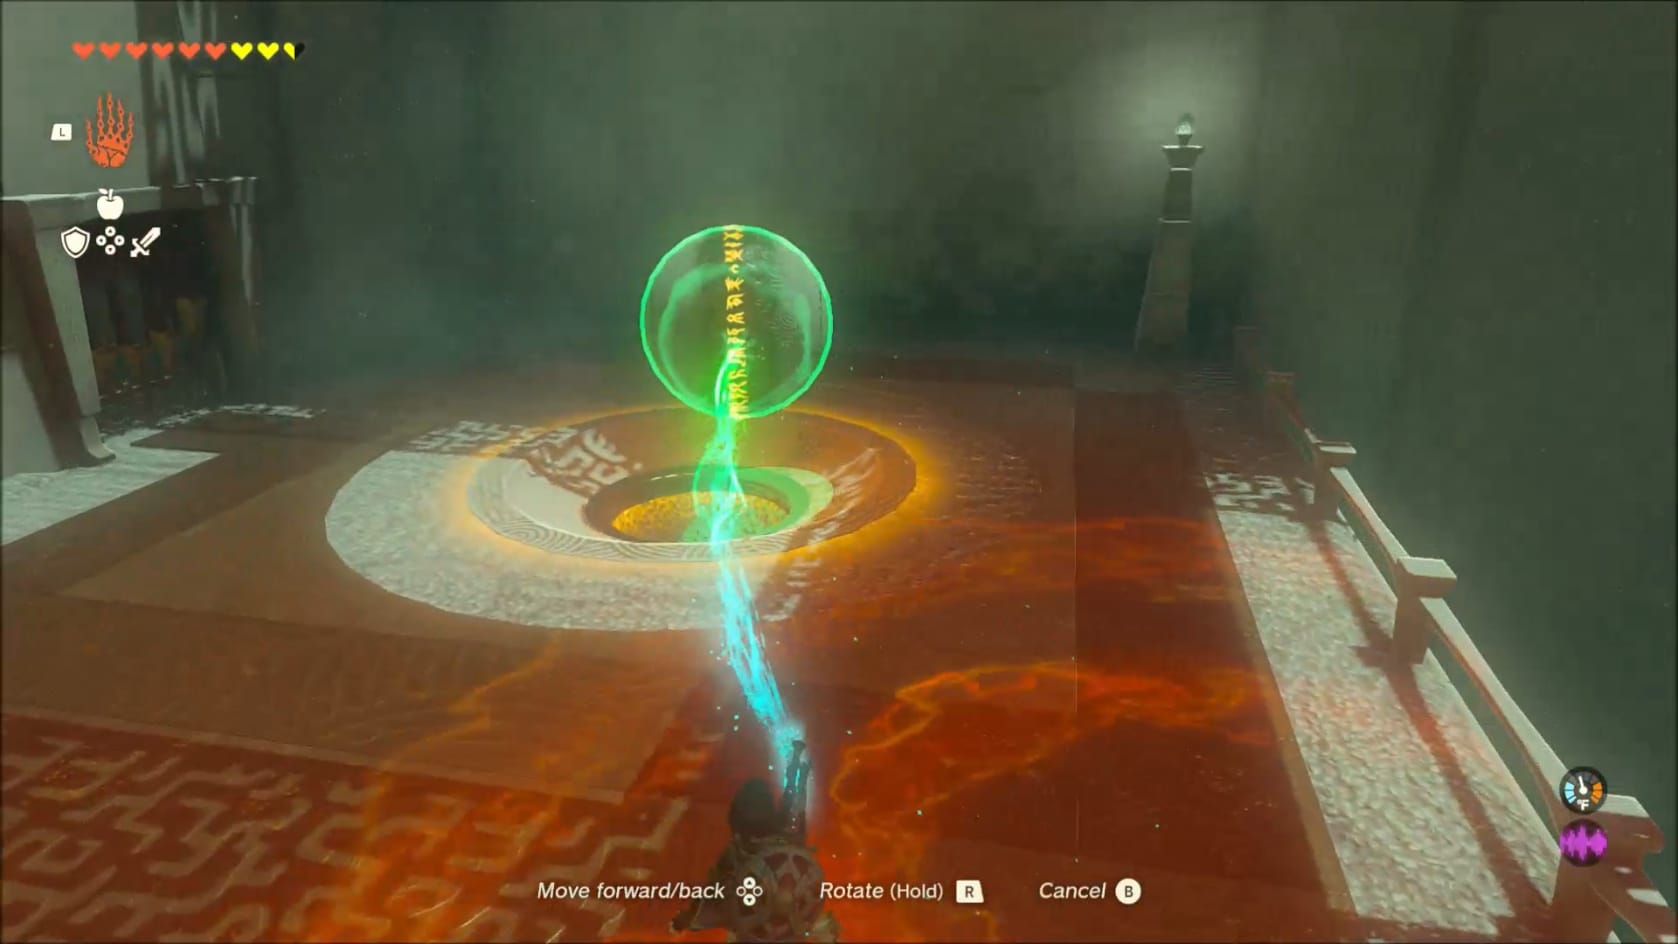
Go over to the right-hand indentation on the top of the wall. Deposit the Large Sphere into the large indentation. This will raise up the nearby gate.
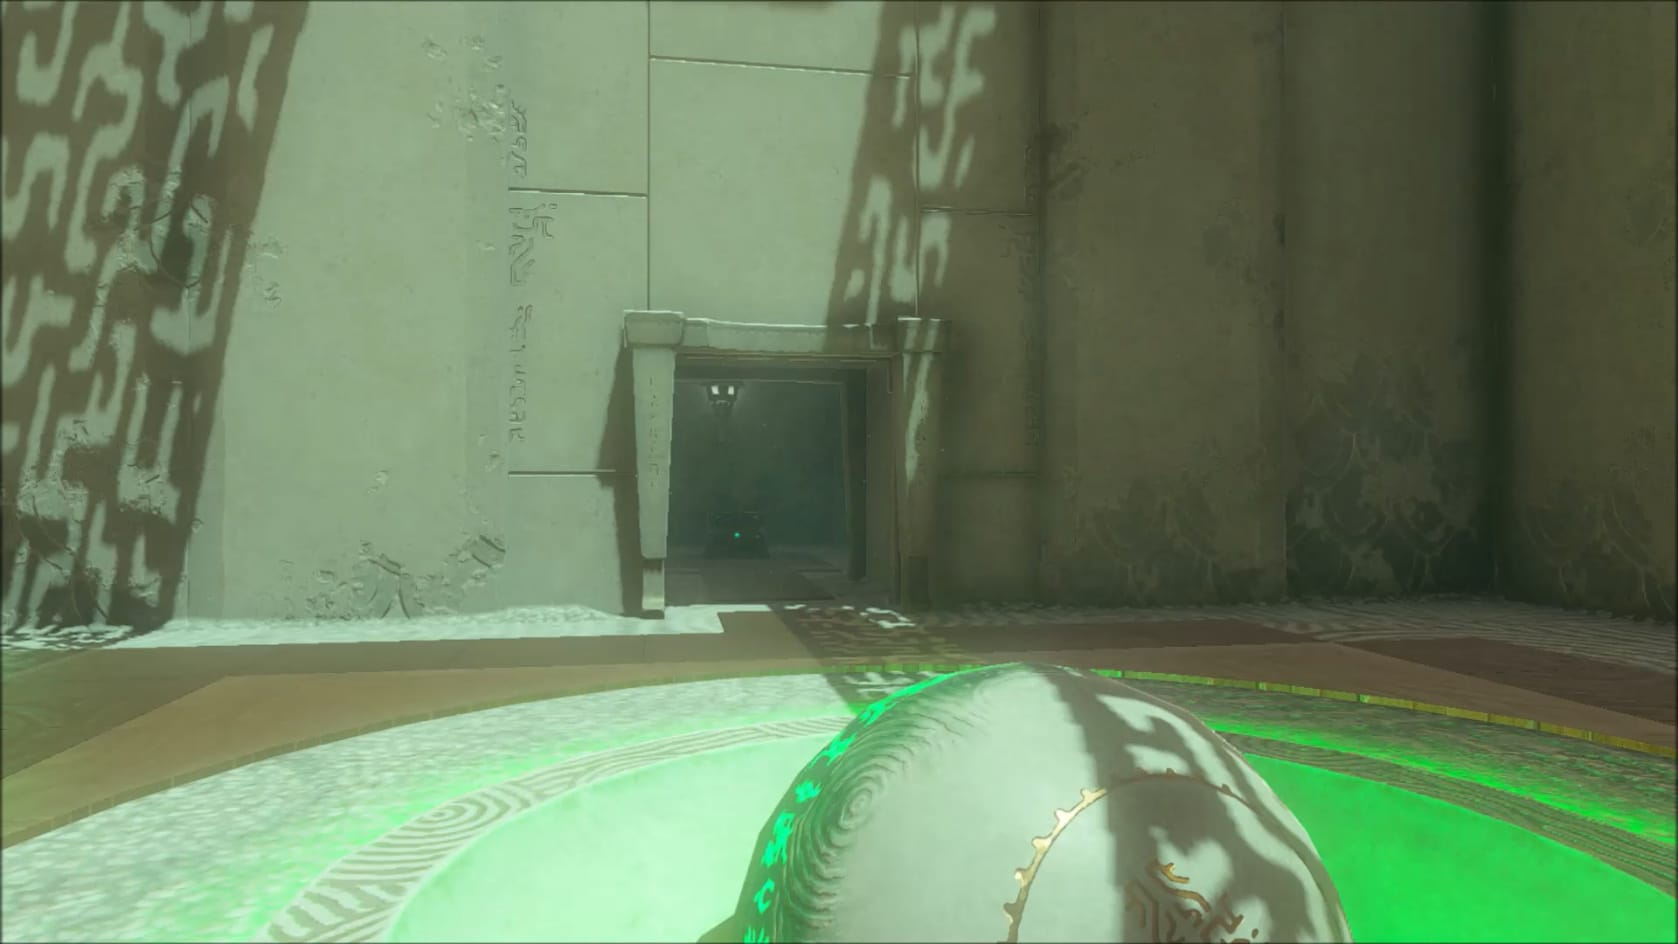
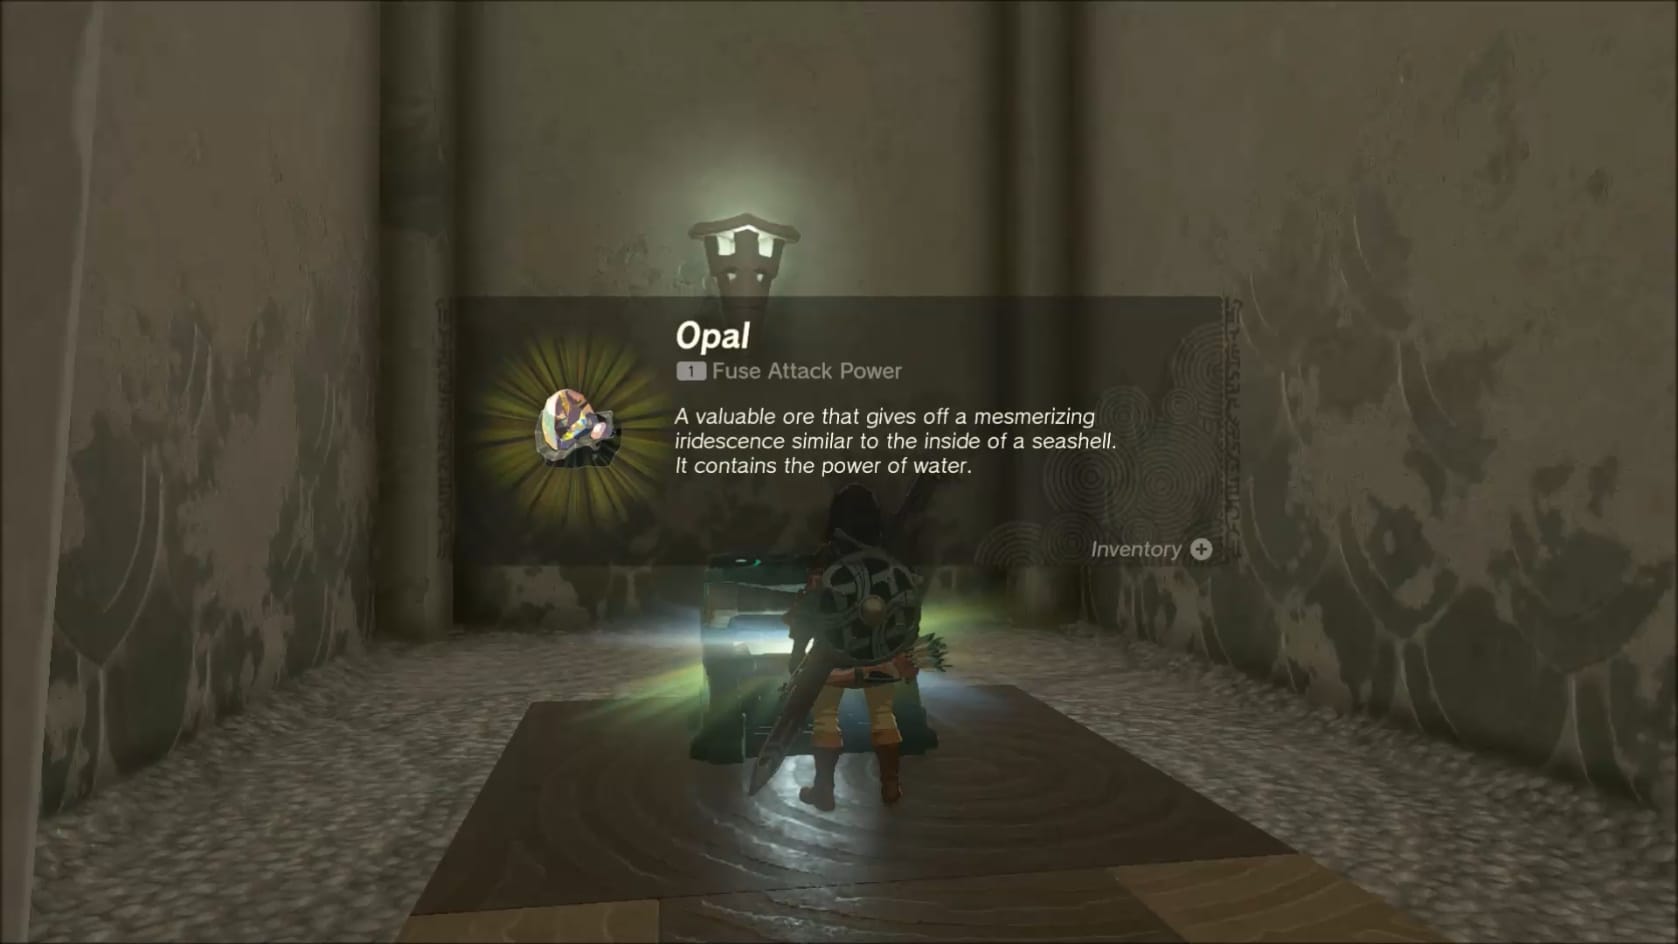
The "hidden" chest and its contents, an Opal.
Inside the gate is the one chest inside the shrine. Open it up to claim the Opal inside it. Grab it and leave the small chamber.
Complete the Shrine
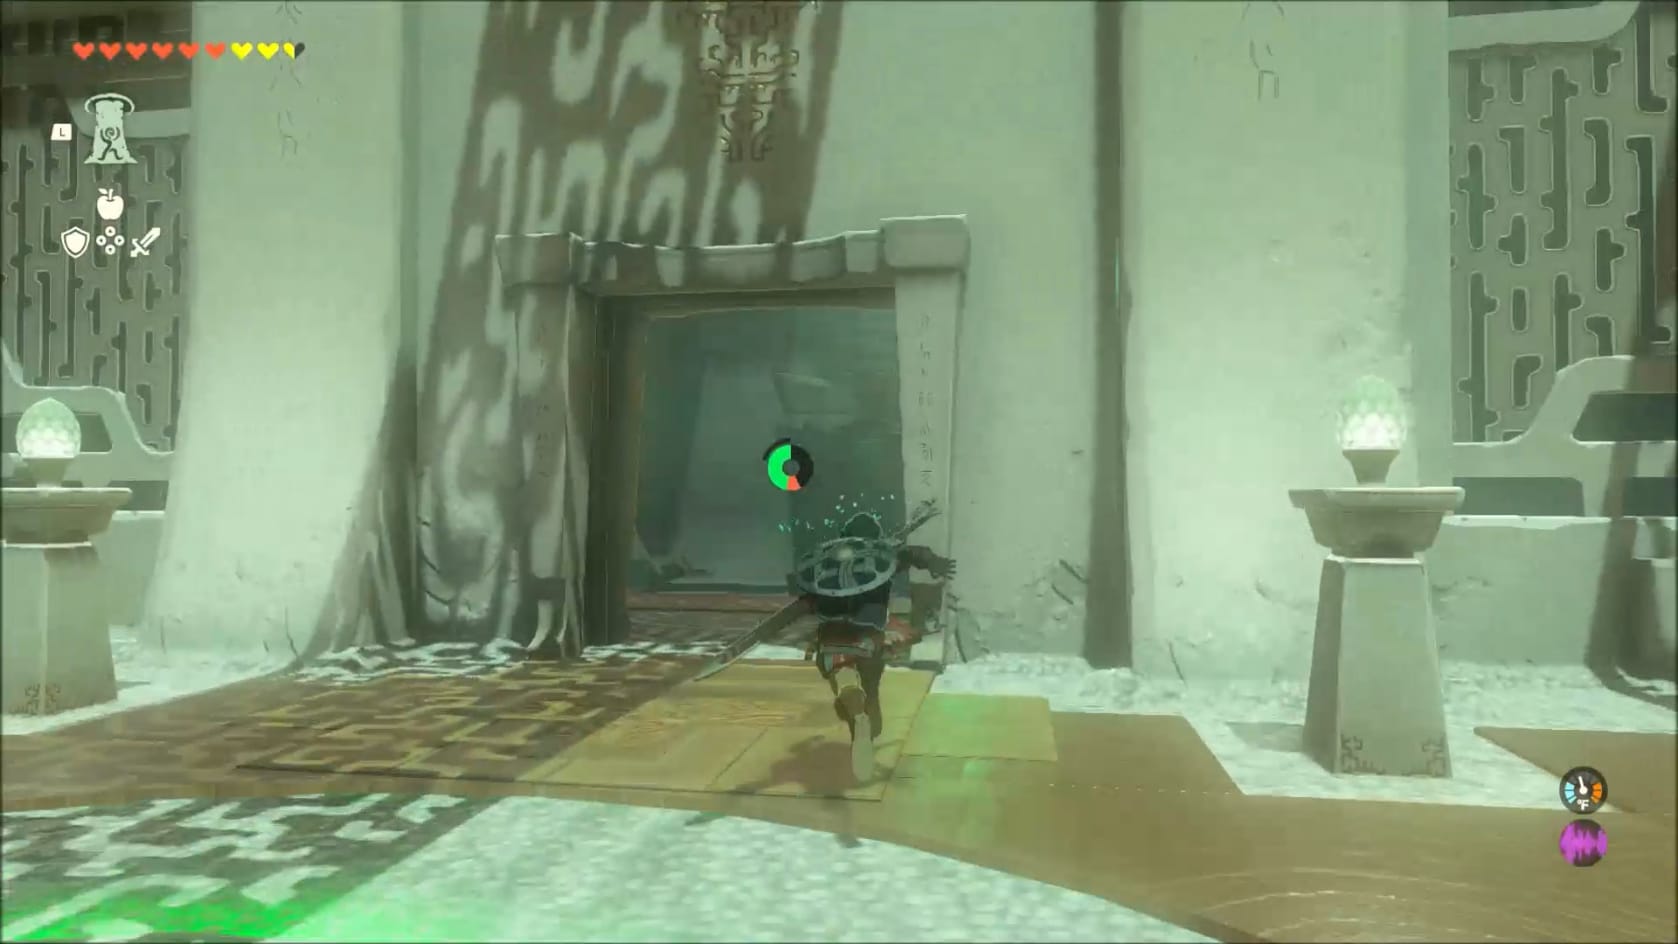
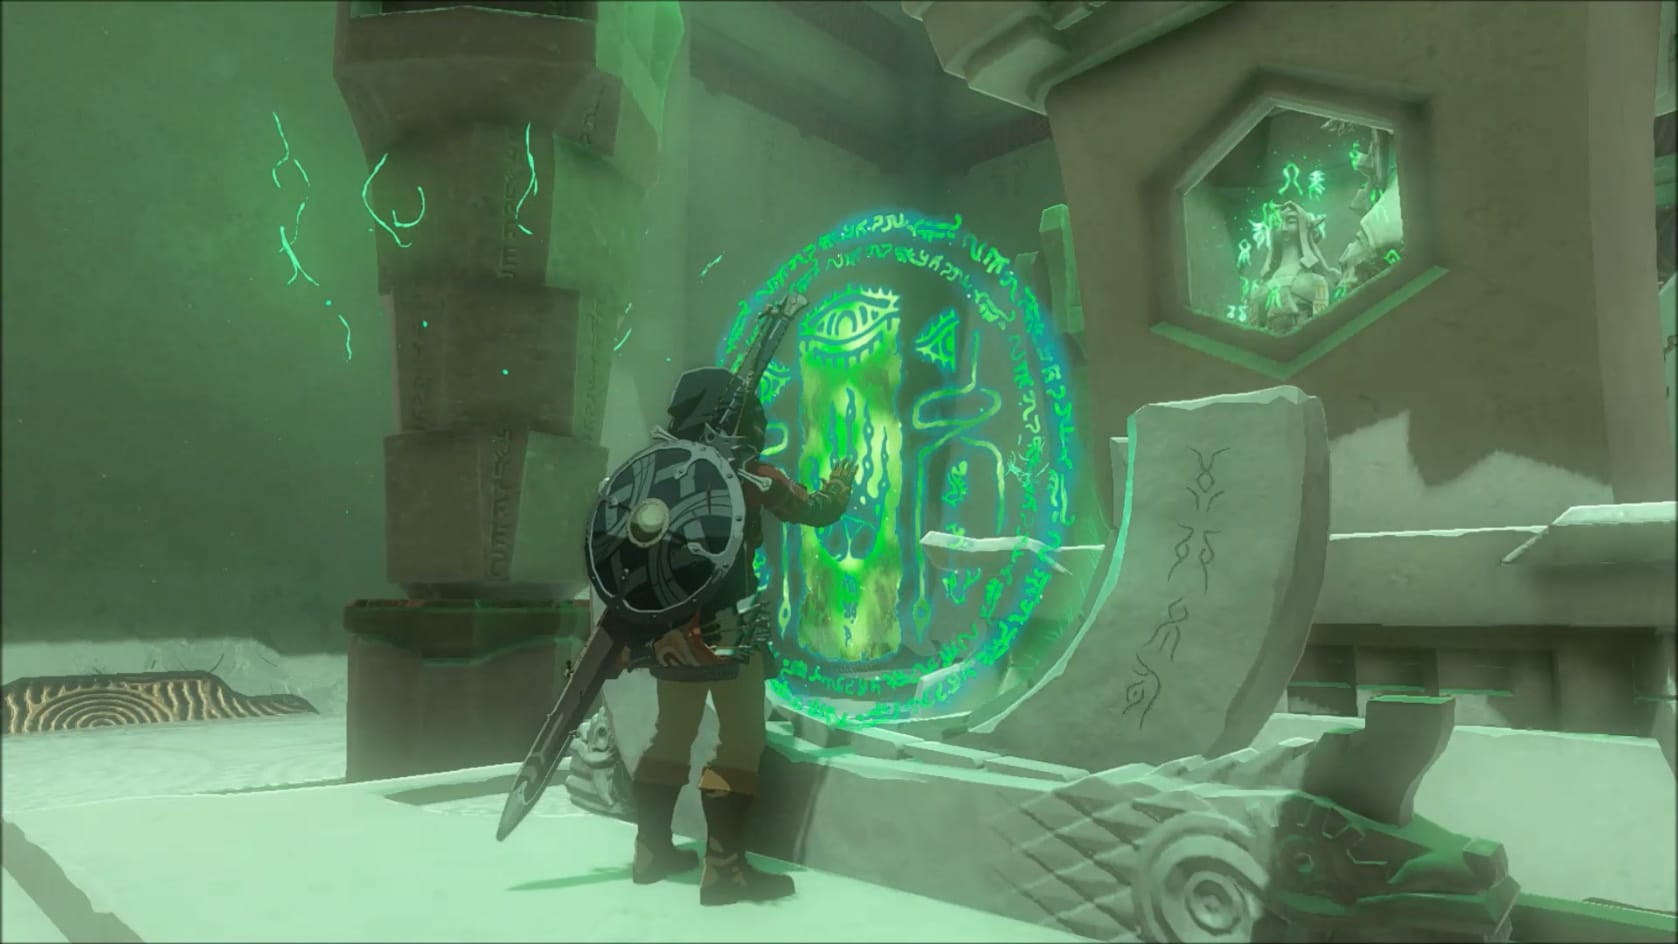
Go to the next chamber to the left of the small one. This will bring you into the Innermost Chamber. Just go up the short set ofstairs and to the glyph. Interact with the Glyph to finish the Shrine and be rewarded with a Light of Blessing.
Rewards
- Opal
- Light of Blessing
Video Walkthrough
Video Walkthrough