Legend of Zelda: Tears of the Kingdom - Siwakama Shrine: Moving the Spheres
Navigate Siwakama Shrine: Moving the Spheres in Zelda: Tears of the Kingdom with this complete walkthrough, including the Bomb Flower chest, and sphere puzzle solutions.
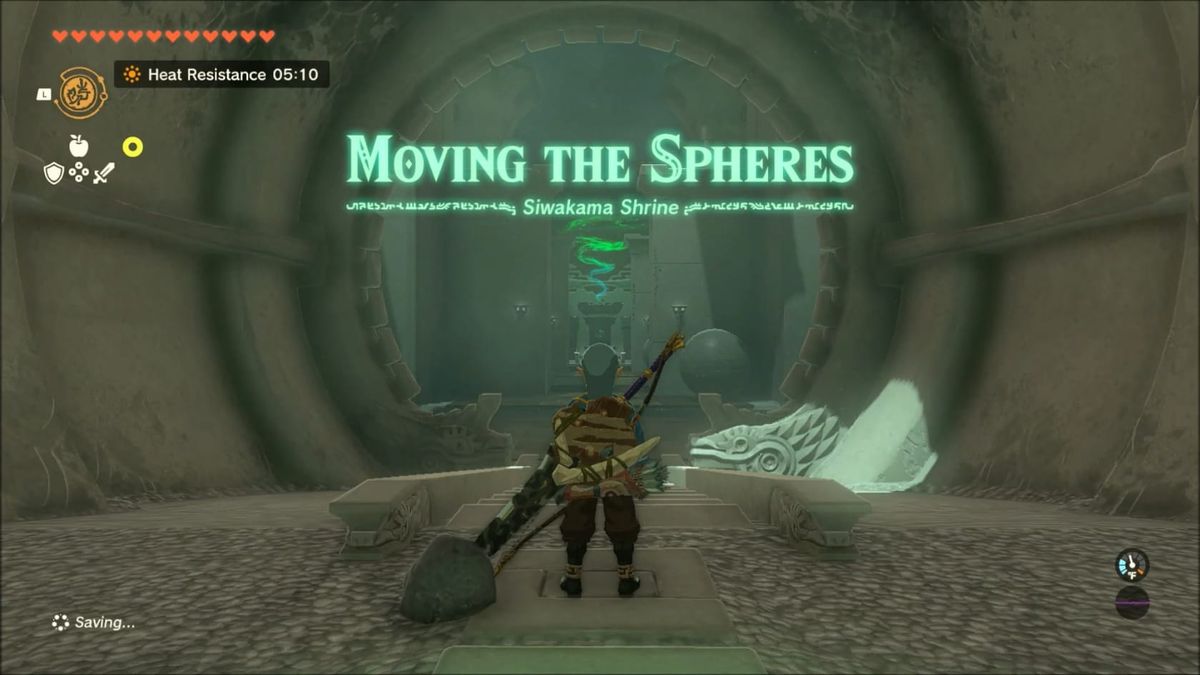
Summary
This Shrine is found in the East Barrens of the Gerudo Desert. Link needs to reach it carefully since the sands around it are patrolled by a Molduga. Entering, he’ll need to solve the simple puzzles
Location
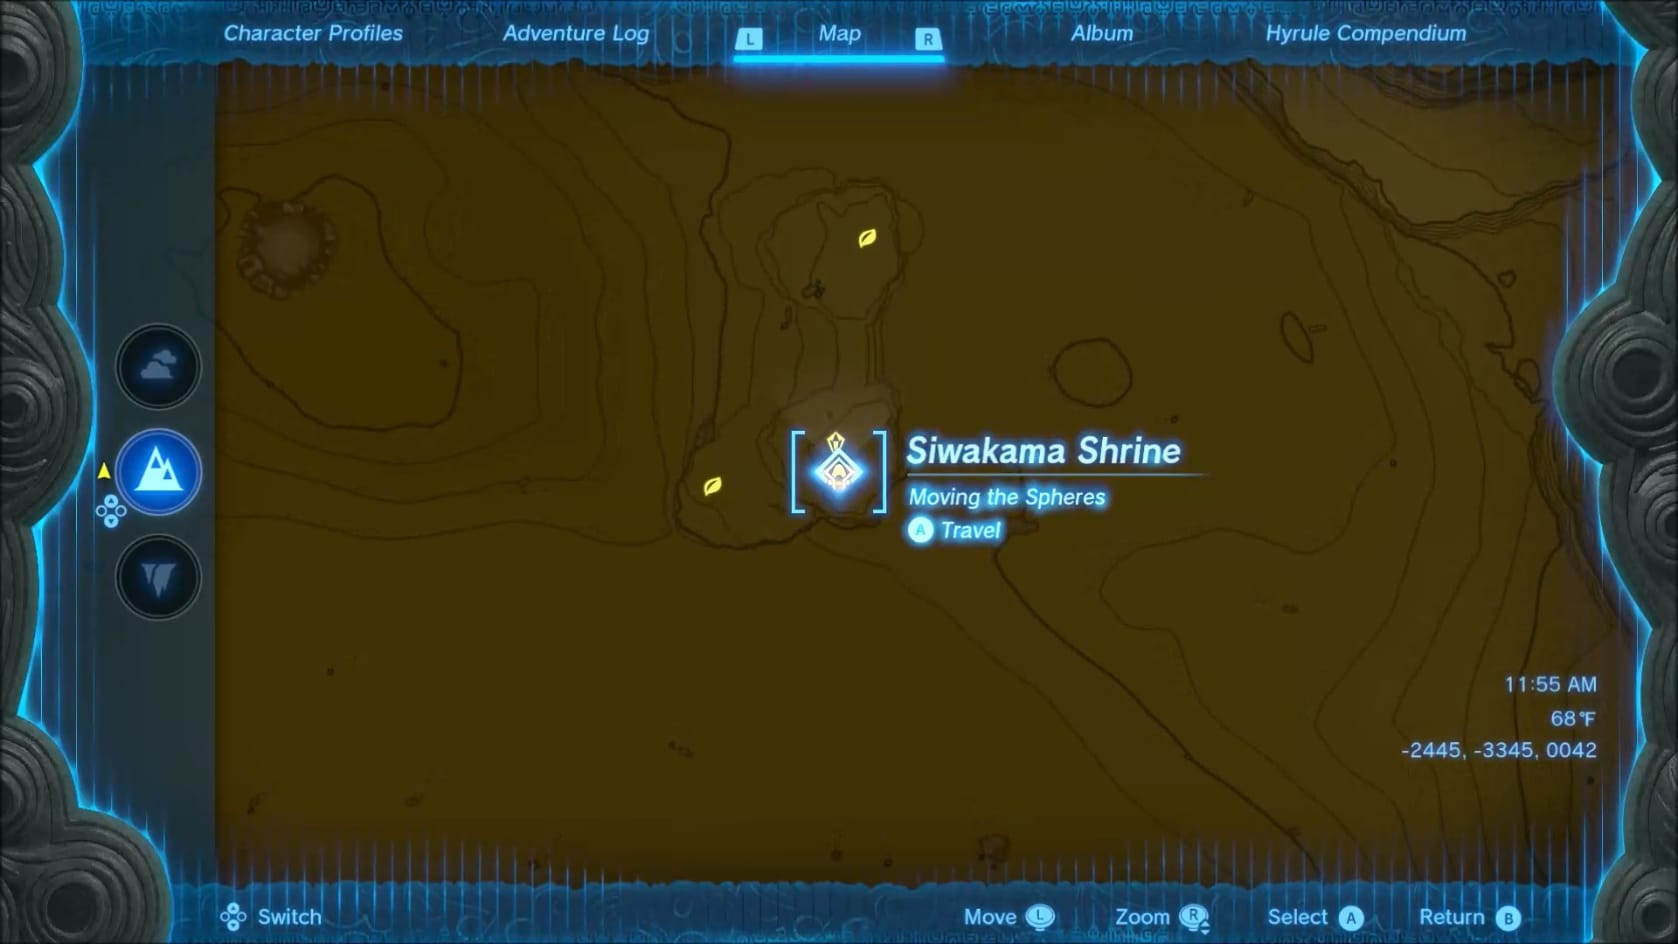
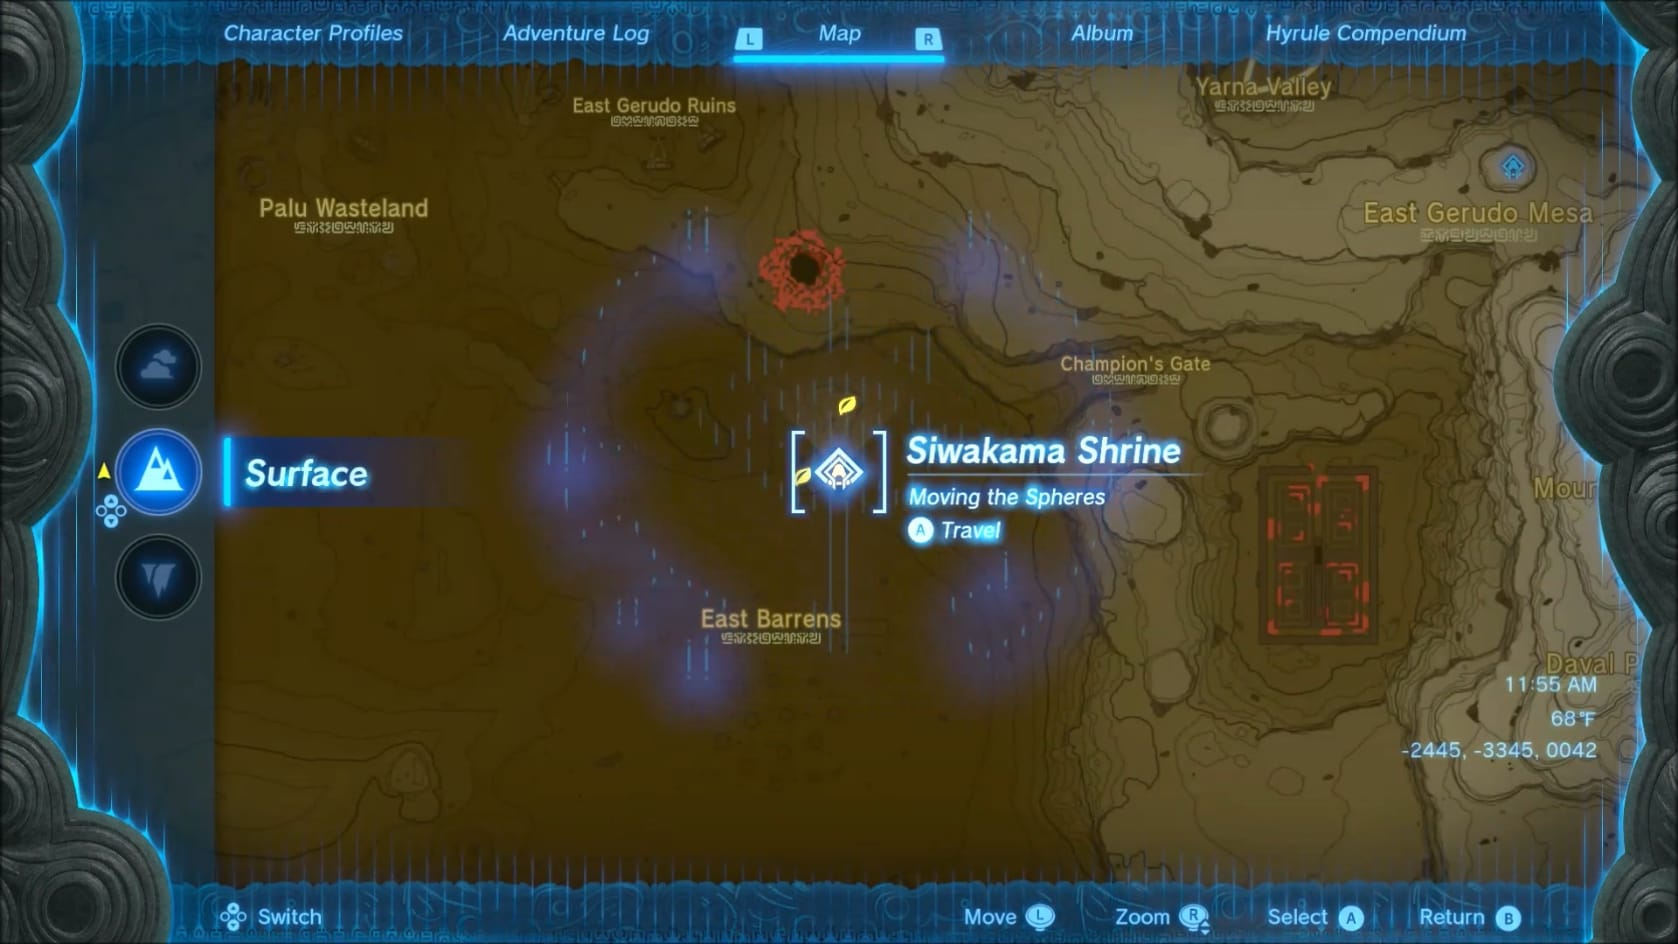
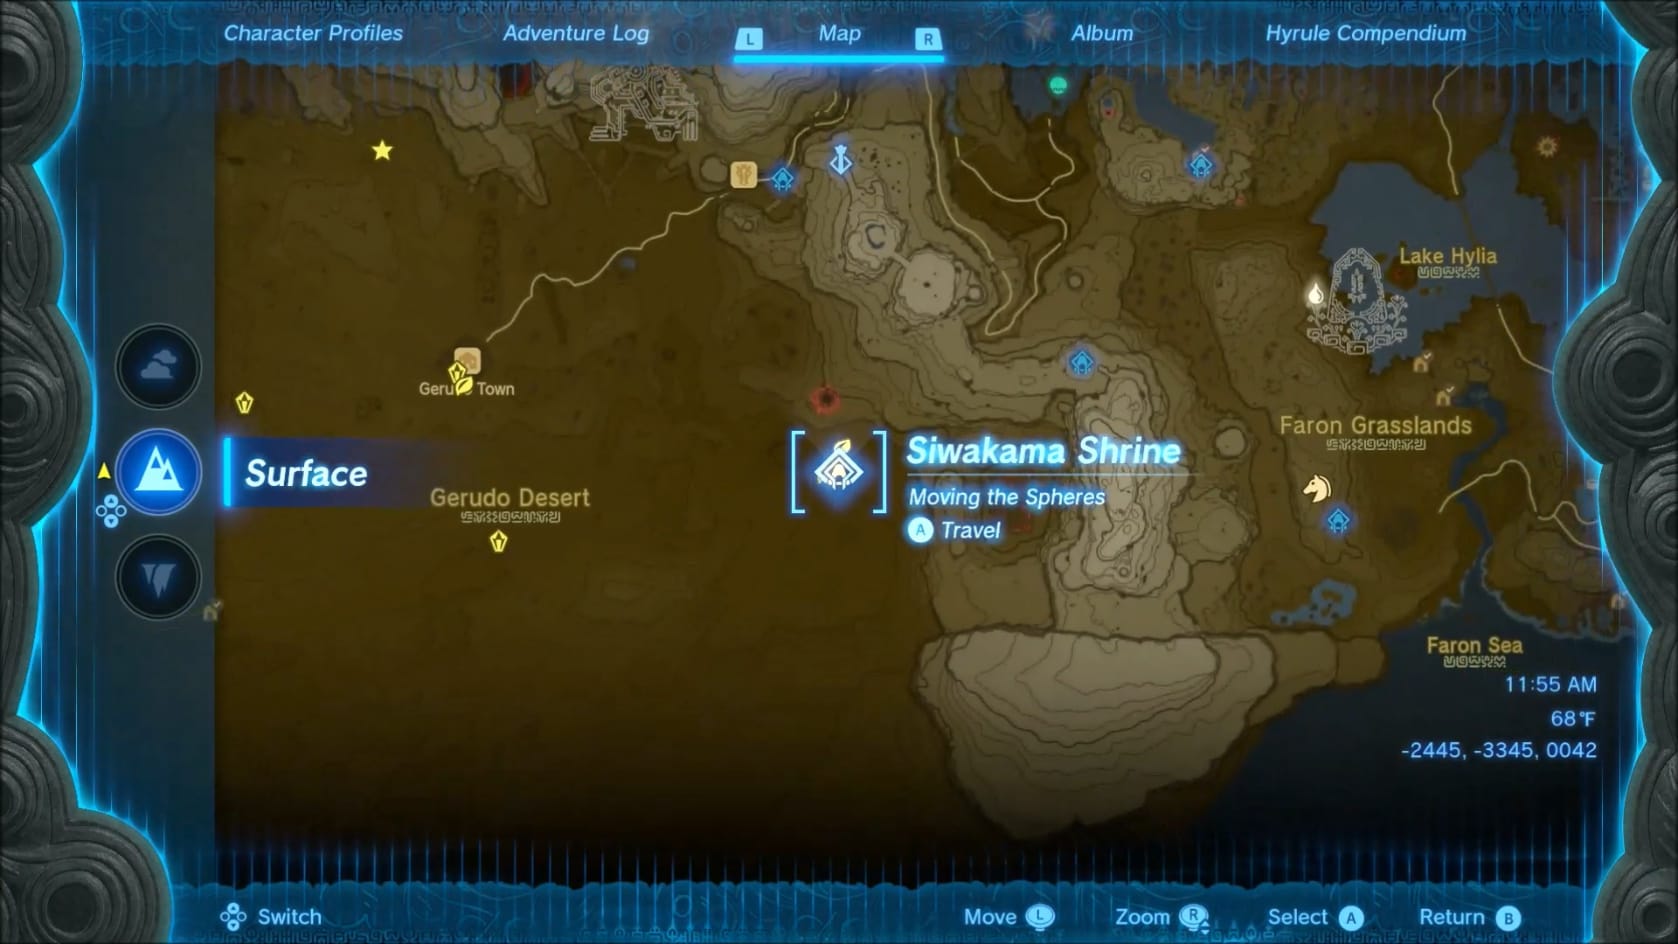
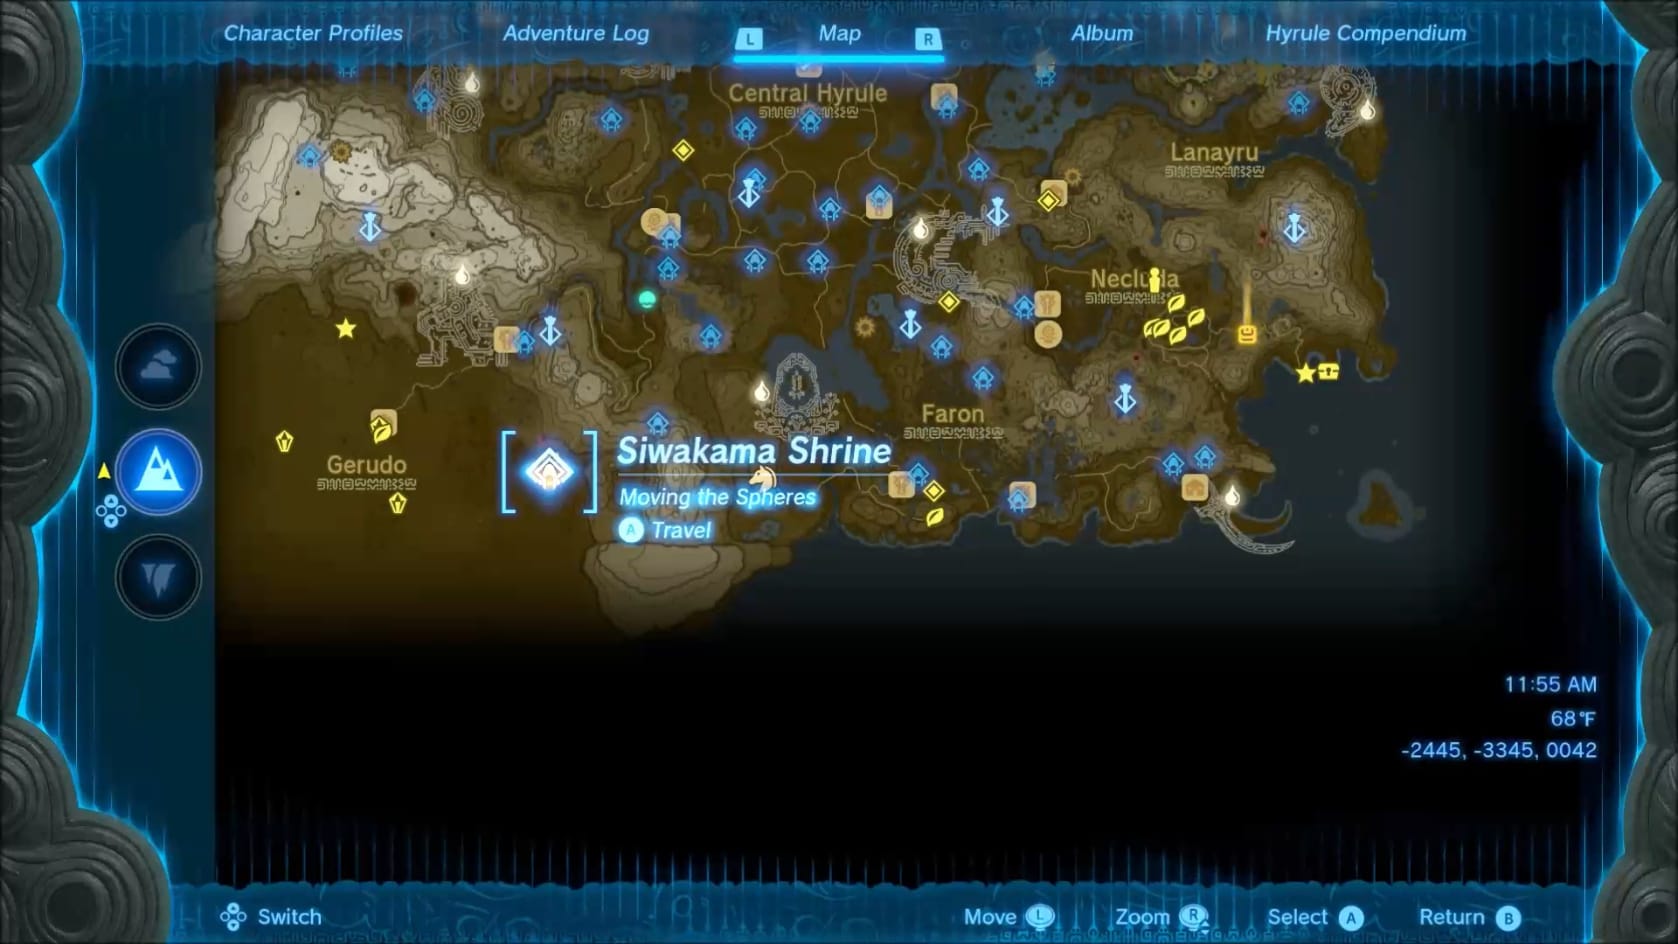
Location of Siwakama Shrine
- Coordinates: -2447, -3357, 0040
Walkthrough
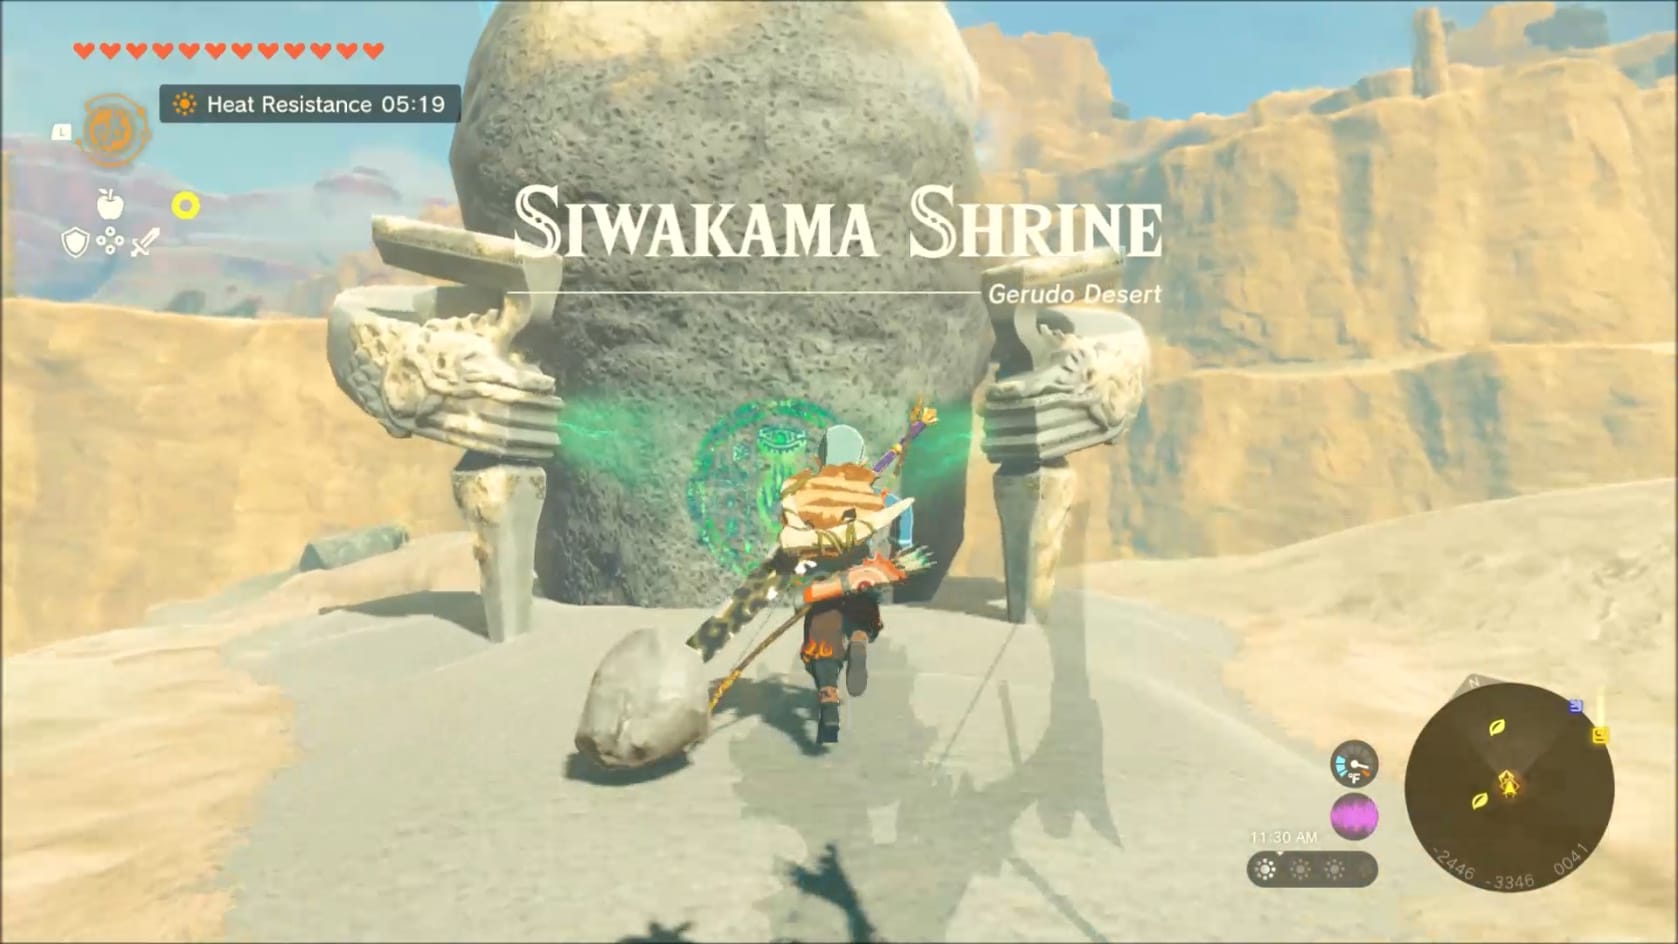
This shrine’s rock is guarded by a Molduga, so be wary as you approach. It’s much better to come in from above. This could be on a Zonai Vehicle or Gliding in. Activate the Shrine and then head inside to begin problem solving.
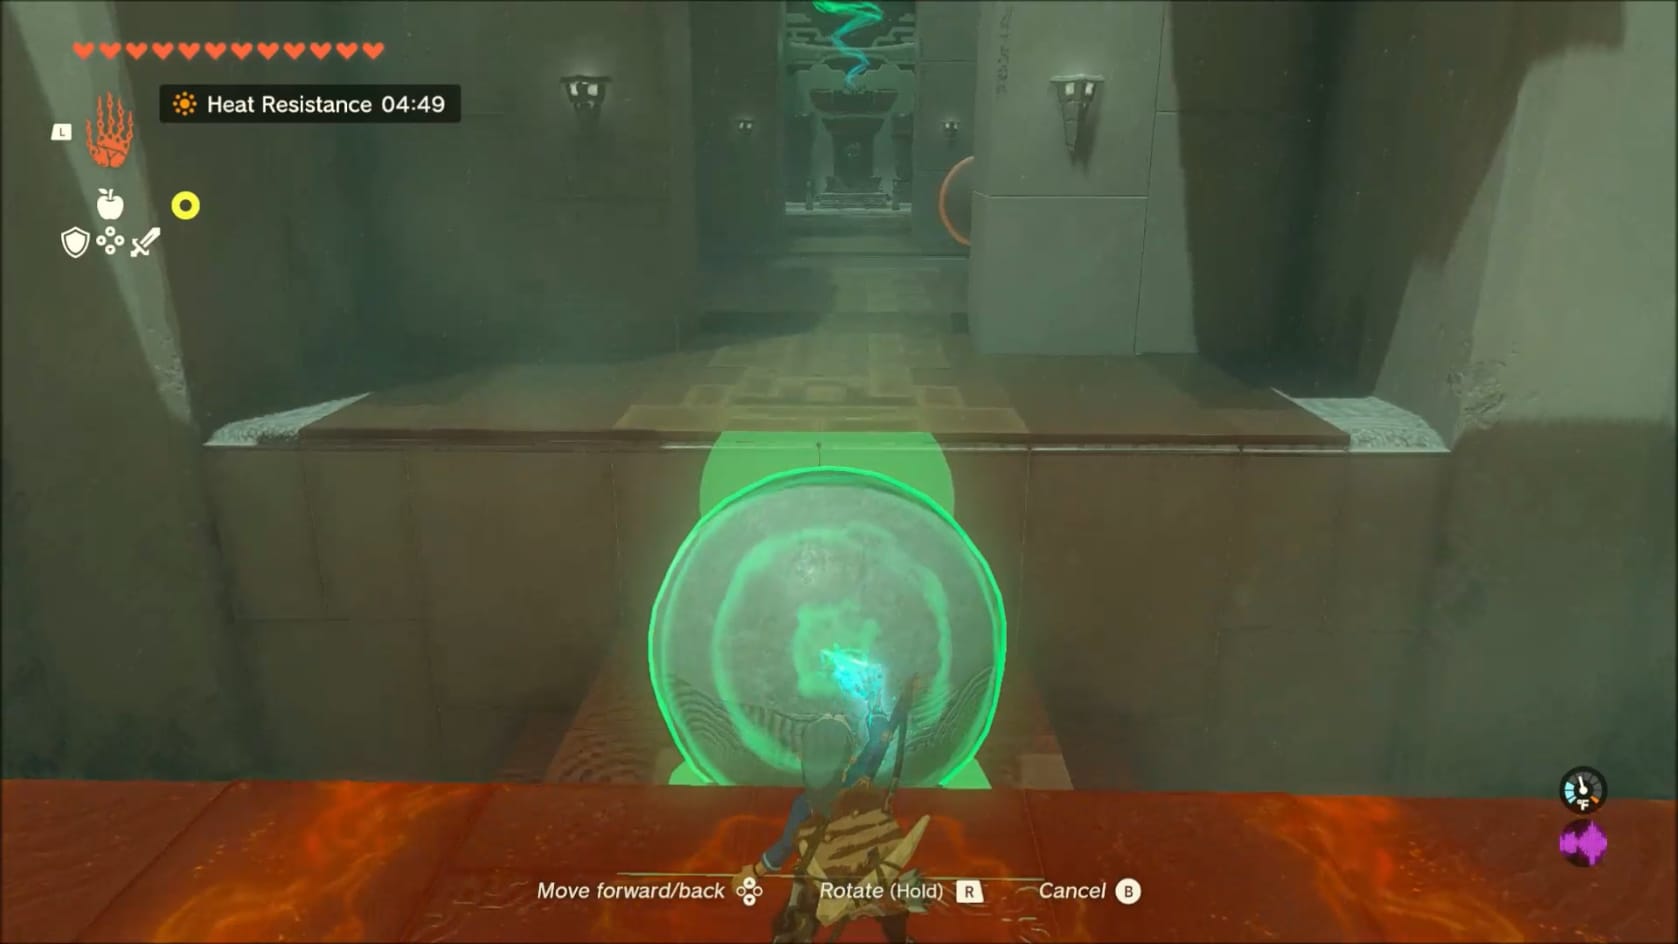
Inside the shrine, start by heading down the stairs in front of you. Go to the edge of the platform you are on. Just ahead, on the right, you can see a large Stone Sphere. Use Ultrahand to grab this sphere and deposit it in the large gap between Link and the ledge across the gap. Jump onto the Sphere and from there onto the next ledge.
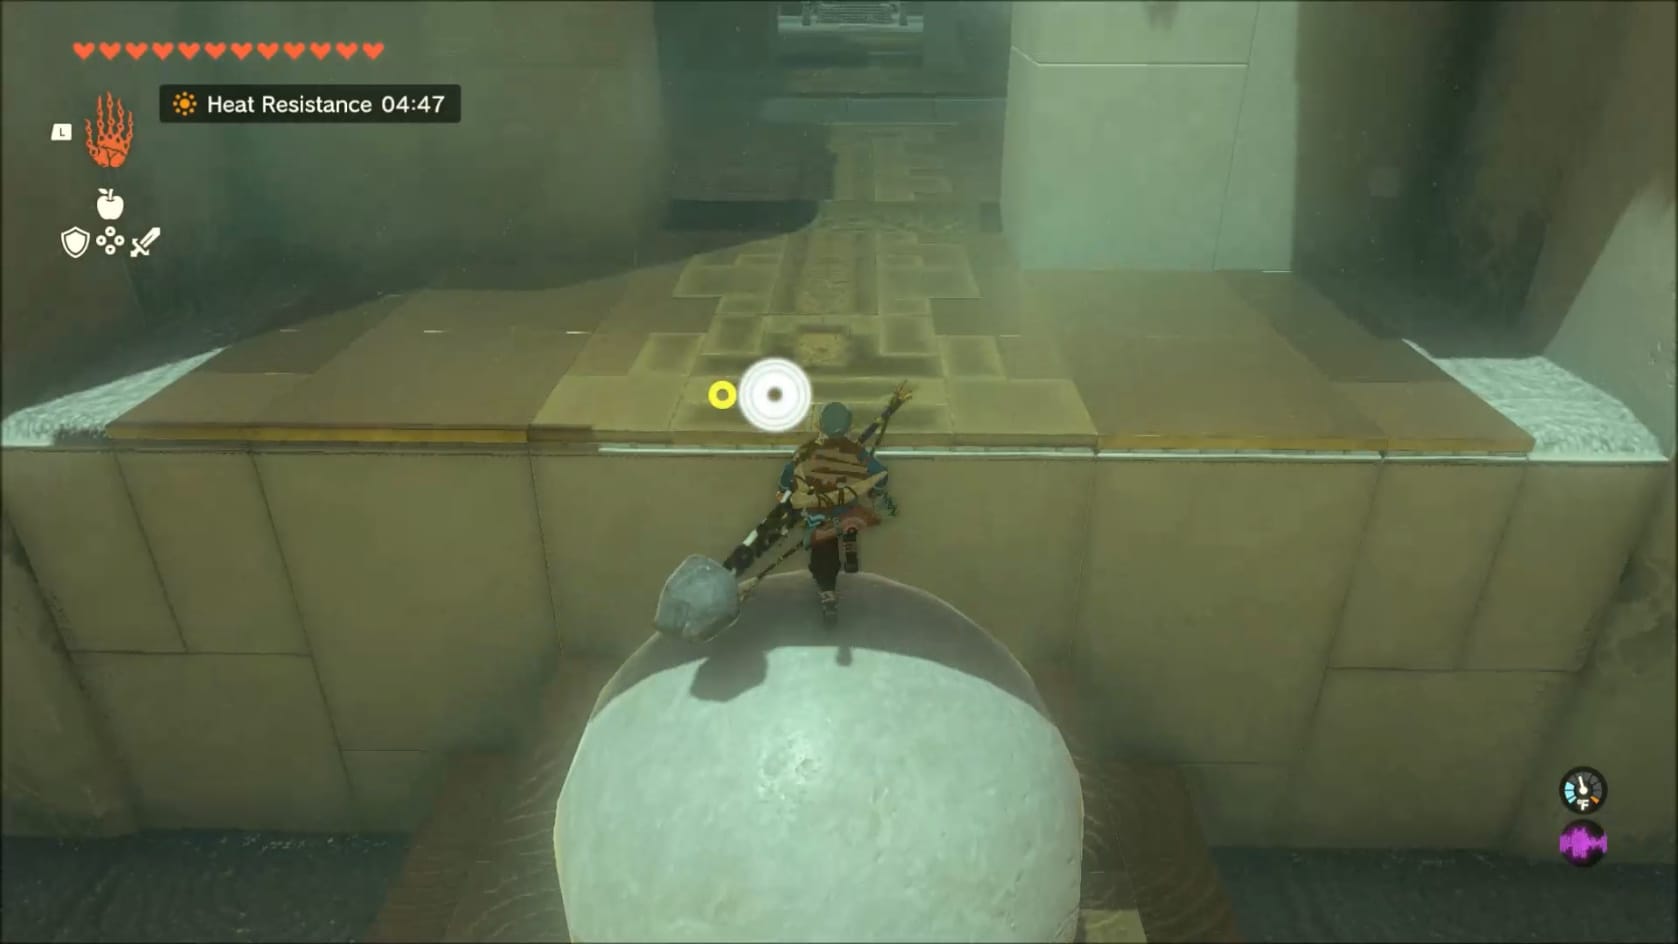
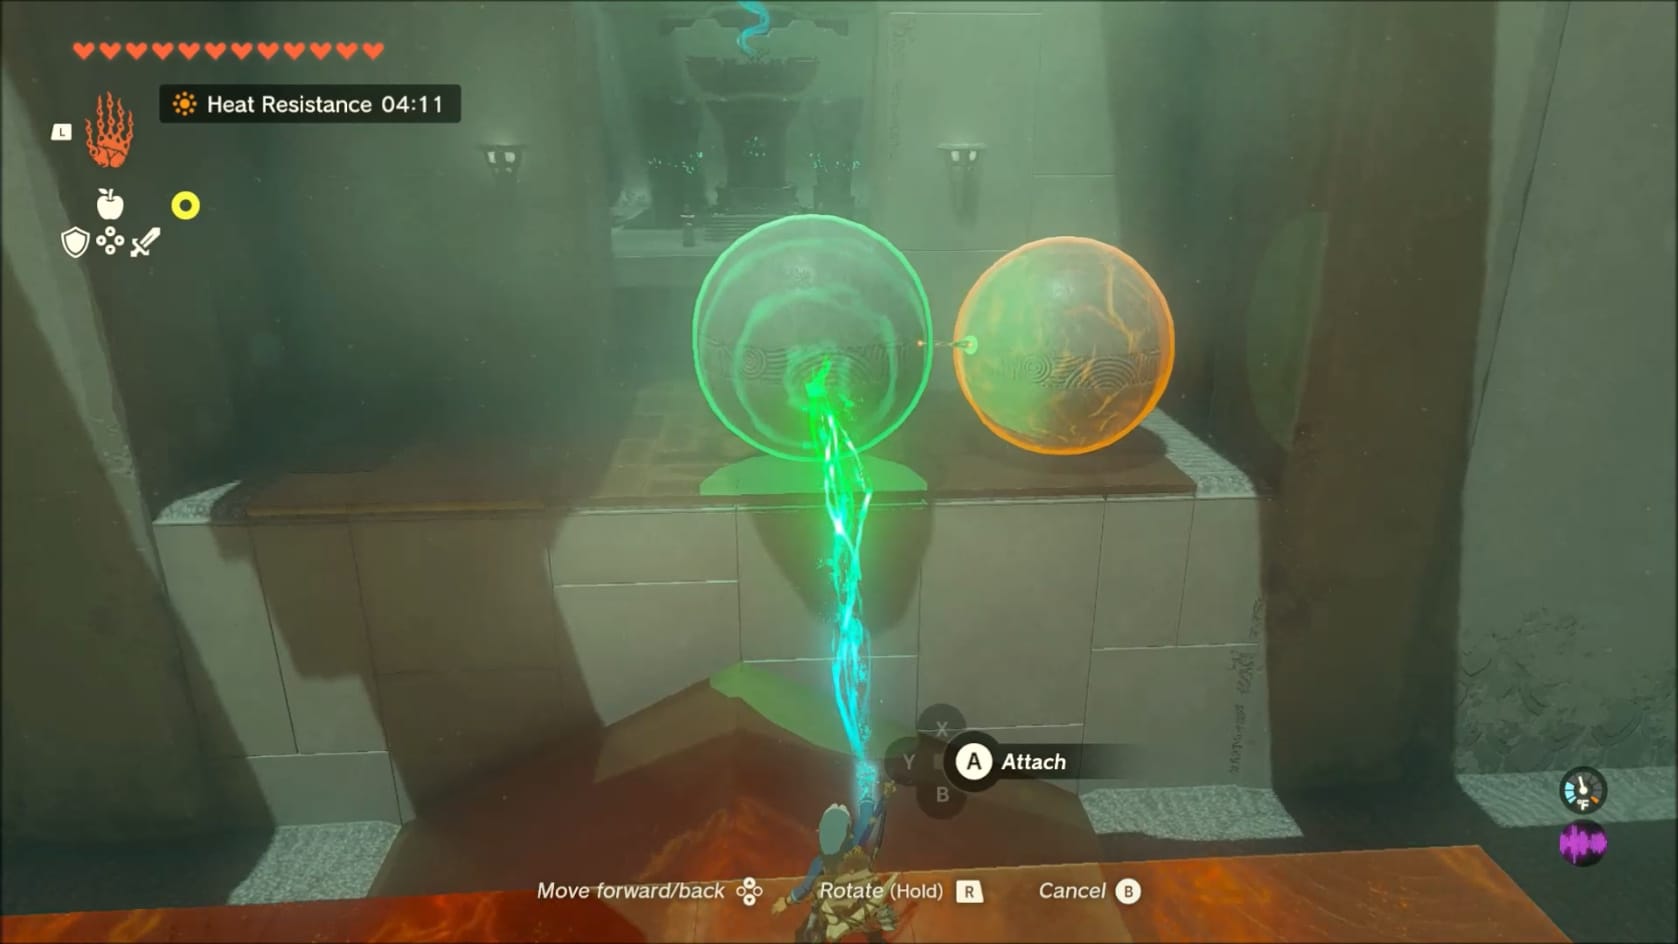
Grab the Sphere again with Ultrahand and step through the opening in front of you. You can see another Large Sphere across from you. Use Ultrahand to connect the 2 Spheres. Grab the connected Spheres and lower them into the gap between the ledges.
Before jumping across the gap, head to the right and drop down into that area. Look back to the platform to see a segment of stone that looks out of place. You can break through it (or blast through it) to reveal the chest. Open the chest to reveal its contents: 5 Bombs. Use the ladder nearby to climb back up onto the platform.
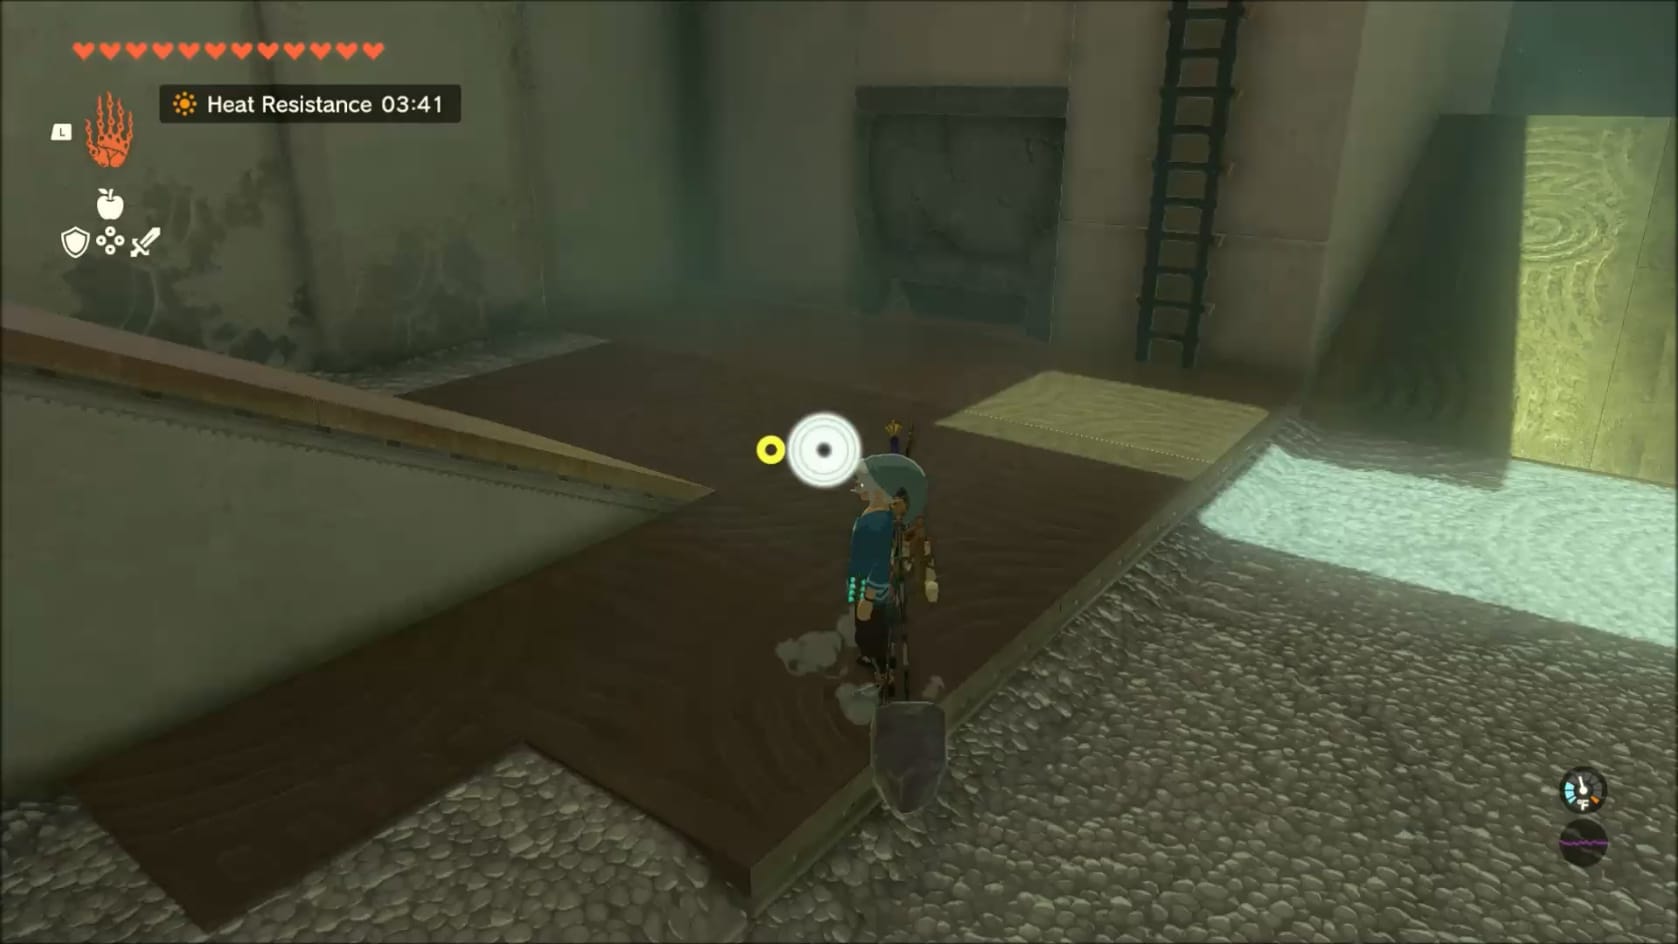
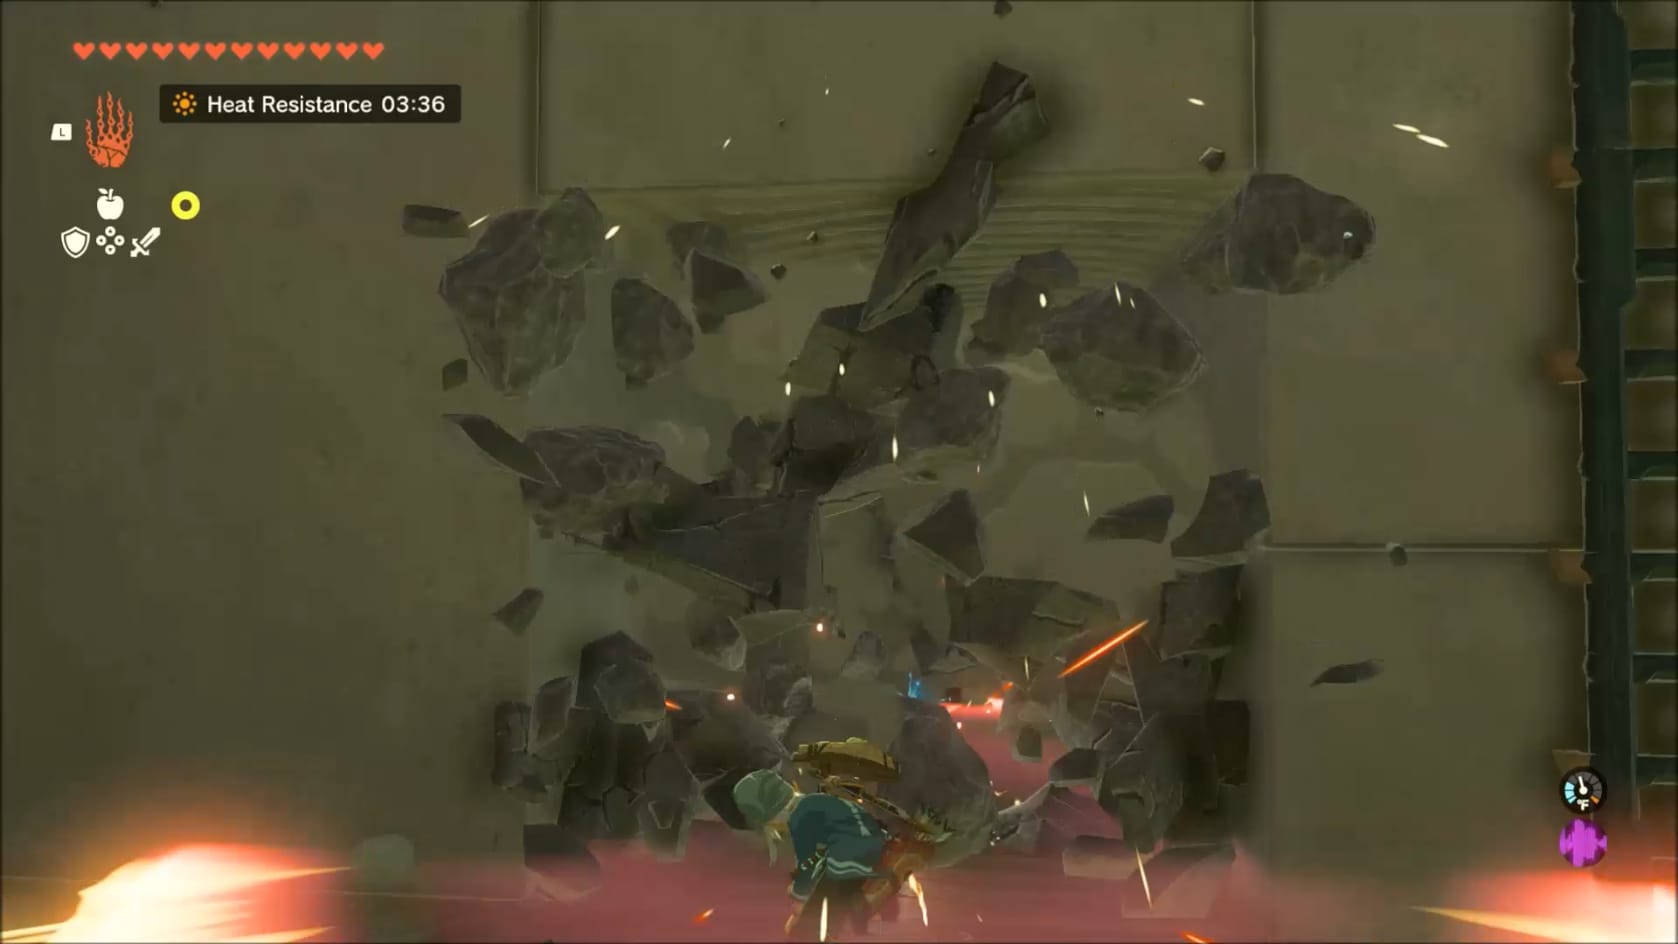
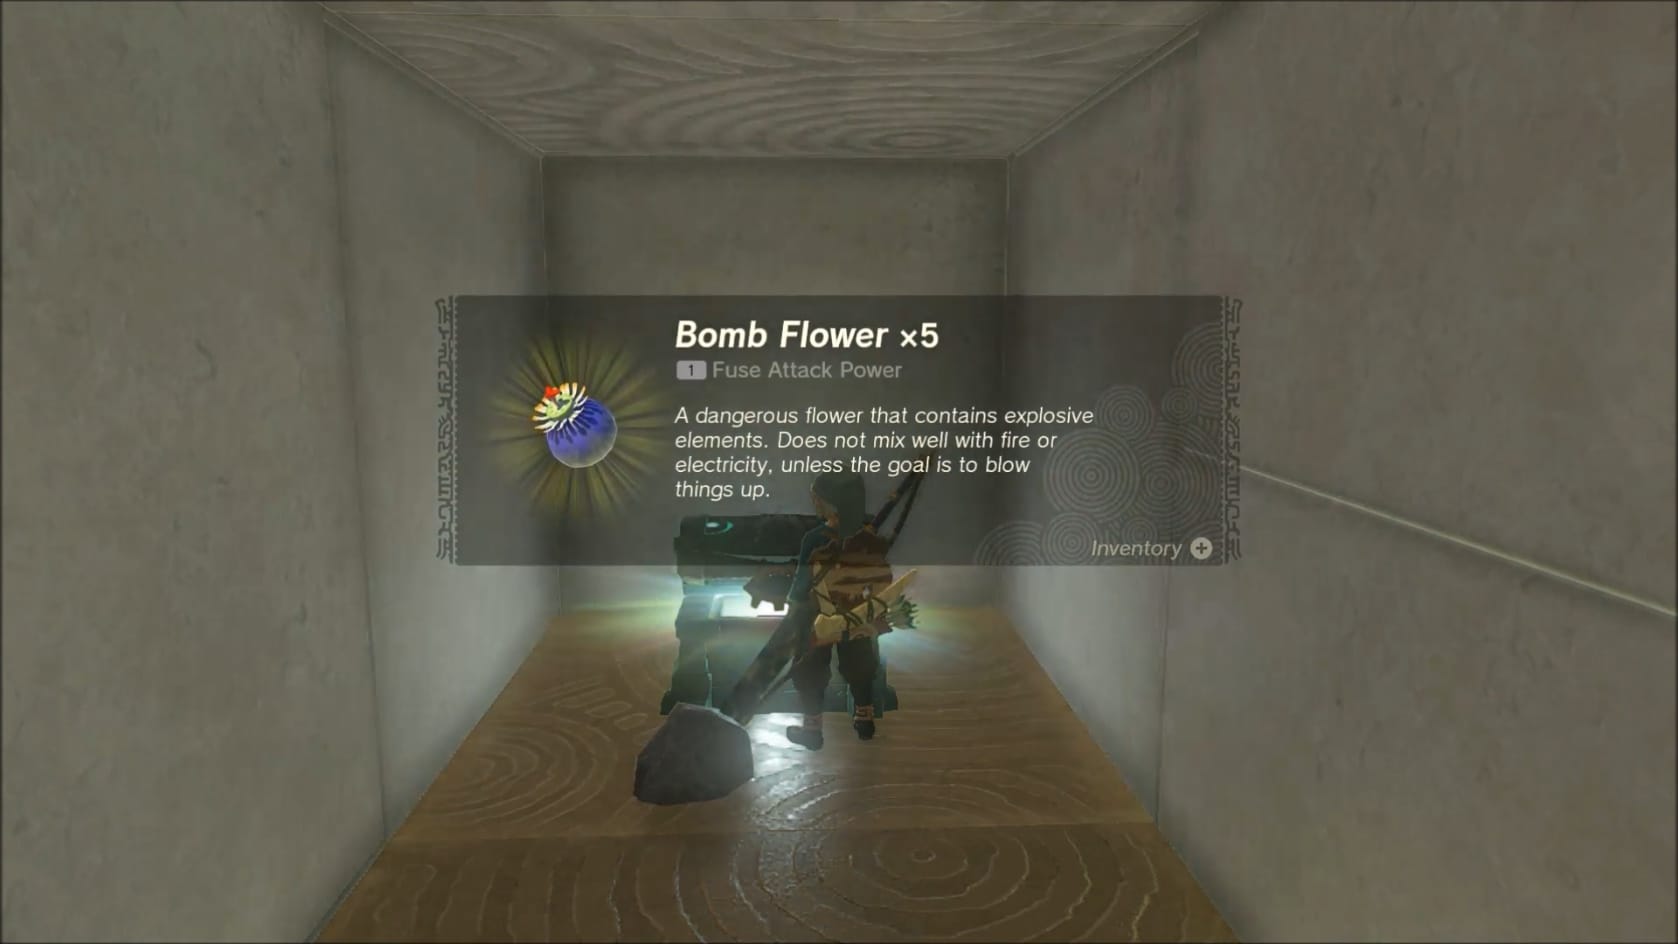
The secret Chest inside the Shrine and its contents: 5 Bomb Flowers
Jump onto the Spheres and use them to get across the gap. Once again, turn around and use Ultrahand to grab the pair of Spheres you’ve connected. Head into the final room with them.
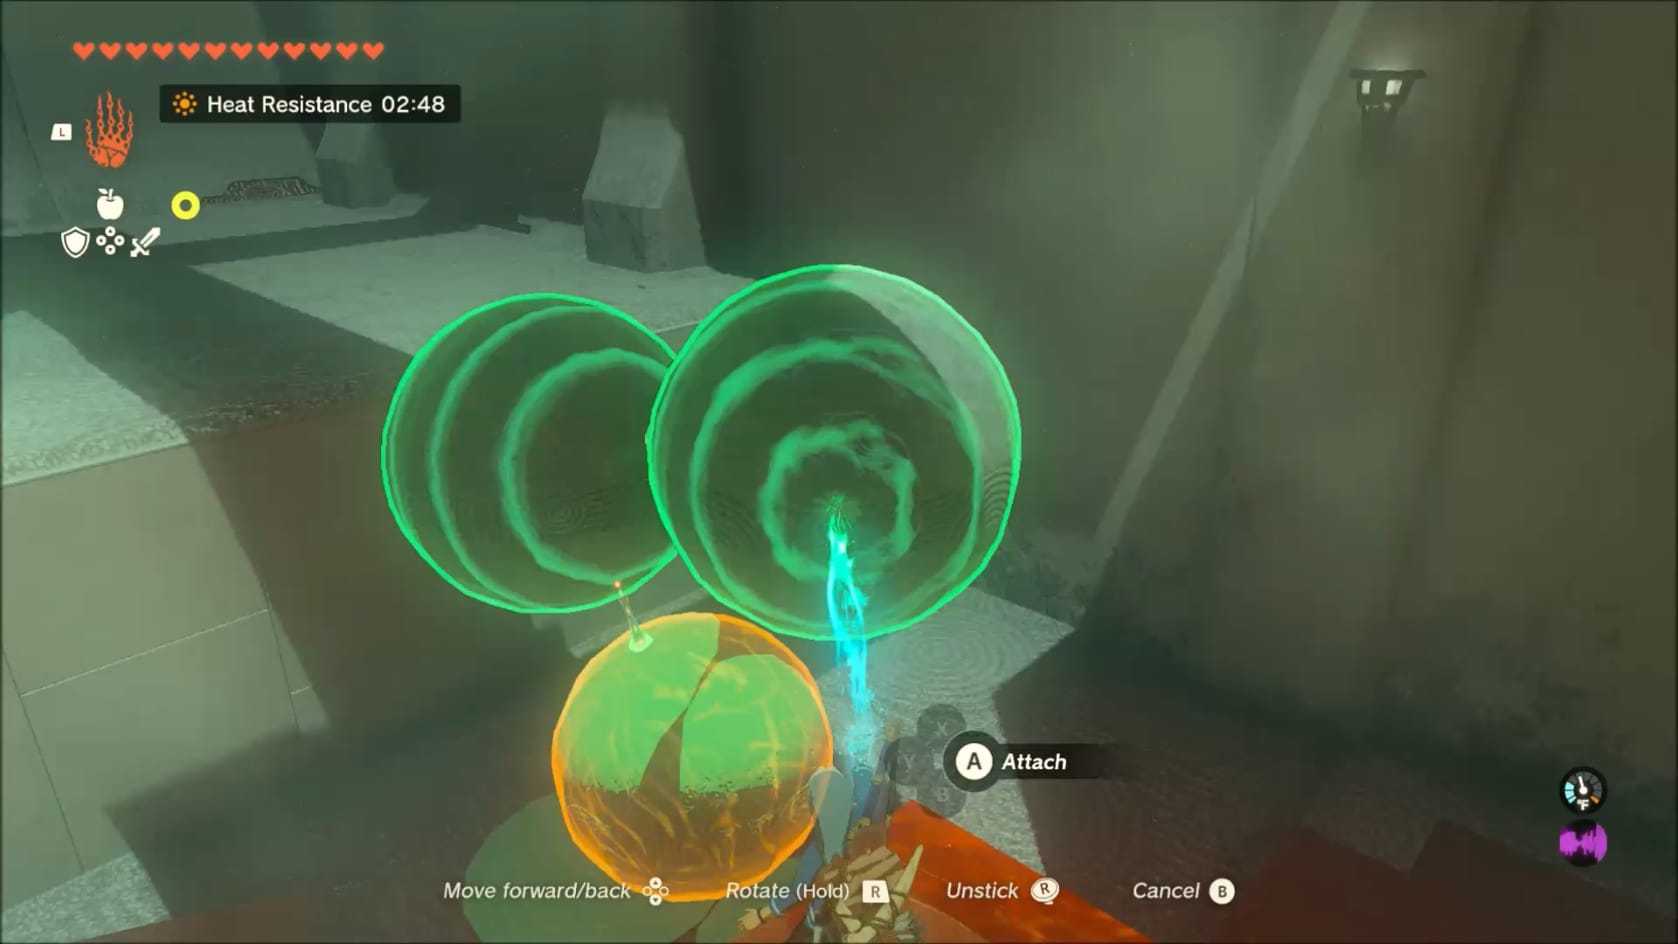
In this final room, you will find a third Sphere sitting just to the right of a small gold pyramid coming out of the floor. You need to connect the Third Sphere onto the first pair, creating a 3-point structure. Carefully position this to sit on top of the gold pyramid coming out of the floor. When it’s all arranged, you can easily jump (and glide) across the gap.
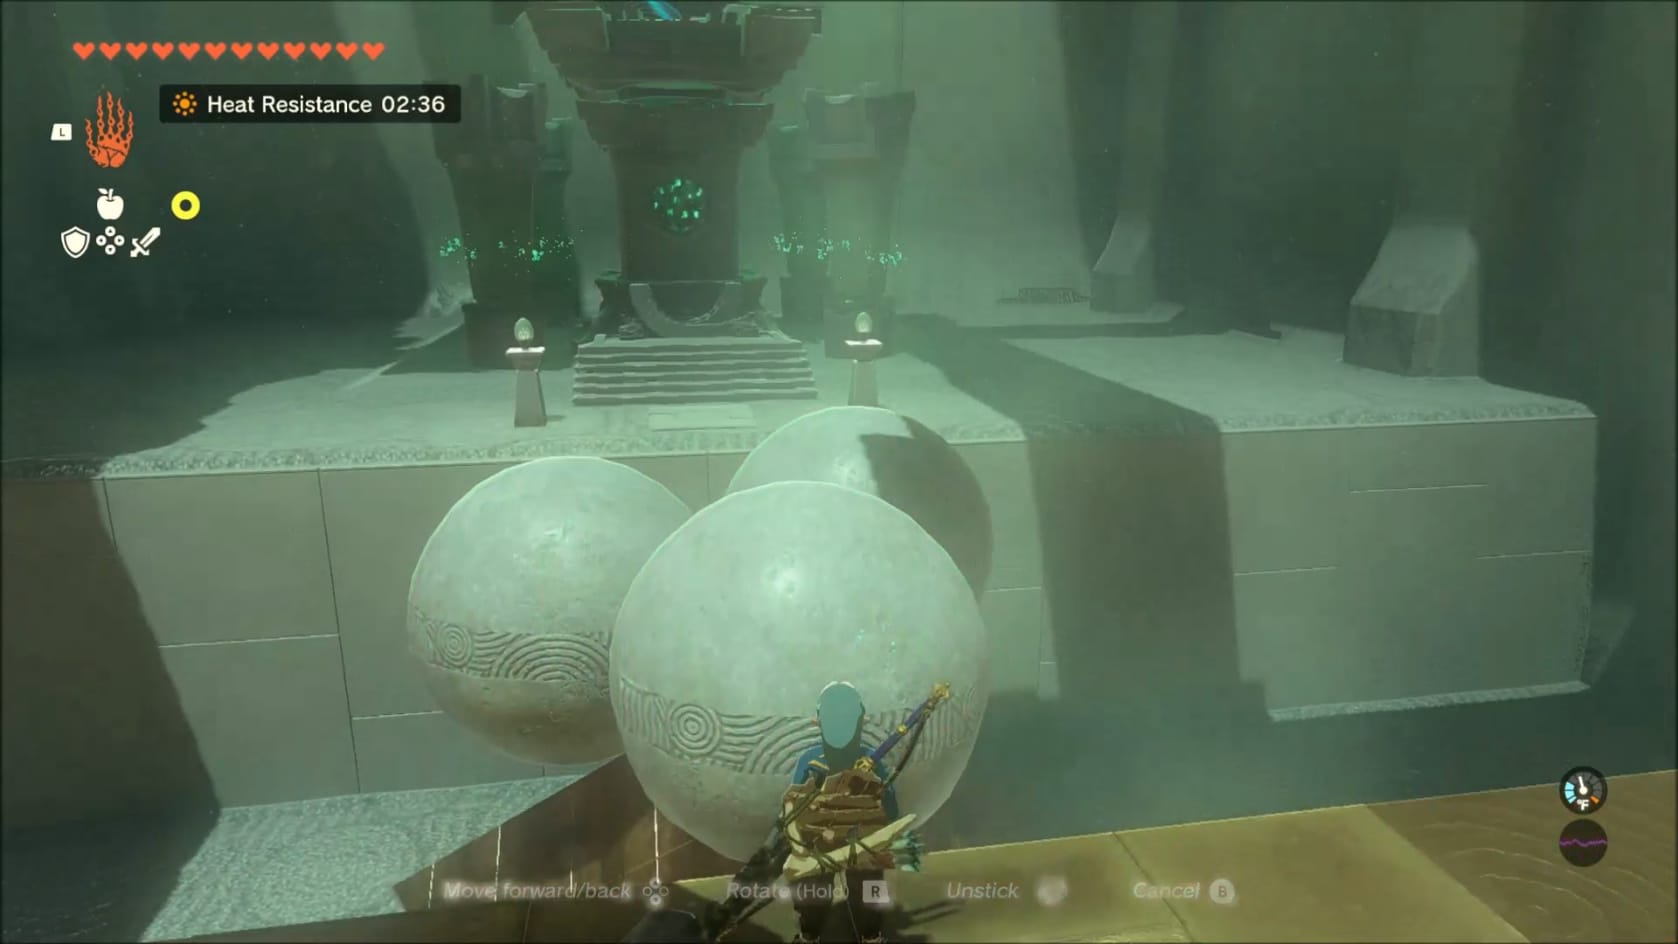
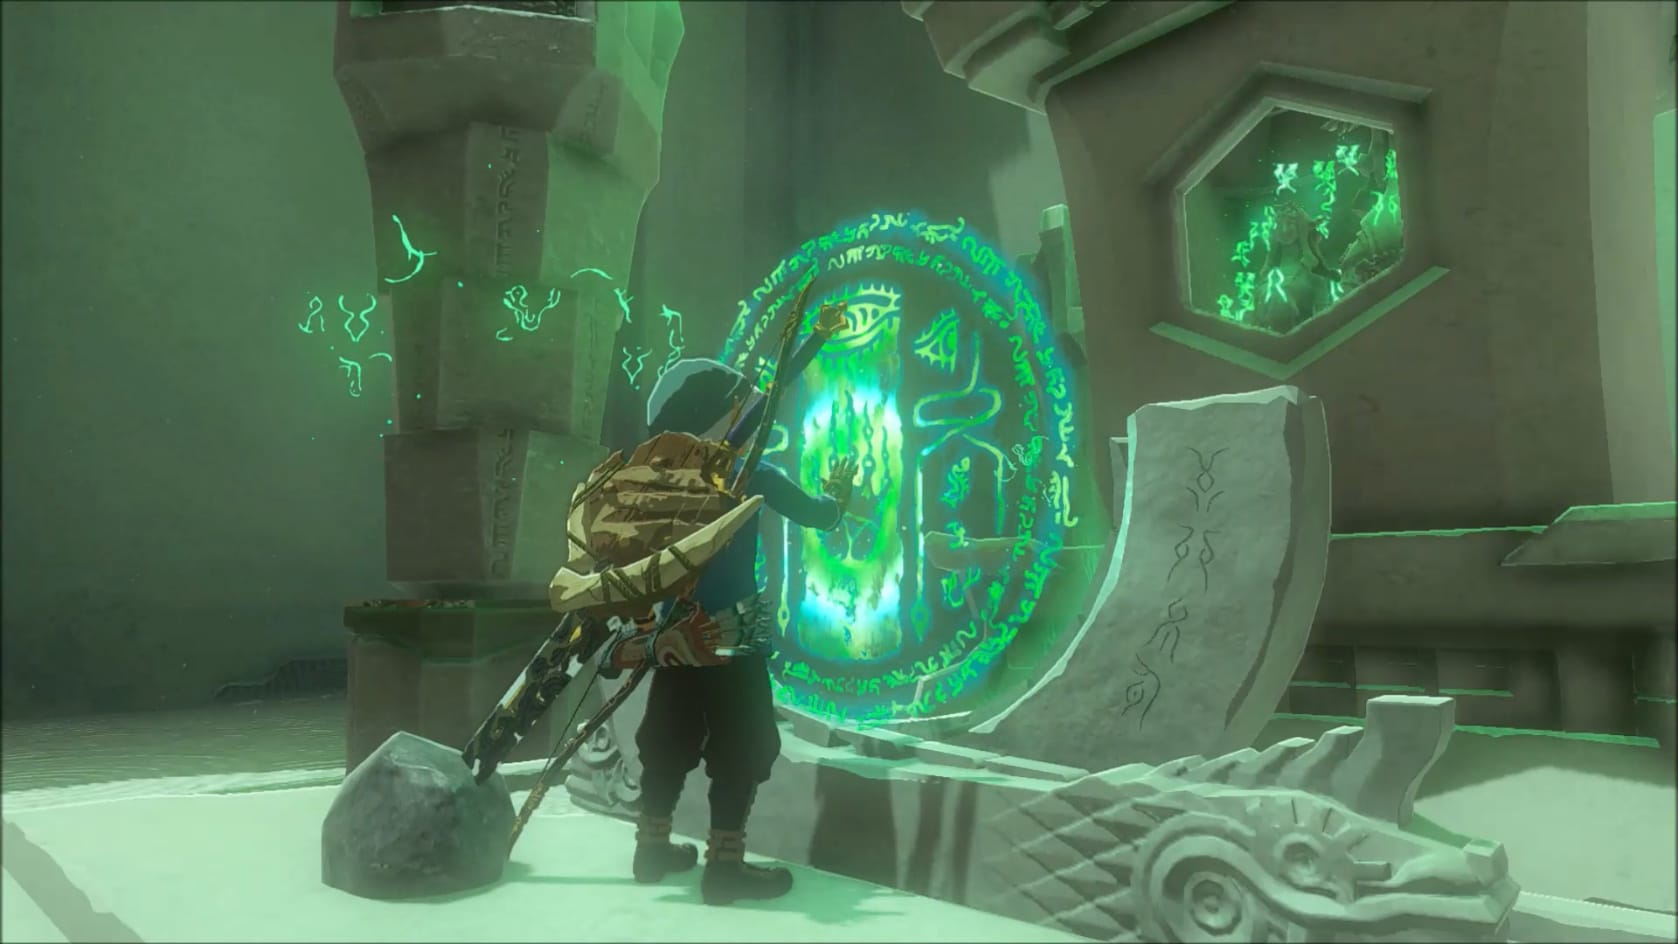
Get across the gap with the trio of Connected Spheres. Go on up the stairs.This will bring you to the Innermost Chamber and the statues. Interact with the Glyph to complete the Shrine’s Challenge. You will be rewarded with a Light of Blessing.