Legend of Zelda: Tears of the Kingdom – Wao-os Shrine: Lever Power Guide
Learn how to solve Wao-os Shrine in Tears of the Kingdom. Use the lever launcher to hit two targets, open the gates, find the hidden Spicy Elixir, and claim the Blessing of Light.
Summary
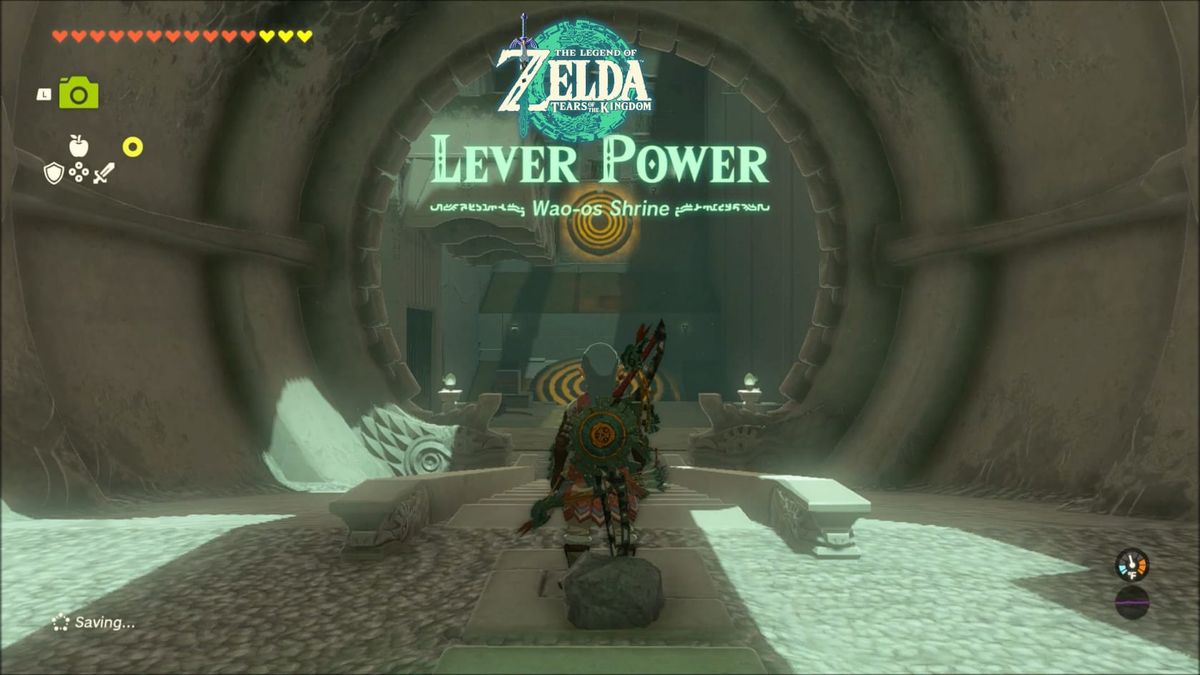
Completing this shrine is about using a lever as a launcher. Attaching a dish to a lever appropriately and extending as needed to hit 2 distant targets. Each opens a gate. There is also a hidden chest with a Spicy Elixir inside the shrine to be found.
Location
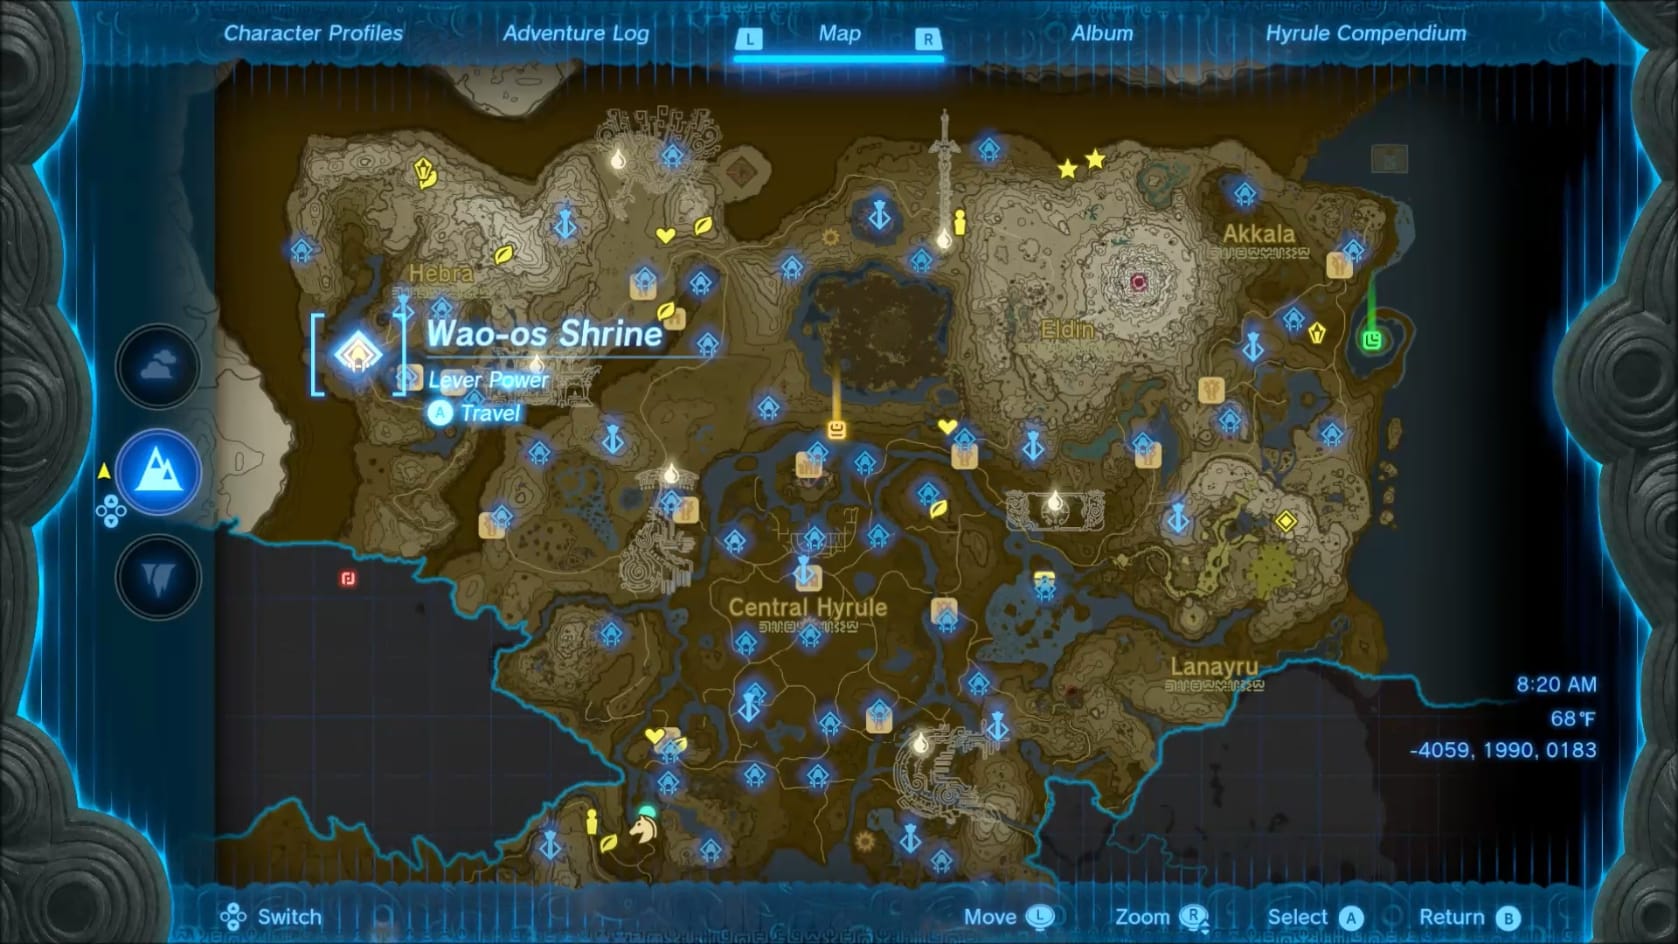
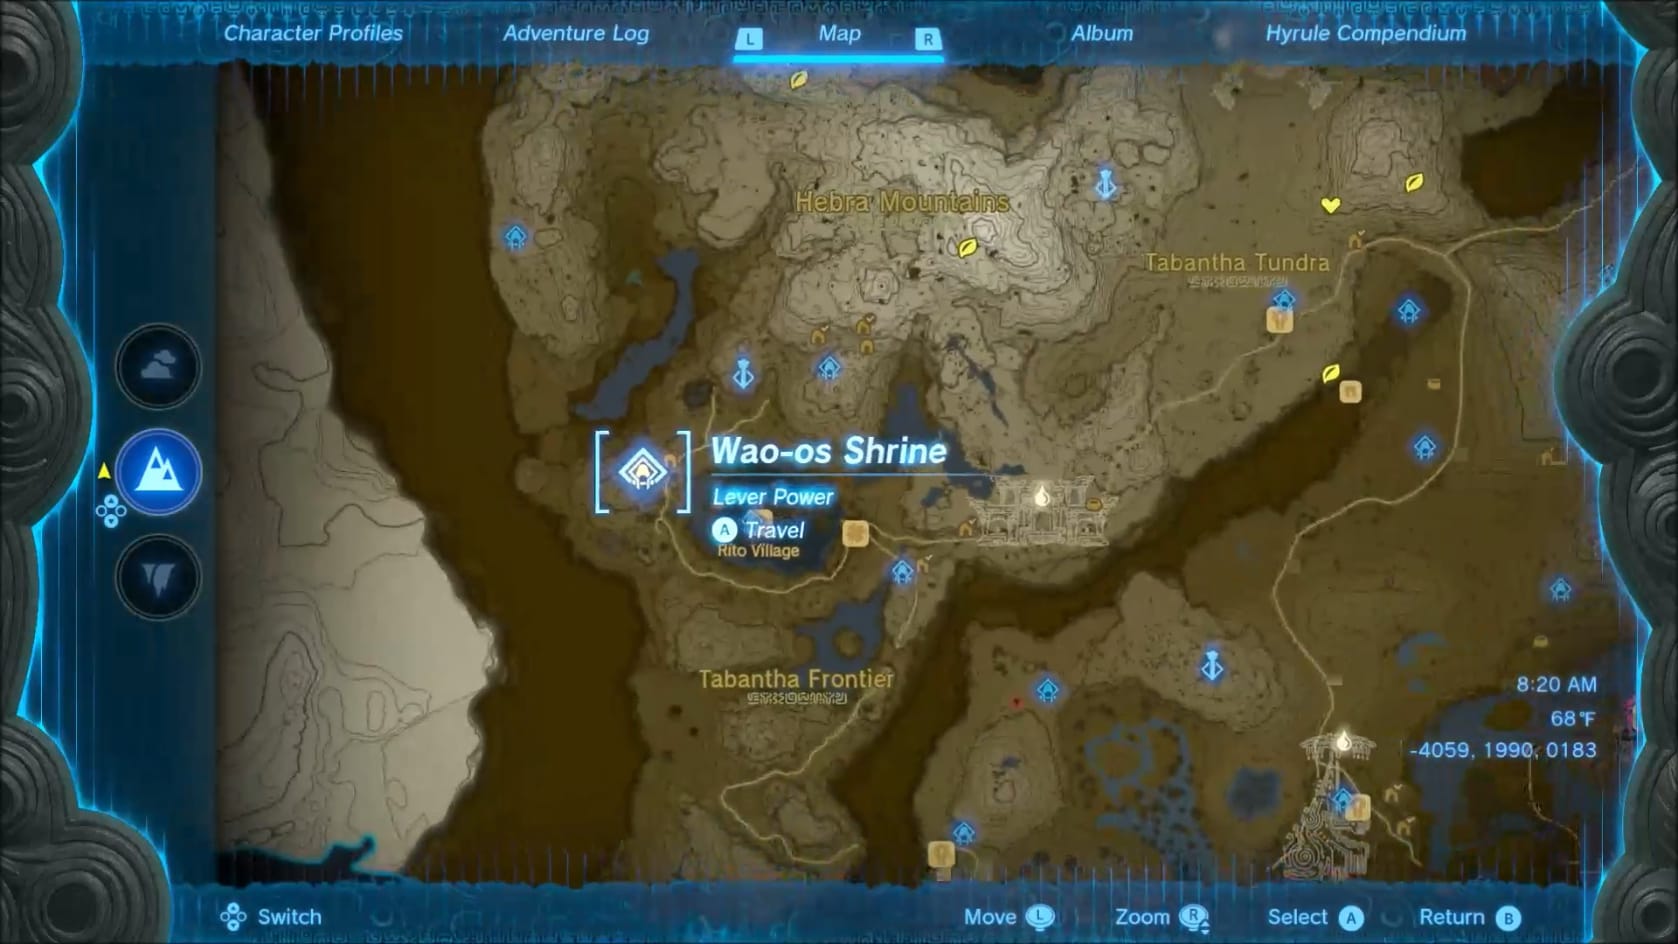
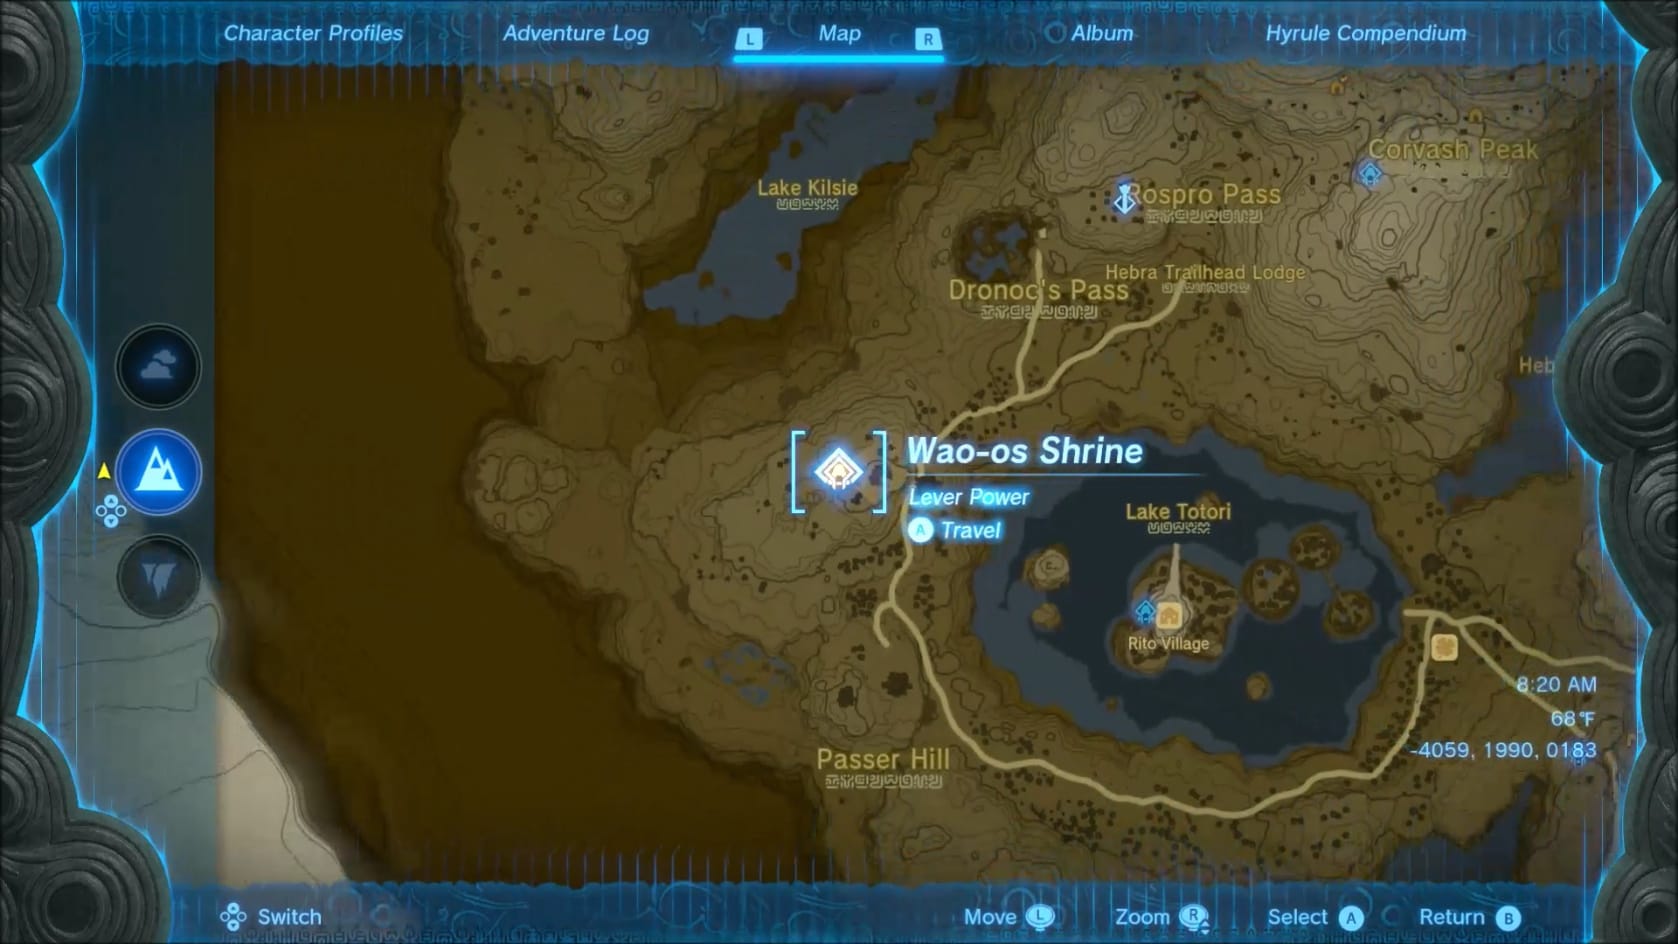
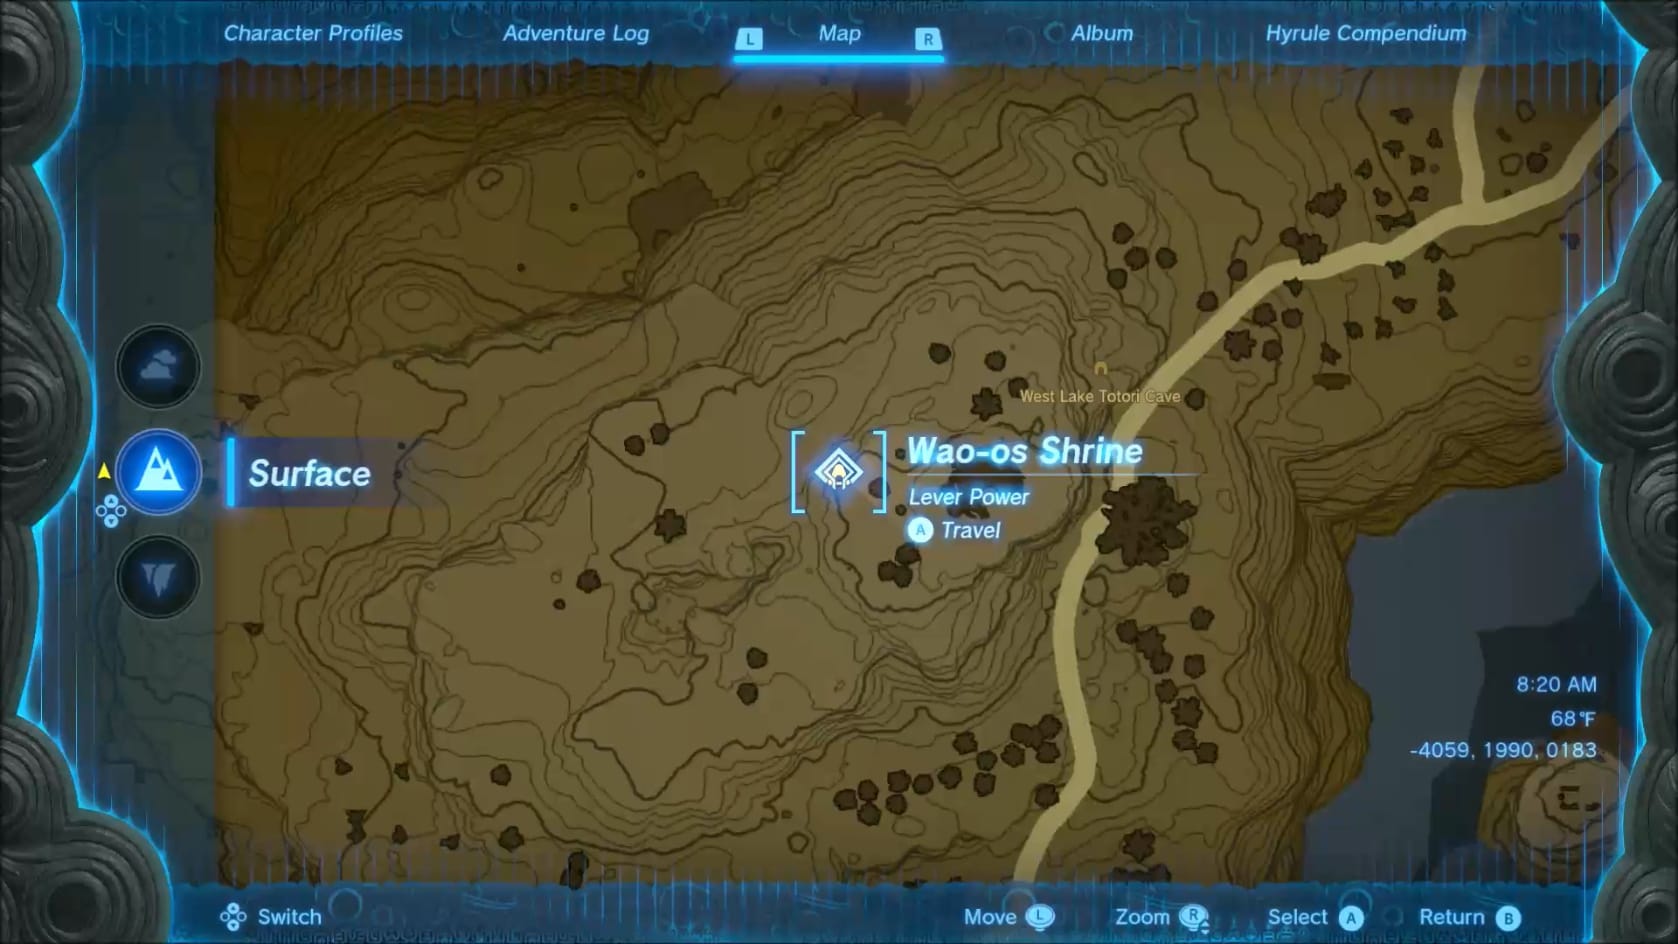
Location of Wao-os Shrine in Hyrule (inside West Lake Totori Lake Cave)
Coordinates: -4059, 1990, 0183
Walkthrough
Entering the Shrine
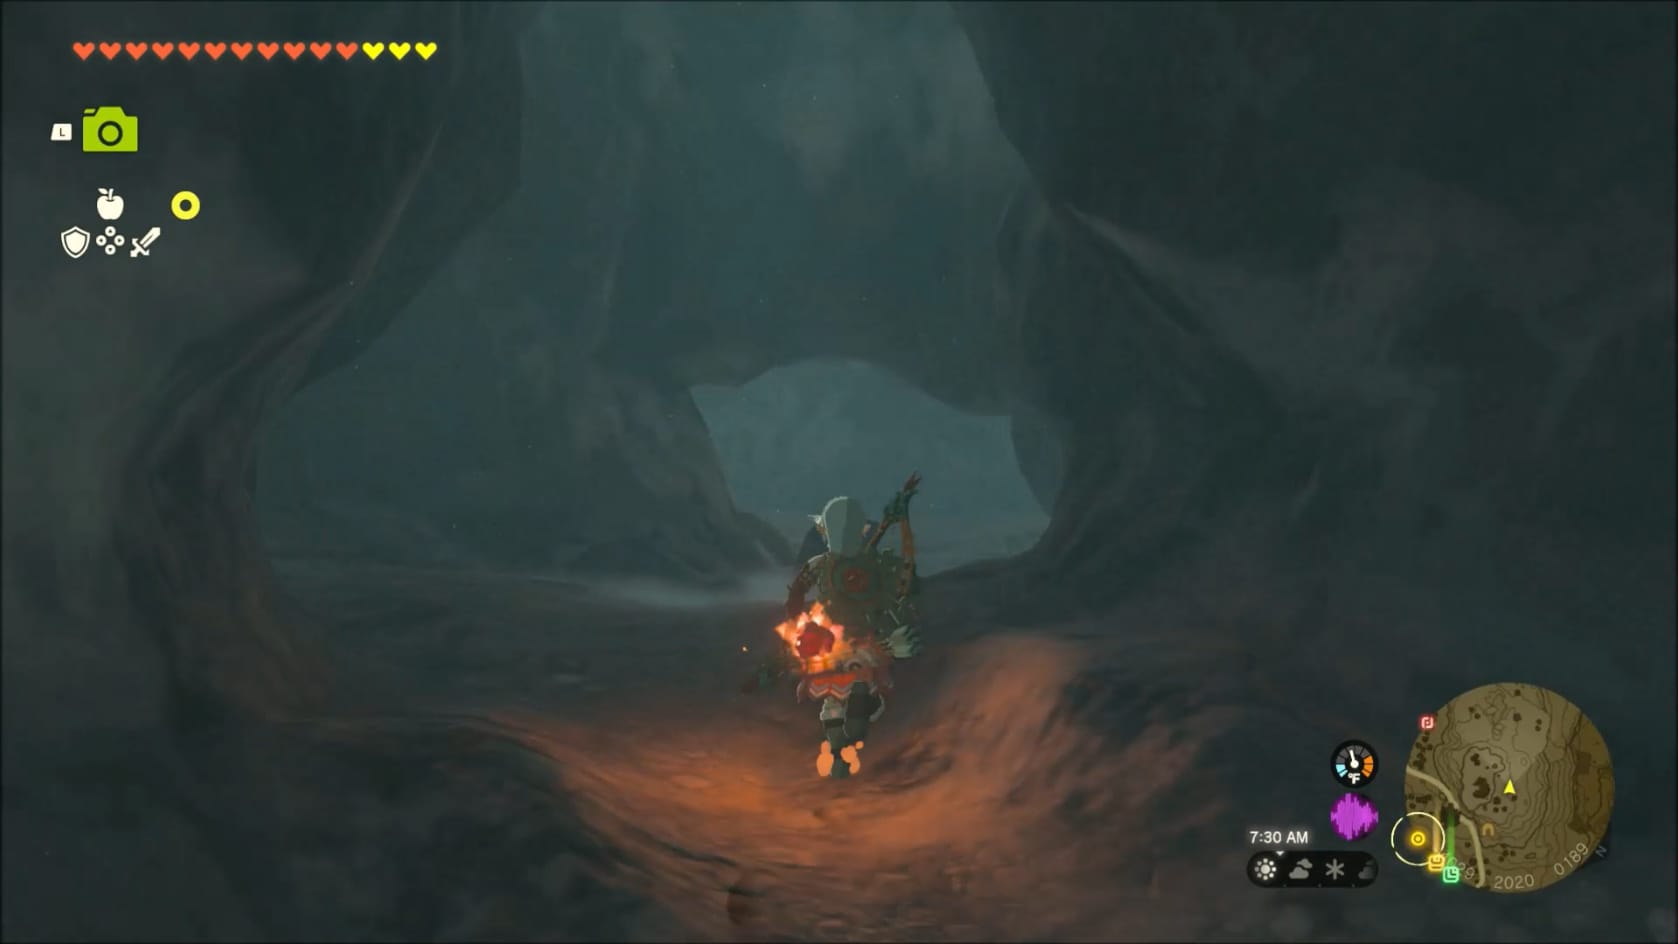
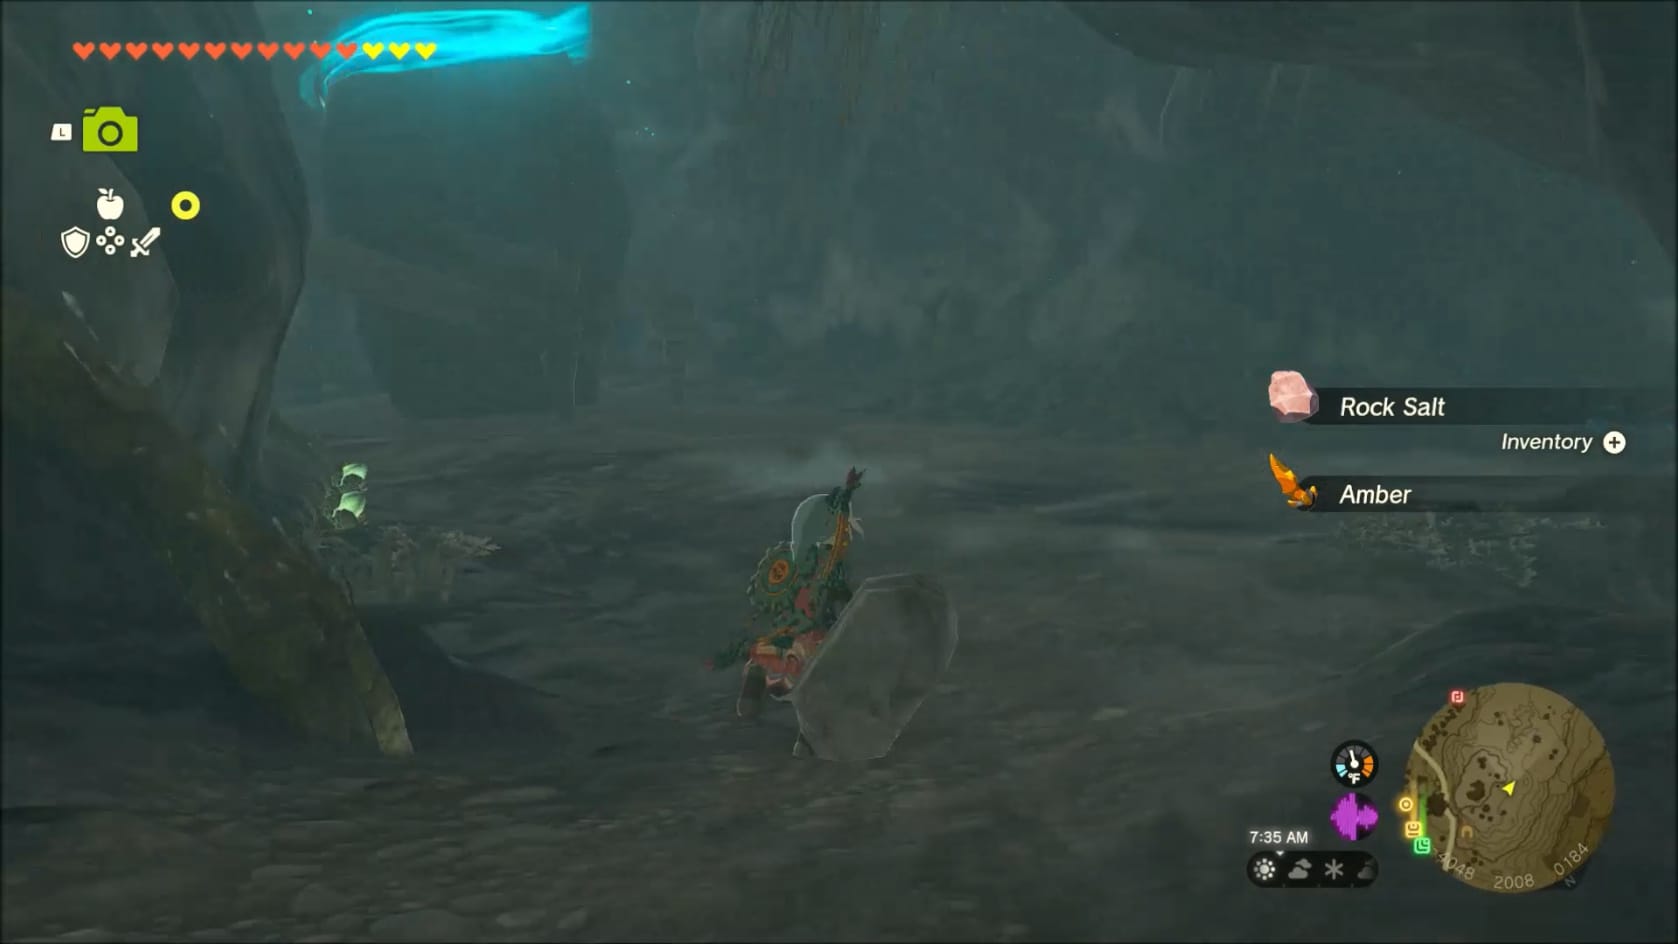
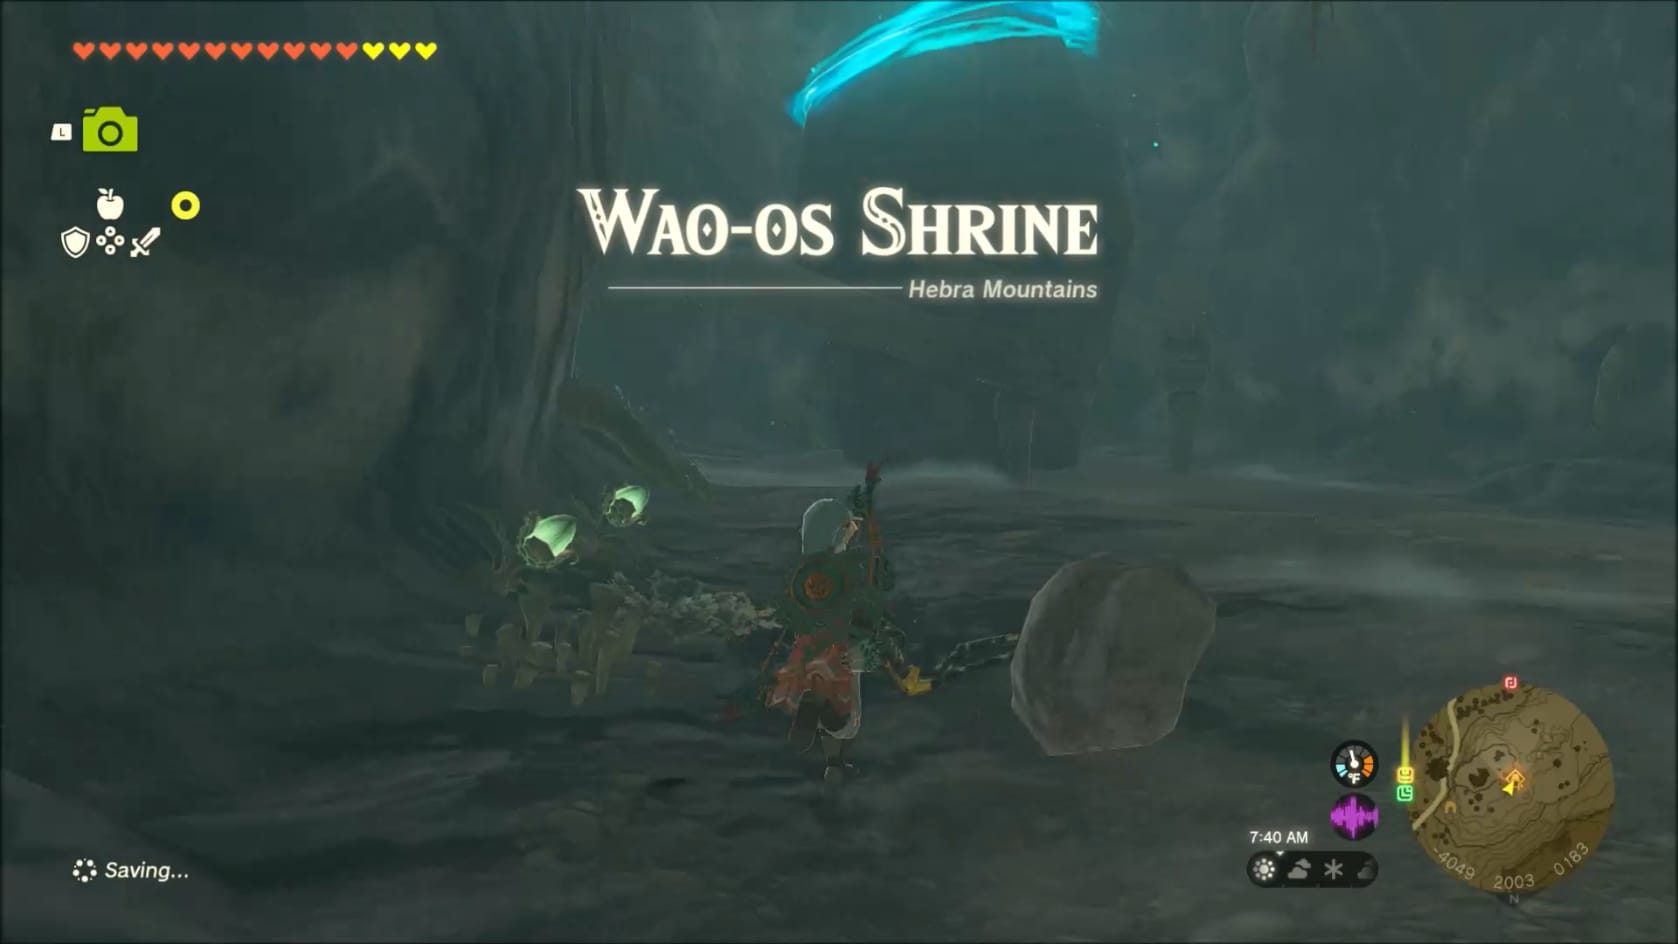
Reaching Wao-os Shrine
Once you’ve reached the back of West Lake Totori Cave, you can find this shrine. This found in the back of the Cave. It’s easy enough to find inside the well-hidden. Getting to it into the cave is simple, when you know where it is.
Once inside, go over to the left and take the slope up. Follow this forward through the tunnel (and above the
When you get to the Shrine, you just need to approach it.
The First Target (Lower)
Begin by heading down the stairs to the first ledge. You will see a small lever on the edge of the ledge in the middle.
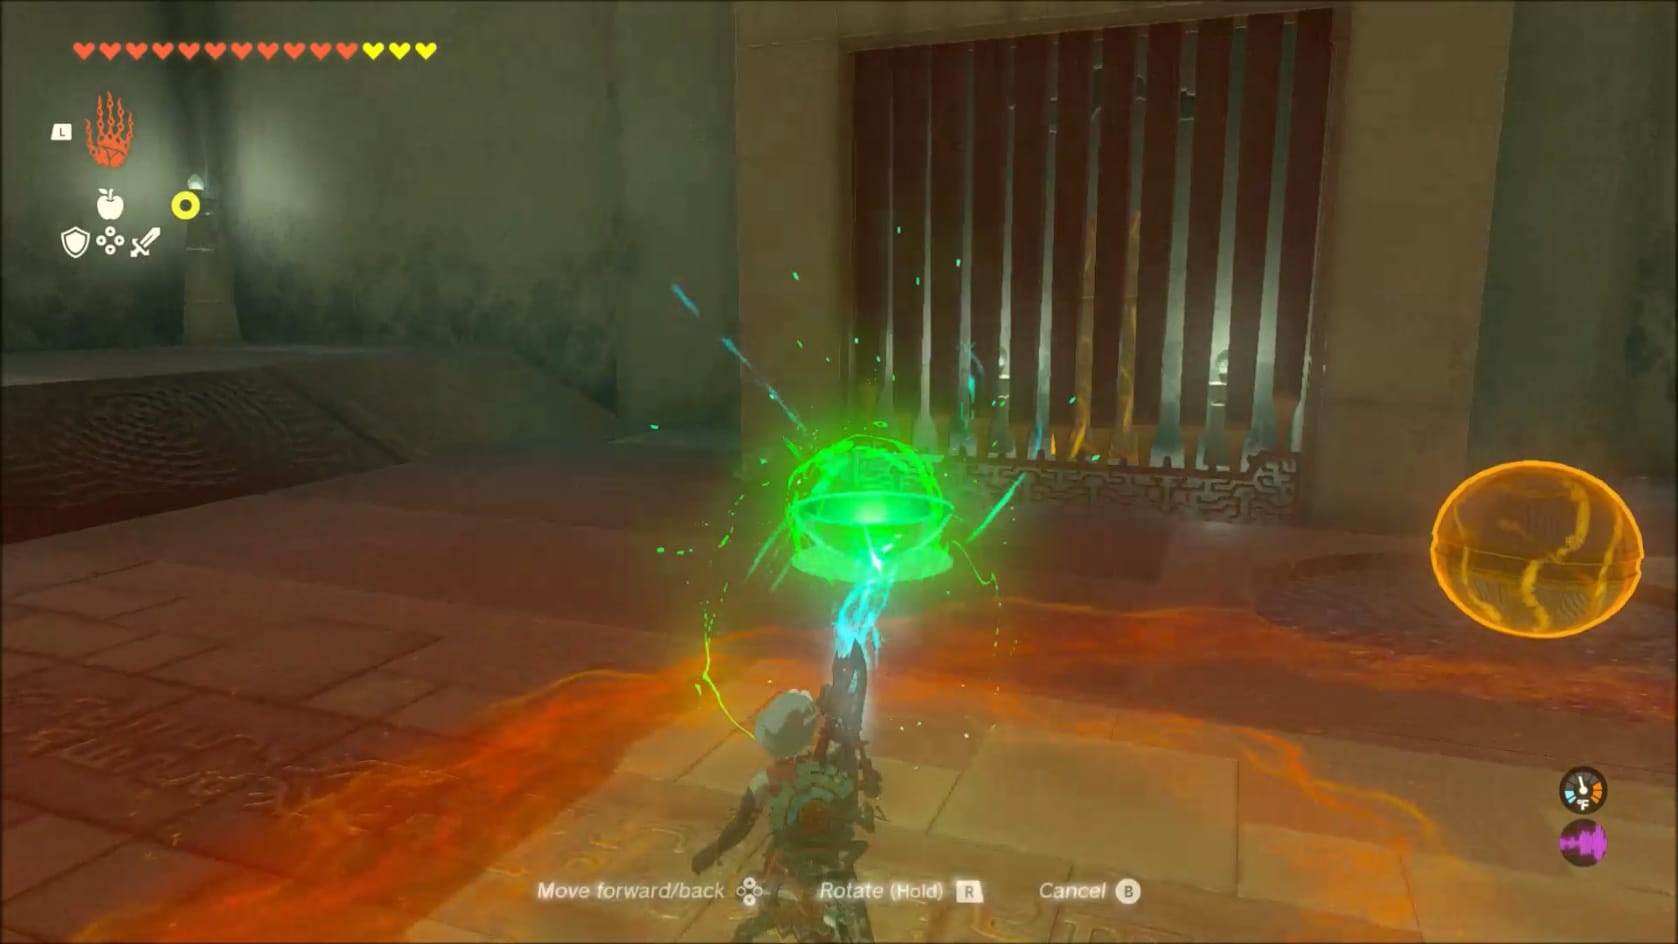
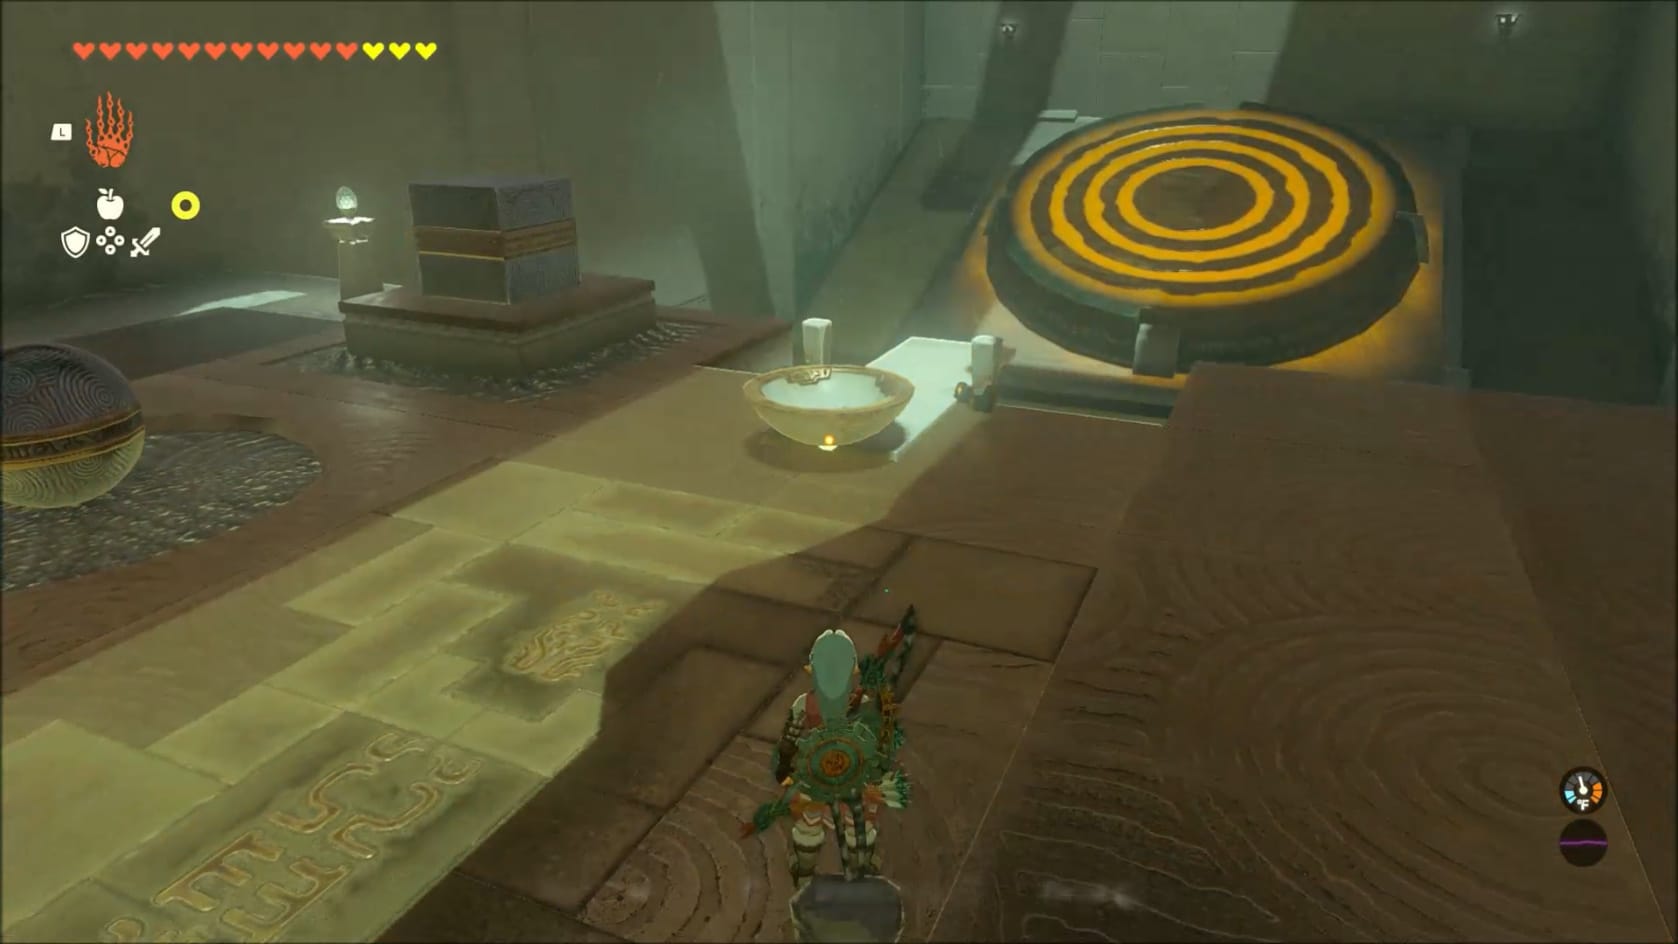
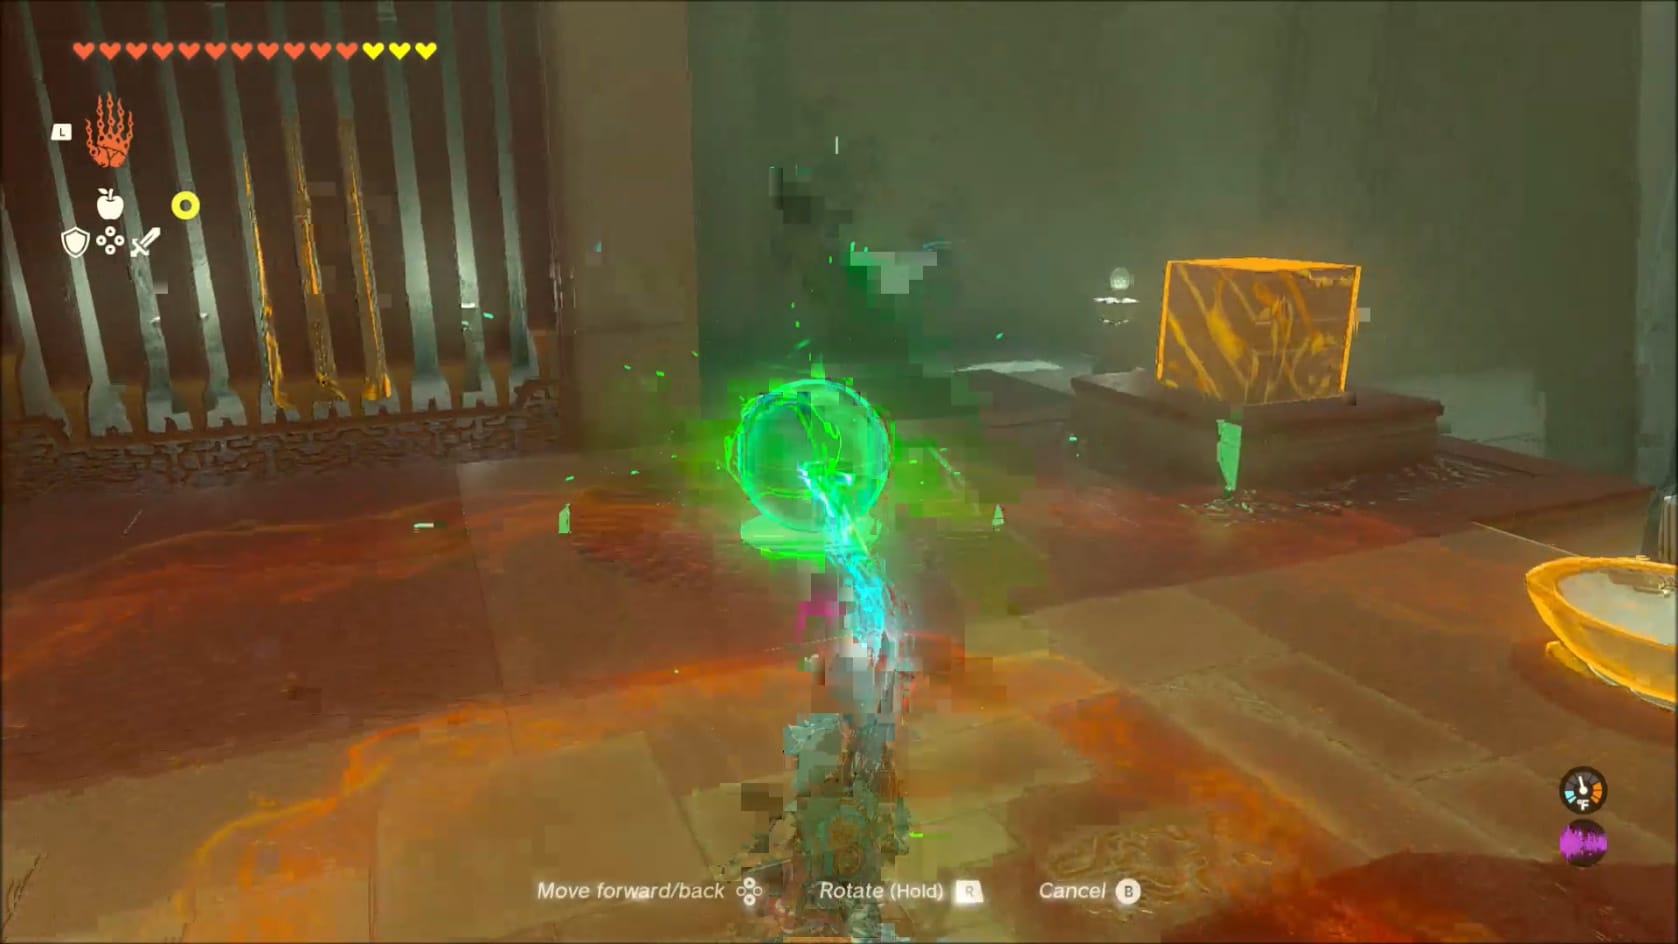
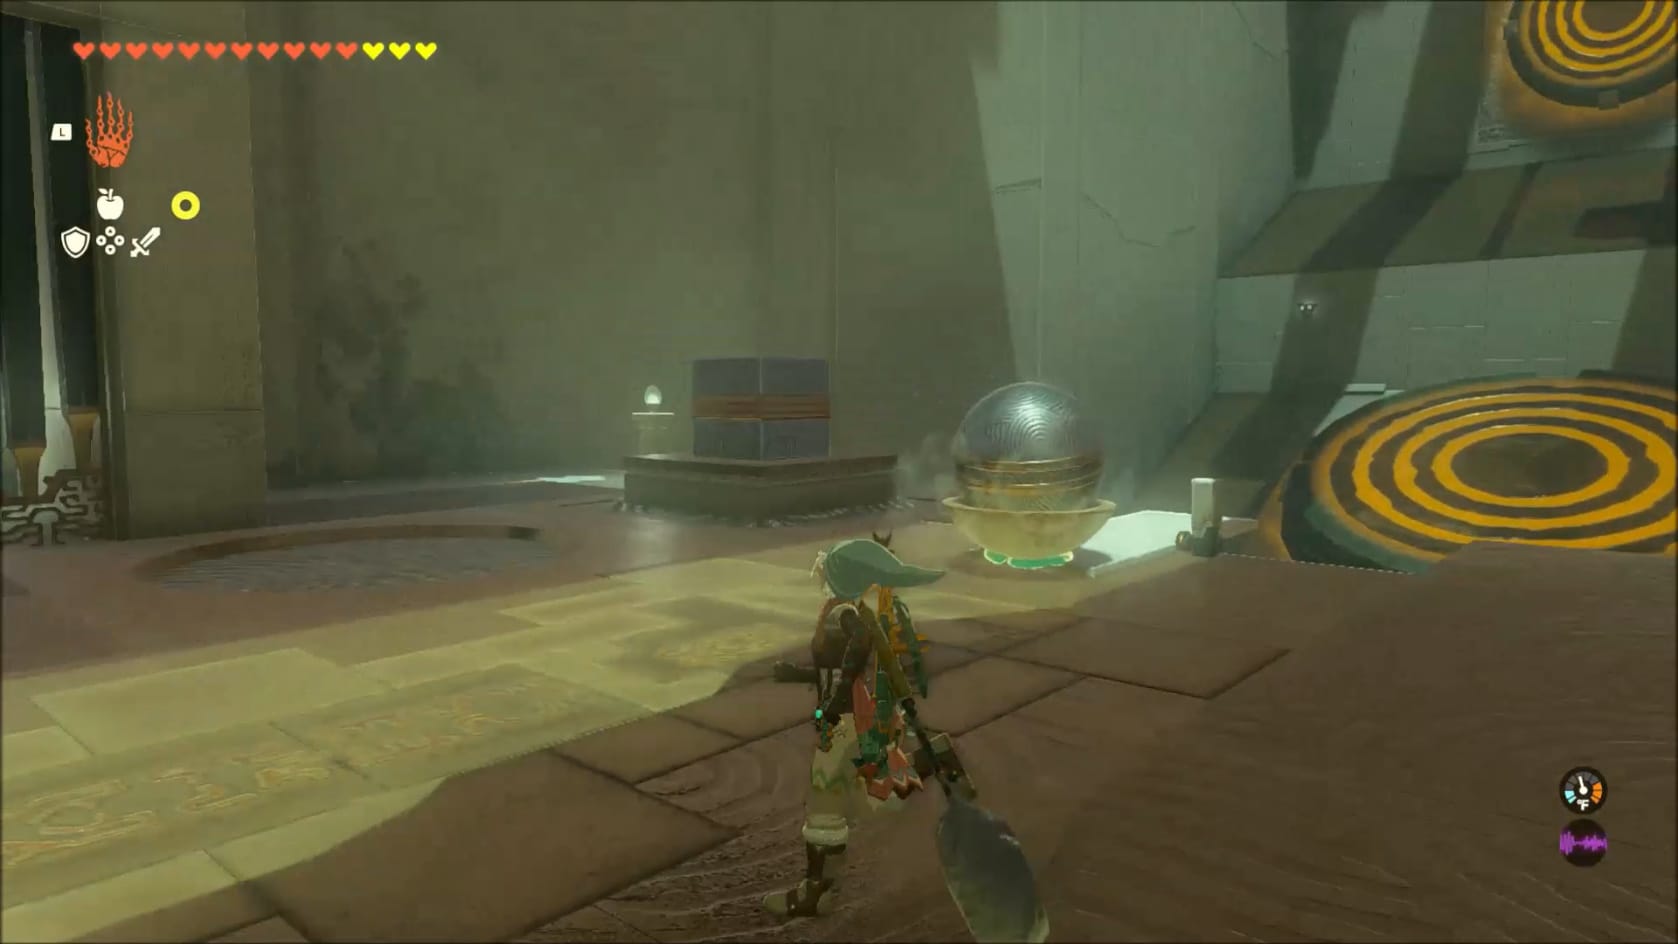
Assembling and using the first launcher
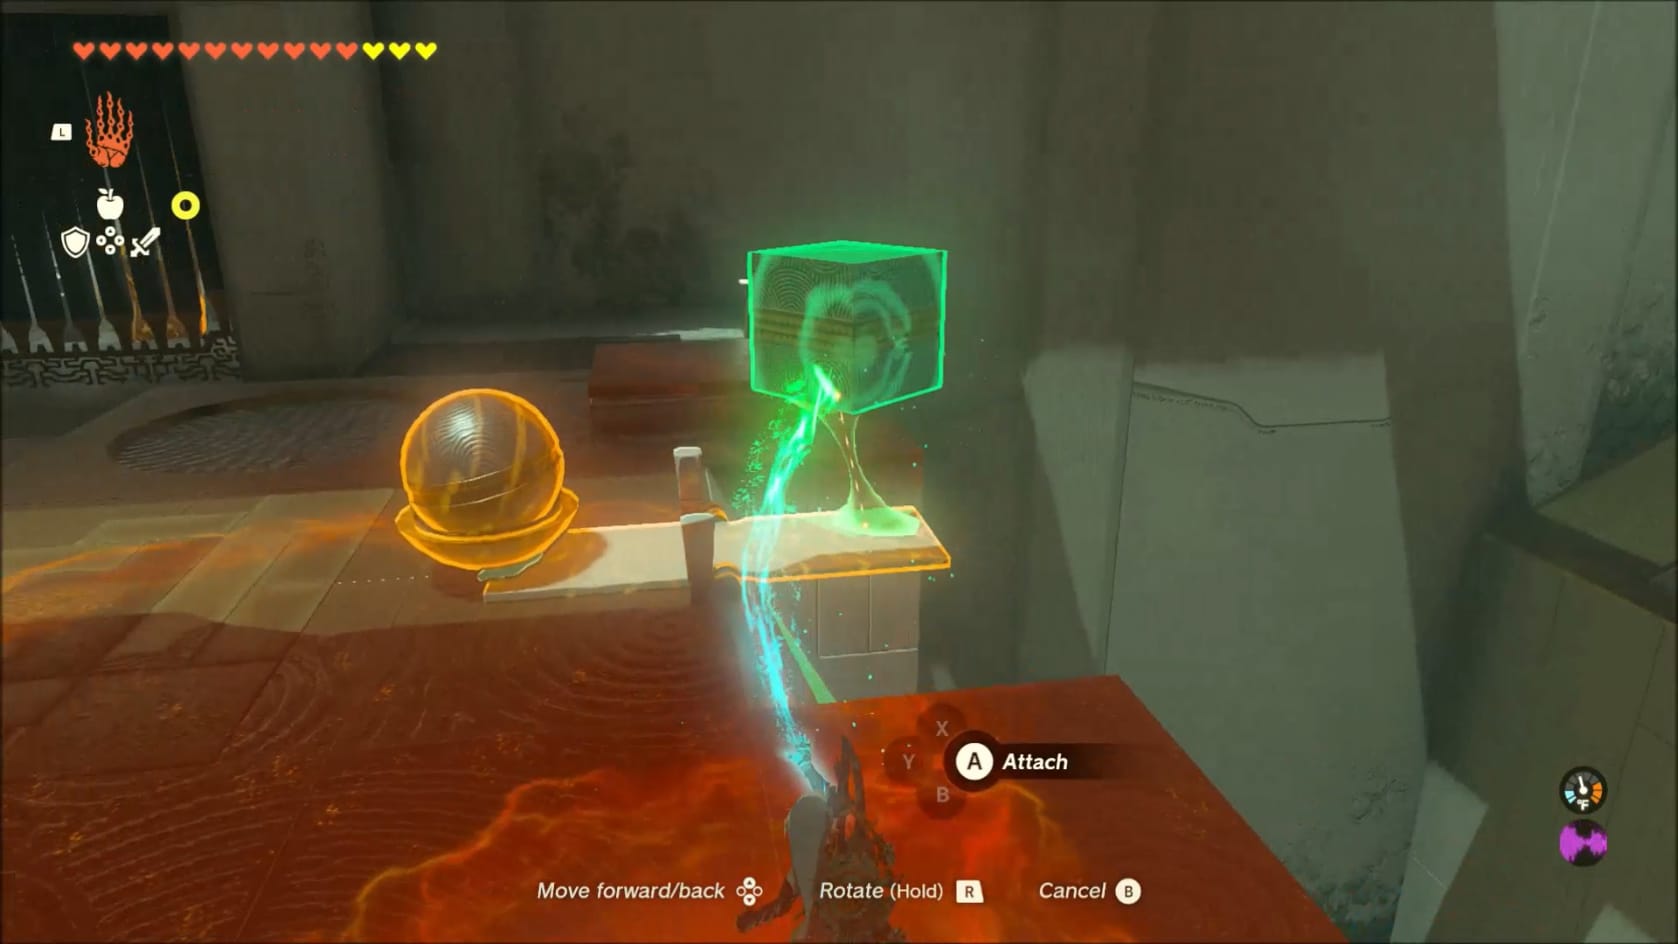
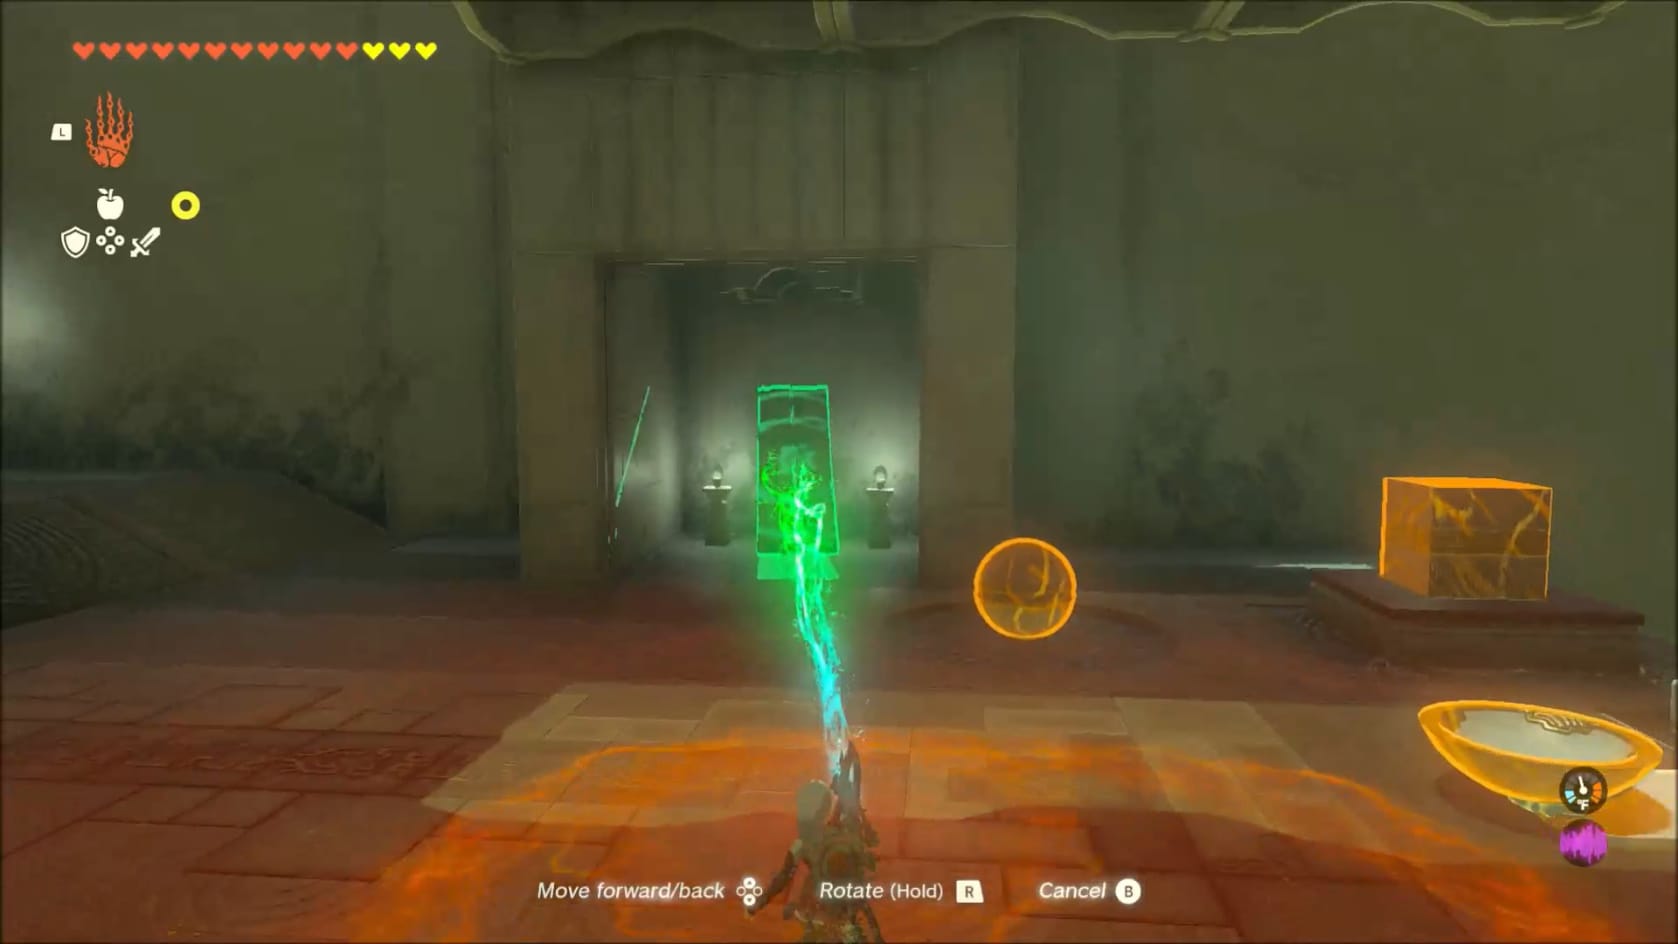
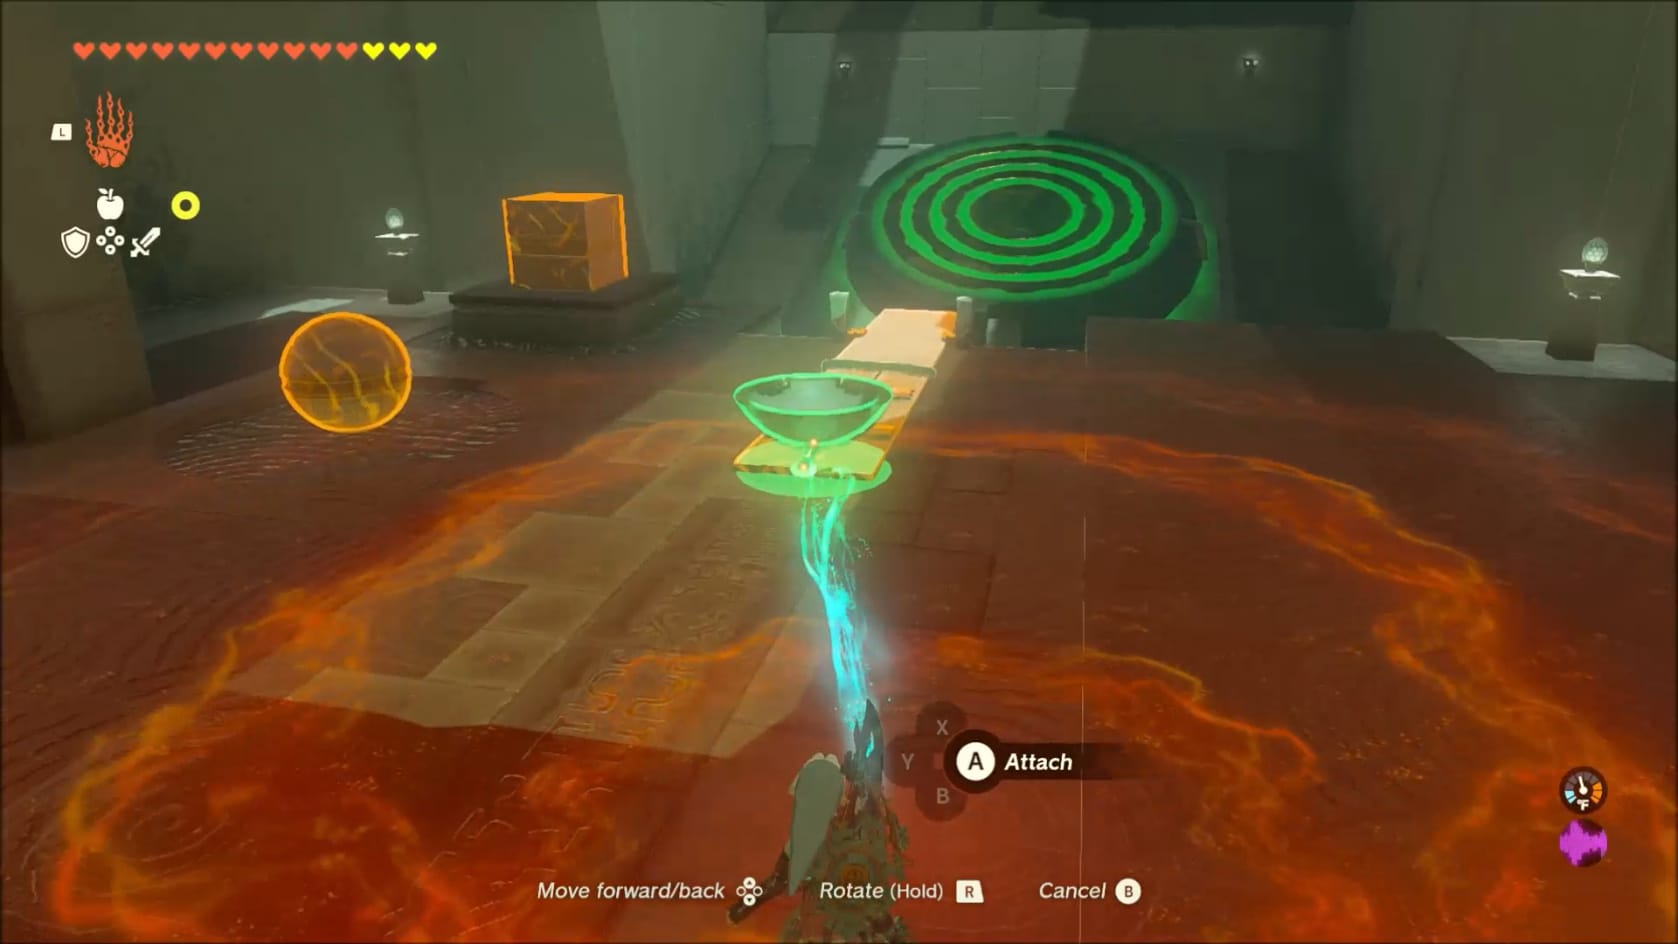
Look to the left, where you will see a barred section. Just in front of it is a dish that you can grab with Ultrahand. Grab the dish with Ultrahand and bring it over to the small lever. Attach it to the closest end of the lever.
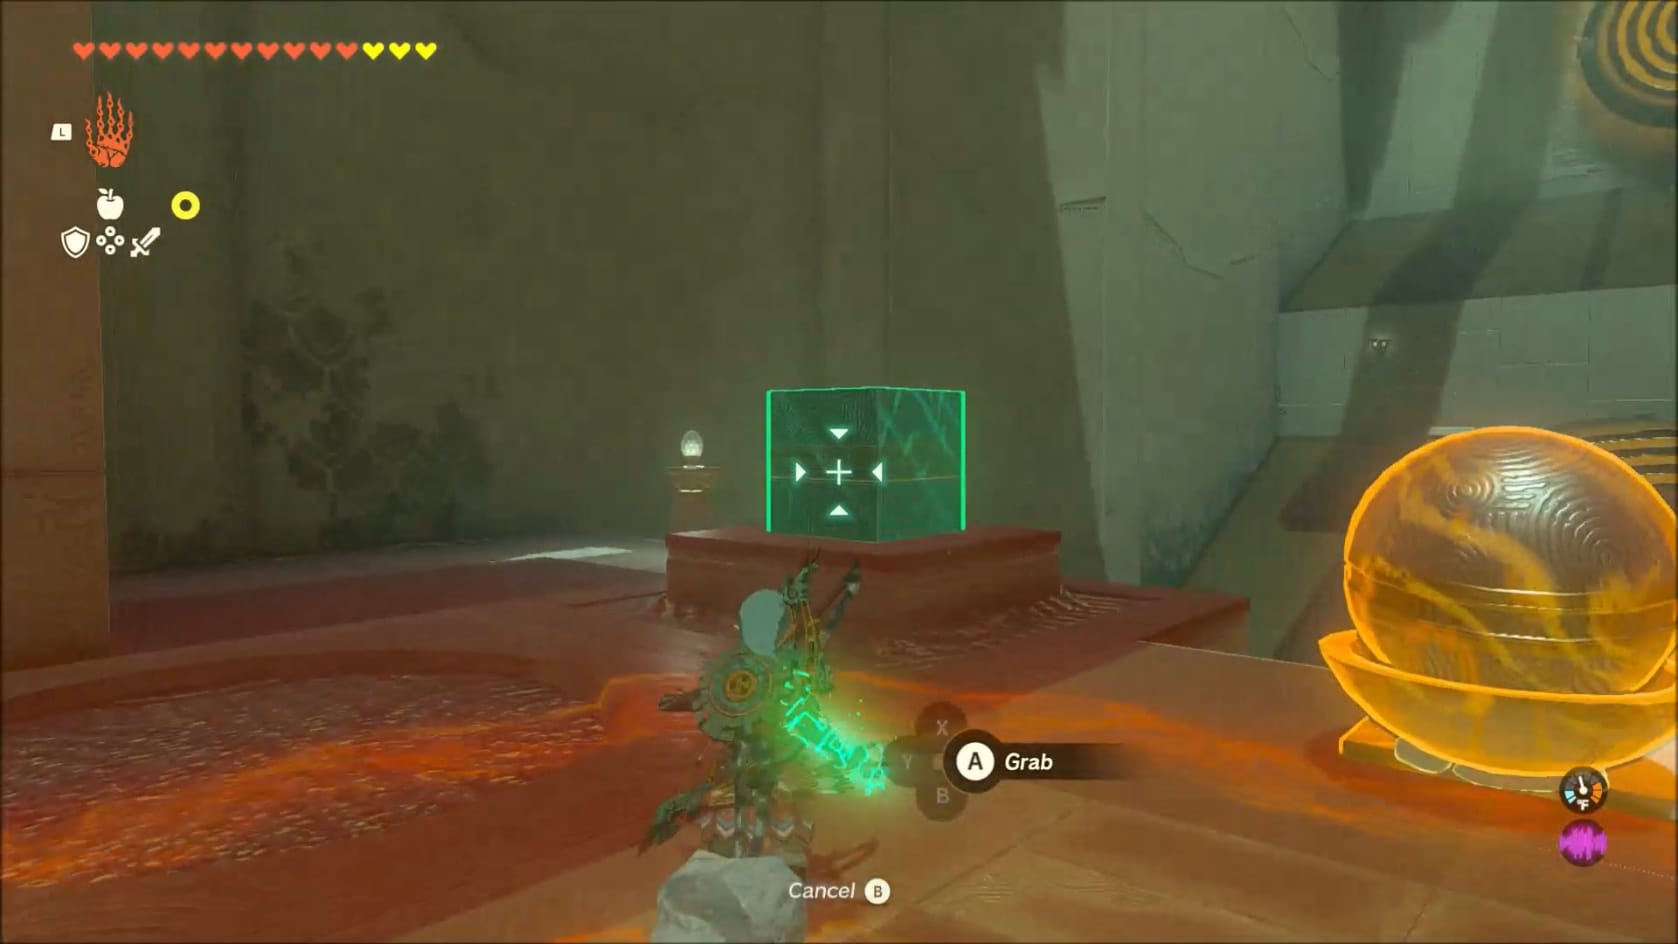
Launching the first ball
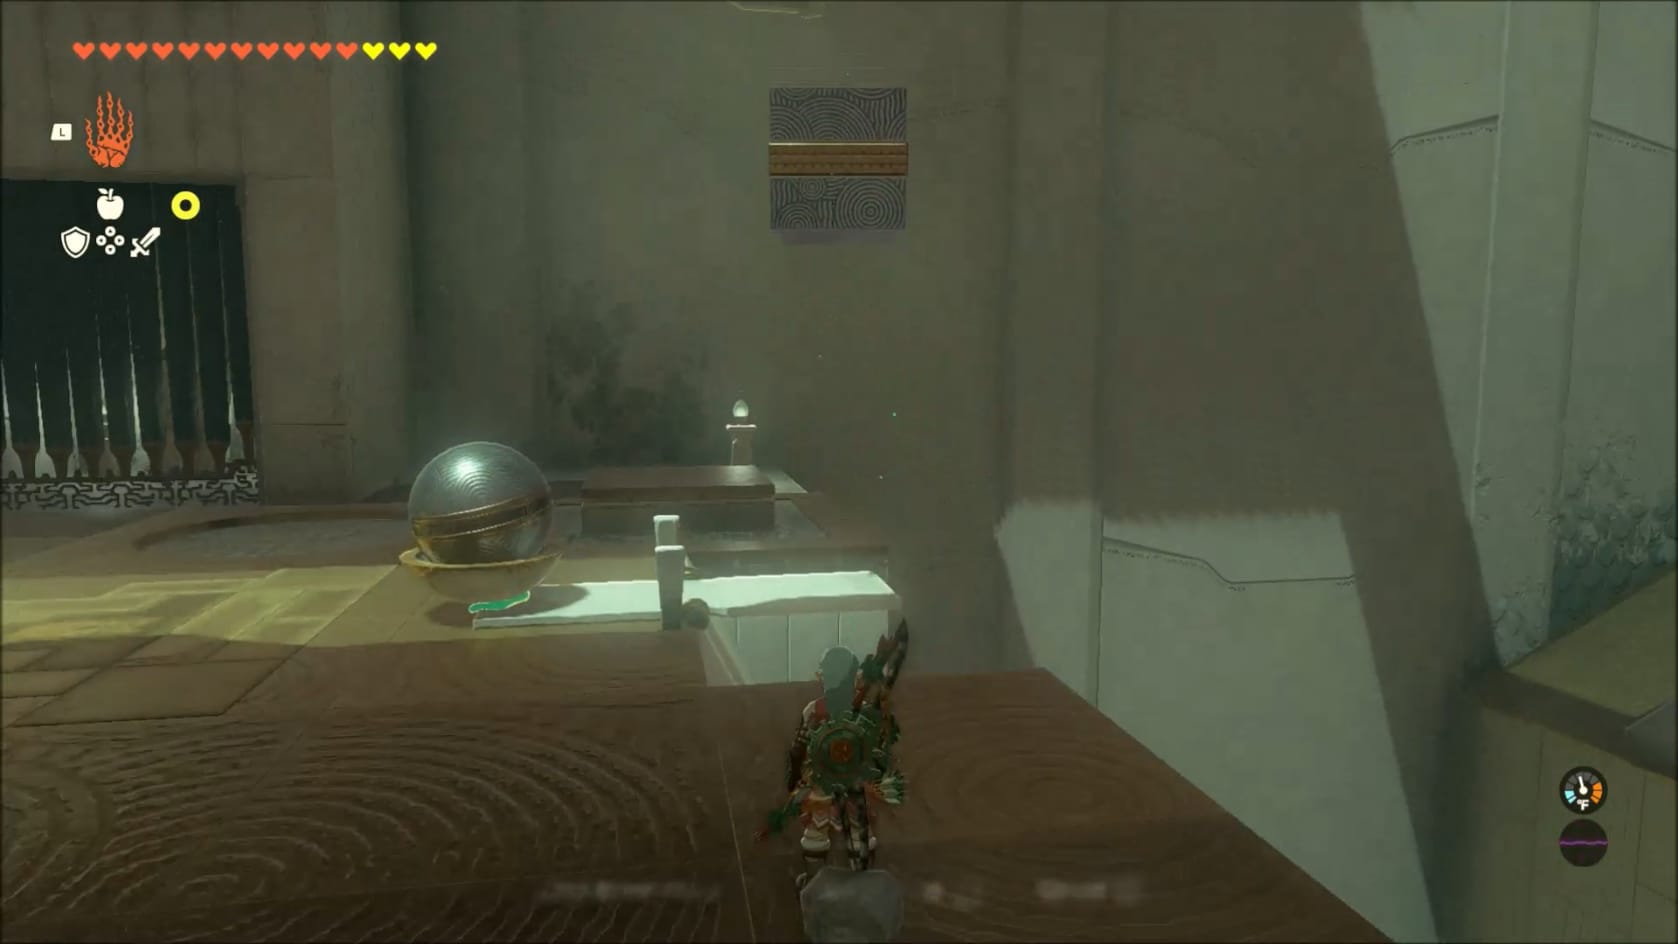
Look to the left of the lever where you will see a Sphere. Grab that and put it into the dish that you attached to the lever.
The first target hit
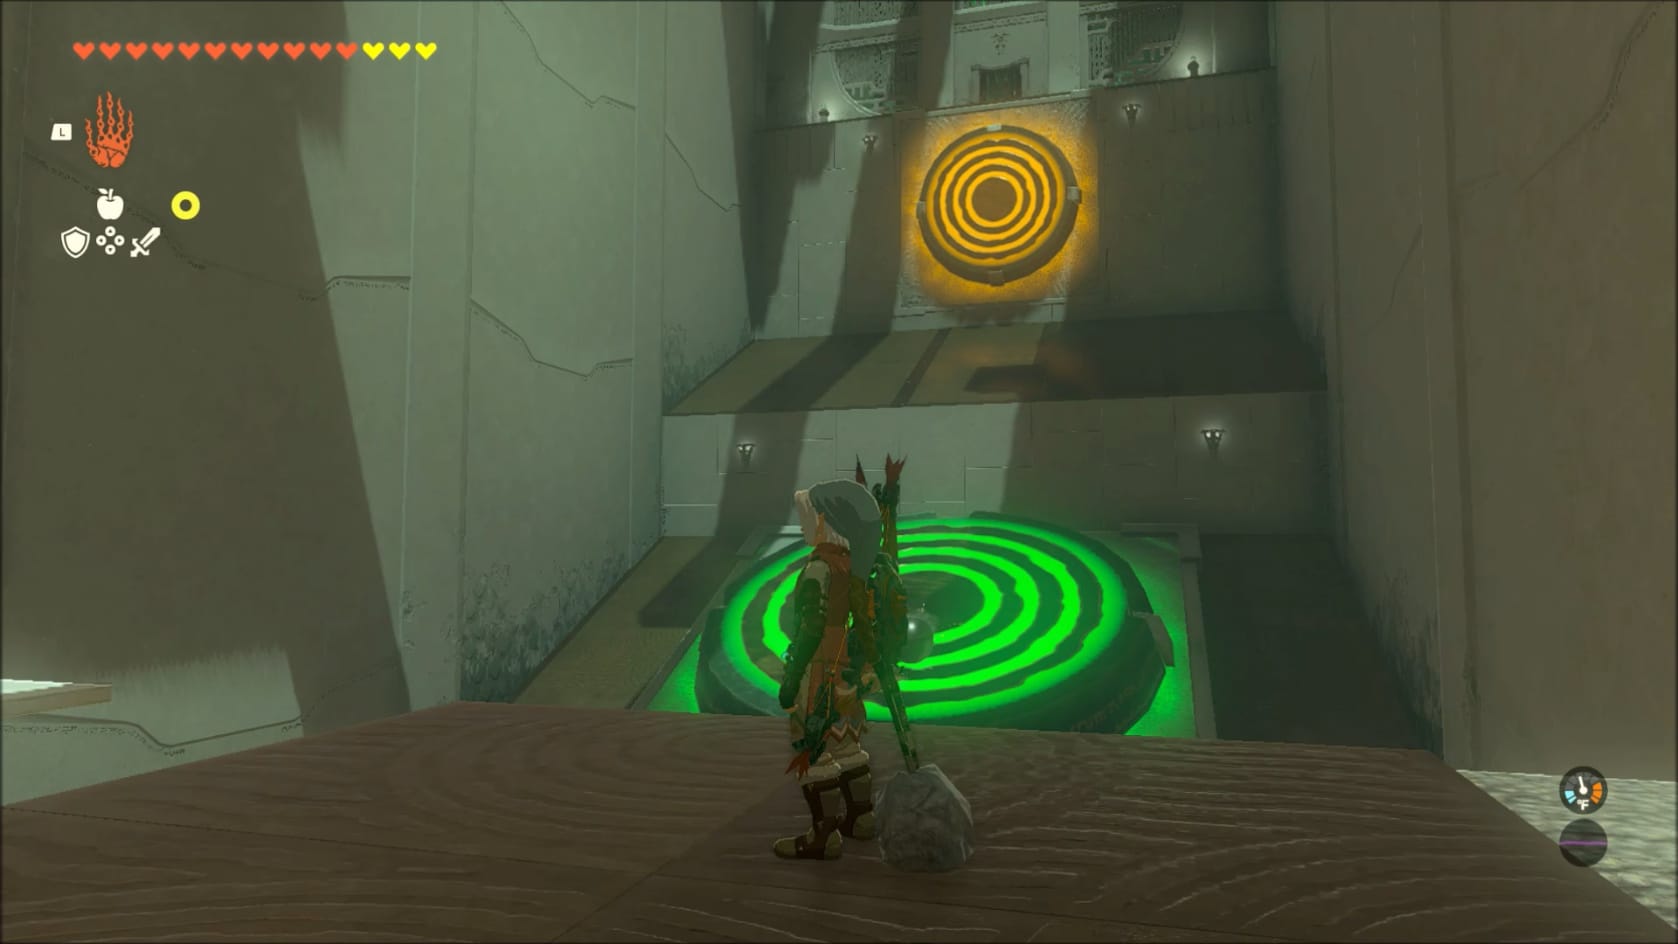
Finally, facing the lever and target, look a little to the left. You can find a Cube. Grab this Cube with Ultrahand. Bring it over the far end of the lever. Drop this on top of the far end of the lever. This will cause the Sphere to launch across the gap and hit the orange glowing target on the far side of the room.
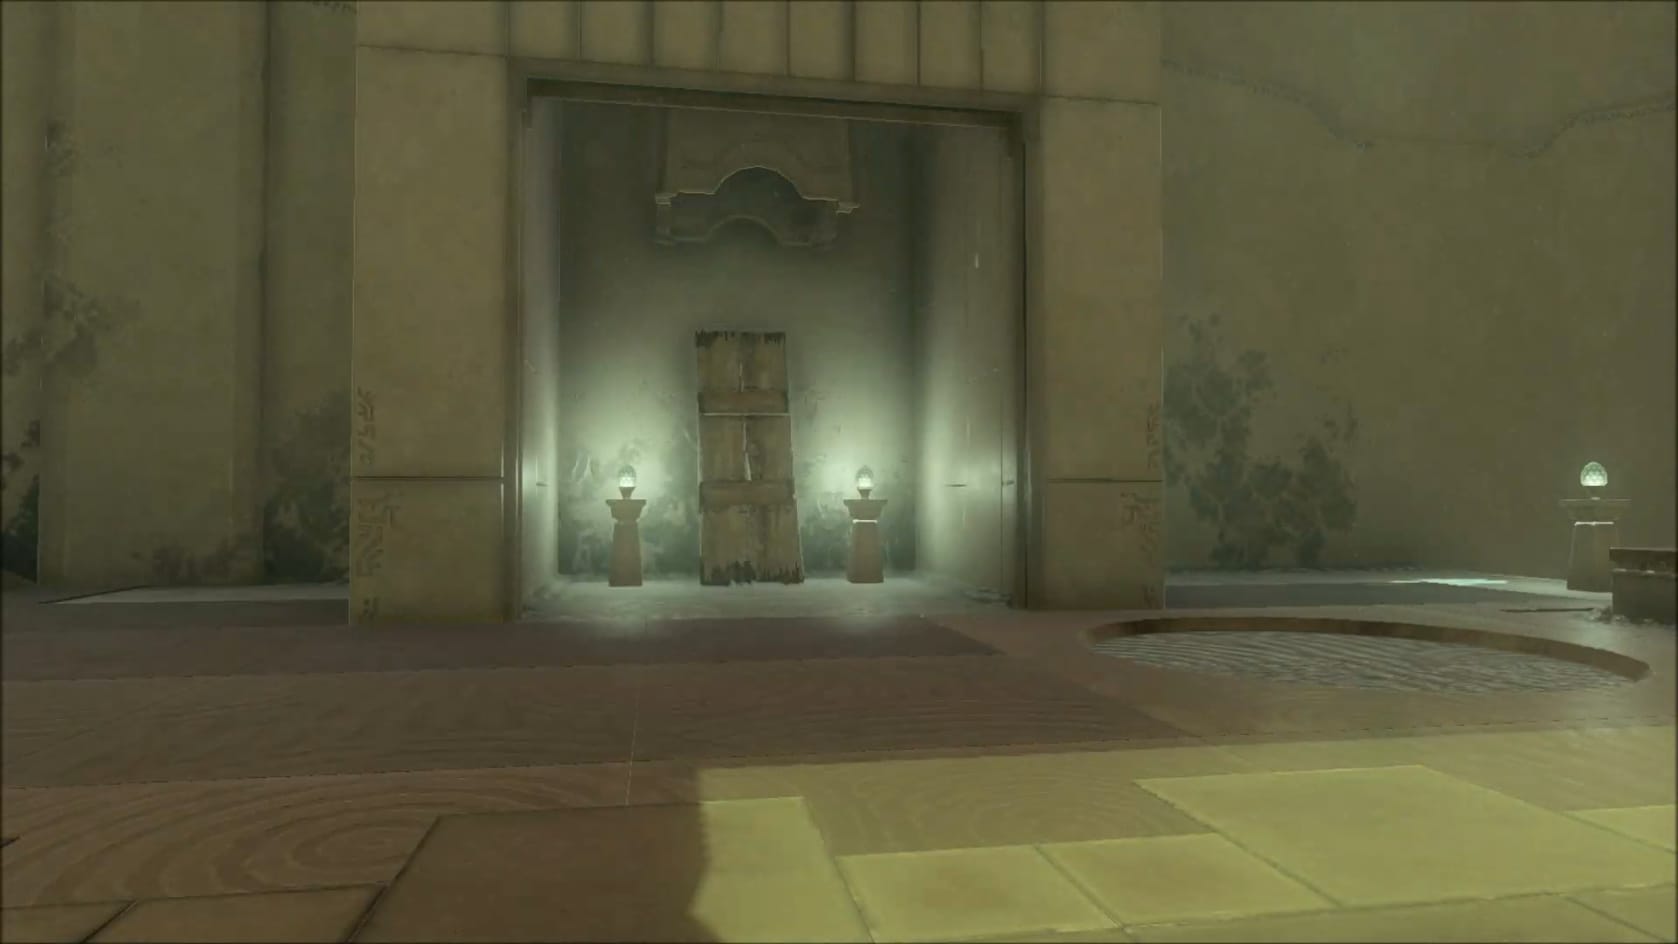
Hitting the lower target will raise the bars to the left of the lever you used. A wooden plank is sitting there for you to use nearby.
The Second Target (Upper)
Rebuilding to hit the second (higher) target
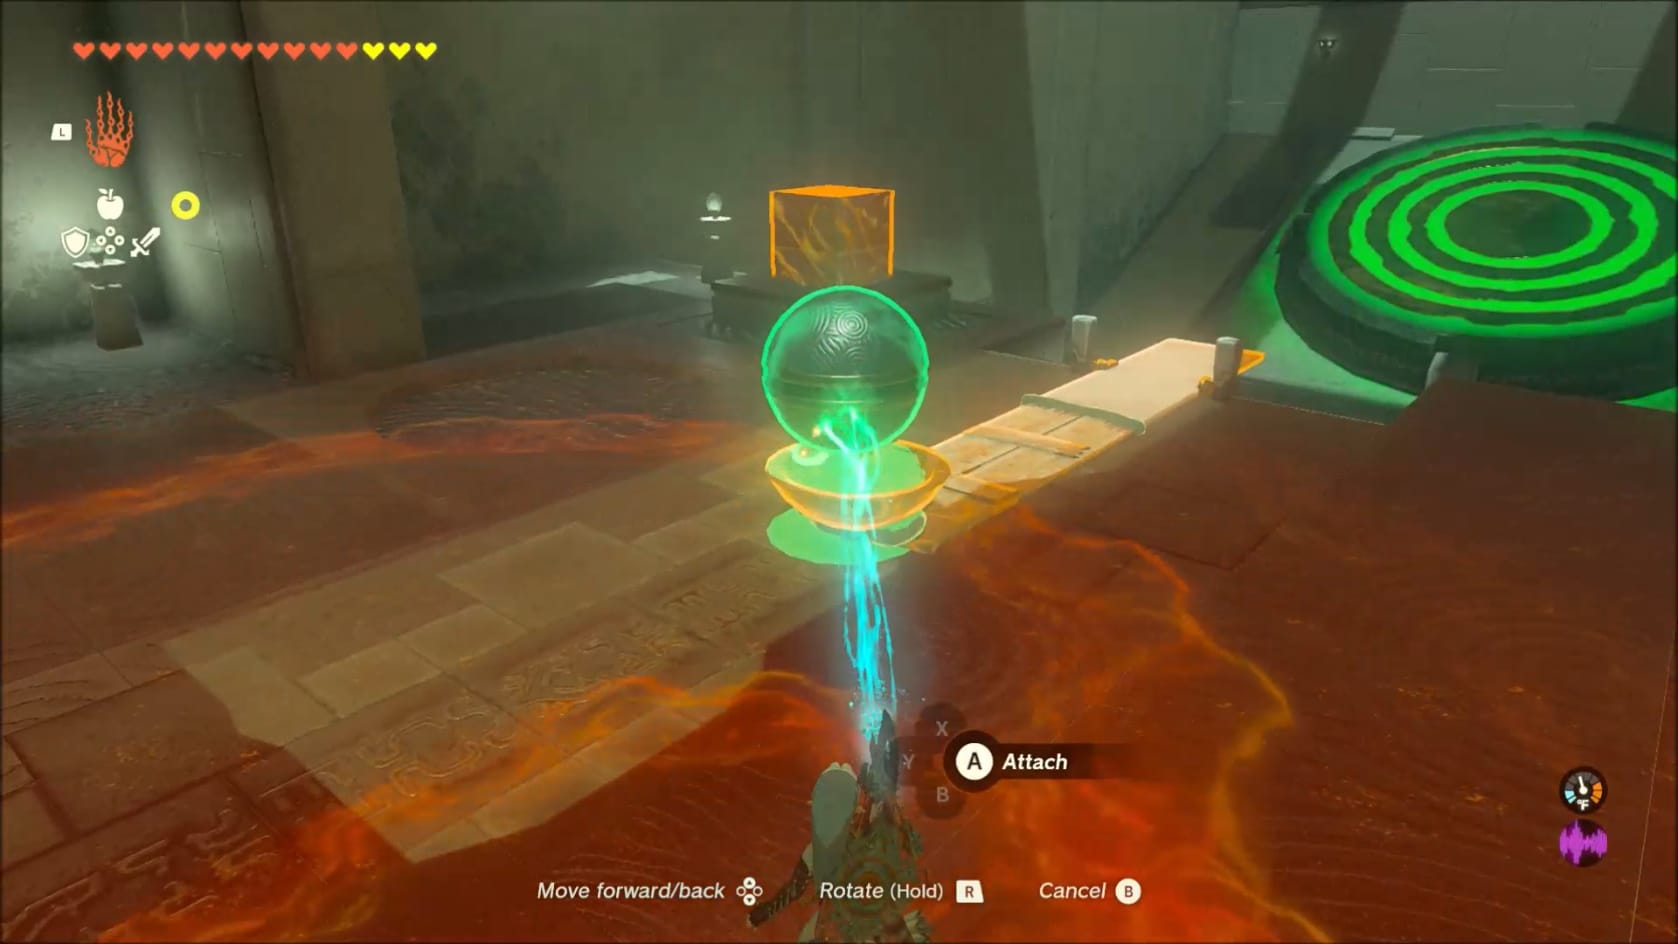
With the Gate up and the Wooden Plank available, it’s time to revise the launching lever. Grab the Plank with Ultrahand and connect it to the closer end of the lever. Break the dish loose from the lever. Connect it to the closer end of the lever.
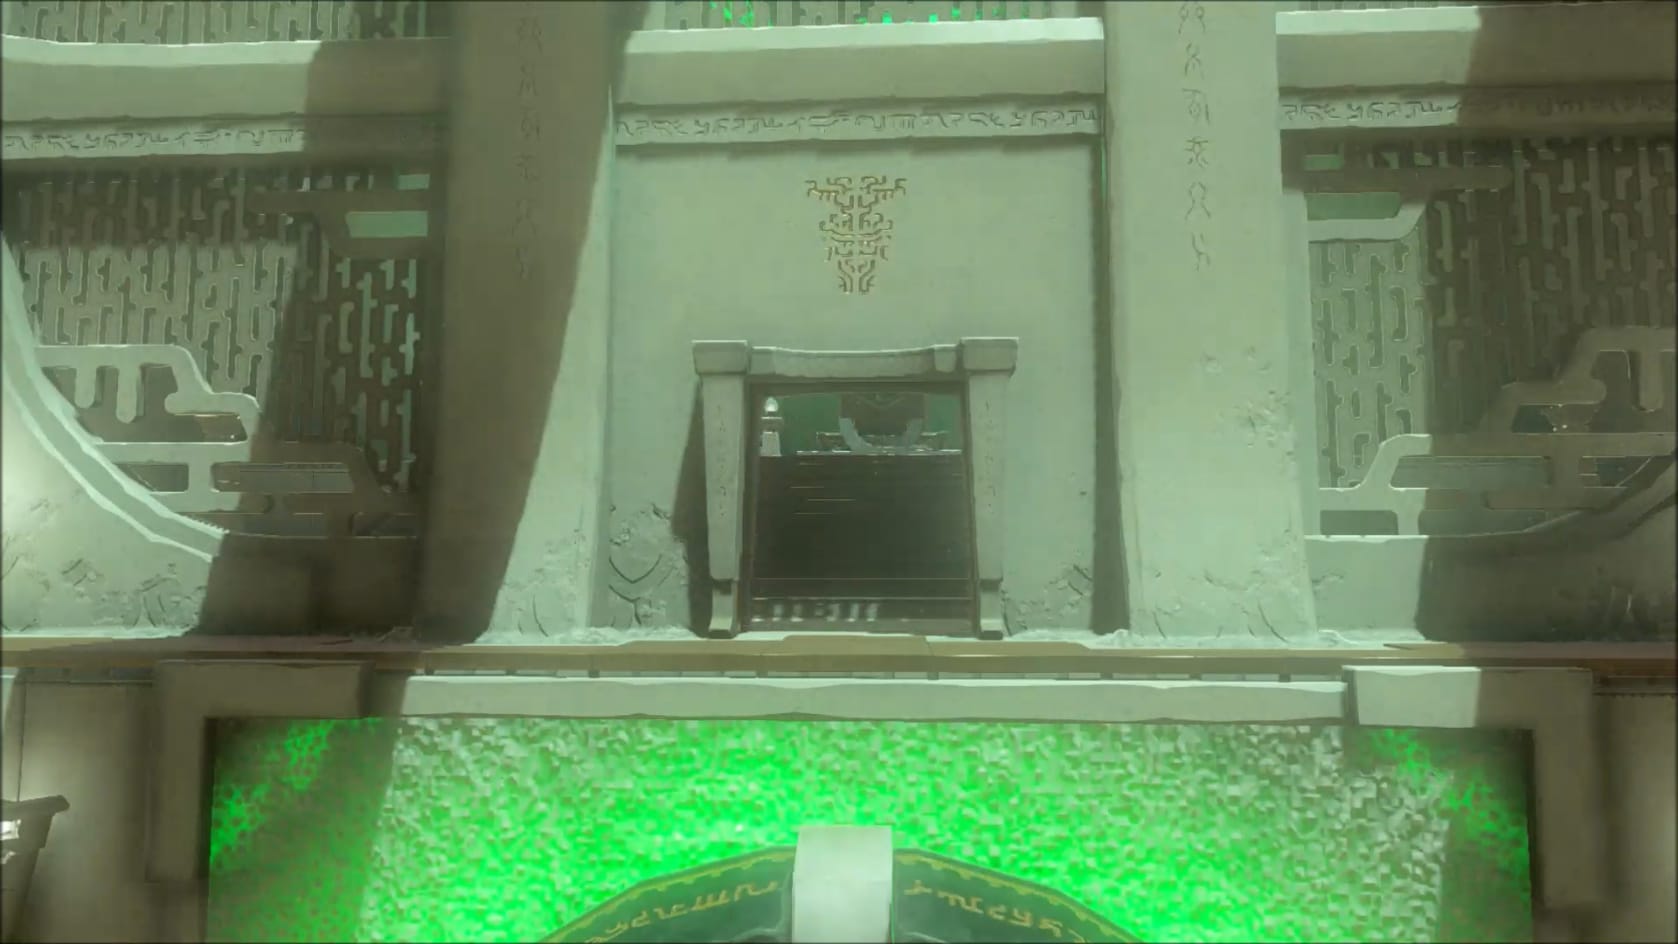
Grab the Sphere and set it into the dish. Once again, grab the Cube and drop it, from a height, onto the far end of the lever. This will launch the Sphere to hit the higher target. This will open the gate above the targets.
Reach the Innermost Chamber
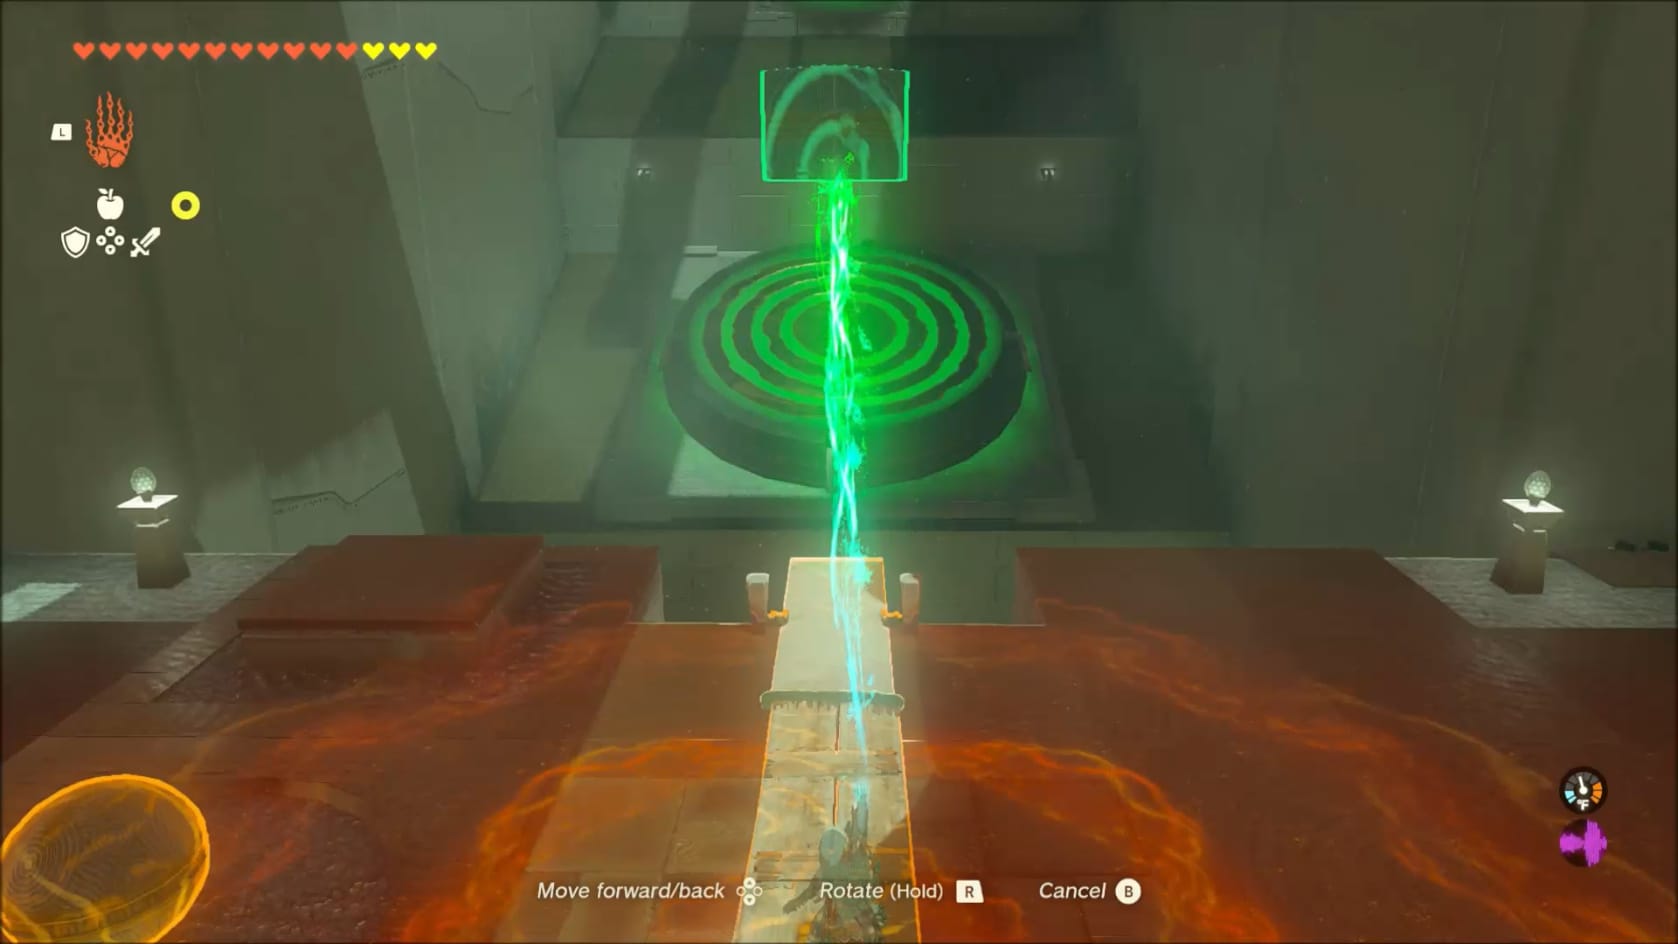
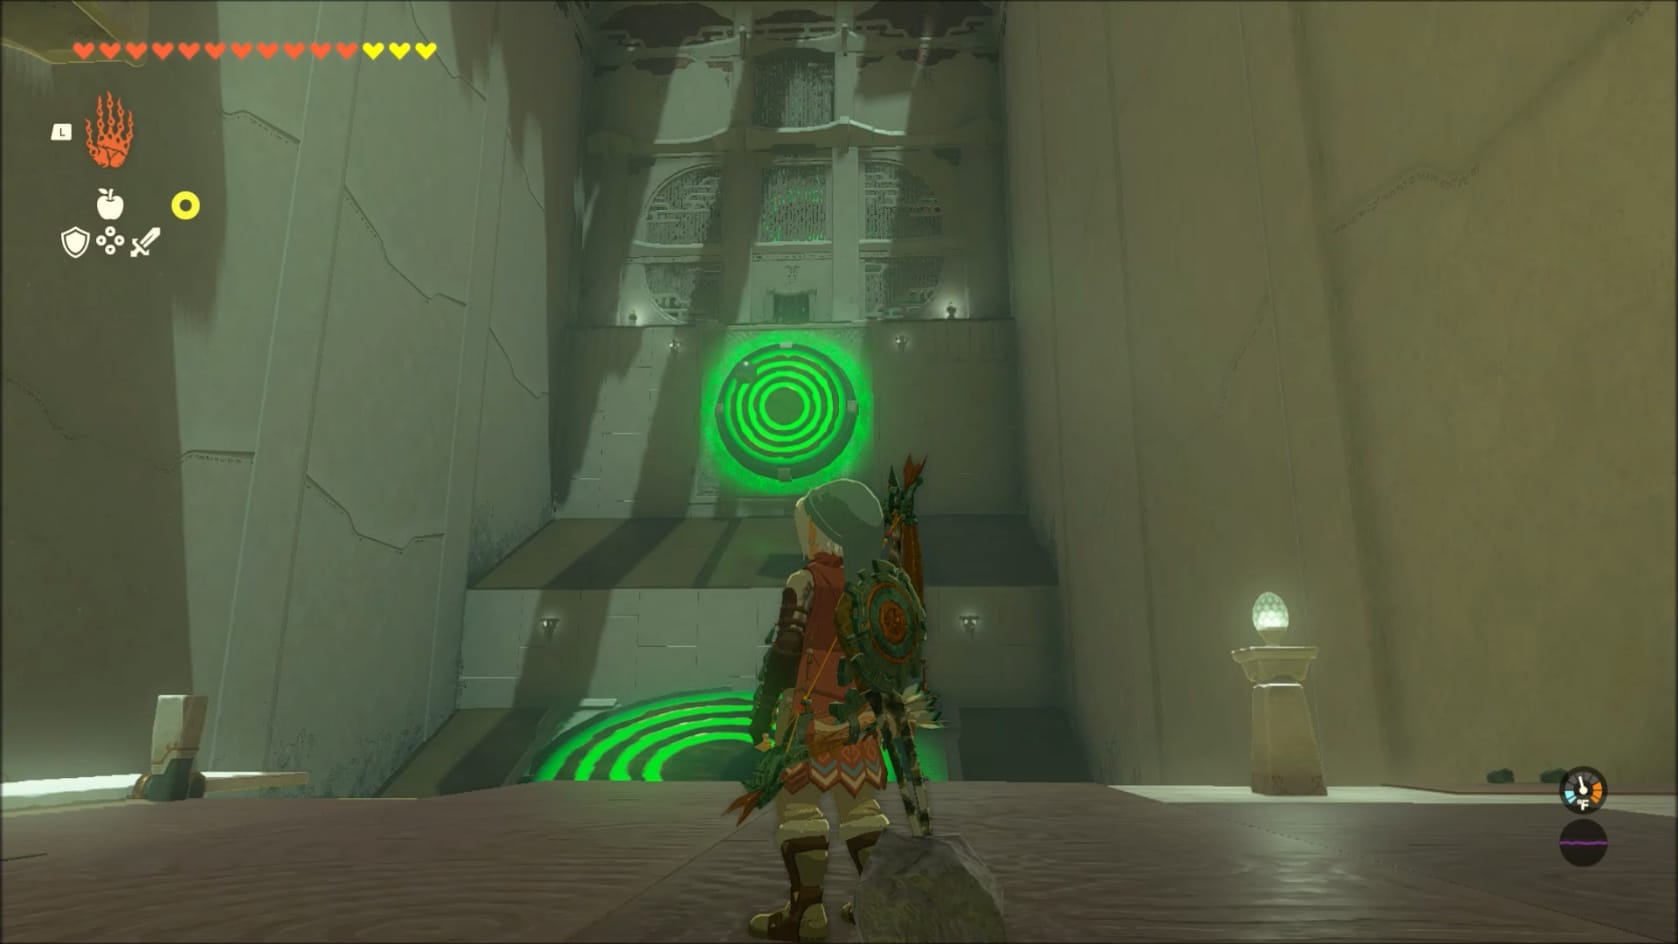
Finally, break the dish off. Move to the closer end of the lever. Grab the Cube and drop it, from a height, to launch Link. He will sail high. Use the Paraglider at the apex of the arch to start gliding.
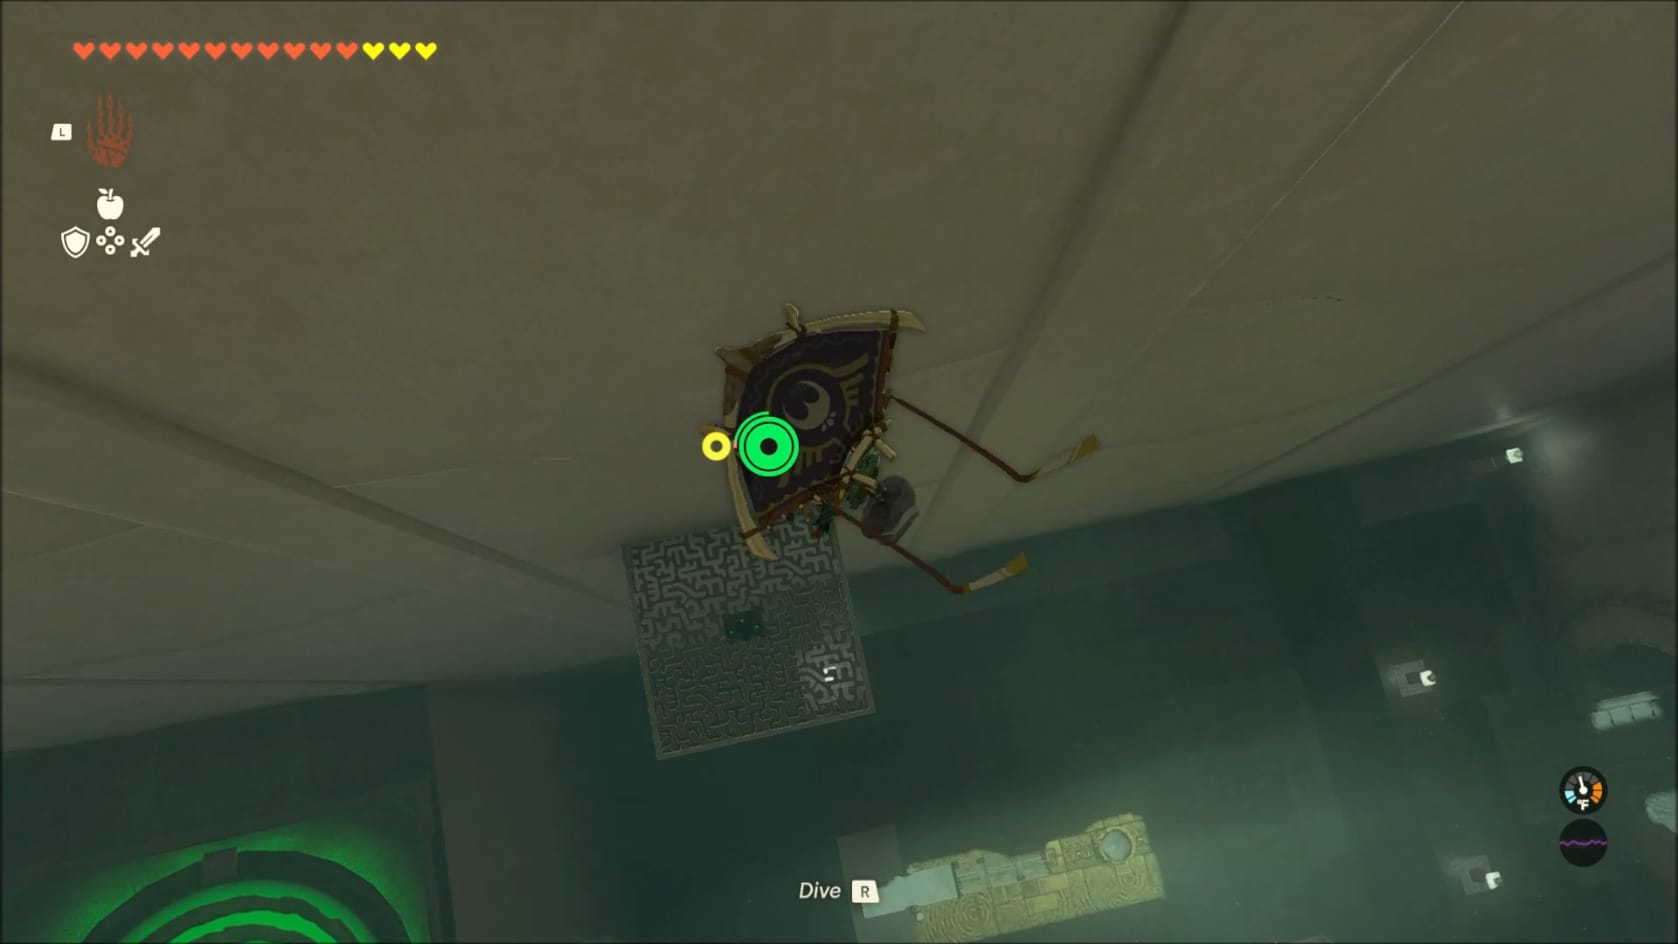
Before going across the room, look to the right-hand side of the room. You’ll find a high platform that you can easily now. Land on it. Open the chest to claim the Spicy Elixir inside it.
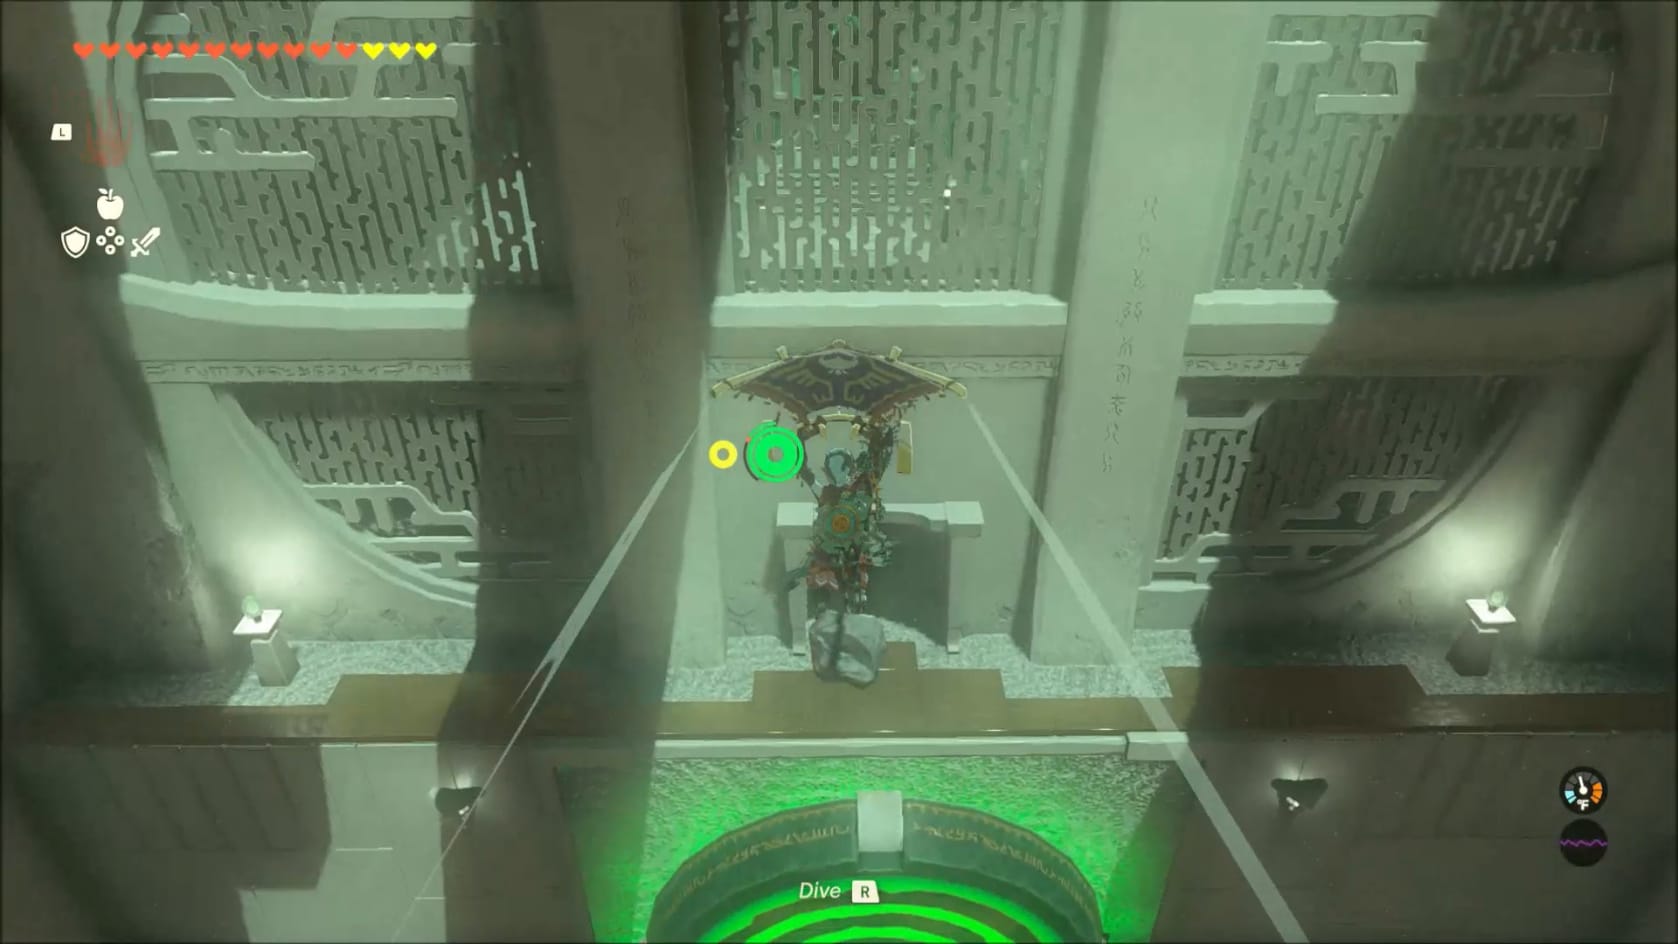
Reposition yourself on the lever once again. Launch yourself across the gap. Use the Paraglider at the apex of the launch to ensure you have the distance. Glide forward and you will easily reach the Chamber.
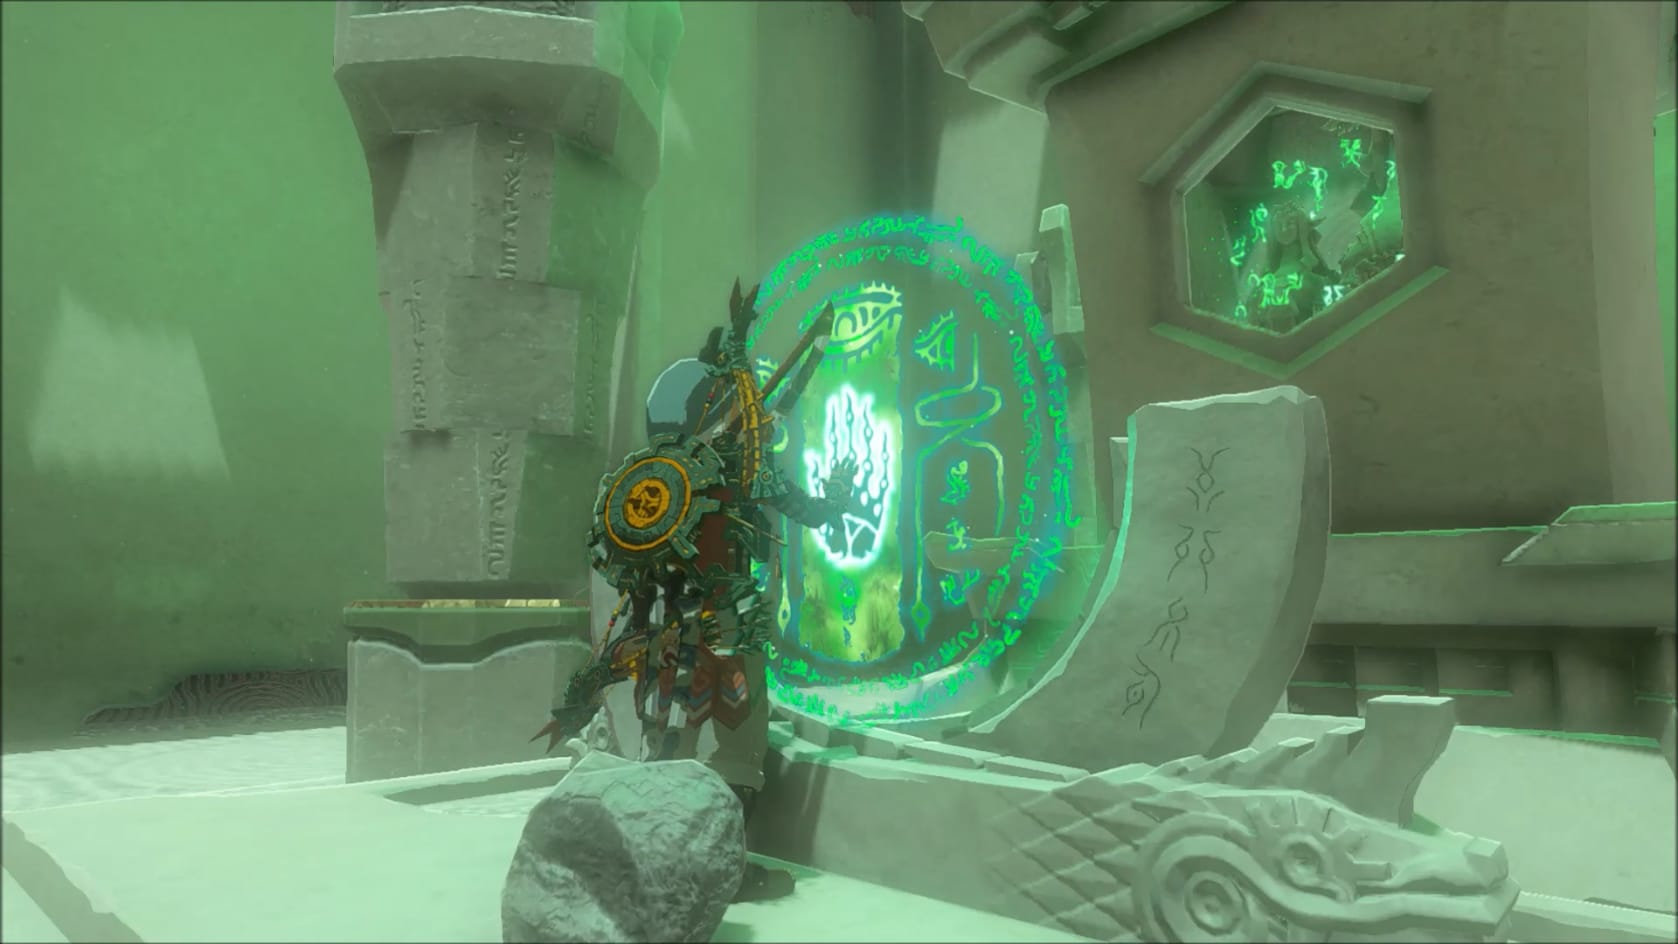
Having made it to the base of the innermost chamber. Just inside. Take the stairs on up. Approach the Glyph and interact with it. This will grant you a Blessing of Light and complete the Shrine itself.
Video Walkthrough
Video Walkthrough