Oblivion Remastered – Capstone Cave Guide
Battle through bandit-filled tunnels and deadly traps in Capstone Cave west of Bruma. Explore the Great Gallery for hidden chests, ambushes, and dangerous traps.
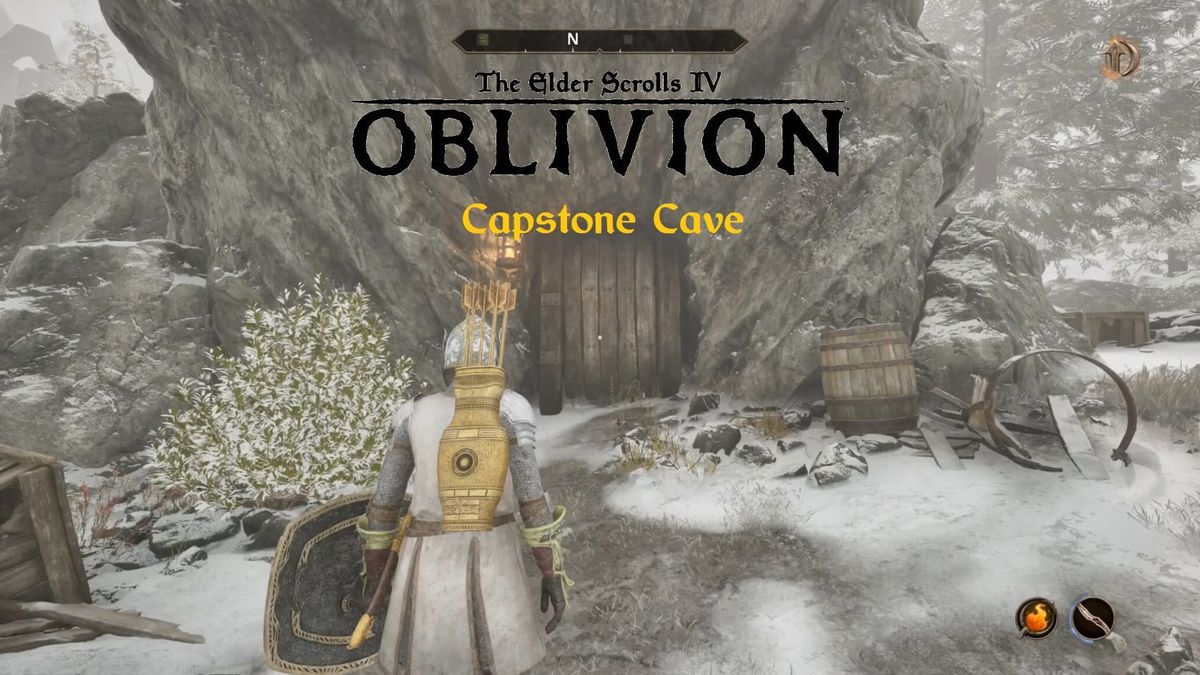
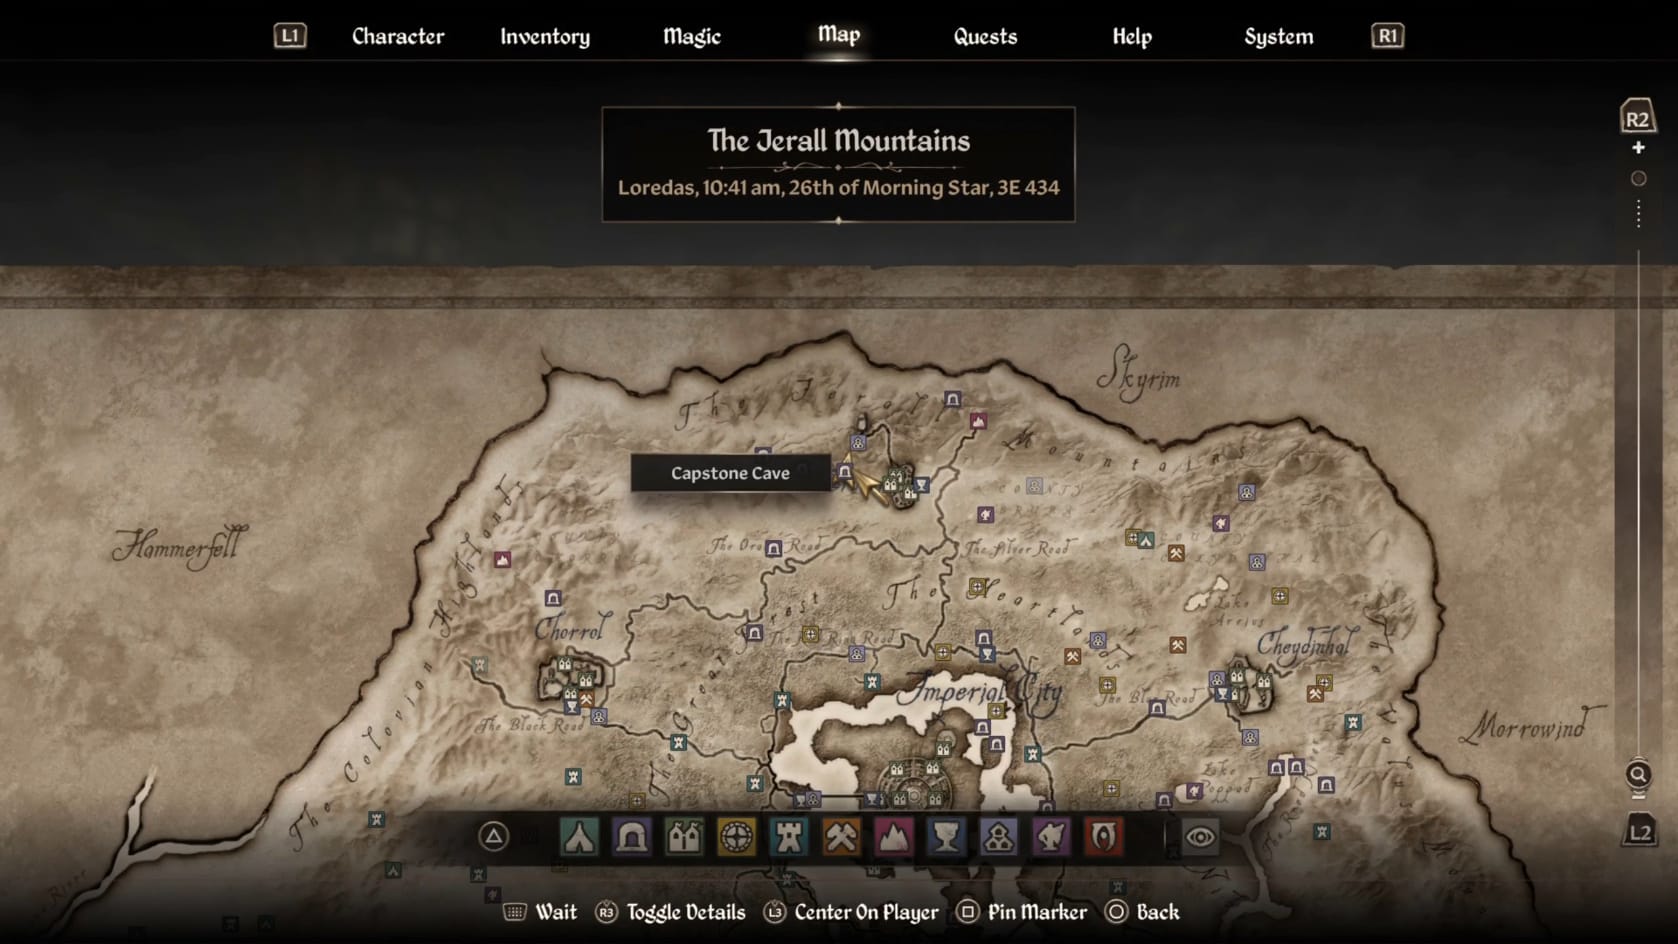
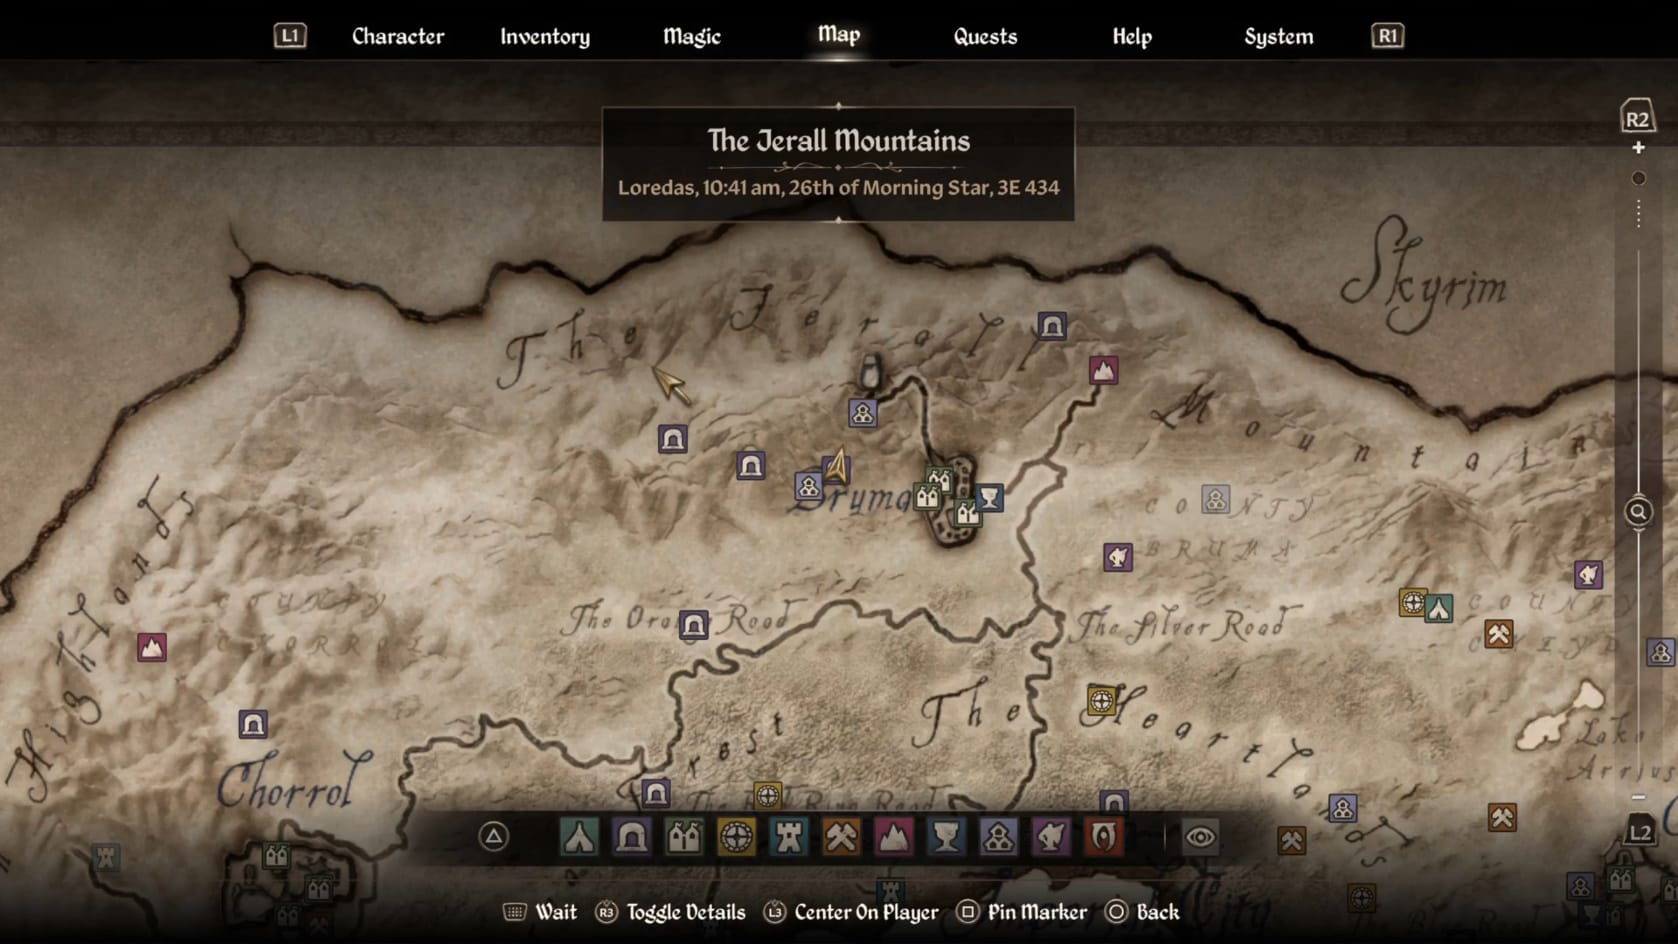
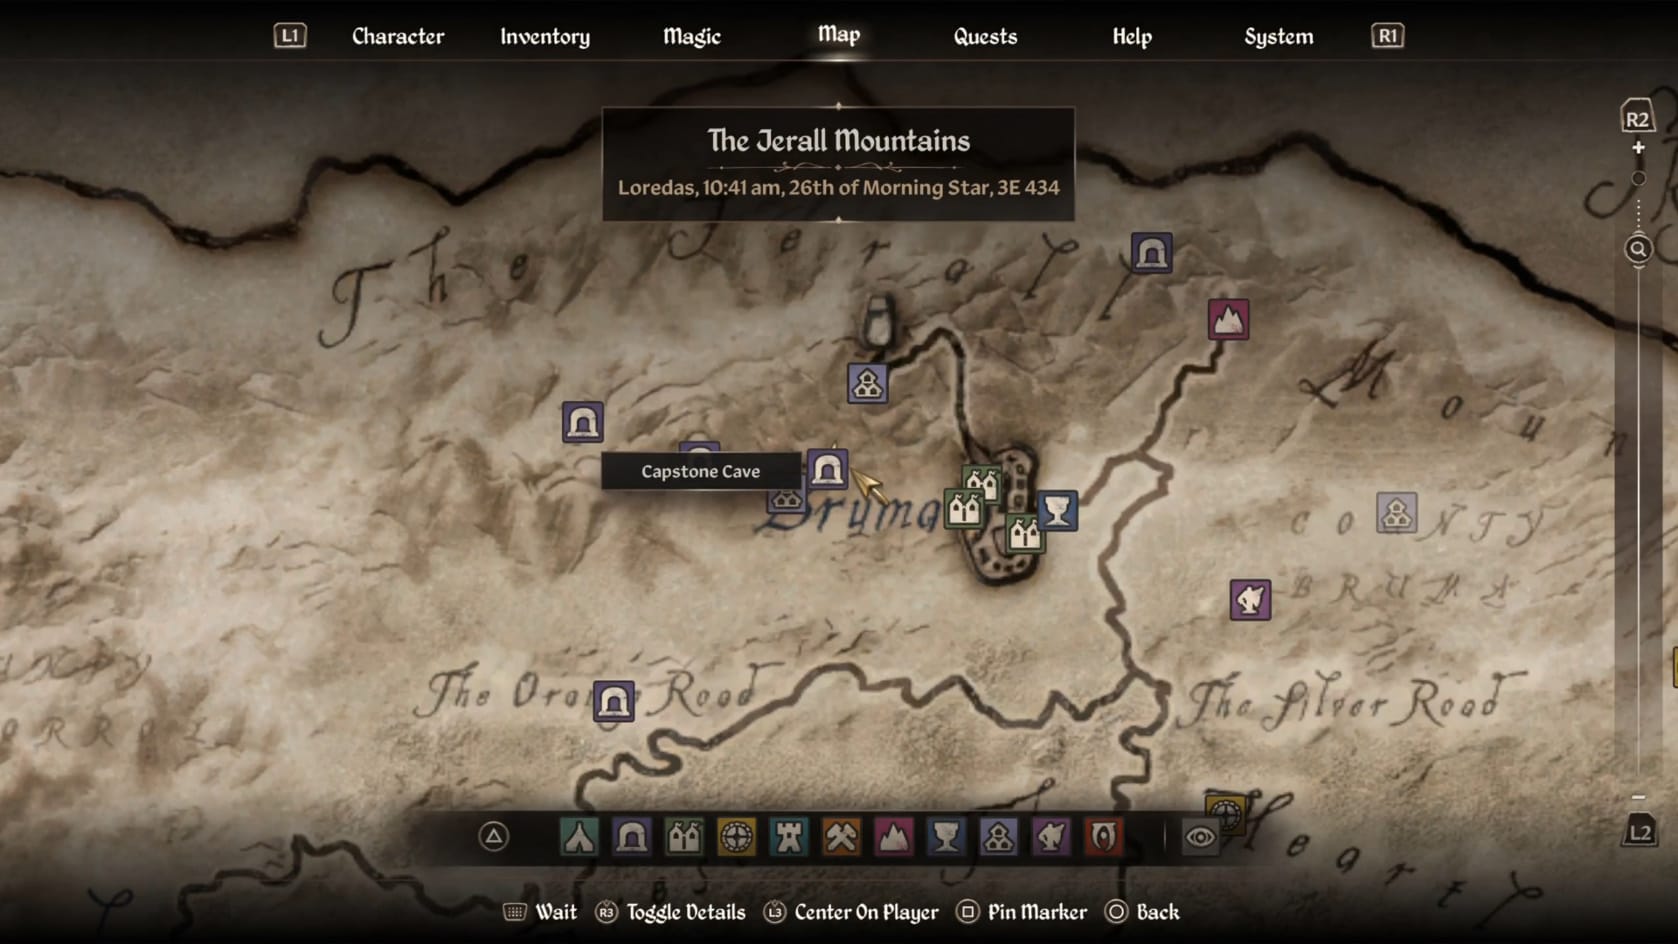
Location of the Capstone Cave
Capstone Cave is found West of Bruma. It’s commonly filled with Bandits for the Hero of Kvatch to fight through. The cave itself has 2 areas: Capstone Cave, and the Capstone Great Gallery. You can find a number of herbs and mushrooms around the entrance of the Cave itself. You can encounter Bandits, Wilderness Creatures, or the odd Imperial Legion Forester. There are Iron Arrows that can be found just above the door that leads into the Cave itself.
When you’re ready, just head inside to begin this cave.
Capstone Cave
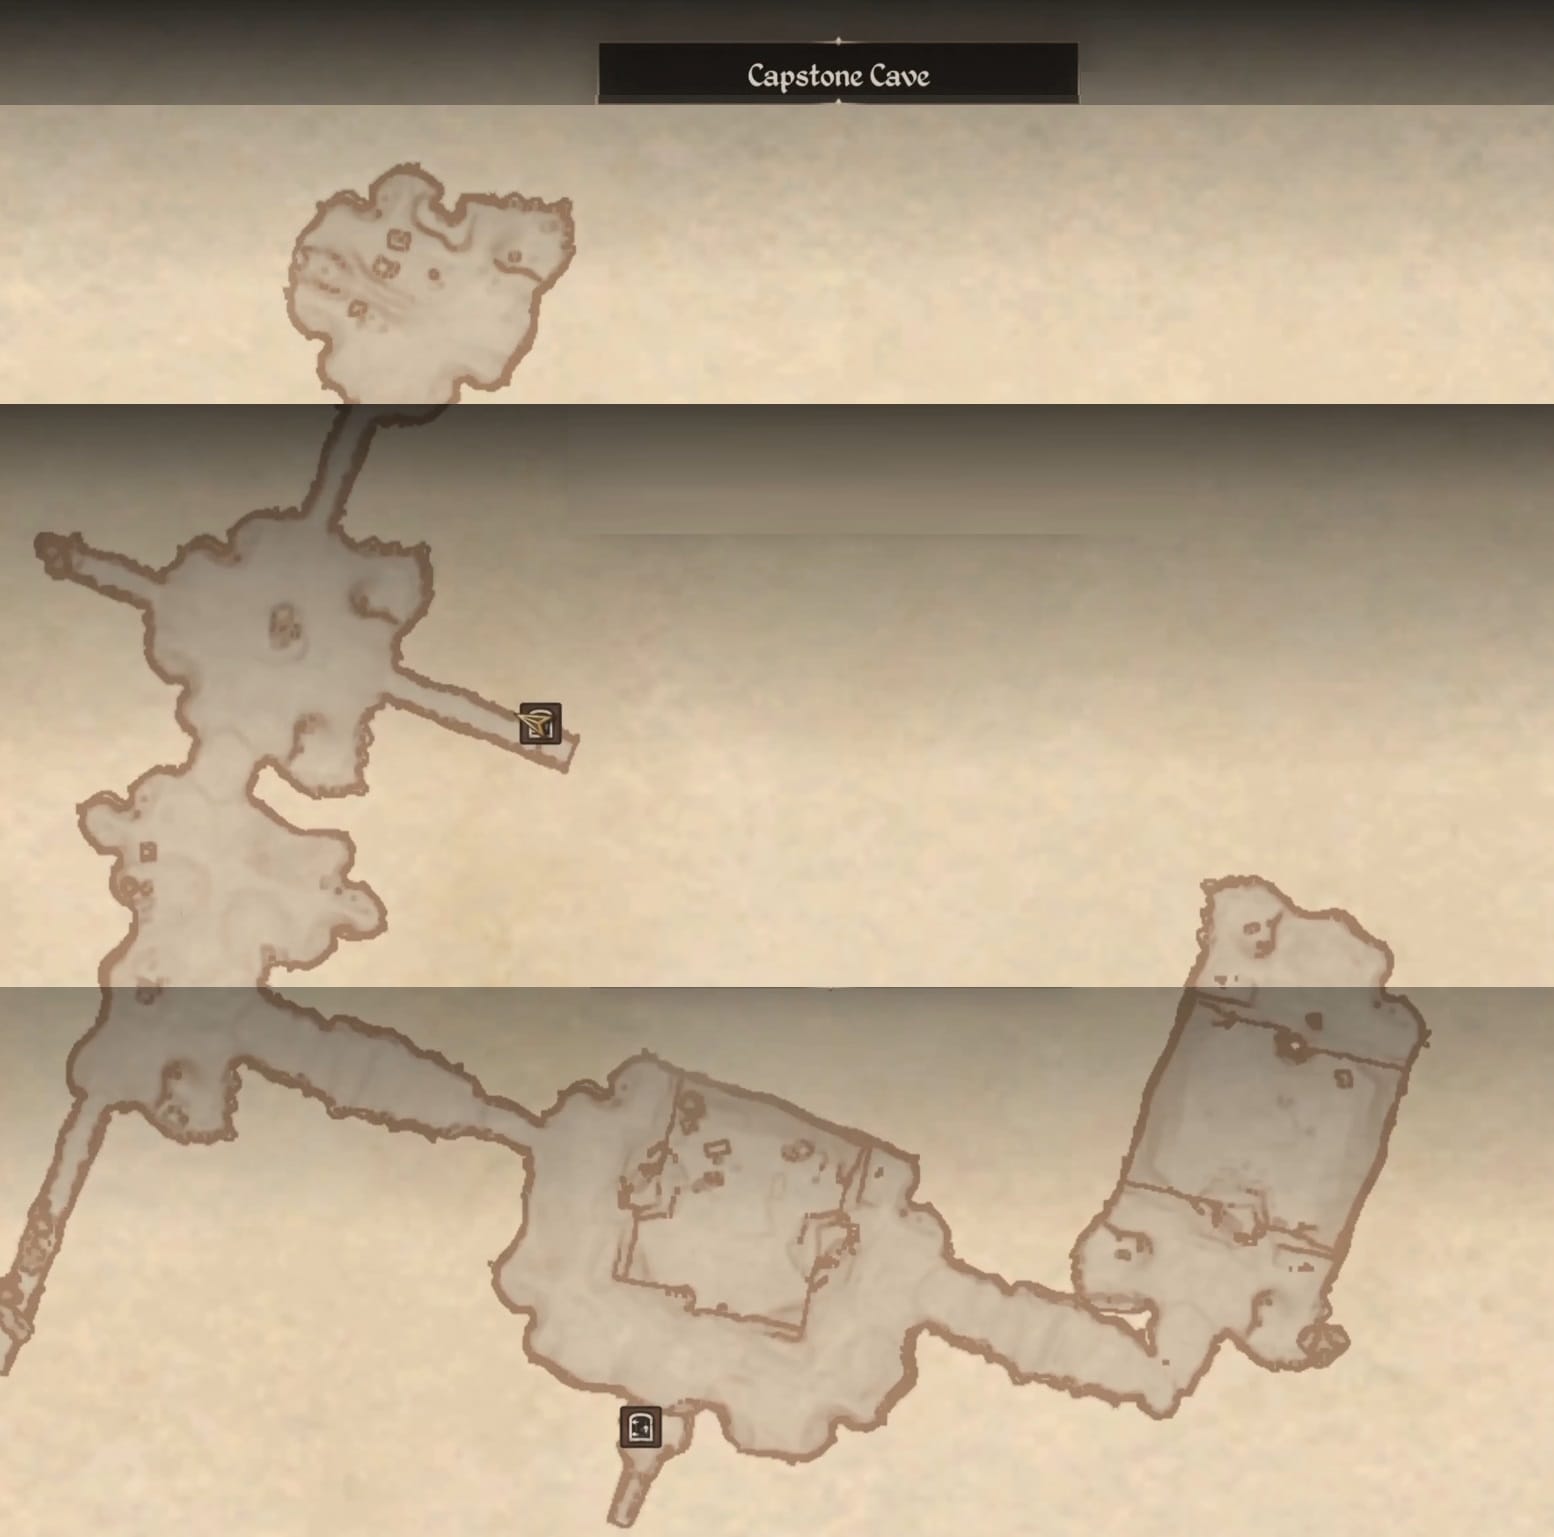
Start by carefully heading forward toward the first chamber. Likely there’s a Bandit waiting for you there. Look to the left of the campfire to find a Locked Chest (Average) sitting there for the picking.
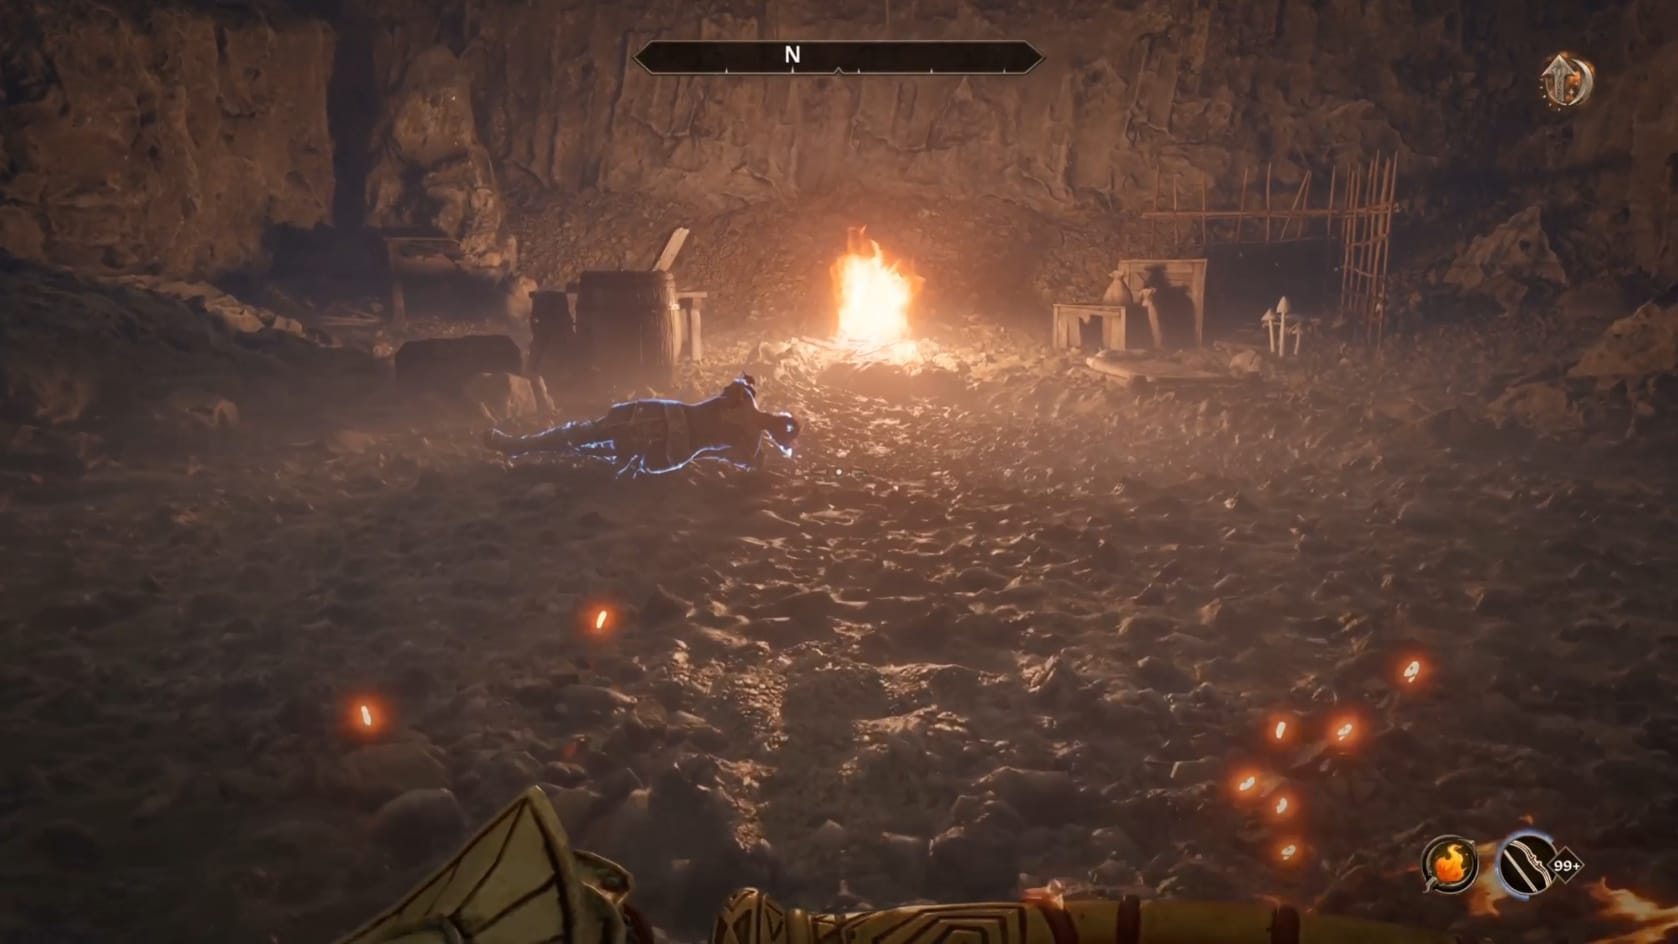
Turn to the East after that and head on up the slope. You’ll find a tunnel leading into the next chamber. There’s likely another Bandit (and possibly a nuisance animal alongside them). Either way, follow the path to the next chamber.
The second chamber of this cave is large. There’s a pit in the middle of it, taking up most of the area. Otherwise, you’re using the (comparatively) thin walkway around it. More nuisance animals can be found in the pit of the room. Be sure to make your way to the Northwestern corner of the room to find another Locked Chest (Hard).
At this point, backtrack to the first chamber and exit it to the West this time. You’ll find another chamber is connected here. Search the corners of this first Western chamber to find more containers (and grain sacks) to loot. You can head to the South from this chamber, but it just leads to a deadline (but reveals more map). The path forward is to head to the North. Just 2 more chambers to explore on this level.
This middle Western chamber is sizable. Another Bandit or two are patrolling around so be on guard for them. Head to the middle of the chamber to find a Chest. After that, search around the edges of the chamber before we head briefly into the Northernmost chamber of this section.
In this chamber, there’s a chance of another Bandit. However, you do need to be on guard for a floor trap. This pressure plate in the middle of the corridor exit triggers a swinging mace trap. It’s mostly a threat if you’re walking or running opposed to sneaking through. Continue into this Northwestern-most chamber. Search the middle of the area to find another Chest. There are a few other crates and containers to poke into here.
With that done, head back to the previous chamber to the South. You will want to go through the Eastern corridor this time. It’s a short walk and leads to the door that will bring you down into the Capstone Gallery.
Capstone Great Cavern
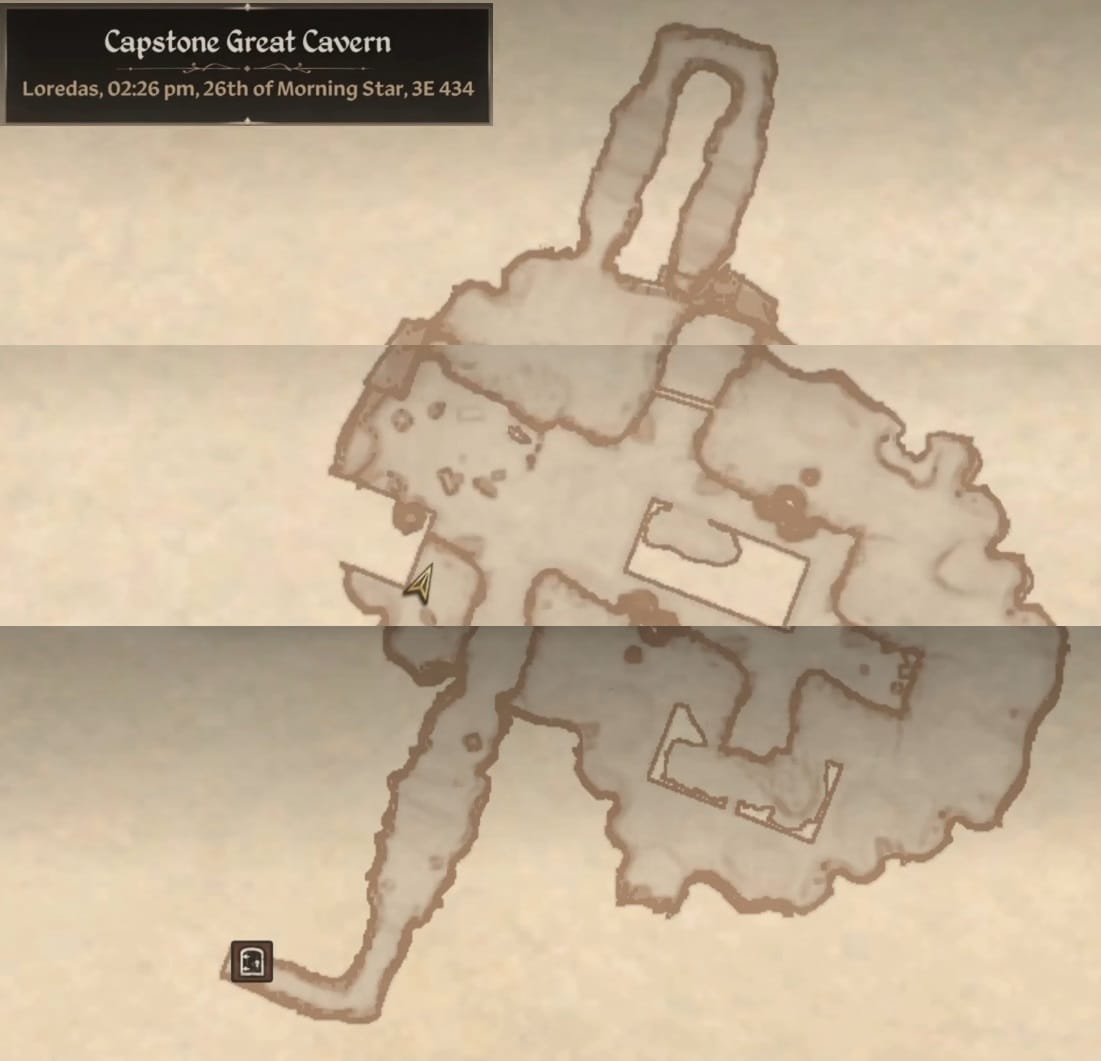
Inside the Gallery, follow the path forward and around the corner into the first chamber. Be mindful in your approach since there’s a Swinging Mace trap with a Pressure Plate just at the end of the corridor. Inside this chamber, there’s Cairn Bolete, but little else. Going forward brings you into the massive chamber that is the Gallery of this Cave.
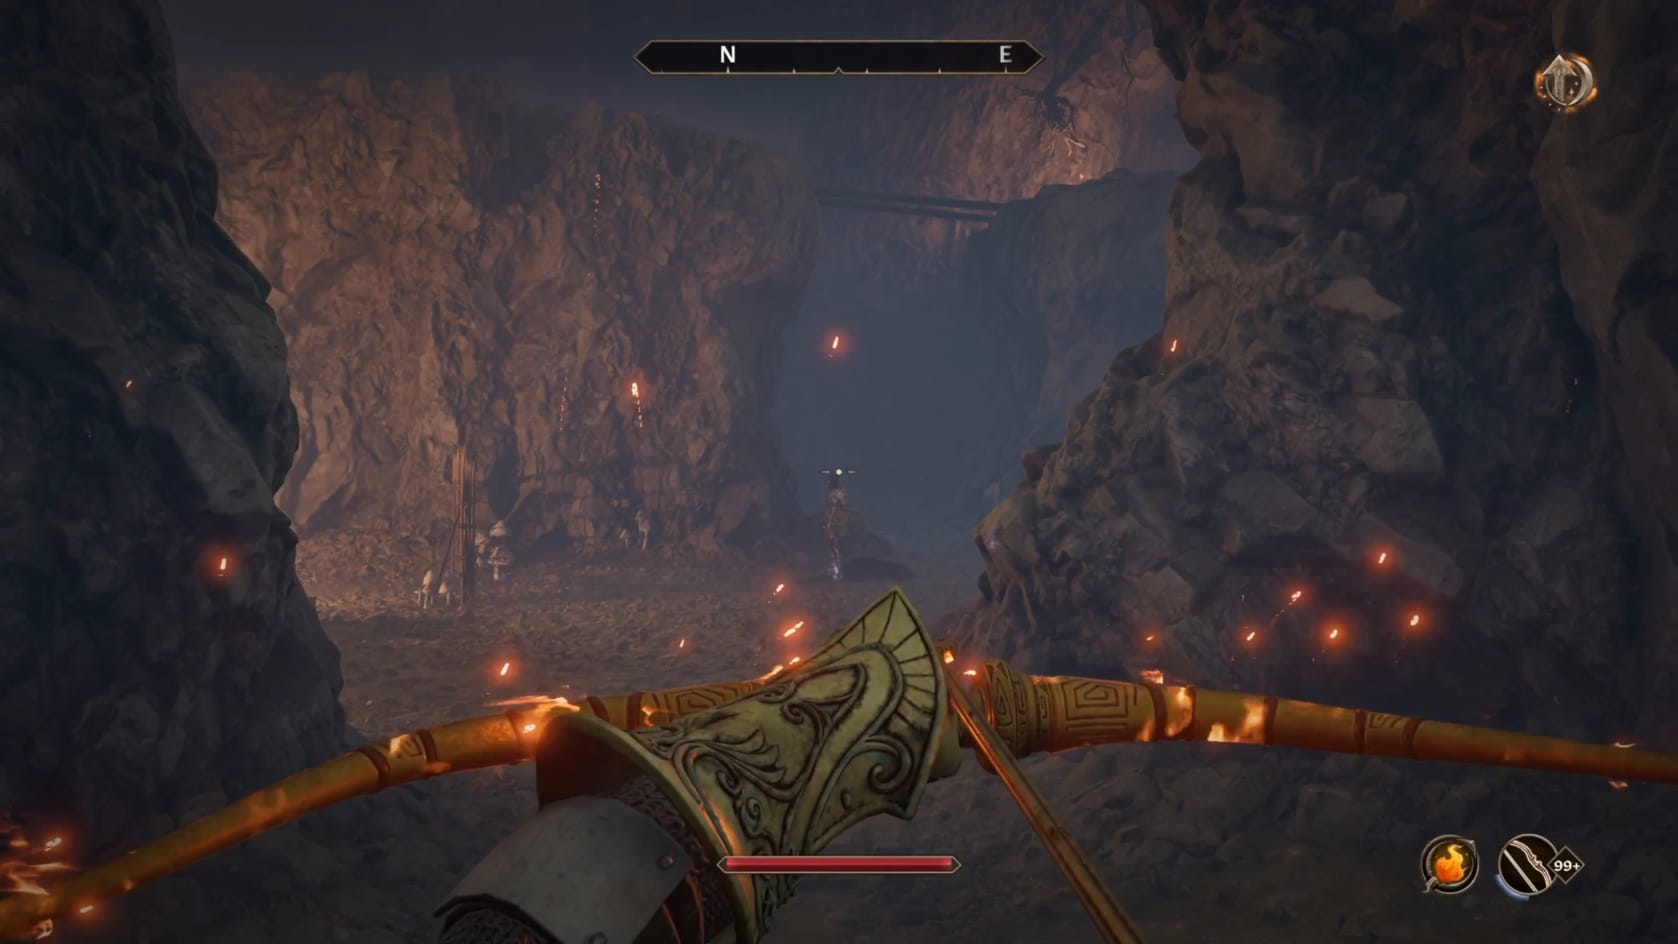
There are a number of Bandits scattered along the lower level of the Gallery, meandering around. Go to the West of this corridor exit to find their small camp here. Search nearby the fire to locate another pair of Chests. Head to the East to find a Watch position with barrels and another fire. To actually make progress here, you’ll want to head to the central Northern part of the lower area. You’ll find the corridor that will lead you upwards.
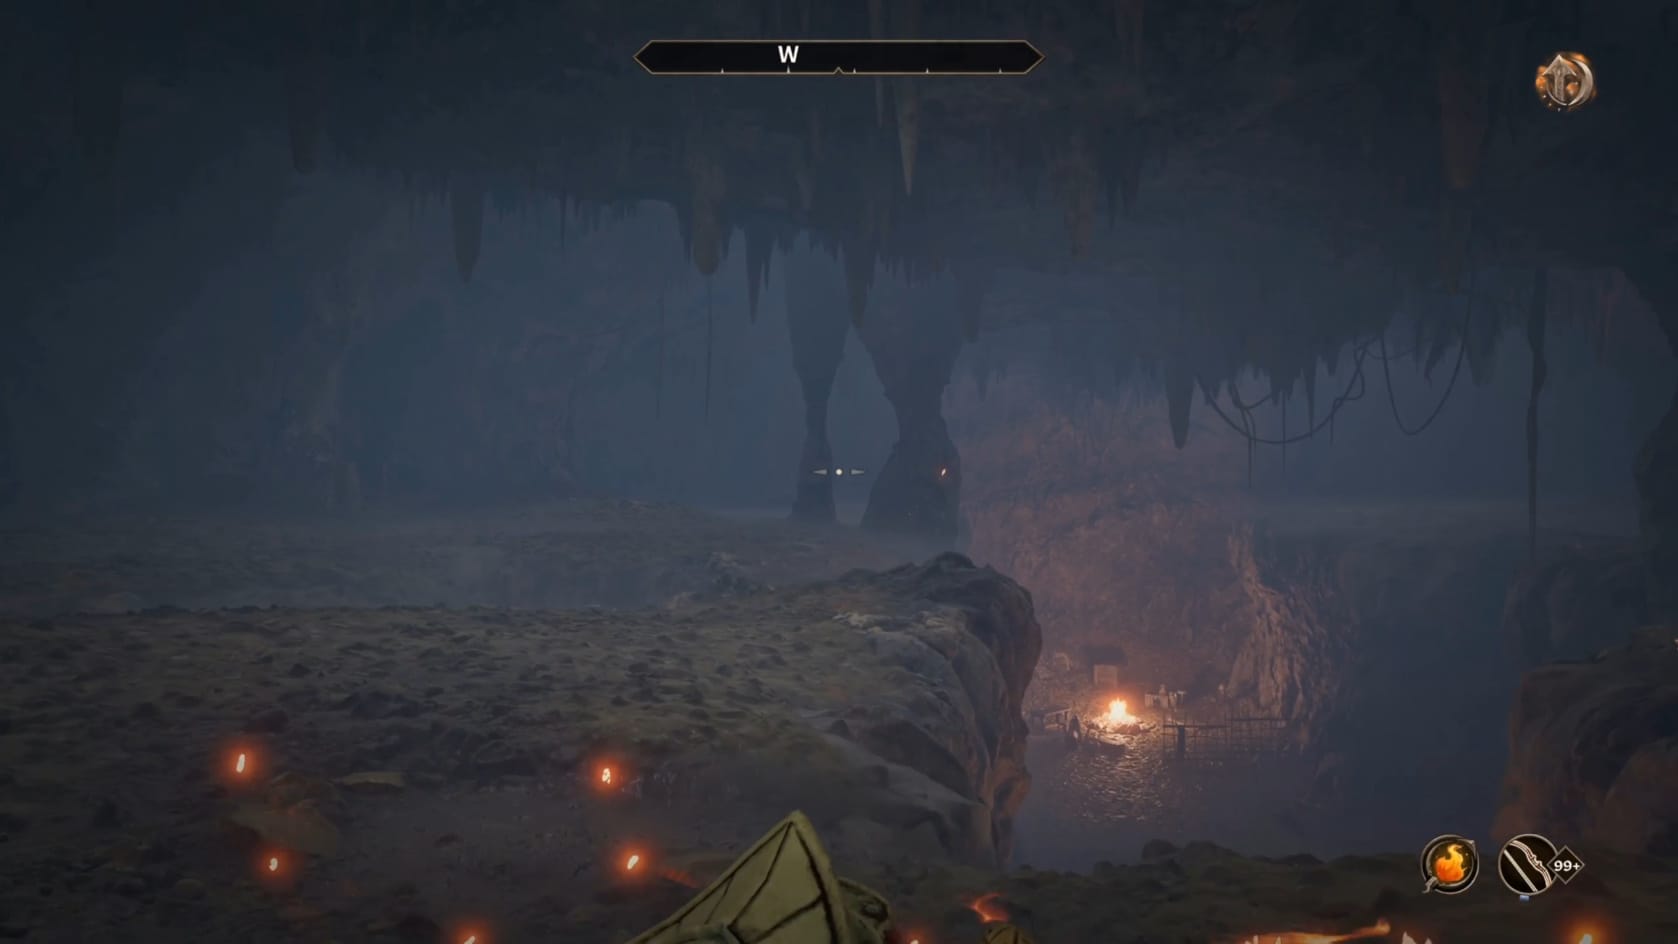
This is the last stretch to fully explore the cave. Turn to either side and start going around the top of the lower gallery that you were just in. Getting to the Northwestern corner of the upper level you can find another Locked Chest (Hard). Be mindful approaching this chest using its wooden ramp. There’s a pressure plate on the chest side connected to a Swinging Log Trap. Loot it for your efforts (especially if you had to quickly dodge the trap). But that will be it for this cave in the Jerall Mountains. Your map should be complete, making it fairly easy to drop back to leave the Gallery.