Oblivion Remastered – Dark Brotherhood – Affairs of a Wizard
Learn how to complete Affairs of a Wizard, the first Dark Brotherhood Dead Drop quest in Oblivion Remastered. Find the contract, eliminate Celedaen, and collect your reward in Chorrol.
This is the first of the Dead Drop Quests available through the Dark Brotherhood following the Purification of the Cheydinhal Sanctuary.
Summary
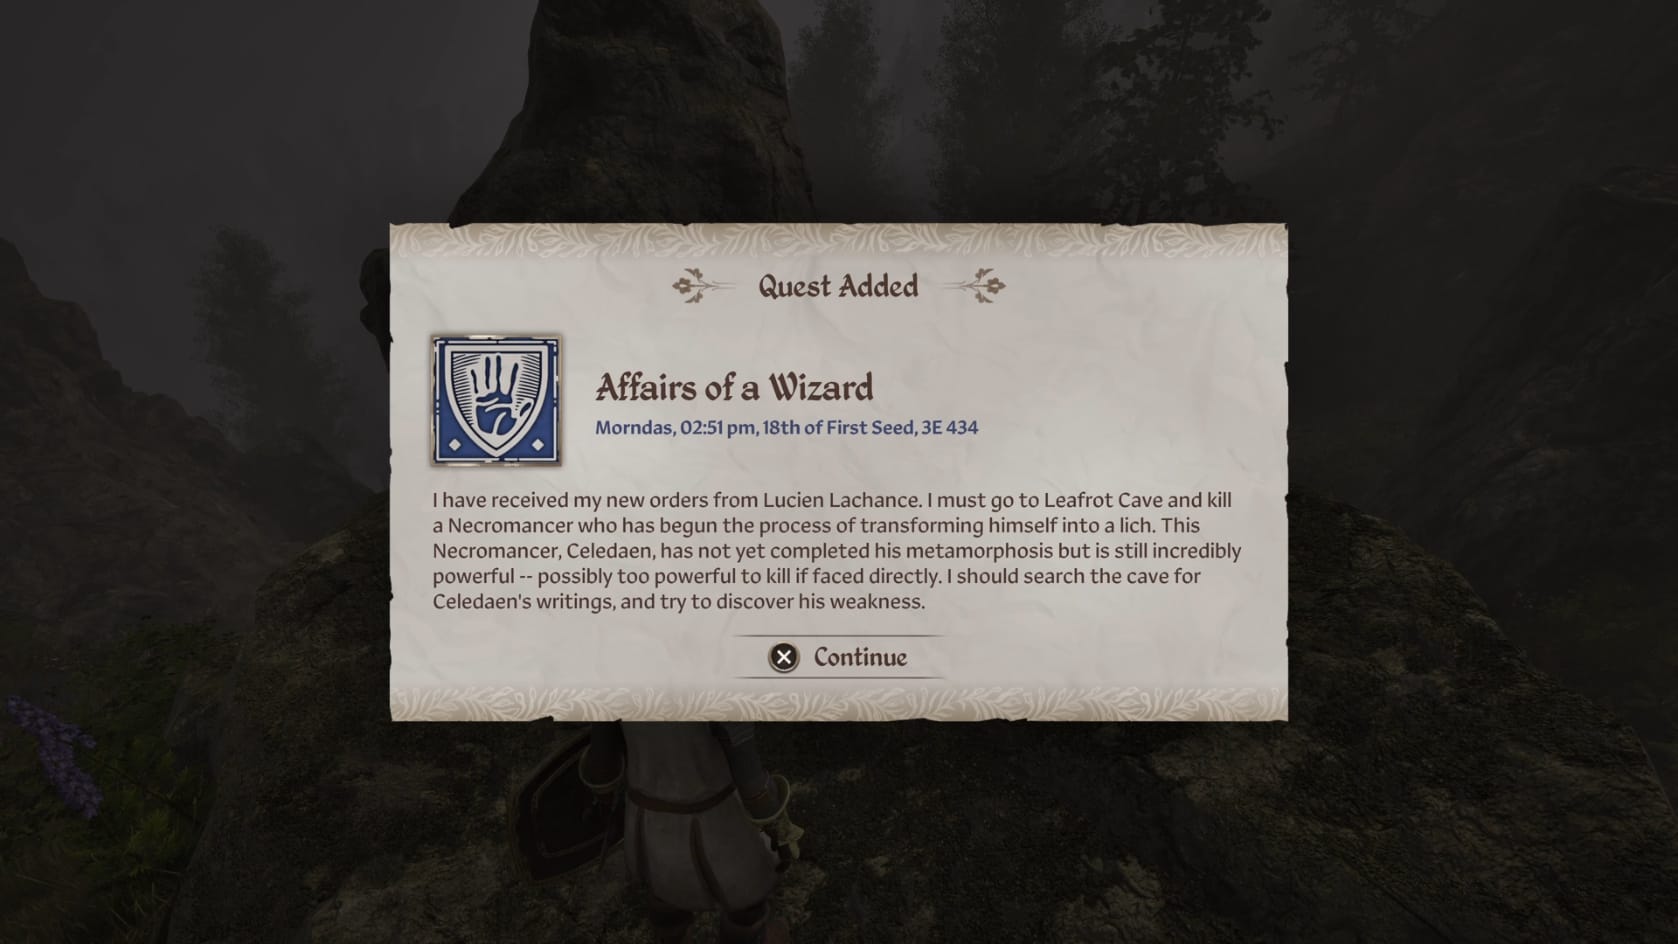
You are sent to Hero Hill to find your first Dead Drop Contact. Read the contract, and head to Leafrot Cave. Inside, you must learn how to kill the lich-to-be Celedaen. Defeat and kill Celedaen then head to the next Dead Drop under the Great Oak in Chorrol.
Walkthrough
Collect the Contract
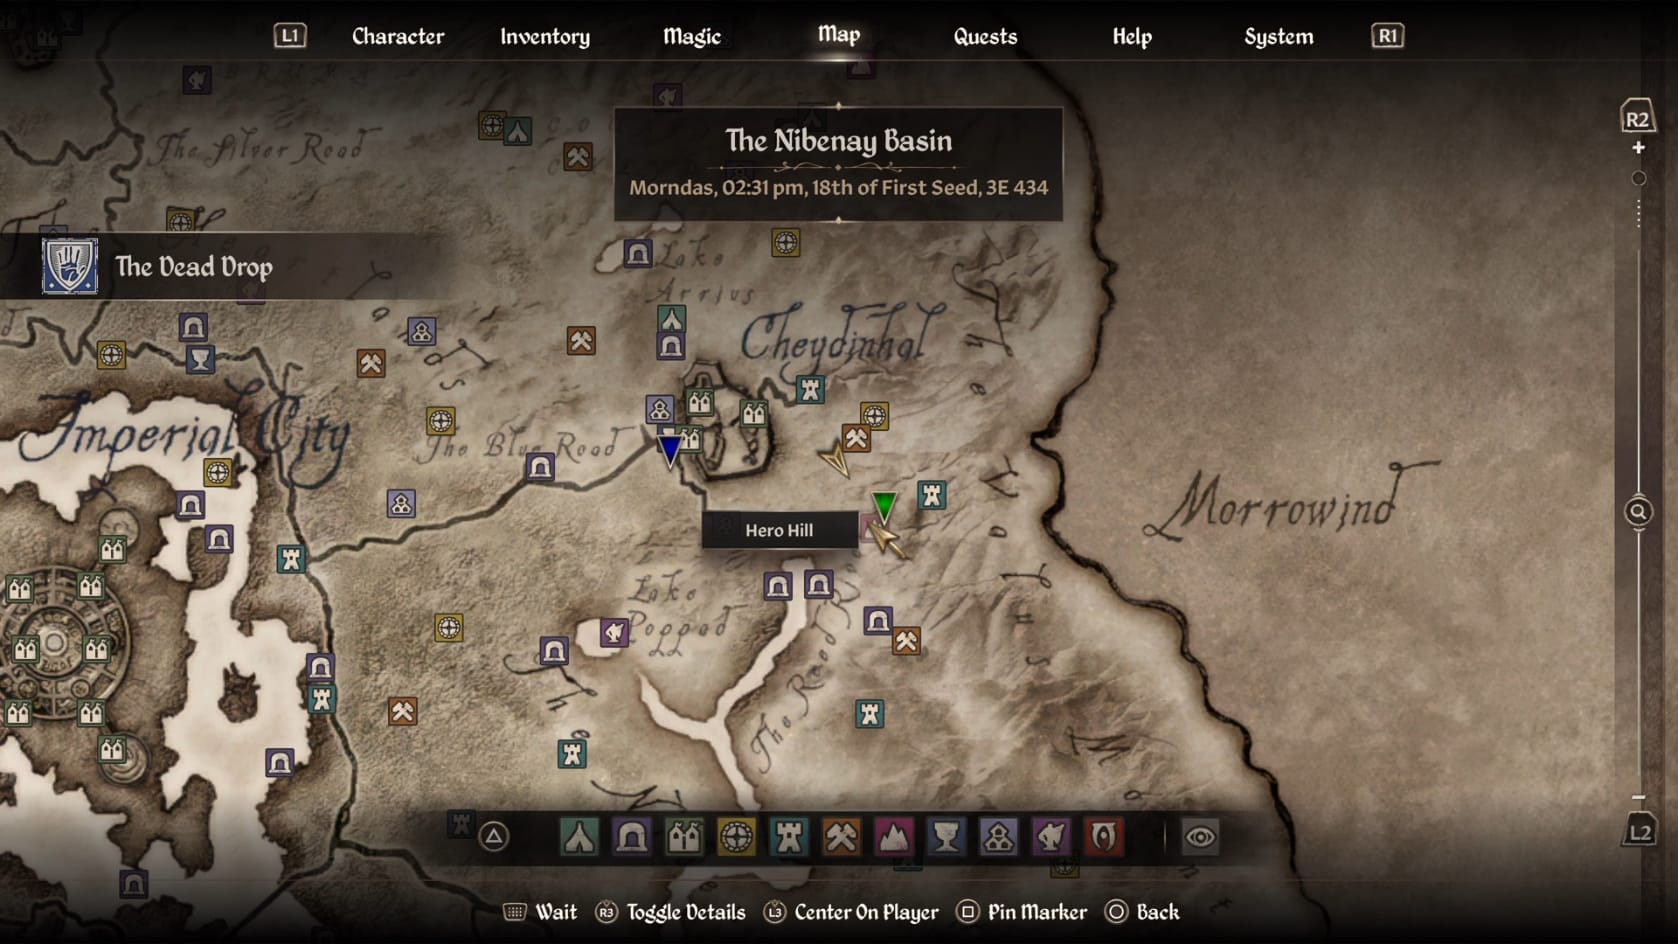
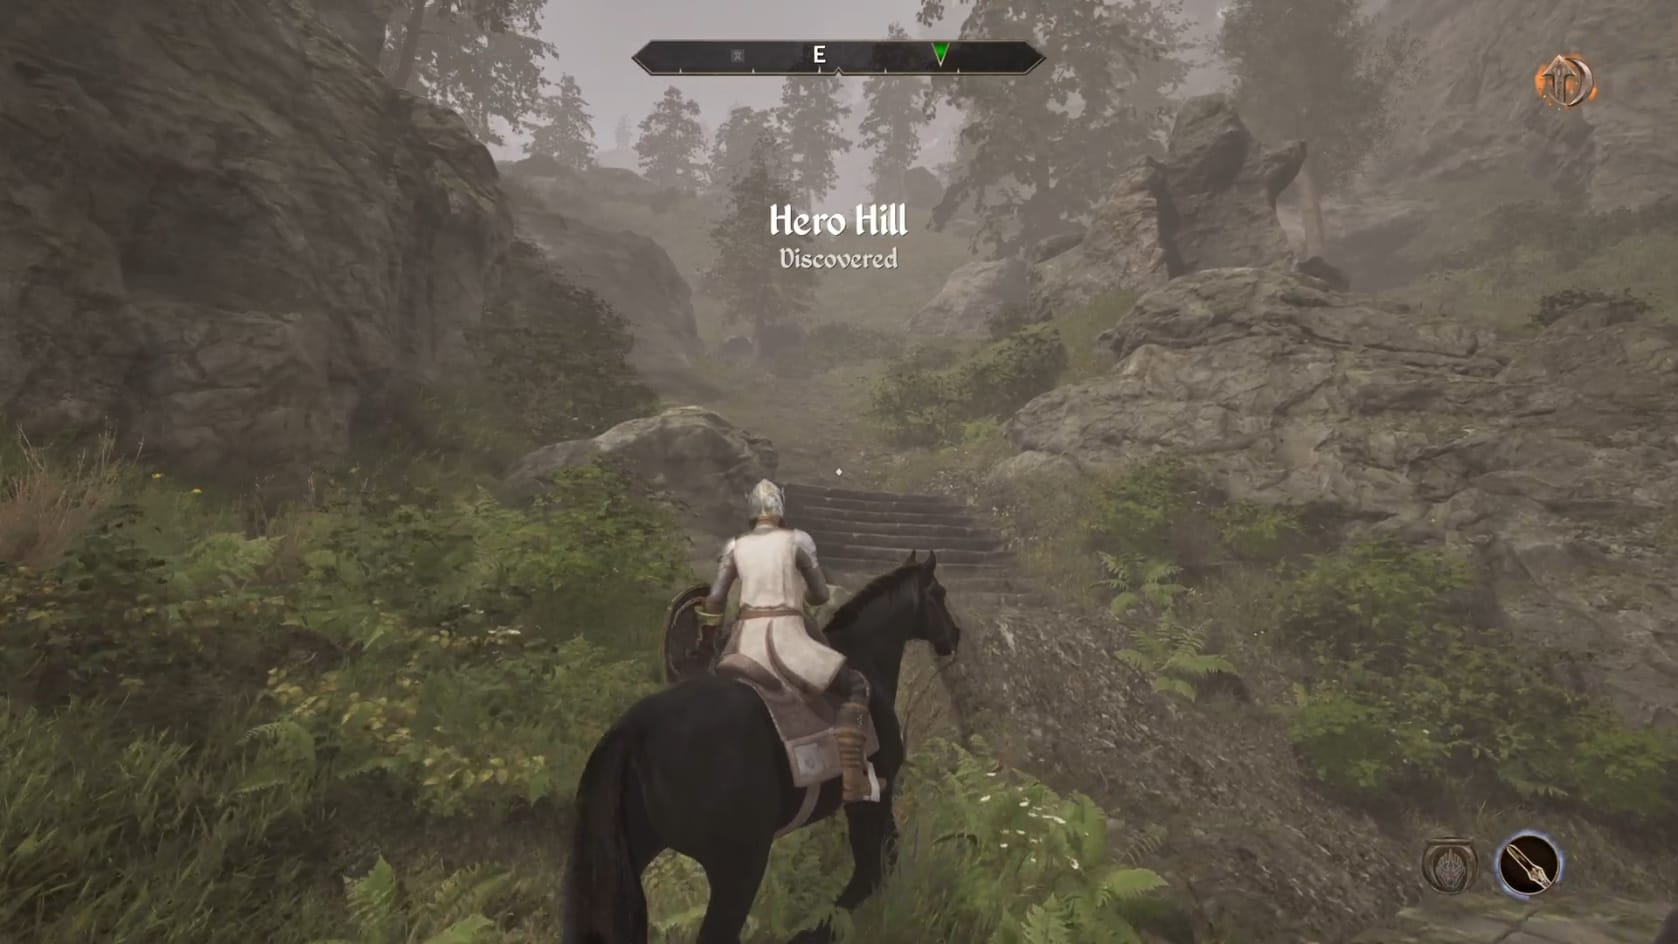
Head to Hero Hill and look for the rocks at the top of the stairs as you arrive at the location. Climb onto the rocks to the right of the stairs. Look for the Hollowed-Out Rock in the middle. Open it to find the Contract sitting within.
Travel to Leafrot Cave
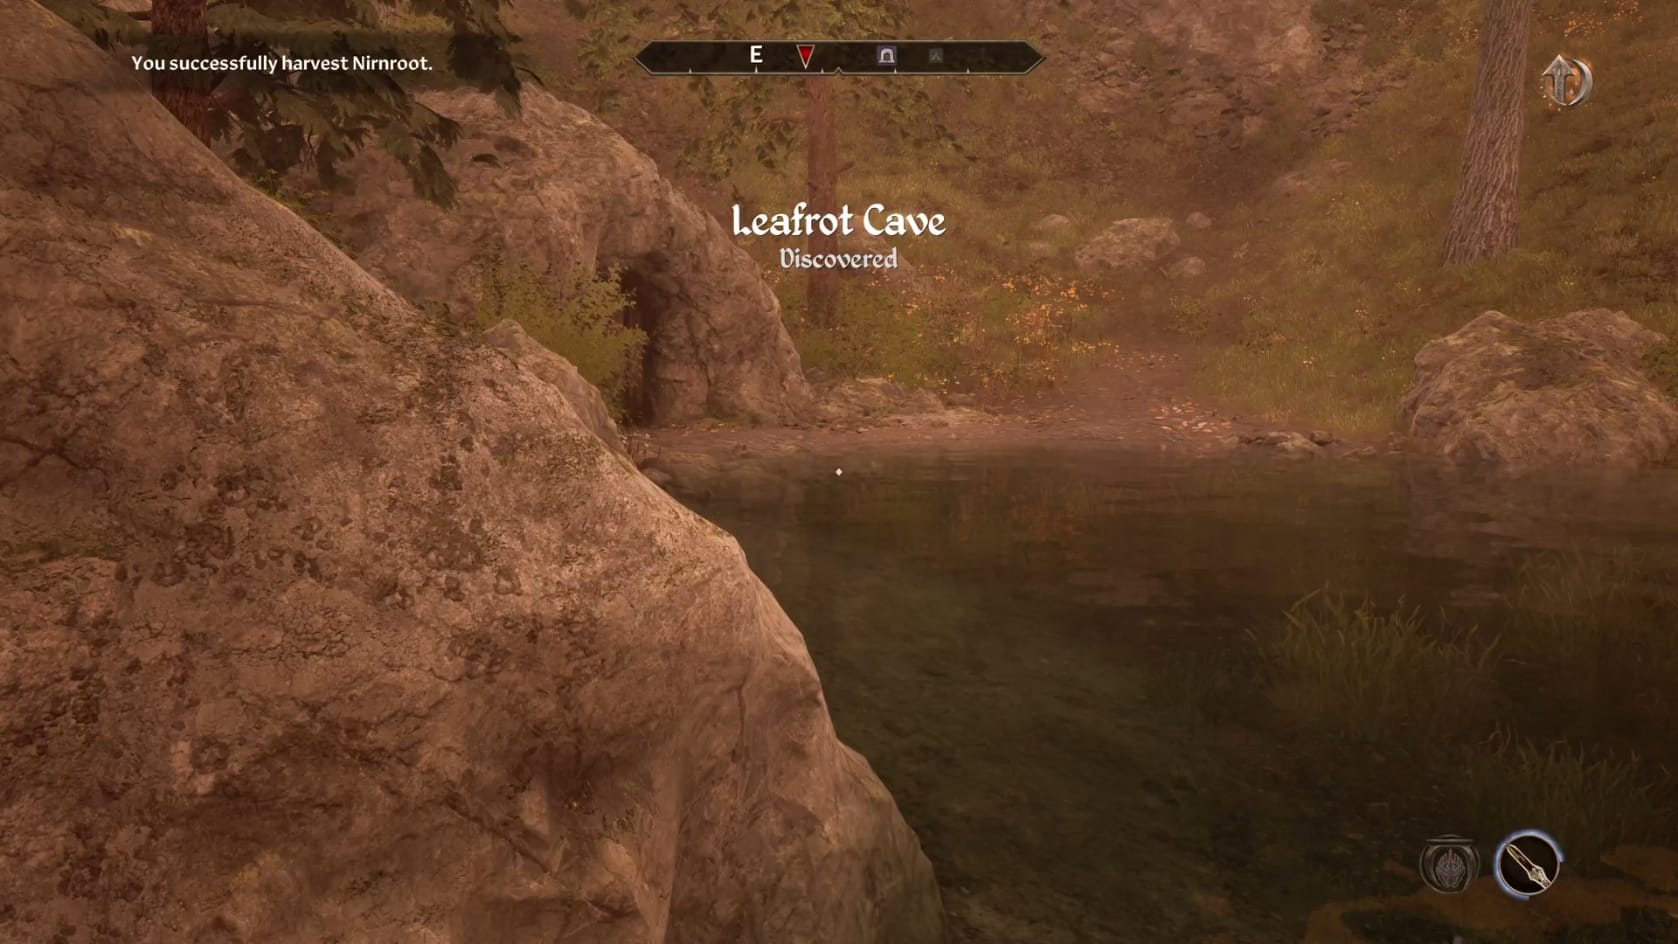
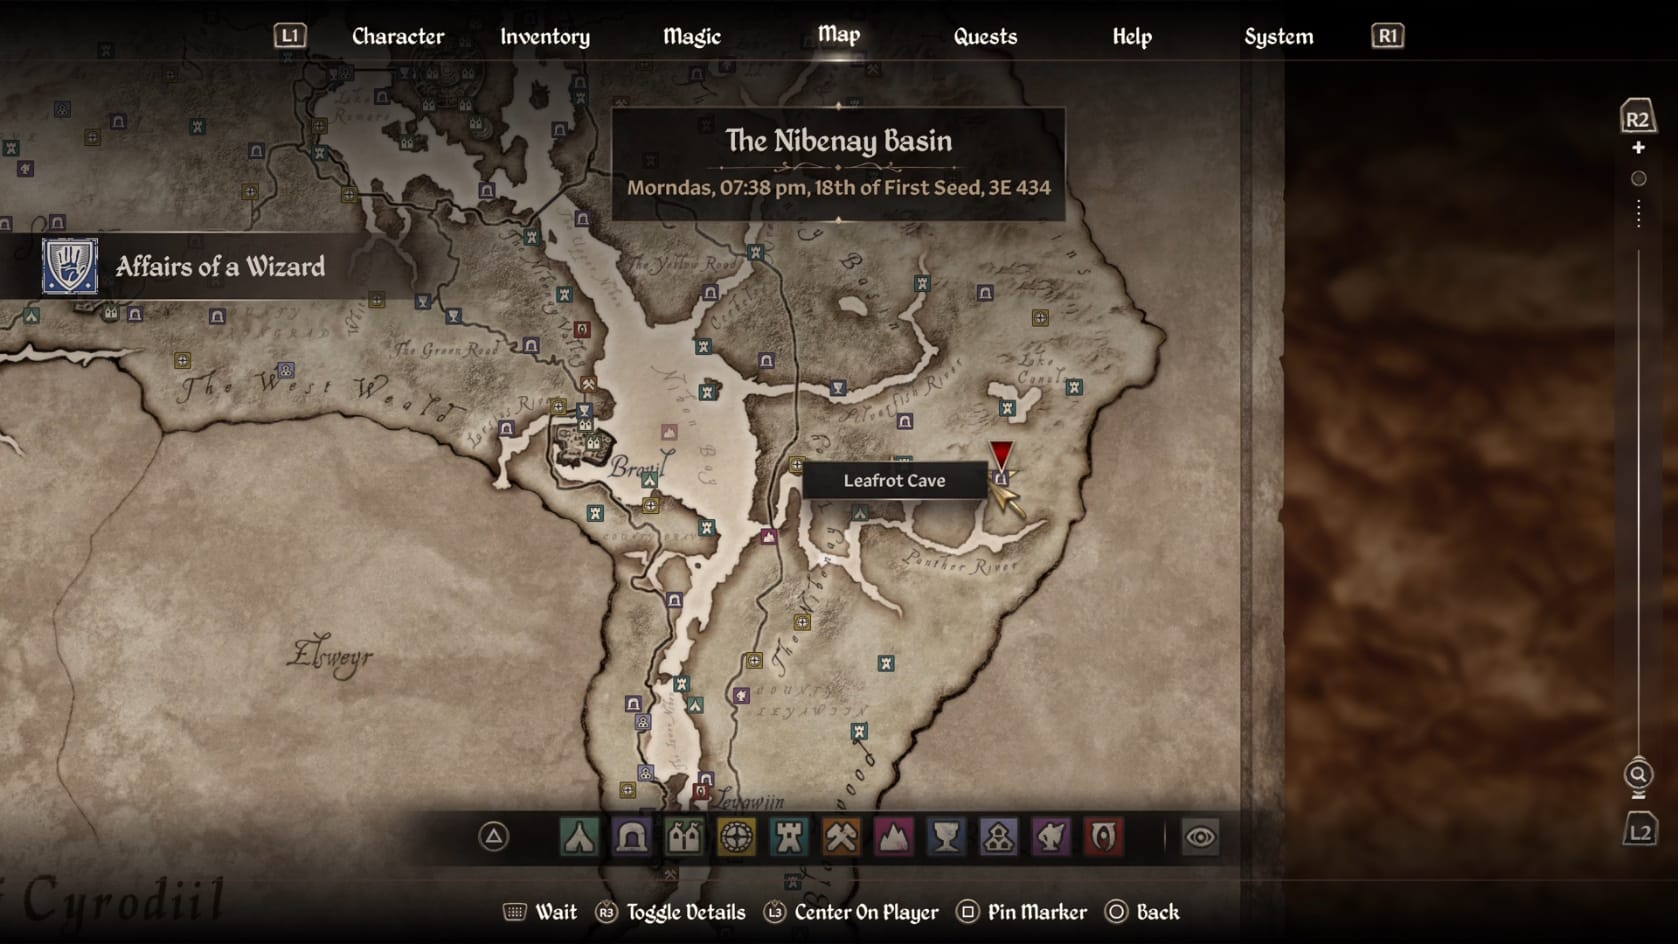
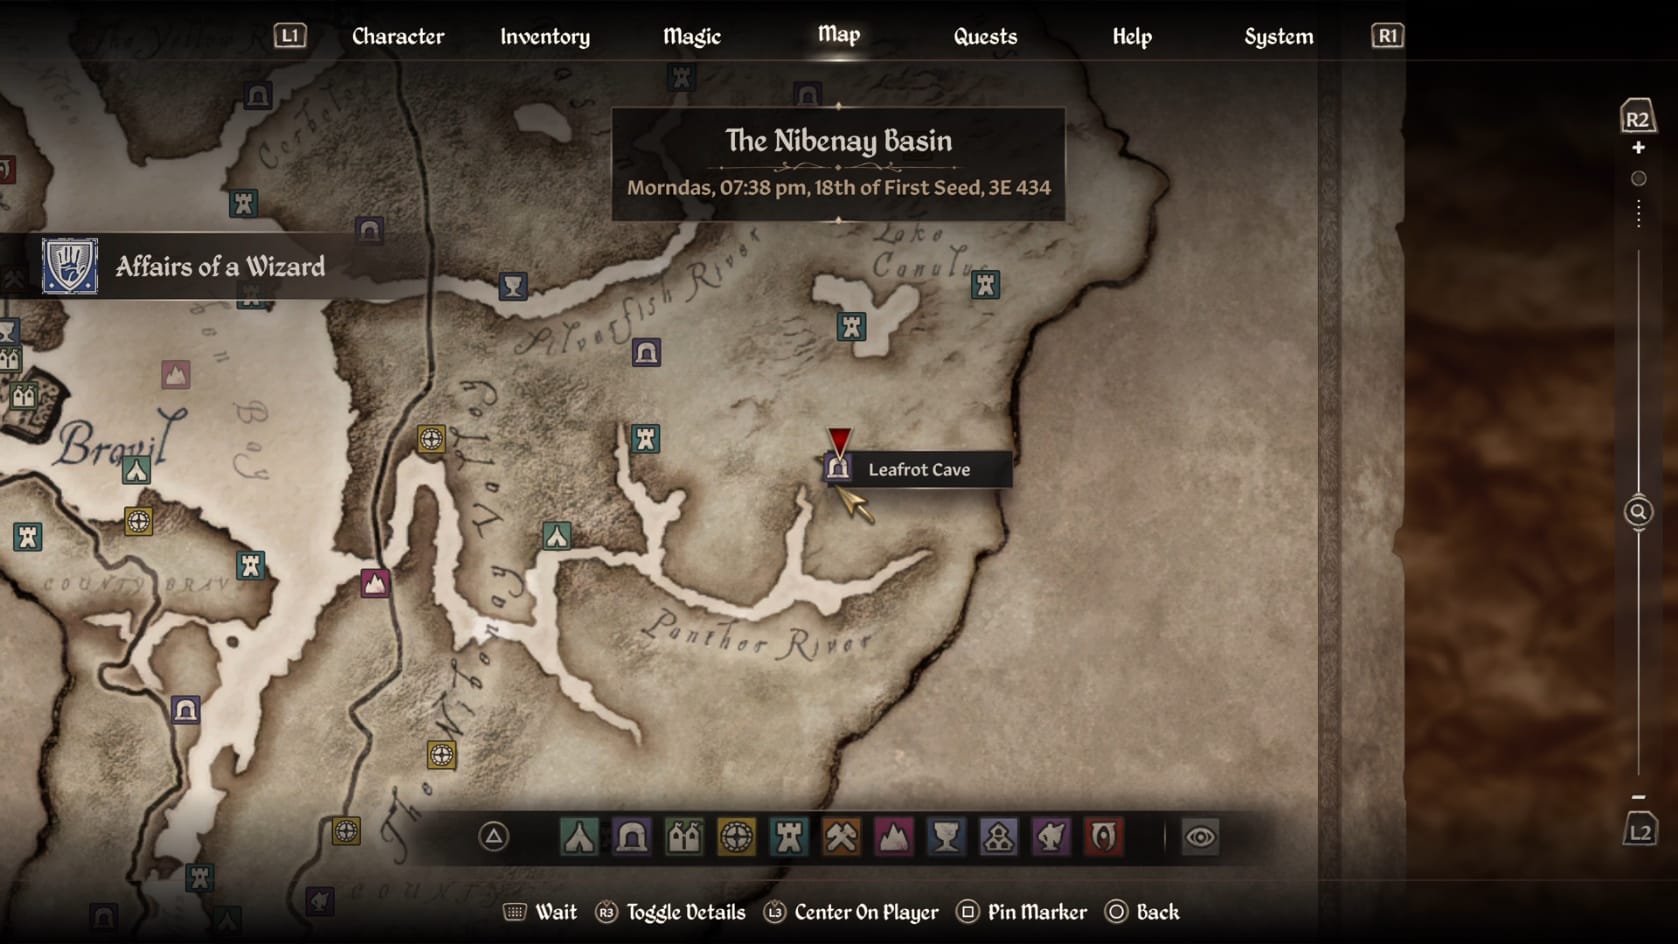
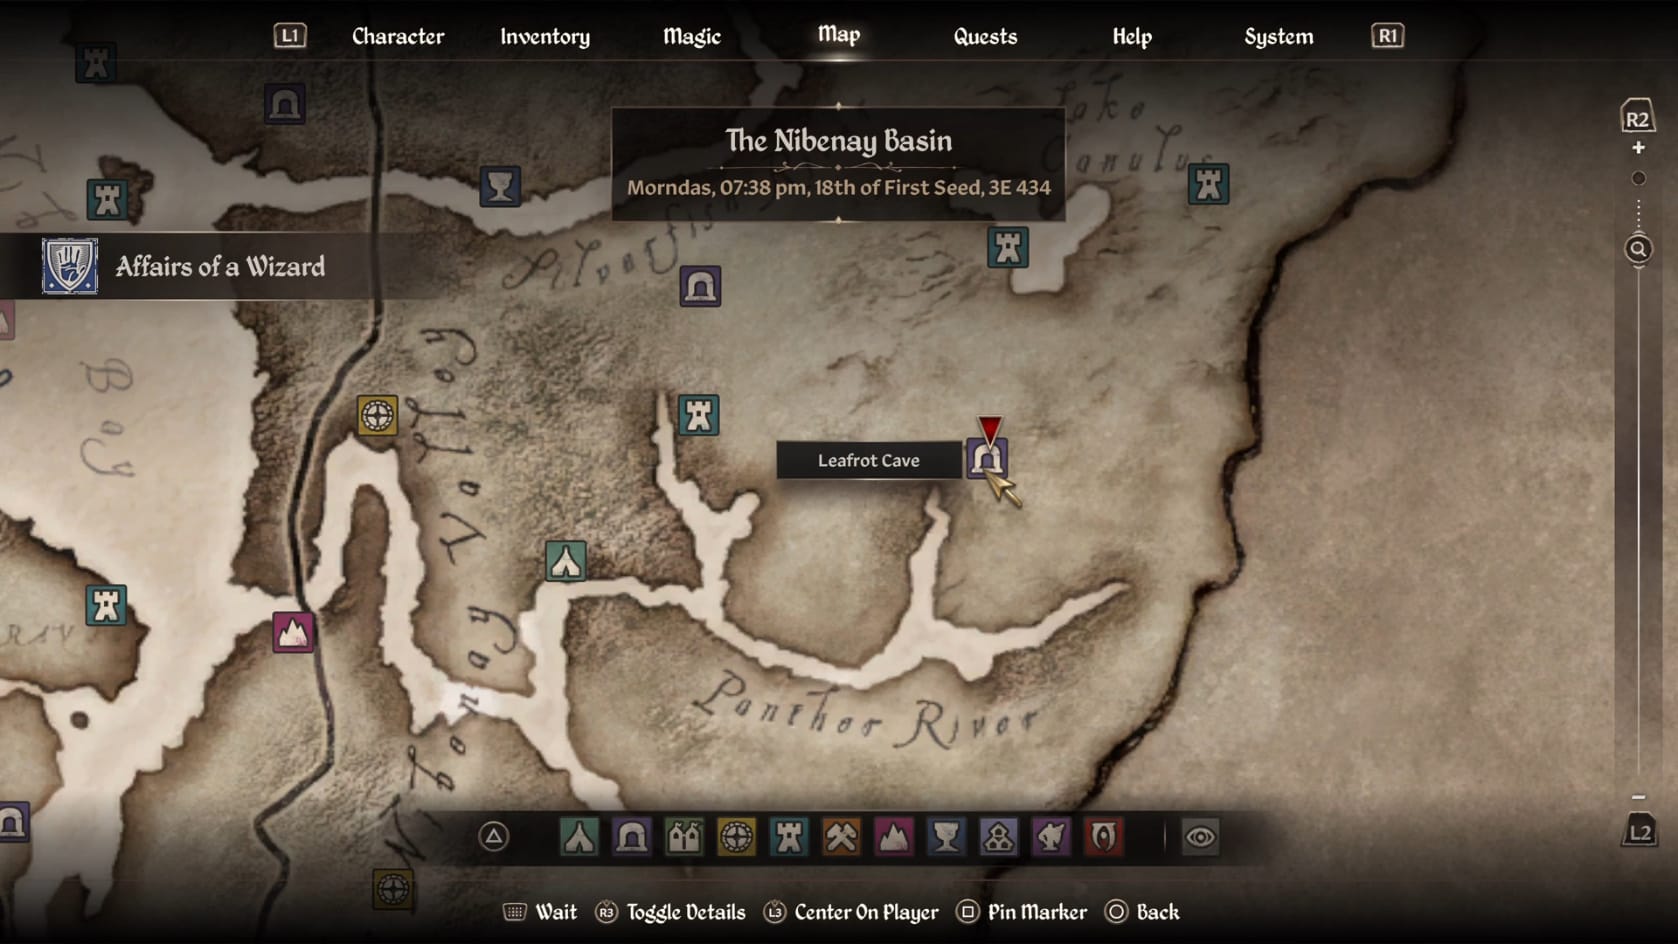
Leafrot Cave Location
You need to deal with this Lich-to-be before he becomes a Lich proper and is significantly harder to kill.
The Leafrot cave is found to the Northeast of the Panther River within the Nibenay Valley. It’s found to the East of Fort Gold-Throat. That’s along the River.
Explore Leafrot Cave
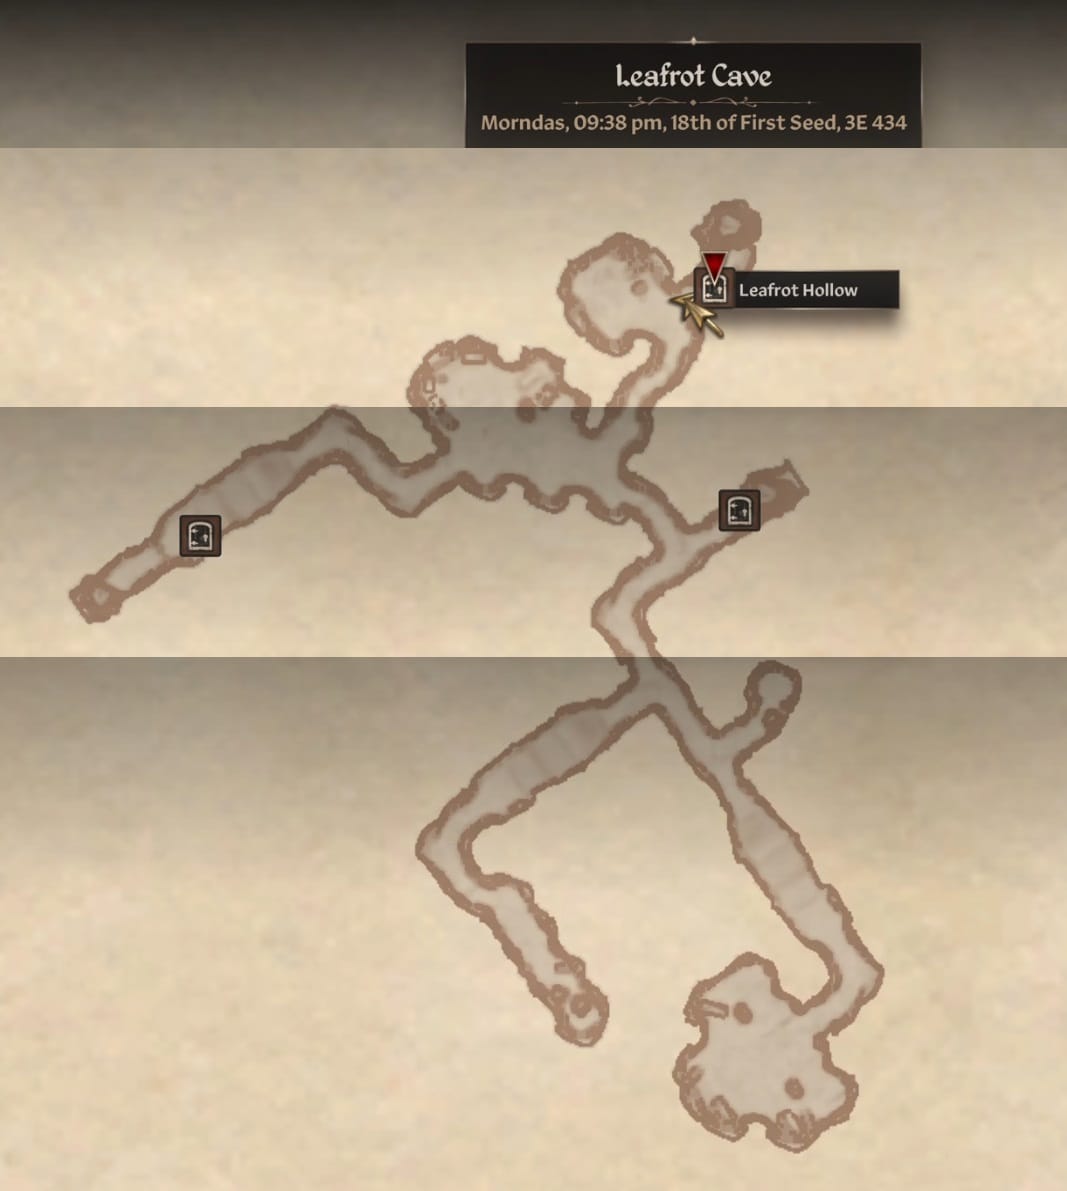
Inside the Cave, you will need to begin by heading down the slope and through the entrance tunnel. Getting into the first chamber, you will find a few annoying animals. Look to the North. You’ll find a table with (Novice) Alchemical Equipment. Sitting on there is the book, “The Path of Transcendence.” Reading it, you will learn about how Celedaen is now transferring (and sustaining) his soul within the Hourglass: The Sands of Resolve. Once you’ve learn that, you are good to deal with Celedaen.
You can look to the left of the table to find a chest sitting on a carved stone shelf. Head over to the East and you’ll find a door with an Undead on the other side. Open the Locked Door (Hard) and take out the Undead. Go through the door and you’ll find another Undead inside the room. Continue forward down the hallway into the tiny connected chamber. Go through the door to the Northeast to reach the Hollow and your target.
There is a second path into the Hollows if you further explore Leafrot Cave. Ignore the Path to the Northeast, and just head to the South. When you reach the intersection, you can head to the East to reach the Hollows another way. There is a bit more of the main level of the cave to explore.
If you want to explore the last part of the cave, go to the right (West) at the intersection. Go around the corner and head to the Southeast. Looking to the right, you can find a tunnel that leads upwards to the Southwest. Go up the slope and look to the Left (east) to find another Undead to deal with. Head to the end of this section, looking behind the large boulder there. You’ll find a Chest you can loot sitting behind the boulder.
As you continue along, look to the left to find another small alcove that likely has an Undead inside it. Defeat them. Continue to the Southeast from there. Follow the tunnel as it turns to reach the medium-sized chamber. There are a few more Undead meandering in here. Defeat them to easily be able to explore the room they’re in. After that, you’re done on this level and should head into the Hollows.
Leafrot Hollow – Claim the Sands of Resolve
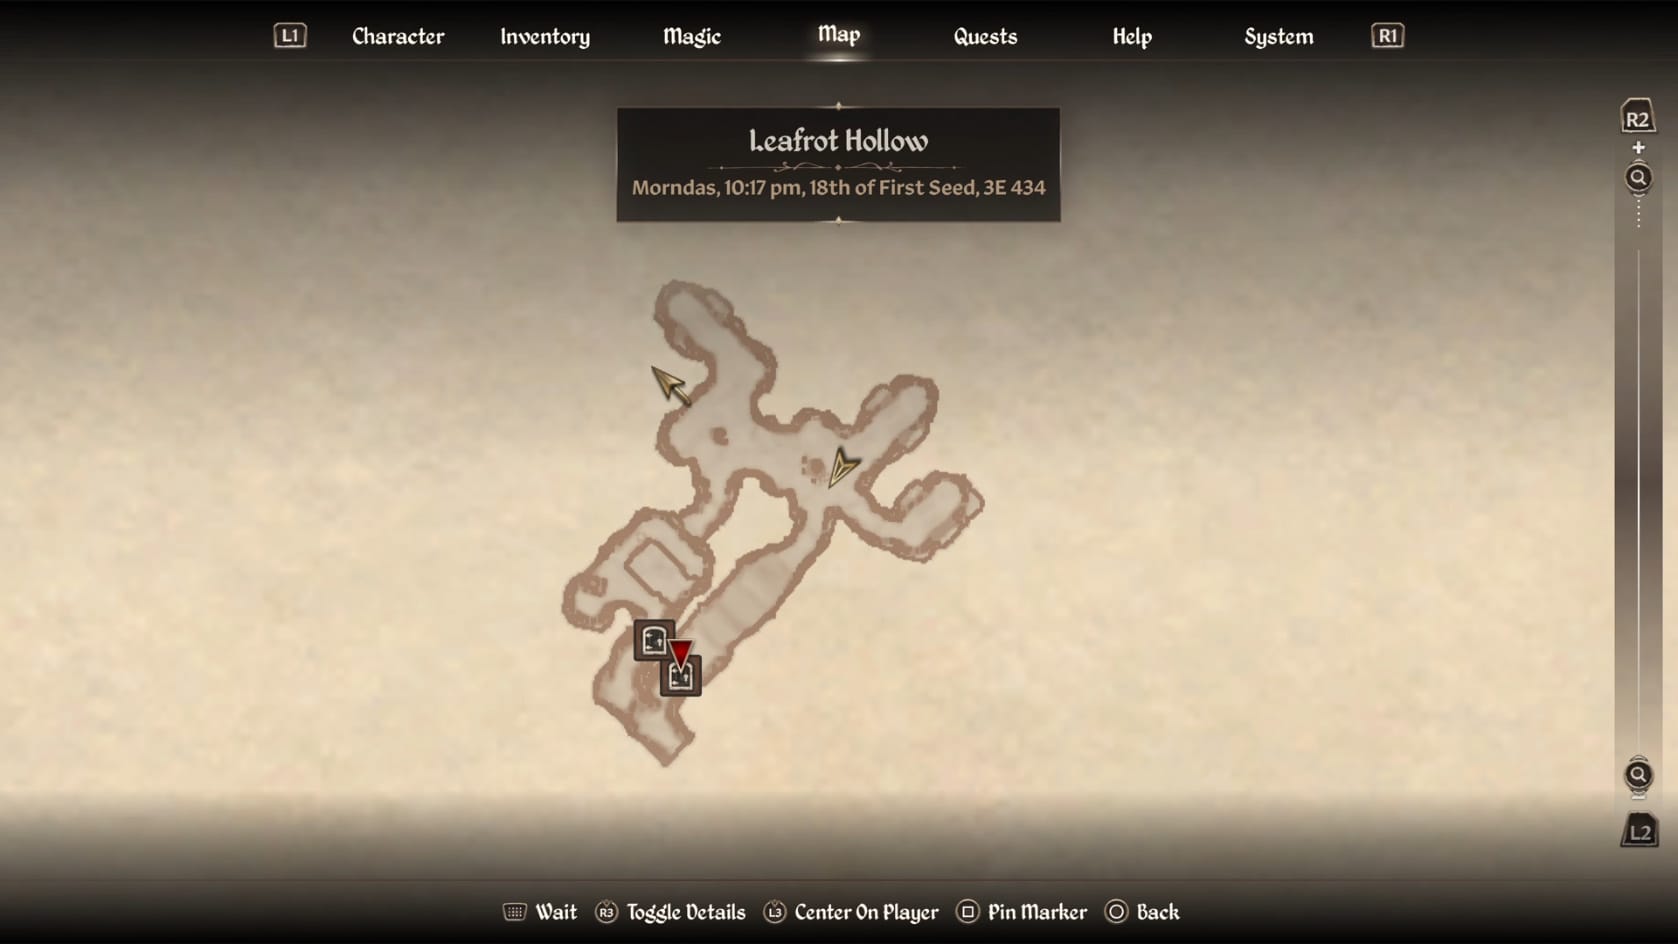
There are 2 paths into the Hollow of Leafrot. Either one will lead to a larger chamber with Celedaen pacing about inside it.
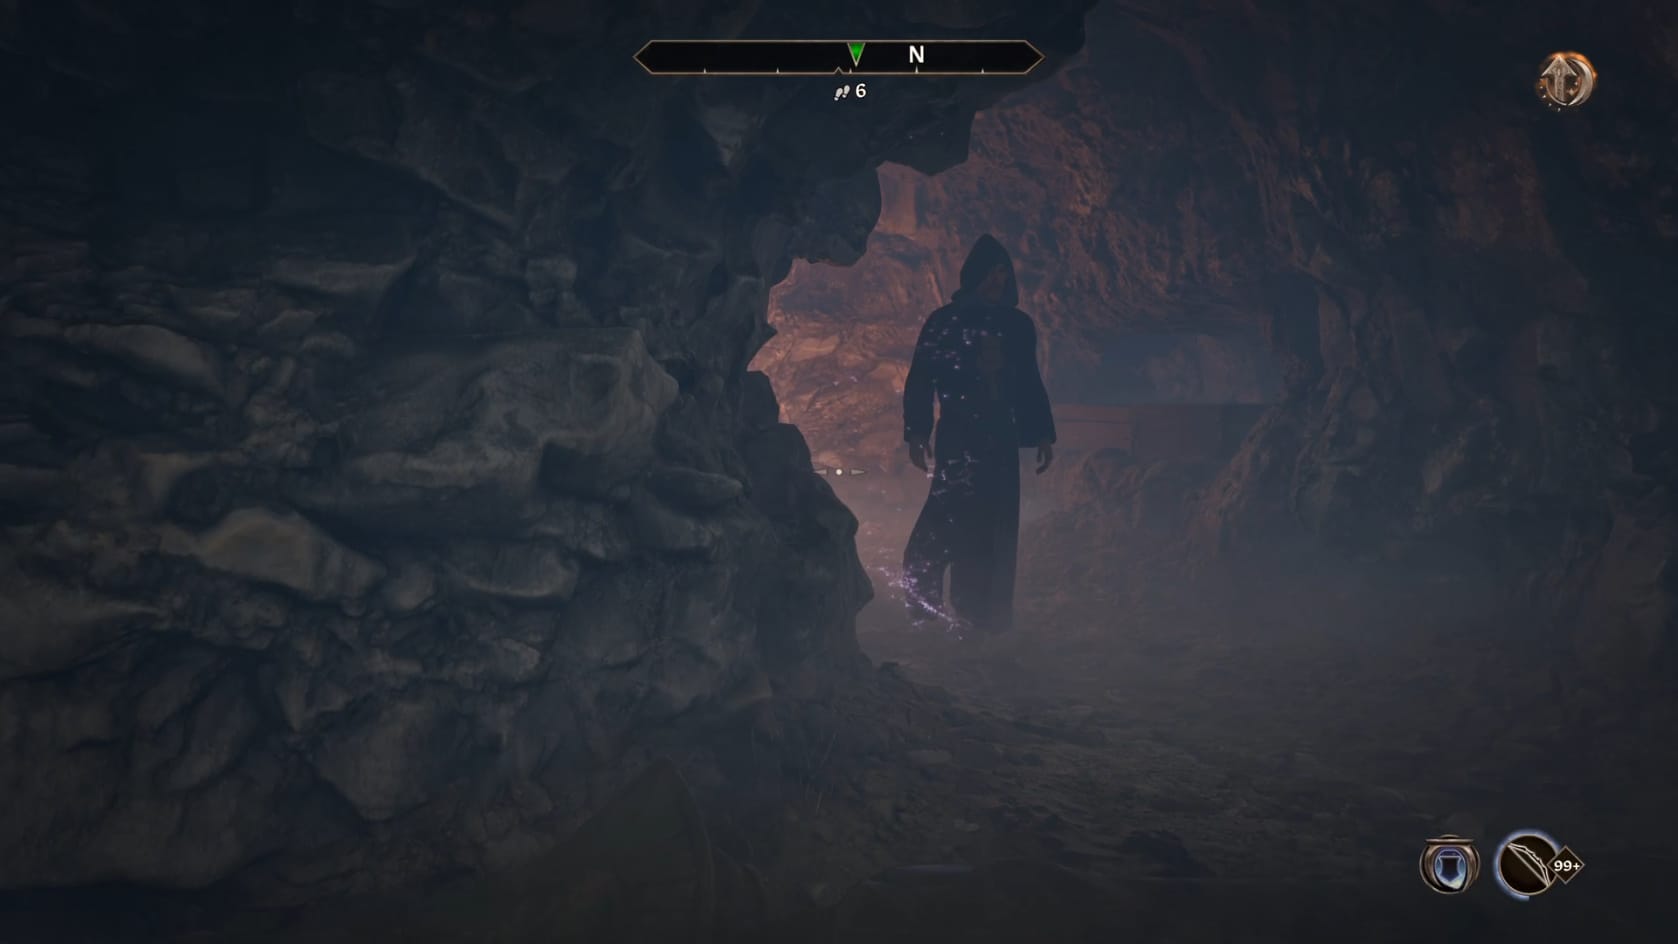
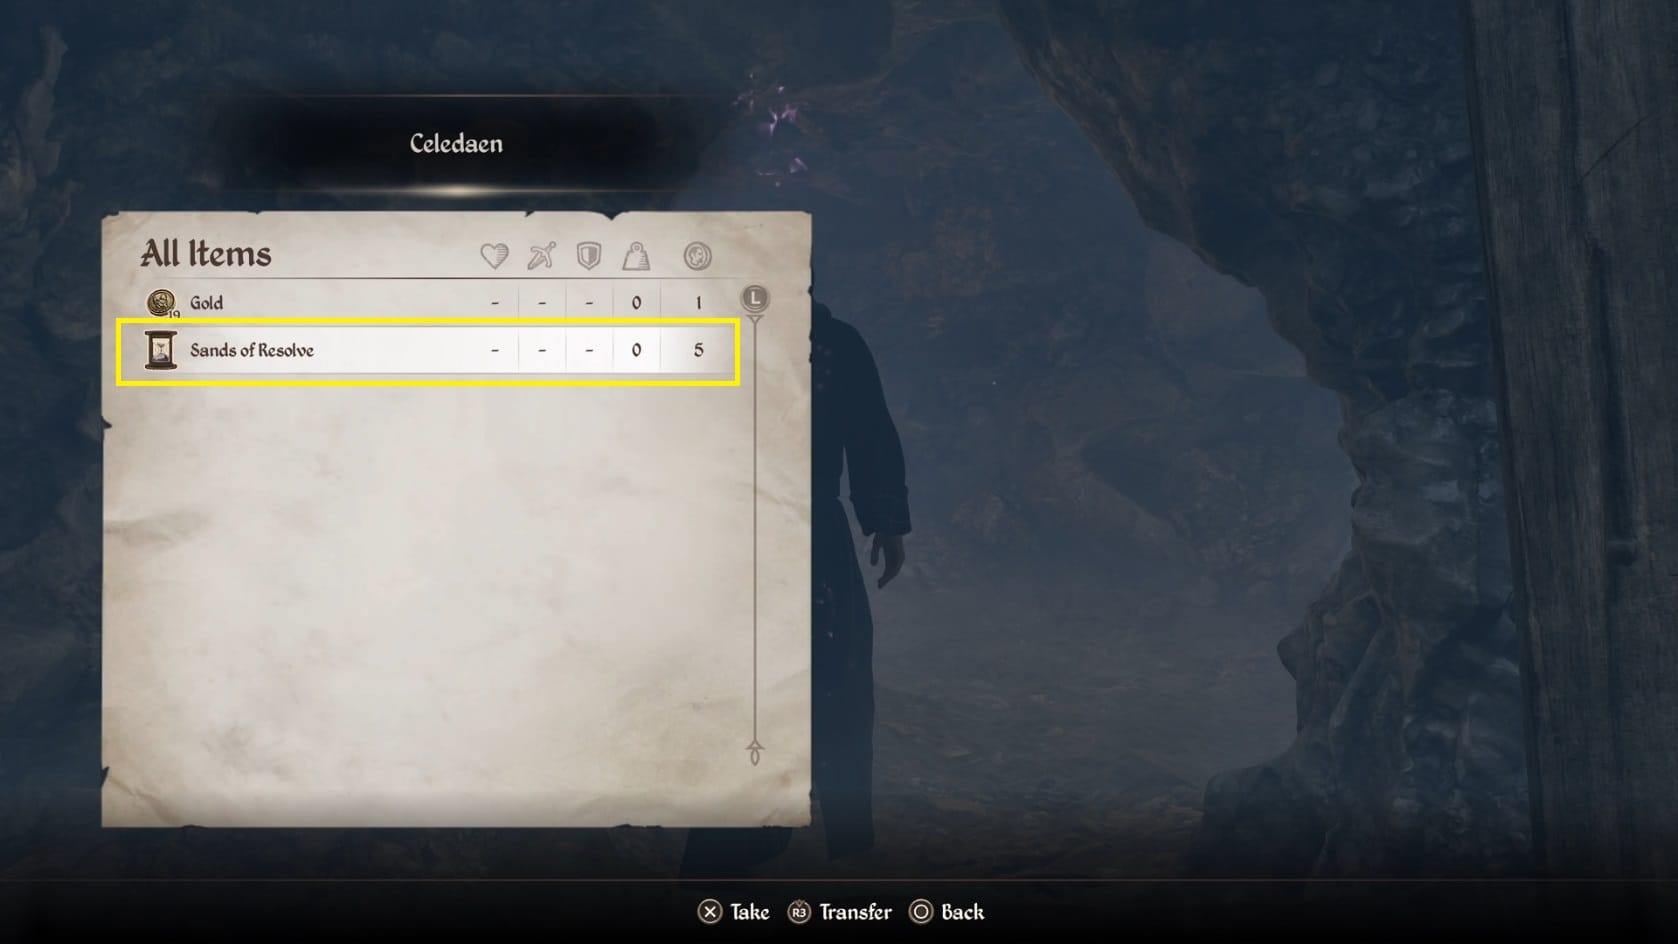
Celedaen possess the Sands of Resolve
Once inside the Hollow, there are only 2 approaches you can take to getting the Sands of Resolve, either you.
Going through the doors closest to the Alchemical table, you will find yourself in a circular room with a hole in the middle of the floor. There are a few crates you can check for door loot to the West of the hole. Drop through the hole after that. Look to the Northeast having dropped down the hole. Carefully open the door.
The adjoining room has Celedaen pacing back and forth in it. Either you can fight Celedaen and claim the Sands of Resolve from his body or you can pickpocket him and steal the Sands of Resolve off him. Once you claim the Sands of Resolve, Celedaen will be dead.
If you further explore the area, you will find a lootable coffin off the middle of the area to the Northeast, sitting on the right-hand shelf. If you head to the Southeast and explore the small chamber there, you’ll find a lootable coffin sitting on the right-hand side. Finally, go to the North to find the last lootable coffin sitting on the Left-hand side.
That is everything though, so head on out of Leafrot Hollow and Cave. It’s time to claim your rewards.
Claim Your Reward and Next Contract
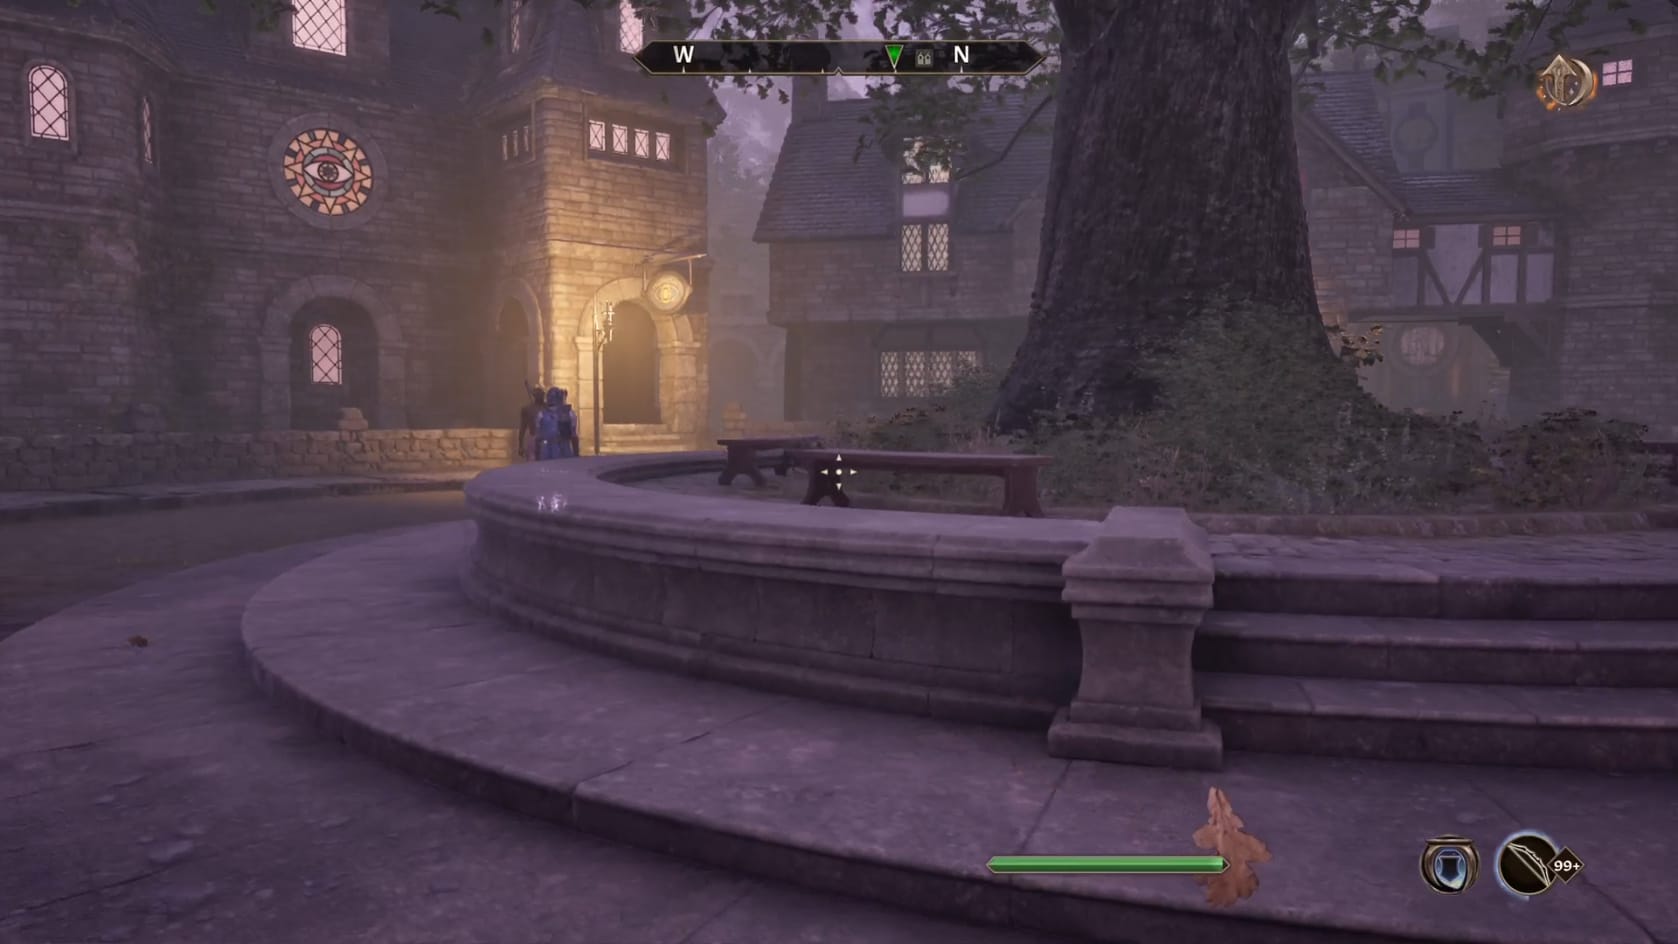
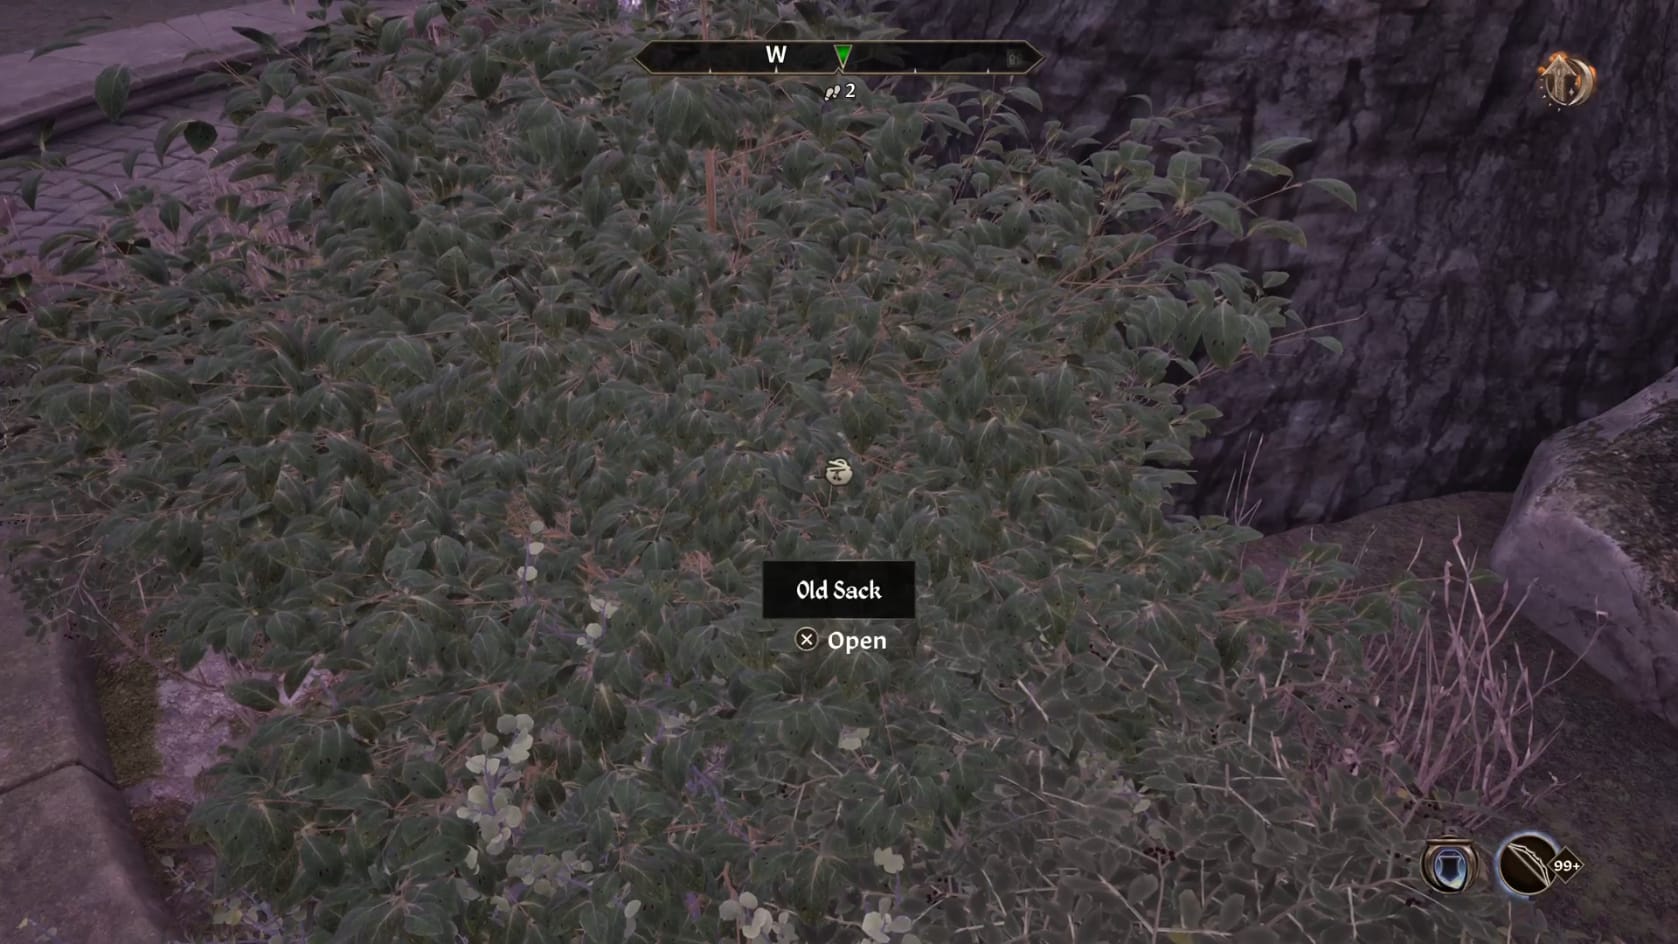
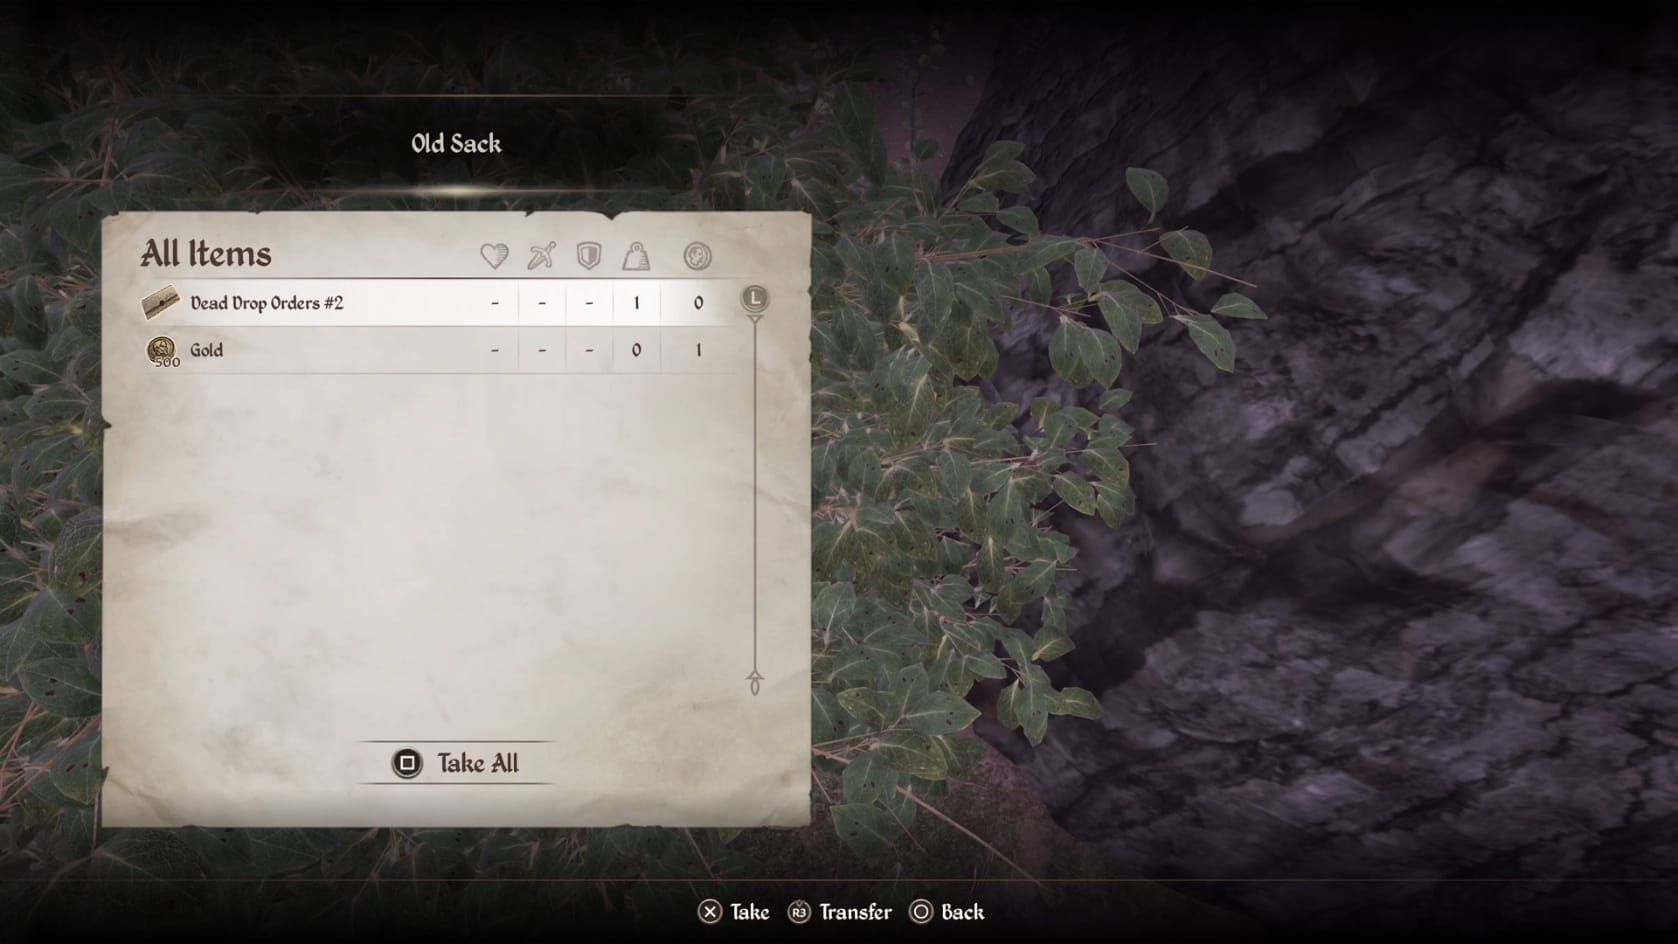
The Great Oak Tree, the Old Sack and its contents.
Leave the Leafrot Cave and make your way to Chorrol. Travel out to the Main Gate of Chorrol. Go to the Great Oak Tree in the middle of the plaza. Investigate the bushes on the Southern side. It’s hard to see the Sack that’s hidden within, but it’s close to the base of the tree itself. Open the Sack up to find 500 gold and Dead Drop Orders #2.
Video Walkthrough
Video Walkthrough