Oblivion Remastered: Goblin Trouble Guide
Complete the Goblin Trouble quest in Oblivion Remastered by ending the Goblin War through stealth or combat. Unlock Cropsford and earn weekly gold rewards.
Summary
Help the family camped at the Crestbridge Camp. They are attempting to build a new settlement but its between two warring Goblin Tribes. Either the war needs to be stopped or the Goblin Tribe(s) need to be eliminated. Report back to the settlement once an outcome is secured to have them begin being Cropsford, a new settlement.
Walkthrough
Talk to Barthel Gernand
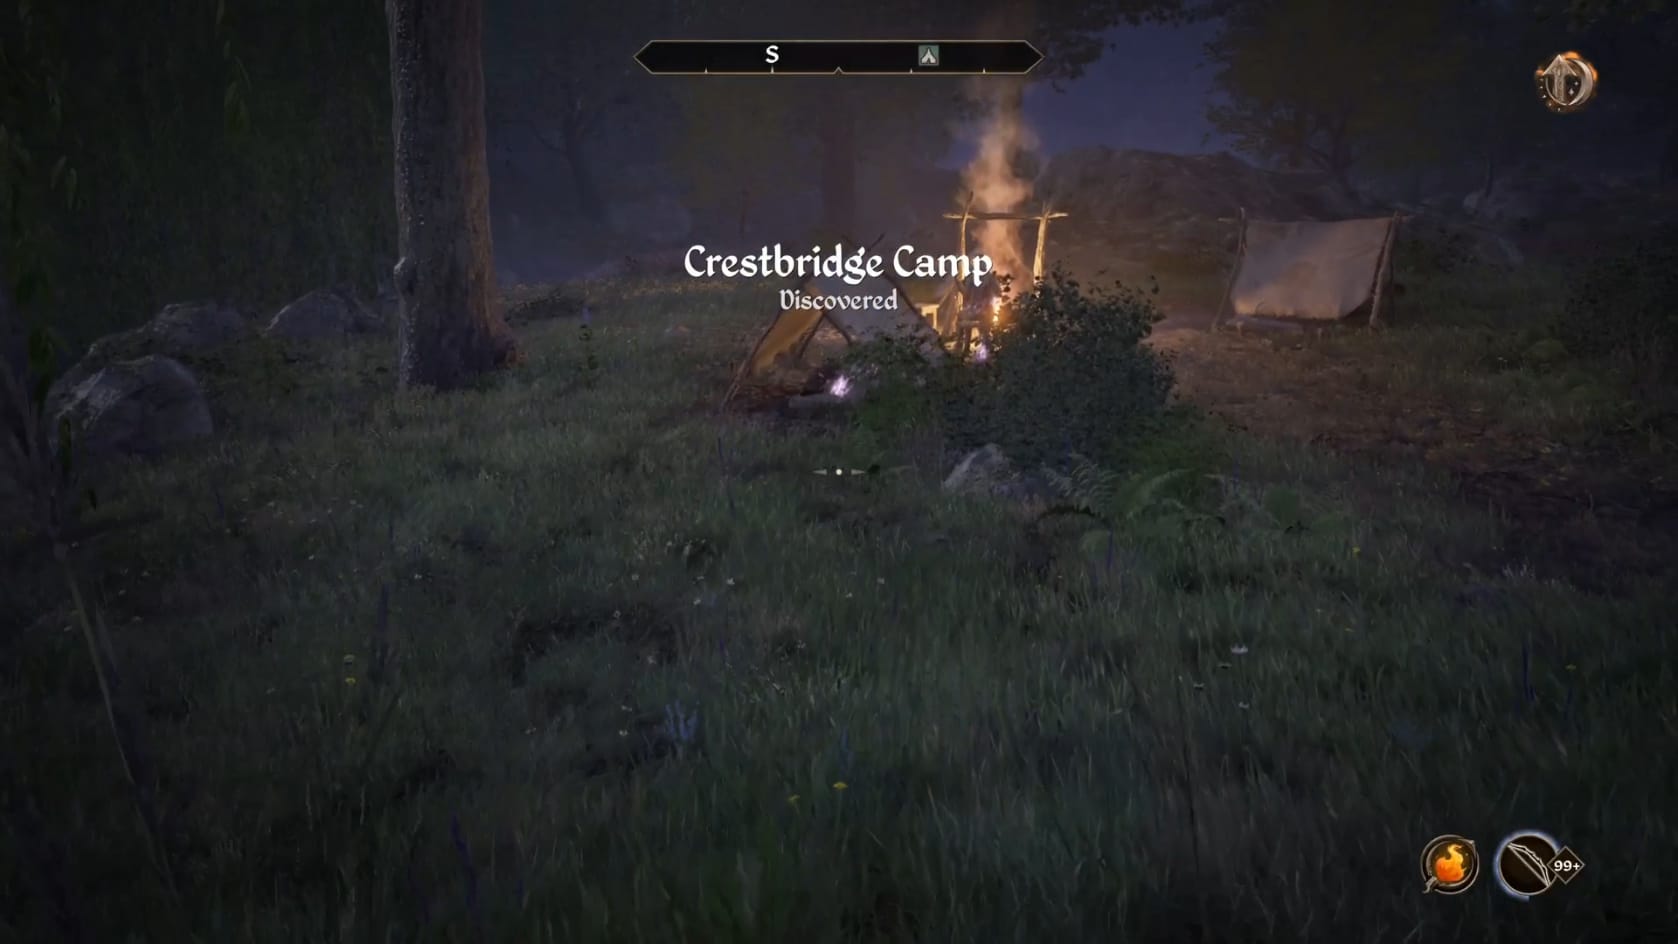
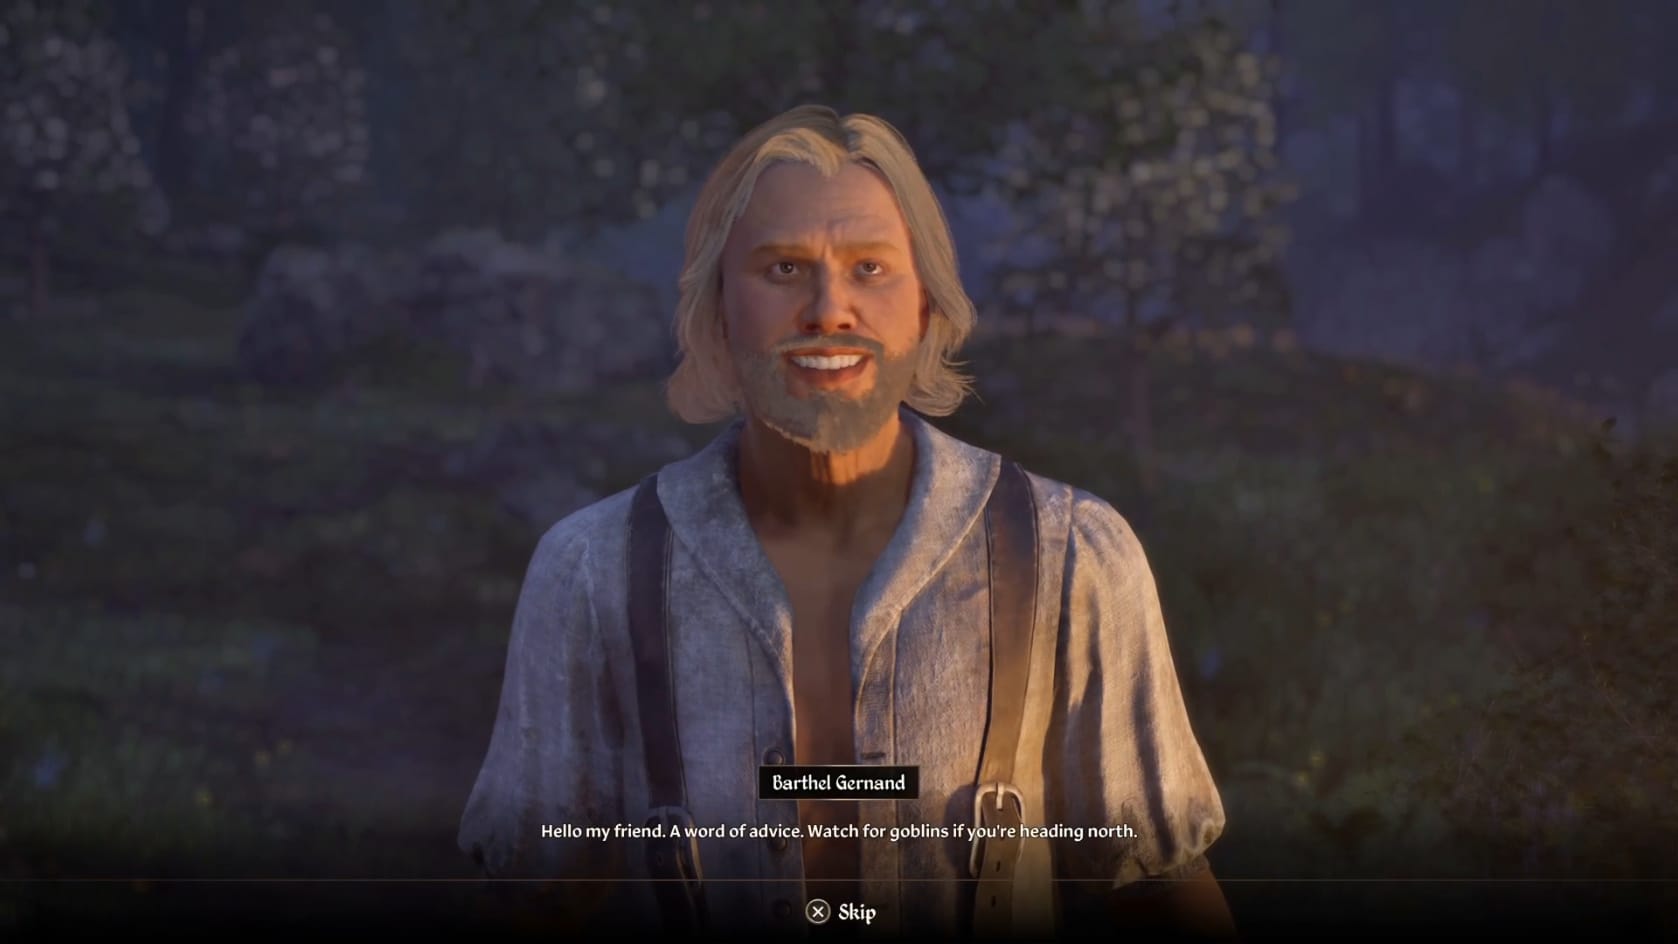
Arriving at the camp, you are directed to the “leader” of the group, Barthel Gernand. Talk to him about “Goblins” to learn what’s happening here. He explains that he purchased land, which happened to be between 2 Goblin Tribes. Unfortunately, those Goblin Tribes are presently at war because the Rock Biters stole the Totem Staff from the Bloody Hands. He will tell you to speak with so you can formulate a plan of attack.
Speak with Miria
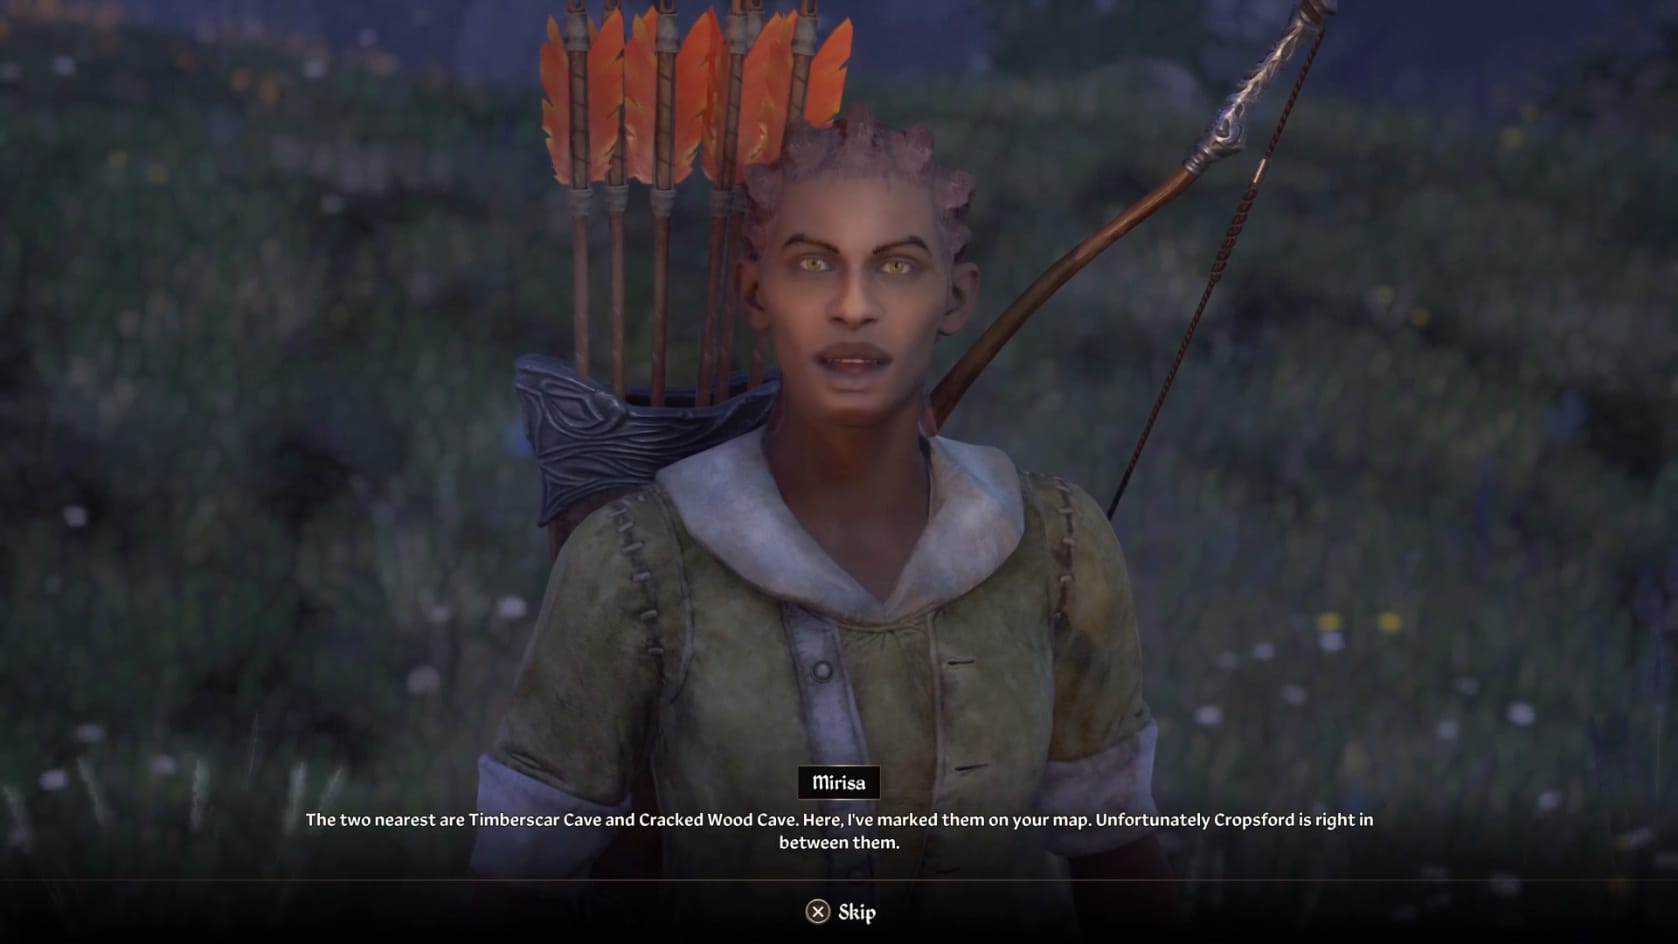
Find the Redguard, Mirisa. She’s been a guide for a while and has learned a few things about Goblin culture. She knows the cause of the war, that the Totem Staff has been stolen from the Bloody Hand Tribe by the Rock Biters. She explains that either you can steal the staff back from the Rock Biters, or eliminate the Shaman of the Bloody Hands. Alternatively, you can just eliminate either or both Goblin tribes.
Deal with the Timberscar Hollow – Steal the Totem Head Staff
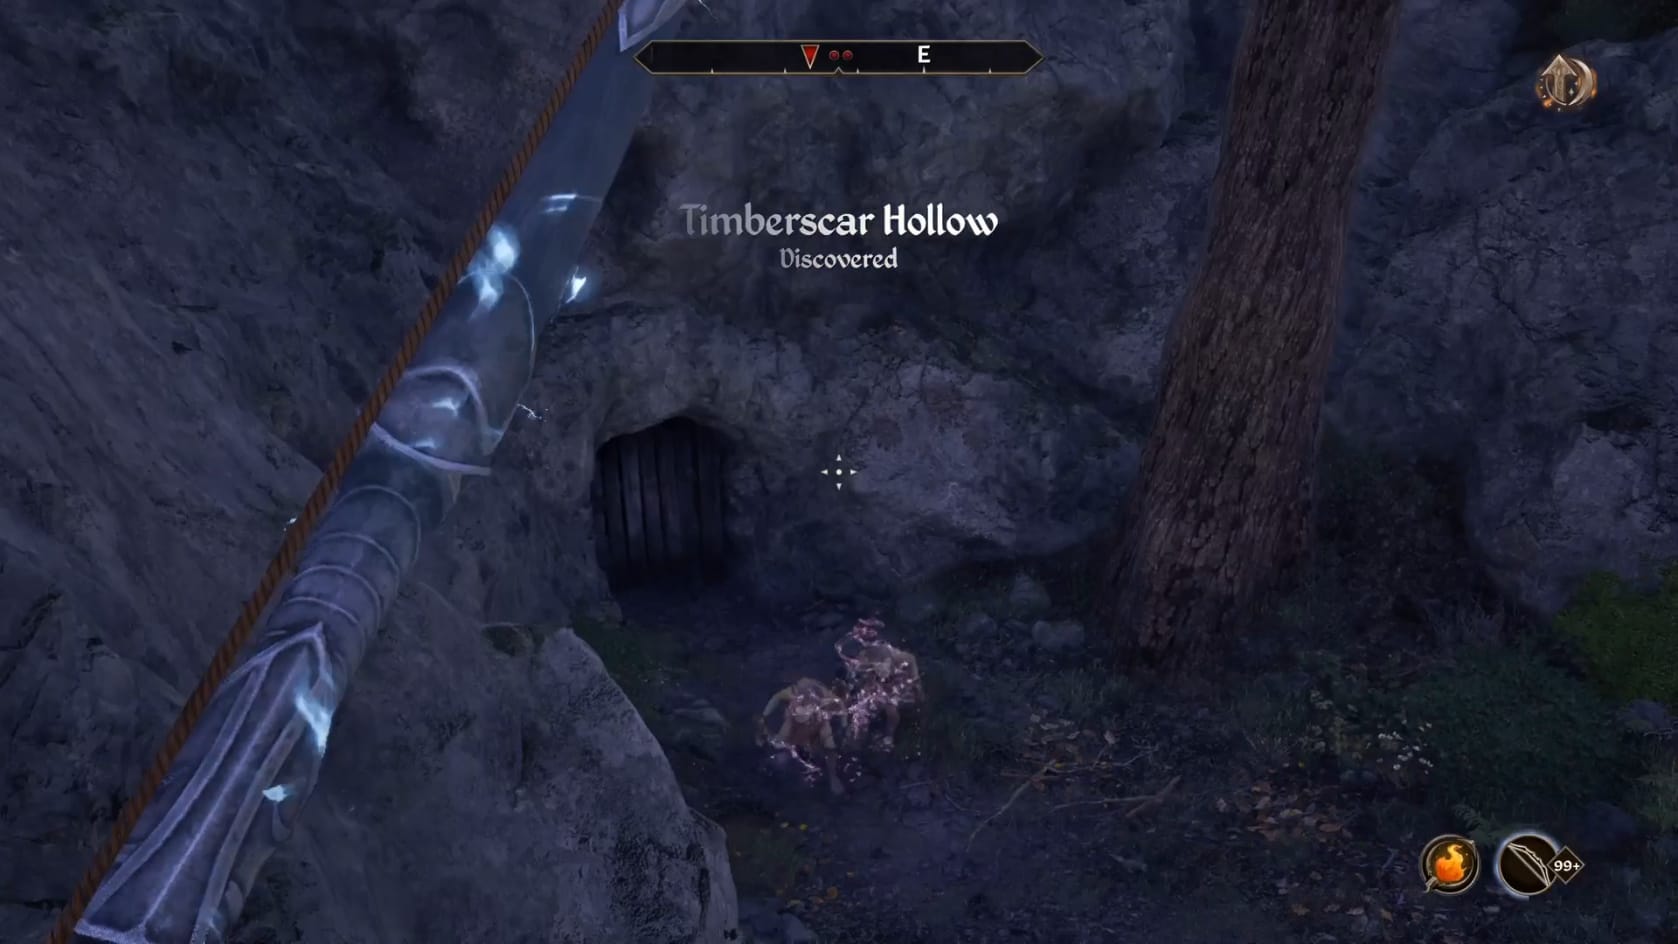
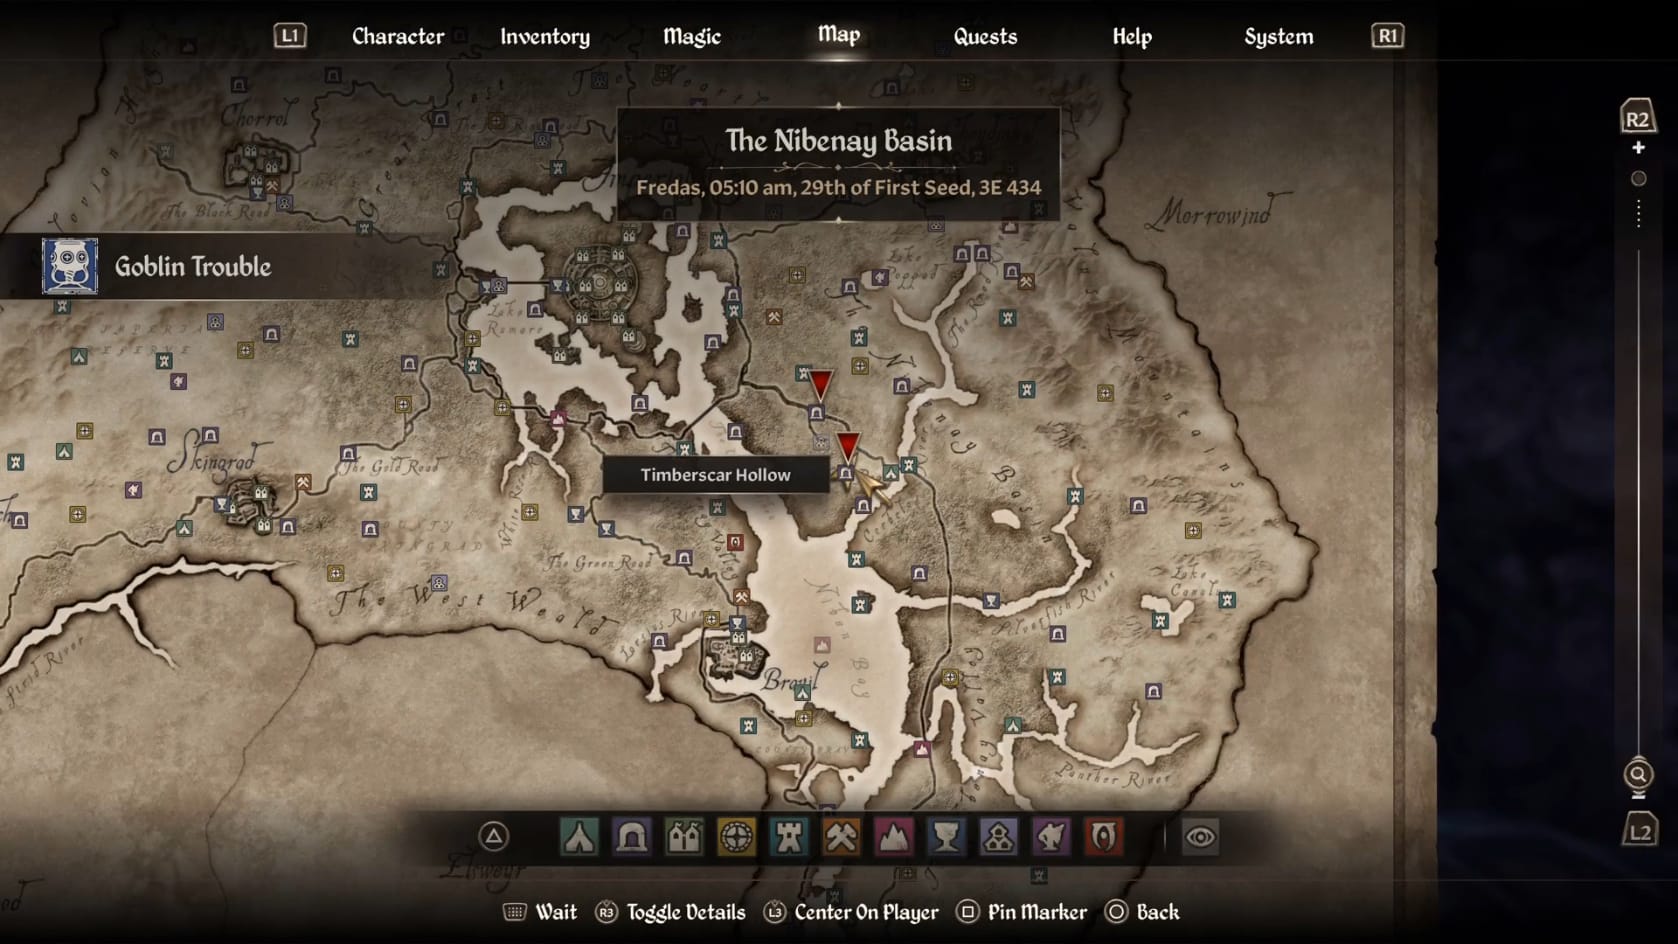
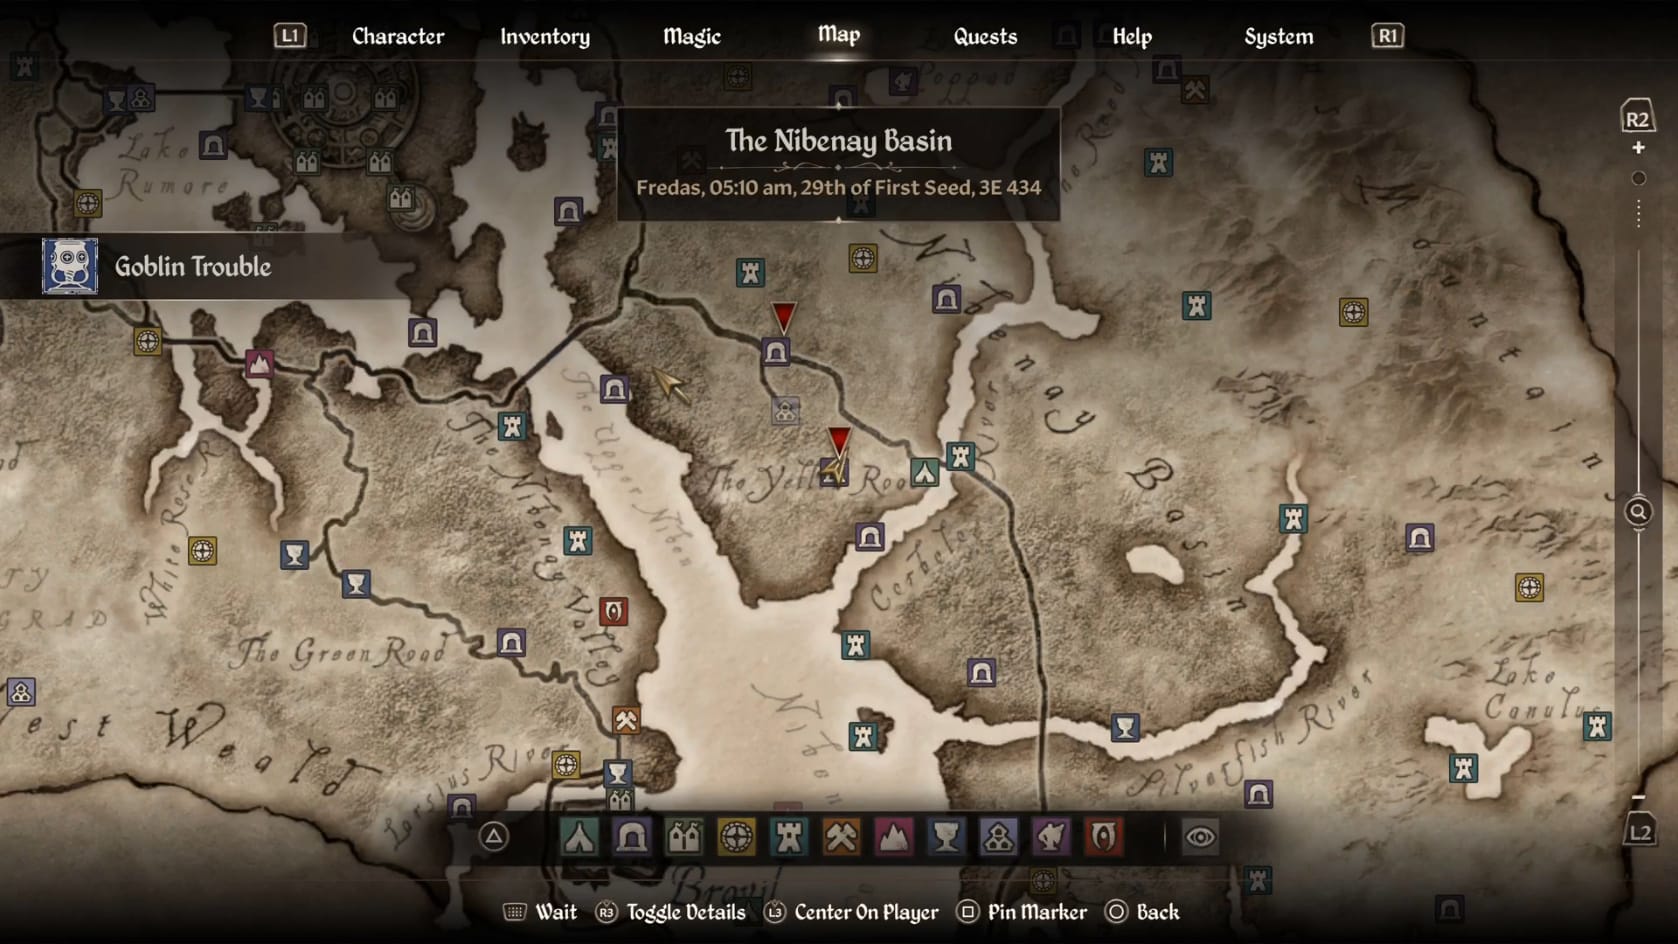
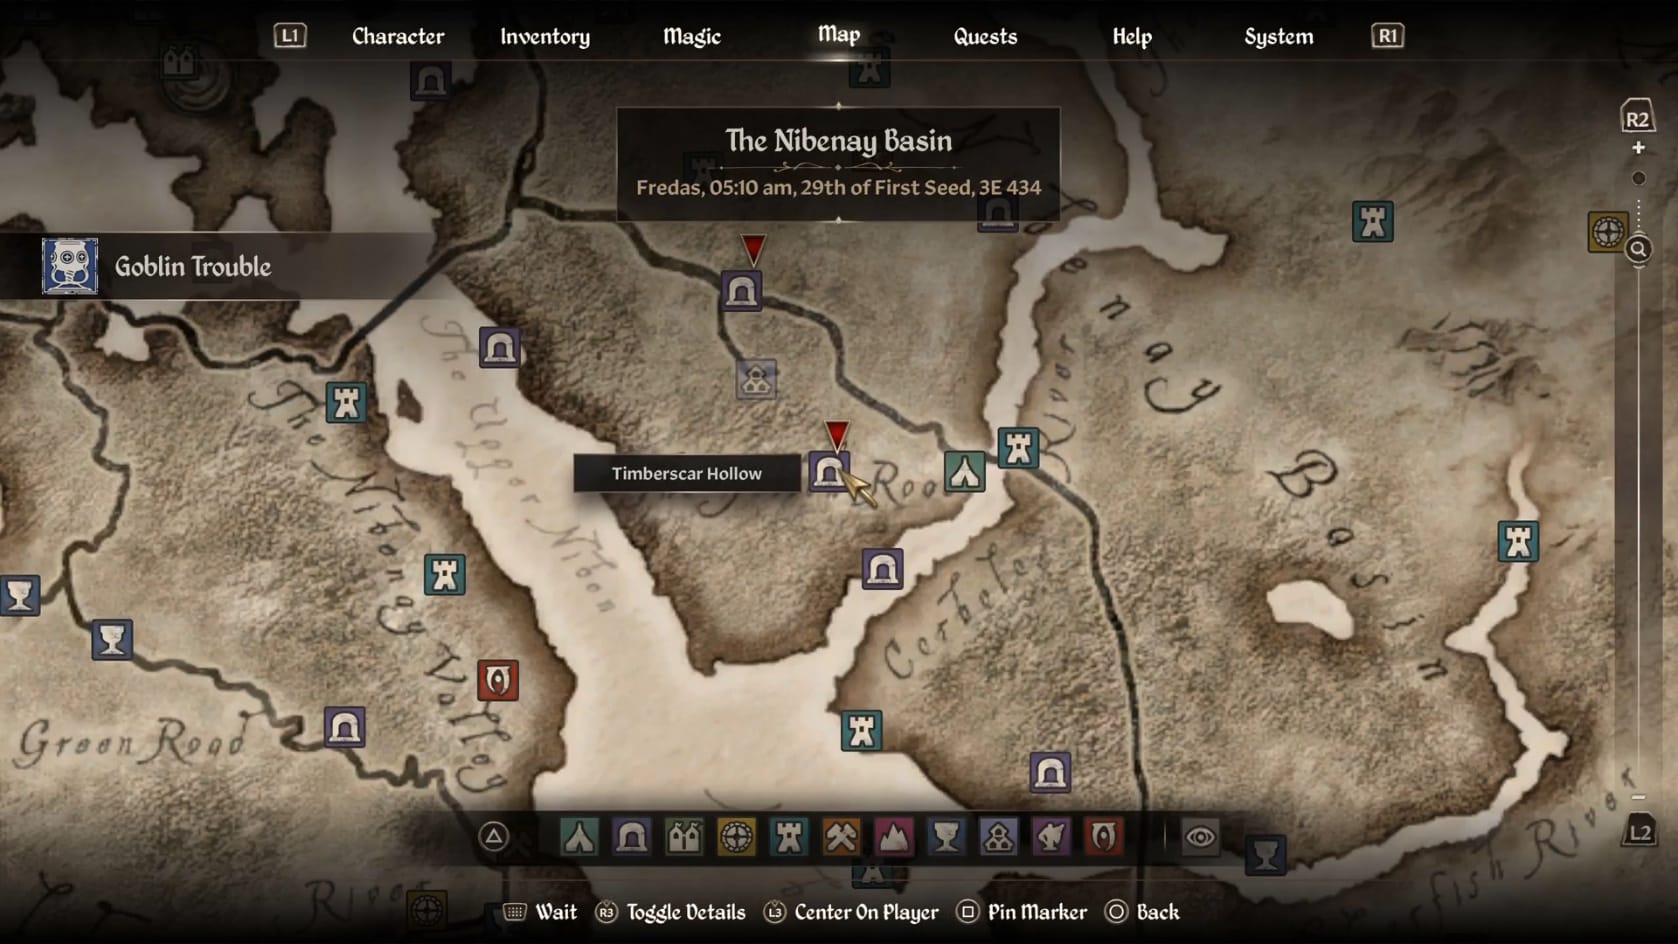
The Location of Timberscar Hollow
Once inside the Hollow, it’s time to work on hunting down the War Chief who holds the Totem Staff. Head down the slope into the first chamber. You need to just wait for a few minutes at worse. The War Chief makes their way forward through the Cave.
The War Chief has a good chance to emerge from the cave and attack the Bloody Hand Tribe. Hunt them down and eliminate them. After that, claim the
Clearing Timberscar Hollow
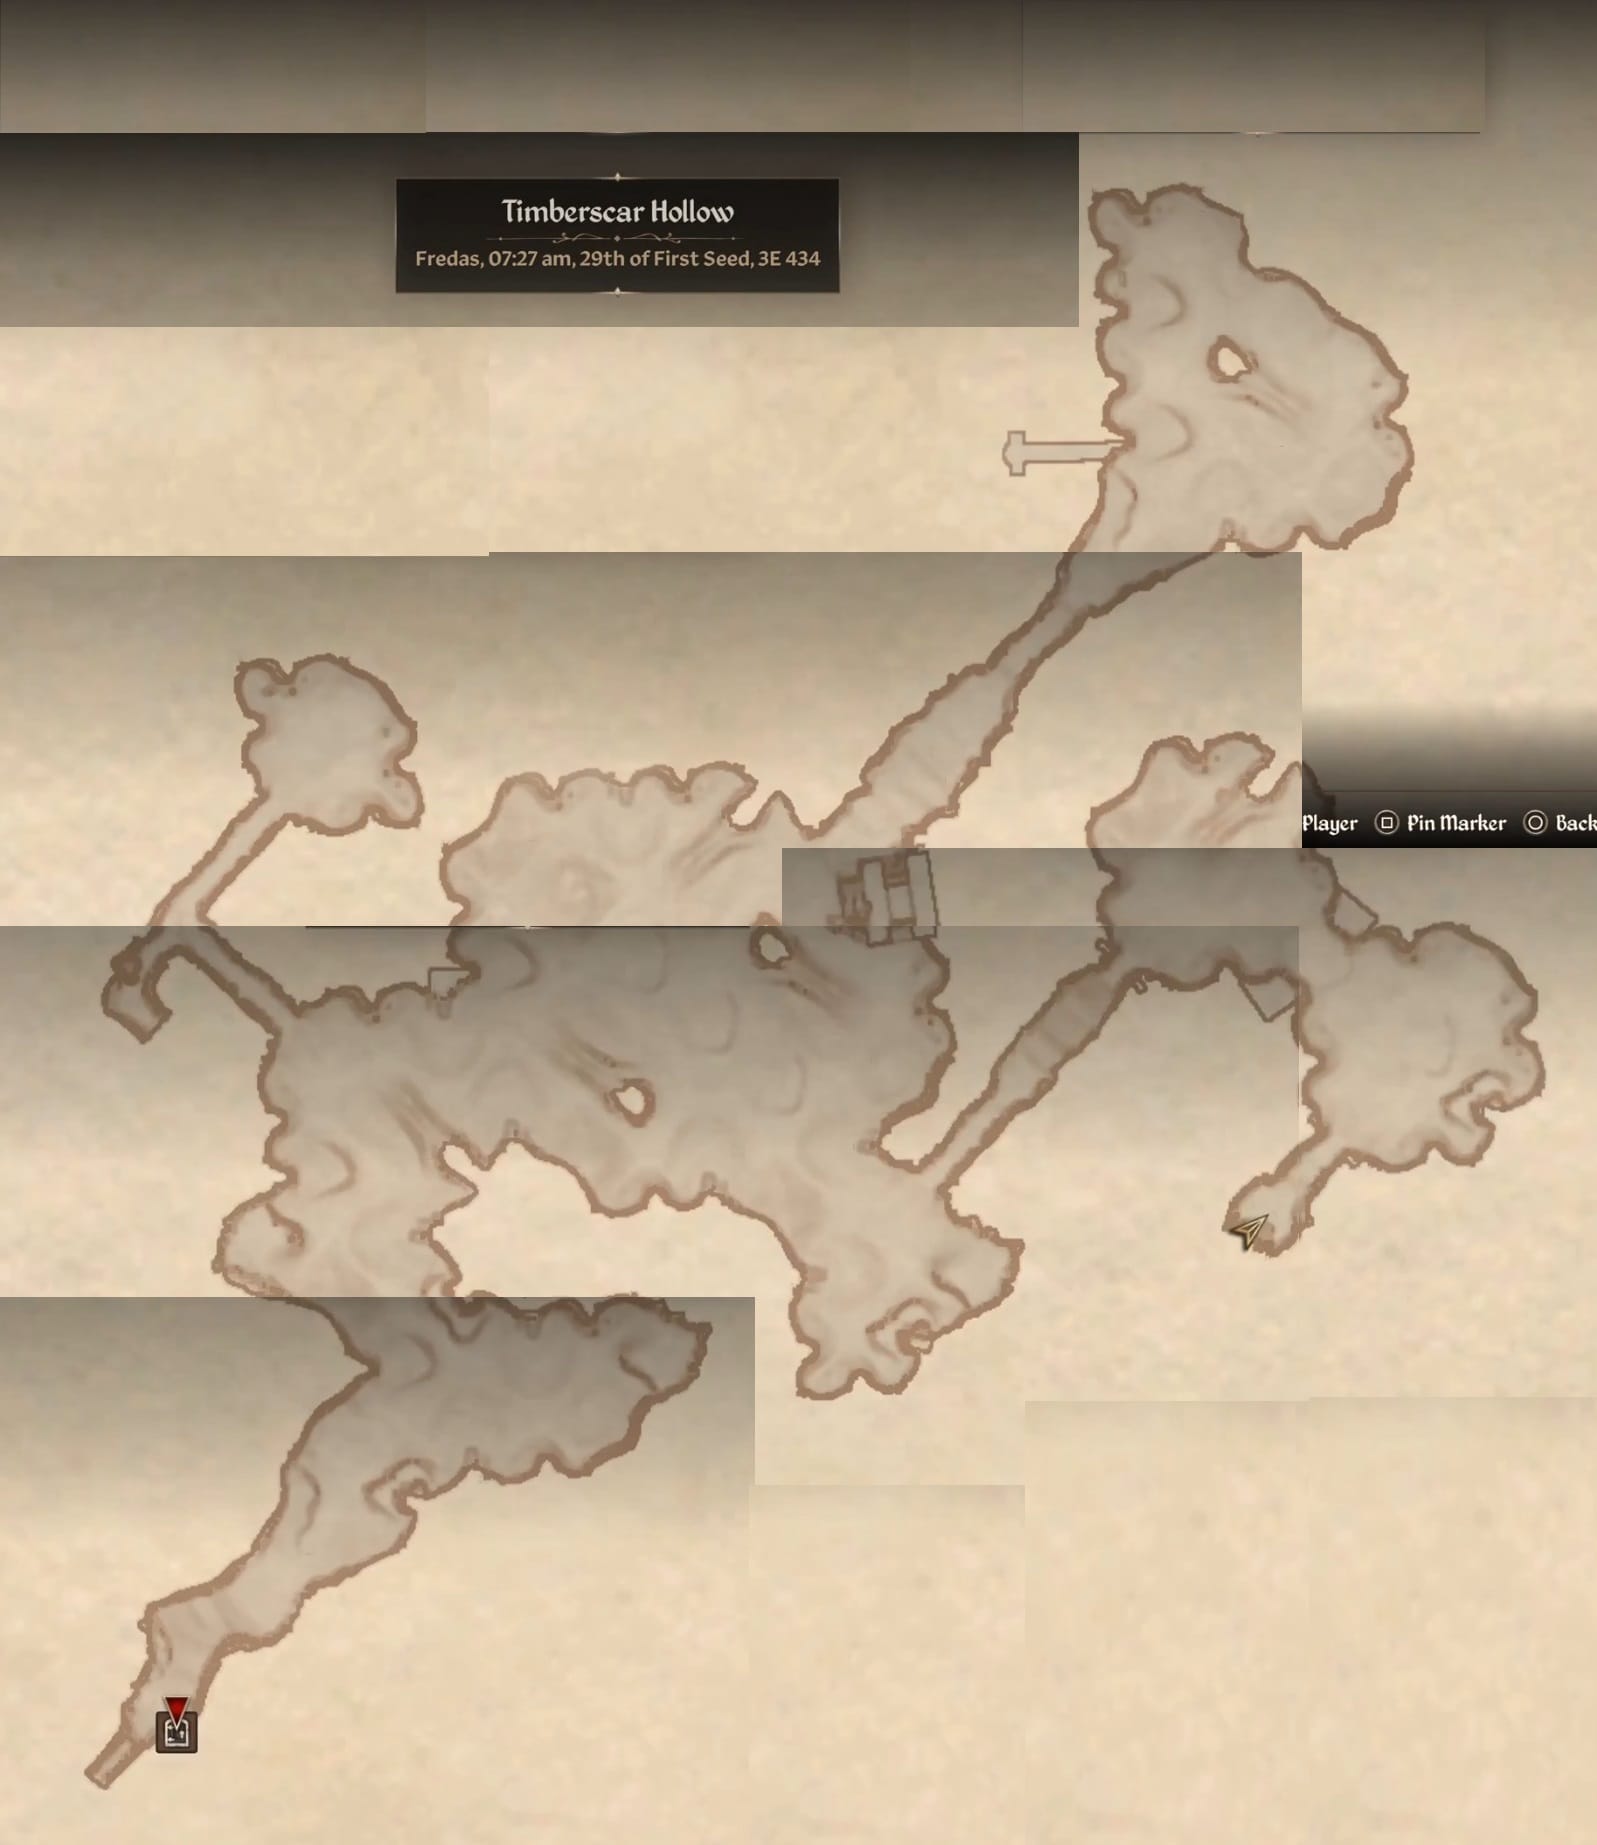
Alternatively, you can clear the cave of goblins. Heading inside the Cave, go down the slope. There is a Goblin patrolling about in this first chamber. Head to the West after that to work on clearing the room of its few Goblins.
Stay on guard since the war party is likely moving forward toward the entrance. Defeat them and then move to the West. Follow it to the North after that. This brings you into a moderately sized chamber. Go to the Western side of the chamber to find a Chest sitting there. After that, head back to the East. Turn to the Northeast after that. Pick off any Goblins nearby here. Go down the tunnel there.
This will bring you to another chamber. Explore to the North to finish exploring this chamber. Head back to the South and then go over to the Southwest. Be on guard for more Goblins around here. GO to the Northeastern passage after that.
Follow the slope down into the next chamber. Sweep your way over to the East, picking off Goblins as you find them. Clear the room and look to the Southwest passage connected to this spot. There is likely a pair of Goblins there to be eliminated. Going down this short passage leads to a Locked Chest (Hard) you can loot. Search around this last chamber to be sure you’ve gotten most to all of the Goblins.
Deal with Cracked Wood Cave – Defeat Bloody Hand Goblin Shaman
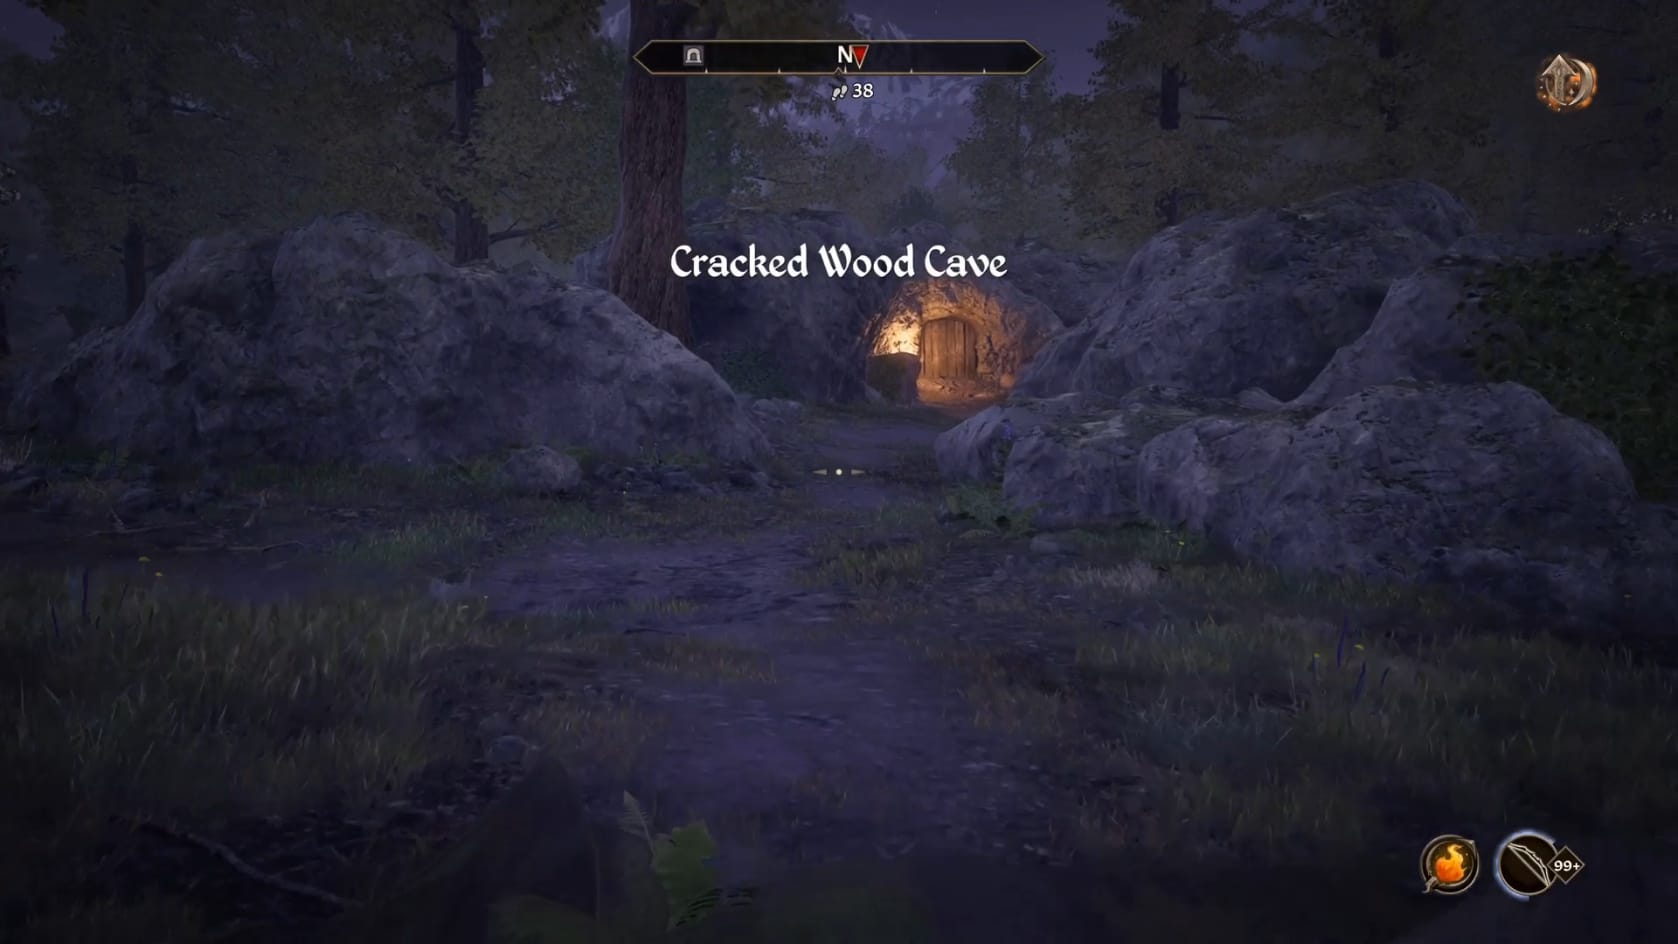
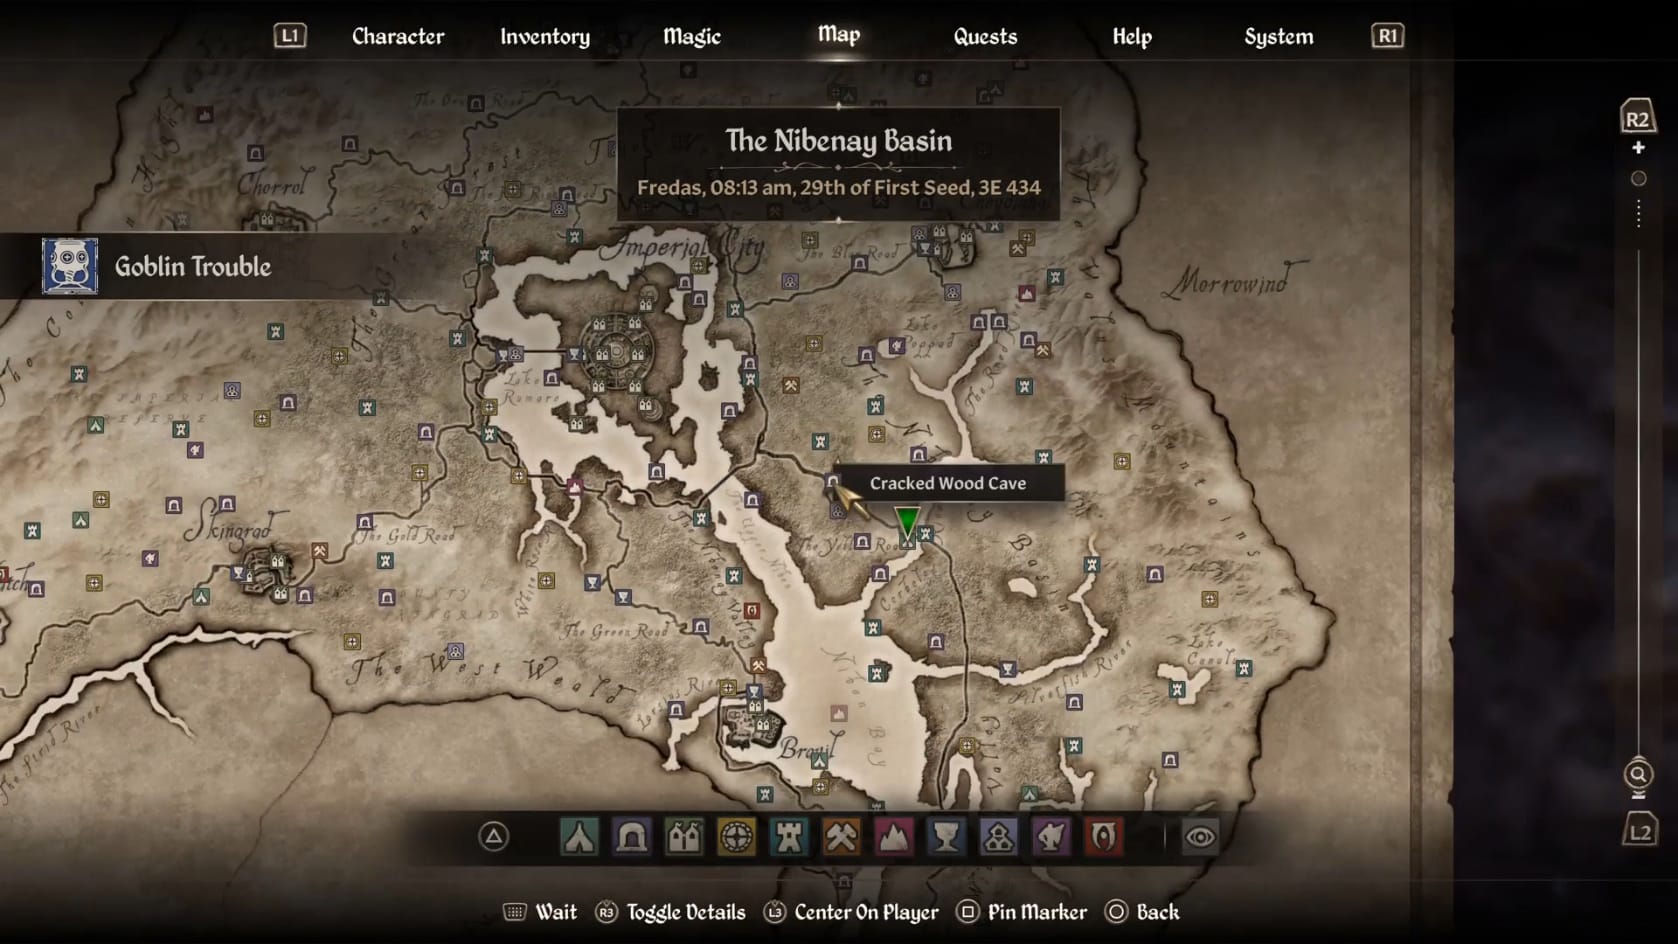
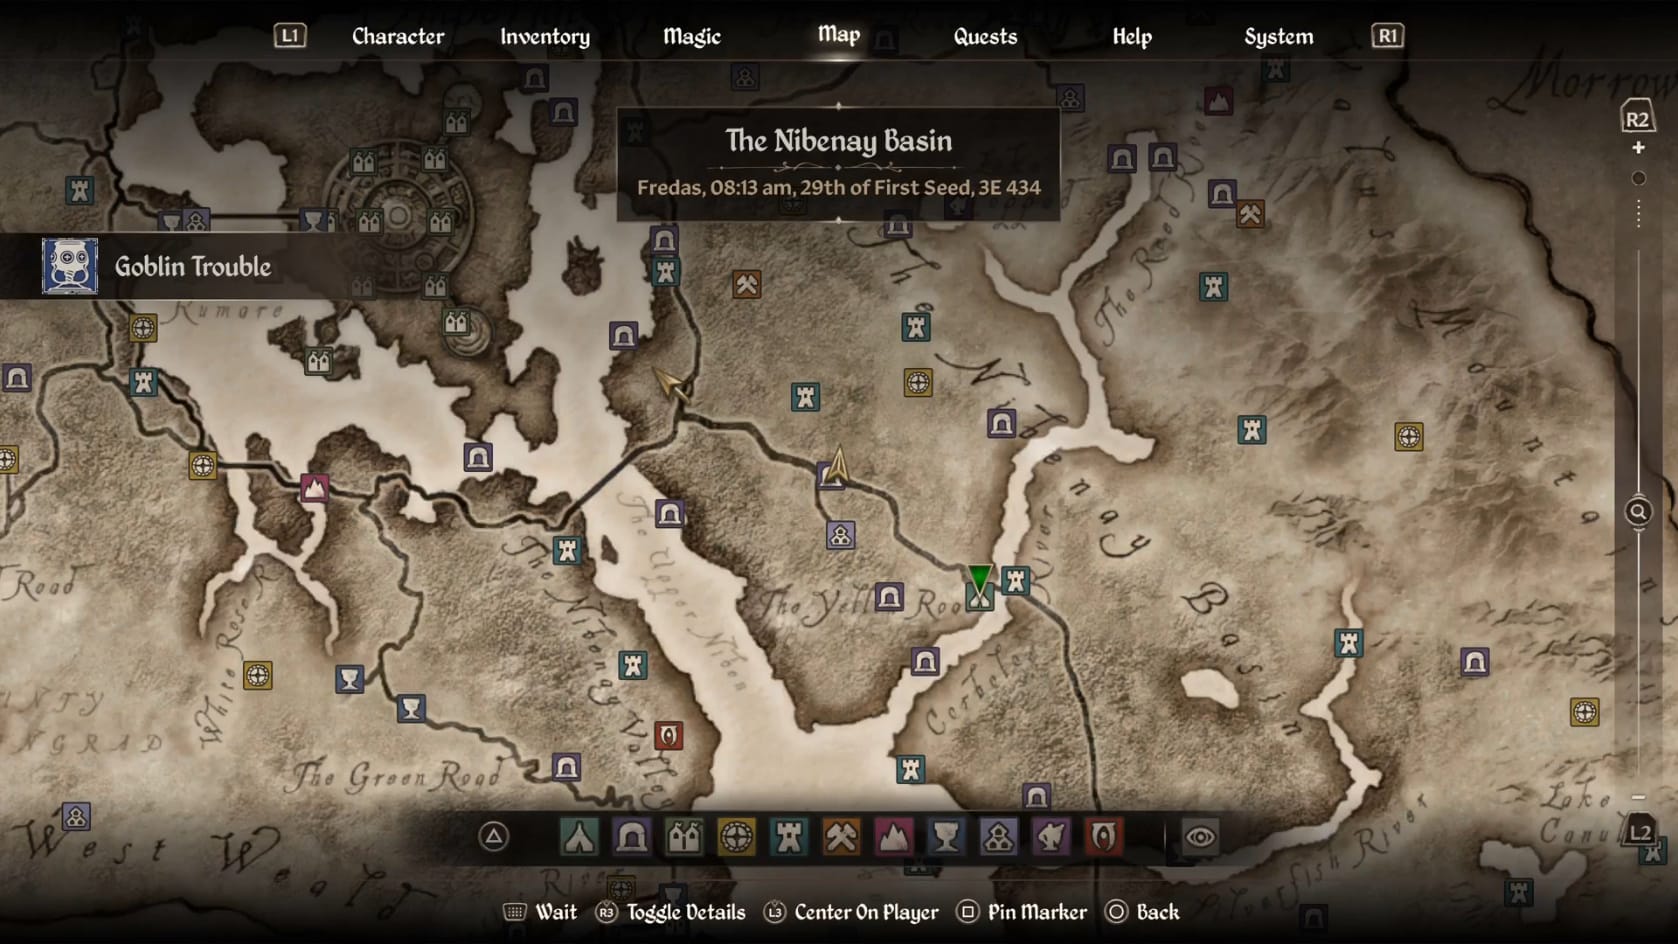
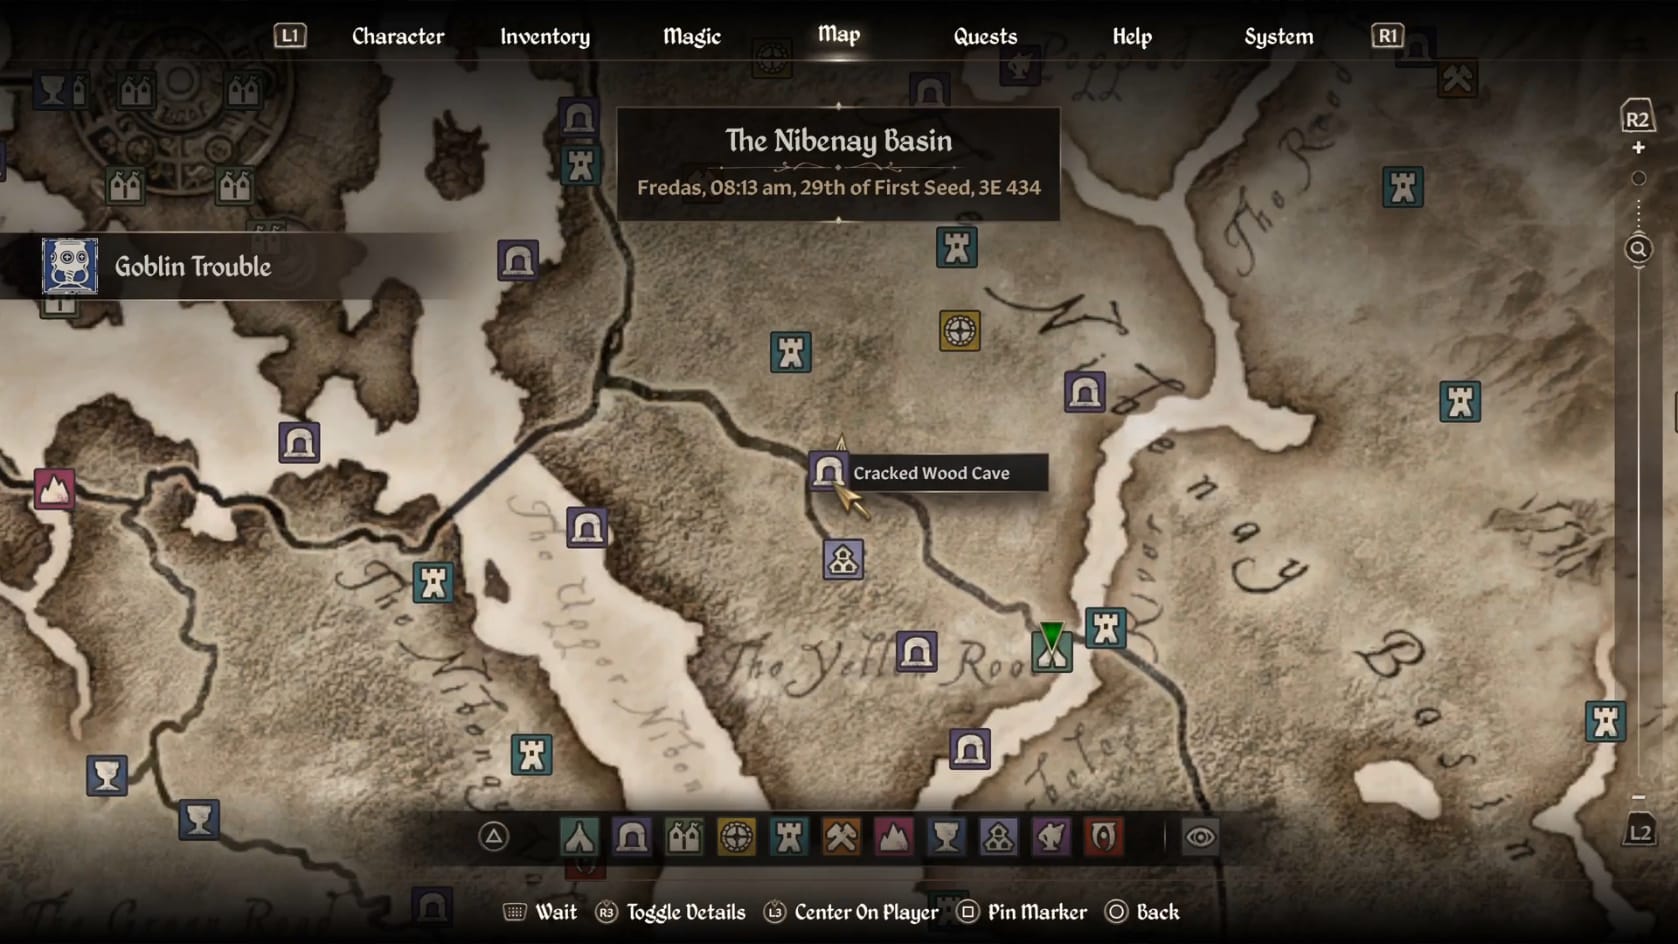
Make your way to the Northeast from Crestbridge Camp. It helps to have Chameleon around 40-50% with a good stealth.
Once inside, head forward, along the passage to the North. If you continue to the end of the Northern passage, you will find a small chamber with a chest (but there is a tripwire in front of it). After that, head back to reach the passage going off to the East (West brings you to a dead end). This will bring you into a large chamber.
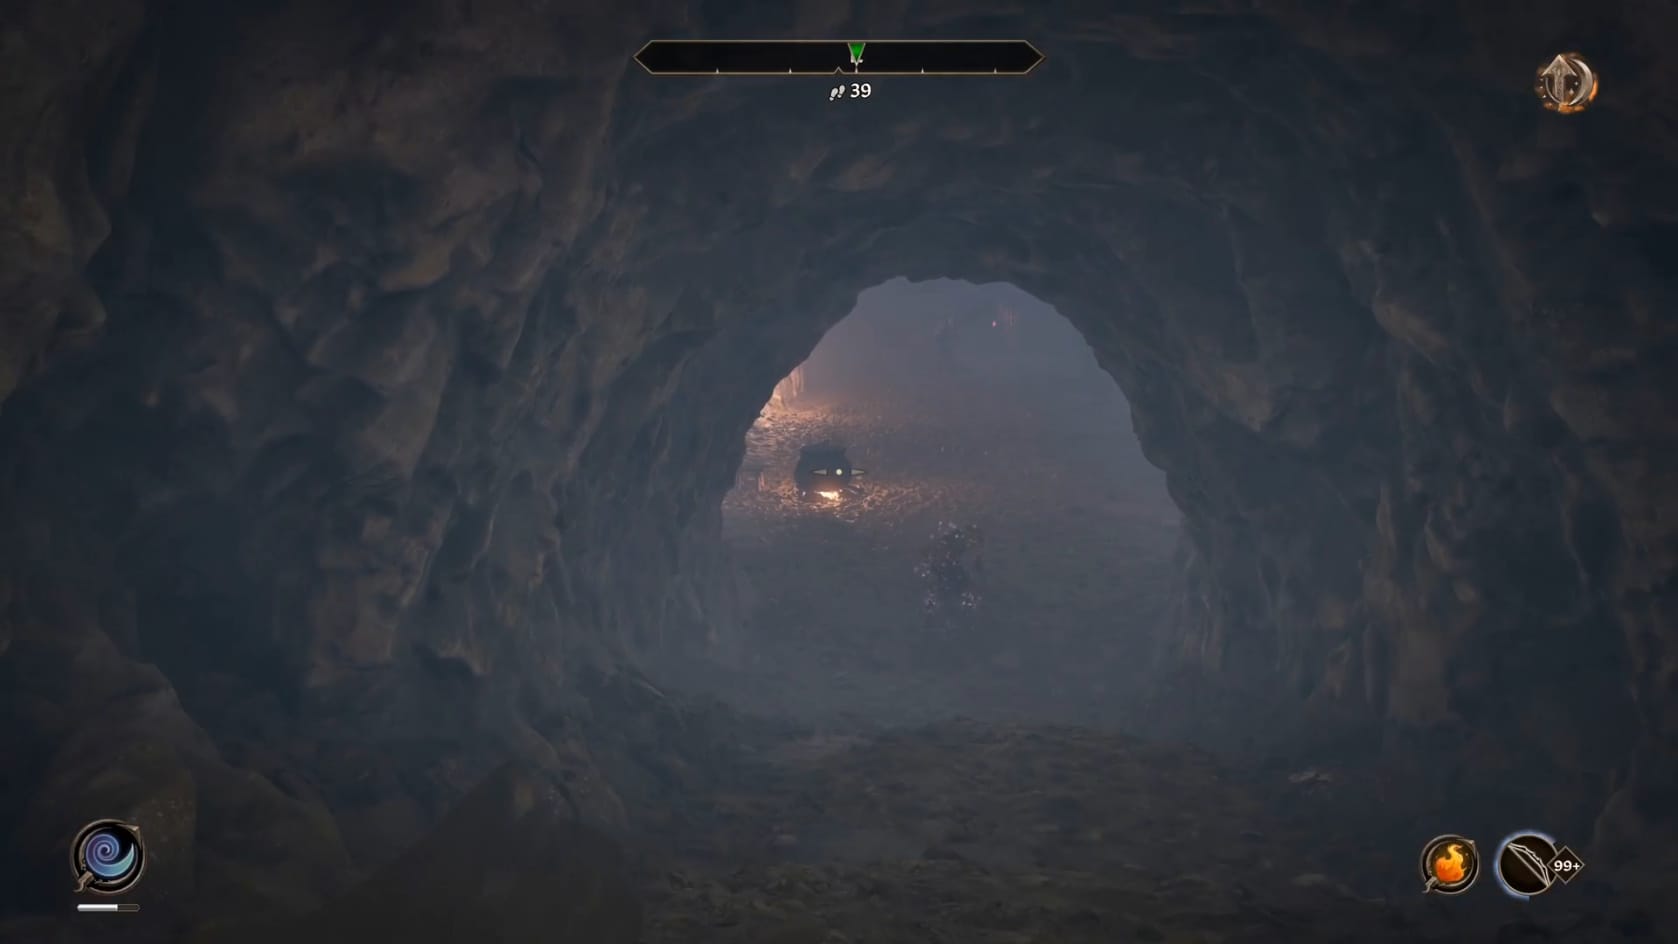
Inside this chamber, go forward a bit then head over to the West. Follow the slope downward. In this next chamber, head over to the right (East). Take the slope down into the adjacent chamber with the wooden corral in the back of it. Around here you can find the Bloody Hand Goblin Shaman. You just need to eliminate the Shaman and you’re done with this. At this point, you can slip back out of the Cave and report back to Crestbridge Camp.
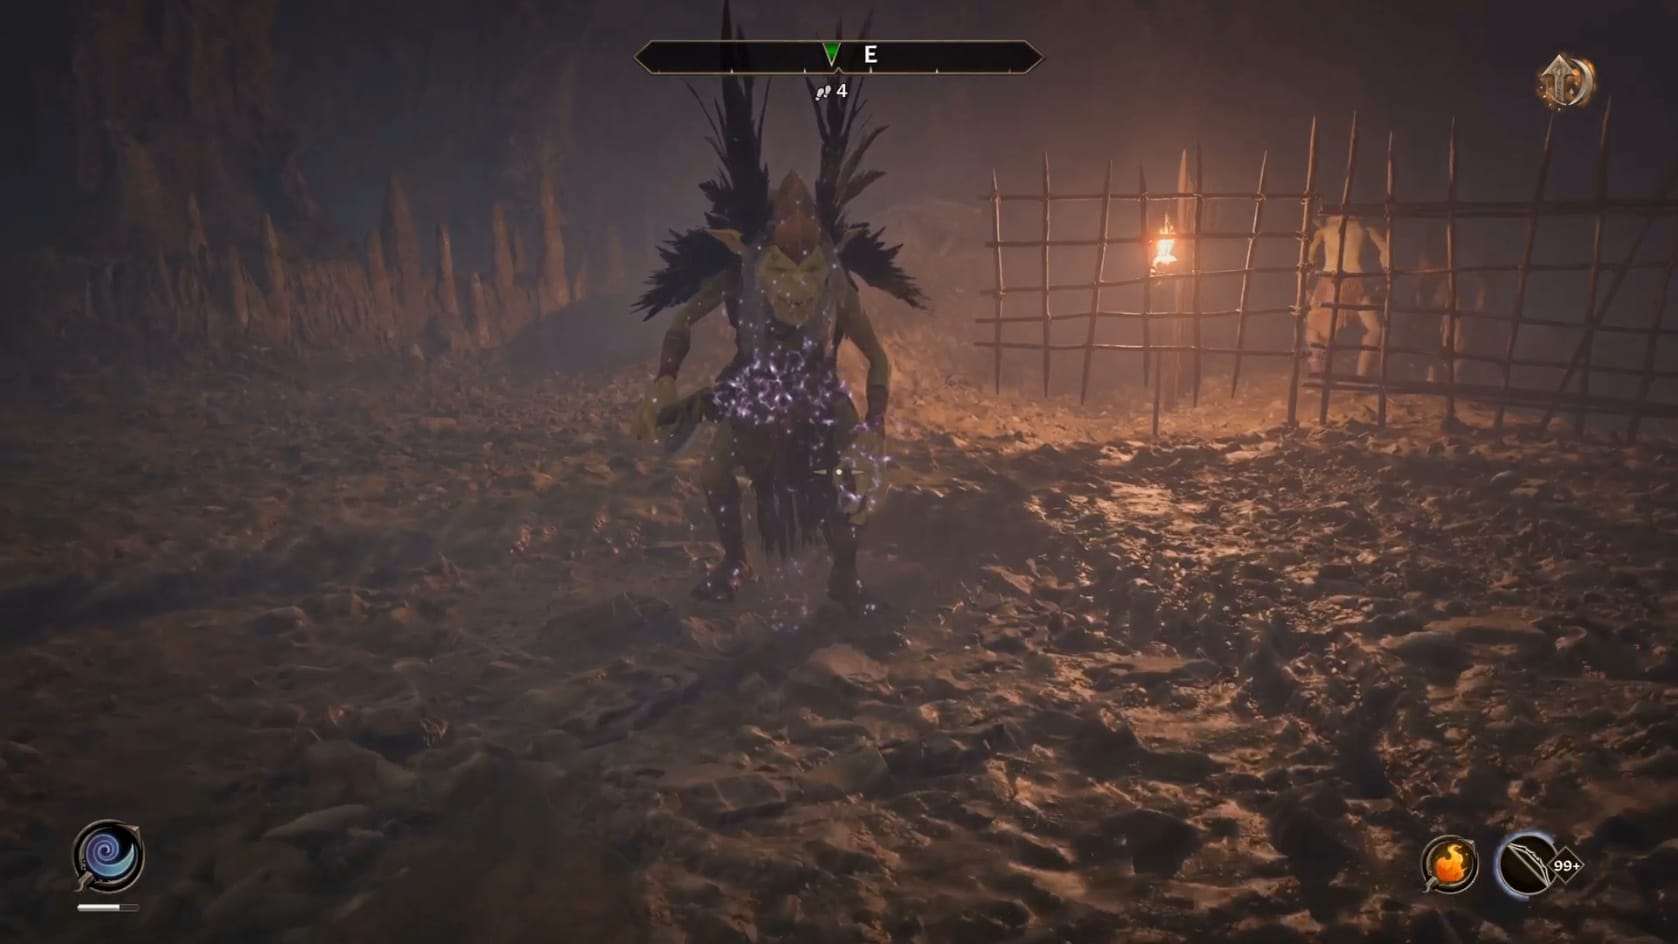
Clearing Cracked Wood Cave
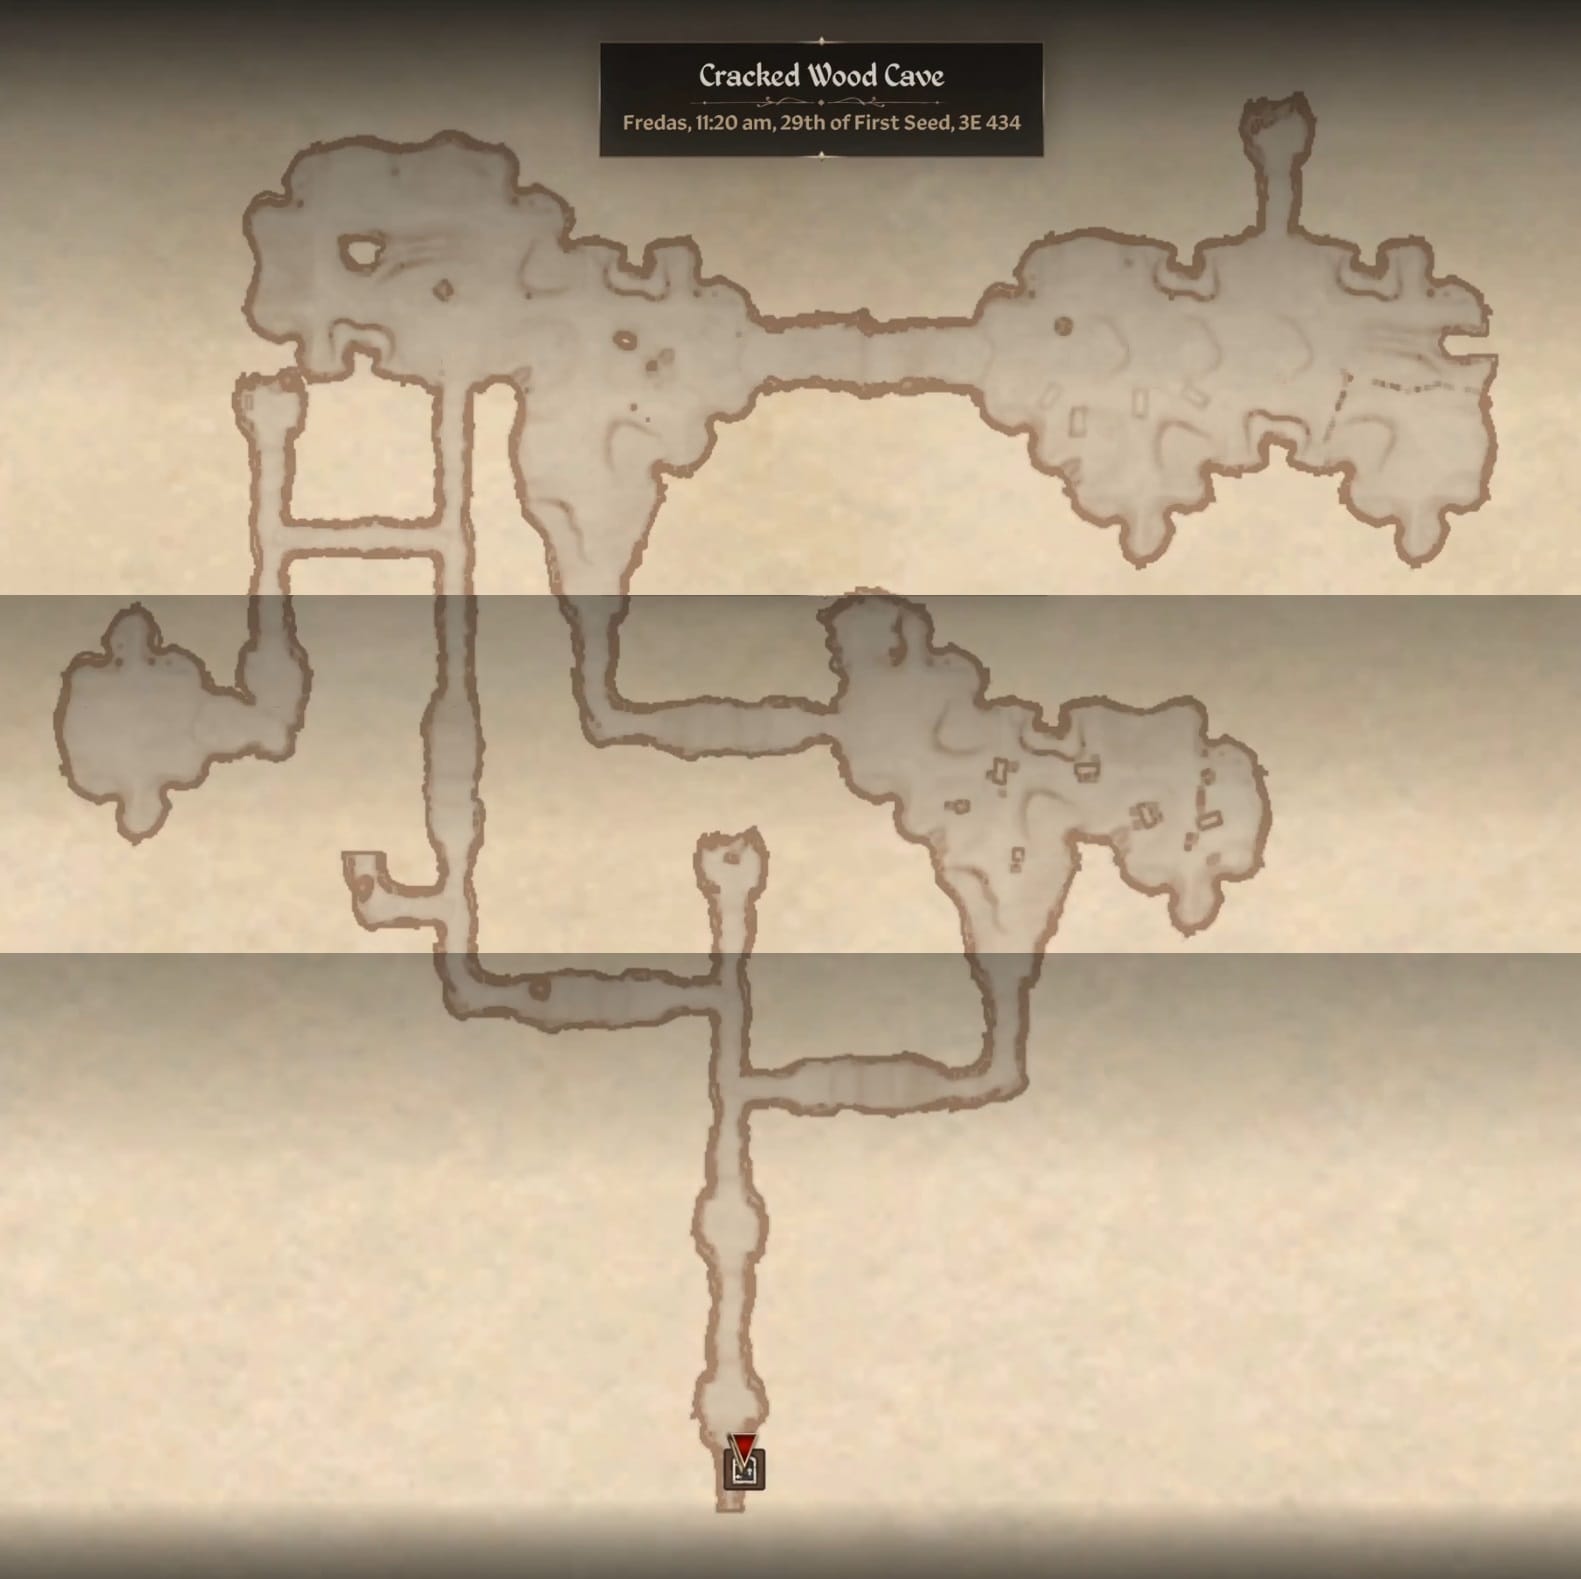
The Map of Cracked Wood Cave
Alternatively, you can clear the cave of goblins. Inside the cave, start by going down the slope. The path will level out, offering a few turns. You just need to take the first right (going to the East) and down, then North to reach the first chamber.
This first chamber has a number of supplies inside it, but very few Goblins. Searching around here, you are likely to just find a Chef and a Rat Farmer. Eliminate both of them. Go to the Southern corner where you can find a Chest to loot. Collect any food or alchemy ingredients you want then head to the South.
Go down into the tunnel and through it to the West. Go to the North after that to briefly have returned to the initial tunnel. Jump over the tripwire and get to the Chest beyond it. Go back to the South then take the first Eastern turn. Back in the first large chamber, go to the Northwest and through the tunnel there.
Follow the tunnel down to the South. This will connect to another chamber to the North. Start clearing the Goblins there. There are a few in the room. You can sweep through the room to the West to find a broken crate with a scattering of lettuce and pumpkins.
Look to the Western part of the cave to find a passage leading to the South. Move along here and look for the Western passage. It’s short but does have another Goblin in it. Go down it and head to the South there and around the very next corner to find the Rat Farm. Either ignore the rats and eliminate them. You can follow the main part of the passage to the South, but it will bring you to a Dead End that would connect back to the entrance. Head back to the North and out of the passage.
After that, go to the East. Follow the path down the slope and into the next chamber.
This is a much larger chamber with a wooden pen in the far eastern corner of it. There are around 4 Goblins in here, including the Shaman. Eliminate them all to clear the cave.
Before leaving though, go to the Northeast. You’ll find a small alcove here. Search inside there to find a pair of Chests to loot.
Talk to Mirisa
With the Totem Staff in hand, you can head back to Crestbridge camp. Talking with Mirisa, she will make a suggestion or two about what to do with the Totem Staff.
The Totem Staff
With the Totem staff in hand you will have a few choices:
- You can “give” the Totem Staff to another Goblin tribe by leaving it outside their cave. This will start a Goblin War with THAT Tribe and not the Bloody Hands.
- Return the Totem Staff to the Bloody Hands by leaving outside Cracked Wood Cave
- Keep the Staff, since neither side has it, the war ends. They’ll just come after you later on.
Talk to Barthel Gernand
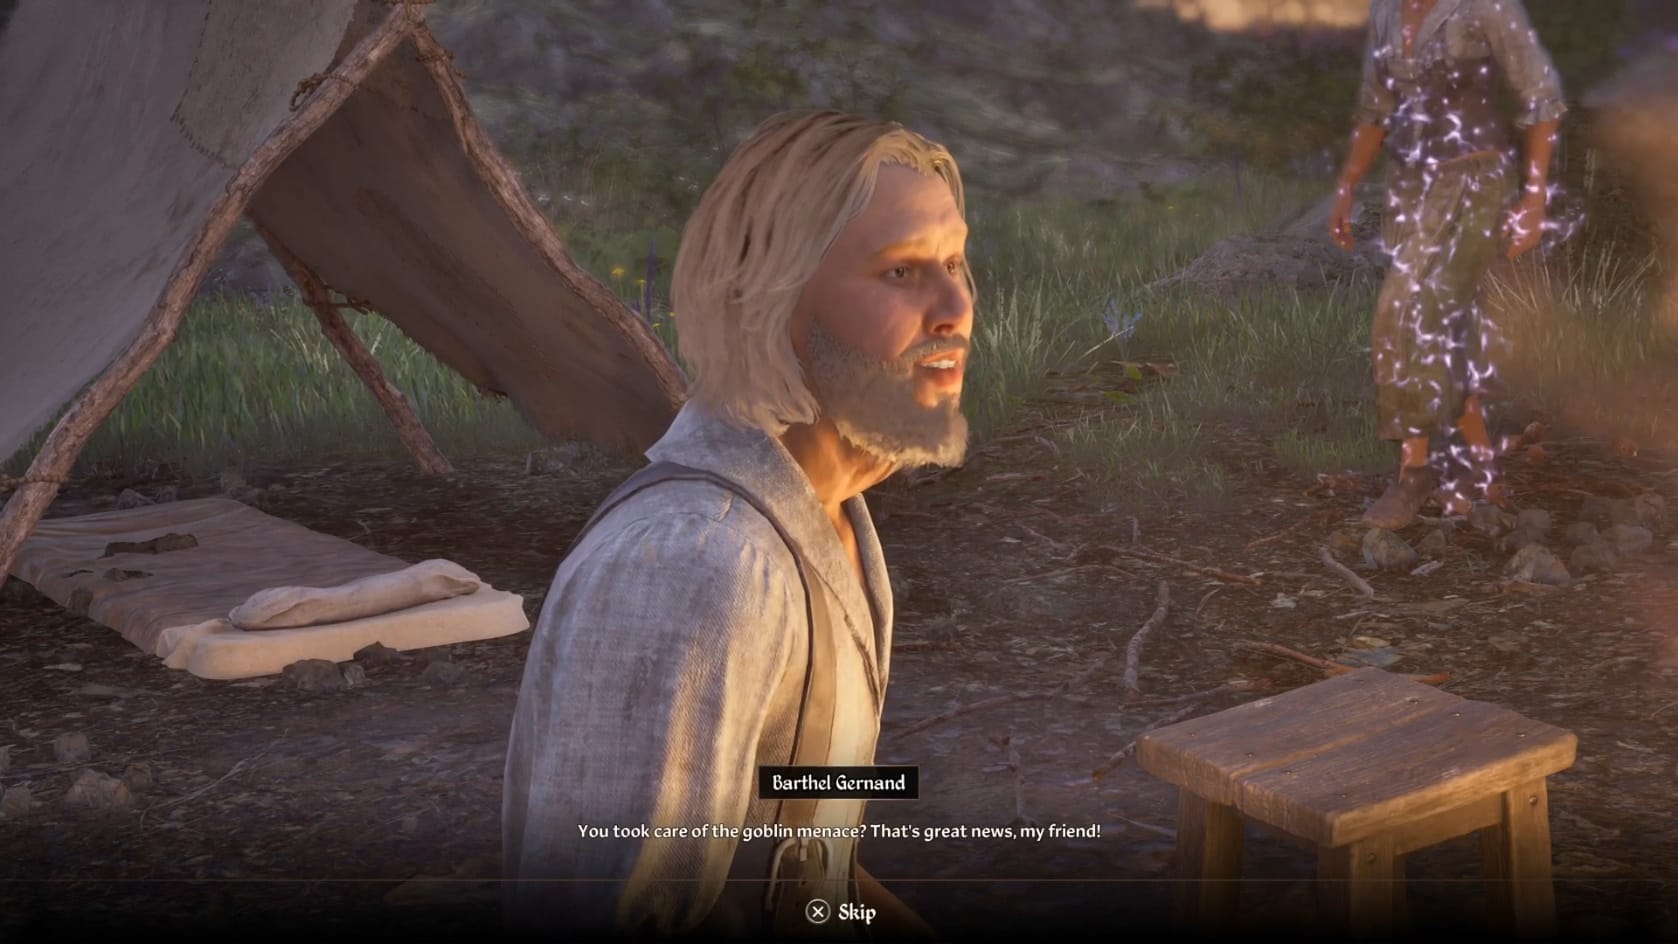
With the Goblin War resolved one way or another, you can go and talk with Barthel Gernand. Talk to him about “Goblins.” You’ll share that the war is over. He’ll be very happy and ready to get everyone out to Cropsford. Barthel will ask the Hero to return to Cropsford in about a month to receive your proper thanks.
Building Cropsford
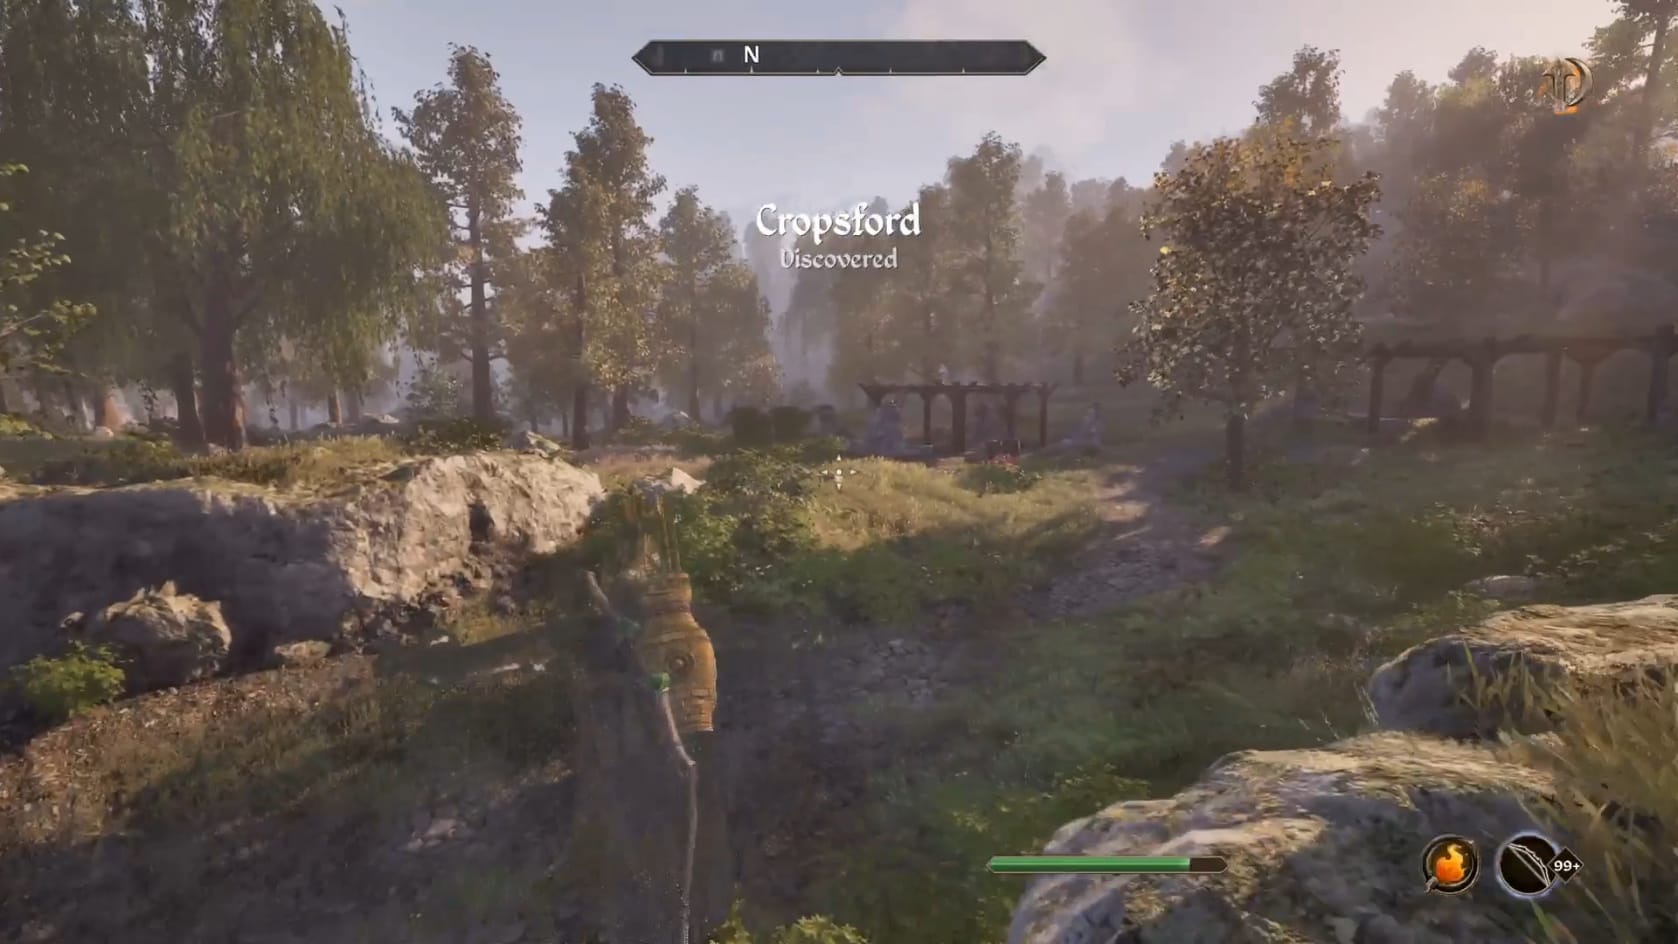
Not an active part of the Quest. Over the next 3 weeks, after Quest Completion, Cropsford will properly take shape.
Stage 1 - Supports and a lot supplies scattered around the area
Stage 2 – 1 House is Complete
Stage 3 – 2 Houses are Complete
Stage 4 – Crops are planted, fencing added
At this point, you can visit the Bincals’ House. Inside there you can find the “Reward Chest” on the second floor. Each week you will find Gold in that chest for you.
It follows a formula: Character Level x 10 + (Between 0-19) gold
Video Walkthroughs
Eliminate the Goblin Tribes
Reclaim the Totem Staff
Defeat the Goblin Shaman