Oblivion Remastered: Through a Nightmare, Darkly Guide
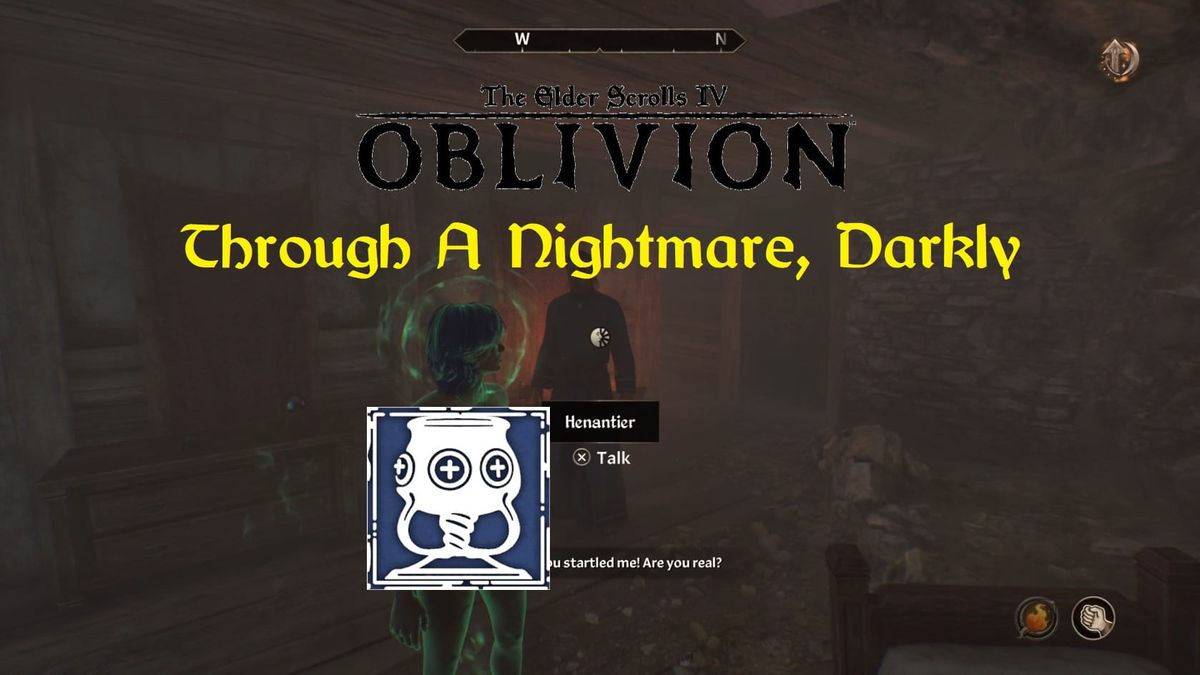
Help Kud-Ei rescue Henantier from his dangerous nightmare by completing the Tests of Perception, Patience, Courage, and Resolve in this Oblivion Remastered guide for "Through A Nightmare, Darkly."
Summary
Go into the Bravil Mages Guild and talk with Kud-Ei. She’ll explain her friend Henantier has been trapped by one of his experiments and she needs you. Kud-Ei brings you to Henantier and guides you into his dreams. By solving the 4 Tests within, you can restore Henantier to the waking world. He will reward you with a number of useful (if random) scrolls).
Walkthrough
Speak to Kud-Ei
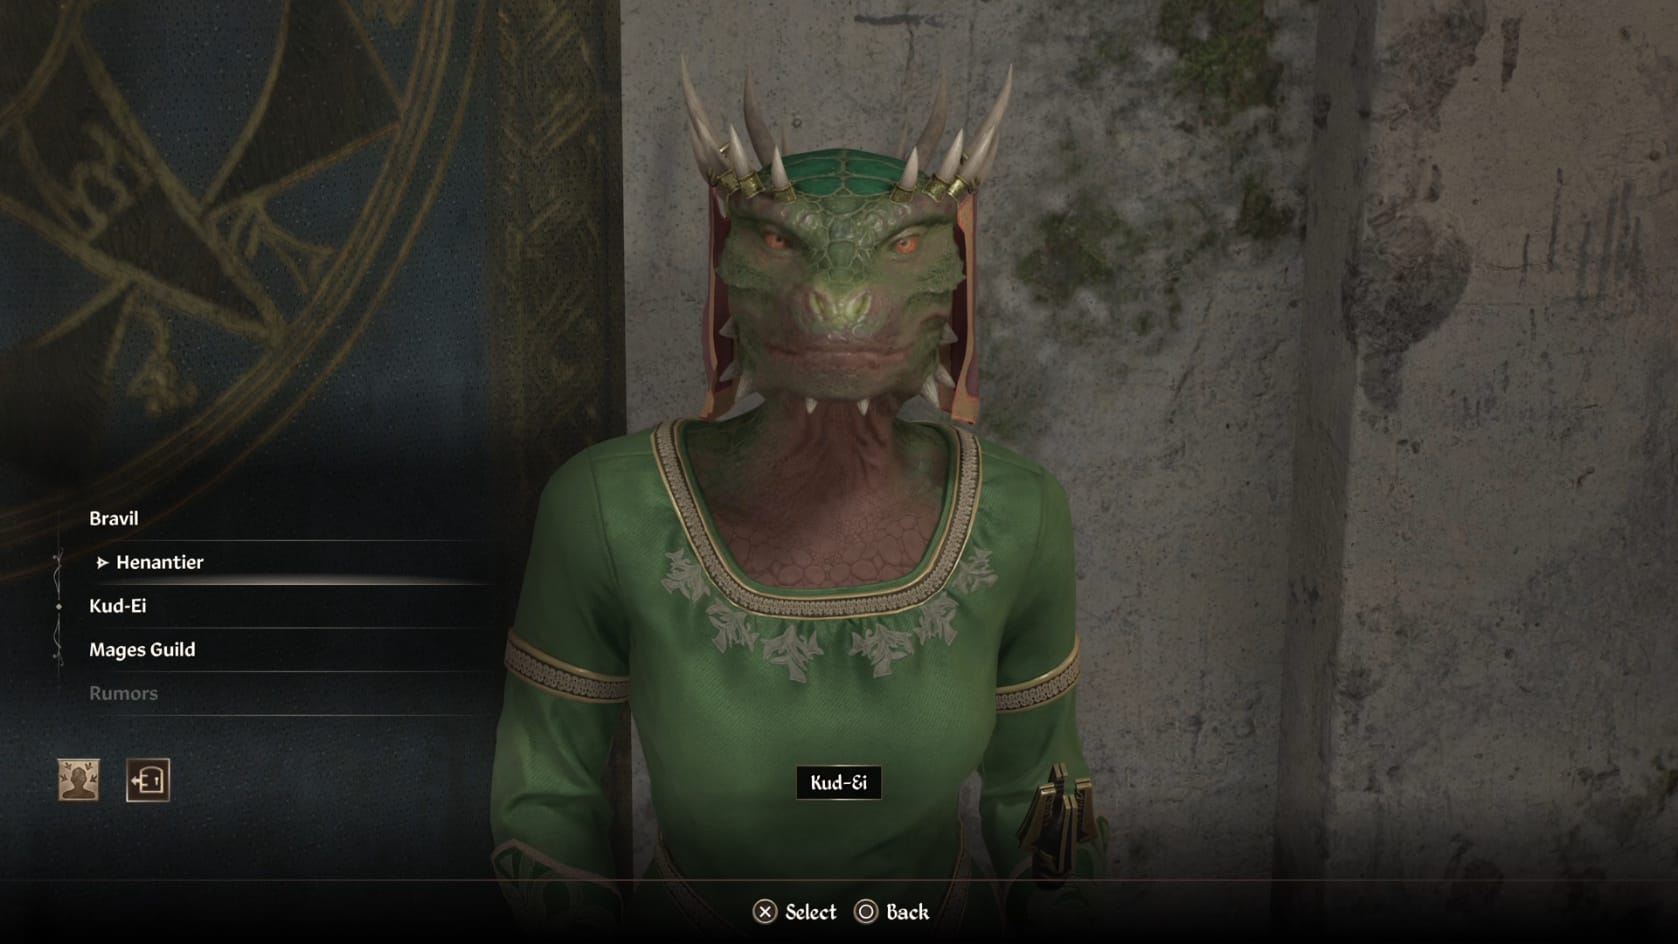
Speak with Kud-Ei within the Bravil Mages Guild. She is the head of the Guild, and this quest will be available as soon as you complete the Bravil Recommendation quest. Talk to her about “Henantier.”
Talking with Kud-Ei, she will explain that her friend Henantier has always been testing what he can do. He performs reckless experiments at his house. He’s out of warnings and will be expelled if he’s discovered engaged in another. She asks for the Hero’s help to visit Henantier and help him return.
Follow Kud-Ei
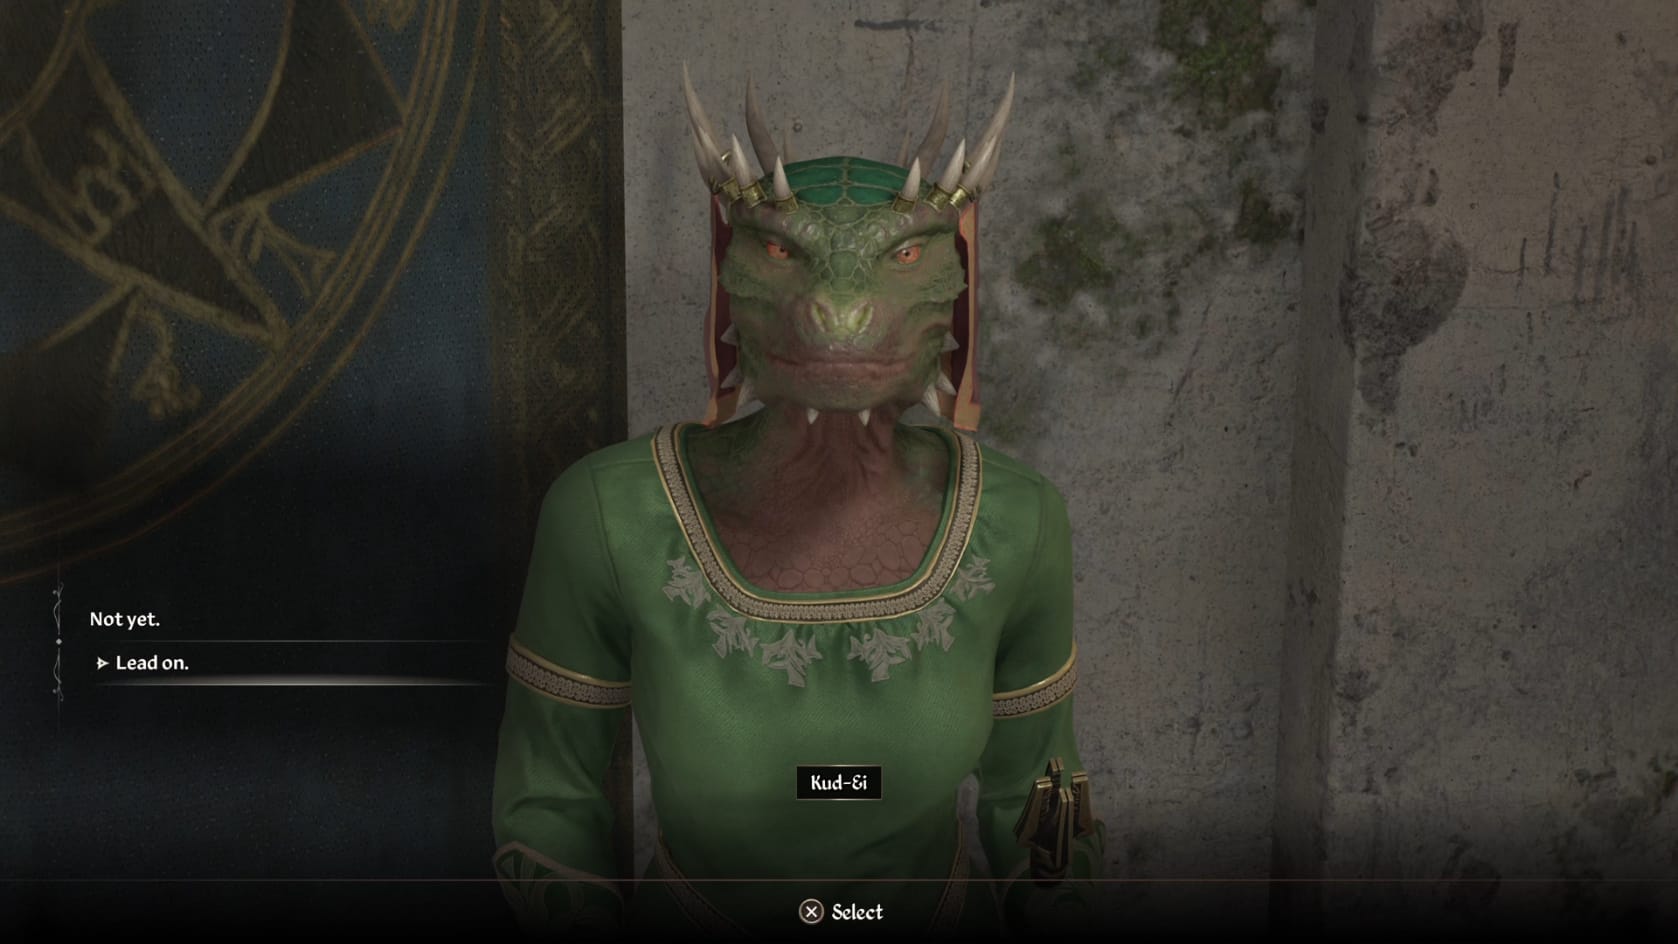
Kud-Ei will ask if you’re ready, and when you are, lead you to Henantier. She will lead you out of the Bravil Mages Guild. From there, you will head to the Northeast to reach Henantier’s House. Follow her through the house, taking the stairs up.
She explains that he made an amulet to train himself up in dreams. She knows how to get the amulet off him and give it to you. Tell her you’re ready and she’ll give the Amulet to you. Kud-Ei will explain that if Henantier dies in his dream, he’ll die in reality and bring the Hero with him into death.
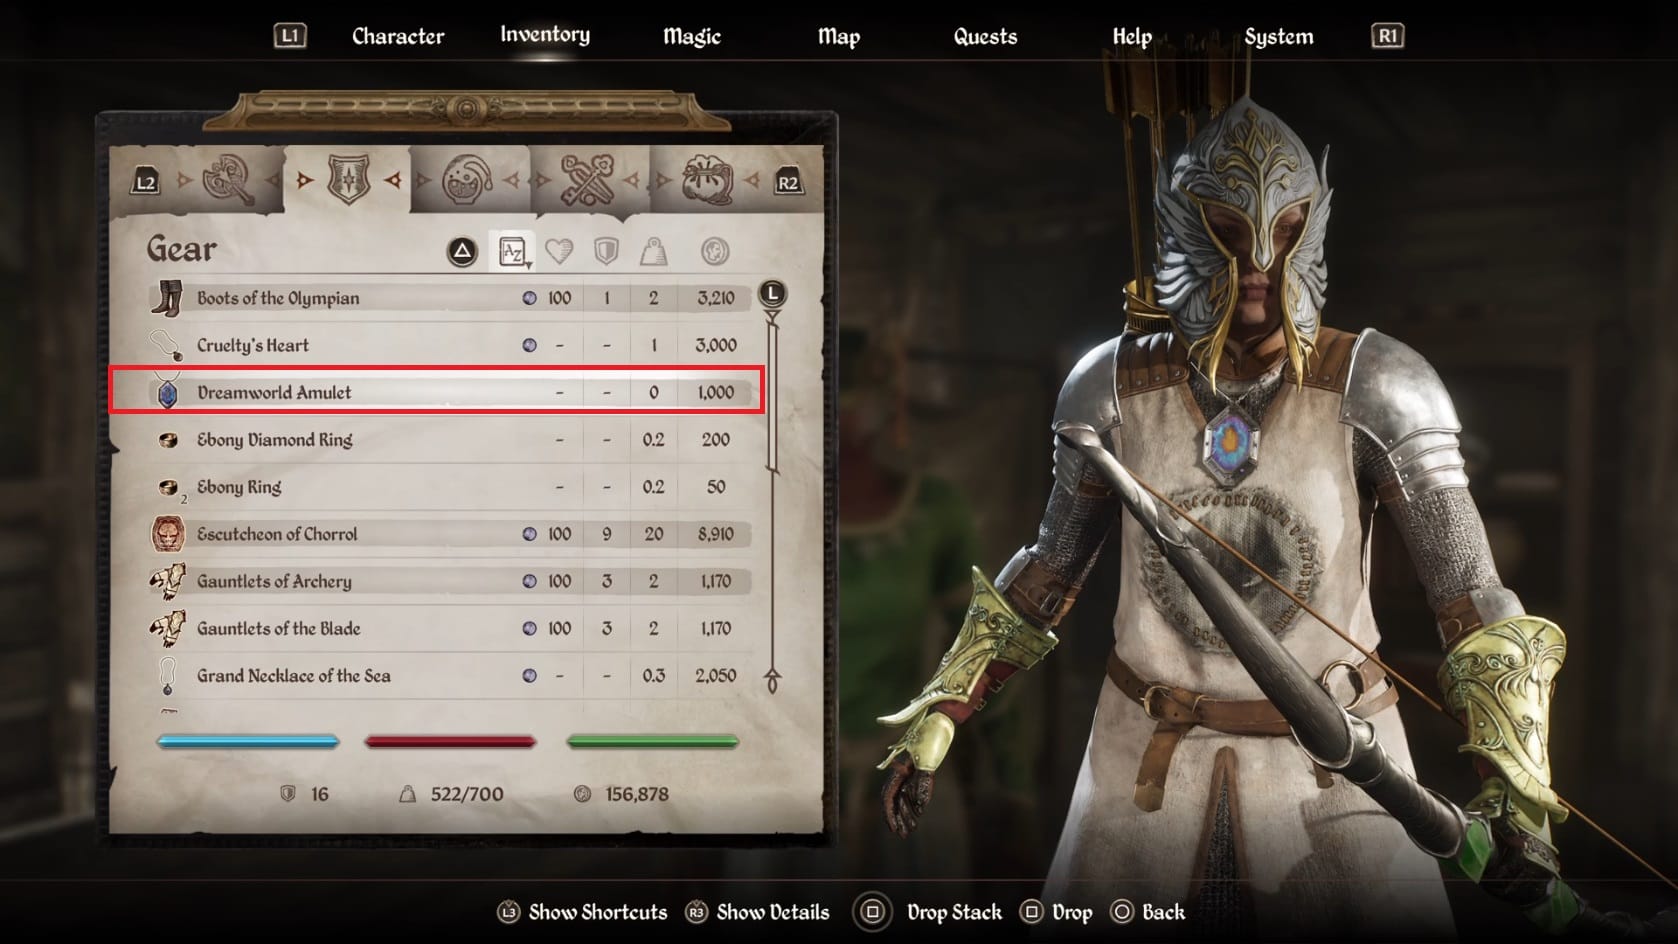
After this conversation, go into your inventory and equip the Amulet of Dreams. Go over to the spare bed and go to sleep (this won’t trigger a level up).
Explore the Dream
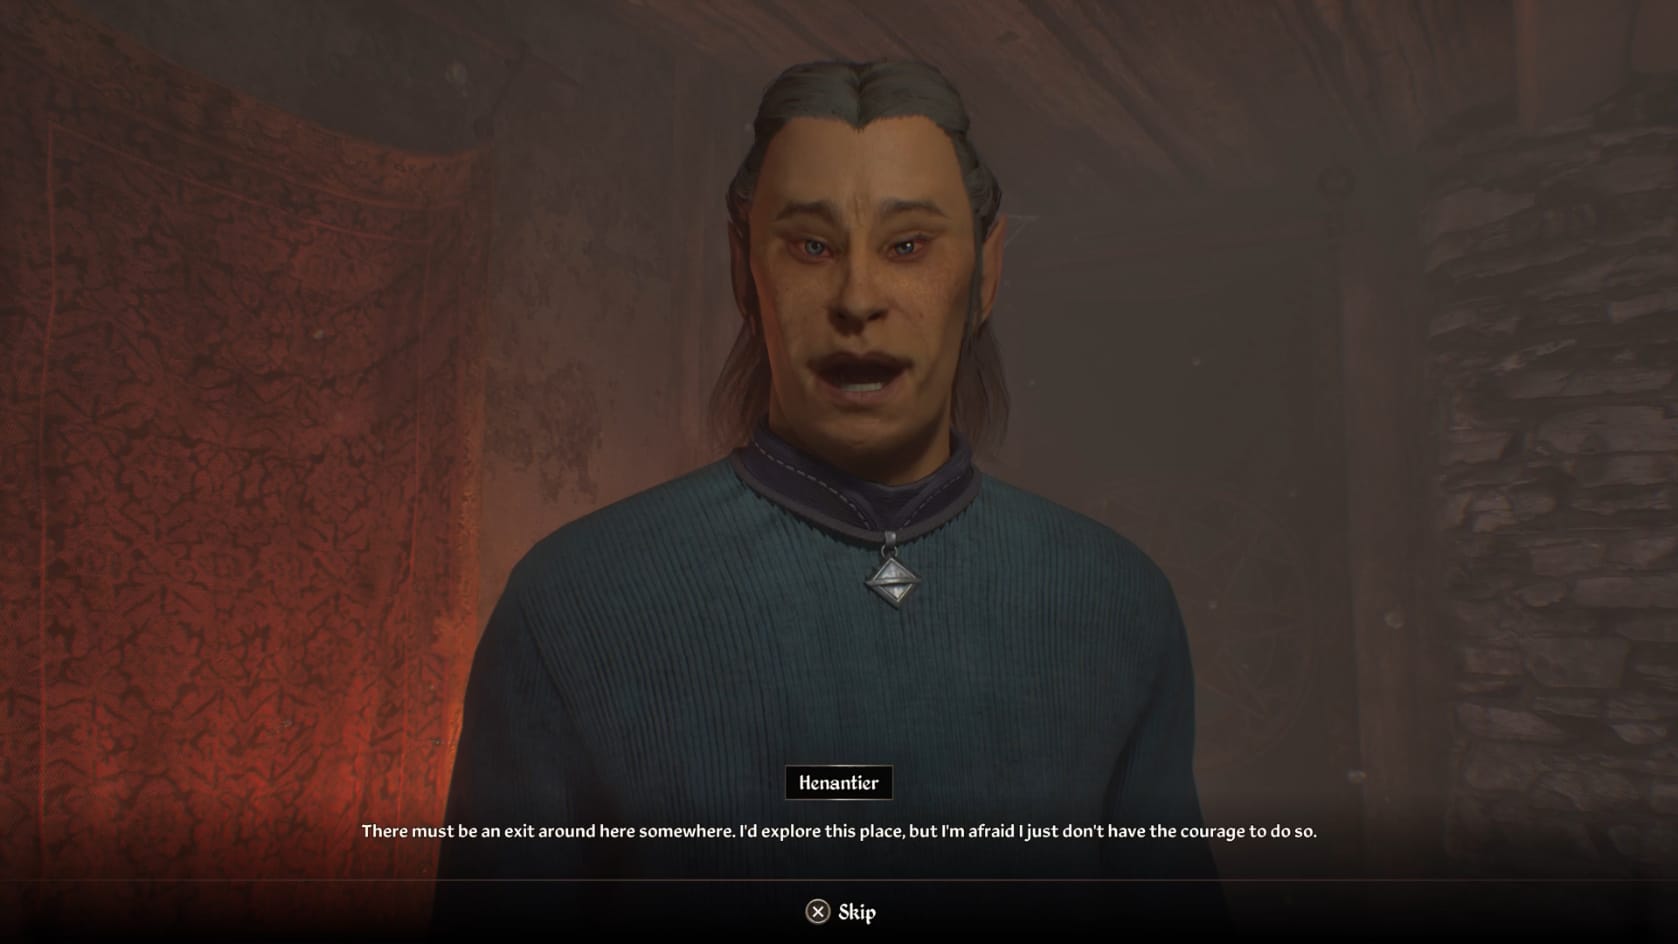
Inside the dream, you will quickly find Henantier. Start talking with him. He seems to have forgotten who he is and what he is doing. To this end, you will need to explore the house to figure out what is happening in the Dreamworld. While you are in the dreamworld, you won’t have access to ANY of your items, or equipment. On top of that, you are constantly under the effects of a Silence spell, so no spellcasting either.
As you explore, you will find 4 doors. Each leads to a Test:
- Perception
- Patience
- Courage
- Resolve
Complete the Tests
Each of these Tests needs to be completed. Each has its own little challenges to complete.
Test of Perception
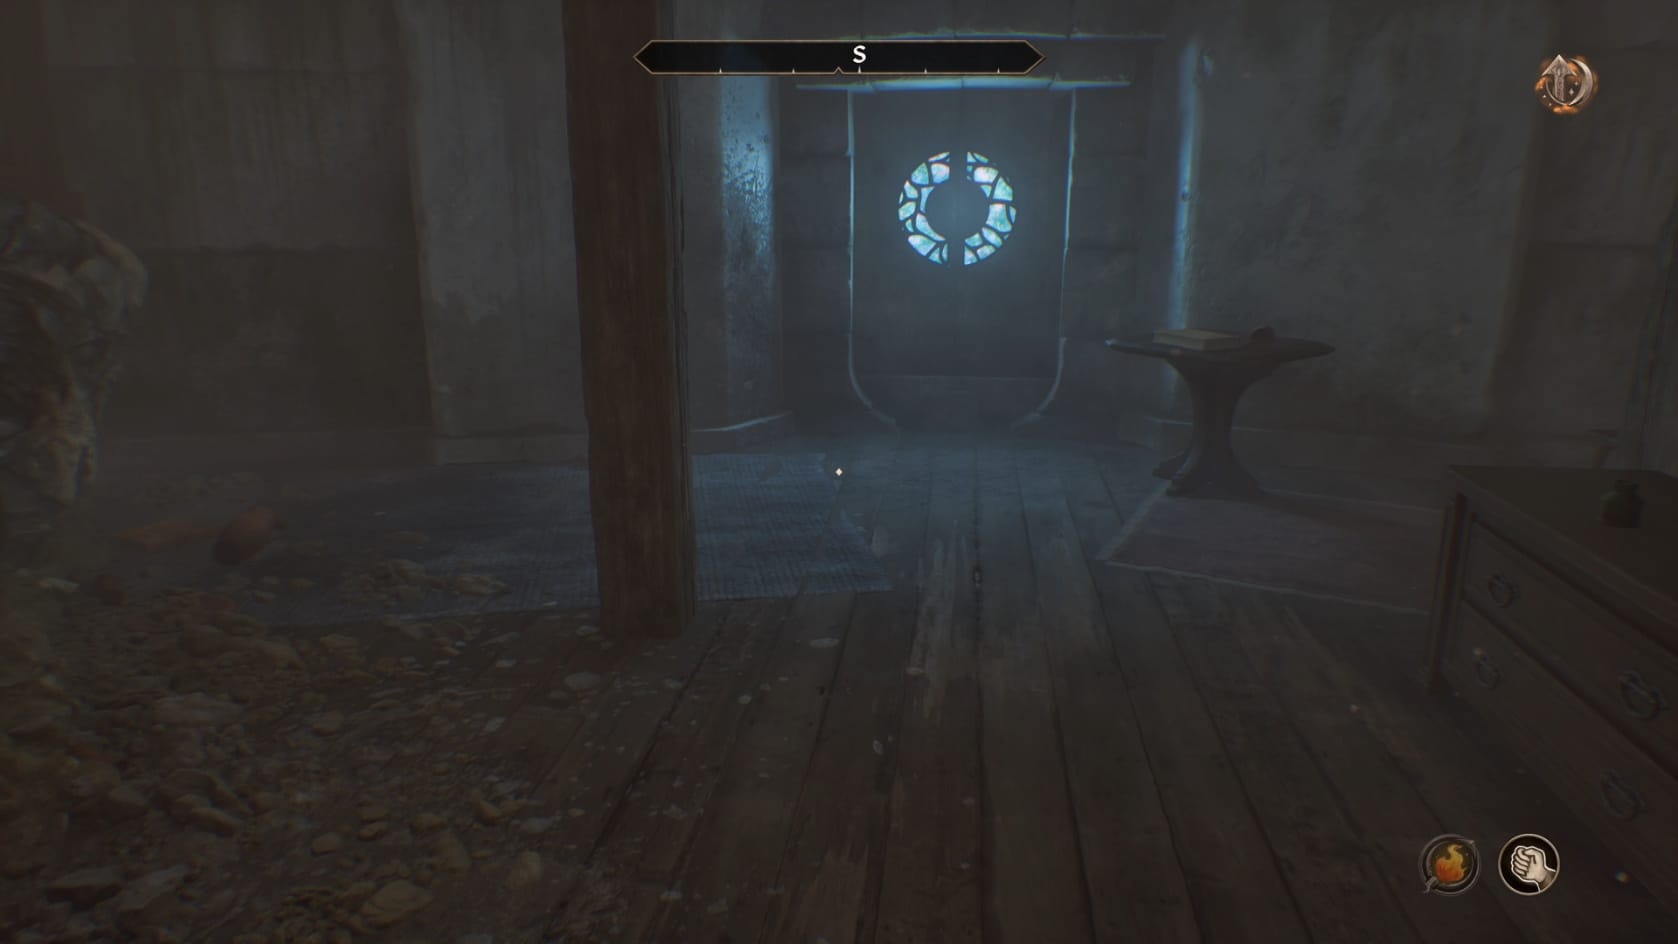
This Test is found to the right of Henantier. Go through the door and into the trial. Inside the Test, look to the left over to the container labeled “Perceive”. Open it to find a Torch. Equip the Torch and head over to the right.
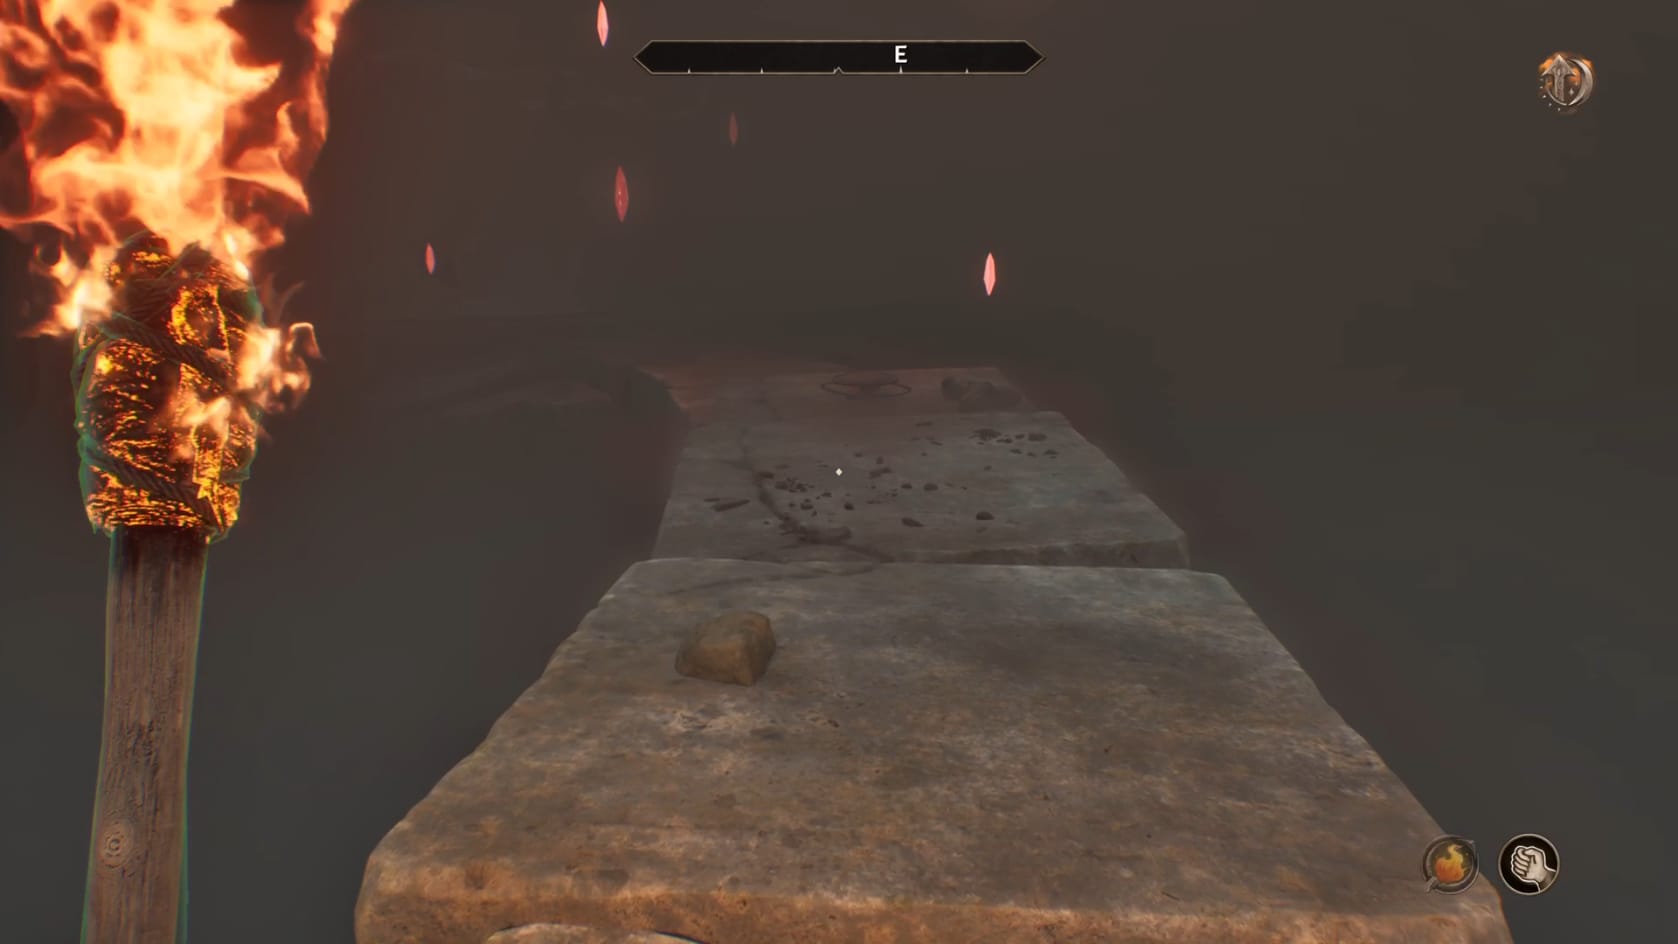
Start by going over to the right and down the narrow walkway. You can see a pressure plate in the middle of the walkway. Jump over it to avoid having the boulders just ahead of you come crashing down. If you do trigger the pressure trap, immediately stop on it.
Getting to the ring just past there, you will see its got a number of swinging blades. You can carefully evade them
On the far side of the ring, you’ll have another challenge. You will need to rush through the next section. This section is filled with poison. You need to run through it!
Through the poison, you need to slow down as you reach the turn. There’s another pressure plate sitting on this corner. Stepping on it will cause more boulders to fall, so you need to stop on the pressure plate to avoid the falling boulders.
Go along the walkway. This one has you needing to avoid dropping blades.
You’ll see pressure plates in the floor that you’ll need to avoid. Stepping on these plates will trigger nearby traps that will send a blast of energy at the plate. You can run through all these and through the archway at the far end.
Jump over the entrance of the Archway to avoid a pressure trap. There is a boulder drop in the middle in the circular area. Once again, if you trigger the trap, immediately stop on the trap.
Getting to the far side of this area, you’ll find another walkway leading further in. There are pressure plates on the walkway that you need to avoid by simply jumping over. There are 4 across the walkway.
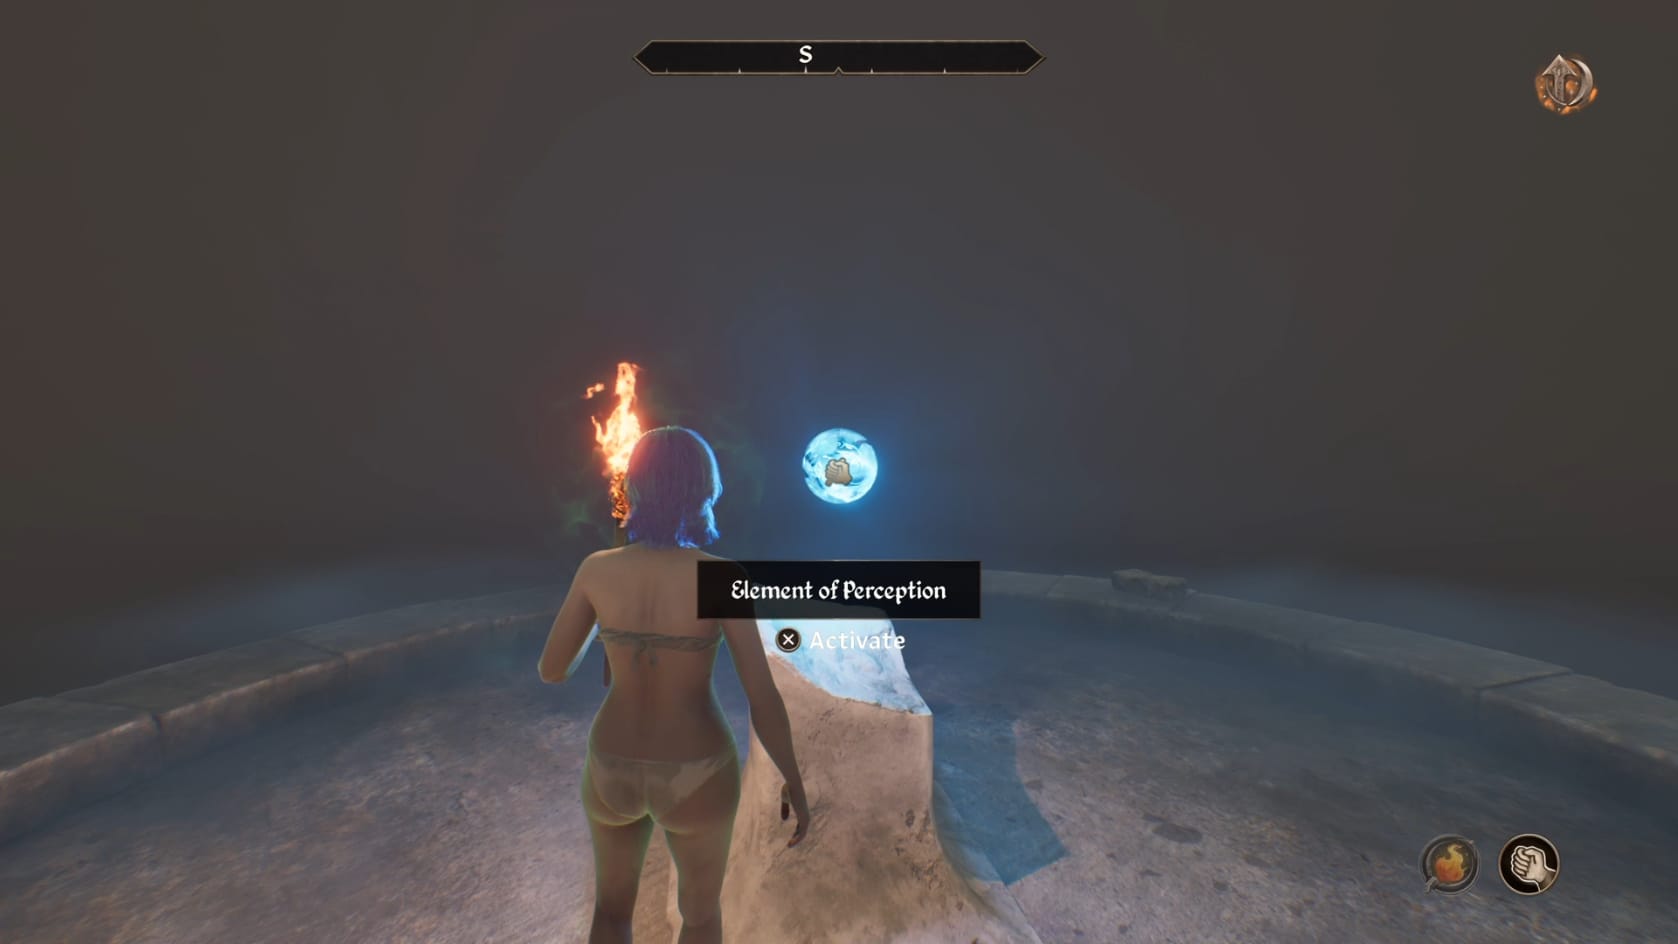
Reaching the end of the walkway you will find the Essence of Perception. Claim this to finish this trial.
Test of Patience
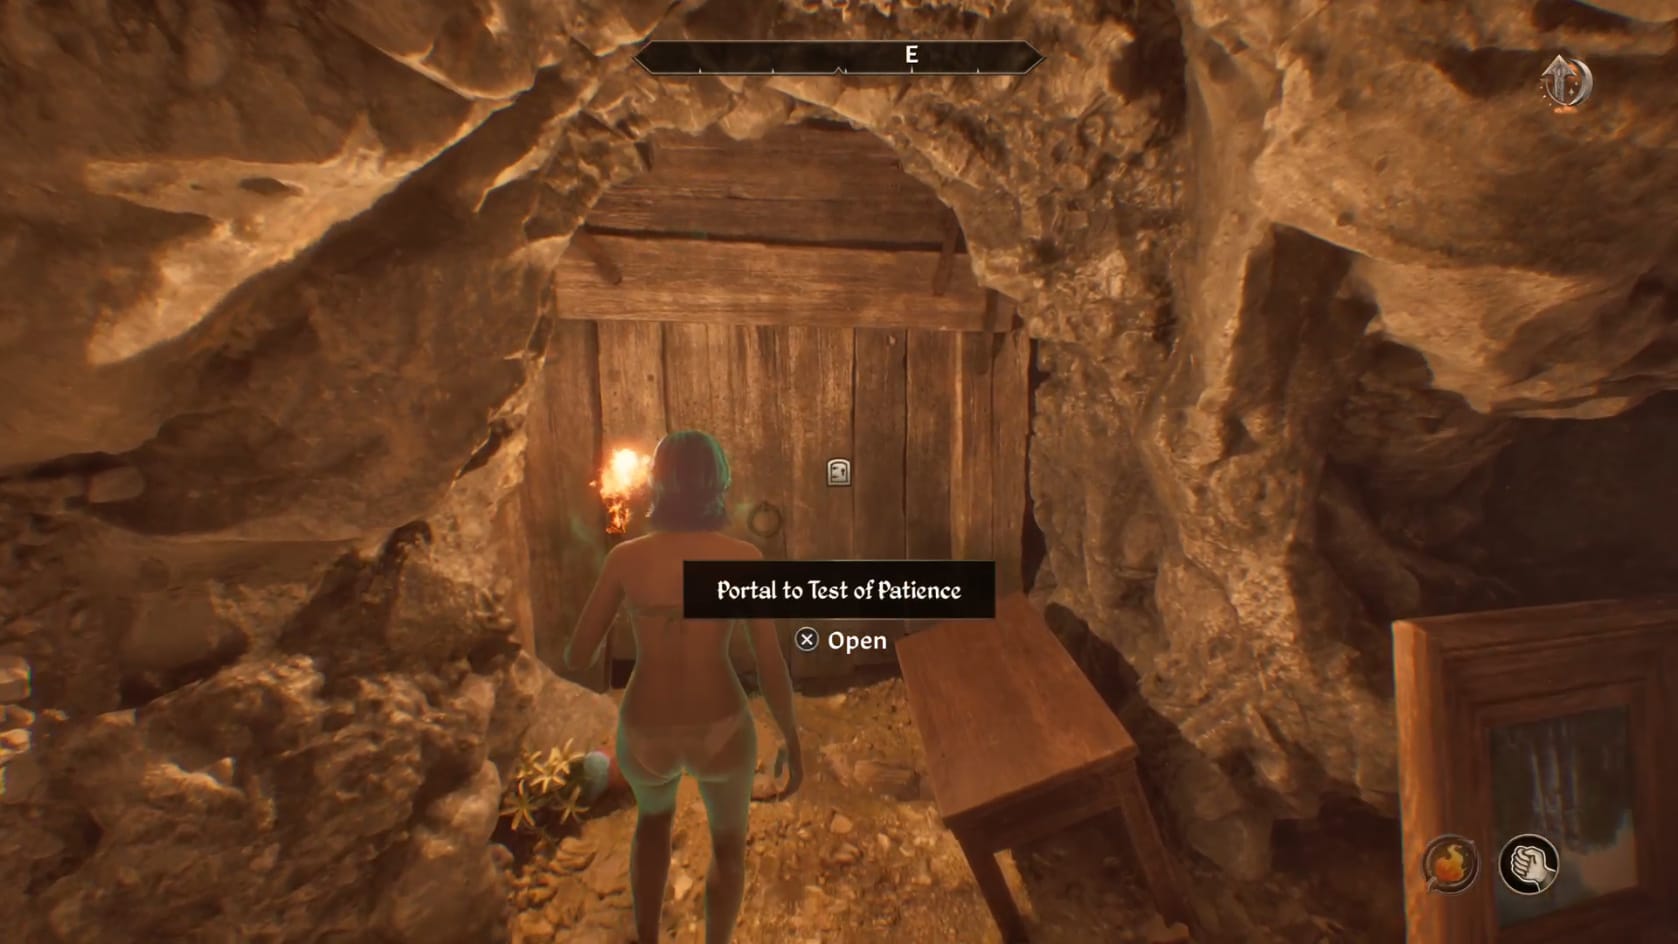
Go to the Eastern side of the top floor. Just head through the door after that. Just inside the Test, you will find a container labeled: “Study.” Open this container to find the map that you’ll need to navigate the puzzles. Collect the “Mysterious Scroll.” Read this scroll to see the 3 puzzles. You will need to follow the series of identical symbols spread throughout the area.
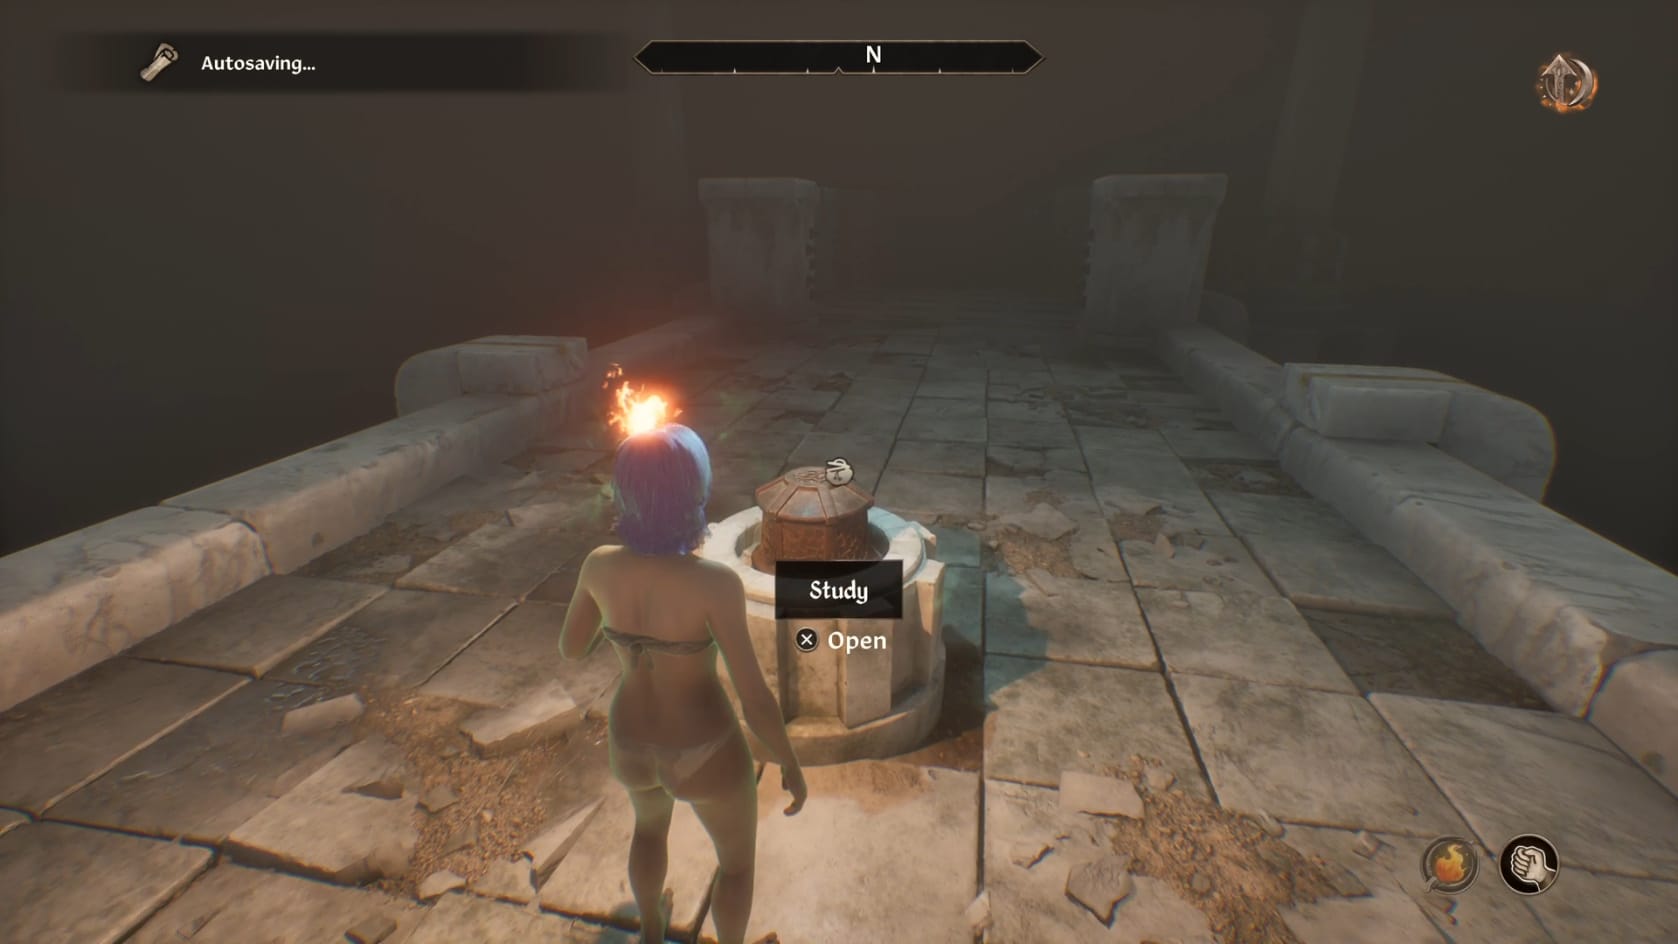
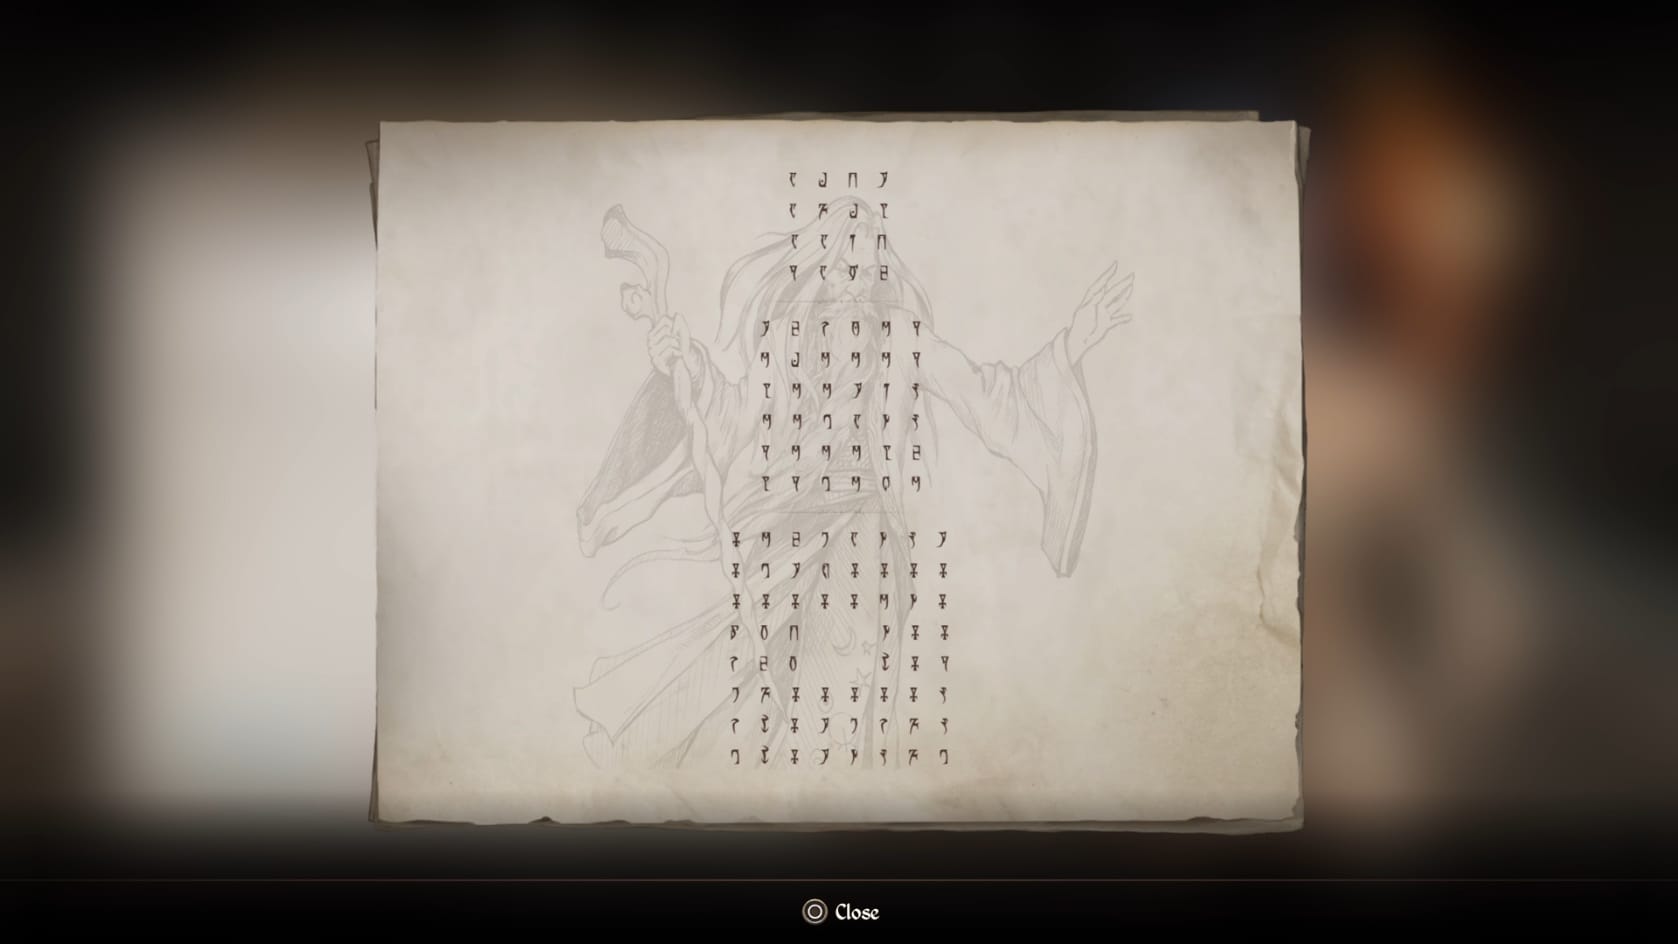
The hint for the Trial of Patience
Puzzle 1
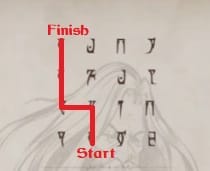
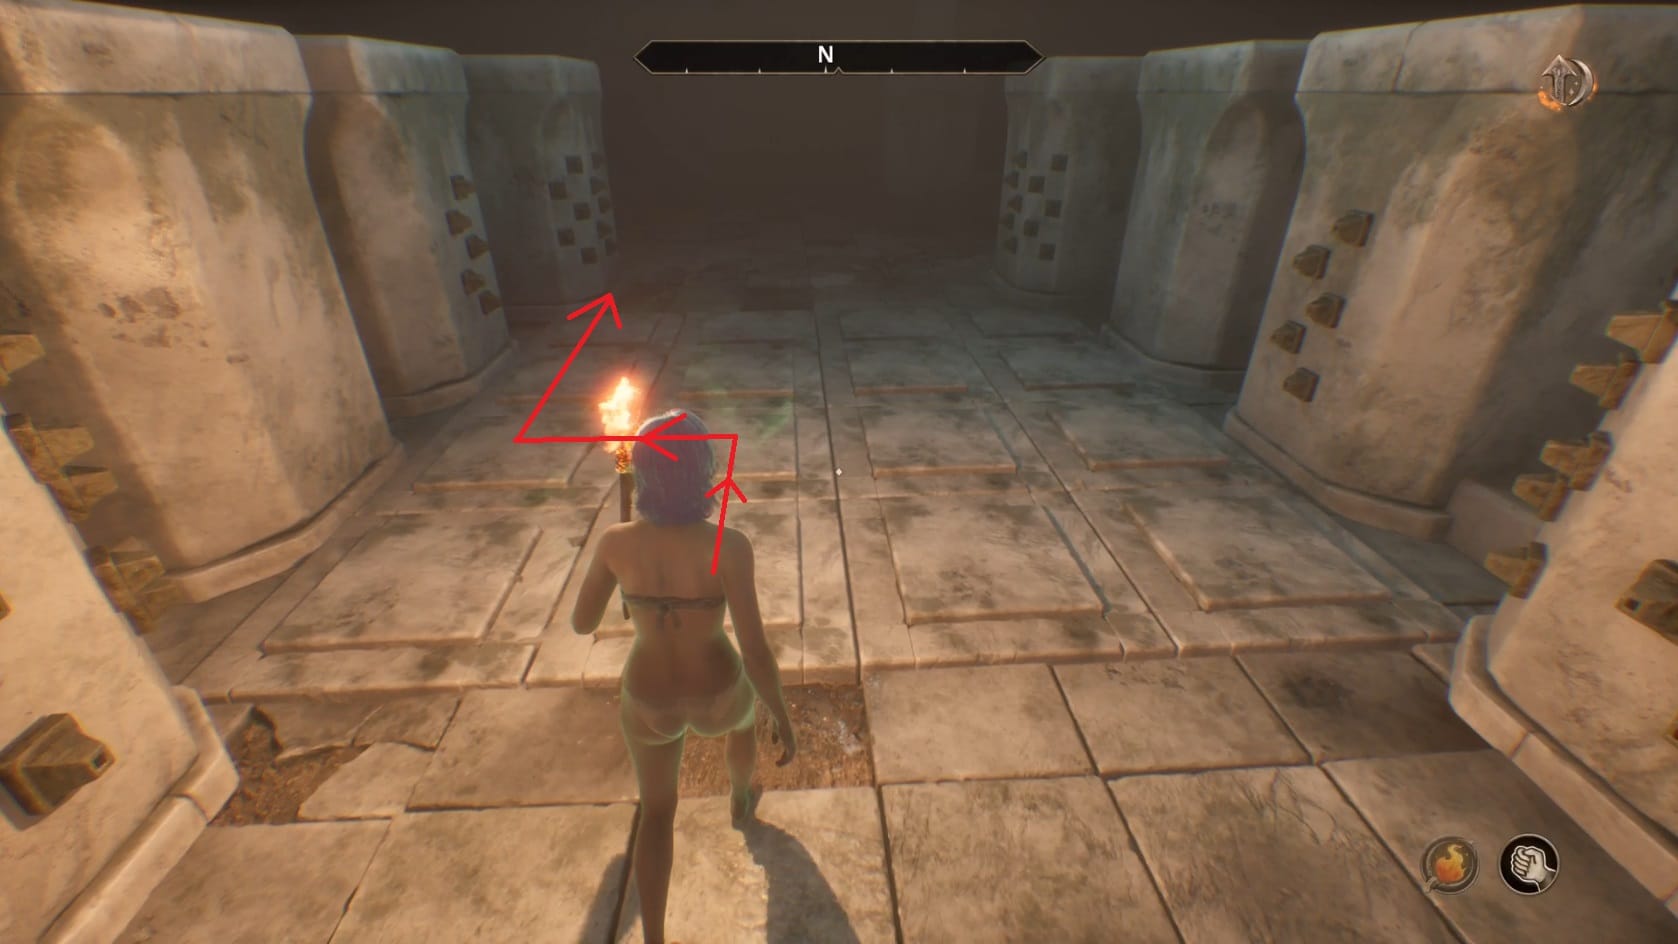
Solution to Puzzle 1
- Go to the second plate from the left.
- Go forward across the first 2 plates in front of you.
- On the second plate, go over to the left 1.
- Just head forward across the next few plates to get across.
Puzzle 2
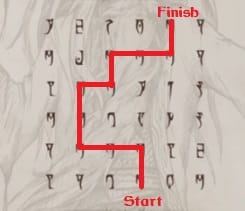
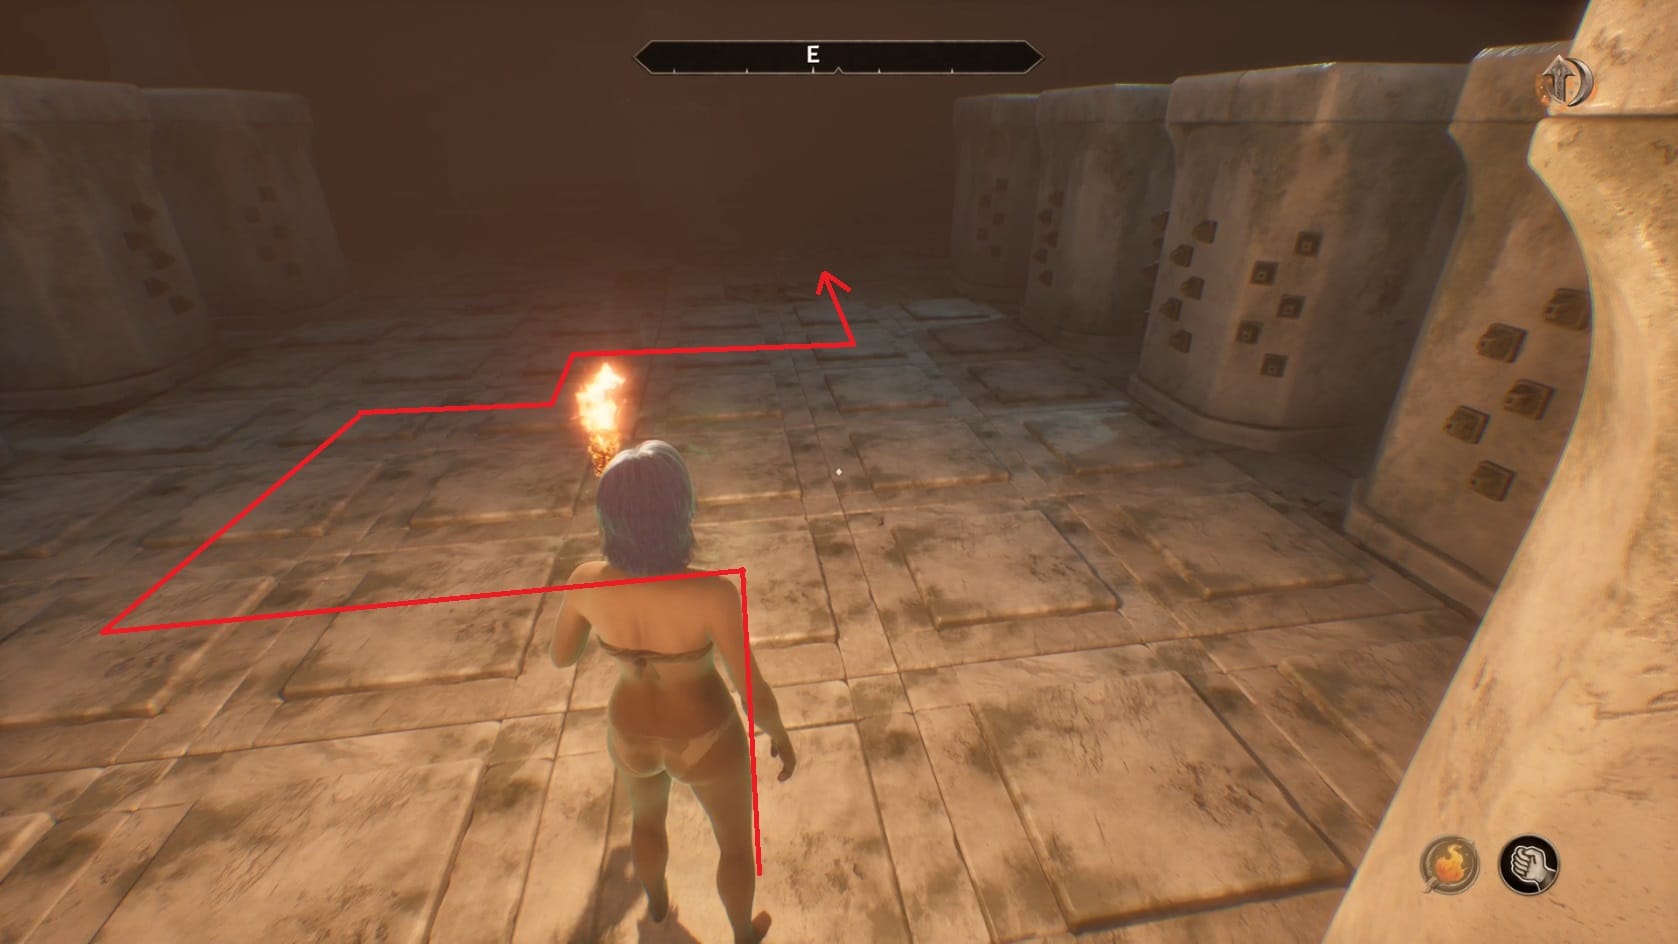
Solution to Puzzle 2
Head forward along the walkway to reach the cordoned off set of plates. When you are at this second set of plates, you will have another puzzle to solve.
- Go to the third plate from the right.
- Go forward to the second plate in front of you.
- Go 2 to the left.
- Go forward 2 plates.
- Go 1 Plate to the right
- Go 1 Plate forward.
- Go to the right 2 plates.
- Finally, go forward 1 more to reach the end of the puzzle.
Puzzle 3
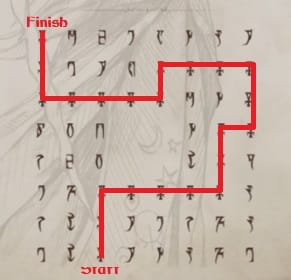
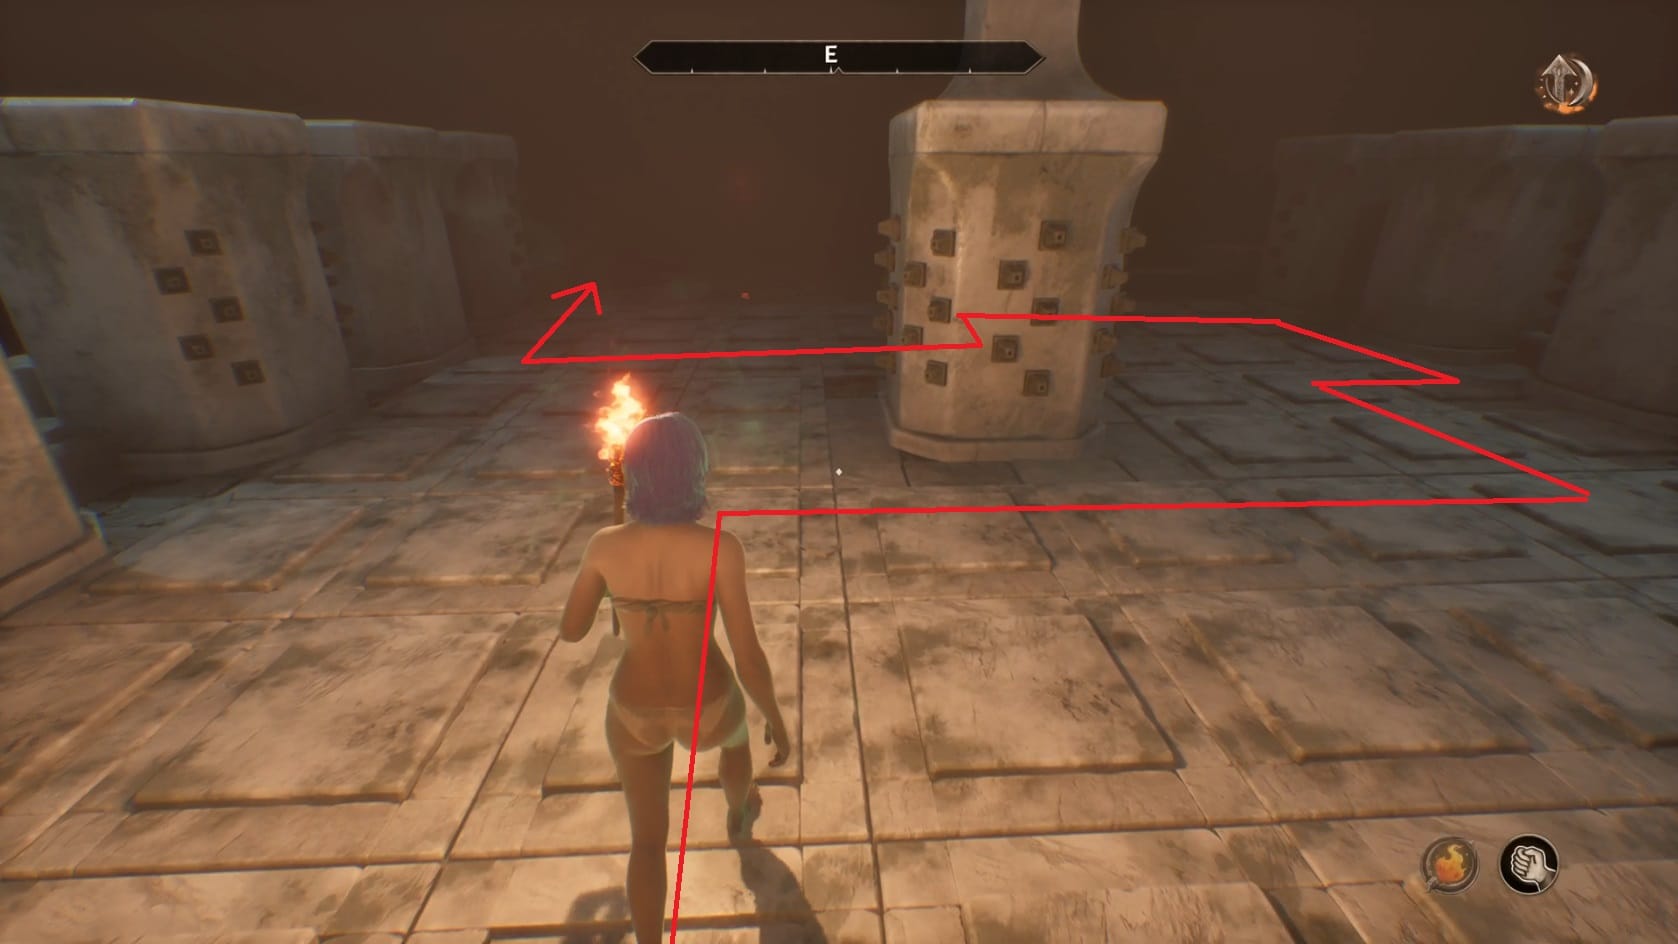
The solution to the third puzzle
Continue forward along the walkway. Once again, you will find another second that’s cordoned off. There are only a few plates revealed.
- Start by going onto the third plate from the left.
- Go forward 3 Plates, just in front of the center pillar.
- Head 4 plates to the right.
- Next, head forward 2 plates.
- Go 1 plate to the right.
- Go forward 2 squares.
Collect the Element of Patience
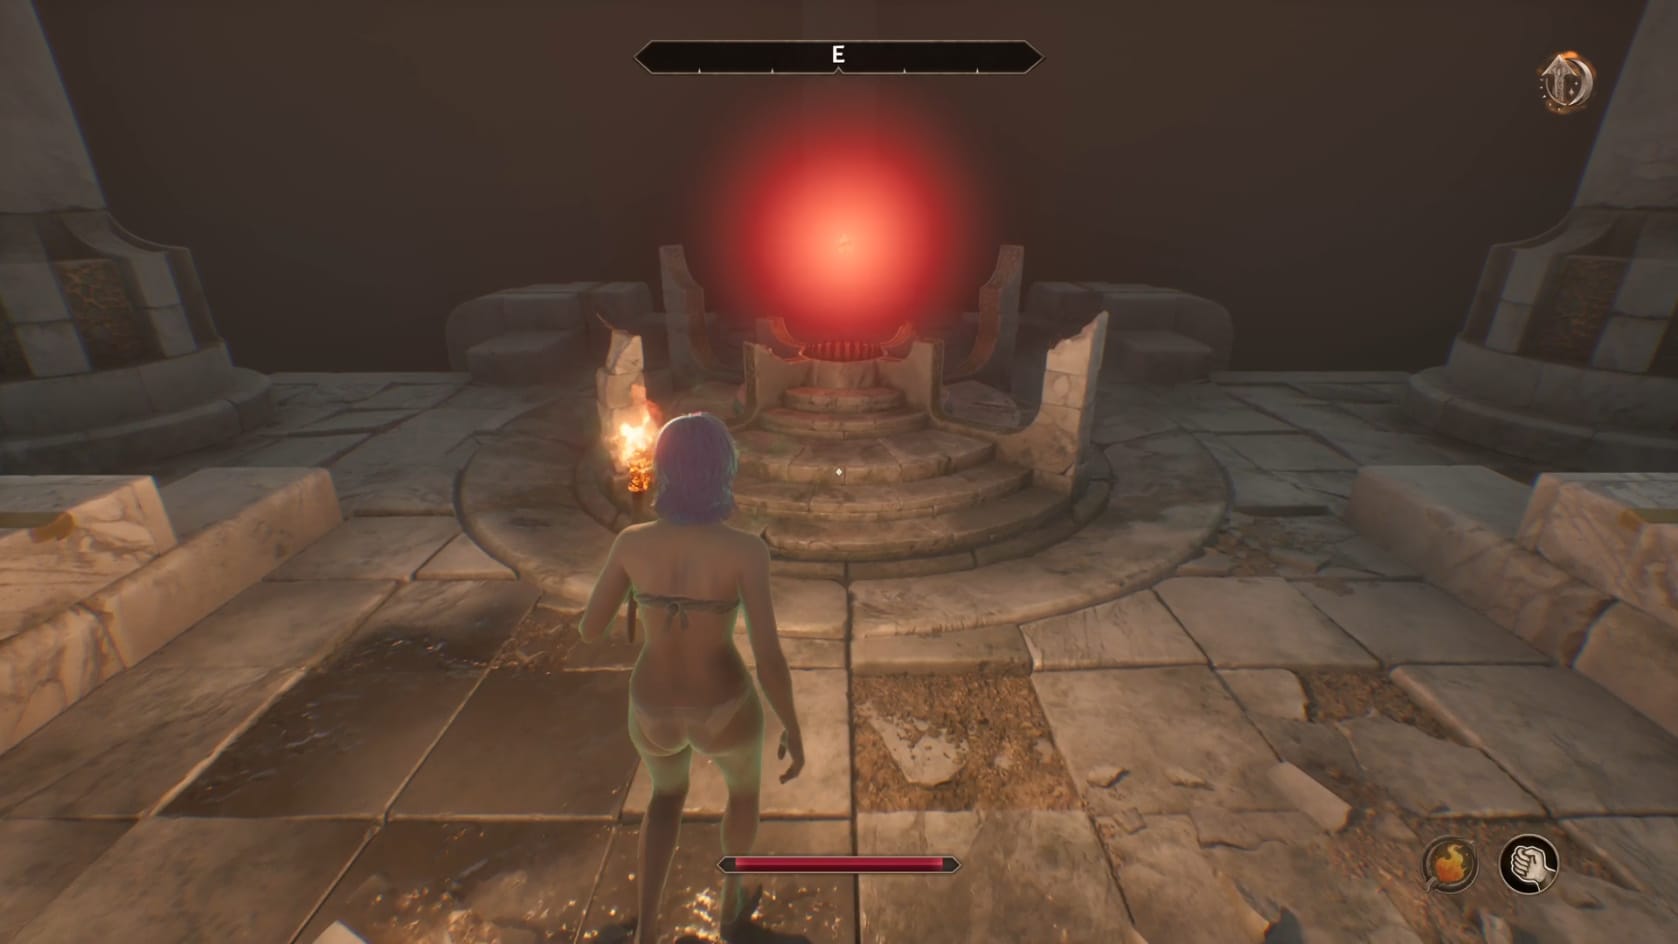
Just follow the path forward after all this. This will bring you to the end of this section. Just grab the Element of Patience of its stand.
Test of Courage
To find this trial, head over to the stairs and take it down to the ground level. Head over to the left and to the look for the door to the South.
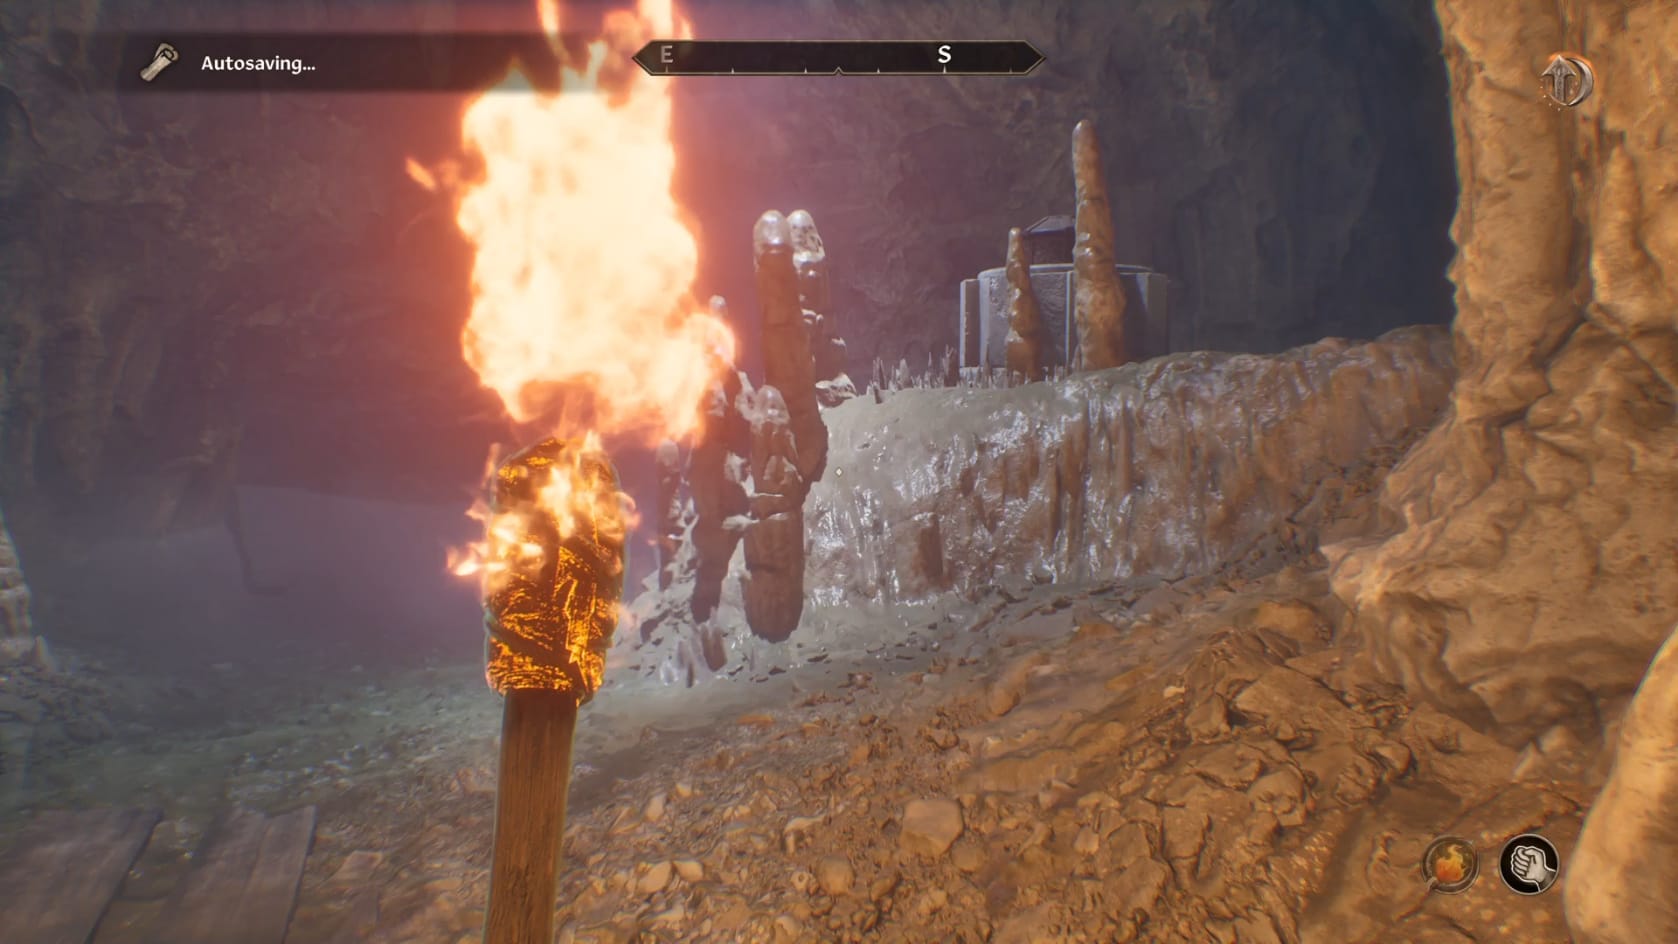
Inside this Test, you will want to head over to the right. Jump up onto the ledge there and open the container: “Breathe.” This will give you a Weak Potion of the Sea. It’s time to get to work on resolving this Test. Move with some confidence as you do this, since you will be on the clock.
- Be sure to wait until almost the last moment to drive your Weak Potion of the Sea to get the most of out it.
Wade into the water and head to the far end of the water. Dive into the water at the far portion of the water. Dive down into the water, going to the East and down the slope. It will open into a small chamber. Quick swim across the chamber and then dive on the far side of the chamber.
At the end of this chamber, descend down. Drop quickly. At the bottom, you can find another container with a second Weak Potion of the Sea (just in case its needed). Turn to the West and ascend a bit to find the opening. Go up and then descend down after that. Just keep going to the North after that. This will lead you to the Door to the Grotto of Courage.
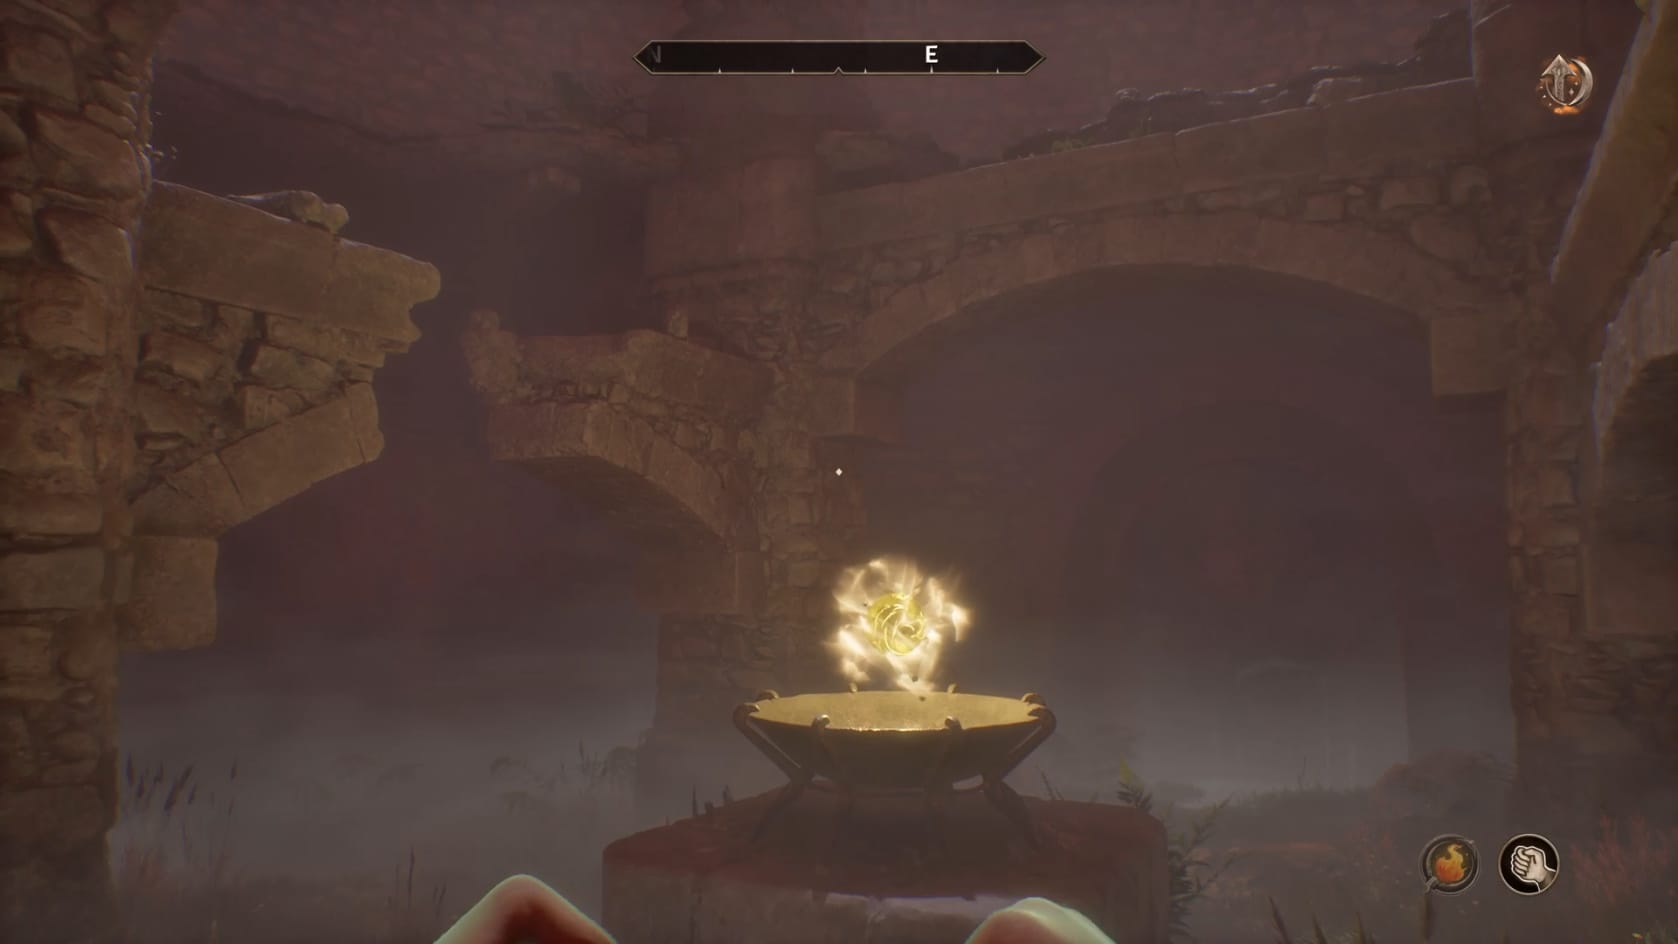
Just inside the Grotto, you can head to the middle. Inside here you can find the Element of Courage.
Test of Resolve
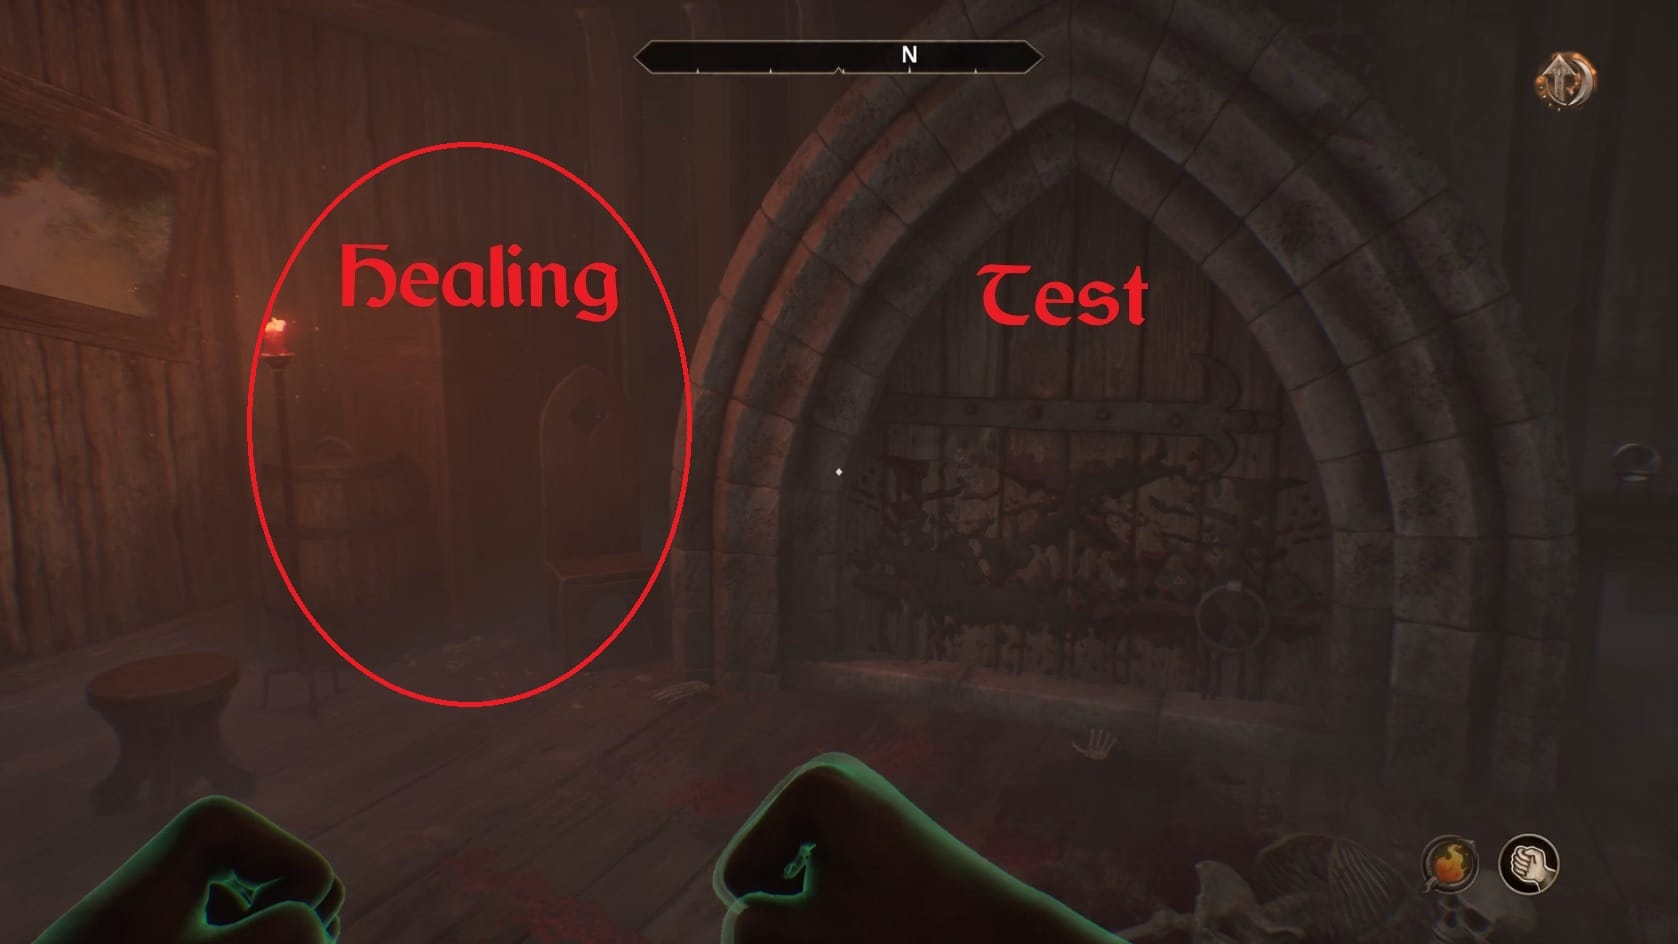
This is the final test (by this guide) and the other test on the ground floor. Just to the left of it you can find a cupboard that is labeled “Heal Yourelf.” Loot this for some healing potions. You’re potentially going to need these.
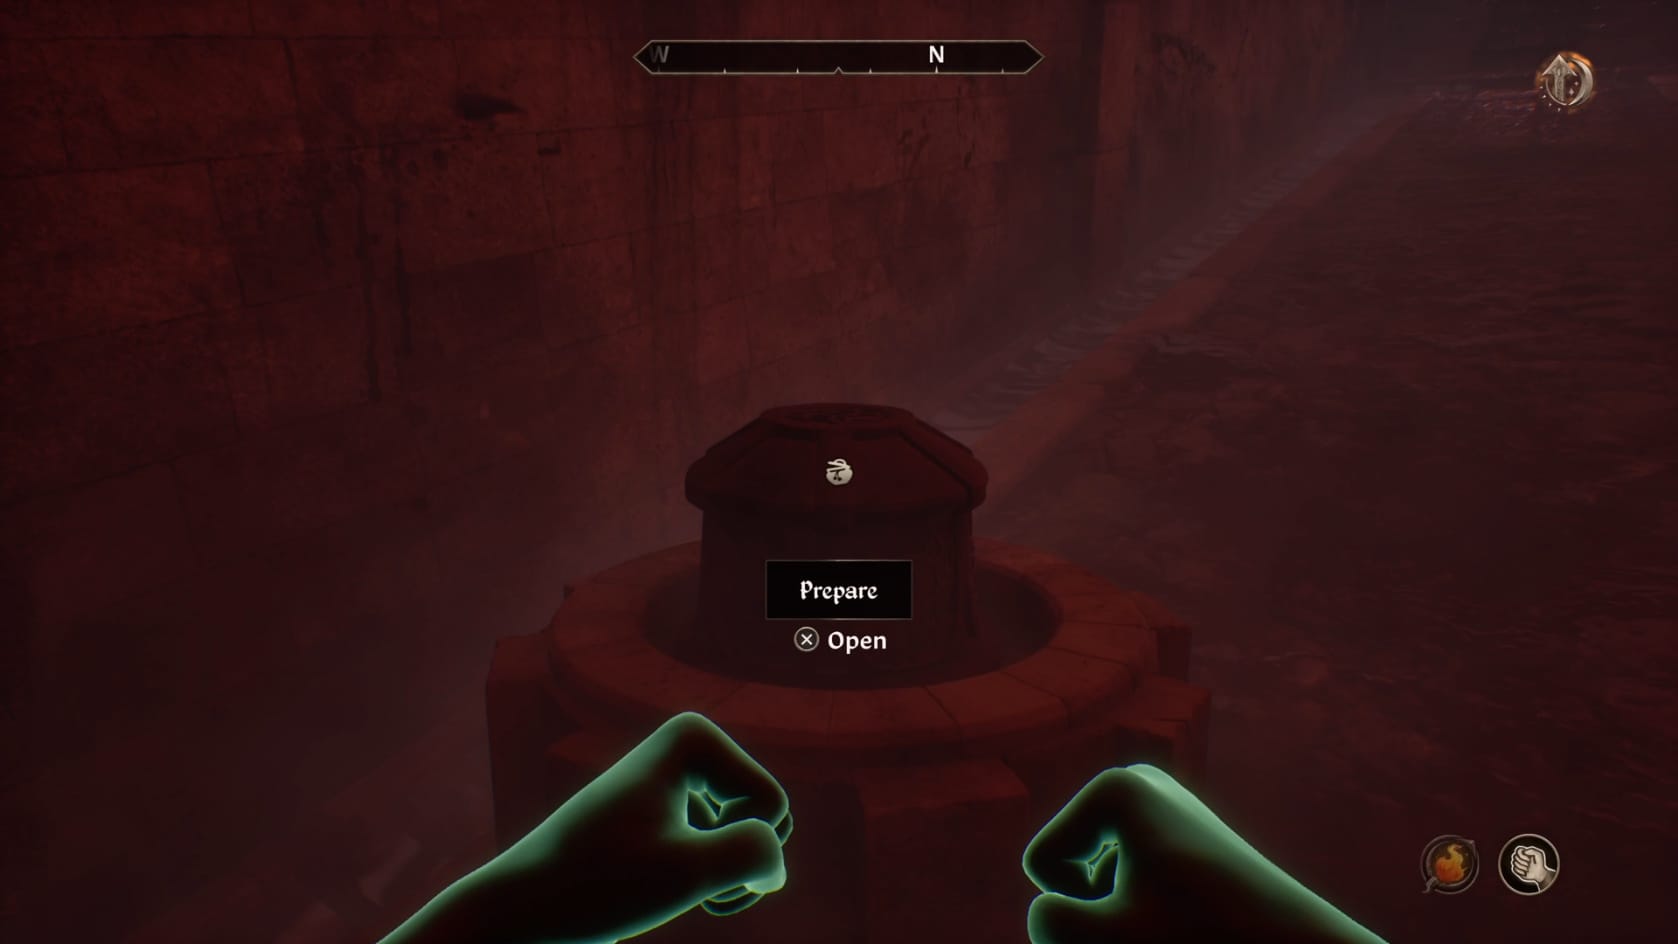
Through the door, you will find a chest “Prepare” just ahead on the left. Open it to find 2 sets of leveled armor: 1 Heavy set, and 1 Light set. You will find a scaled Longsword, Warhammer, and a Staff of Lightning.
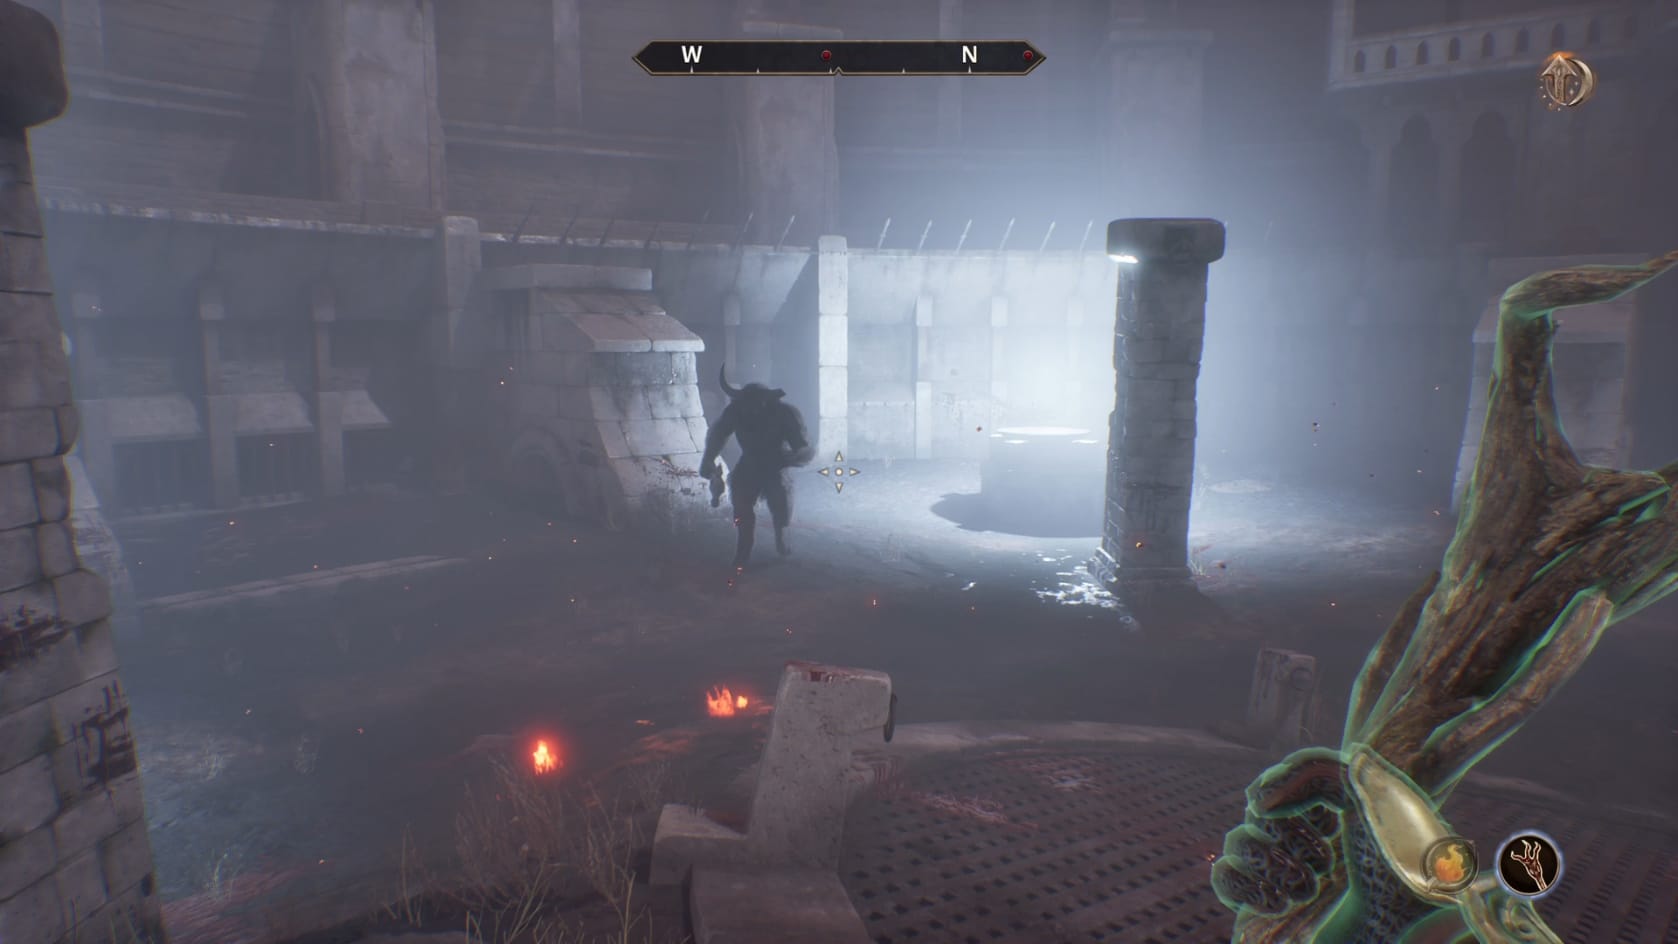
Equip the Staff of Lightning to have an easy time with what’s coming. A pair of Dreamworld Minotaurs will advance from the sides of the arena and attack.
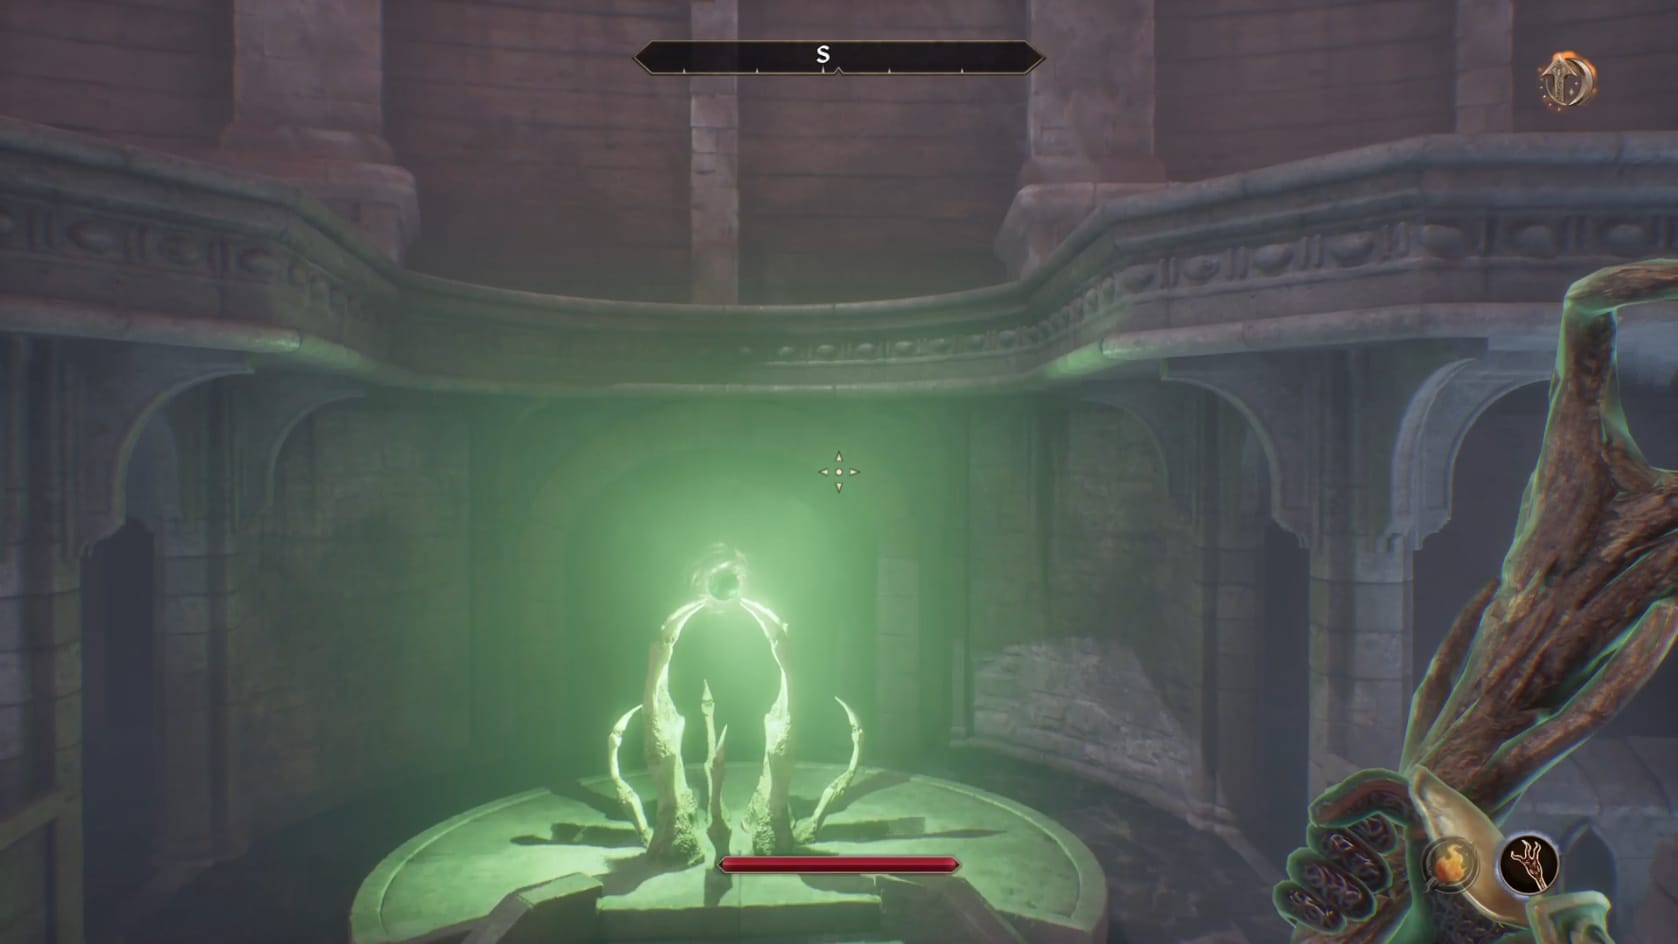
When you defeat the Minotaurs, the is a set of stairs that will raise up from where you entered. Climb these stairs to reach the Element of Resolve.
Talk to Henantier
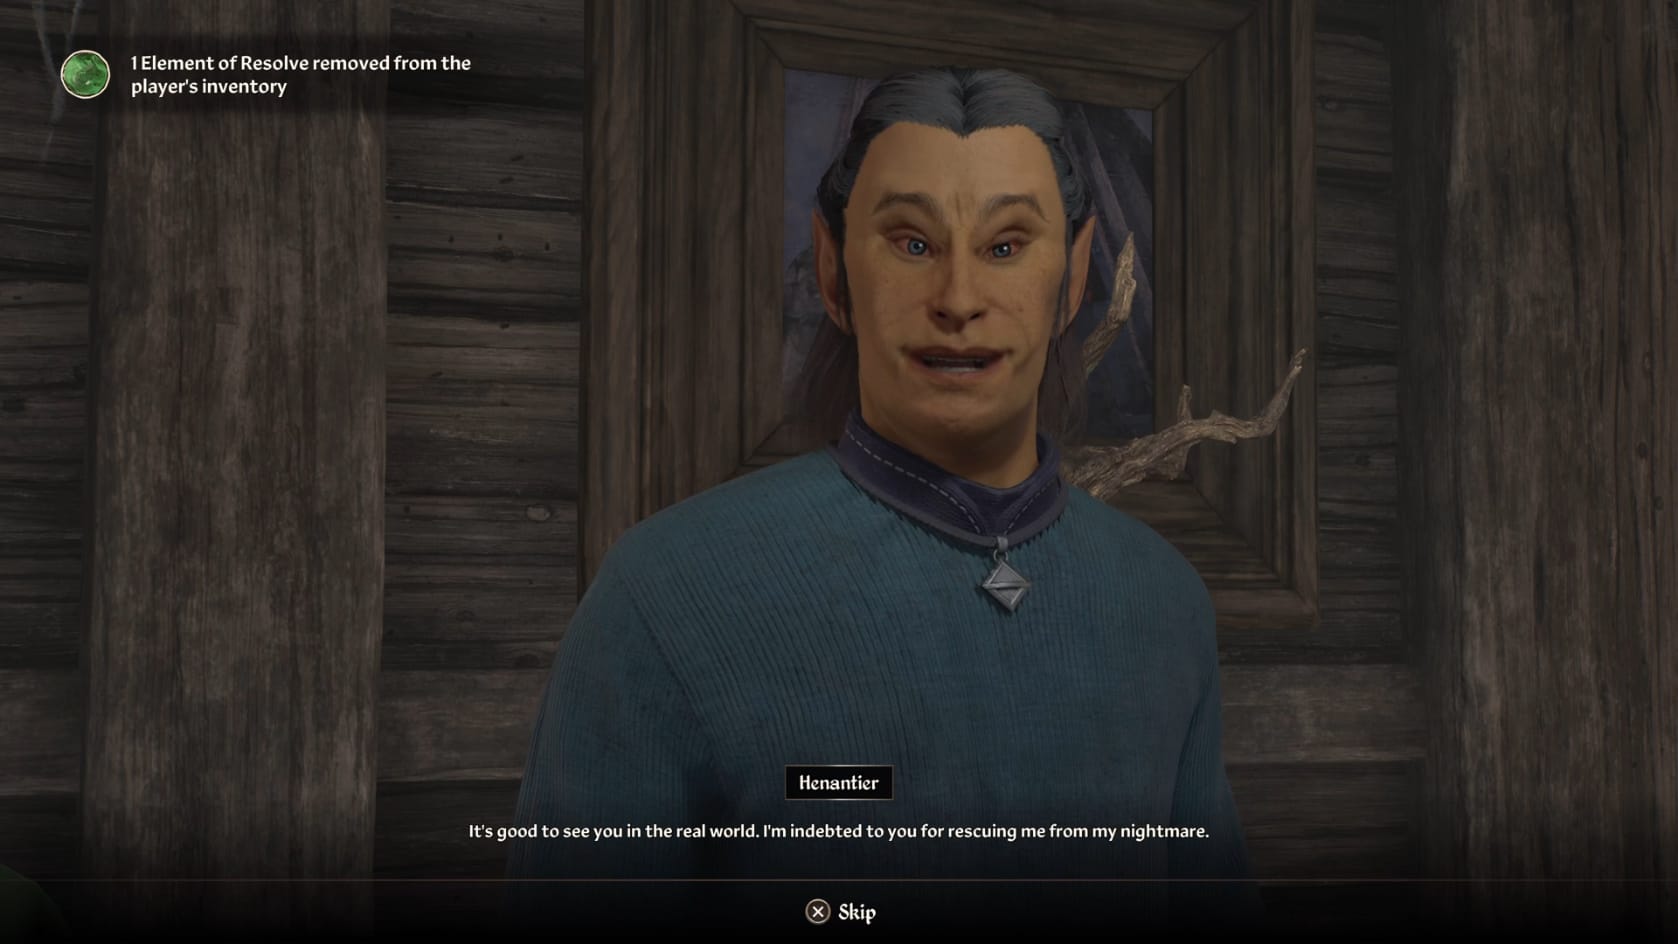
When you have gotten all 4 Elements, you will want to find and talk with Henantier. This will let you give him all the elements he needs of himself. This will also return the Hero to reality.
You will receive your rewards. You lose the Elements as well as the Dream Amulet.
Rewards
You will get either:
- 6 Scrolls
- 6 Spell Tomes