Legend of Zelda: Tears of the Kingdom – Tajikats Shrine: Building With Logs Guide
Complete Tajikats Shrine in Tears of the Kingdom with this step-by-step guide. Solve every Building With Logs puzzle, find the Spiky Shield chest, and earn a Light of Blessing.
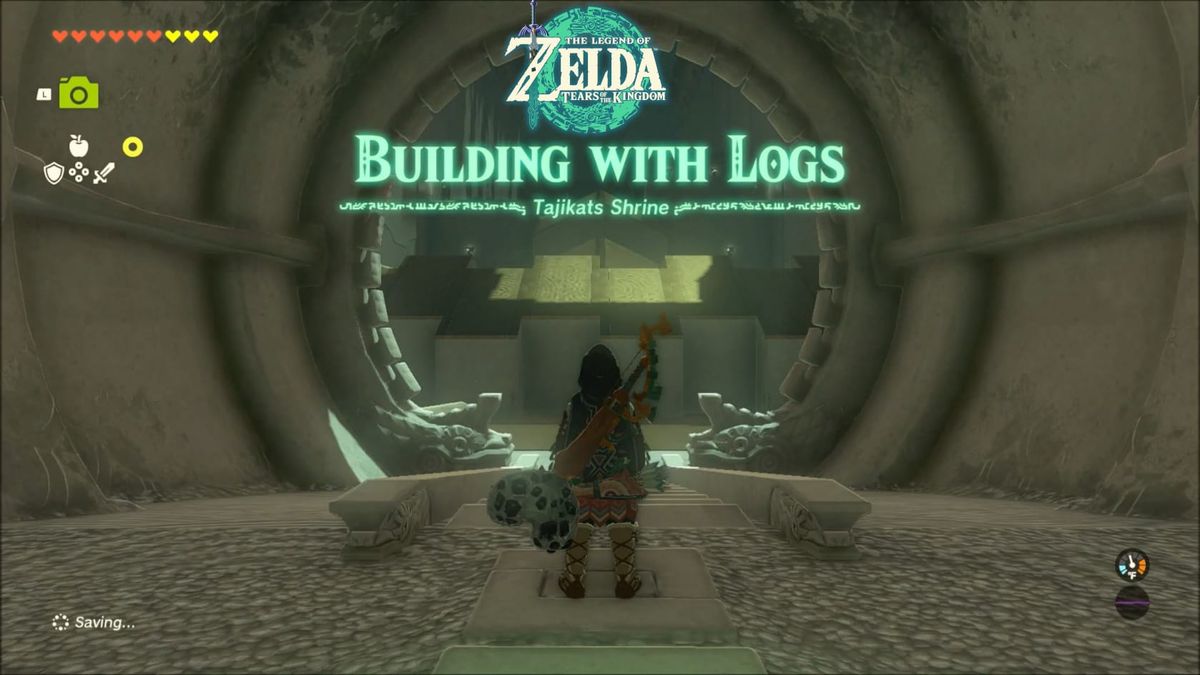
Summary
Found on a hill nearby the Riverside Stable, Tajikats Shrine offers: Building With Logs.
You can find a chest with a Spiky Shield inside. Complete the Shrine to be awarded with a Light of Blessing.
Location
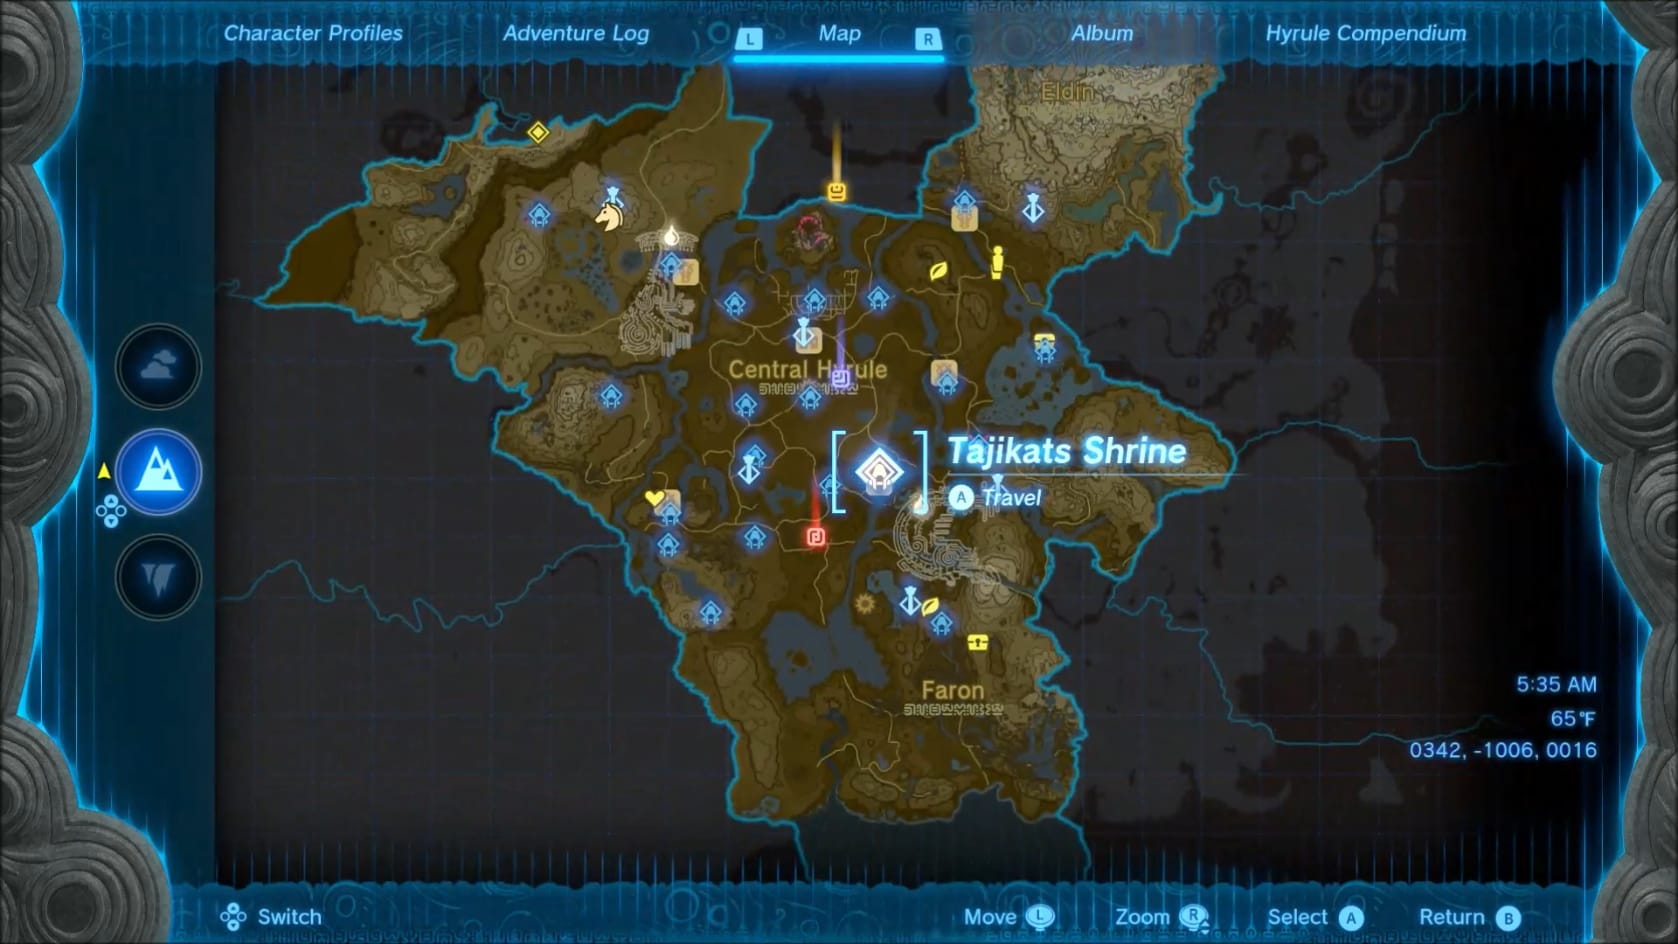
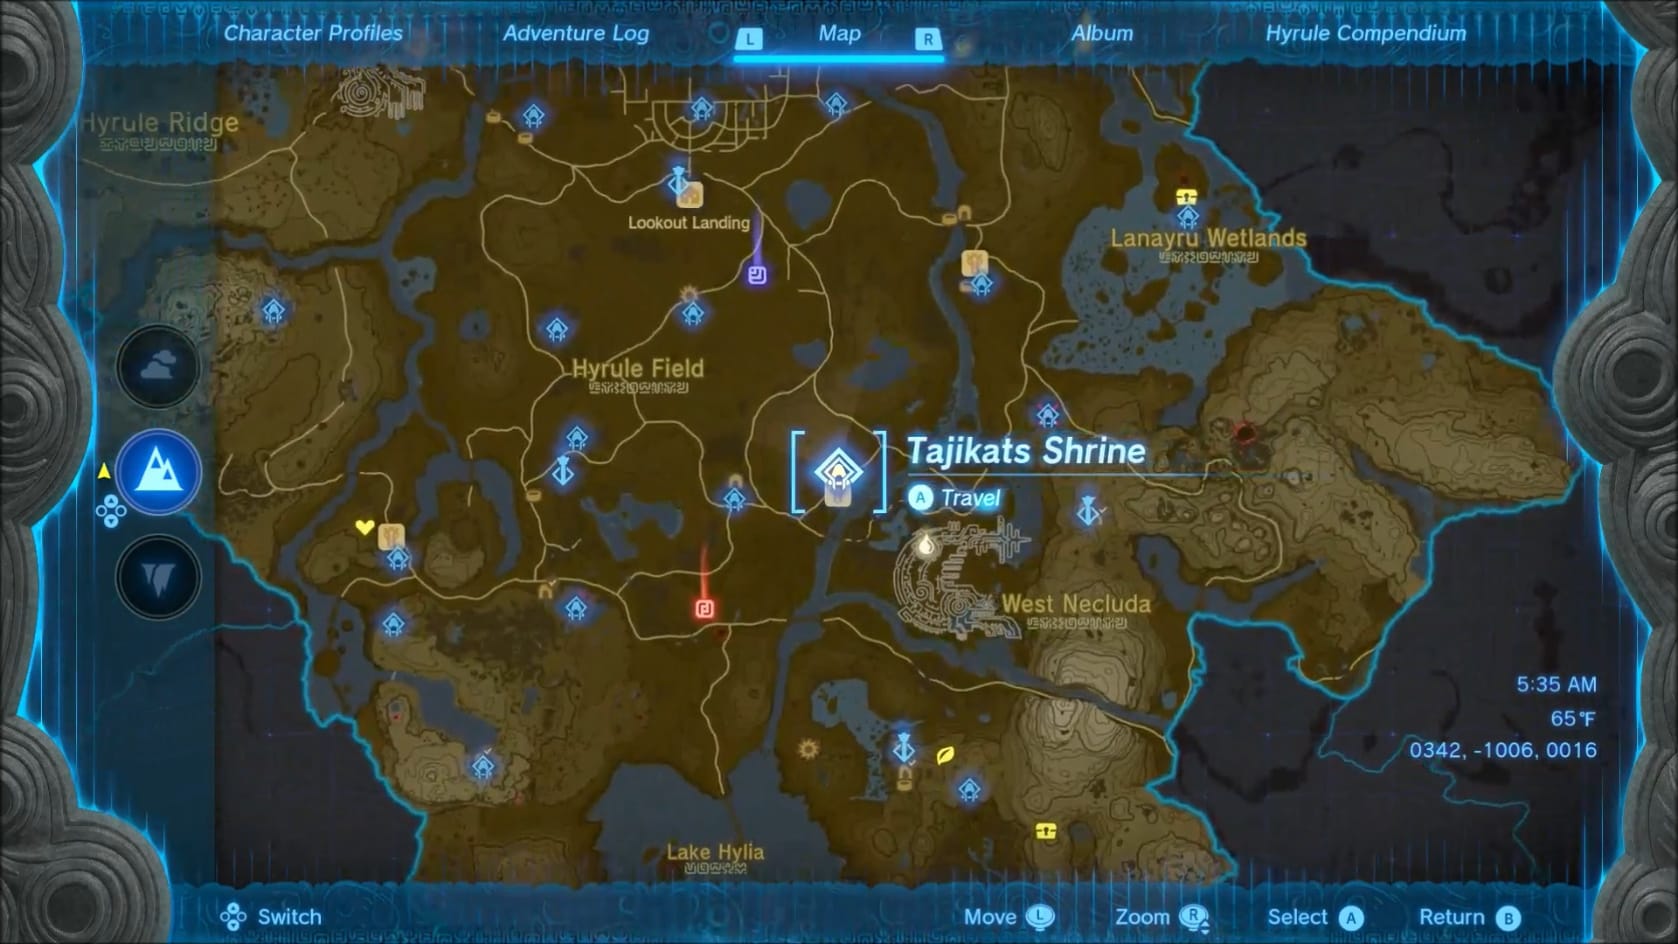
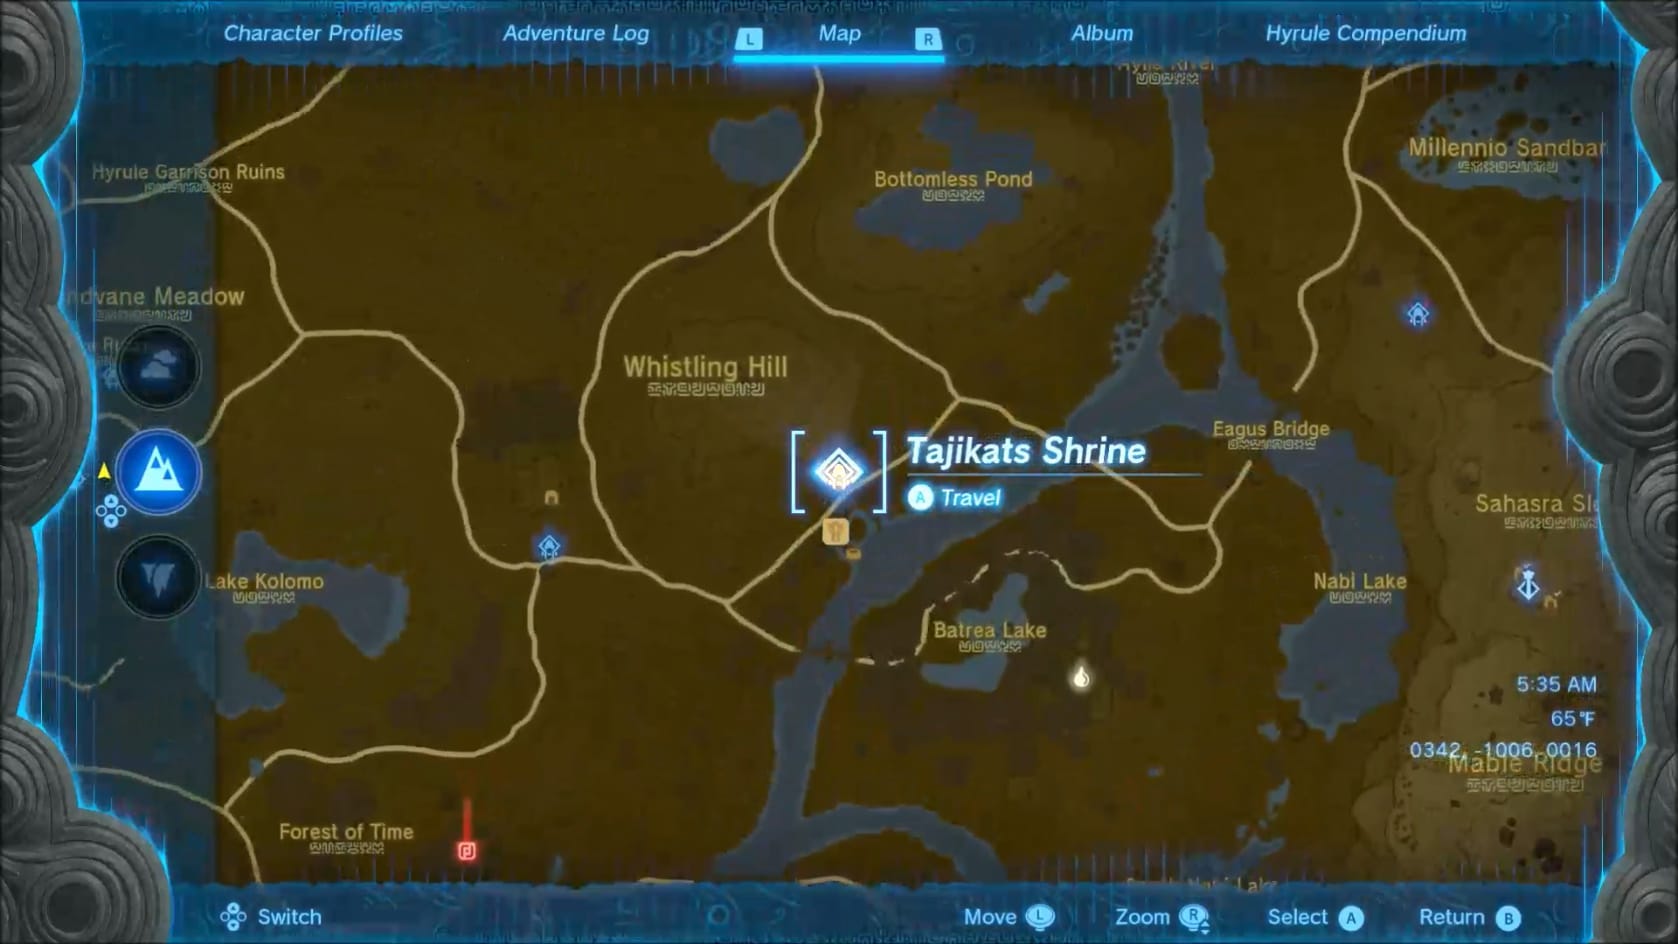
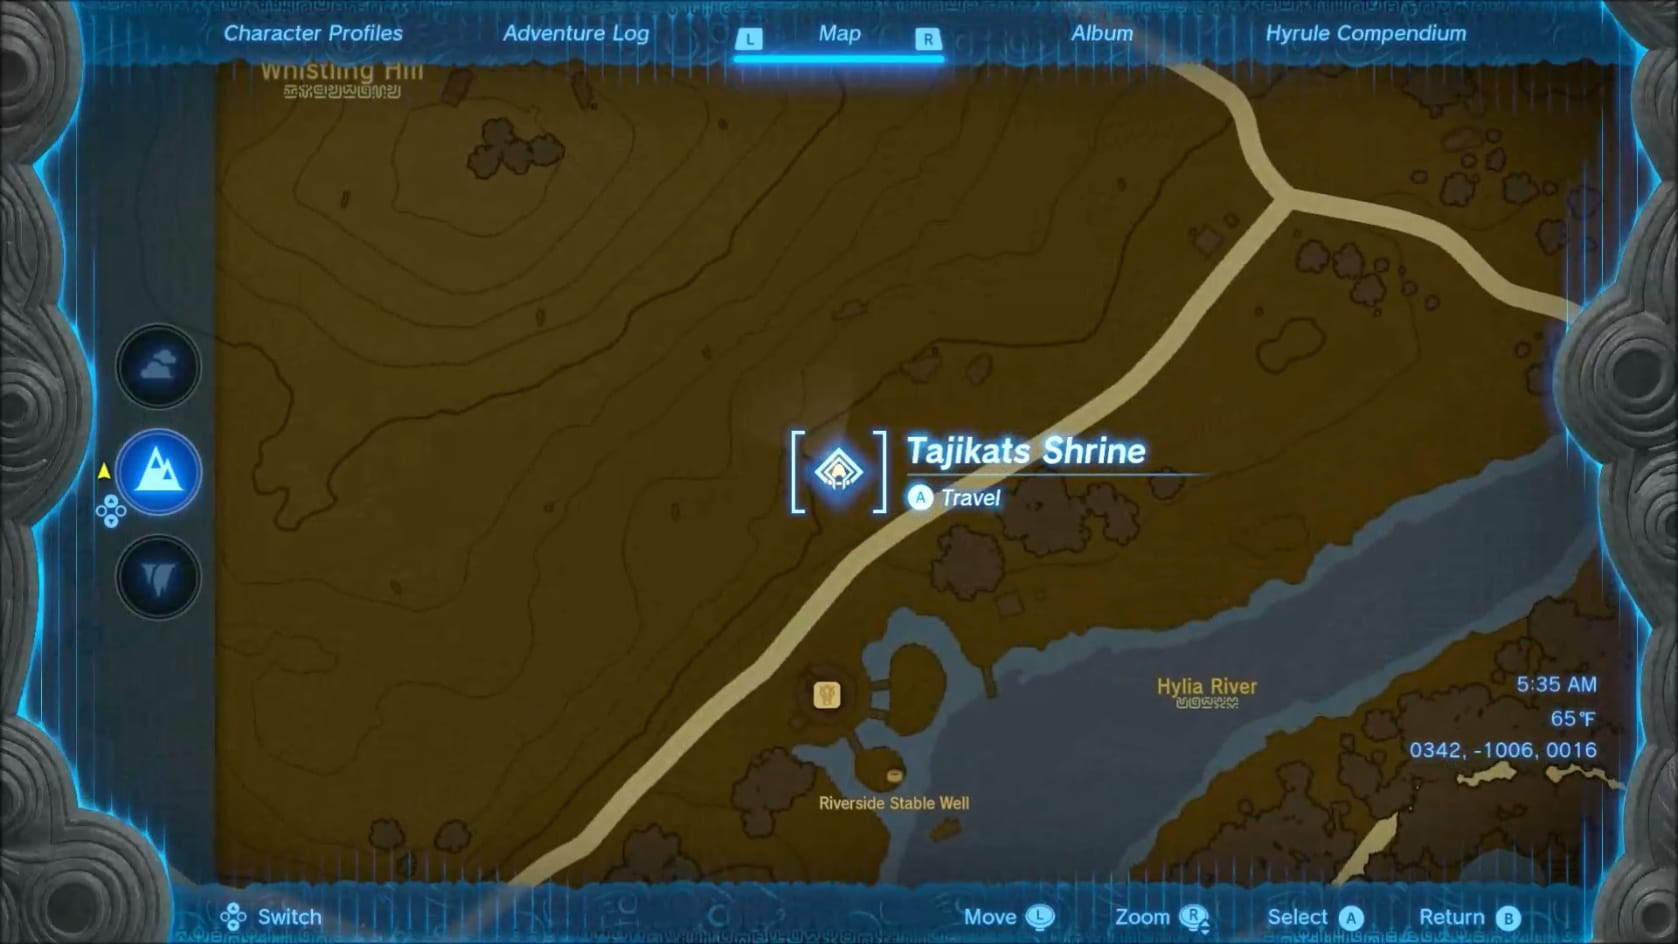
The location of Tajikats Shrine on the Map of Hyrule
Coordinates: 0342, -1006, 0016
Walkthrough
Entrance
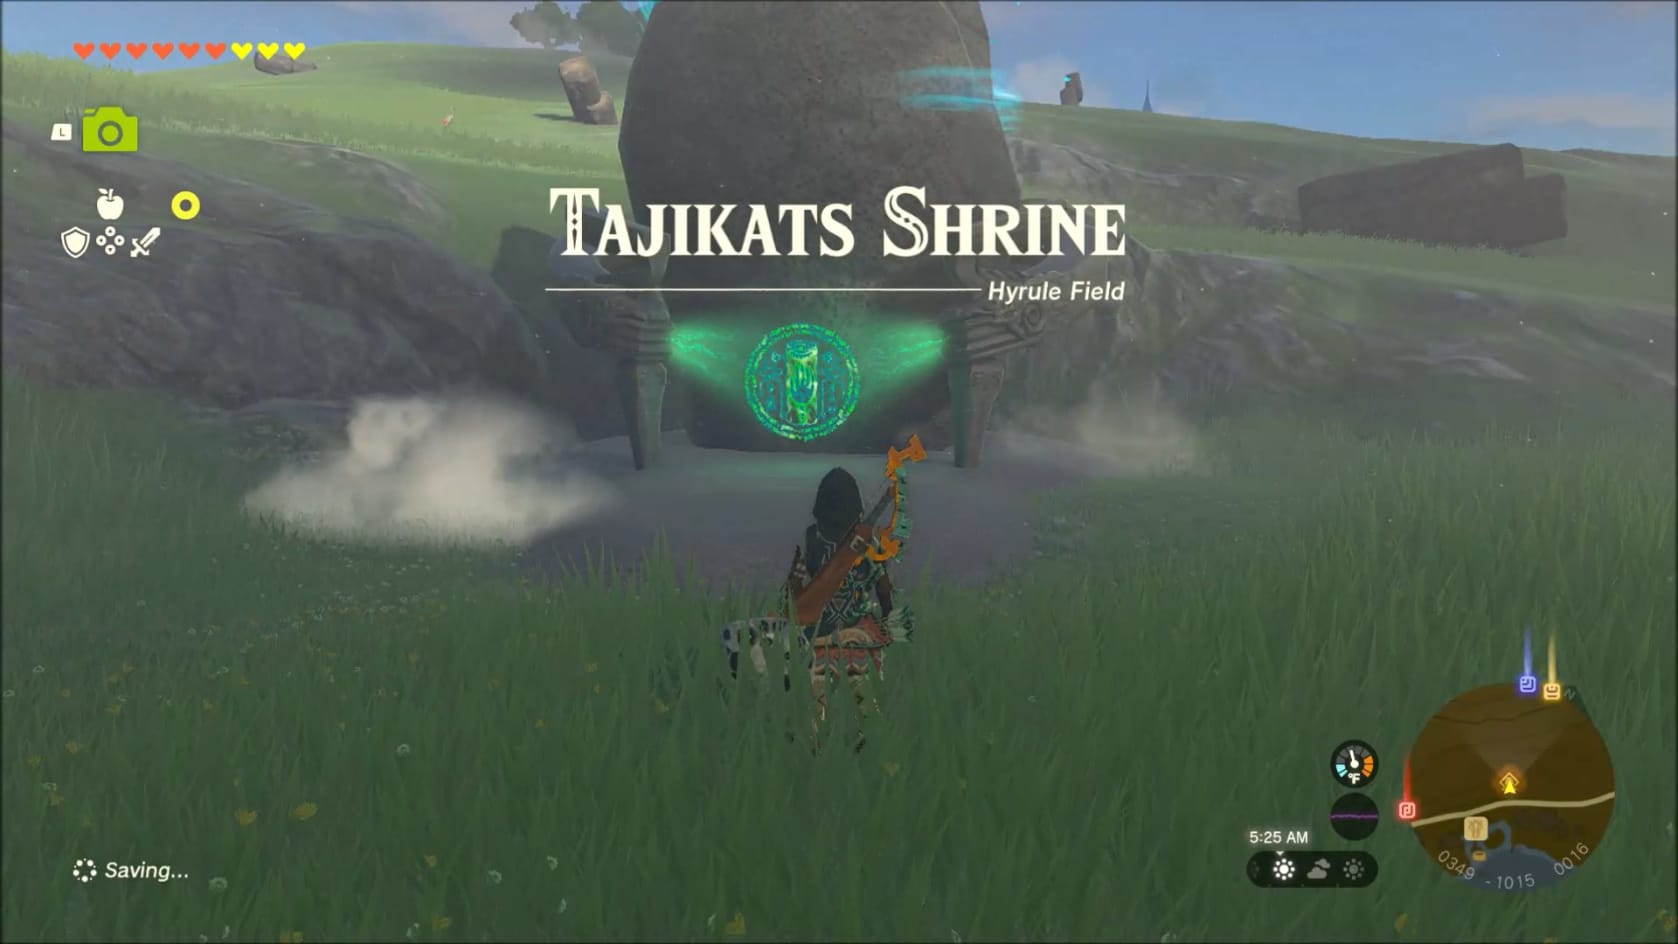
This Shrine is found just up the hill from the Riverside Stable. It provides very easy access to the Stable. All you need to do is approach the Shrine and interact with it to add it to your Fast Travel Network. Head inside to start on the puzzles within.
Building With Logs
Puzzle 1
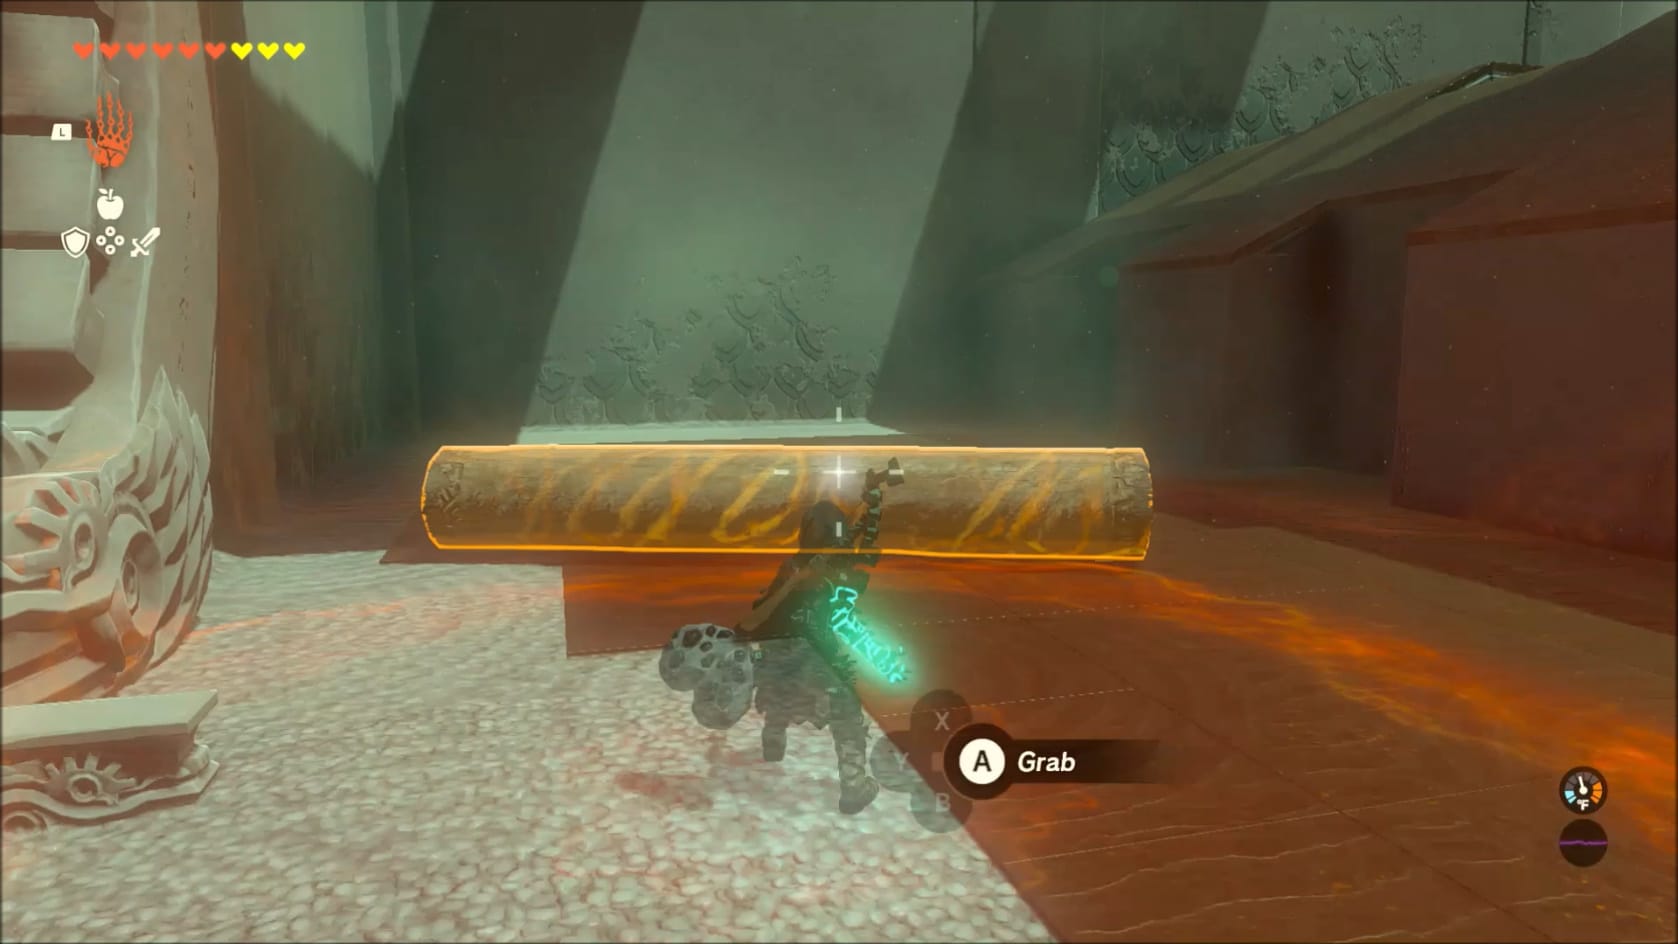
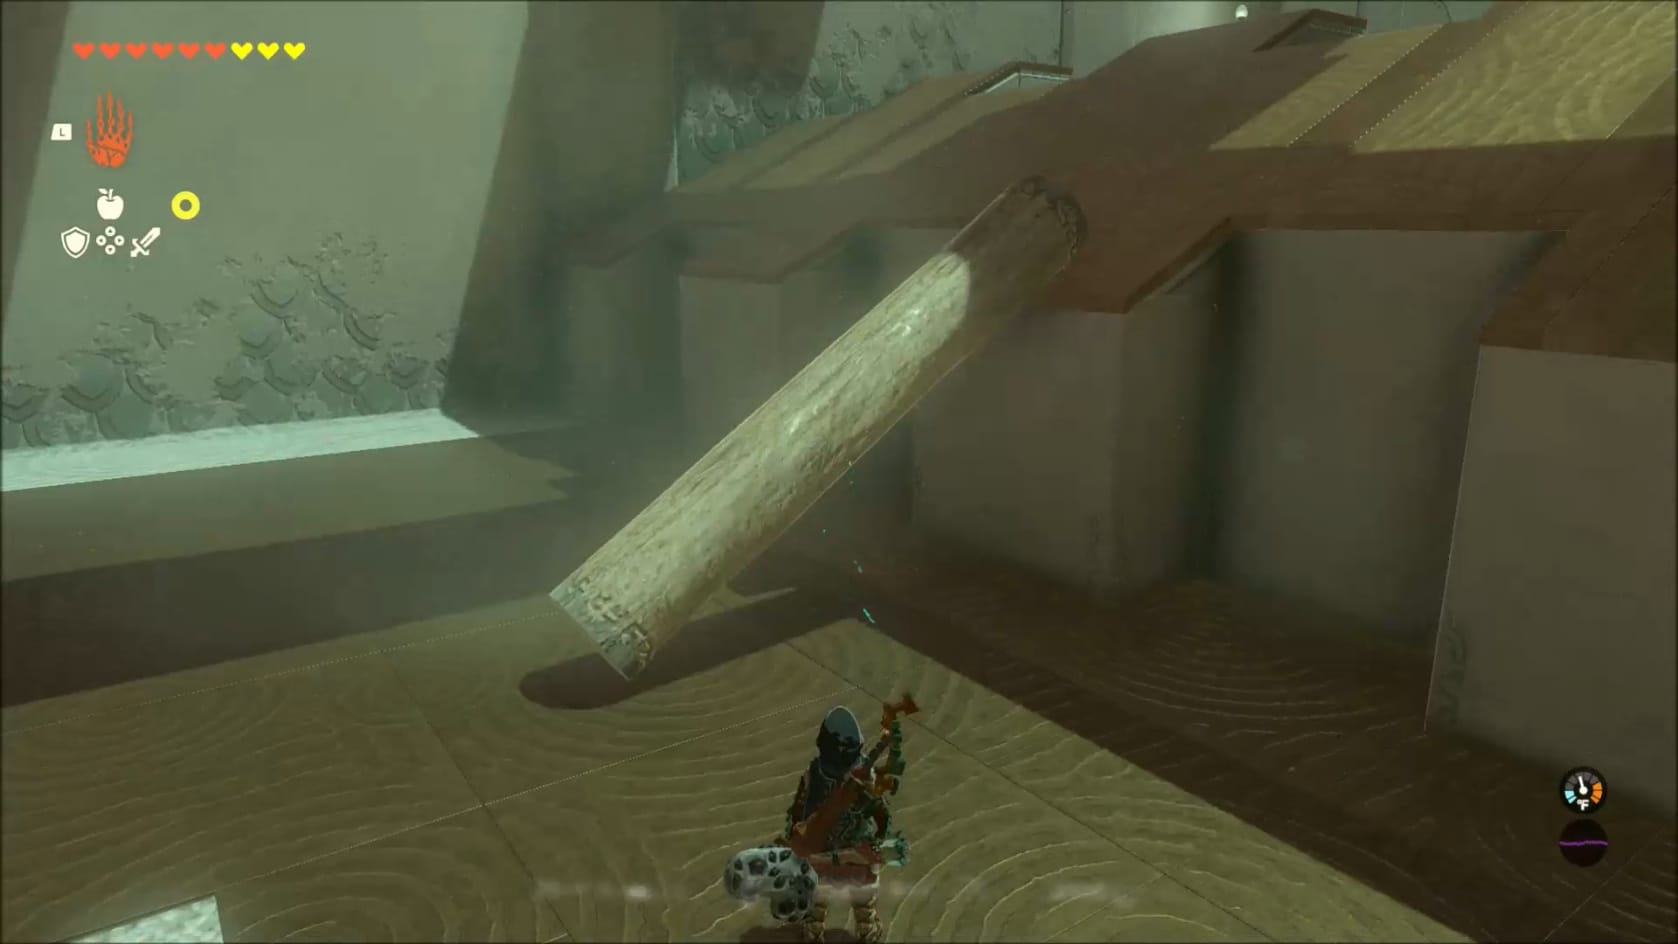
Solution to Puzzle 1
Things start simply. GO forward to the first wall. Look tot he left, where you will see a Stone Log. Use Ultrahand to grab it and rotate it to be parallel with the slope in front of you. Give it a bit of an angle to stop it from moving when you set it down. With the Log in position either climb up onto it and use Ascend to pass through it. At the top, turn around and grab the log with Ultrahand. It just makes things easier in the future.
Puzzle 2
At the top, you’ll see a sharp angled rise with a break in it. In the break is just the pool of water below. With the 3 Stone Logs, you will want to do some connecting.
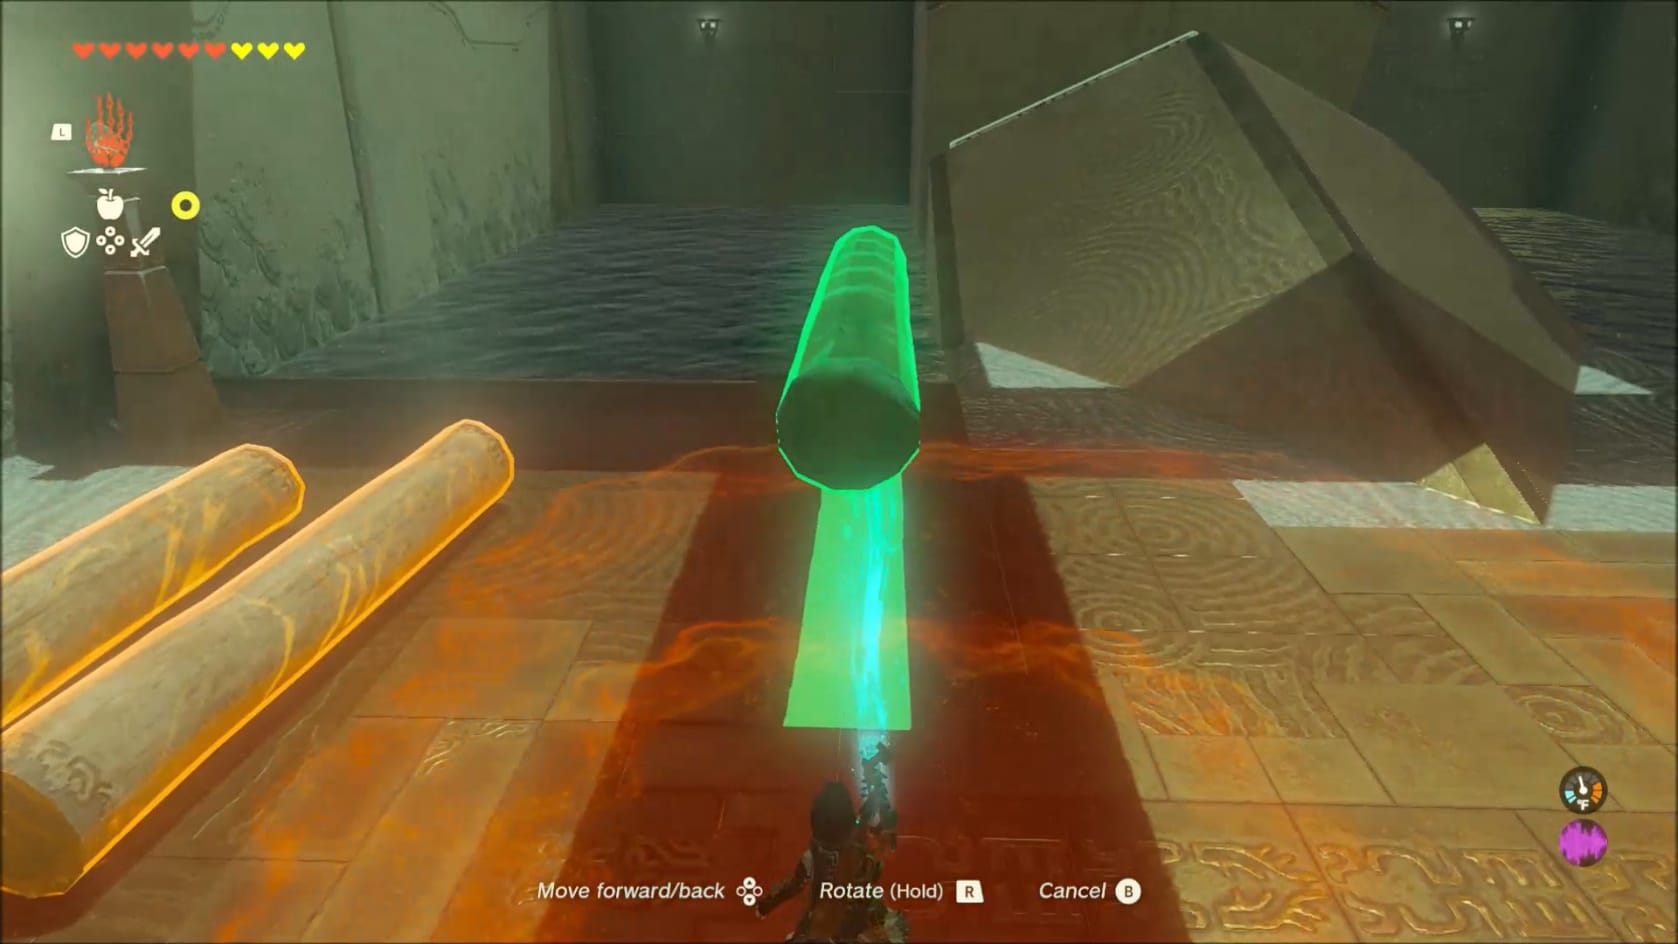
Set the Log you brought up on the ground. Grab 1 of the 2 that are on this level with Ultrahand. Connect each of these logs to the base end of the log you brought up. The goal is to make a Y-shape with the 3 Logs.
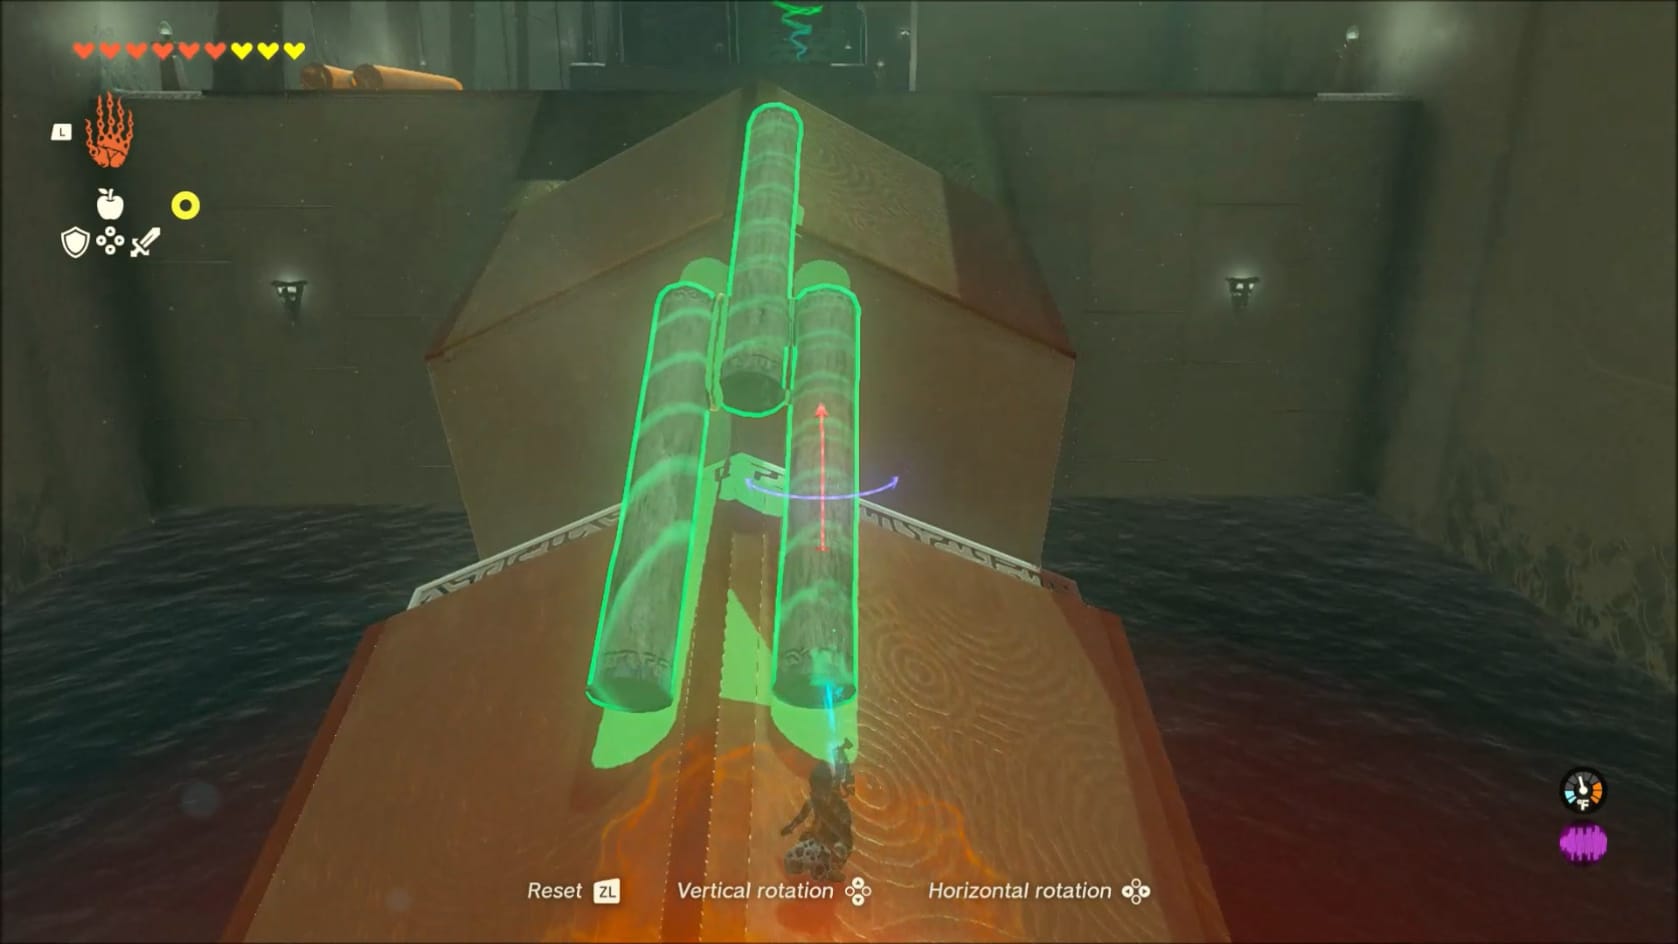
Grab this construct with Ultrahand and bring it to the structure in the middle. Set the open end on the split in the structure. Expect it to slide a bit after being set down. Carefully walk up the logs and across the gap to the other side.
Puzzle 3
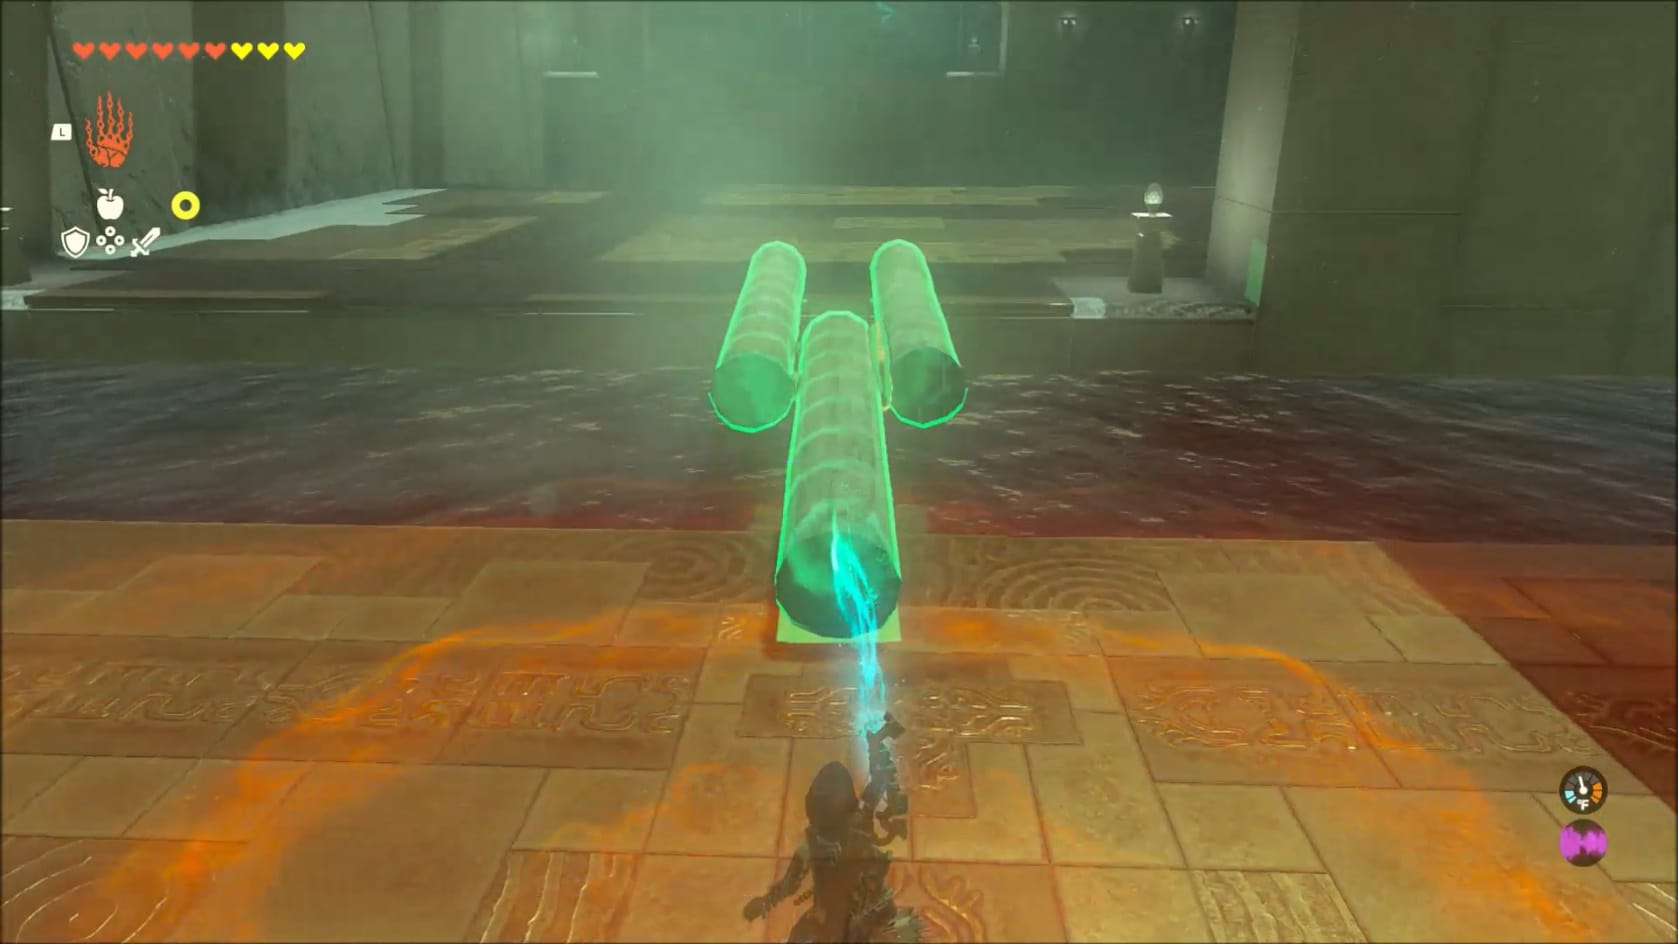
Turn around and grab your construct with Ultrahand. There’s another pool of water in front of you. Use this construct as a bridge across. Just take a moment to use Ultrahand to grab the new pair of stone logs to the left. Bring them across the gap. We’re going to need them soon.
Puzzle 4
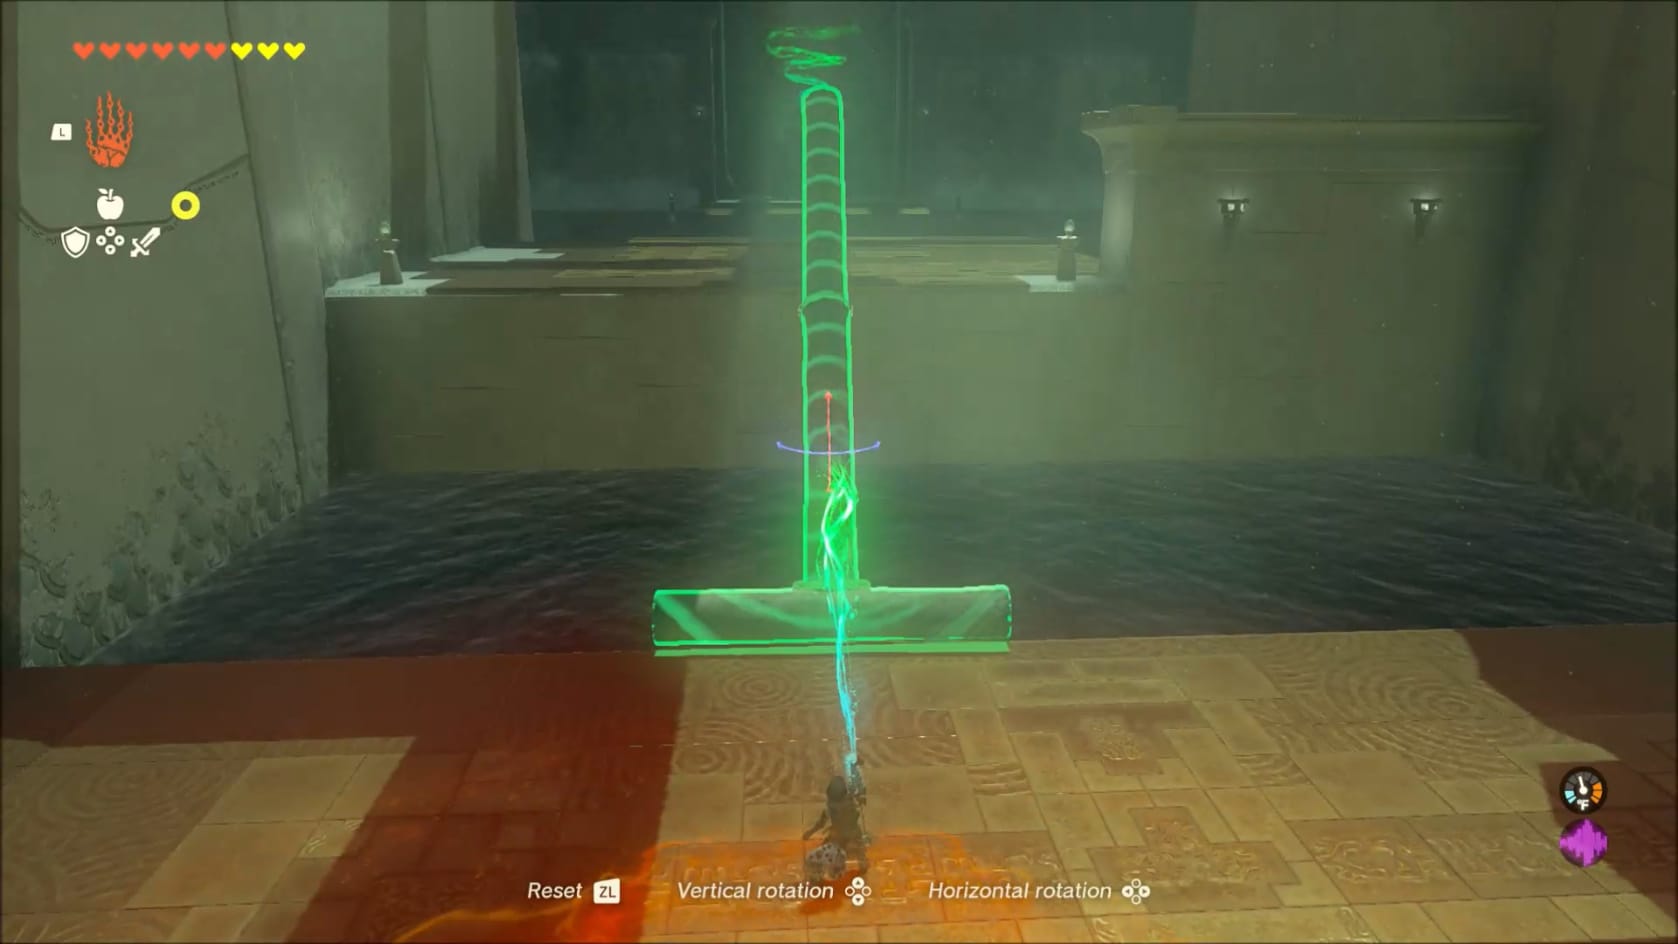
Solution to Puzzle 4
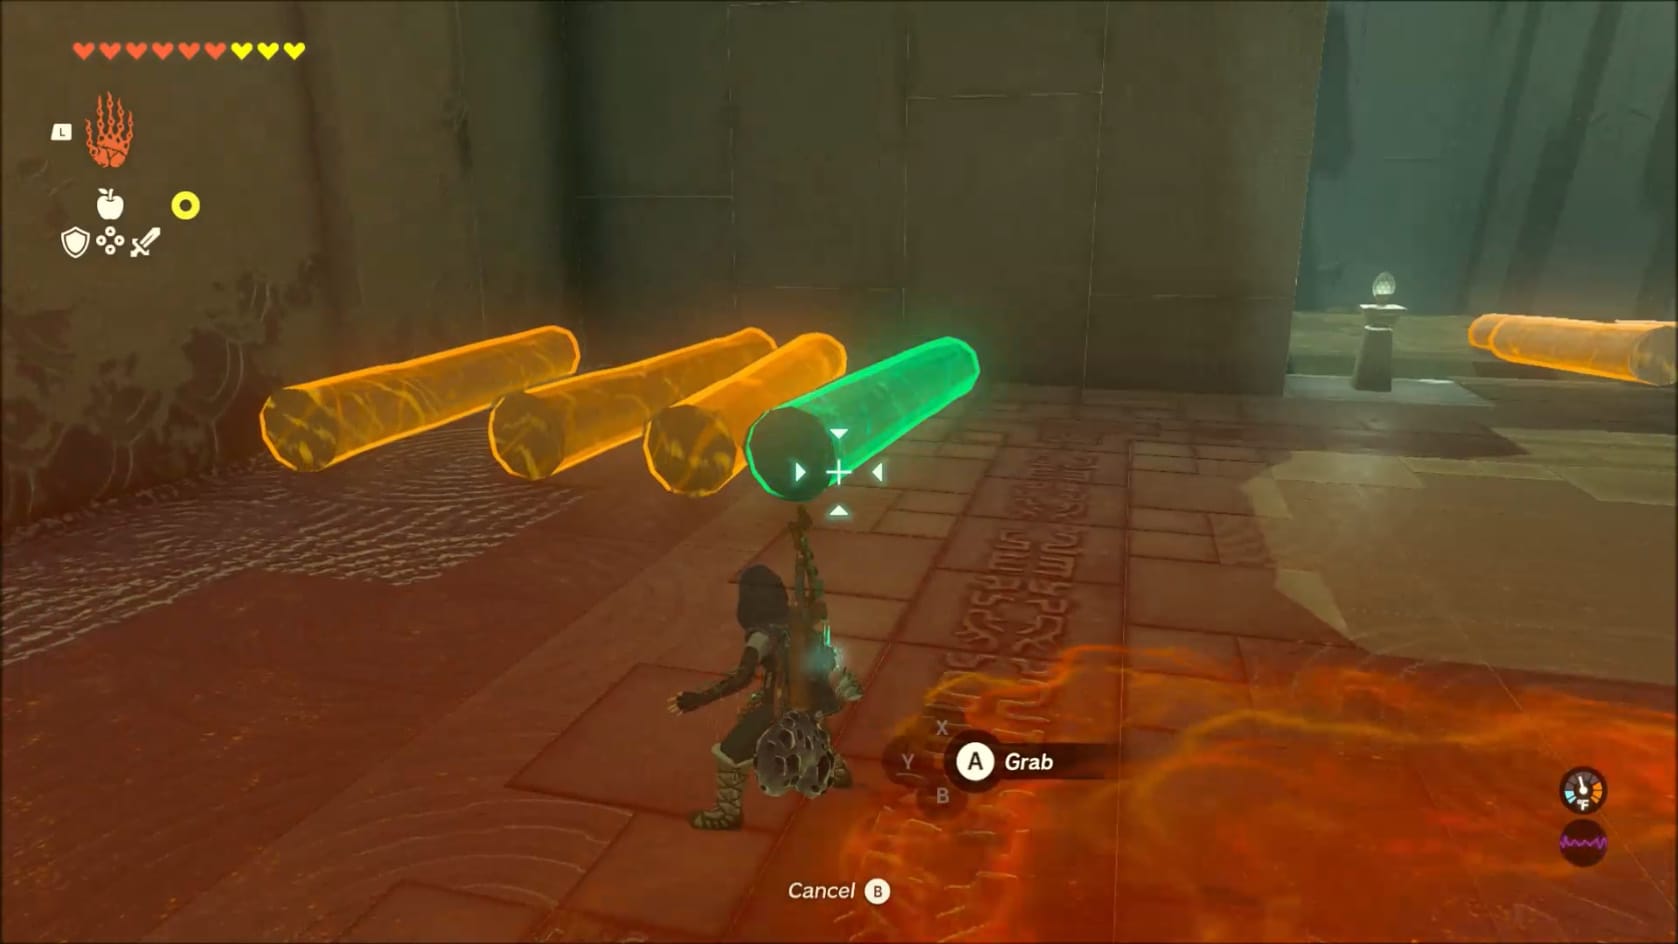
Time for some serious construction with Ultrahand. There’s a big pool and a high wall that needs be to crossed. To the right of where you crossed is a set of 4 Stone Logs. You have a number of options for things to build to create a bridge to cross this one.
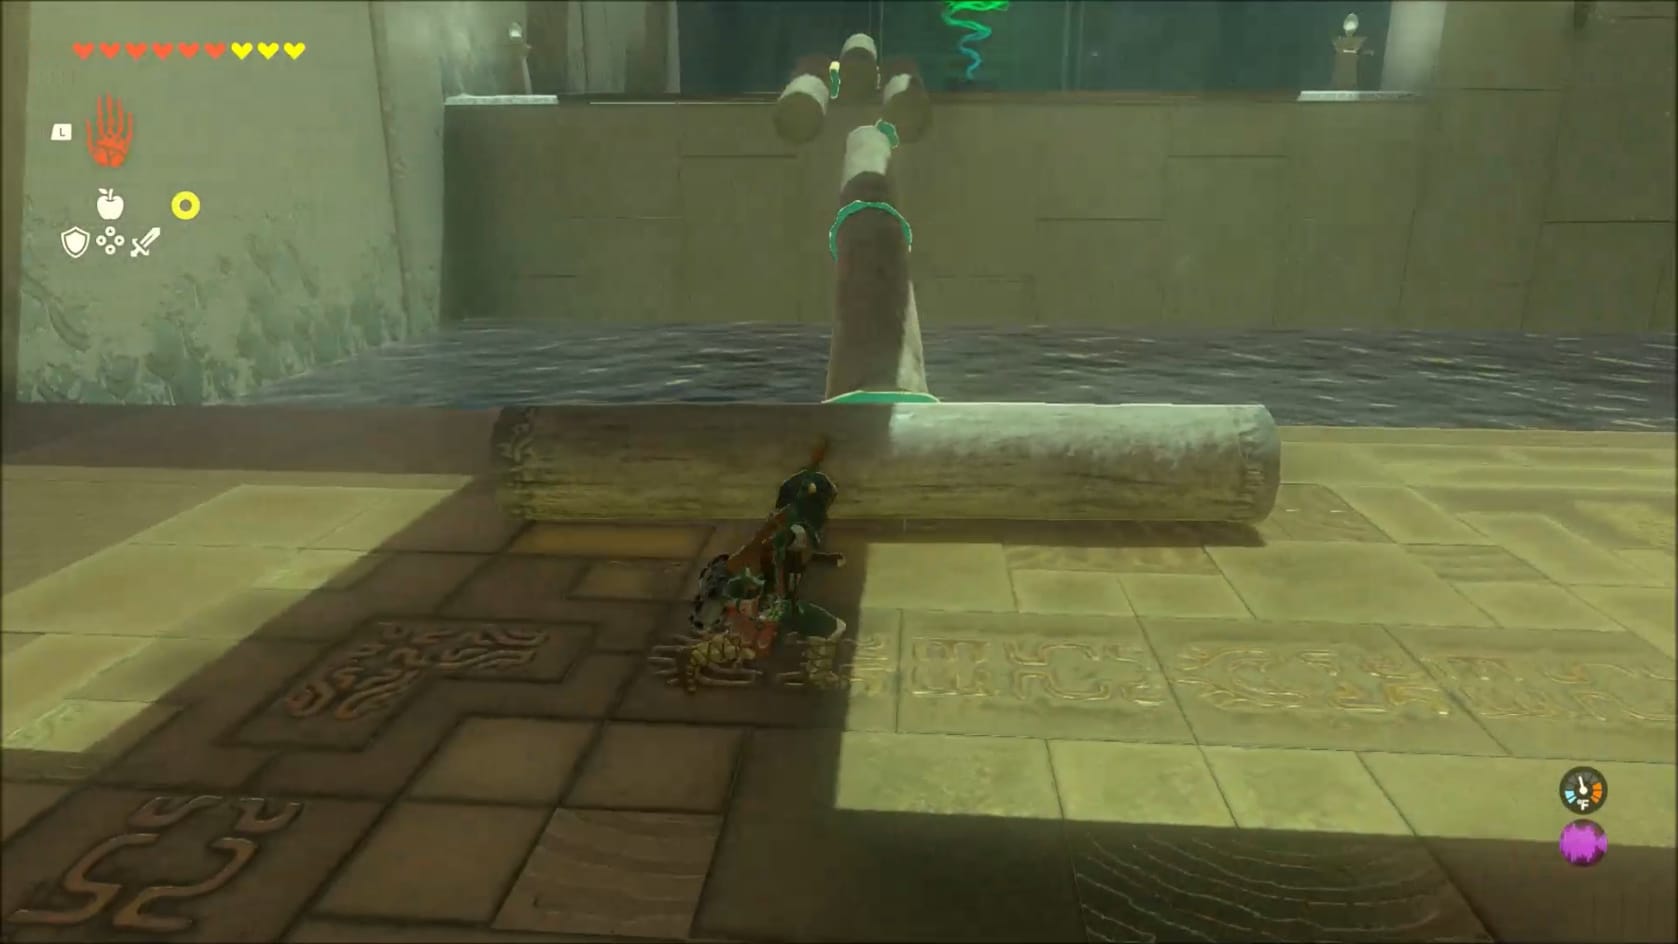
A simple design is to use is to connect 3 of the logs end to end. The 4th log gets connected perpendicular, giving it a T-Shape. Rotate this to have the Flat part at your feet.
- Optionally, you can connect your Y-Shaped Construct to just a T-Shape made with 2 Logs
Puzzle 5 – Treasure and Innermost Chamber
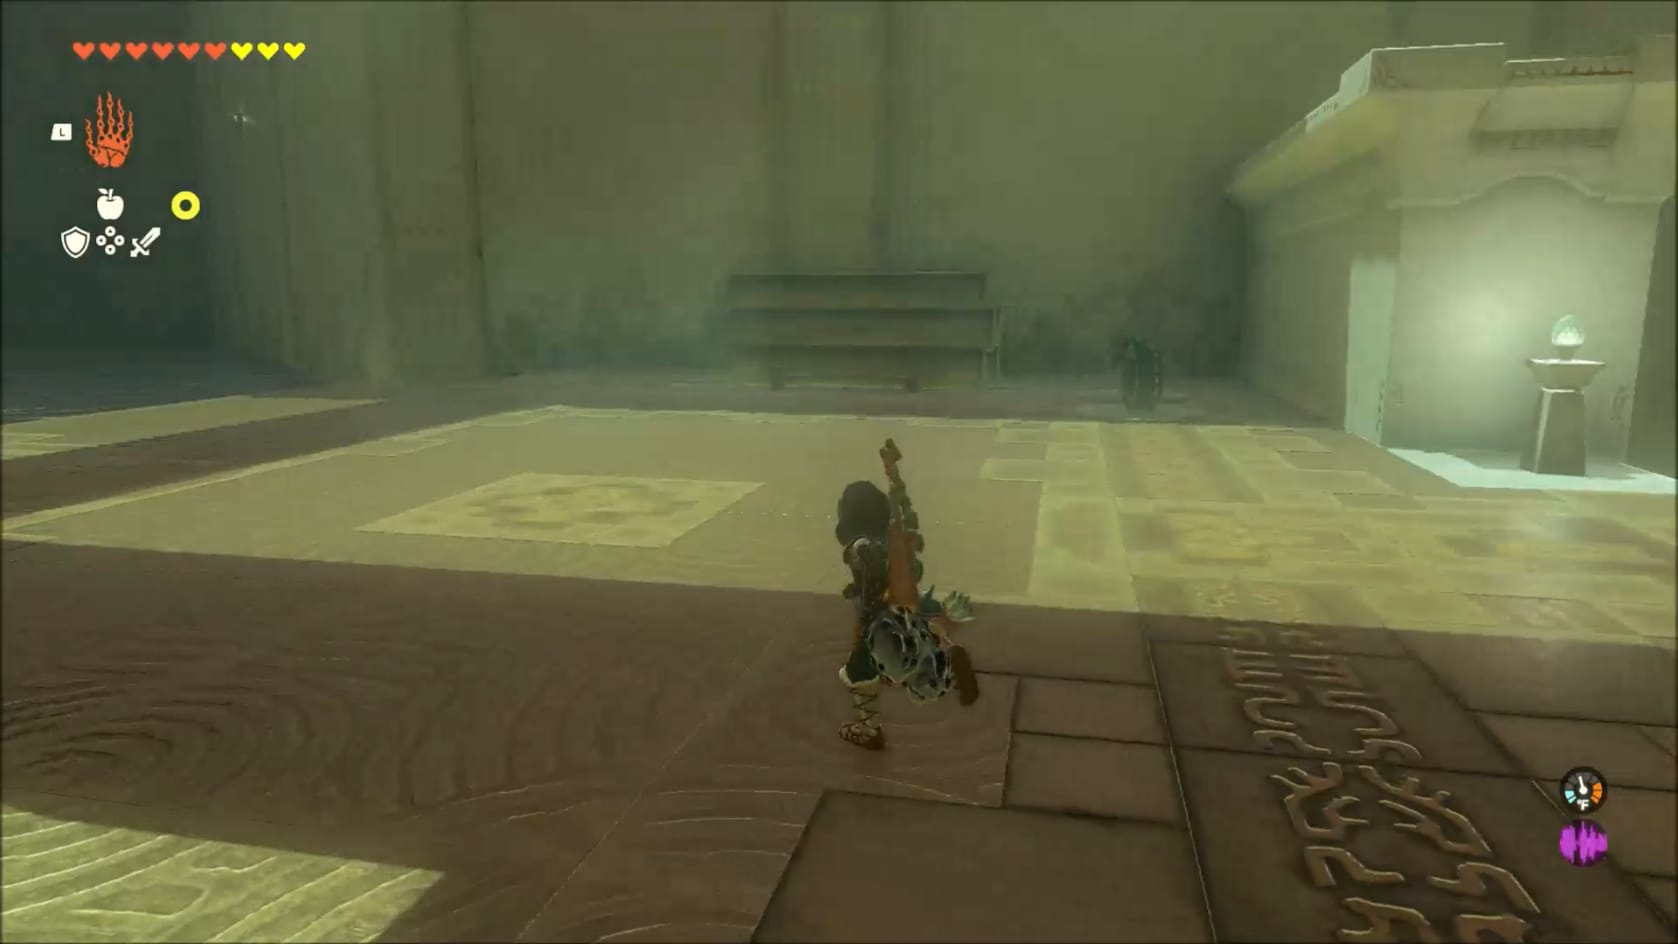
This final one calls for something new from your prior constructions. At the top of your bridge, look to the right to find a stack of 5 Logs and 2 Zonai Fans.
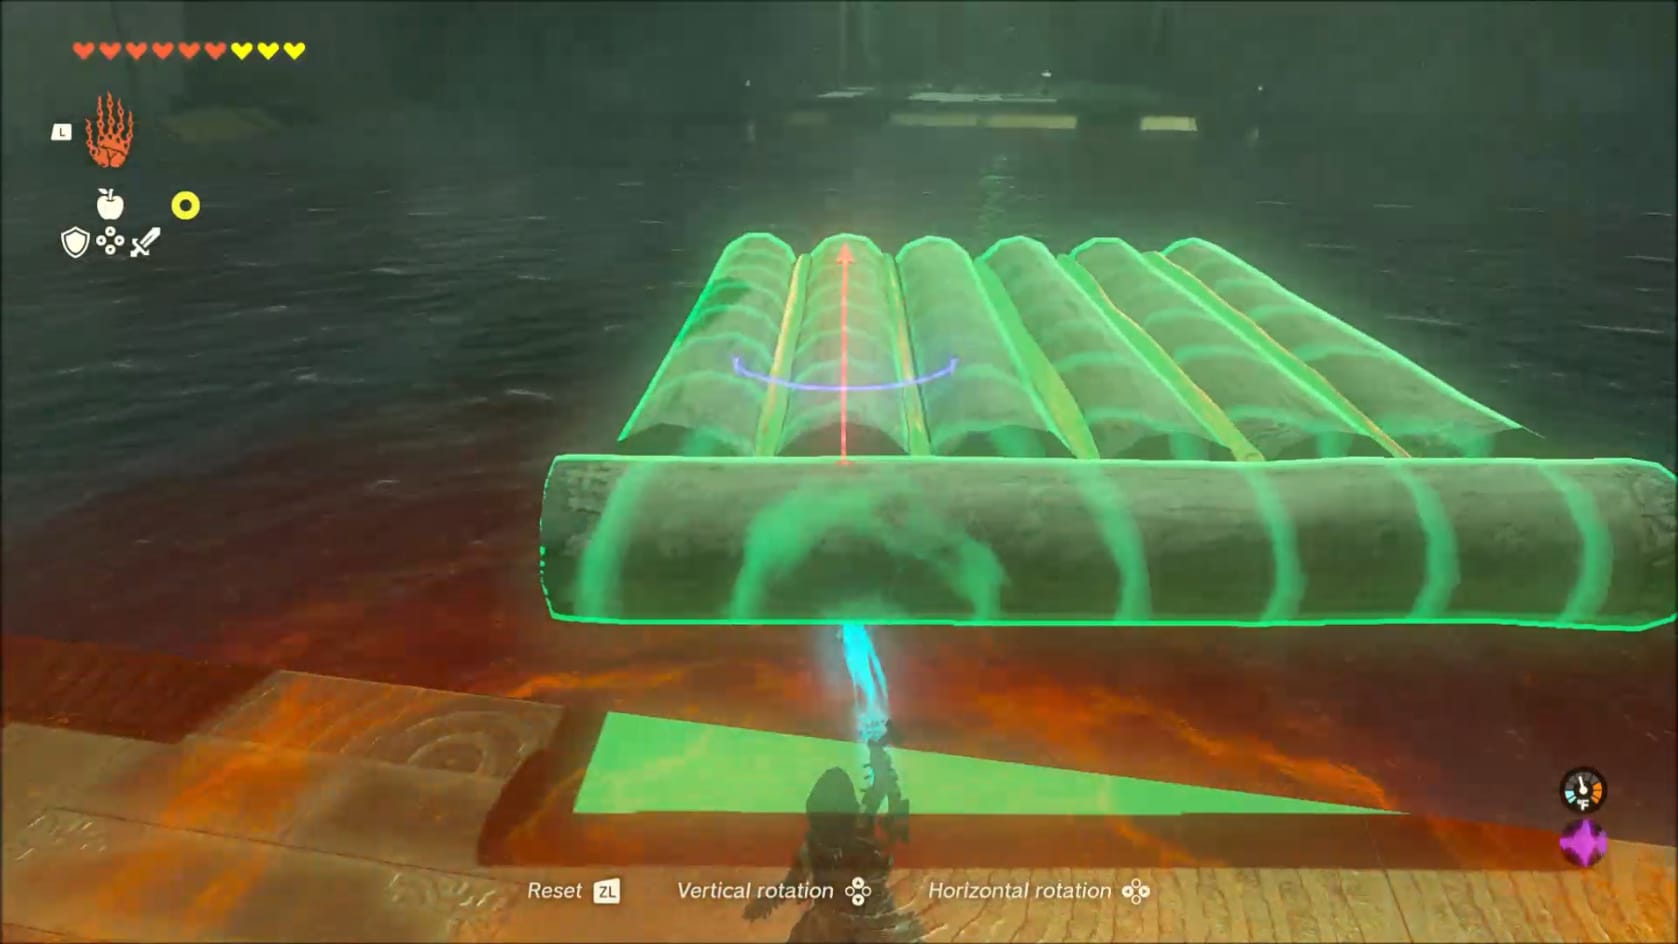
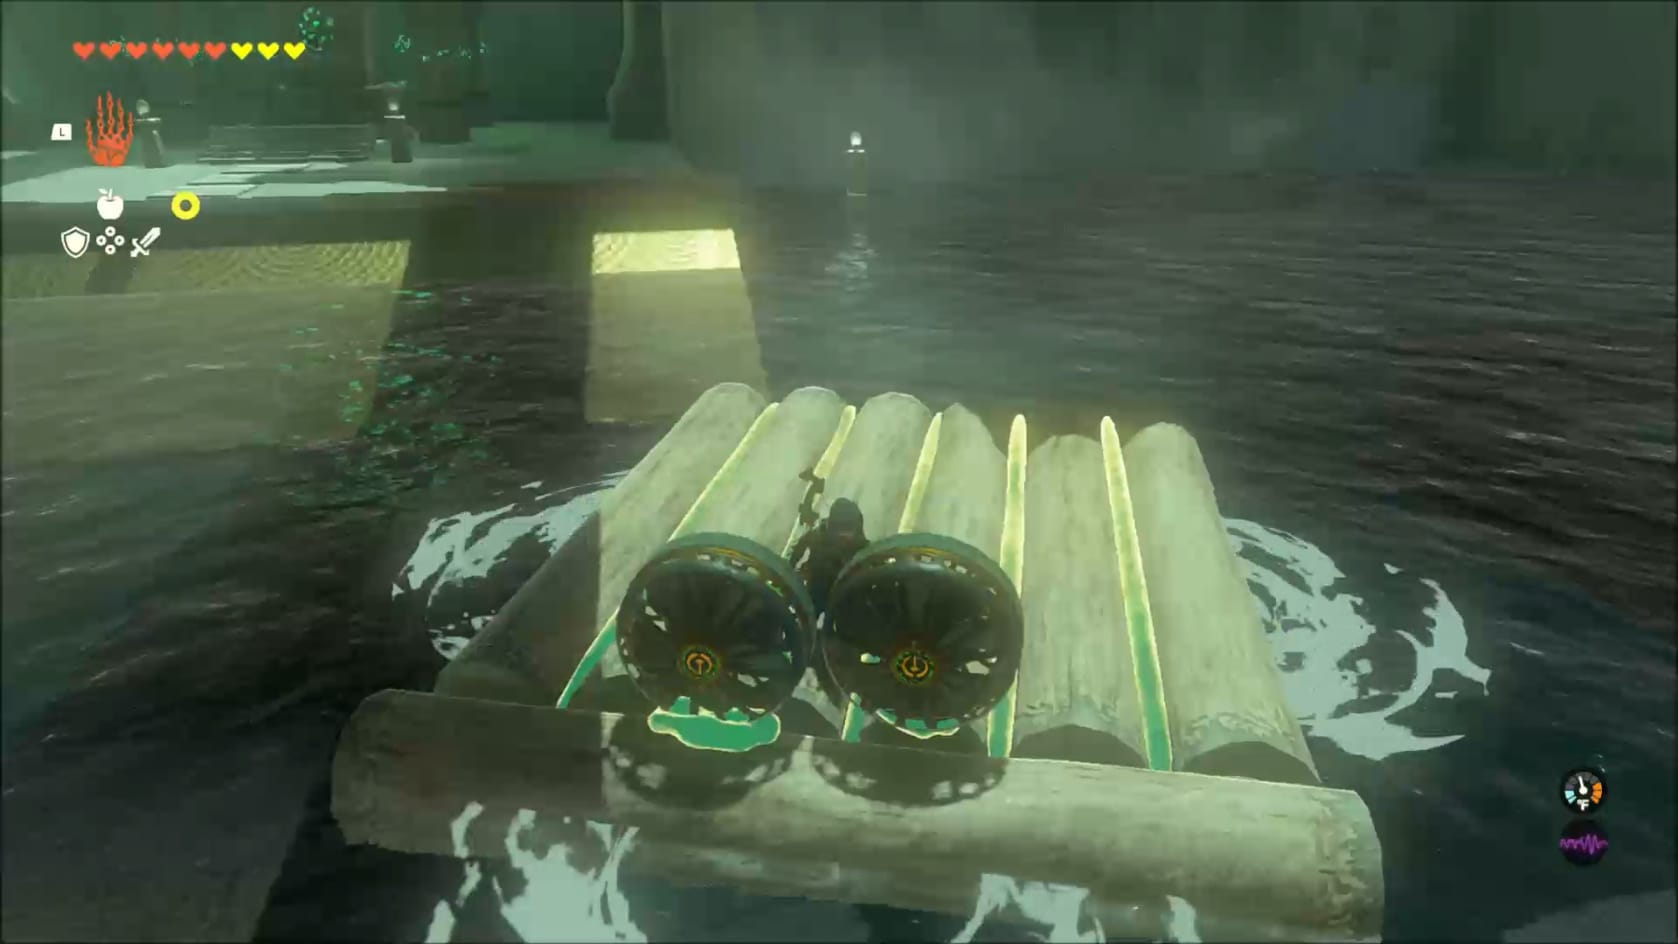
A Raft with a pair of Zonai Fans
Use Ultrahand to connect 3-4 Logs together side to side (you can also use some of the other logs that you used to get here to make something bigger) to create a Raft. Connect the Zonai fans to the foot of the raft.
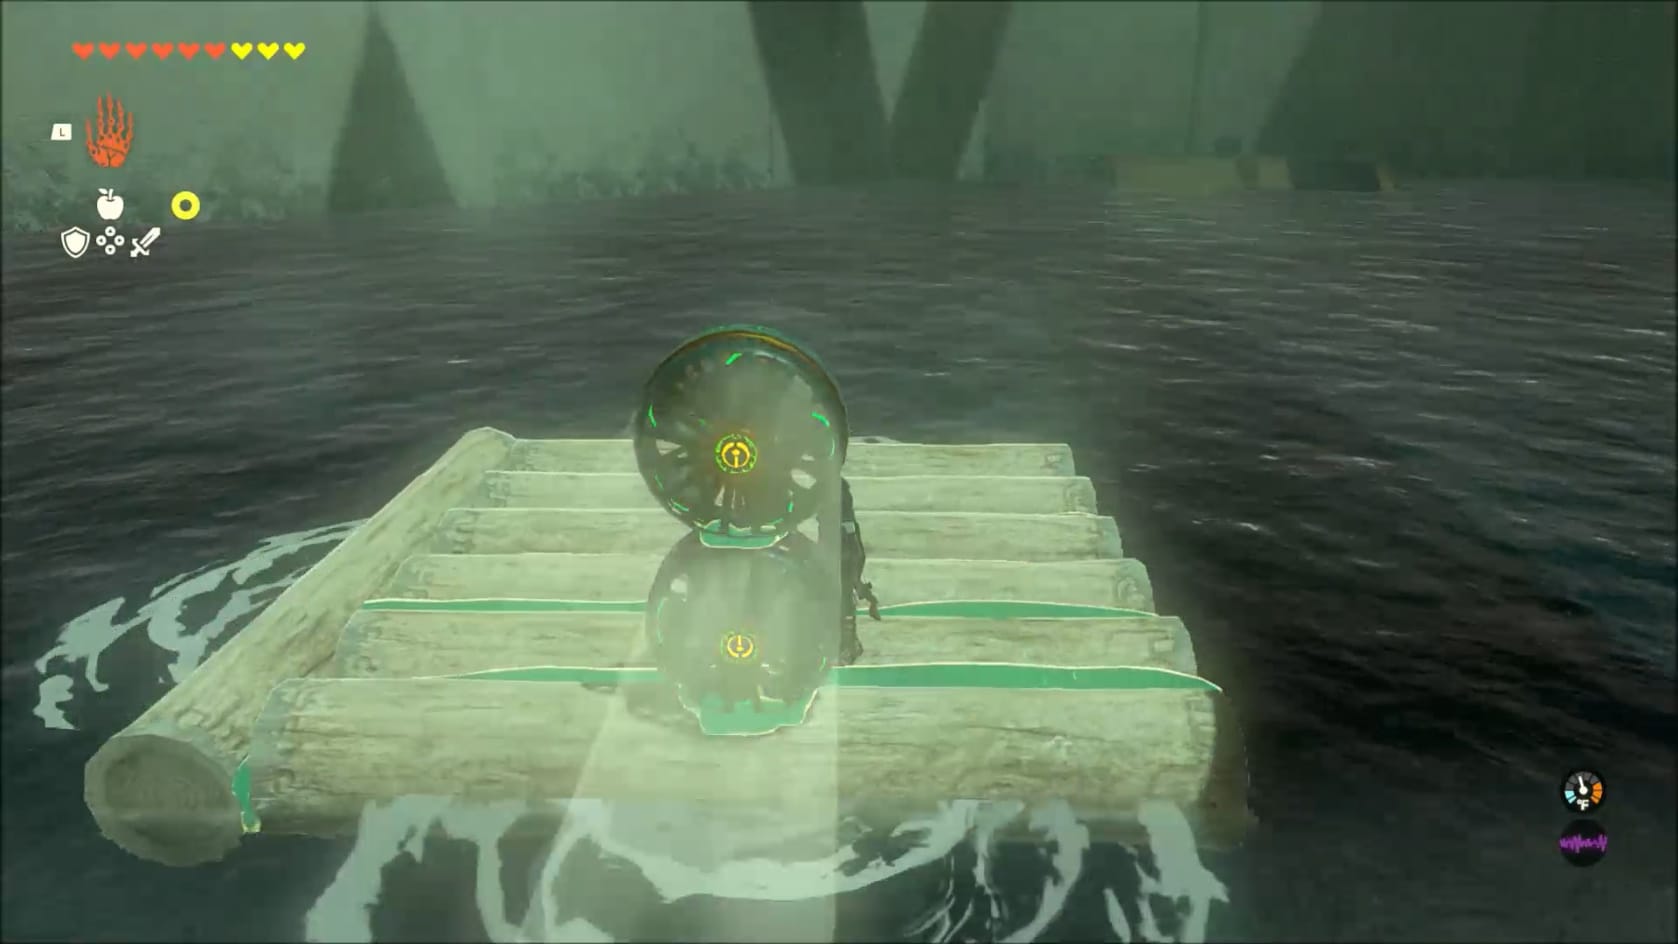
Angle the raft over to the right, along the wall. This will easily let you activate the fan and have it push you forward to reach the ledge with the Chest on it.
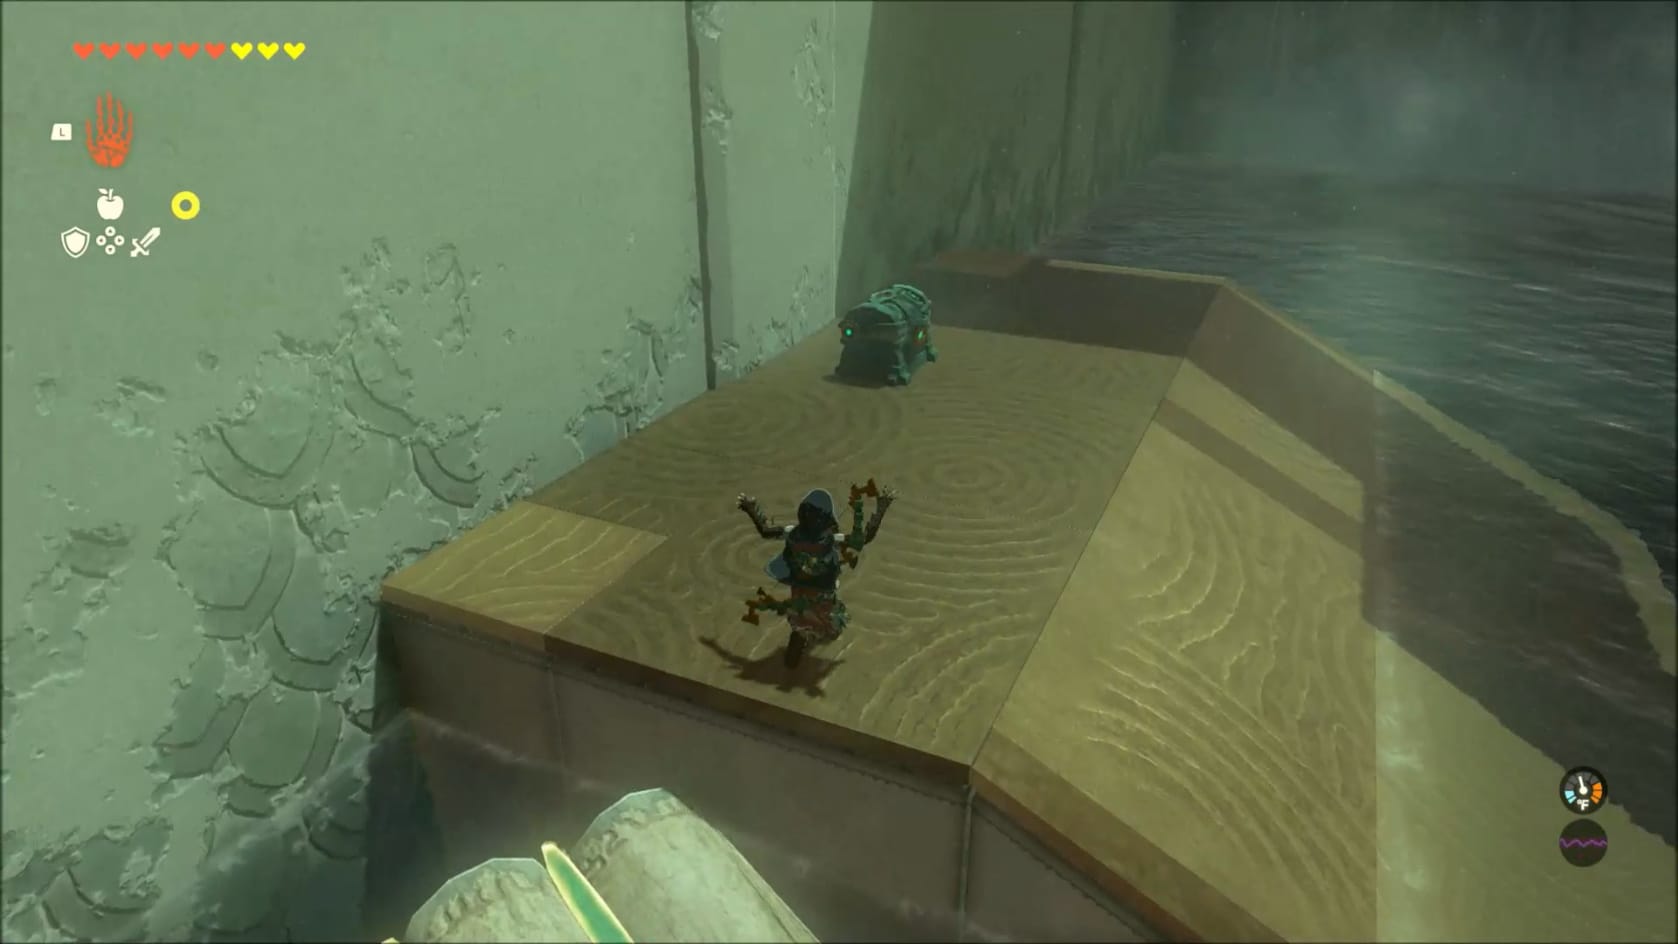
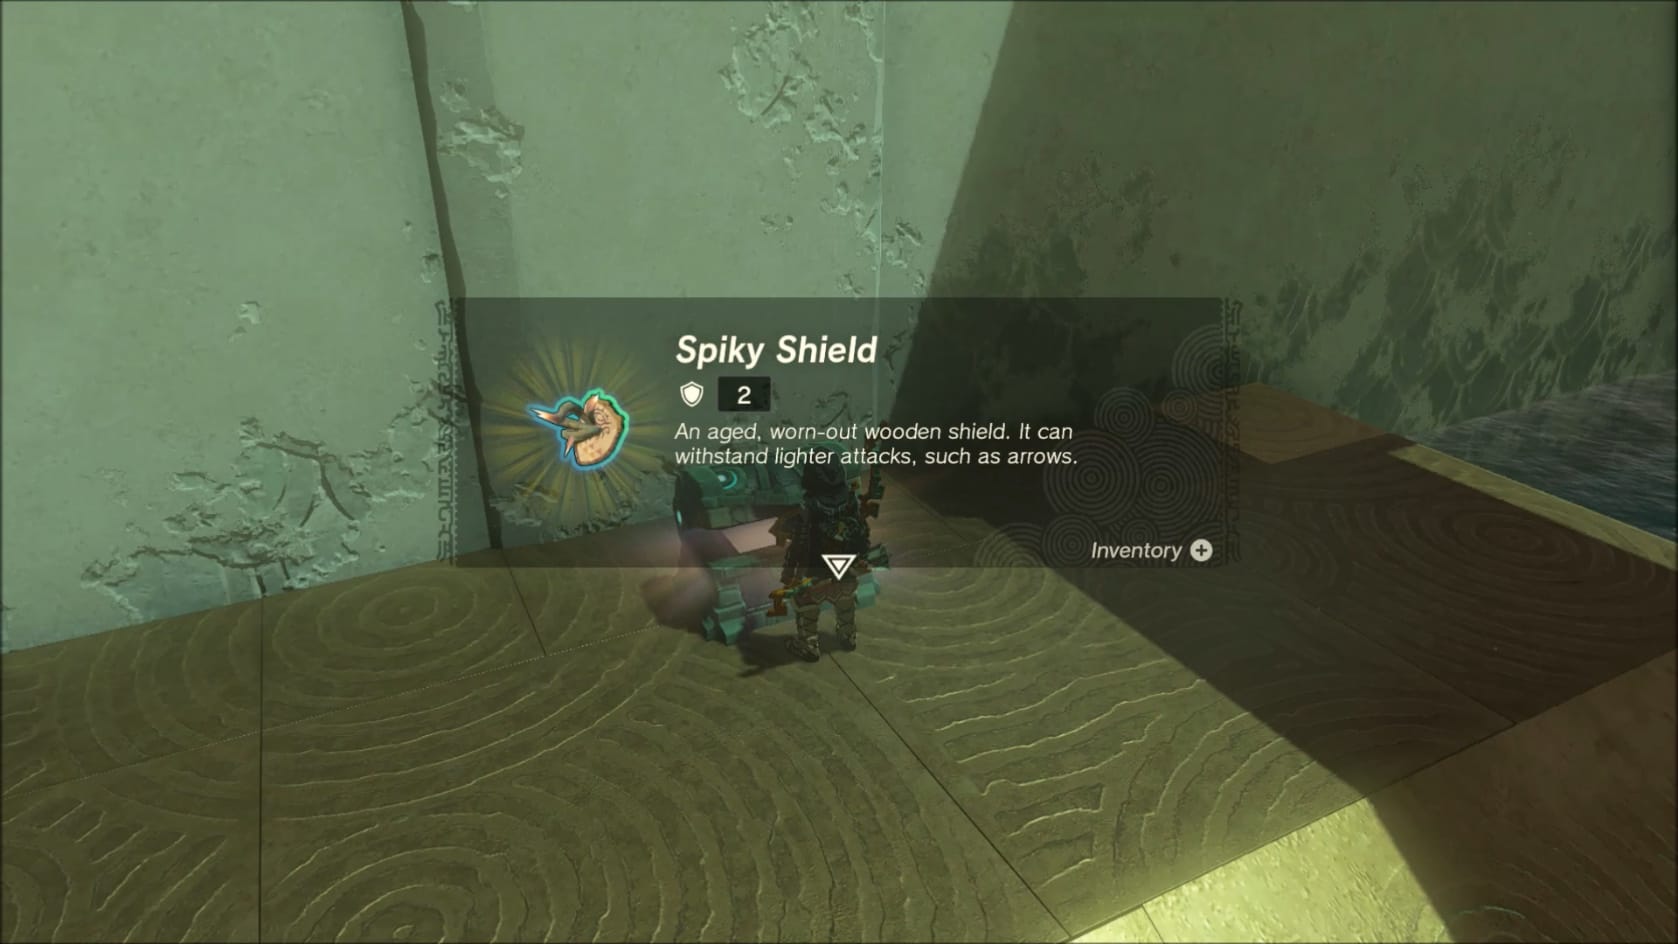
Reaching the Chest and getting its Contents: A Spiky Shield
Turn off the Zonai Fans and jump onto the ledge when you reach it. This Chest holds a Spiky Shield.
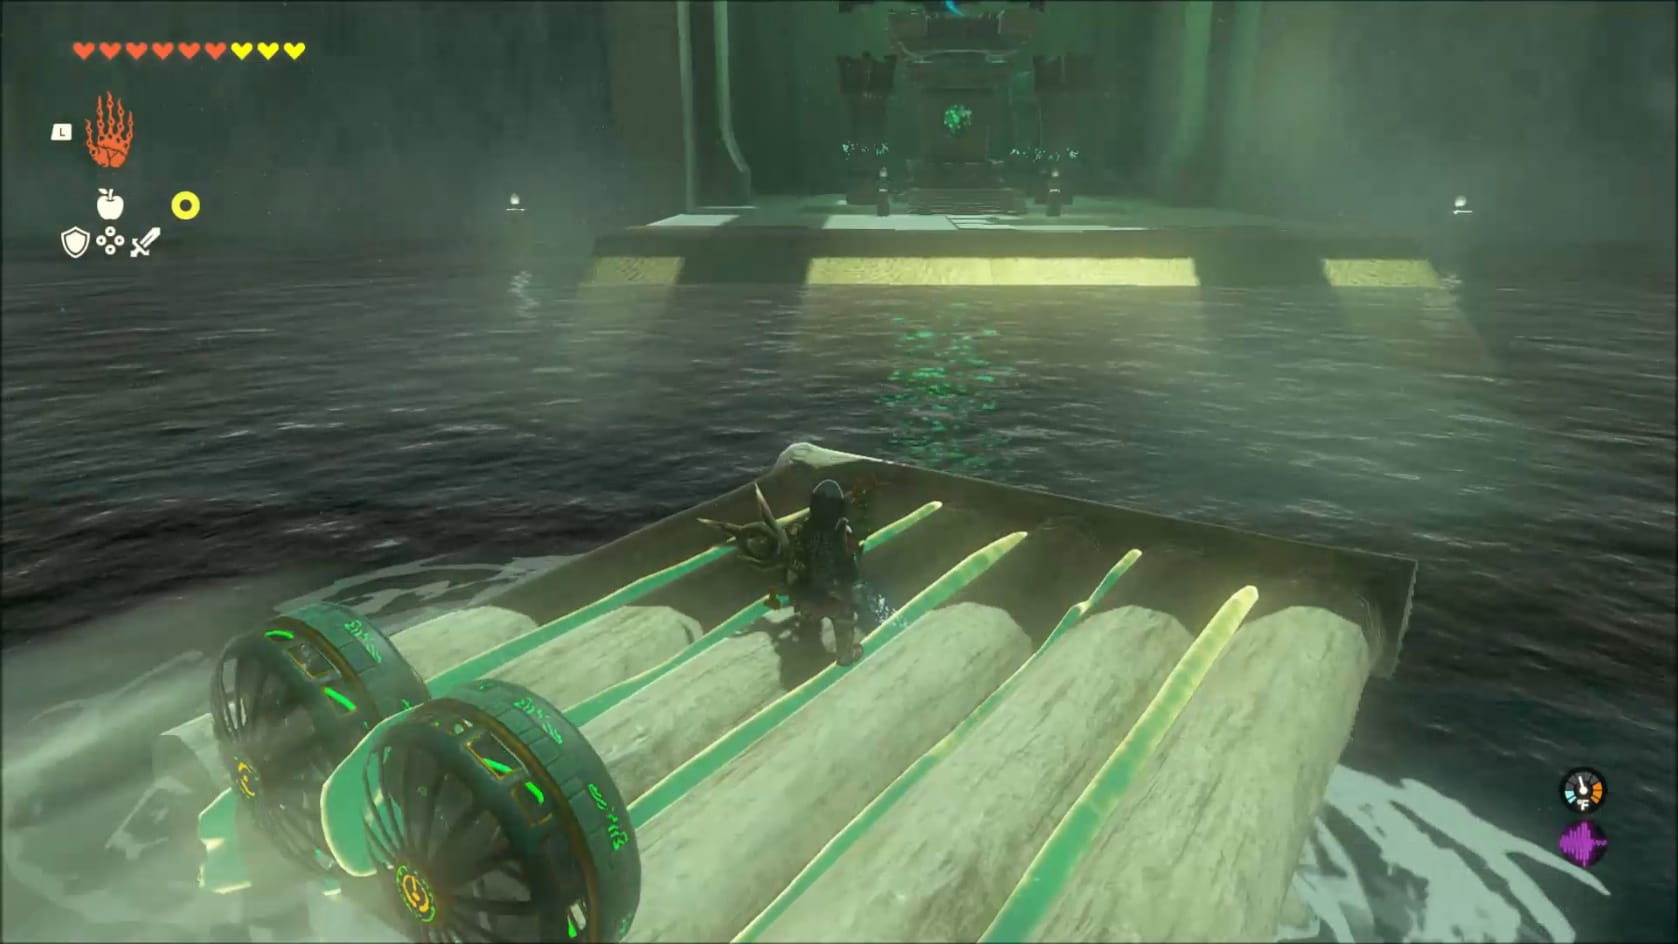
With the contents of the chest collected, it’s time to head for the Innermost Chamber. Grab the Raft, and set it at the foot of the ramp on this ledge. Activate the fans and it will push the Raft forward to reach the ramp leading to the Innermost Chamber with its Glyph to activate the Statues.
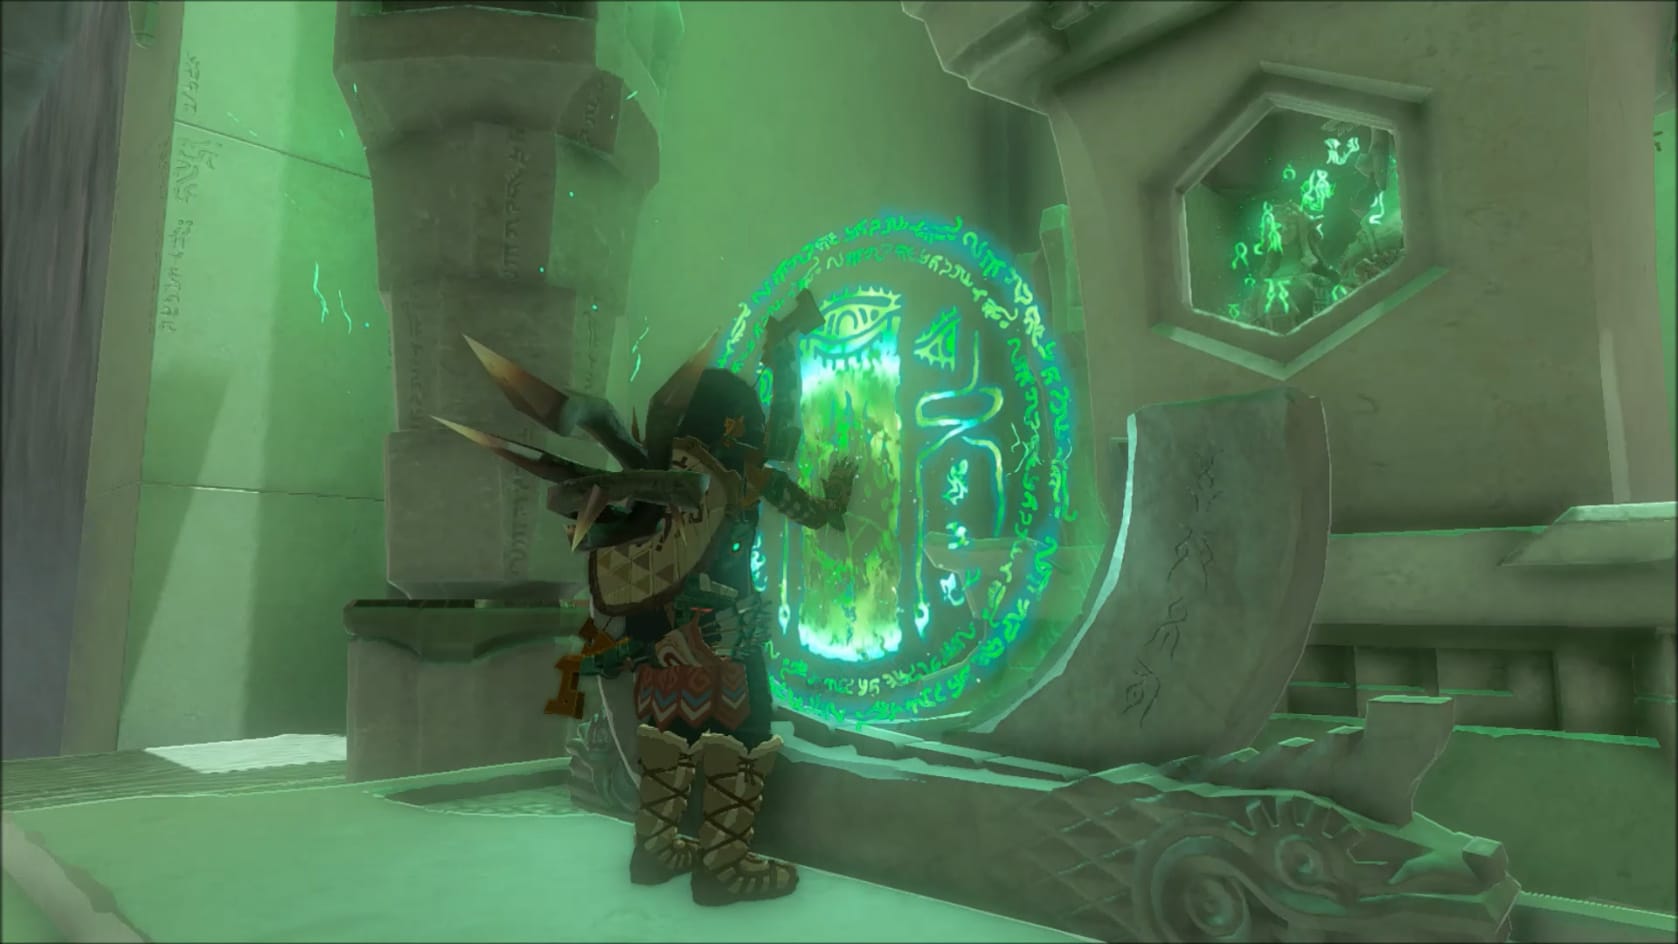
Approach the Glyph. Interact with it to have the statues bestow the Light of Blessing. This will finish this shrine, having collected the Blessing and the Treasure within.