The Legend of Zelda: Tears of the Kingdom – Makurukis Shrine Combat Training: Archery Guide
Master Combat Training: Archery in Makurukis Shrine in Zelda: Tears of the Kingdom. Learn how to land headshots, defeat Soldier Constructs, and claim the Strong Construct Bow and Light of Blessing.
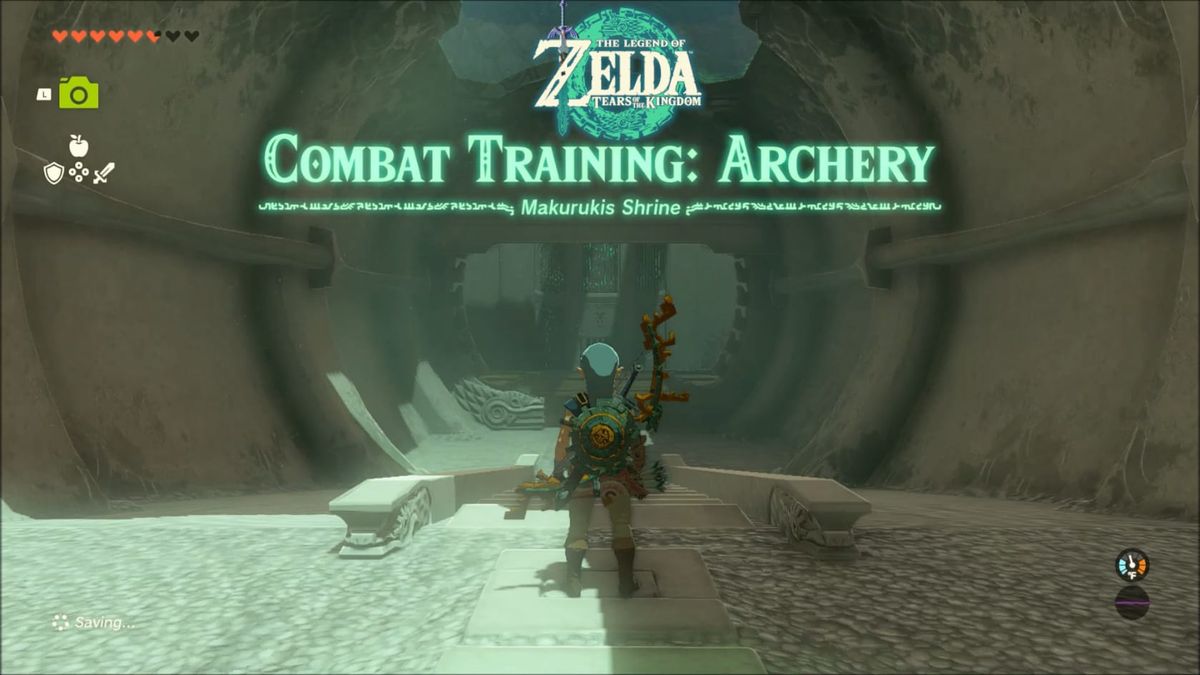
Summary
This Shrine is found to the Northeast of the Tabanatha Bridge Stable on top of a tall ridge. Climb up and activate the shrine. Inside, you are given a tutorial on some of the basics of Archery in Tears of the Kingdom. Defeat the Soldier Constructs within with Headshots to destroy them. Claim the Construct Bow in the Chest and receive the Light of Blessing from the Statues of the Innermost Chamber.
Location
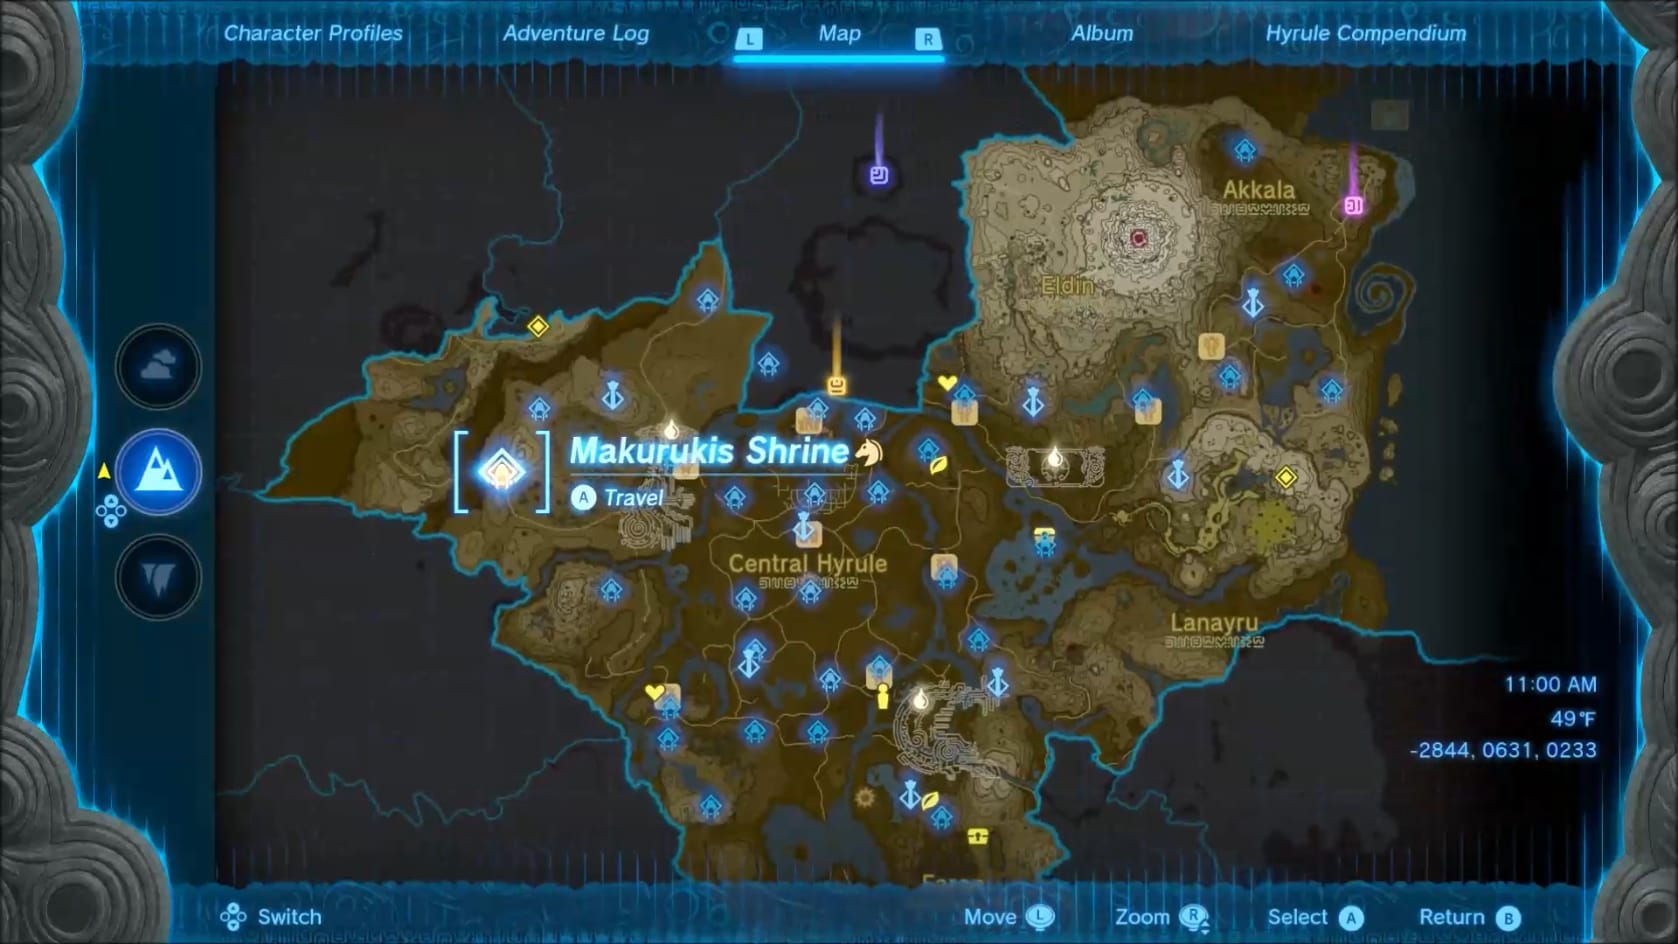
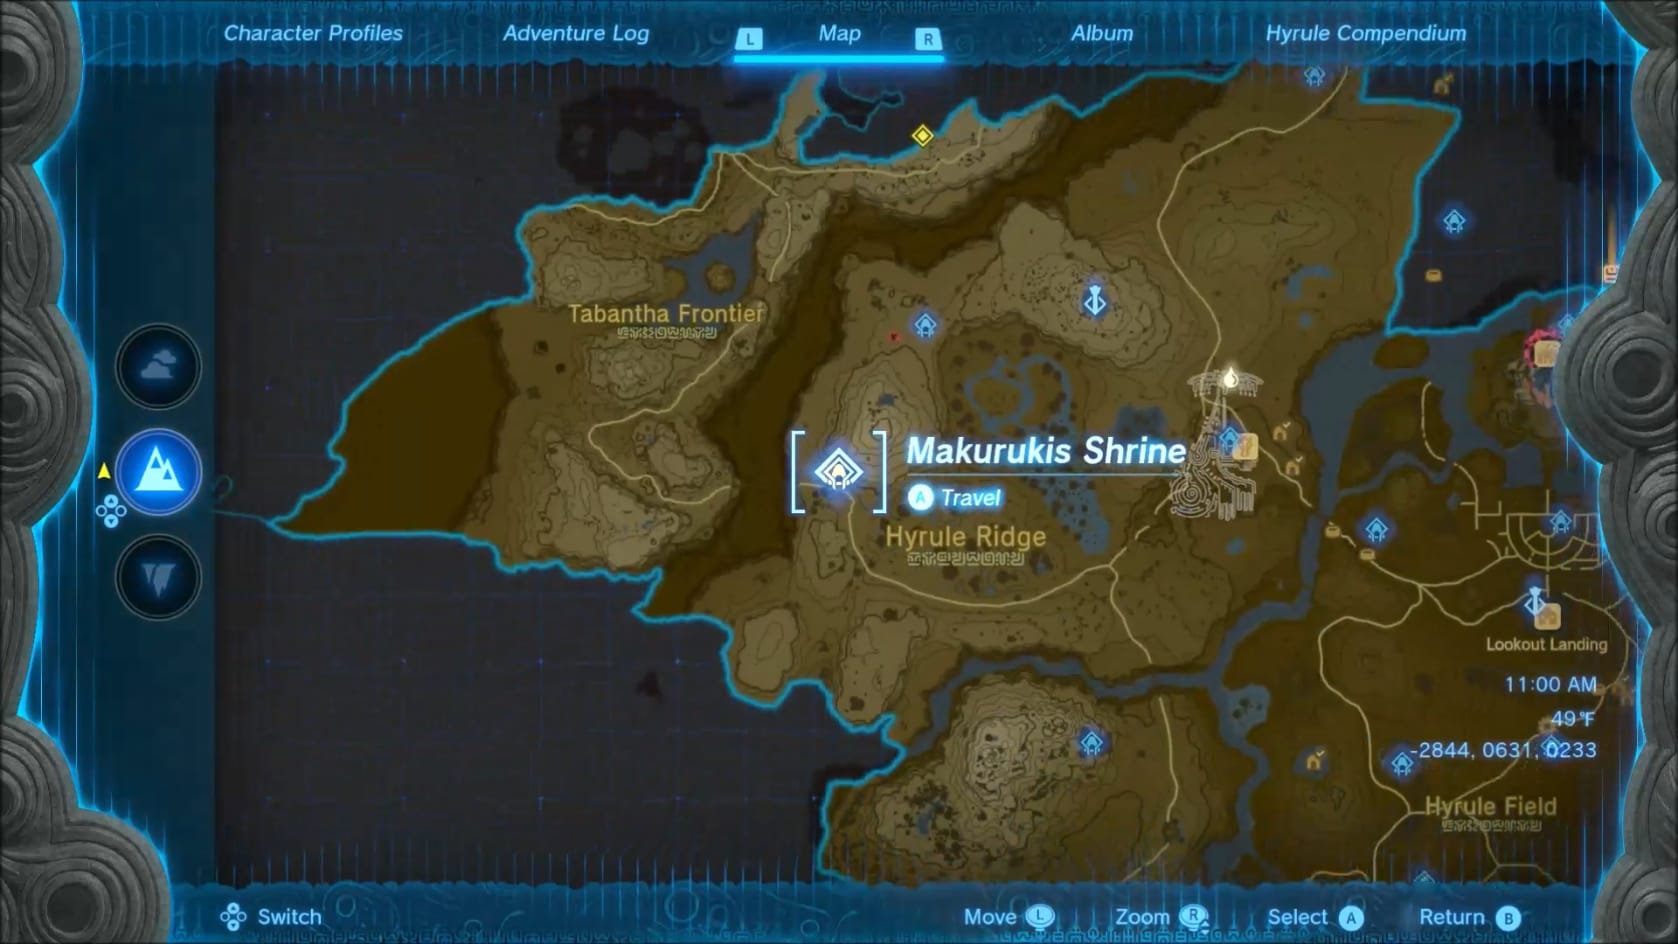
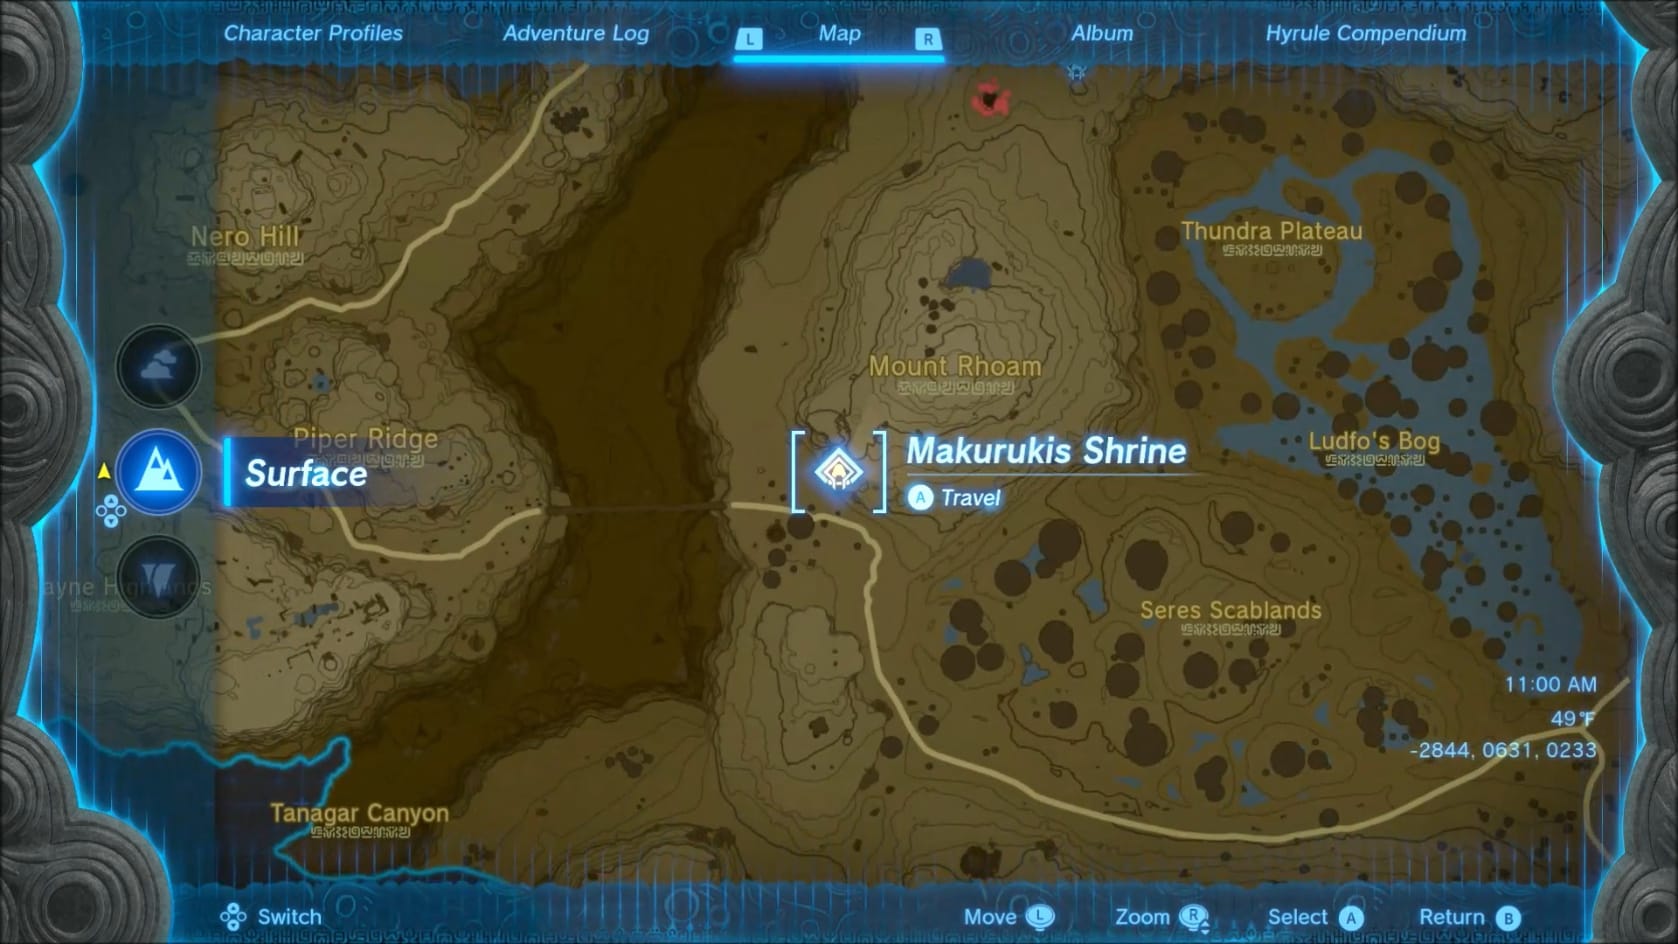
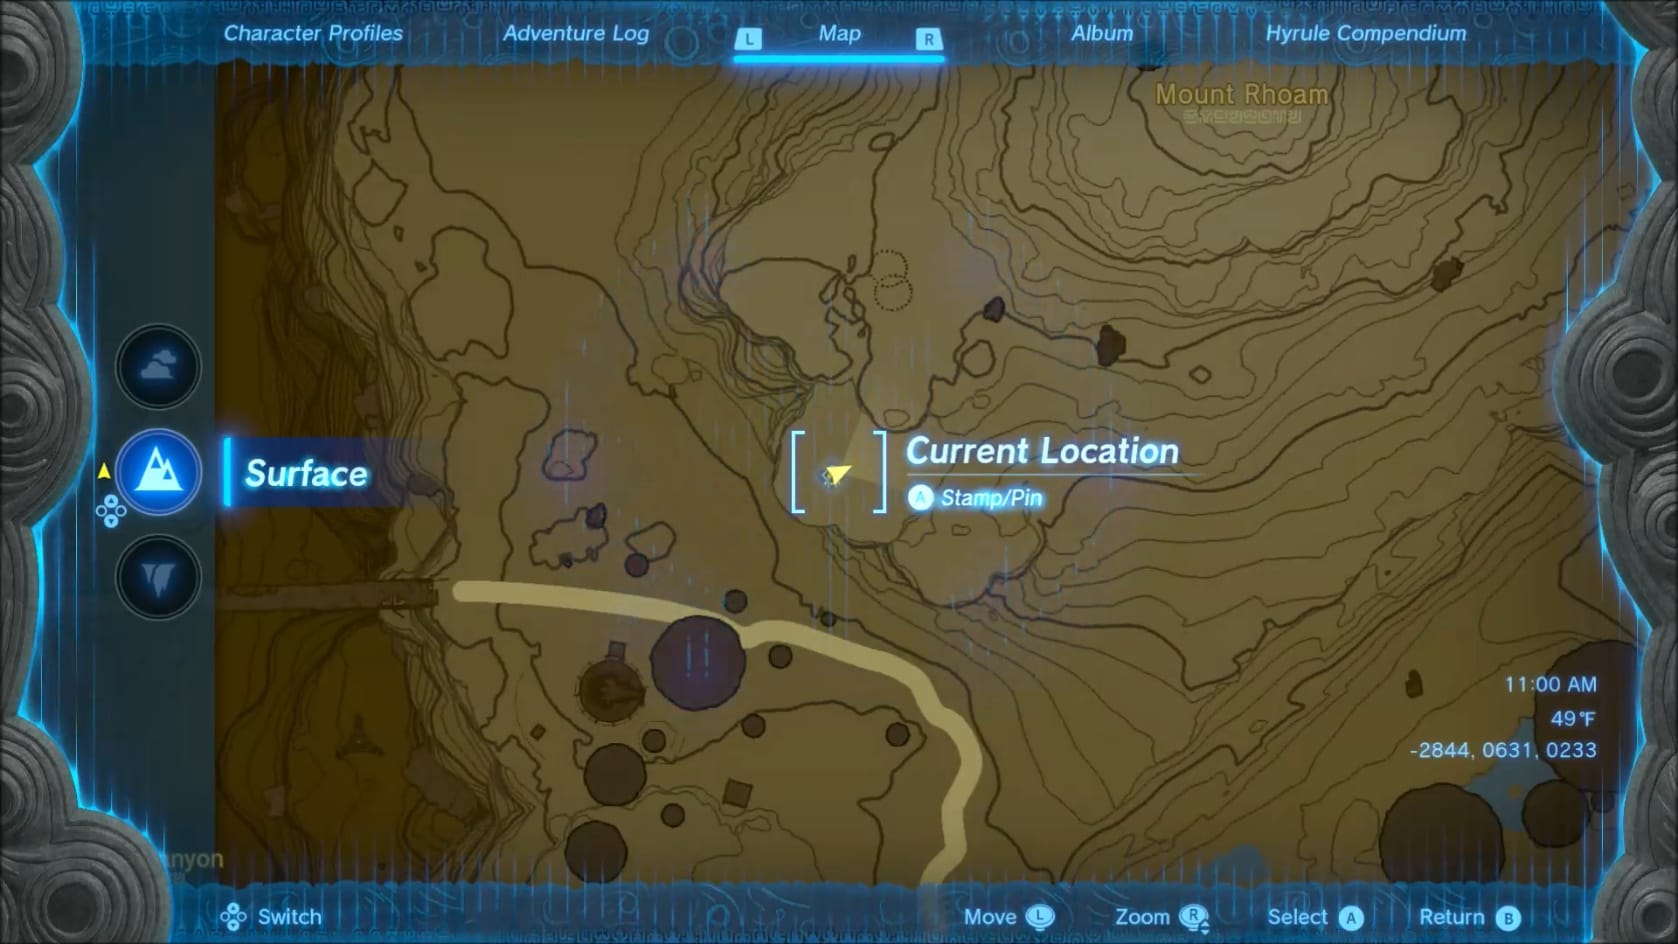
Location of the Shrine on the map of Hyrule
Coordinates: -2847, 0629, 0233
Walkthrough
Entrance
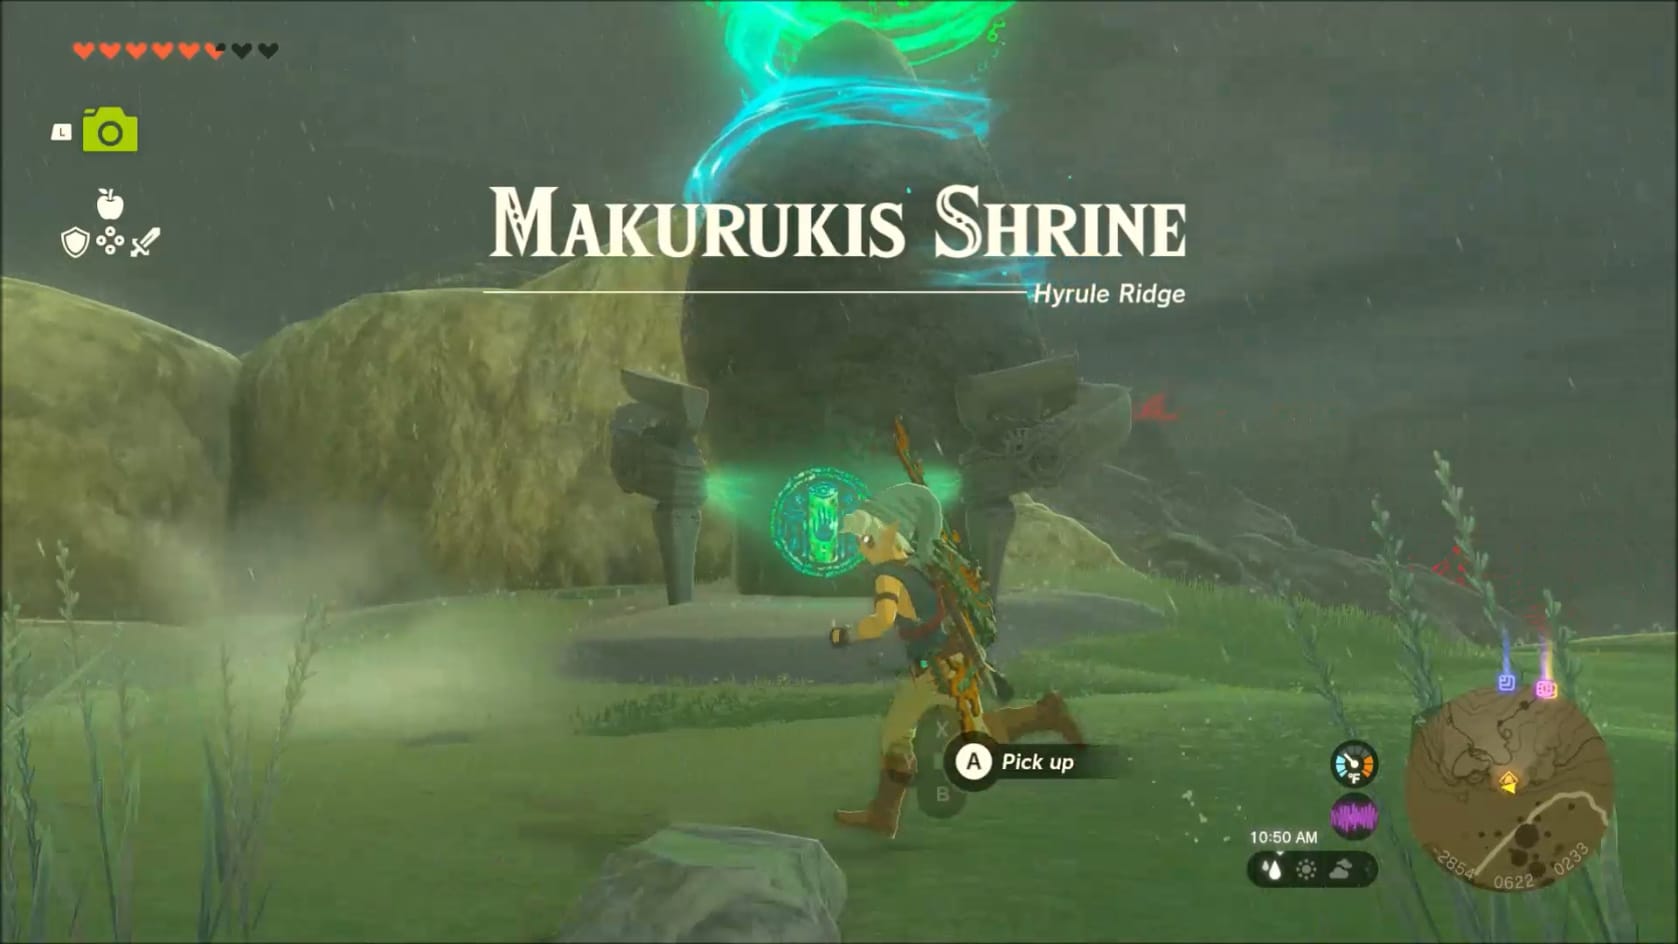
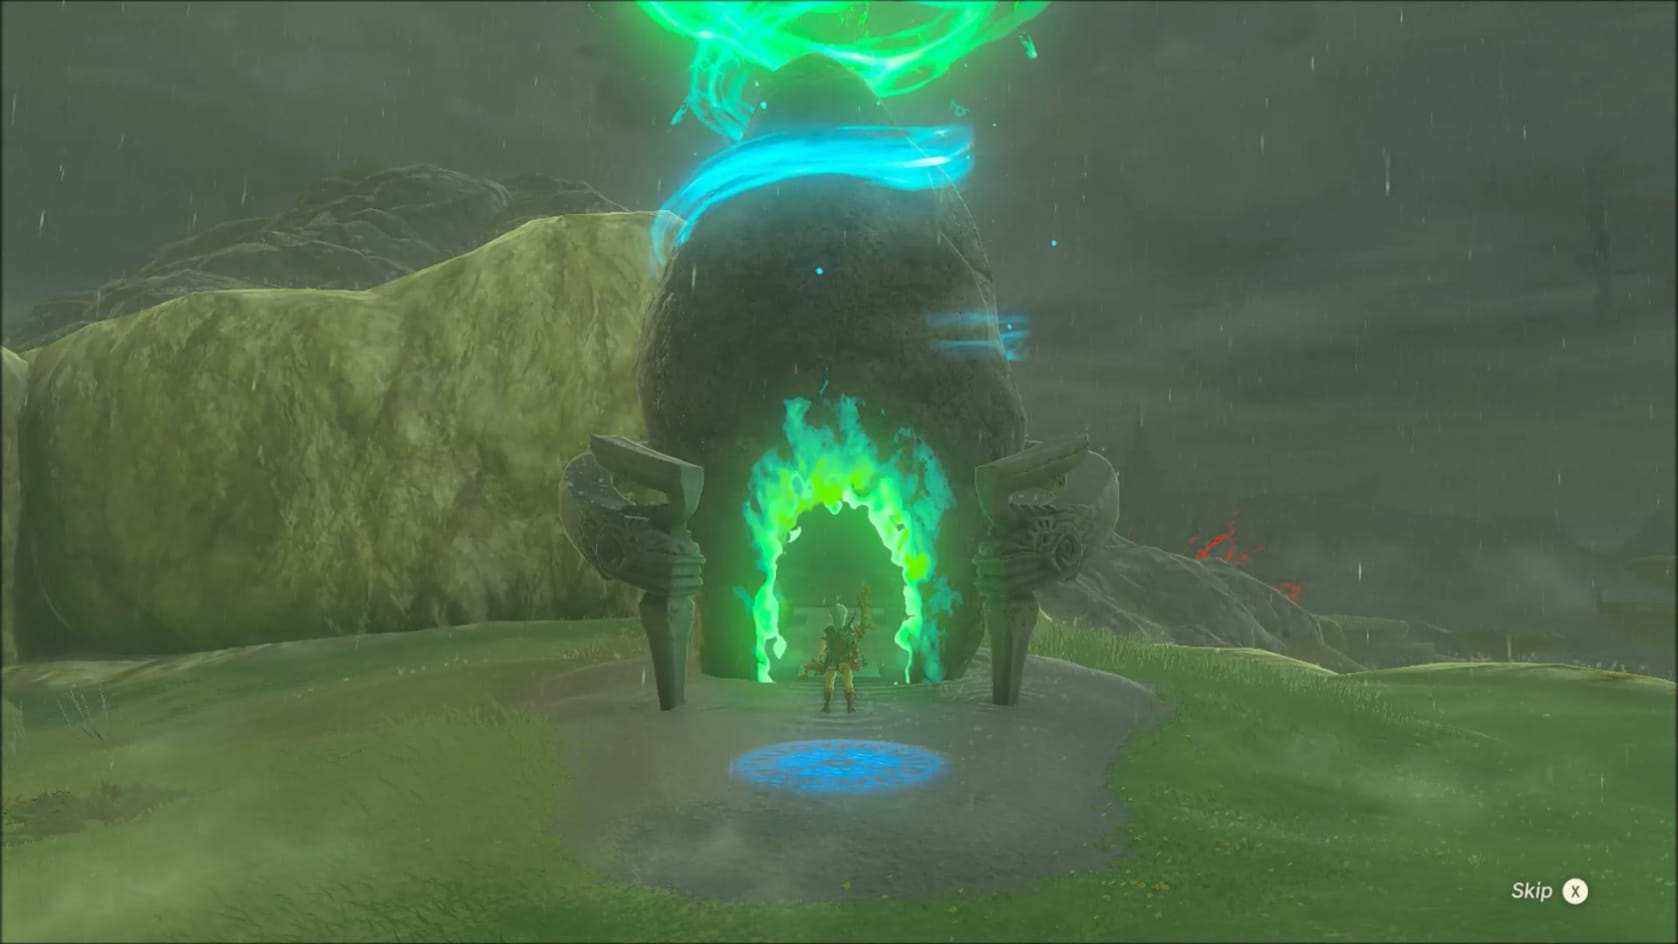
This shrine is found to the Northeast of the Tabantha Bridge Stable. It’s found just up the ridge from the stable itself. Once you make your way up, it’s very easy to reach. Just be mindful you’re not attempting this in the rain. Just approach the entrance of the shrine. Interact with the Glyph to activate the shrine. It’s now added to your Fast Travel network and you can head inside to complete its challenge: Combat Training: Archery.
Arm Yourself
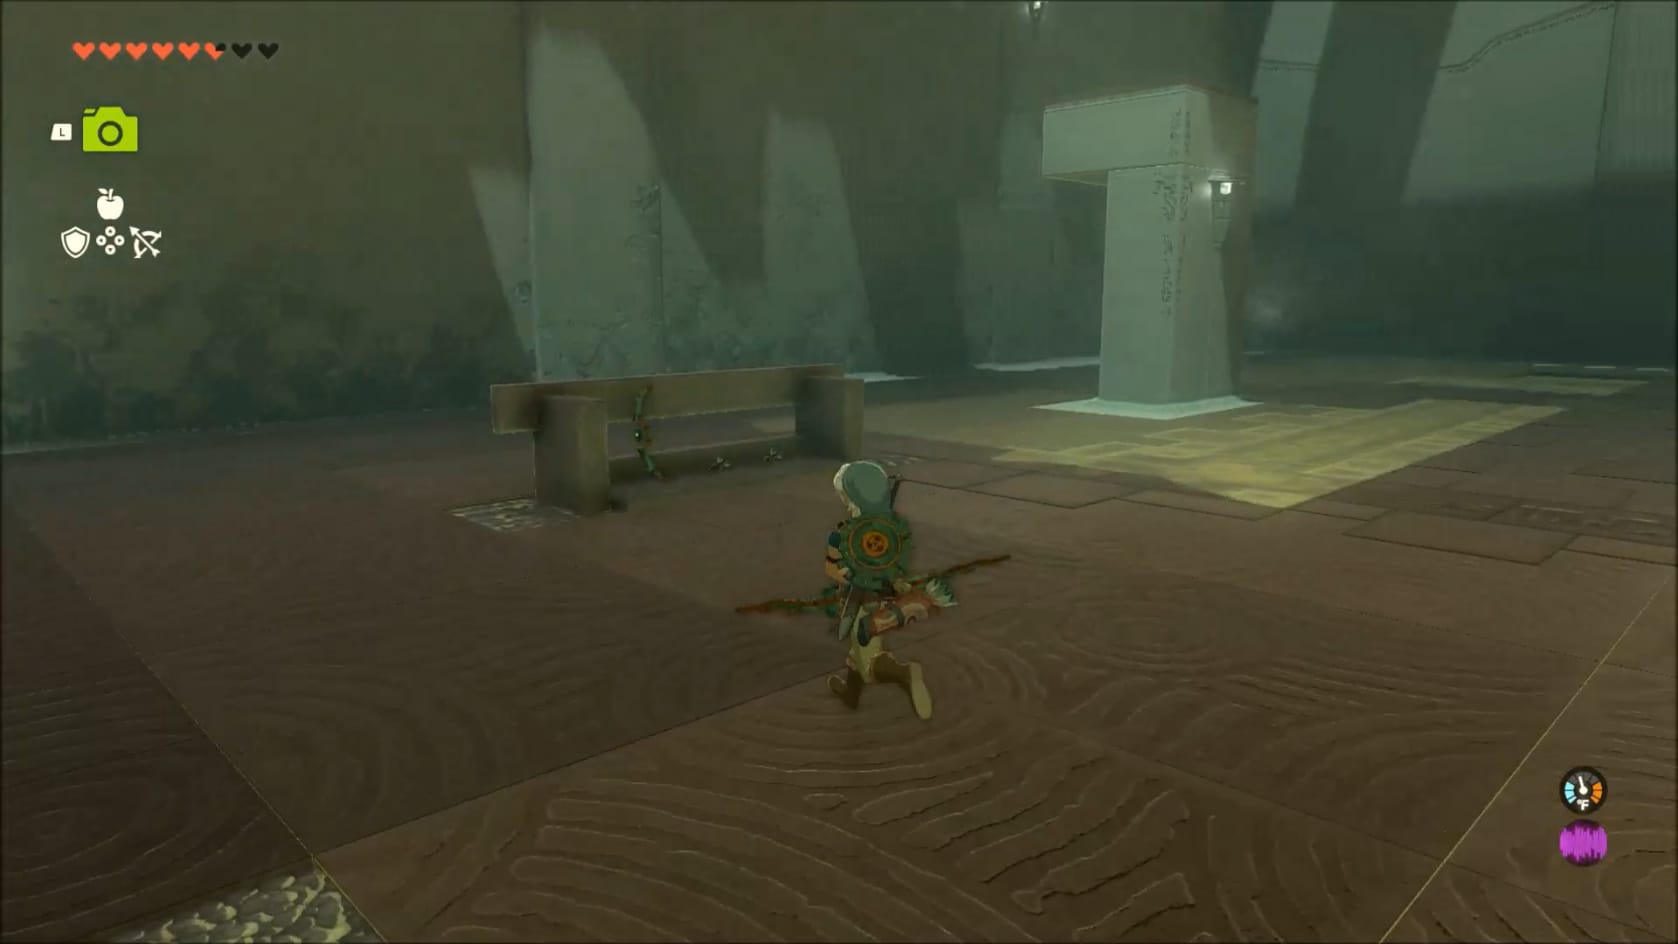
Start by heading down the stairs into the first chamber of the Shrine. Start by heading over to the stand on the left-hand side of the room. You can find 2 bundles of arrows as well as a Construct bow.
Skill 1: Headshots
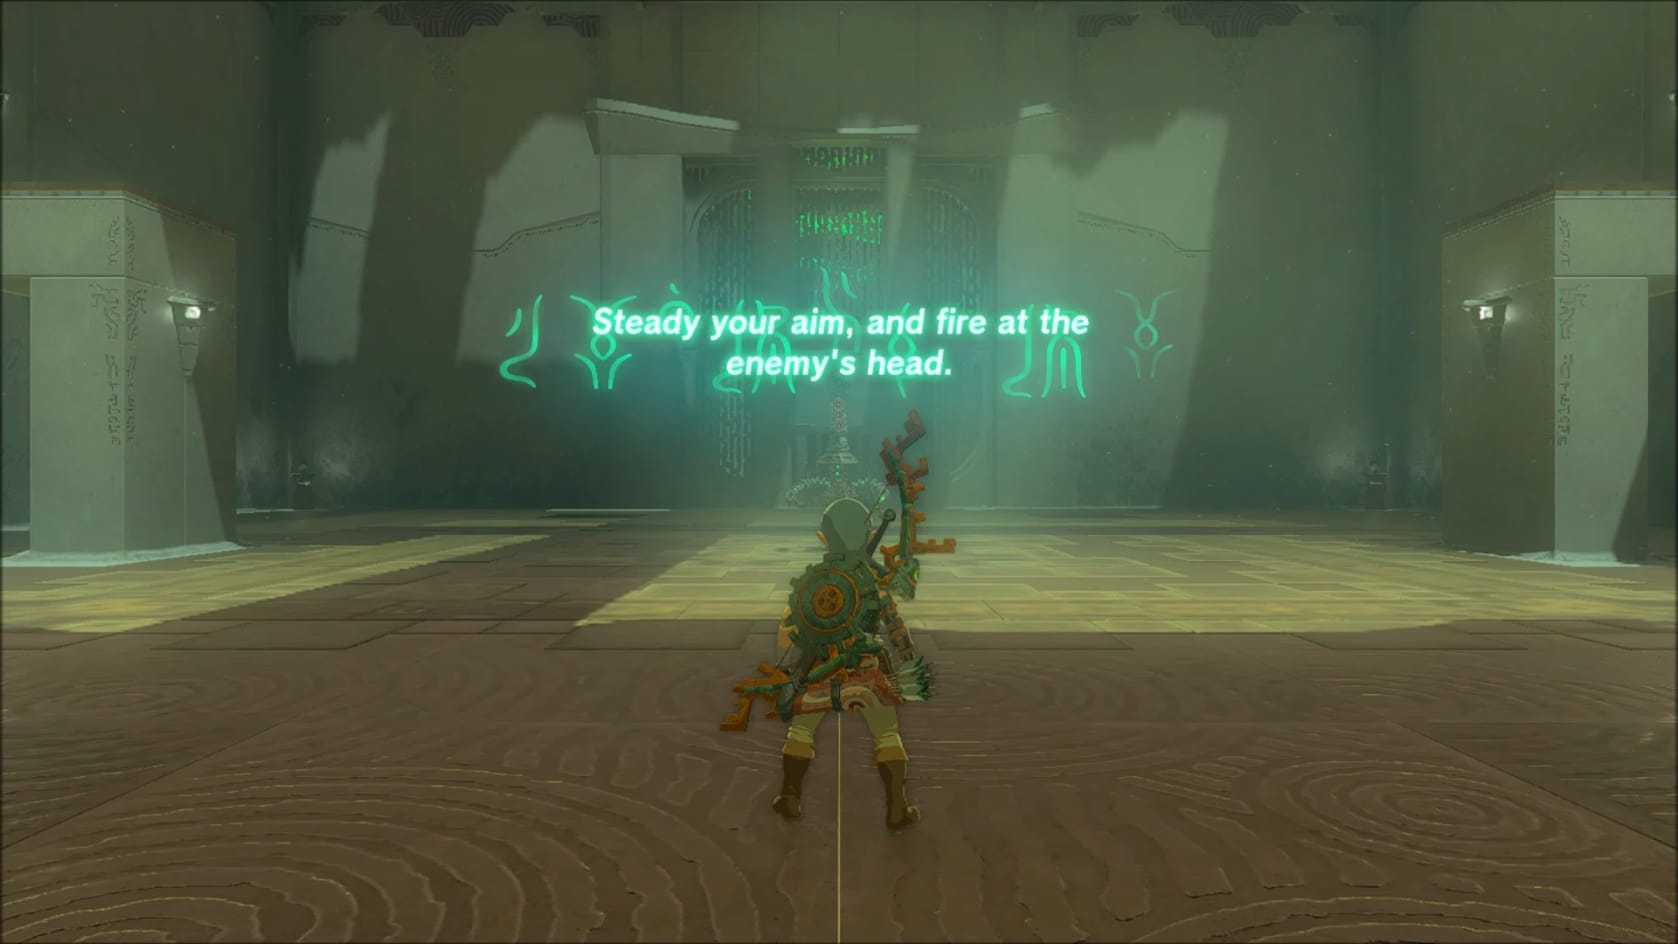
Take a moment to claim the bow and arrows provided by the Shrine so you’re not going to drain your stock while learning these skills. The Soldier Construct is asking for something simple: Aim for its head. Focus on the part with the 3 Eyes. Shoot it anywhere there with your bow and arrows to complete this first part.
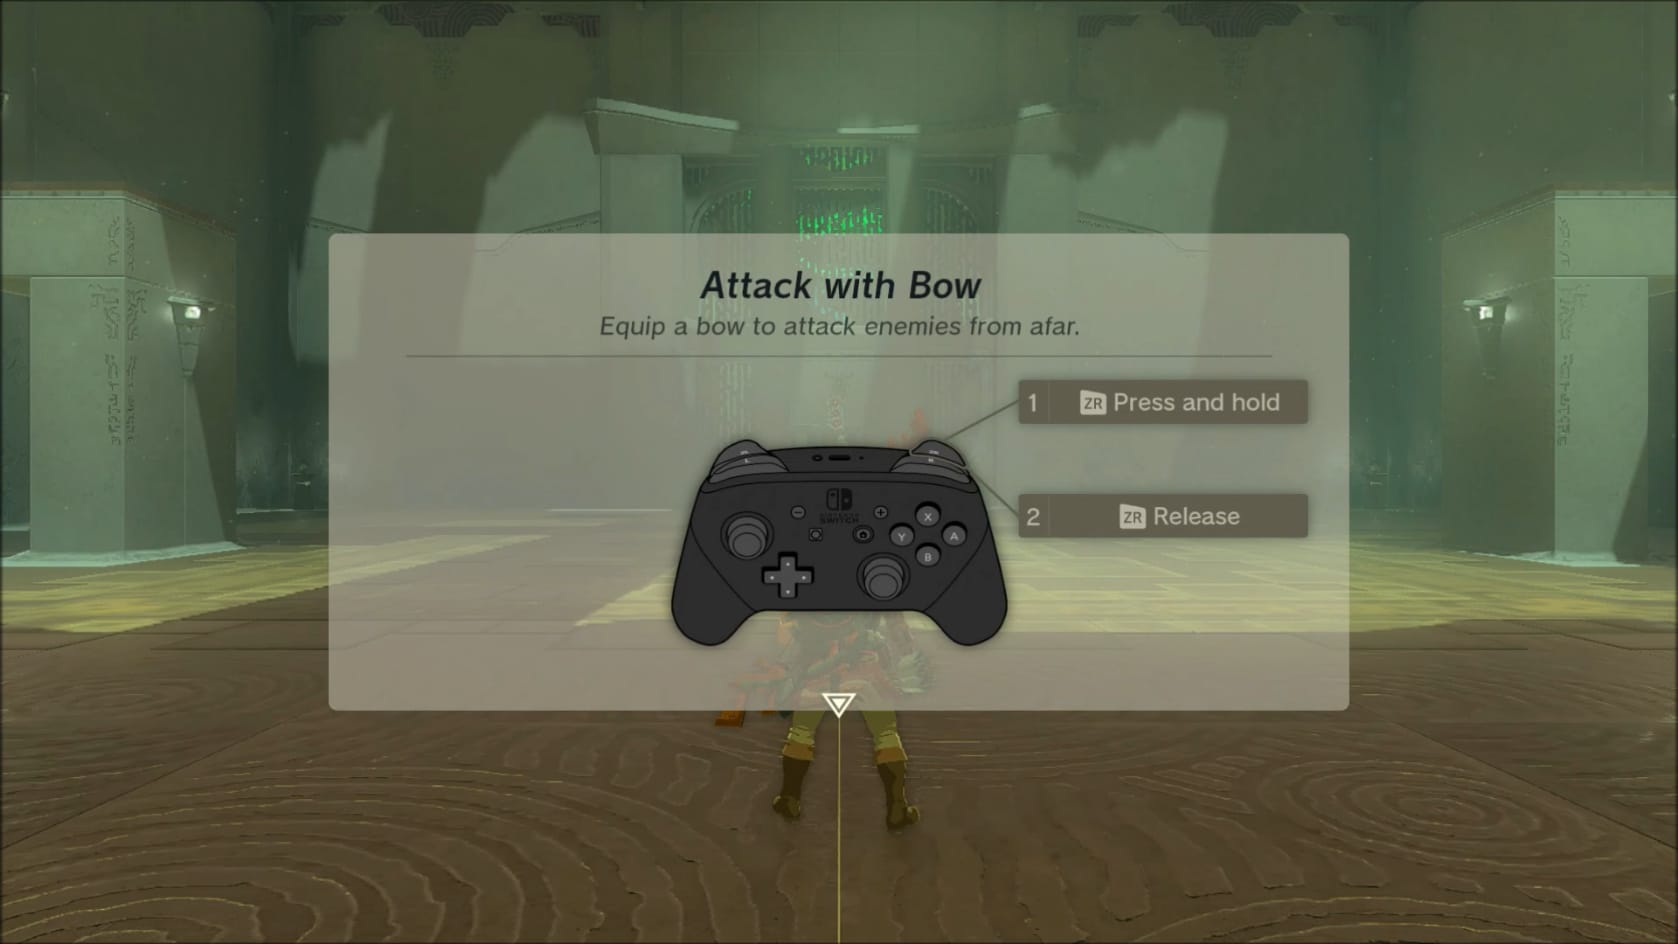
Follow the on-screen prompts to draw your bow, notch an arrow and fire it at the Soldier Construct’s head. It’s not going to passively sit there though, the Construct will be firing its own arrows at you at a steady pace.
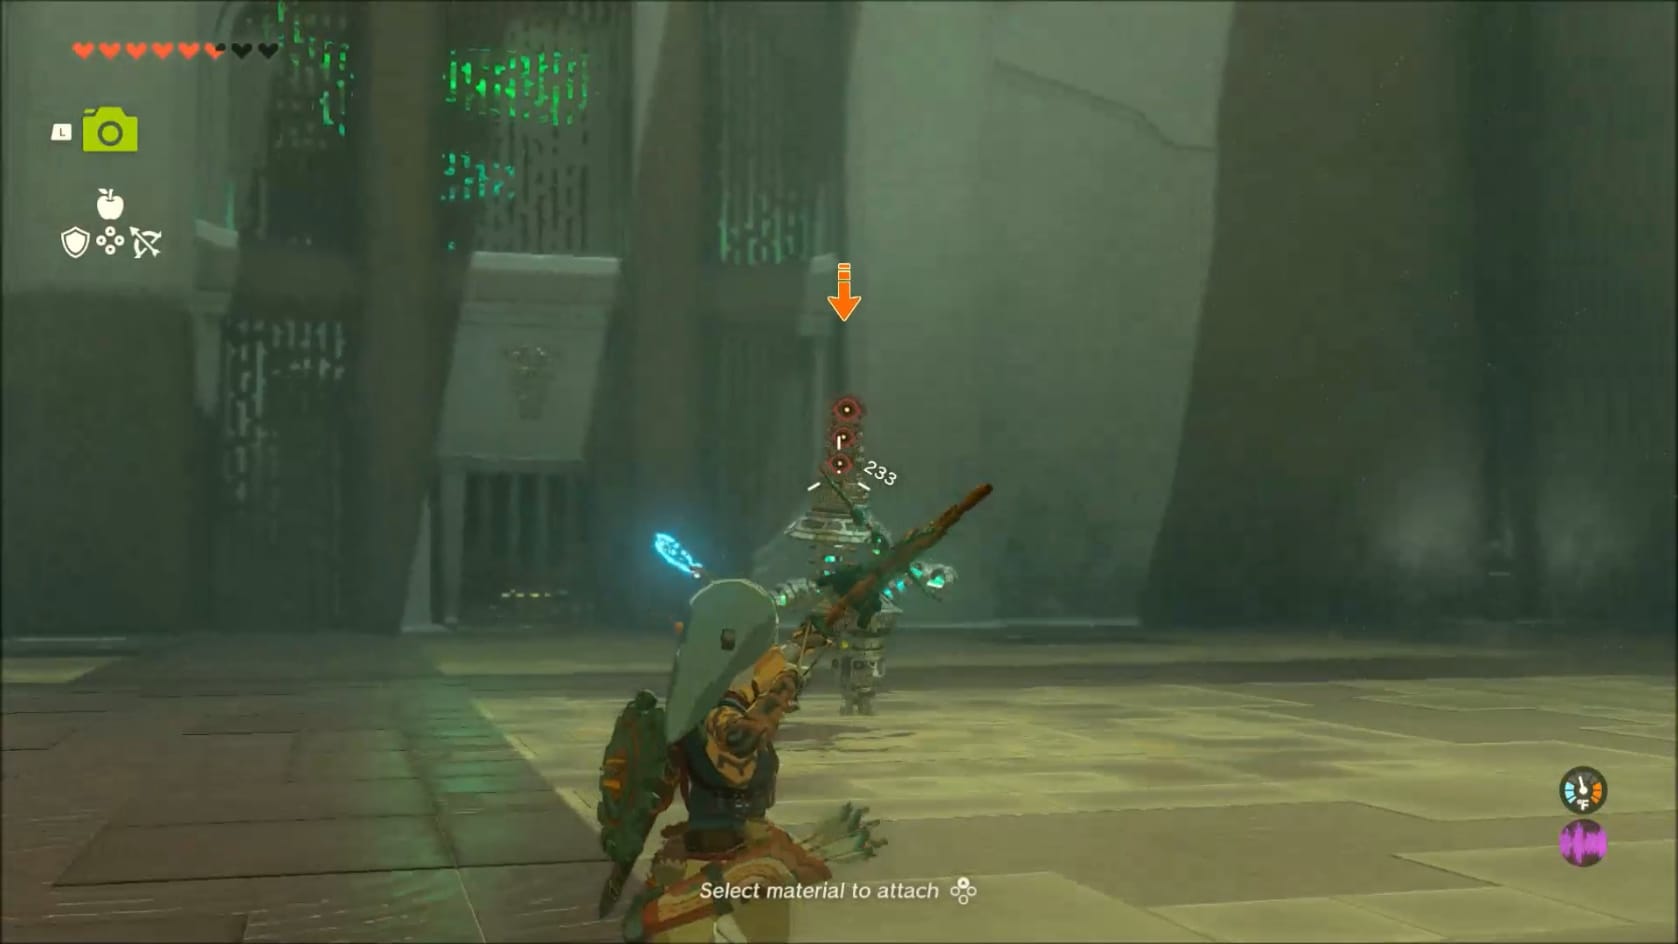
In-between the Constructs shots, you will want to approach it. As you do, follow the prompts to draw your bow and aim it. Carefully get the cross-hairs on the head of the Solider Construct. The closer you are to it, the more accurate the shot will be. When you have the head in your cross-hairs, release the ZR button. Link will loose the arrow and it will strike the Construct’s head. You’ve done the first part.
Skill 2: Attacking Multiple Enemies
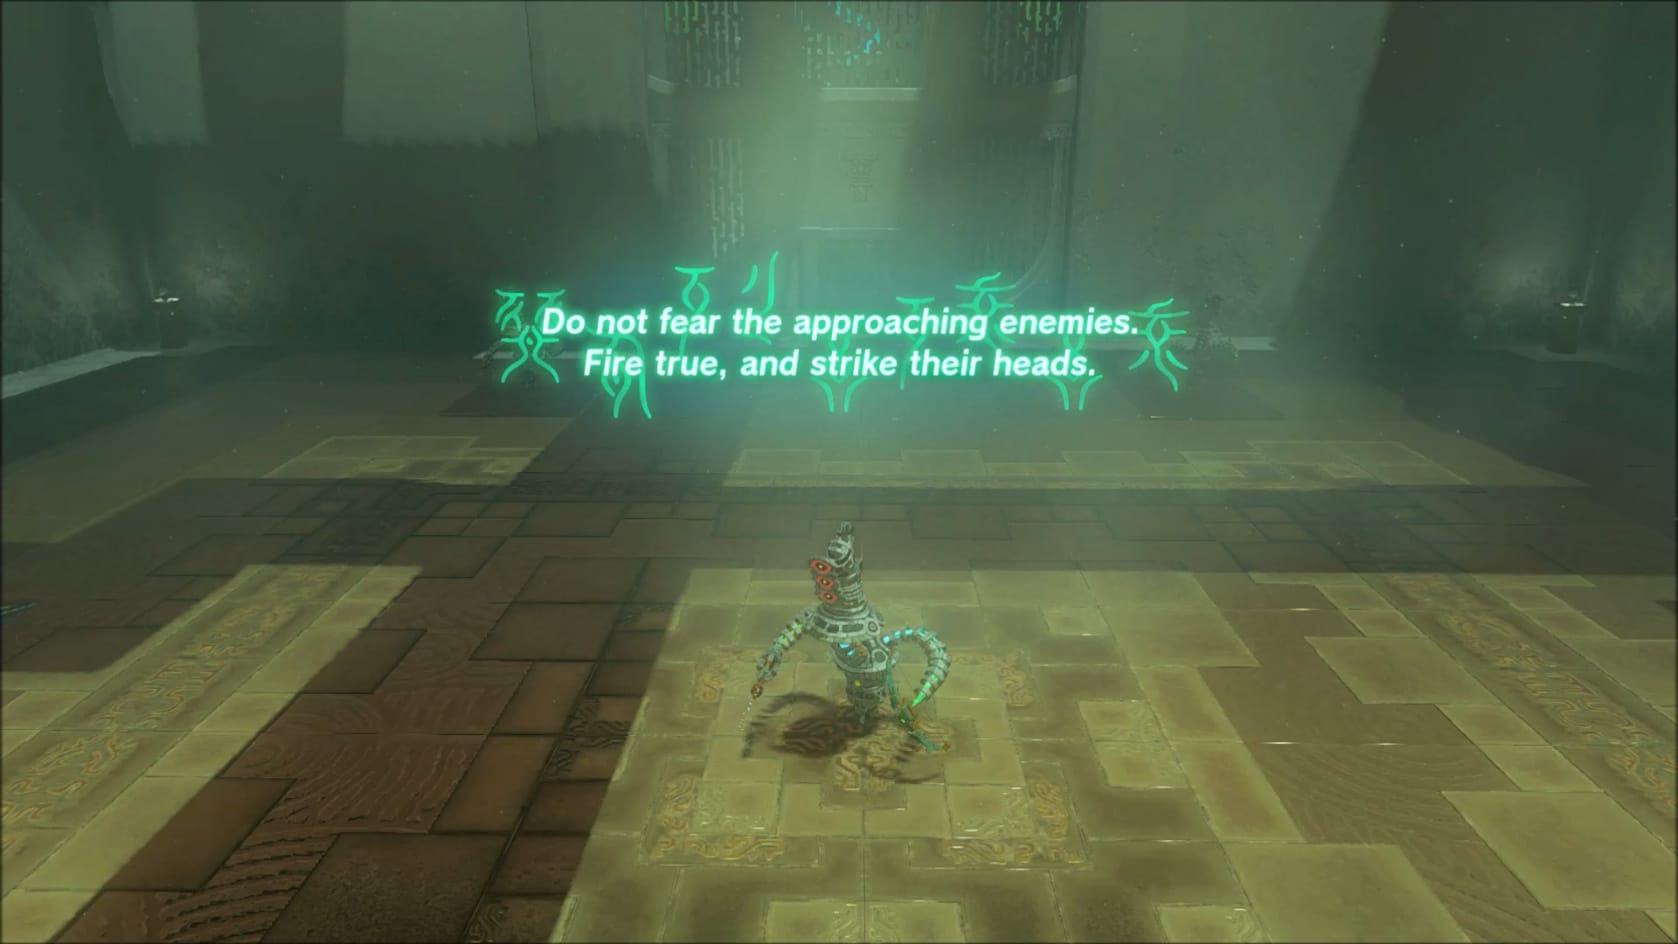
With the basics of the headshot executed, you need to repeat it. The Construct summons up 2 other Soldier Construct. The 2 new constructs will advance on Link to attack him. Just like with the first one, you will need to attack them with your Bow and Arrows.
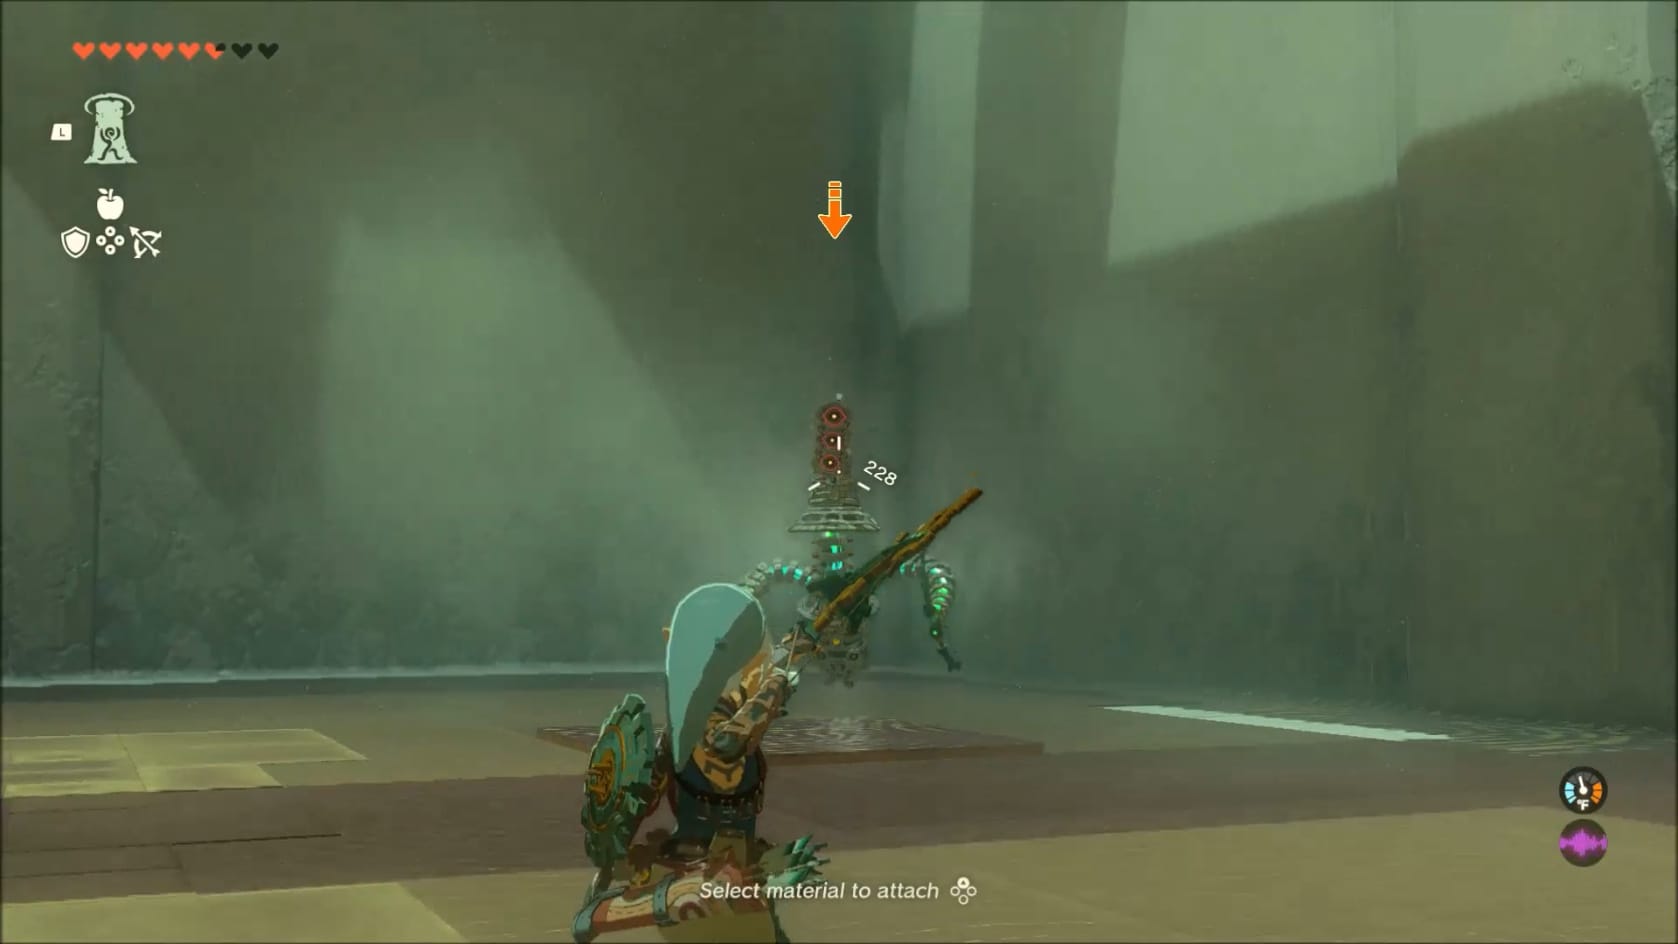
Move in a bit and hit them with head-shots from your Bow. They move at a slow pace, so you can take your time aiming and firing with your bow. They do move in and attack, so there is a little pressure to get things right. However, it’s easy to aim and fire at their heads and destroy them.
If you are having some trouble, there is something you can do. Around the middle of the arena are 2 columns with overhangs on their outer side. You can use Ascend to easily go up and through the overhang. Link can then jump off the column, aim with his bow and arrow, and experience Focus time. Remember, you're constantly using Stamina while doing this. Taking an action like firing your bow will notably drain your stamina.
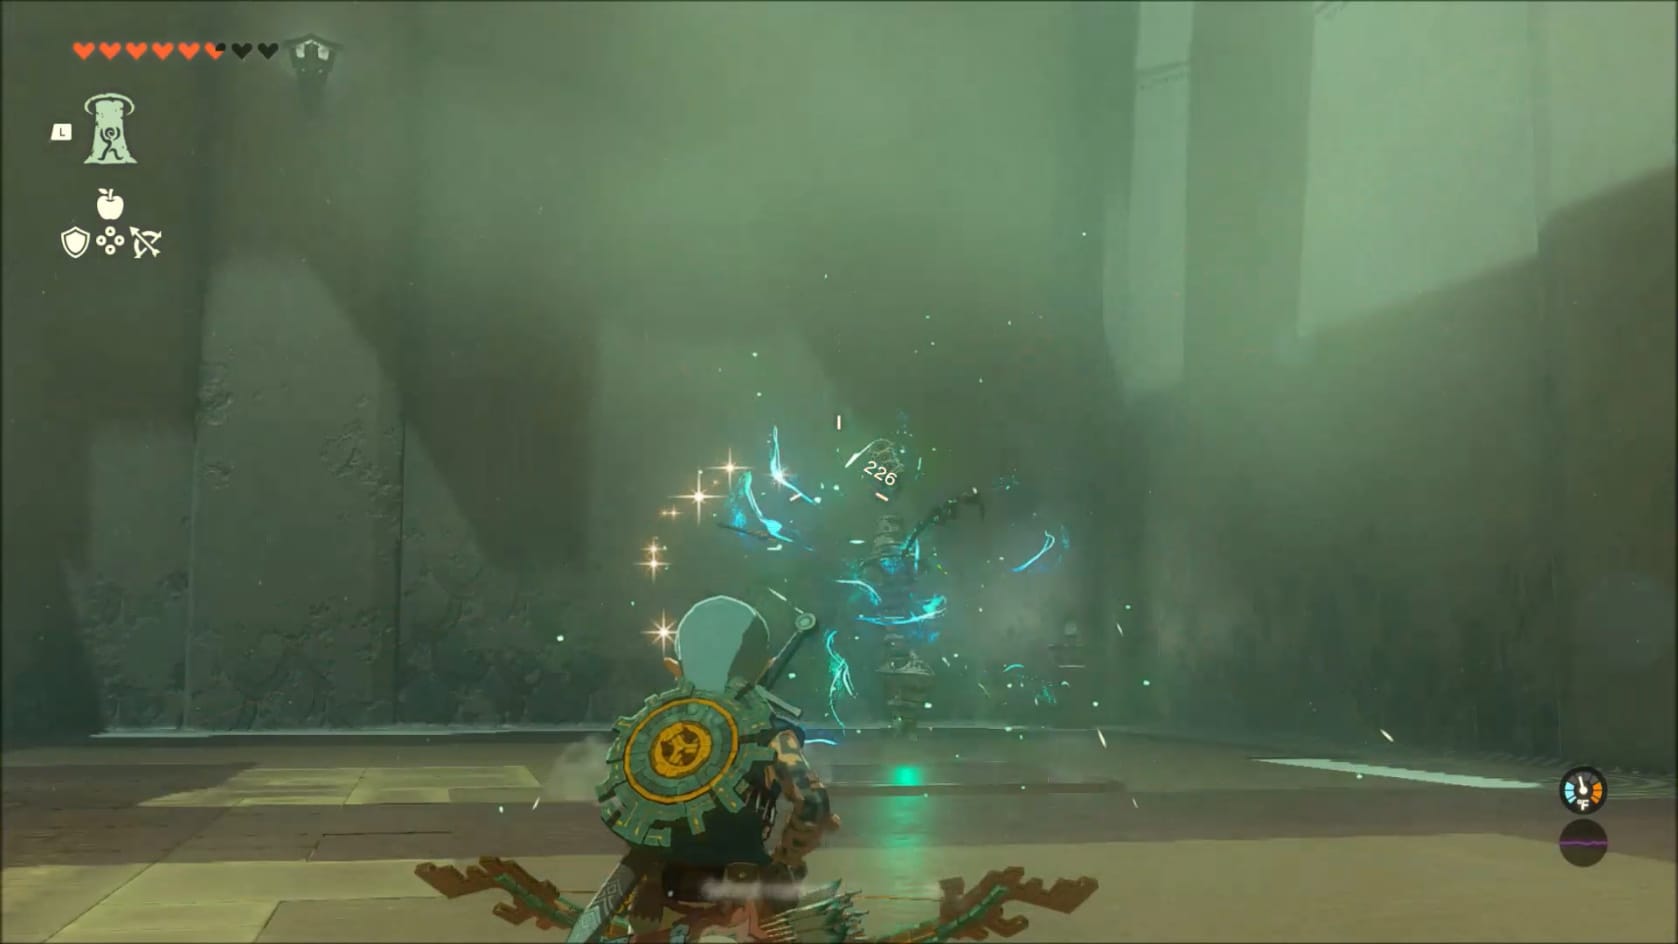
Before completing the final step, be sure to collect whatever you can from each defeated construct. They have useful bows, weapons and materials.
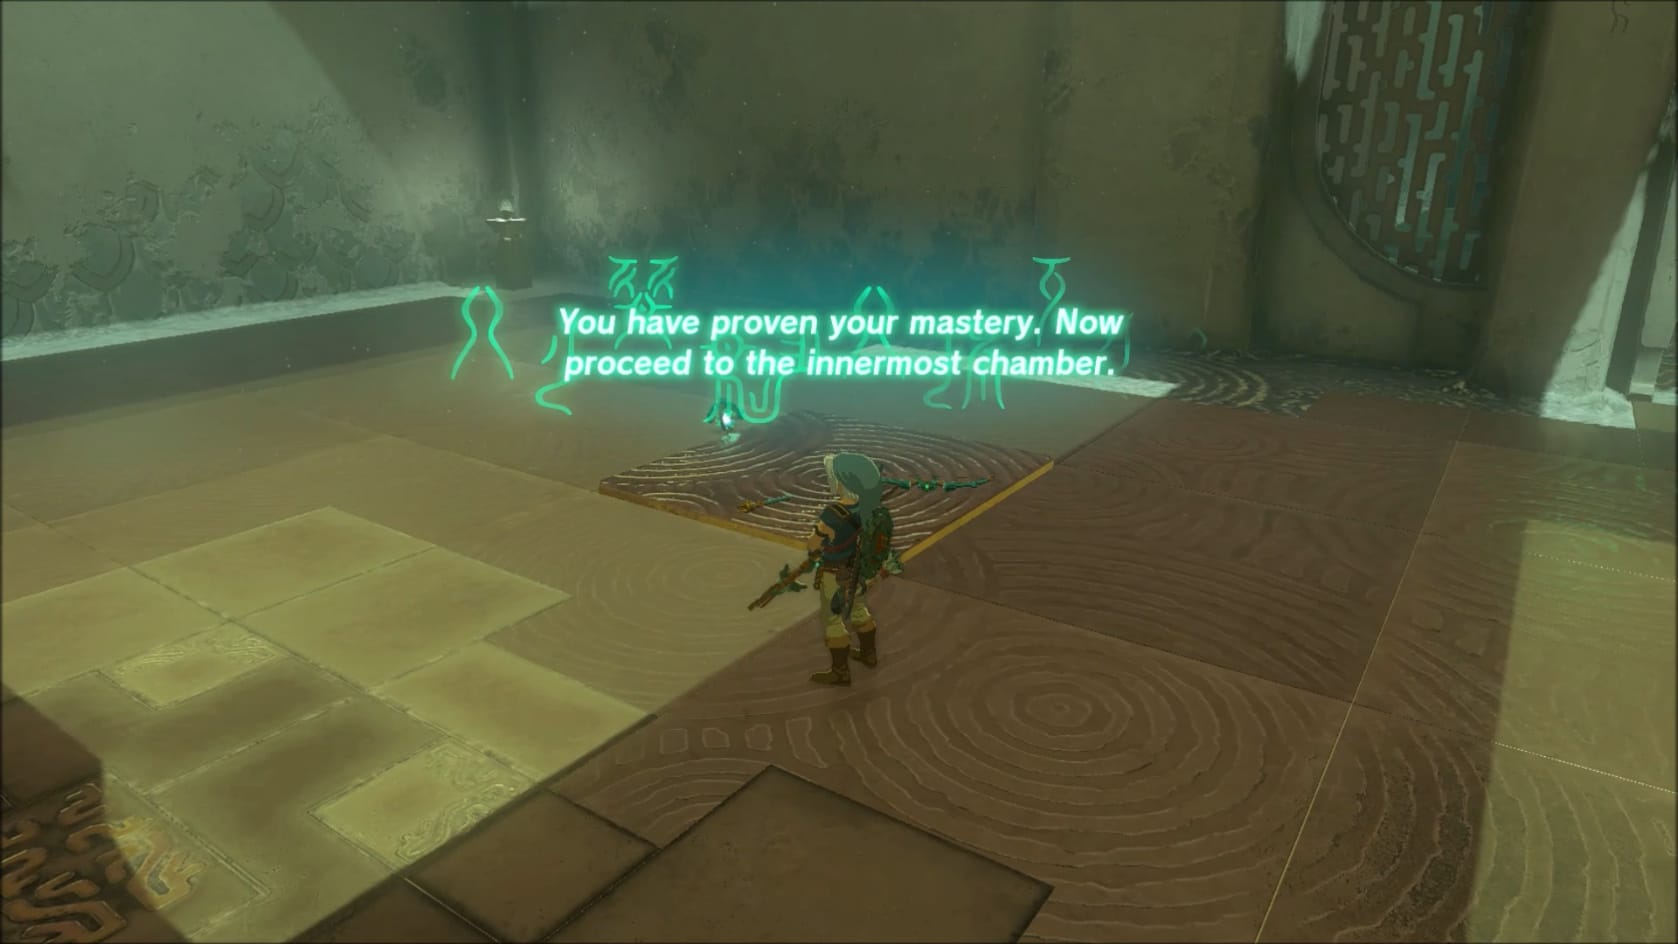
The Innermost Chamber
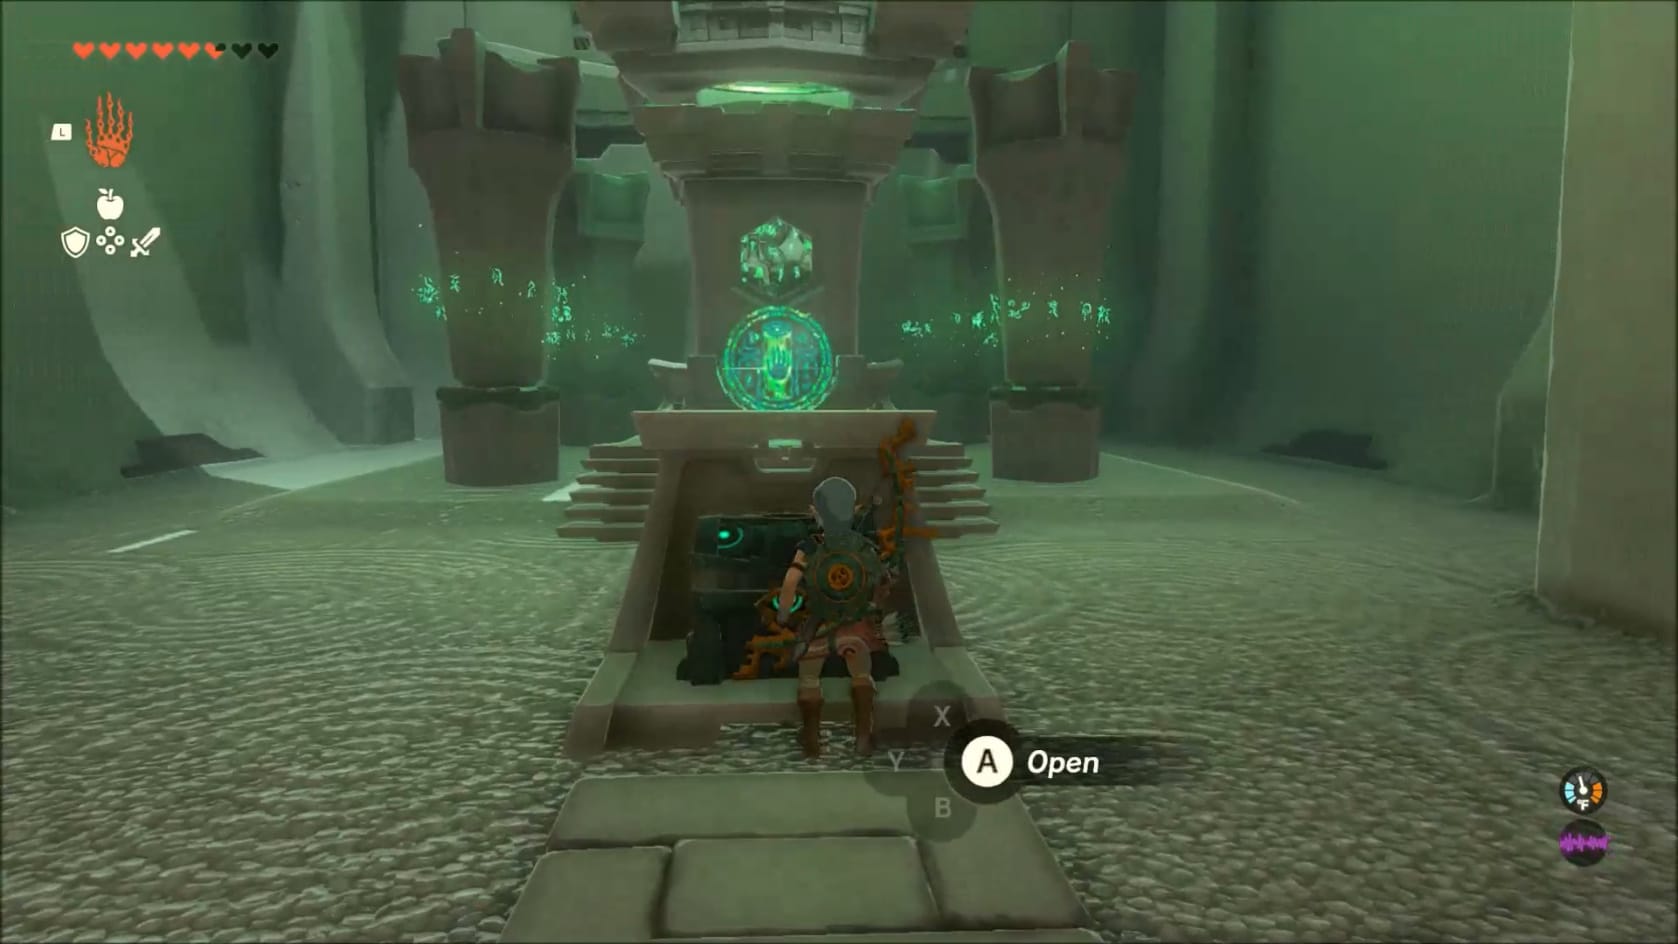
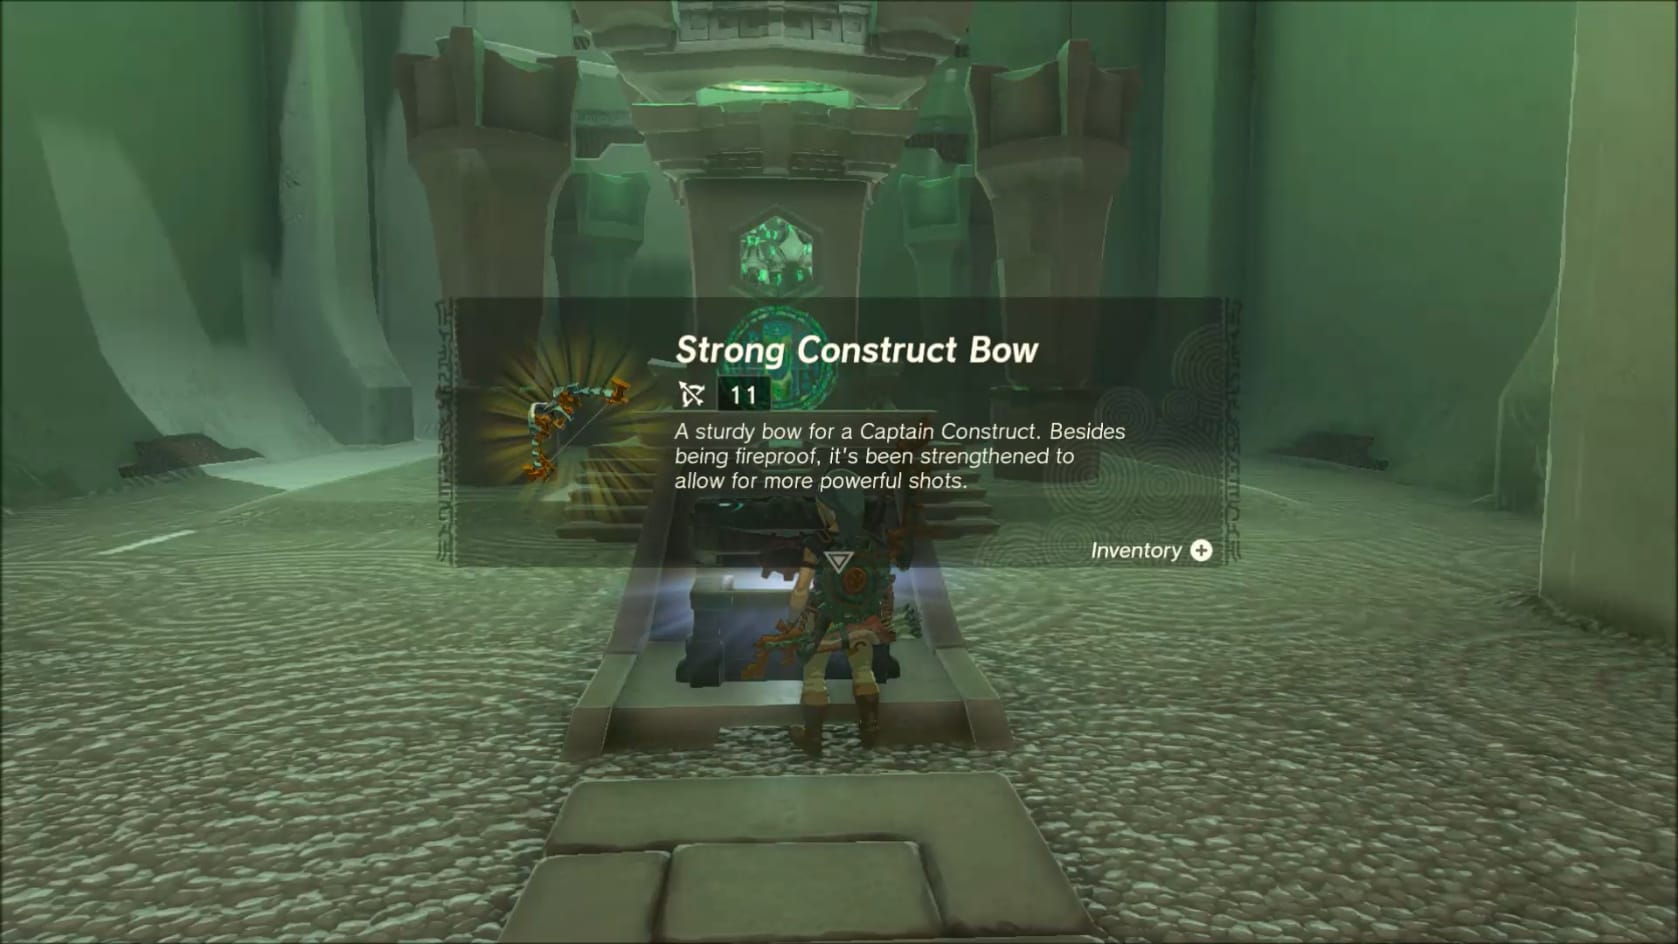
Claiming the treasure within the Chest of the Shrine
Before going up the stairs to the statues, take a moment to interact with the chest sitting just inside the entrance. Inside there, you will find a Strong Construct Bow.
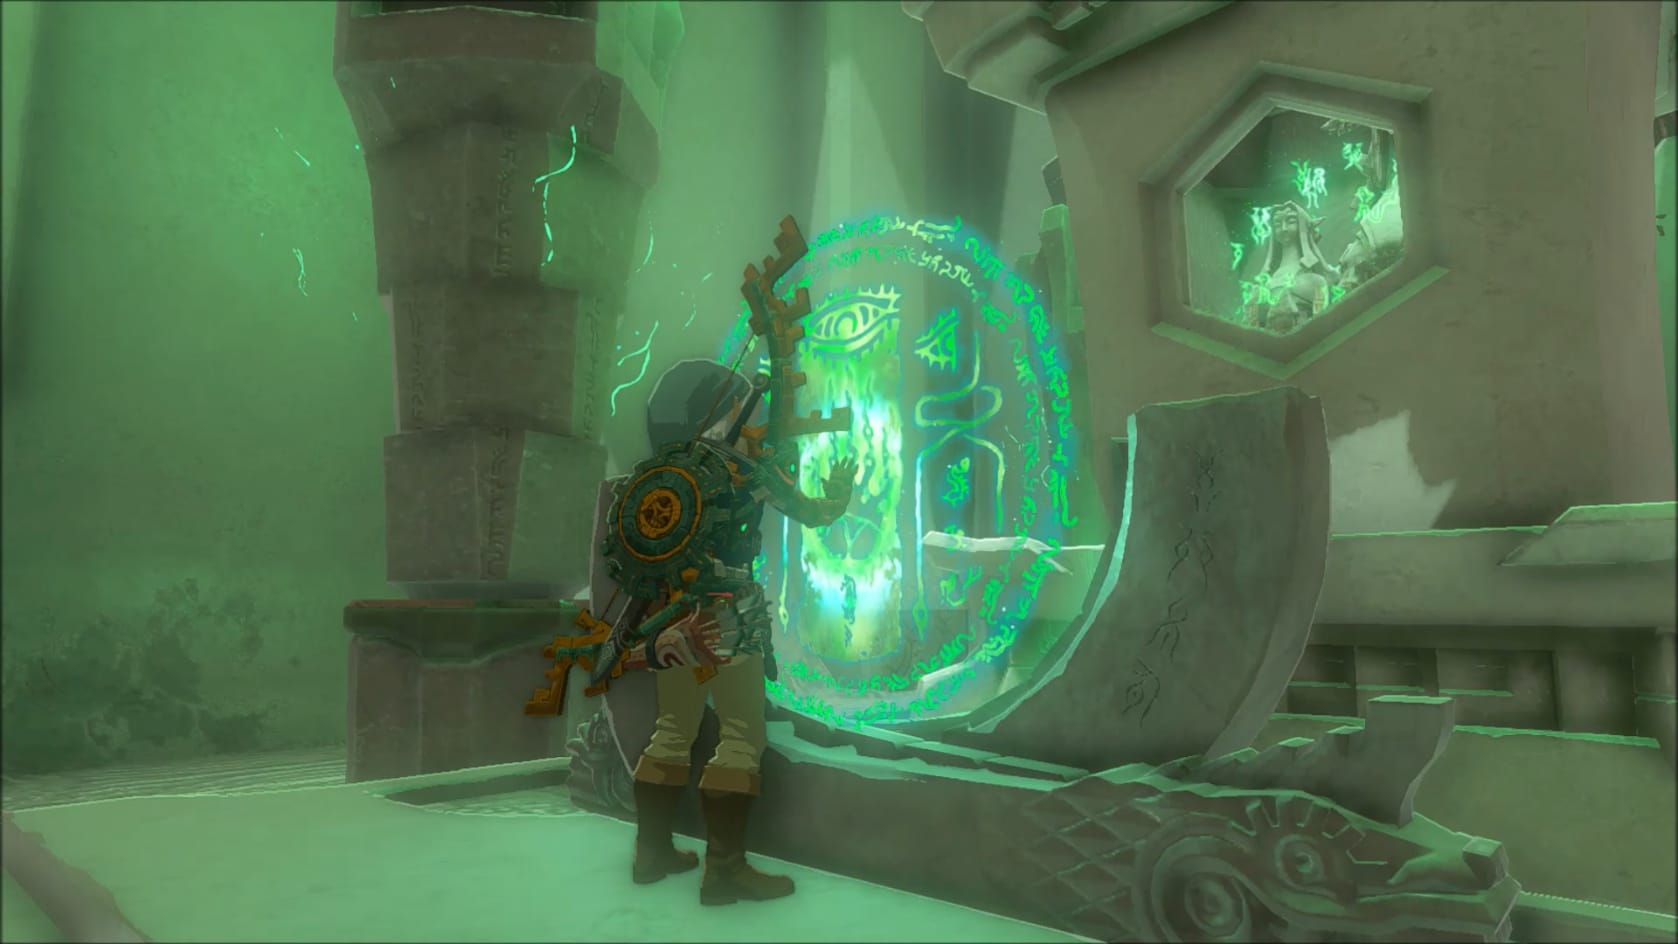
After getting the treasure inside the chest, you’re officially done with the shrine. Go up the stairs and interact with the Glyph. This will give Link the Light of Blessing and complete Makurukis Shine.
Rewards:
- Strong Construct Bow
- Light of Blessing
Video Walkthrough
Video Walkthrough