Legend of Zelda: Tears of the Kingdom – A Picture for Tabantha Bridge Stable Guide
Help Dabi decorate Tabantha Bridge Stable in Zelda: TOTK! Defeat the Flame Gleeok, photograph the Ancient Columns at sunrise, and earn a Pony Point and a Hasty Elixir.
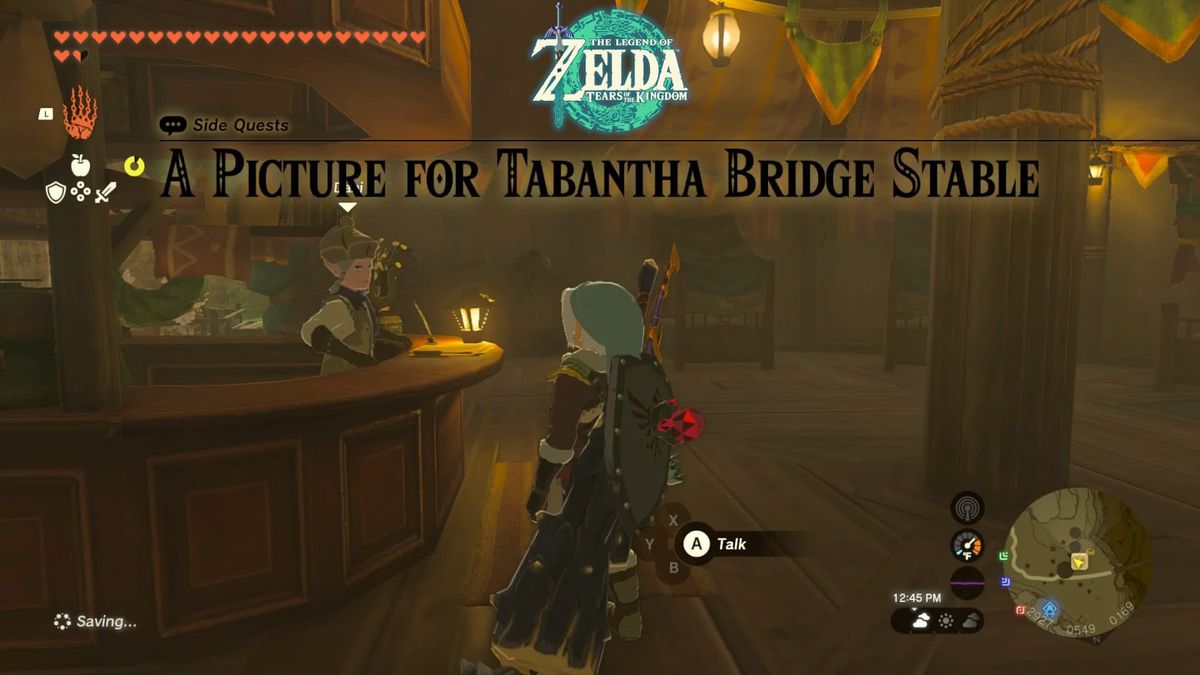
Summary
Examine the empty picture frame in the Tabantha Bridge Stable. The owner, Dabi, will offer to reward Link if he gets a picture of the Ancient Ruins atop the nearby cliff at Sunrise. He is clear that a giant monster resides there (a Flame Gleeok). Defeat the Gleeok, wait until morning and look to the Ruins from their Western end, and take a picture. Show this picture to Dabi who will reward you with a Pony Point and a Hasty Elixir.
Description
“Dabi, the owner of Tabantha Bridge Stable, wants to decorate his establishment with a painting of the Ancient Columns at sunrise. The columns can be found on the top of the cliff across Tabantha Great Bridge.
Maybe there’s a way to take a picture of them and show it to Dabi.”
Location
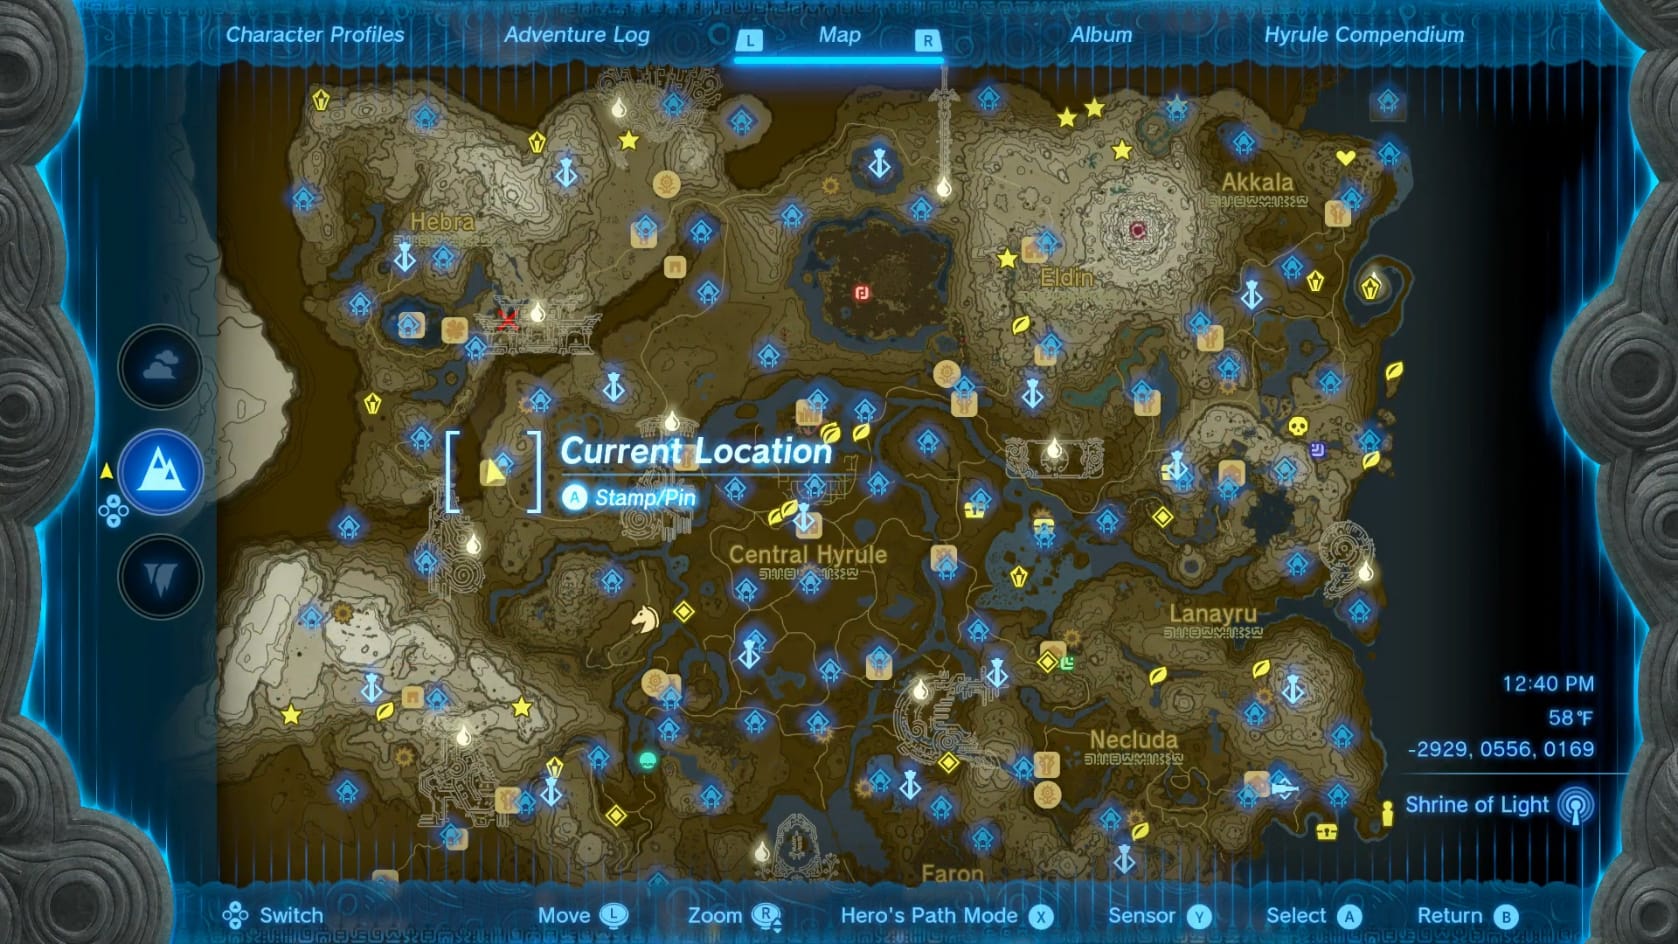
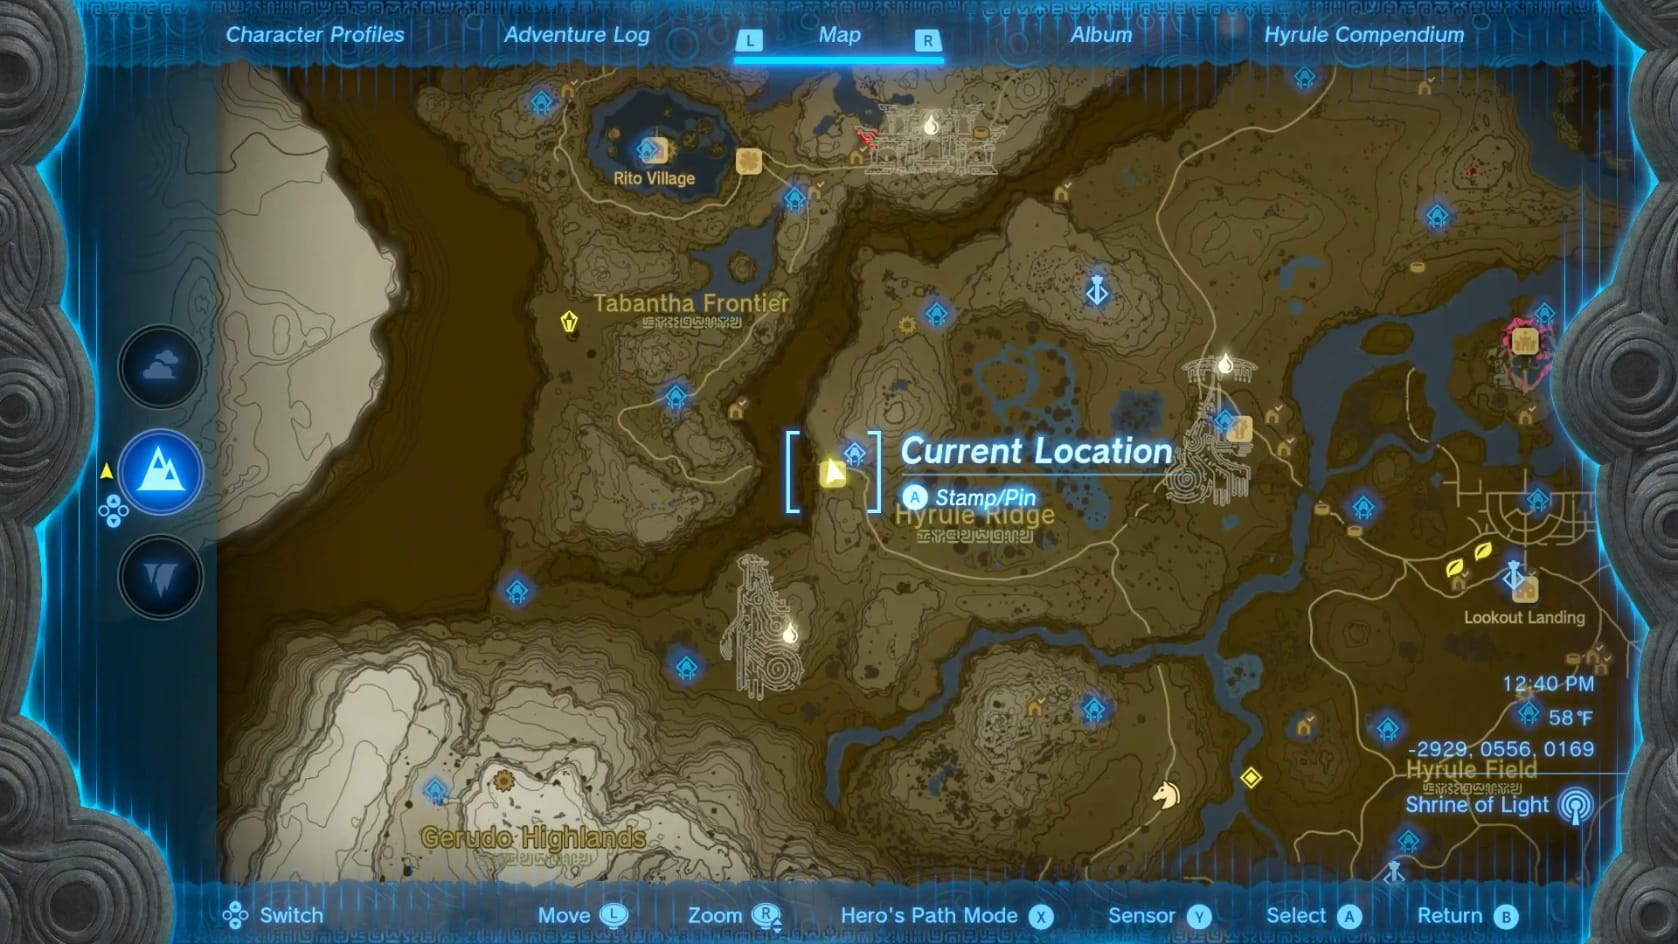
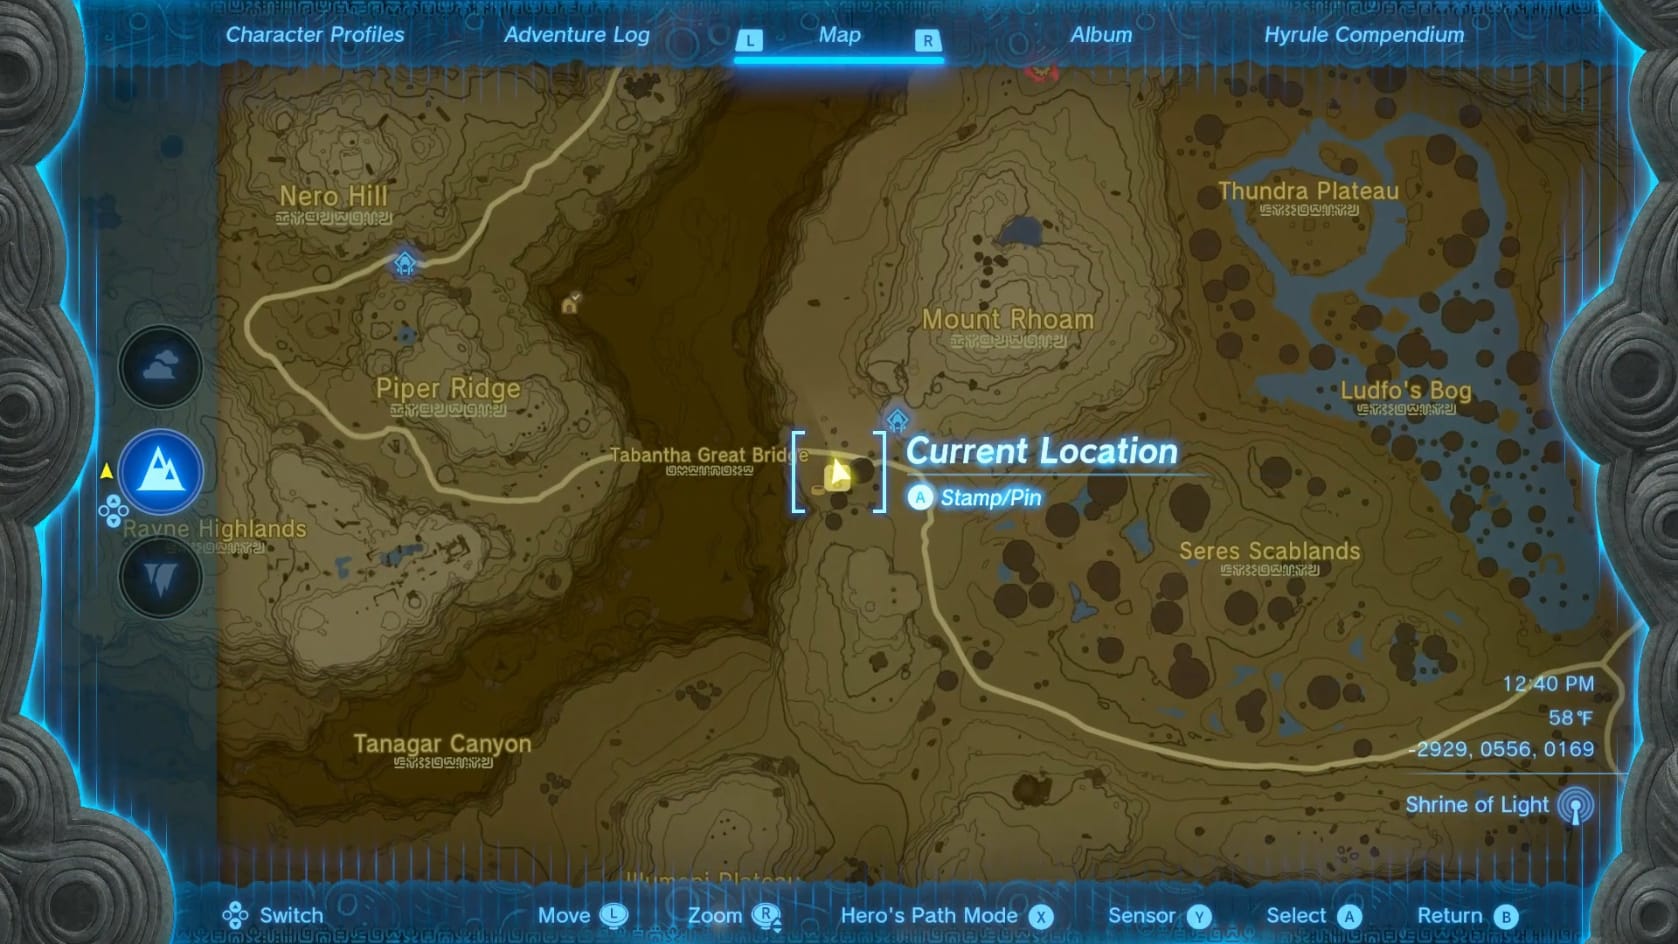
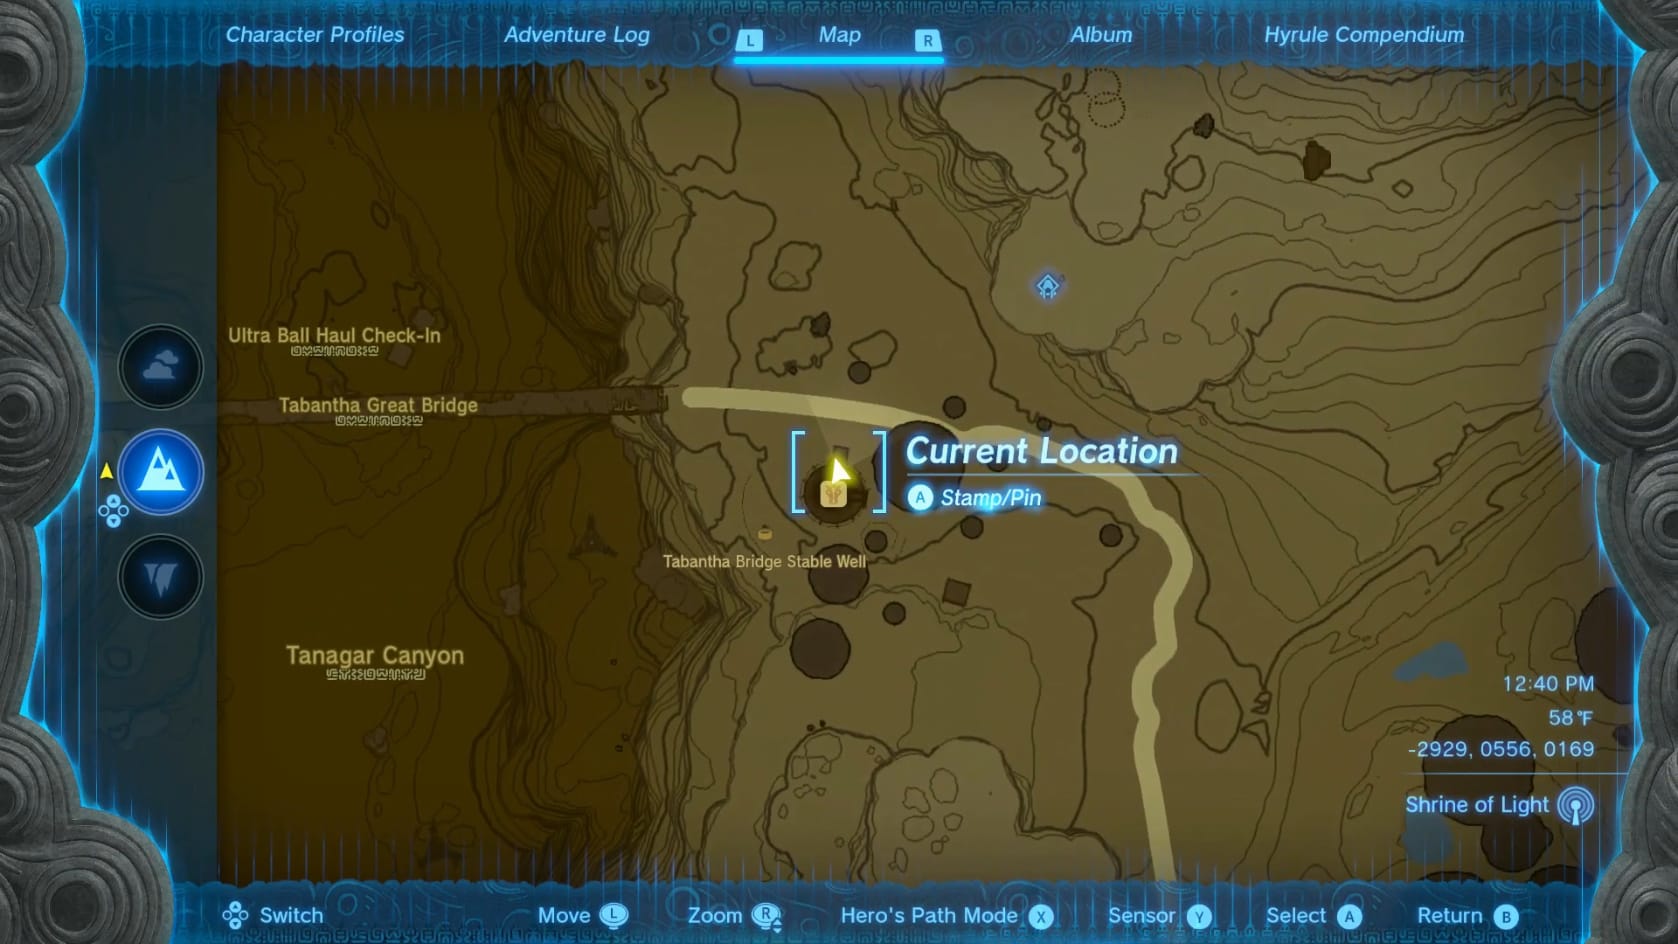
Location of Quest on Hyrule map
Coordinates: -2929, 0556, 0169
Walkthrough
Examine the Picture Frame
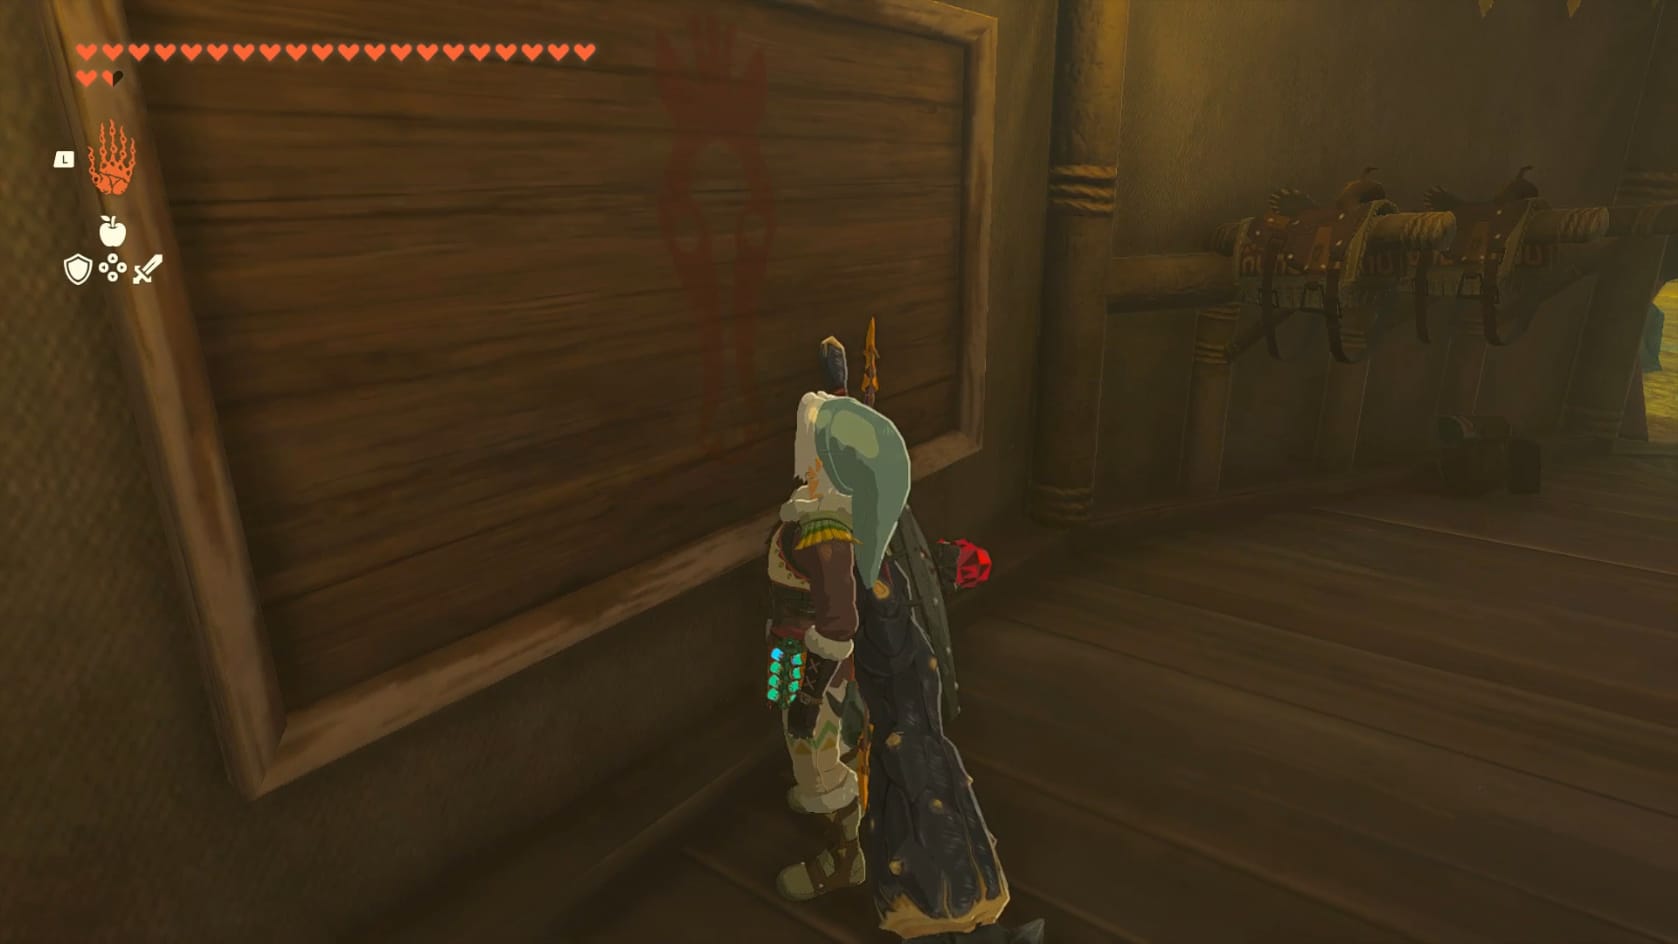
Make your way into the Tabantha Bridge Stable. Sitting on the Northwestern wall is an empty picture frame. To begin this quest, head over to it and Examine it. This will start a conversation with Dabi.
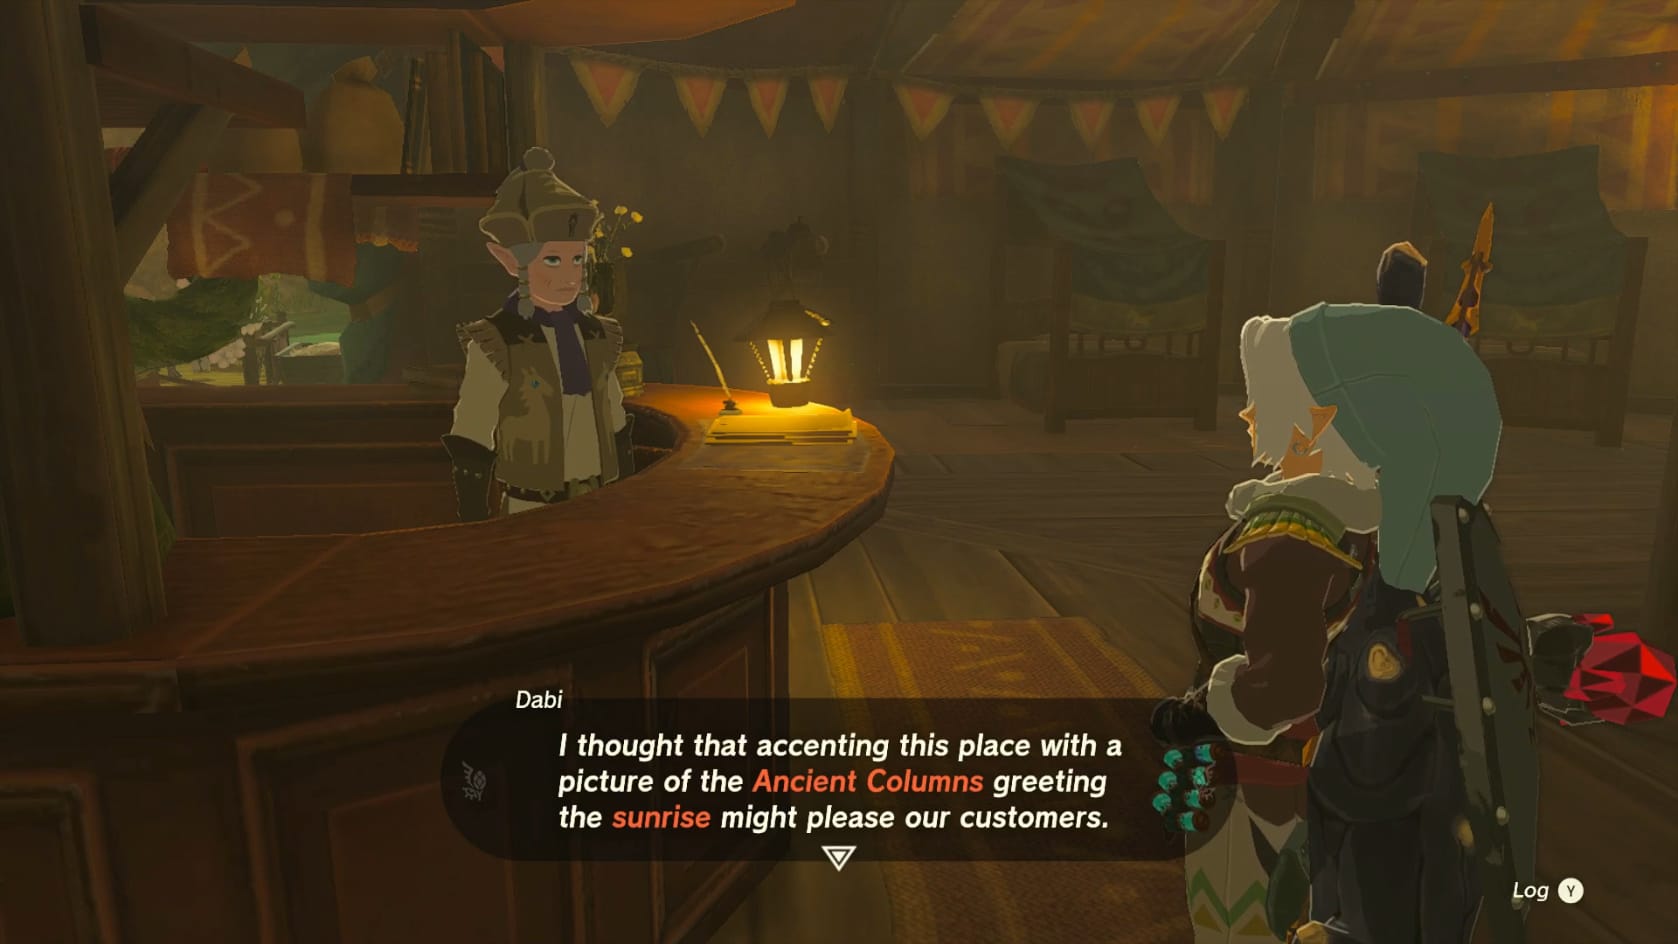
He’s interested in a picture of the Ancient Ruins found on the mountains across the Great Tabantha Bridge. He wants it to a picture of the Sunrise in that location. The problem he faced there was a giant monster that he had not chance to defeat.
Travel to the Ancient Ruins
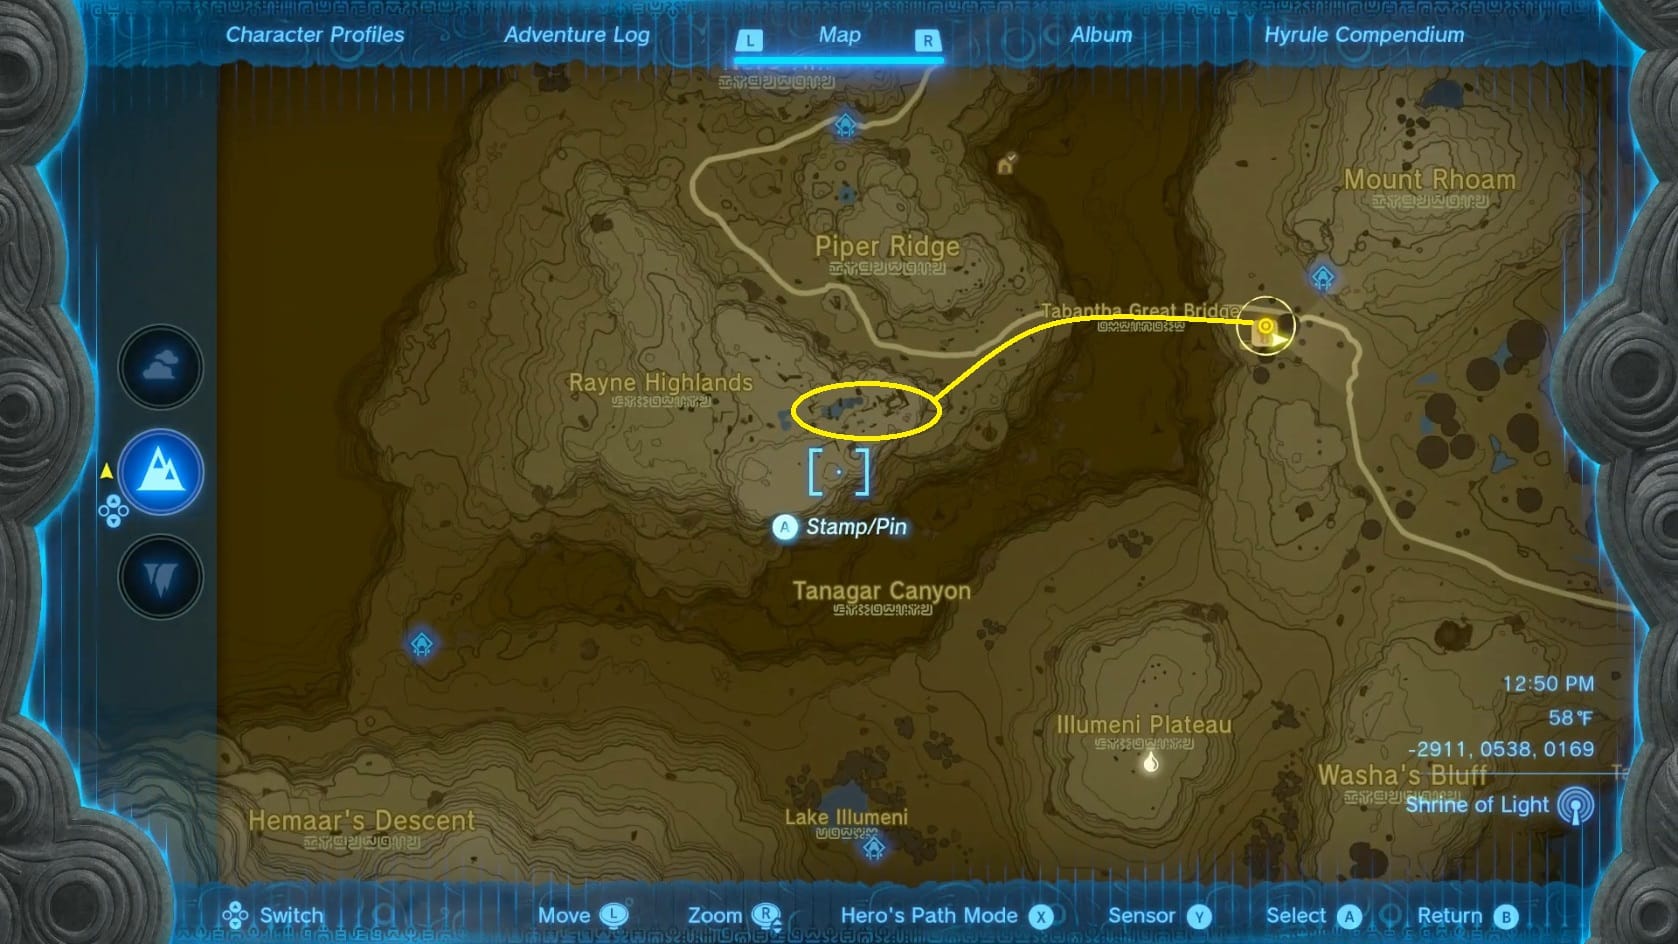
The Ancient Columns are found in the Rayne Highlands. Leave the Tabantha Bridge Stable and go to the West.
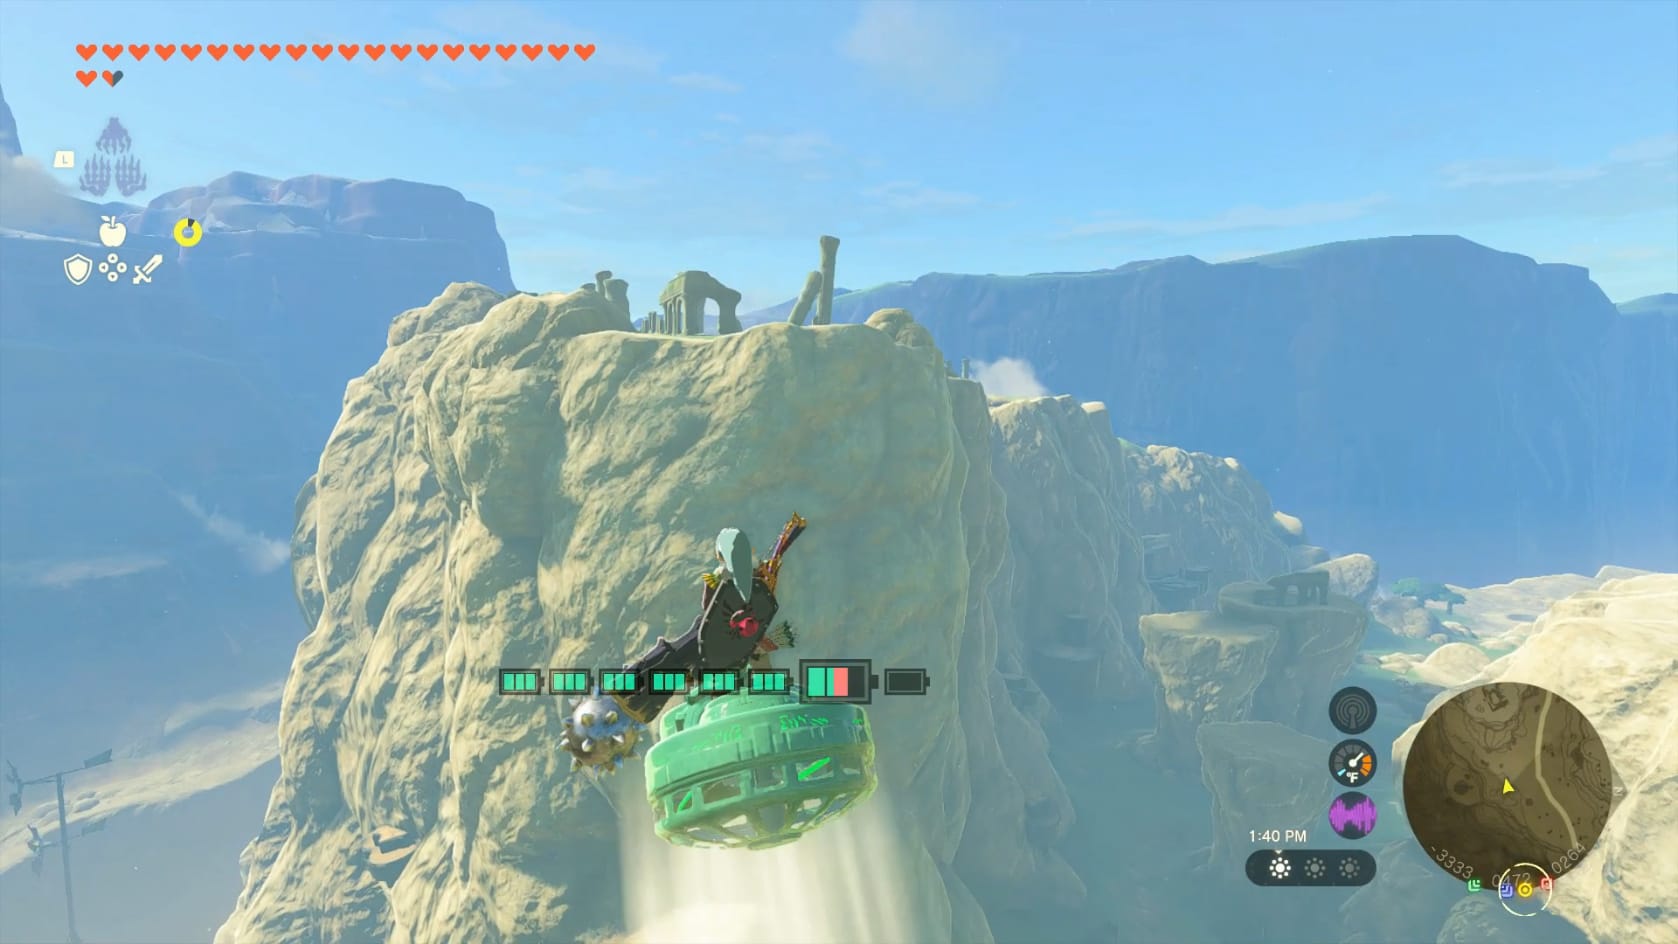
You need to reach the top of the cliff found on the Western end of the Bridge itself.
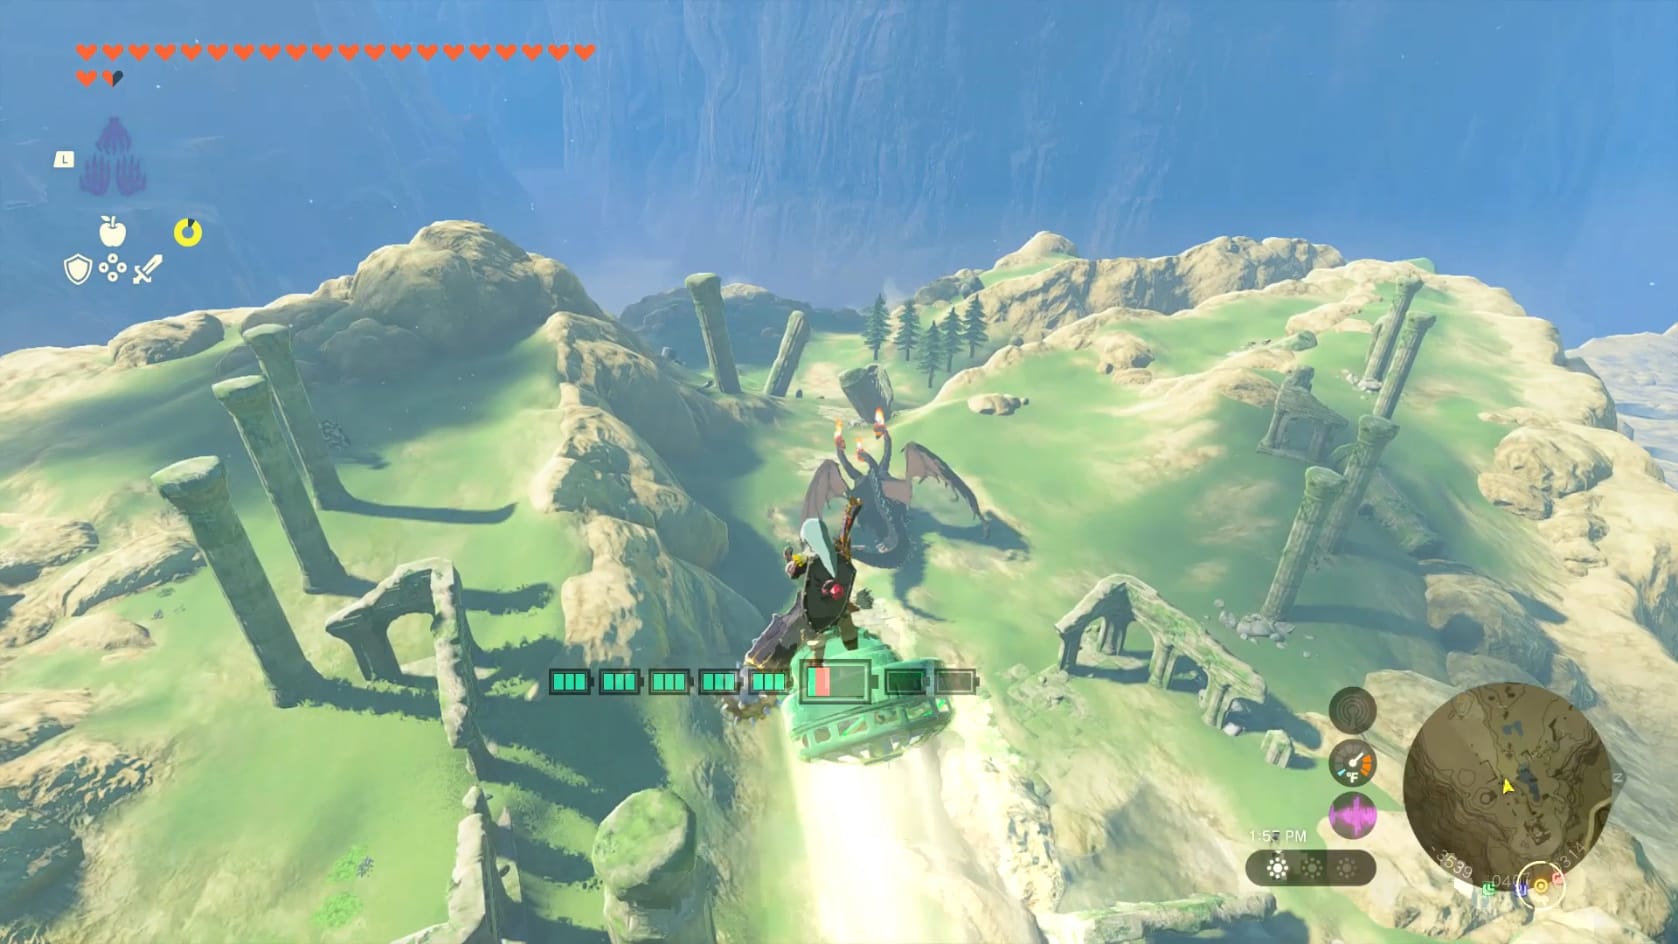
Cresting the top of the cliff, you can see the monster that Dabi was frightened off by, a Flame Gleeok.
Defeat the Flame Gleeok
Fighting a Flame Gleeok is not an easy thing, sometimes. But if you know what you’re doing, it can at least a bit easier. First, anything that reduces fire damage is a good thing. Second, anything that boosts attack when in hot areas is going to be helpful. A fresh bow and a large stock of arrows can also go a long way here. The same can be said for stamina elixirs and stamina restoring food.
First, focus on hitting its heads. By quickly stunning all 3 heads, the Gleeok will crash down to the ground from its present position (later in the fight this can cause significant damage). Because it’s fire-focused, it’s attacks can ignite the grass around it. Use the resulting updraft to glide up and use the focus to quick fire off arrows at the heads to stun the Gleeok. This is the basic attack pattern you’ll want to finish this fight.
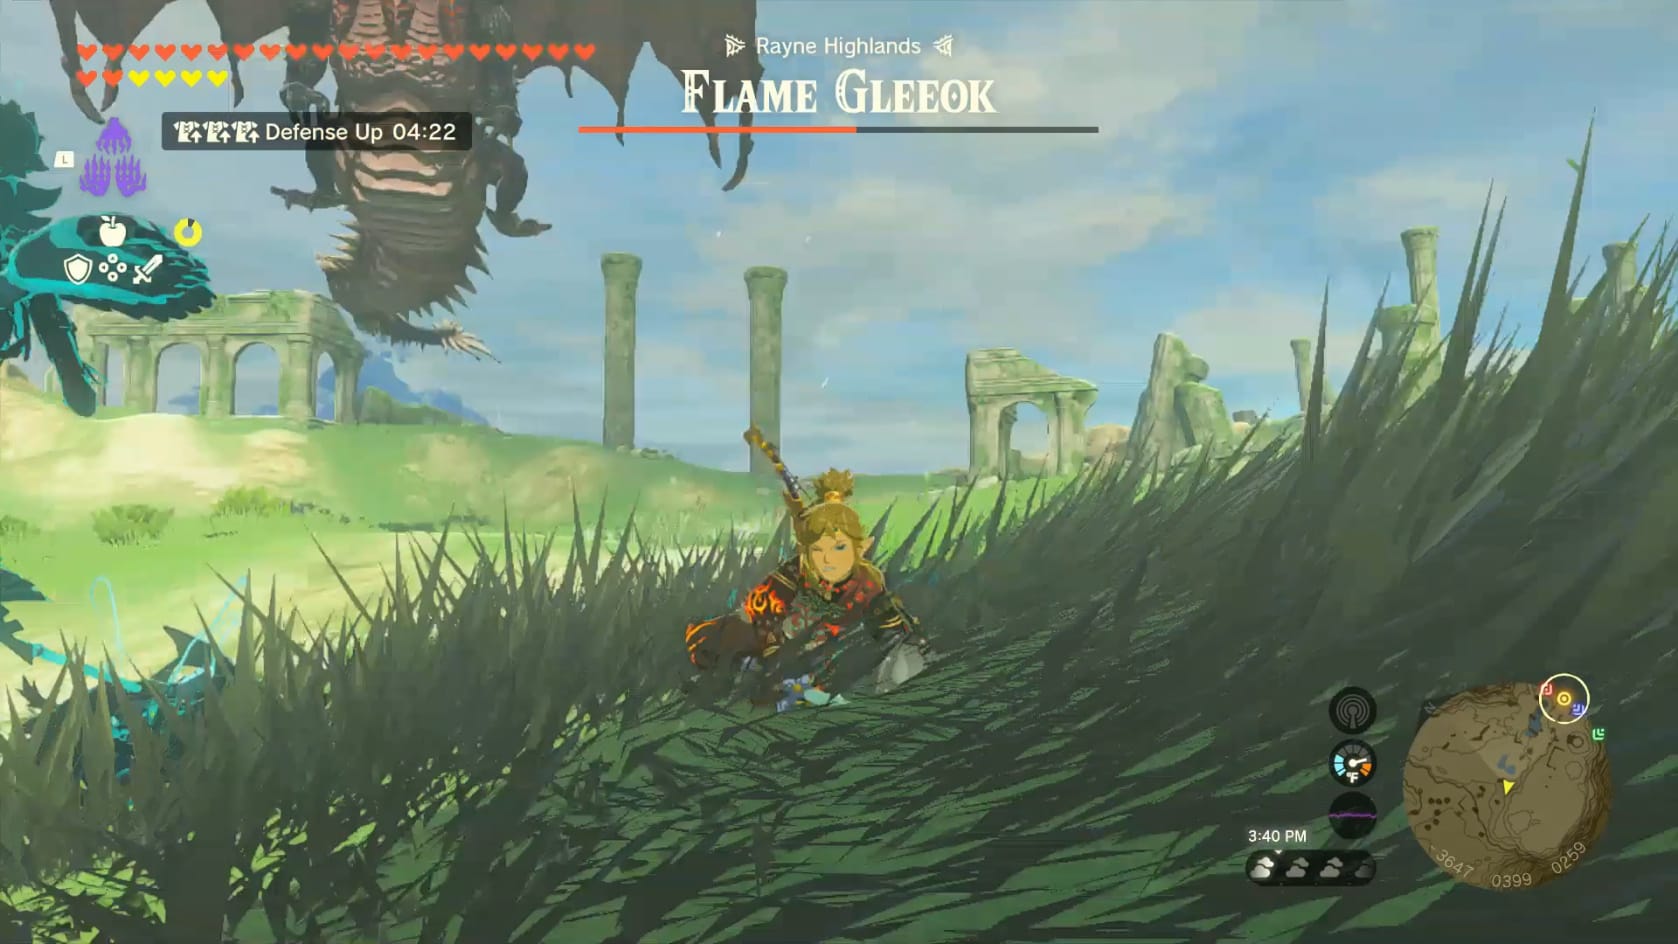
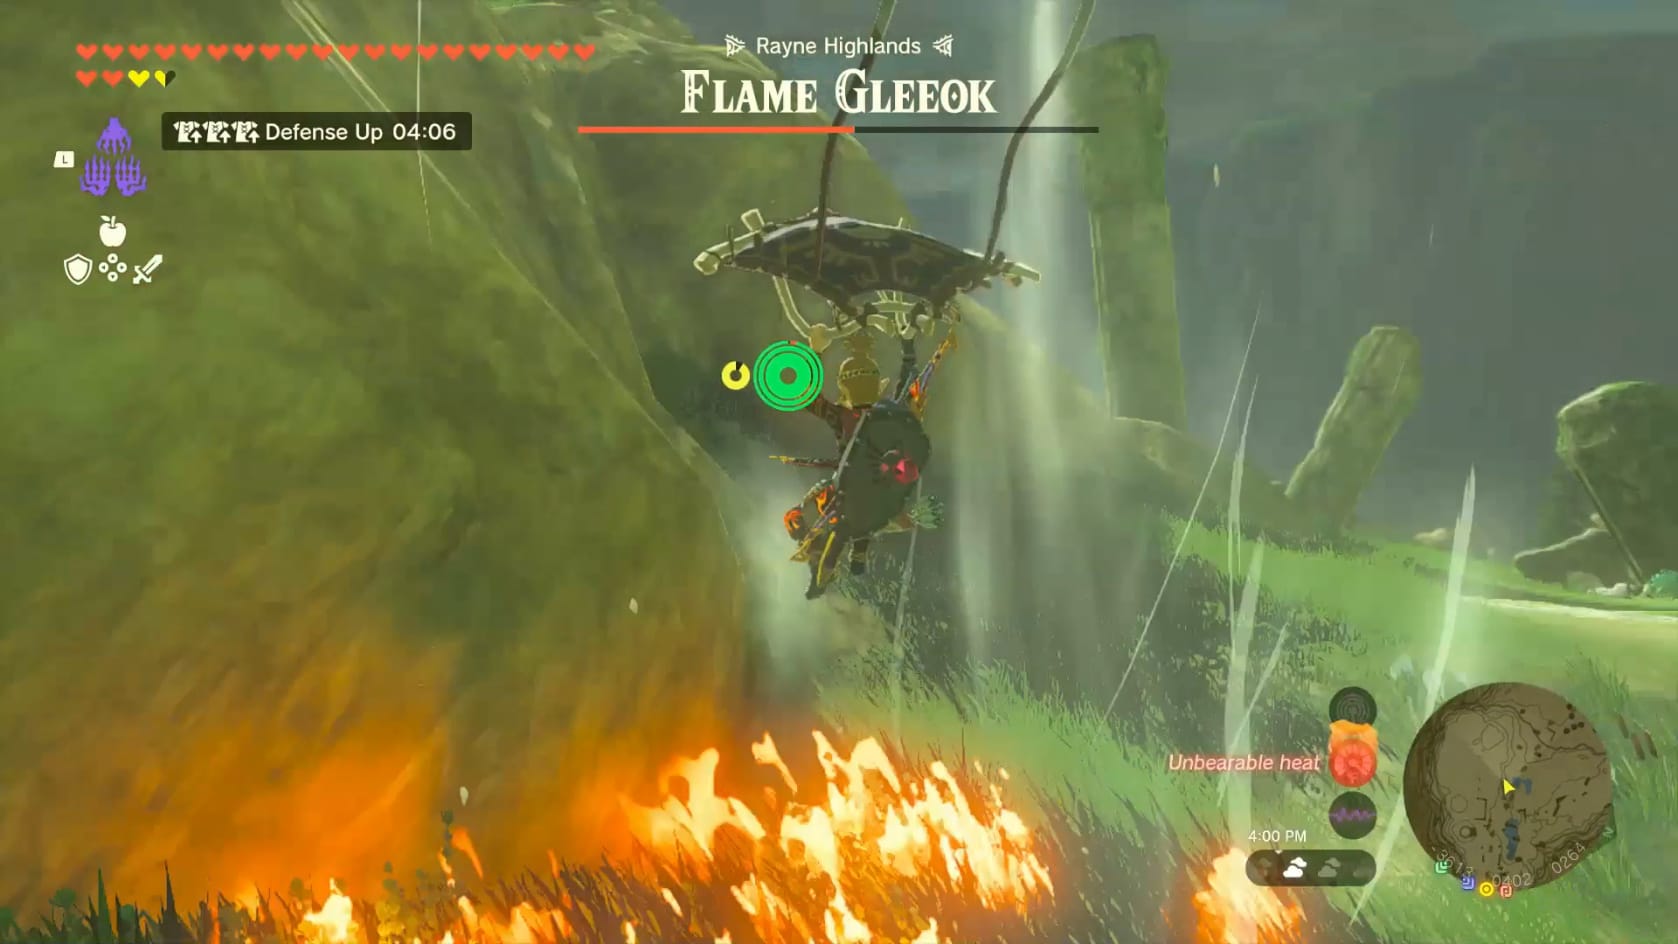
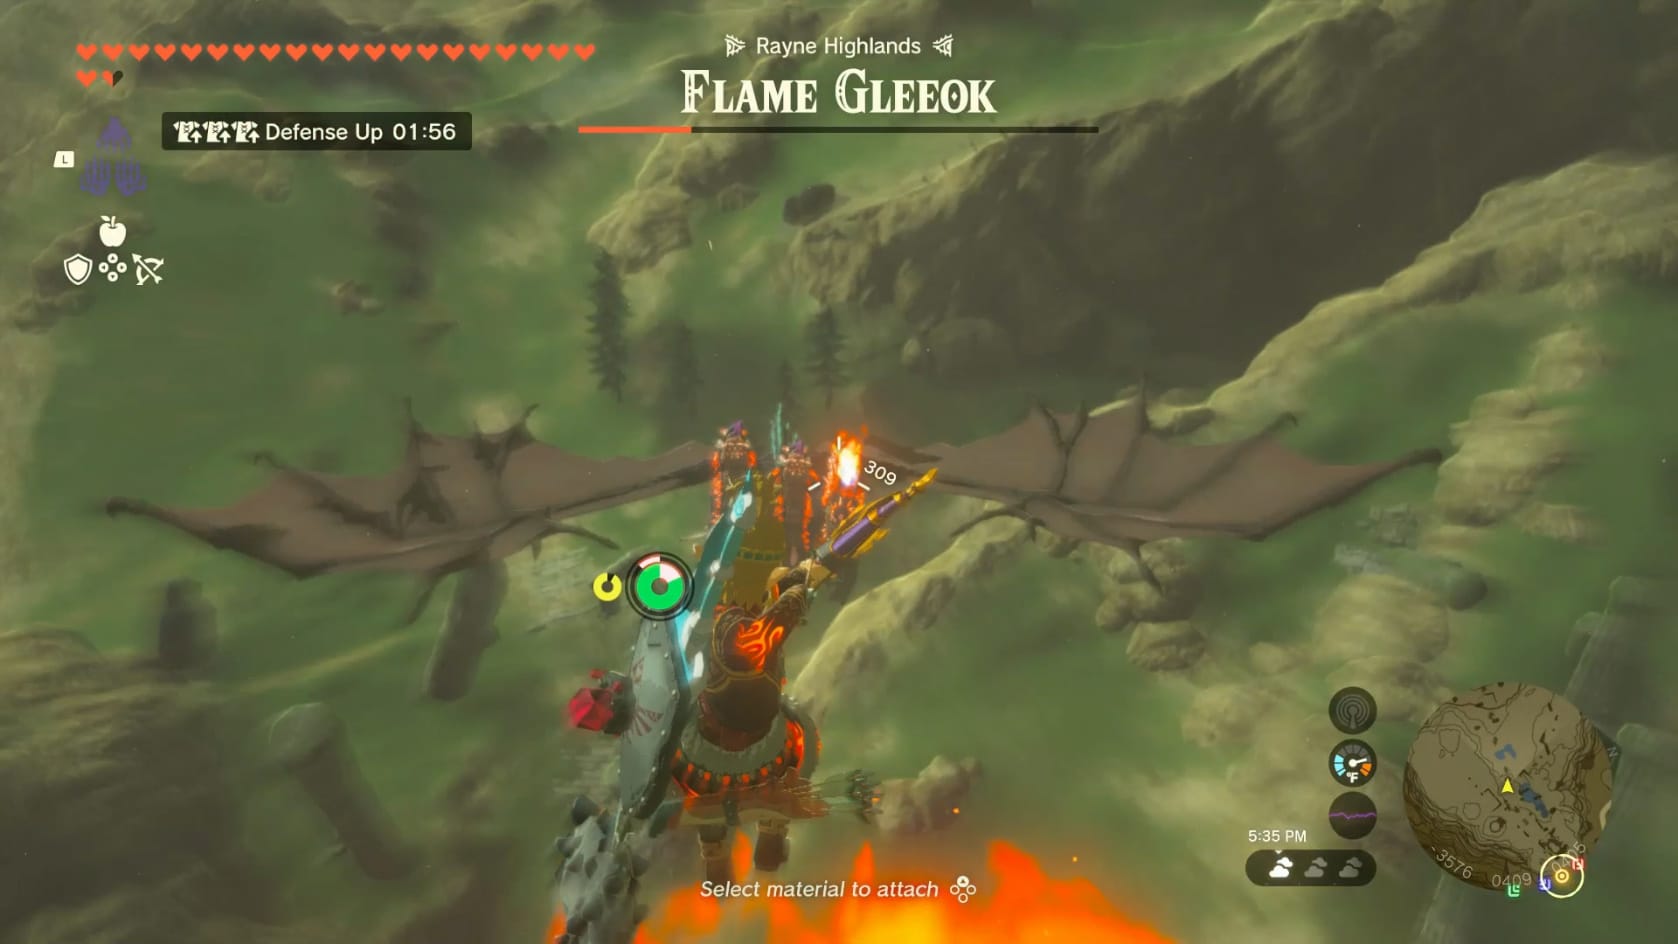
The Flame Gleeok starts flying
When reduced to 50% or less health, the Flame Gleeok will take off. The battle goes airborne at this point. Here, you need to use the Fireball’s updraft to even reach the Gleeok without a lot of careful aiming.
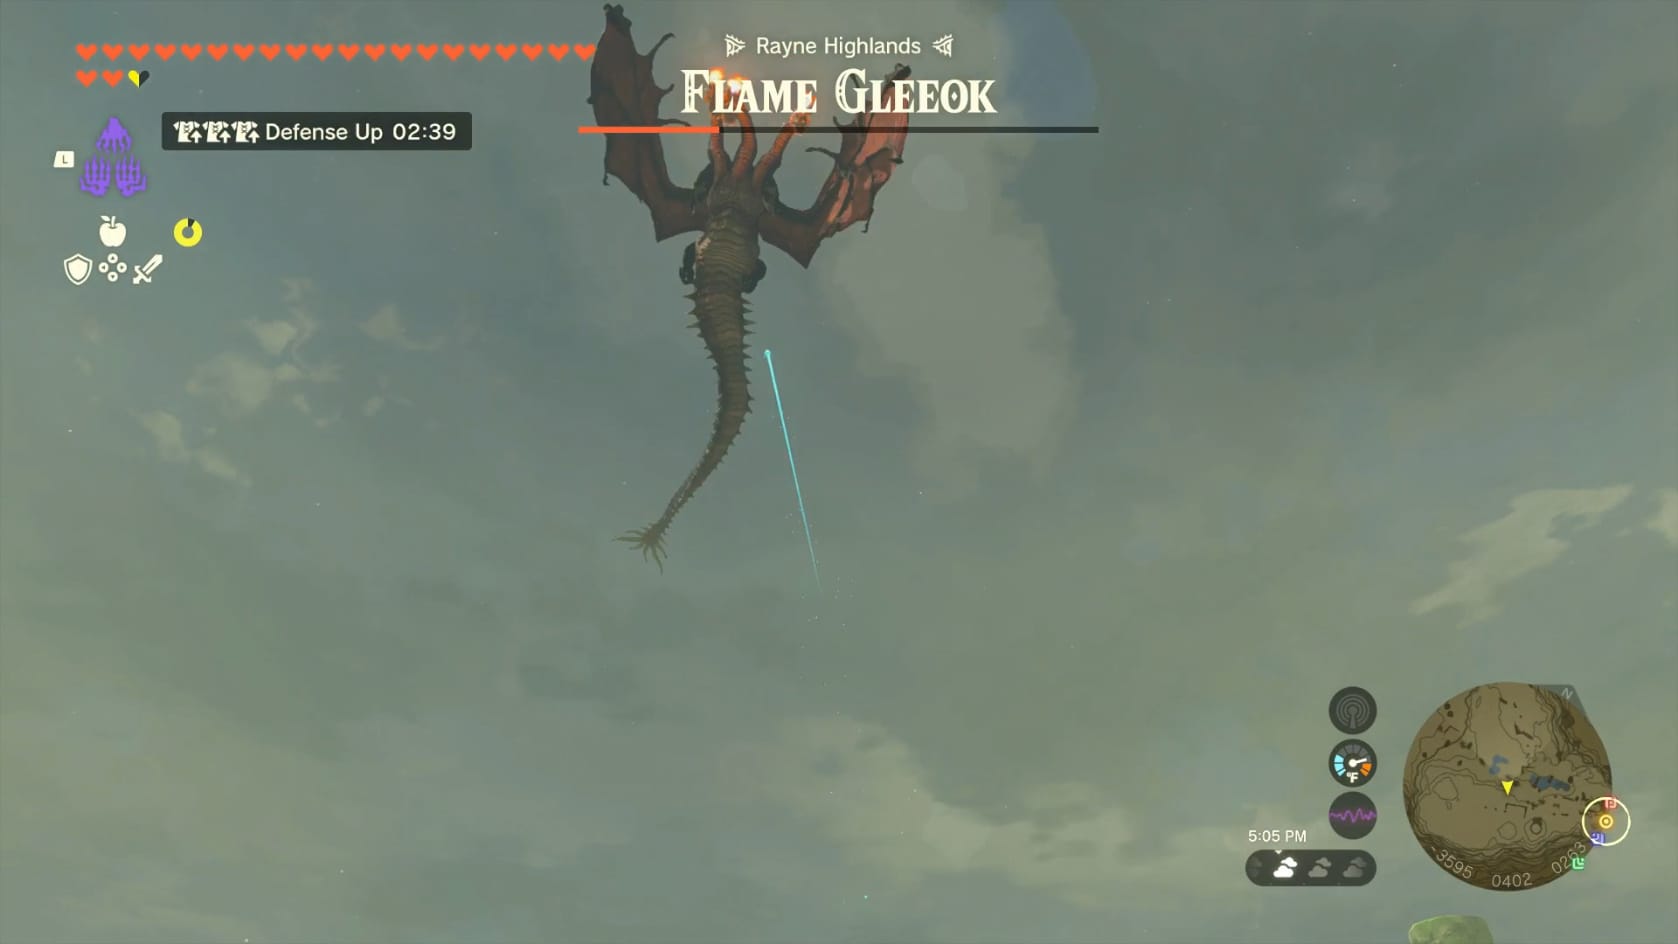
When it goes does to 25% health left is when the Gleeok flies high up. Now, it’s critical to avoid the incoming fireballs as well as use their updraft. The fireball itself has a few sections and a large explosion. Once it does explode though, use that updraft to reach the Gleeok. While airborne, quickly shoot its heads. Stunning it does massive damage when the Gleeok crashes into the ground. Defeat the Gleeok and you’re in the clear to begin the next, significantly easier part. Be sure to collect the monster parts that drop before getting started with the next step so you don’t forget.
Take the Picture
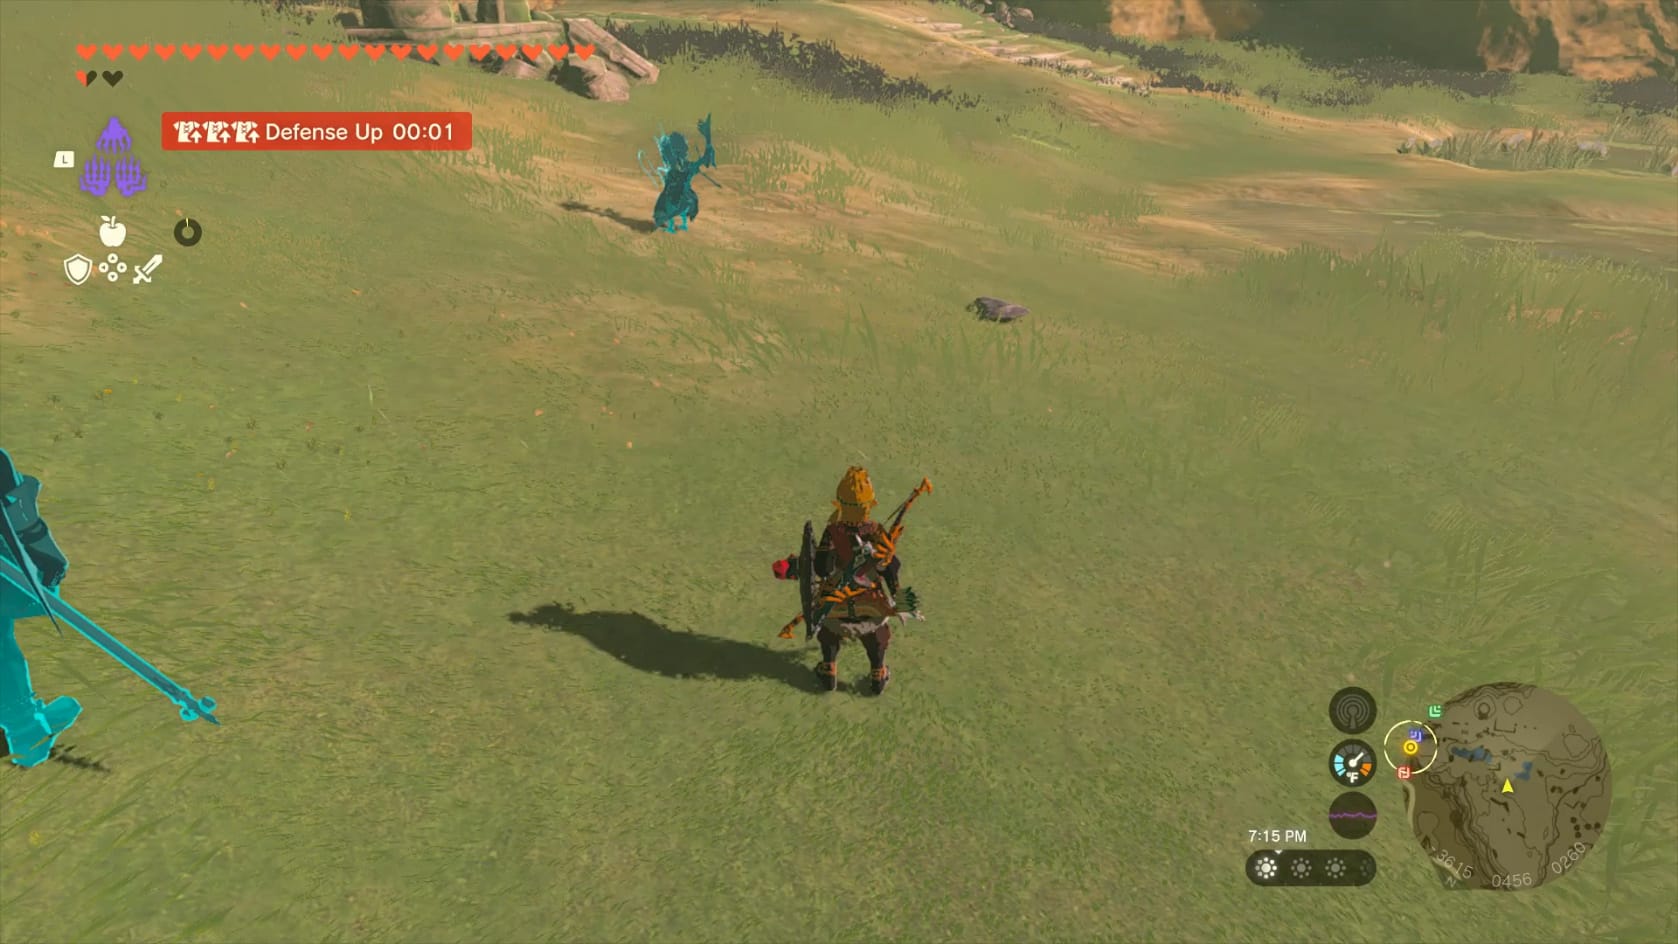
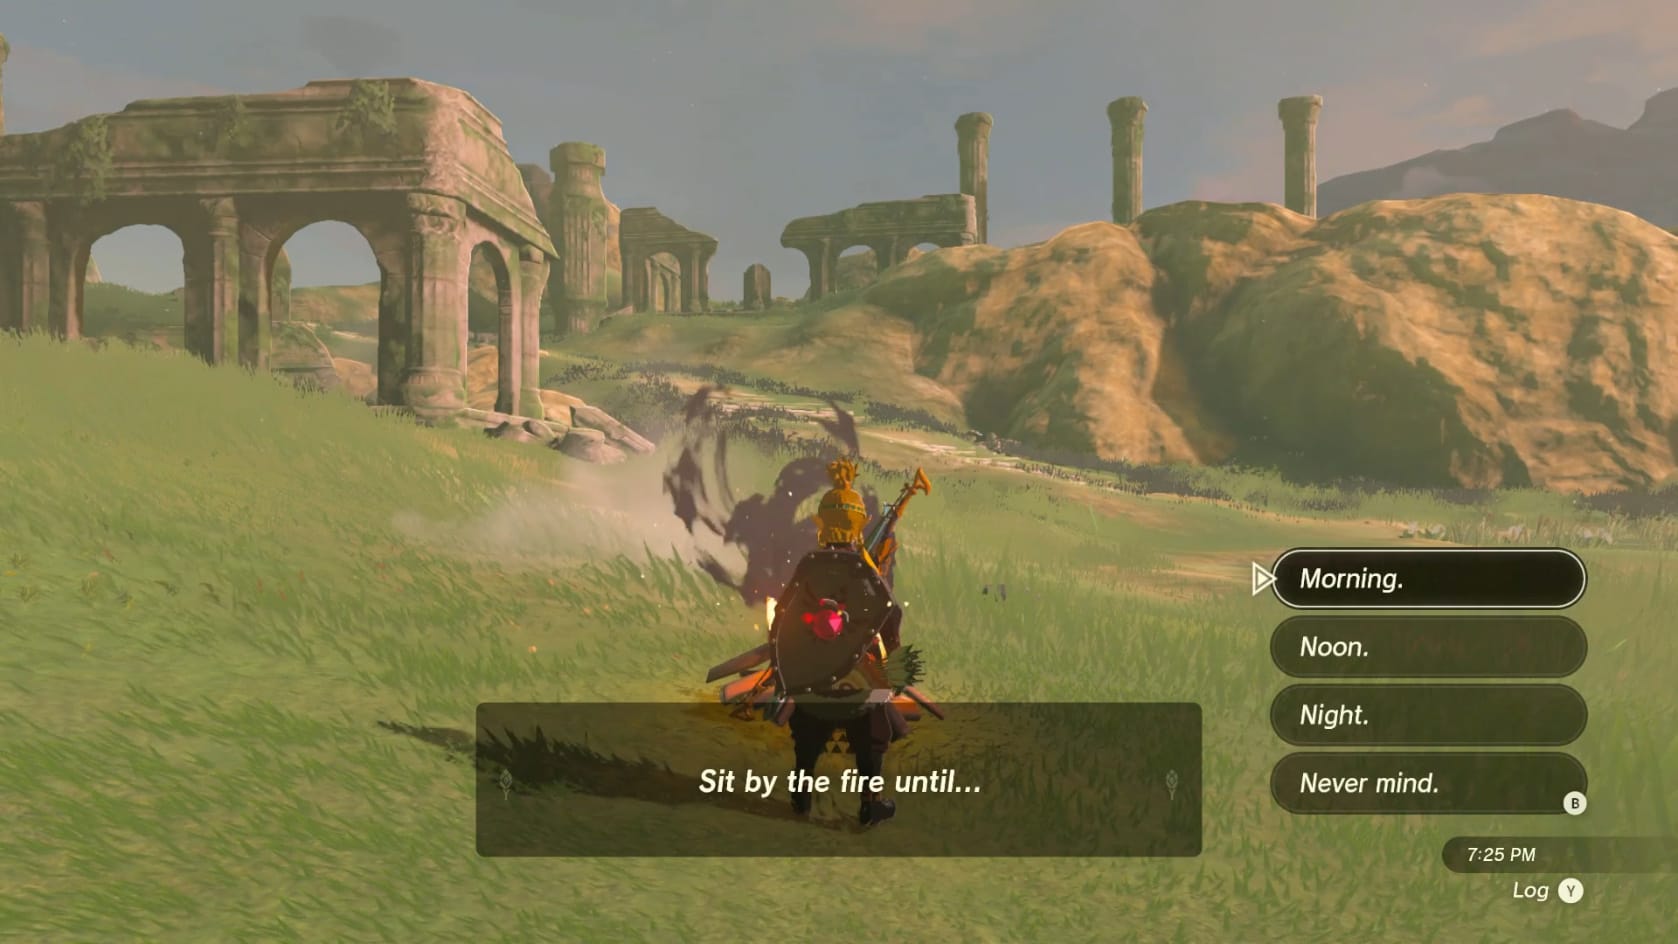
With the Gleeok defeated, it’s time to move onto the easier part. You will want to get in position at the Coordinates: -3615, 0456, 0260. Set up a camp fire with a Wood Bundle and anything that can ignite the wood. Interact with the campfire and choose to wait until dawn.
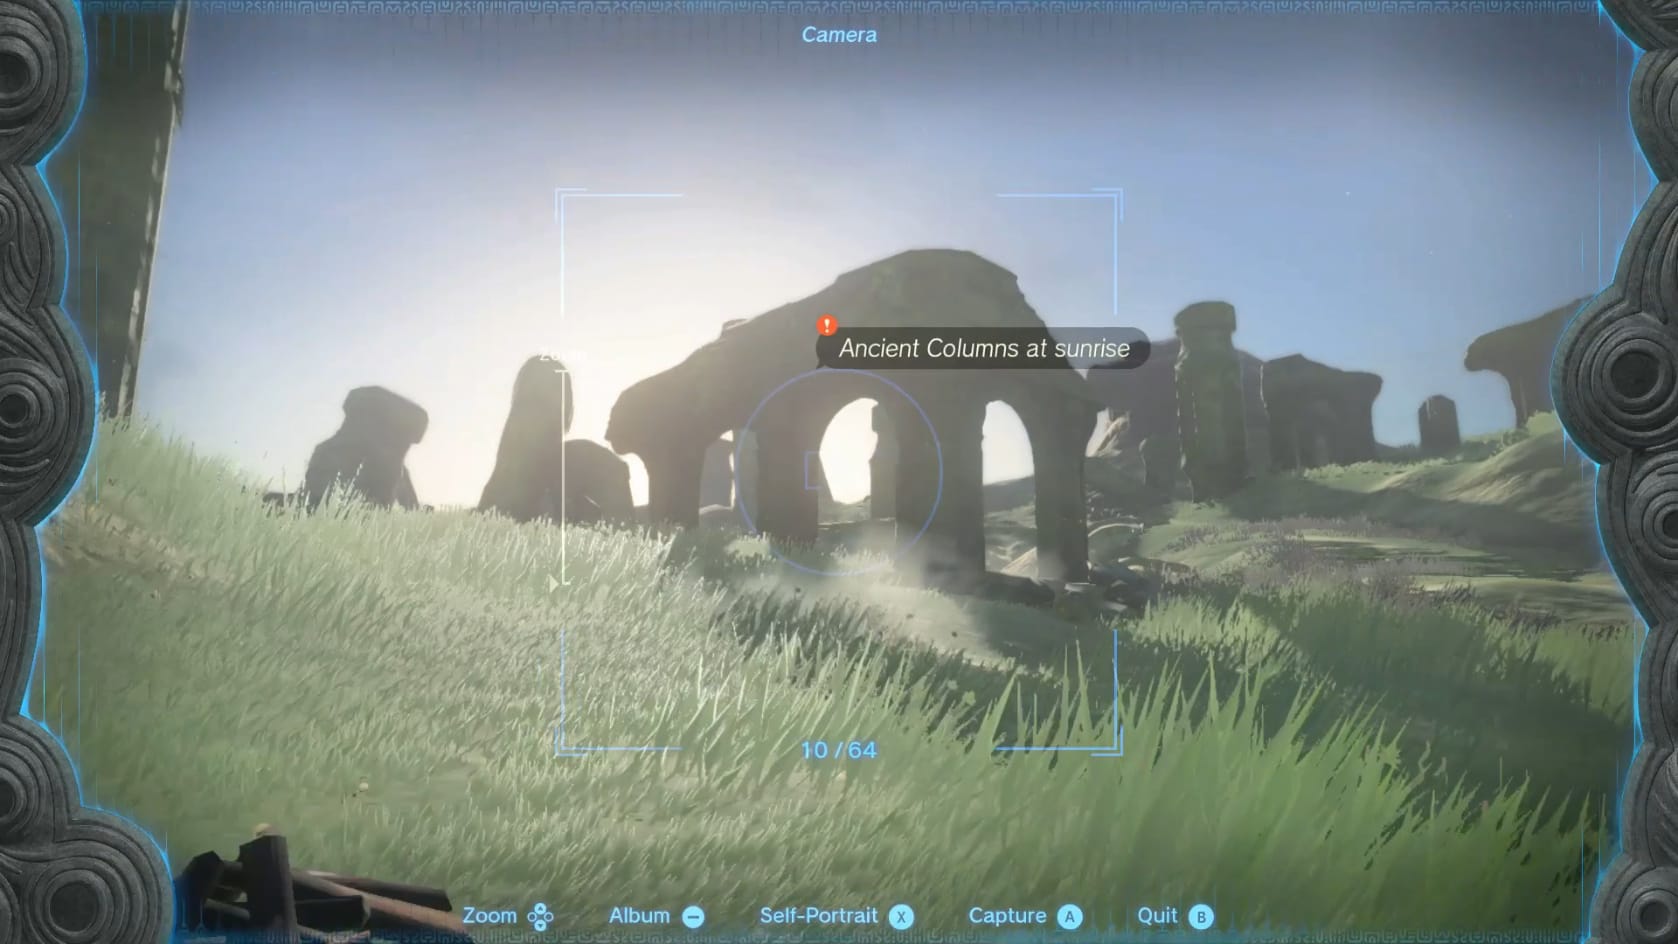
Look to the Ancient Ruins to the East from the coordinates with the Camera of the Purah Pad. You want to see the name “Ancient Columns at sunrise” in your viewfinder. While you have that in sight, take a picture! Once the sun rises above the ruins, you will need to reignite your campfire and wait for Morning again.
Return to Dabi
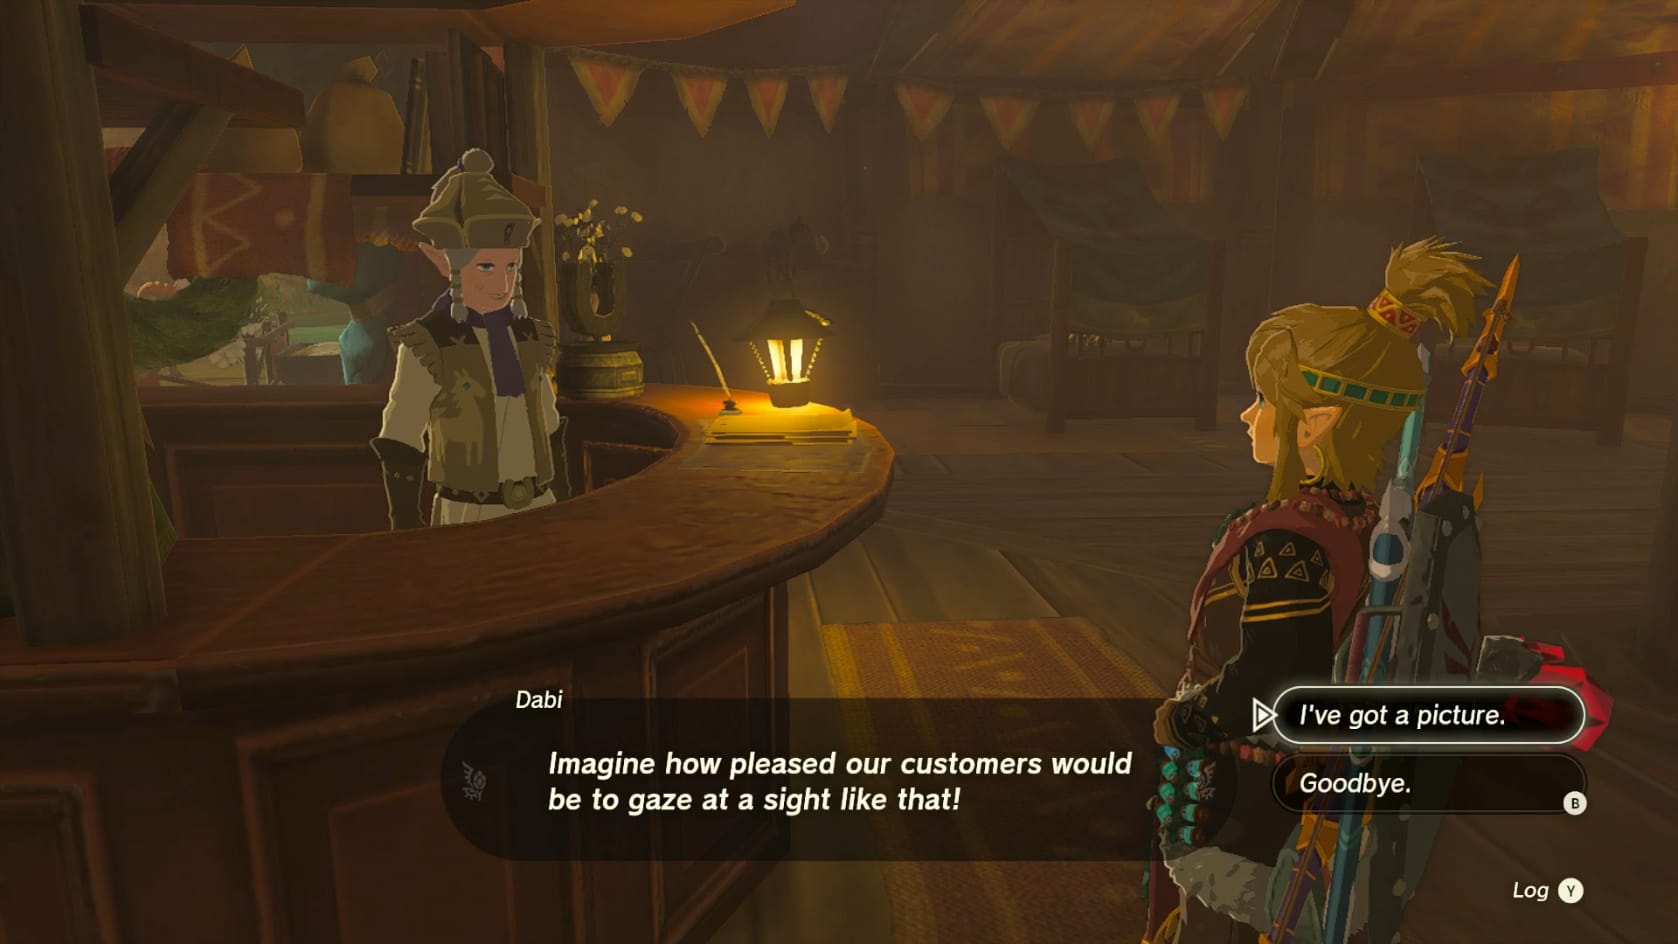
With the picture taken, it’s time to return to the Great Tabantha Bridge Stable. You can run to the top of the cliff with the Ruins and easily glide across. You can also fast travel by going to the Makurukis Shrine nearby. Either way, head back inside the Stable and examine the picture frame again. This will start a second conversation with Dabi. Agree to show him the picture and select the picture you took at the Ancient Ruins at Sunrise. He’ll quickly draw out the picture itself as a painting.
With that, the picture will now hang in the Great Tabantha Bridge Stable. Dabi will redo it if you take a better version of the picture he’s asked for. He’ll reward you for the efforts to get the picture as well with a Pony Point and a Hasty Elixir.
Rewards:
- 1 Pony Point
- Hasty Elixir
Video Walkthrough
Video Walkthrough