Oblivion Remastered: A Brotherhood Betrayed Guide
Investigate a brutal vampire killing in Bruma and uncover a deadly betrayal hidden beneath the rumors. Hunt down Raynil Dralas before he escapes forever.
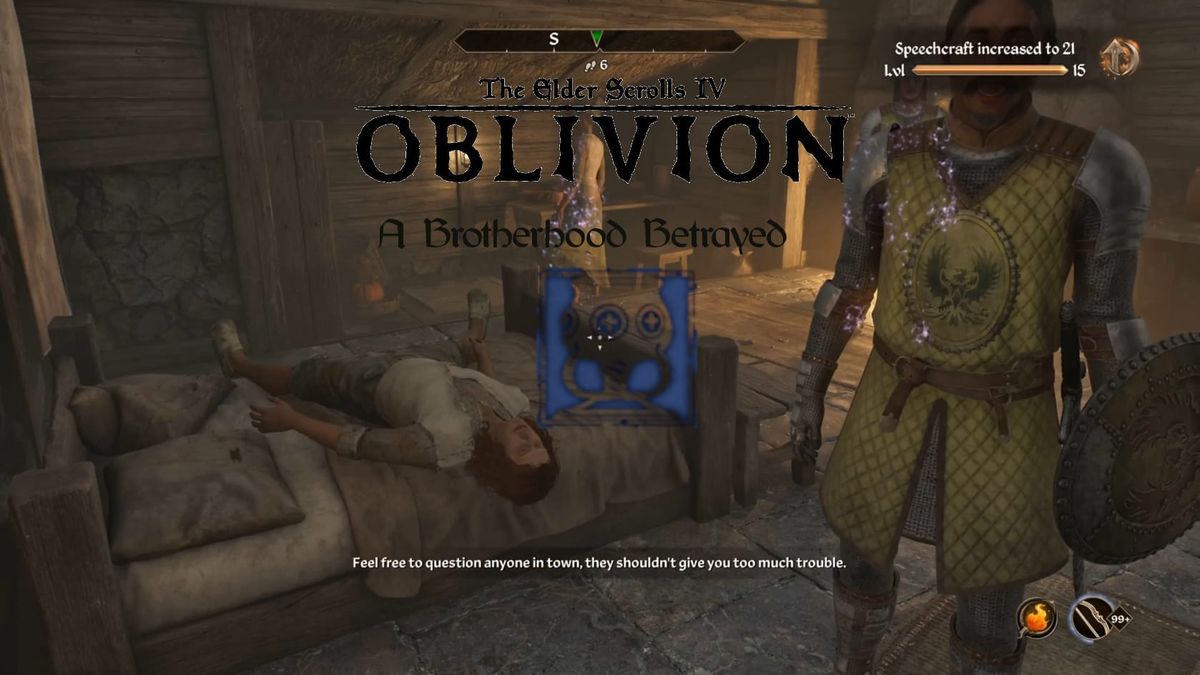
Oblivion Remastered: A Brotherhood Betrayed Guide
“A Brotherhood Betrayed” is a side quest available in Bruma. The Hero of Kvatch can begin it once they start hearing rumors and mummers about a Vampire Killing that happened in Bruma.
Beginning the Quest
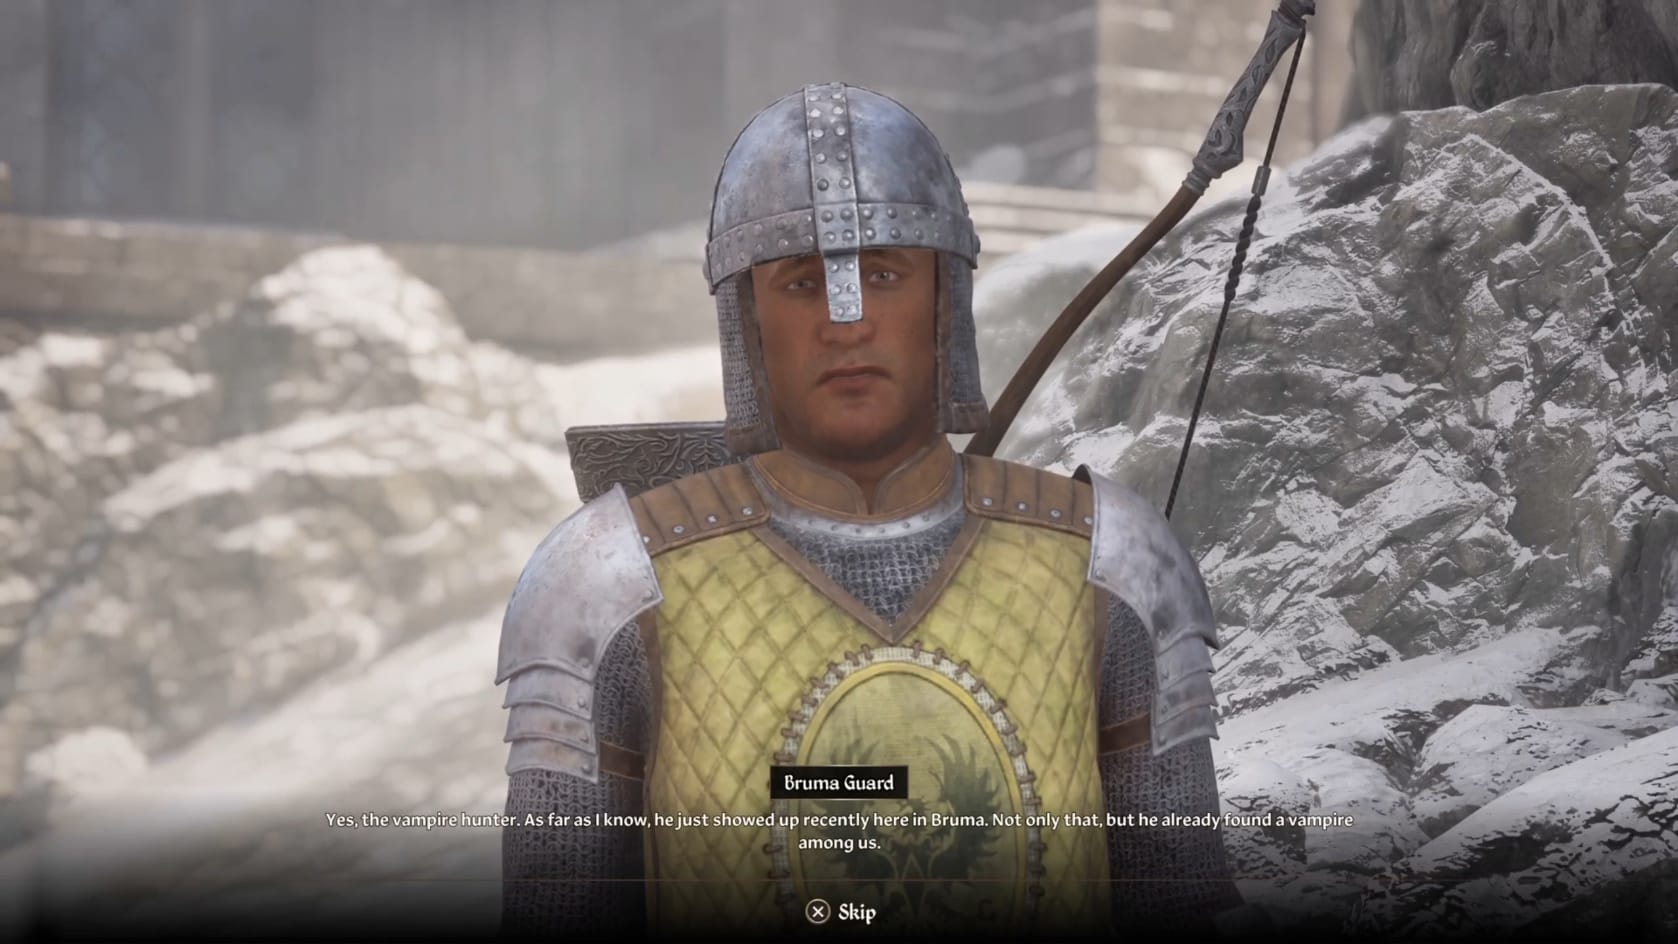
Once the Hero starts hearing the Rumors about the Vampire Killing, they can head for Bradon Lirrian’s House. This house is found behind the Temple of Talos within Bruma. Getting inside the house isn’t a problem. The problem comes from getting the investigator: Carius Runellius to agree to let you help with the investigation.
Getting the Investigation Started
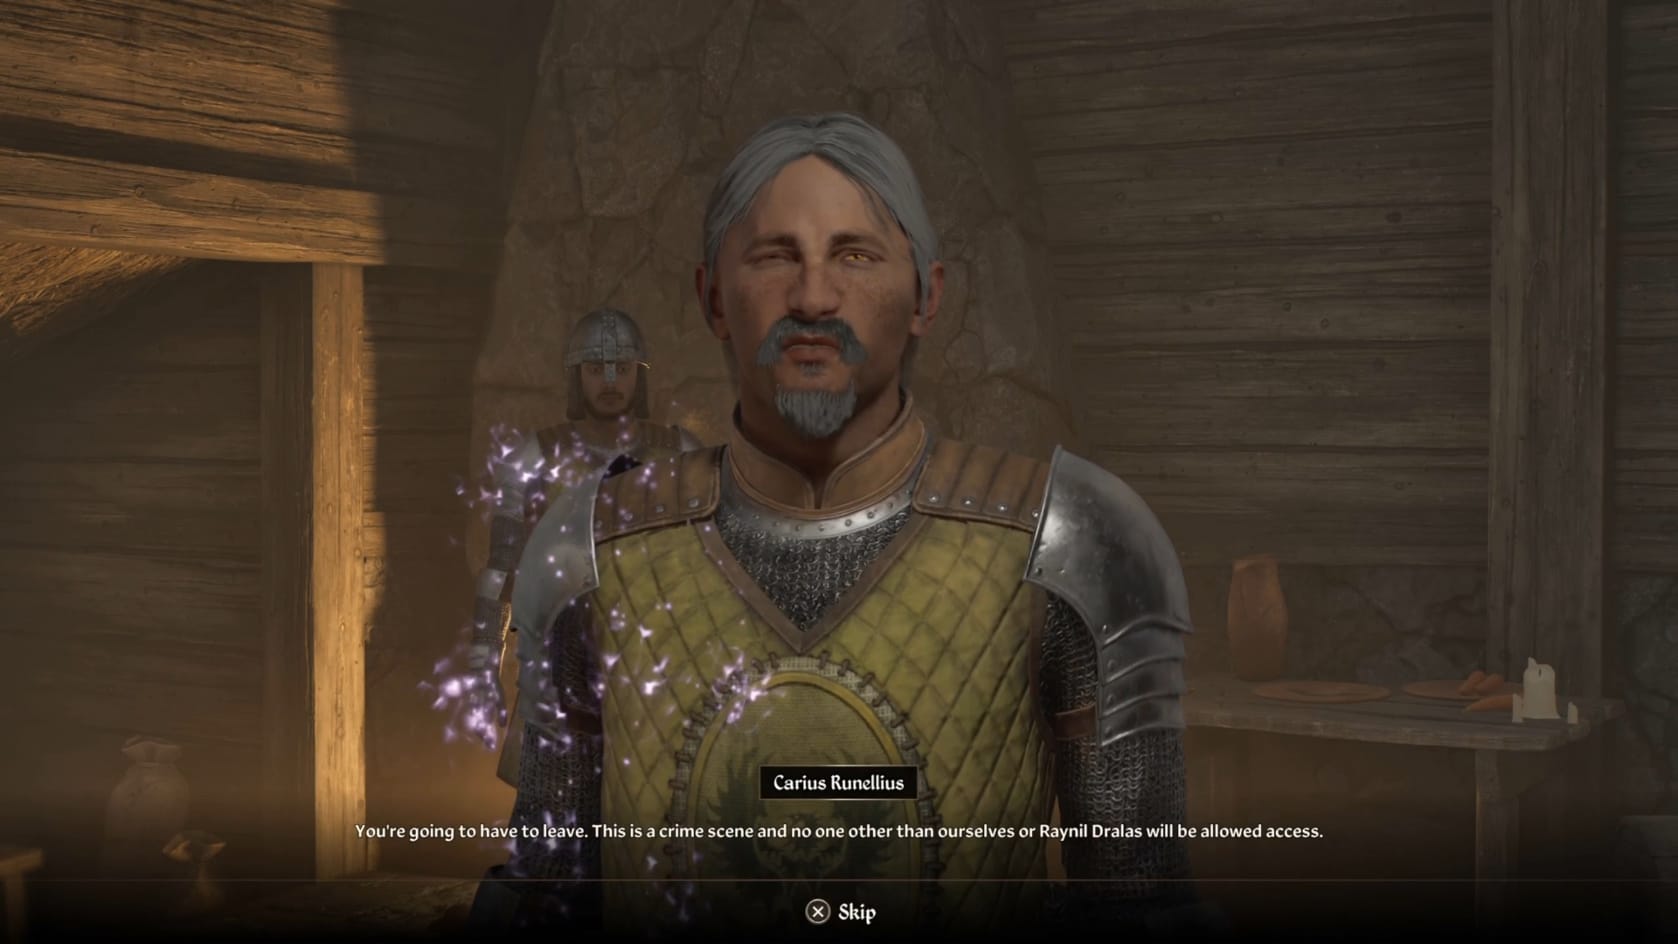
Inside Lirrian’s House, you will need to talk with Carius Runellius almost immediately. This Imperial is the Leader of the Investigation into the supposed slaying of the “vampire” Bradon Lirrian. You will need to get Runellius’ disposition toward the Hero to 70 or above to start this properly. Either use Bribery or the interaction mini-game to improve it.
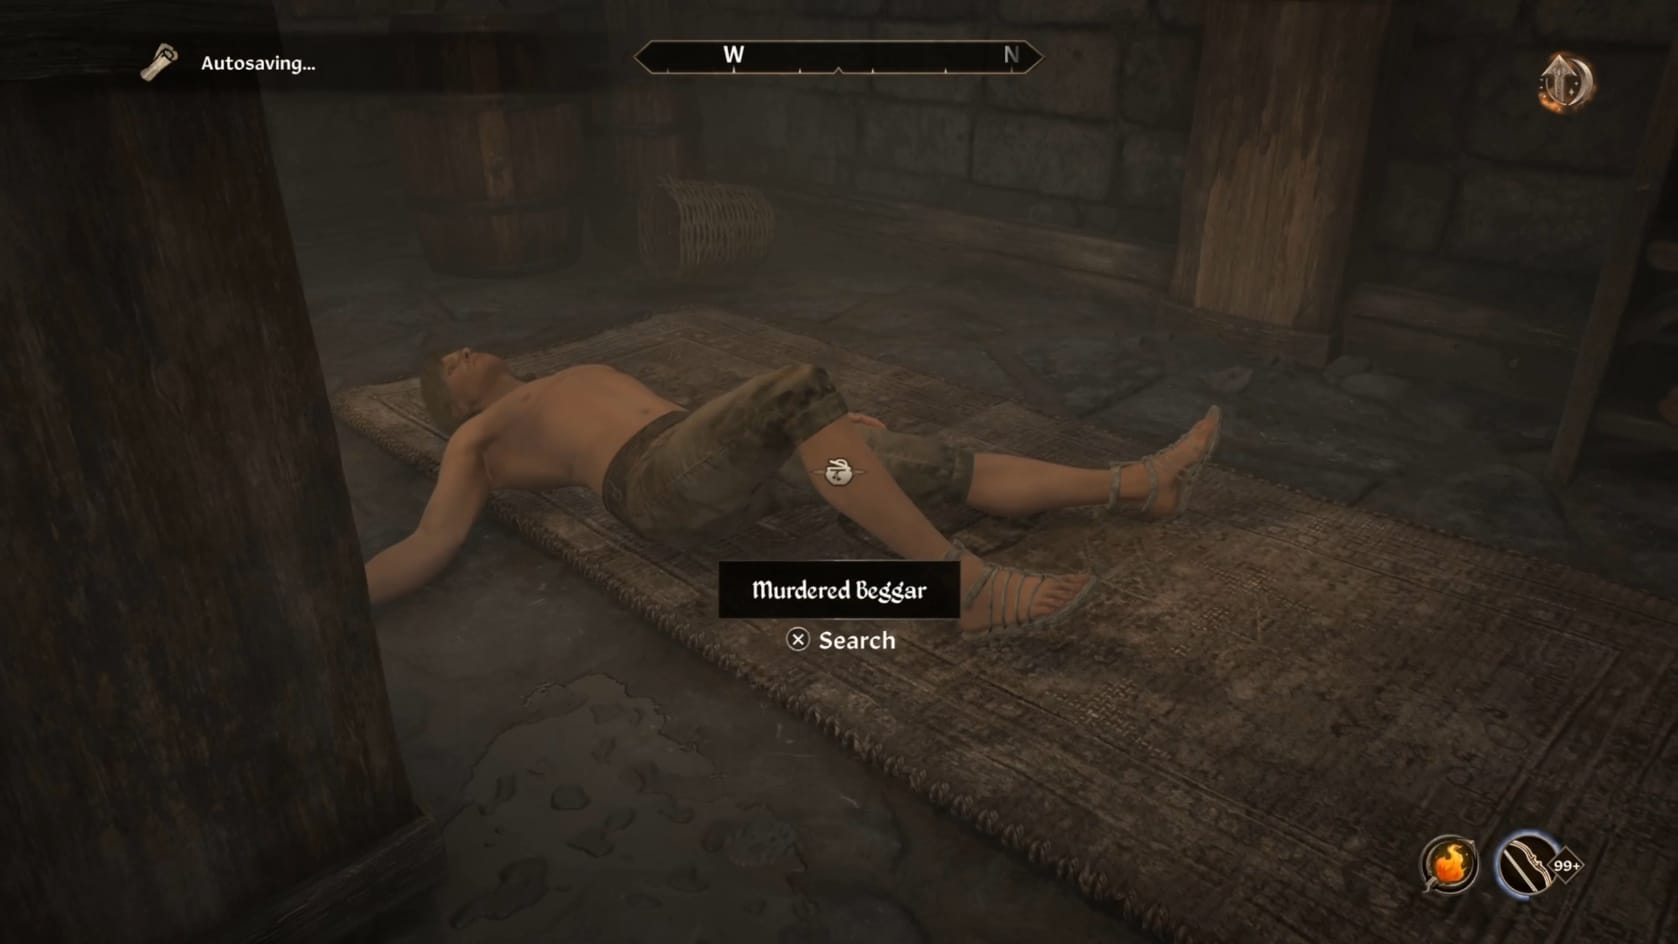
You can head down into the basement of the house where you will the body of a murdered beggar. The body does show signs of a vampiric attack at least. But just what it all means, it’s too early to tell.
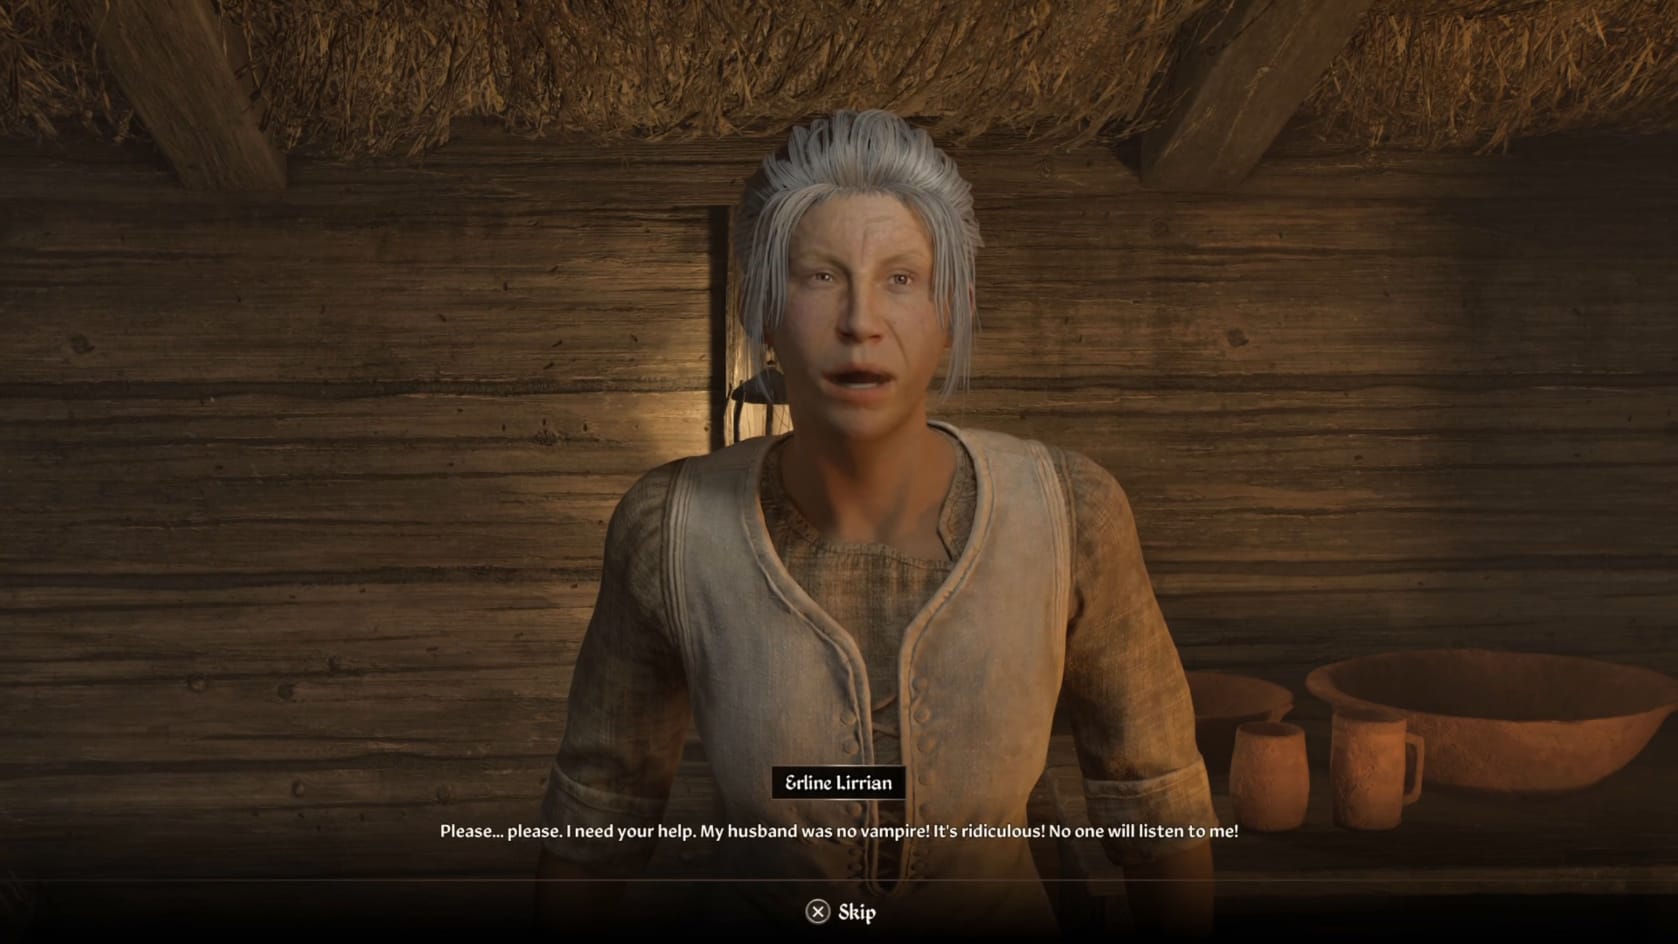
Either way, once you get Runellius to 70+, you can get him to agree to let you investigate what’s happened. Talking with everyone else, you can learn that most people only saw Bradon at night. Talking with his widow, Erline Lirrian, you can learn that Bradon worked nights. She desperately wants you to clear Bradon’s name. From all this, you have 1 lead to follow to learn more about Raynil Dralas and Bradon Lirrian: Olav’s Tap and Tack.
Olav’s Tap and Tack
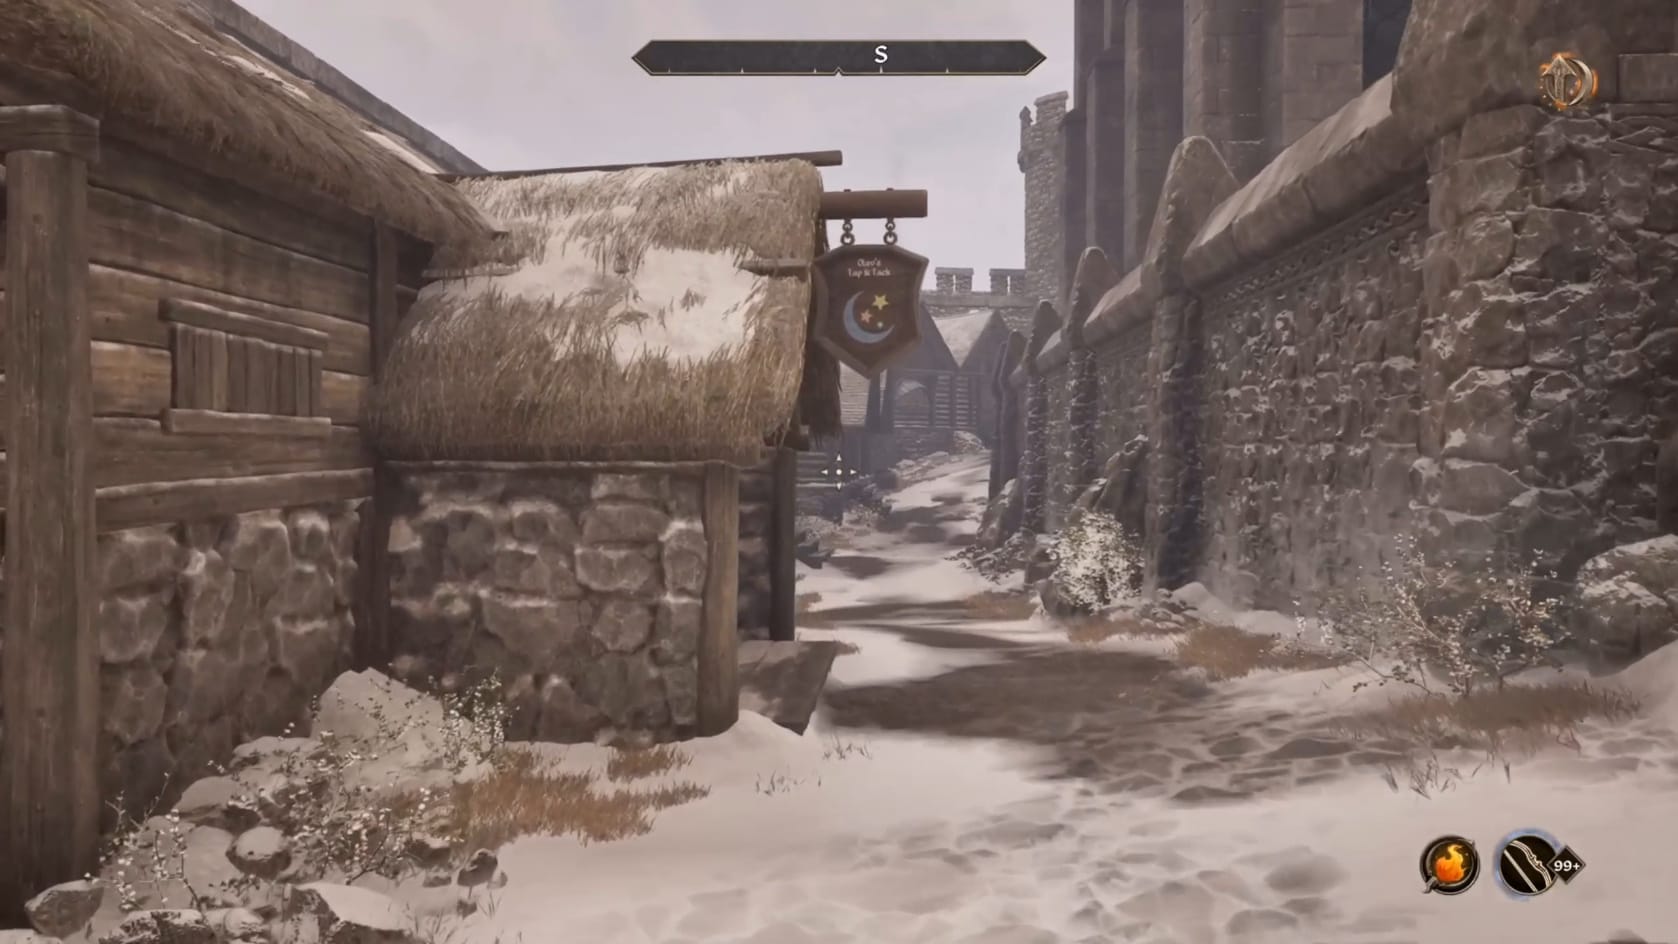
Inside the local tavern you have a few simple goals to accomplish. Start by talking with the Publican, Olav. Be sure that Olav’s disposition toward the Hero is 70+ to make this simple.
Asking Olav about Bradon will have him tell you that Bradon had actually been seen outside during the daylight hours. Share what you’ve learn thus far in the investigation. Olav will give you the key to Raylin’s Room (mind that you can just break-in with a lockpick).
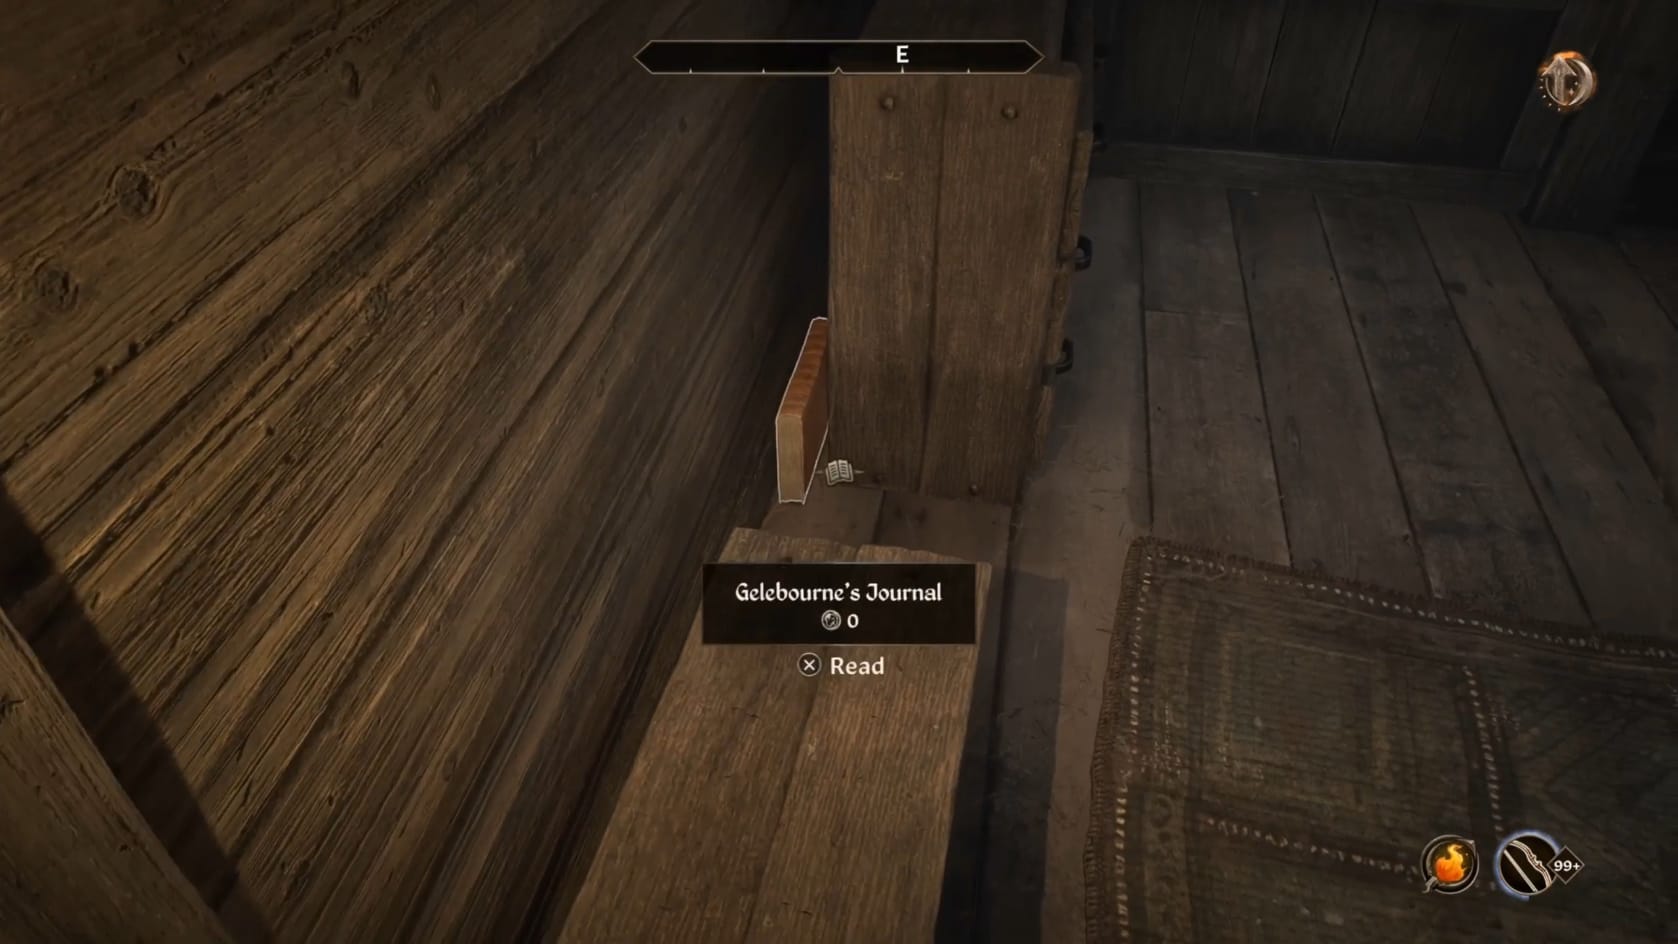
Inside Raylin Dralas’s Room, you won’t immediately see anything that’s incriminating. Instead, head to the bed and look back toward the door. There’s a dresser on the left-hand side of the room. Look between the dress and the wall to find “Gelebourne’s Journal.” Collect this book (and read it) to learn more.
It tells there’s a connection between Raylin Dralas, Bradon Lirrian, because they worked together with Gelebourne to investigate Alyeid Ruins! Be absolutely certain that you have “Gelebourne’s Journal.” The quest won’t progress until you can turn it over the appropriate people.
Turn Over Evidence
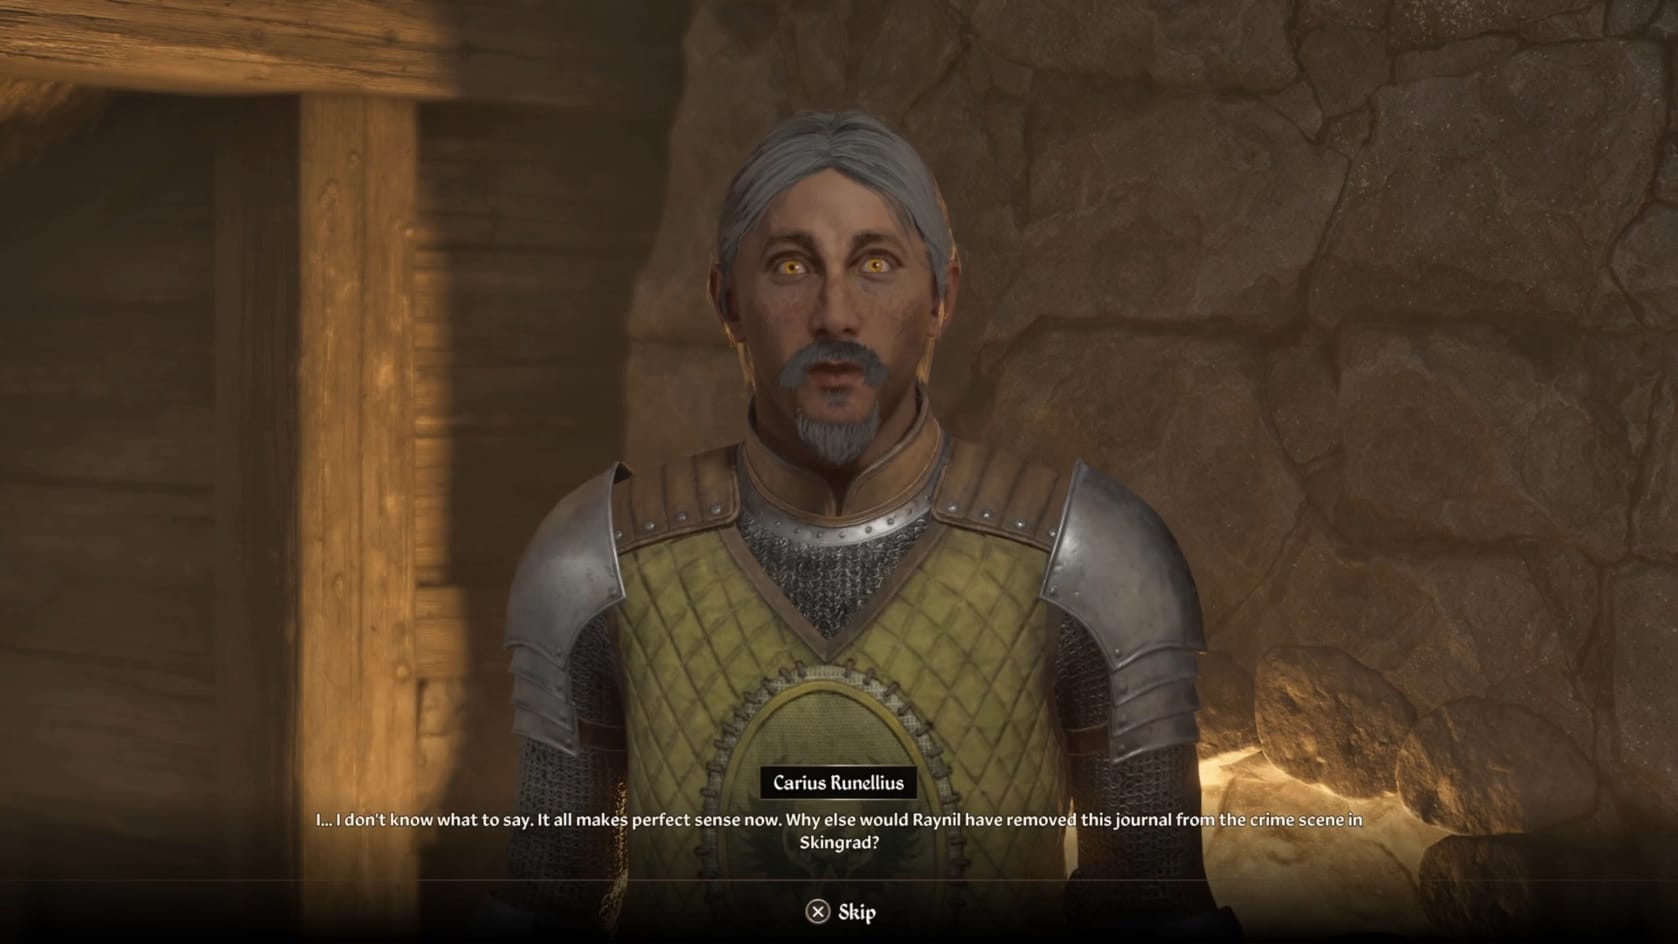
Head back to Lirrian’s House. You need to talk with Carius Runellius again. Turn over “Gelebourne’s Journal” to Carius Runellius. He’ll have you, with a number of guards, converge on Olav’s Tap and Tack to take Raynil into custody.
The Capture
At this point, an invisible timer starts running. Once it’s been revealed that Raylin Dralas has run, you will have 24 hours to find and deal with him. After that, Raylin escapes to Morrowind and the Quest automatically fails.
Go outside Olav’s Tap and Tack and wait the requisite 1 hour. After that, you will find the guards have gathered. Approach and talk with Carius to learn that Raylin has run off. There were reports of the direction he went at least. Carius mentions there’s just one cave in that direction that matches the description within Gelebourne's Journa:, Boreal Stone Cave. He wants you to go and investigate it to see if Raylin’s taken refuge there.
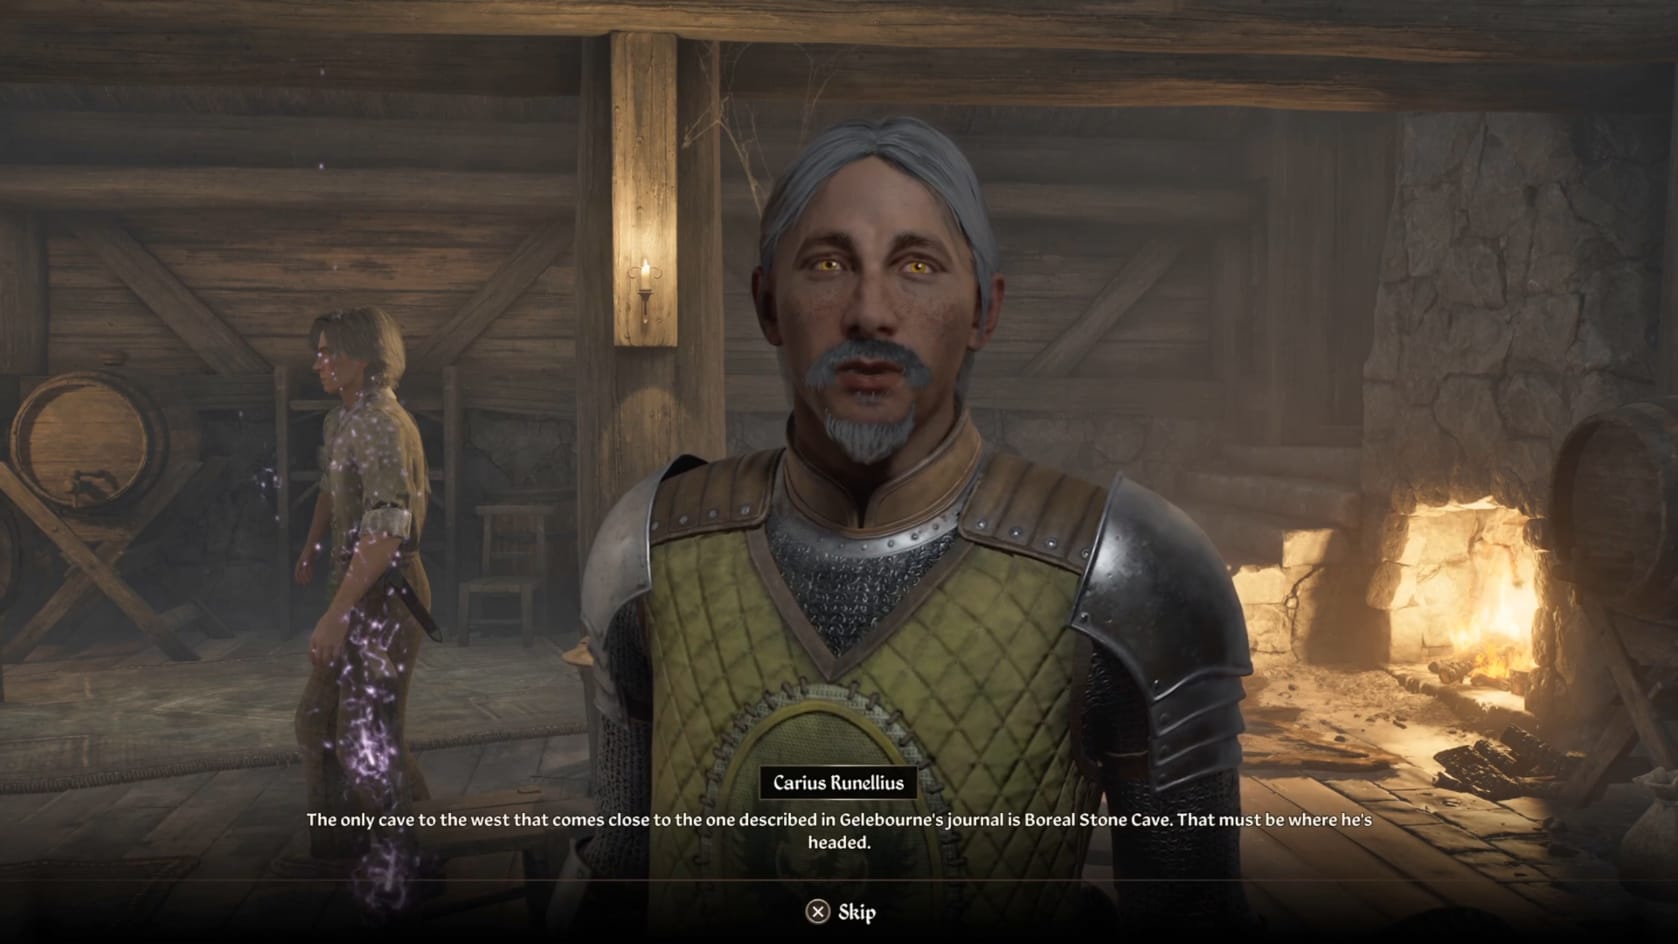
Boreal Stone Cave
With Raylin missing, you need to track him down. Carius sends the Hero alone. You can move faster than any of the Bruma Guards. Travel the short distance out to Boreal Stone Cave and head inside.
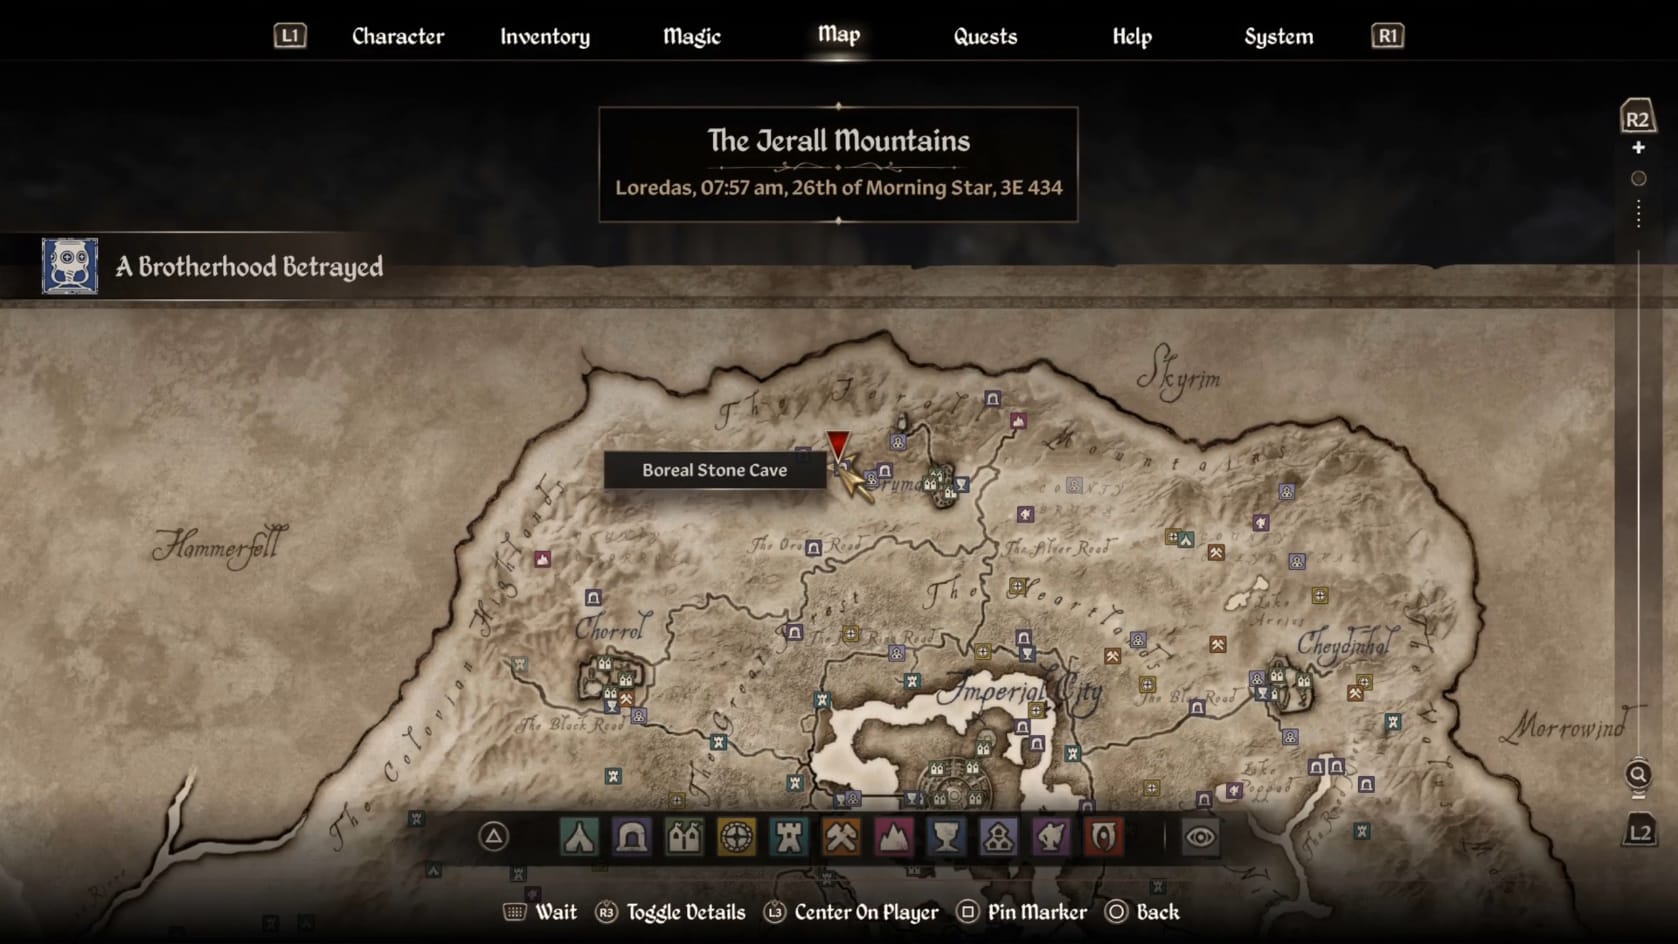
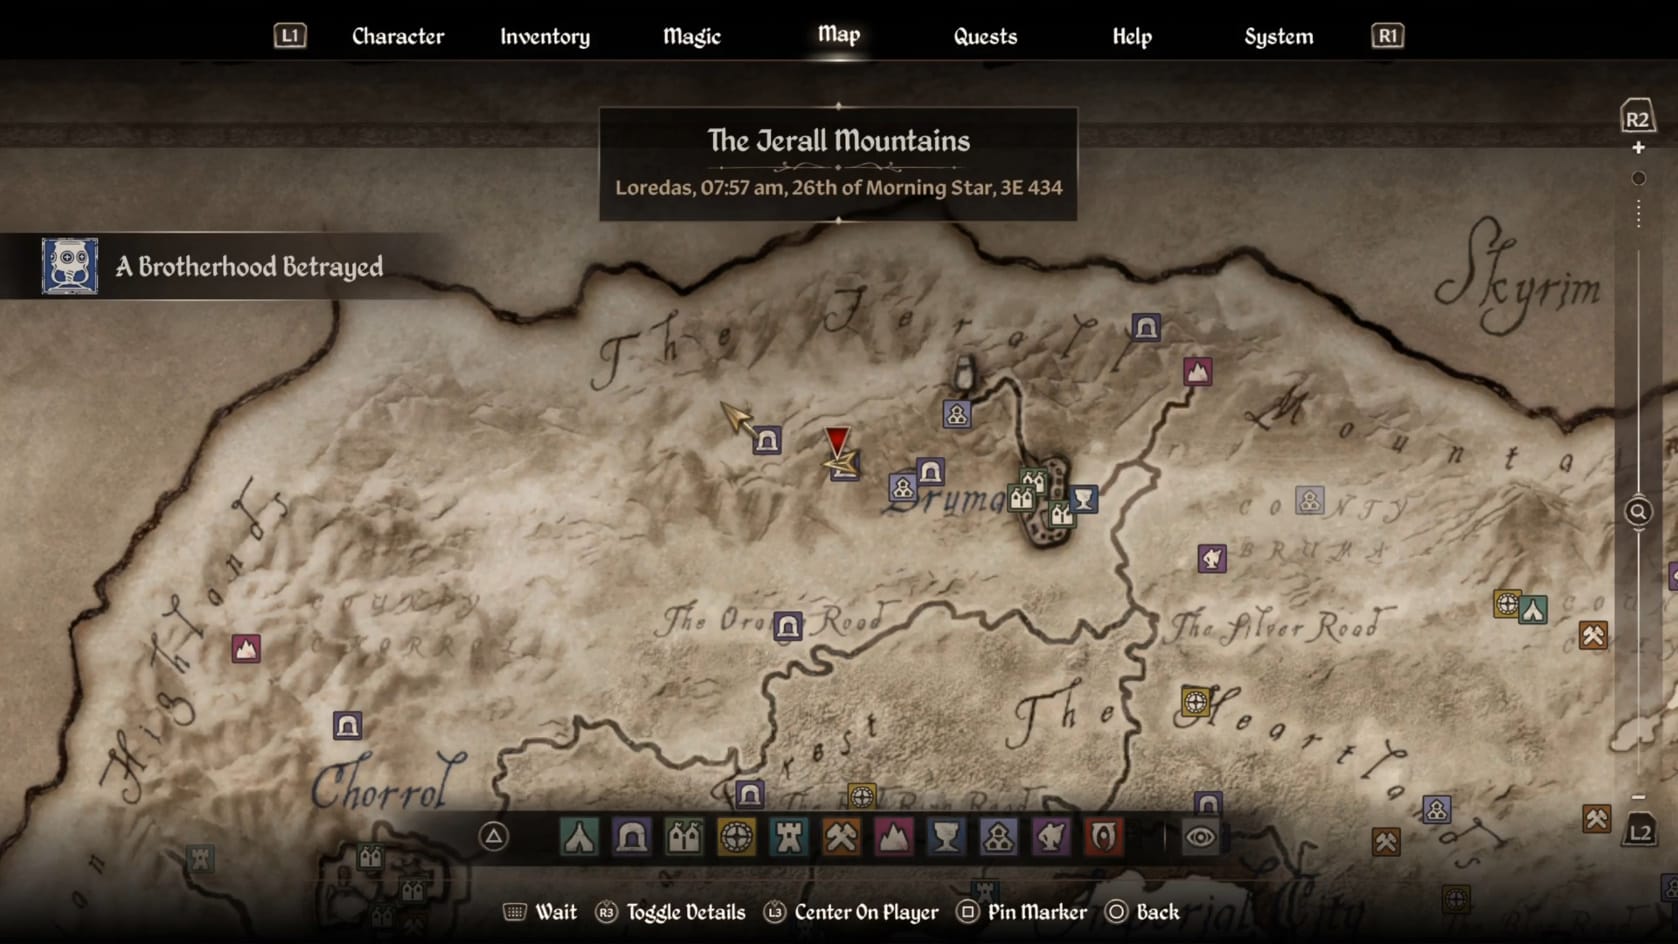
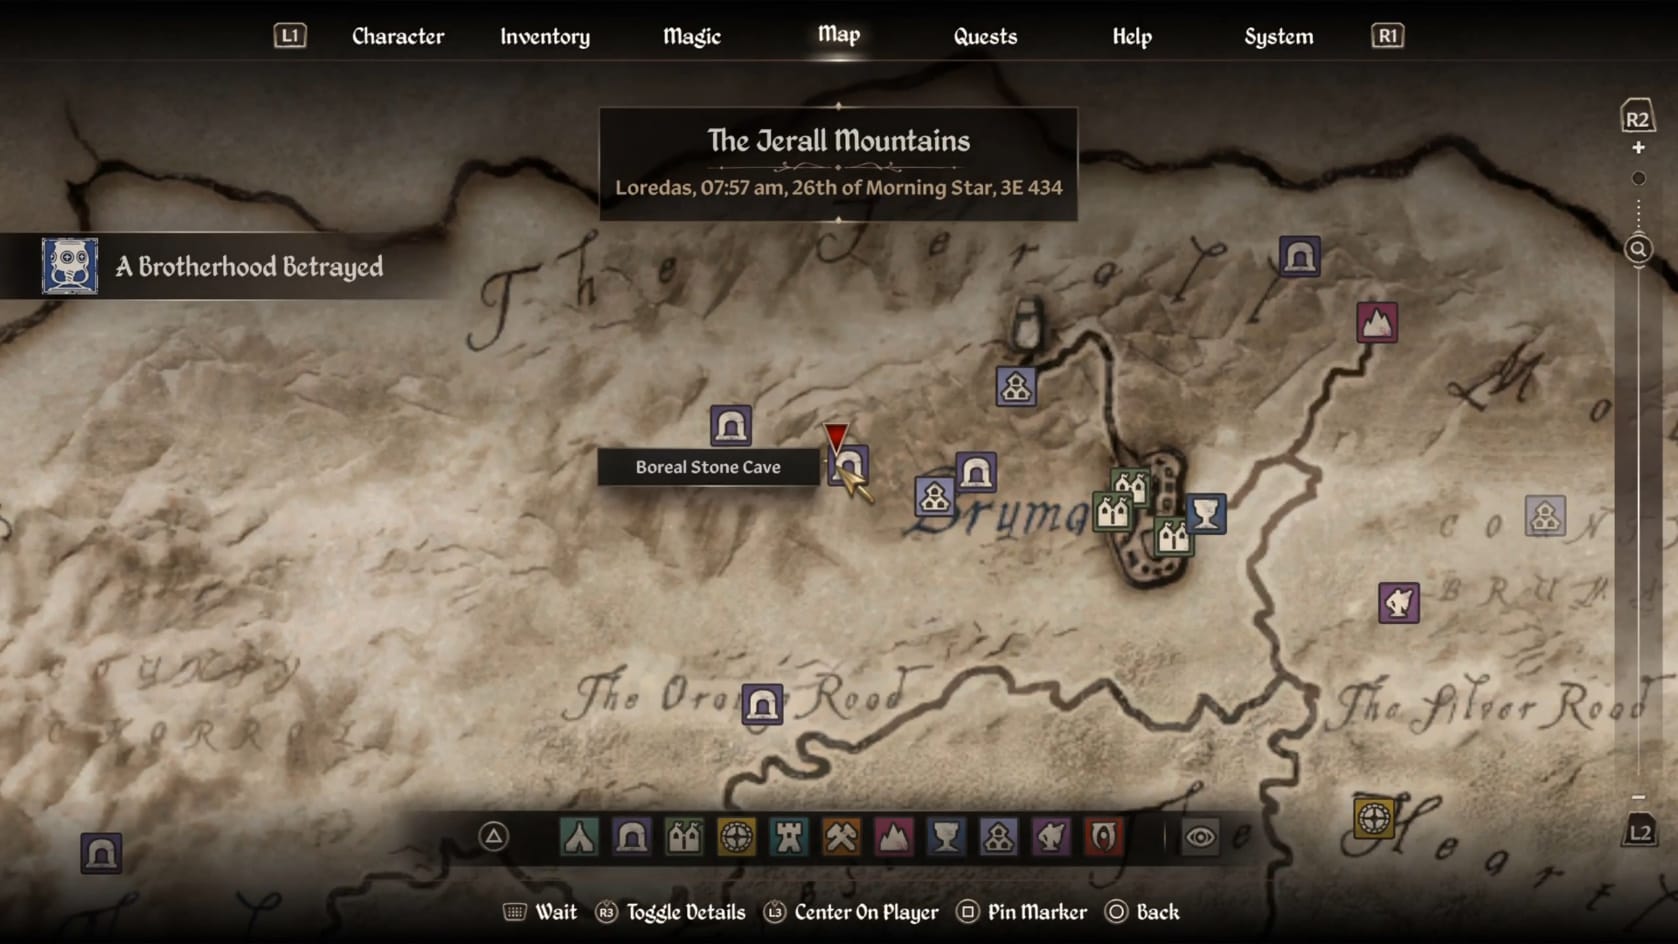
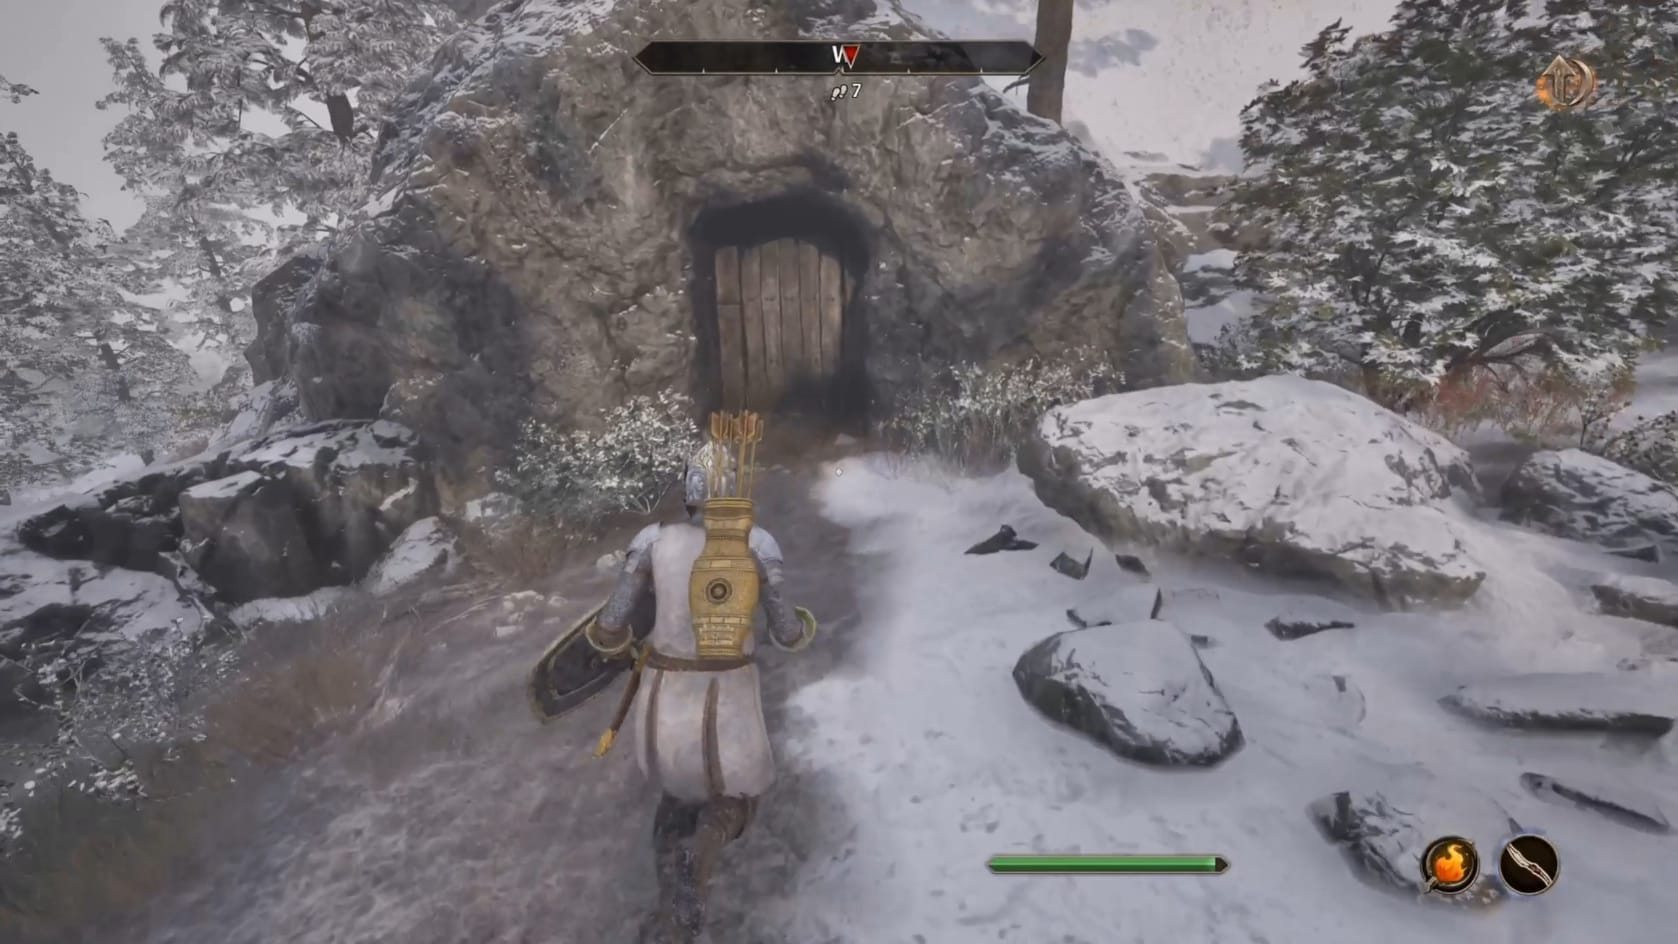
The Location of Boreal Stone Cave
Raylin is very easy to find. He’s wandering between the 2 chambers of the cave. He can be approached and talked with. However, there’s no way to talk him down from attacking the Hero. Simply just fight him.
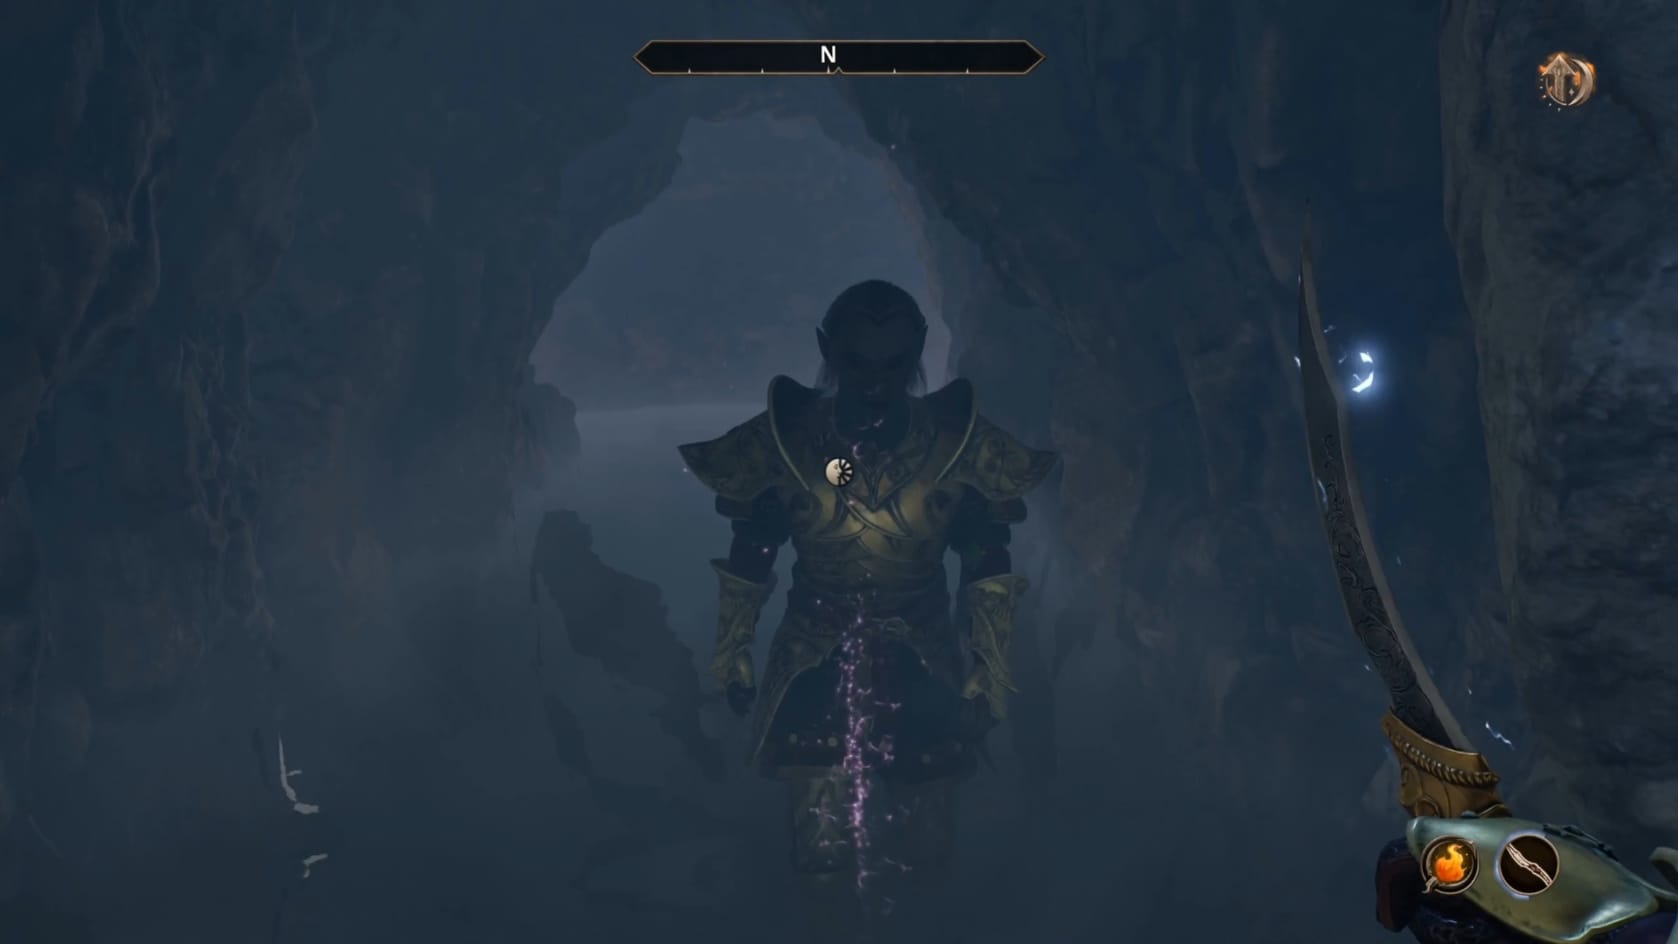
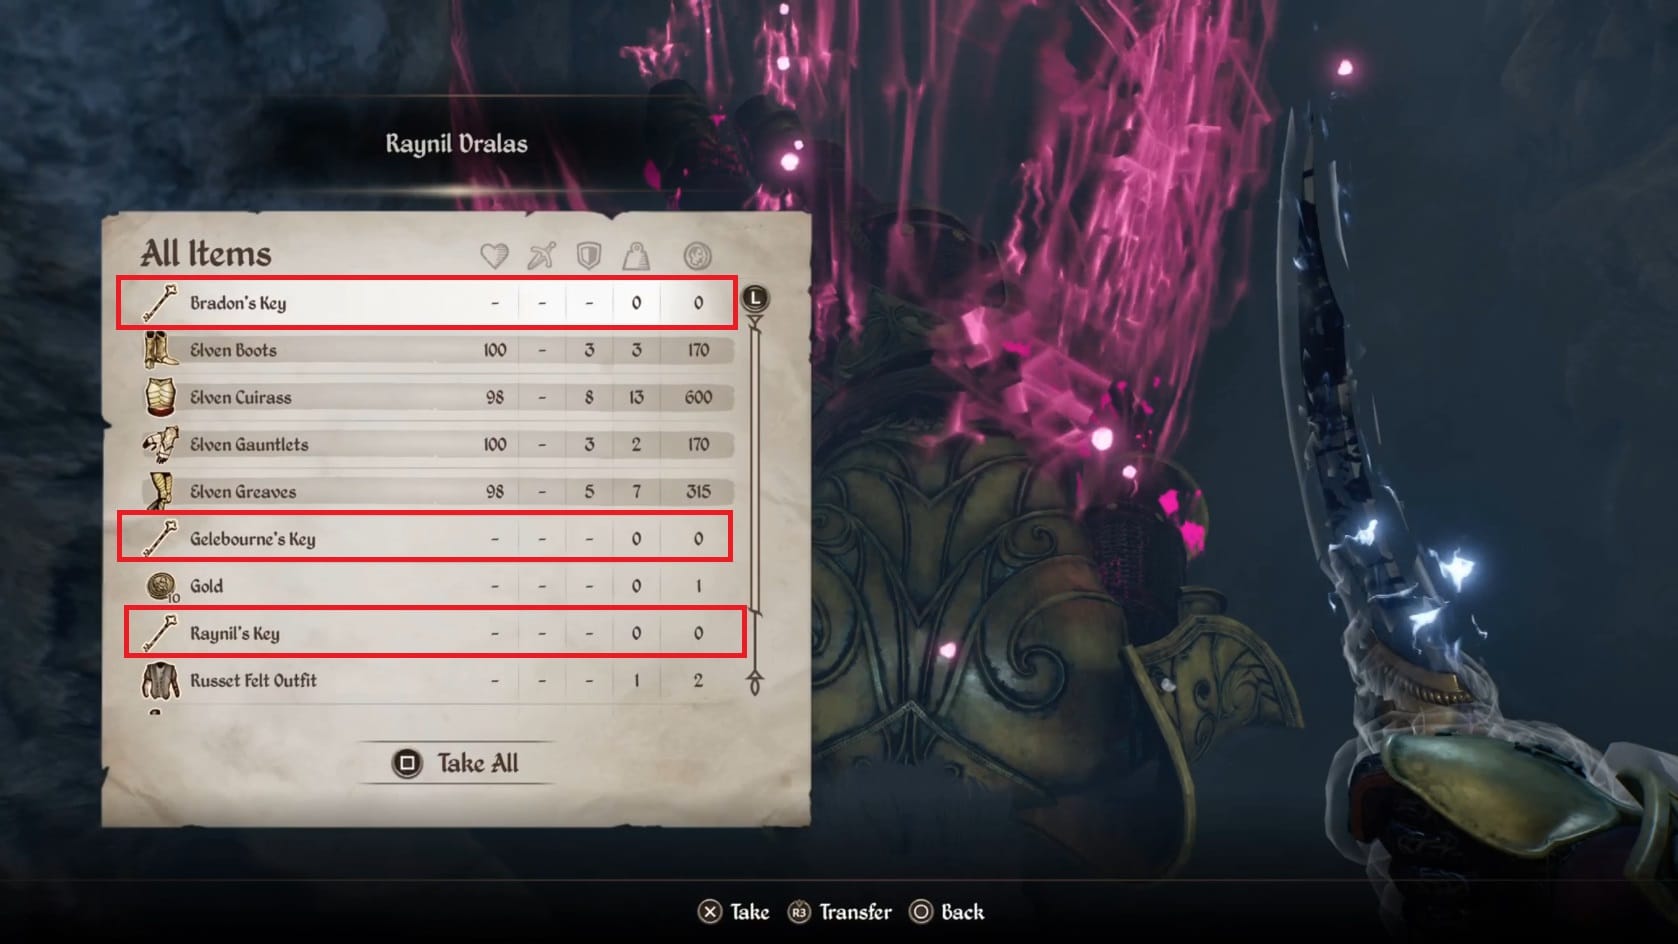
When you win, loot his body. You will need to take: Bradon’s Key, Gelebourne’s Key, and Raylin’s Key. Without those 3 keys, you cannot open the Waterlogged chest that sits just across from the entrance of the cave. Everything else Raylin has is your call to take. You can also explore the Northern branch of the cave to find a few more chests with loot inside. One is to the West and one to the East up a slope.
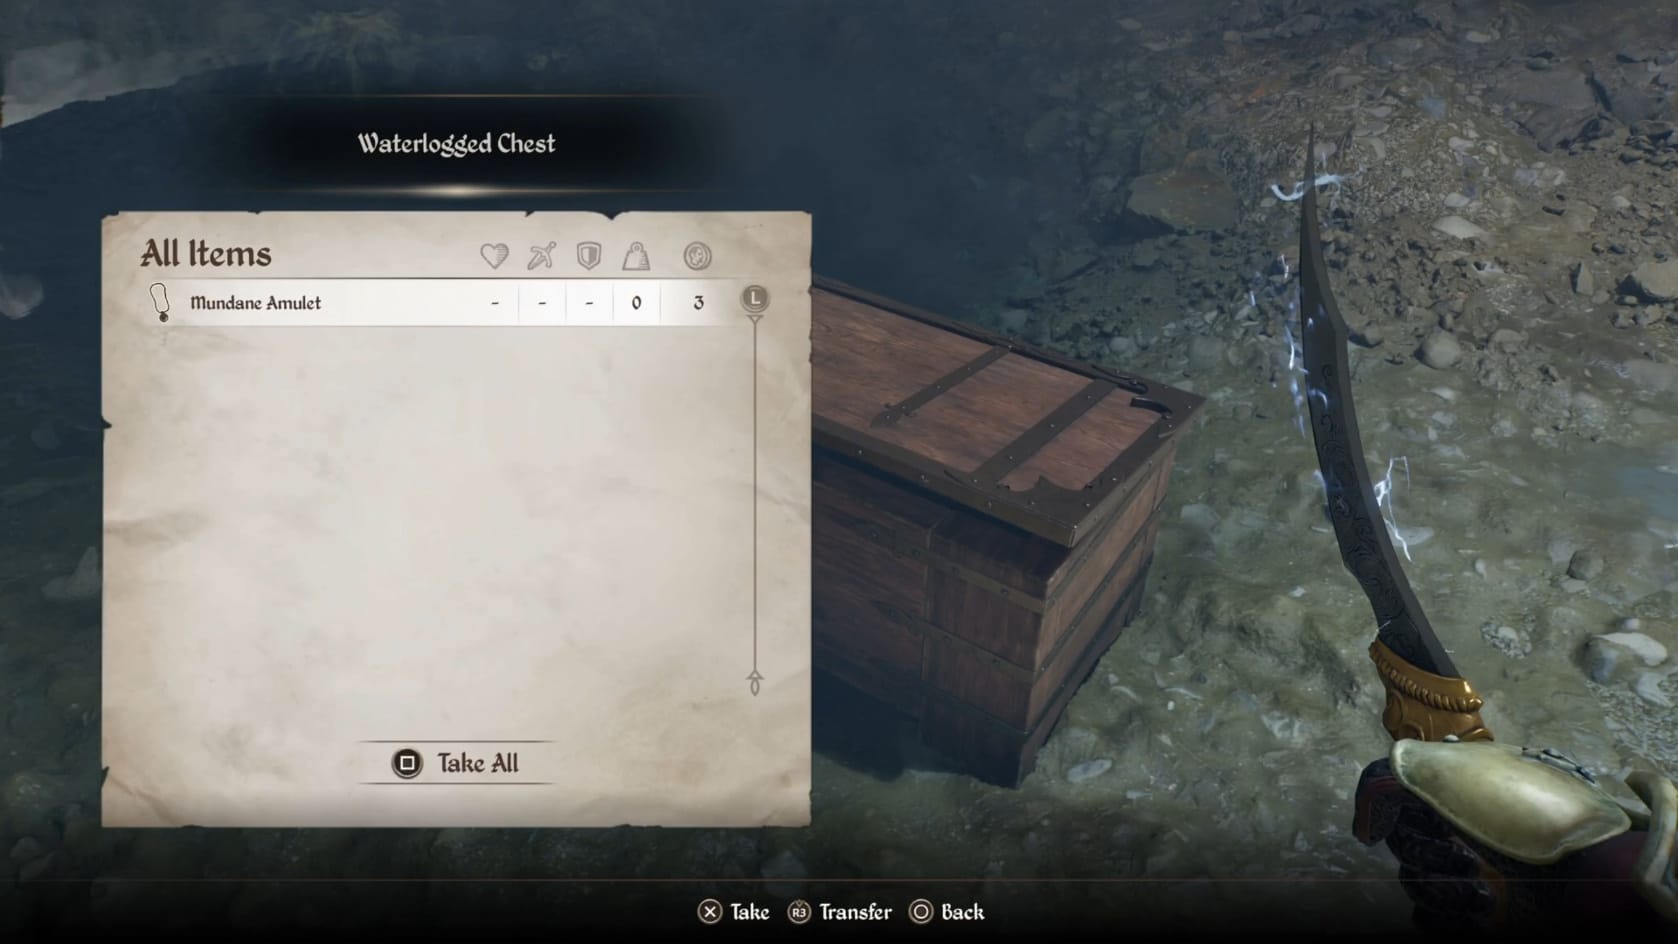
Now, head back to the Waterlogged Chest. Interact with it when you have those 3 keys and you will be able to get the Mundane Amulet. While this Amulet is nothing important, it is the main reward for the quest.
Bringing Peace
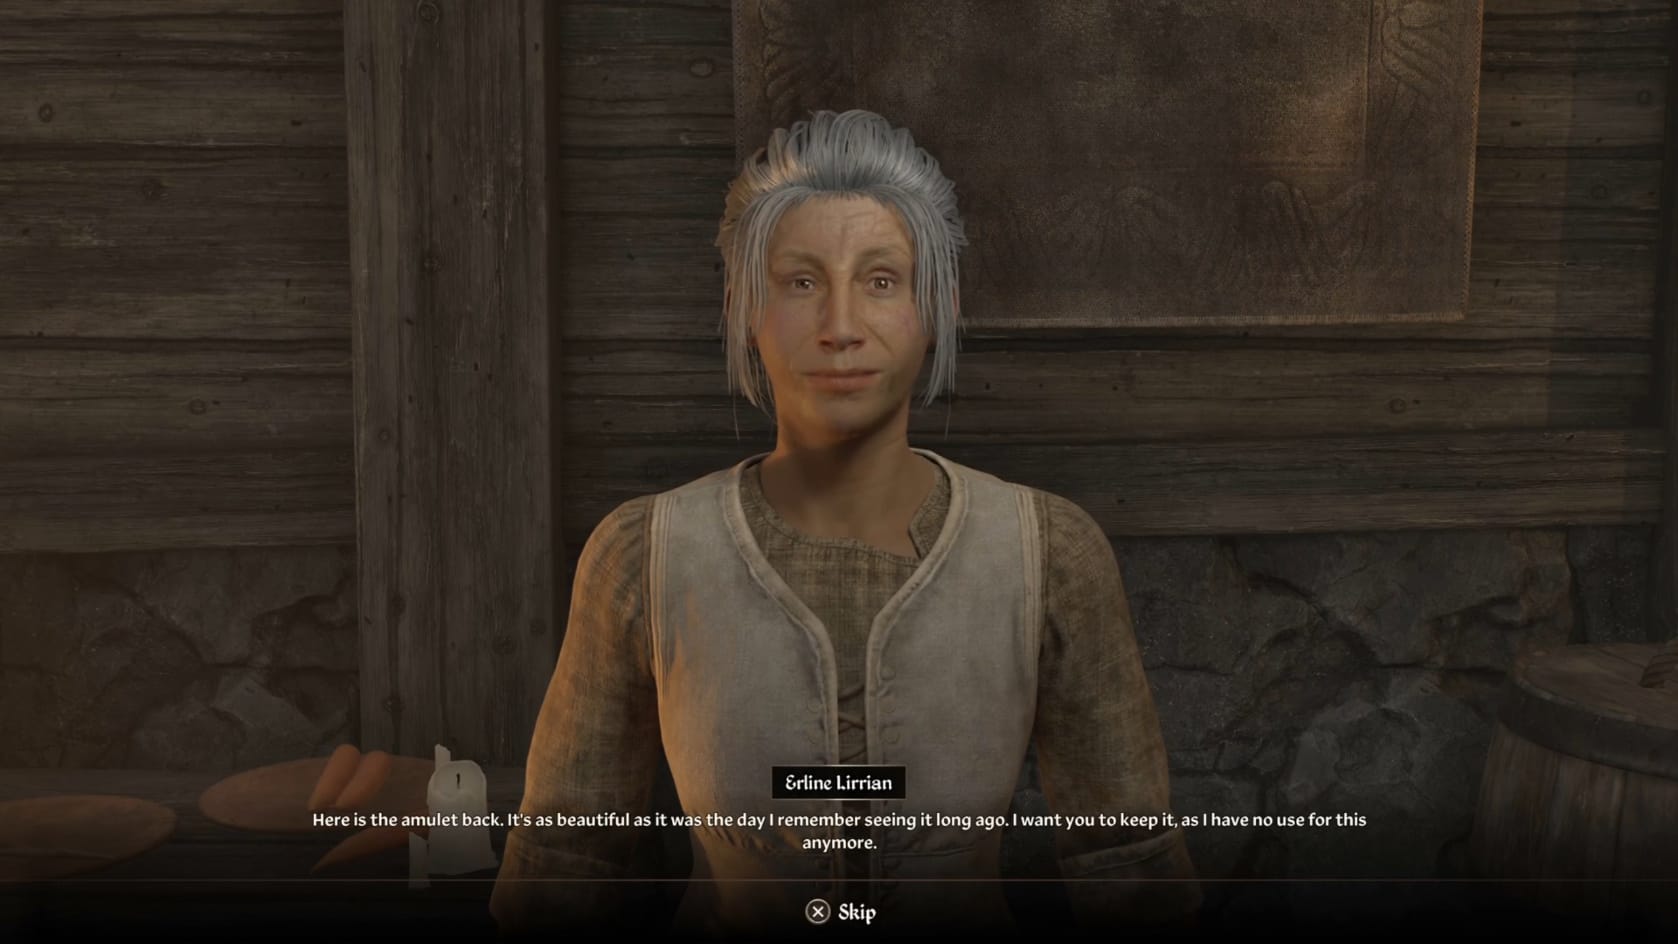
With everyone dealt with, and the Mundane Amulet claimed from the Waterlogged Chest, it’s time to return to Bruma. Go back to Bradon Lirrian’s House. Talk with Erline Lirrian. She’ll preform a simple spell on the Mundane Amulet. This will reveal its true form, the Phylactery of Litheness.
The Phylactery of Litheness
It appears as a Mundane Amulet and its true form can only be revealed by Erline Lirrian.
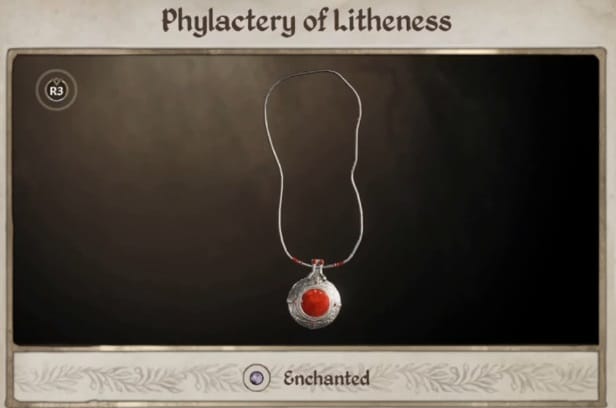
Weight: 0.5
Lv 1-4 | Fortify Speed 5 pts | 700 gold
Lv 5-9 | Fortify Speed 6 pts| 800 gold
Lv. 10-14 | Fortify Speed 7 pts | 1000 gold
Lv. 15-19 | Fortify Speed 8 pts | 1100 gold
Lv. 20-24 | Fortify Speed 9 pts | 1300 gold
Lv. 25+ | Fortify Speed 10 pts | 1400 gold
Video Walkthrough
A video walkthrough of "A Brotherhood Betrayed."