Oblivion Remastered: Lifting the Vale Guide
Find your way to the forgotten Pale Pass. Uncover and claim the Draconian Madstone in this epic Oblivion Remastered quest guide.
Oblivion Remastered – Lifting the Vale Guide
Unlocking the Quest
Once the Hero of Kvatch has gotten a fame of 10 (or more), you will be approached by Tolgan. Tolgan is a Steward for the Countess Narina Carvain. He will offer a quest on behalf of her. He’ll offer a stipend of (25) gold if you are willing to talk with the Countess.
Meeting the Countess
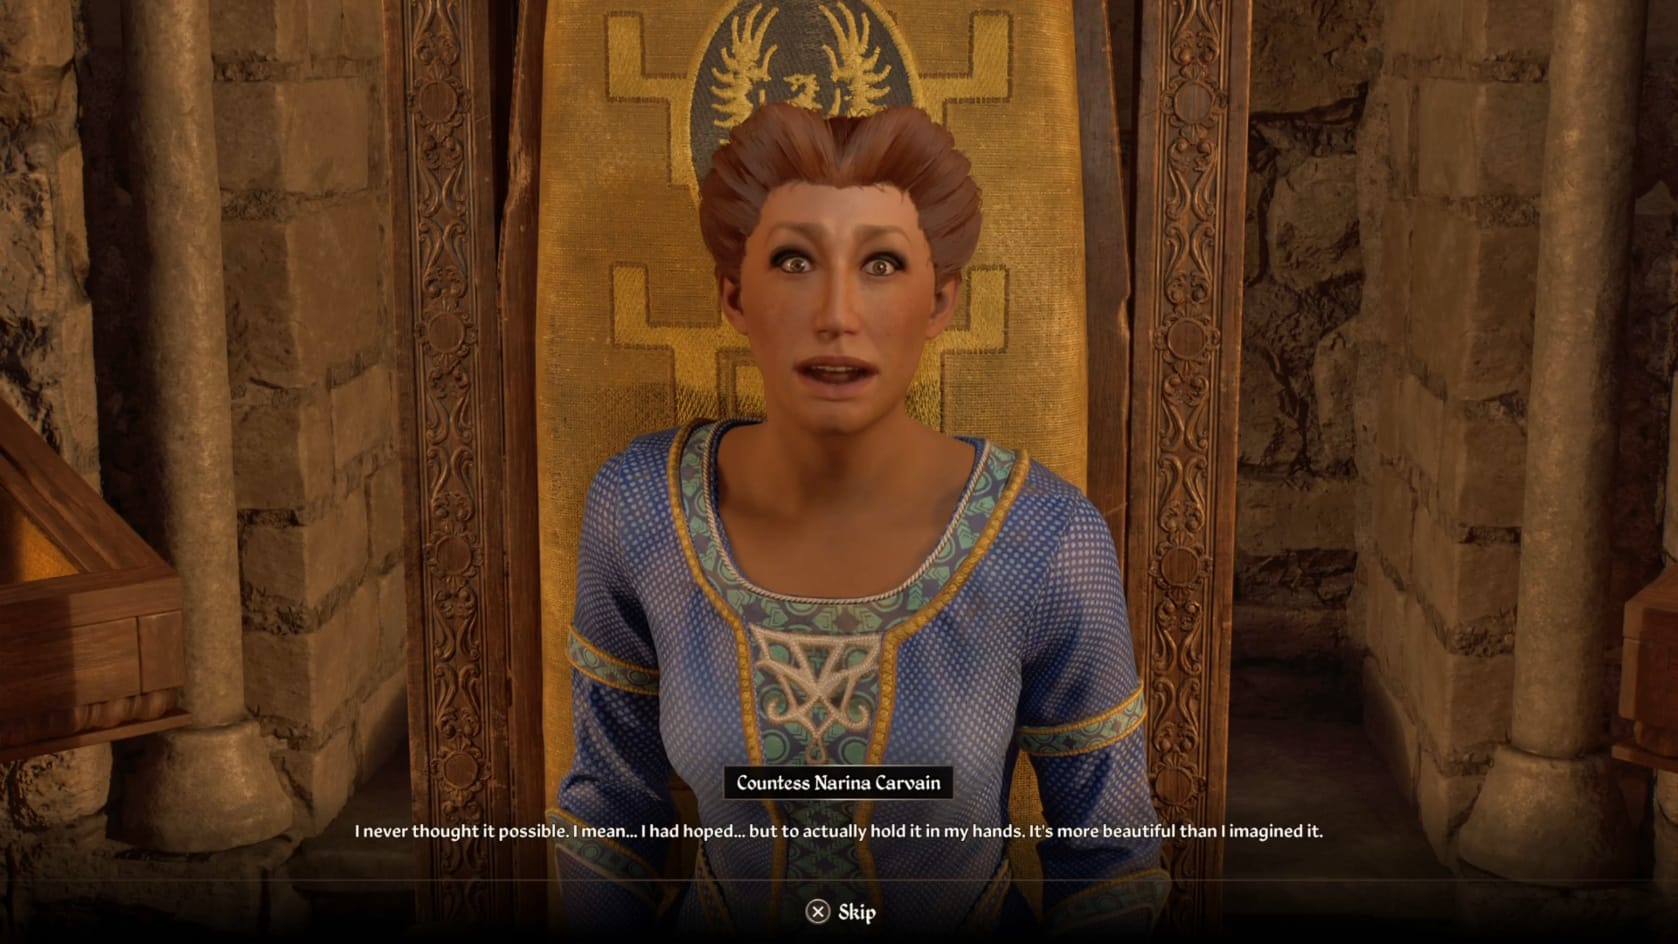
With this stipend accepted, the quest itself is all set-up. Make your way into Castle Bruma between the hours of loosely 8am to 6pm. This is when you can expect to meet Countess Narina Carvain in the throne room of Castle Bruma. She wants to add to her collection of Akaviri with you retrieving the Draconian Madstone. This mysterious necklace is found within the Vale. This Madstone is said to protect the wearer from poisons of all types.
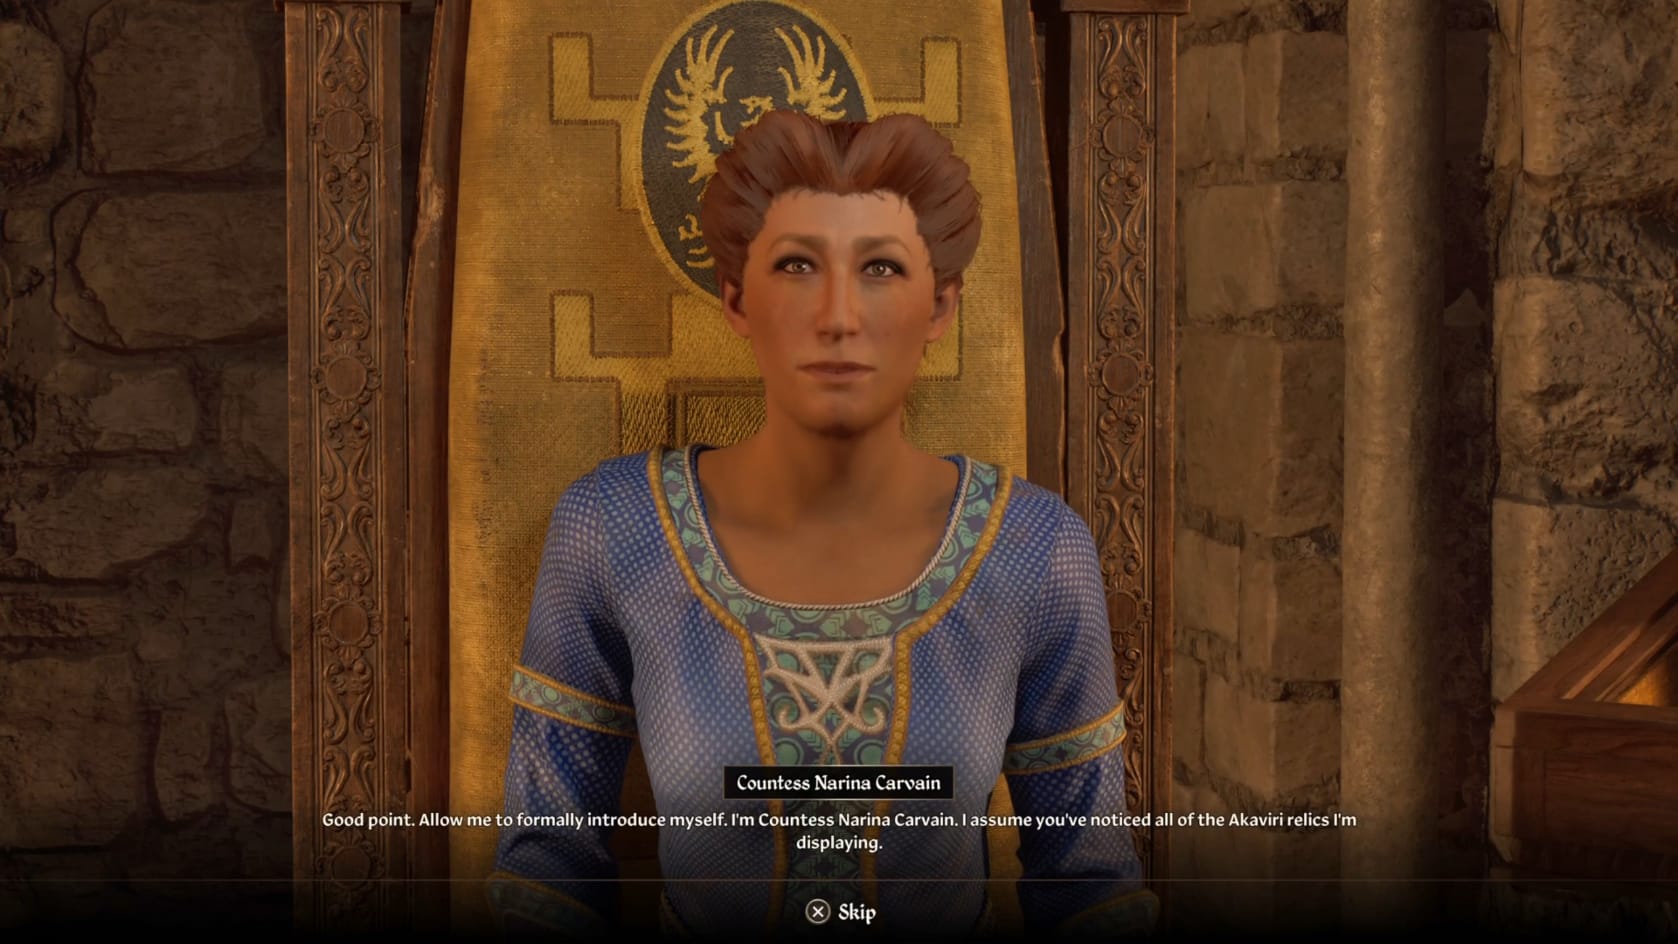
To this end, she’ll be sending you to find the mysterious Pale Pass. While she doesn’t know its exact location, Narina can give you a starting location. She will share with you a diary of an Akaviri Messenger that they’ve found.
Talk with Narina one more time about the “Diary” at this point. She’ll explain what she’s learned so far from her scouts. It’s not a lot, but she’ll share the Pale Pass Map with the Player, and you’ll learn the first of the Landmarks you are looking for, Dragonclaw Rock.
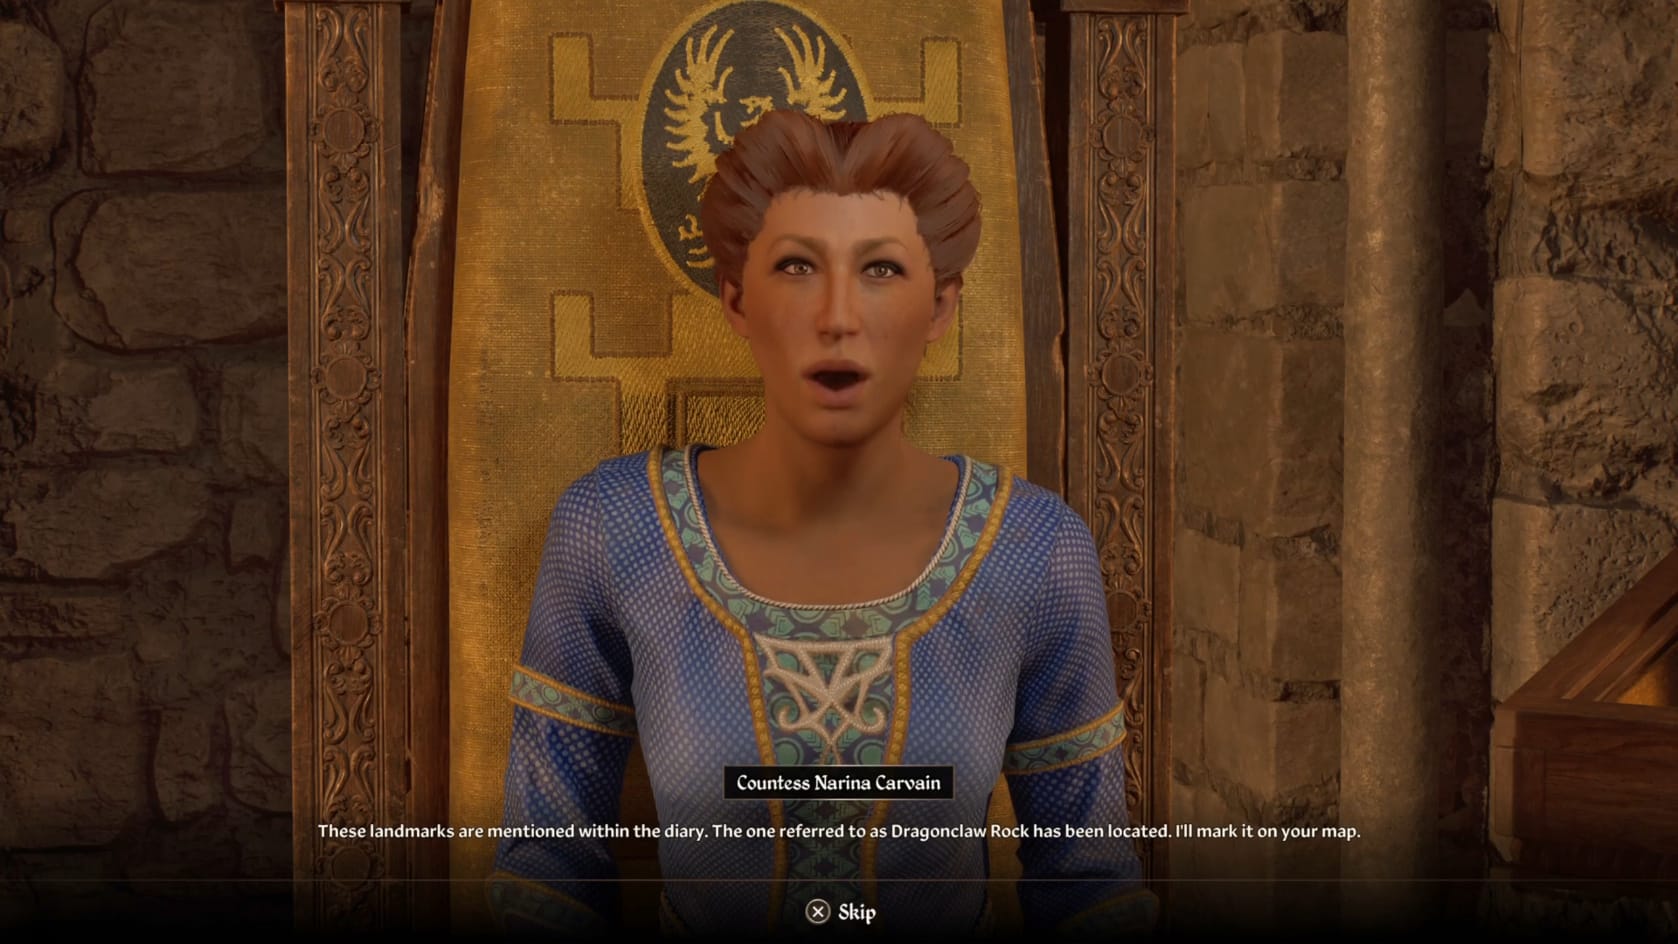
If you read the Diary, you will get the basic directions to the Sentinel, and from there to Serpent’s Trail. You will need to navigate through the Serpent’s Trail to reach the Pale Pass.
Tracking History
Dragonclaw Rock
Leave Castle Bruma and exit the Town from its Northern Gate. From Bruma, you will want to travel a modest distance to the Northeast. As you approach Dragonclaw Rock, you will find it’s fairly calm around it.
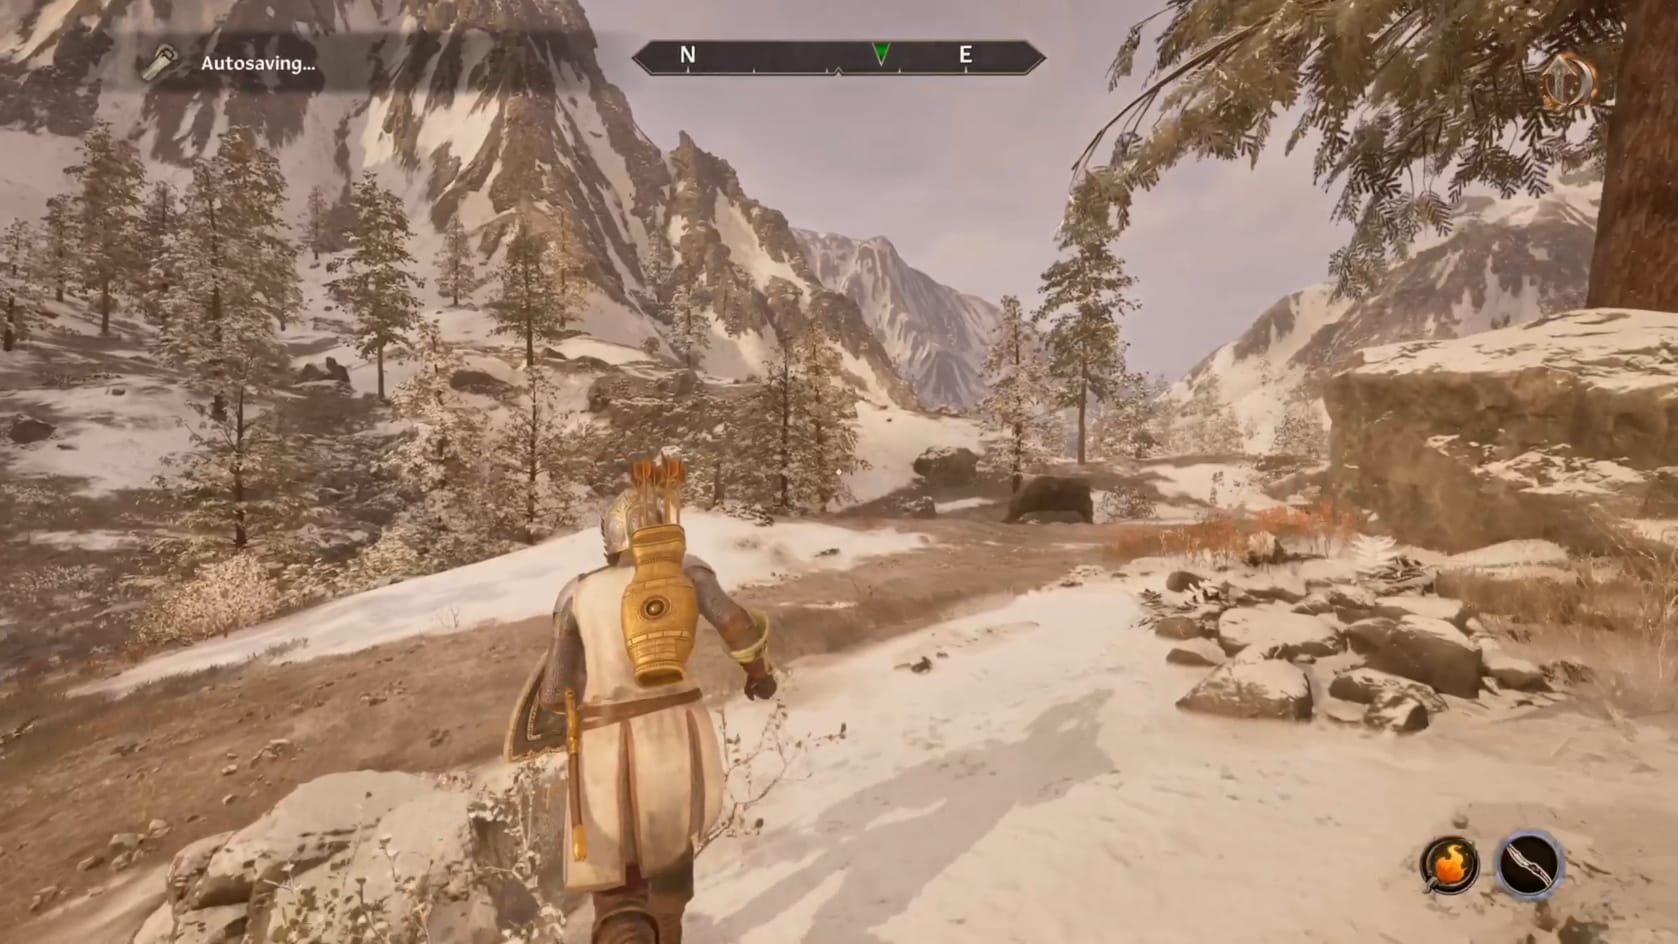
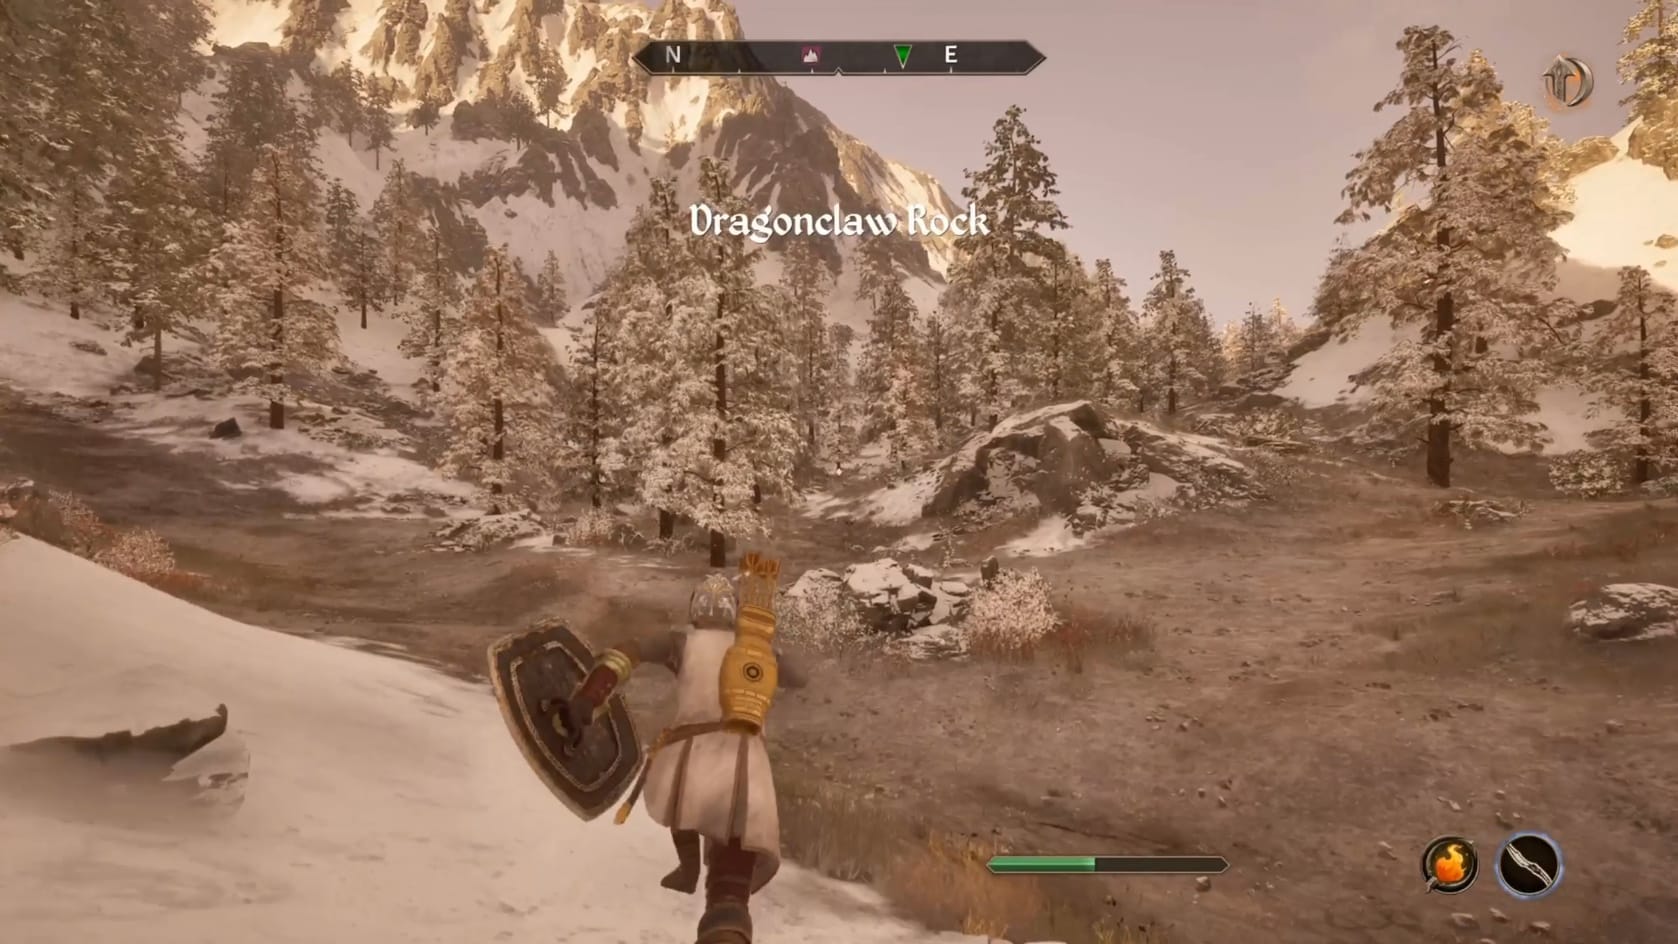
The Hero traveling out to Dragonclaw Rock from Bruma's North Gate.
Reaching The Sentinel
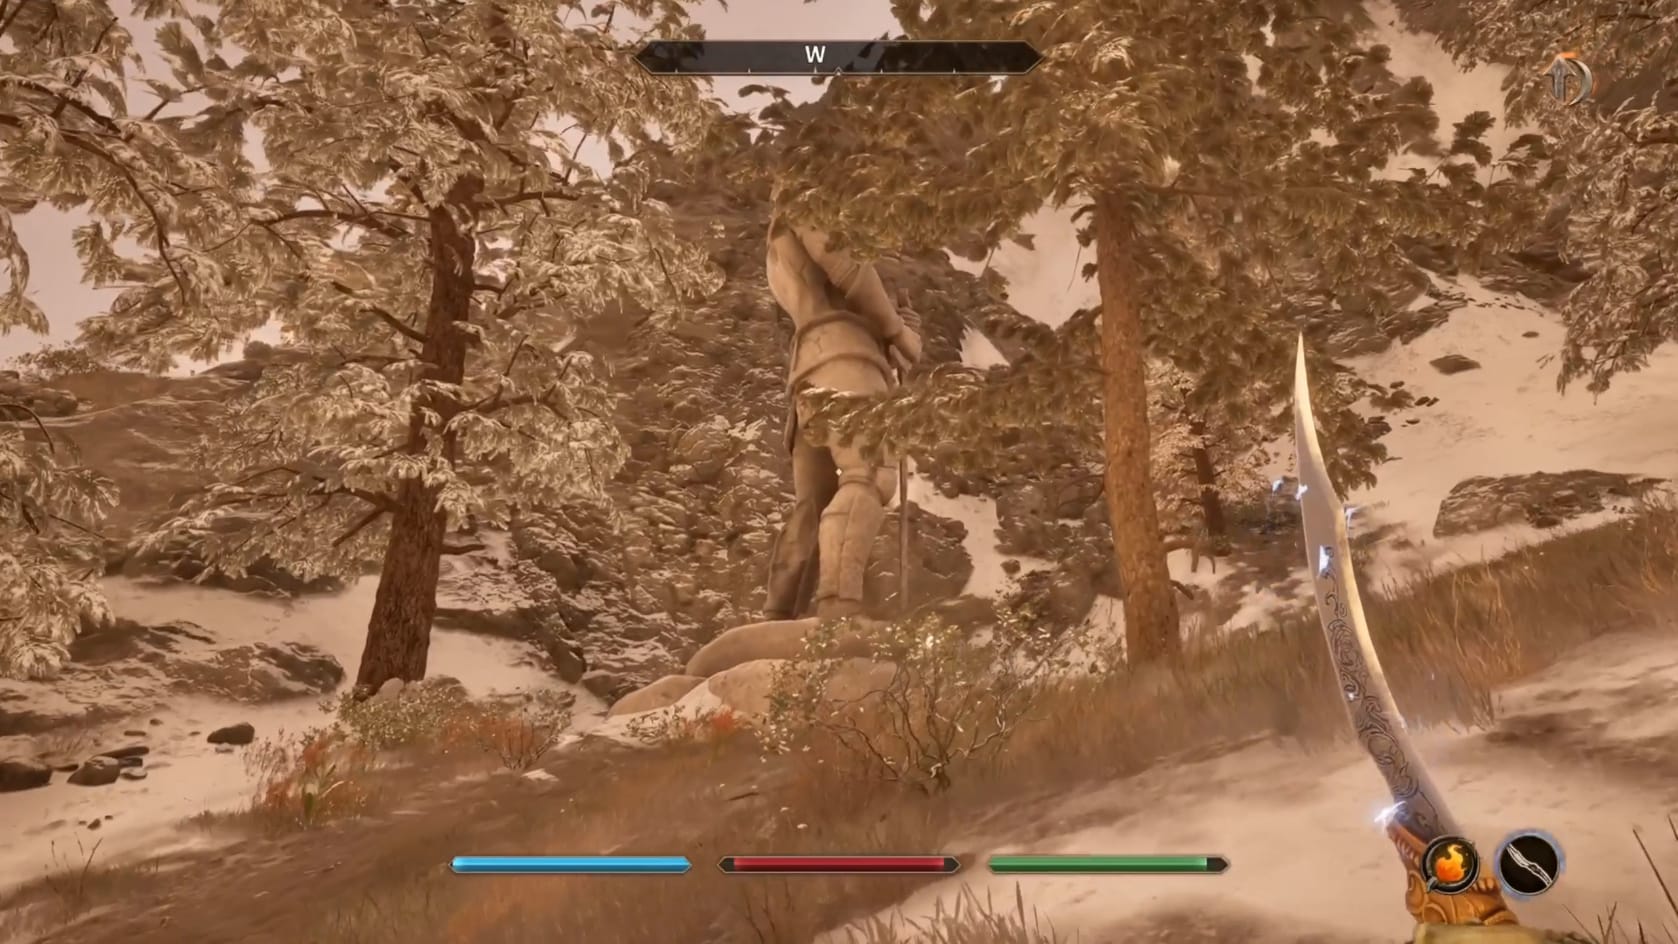
This second landmark is found to the West from Dragonclaw Rock. Just line up loosely with any middle point of the rock and head up the slope to the West. There’s a modest amount of trees to block any direct line of sight. Still, it won’t take long to reach this massive stone statue. Be wary since there are still animals and monsters about on this mountainside.
Reaching The Serpent’s Trail
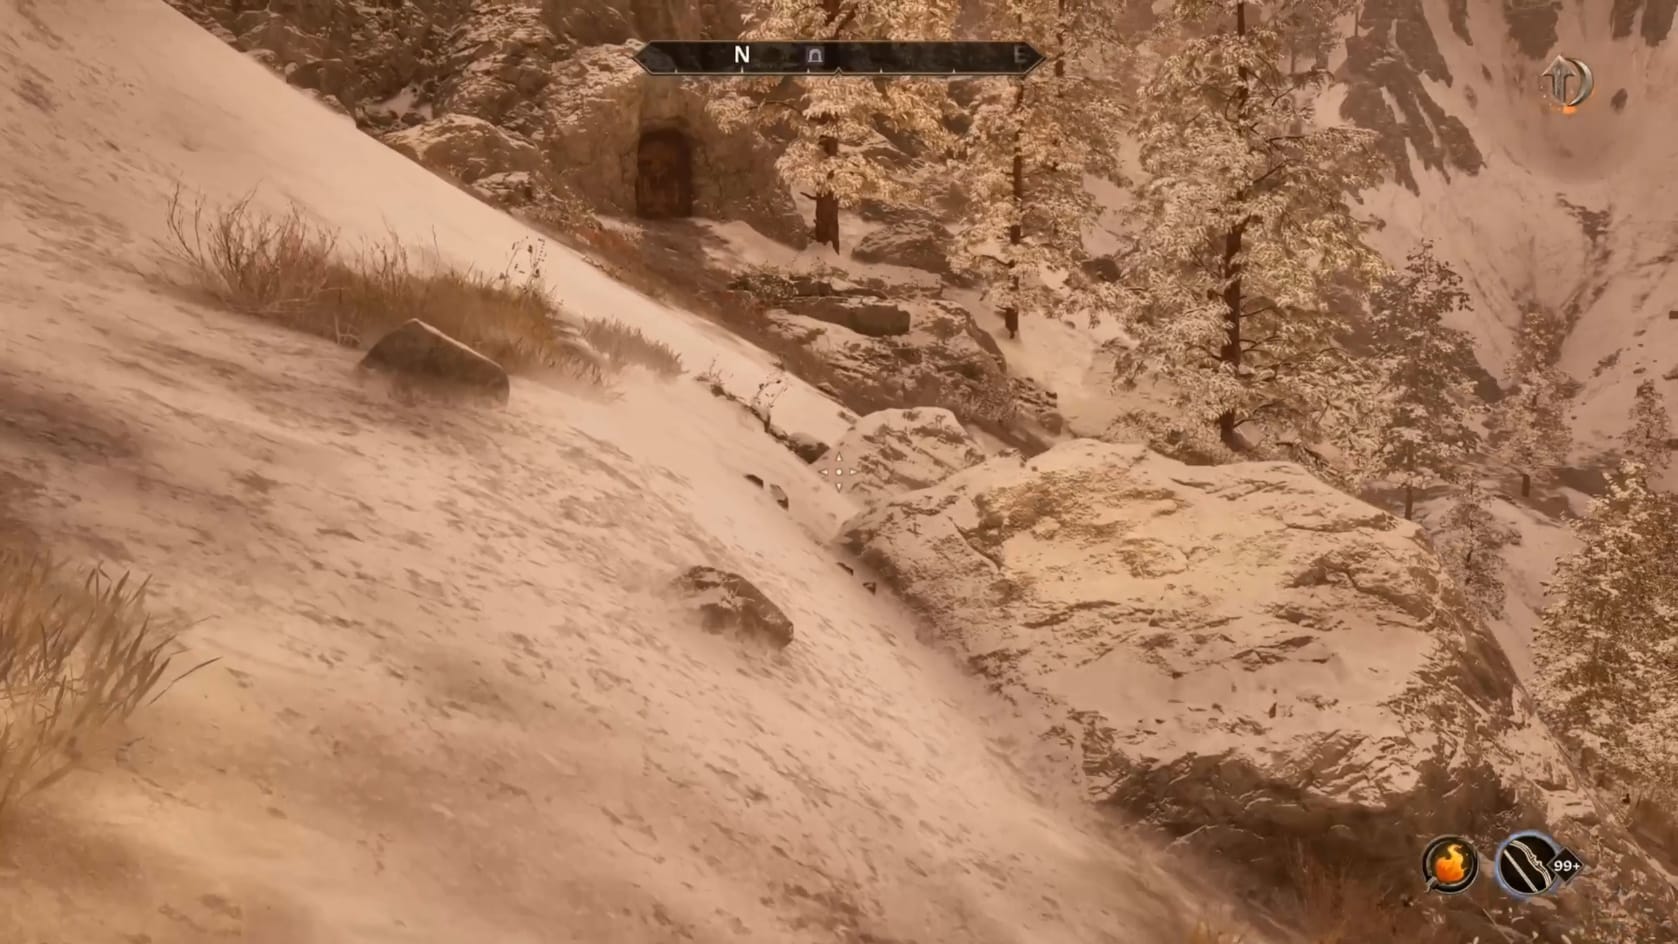
From the Sentinel, your next destination is the Serpent’s Trail. The good news is that it’s a short run. The bad news is there are some Ogres in your way.
The Serpent’s Trail
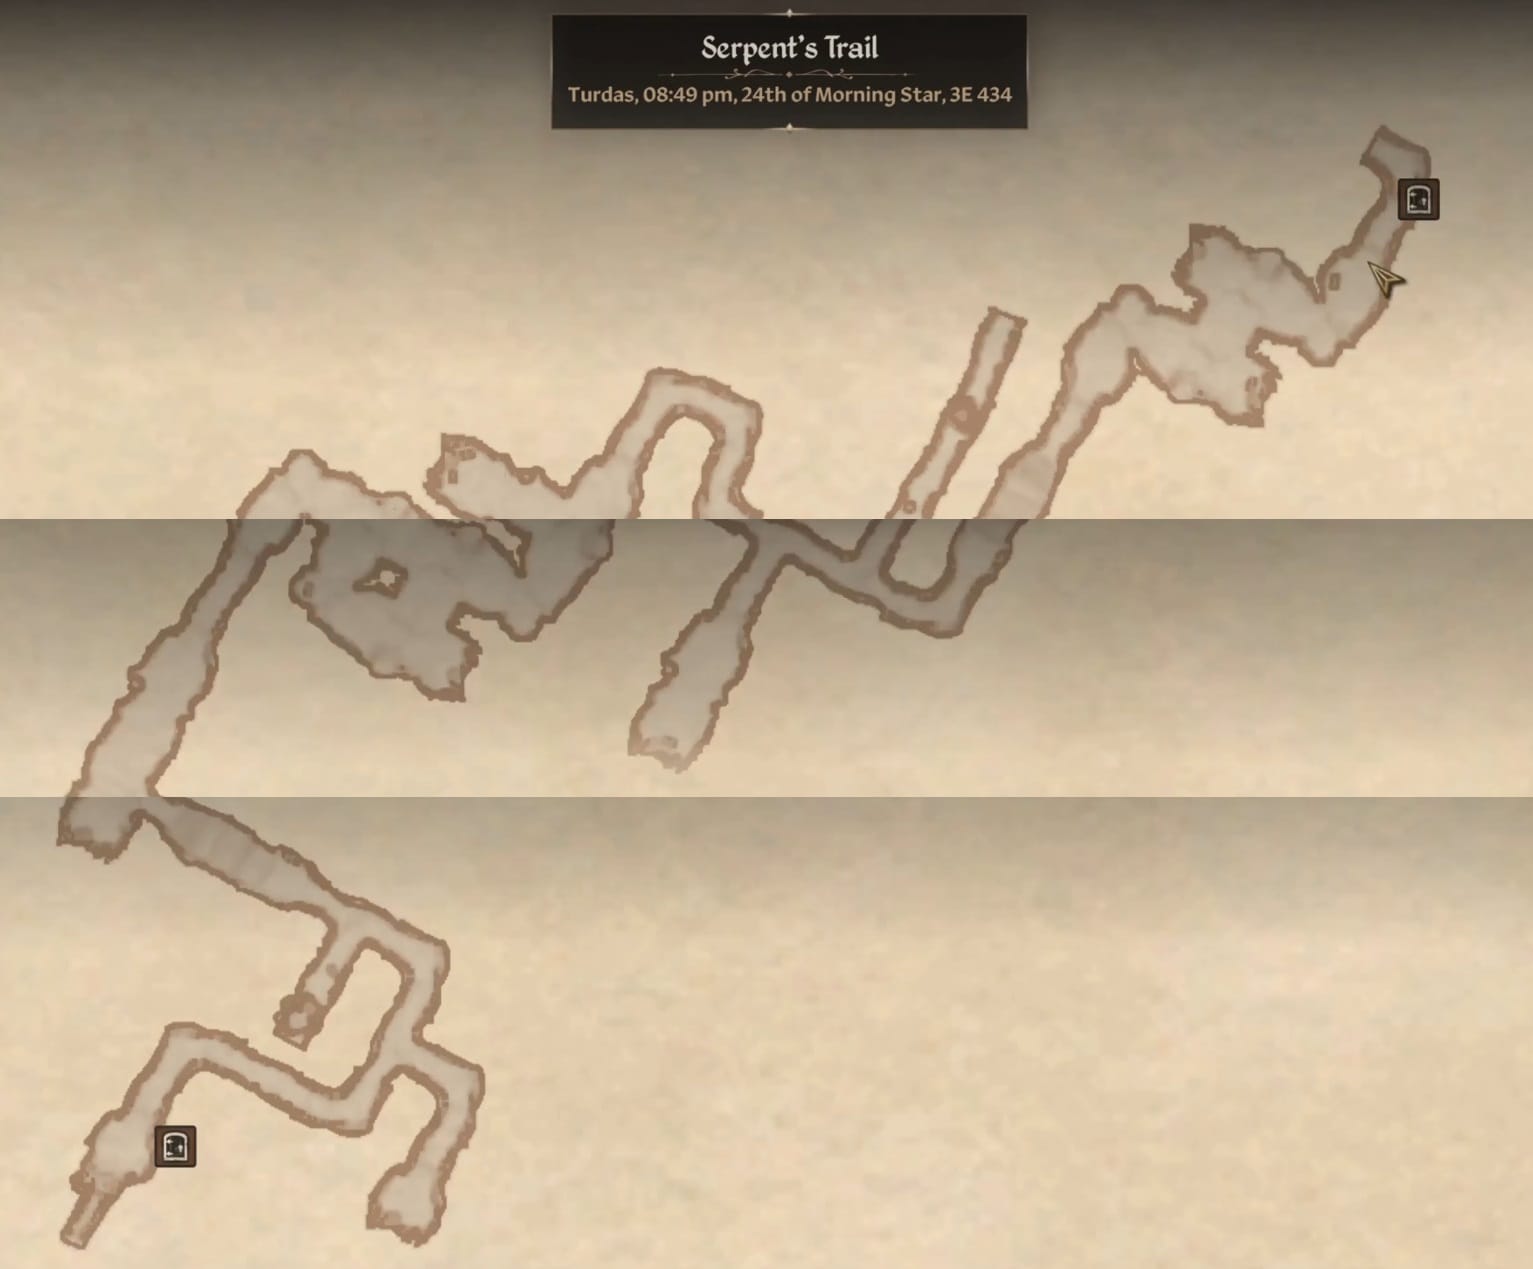
Inside the Serpent’s Trail, you will need to navigate the tunnel. It’s nothing too bad. Expect to encounter a number of nuisance animals, but also something like a Spriggan and some Pale Pass Orges (of some variance). But there’s still something VERY important to be found in here.
From the start, you will want to just head forward around the first corner. Continue to the Northeast from there. Ignore the side passage to the East and just continue to the North.
Go around the next corner and look to the South. You’ll find a short passage here with a Locked Chest (Average). Continue to the West after that going around the next corner. Go down the slope into the larger corridor.
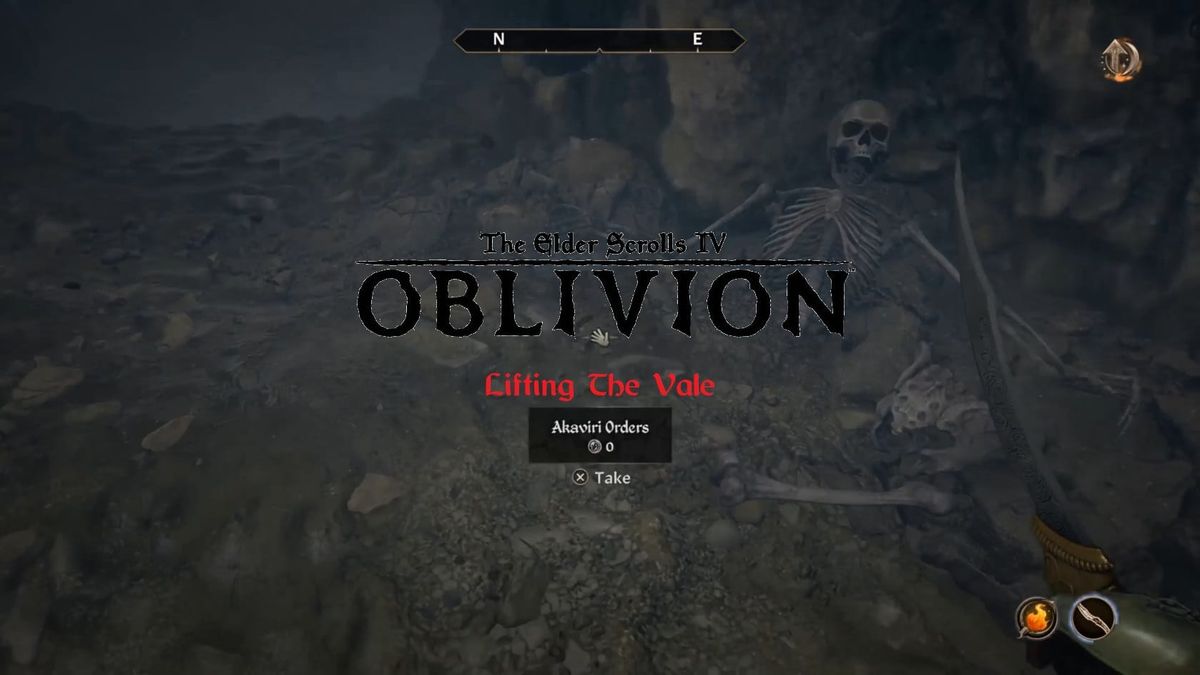
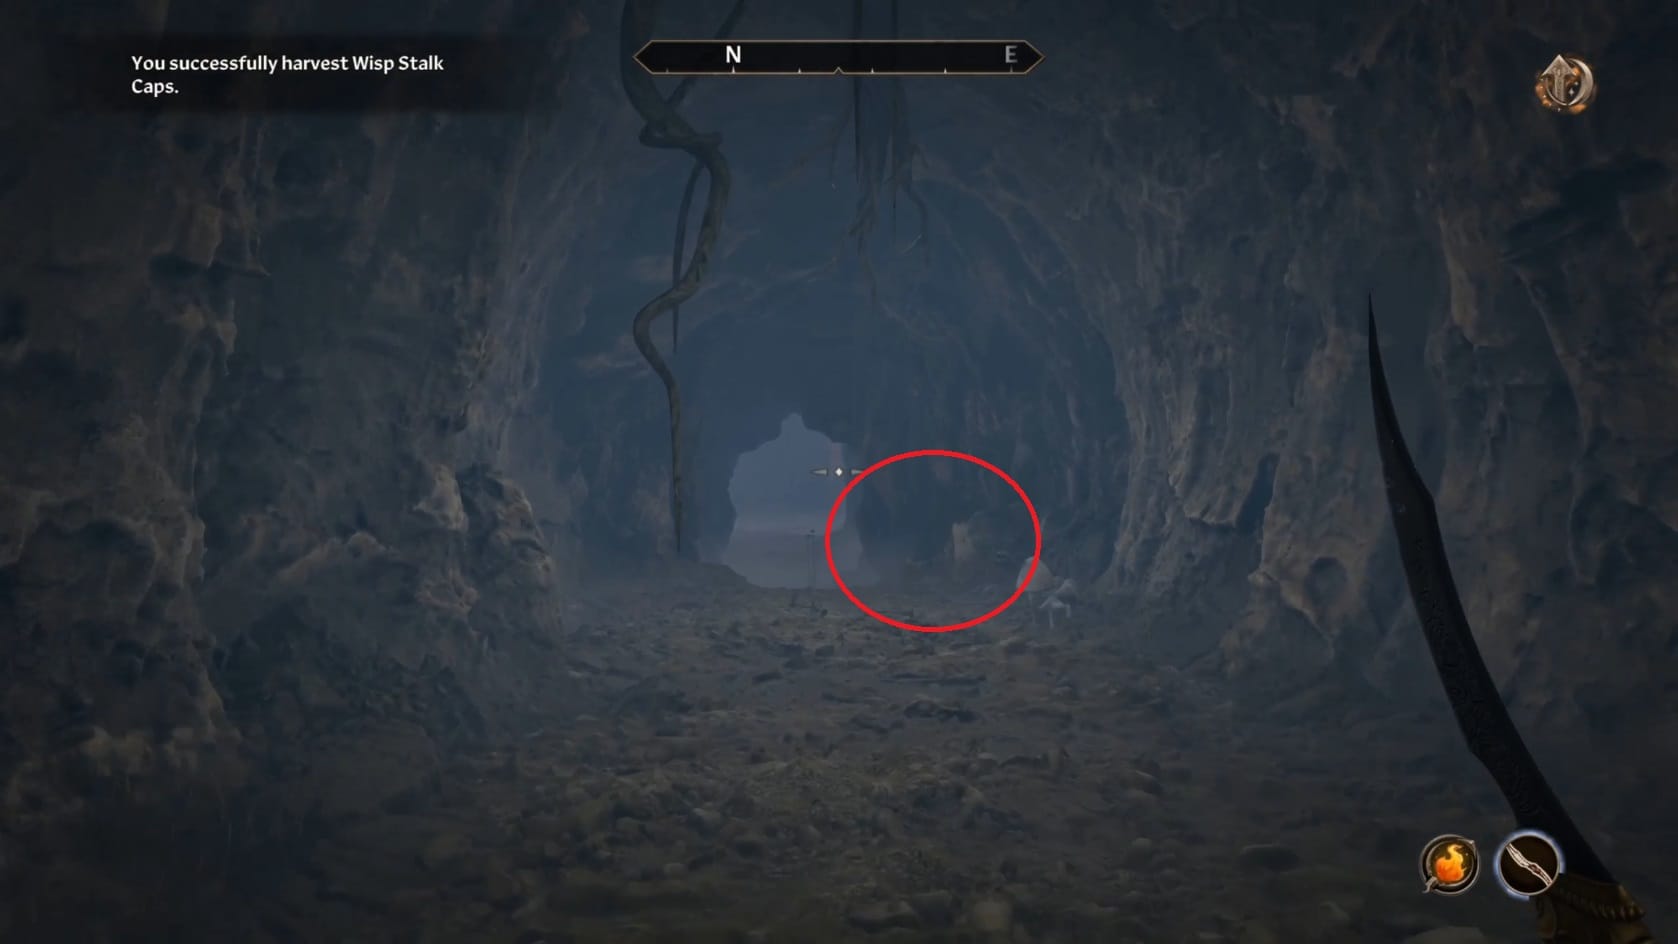
Turn to the right (Northeast) in this corridor. Now, you need to search just a bit. Along the right-hand side of the corridor you can find the body of a Messenger. This is the Messenger who wrote the diary you possess. Take a moment to locate this skeleton and look toward its right arm. You’ll find the Akaviri Orders sitting there. Claim them to make things easier in the future.
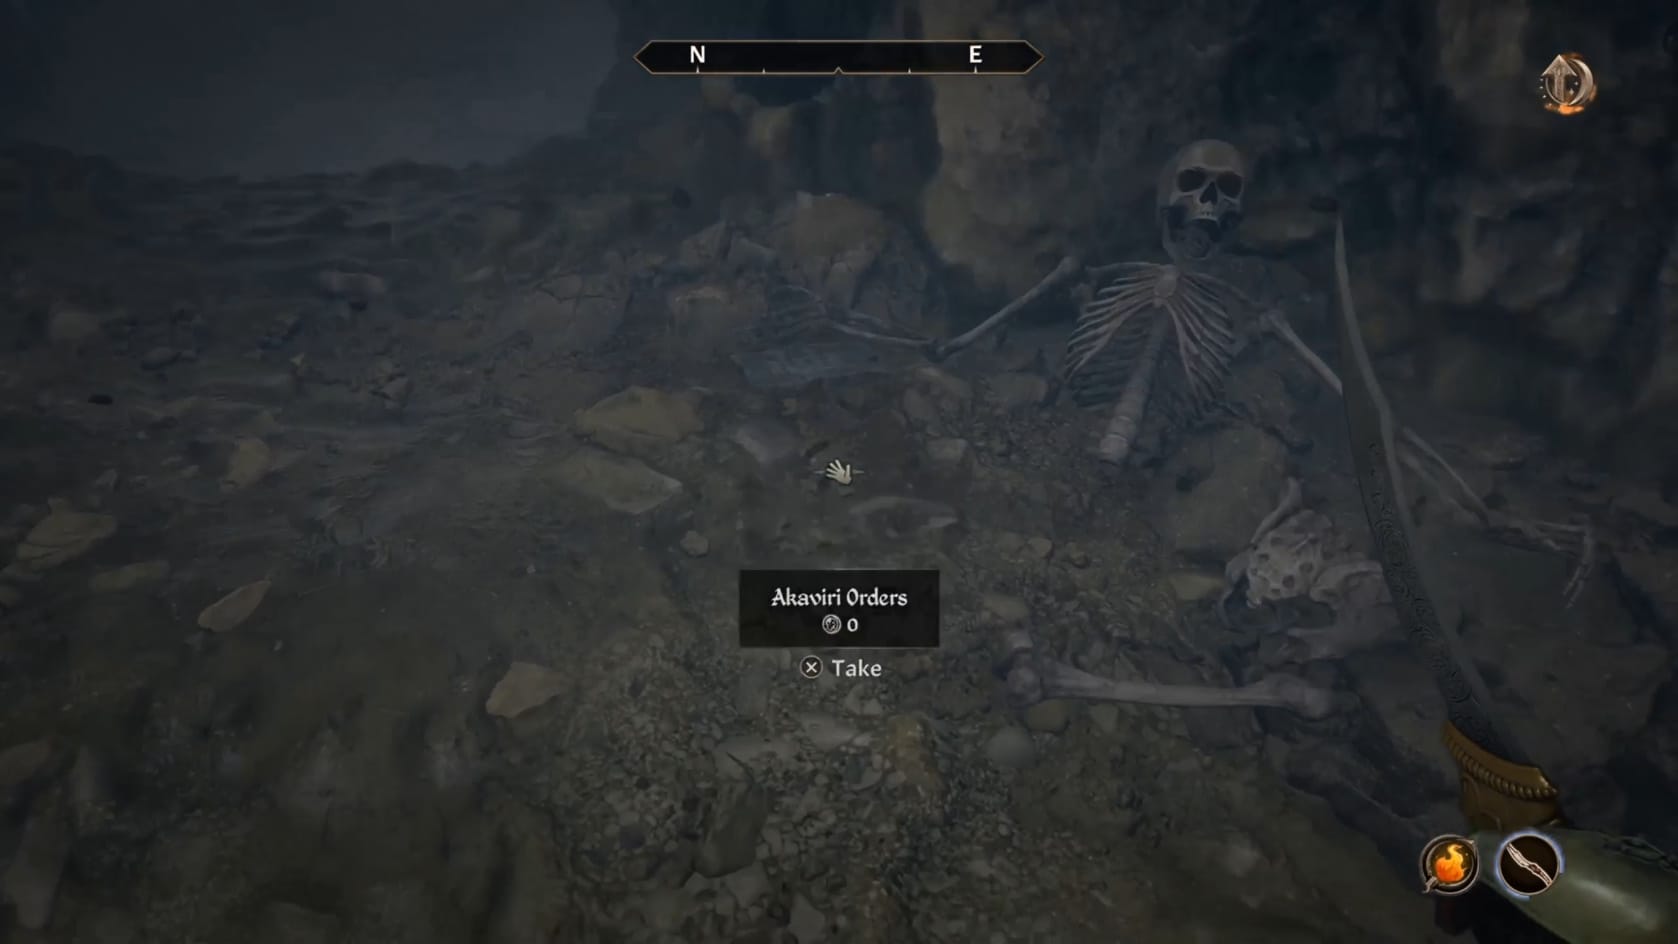
Finding the Akaviri Orders
Follow the path to the North and take the next corner to the East. There’s a small loop to the South that has enemies in it. Continue to the corner and head to the East with the next turn.
As you explore around here, but sure to look to the West to find a small alcove with a pair of chests in it. Continue to the North, down the slope, after that. Just keep along this main path. At the next intersection, keep going to the East and ignore the other path of the Ogre on it.
Going to the East you’ll find a path leading down a slope with (likely) a mountain lion on it. Defeat the Mountain Lion and follow the slope downward. Keep with this path, you’ll hit a large chamber. You can find a chest nearby the torch at the entrance to the right.
Pass through this large chamber over to the right. Turn to the North. You’ll likely see a Pale Pass Ogre. Defeat it and go for the door just beyond it. This will bring you into the Pale Pass itself!
The Pale Pass
- There is a secondary, hidden quest here: “A Ring of Keys” that gives access to the very desirable Circlet of Omnipotence.
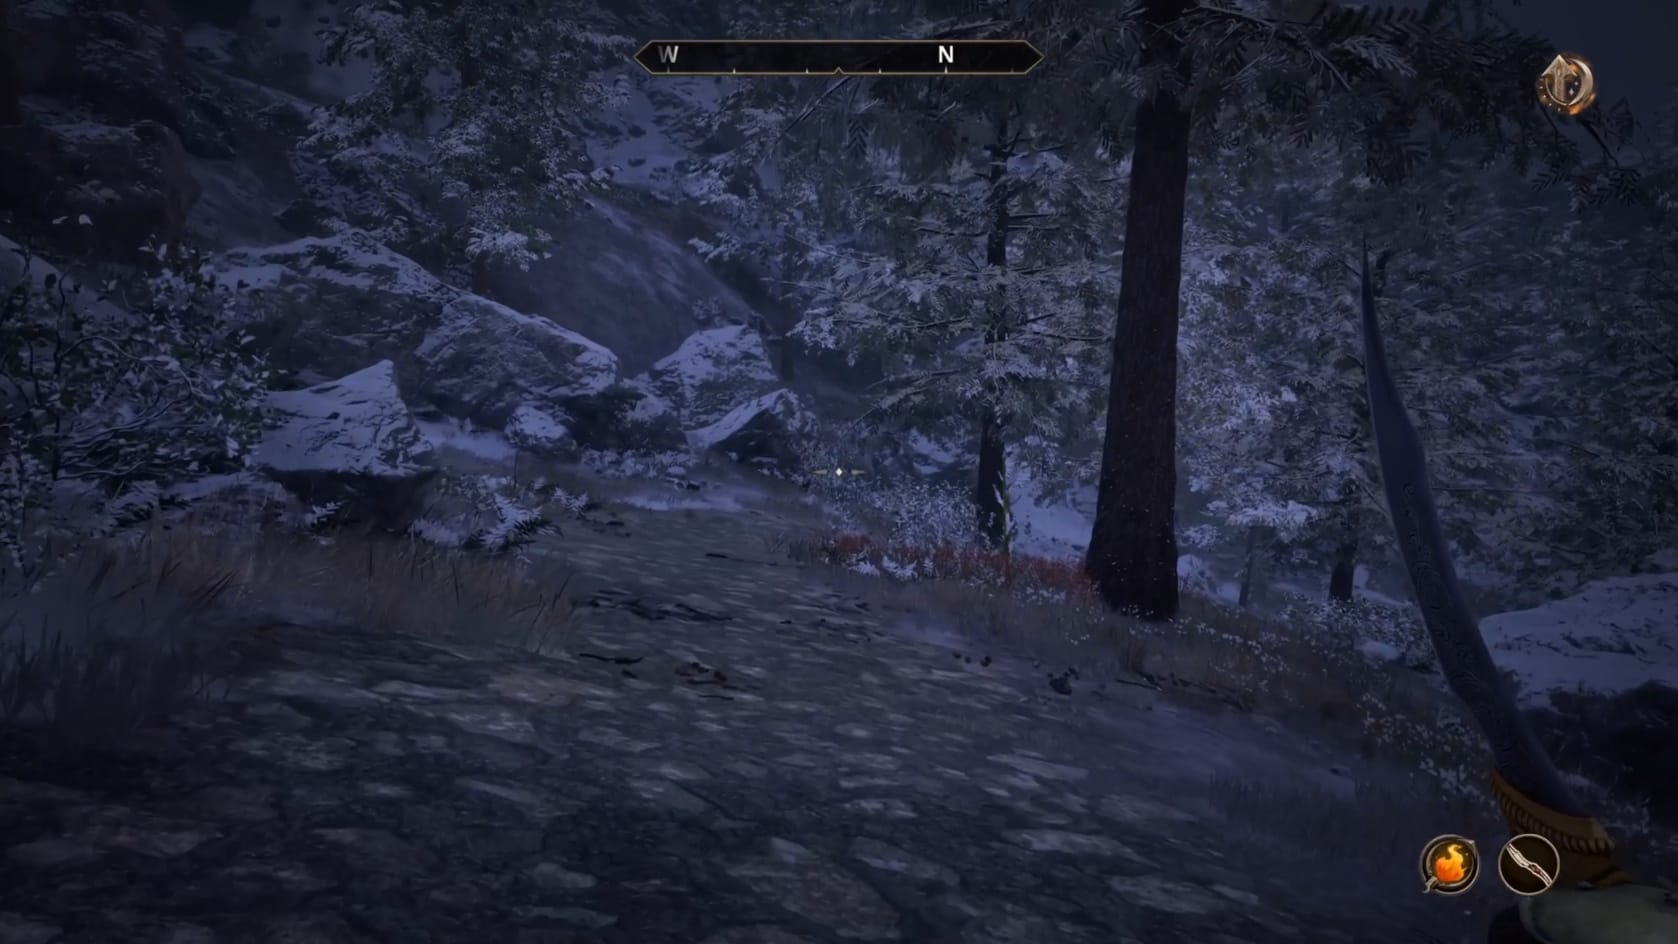
Now that you’re in the Pale Pass, it’s a simple thing to reach the Fortress you’ve been sent to find. You will need to simply follow the trail that you’re standing on. It’s not quite that simple, since there are a number of Pale Pass Ogres along it. You’ll need to either outrun them or just cut your way through.
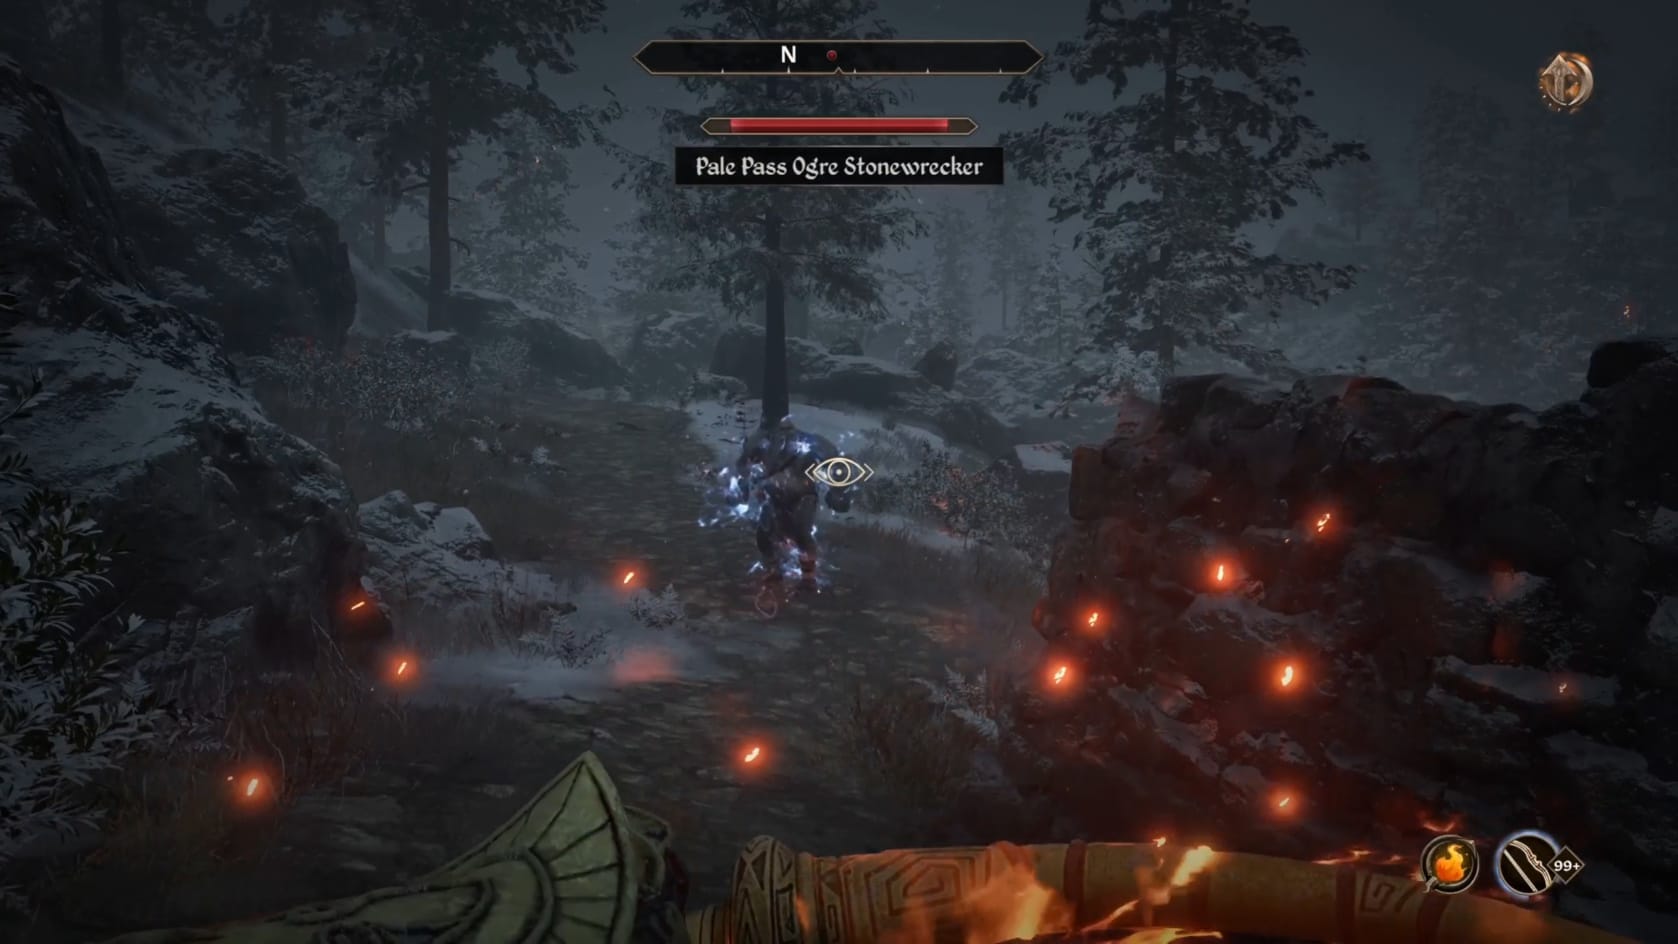
When you reach the pair of statues along the trail, you’ll get a quest update. If you look just up the trail (and slope) you’ll see the remains of Fort Pale Pass. There are a few more Pale Pass Ogres scattered through it.
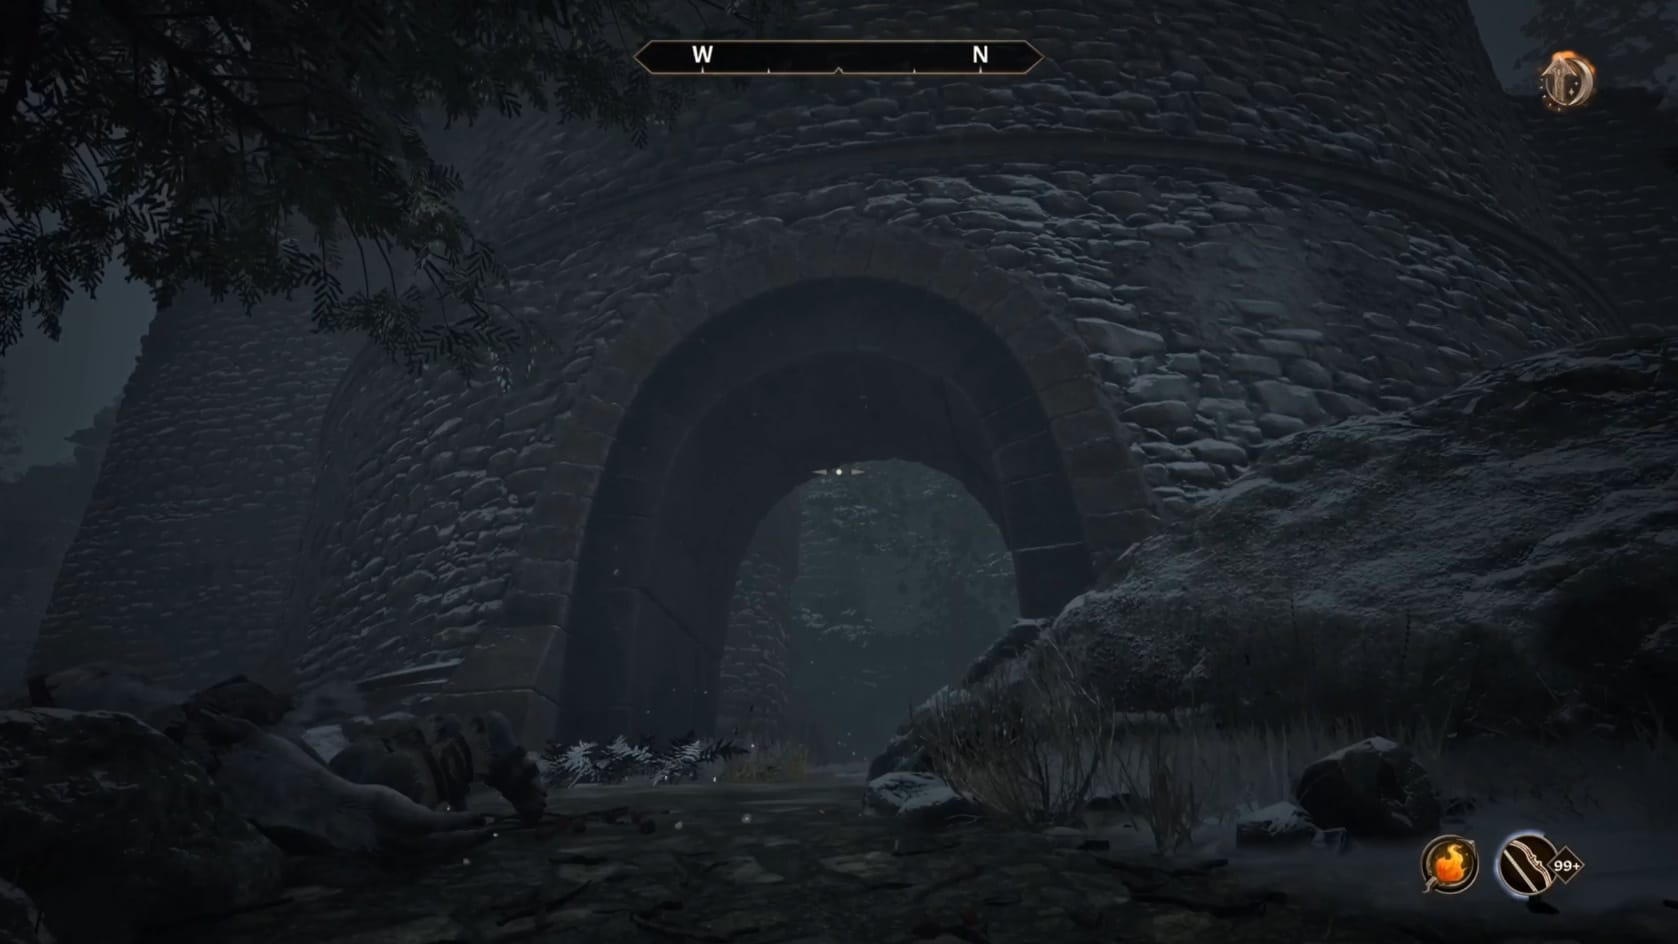
The entrance to the Fort itself is found along the Eastern wall on the ground level.
Fort Pale Pass
Welcome to Fort Pale Pass. You have a good bit of navigation to get through the whole of it. You’ll enter the “Mouth of the Serpent.”
Mouth of the Serpent
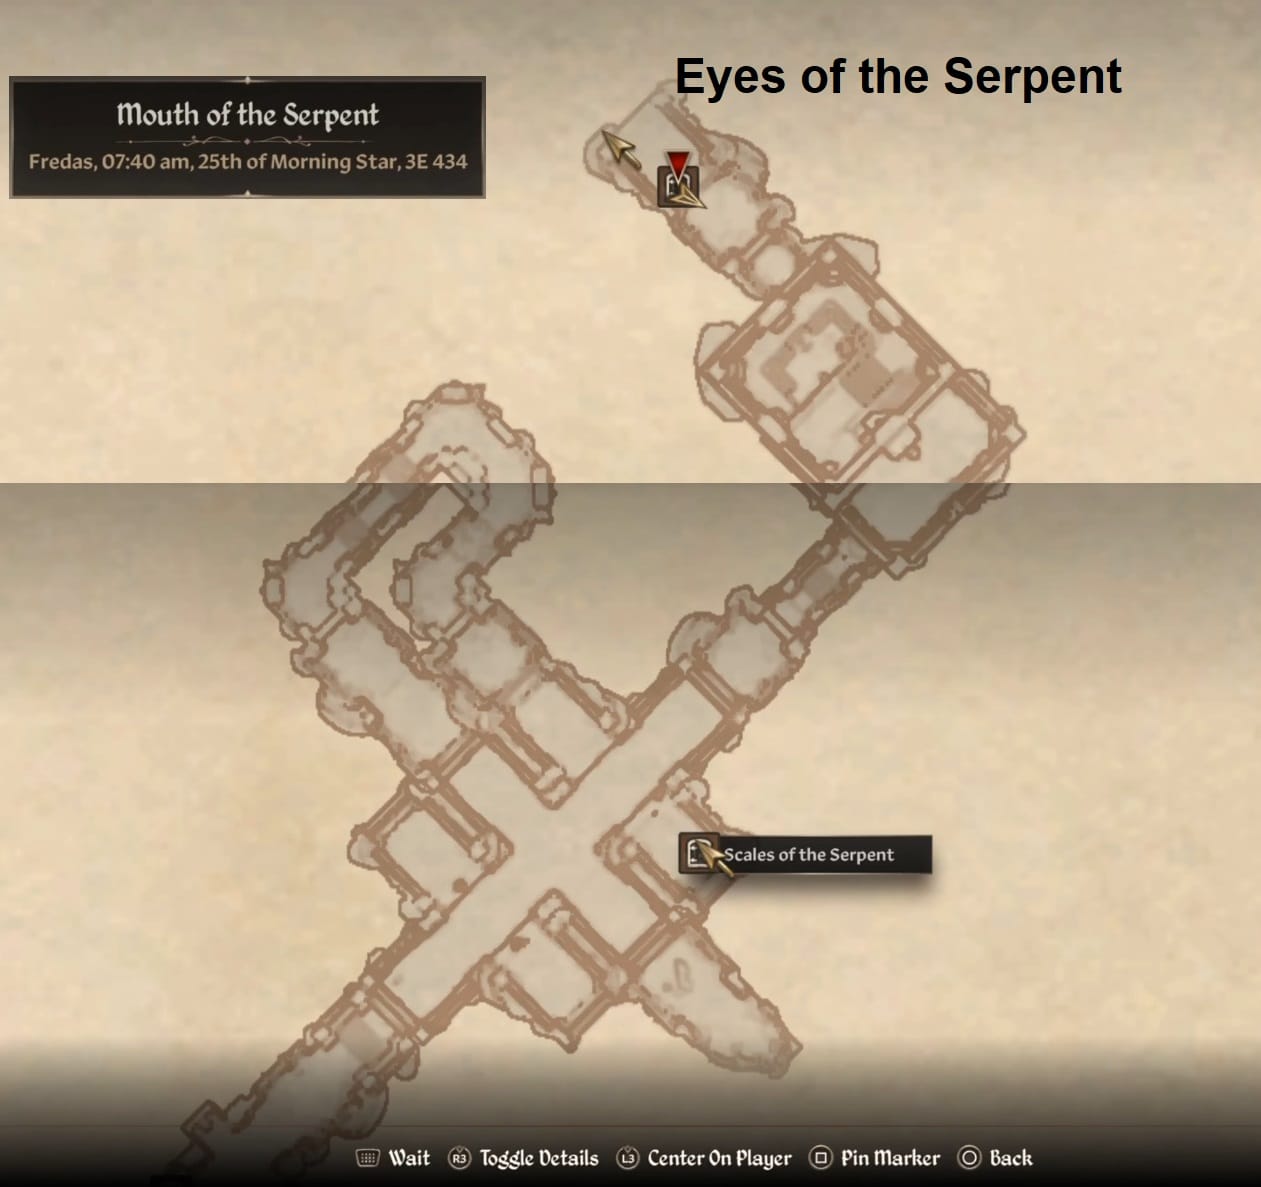
- This is just one way through the intertwining parts of this fort. Don’t be afraid to explore and find your own way through.
Just inside the Fort, you will see one of the many Undead Akavari Soldiers. They’re armed like all the others with a Ruined Akavari Shield and Ruined Akavari Katana.
Start by heading Northward and down the stairs. On the left-hand side of the gate you’ll find the lever to raise it. Pull the lever and start forward.
Just through there, carefully jump over the 2 pressure plates in front of you. This avoids a ceiling trap above you. And if you look forward to the Northeast you’ll see a pair of Undead Akavari Soldiers.
Just past the Pressure plates, turn to the West (left) and head down the hallway here. Follow the path to the right and up the stairs. There’s likely another Undead waiting in this passage. Just keep going forward. You’ll reach a gap. So you’ll want to run and jump across it. After checking the Locked Chest (Average) nearby the ledge you just landed on, go for the door. This will bring you to the Scales of the Serpent.
Otherwise, you can drop off the ledge and follow the short path to the Northeast. Deal with a few more undead and this will give you a door to the Eyes of the Serpent.
Eyes of the Serpent
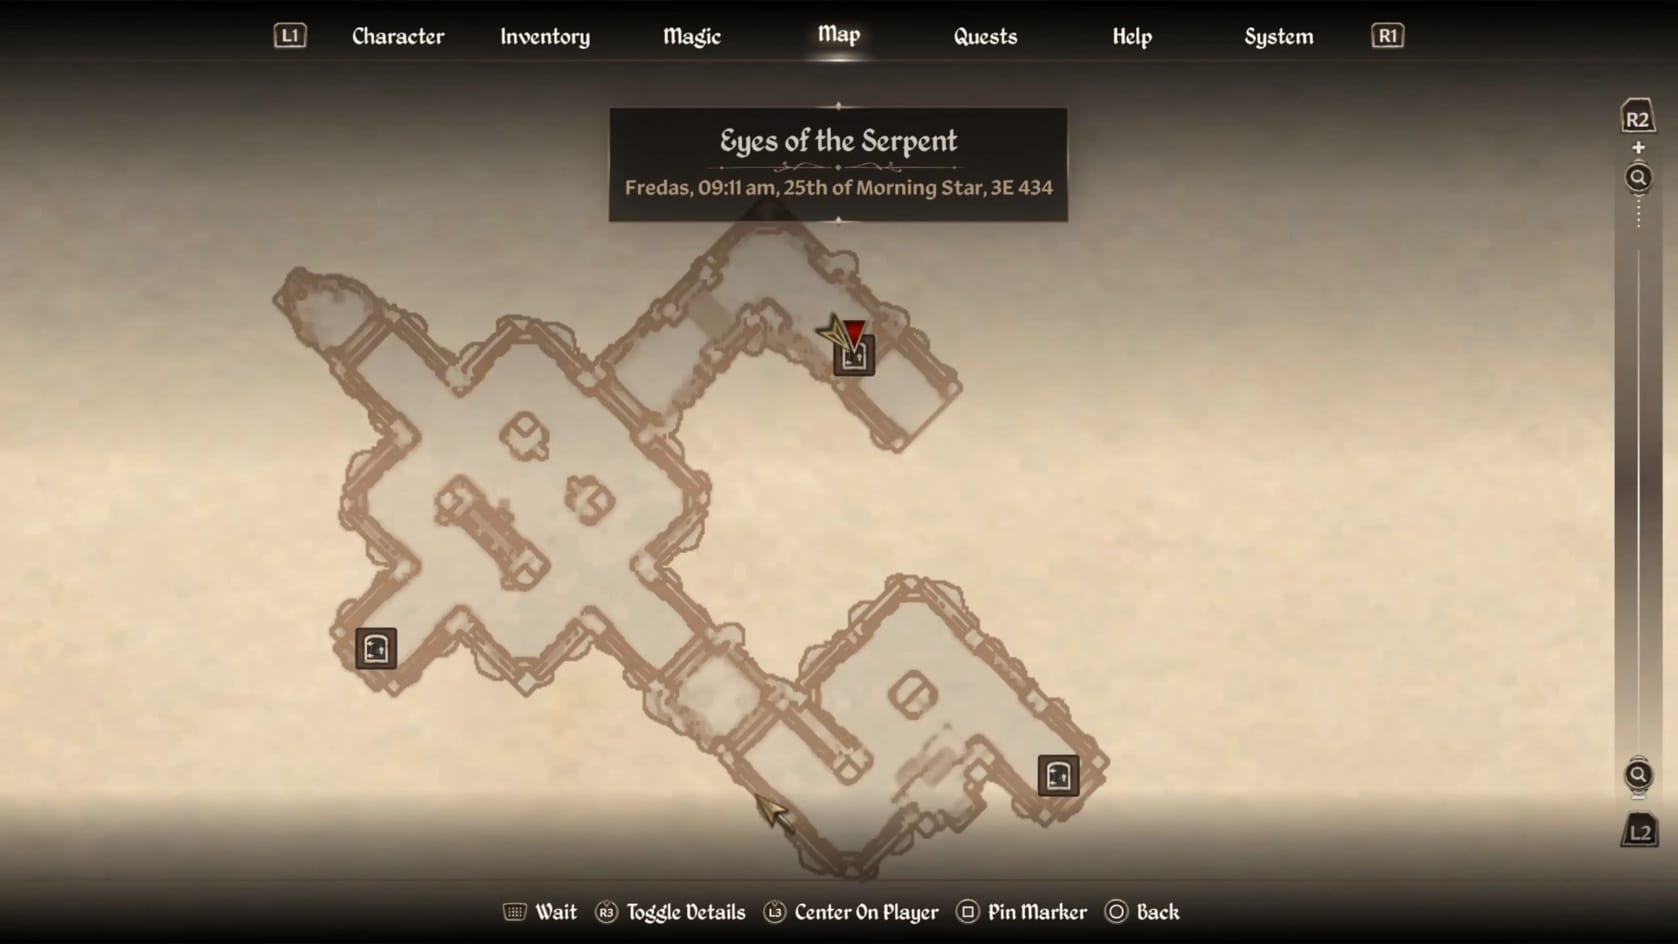
Through the door from the Mouth of the Serpent, make your to the Northeast. Fight through the Undead in the area. Be sure to head to the Eastern side of the entrance area. There’s a table between 2 pairs of Pressure plates attached to Swinging Mace Traps on the Ceiling. That table has a Locked Chest (Average) on it.
Take a moment to go to the Southeast. This leads to a large room with a few undead in it. Defeat them and take the stairs nearby upwards. This leads to a sconce with a brazier in it. Behind the brazier is a Chest. Nearby both, to the Southeast, is a door leading to the
With that done, head to the Northeast from the first chamber. Deal with the Undead and go around the corner. You’ll find doors leading to the Fangs of the Serpent.
Fangs of the Serpent
From the Eyes of the Serpent, you’ll emerge into a short hallway leading immediately into a large chamber with a number of Undead around it. This includes one right in front of you! Defeat it and head forward to the Southeast.
Use the Pillars around here as cover to avoid notice (if you’re going for stealth). Looking to the East you can see a barrier over a large pit. You will also see a raised walkway. Just to the left of the base of it on this side is a twist lever. Be mindful around the pillars because there are dart traps that are motion activated in the area.
- Be sure to search along the edge of the pit on this side. Along the Southern part of this area, on the Western lip, you can find a Locked Check (Average).
Deal with any nearby Undead and then go to the lever. Activate it to drop the walkway. This will let you get across the pit to the East. This avoids having to navigate a few more traps.
On the far side, you will need to deal with another Undead or two. After that, you will want to head to the Northwest. Go through the door here to reach the Venom of the Serpent.
Venom of the Serpent
Having made your way into the heart of the fortress, you will see the Akavari Commander, Mishaxhi, standing at the top of the stairs. Go on up the stairs and he will approach the Hero.
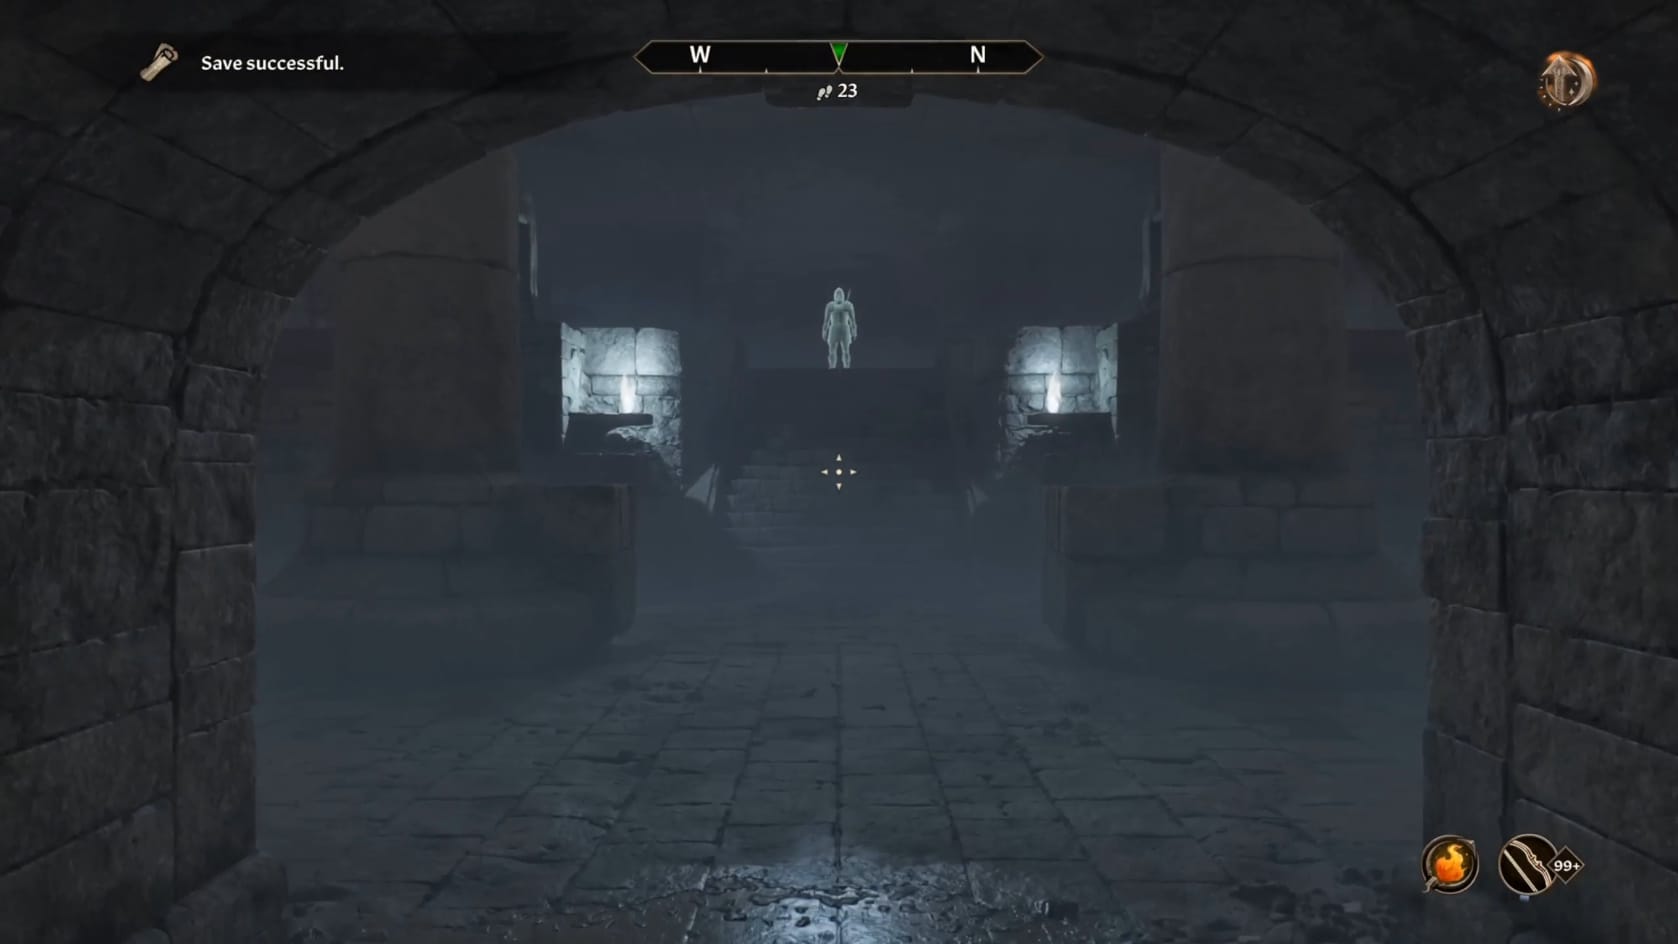
Talking with you, it’s clear that he thinks your a messenger sent to him. It’s time to make a choice. The Stone Tablet you found back in the Serpent’s Trail has orders for him.
If you give him the Orders then he and all his forces will simply vanish. Their weapons and armor will drop where they were.
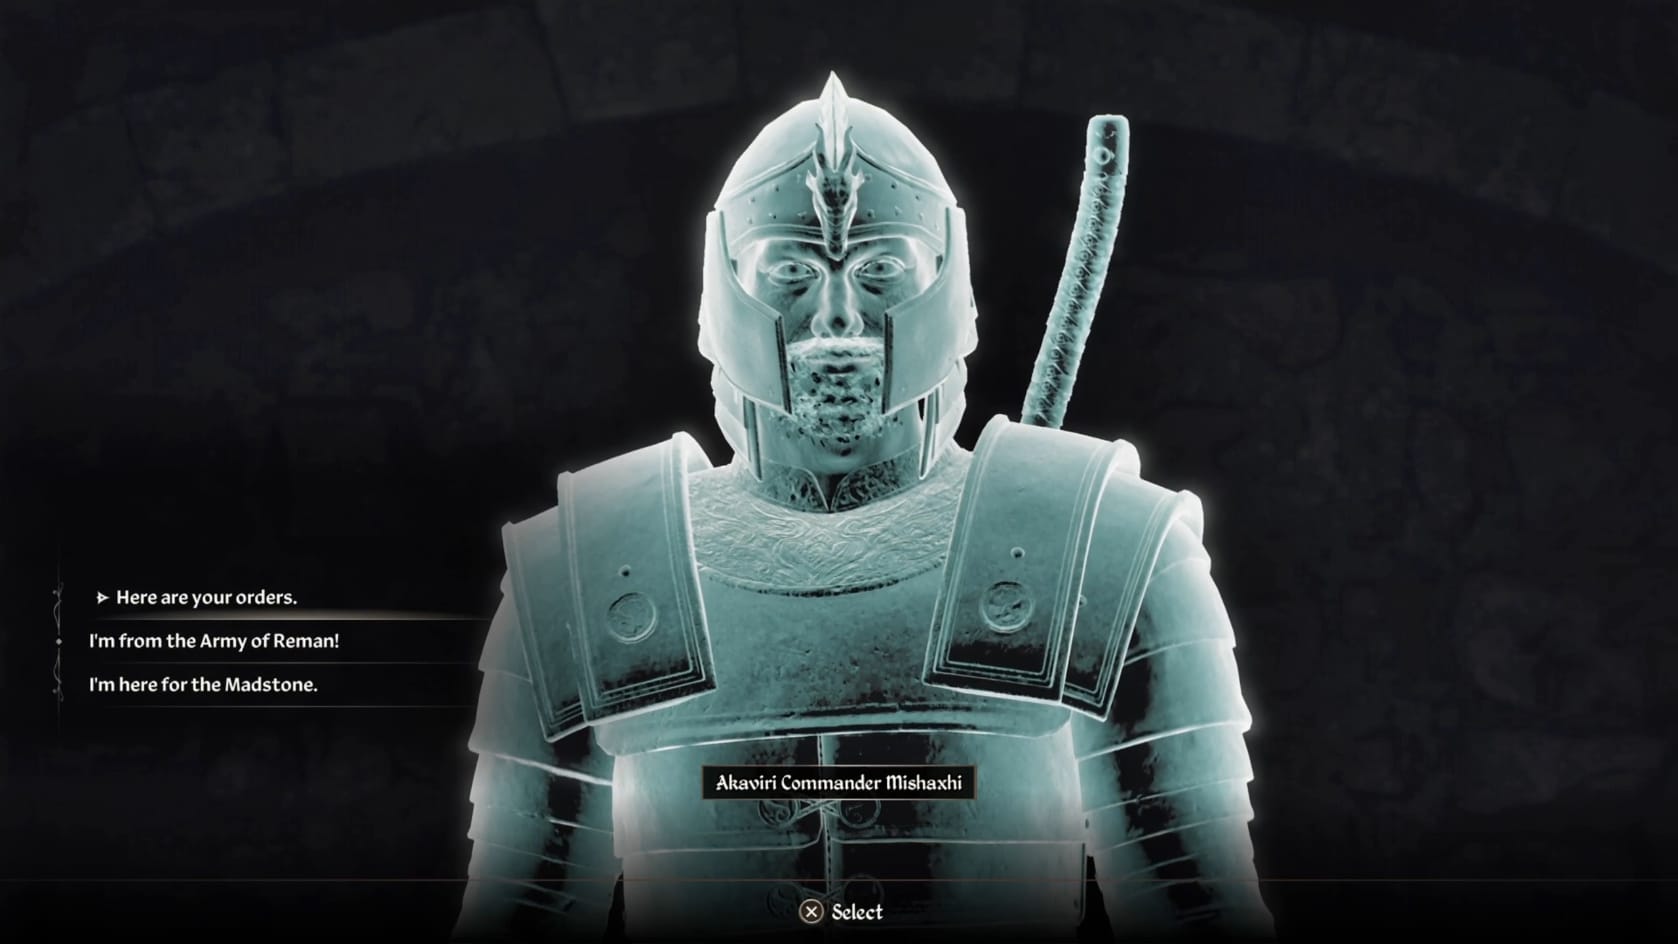
Otherwise, you can opt to attack under the pretext you’re part of the Army of Reman or tell him you’re here for the Draconian Madstone. If you choose either of these choices, the Commander becomes hostile and attacks. Because he is a Ghost, only Magic or Magical weapon can hurt him. The remaining forces within the Fortress will need to be defeated if they come across you.
No matter the choice, the wall behind Mishaxhi will open. Head through this new doorway.
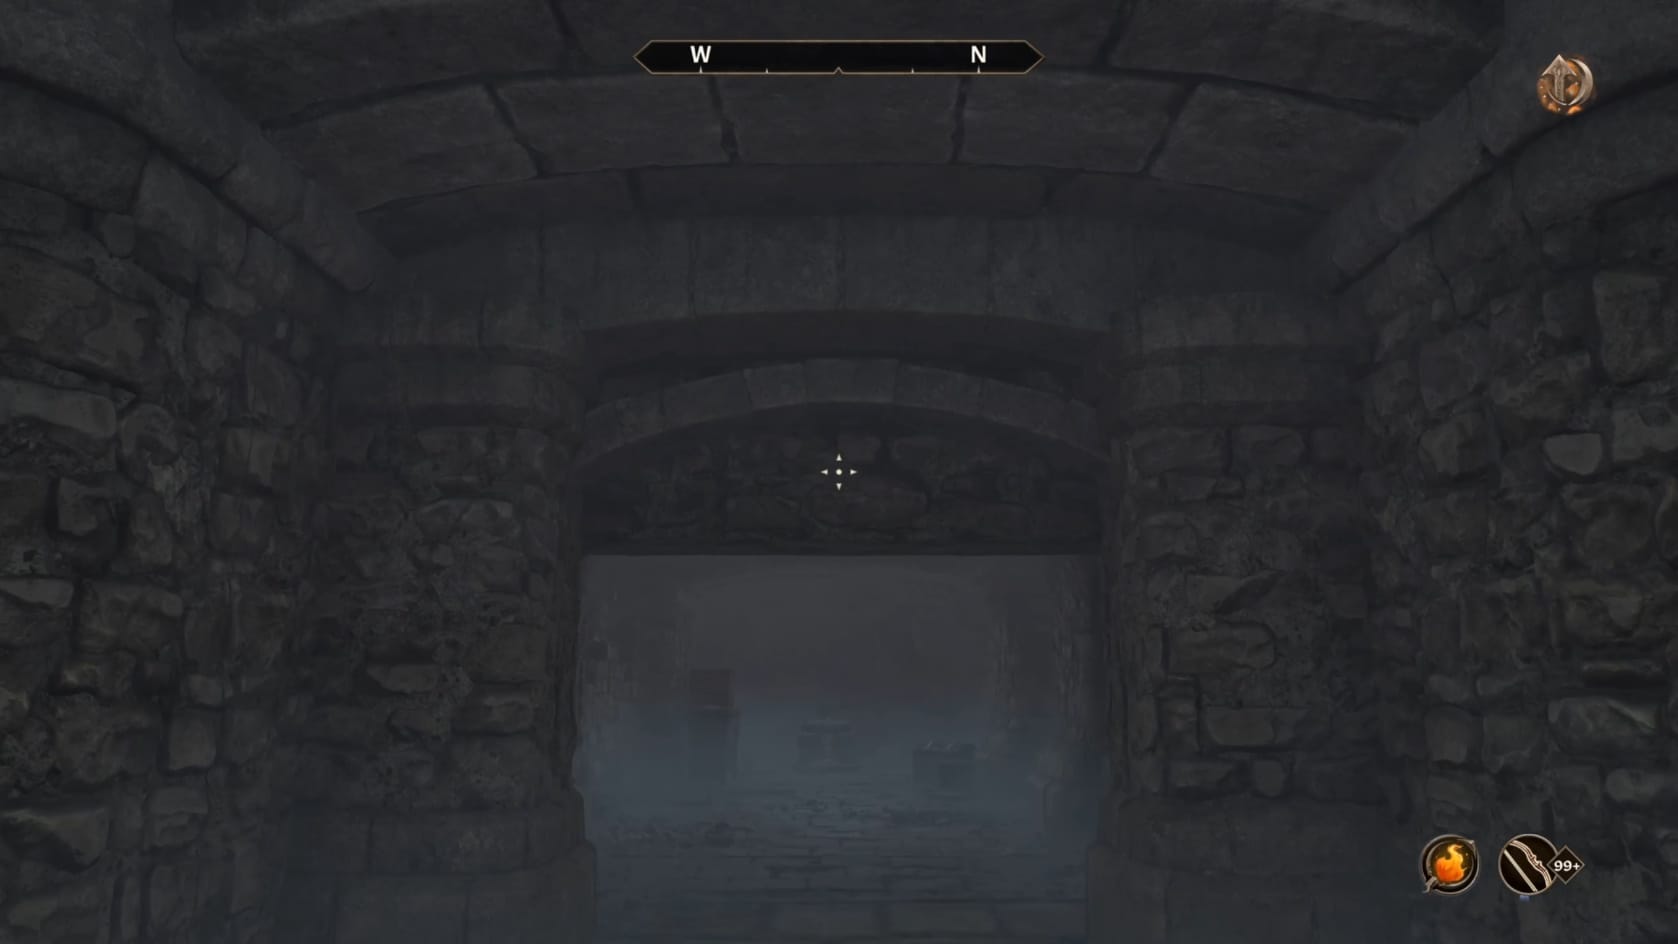
You can see a pedestal just in front of you. This has the Draconian Madstone sitting on it. There are chests nearby that you can loot as well. The chest on the left sitting on the desk is Locked (Hard). There are 2 more Chests on the right, on the floor. The one closest to the Madstone is Locked (Average). The one closer to the door isn’t locked.
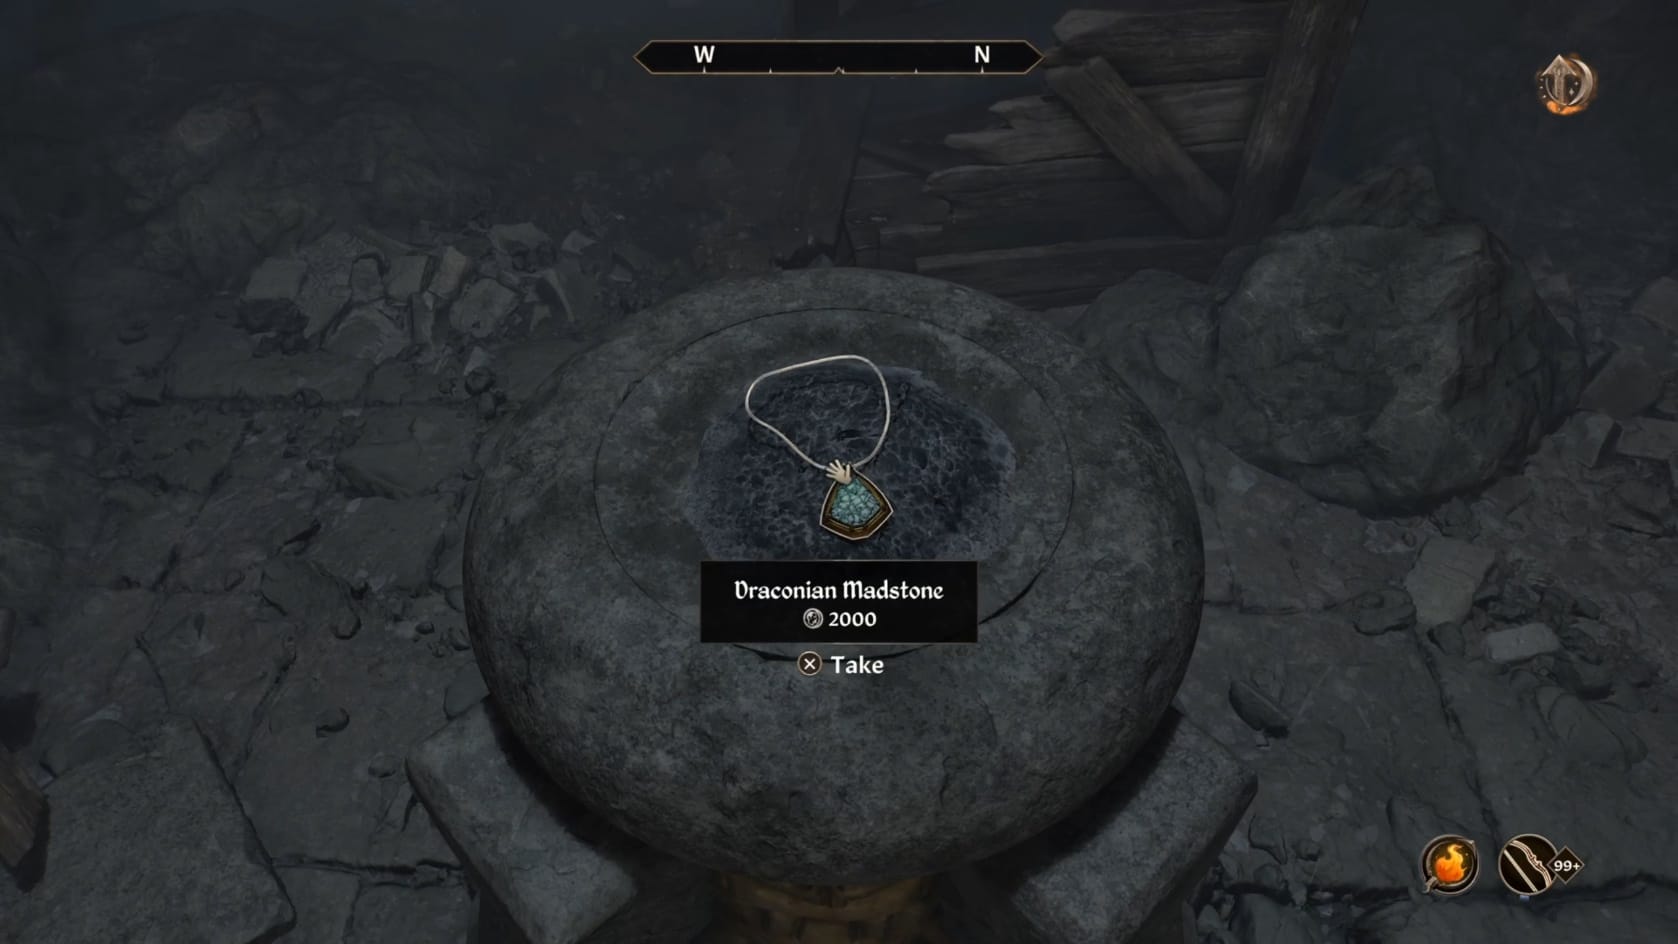
Now it’s time to start getting out of here. Turn to the Northeastern passage and follow along it. Go through the door to enter into the Scales of the Serpent.
Scales of the Serpent
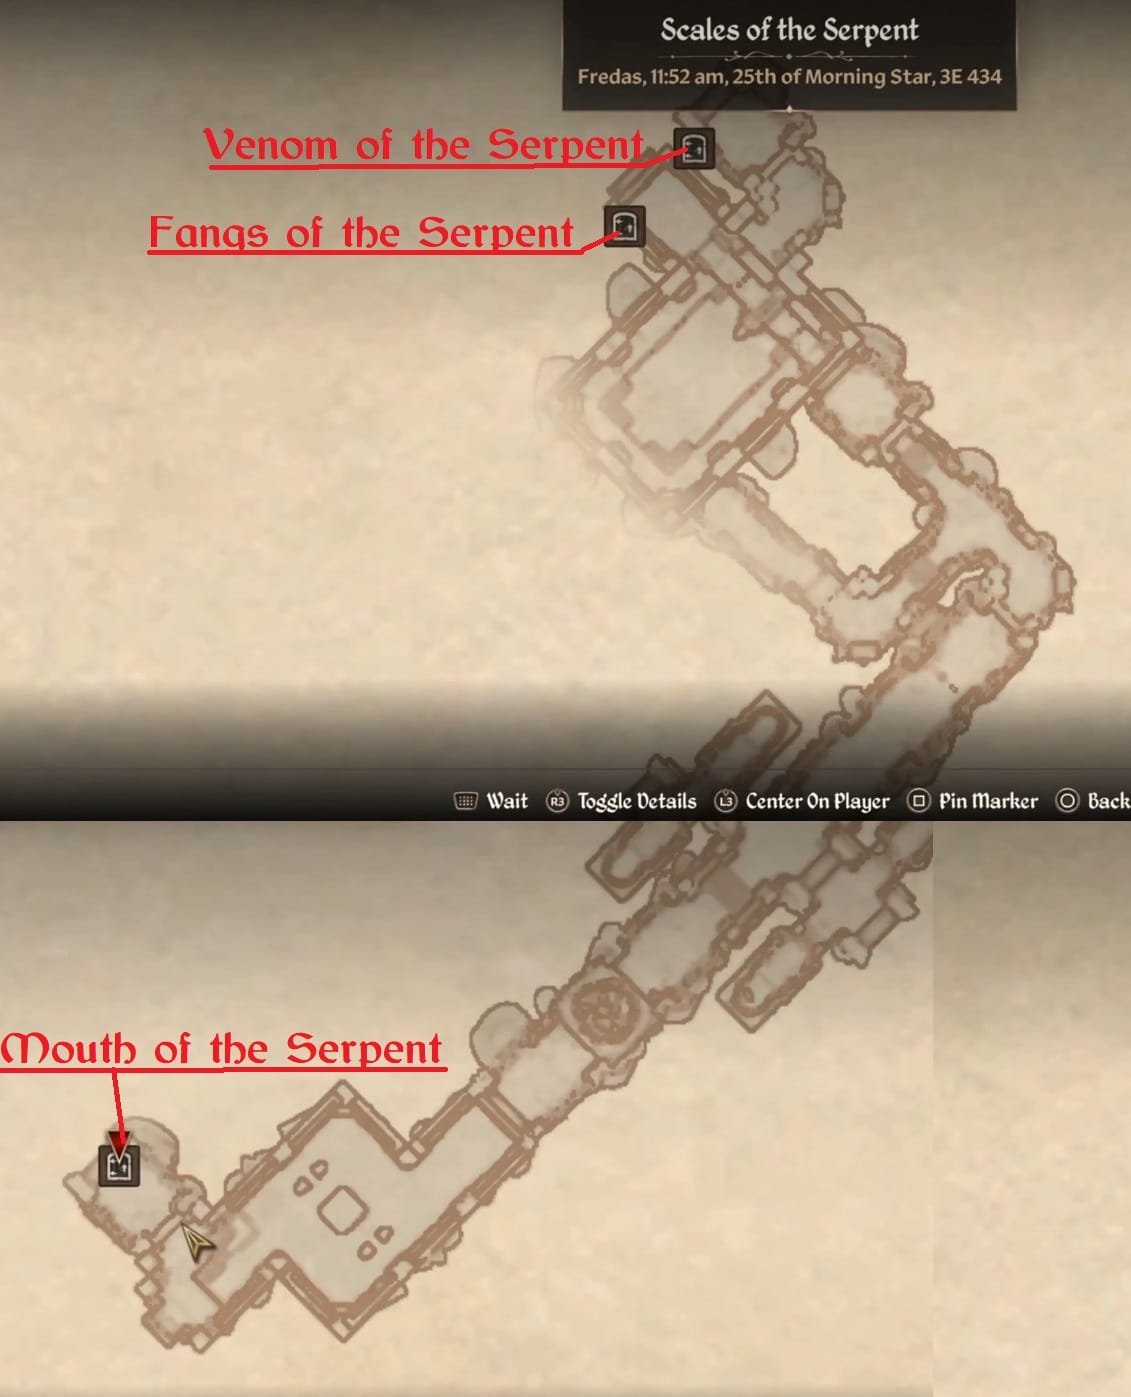
Follow the path around the corner and over to the ledge. Sitting on the left-hand side you can find a handle. Activate it to lower the raised walkway in front of you. This will give the Hero a safer place to jump down to. Do so and head over to the East. Turn to the Southwest from there with the passage. Take the second right.
In this hallway, go forward and down the stairs. You will see 2 alcoves off the sides. Each of these have 2 prison cells. They are accessible by pulling the lever sitting just to the side of the gate itself. Only the Southwest Cell (With an Average Lock) has a chest inside it. Everything else is just pure exploration. Go South of them after that, taking the corner to the right.
Head down this hallway carefully. A portion of the ceiling will collapse on you if you’re just jogging along. This is in the latter half of the hallway. This will deposit you into one of the pits you passed on your way through. Head to the Western side of the pit and take the stairs on out of it. Go to the Northwest from there to find a door leading to the Mouth of the Serpent’s
Mouth of the Serpent
You’re back in the first part of the fort. Drop off the ledge (be sure to loot the chest if you didn’t earlier). Just head to the Southwest from there. All you have to do is take the stairs on up and out. Once you’re back in the Pale Pass, you will be able to Fast Travel.
- If you haven’t gotten the Circle of Omnipotence, then take the time to complete “A Ring of Keys” before leaving here.
Fast Travel back to Castle Bruma.
Return to the Countess
Once back in Bruma, make your way back to Castle Bruma. Go inside and head for the throne room. As long as the Countess is holding Court, you’ll immediately be able to turn everything in. Otherwise you’ll need to find her to do this.
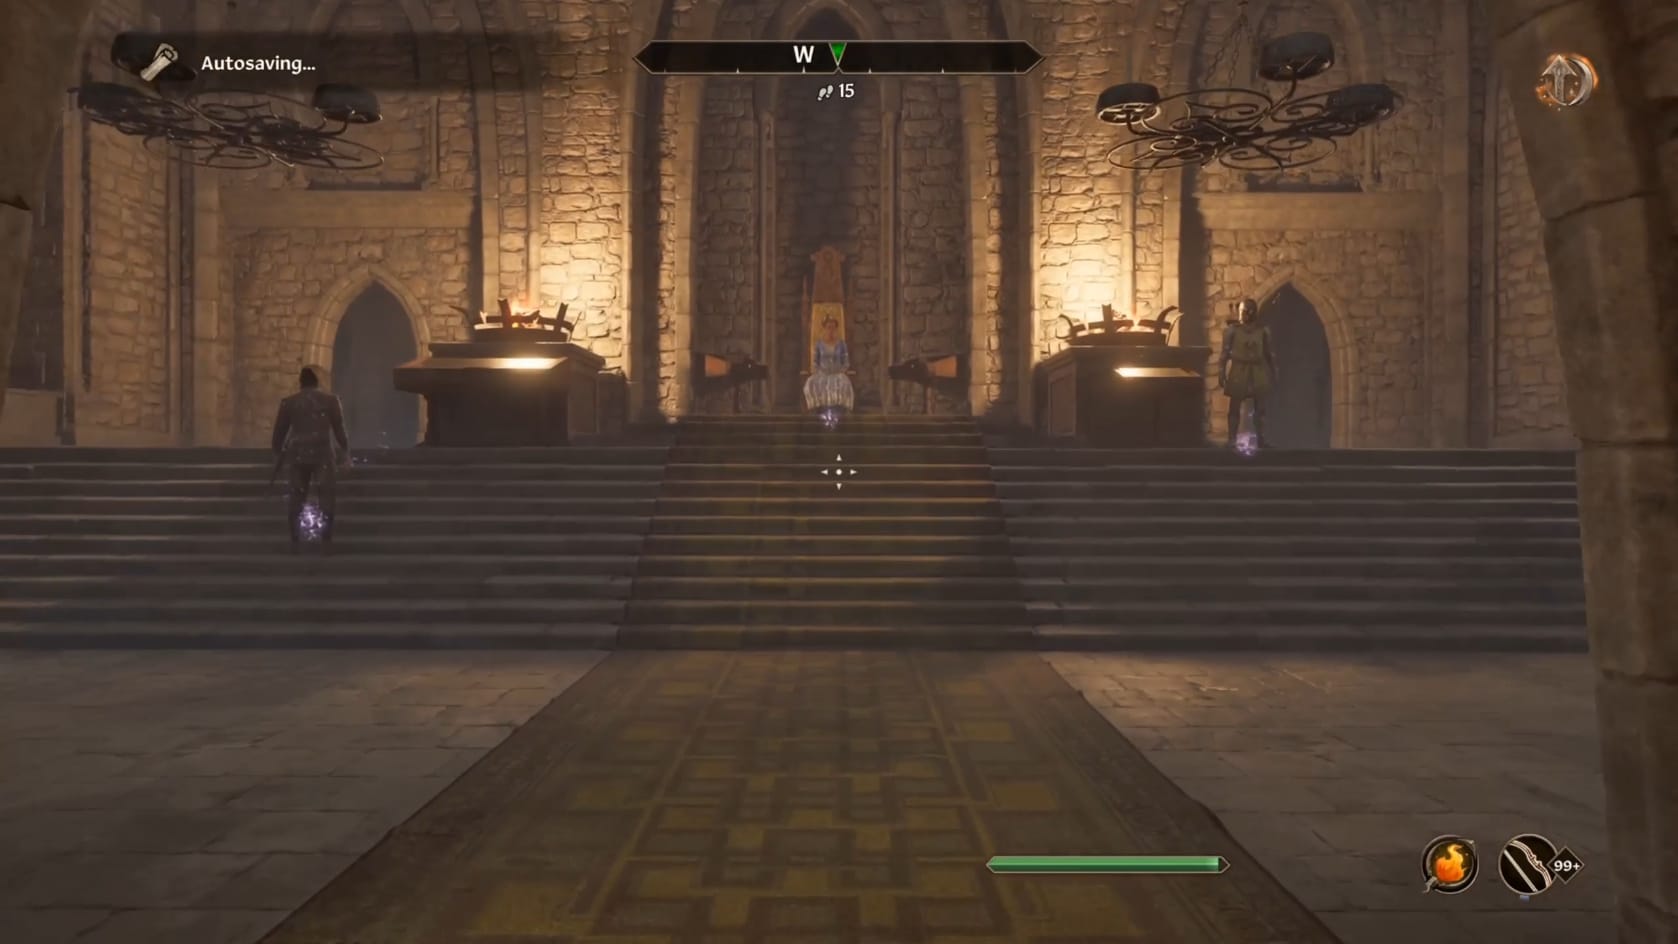
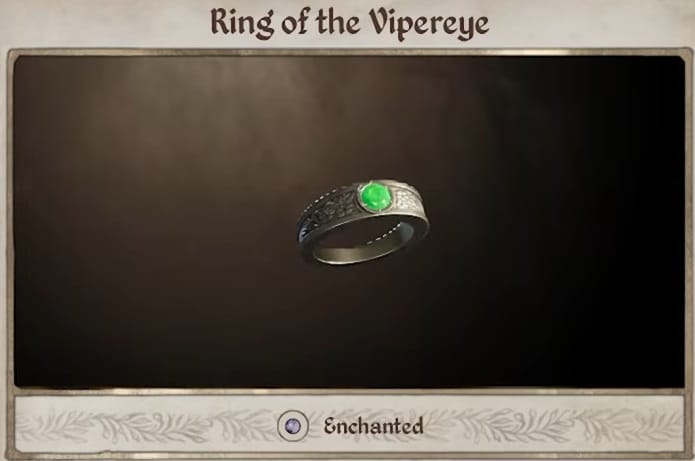
For all your efforts, Countess Narina Carvain will reward the Hero of Kvatch with the Ring of the Vipereye.
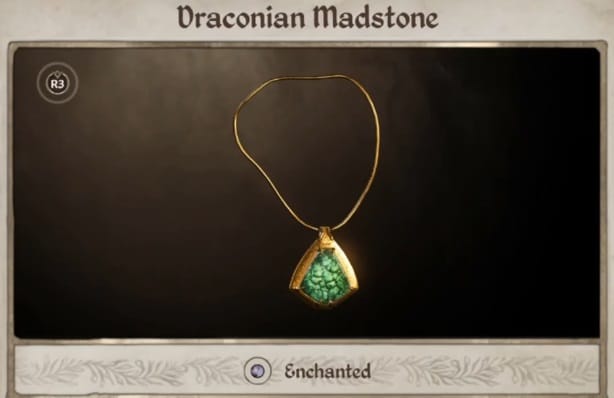
Draconian Madstone
Stats:
- Weight: 0
- Value: 2,000
Effect:
- Resist Poison on Self: 50%
- Resist Disease on Self: 50%
Ring of the Vipereye
This item is always considered a quest item. It is locked into your inventory.
- This is a known glitch and takes a console command or unofficial patch to fix.
Stats:
- Weight: 0.3
Effects and Value
- Level 1-4 | Fortify Agility 5 pts, Resist Magic 7%| 1700 gold
- Level 5-9 | Fortify Agility 6 pts, Resist Magic 8%| 2000 gold
- Level 10-14 | Fortify Agility 7pts, Resist Magic 9%|2300 gold
- Level 15-19 | Fortify Agility 8pts, Resist Magic 10%|2550 gold
- Level 20-24 | Fortify Agility 9pts, Resist Magic 13%|3150 gold
- Level 25+| Fortify Agility 10pts, Resist Magic 15%|3600 gold
Video Walkthrough
Elder Scrolls IV: Oblivion Remastered - Lifting the Vale (Give Captain Orders)
Elder Scrolls IV: Oblivion Remastered - Lifting the Vale (Declare Intent)