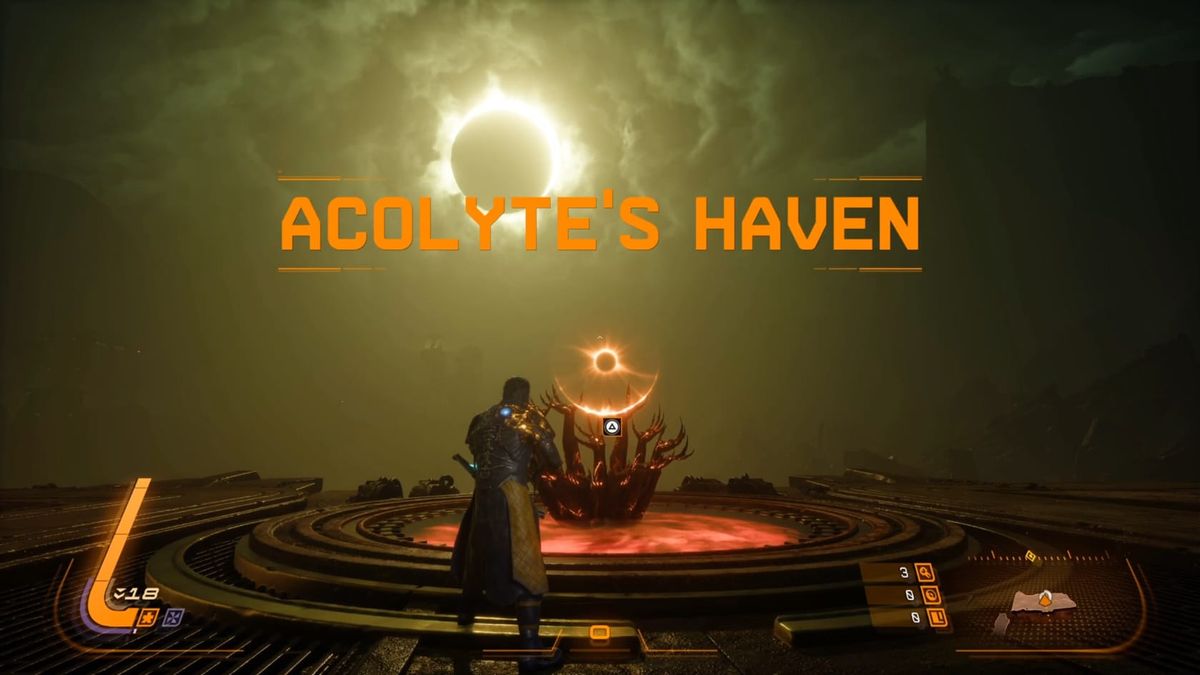
Saros: Acolyte’s Haven
Explore the dangerous docklands of Acolyte’s Haven. Survive the brutal Shepherd boss fight and the hazards of the Eclipse Zone.
Description
Heavily-Guarded industrial dockland, created by alien society and sited along a coastline. Severely dilapidated and hazardous, due to centuries of exposure and neglect.
Robustly sectioned off from the Blighted Marsh below. Hypothesis: access reserved to high-ranking members of former civilization.
Weapons:
- Bifurcator Crossbow
- Ripsaw Chakram
Upgrades:
- None
Enemies:
- Devastator
- Dynast
- Prime Hollower
- Vessel
Walkthrough
After the cutscenes, you will find that the Passage is empty now. Everyone is gone. However, a new wing has opened. Head inside it to find another machine, it will introduce itself as Constant.
Having talked with Constant, explore the Passage to find a number of Text Logs and Audio Logs. Be sure to check behind the Banyan Tree for a mysterious one.
Head back to Primary. It will share what little information it has before its time for Arjun to head back out in his obsessive search for Nitya. Set your destination to the Black Marsh (The Black Dam) to continue along the path you were on before.
You now need to navigate through the interior of the dam. Thankfully, it's generally just a straight run forward. Ride the elevator on up to reach the top of it. Continue forward after that.
Once at Acolyte’s Haven, you will want to head on forward. This area feels a bit unique in that you can immediately trigger the Eclipse Zone. Otherwise, the next trigger is about the mid-point in the level. Know that the rewards are greater in the Eclipse Zone, but with notably higher risk throughout the whole of it.

When you are reaching the mid-point, you will need to trigger the Eclipse Zone to continue forward (if you hadn’t already). This is because there is an Eclipse Thread that you need to traverse. Riding this thread brings you to a jetty-style walkway leading into a building. Sitting in there is a new weapon: the Ripsaw Chakram.
You will also find a small, blocked-off side passage here. You will find the trigger for it on the outside of the building, once you’ve passed through it. As you progress through, you can also find the Myriad Chakram. You will want to pay attention to how close you are to the large Statue that’s holding the remains of an orb aloft. That’s the marker for the end of the section.
For those who are keen eyed (or like to look around), as you were entering that building, there was an inaccessible portion of it. You will be looping back here after you activate the beacon.
Getting to the Beacon can be an ordeal, with a lot of enemies and challenging encounters. Just before the elevator up, you can find the one holo-log in that hallway.
As you approach the beacon, you will know because of not only the Holo-log, but the area as well. it goes from wide open with towers to a narrowed cave system. Head through it (and be sure to look to find the obscured passage for Augments) to reach the elevator at the end.
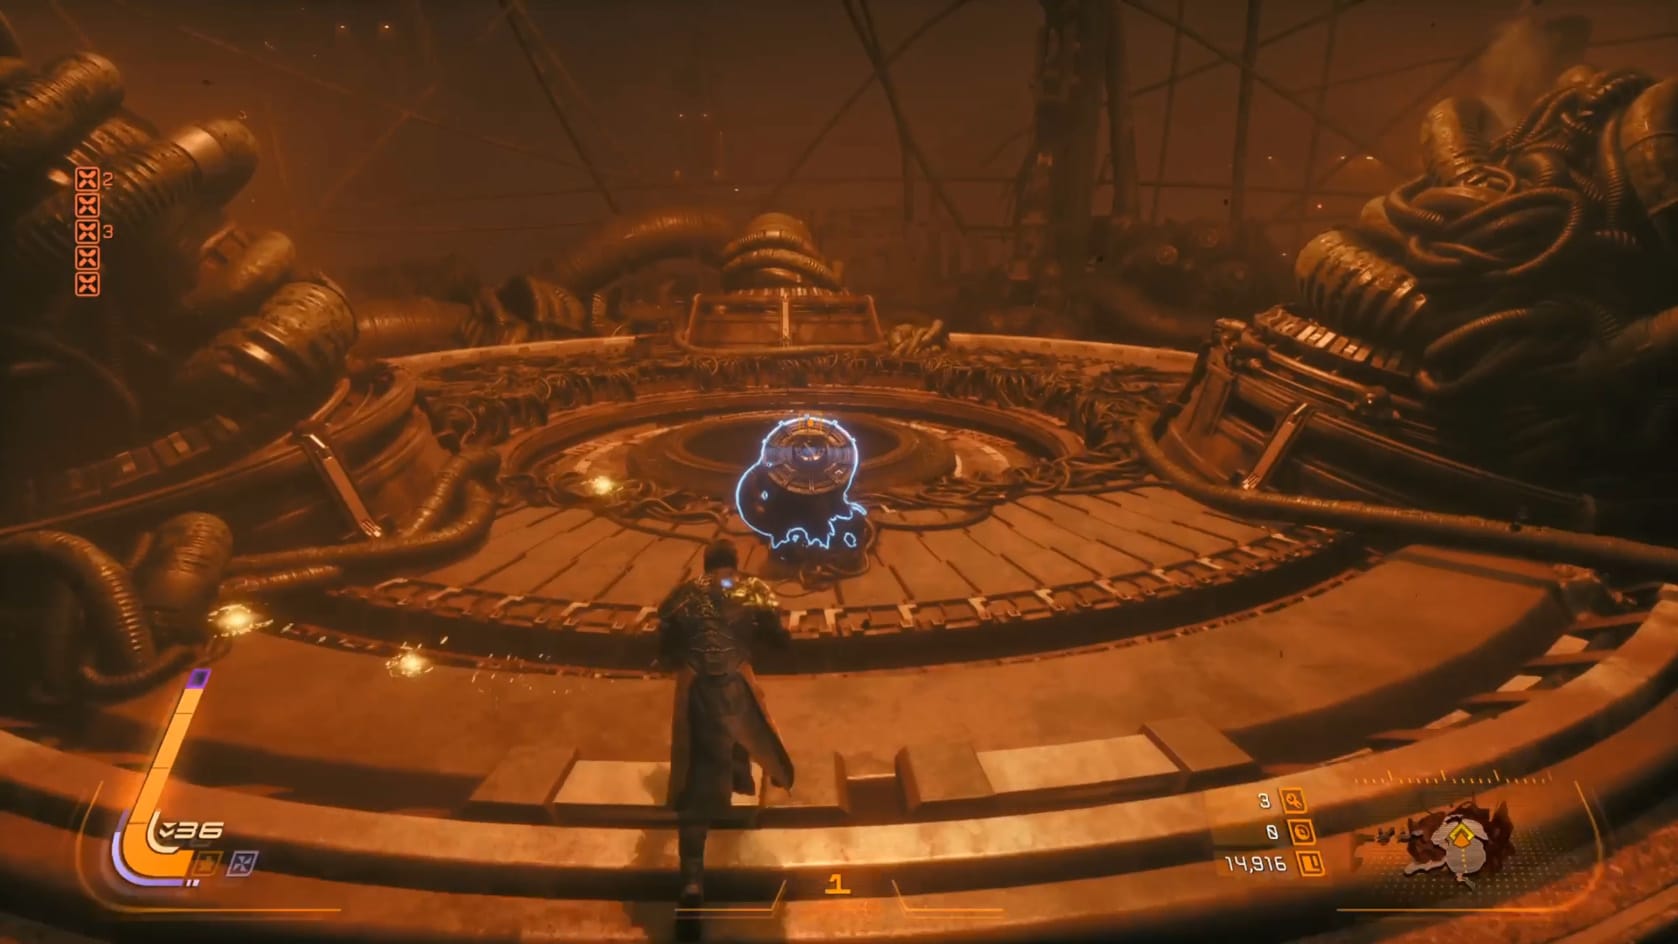
All you need to do now is ride the elevator up. Just ahead is the beacon. Approach and activate it. This will open a portal back to the jetty you landed on at the start of this section.
There is some good news to this whole thing at least. Once you activate the beacon, it’s active. It becomes optional to traverse the section leading to the beacon. You can now just head across the gap and onto the Echeleon II to fight the boss of this section, the Shepherd.
Boss - Shepherd
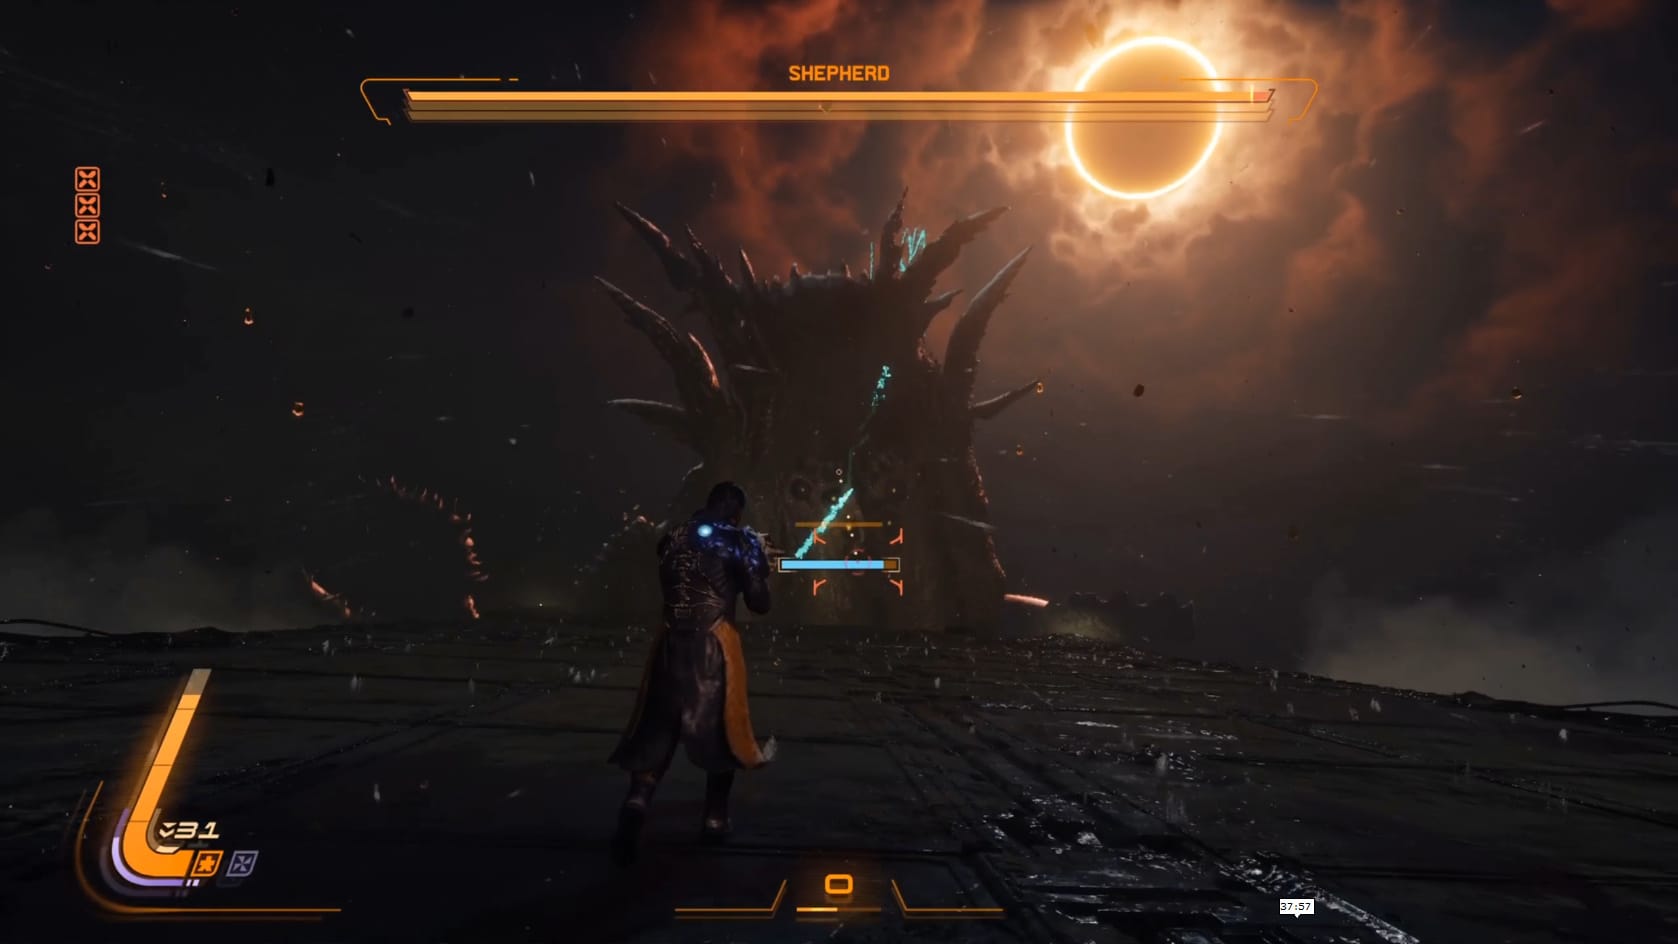
This is a massive boss, in every sense of the word. It will be attacking with a variety of projectiles. It’s very important to pay attention so you know to either Parry or absorb the incoming energy. Parrying the energy back at the Shepherd can be helpful since it does high damage.
Attacks:
- Tentacle Slam
- Tentacle Slam with circular energy burst and arcing wave of Corruption
- Tentacle Sweep across the jetty
- Tentacle lunge along the sides of jetty
- Long bouncing wave(s) of Energy
- Bouncing waves of Energy, sweeping forward, chained together, going left to right then back to the left in thirds of the jetty.
- Vertical arcs of Energy/Nova
- Sphere Nova that becomes seeker, homing in on Arjun
Getting to the first damage phase can be tricky since you need to damage the ever-moving tentacles. By taking out a few of the tentacles, or surviving their barrage of attacks, the boss itself will emerge from the water.
Target the Shepherd's Head/Face and face as much as possible. It will have a number of patterns you will need to weave through and avoid. These will be mostly consistent throughout the fight, so take them in quickly.
The second phase has Shepherd shift locations to the sides of the ship. It will be on one side for the first half of this health bar and the other for the second. Now, more than ever, Parrying can be a life saver because Shepherd steps up its use of Nova energy. The tentacles will be on the sides and firing off barrages of an Energy type coming from both simultaneously. Either evade or parry the Nova energy, evade or Absorb the Corruption (again, only if you’ve taken damage), or just absorb the rare Energy that comes out. The Shepherd will also be launching singular balls of Nova energy that will home in on Arjun. Watch out for those, just like the rest of the Nova. Most of the attacks from the first phase see reprise.
Attacks:
- Bouncing waves of Energy, sweeping forward, chained together, going left to right then back to the left in thirds of the jetty.
- Sweeping barrage of Nova energy from tentacles that frame the arena from both sides
- Ascending wave of Corruption/Nova from the Shepherd's side to the back of the arena.
- Shepherd fires 3 parallel arcs of Corruption/Nova from its face at an angle toward Arjun.
- Shepherd fires Vertical/angled Arcs of Nova/Corruption
- Shepherd fires burst of slow moving Energy
- Fires 3 connected arcs of Energy
- Fires spiral column of Corruption (light homing)
- Burst of seeking Nova

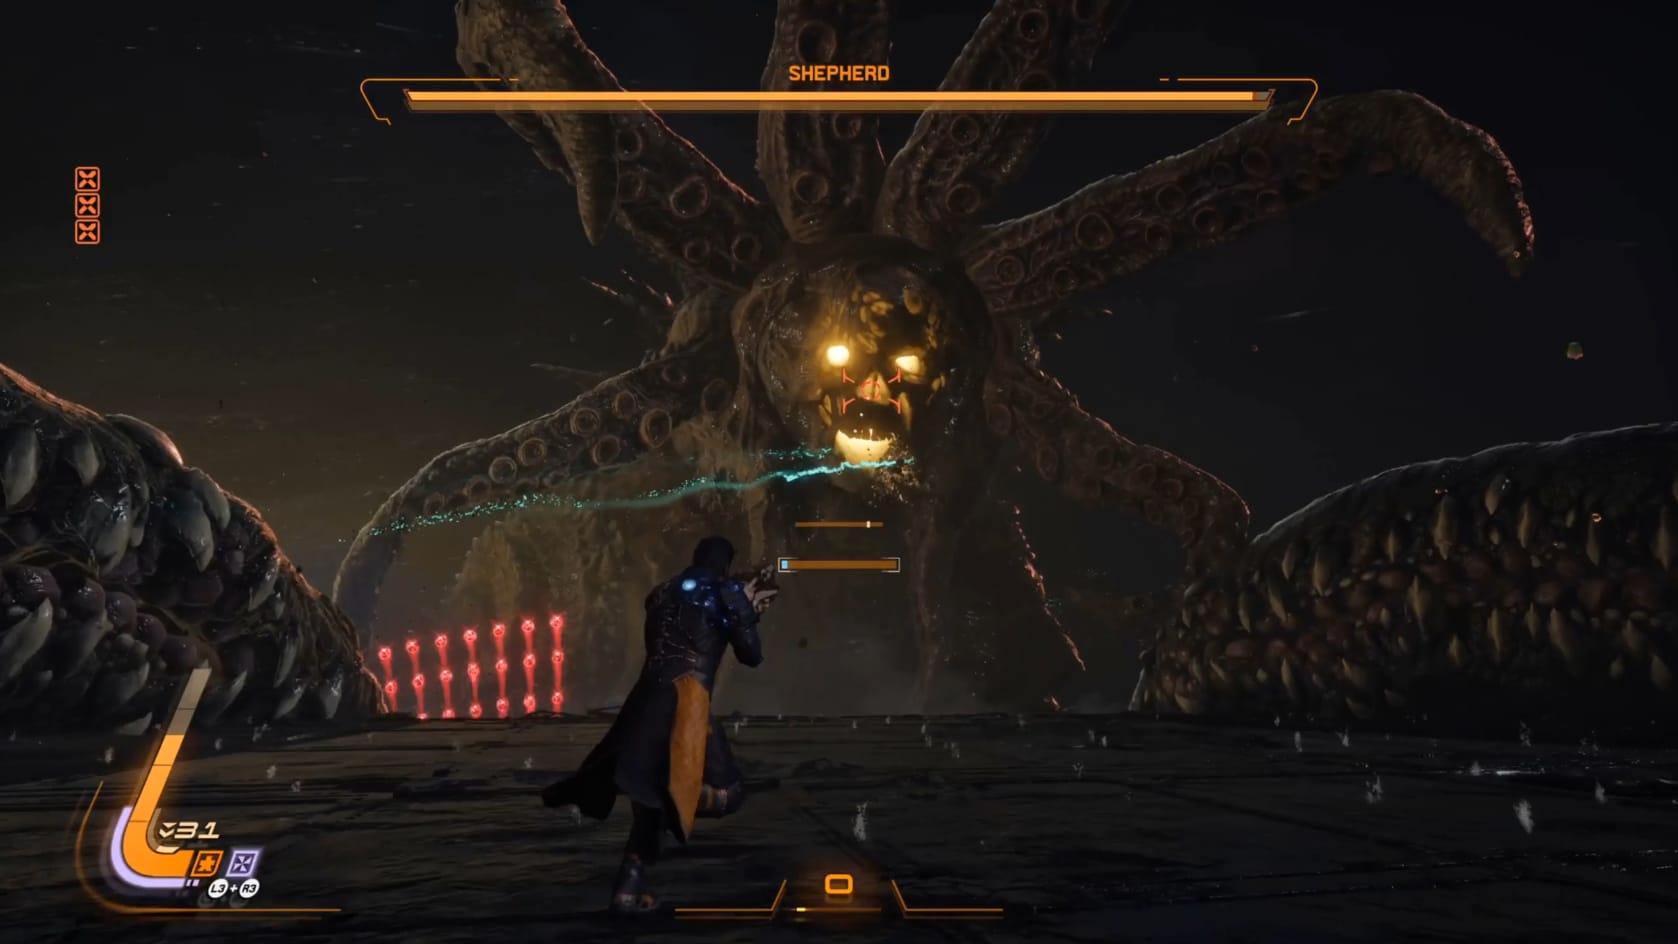
The third Phase is the hardest of them all. The Shepherd’s face changes entirely, becoming little more than glowing eyes. It also bringing its hand up. It will be focused on projectiles now. Watch what is coming at you. The hand will be slamming down throughout the fight, creating rings of Nova energy. These are best evaded by jumping over them (yes, there can be a ring that kills you before the boss death animation finishes).
Attacks:
- Bouncing Wave attacks from before
- Seeking Nova burst
- Tentacle slam from the side of the arena, looses 2 rings of energy on the ground (can be done from both sides)
- Heavy Tentacle slam looses layered rings of energy
- Many arcs of Corruption from Shepherd's face
- Spiral of Corruption energy from Shepherd's chest
- Cone of Energy/Nova, lancing toward Arjun from Shepherd's Hand. One type is the outer portion, one type is the inner portion.
- Crossed lines of Energy from Shepherd's face
Beyond Shepherd
A cutscene runs after you defeat the Shepherd. Collect the Lucenite in front of you. There's nothing off to the sides, so just head for the shore in front of Arjun. Go on up the rocks, jumping a gaps as needed. Just head up to the slope and go for the doors that lead into the Cathedral.
Video Walkthrough
Video Walkthrough of Acolyte's Haven