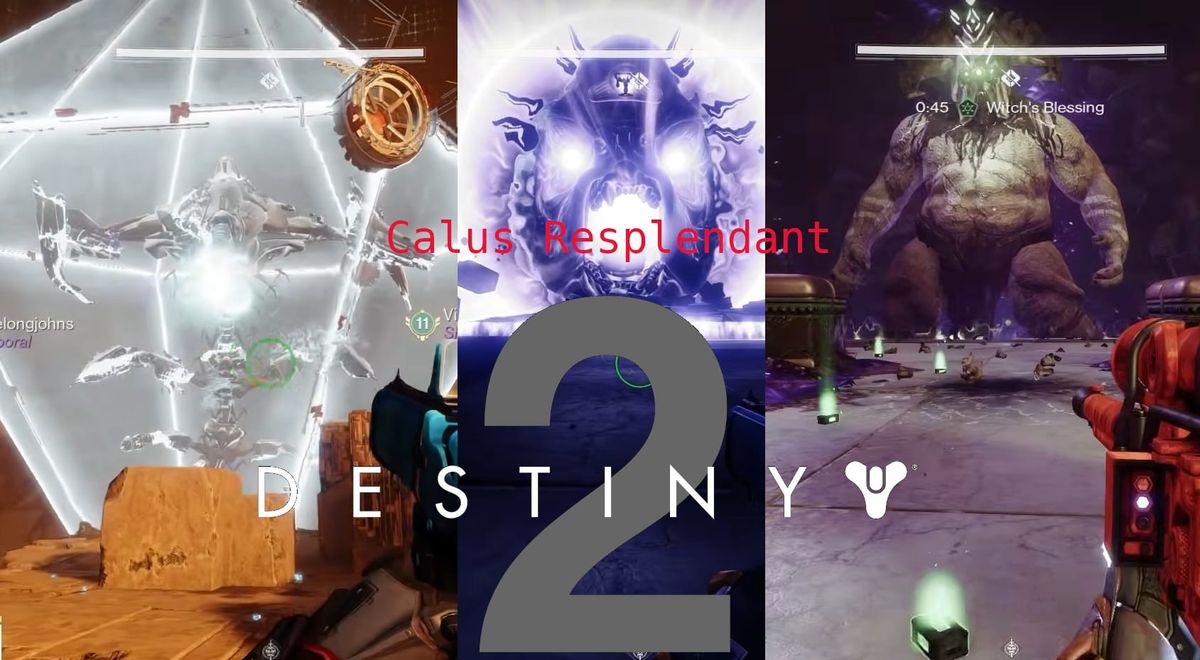
Destiny 2: Pantheon 2.0 – Calus Resplendant Guide
Master the first Pantheon 2.0 challenge in Destiny 2 with detailed guides for Argos, Gahlran, and Emperor Calus. Learn about checkpoint sharing, encounter mechanics, damage phase strategies, and coordination tips to help your fireteam conquer these revamped raid bosses.
The Pantheon is a set of 3 Raid Boss battles that a Fireteam of 6 takes on. These fights have slightly to vastly revamped mechanics. You will need to conquer these challenges back to back. Thankfully there is a checkpoint system in place. This does allow you to return to the challenge you left off at later on.
Sharing Checkpoints
A Common practice within the community it sharing checkpoints. There are websites dedicated to this and no small number of discord servers either.
To share a checkpoint is a simple process. Have the person you want to share the Checkpoint with join your Fireteam. Load into the activity that has the desired checkpoint. The fireteam then needs to wipe, all members dying. This triggers the needed reload and the other person is given the Checkpoint.
Argos, Planetary Core
Overview
- Argos was the Boss of Raid Lair: “The World Eater.”
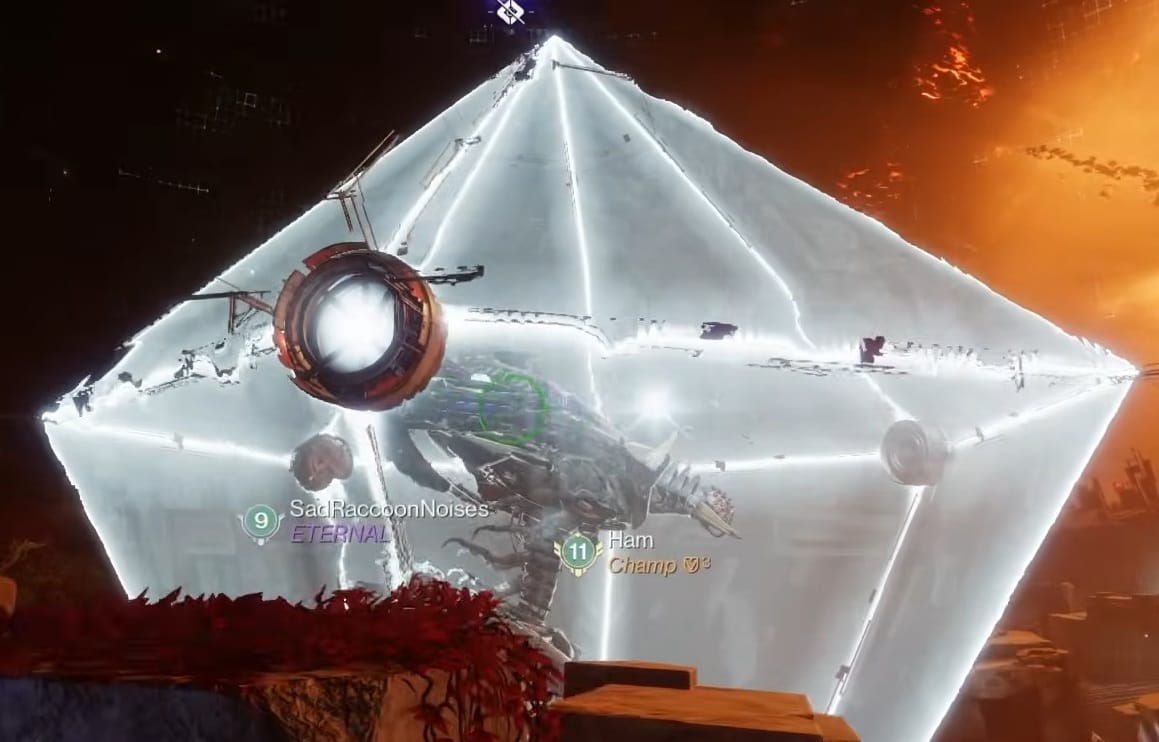
This massive Hydra sits in a Planetary core (within the Leviathan) protected by a shield. The Fireteam needs to bring down the shield and then strike at Argos’s weakpoints.
Summary
The Shield has colored Orbs sitting on its corners. Using Vex Cranium, collecting from a Malignant Hobgoblin, you will need to charge each Cranium with the appropriate element. Once charged, those with a Vex Cranium will need to coordinate with each other to bring the Orbs to the Socket point of Argos’s Shield to break it. Rush Argos and break 2 weak points to trigger a Damage Phase. Just blast away to deplete Argos’s health and win the Fight.
But the question is “How do I do all that?” Well, let’s explain this fight ...
Arena Breakdown
The arena is has 3 main sections. Each corresponds to an Element: Void, Solar, and Arc. They are named for the colored plate in the back. Purple for Void, Orange for Solar, and Blue for Arc. Each section is accessible using the floating platforms between each.
All this means that the Fireteam needs to break into pairs and each takes an element. This allows for the best ease of holding area and getting the Craniums charged.
Reading the Shield
What does all this mean? As you look at Argos, you will see 3 orbs of Energy sitting at corners of the Shield. For each Orb, the Fireteam will need to charge a Vex Cranium. The color tells you what elements are needed. The example shown has all 3 elements, so you can know what they look like.

Getting and Charging the Craniums
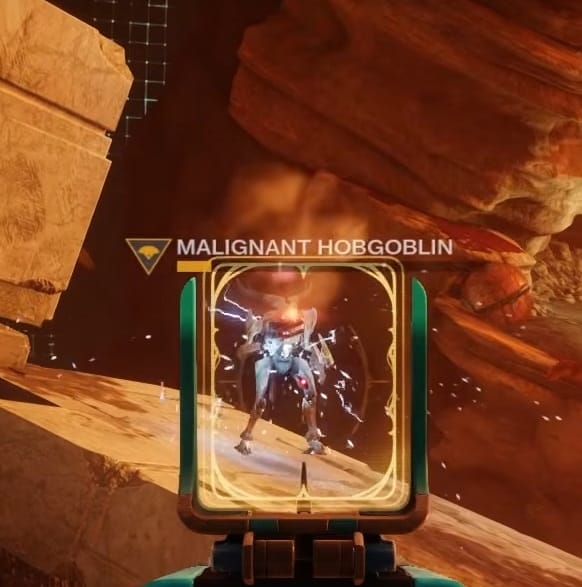
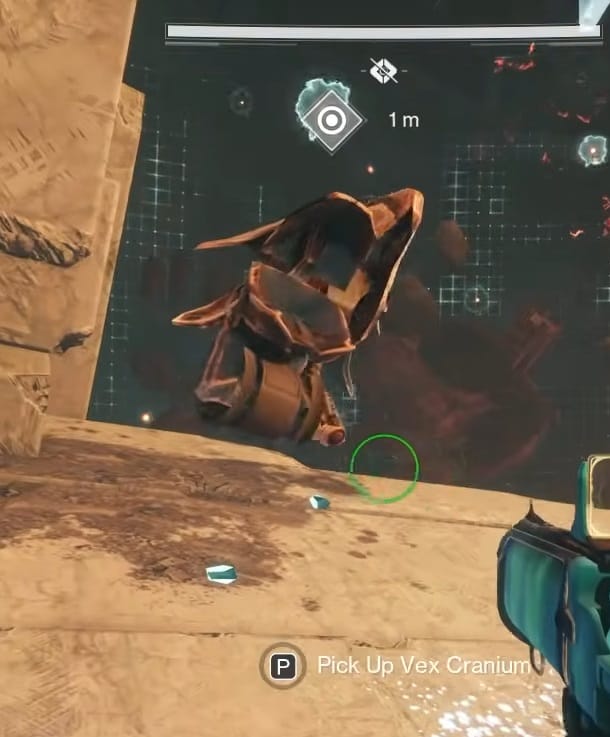
In the connecting areas, you can find Malignant Hobgoblins. These are yellow bar, boss-type enemies. You need to kill these Malignant Hobgoblins and claim their head, the “Vex Cranium.” A total of 3 will appear for each instance of Argos’s Shield.
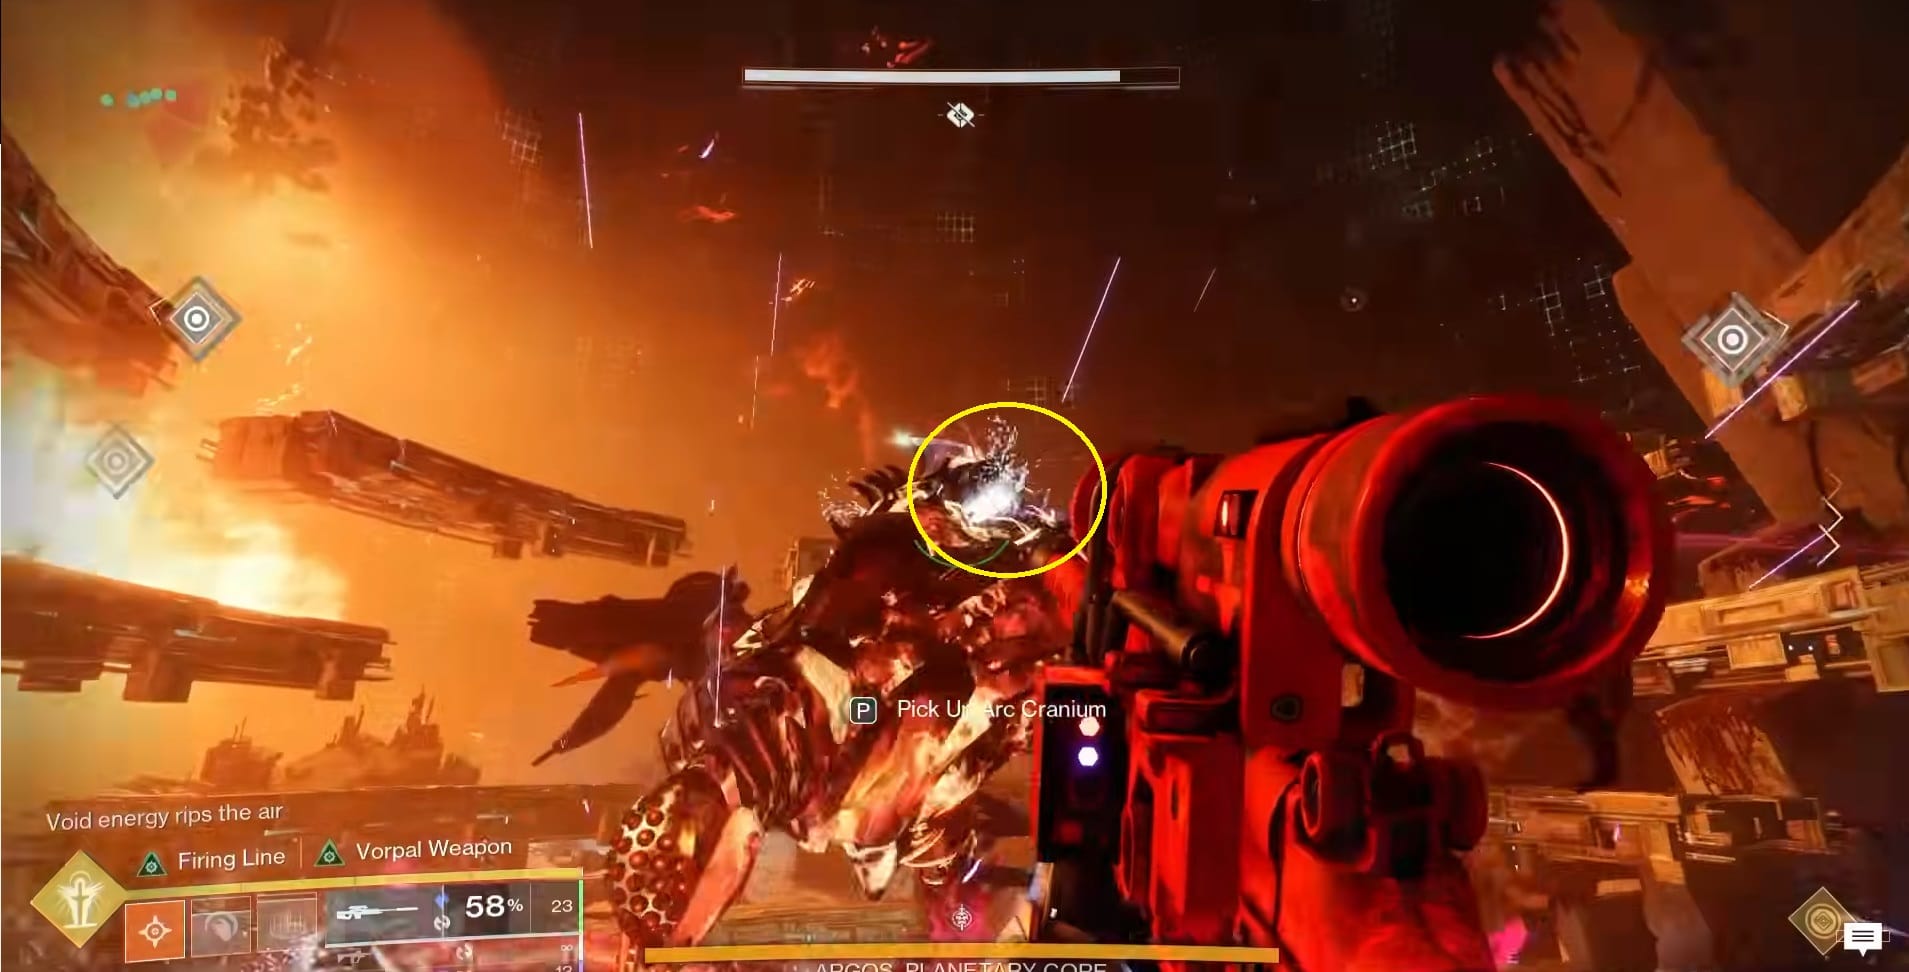
With the Vex Cranium in hand, head to the Elemental Plate of your area (or another if an element is repeated). Get to the Plate and interact with any of the braziers at the corners to insert the Cranium in for charging.
It won’t be as simple as just putting the Craniums in though. Inserting it will cause a pair of Quantum Minotaurs, a Malignant Wyvern, and other Vex units to appear. You will want to destroy them quickly. It takes about 20 seconds for a Vex Cranium to charge. The Vex Cranium will then reappear, wreathed in elemental energy. It will have 40 units of energy.
Breaking the Shield
Once all the Craniums are ready, it’s time for the Fireteam to gather together. You will need to gather where all 3 Elemental Orbs on Argos are visible. Half the fireteam needs to be fighting adds while the other half gives a Countdown before firing the appropriate Elemental Vex Cranium at its corresponding Orb of Argos’s Shield. The Orbs will progress along the Shield and go into the Socket. This will break Argos’s Shield and bring you to the final step before Damage Phase.


Prevent Wipe
You need to prevent Argos from wiping the Fireteam at this point. The Fireteam needs to spread out to attack 6 weakpoints on Argos’s body and prevent it from unleashing the attack its begun to charge.
There are 2 Weakpoints on Argos’s lower “Arms.”

There are 2 Weakpoints on Argos’s “Head.”
There are 2 Weakpoints on Argos’s “Back.”
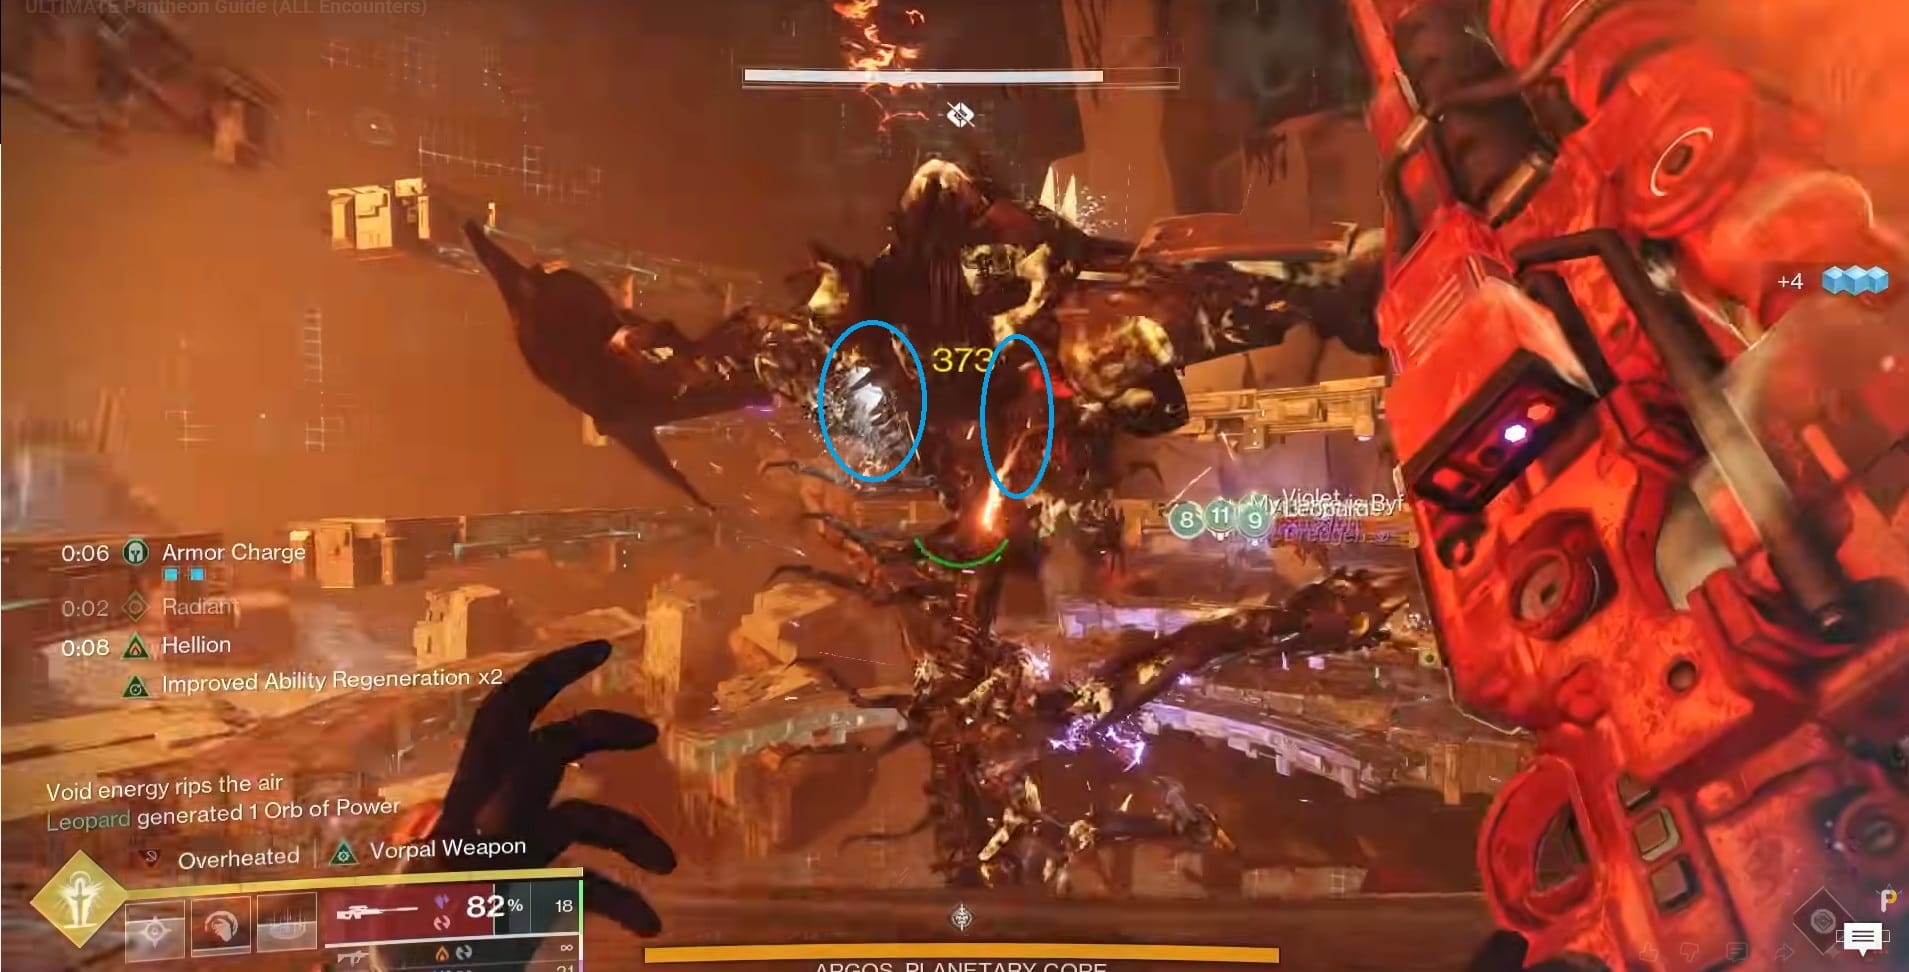
Shoot and break any 2 of these weakpoints to begin the Damage/DPS phase. These parts will stay broken. At best you will have 3 DPS phases to defeat Argos.
Damage Phase
It’s recommended to stay on the rings and begin attacking Argos’s face with its myriad glowing red eyes.
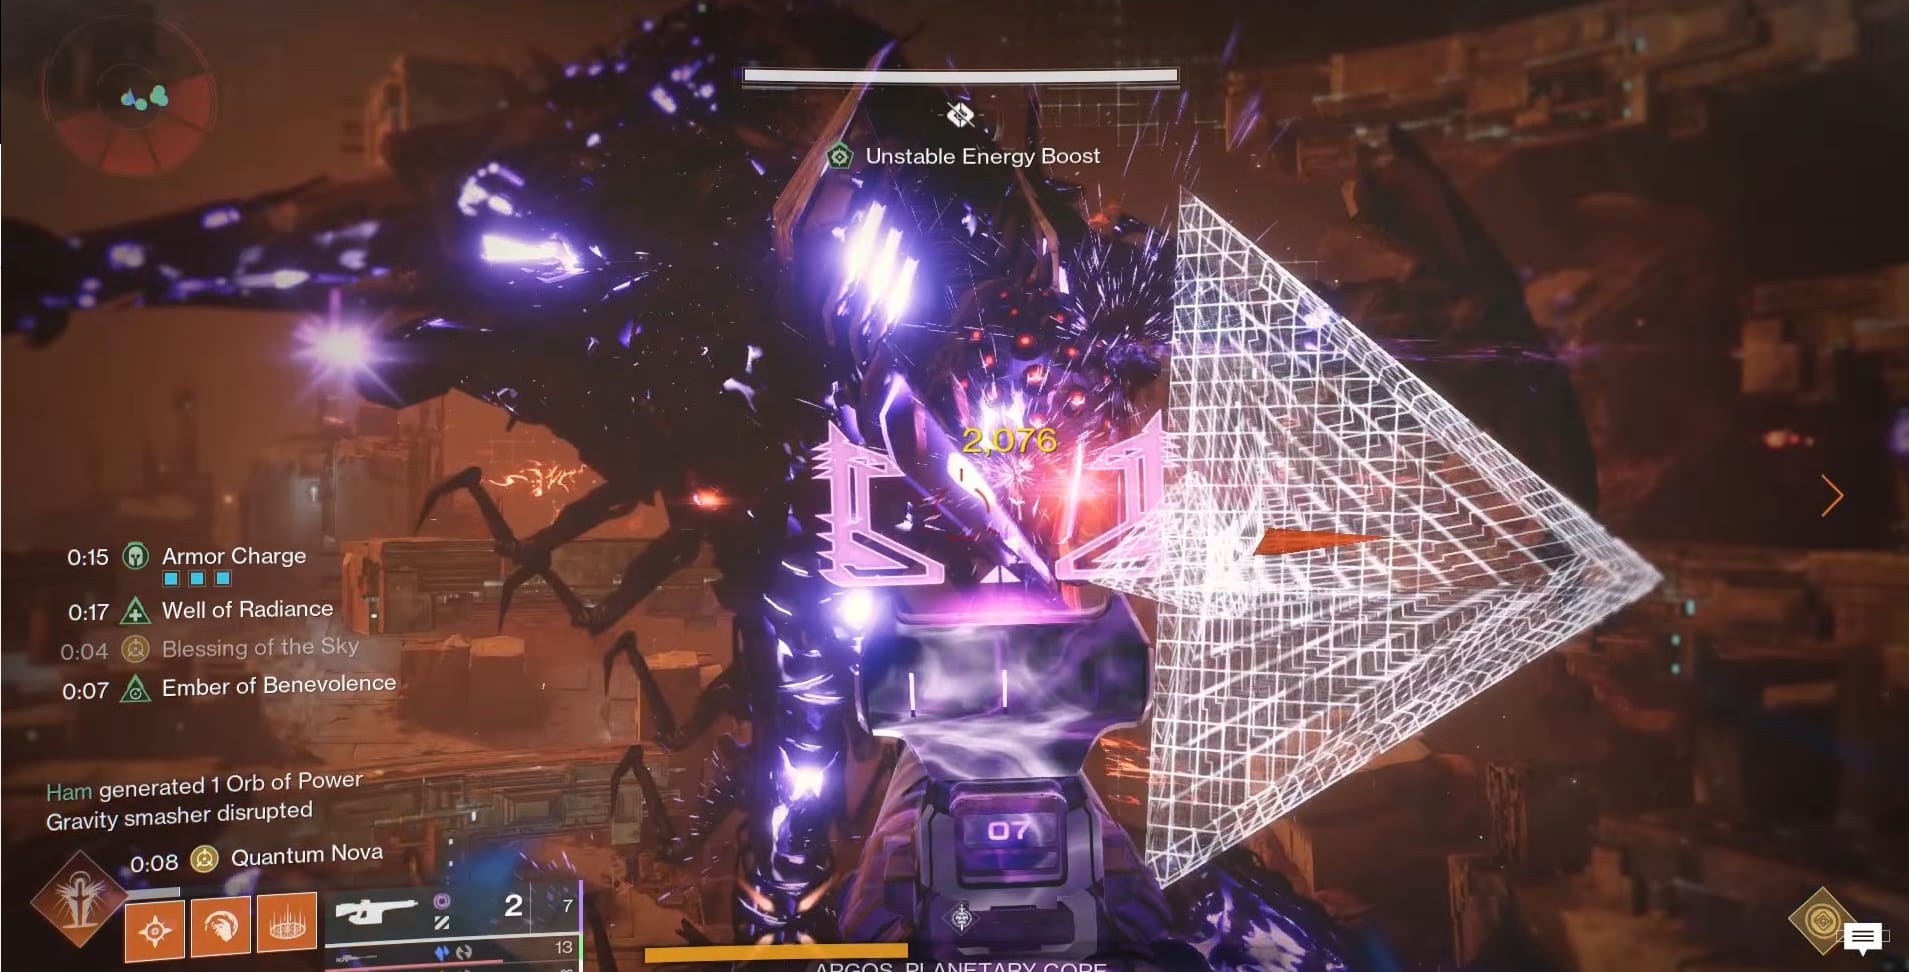
The Fireteam isn’t in the clear though. Argos still has an attack it will unleash throughout this phase. This traps you inside an Energy Construct. Immediately call it out so your Fireteam can break you out and you don’t die.
Final Stand
Thankfully, Argos doesn’t have a Final Stand mechanic! Just kill it off and you’re done with this first encounter!
Gahlran, the Sorrow-Bearer
- Gahlran, the Sorrow-Bearer was the Boss of the Raid Lair: “Crown of Sorrows.”
- Gahlran makes an appearance as a Nightmare within the Dungeon: Duality as a boss.
Gahlran, the Sorrow-Bearer is a Cabal clone made to wear the Hive Crown of Sorrow. Wearing this Crown, in theory, grants a measure of control over Hive it can influence. Instead, the Sorrow-Bearer was taken over by the Crown. The Crown of Sorrows was meant for Emperor Calus.
Summary
The Fireteam needs to spread out into the 3 sections of the map. Each pair of Guardians take a section. 1 Guardian will need the Witch’s Blessing buff and the other Guardian doesn’t need that buff. A few waves of Hive will appear and attack. Half of them can only be hurt by the Guardian will the Blessing and the other half requires a Guardian without the Blessing. Clear the waves to draw out Galhran’s Deception. The Pair needs to lure the Deception in front of Galhran himself and stun it there for Gahlran to destroy. The pair then needs to stun Gahlran and shoot his face to reveal if its truly Galhran before going onto damage him.
The Arena
This area is broken into 3 sections once the fight begins. Once again, the Fireteam needs to pair off. In each section there is a Clone of the Boss. Additionally, at the middle of each intersection of the areas, is a Brazier.
The Witch’s Blessing
As the encounter begins, a pool of energy will appear at the Rally Point. 3 Guardians need to stand in it to gain the Witch’s Blessing. This Buff will last for 1 minute.
The Witch’s Blessing will:
- Allow a Guardian to Damage Revenant Hive.
- Break the Shield around Gahlran’s Deception
- Kill a Guardian when it expires
You can transfer the Witch’s Blessing at the Witch’s Vessels. Go into the small aura around each Vessel with your other teammate. Both need to shoot the Crystal to transfer the Blessing between themselves.
You can “clone” the Witch’s Blessing Buff onto someone who needs it (say a Guardian who had it but died). The Guardian that needs it needs to stand in the Aura of the Witch’s Vessel. A Guardian with the Witch’s Blessing then needs to shoot the Witch’s Vessel at a distance, outside of the Witch’s Vessel Aura. This should give the Guardian the buff without taking it from the other Guardian.
Once they do, they immediately need to head to their section of the arena.
Awaken the Witch’s Vessel
More coordination is needed for this fight though. In each pair, 1 needs to be the first to get the buff, Witch’s Blessing. This Buff will allow you to kill the Revenant Hive that appear in the different sections. These can be Knights or Acolytes, usually appearing in a small group nearby the clone at the landing above the stairs. The other Hive, non-Revenant, that appear can only be damaged by someone WITHOUT Witch’s Blessing.
The whole of the wave will need to be defeated to awaken the Witch’s Vessel.
Using the Witch’s Vessel
Defeating the waves awakens the Witch’s Vessel. This will let a Guardian transfer the Witch's Blessing to another Guardian if they share the same Witch's Vessel. There's an aura around the Vessel that shows where this transfer can take place.
Additionally, a Guardian with the Witch's Blessing can share it with a Guardian standing in the aura of the Witch's Vessel if they shoot the Vessel from outside its aura.
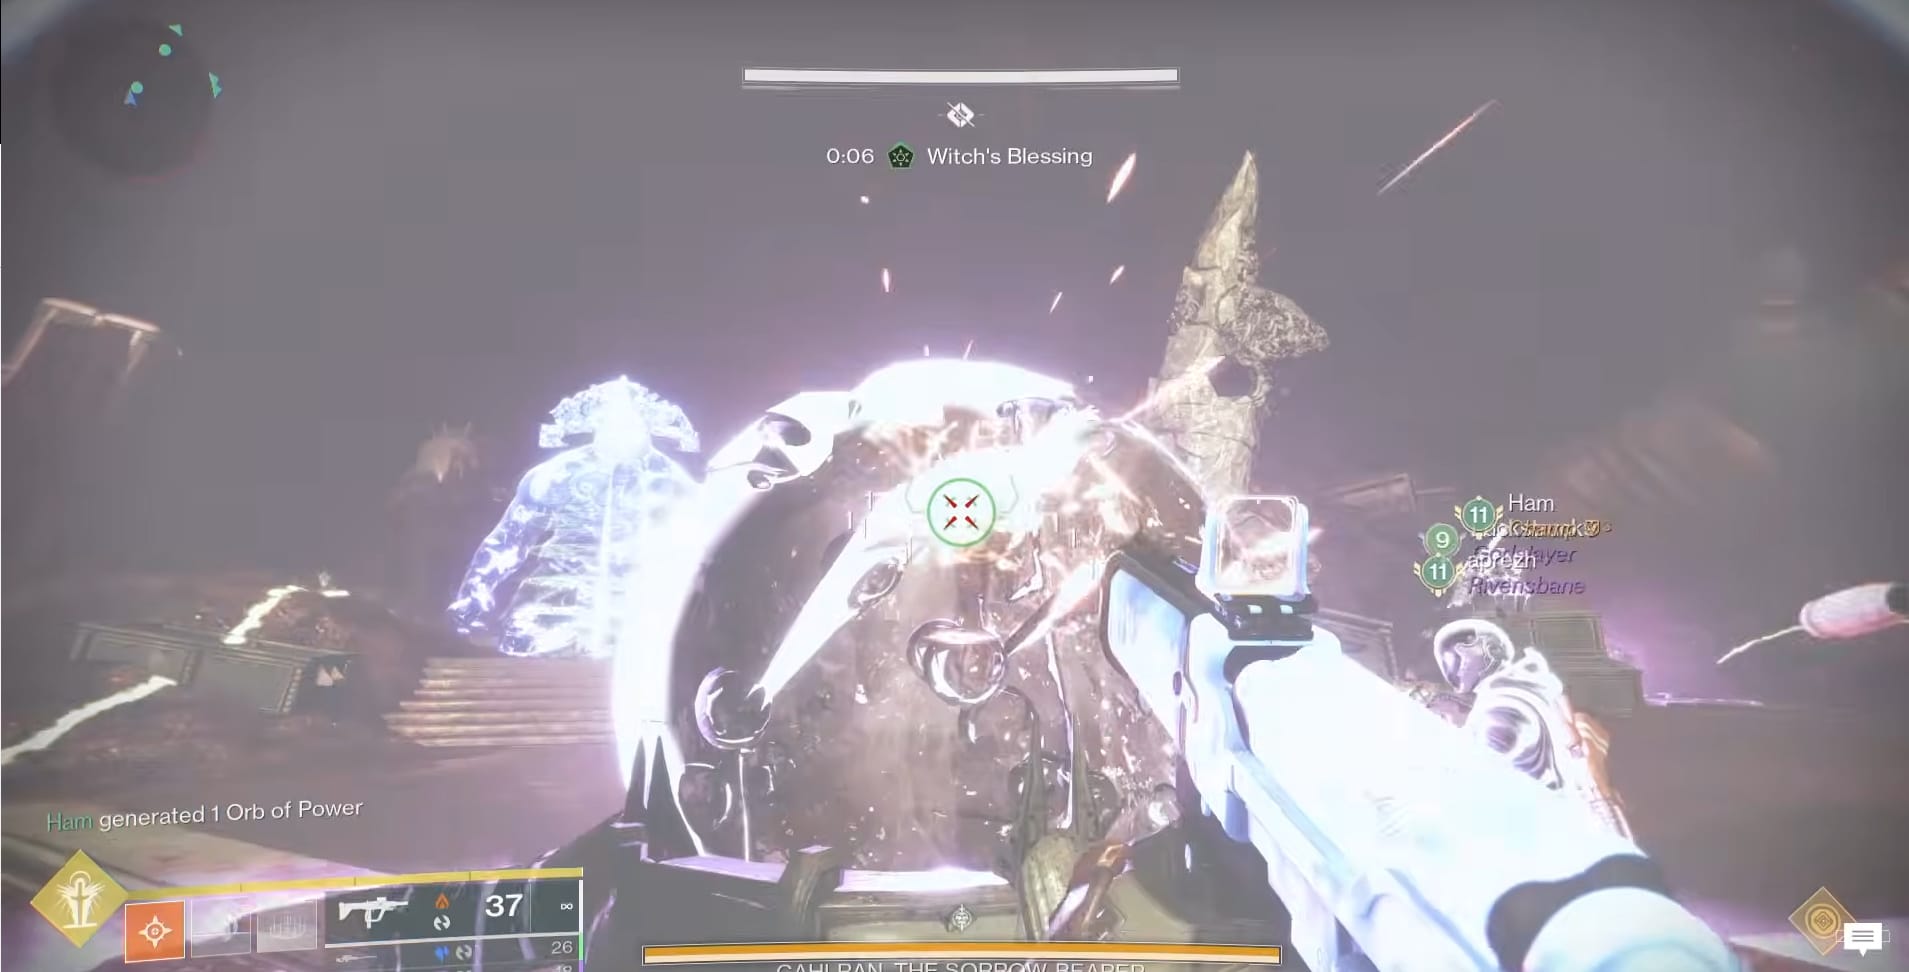
Defeat Gahlran’s Deceptions
After the Hive waves are defeated, one of the Gahlran the Sorrow-Bearers, will lower his hand. From there, a Gahlran’s Deception will appear. It is protected by a Shield. Shoot the Deception to get its attention. Lure it to the back portion of your section, close to the Clone.

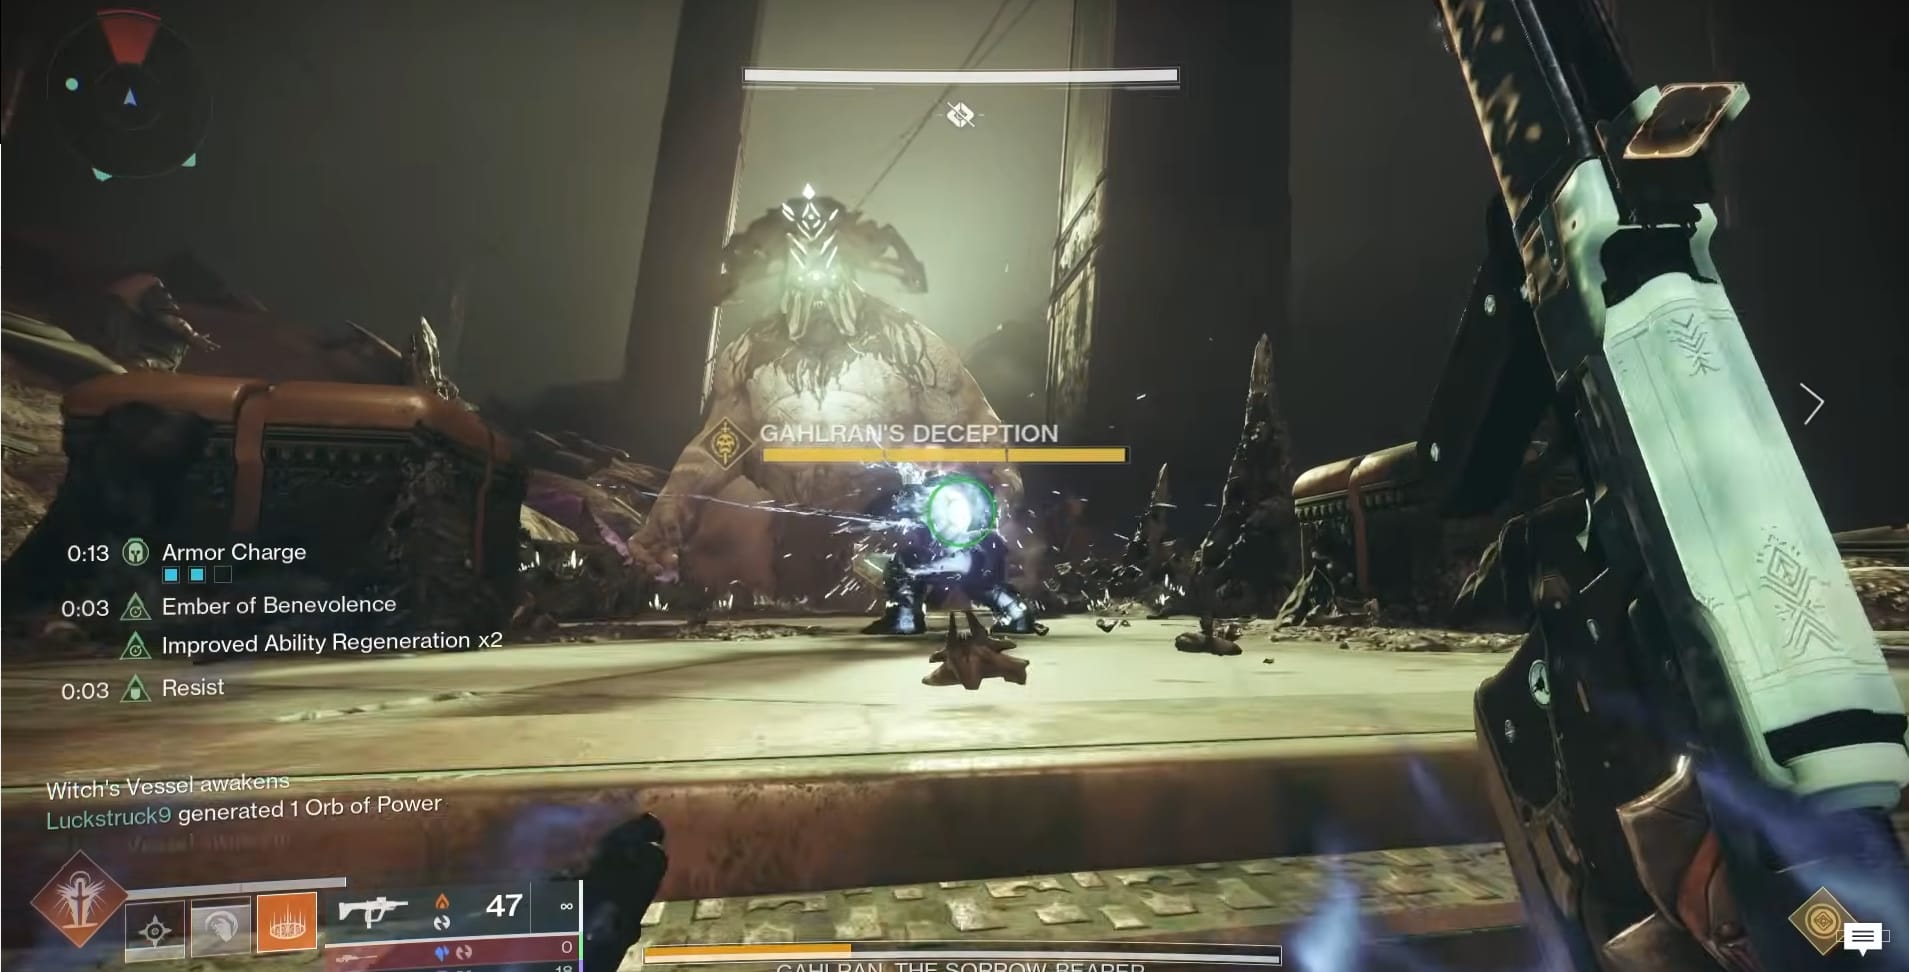
Gahlran’s Deception
Both of the Guardians (The one with the Witch’s Blessing and the one without) will need to attack the Deception with a melee attack at this point.
Doing this will cost the Witch’s Blessing bluff for that Guardian. This means you will need to clone it, as described earlier, from another Guardian.
Each pair of Guardians will need to do this once.
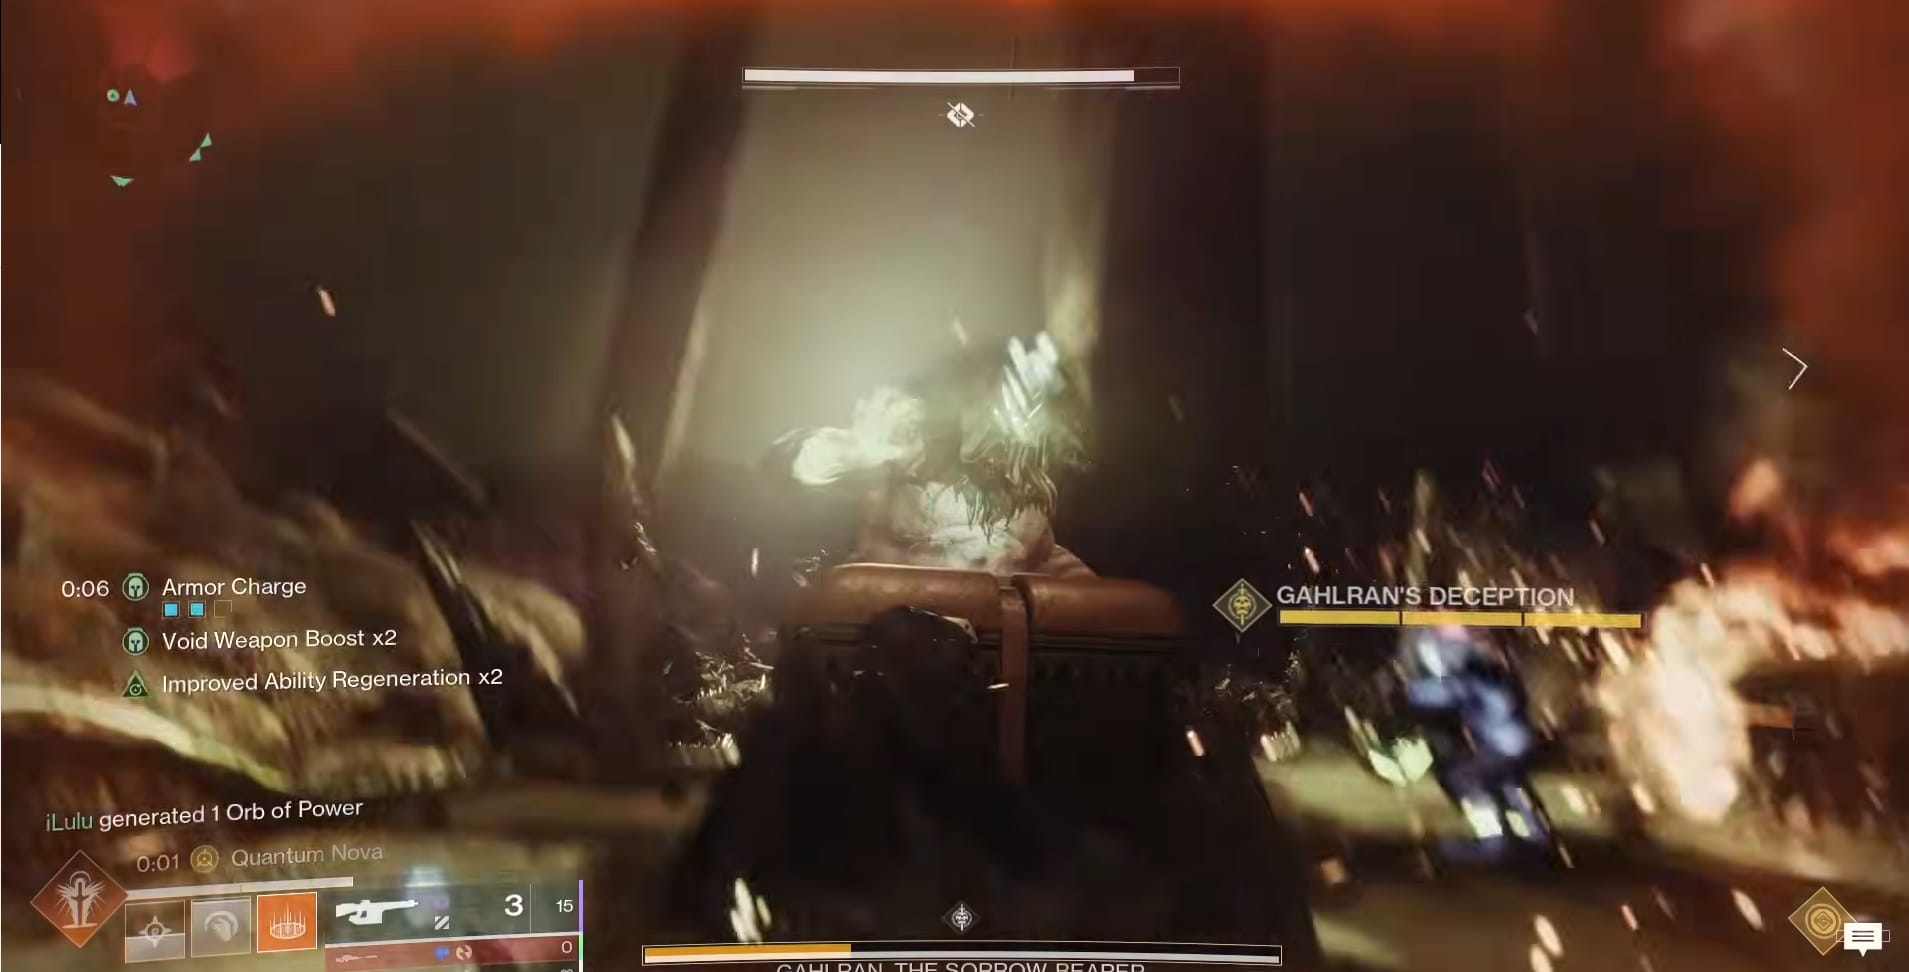
Prevent Wipe/Trigger Damage
With the 3 Gahlran’s Deceptions defeated, then we move onto the final phase before Damage. Each of the Clones will raise their hands and they will begin to glow. The pairs of Guardians need to shoot Galhran’s Hands and then his face. 2 of the 3 Galhrans will vanish when this part is done, being revealed as Illuisions. 1 Gahlran will remain, his true body.
Each pair should swap the Witch’s Blessing buff before continuing to Damage Phase.
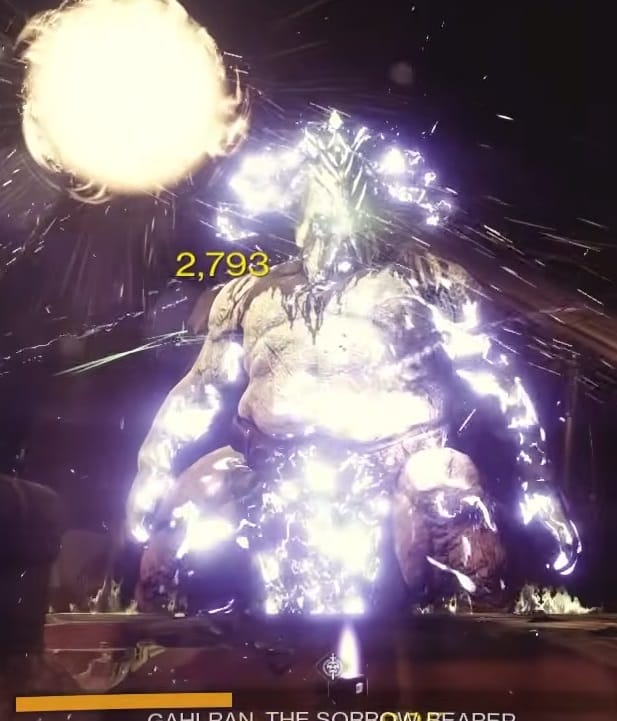
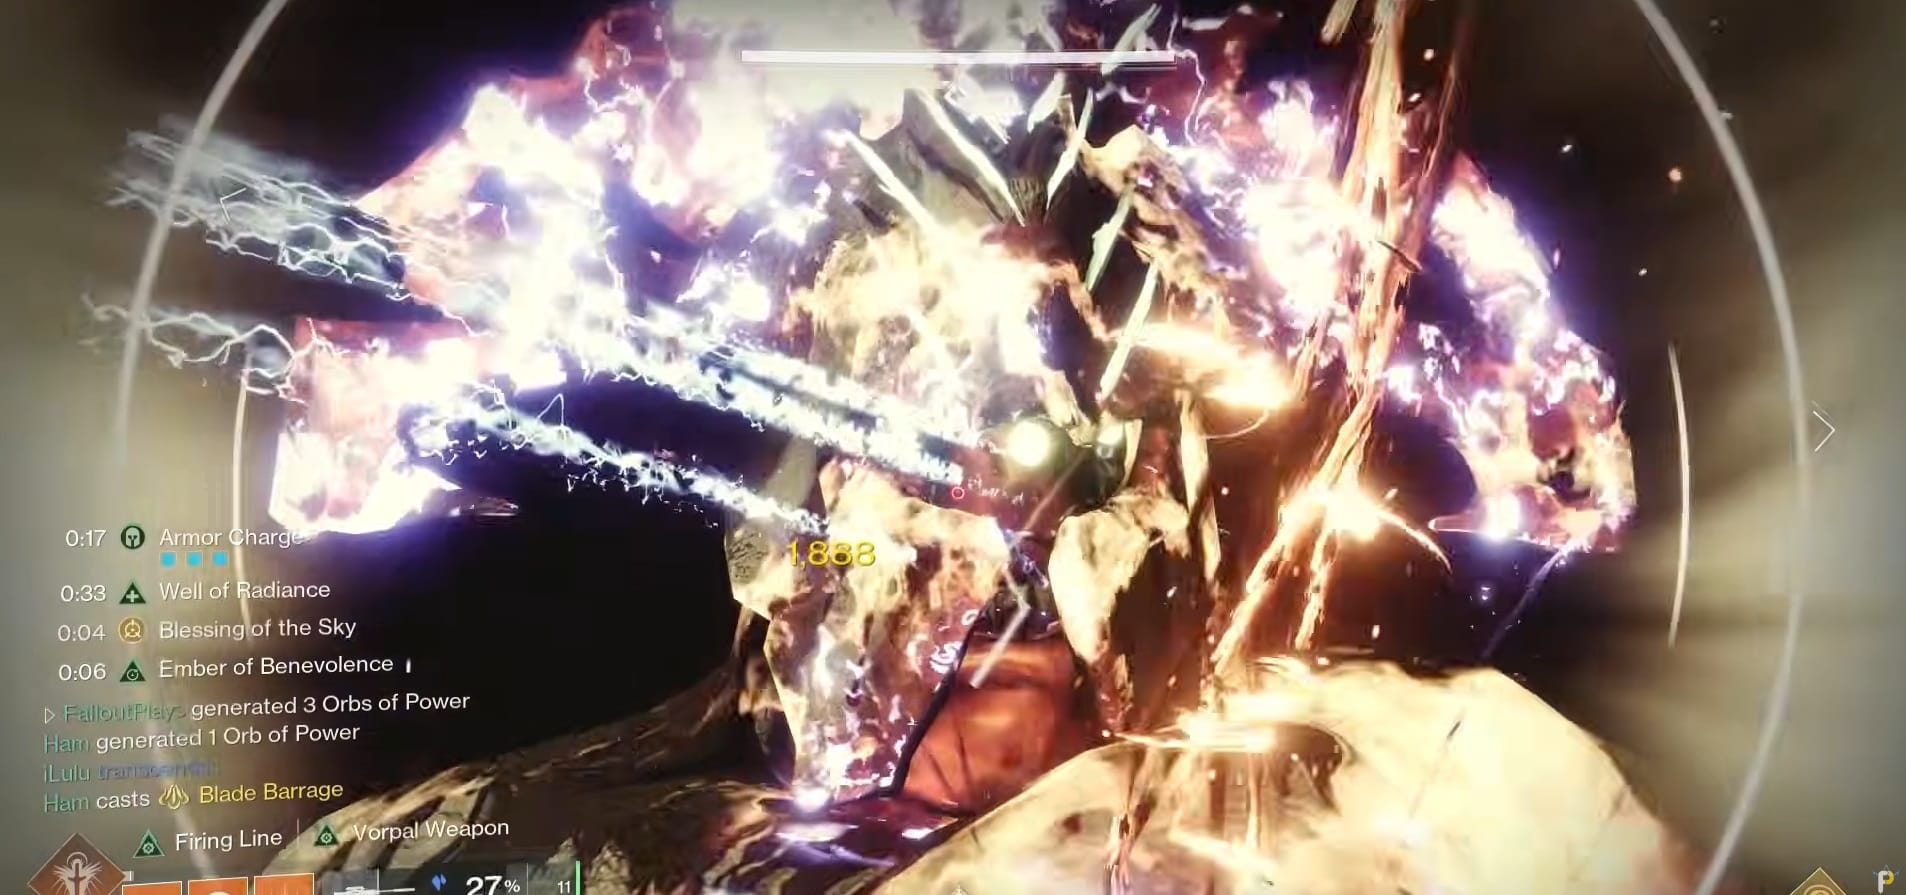
Damage Phase
Once Gahlran has been revealed, the fireteam needs to converge on him quickly. Just like with the Illusions, the Fireteam will need to shoot his hands to lower them. After that, aim for his head and begin unloading with everything. He will raise his arms once or twice, becoming Immune (briefly while you “break” them again).
When the Damage Phase is done, Galhran will disappear. Everything resets with Galhran and 2 Illusions of him appearing in the different sections of the map. The pairs need to return to their sections and go through everything once again.
No final stand from Gahlran.
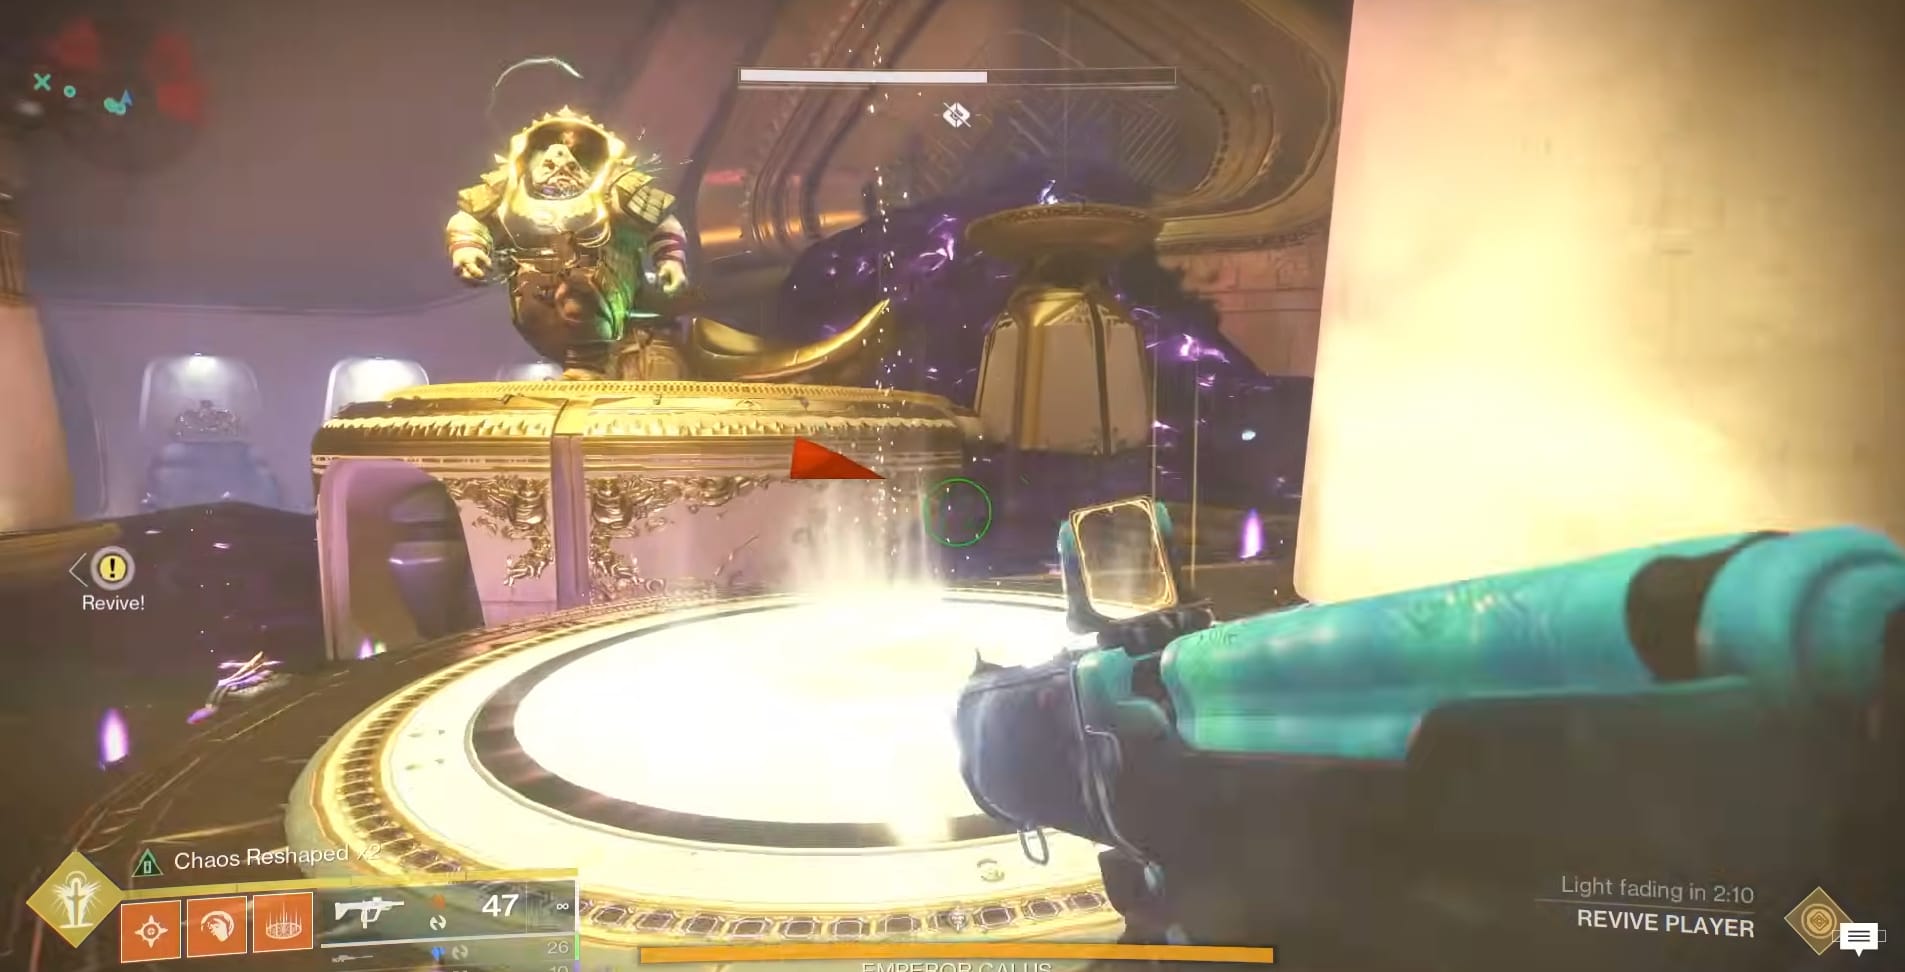
Emperor Calus
- Emperor Calus was the first Raid Bass of Destiny 2 within the Raid: Leviathan
The Opulent Emperor Calus returns to face the Guardians once more. This fight is about coordination and knowing exactly what to do.
Summary
The fireteam needs to split into trios. 1 team will be in the Throne Room and 1 team will be in the Shadow Realm. You all start together, but after Calus claps his hands, the Fireteam is sent into the Shadow Realm. Those that are a part of the Shadow team need to stand by a barrier while those in the Throne Room will need to jump into an Orb that appears just over the barrier.
The Shadow Team needs to defeat Psions and call out symbols that appear on the projection of Calus. The Throne Team needs to find the symbol NOT called out and hit the Psion underneath it. You do this 3 times. Then the Throne team needs to stop Calus from wiping the Fireteam by breaking his shield while the Shadow Team builds the Damage Buff: Force of Will. The fireteam is reunited when Calus’s Shield breaks.
With the Fireteam whole, as a whole, they need to jump onto 1 of the 4 Plates to begin the Damage Phase/Rotation. Fire at Calus’s head, then torso to do critical damage. Jump off the Plate when you see Calus pull a gun to shoot the plate. Rotate to the next of the 4 Plates after that. Complete all 4 Plates to finish a Damage Phase/Rotation.
When Calus’s health is drained, he enters Final Stand. Just keep blasting away to drain the Shield Bar and defeat him.
Getting Started
The fireteam needs to split in half, 3 to stay in the Throne Room (Throne Team) and 3 need to go volunteer to stay in the Shadow Realm (Shadow Team). Those returning to the Throne Room need to choose which Orb they’ll use: Left, Middle, or Right. On top of that, you need to decide the Plate Order for Damage Phase. Choose your starting Plate and the Direction of rotation. Common practice is either Clockwise or Counter-Clockwise from the Sun or Cup.
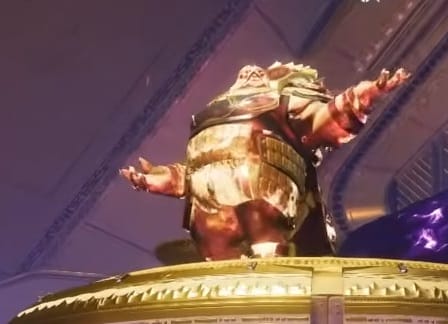
The encounter starts when you shoot Emperor Calus and knock is goblet from his hand.
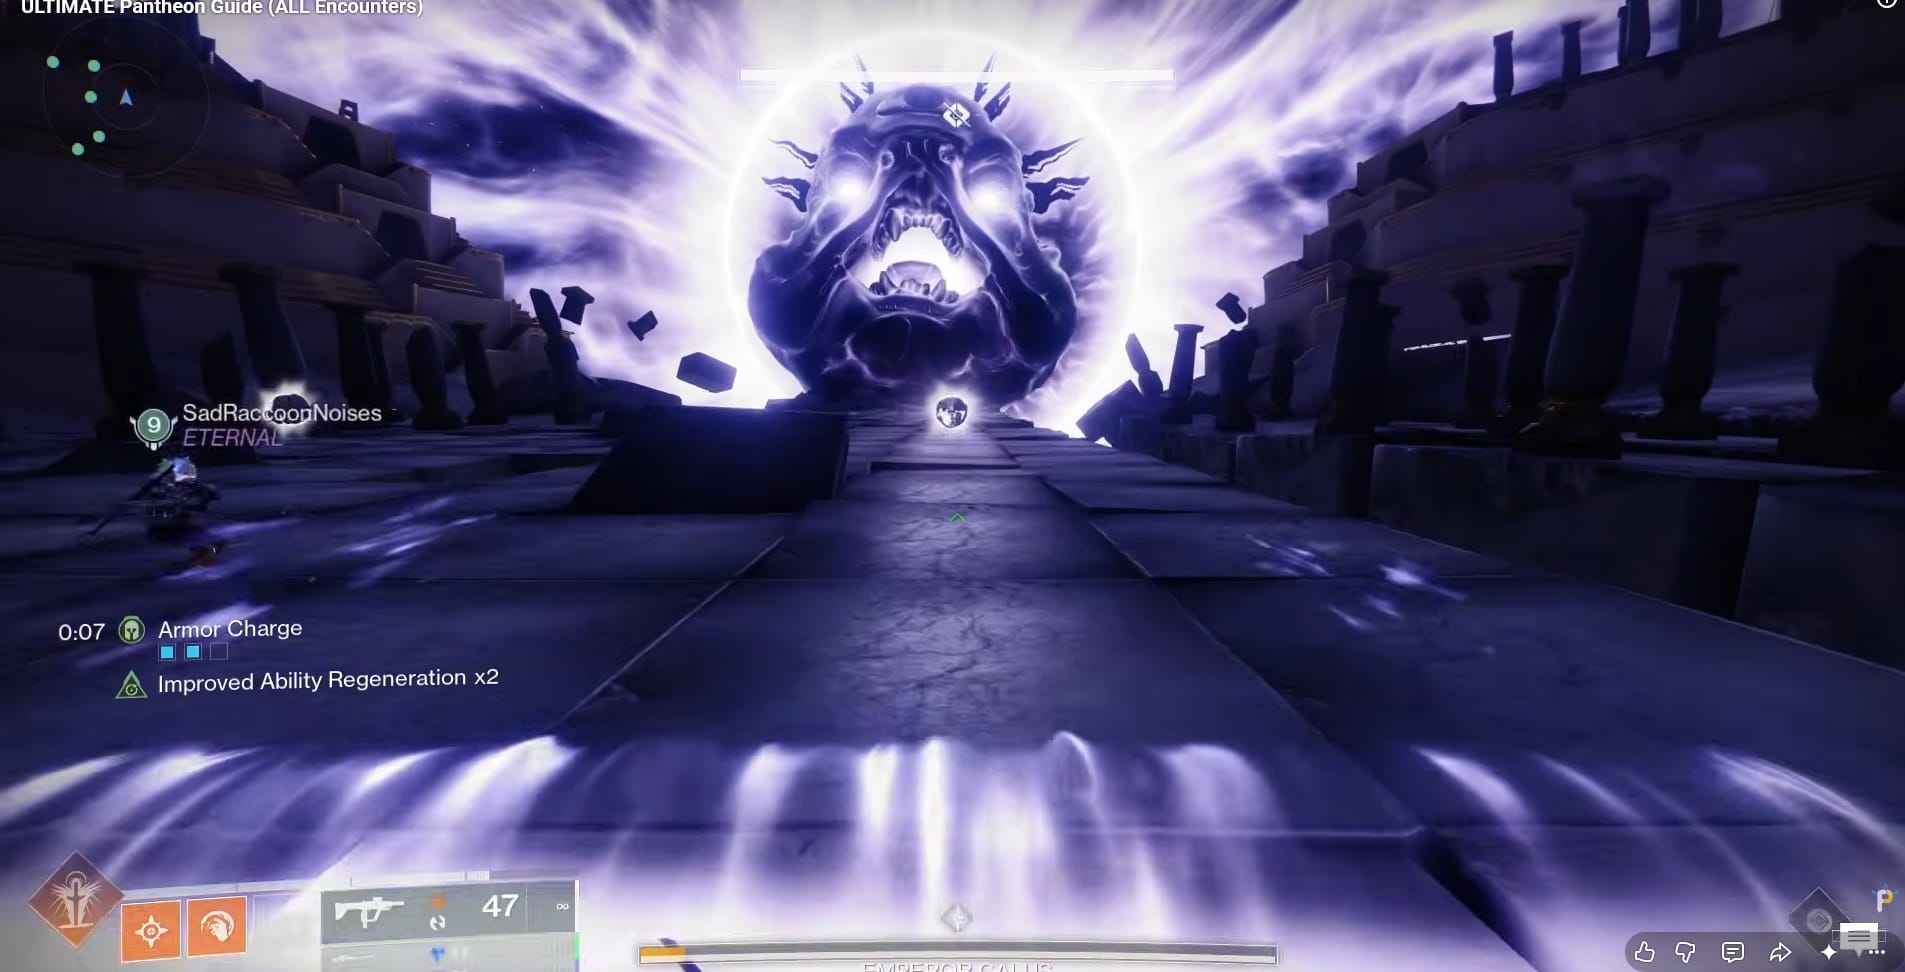
The Beginning
At this point, Calus will summon a large wave of Cabal to rush in. They will all start attacking the Fireteam. This will continue until Calus claps his hands and the Fireteam vanishes in a flash.
The Fireteam is now in the Shadow Realm. Those returning to the Throne Room need to dash to their Orb. Jump the barrier and straight into it to return. The rest who remain have a different task to complete.
Throne Room Team
Once the trio has returned from the Shadow Realm it starts simply. You need to continue fighting through the waves of Cabal. However, you need to listen to the Callouts from the Shadow Team. Once all 3 have been called, someone needs to go and strike the Psion whose Symbol was NOT called out immediately. There isn’t a lot of time to strike the Psion so always act quickly.
Example: The Call from the Shadow Team is Axe, Cup, Dog. This means the Throne Team needs to quickly upclose melee the Sun Psion.
Hitting the wrong Psion will cause the protective barrier for the Shadow Team to break and all 3 of them will wipe not long after.
The Shadow Team will be doing this 3 times. The Symbol Psions reappear each time so always be listening.
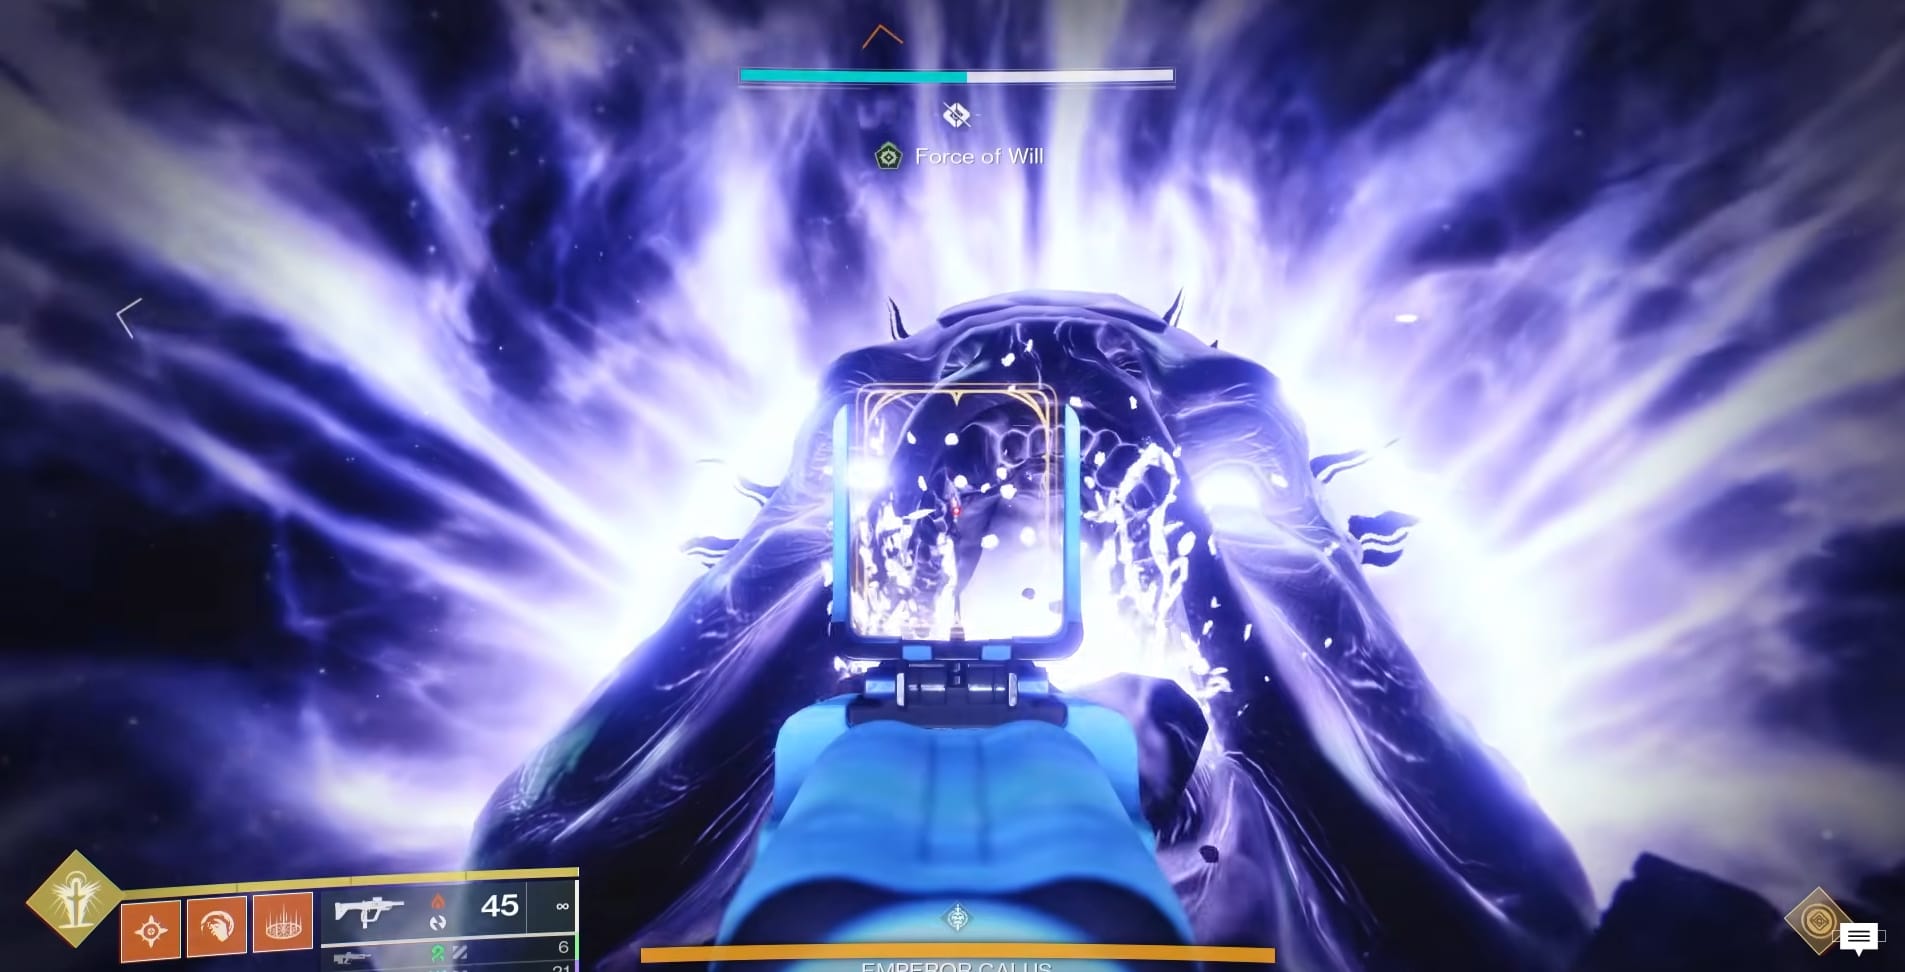
Once the Shadow Team reaches the end of the Shadow Realm, they will need to start gathering Force of Will. How long they have is determined by the Throne Team. Calus will be shielded and start gathering energy above his head. The Throne Team needs to fire on Calus and bring his shield down.
When this Shield breaks, Damage Phase will begin shortly after as the Fireteam is reunited.
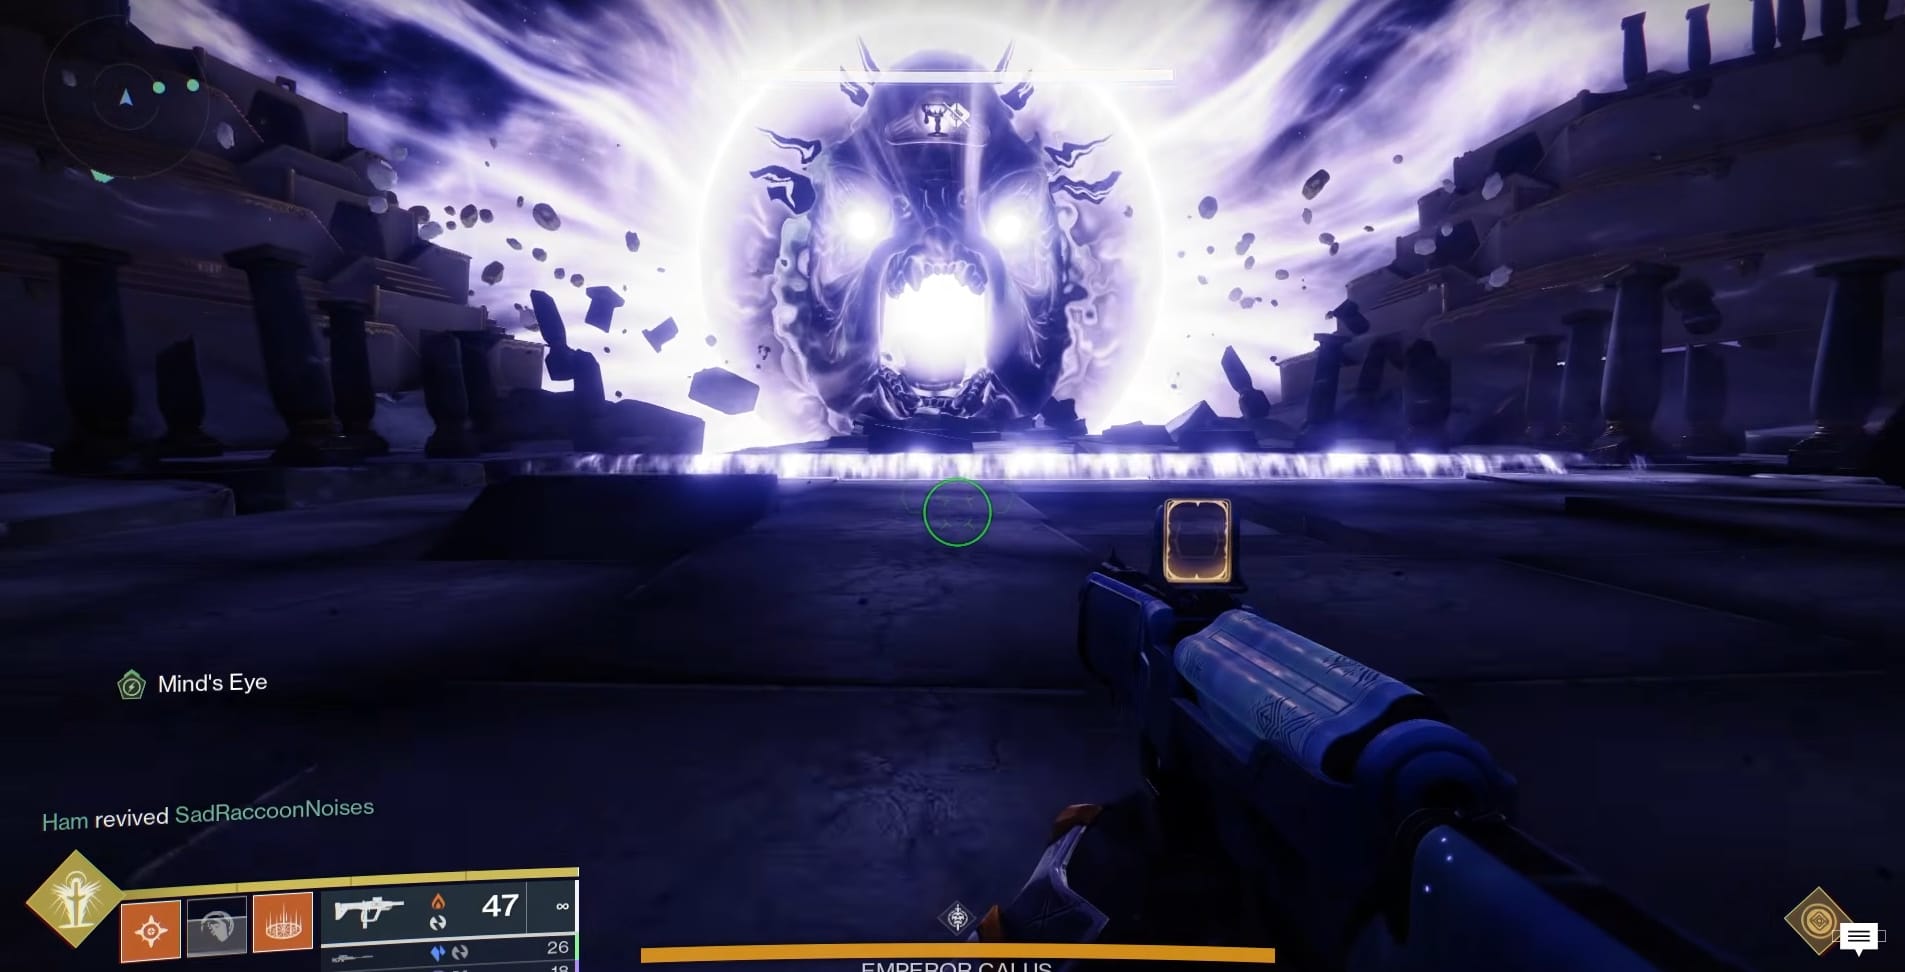
Shadow Realm Team
Each of the Guardians now has the buff Mind’s Eye. You need to quickly destroy the Projection of a Psion and a translucent Orb in addition to a Psion that has appeared (likely taking cover behind the ramps ahead).
Once the Throne Team has returned, look to the projection of Calus. On his forehead, each of the 3 fireteam members will see a Symbol there: Sun, Cup, Axe, or Dog (Warbeast). One at a time, the Shadow Team needs to call out what symbol they see on Calus’s Forehead.
Once the Throne Team has struck the Appropriate Psion, another barrier will appear. Hop over the present barrier and you will be pulled forward to the next barrier. Be careful to avoid ANY ramps on your way forward. These will always launch you over the barrier and send you off to your death.
At the second (and third) barrier, you will need to defeat the Psions, the projections, and make the call out. After the third barrier, there’s one more thing to do.
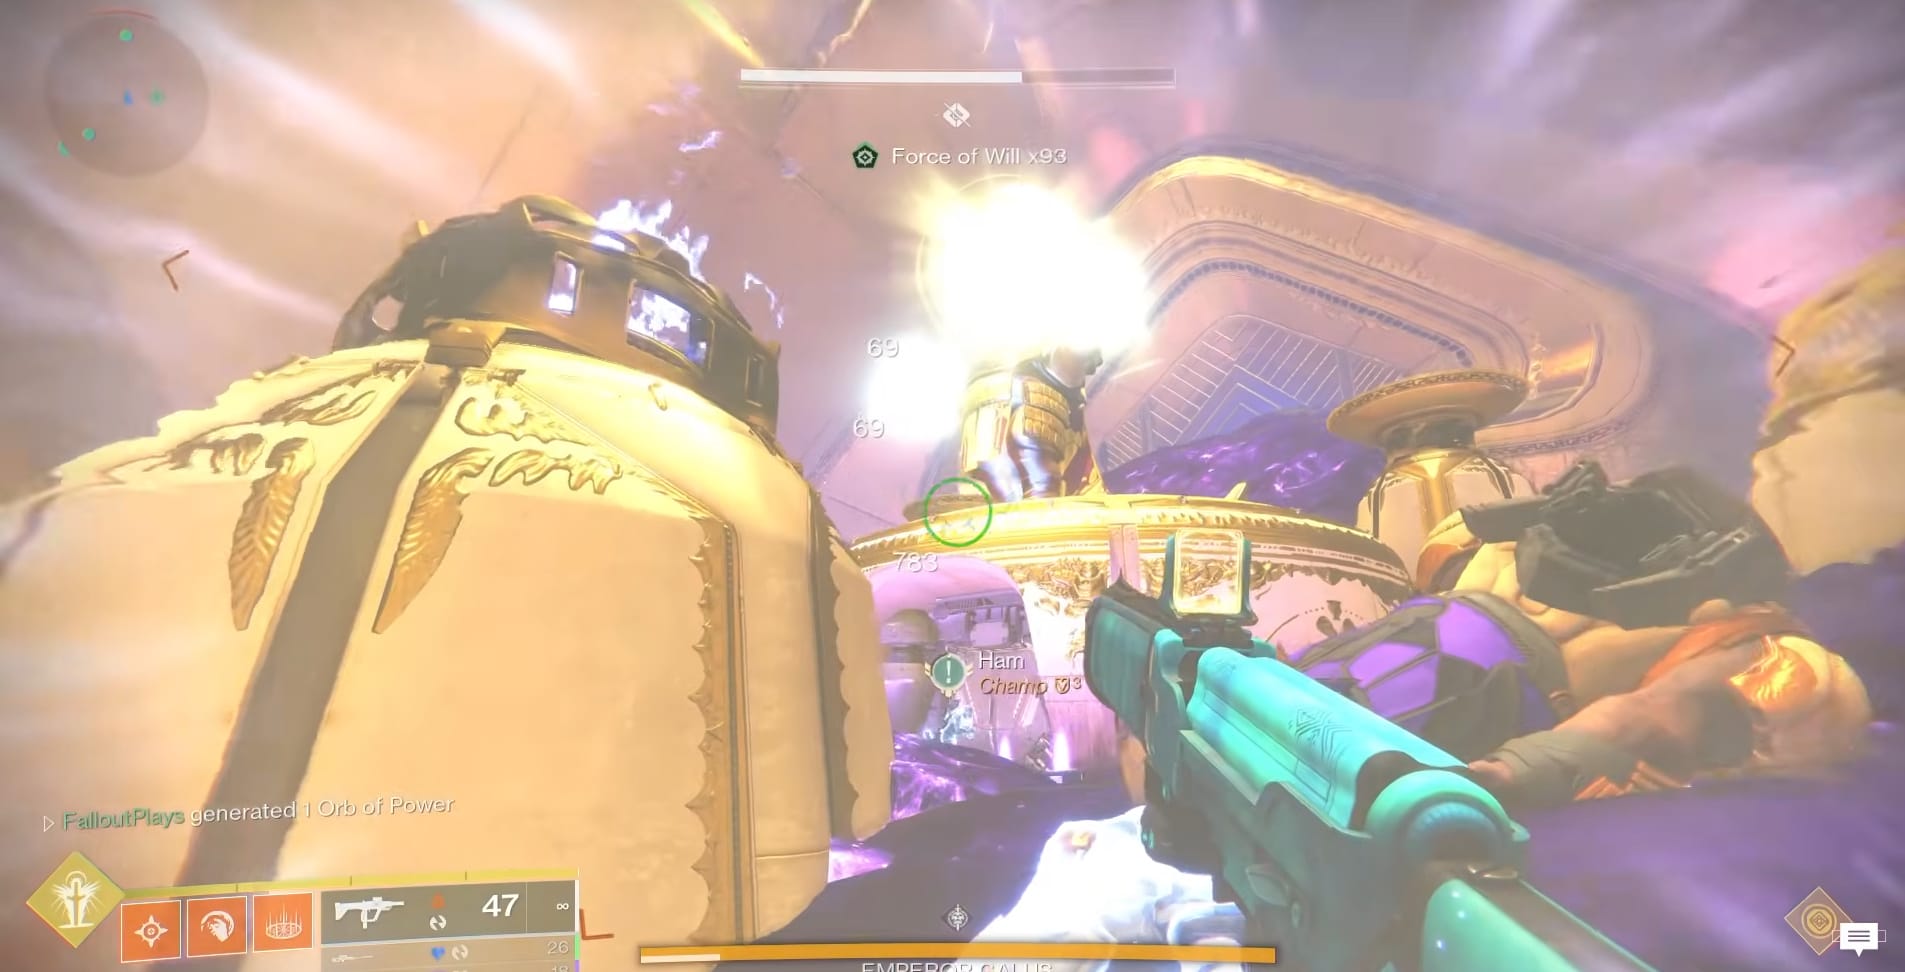
The Shadow Team has one more task before they return to the Throne room. Calus will pause in what he is doing and belching a stream of glowing skulls. These can and will kill Guardians that don’t shoot them down. But you want to shoot them down. Each one that is destroyed grants the FIRETEAM the buff Force of Will.
The goal is collect as much Force of Will as possible. The general target is 70. However, Throne Team can likely give you enough time to reach 90 or 100.
Damage Phase
After all that, the Fireteam is back together and its finally time to start damaging Calus! It’s not as simple as start shooting the Emperor though.
The whole fireteam needs to head for the Plates that the Symbol Psions on where. As a ground, they need to jump onto the plate. The timer for the plate starts as soon as a Guardian jumps on it.
The Fireteam should then Target Calus’s head. Just begin to unload after that. The Plate will only last so long though. Watch Calus since he will pull out a gun and shoot the plate doing damage (scaling based on difficulty). After that, the plate will sputter out.
With the Plate spent, the fireteam needs to rotate to the next one in the sequence.
As the Fireteam damages Calus, he will be revealed to be a Robot. Once the glowing portion of his torso is revealed, that is now his weak spot and the Fireteam needs to target that.
Final Stand
When Calus’s Health hits close to Zero, a final Shield bubble will surround him and his hands will start to glow. Energy will arc above his head from his hands. You need to destroy the Shield and strike the Death Blow to Calus before he finishes this attack or the Fireteam will wipe.
Conclusion
If you’re a longtime Destiny 2 player from the days of Release, Curse of Osiris and Warmind, nothing here is all that new. Small revisions to the fight, balancing them better. This isn’t too bad to run at all. This set is focused on Coordination more than anything, so you need to listen and be responsive to your Fireteam. Expect it to take a while to get through.