Destiny 2: Pantheon 2.0 - Gahlran, the Sorrow-Bearer Guide
Master the Gahlran, the Sorrow-Bearer encounter in Destiny 2 Pantheon. Learn about Witch's Blessing management, Encounter mechanics, team roles, and damage phase strategies.

This battle is part of the Calus Resplendant Pantheon Set.
- Gahlran, the Sorrow-Bearer was the Boss of the Raid Lair: “Crown of Sorrows.”
- Gahlran makes an appearance as a Nightmare within the Dungeon: Duality as a boss.
Gahlran, the Sorrow-Bearer is a Cabal clone made to wear the Hive Crown of Sorrow. Wearing this Crown, in theory, grants a measure of control over Hive it can influence. Instead, the Sorrow-Bearer was taken over by the Crown. The Crown of Sorrows was meant for Emperor Calus.
Summary
The Fireteam needs to spread out into the 3 sections of the map. Each pair of Guardians take a section. 1 Guardian will need the Witch’s Blessing buff and the other Guardian doesn’t need that buff. A few waves of Hive will appear and attack. Half of them can only be hurt by the Guardian will the Blessing and the other half requires a Guardian without the Blessing. Clear the waves to draw out Galhran’s Deception. The Pair needs to lure the Deception in front of Galhran himself and stun it there for Gahlran to destroy. The pair then needs to stun Gahlran and shoot his face to reveal if its truly Galhran before going onto damage him.
The Arena
This area is broken into 3 sections once the fight begins. Once again, the Fireteam needs to pair off. In each section there is a Clone of the Boss. Additionally, at the middle of each intersection of the areas, is a Brazier.
The Witch’s Blessing
As the encounter begins, a pool of energy will appear at the Rally Point. 3 Guardians need to stand in it to gain the Witch’s Blessing. This Buff will last for 1 minute.
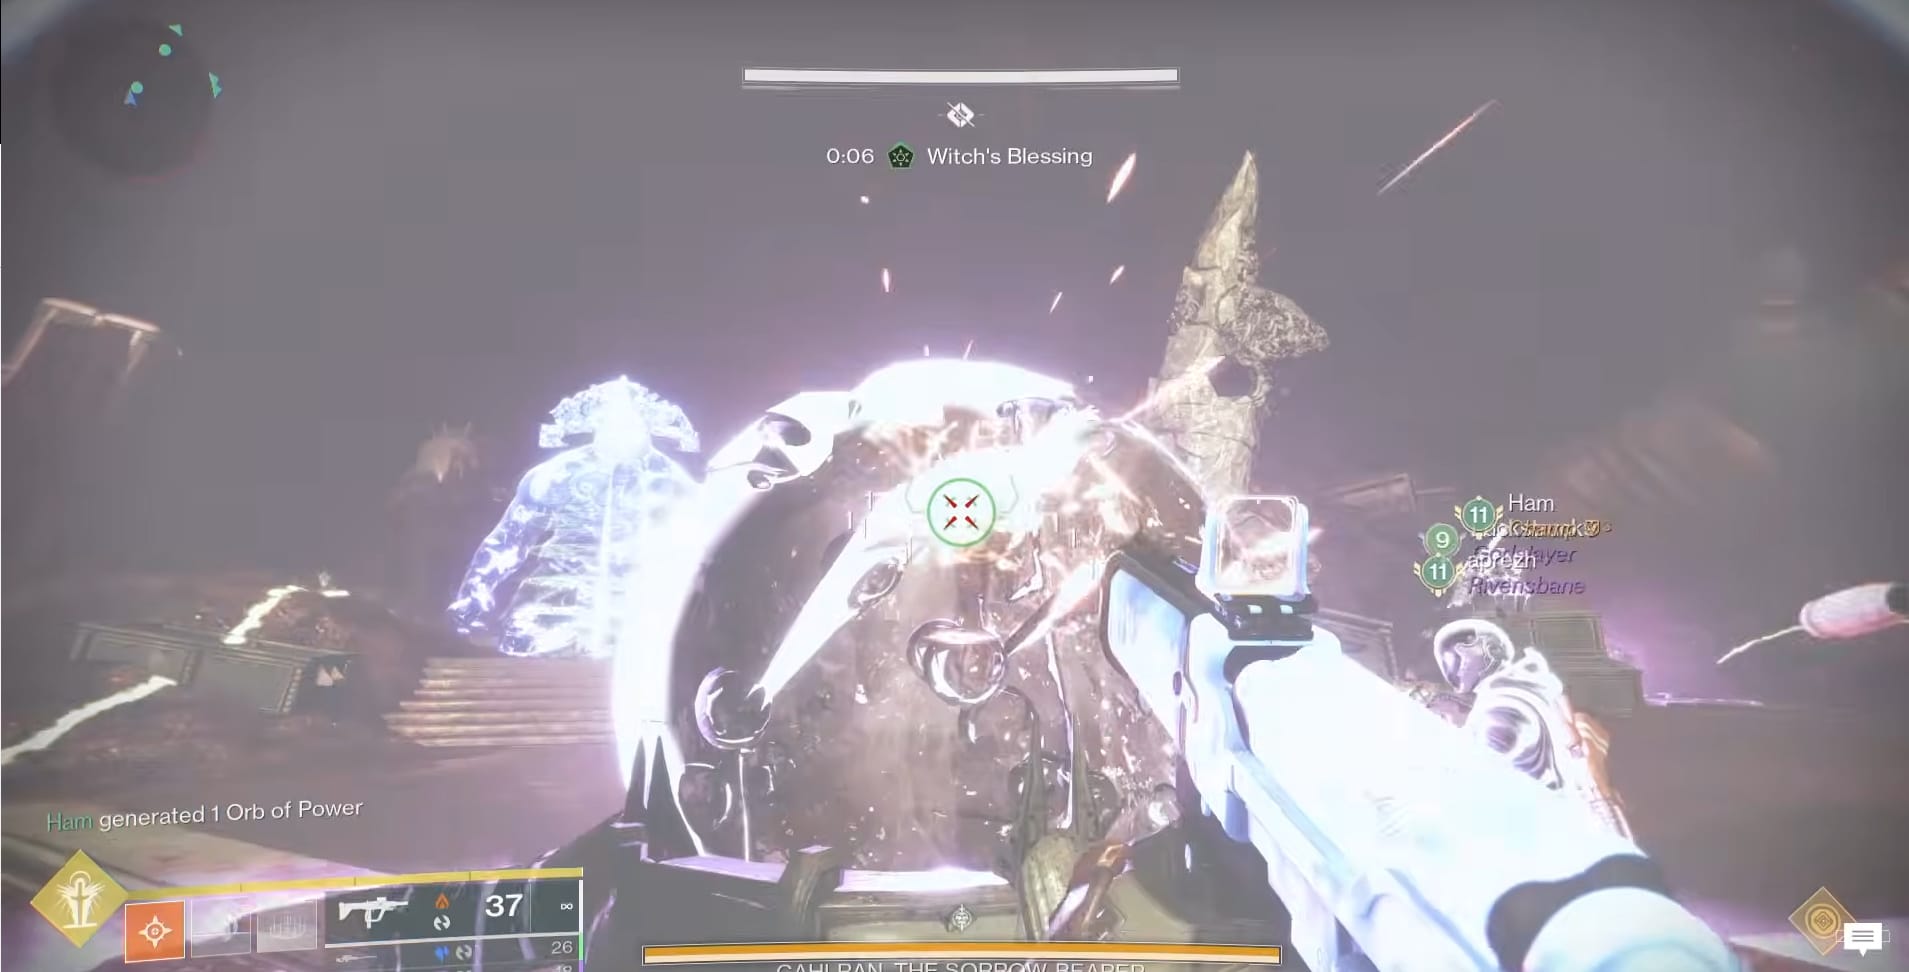
The Witch’s Blessing will:
- Allow a Guardian to Damage Revenant Hive.
- Break the Shield around Gahlran’s Deception
- Kill a Guardian when it expires
You can transfer the Witch’s Blessing at the Witch’s Vessels. Go into the small aura around each Vessel with your other teammate. Both need to shoot the Crystal to transfer the Blessing between themselves.
You can “clone” the Witch’s Blessing Buff onto someone who needs it (say a Guardian who had it but died). The Guardian that needs it needs to stand in the Aura of the Witch’s Vessel. A Guardian with the Witch’s Blessing then needs to shoot the Witch’s Vessel at a distance, outside of the Witch’s Vessel Aura. This should give the Guardian the buff without taking it from the other Guardian.
Once they do, they immediately need to head to their section of the arena.
Awaken the Witch’s Vessel
More coordination is needed for this fight though. In each pair, 1 needs to be the first to get the buff, Witch’s Blessing. This Buff will allow you to kill the Revenant Hive that appear in the different sections. These can be Knights or Acolytes, usually appearing in a small group nearby the clone at the landing above the stairs. The other Hive, non-Revenant, that appear can only be damaged by someone WITHOUT Witch’s Blessing.
The whole of the wave will need to be defeated to awaken the Witch’s Vessel.
Using the Witch’s Vessel
Defeating the waves awakens the Witch’s Vessel. This will let a Guardian transfer the Witch's Blessing to another Guardian if they share the same Witch's Vessel. There's an aura around the Vessel that shows where this transfer can take place.
Additionally, a Guardian with the Witch's Blessing can share it with a Guardian standing in the aura of the Witch's Vessel if they shoot the Vessel from outside its aura.
Defeat Gahlran’s Deceptions
After the Hive waves are defeated, one of the Gahlran the Sorrow-Bearers, will lower his hand. From there, a Gahlran’s Deception will appear. It is protected by a Shield. Shoot the Deception to get its attention. Lure it to the back portion of your section, close to the Clone.

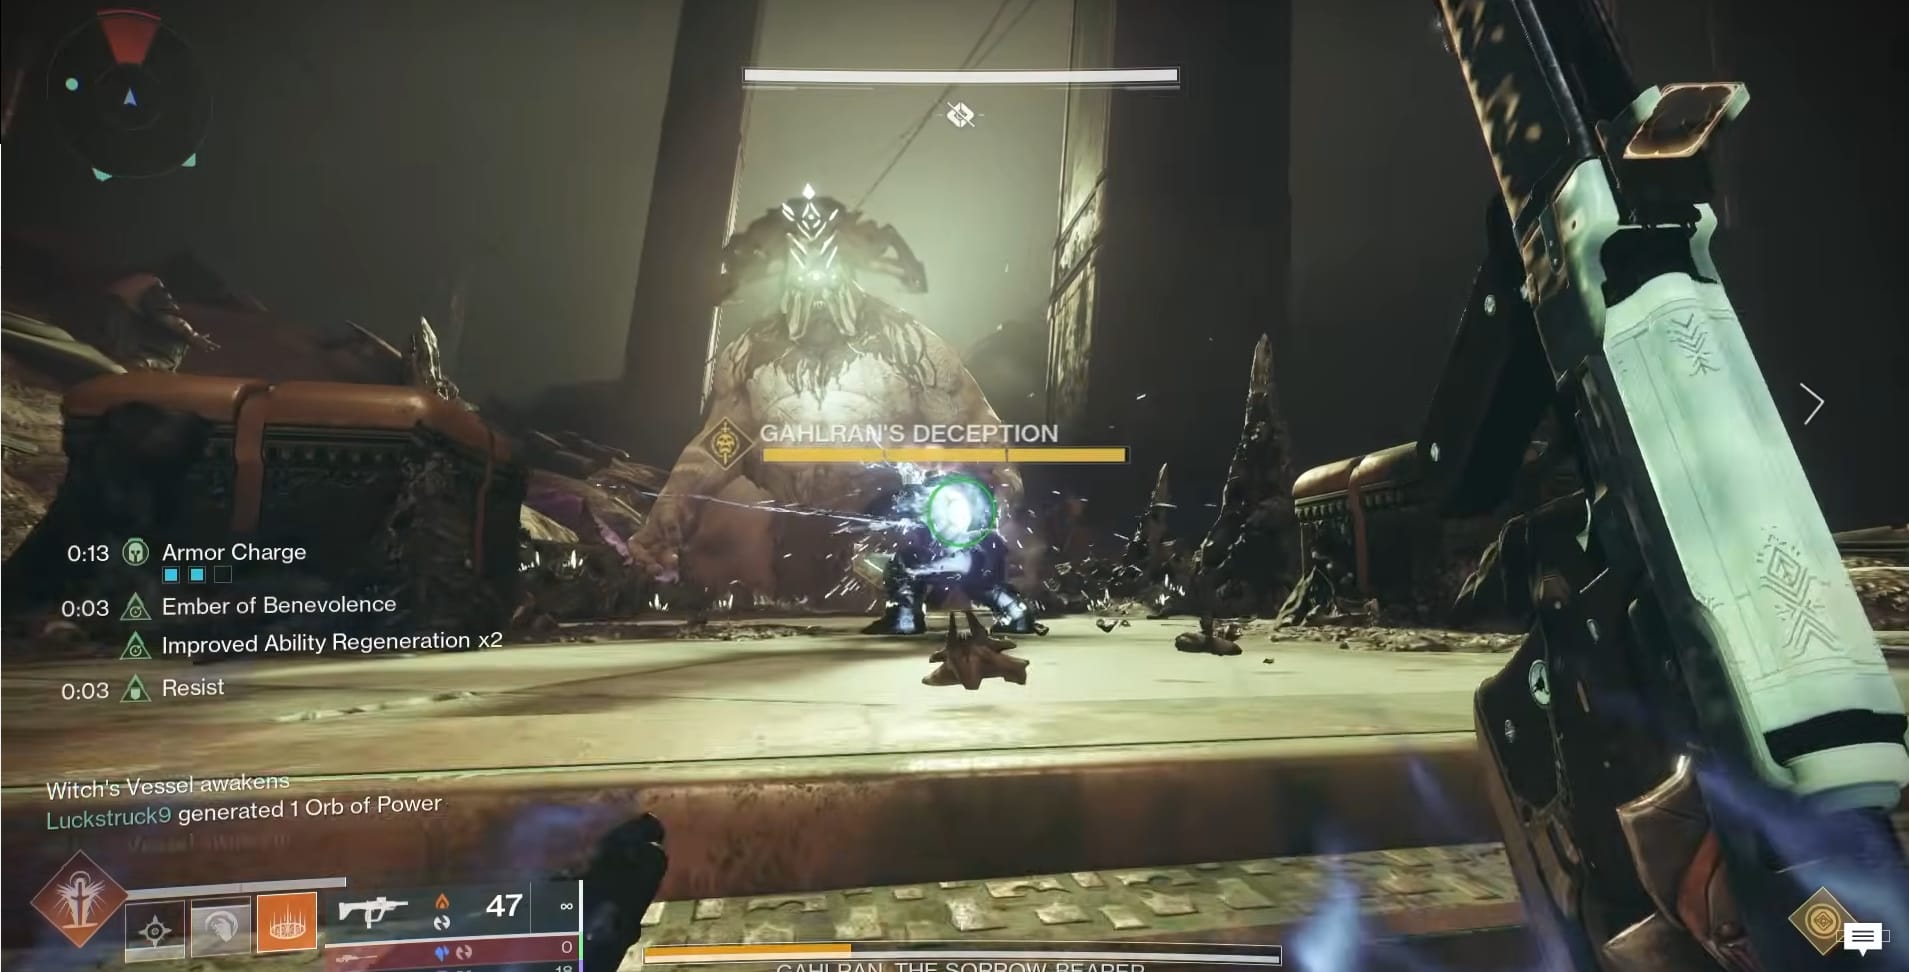
Gahlran’s Deception
Both of the Guardians (The one with the Witch’s Blessing and the one without) will need to attack the Deception with a melee attack at this point.
Doing this will cost the Witch’s Blessing bluff for that Guardian. This means you will need to clone it, as described earlier, from another Guardian.
Each pair of Guardians will need to do this once.
Prevent Wipe/Trigger Damage
With the 3 Gahlran’s Deceptions defeated, then we move onto the final phase before Damage. Each of the Clones will raise their hands and they will begin to glow. The pairs of Guardians need to shoot Galhran’s Hands and then his face. 2 of the 3 Galhrans will vanish when this part is done, being revealed as Illuisions. 1 Gahlran will remain, his true body.
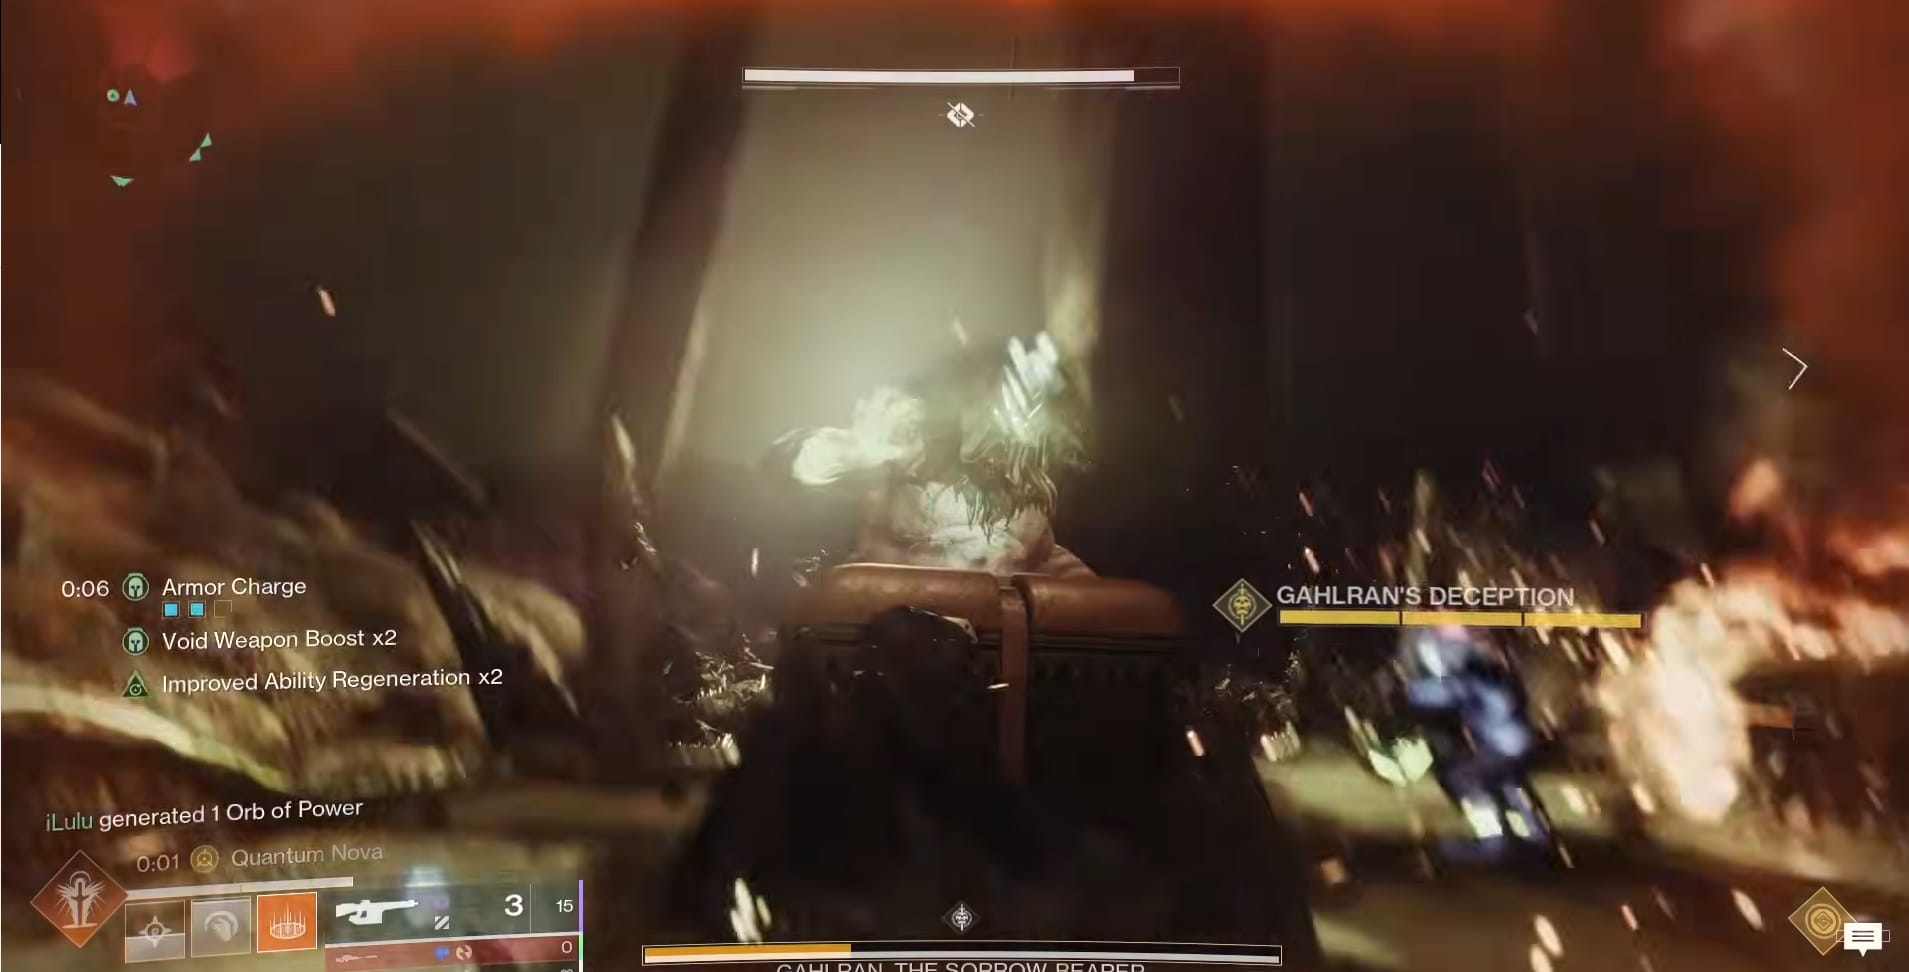
Each pair should swap the Witch’s Blessing buff before continuing to Damage Phase.
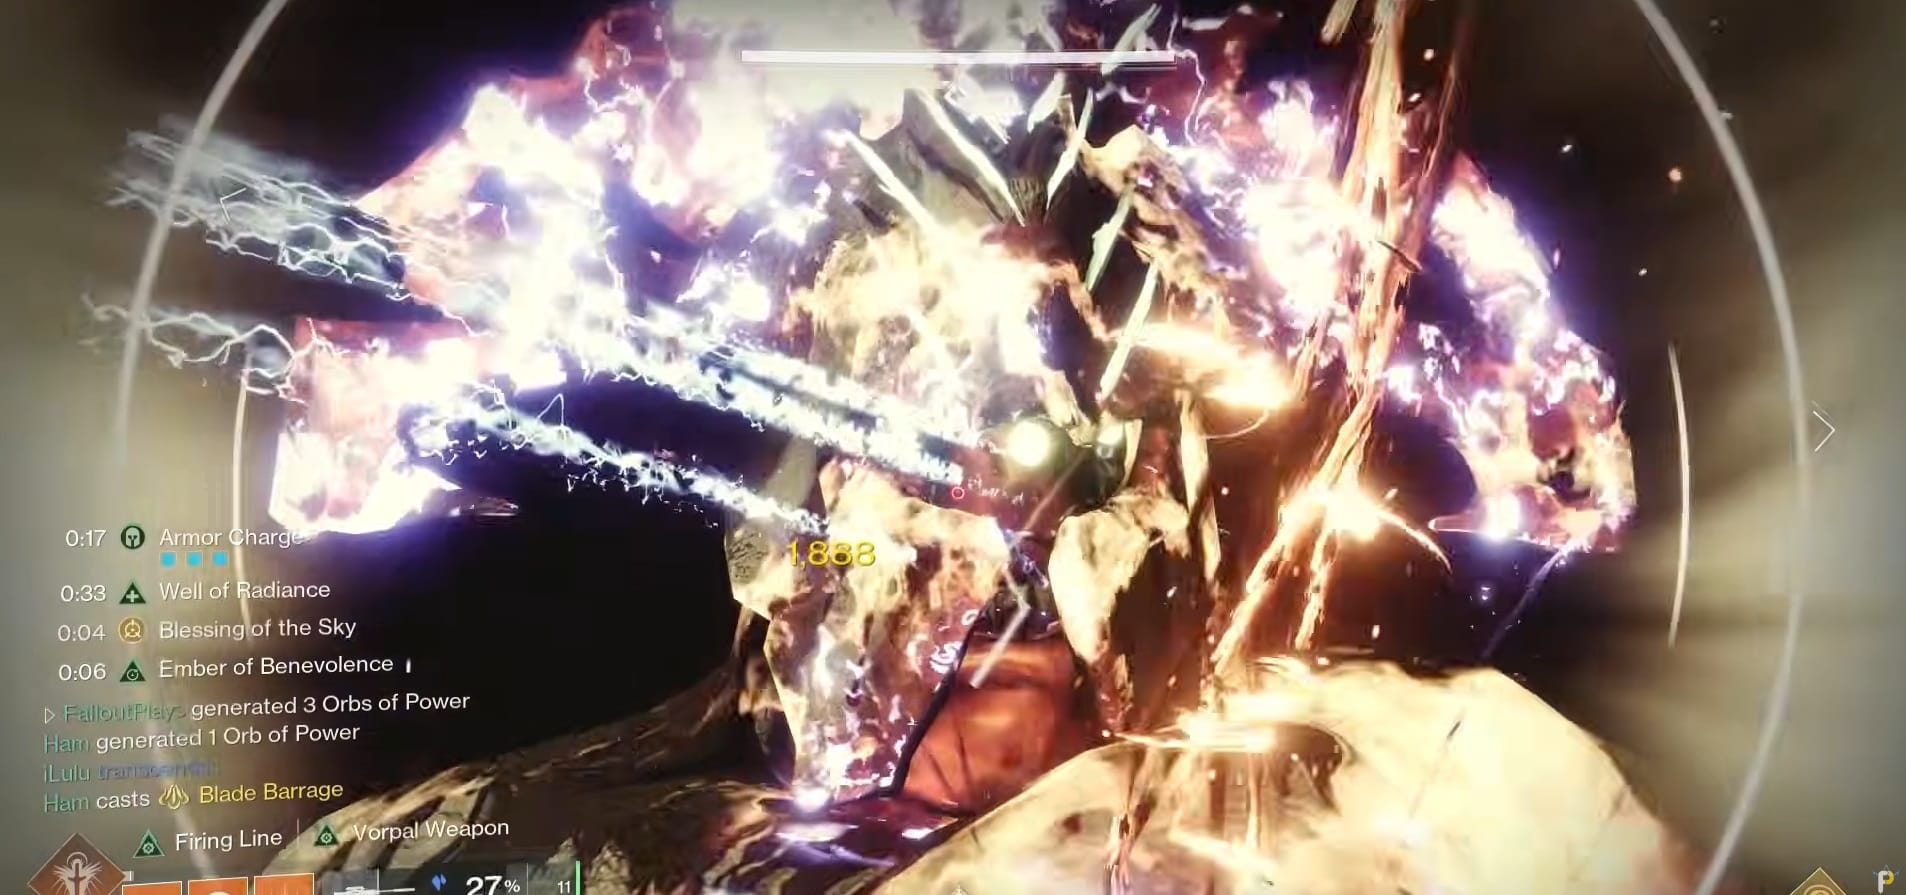
Damage Phase
Once Gahlran has been revealed, the fireteam needs to converge on him quickly. Just like with the Illusions, the Fireteam will need to shoot his hands to lower them. After that, aim for his head and begin unloading with everything. He will raise his arms once or twice, becoming Immune (briefly while you “break” them again).
When the Damage Phase is done, Galhran will disappear. Everything resets with Galhran and 2 Illusions of him appearing in the different sections of the map. The pairs need to return to their sections and go through everything once again.
No final stand from Gahlran.