Destiny 2: Pantheon 2.0 Warpriest Guide
Defeat the Warpriest in Pantheon 2.0 with a complete guide to Death Totem rotations, Brand management, and team coordination.

- The Warpriest is the first Boss encounter with the King’s Fall raid.
This encounter now works as 2 encounters combined together: Death Totems and the Warpriest. This makes it much more complicated to complete. The elements are the same, but skips what was called the “reading” phase to trigger Damage. Instead it opts for a simpler charge-up system.
Summary
Start by figuring out the Plate Order and where you’re doing damage. The Fireteam then splits in half, with teams of 3 taking each side of the arena. Guardians need to empower the Plates with Deathsinger’s Power, collected using the Brand of the Weaver and rotating it through that half of the Fireteam with Brand Claimer. Once enough is collected the Warpriest deems you worthy and you can begin Damage. The Fireteam gathers, transferring the Brand of the Initiate as needed then hiding behind the totem to prevent a wipe.
Arena
The arena is now huge with the 2 rooms combined. The Lower room is Death Totems and the Upper Room is the Warpriest’s Chamber.
The Death Totems room has a bit for you to work with. For most of the encounter, you will have the Warpriest in the middle, firing on the Guardians.
With the combination of the 2 encounters, there’s a lot more to manage, but it is very possible. Every Guardian will need to gather Deathsinger’s Power, be on Ad Clear, and eventually hit DPS.
Starting the Encounter
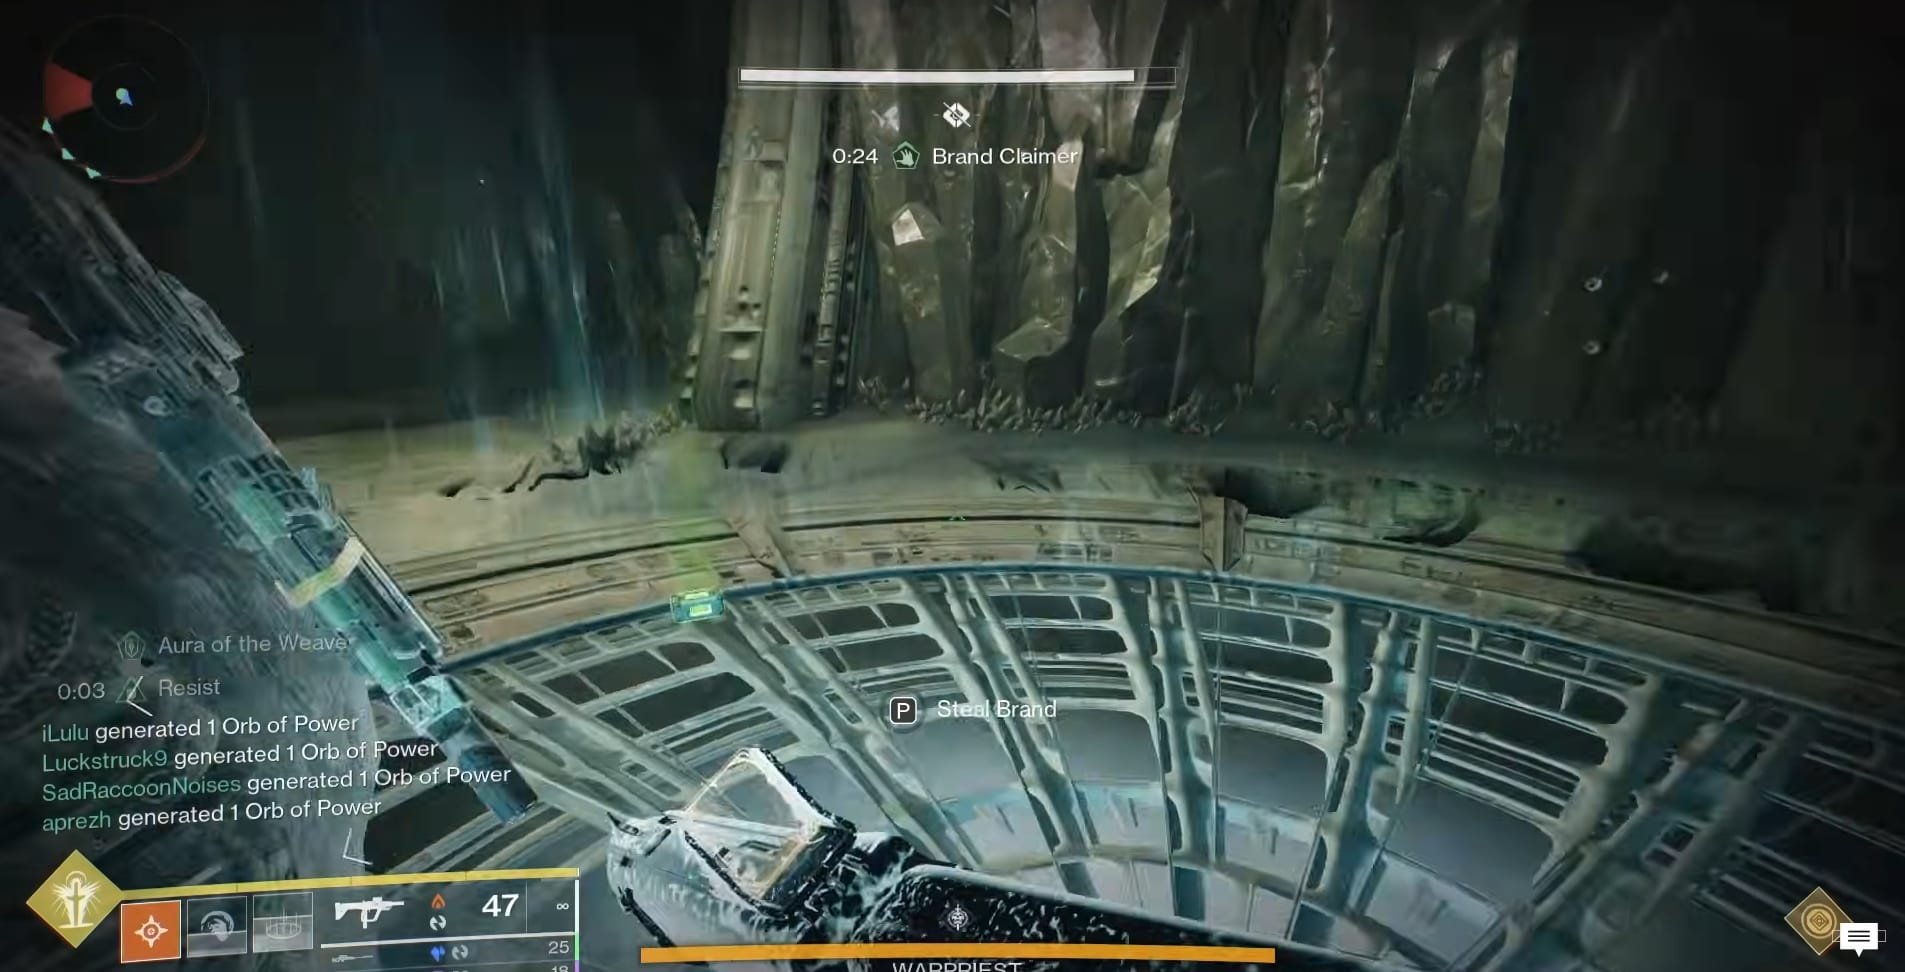
The Encounter begins when a Guardian either enters the area around the totem or takes the Brand of the Weaver from the middle of the pathway into the Totem chamber.
Infusing Deathsinger’s Power
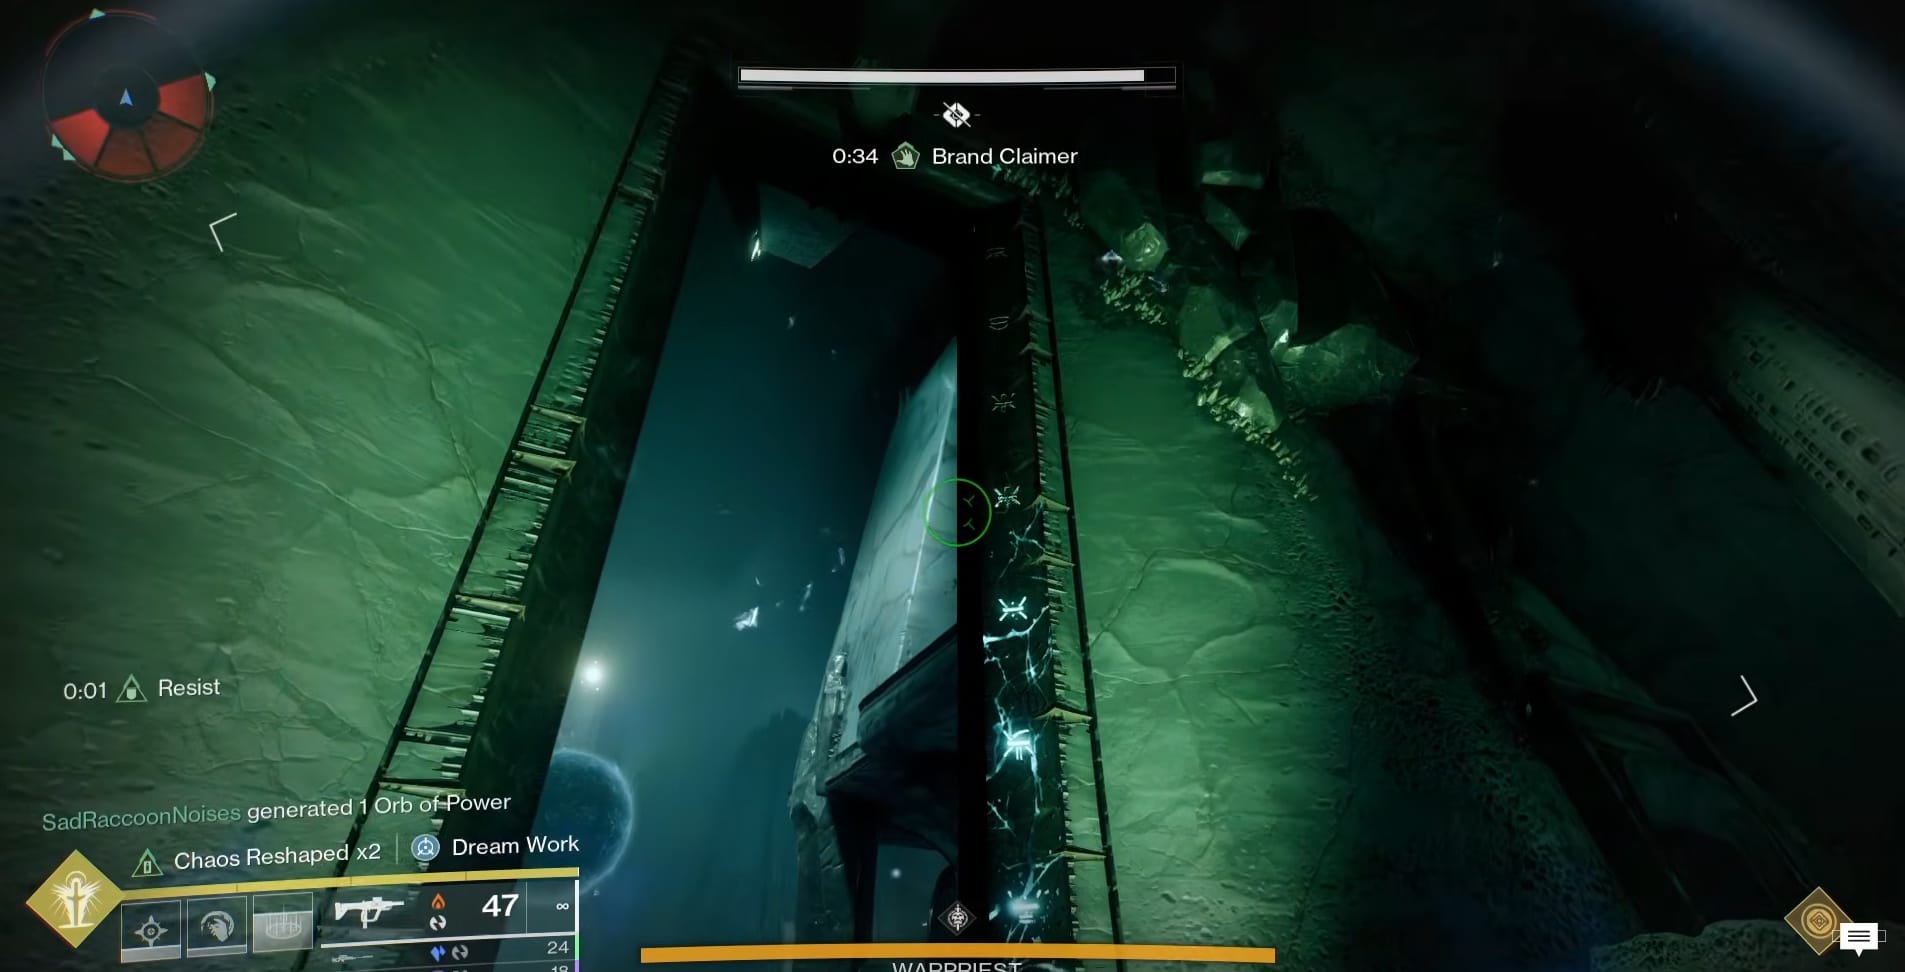
Gathering this power starts with getting the Brand of the Weaver from the middle passage leading off of the Lower Room with the Warpriest. There are 2 Brands of the Weaver, one on each side, and a Guardian on both sides needs to run into the Totem Chamber to start gathering Deathsinger’s Power. You gather Deathsinger’s Power in the Totem room by standing under the Death Totem and killing the Hive in this room.
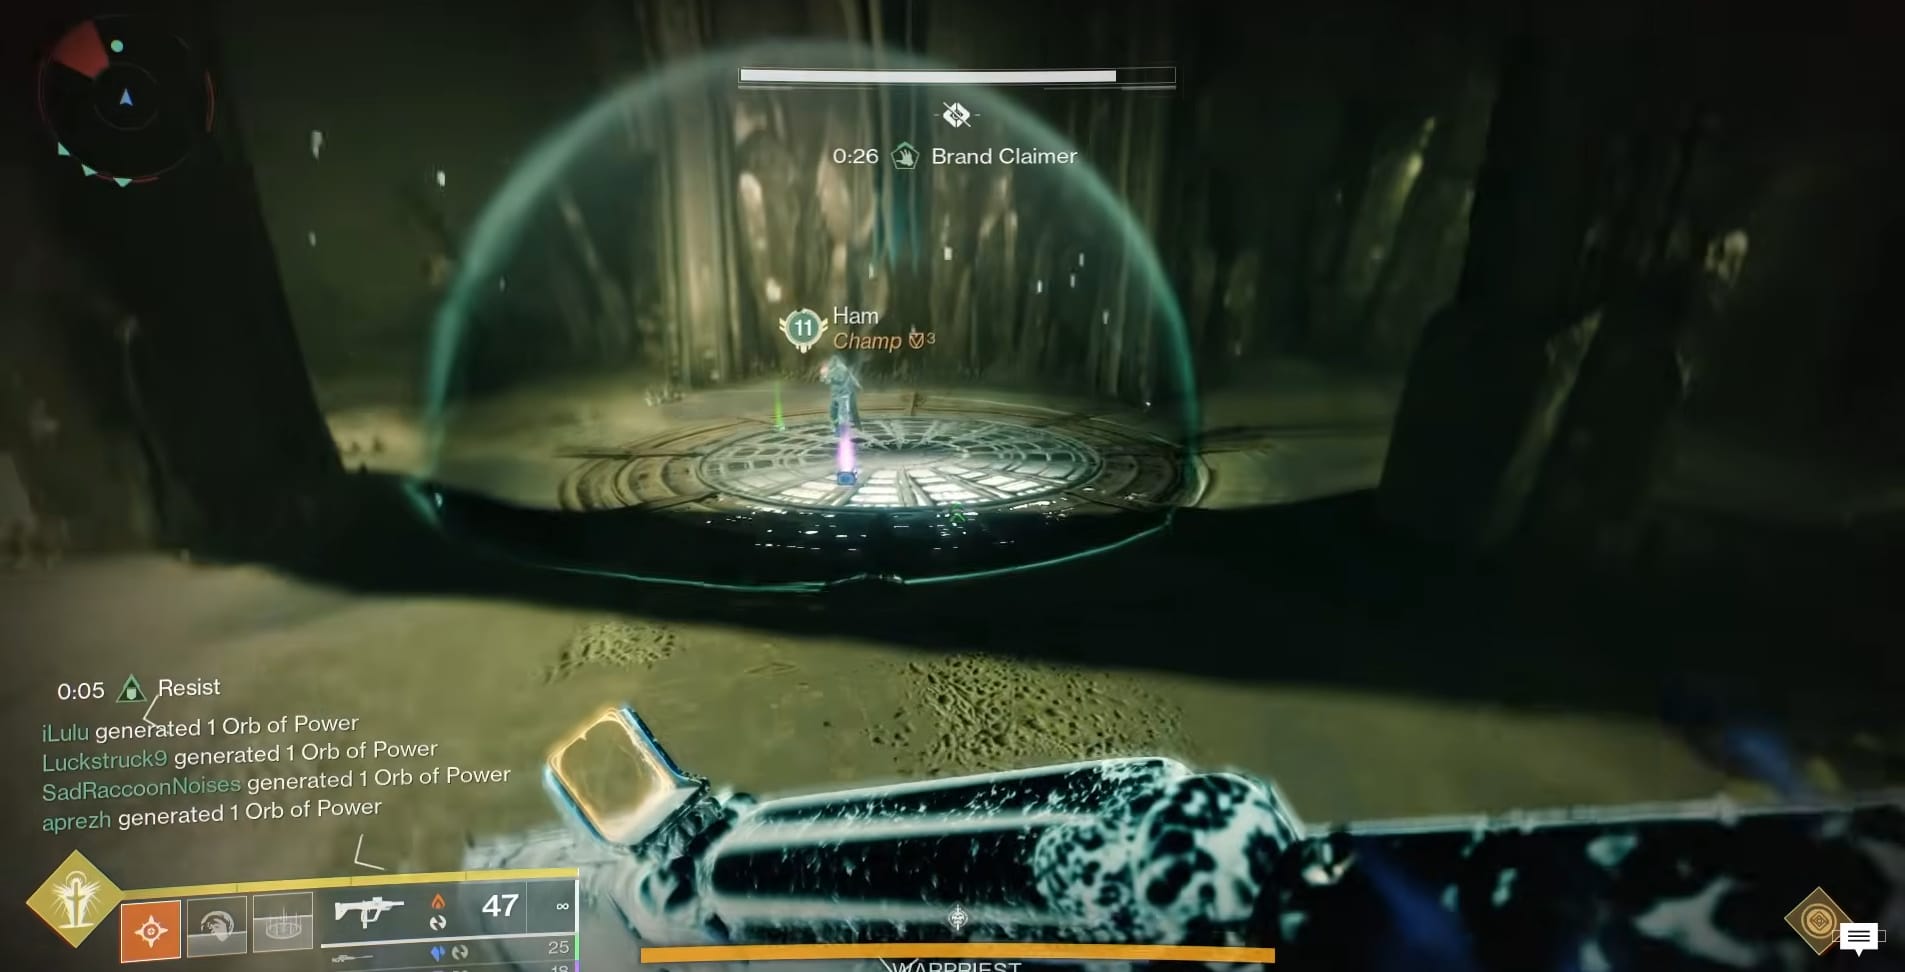
Eventually, as your timer is approaching Zero (you should start the countdown either at 10 or 5 seconds remaining but be consistent), a Teammate with a Different Brand, Brand Claimer, will come and take the Brand of the Weaver as well as your post under the Totem. It’s time to deposit the Deathsinger’s Power.
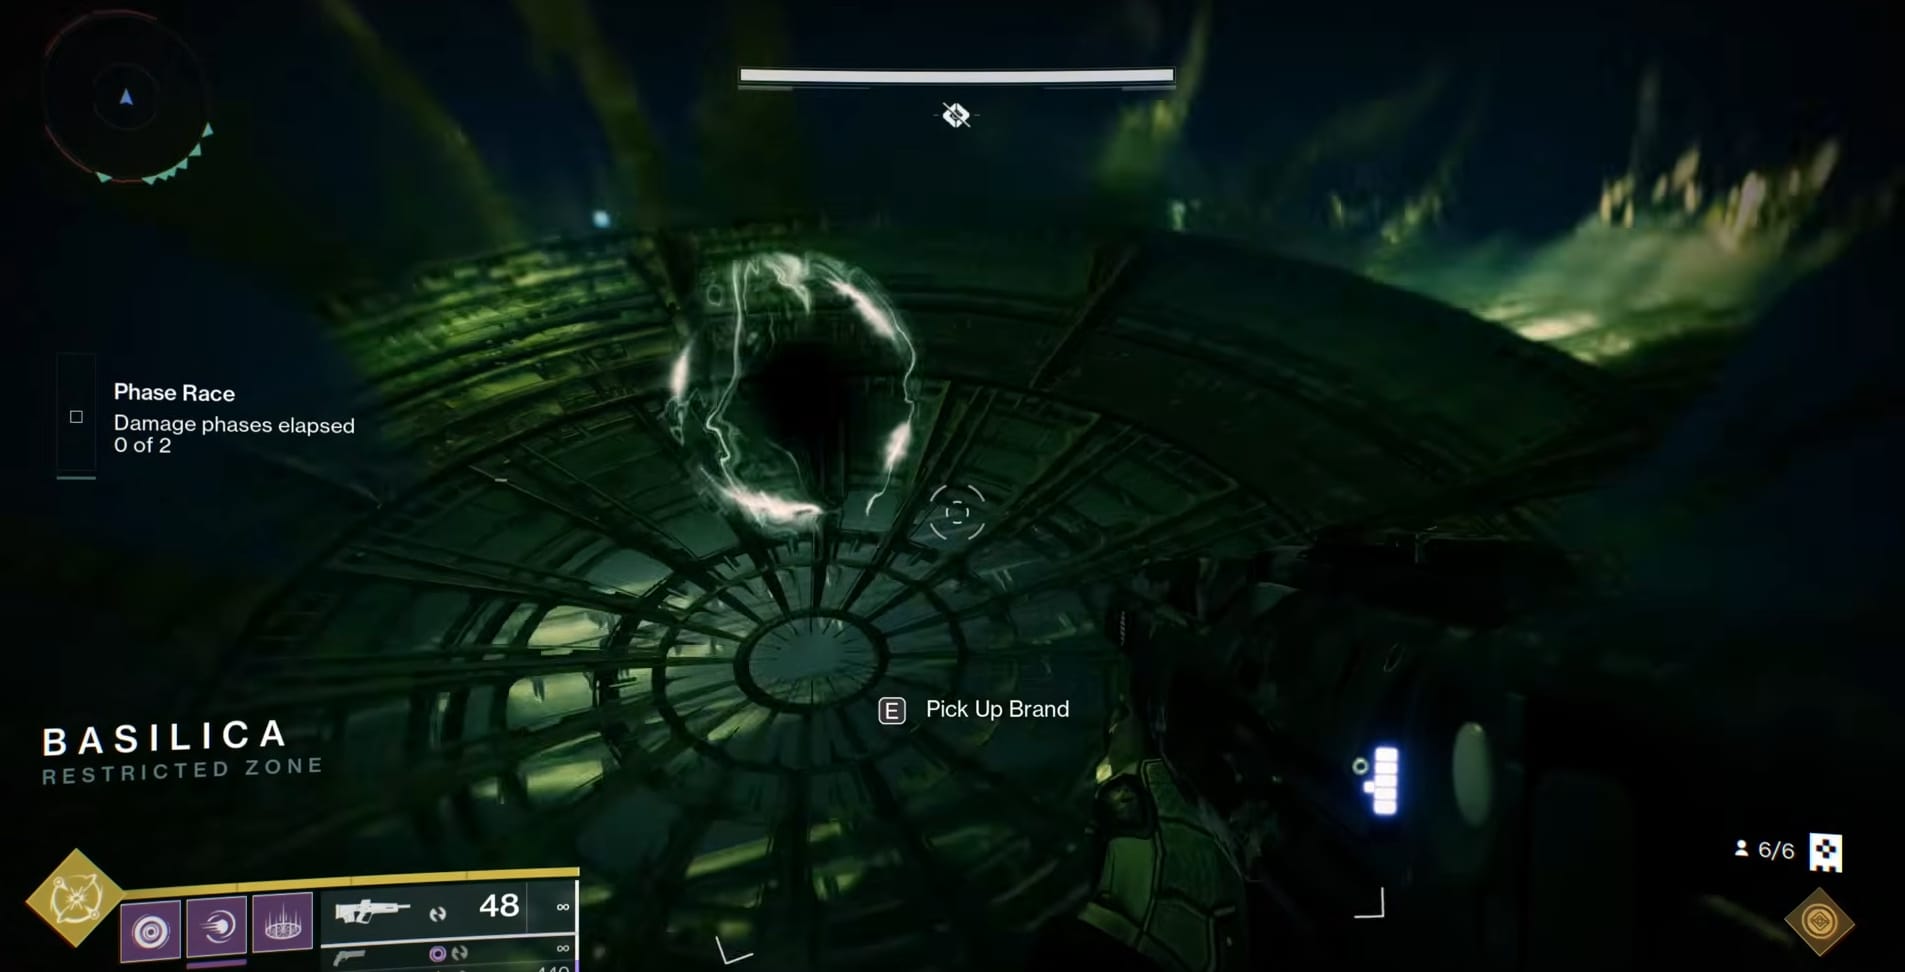
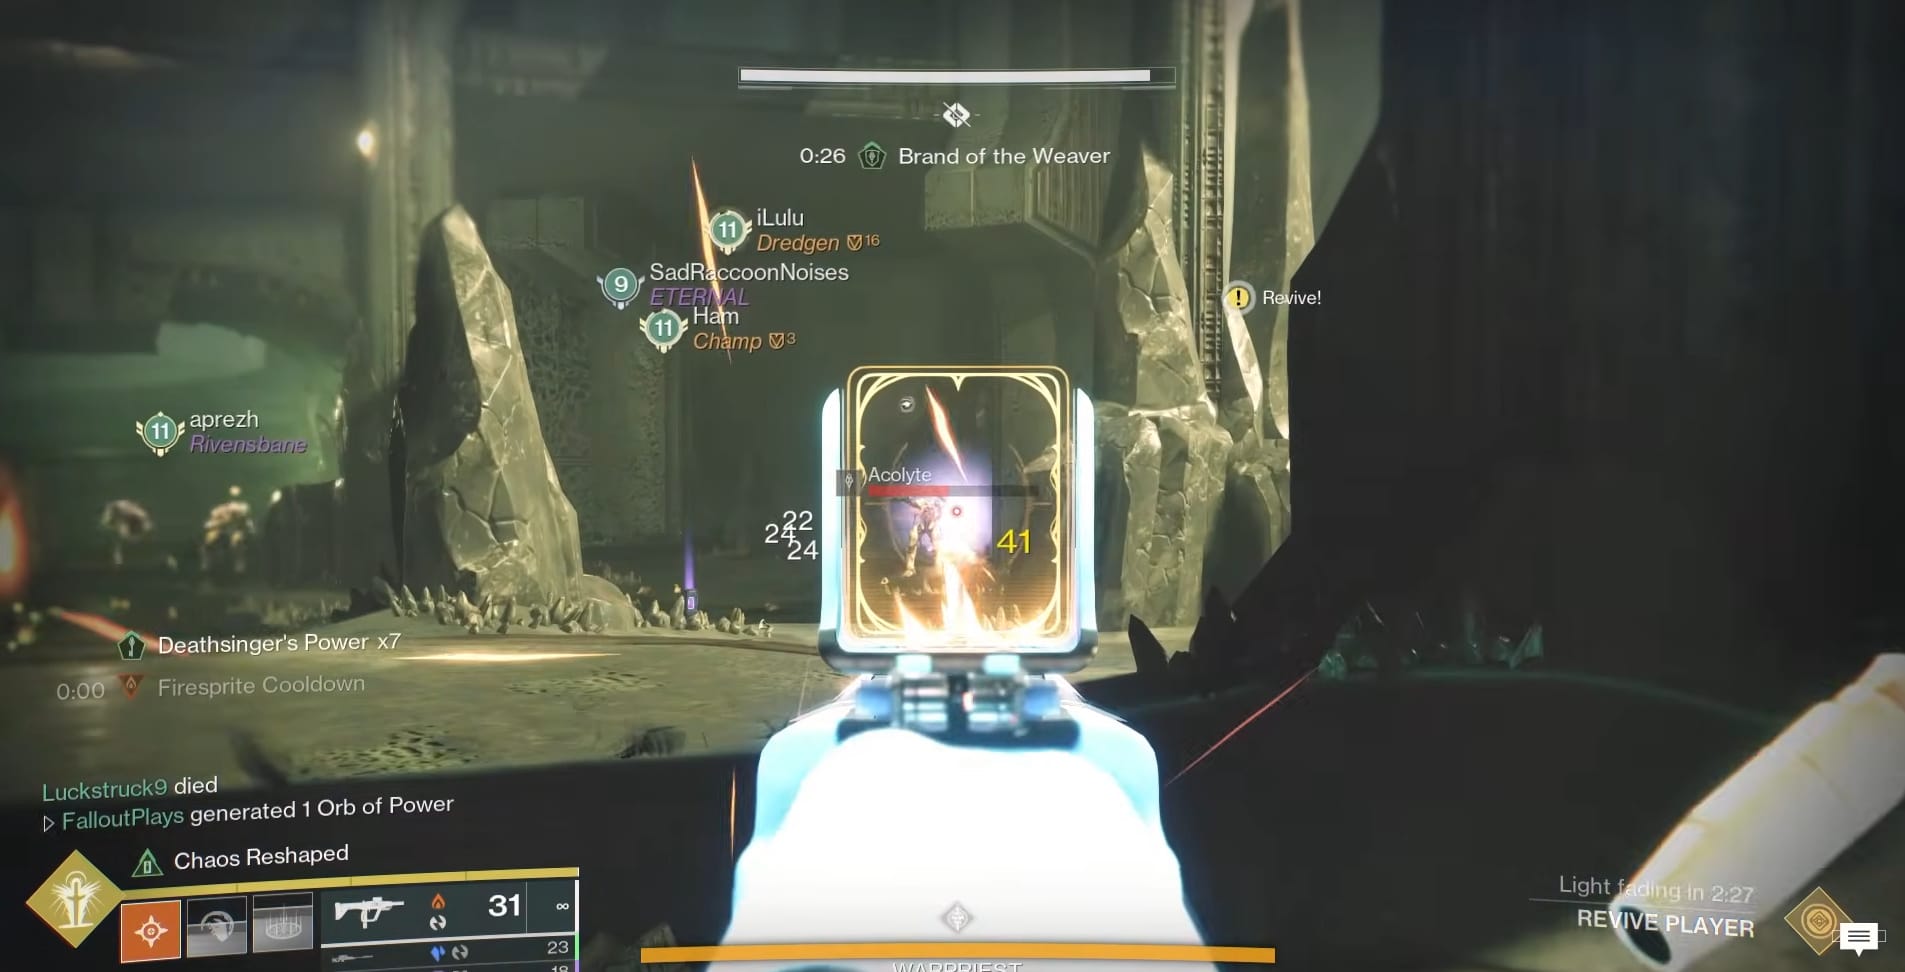
Holding the Deathsinger’s Power, you will need to head into the Upper Room and go to the Middle Plate. Stand on the Plate and your Deathsinger’s Power will slowly drain away. Keep blasting through the adds until you’ve deposited all of it.
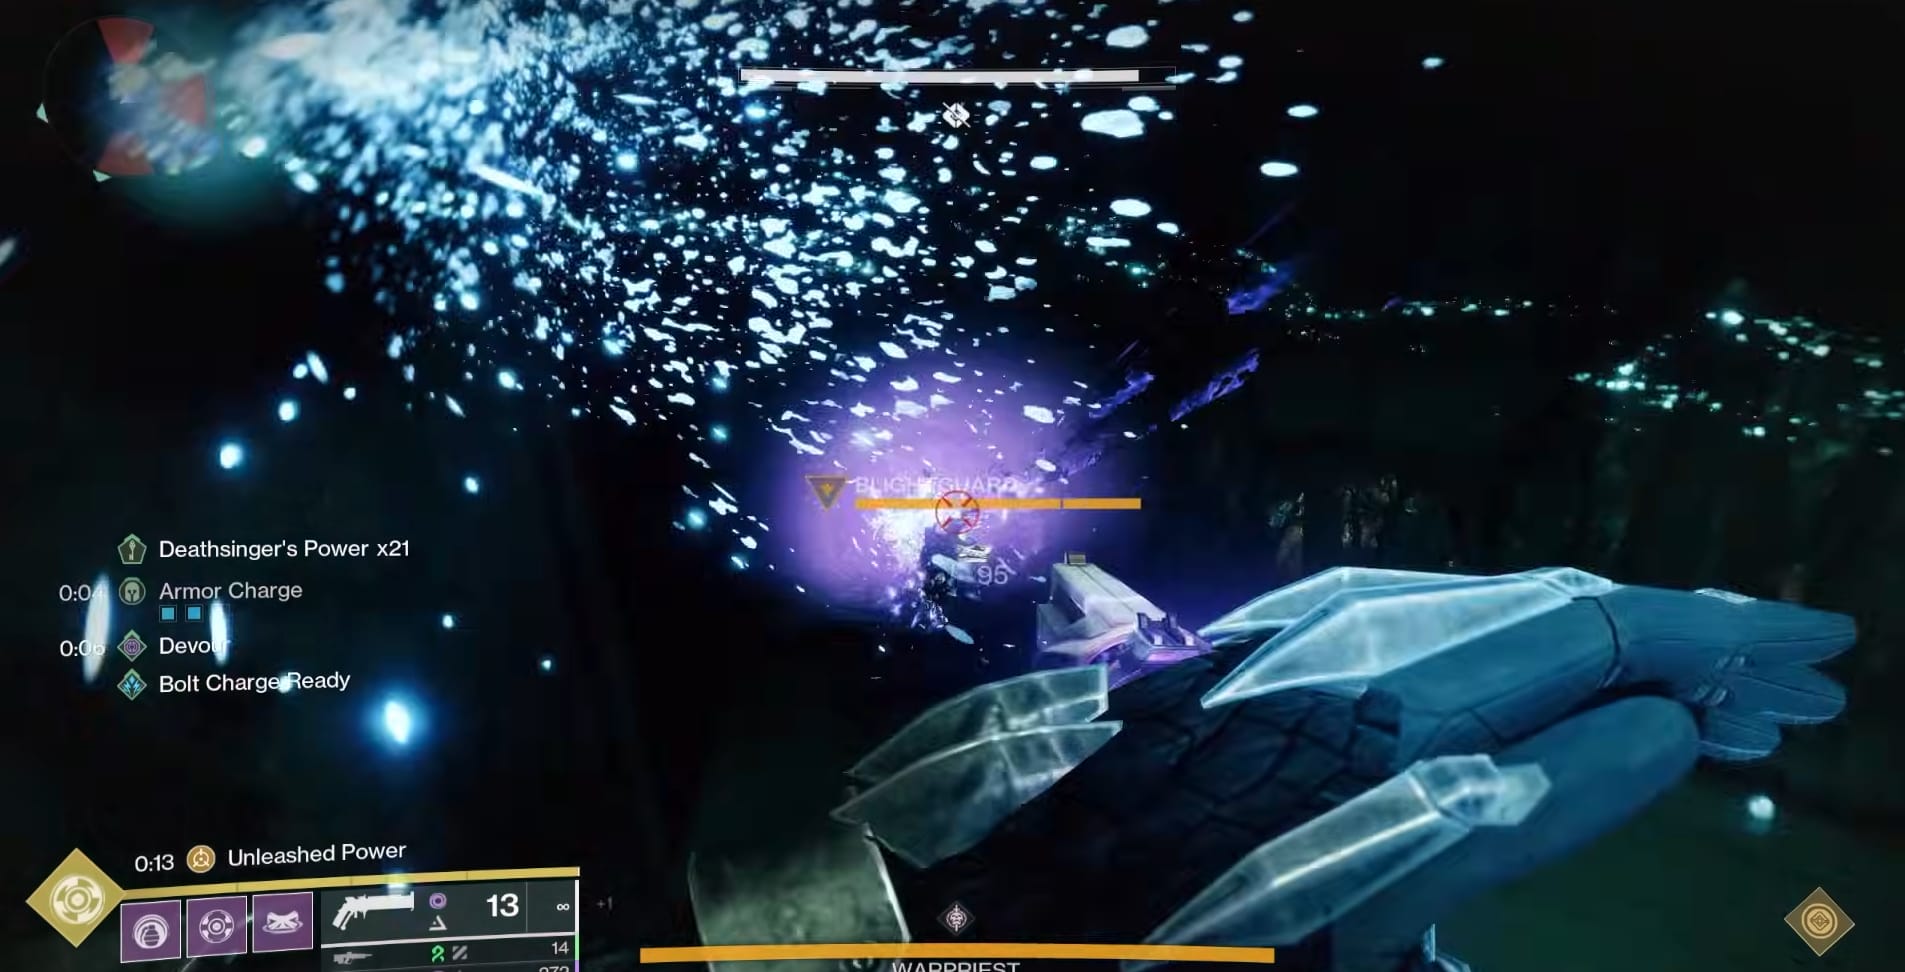
Once the Deathsinger’s Power has drained out of the Guardian, you have a very specific job to complete. You need to head to either the right-hand ledge or the left-hand ledge. There you’ll find a Hive Wizard floating. Quickly defeat them. Immediately upon their death, a Taken Knight: Blightguard will appear nearby. Defeat the Knight and a Taken Orb will appear. This grants the Brand Claimer buff.
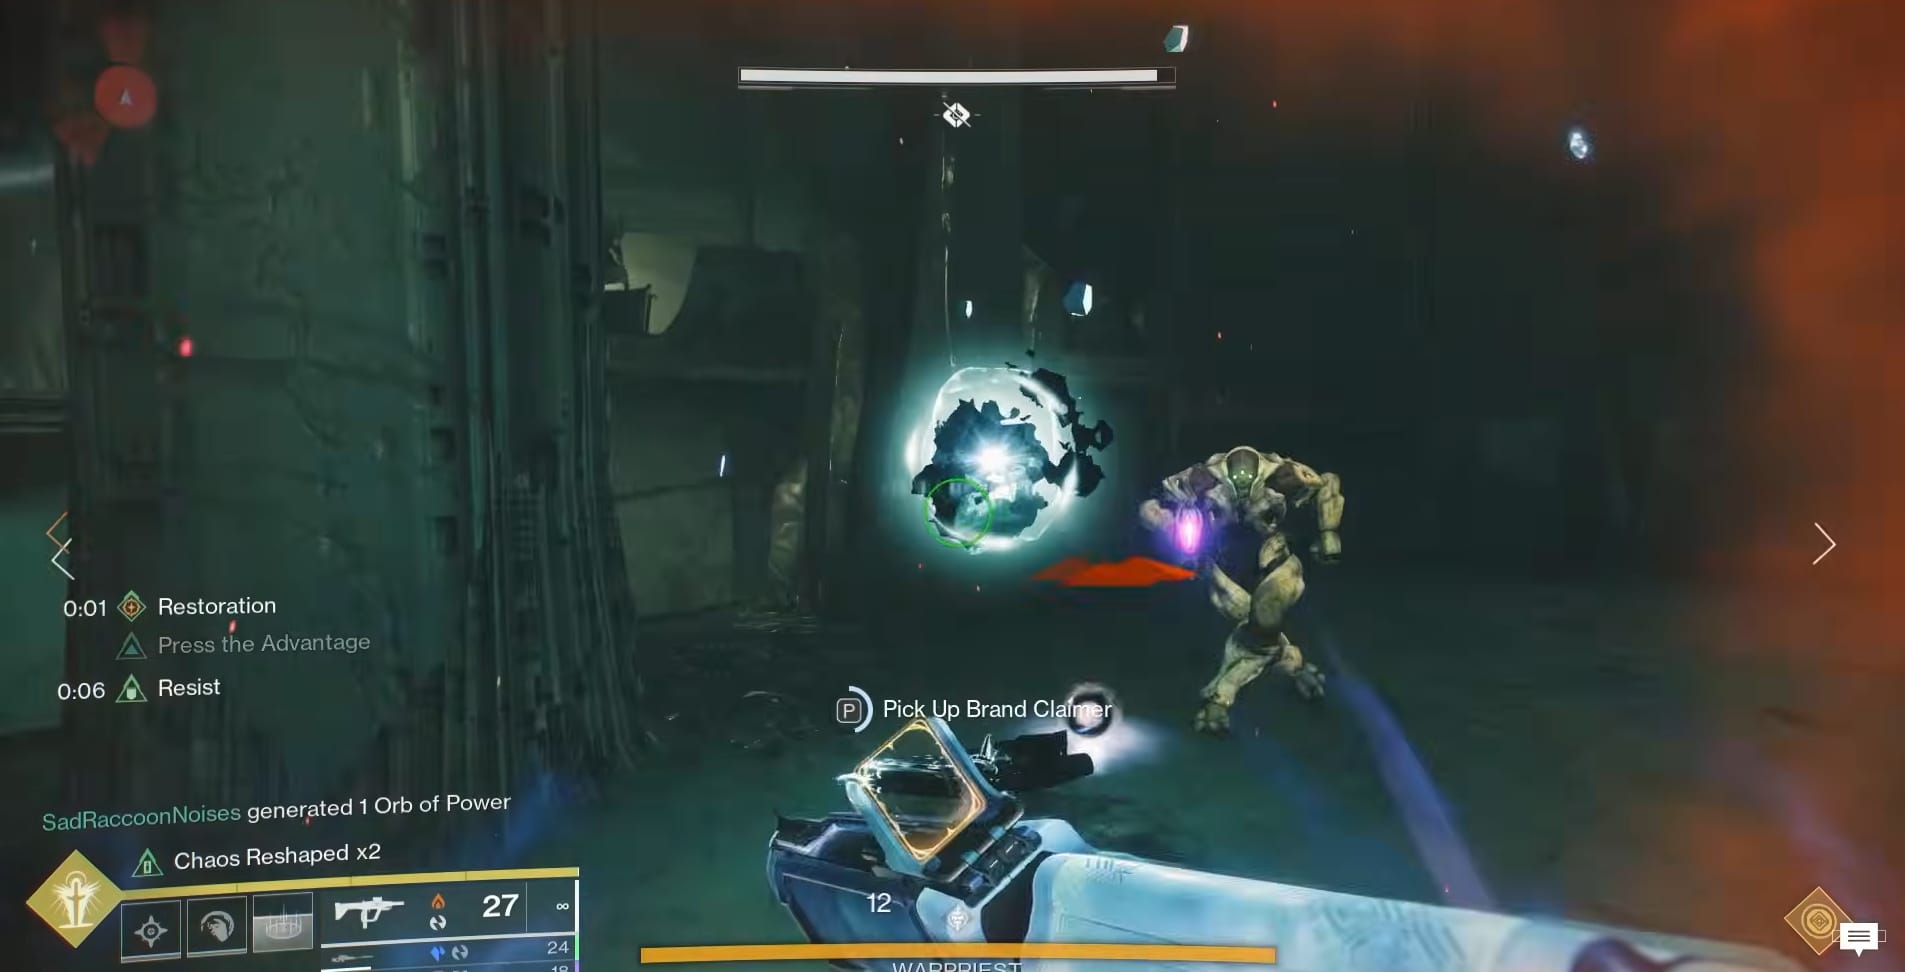
Getting the Brand Claimer Orb
With the Brand Claimer, you need to head back to the Totem room that you started in. Listen to the Guardian with Brand of the Weaver. Grab it as close to Zero as you can manage. That is the cycle you will be in.
This is the main element you need to gather to empower the Plates. The Recommended Order is Middle, Right, then Left (this is easiest to reach to hardest to reach).
Tracking Progress
To see your progress toward the Damage Phase is shown by the Hive Runes along the inside the Totem Room’s Doorframe. The runes will fill up as more Deathsinger energy is deposited into the Plates. Otherwise, you can just keep up the cycle until you see the message, “The Warpriest deems you worthy.”
Triggering Damage Phase
Once you get the message “The Warpriest deems you worthy,” its time for the fireteam to gather where they agreed. Whoever is on a plate needs to IMMEDIATELY get off the plates or 1 of them will get the Brand of the Initiate. When the Brand of the Initiate is claimed, that’s when Damage starts.
The best practice is to have the Fireteam clear the plates and quickly gather in the appointed spot for damage. Only then should the first Brand Holder grab the brand from the glowing plate.
The Brand of the Initiate will start counting down from 30 seconds. If the timer reaches zero, the holder will die. Everyone needs to gather around them at the appointed spot and start shooting the Warpriest unless you have another job.
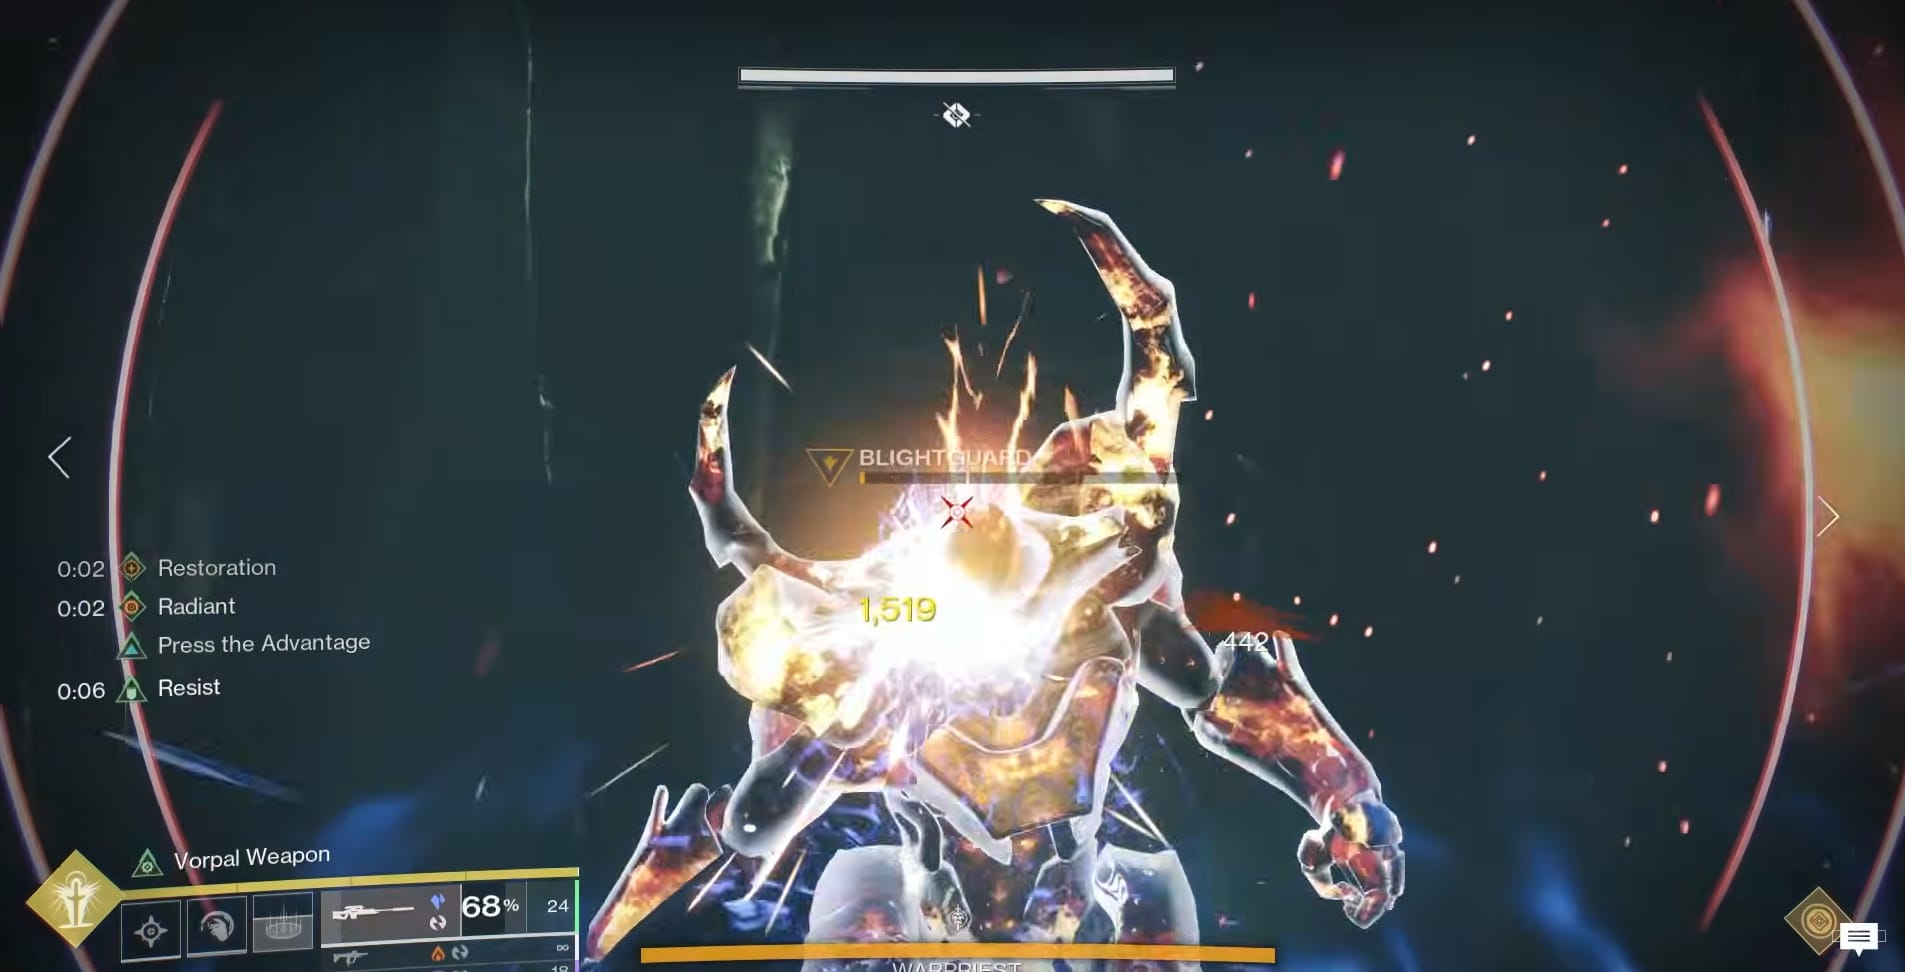
Damage Phase
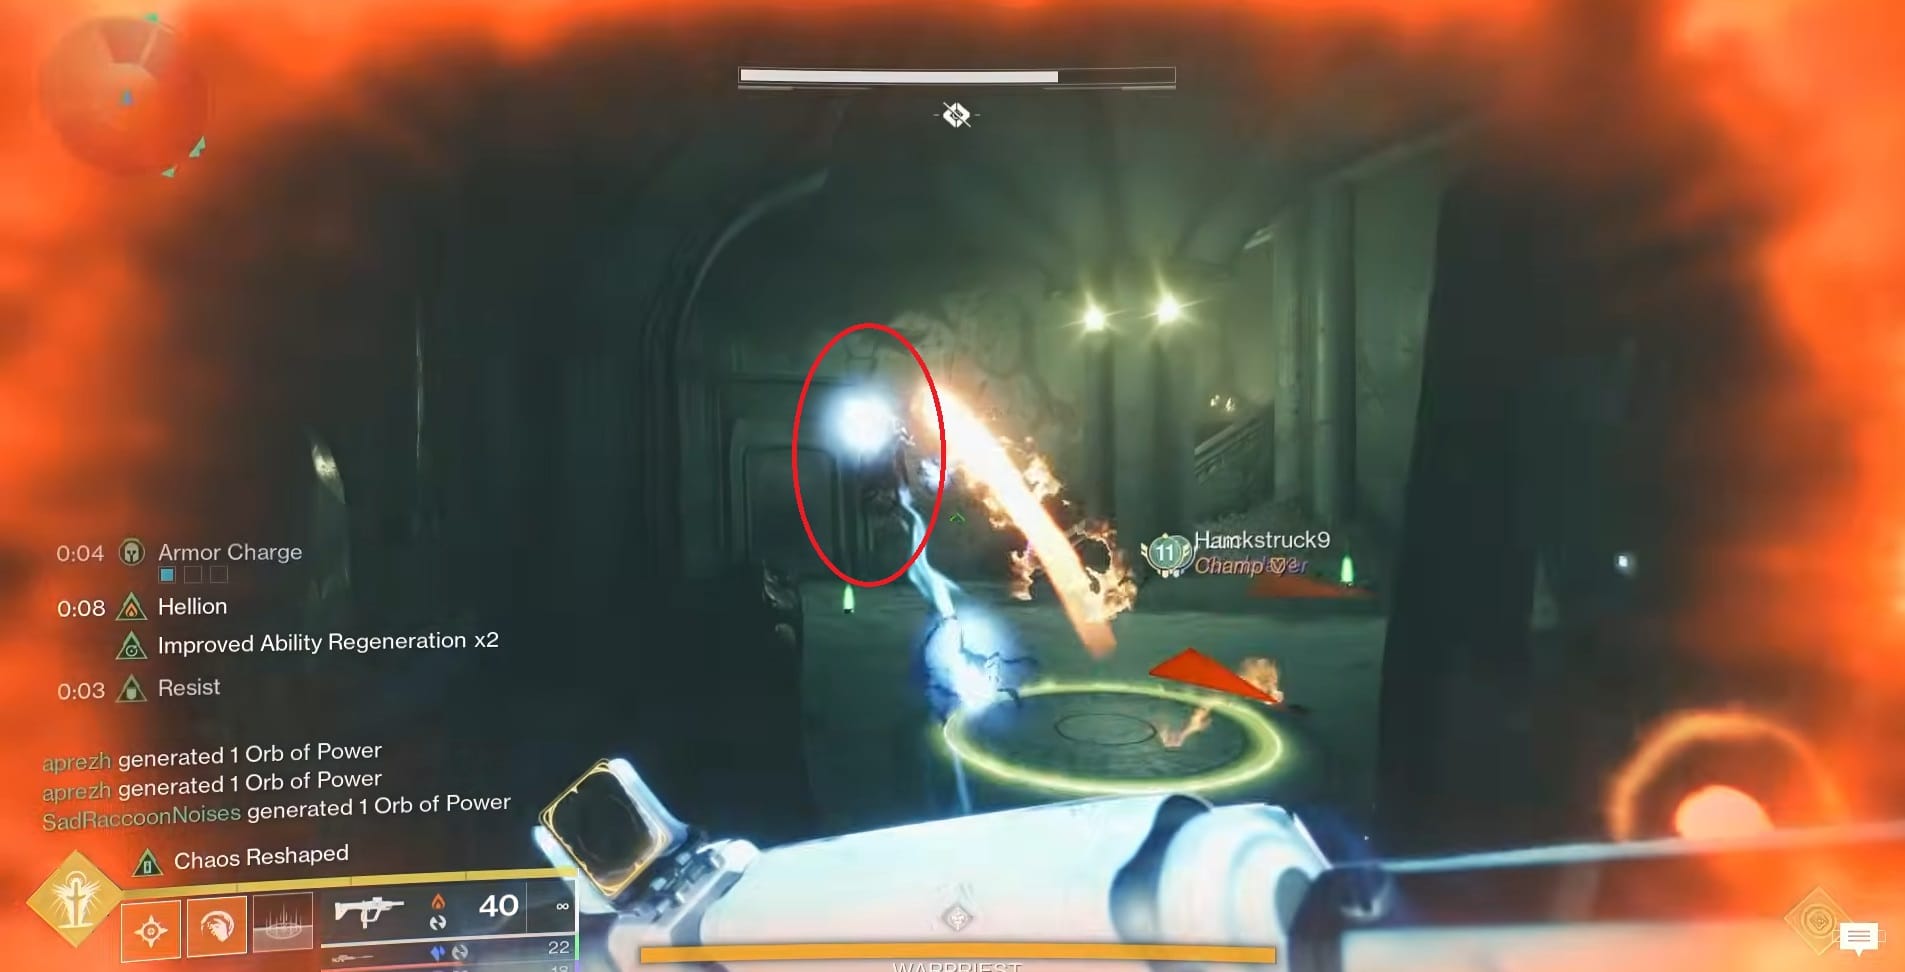
Keeping the Damage Phase going requires effort from other Guardians (2 total). They need to go onto the ledges within the Warpriest’s Room and take out the Blightguard to get the Brand Claimer buff once again.
Preferably both these Guardian still have some Deathsinger’s Power lingering on them with their Brand. The Deathsinger’s Power seems to extend the time granted when they claim the Brand of the Initiate.
When they have the Brand Claimer, the need to head to the Holder of the Brand of the Initiate. Once again, you will want to wait to get as close to Zero as you can before grabbing the Brand. The Brand will transfer, but the maximum stacks will reduce.
A 3rd Brand Holder should start moving at the same time as the second. They are also looking for the Wizard/Blight Guard to defeat. They are the second and last Brand Holder for this Damage phase.

Keep damaging the Warpriest until you defeat it or hit a health gate and it becomes immune. You will see the message, “The Warpriest calls upon the Oculus.” When it does this, the fireteam needs to gather behind 1 of the 3 totems spread in front of the plates in the room. The room will start filling with intense White Light. The Totems can protect Guardians behind them. After the Searing Light fades, teams return to their sides and repeat what they just did.
A totem will be expended if even 1 Guardian hides behind it. You will have 3 Damage Phases to finish the fight before you get wiped by the Searing Light.
The encounter’s mechanics reset at this point and it’s back to gathering Deathsinger’s Power in the same rotation you were on before.
Final Stand
Thankfully the Warpriest does NOT have a Final Stand mechanic. Just get them down to Zero health and you’re done!