Destiny 2: Pantheon - The Consecrated Mind
Master the revamped Consecrated Mind encounter in Destiny 2 Pantheon. Learn how to defend Totems, collect Voltaic Motes, maintain the Enlightened buff, survive Voltaic Overflow, and maximize your damage during the boss phase in this complete strategy guide.

- This is the first boss fight of the Raid: The Garden of Salvation
This encounter is revamped, bringing two encounters together. This unites the Undergrowth encounter with the Consecrated Mind Boss Fight.
Additionally, Teleporters have been added onto the map. This means that as the Totems are activated, Teleporters come online. These will allow you to move easily to the next totem in that direction or go from the center to the corresponding Totem.
Summary
The Fireteam needs to trigger a Damage Phase by collecting and depositing Vex Motes into the Bank in the middle of the Map. The Vex that drop the motes are rare. And throughout this, the Fireteam needs to defend the Totems on the edges of the map to stop Vex from sacrificing themselves to it. If too many Vex Sacrifice to a Totem, it triggers a Wipe.
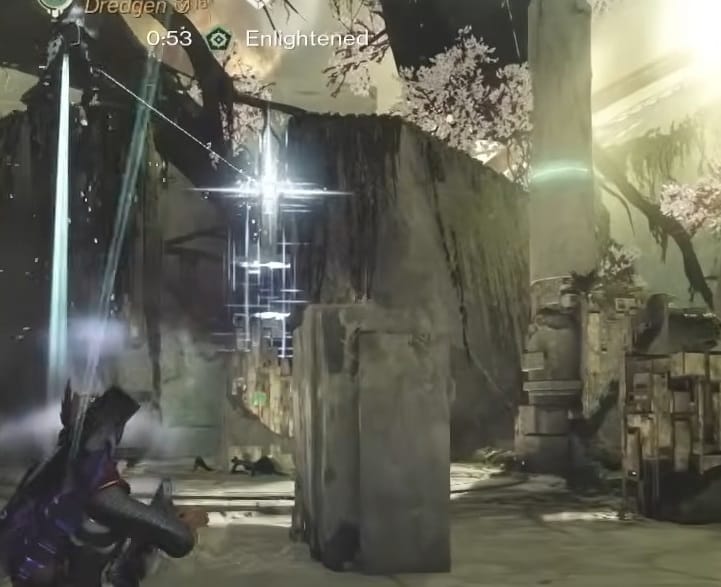
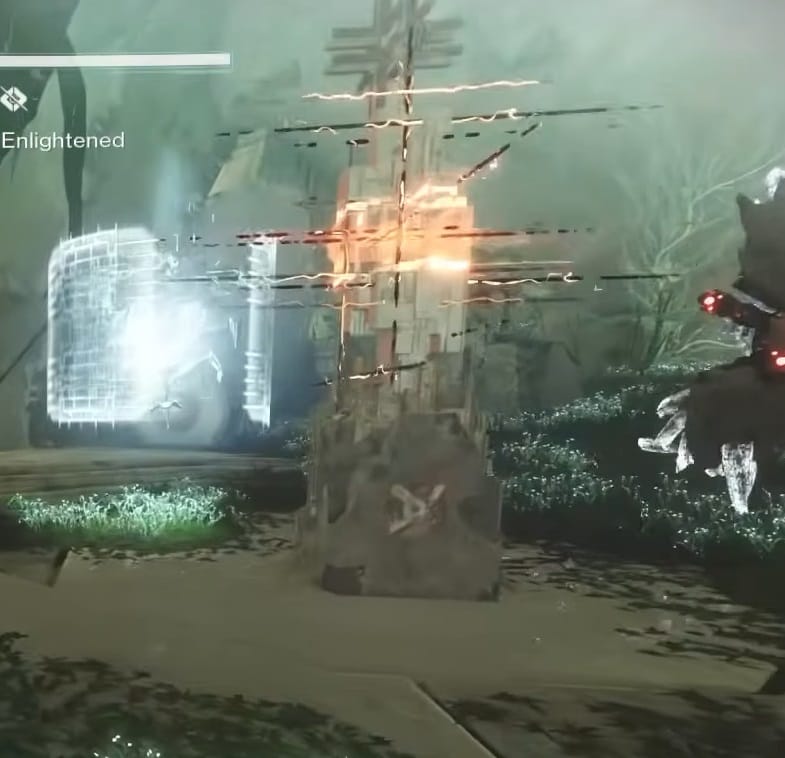
There are Vex approaching the Totem protected by a White Shield. Guardians can only break this Shield if you have the Enlightened Buff (Acquired by activating the Totem and nearby Vex Cube and working with your partner to connect the line of energy from the Cube to the Totem).
Additionally, you can refresh the Buff by being tether to the Cube in the hallway when the team at the Bank refreshes their Enlightened Buff.
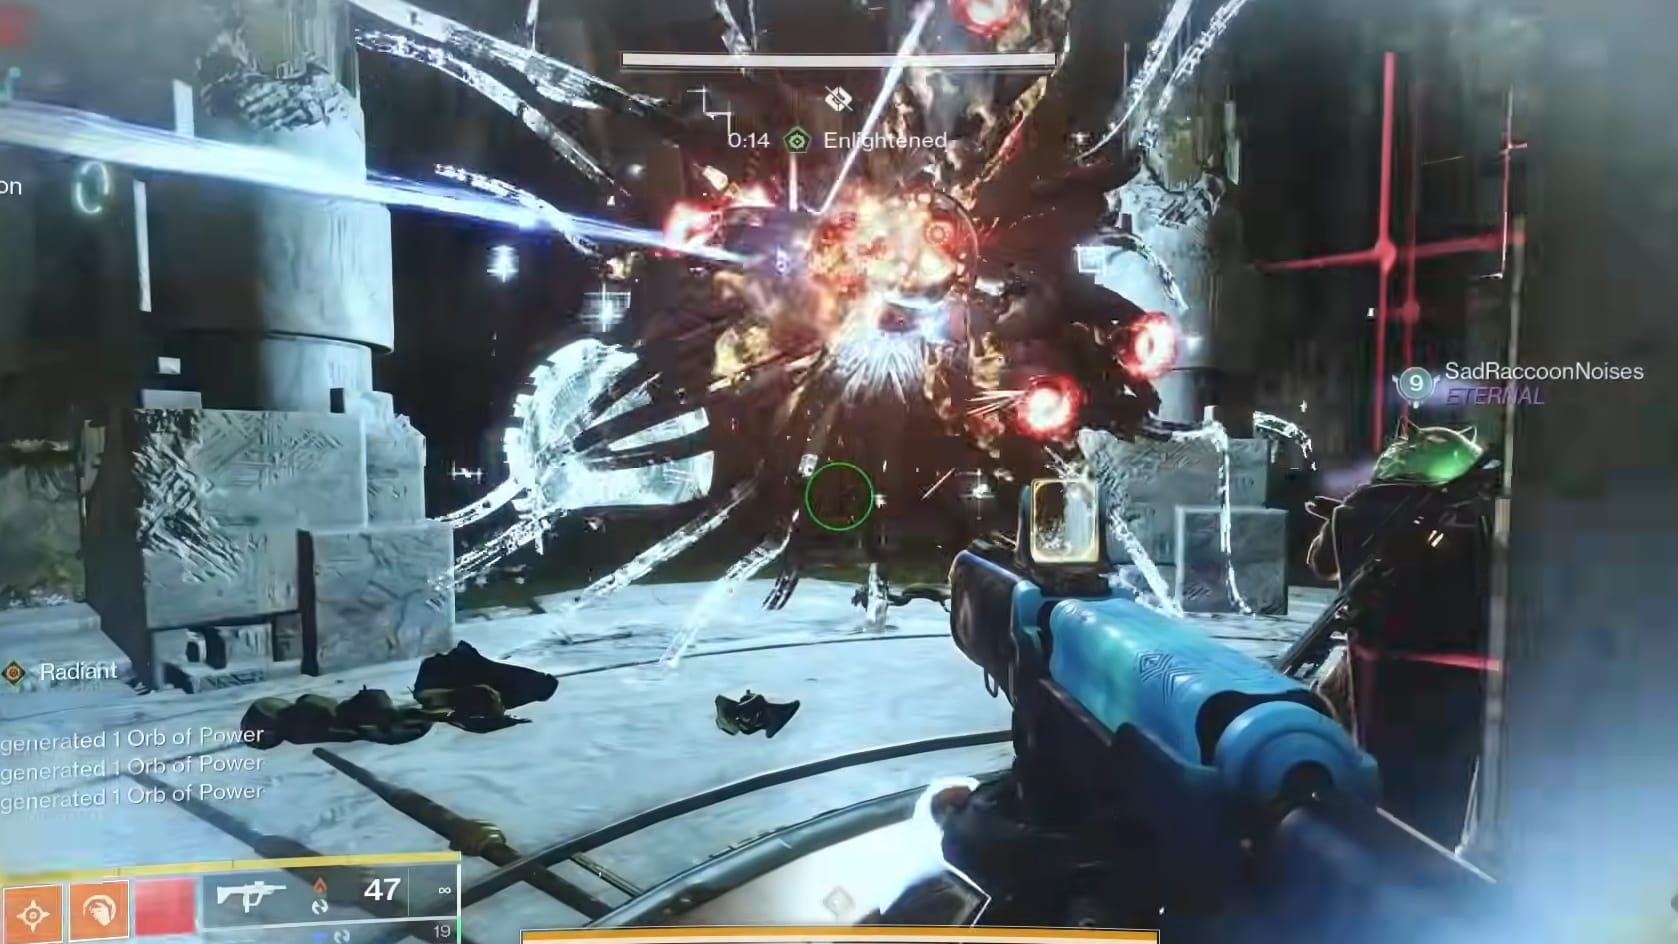
You need to watch out for the Consecrated Mind at the Totem locations as well. It can cause a wipe with its Voltaic Overflow mechanics.
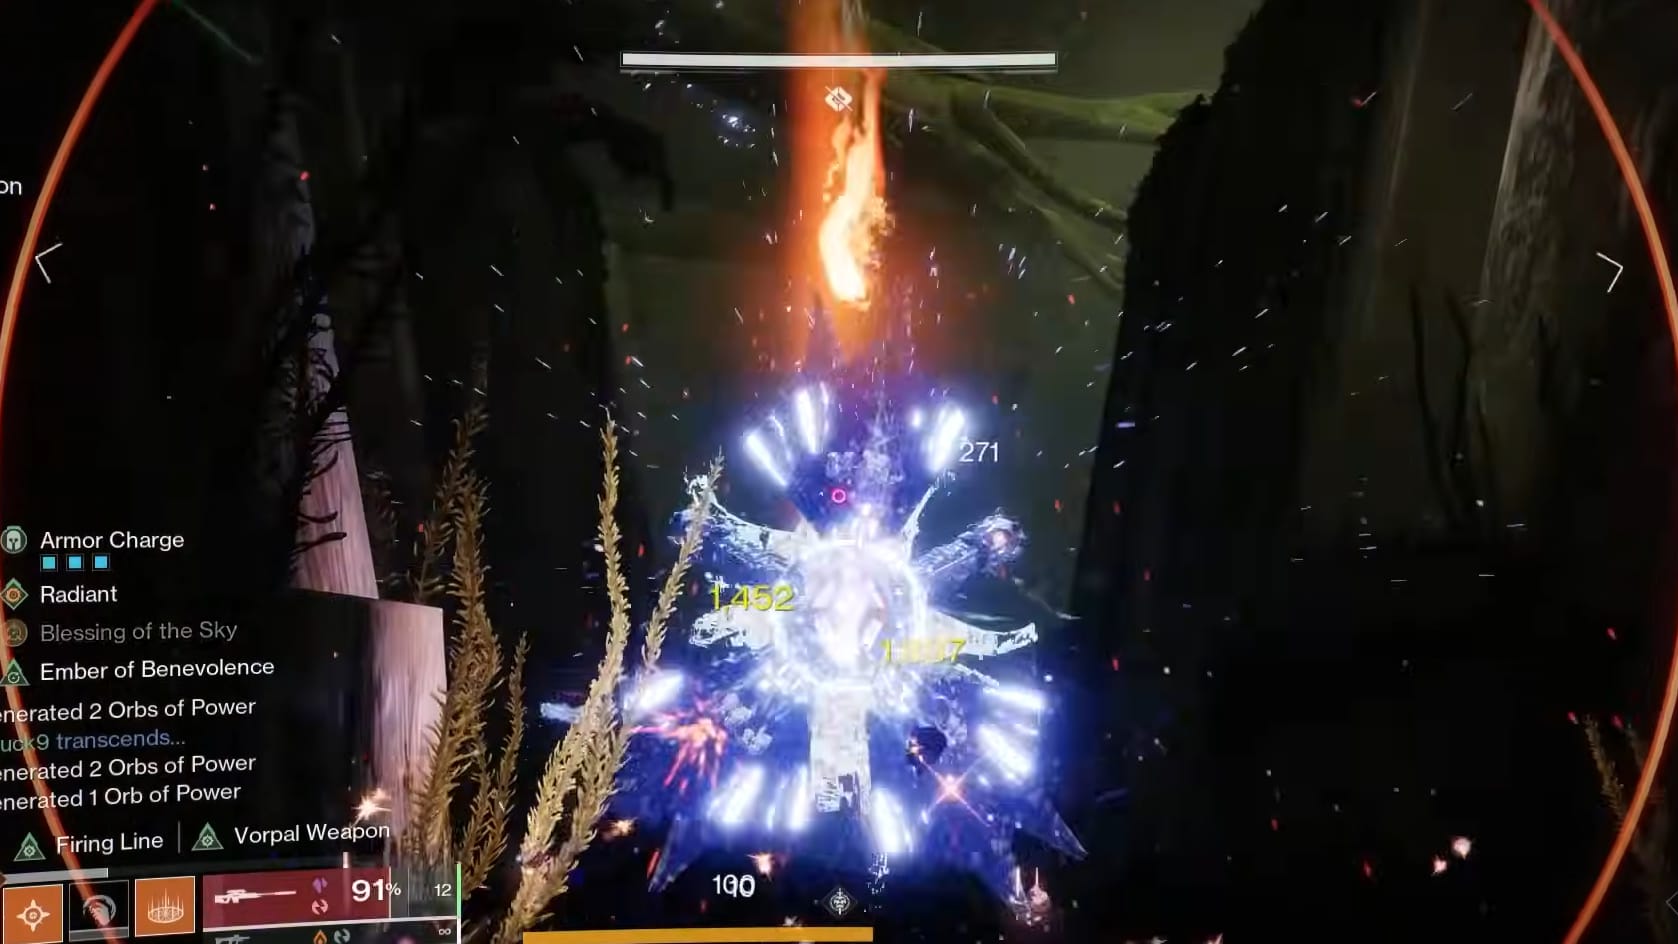
When the Bank is full, Damage Phase Begins. Target and break the red glowing eyes on the arms before unloading on the central White Eye to destroy the boss.
The Arena
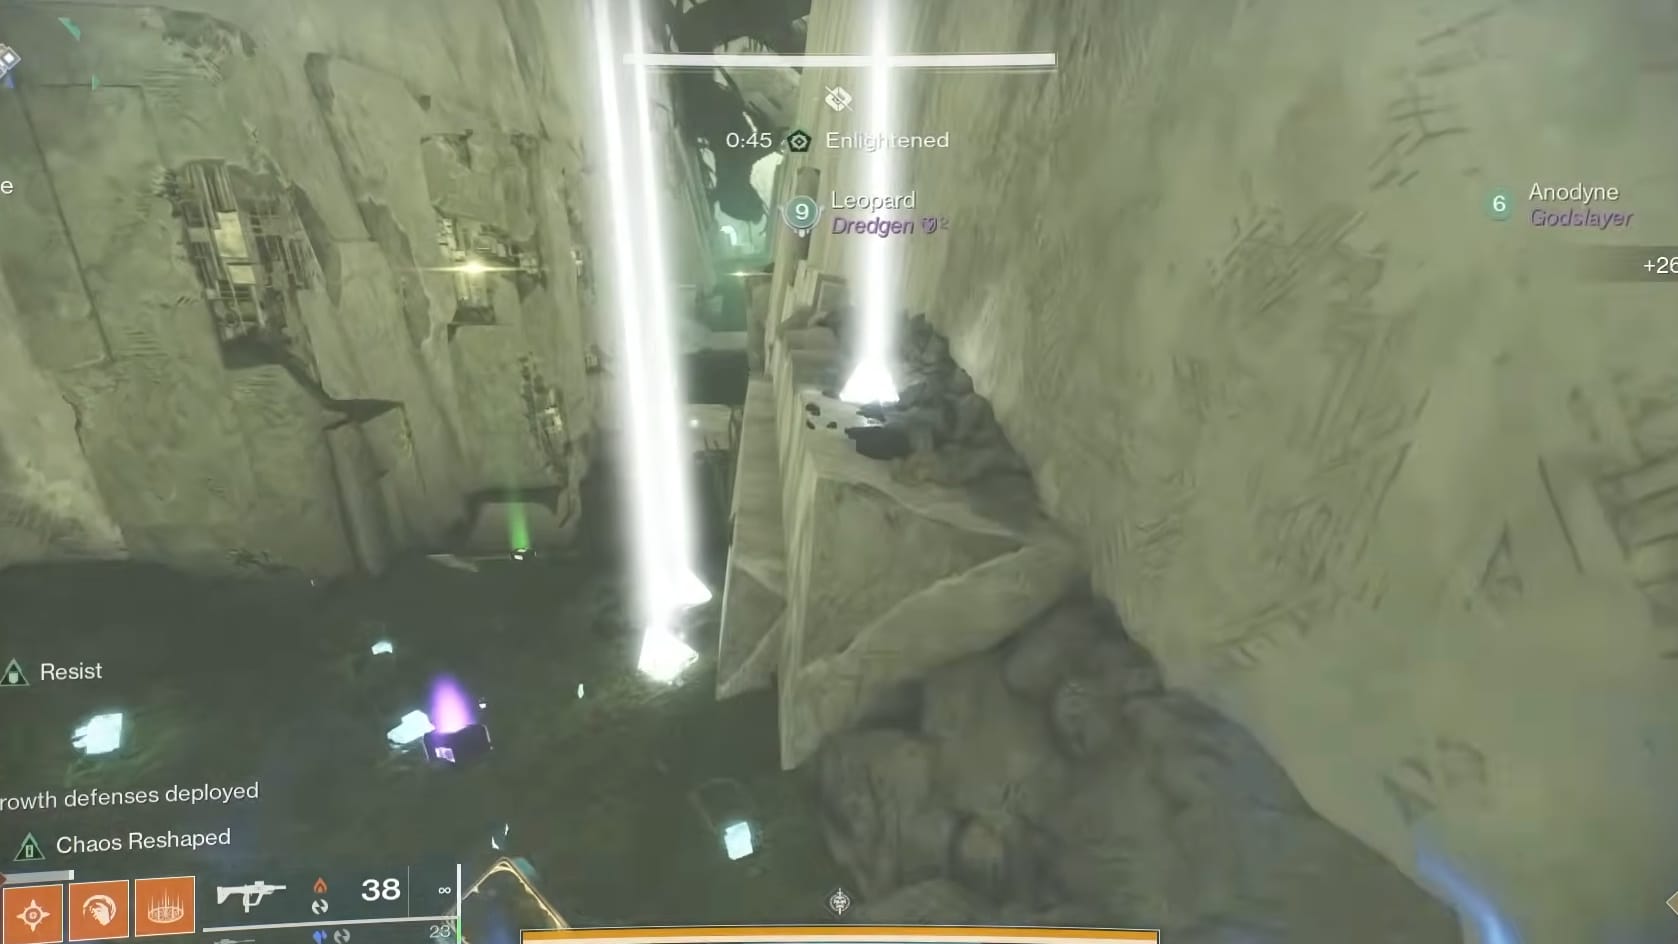
This Arena is a massive Diamond. There is a Totem at each Point of the Diamond (North, South, East, and West, but the Fireteam needs to agree on names). In the middle of the Arena is a Bank (aka Middle). Nearby each Totem, and the Bank, are Teleports. While the Totem is active, the Teleporters are powered and allow for easy travel to either the Middle (Teleporter behind the Totem) or the next Totem in Rotation (Left going Counter-Clockwise and Right going Clockwise).

Walkthrough
Starting the Encounter
Starting this encounter isn’t too bad. There’s a trio Vex Goblins in front of the Bank that needs to be damaged/destroyed. As soon as it is, the Consecrated Mind will appear and the barriers around the center will drop.
The goal is to spread the Fireteam throughout the Arena. You will want at least 1 Guardians (the floater) going between locations to activate the Totems and Refreshing the all important Buff: Enlightened. Additionally, the Floater will be collecting and depositing the Motes from each of the Totems into the Bank in the middle.
Filling the Bank
Filling the Bank will take time. The Vex that drop the motes are the Maligant Motebearers. Defeating each will drop 5 Voltaic Motes. These need to be collected and run to the Bank in the center of the map. There should be a single Floater helping each of the Guardians at a Totem to do this.

Collecting the Motes
Defending the Totems
All this starts when you see the prompt “Vex Deployed in the Pavilion.” appear on your screen.
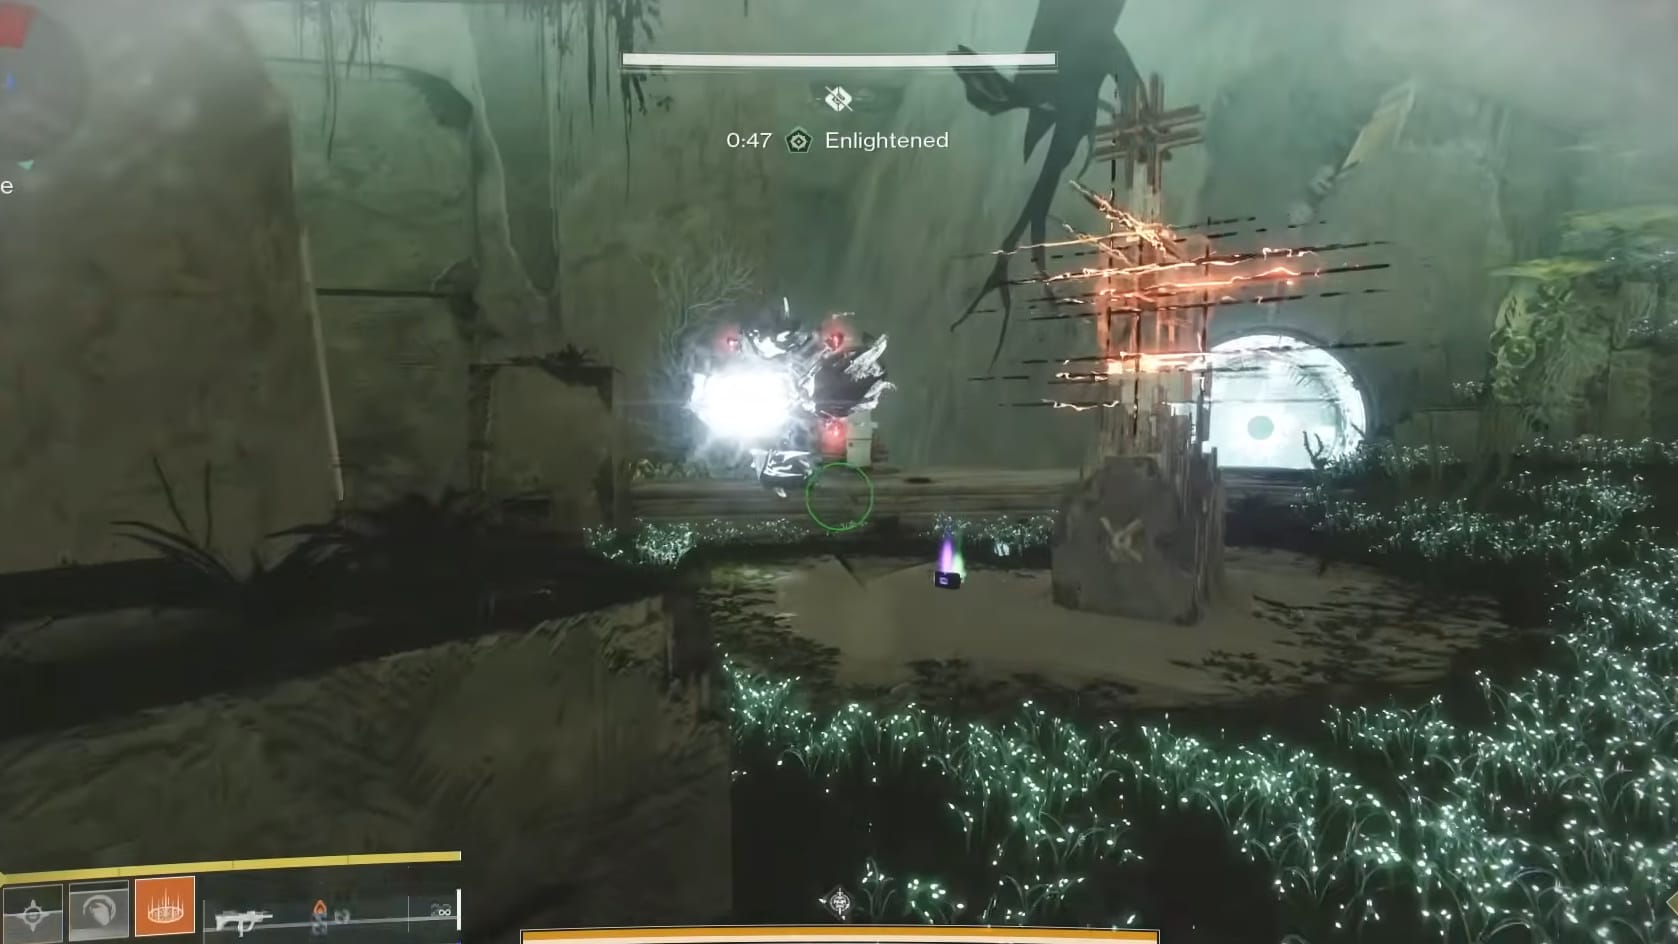
Throughout the encounter, each of the Totem Teams will need to watch out for the Angelic Hydra that can appear. It will appear nearby your Totem. While the Angelic is nearby the Totem, the Totem will be disabled. Destroy it in a hurry every time.
After so long, you will get the message, “Undergrowth defenses subsided”. This is a brief window of reprieve. You get a chance to collect ammo, Orbs of Power, and calmly refresh the Enlightened Buff. When it’s time for the fight to resume, you will get the notice, “Undergrowth defenses deployed.”
The Consecrated Mind will be flying around throughout the encounter. It will be stopping at random Totems. Most of the time, the Guardians will just need to avoid the additional fire and keep on with the add clear. The problem arises when the Consecrated Mind stops.
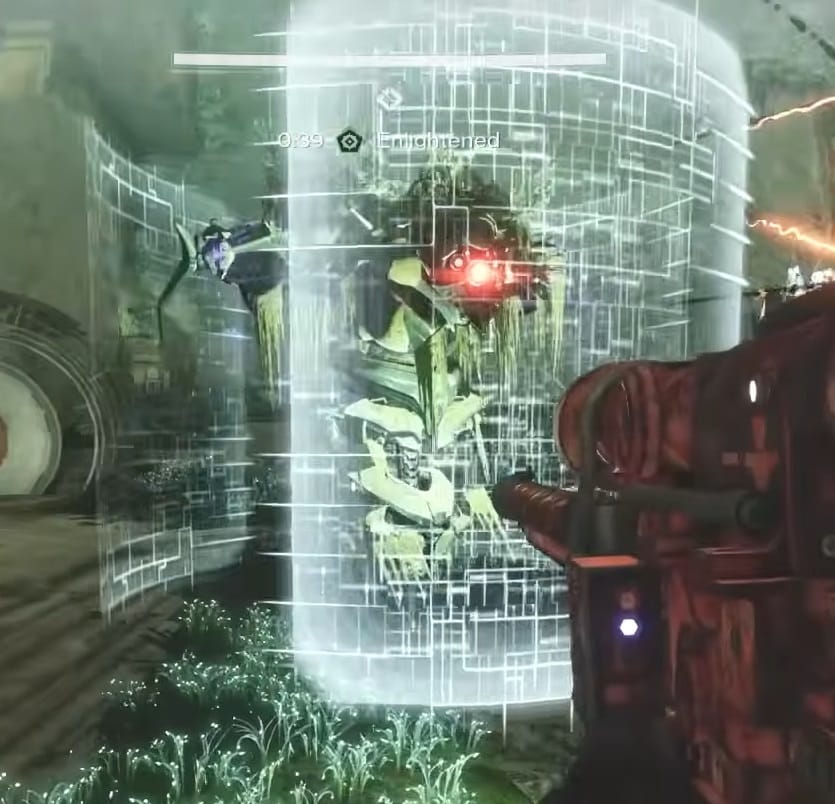
When the Consecrated Mind stops at a Totem, it will begin to charge an orb in front of its main eye. It then launches this charge that becomes a pool of energy on the ground. This is accompanied with the prompt of “Voltaic Overflow created.” A guardian needs to immediately move into the pool, gaining the Voltaic Overflow debuff. Otherwise, the fireteam will Wipe.
With the Voltaic Overflow debuff, while still in the pool, you will see the Consecrated Mind spread its wings out. 3 of the “eyes” on the wings will glow. The Guardian in the pool needs to very quickly destroy all the illuminated eyes. If not done fast enough, it will result in a Wipe.
The Voltaic Overflow debuff will remain in effect after you defend the Totem. This means that with that Debuff, you cannot stand in another pool from the Consecrated Mind and defend a Totem until it has faded.
Damage Phase
When enough Motes have been deposited, the Fireteam will get the notification: “The Consecrated Mind is drawn to the overloaded relay.” The Consecrated Mind will hover over to the Bank in the middle of the map. The fireteam needs to quickly destroy the numerous Red Eyes on the Wings of it. After that, it’s time to unload on the central White Eye.
The Mind will start to drift toward one of the Totems after a very short while. The Fireteam should attempt to move with it and keep shooting. Otherwise, they need to deploy their long range weapons to damage it.
Final Stand
Good News! The Consecrated Mind doesn’t have a final stand. Just blast them away and you’ll be ready to move onto the next encounter. Be ready, because Morgeth is unforgiving.