Oblivion Remastered: Mages Guild – Confront the King Guide
Confront Mannimarco to protect the Mages Guild become Arch-Mage in this Oblivion Remastered "Confront the King" guide
The is the final Mages Guild quest, and allows for your promotion to Arch-Mage.
Walkthrough
Talk to Hannibal Traven
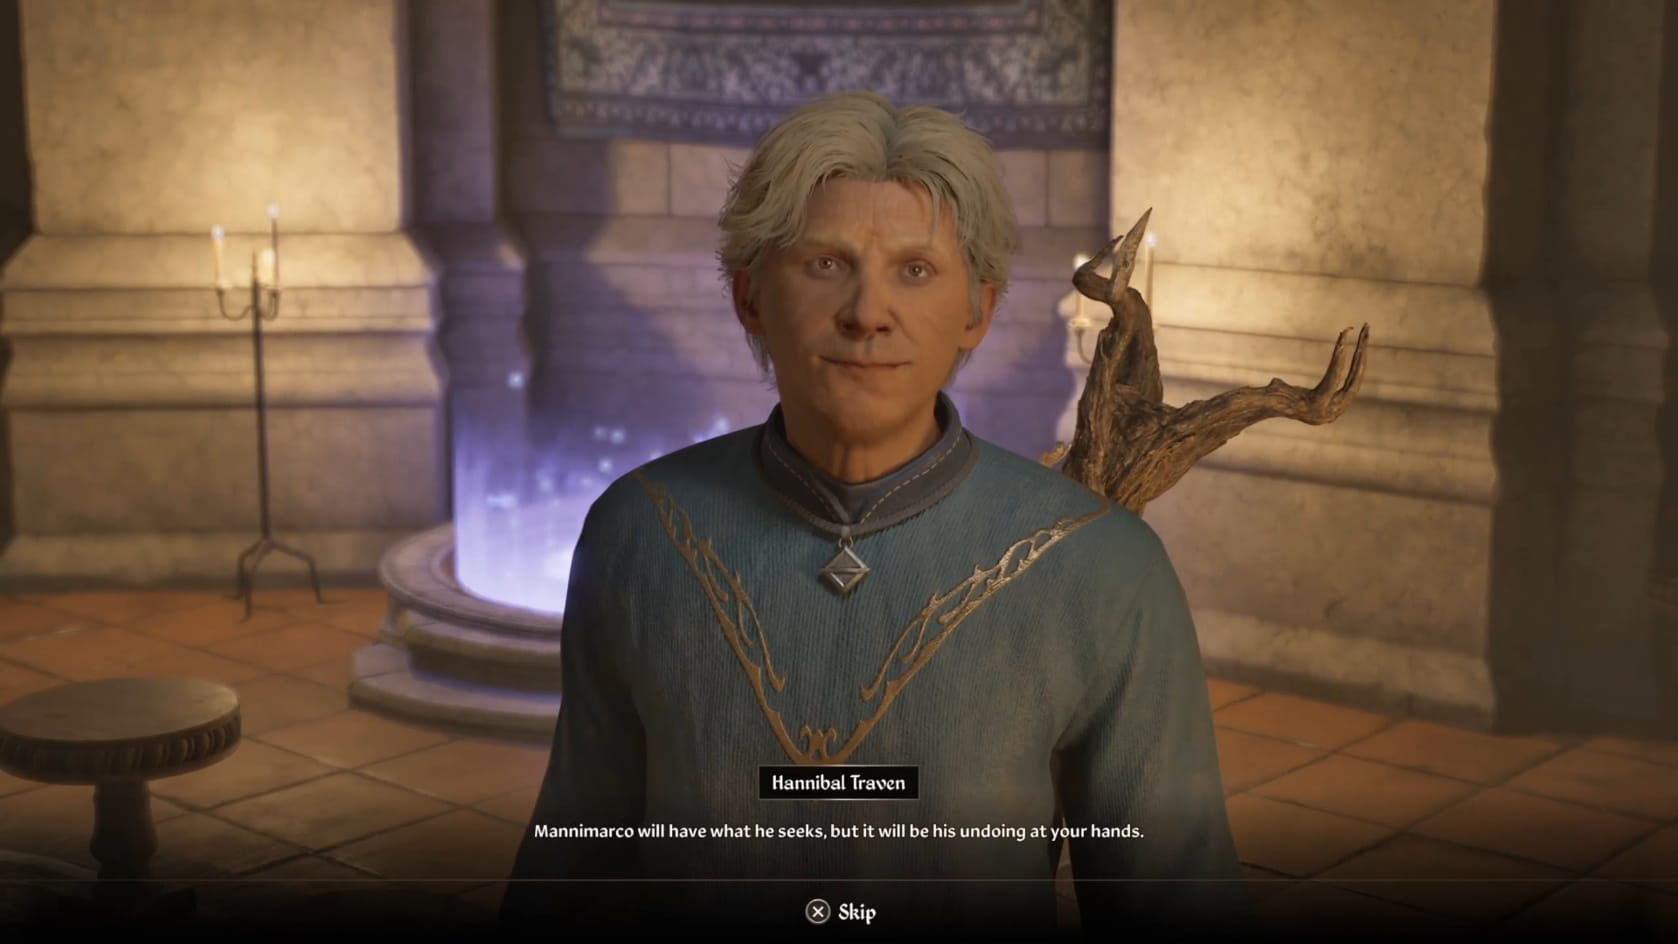
Approach and talk with Arch-mage Hannibal Traven. He will make sure you’re ready for this task, but also be clear he won’t be able to talk to again once you begin it. You are to take the Colossal Soul Gem when the conversation is done and head out to confront Mannimarco. Traven will ensure he can’t enthrall you.
To show his confidence in you, he promotes you to Arch-Mage, making you the leader of the Guild. When you finish this conversation, Traven will cast a spell that puts his soul into the Colossal Soul Gem. Collect the Colossal Soul Gem, loot Traven’s body then its time to begin your hunt for Mannimarco.
Find Echo Cave
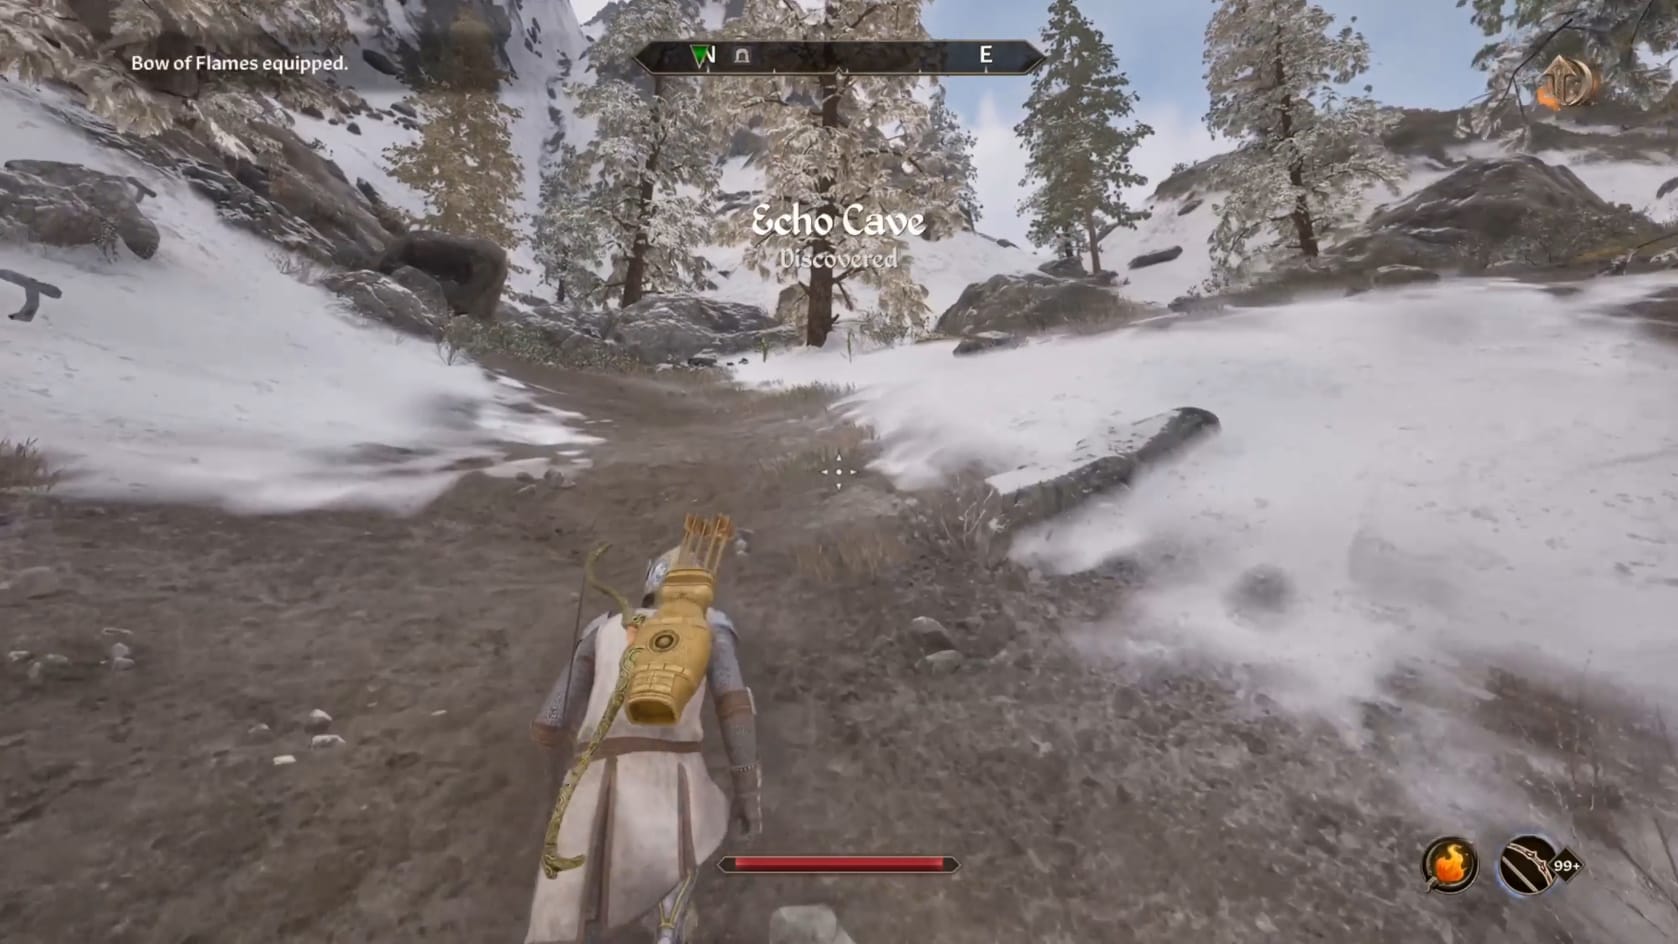
Leave the Arcane University and head for the Echo Cave. This cave is found a distance to the West of Bruma or you can just travel a short distance West from Cloud Ruler Temple or Apple Watch within the Jerall Mounttains.
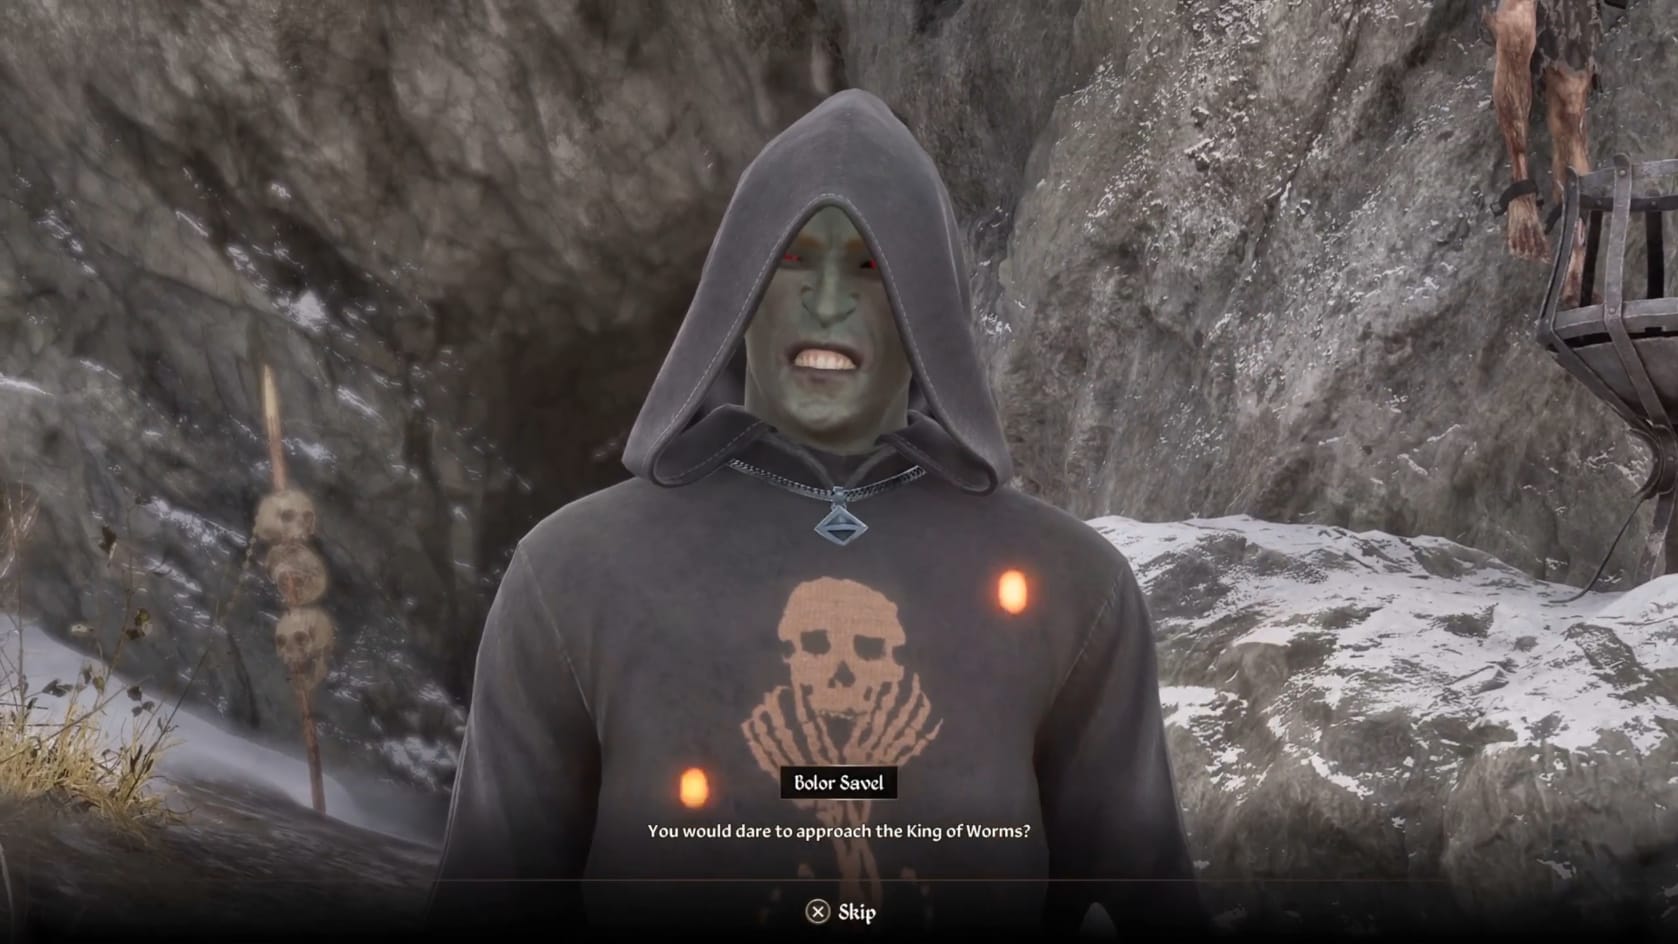
Approaching the Cave, you will find it guarded by Bolor Savel. He challenges you as you approach, not giving you any chance to escape. He holds the key to access the Echo Cave.
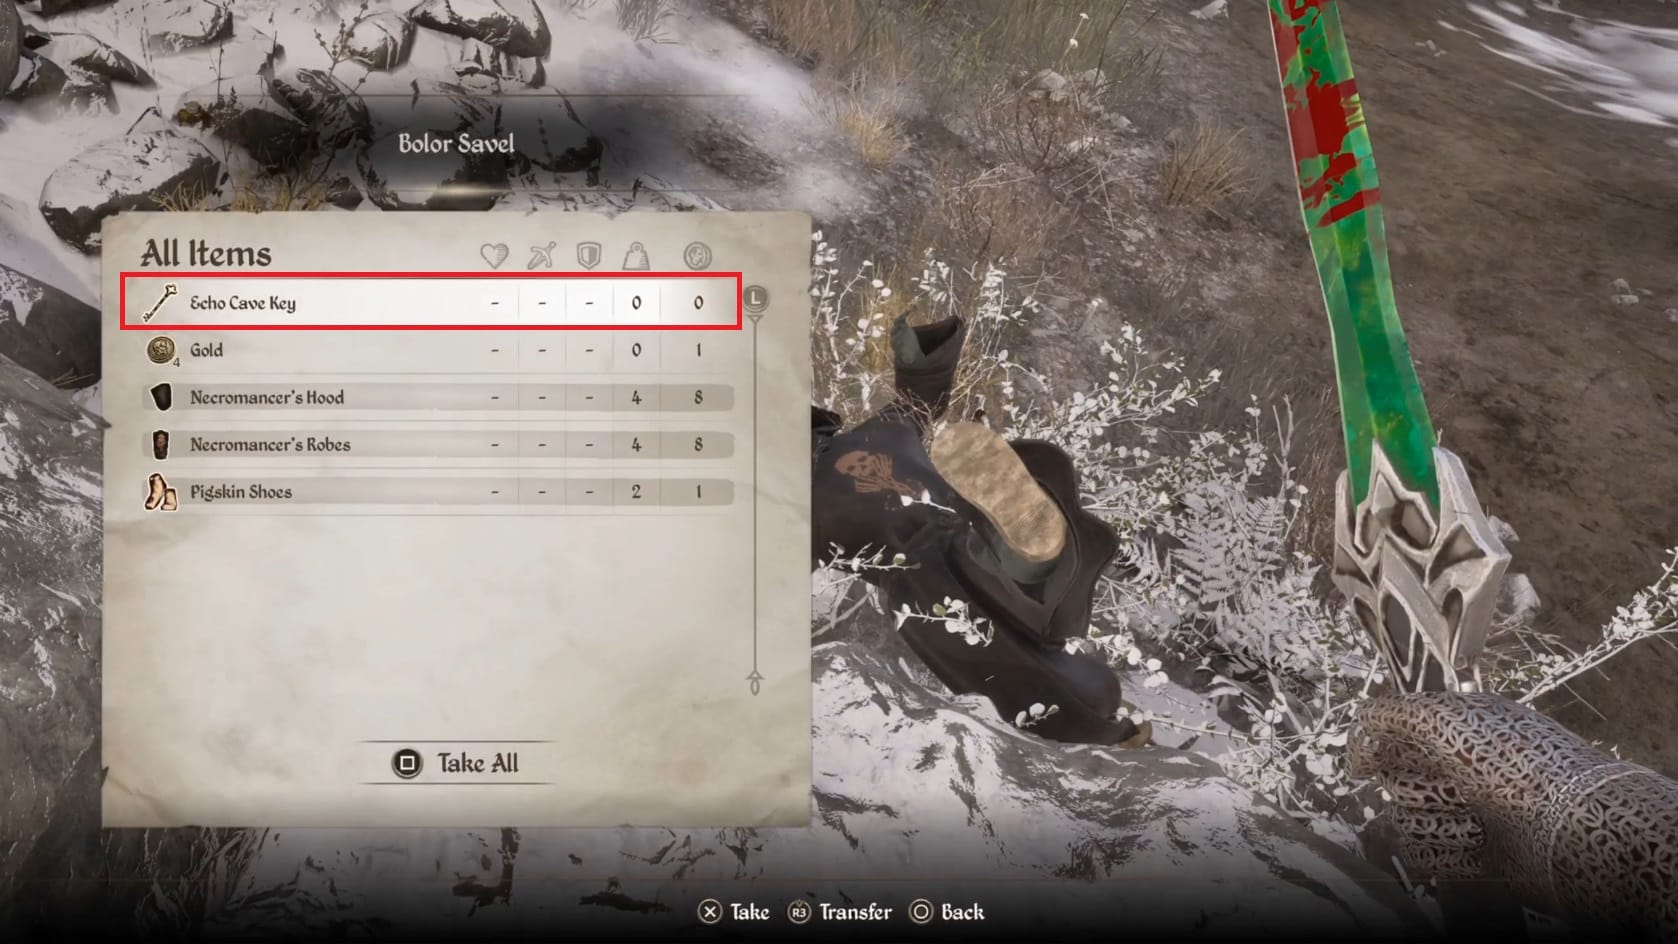
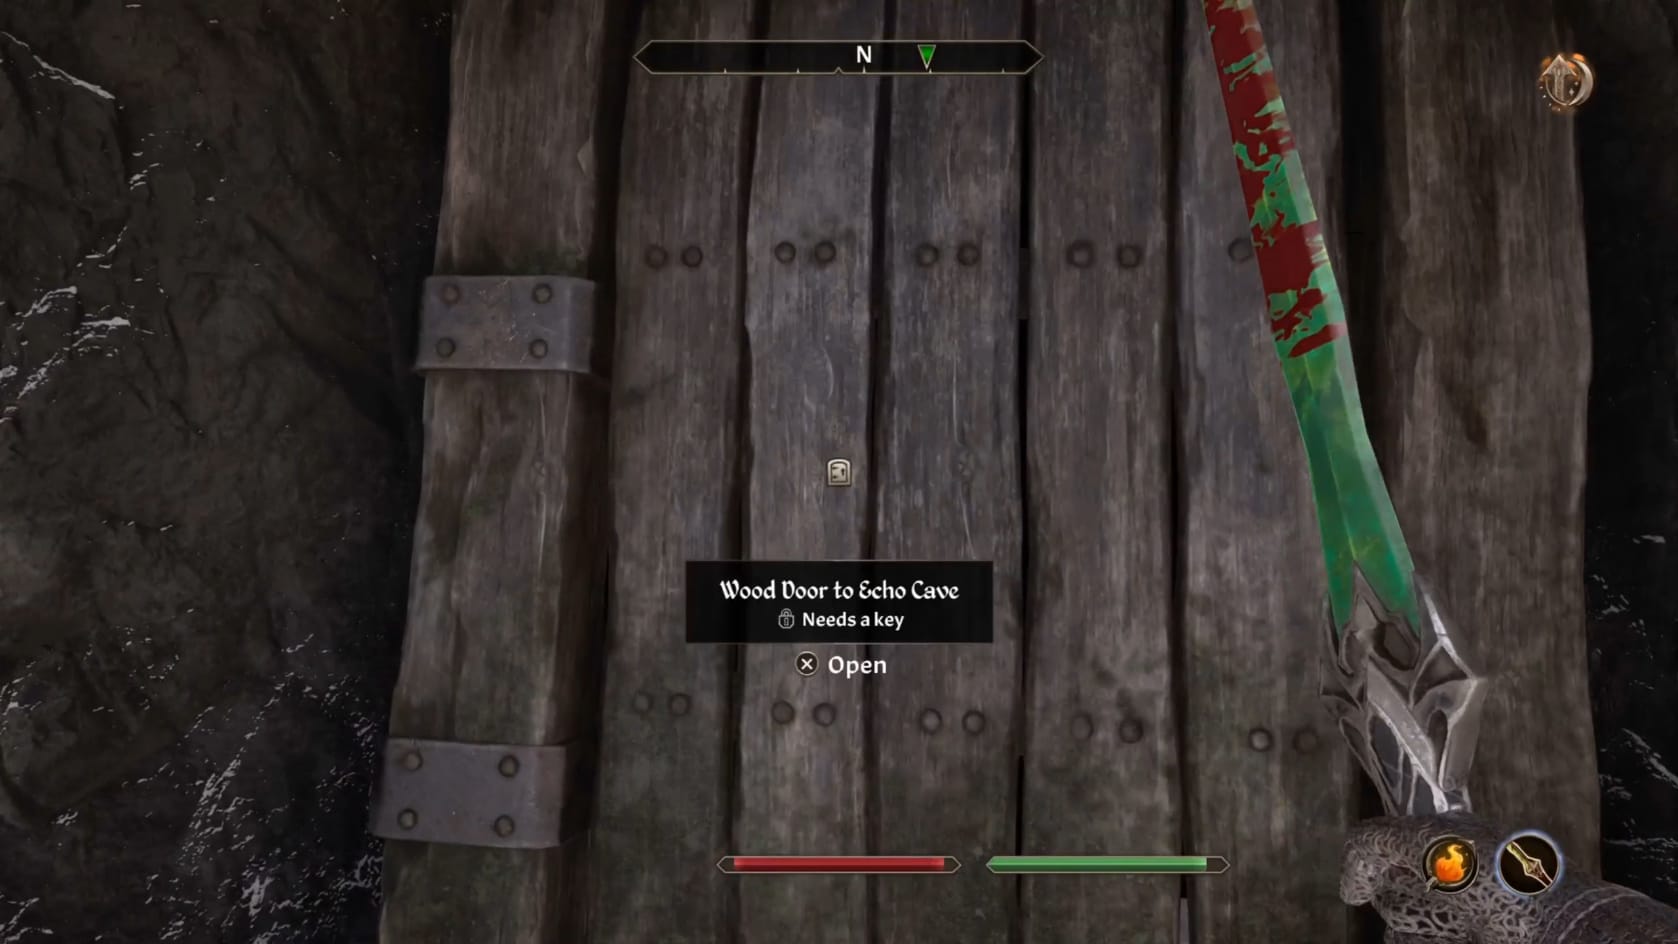
Defeat him and loot his body for the Echo Cave Key. Once you have that, just head for the entrance of the cave itself. Open it up to take your next step toward the boss.
The Echo Cave
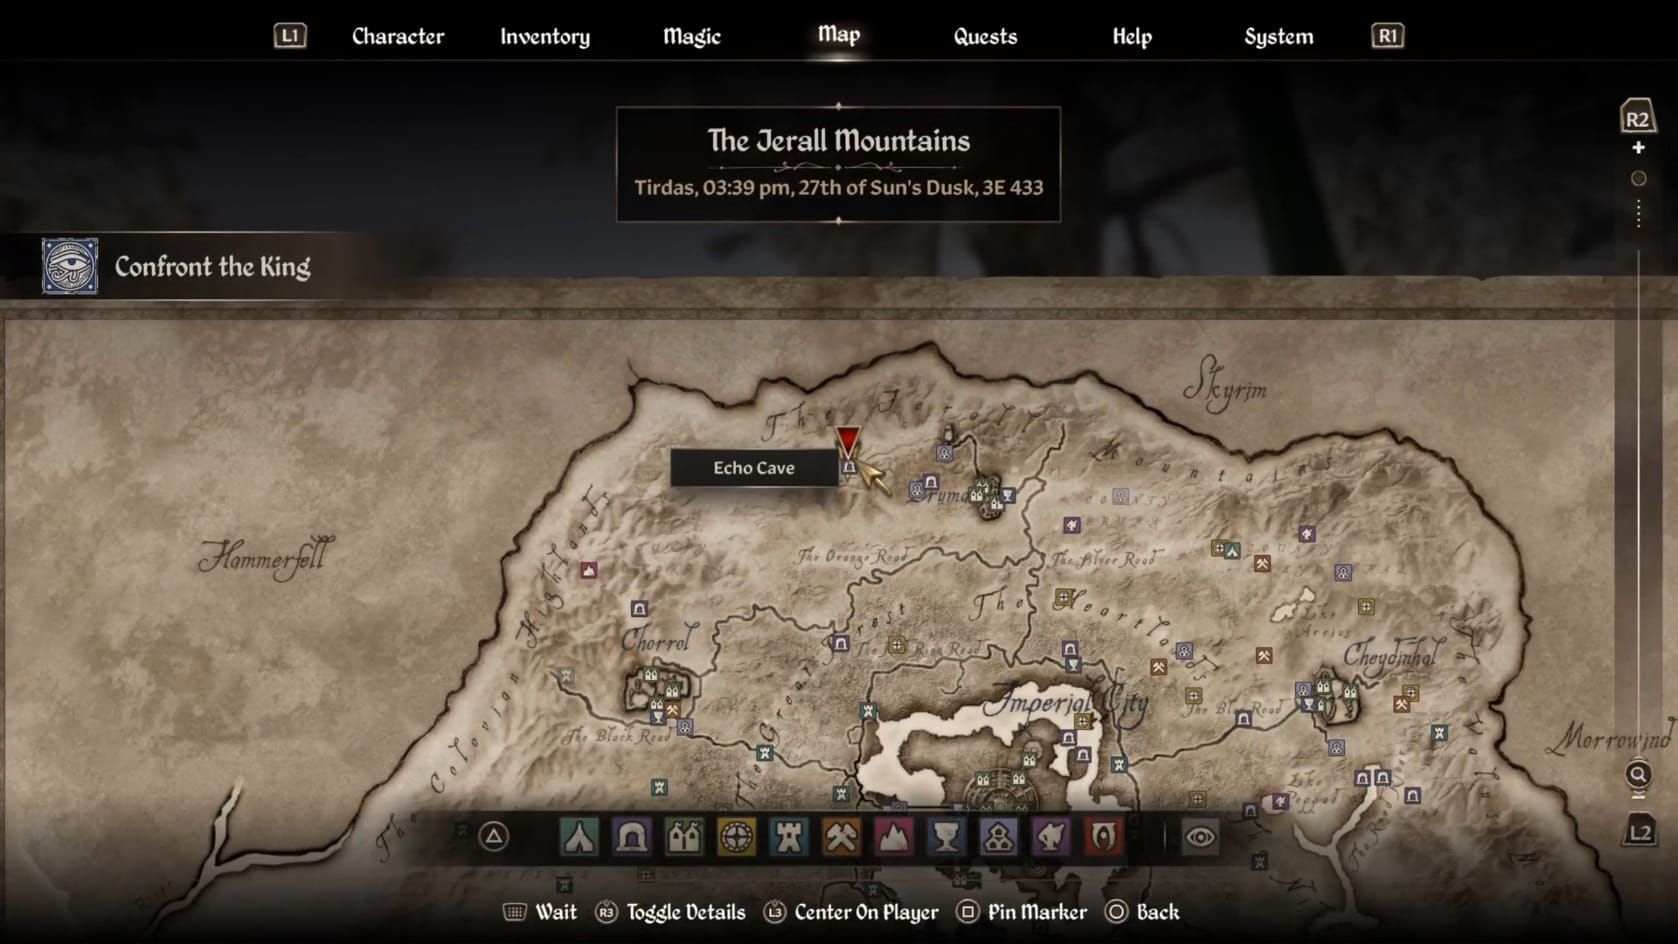
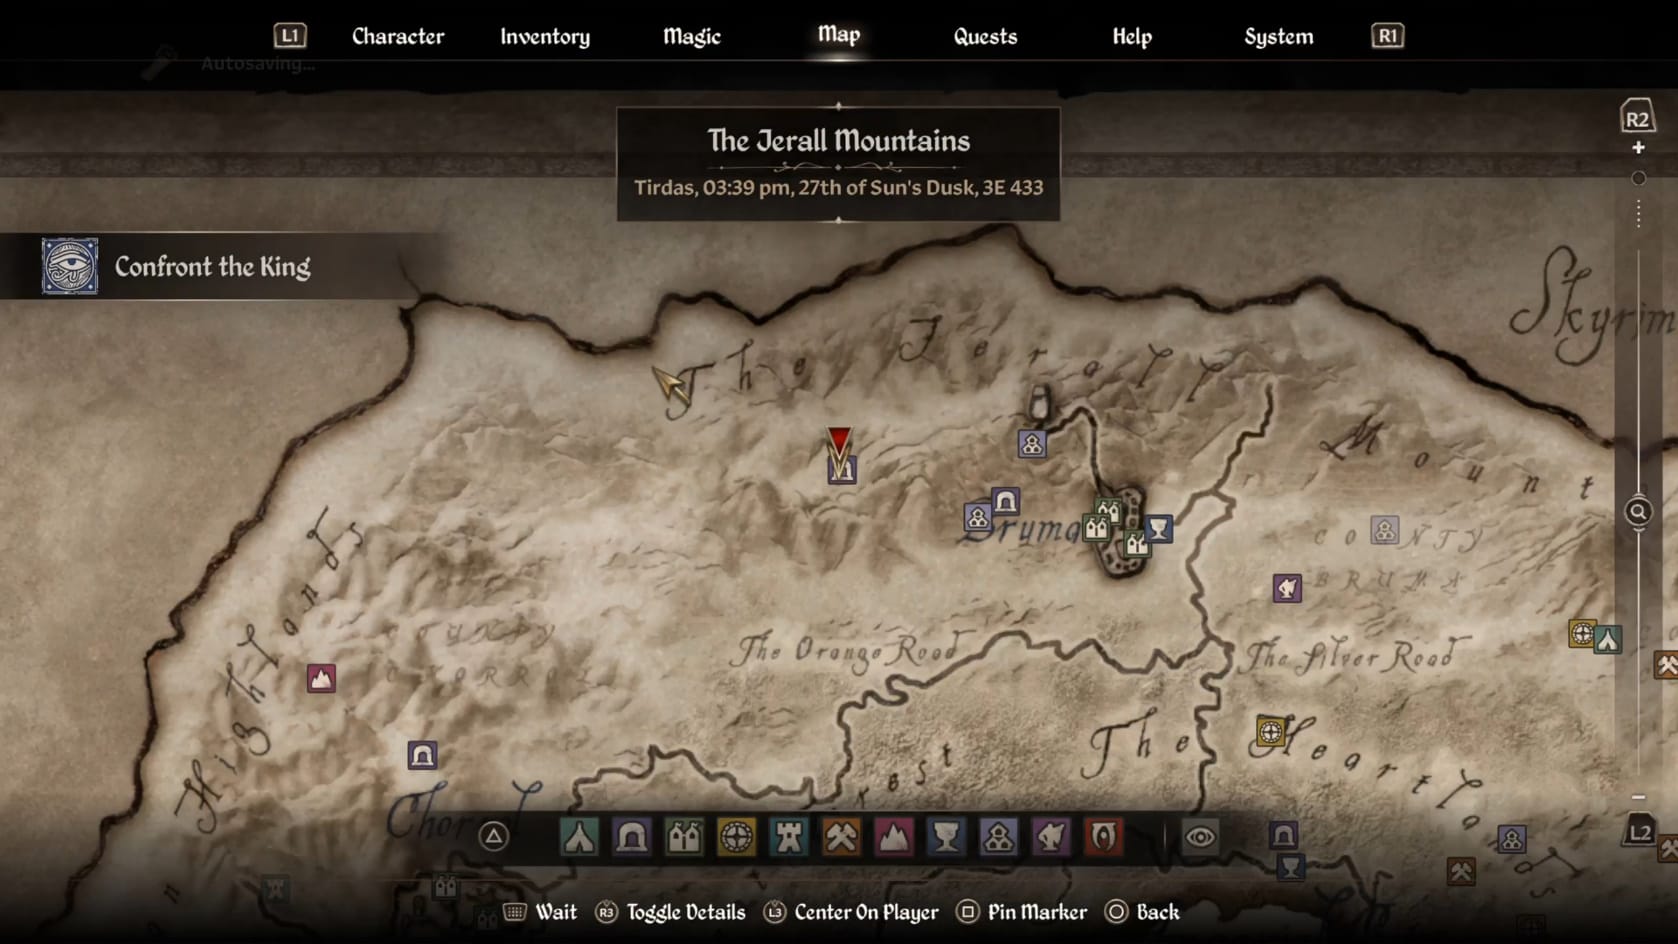
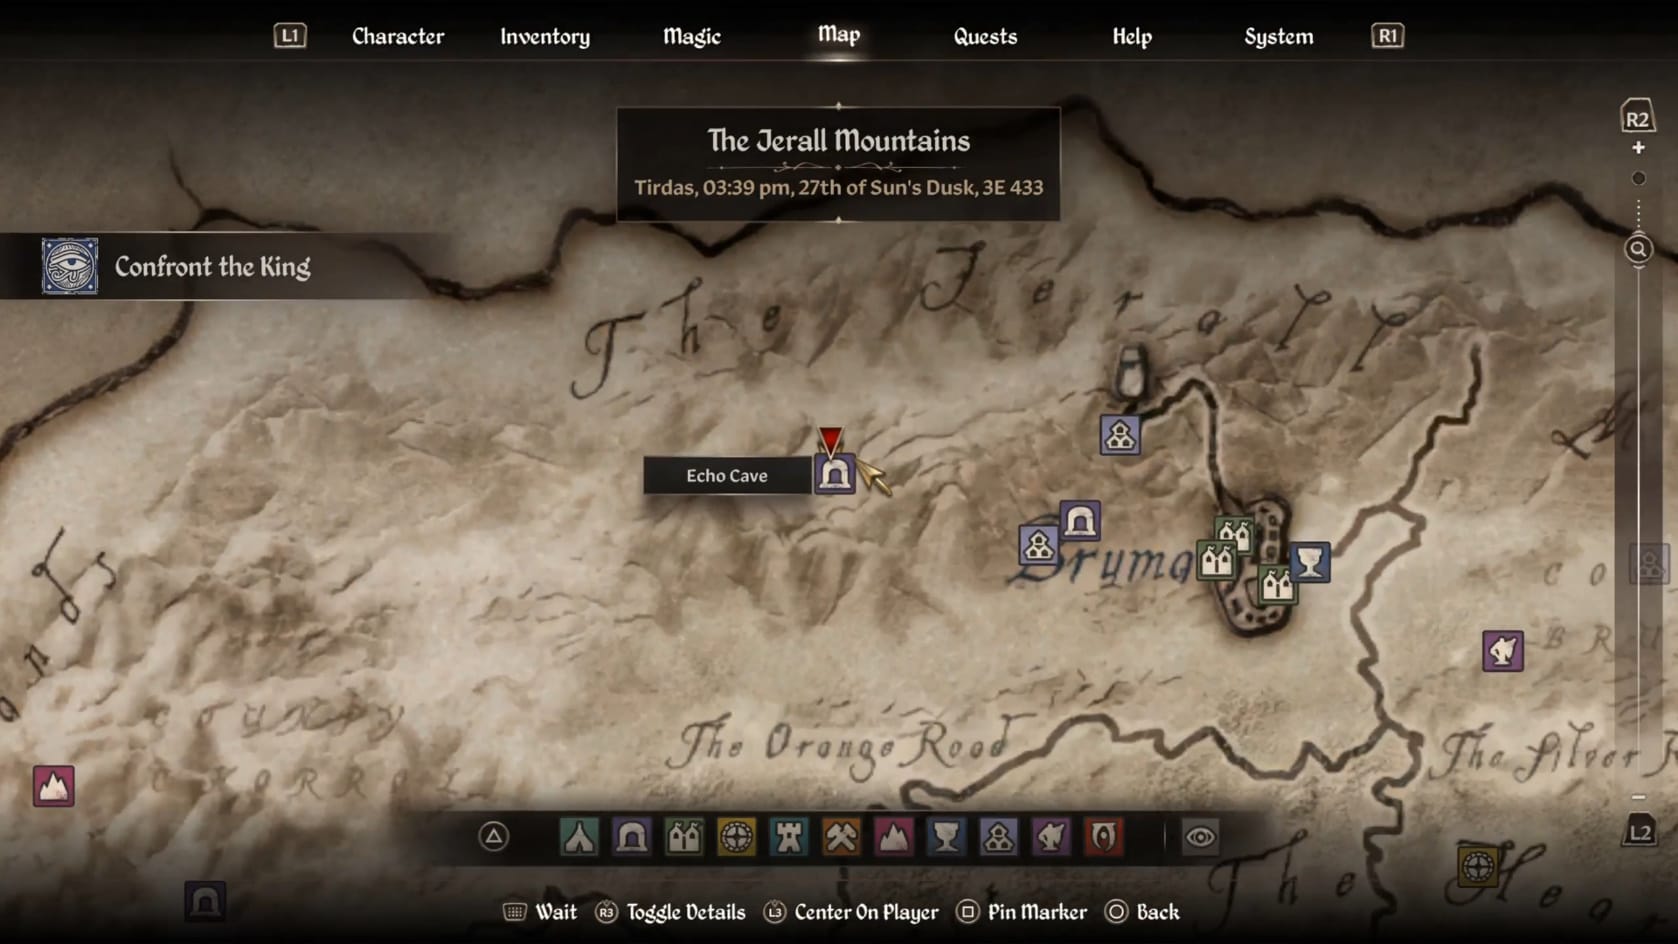
The Location of the Echo Cave
Welcome to the Echo Cave itself. Follow the slope down and over to the right. You’ll see a Necromancer patrolling with an Undead nearby helping to guard the area. Turn to the Northern tunnel and go into it. Follow the tunnel down to the West and into the next chamber.
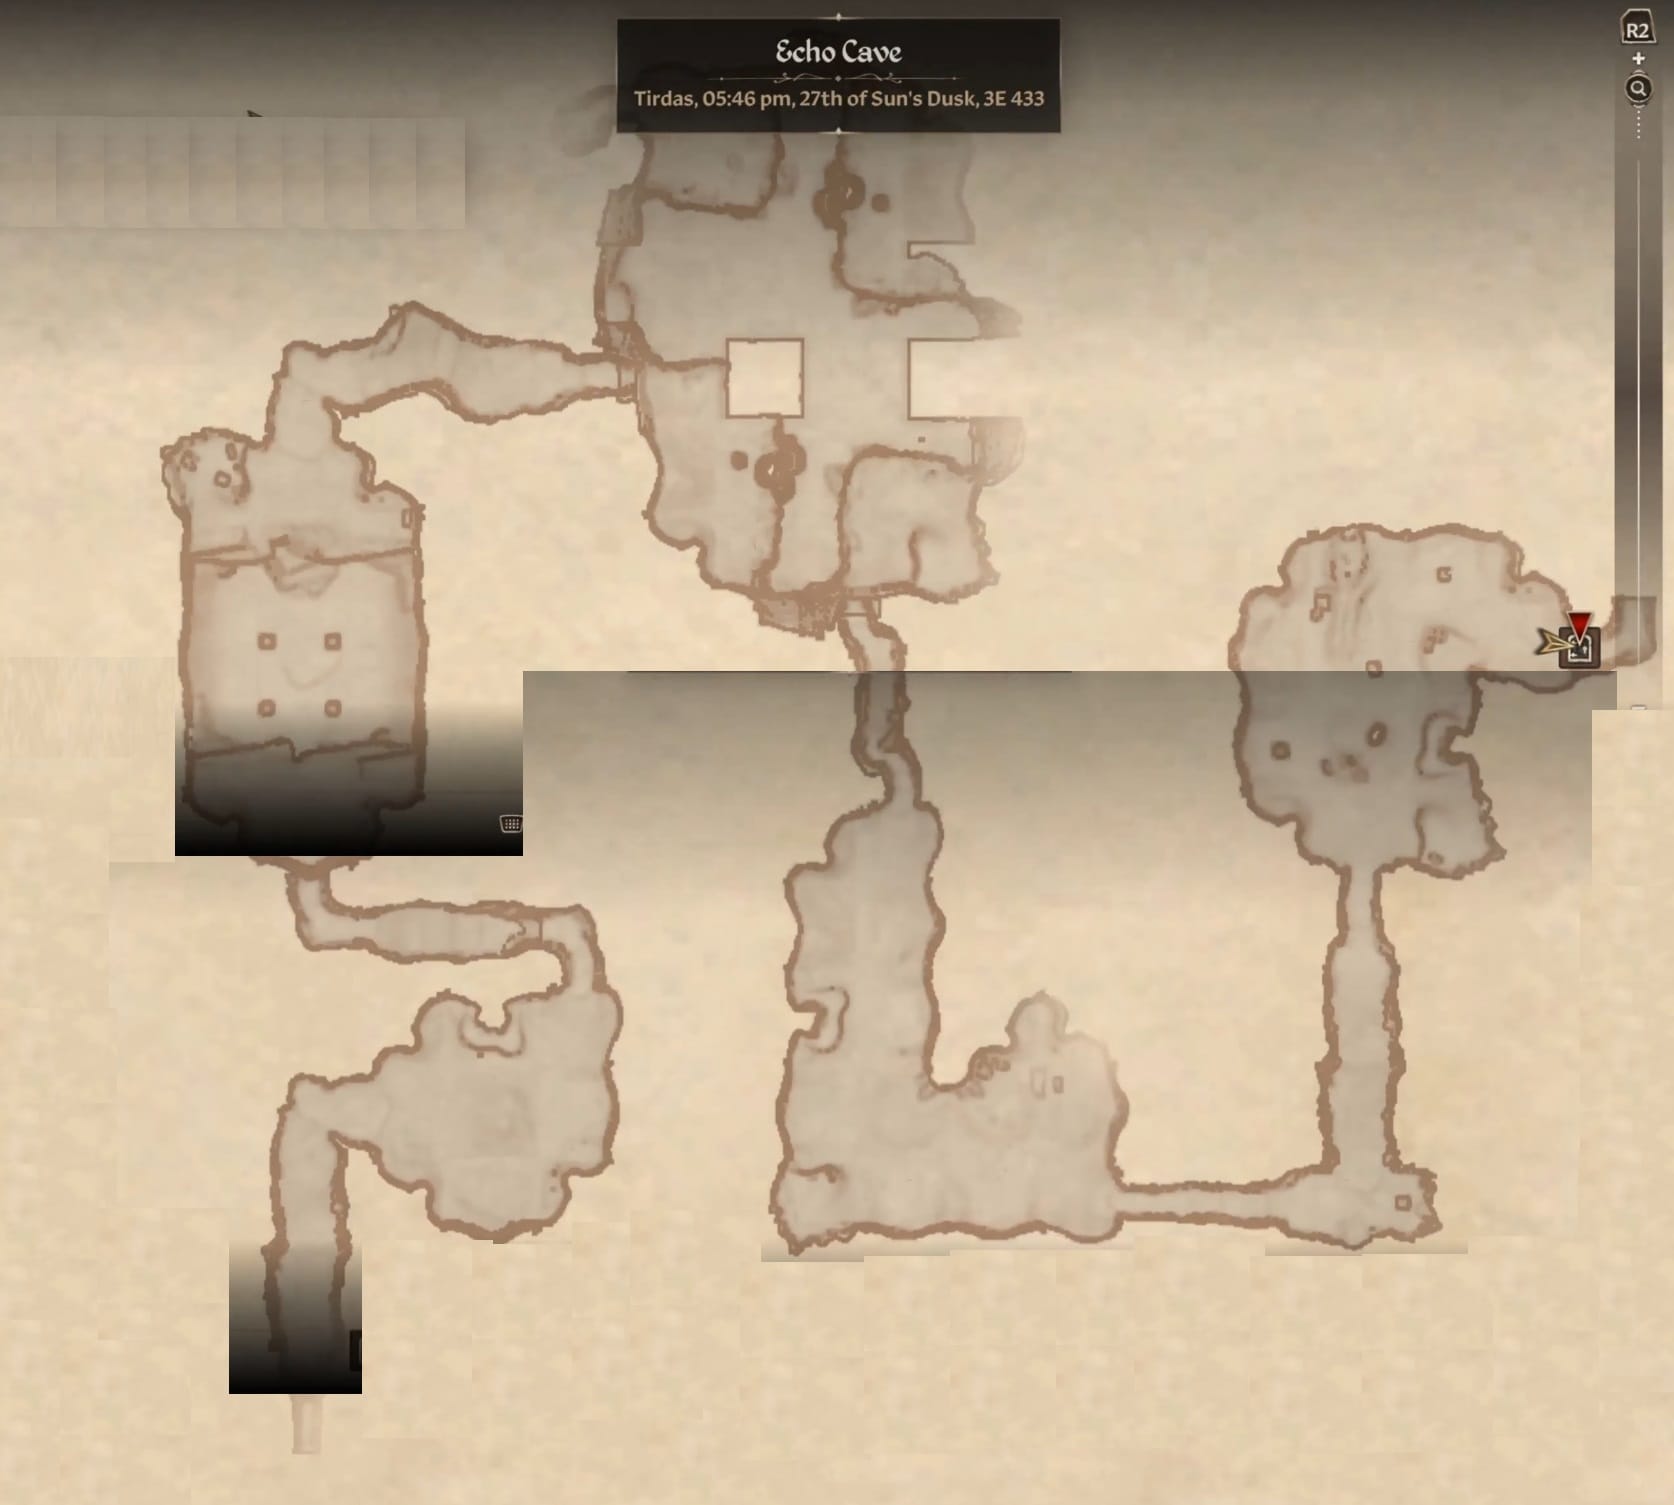
This next chamber has a number of Braziers lining a pit. And nearby them is a Necromancer who patrols the pit. Defeat them and take the stairs up to the North and the ledge above. Go to the East (Right) to find a Locked Chest (Hard). Go to the West to find a small rise with another Chest and some crates on it.
Be mindful as you head to the North since another Necromancer is patrolling the tunnel there. Follow it to the East then North into the next chamber. There are more undead in this area. Some patrol nearby the tunnel’s exit while another is farther away. Head to the Southeastern corner and search around to find a Chest and some crates.
You will want to clear out those you can before going to the central part of the Southern wall. Head on through the passage there to continue forward. In the chamber at the top of the upslope, you will want to deal with the Necromancer at the far end and continue to the South.
At the far end of the chamber, you will need to turn to the East. Take a moment to explore where it widens, looking to the North to find a champ. You can find a bed and a Chest next to it. Another is to the Left, nearby some barrels. Carefully head into the Eastern tunnel since it has a Necromancer patrolling it. This has a brazier sitting in it where the tunnel turns to the North. Take the Northern slope downward.
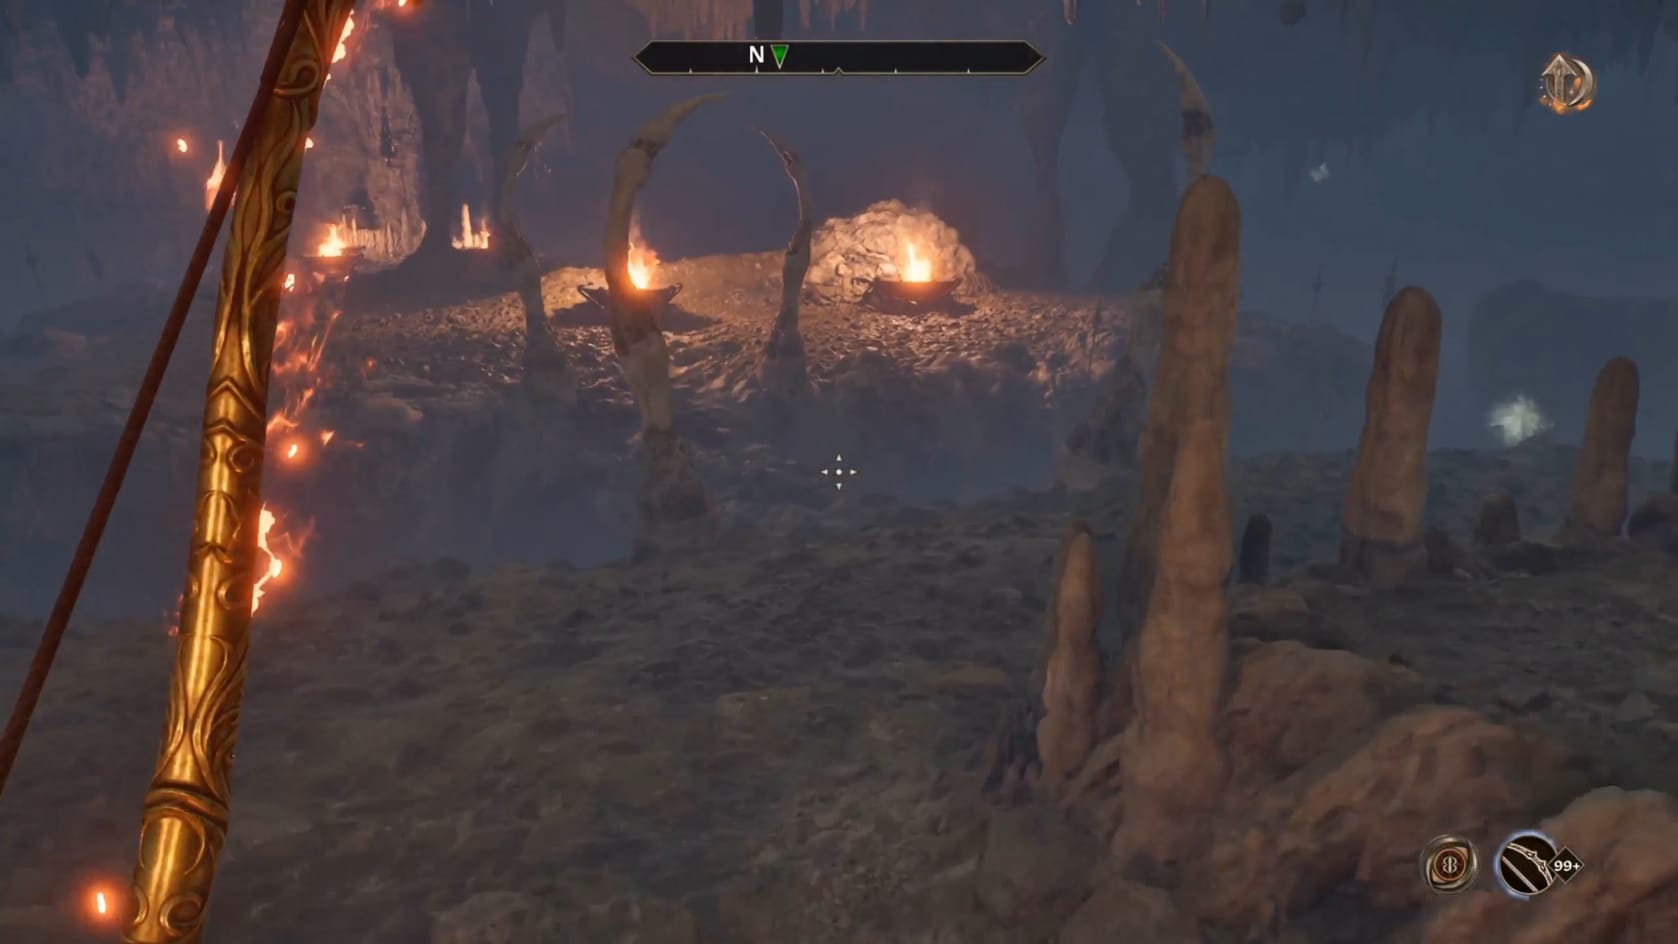
The next chamber has a number of hung corpses that are on fire. There are a few Necromancers inside it as well. One of which is nearby the tunnel’s exit. As you exit the tunnel, look to the nearby stalagmite’s base to find a Chest. Another Necromancer is in the Northeastern area of the room. There’s a small pit here too with a cauldron of skulls. Next to that cauldron is a Chest.
With all that done, head to the Northeastern corner to find the door leading into the next area: Echo Passages. Go inside it to continue.
Echo Passages
Inside the Echo Passages, you will want to go down the slope into the first chamber. There’s a brazier in the middle with more hung burning corpses and a Necromancer watching over it all. Head out to the Northeast, where another Necromancer is.
Follow the Tunnel to the North and through its twists. When you reach the torch, look opposite it to find a Chest sitting on the floor. Continue on through to the North to reach the next Chamber.
Getting into the Chamber you’ll encounter a few Undead. Weave through the canyon area to the Northwest. You can find a Chest to find along the Southwestern side.
Take the Slope to the Southwest and enter the chamber above. Go to the Western side where more Necromancers area. Along the Western side, you can find a small pit that has a Locked Chest (Average) inside it with the remains of Crates and a barrel.
Go to the Southern side of the chamber. Take the slope there upwards. At the top, you’ll find more undead. You’ll find a small alcove with a pair of Chests. There are a few crates up there as well.
You can find a ladder leading up to the Echo Cave (with a Very Easy Lock). This makes it easier for you to leave later on.
Go back down the slope and head over to the West.
Echo Necromancer’s Chamber
Go to the West and down the slope there. There is a Necromancer at the base of it. Go across to a Chest to find a Chest sitting by the wall.
Going to the South, you can find a chest in a small alcove on the left and right-hand sides. This will lead you to the pool of water around the whole of the chamber.
To progress forward, you will need to head to the North. Open the Wooden door there. Head to the North and across the rib-lined bridge there. Sitting in the middle of the landing you’re on now, you can find a Locked Chest (Hard). Going to the Northern end to find Mannimarco.
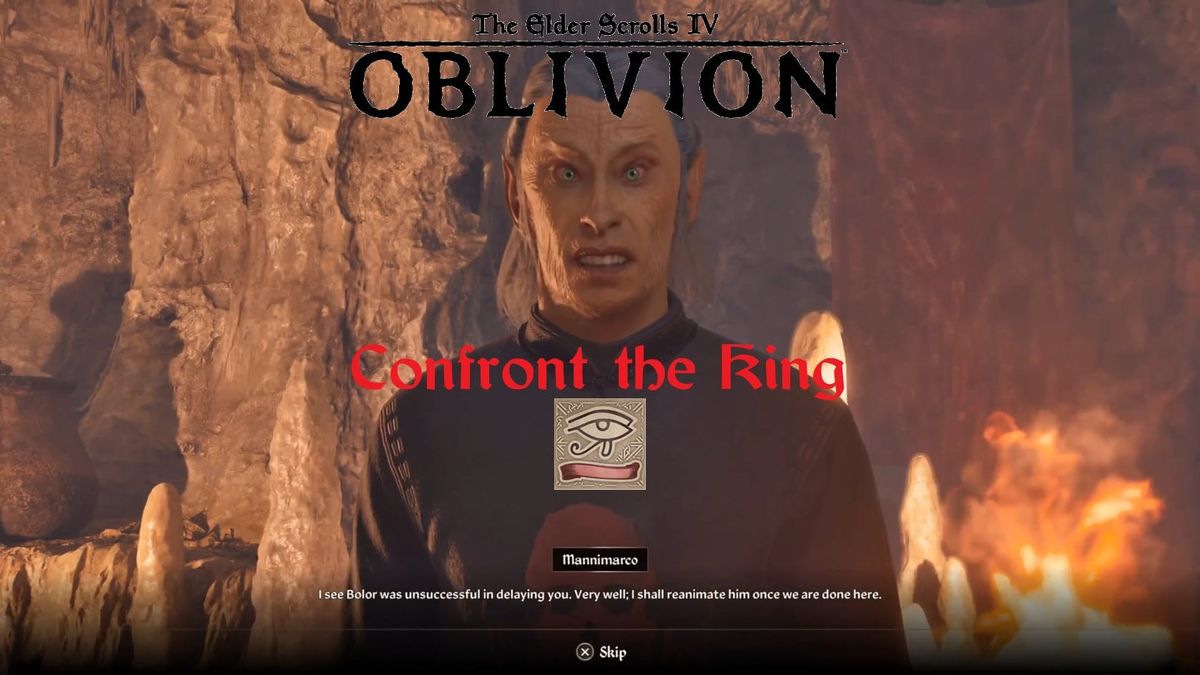
Confront Mannimarco, King of the Worms
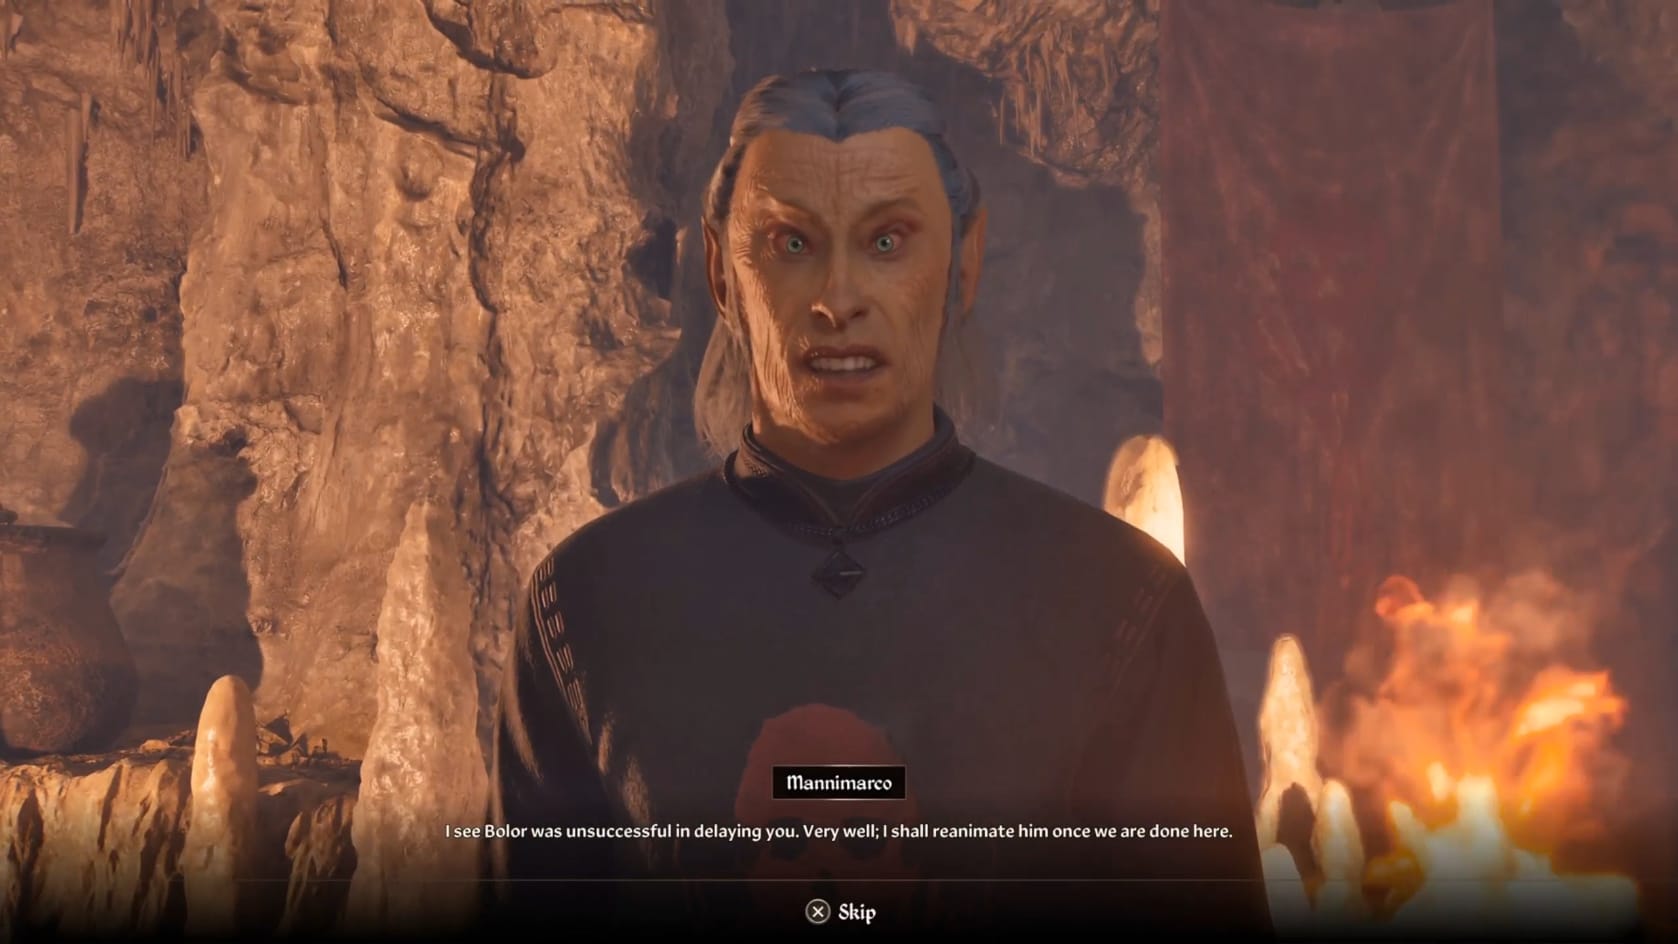
Approaching Mannimarco, he’ll cast a spell at you. He then starts talking at you. He remarks on Bolor’s inability to stop you. He shares his long-term plan and then attacks. Traven’s plan works perfect and the Hero is able to attack Mannimarco and defeat him. You can then take the “King of Worms’ Robes” and the “Staff of Worms”.
You can search a Chest along the Northern side. After that, head to the East, jumping over the water. On this smaller landing, you can find a chest nearby some crates and barrels. Go through the tunnel to the South to find another Undead. From there, just follow the path back to the Echo Passages.
Once there, make your way to the Western side back up to the Echo Cave itself, the Lock Ladder (Very Easy).
Echo Cave (Locked Door)
If you go up the ladder that was locked. Go over to the East, jumping the gap to reach a Chest sitting on the Eastern side. Use that to leave the Cave.
Report to the Arcane University
With the death of the King of Worms, you can leave the Echo Cave and its subsequent areas. Make your out more easily by visiting the ladder mentioned earlier. After that, you will need to find and talk with Raminus Polus. Talk with him to finish this quest and complete the main story line for the Mages Guild.
All Hail the Arch-Mage!
You are now the Arch-mage and have “control” over the Mages Guild. You now have access to the Arch-Mage’s Chamber in the Tower. There are additional quests you can complete to unlock a unique chest that helps with Alchemy production (Alchemy Acquisitions) )as well as “Repairing the Orrery.”
Video Walkthrough
Video Walkthrough