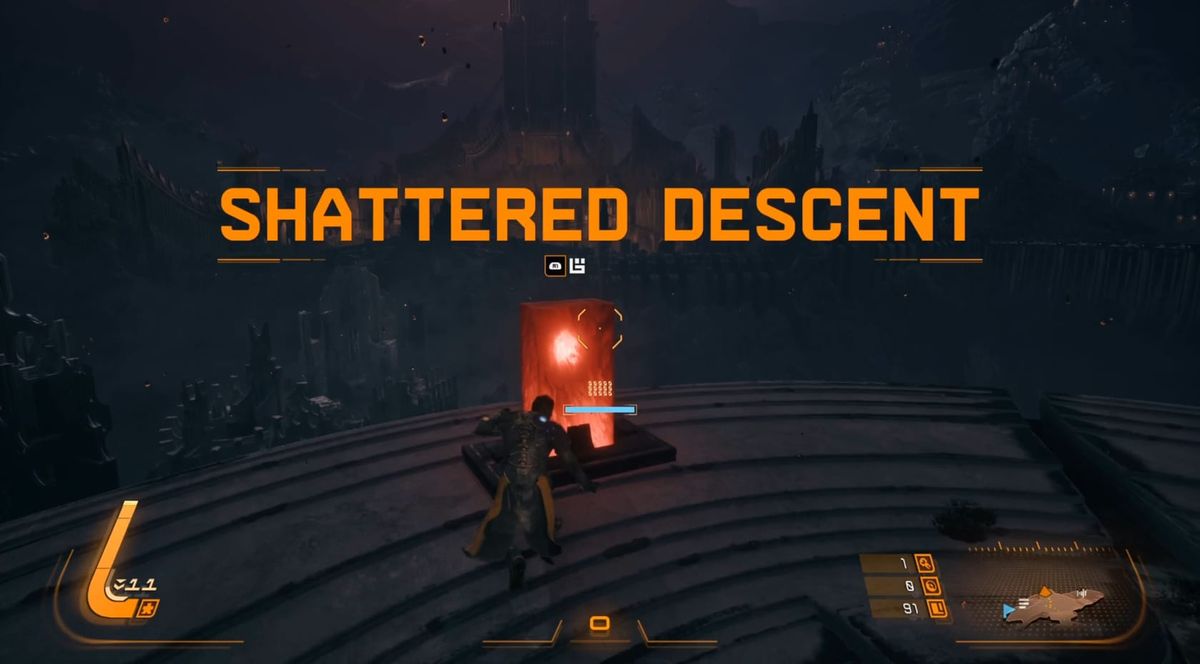
Saros: Shattered Descent Guide
Survive Shattered Descent in Saros. Unlock Grapple, master Overdrive, and defeat the deadly Rhabdom boss.
Description:
Intertidal site adjoined to the Shattered Rise and with a similar environment, but cordoned off by alien structures.
Navigation complicated by surface ruptures and fissures. Area meets a shoreline at its lowest point.
Collectibles:
Audio Logs: 14
Halcyon: 12
Holo-Logs: 1
Text Logs: 6
Enemies:
Guardian
Harbinger
Hollower
Keeper
Primal Flexion
Rupture
Warden
Upgrades:
Grapple
Overdrive
Stalwart Shotgun
Walkthrough
Once you arrive here from the Ancient Depths, head on up the slope and forward into the settlement. You will want to head over into the building on the left. Sitting in the middle is a Primary Datacore. Grab this and head over to the left. Follow the Lucenite out to the right of the door you came through. Dash-jump across the gap and use the teleporter pad to return to the Passage.
Inside the Passage, bring the datacore to Kayla. She will review the data, making a discovery. Be sure to also head up to see Sebastian. Getting there, you will see there is a sunburst design around the entrance. Go inside and you will find the tree has a portal open on its bark. Interact with the portal and play through the sequence within. Once that is down, go back down to Primary. Take a little time to unlock the Bastion node, upgrade your armor some, and then it’s time to head back out on Carcosa. Travel on back to the Shattered Descent
Getting back to the Shattered Descent, you will still have the complication of access. Go forward and to the small observation platform to the right of the main building, next to the containers. Interact with the terminal to get the Grapple Upgrade.
With the Grapple, you can launch Arjun toward any of the glowing blue drones (and blue grapple points) that are scattered around Carcosa. But mindful though. The first tap with Grapple activates it and sends Arjun toward the Grapple Point. If you hit the Grapple Button again, mid-grapple, then Arjun disengages the beams and continues forward along the same path, but he’s falling with all the momentum he has.
When you die, you will have the chance to talk with the crew of Echeleon IV, including Sebastian. Talk with them, head to Primary (who has nothing to say) and return to the Shattered Descent to start over.
Go forward and use the Grapple to get across the wide gap and then ride the elevator in front of you down. This leads you to an Eclipse Switch. Interact with the hands to enter the Eclipse Zone. Head forward carefully, and destroy the strange plant things on either side of the platform, since they explode and launch projectiles at you. Break open the container on the platform then Search around for collectibles and head along the path forward.
You are introduced to new enemies, and a new class of Enemy, the Alpha. These use the red shield, which comes back after a short while, and are far more aggressive.
Alphas are significantly more deadly than their normal variant. Not only do they tend to have the Red Shield around them, they will do a bit more damage and have more health. They will regenerate health if they aren't damaged regularly. They will also more commonly employ a Purple shield that will protect them from ranged attacks. Arjun will need to get in close to be able to damage them.
You will find Eli, a survivor from Echeleon III when you reach the larger building you can see on your path. He shares some strange knowledge, but doesn’t share much information on what happened, before revealing the expedition tore itself part. This strange knowledge unlocks Overdrive. You get a quick tutorial using Overdrive. Drop down and follows the stairs downward to find a large fight against Ruptures (where Overdrive quickly recharges). Use it to quickly defeat the group. Head out of the building to continue exploring. It's also just outside this building that you will find the Holo-Log. It's on the ground, toward the end of the platform you land on.
Overdrive is a very powerful attack. It will slowly recharge as Arjun defeats enemies. This process can be augmented with Suit Upgrades. When you engage Overdrive, time will slow to a crawl. A targeting beam will lance out from Arjun. Hit the prompted button to fire it off. This attack does massive damage. On top of that, most enemies will drop Aether to restore Arjun.
It’s also around this time a new “enemy” is introduced, the Healing Totem. This can only be destroyed by hitting them with a melee attack. Anytime you see one of these, immediately rush it and destroy. It rapidly heals all connected enemies within its range. And that is a considerable range.
If/When you return to the Passage after finding Eli, you can talk with the crew again. They will have all something to say about a survivor being found. Some respond with disbelief, some see a sparkle of hope in it.
Continue along the path, as it winds downward. Watch for a side passage with a Grapple Point at its entrance nearby a downward path that leads into a cave. This shows you are getting close to the end of the area. You know Rhabdom is just ahead when you can see an Circular Arch in front of an open archway. In that archway you will see 2 Containers. Once you go down the stairs, you will find your foe. You've been lead to the Boss fight against Rhabdom. It’s time to show your skill with the Grapple.
Boss - Rhabdom
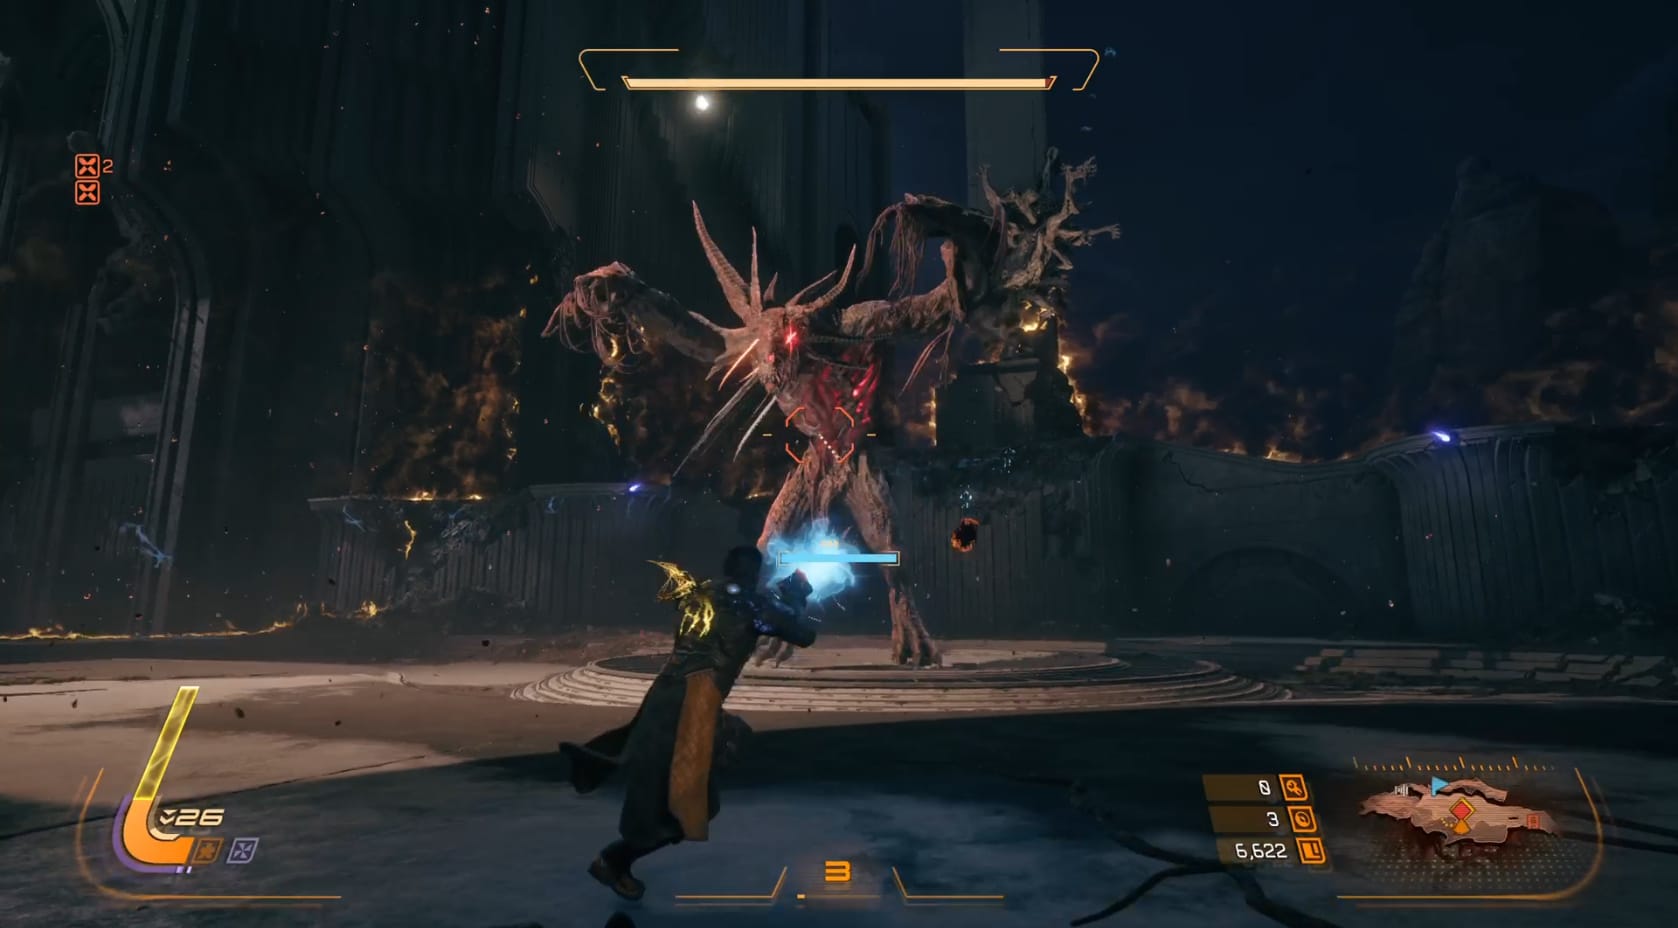
Rhabdom is tough. While closer to mini-boss, it is still a node within your suit’s augmentation matrix for upgrades. It seems to be a variant of the Sunflayers you’ve fought in the past. This is much more deadly through. While it doesn’t have the 3 health bars of a normal Boss, the thirds of its health do act much the same. You will also be tested in your use of the Grapple. There are 4 Grapple Points scattered around the arena. Your survival can hinge on how well you use that mobility. Scattered around the area are small Aethers. These can be useful to quick heals if Arjun’s Integrity is too low for whatever reason. Hitting Rhabdom with Overdrive will drop about a Quarter of its health in a blast.
Rhabdom has a number of attacks that you will need to contend with.
- It’s Lunge attack at Arjun unleashes a blast of Nova energy. You can’t Parry it yet (but soon) so you need to start running as Rhabdom lunges at you. Immediately dash as it slams into the ground to give yourself the best chance to avoid it. Rhabdom does this up to 3 times in a row!
- Rhabdom launches a cloud of Energy that will shape into Darts then come after Arjun.
- Rhabdom looses a circle of Corruption on the main floor of the arena. These orbs of Corruption will slowly drift upwards.
- Rhabdom can slash its claws, loosing arcing lines of energy at Arjun you need to evade. It looses 4 individual slashes like this before sending out a larger collection of energy in a starburst shape.
When you get Rhabdom to below the first threshold of its health, a new attack gets added in:
- Rhabdom can stomp the ground and looses rings of energy. These can be between 1-3 layers tall. It finishes this attack by loosing the Corruption energy along the floor of the arena, as described earlier. It will, once again, slowly drift upwards.
Below 50% health, this change happens:
- Its Ball attack changes from Energy to Corruption. It still aggressive seeks Arjun.
There are no new attacks for the third phase, thankfully. It just brings everything together with Rhabdom’s aggressive nature. Remember, you can only avoid the Nova energy, you can’t dodge through it with your dash nor absorb it into your shield.
Beyond Rhabdom
After Rhabdom falls and you collect the Lucienite and Aether that dropped from him, continue down the stairs. There is a Portal back to the Passage that will activate. You can also find an Aether sitting just past the Carcosan device you need to inspect. There is likely a second one off to the left of the device. Now, you can either head through the Gate to the right to continue onward to the Blighted Marsh or use the Teleporter to return to the Passage and progress that story.
Video Walkthrough: