Saros: The Blighted Marsh Guide
Descend into the deadly Blighted Marsh in Saros and unlock the powerful Parry upgrade. This guide covers every major step, boss strategies for Legion.
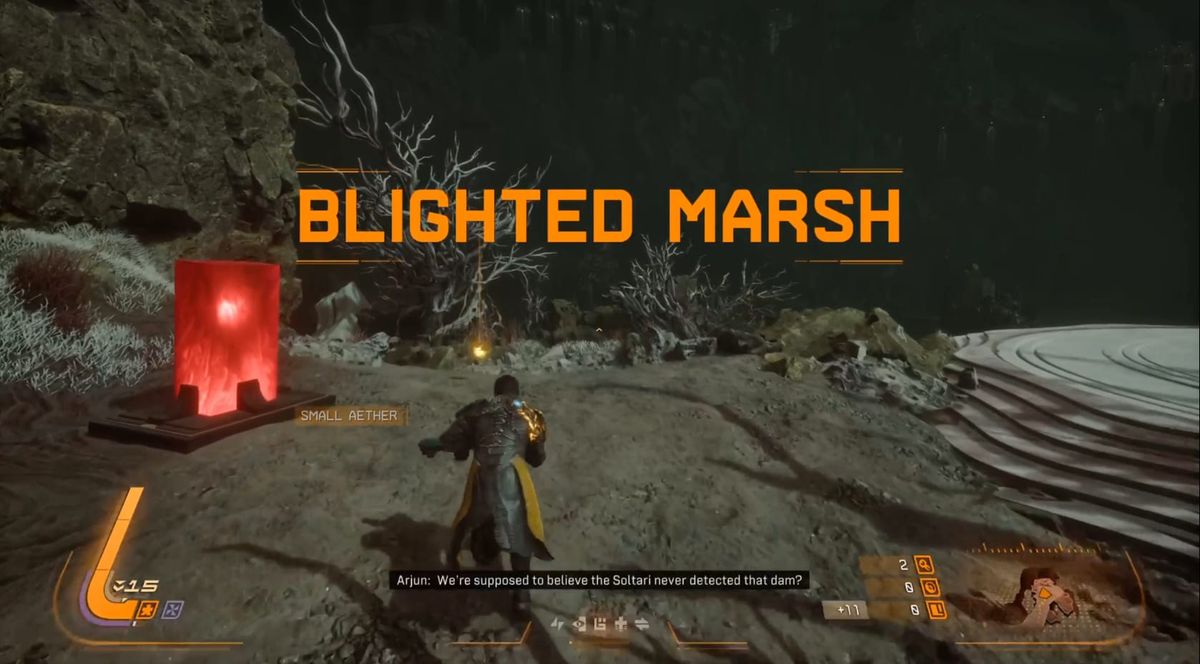
Welcome to the Blight Town of Saros. While you are not in the Eclipse Zone, you have a lot more freedom to move around. Once you make the transition though, the water will be corrosive to the touch in addition to all the enemy changes that happen as well.
Collectibles
- Halcyon: 20
- Audio Logs: 10
- Holo-Logs: 1
- Text logs: 1
Upgrades
- Parry
New Weapons
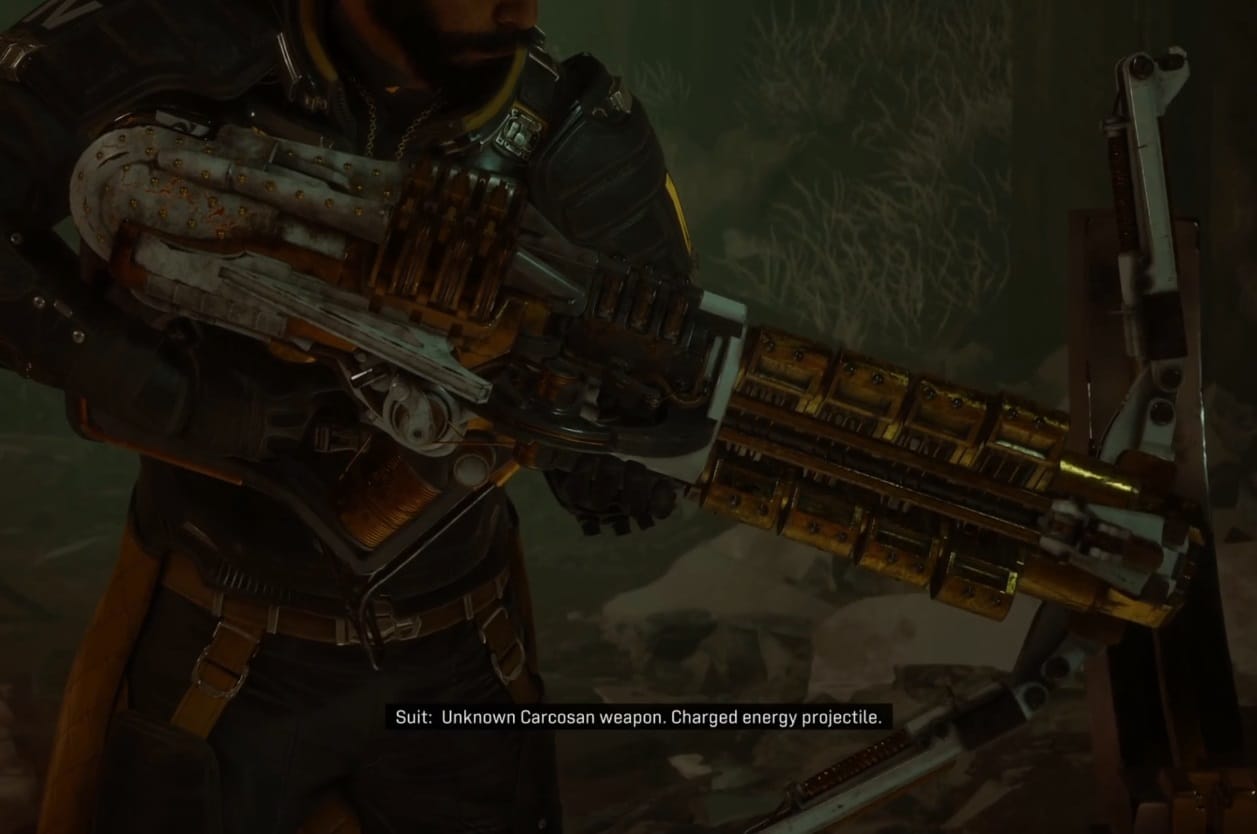
- Repeater Crossbow.
Enemies
- Confessor
- Tribute
- Legion
- Lyssa
- Primal Exlosion
- Primal Osteomaw
- Promise
- Primal
- Rupture
- Sunflayer

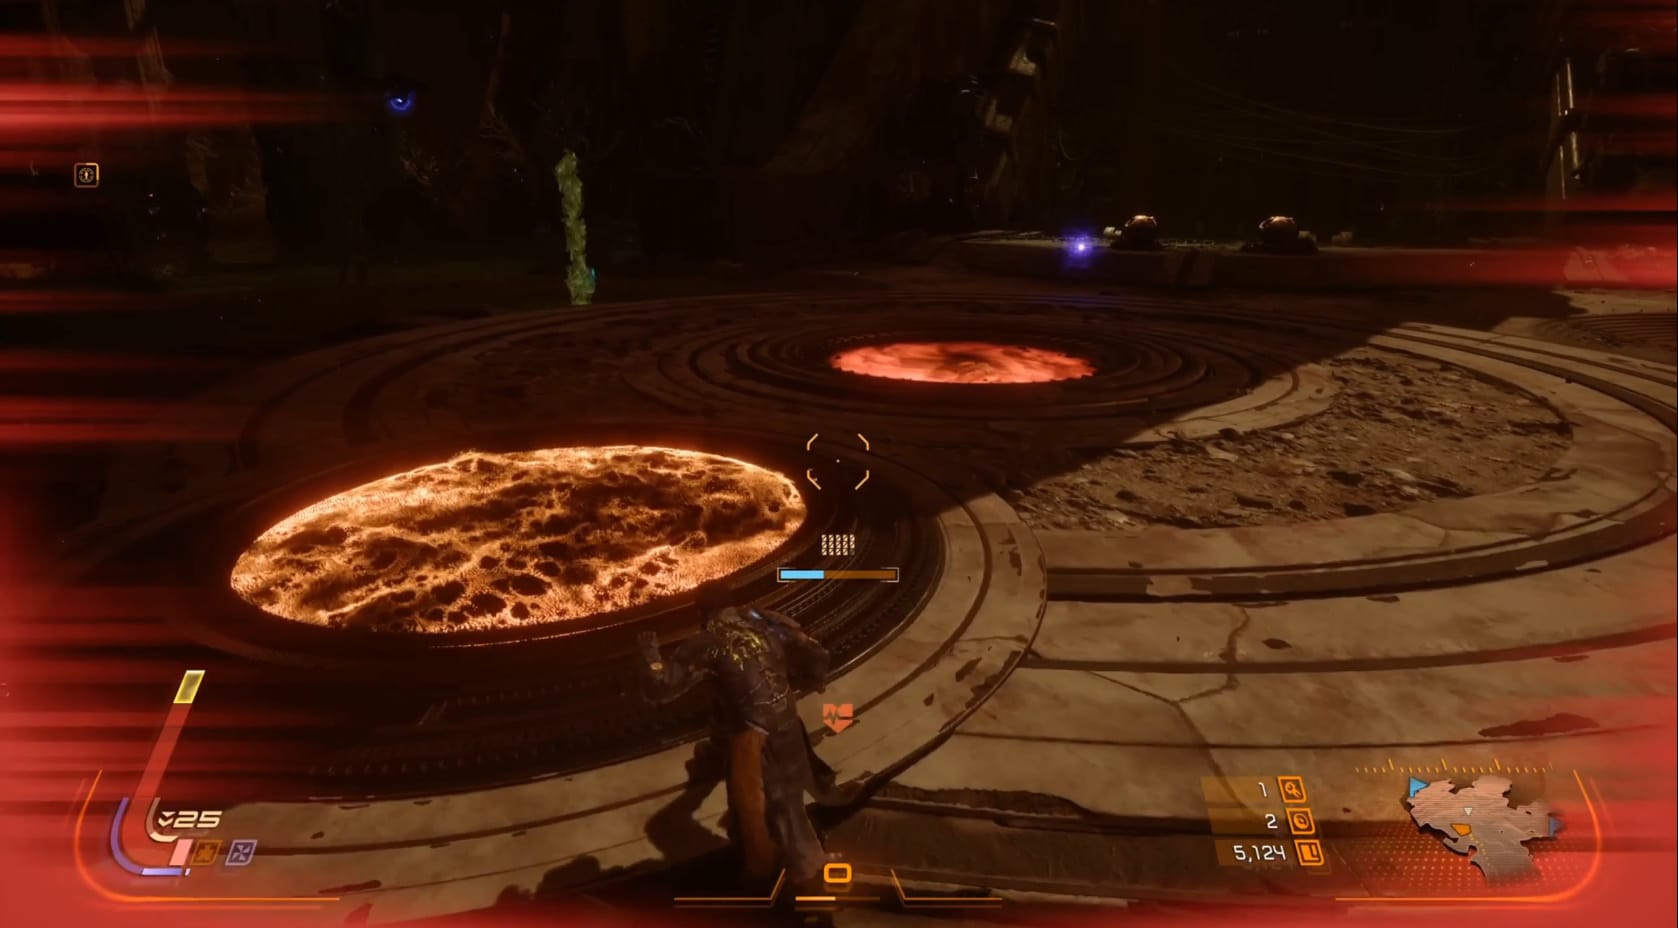
Unique to the Blighted Marsh are these Bulbs. The Blue ones explode into Energy. The Green ones also explode into Energy. However, if you destroy the Green Bulbs, it will generate a Small Aether.
Walkthrough
Start by following the path down from just passed Rhabdon. Follow it over to the right and begin the descent. There are no real deviations from the path along this stretch. When you reach the building that’s directly on your path, you will want to head inside. You will find your next new weapon: the Repeater Crossbow. You will also notice a change with the Guardians. These are now mixing in firing Nova energy, Red, that you will need to dodge for now.
When you die, you will find some conversations around the Passage. Sebastien has a few things to say, as well as Stack, Kayla, and Sheridan. Don’t forget to talk with Primary as well. After that, return to the Blighted Marsh.
If you come back to the Passage, you will encounter an argument between Stack and Sheridan. This is followed by Kayla reporting that Stack is fine, but Sheridan wishing it was something more
Getting deeper in, you will find Alab. He holds the key that you need to access more of the area. However, you will need to help him get closer to the City. He offers something useful, a suit upgrade: the Parry.
It's just a little after him you will find the next challenge, in a Solar Cage against 2 Sunflayers. There’s another Solar Cage fight just after that. Clear this one, or simply head for the building in the middle. Going inside the building,ride the elevator within upwards to the top. Explore this upper level to find any Containers. You will also find the Device you’ve been sent after. Next to it is a portal that will allow you to quickly return to Alab.
Talking with him, he will grant you the Parry ability. This will let you literally punch back Nova (Red) energy. This will clear away nearby Nova energy as well. Its tutorial section has you needing to use it to deflect and clear the stairwells leading up to the Eclipse Device. When you can, activate the Eclipse Device. Be sure to search around this Device, since there is an Acolyte’s Wager floating around that’s available each cycle.
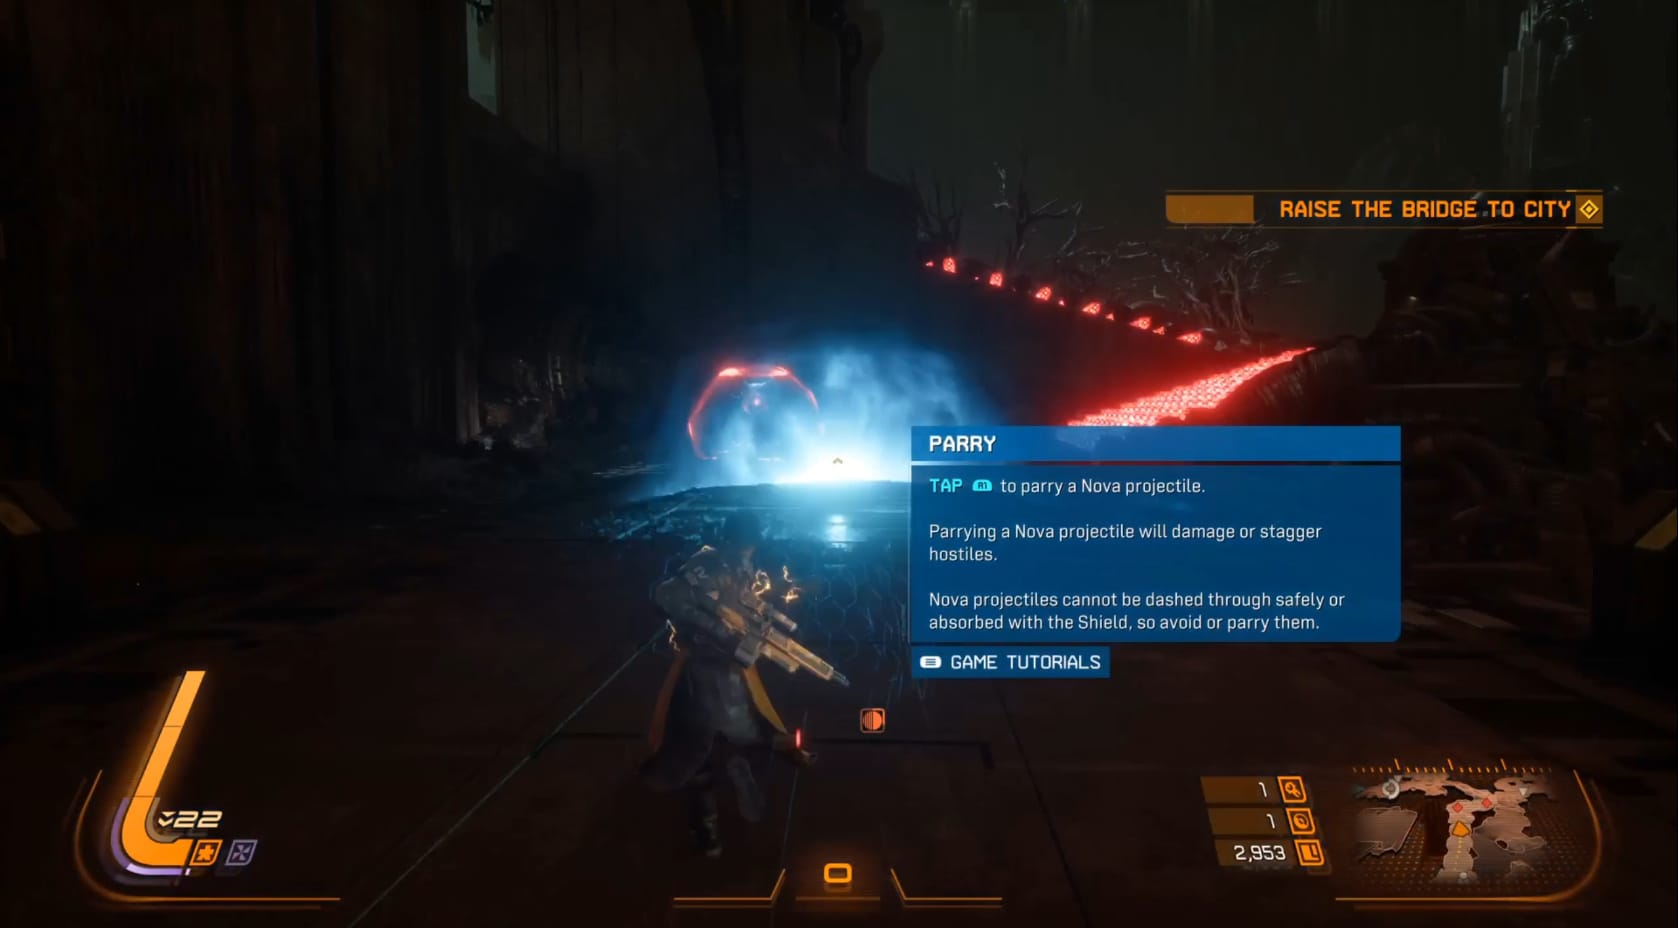
Parry is a new, and very essential upgrade to the Enforcer Armor. Arjun can now reflect Nova (Red) energy by literally punching it back. You must time your punch either just before (or just as) it's hitting Arjun. Time will slow for a second or so, and you can use this to VERY quickly aim the returning blast. This usually does notable Health and Stagger damage
As warned earlier, the bogs and deeper water sections will cause damage when Arjun walks through them. It helps they’ve turned green and have eruptions coming from them.
If you do a complete runthrough in a Cycle within the Eclipse, there will be Solar Cage that erects and Arjun has to fight a Lyssa (or worse an Alpha Lyssa). The best help offered here is to stay on the move. More than anything, keep in range of the grapple points. These offers a great escape if the Lyssa gets too close with its Nova Stomp Attack. If you have your Overdrive attack, it’s wonderful to use here since it is almost a one-hit kill on the Lyssa.
It should be noted, once you die having activated the initial Eclipse Device, the Eclipse Device at the start of the area can now be activated. But that is just the mid-point of the stage. You now need to activate 2 Bridge Control Panels to lower the Bridge, and give you access to the boss. If you die facing the boss, just as it was in the Depths, you will need to redo the trek to the Towers to activate them.
Run down each of the paths and activate the tower at the end. The good news is they aren’t too hard to navigate. Most of the challenge is at the end where you need to engage with modest platforming to reach the controls. Be wary of subsequent return cycles here, because there is a chance of fighting Alpha Lyssas.
Once you activate the Elevator, ride it on up. You will find a Locked Container and a Blue container. See if they offer anything useful and then head through the archway.
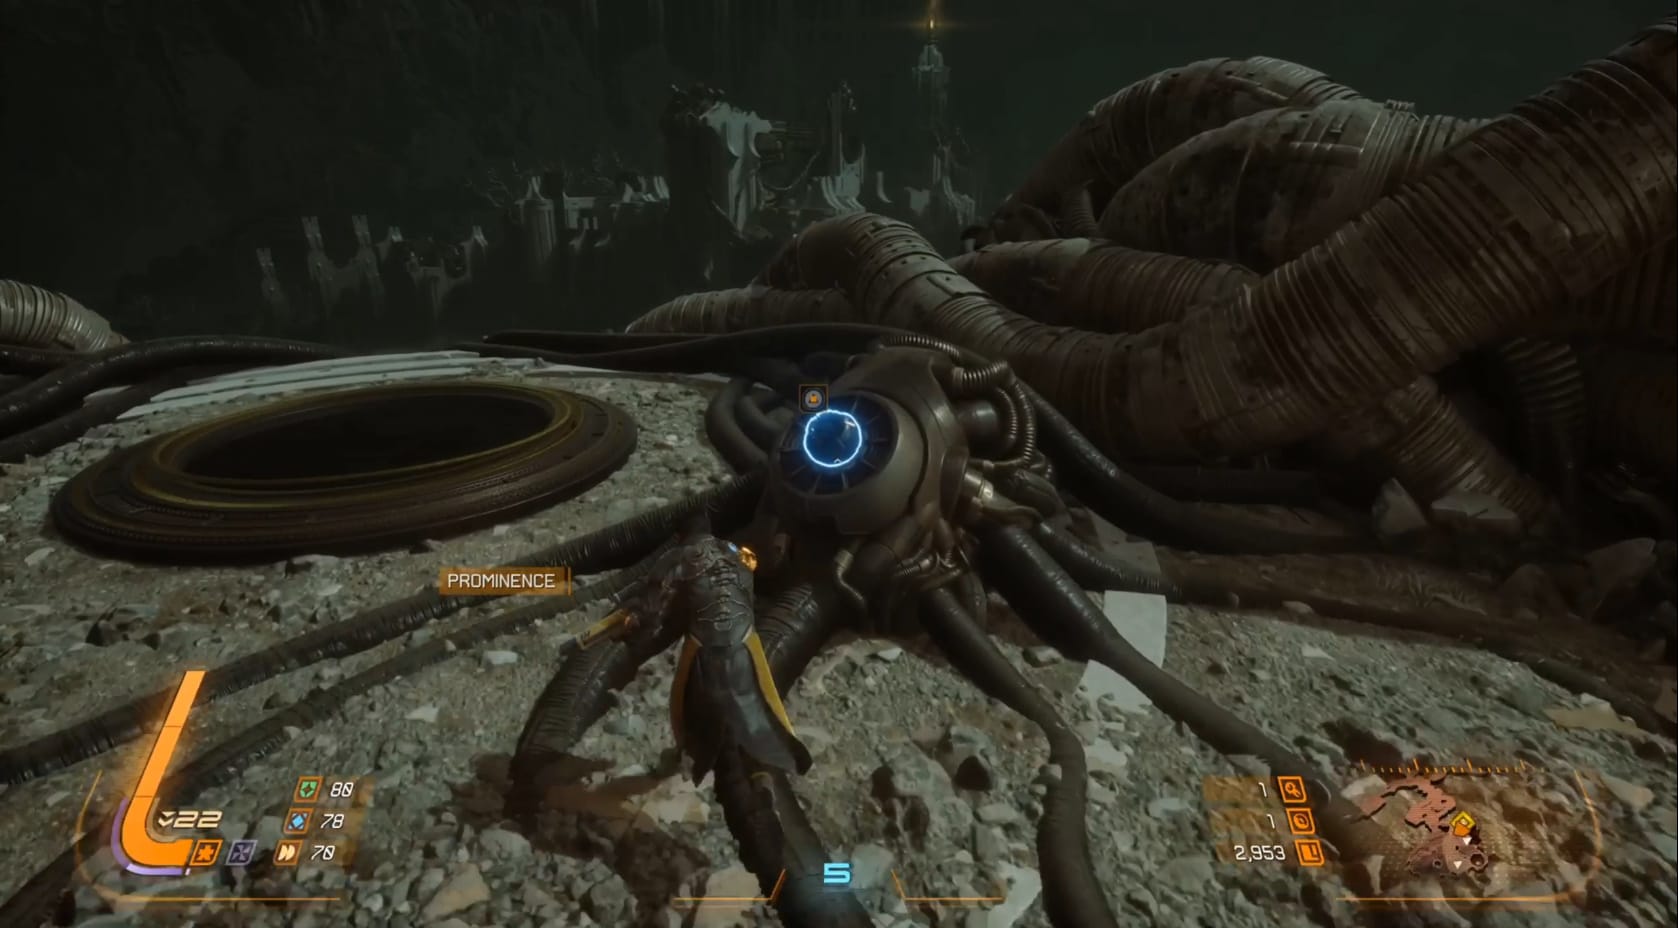
Boss- Legion
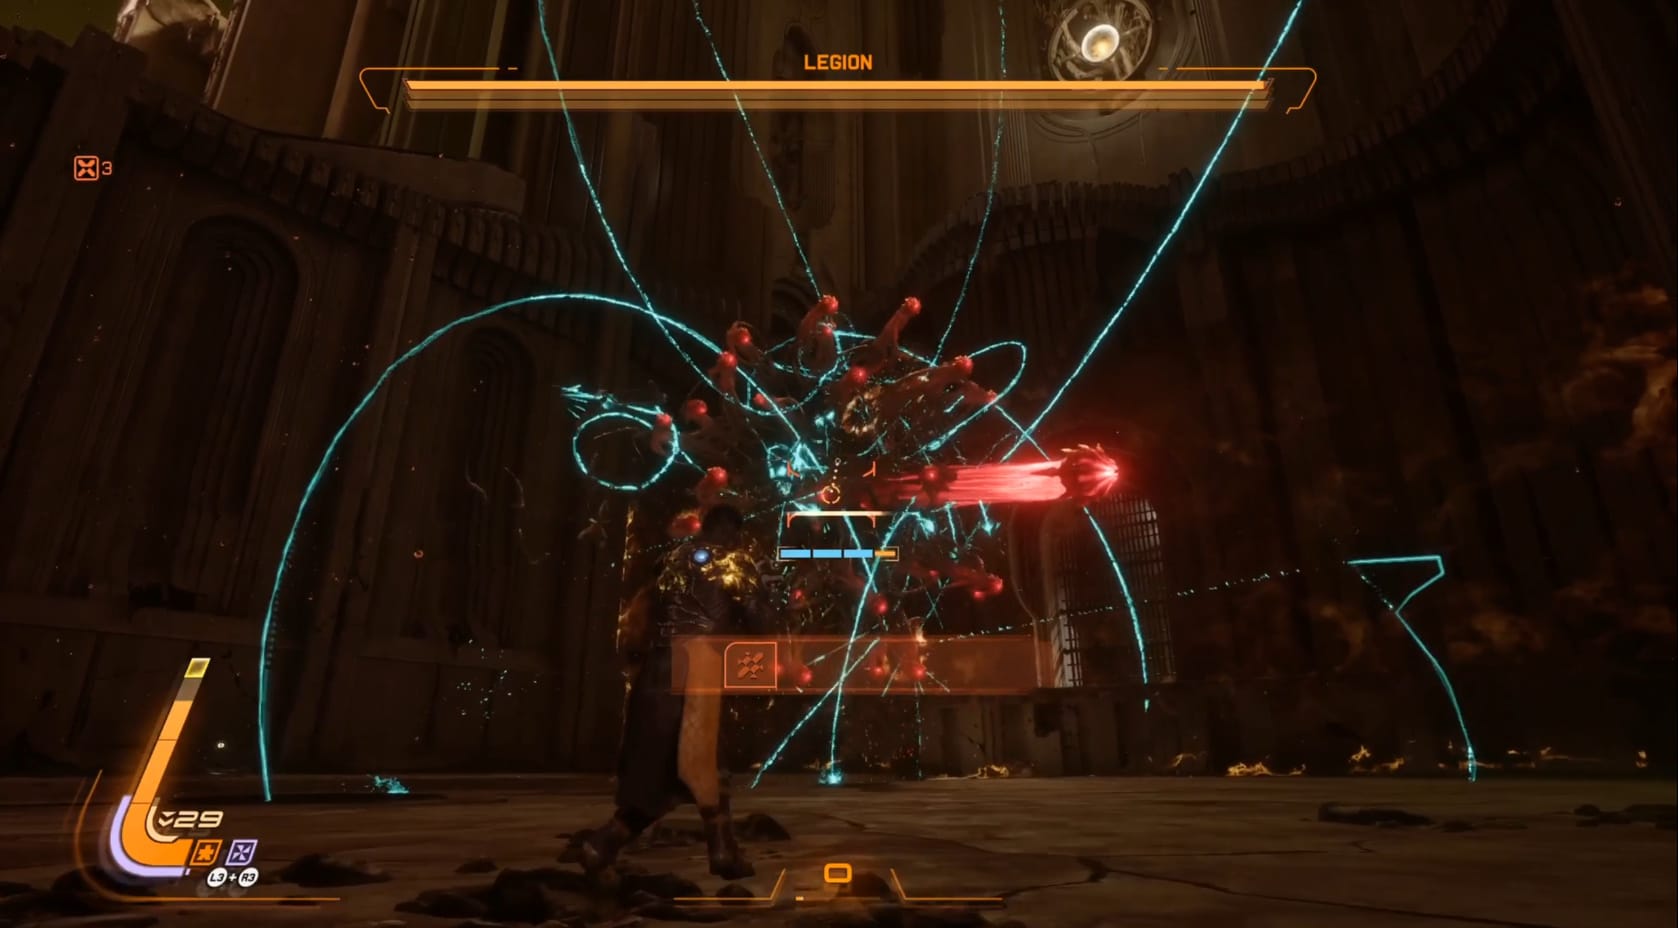
It’s time to fight the boss Legion. It does live up to its name, being a massive collection of unique Tributes.This makes it difficult to directly target Legion with Auto-aim, but careful targeting can still do the trick. Legion is the one that glows bright red. Focus your attacks on that one as much as possible.
The attacks you need to watch out for will be the standard projectiles of Energy, Corruption and Nova. But you will also need to watch for the Legion Tributes dropping to floor level and encircling Arjun. After a very short charge period, they will unleash a powerful Nova attack. Evading it is as simple as timing your jumps right. If you can’t quite get it, then there is a Jump Plate in the arena you can use for extra height to help.
Phase One is, unsurprisingly, the easiest of all three. Expect Legion and its Tribute to perform a number of attacks. Watch for them flying around and launching Corruption projectiles. If they form 2 circles, then you need to focus on getting toward the middle of it. The outer ring will fire Nova Shots, while the inner ring will fire Energy Shots. With very good timing, you can Parry the Nova Energy right back at Legion for some decent damage.
Phase Two brings in a few new attacks. One is another ring attack, in a slightly different formation where the Tributes will fire off a seeking ring of Nova Energy. Another has the Tributes form “arms” (think Starfish) around Legion. It will then fire off slightly wavy beams of Nova Energy at Arjun. Either Evade these or Parry them back at the boss.
Phase Three brings the hardest to dodge attack. The Tributes form a half-circle around Legion, which will charge and fire an energy beam at Arjun that actively tracks him. The Tributes will fire off a set of Homing Energy Projectiles. All you can do is endure it, or constantly try to evade it with your Dash and Shield. It will be using ALL the previous attacks as well.
Beyond Legion
Once you defeat Legion, you will want to head to the back of the Arena and use the Jump Plate to exit it. Head through the archway and jump down onto the walkway below you. You can find the Holo-Log sitting at the top. Interact with it to add it to your collection. Now, follow the walkway downward, and climb up to the next platforms with Grapple. Watch for the Piston Platforms as well as you ascend. Keep them in mind so you keep on accurate timing. Just past that, you can find a small Aether. Carefully climb, ascending, and you will reach your next destination. Your way forward is likely blocked by a locked gate. The good news is this one can be unlocked. Shoot the 2 glowing rings to the left and right of the gate. They will turn Green and the gate will open.
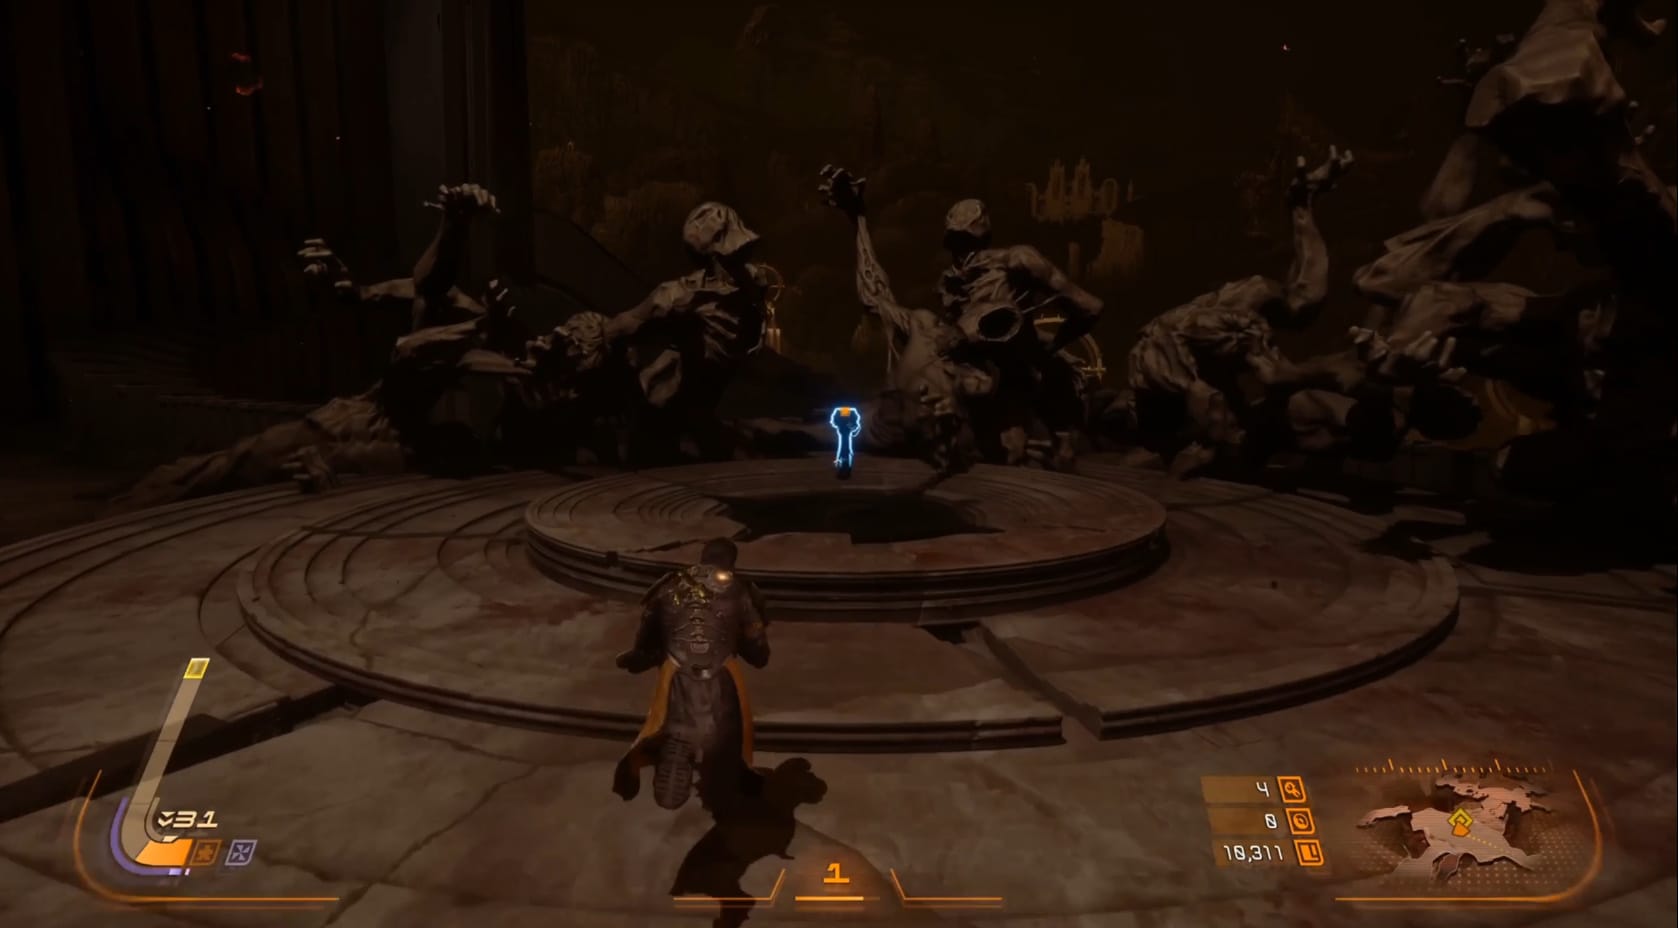
Through the gate, you will see a collection of statues around something. Approach this to find it is the Control Key you need. Grab the Key and it’s time to head back to the Passage to deal with what’s happening there.Just turn and head into the building opposite the statues to find a portal back to the Passage.