The Legend of Zelda: Ocarina of Time – Chapter 2: The Great Deku Tree Guide
Enter the Great Deku Tree, solve dungeon puzzles, collect the Fairy Slingshot, Compass, Map, and Golden Skulltulas, then defeat Gohma to claim the Kokiri Emerald.
Summary
Summoned before the Great Deku Tree, Link learns he has an adventure of much hardship in front of him. It all begins by entering the Great Deku Tree to lift the curse set on it by leader of the Gerudo: Ganondorf. You must climb to the heights within the Deku Tree to drop down and break through the webbing to reach the Gohma within the core of the Tree.
Walkthrough
Tree of Portents
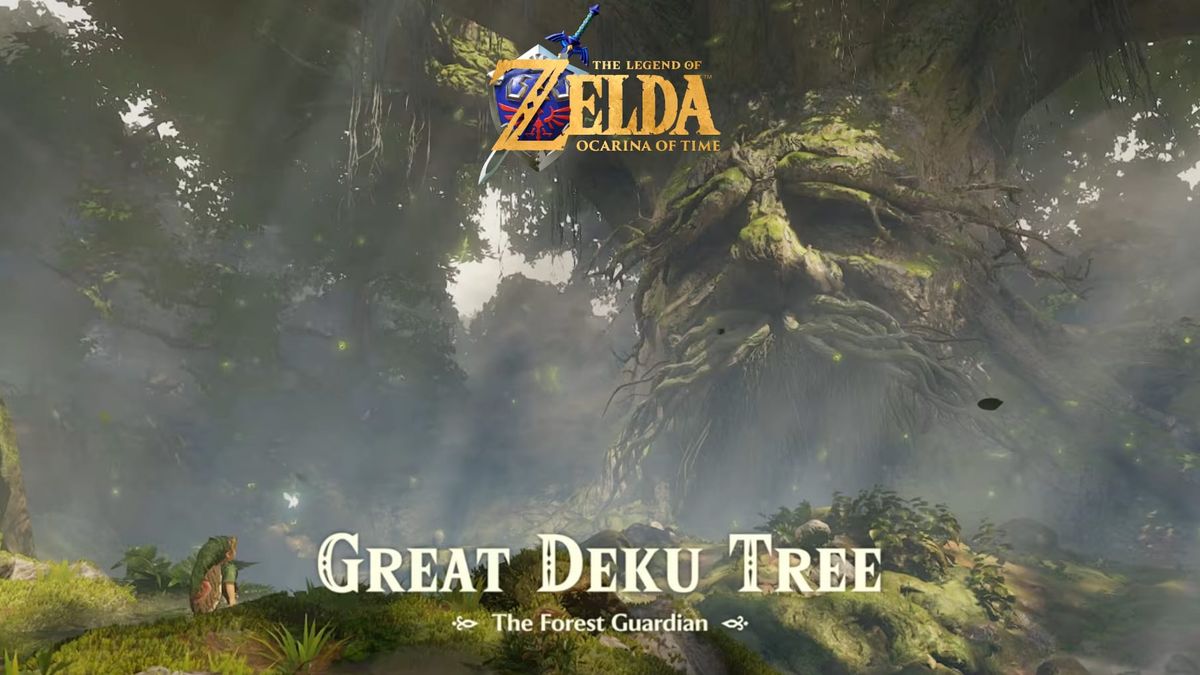
Pass through the short remainder of the tunnel and you’ll enter a giant clearing. In the middle is the majestic Great Deku Tree. This tree protects the Kokiri Forest, and it asks a favor of Link. Link must enter the Great Deku Tree and break the curse that was cast on it by dangerous man. It will ask Link to enter and defeat the evil that has taken root within it.
The Great Deku Tree
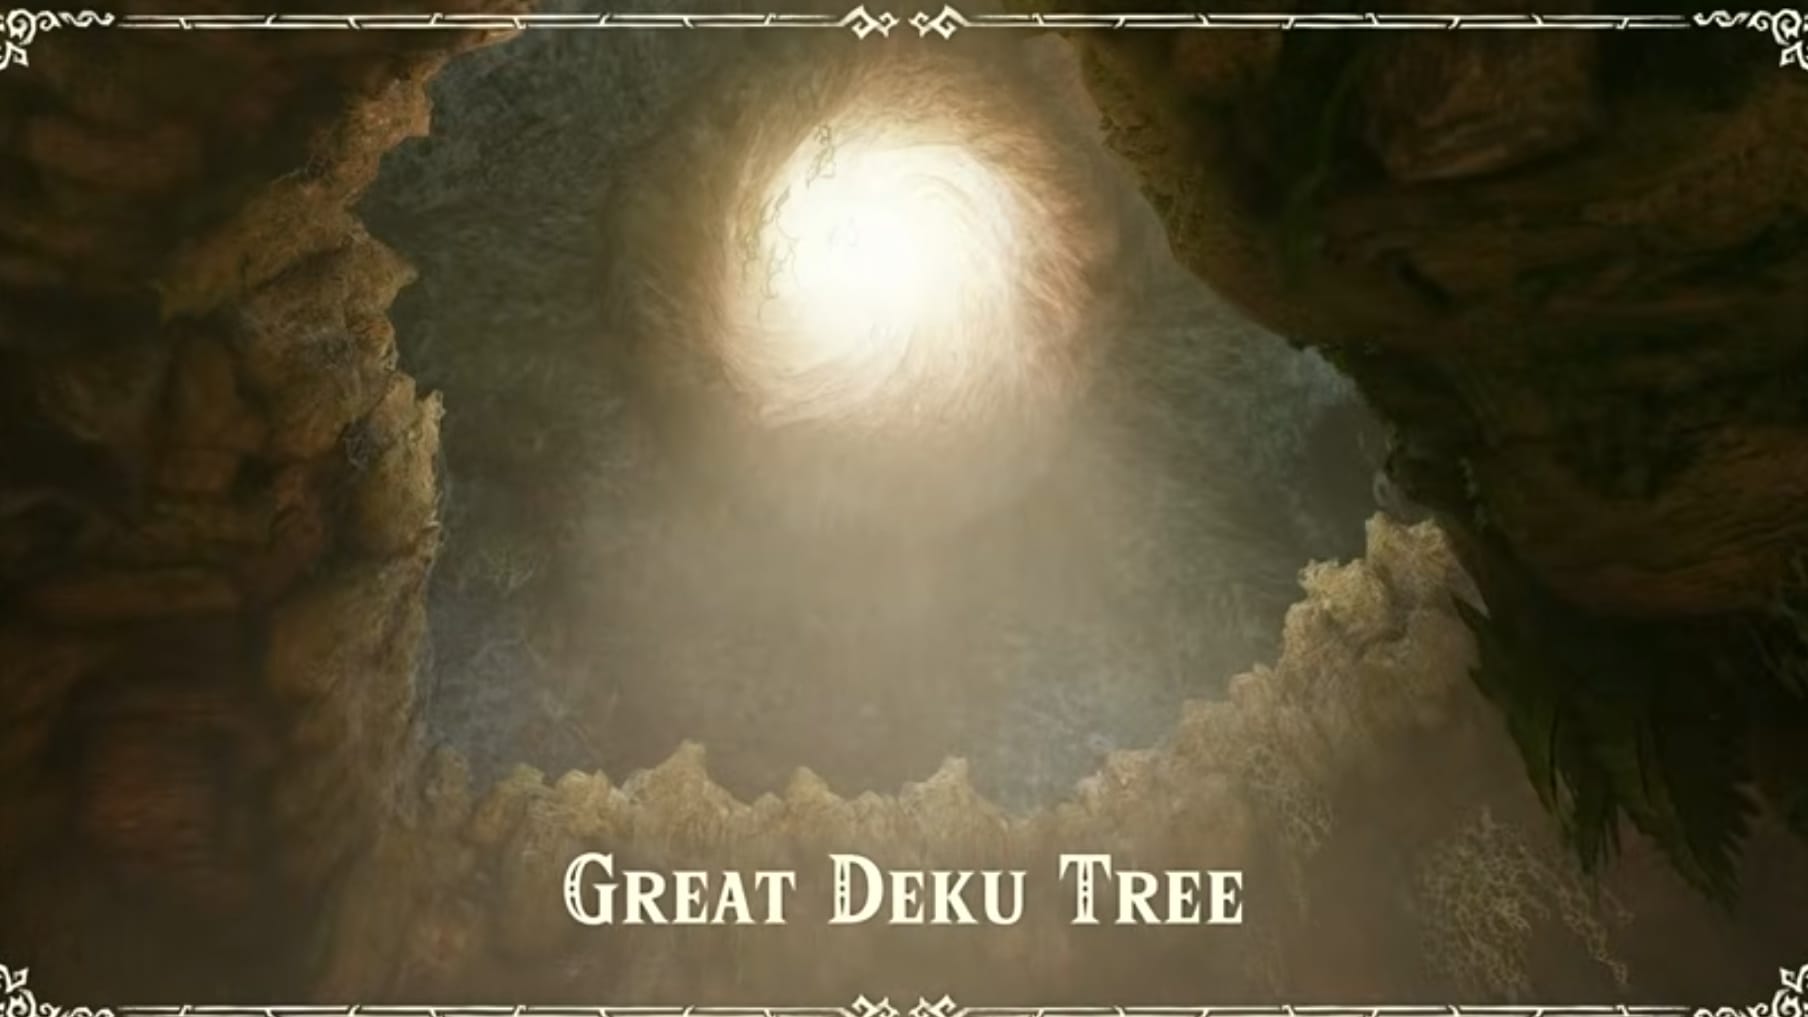
The Great Deku Tree is the first dungeon of the whole game. It will teach a few important concepts you will need to know throughout the rest of the game. It will also test your puzzle solving and combat skills.
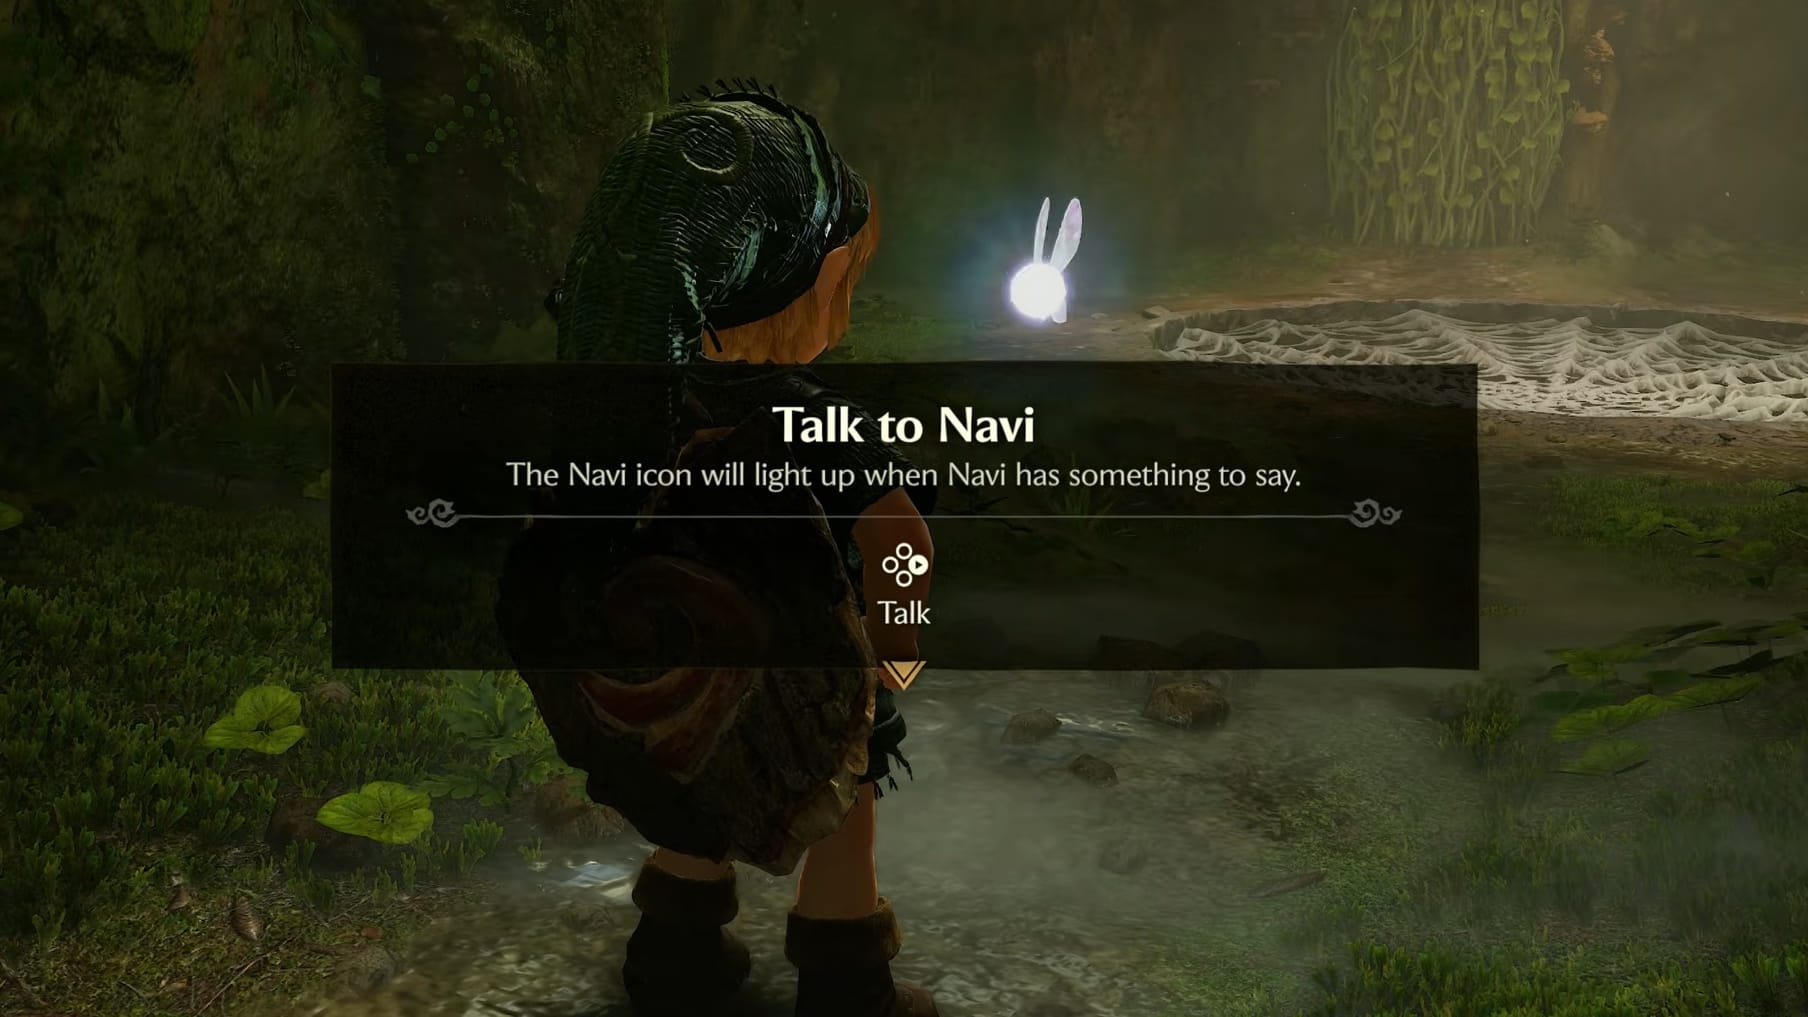
The first thing the dungeon reveals is talking to Navi. She can be a good source of information if you get stuck within a dungeon. Maybe not for some particular puzzles.
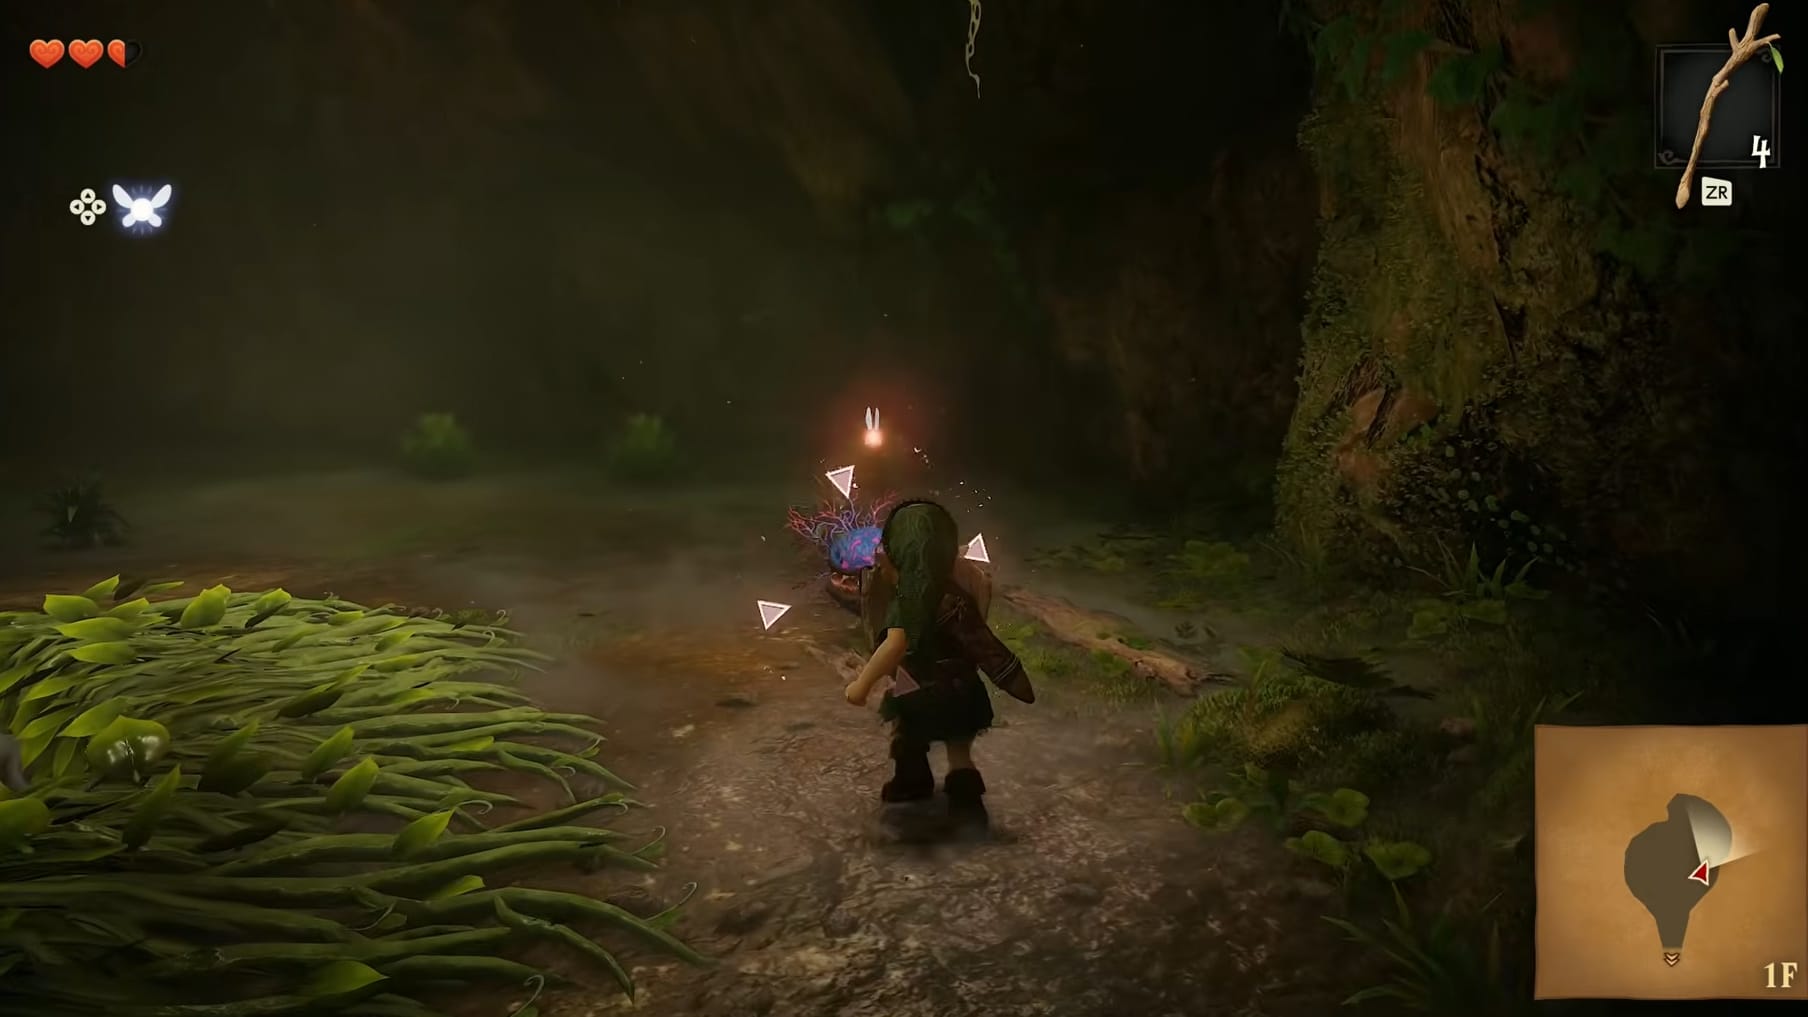
Head to either side of the webbing in the middle (or just across it to avoid the enemies). To the sides, you will encounter more Deku Babas. These Deku Babas will attack Link. There are now 2 ways to defeat these dangerous plants.
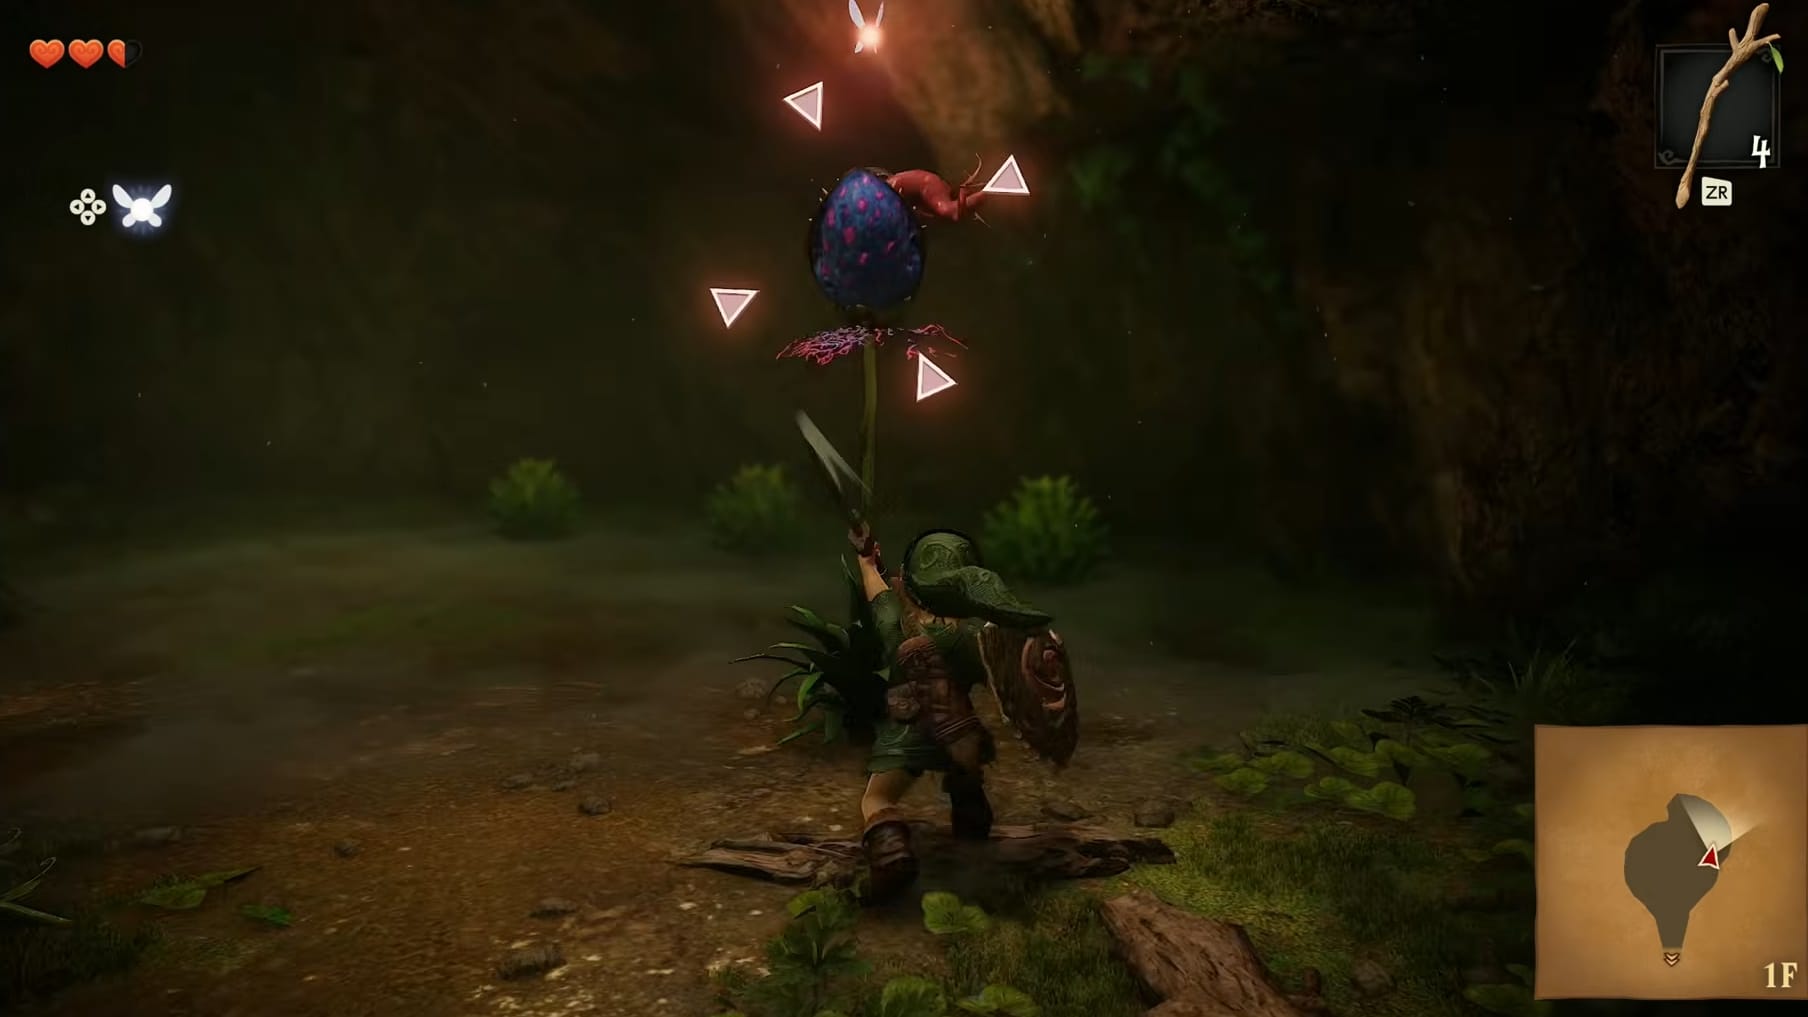
One is to attack with thrusts. This will cause the plant to go rigid. If Link cuts down the Deku Baba will its stuck upright, it will drop a Deku Stick.
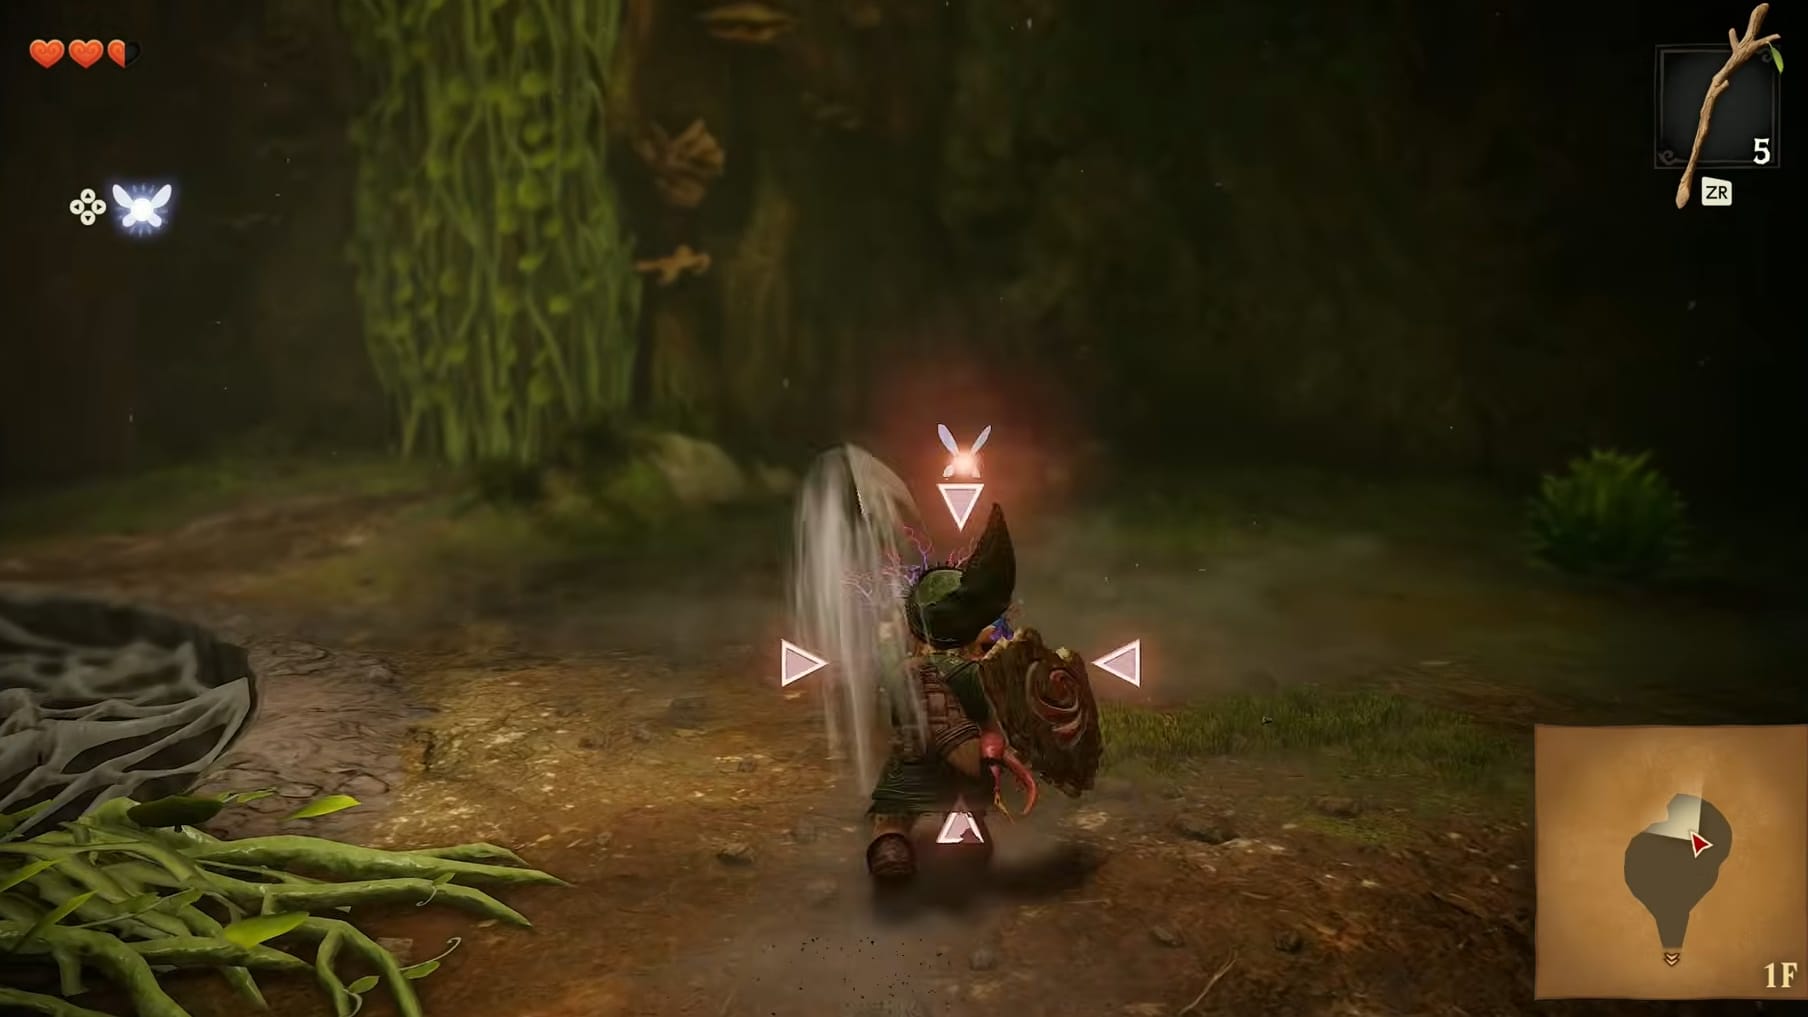
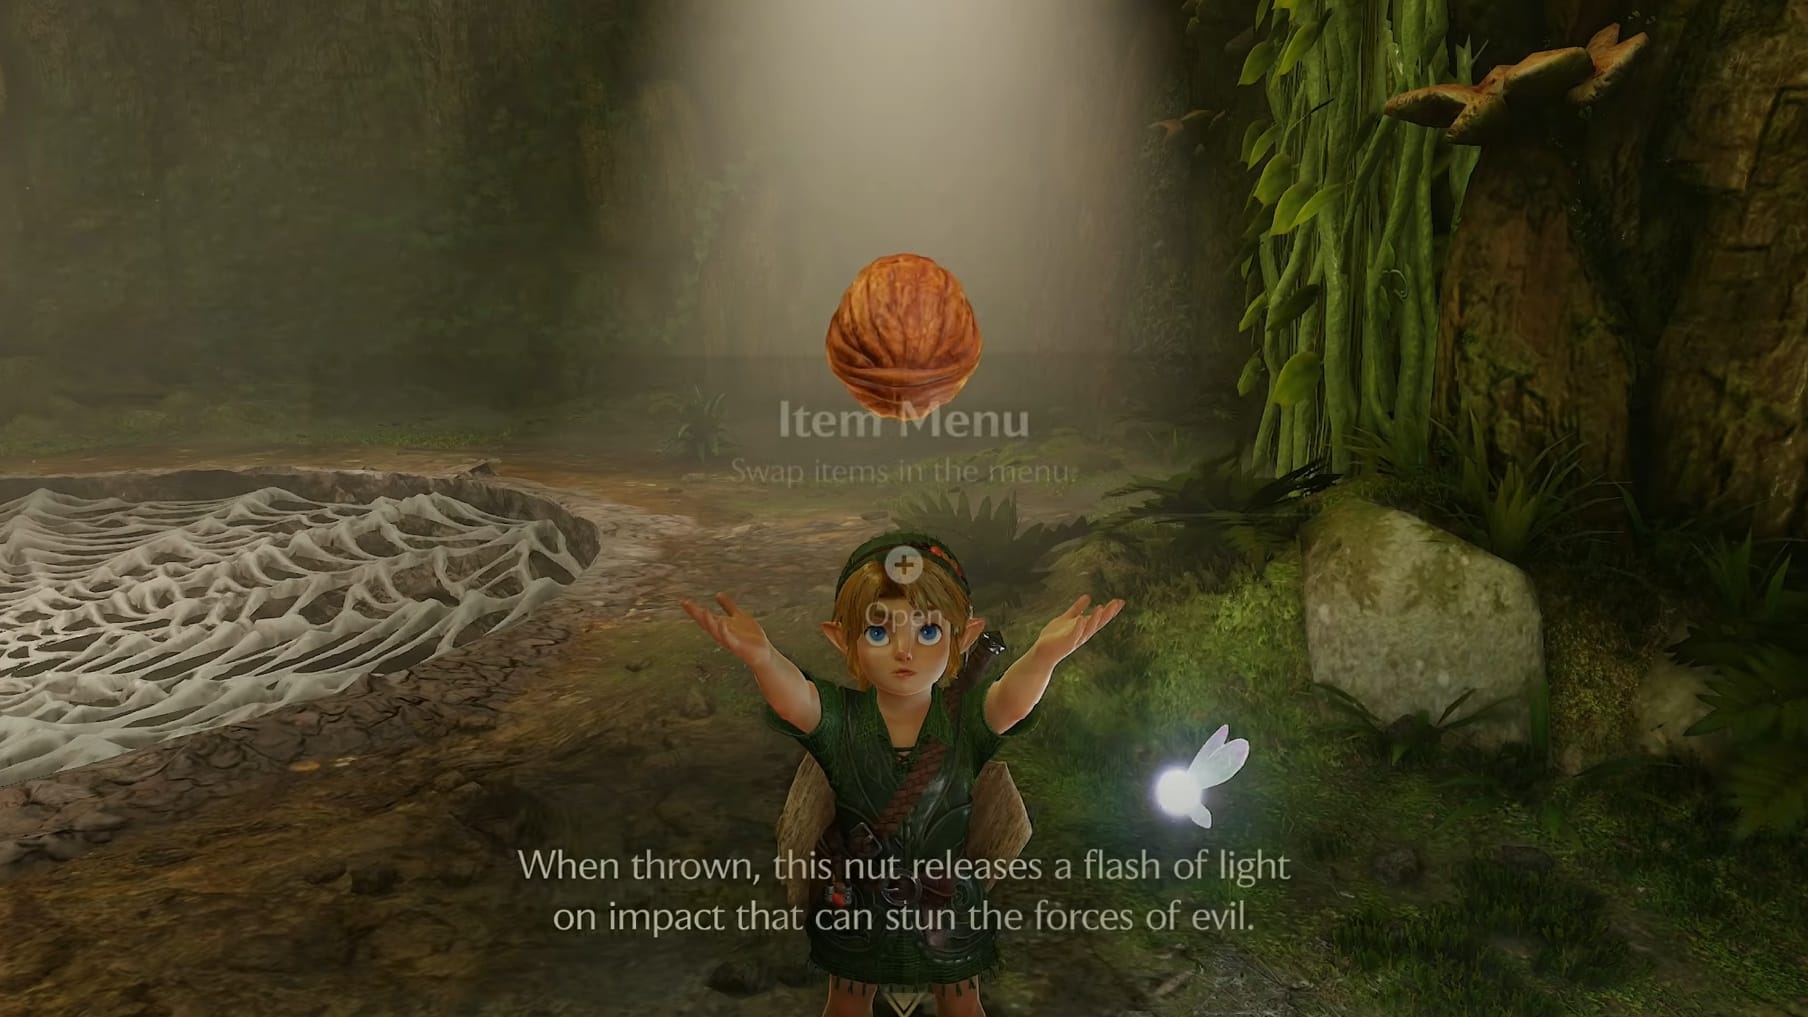
The other way is to attack its head normally. If you hit it with a Jump Attack after it lunges, this is a perfect example of it. Defeat it this way for it to drop Deku Seeds. These Deku Seeds can be thrown at most enemies to stun them for a few seconds (including Deku Baba).
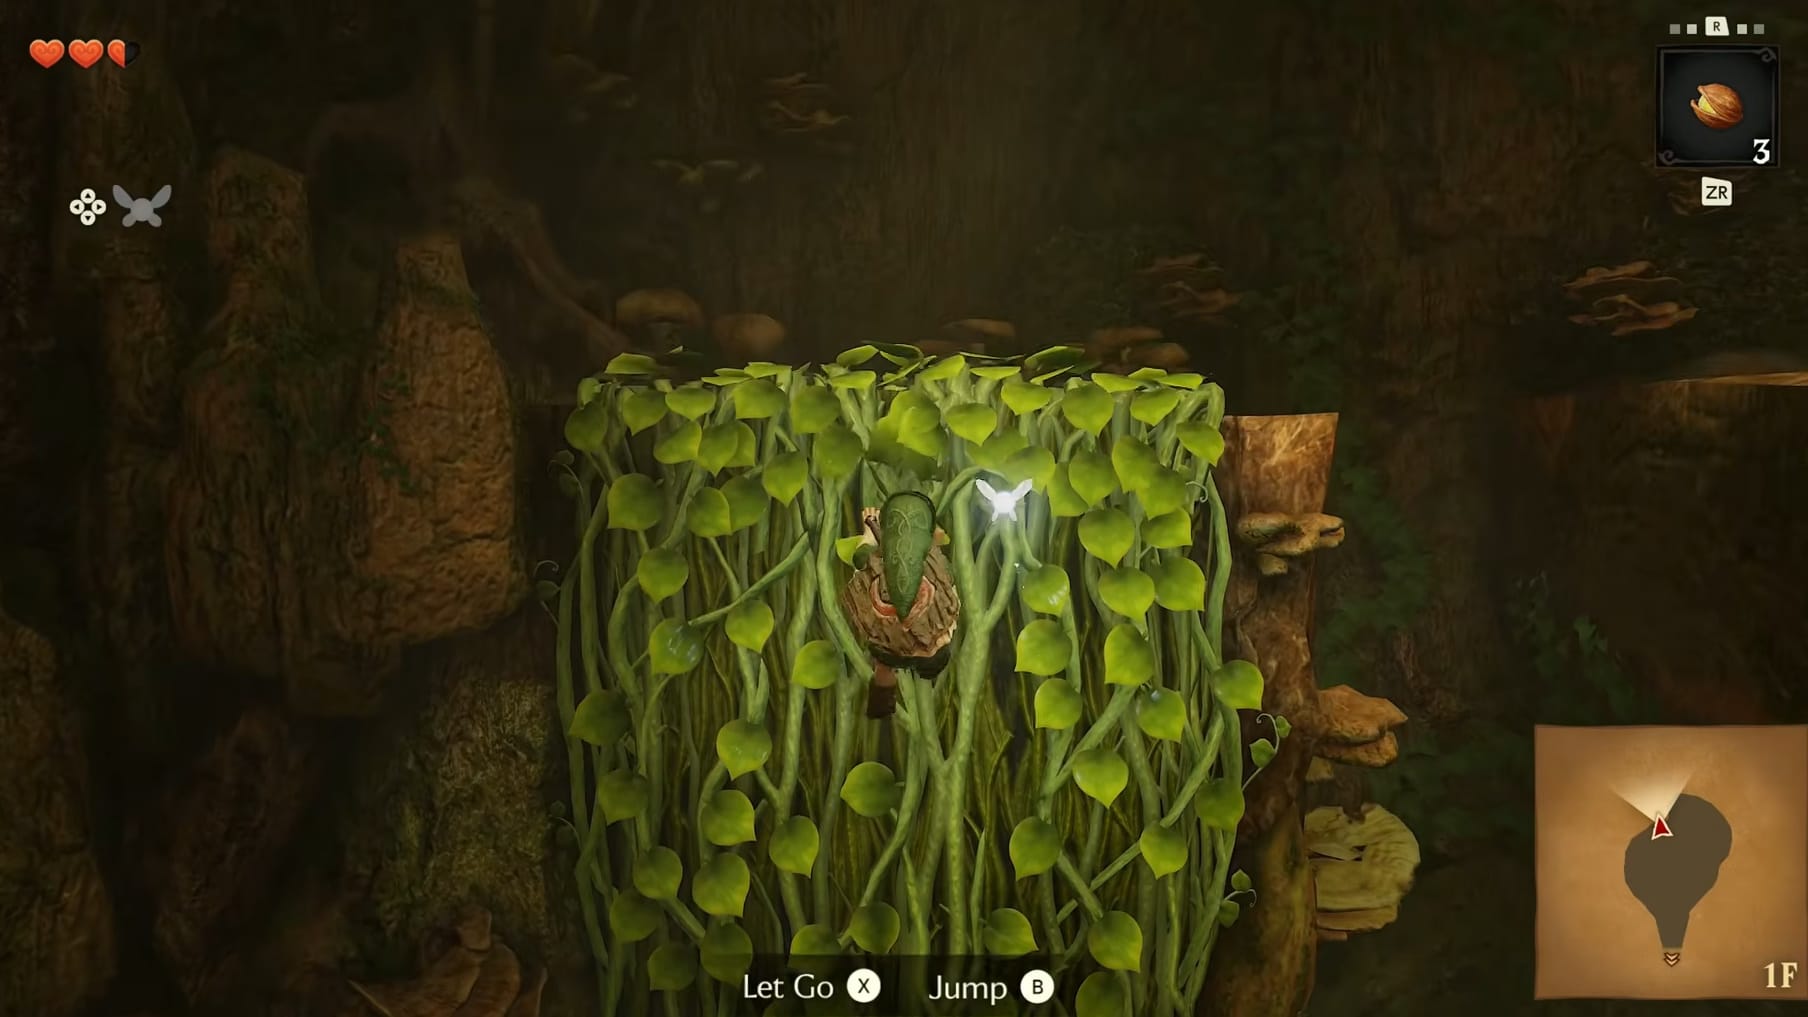
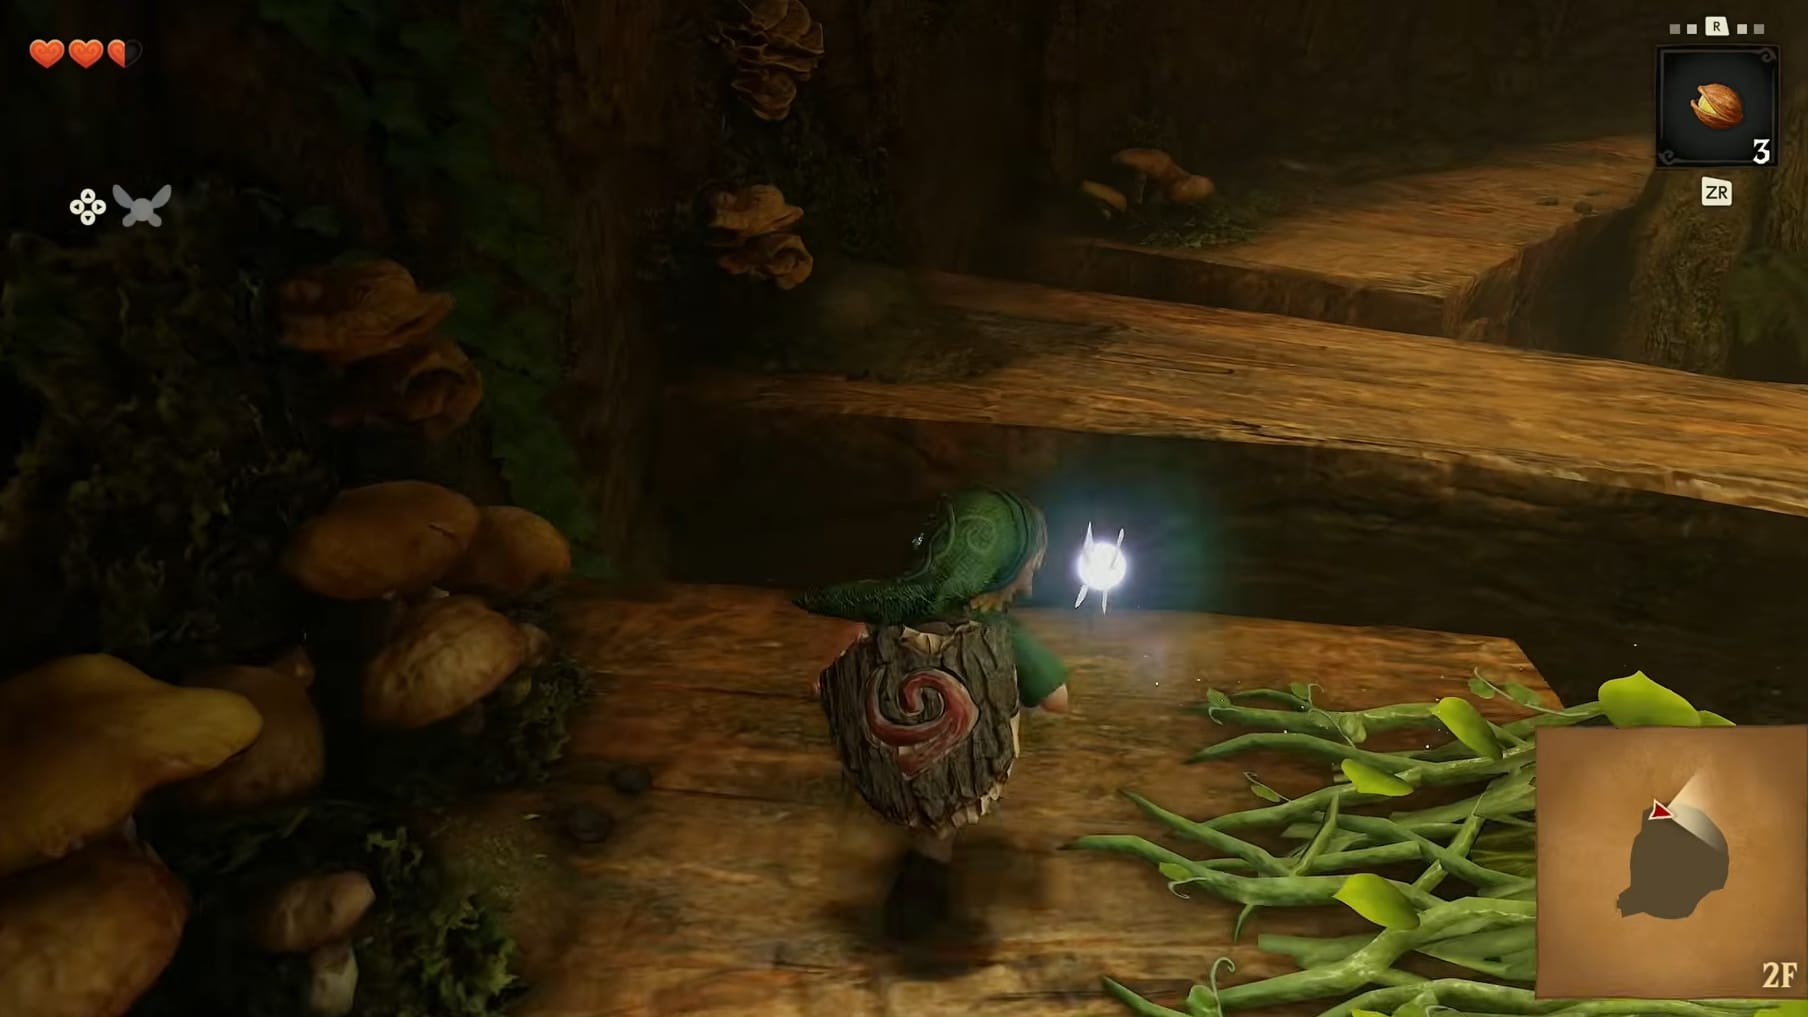
To progress onward, head to the Northern wall and have Link climb up the vines there. At the top of the vines, he will need to head to the right along the walkway, jumping a gaps in front of him. Ignore the outcropping that drops onto the webbing. It gives a hint to how to break the webbing at the cost of dropping back to ground level.
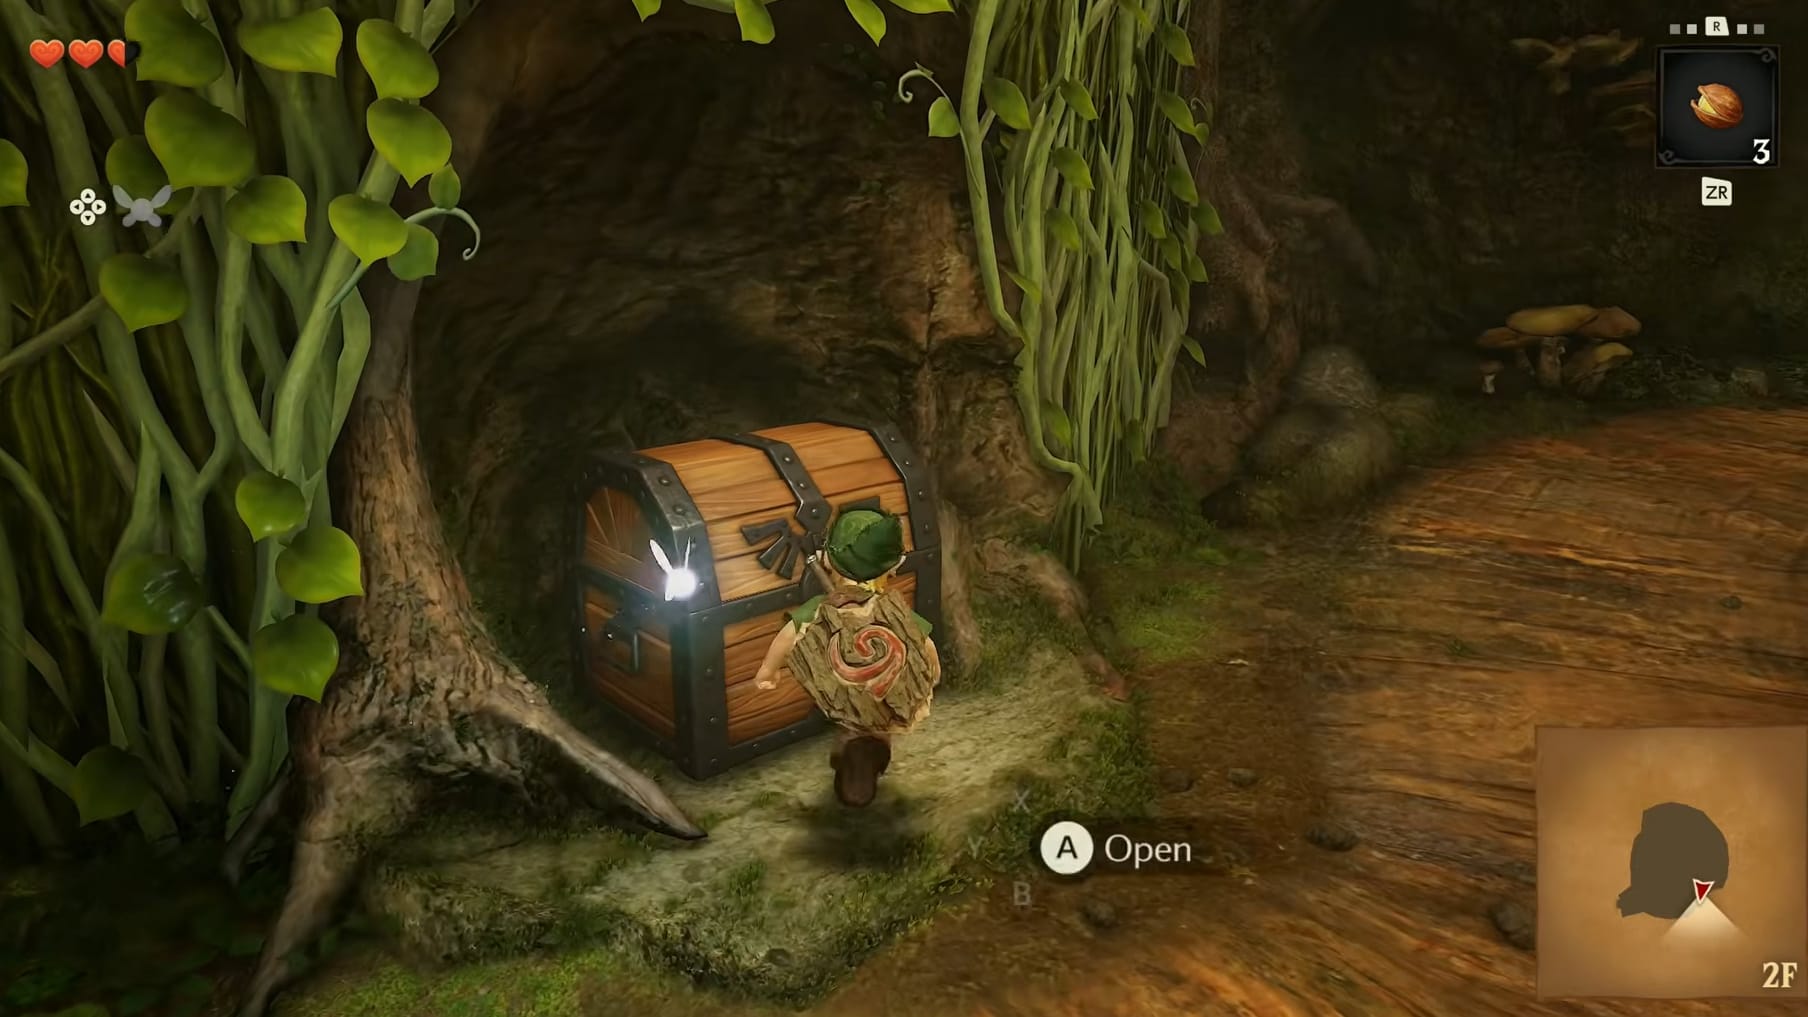
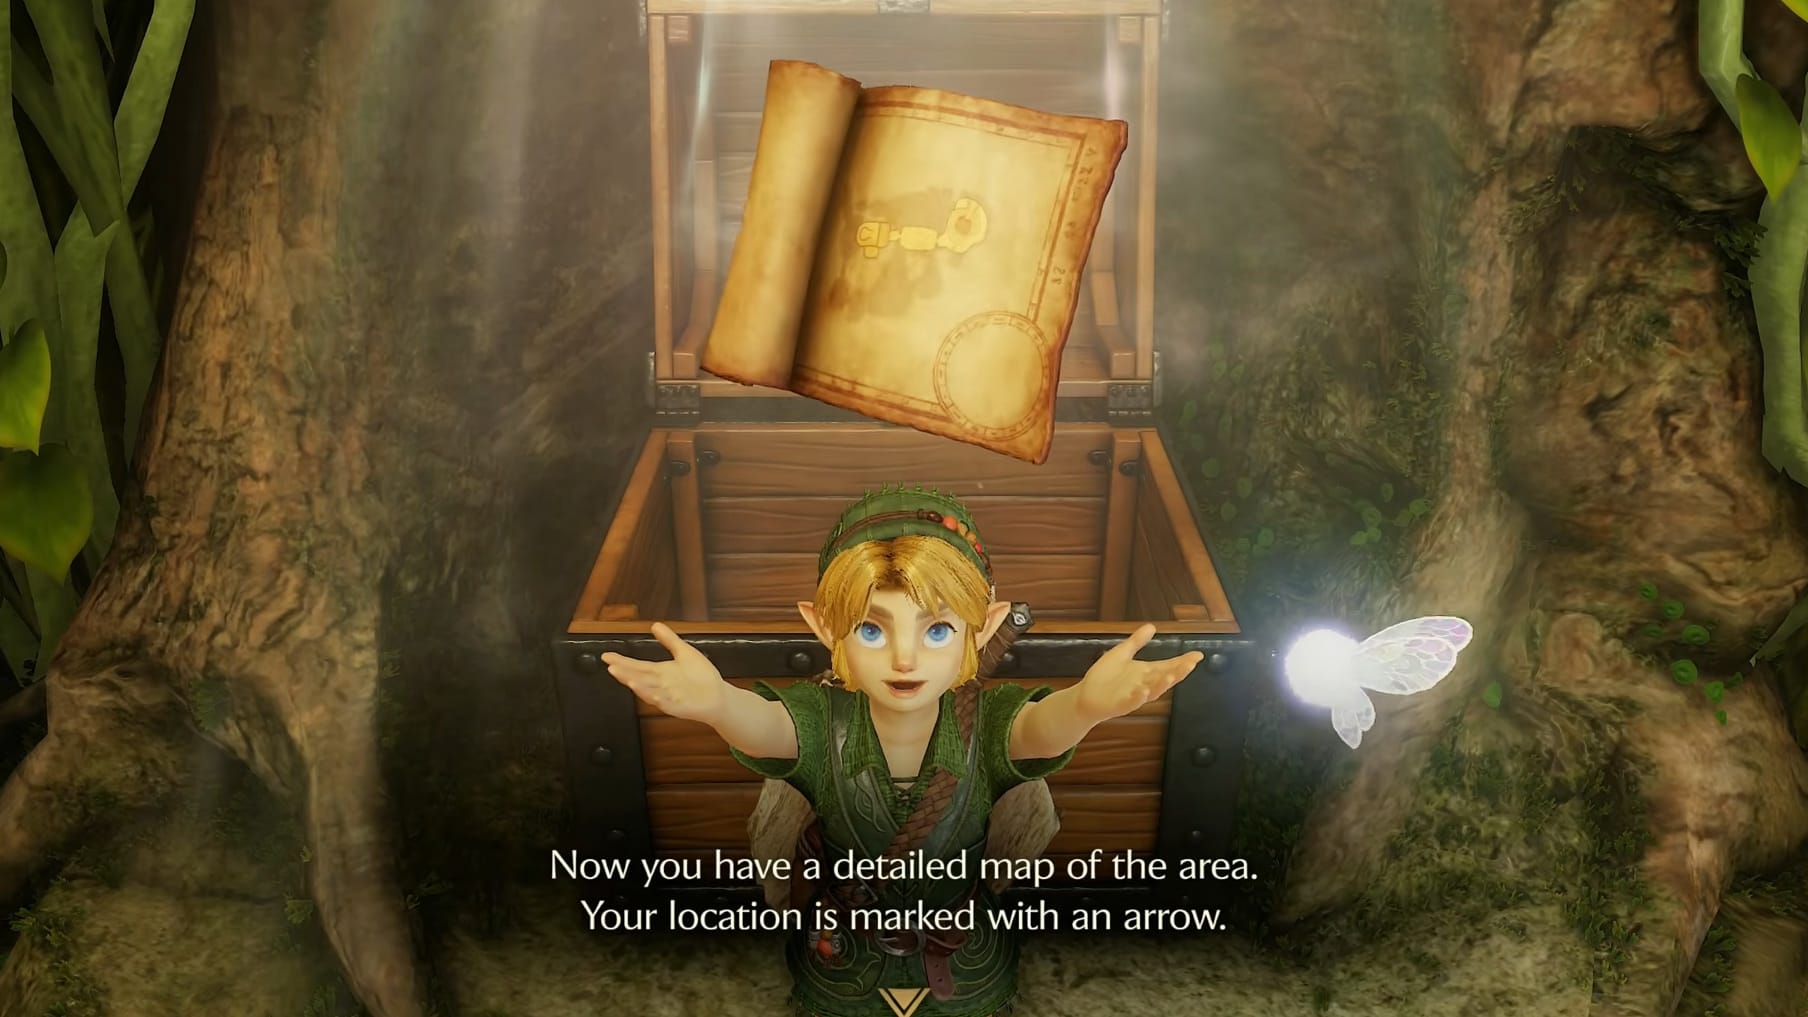
Instead continue along the walkway and look to the left. You will see a large chest. Open it to receive the Dungeon Map! This will let you see where Link is in the dungeon itself.
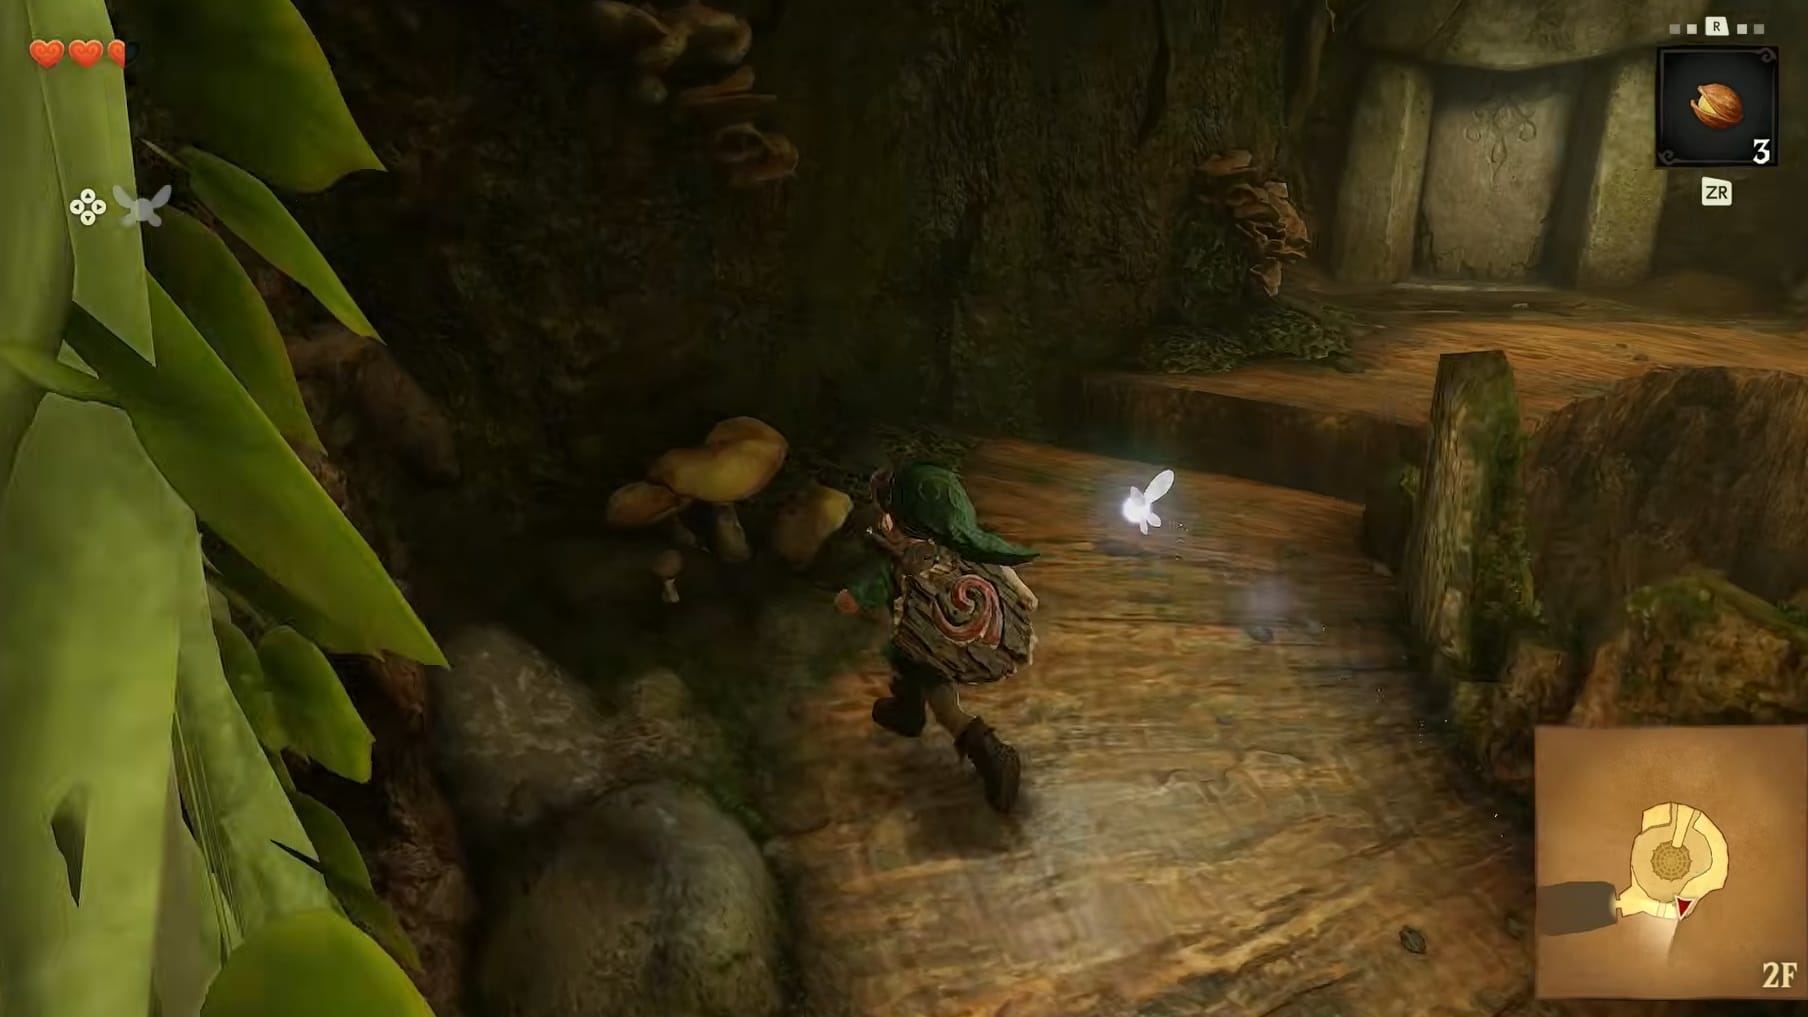
Continue around this level to the West. Jump the next gap and head for the stone door you can see ahead of you. Interact with the door to get into the next room. This room will force Link into an encounter.
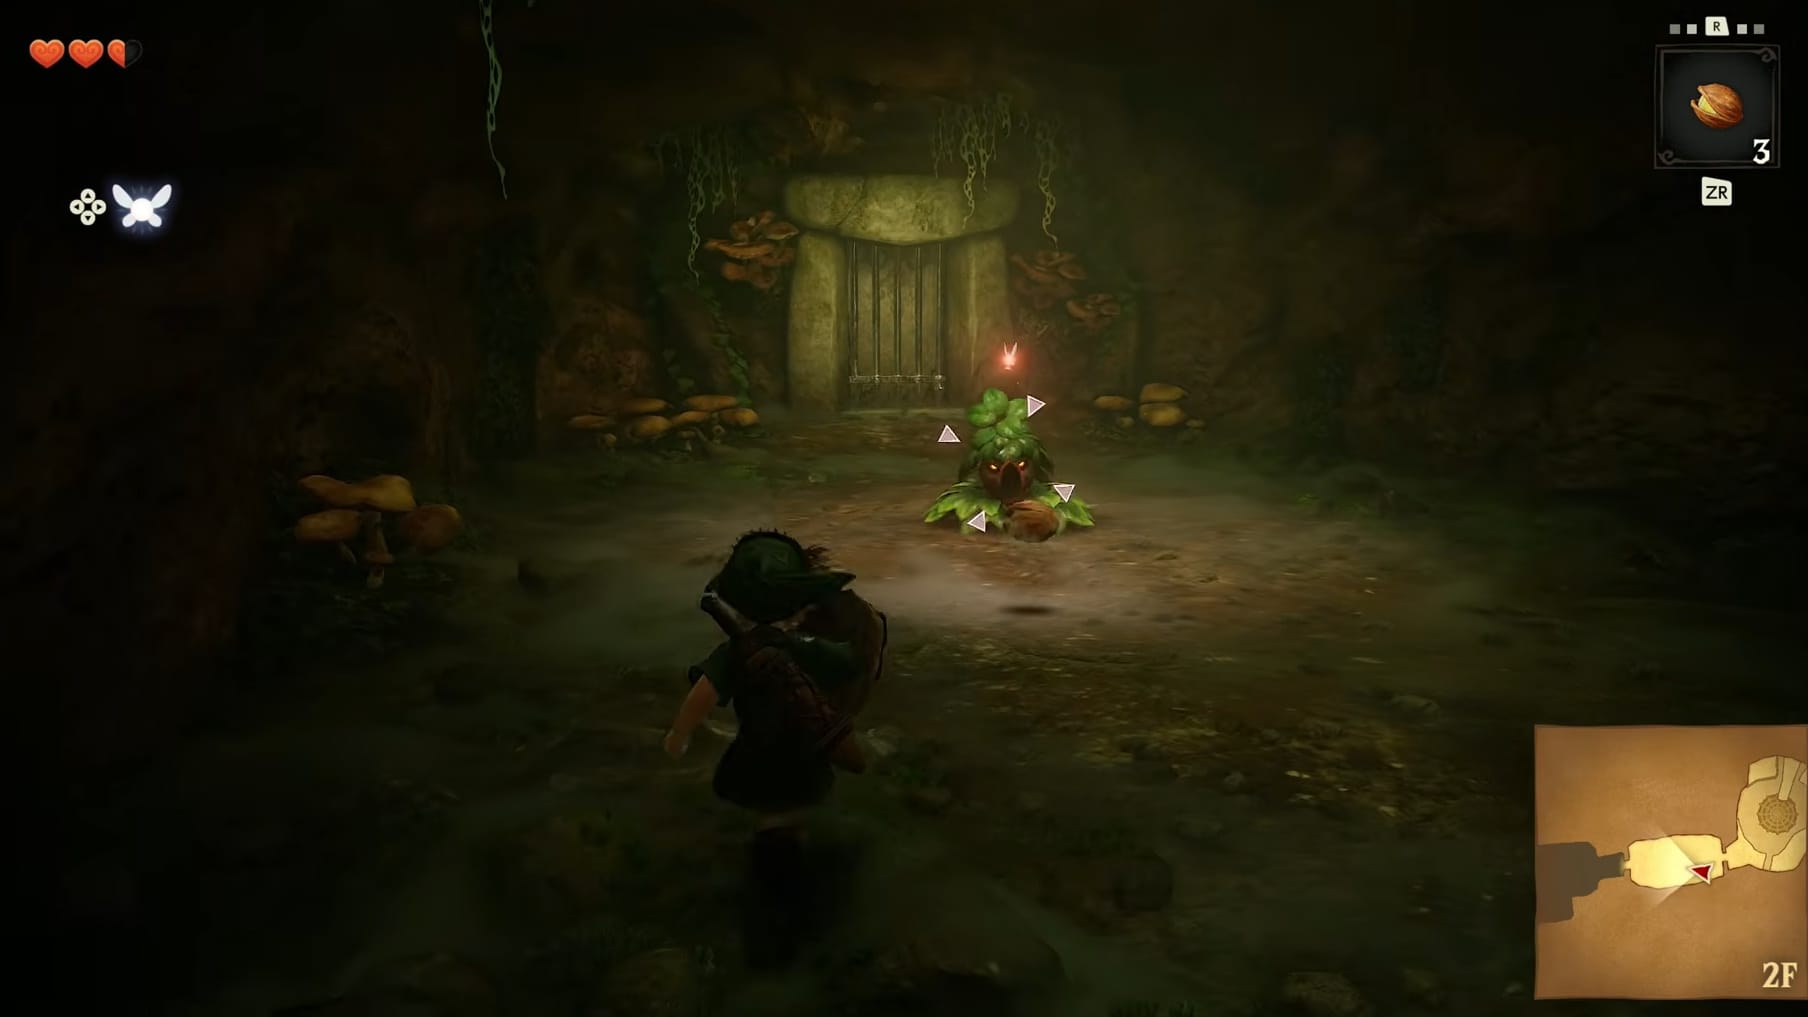
This room has Link fighting a Deku Scrub. Defeating it is simple, when you know how. By default, the Scrub will retreat into its burrow of leaves as Link approaches. This means you can’t close the distance and attack with your sword. Either you need to use the Deku Seeds to stun the Scrub to move in and strike it, or use your Shield to reflect the Nuts its shooting out back at it. Reflecting the nuts is recommended so you don’t diminish your (presently) limited supply of Deku Seeds.
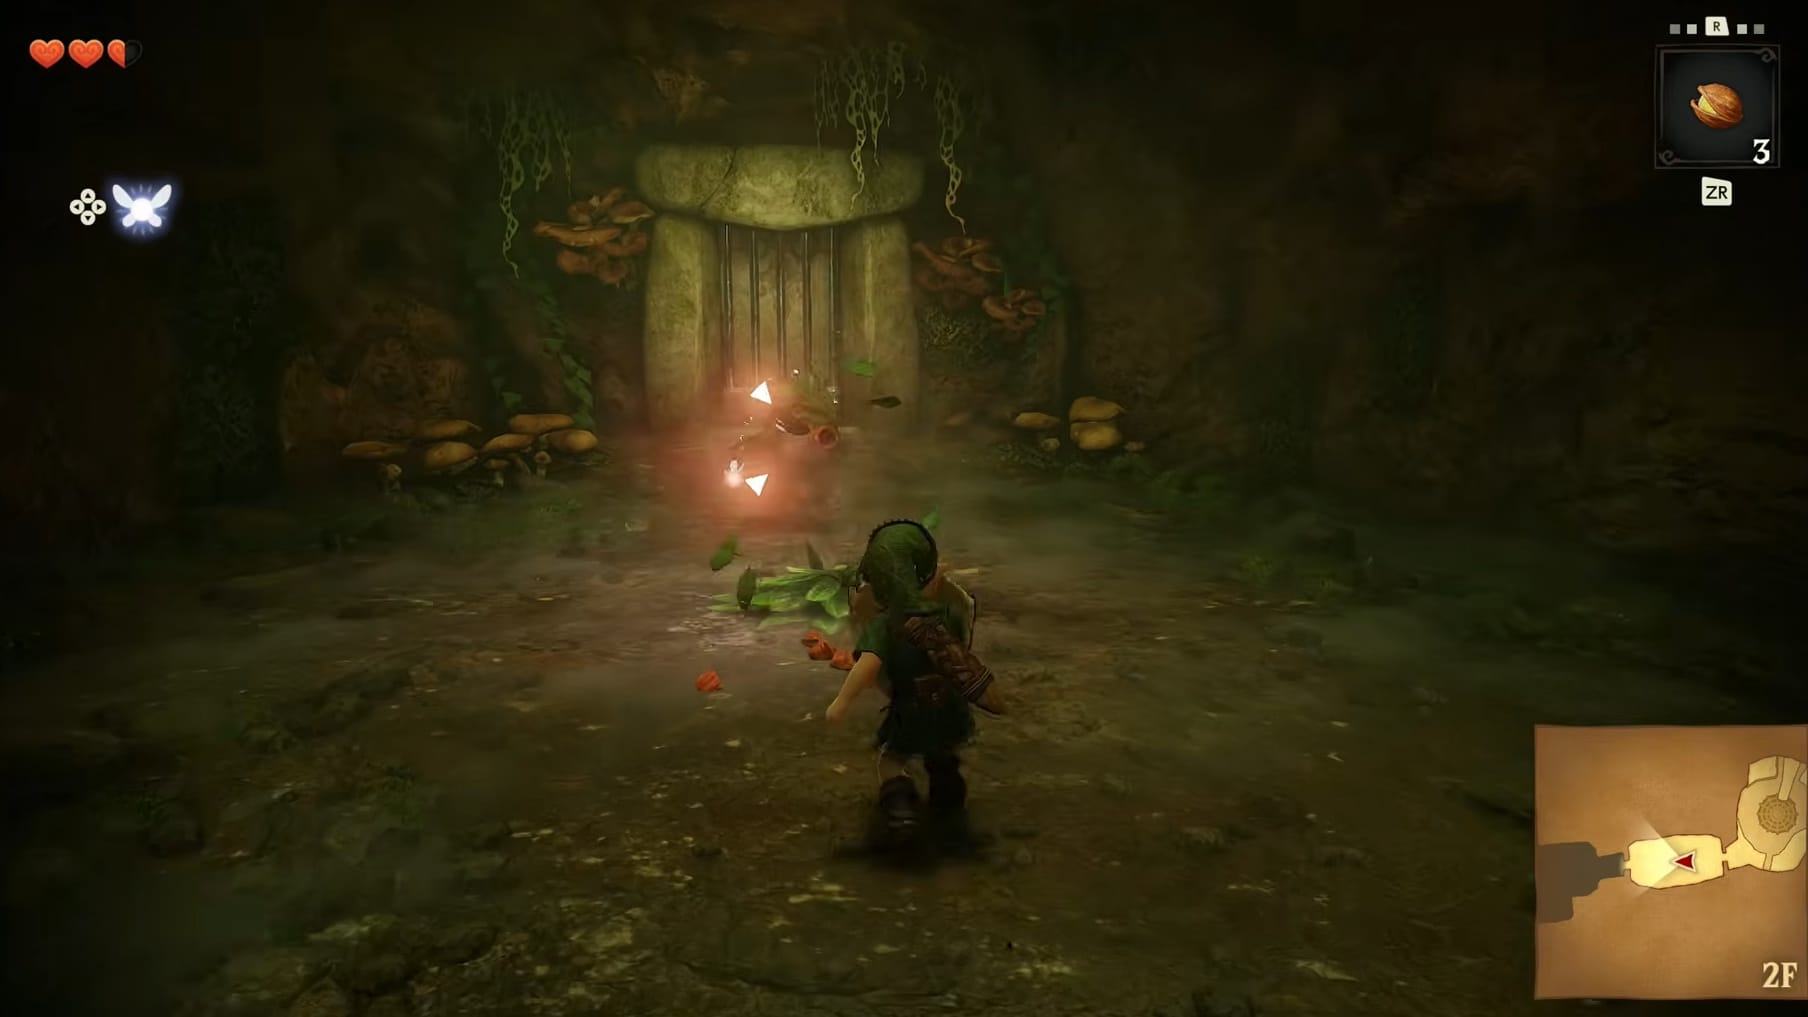
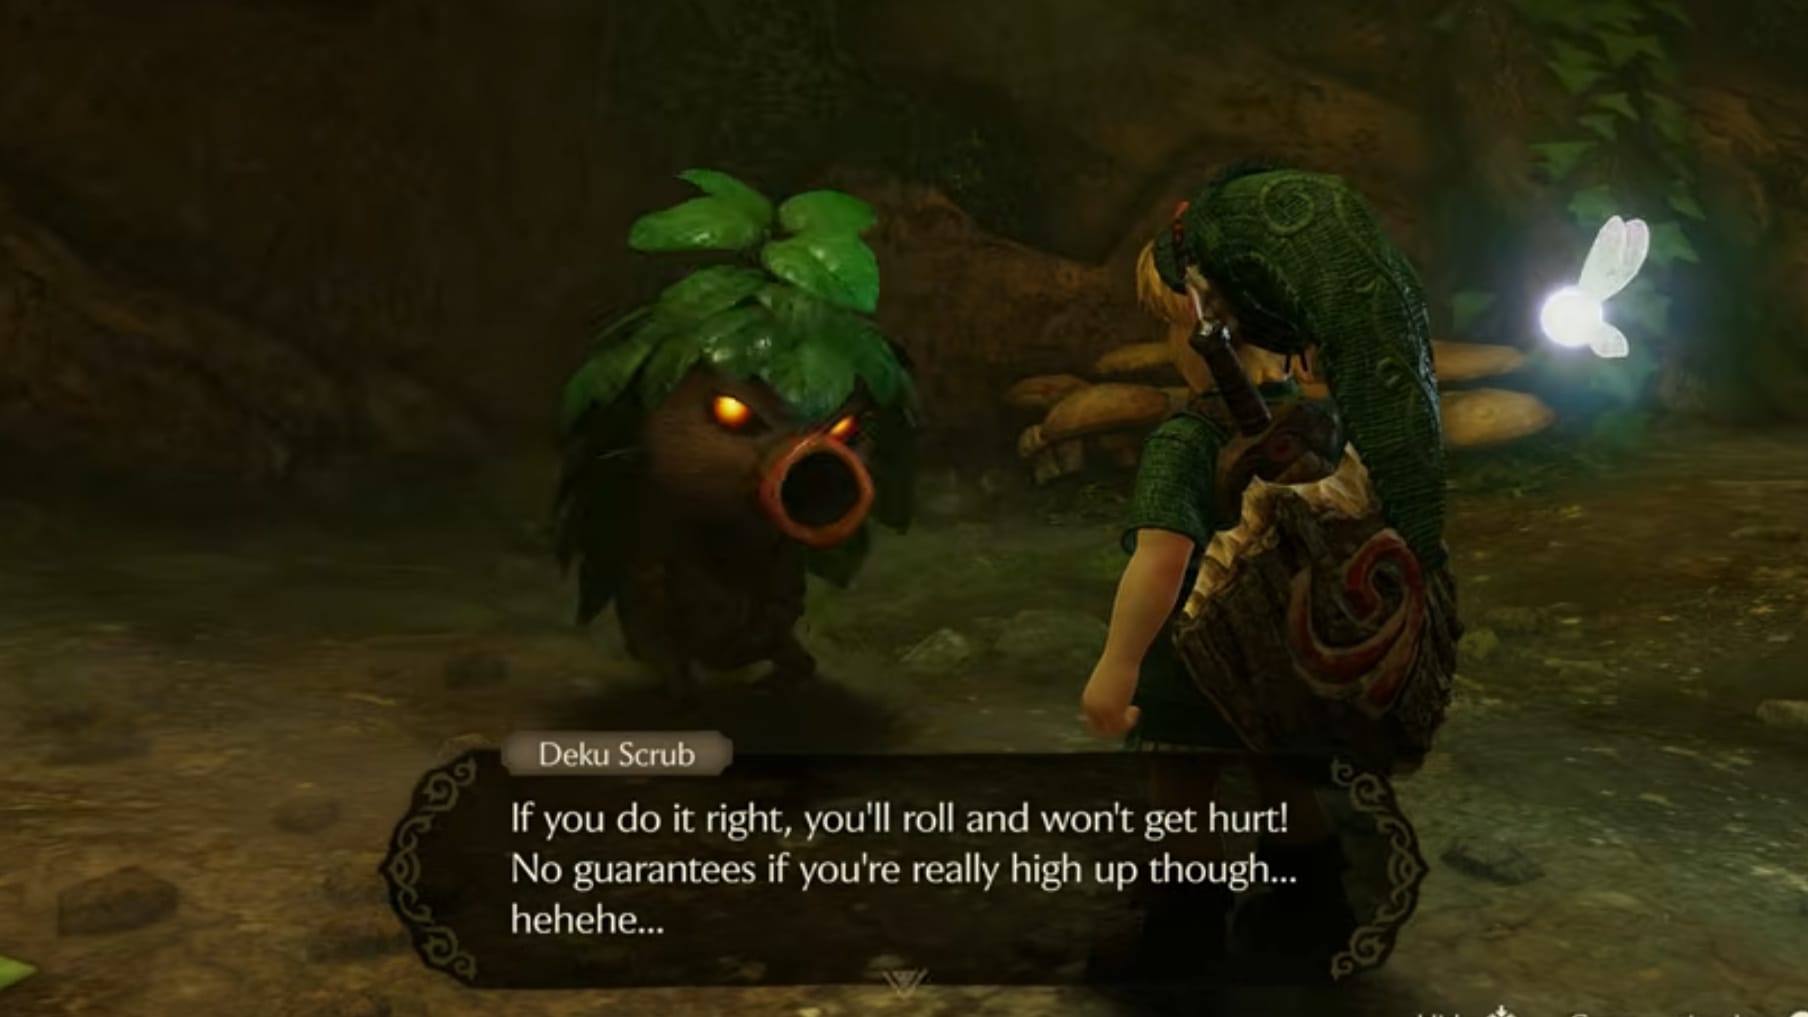
When you reflect the Nut back at the Deku Scrub, it will be knocked out of its hole for a while. Link needs to quickly rush the Scrub and strike it a few times. Doing so, the Scrub will give a hint. This one will tell Link about pressing forward as he falls from high ledges. It says it will help reduce the damage taken, but the higher you go, the riskier it gets to land. Finishing this conversation will unlock the door to the West. Just go to the door, interact with it, and head forward.
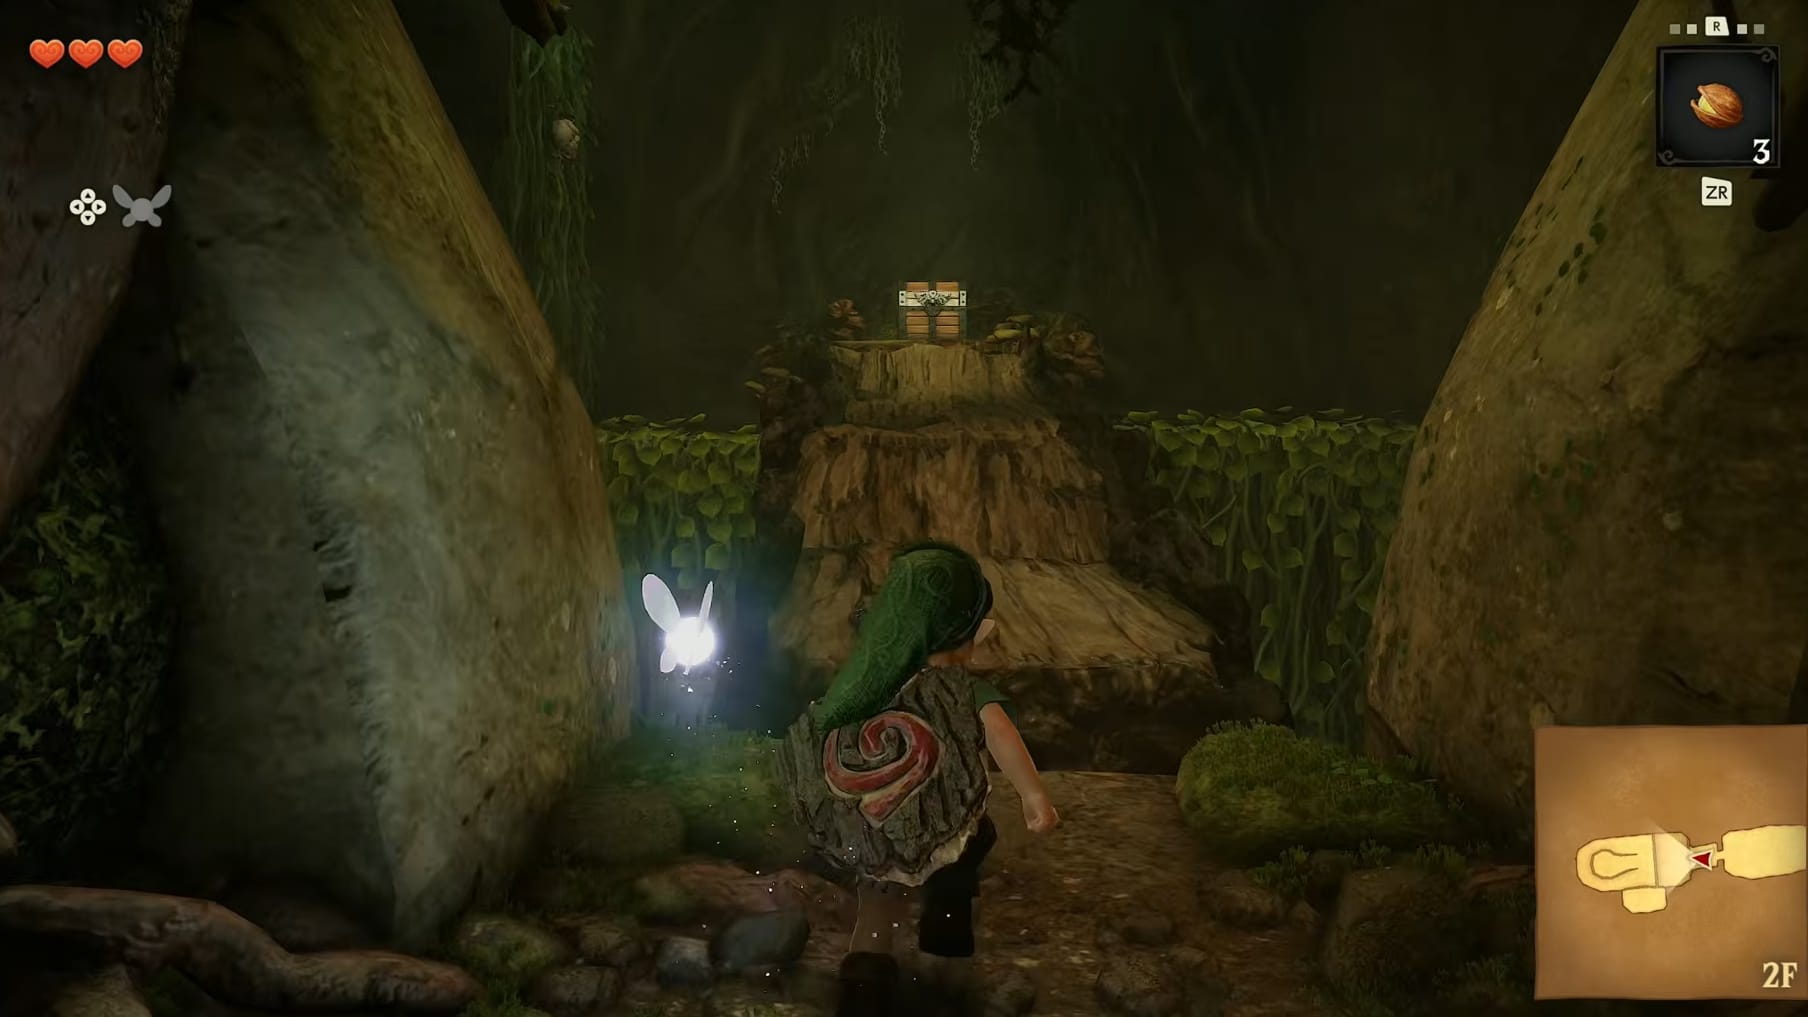
This leads into a treasure room. Jump and land on the ledge in front of Link. It will quickly crumble, likely depositing Link at the base of the nearby ledge. Only if he’s very fast can Link make it across this ledge before it crumbles. If not, then head to either side of the wall in front of Link.
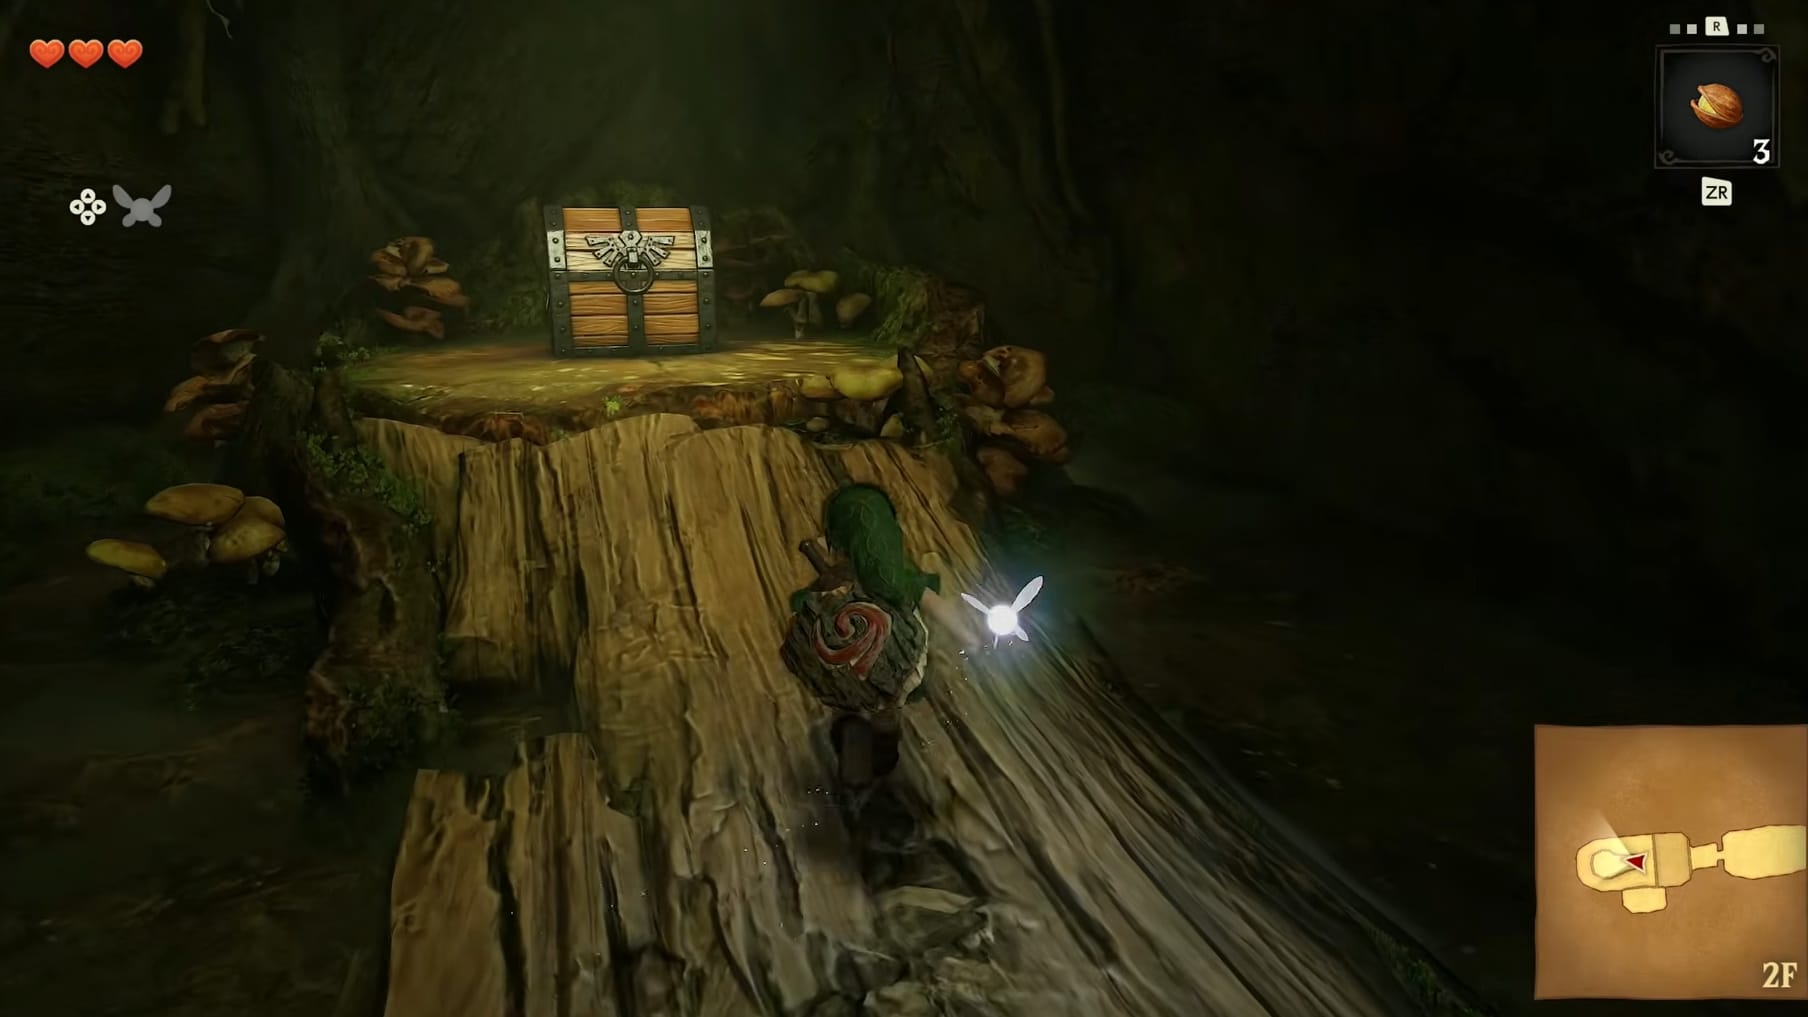
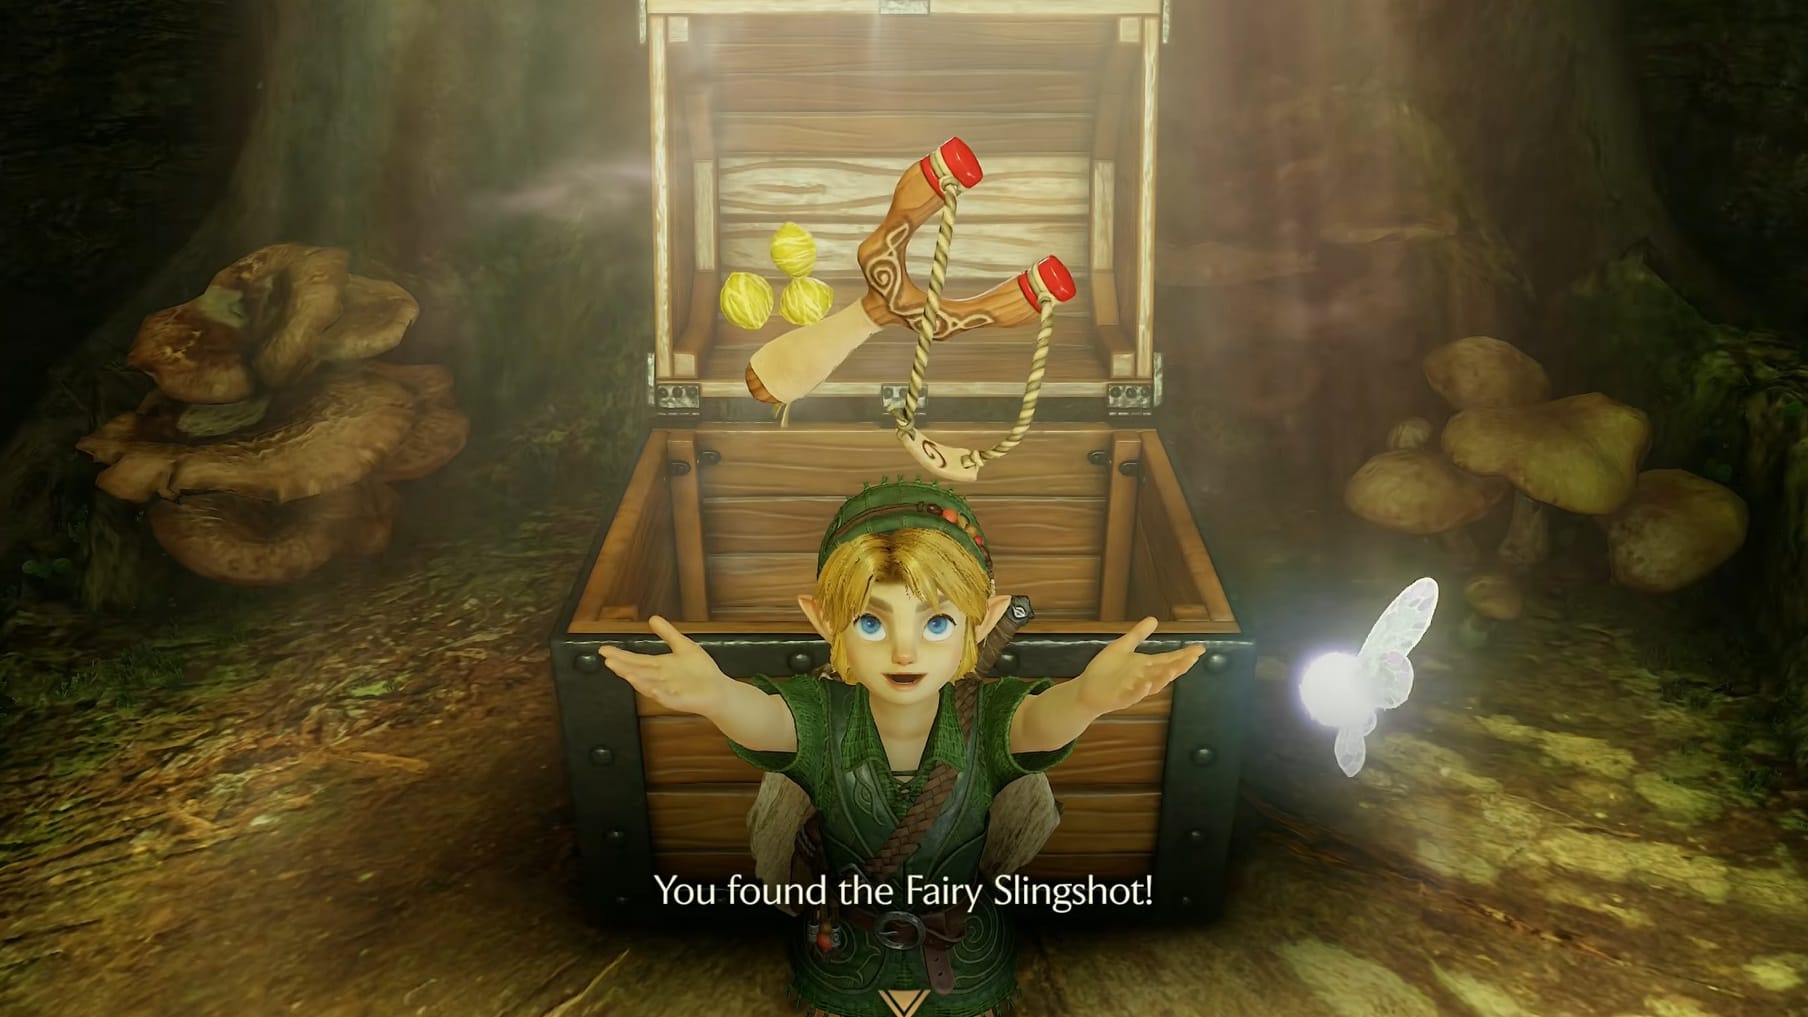
Climb up the vines and go to the large chest sitting nearby the back wall. Open the chest to get the Fairy Slingshot.
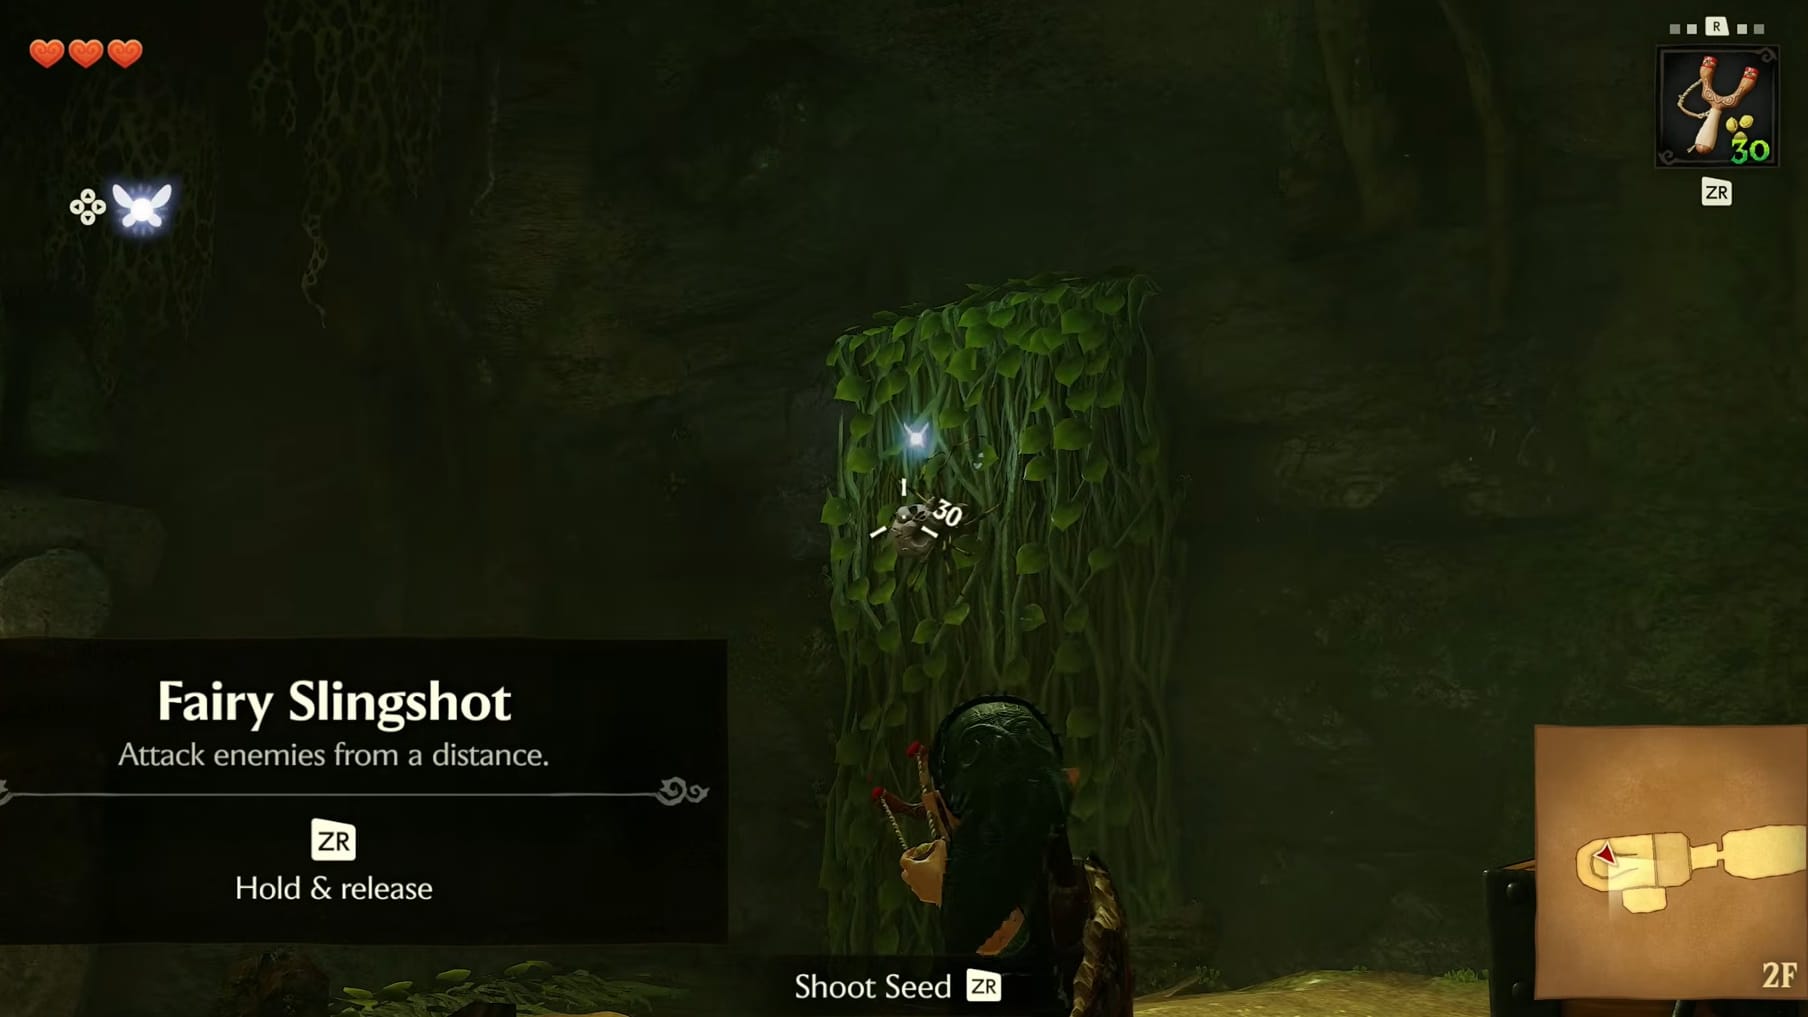
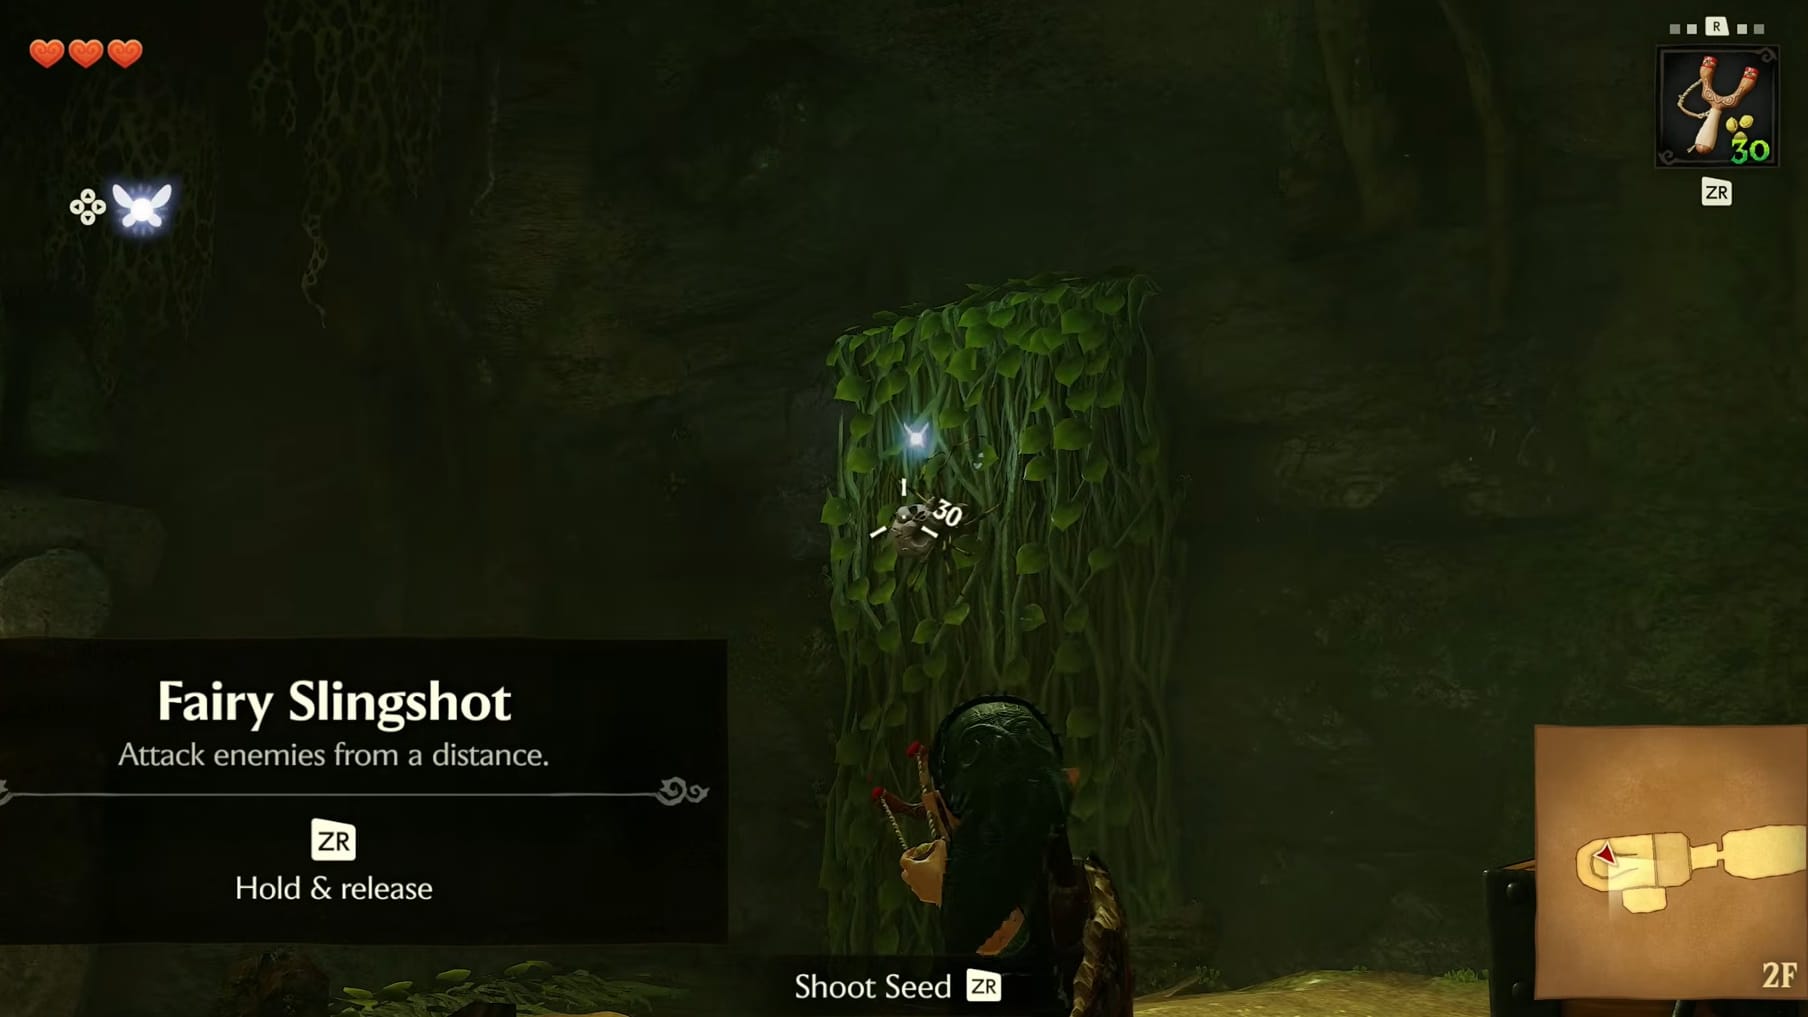
You are given a quick tutorial on using the Fairy Slingshot. Holding “ZR” with its equipped will have Link draw and pull back with a seed (if he has one). Releasing “ZR” will have Link fire the Deku Seed at what he is targeting. You can use “ZL” to lock onto a target. Use this to target and defeat the Skulltula spider on the vines on the Southern wall.
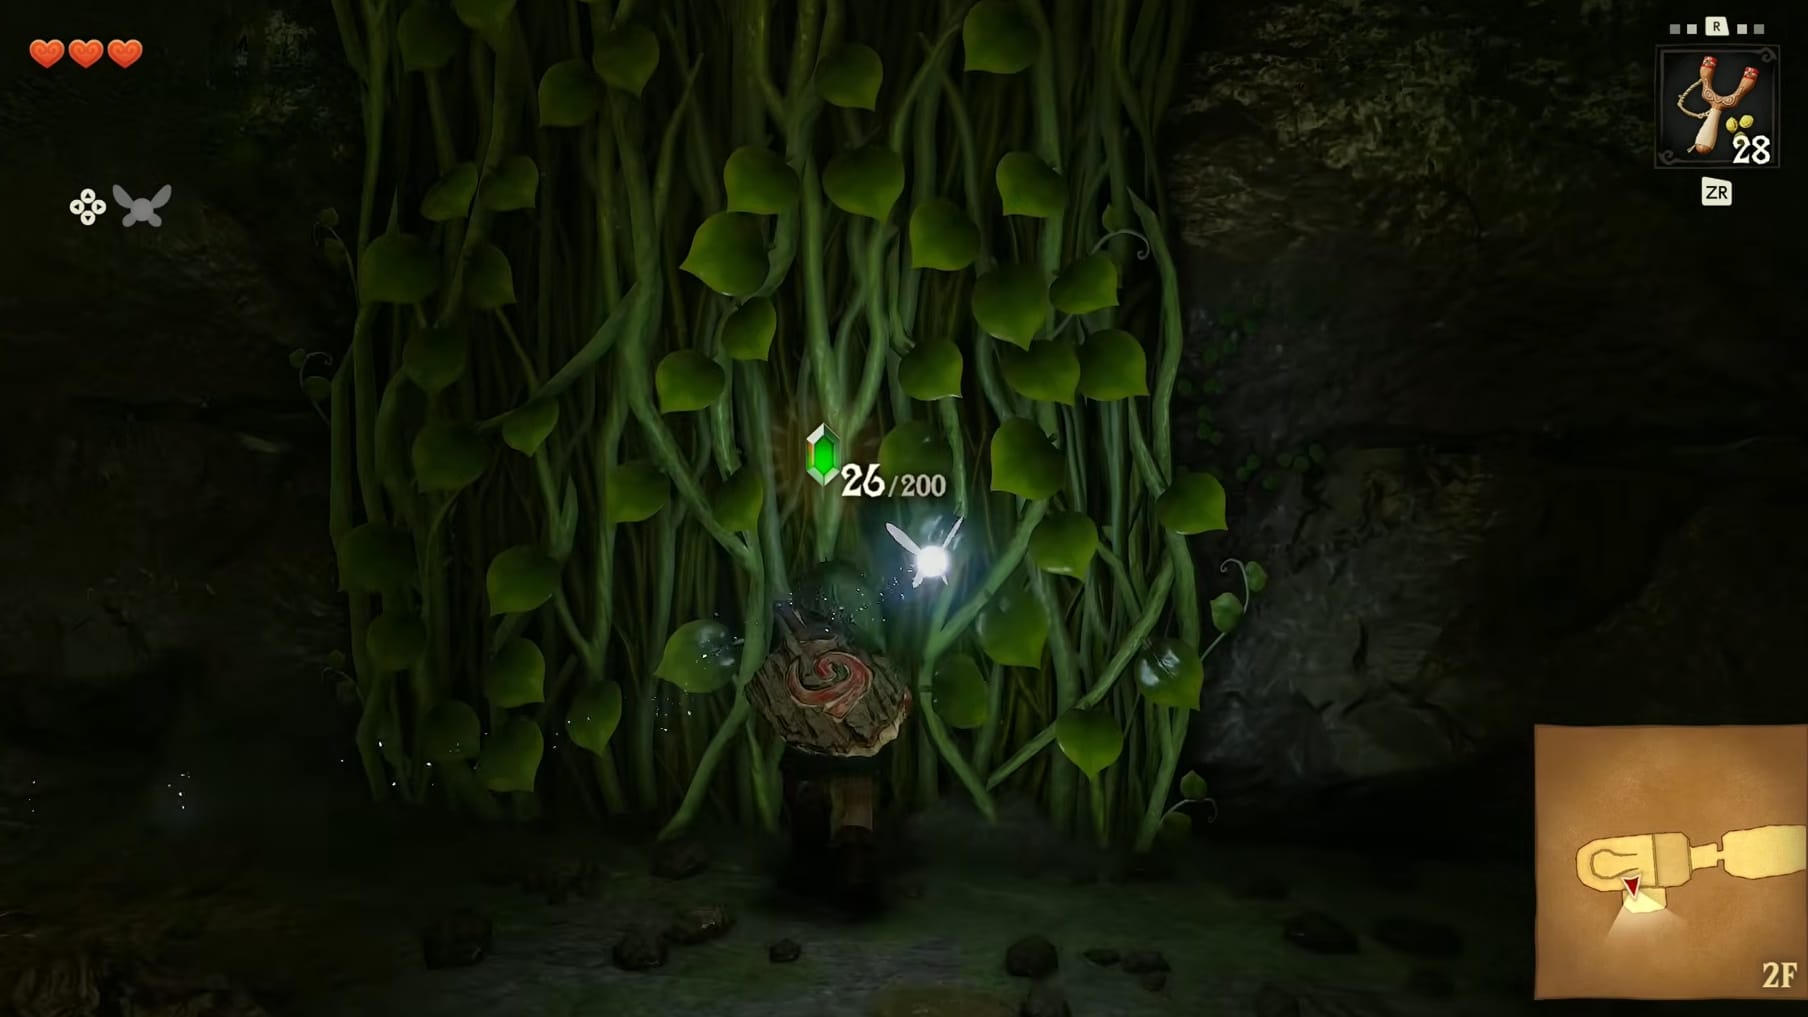
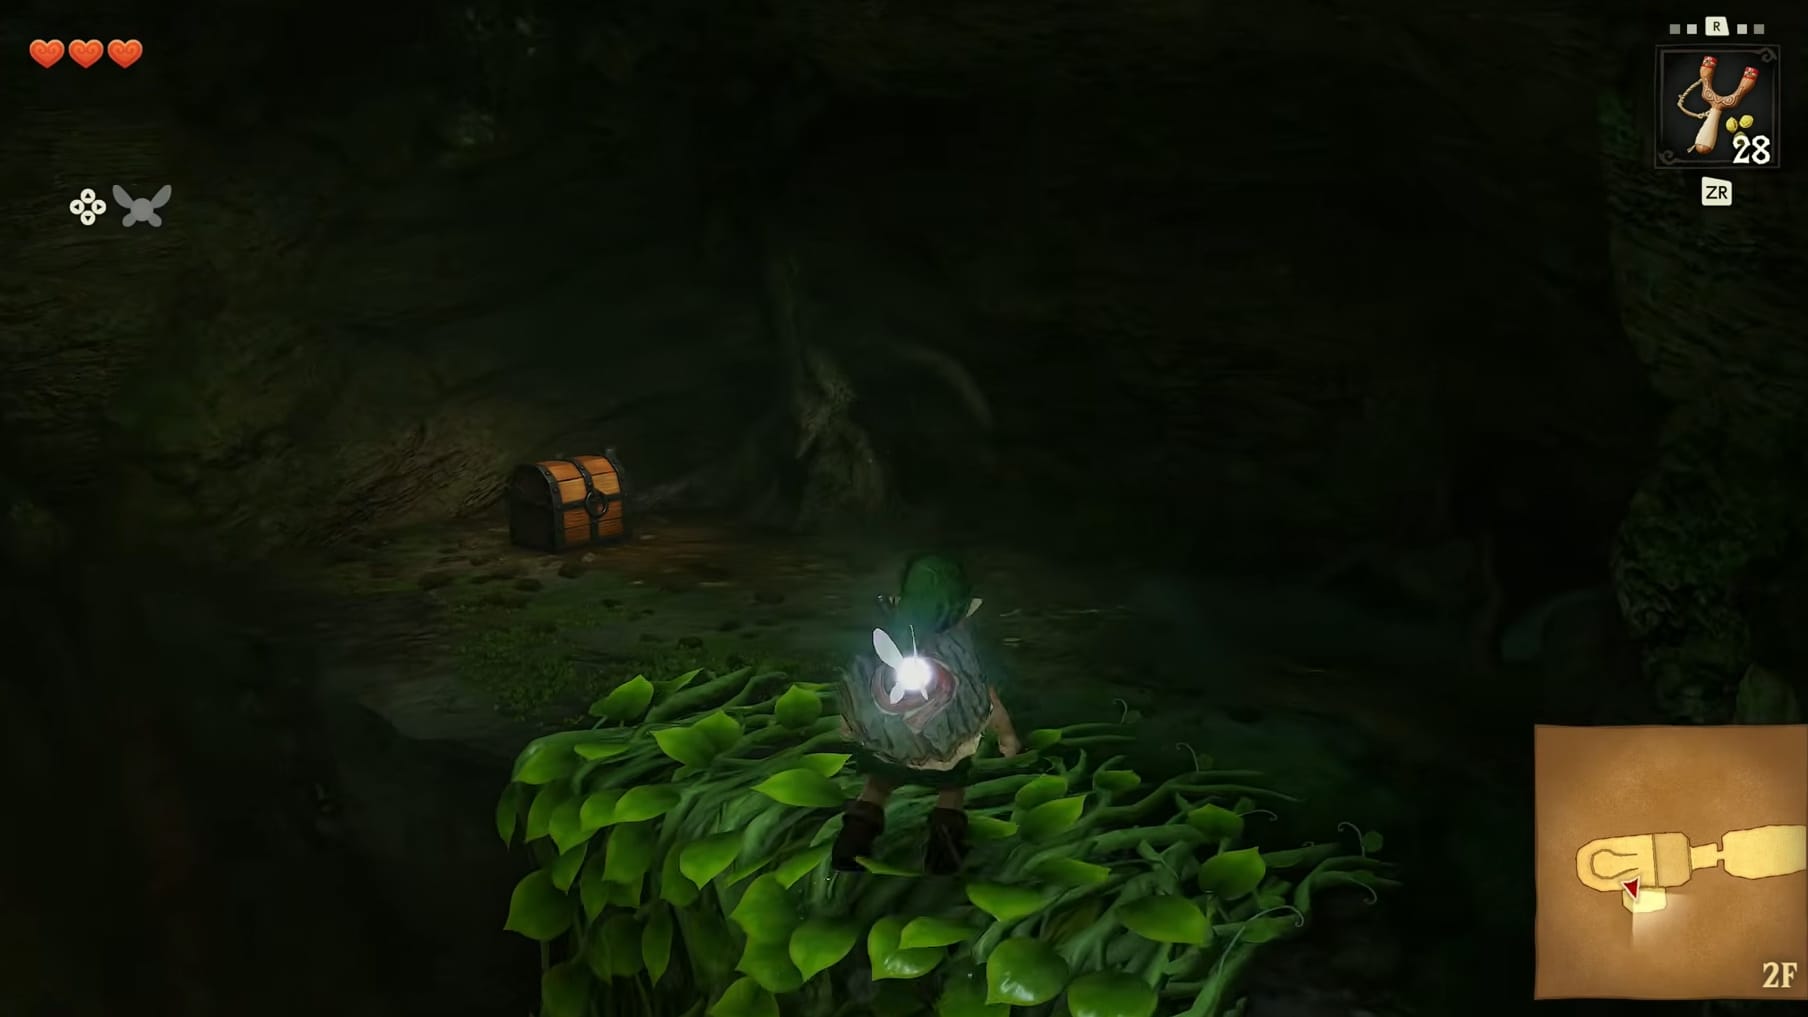
Climb up the vines and go over to the left. You will find a small chest there. Open it up and Link can claim up to 3 Deku Seeds.
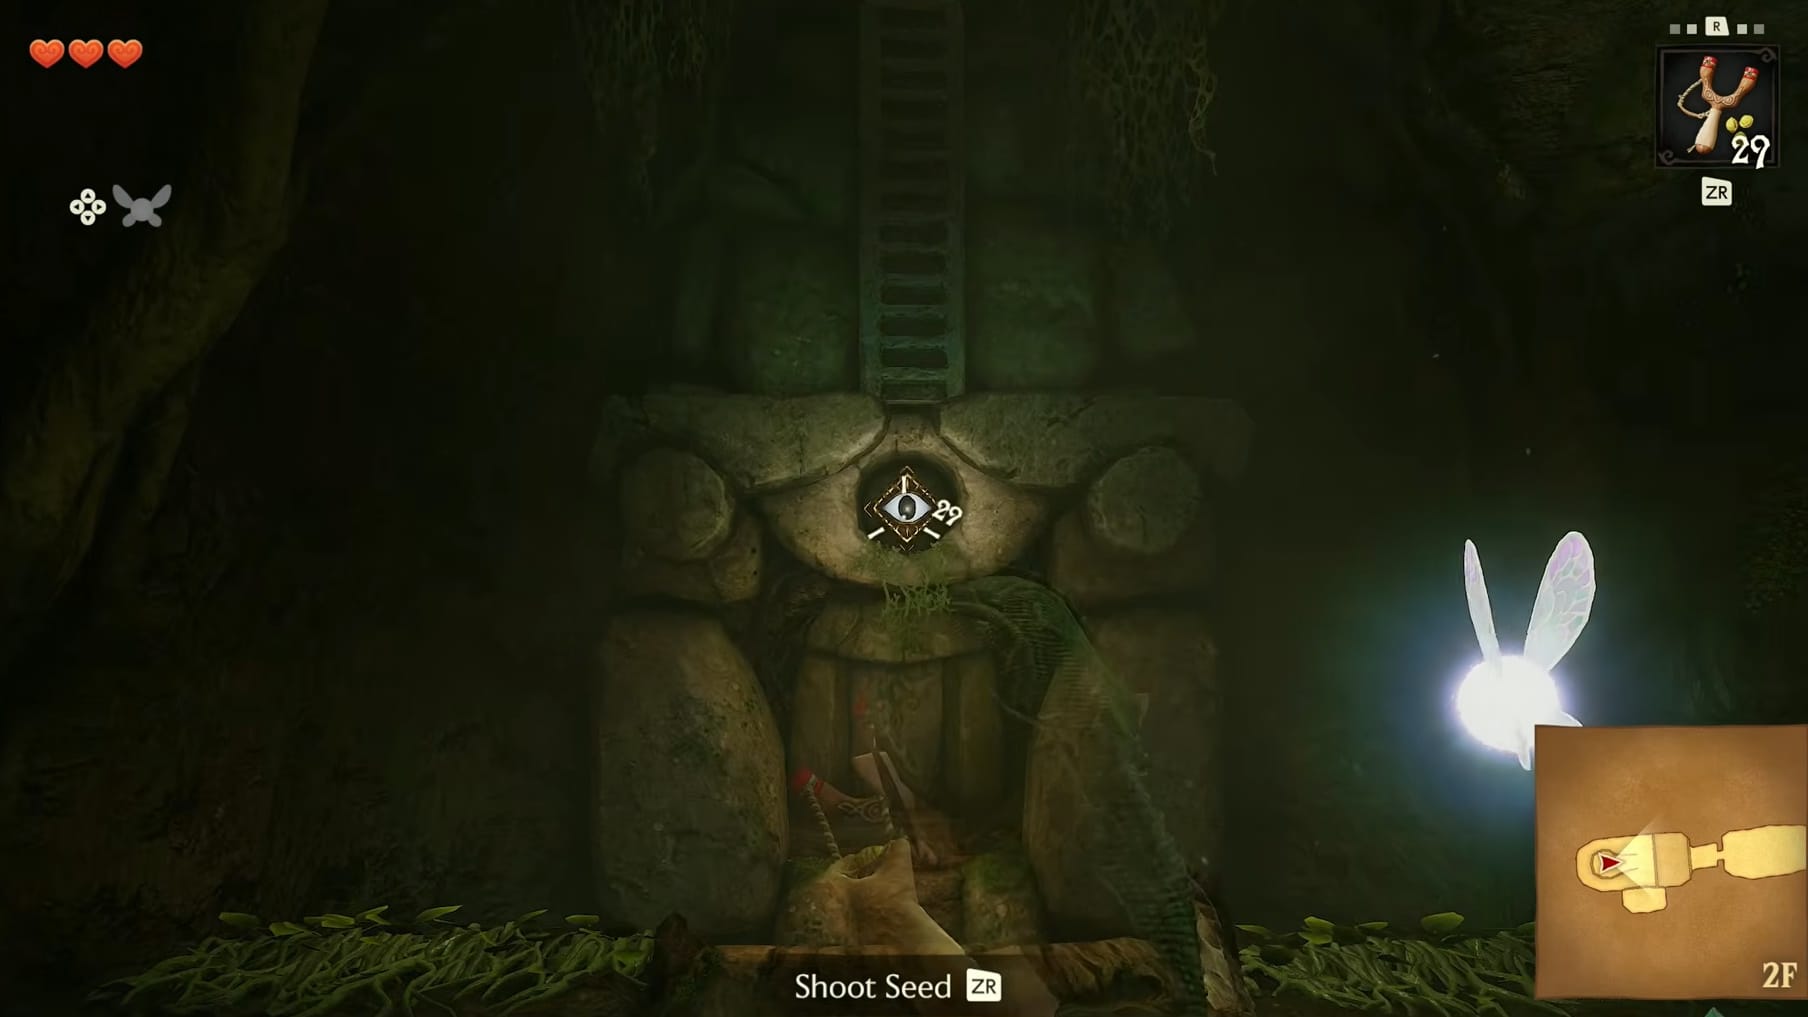
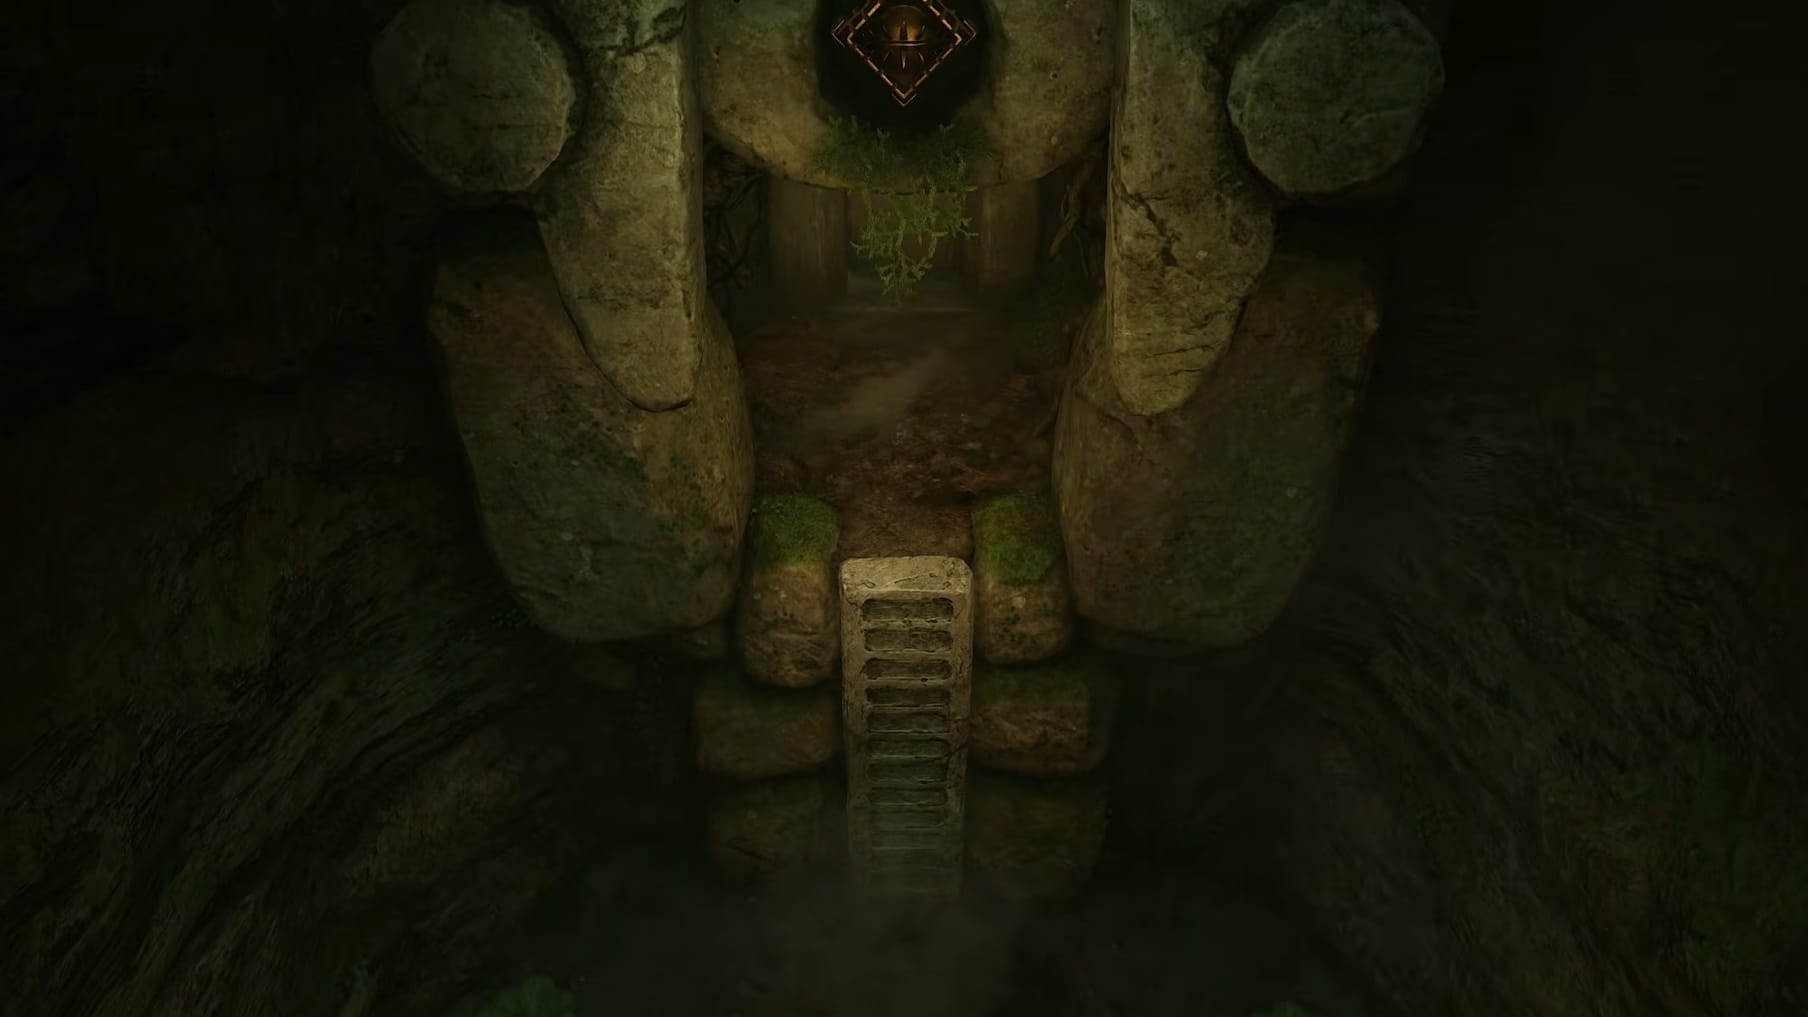
To leave this room, you must use your new Fairy Slingshot. Look above the door you entered. You will see an eye switch, the first of many. Have Link aim and fire the Slingshot at the Eye Switch. The Eye will close and the ladder above it will drop down onto the ground. Go to this ladder, climb up and go back out the door you entered the room through. Pass through the room where you encountered the Deku Scrub and back into the main room of the Great Deku Tree.
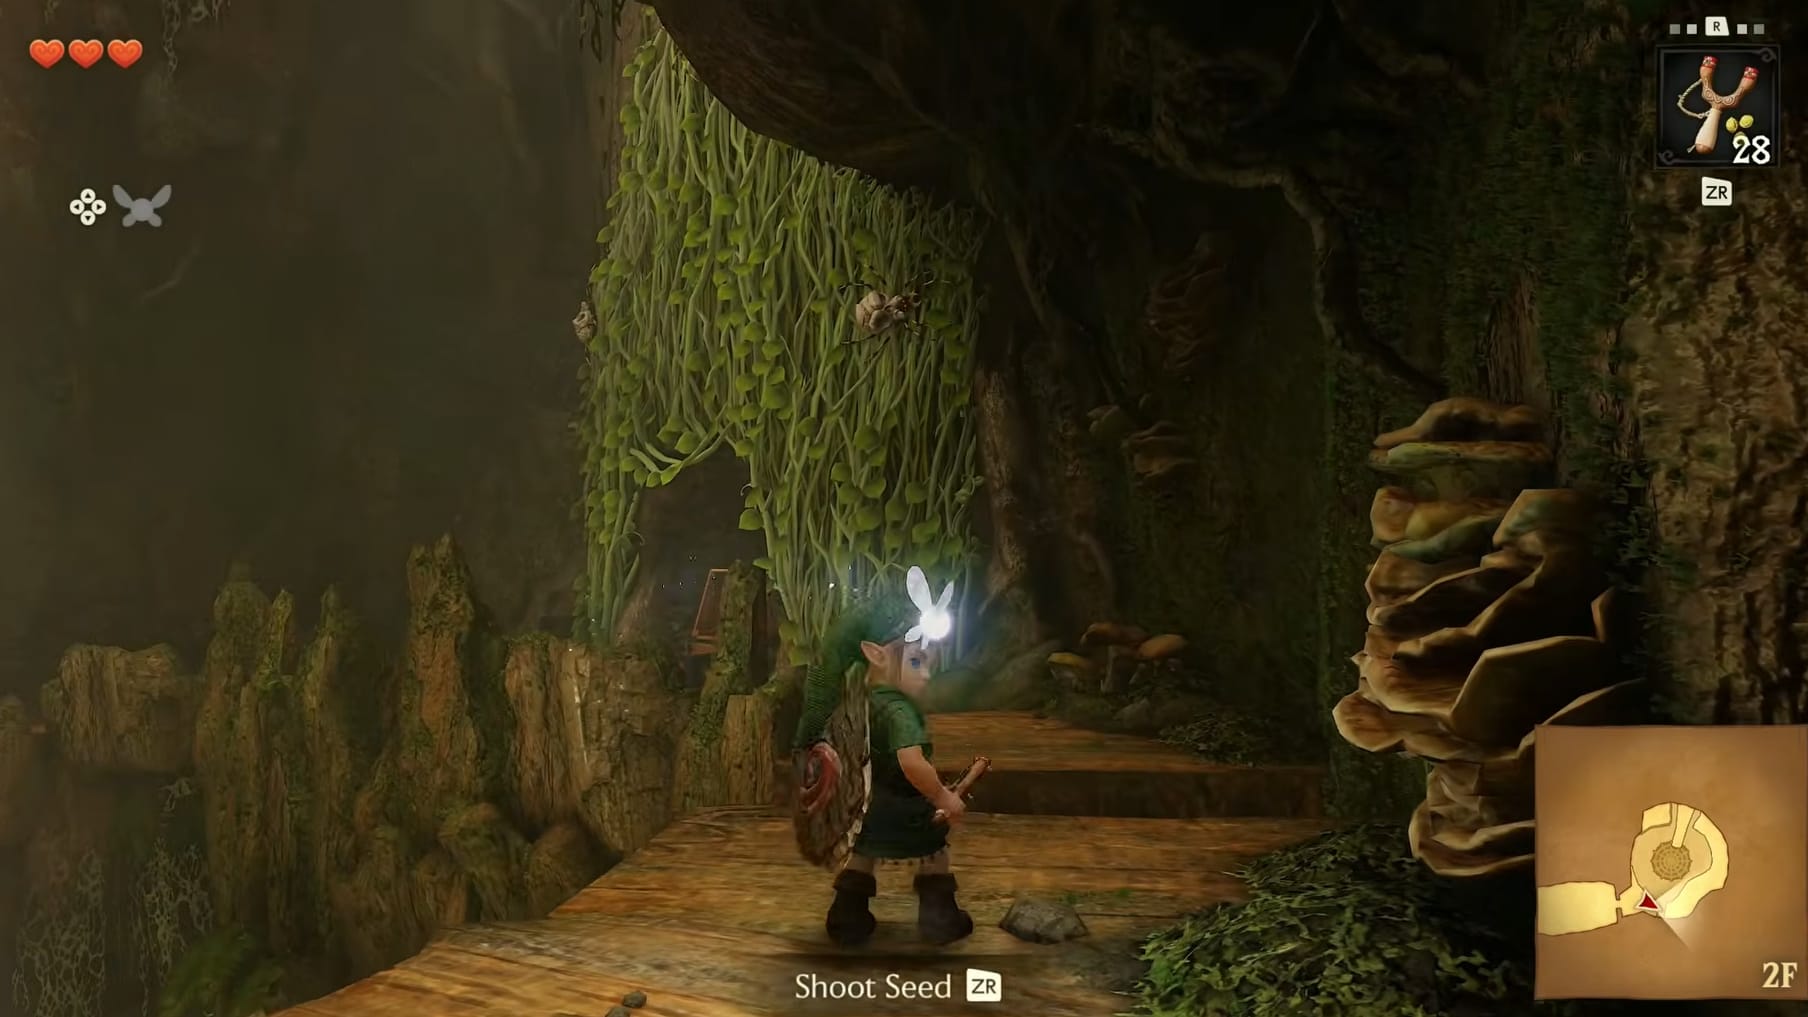
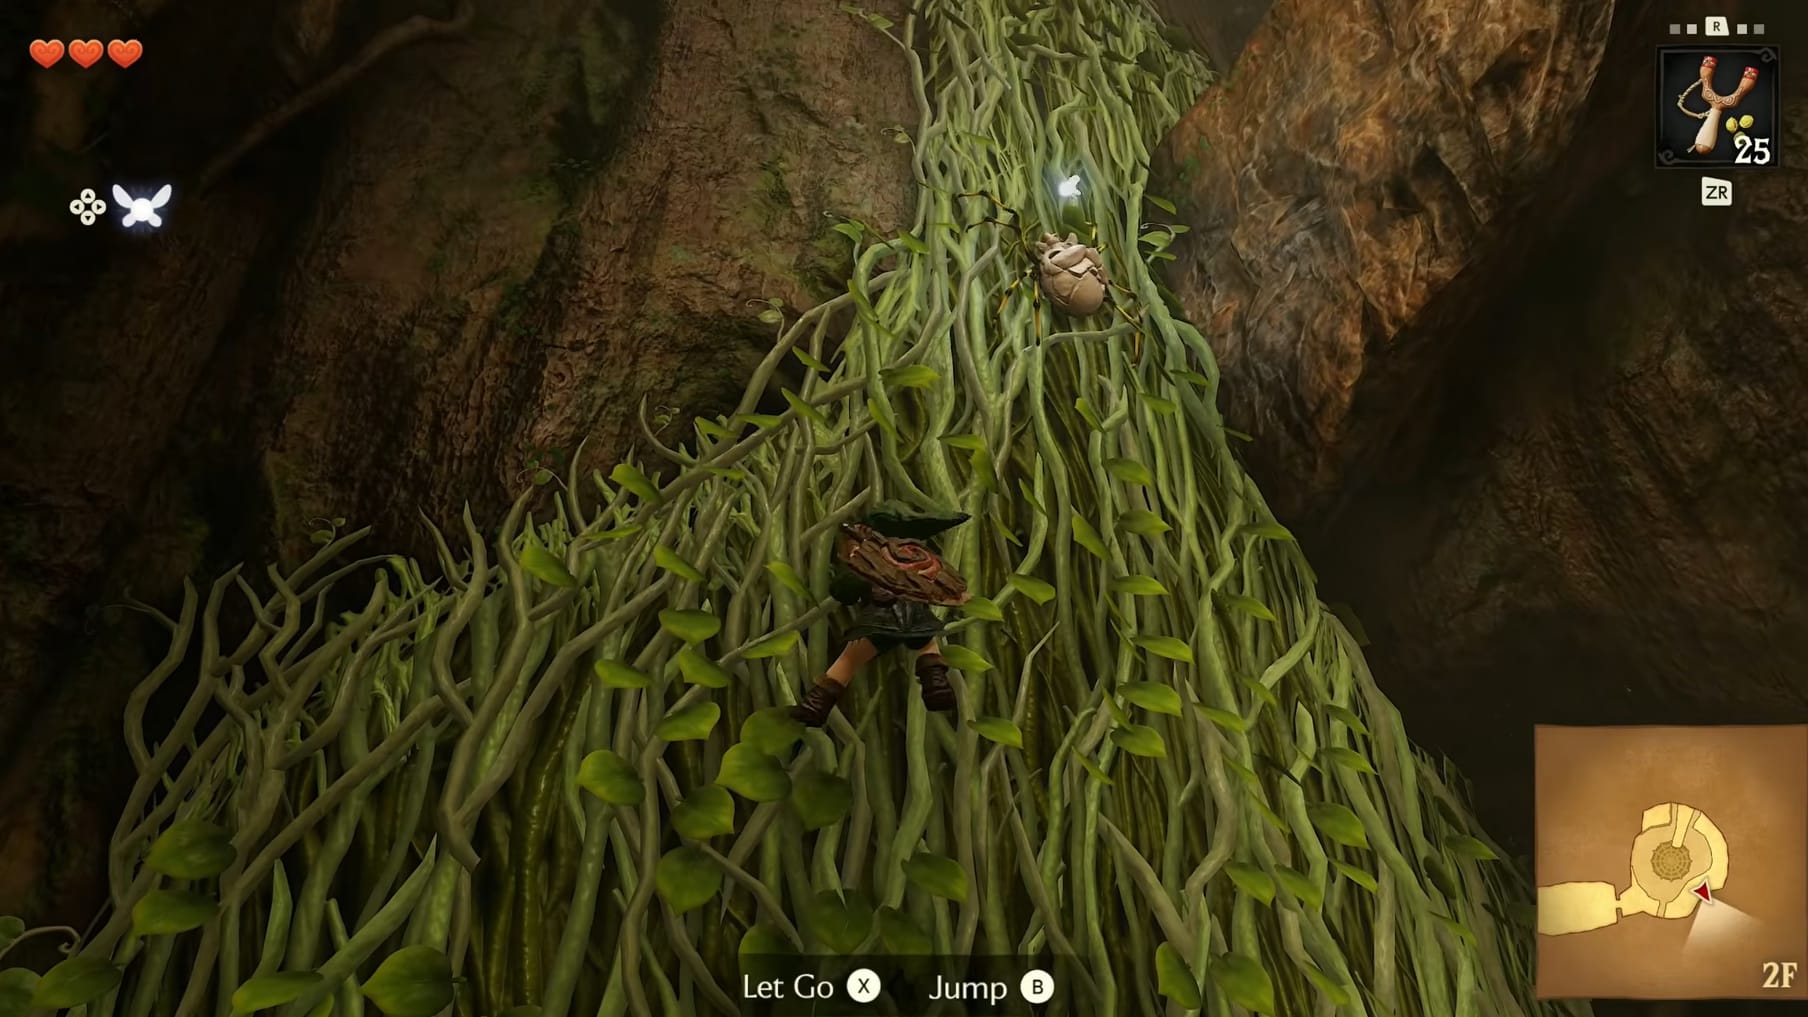
Look up along the Southern wall. You can see Vines that would let Link climb higher but there are 2 Skulltulas on them. Aim and fire using the Fairy Slingshot to defeat them. Collect anything they drop and look upward to find a third Skulltula. Shoot it down with the Fairy Slingshot as well. Collect anything that one drops as well, and then scale the vines. Go up and follow them over to the right. Drop down onto the higher ledge and head to the West.
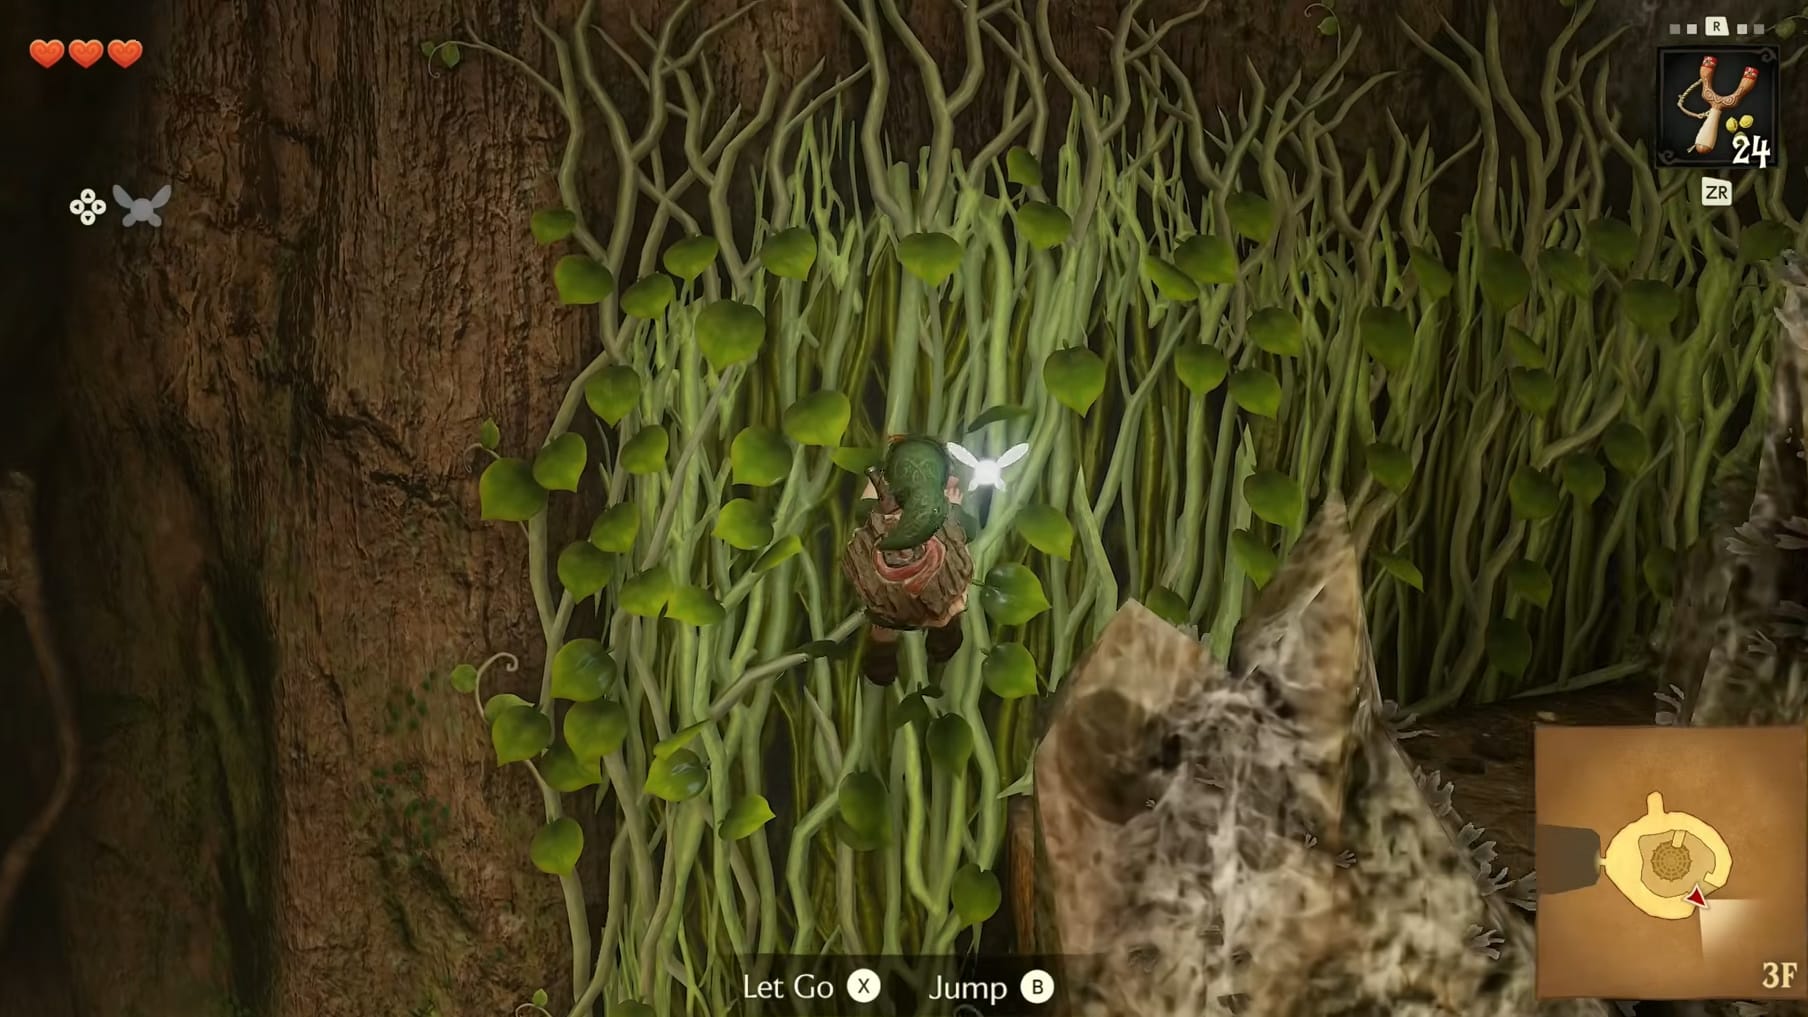
Go to the Center of the Western wall and approach the door there. Approaching the door will have the Large Skulltula come down from above.
There are 2 ways to defeat this monster. The first is to use your Fairy Slingshot a bit. Aim and fire at the Skulltula to set it rapidly spinning. It will slow after a few moments. As its spin slows, quickly fire a second shot from the Slingshot at its Glowing Belly. Repeat these 2 hits one more time to defeat it. The second method is wait for it to spin itself. Link needs to then quickly close the distance and strike its belly with his sword.
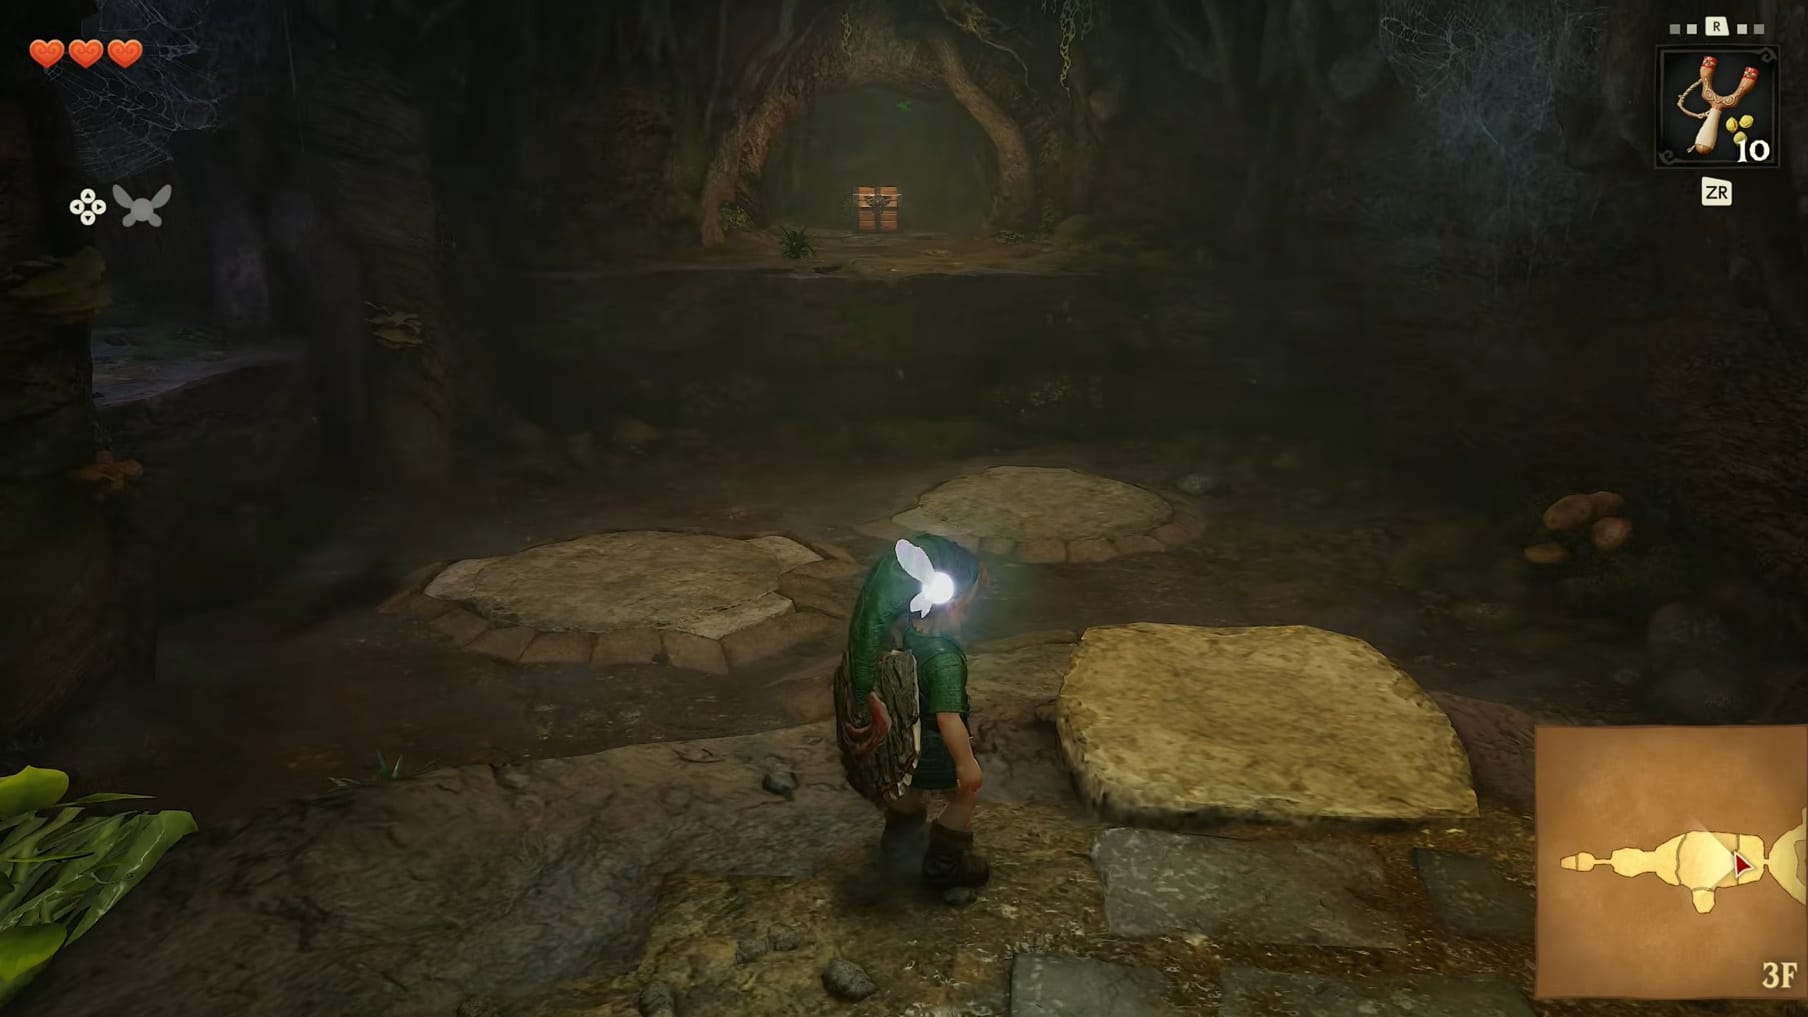
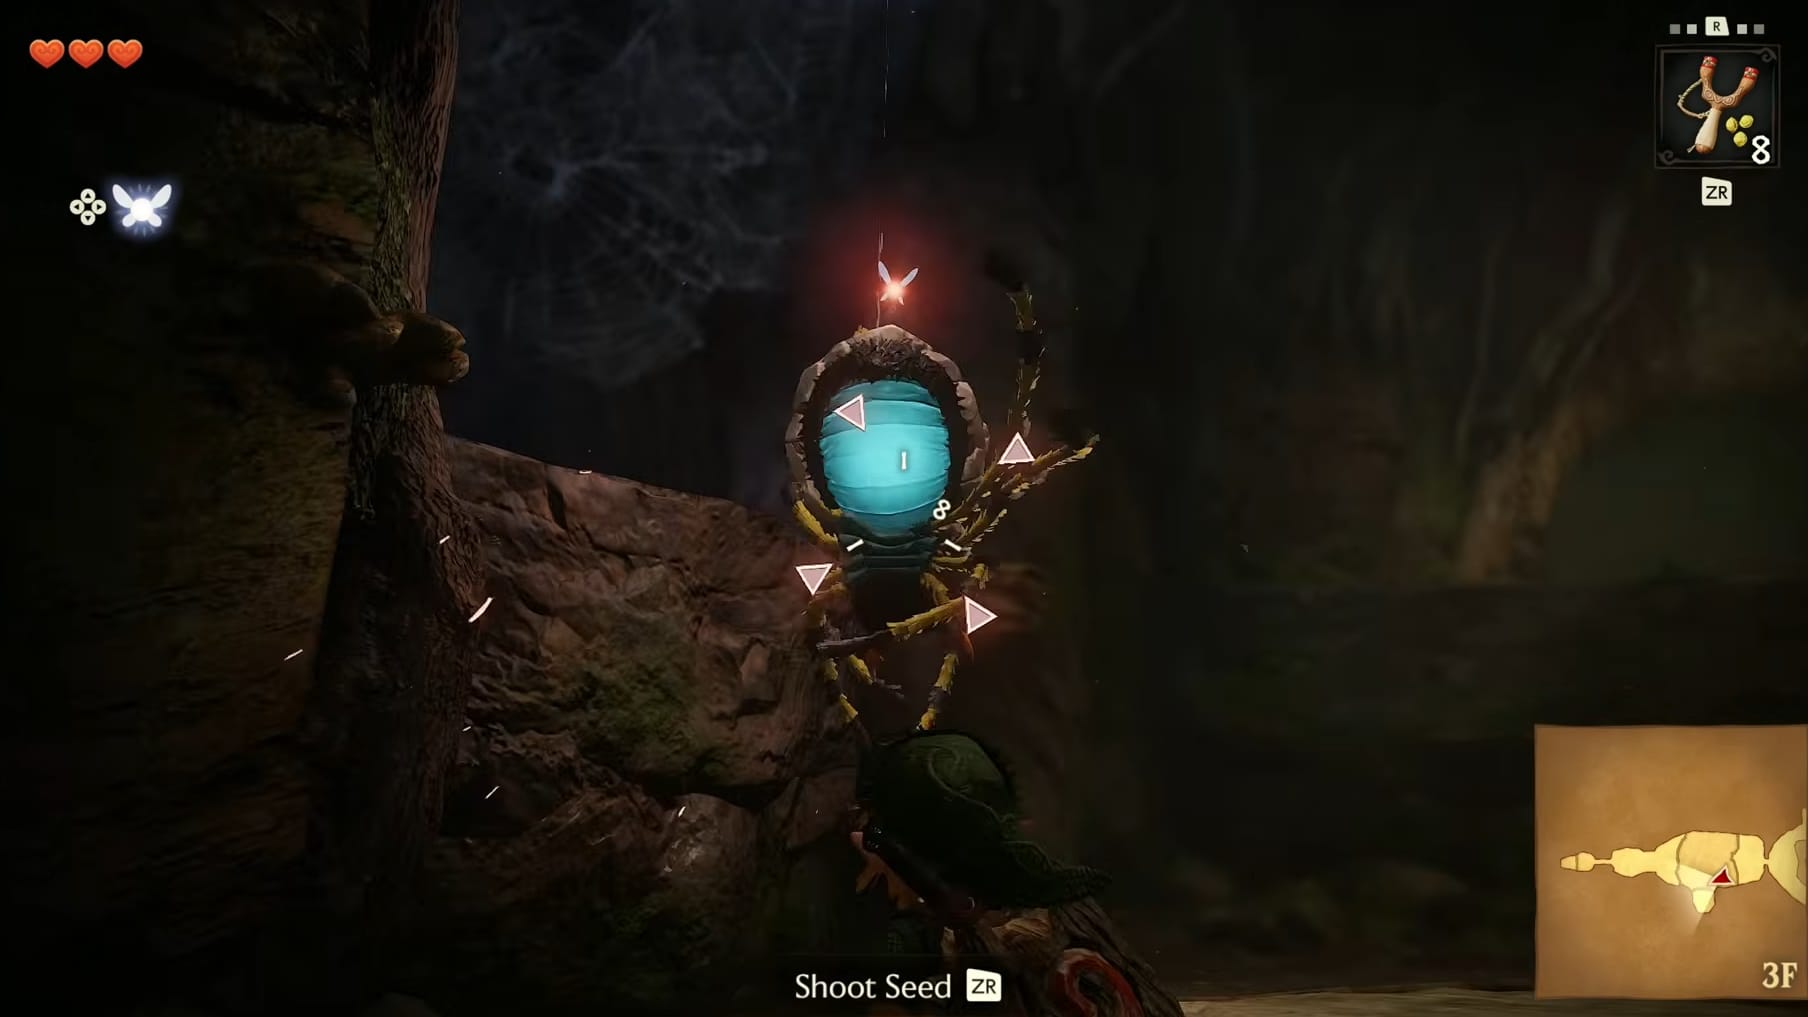
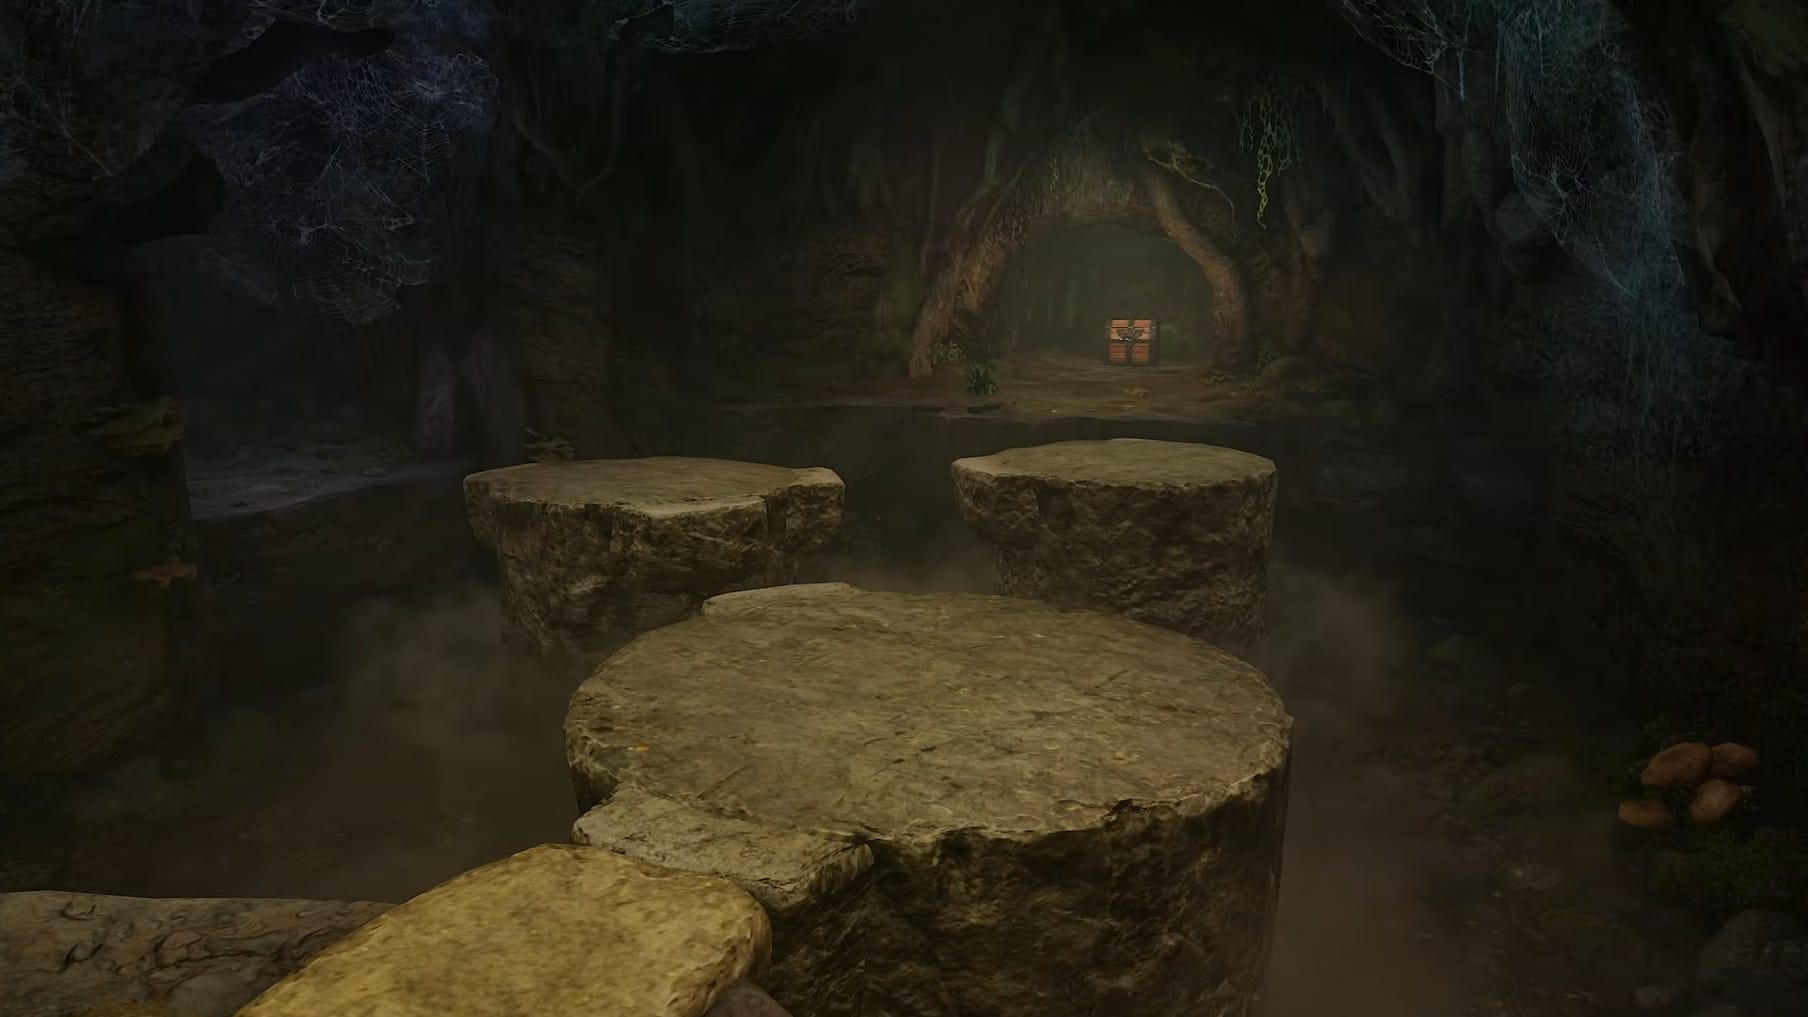
Inside this next room, you can see a pit fills the middle of the room with alcoves to the to the West and South. In that pit, there are platforms that can be raised up if a switch is held down. But there are 2 enemies you need to worry about here. The first is a Deku Baba nearby the ledge you start on. Just over to the Southern Alcove, there’s another enemy: Skulltula. Defeat the enemies then head back to the starting ledge. Step on the floor switch to bring the platforms up. Start by going over to the Southern Alcove.
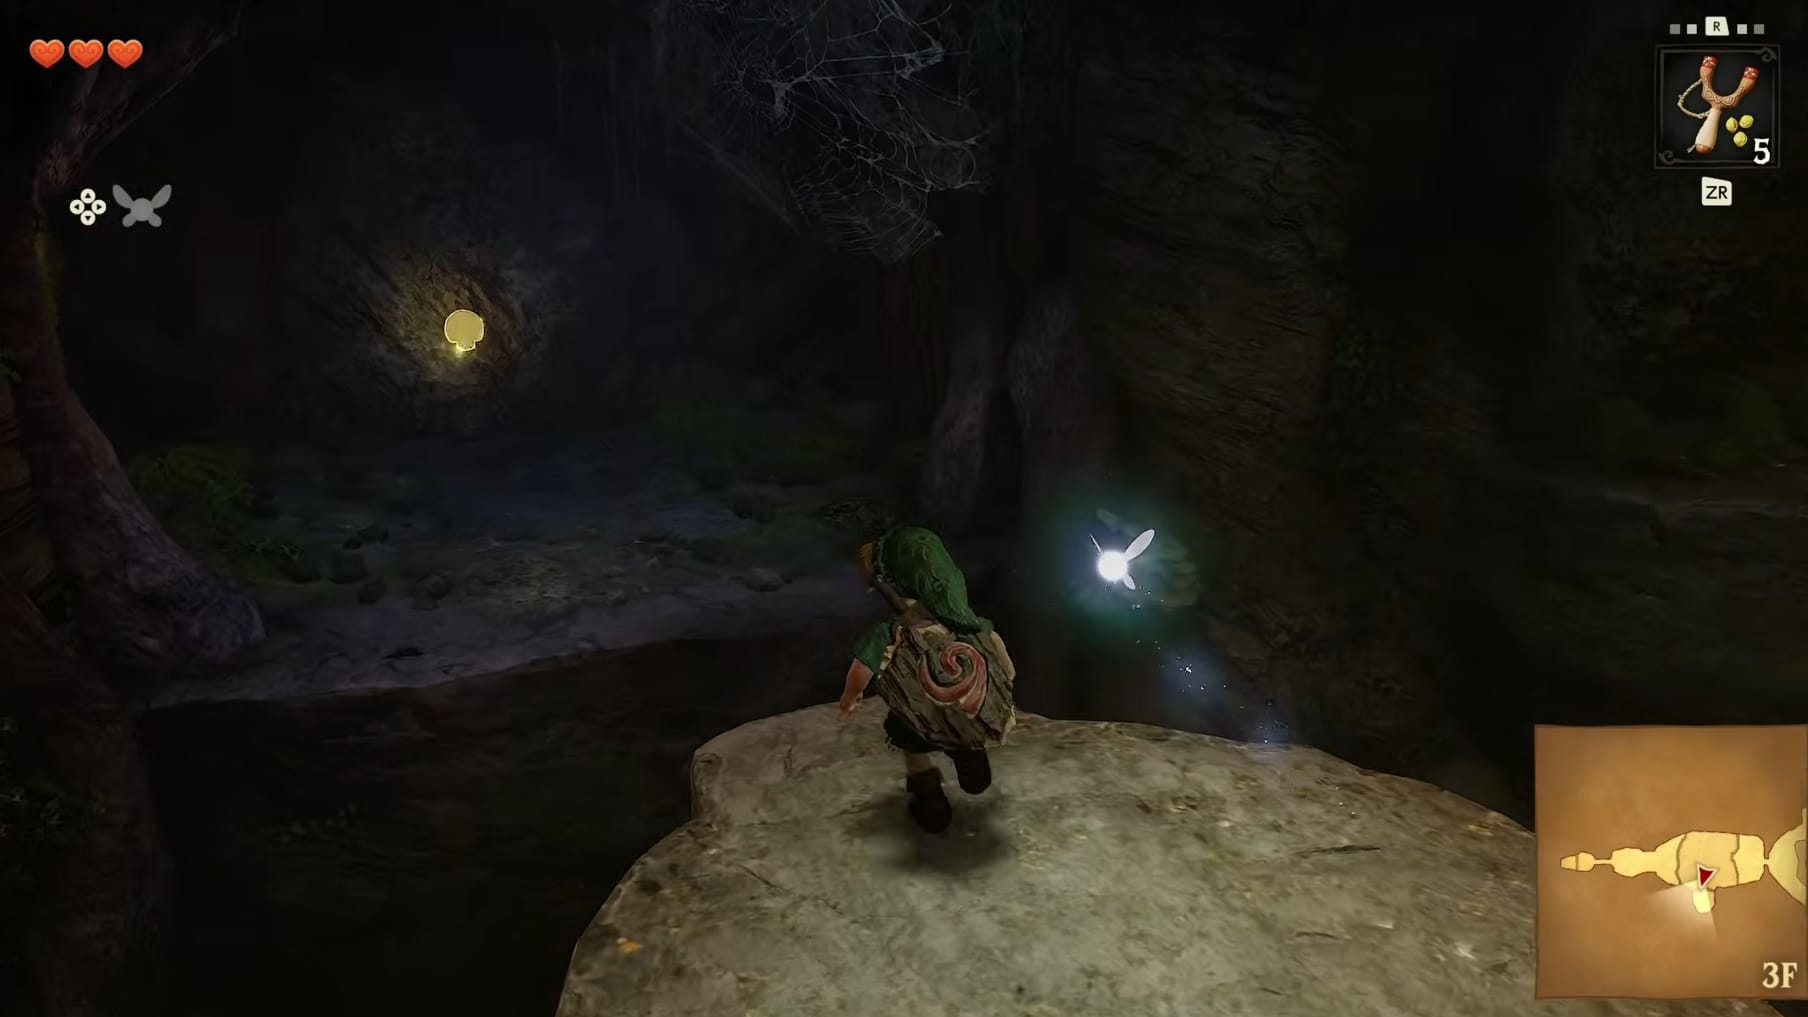
Going to the Southern alcove, you will find a Golden Skulltula. Defeat it with either your Slingshot or attacking with Jump Attacks. Collect the Token the Golden Skulltula drops.
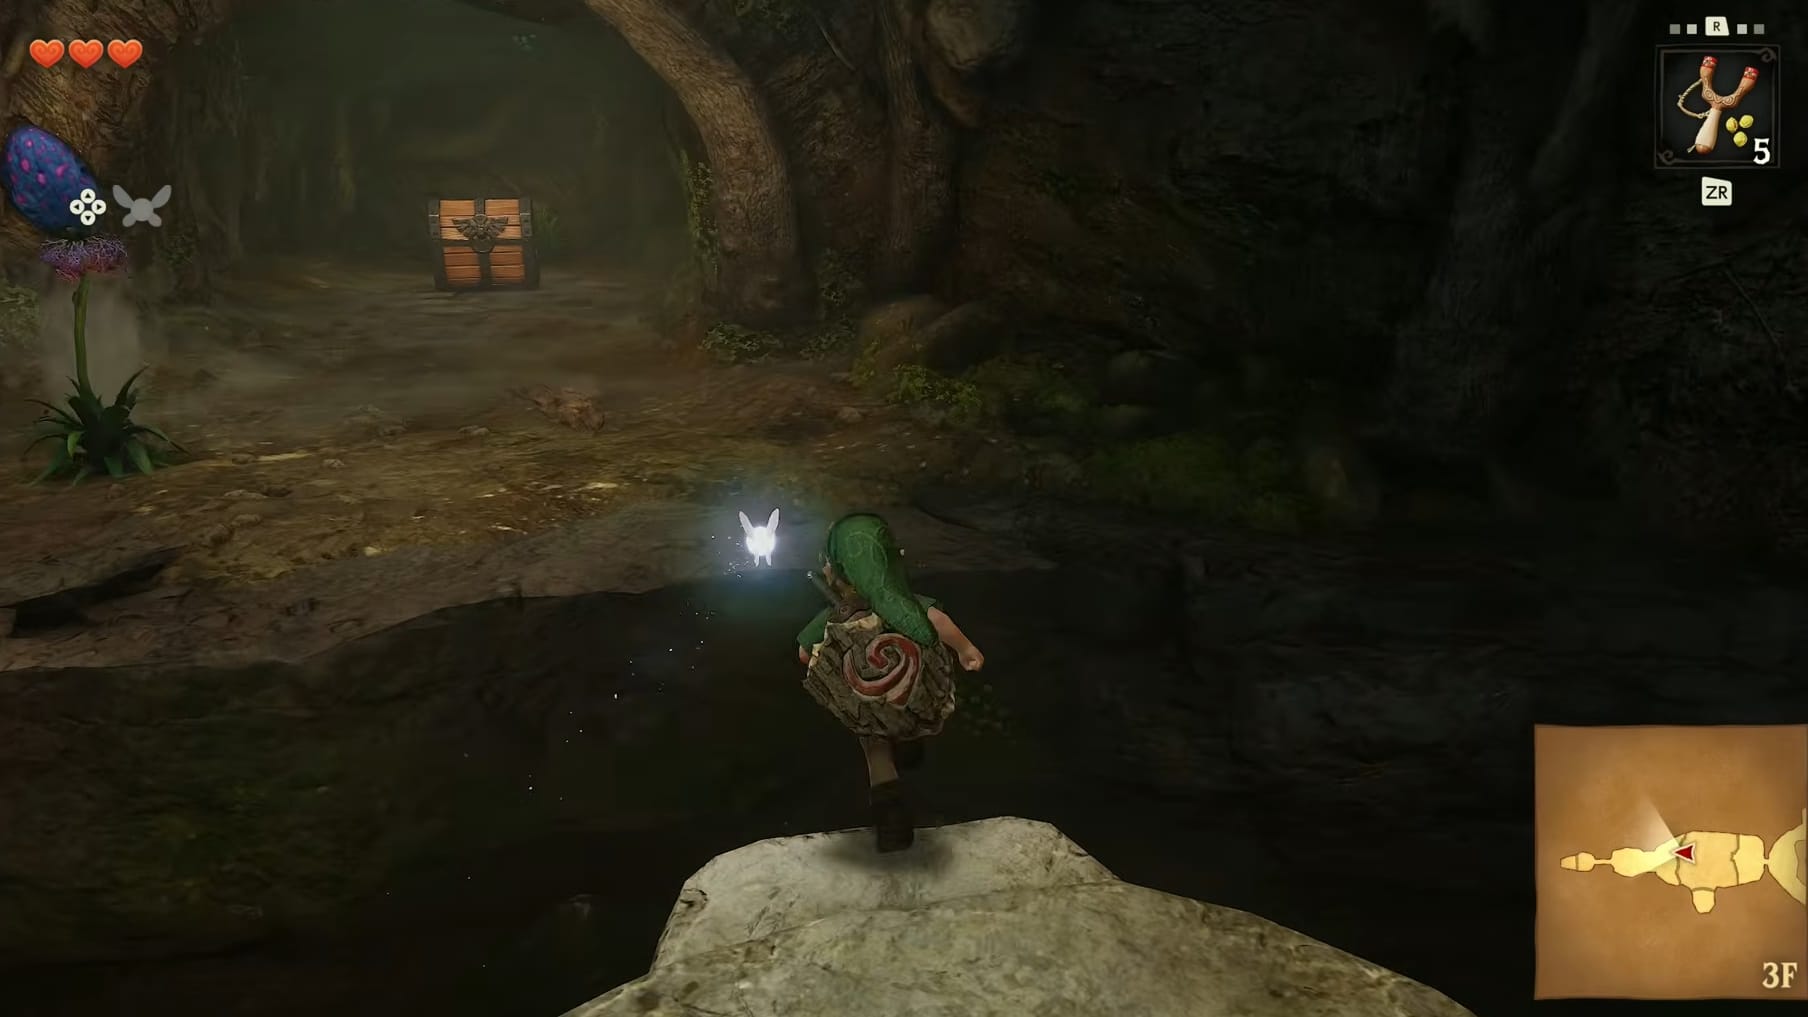
You can quickly head to the Western alcove using the raised platforms. If the platforms drop, just return to the starting ledge. Step on the floor switch again. Use that to raise the platforms again. Open the large chest on this ledge to collect the Compass. This compass will mark the chests and collected Golden Skulltulas scattered throughout the dungeon’s levels.
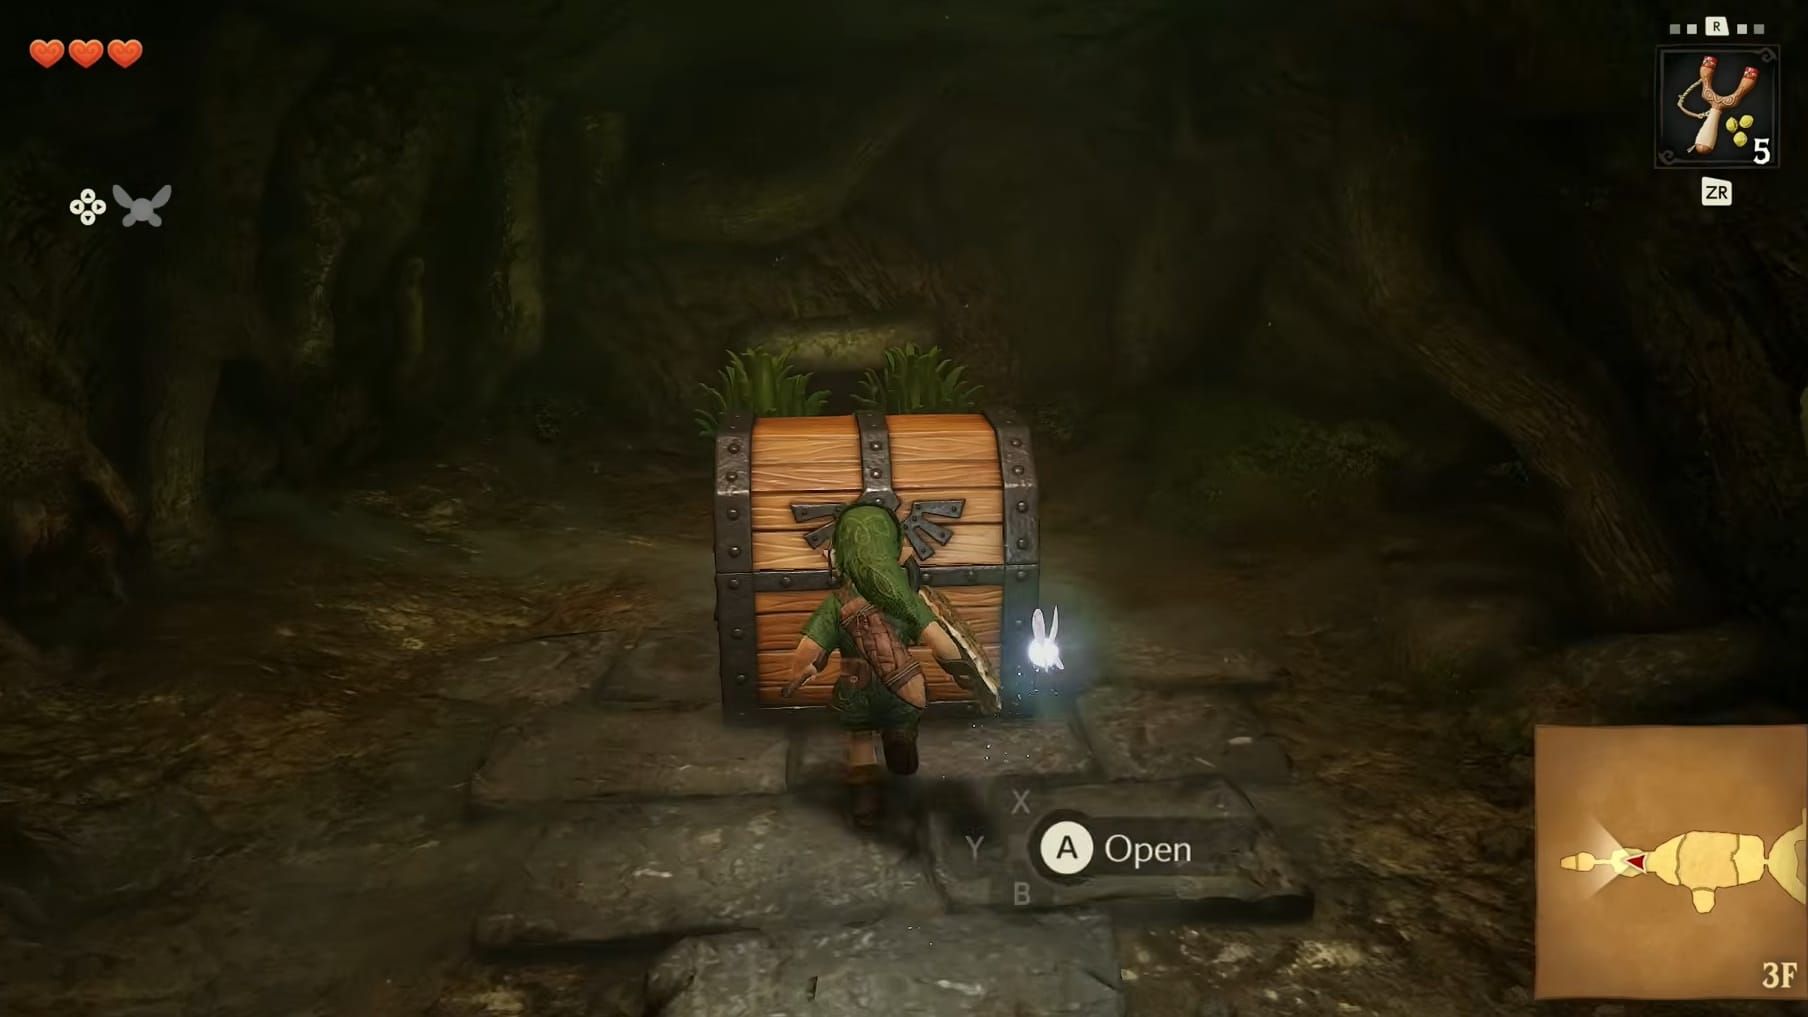
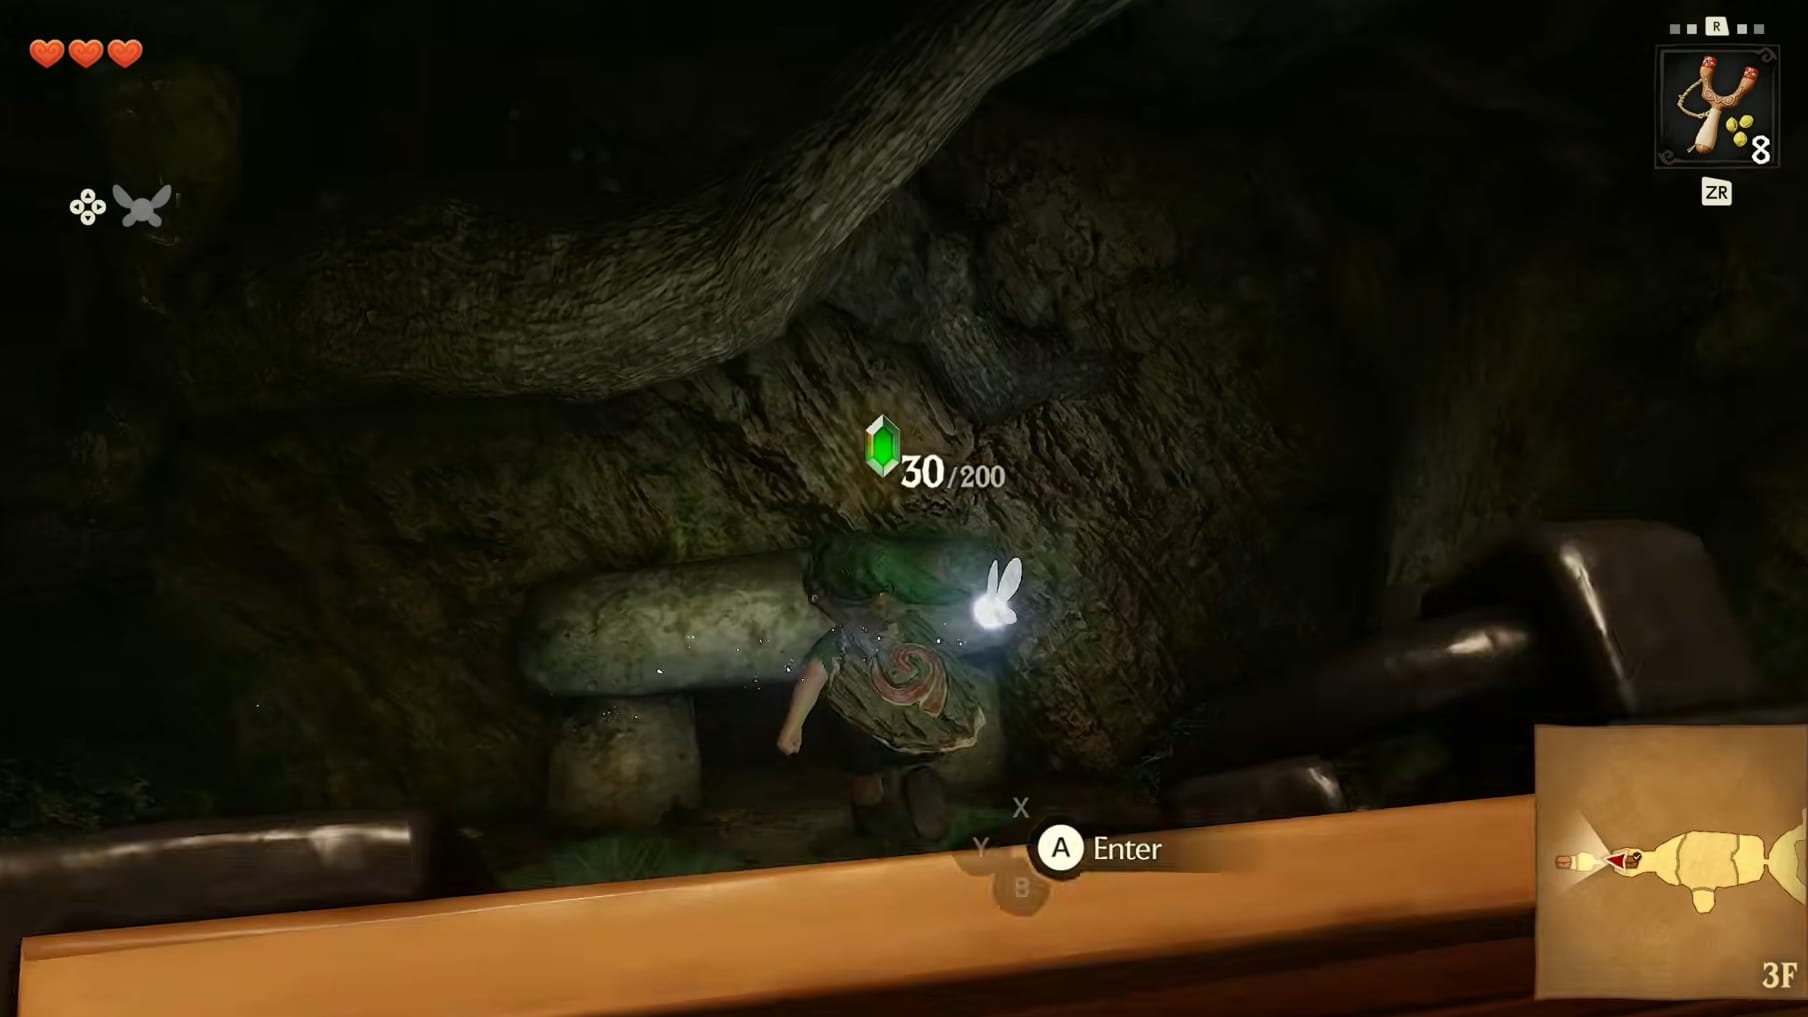
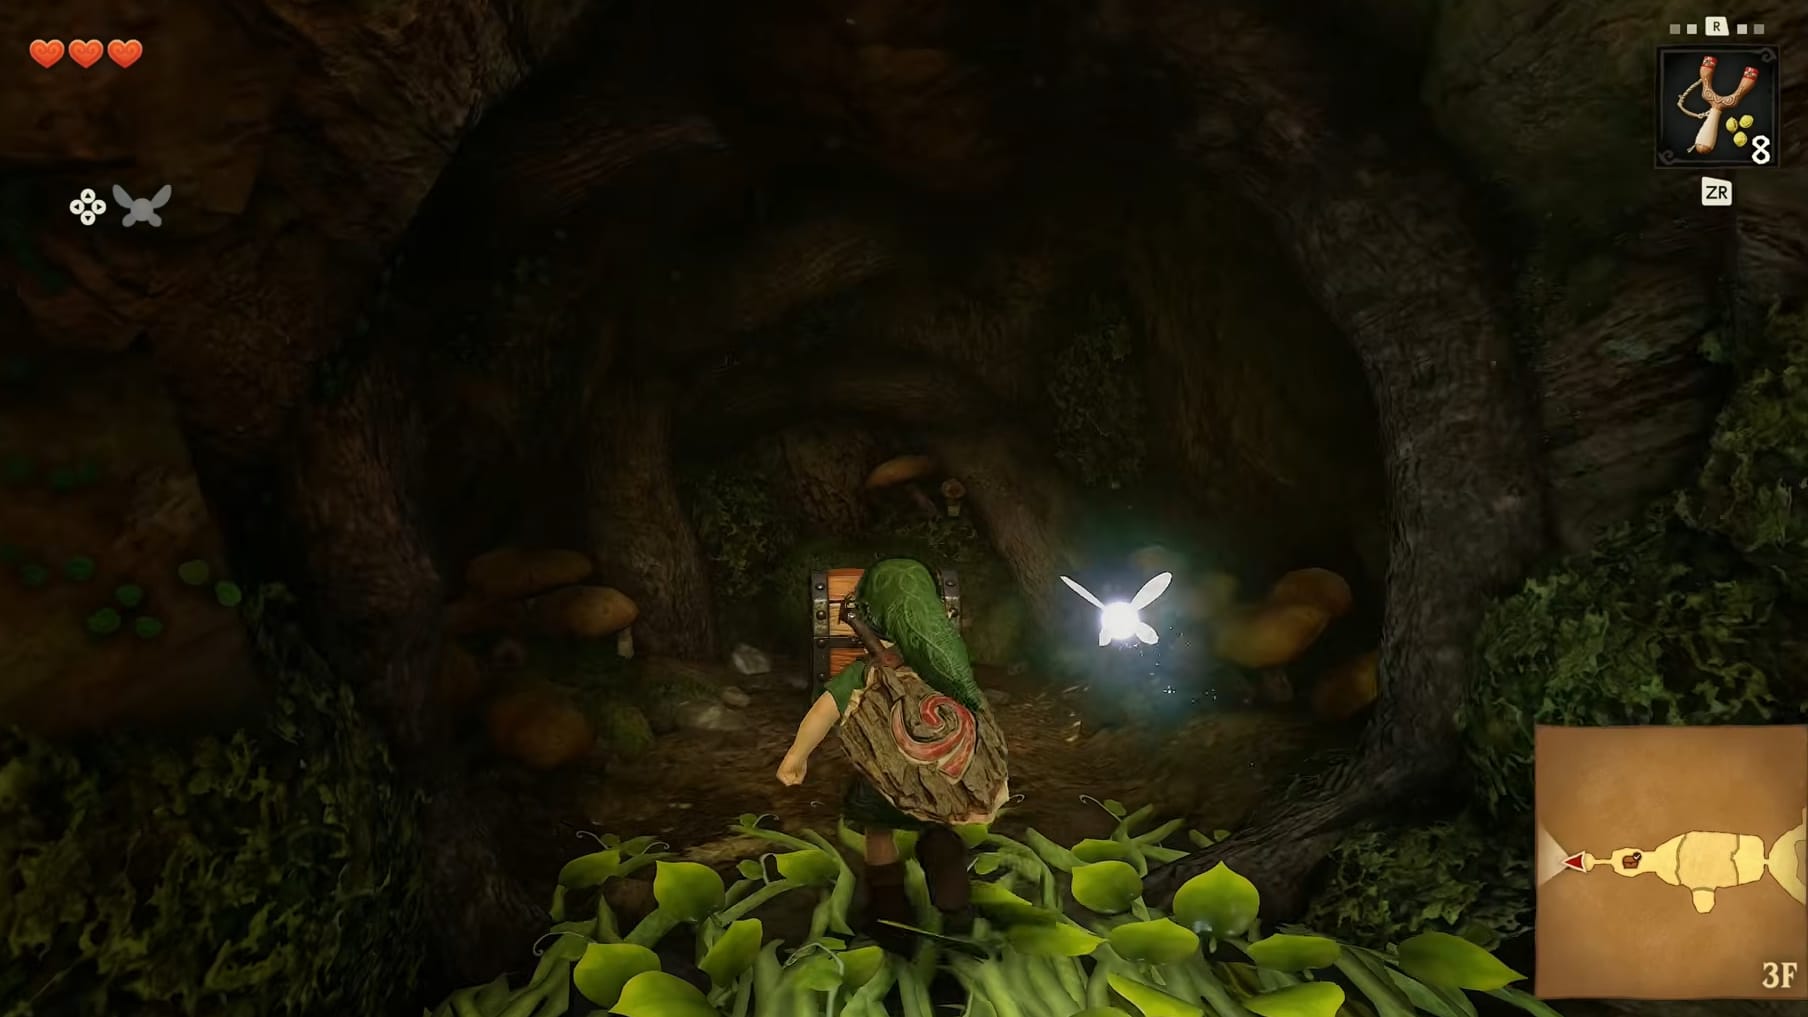
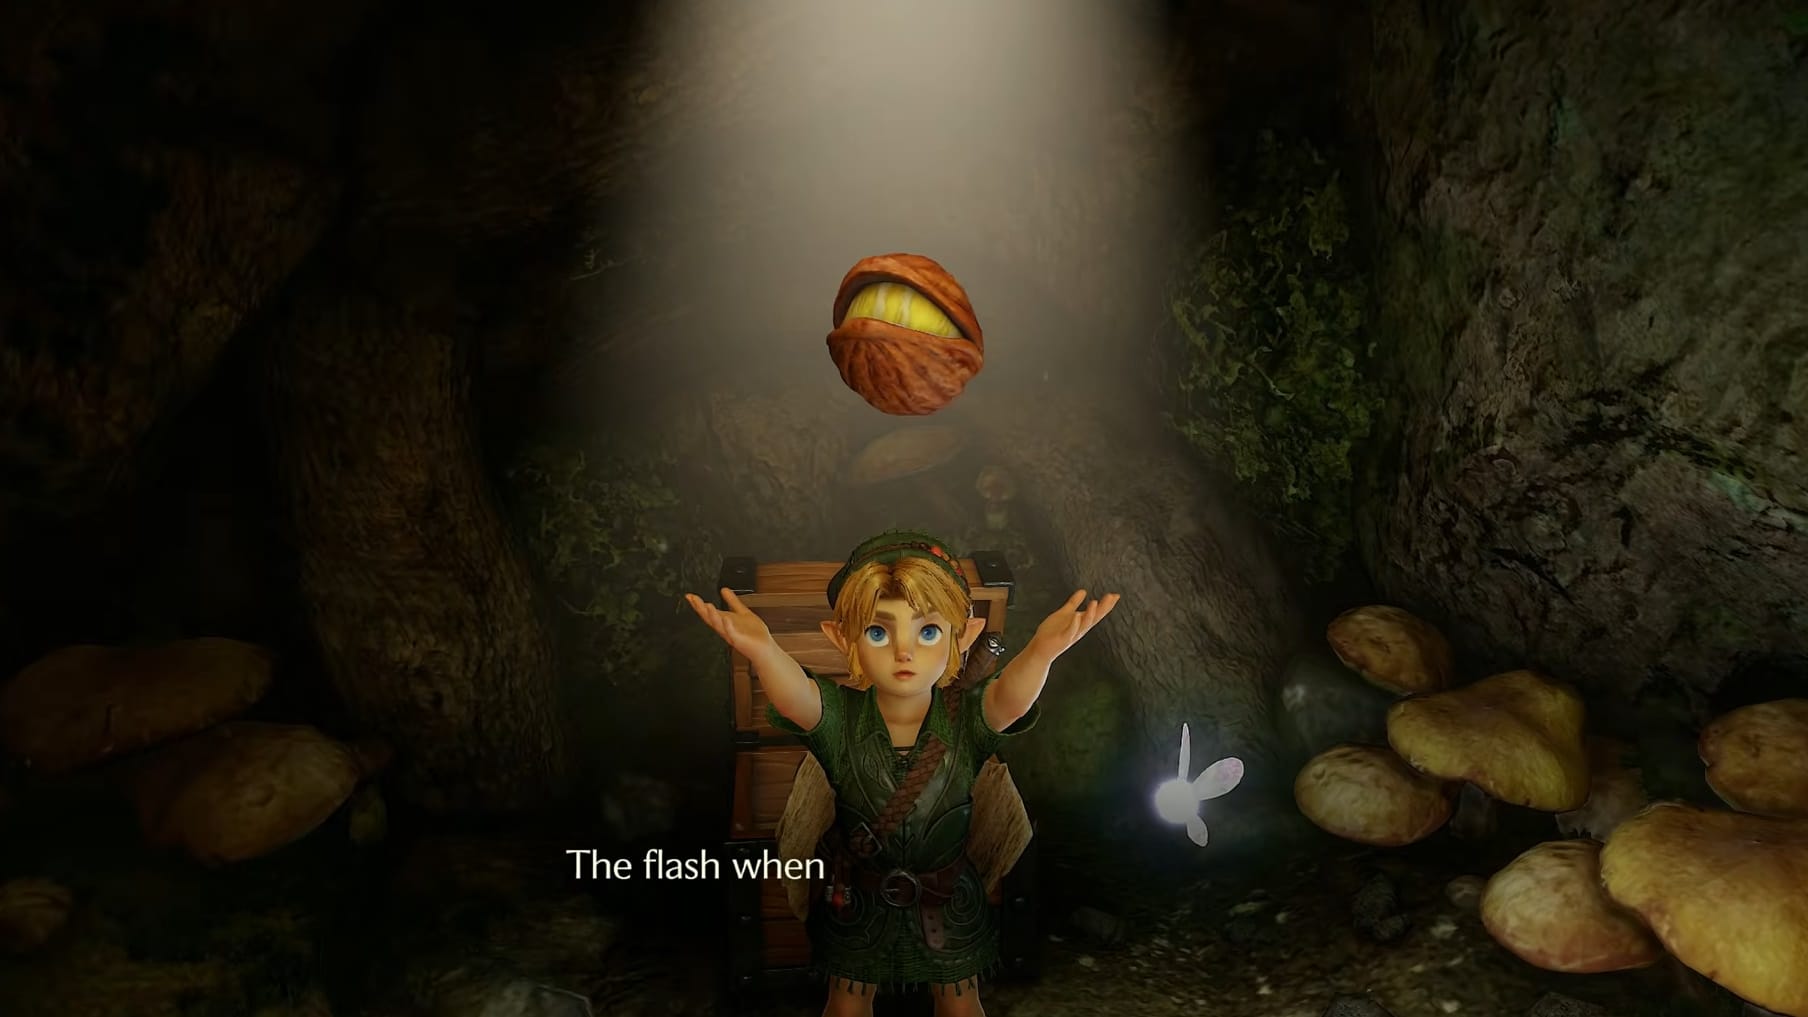
Go to the wall behind the Large Chest. Cut down the glass to find a covered narrow passage. Enter the passage and through it to reach the small chest on top of the vine-covered ledge above. The small chest has 3 Deku Seeds inside it for your use. Either you can crawl back out, get across the pit and back into the main room or turn around, jump the gap and drop down the hole to quickly reach the empty nearby large chest. It’s time to get into the basement levels of the Great Deku Tree.
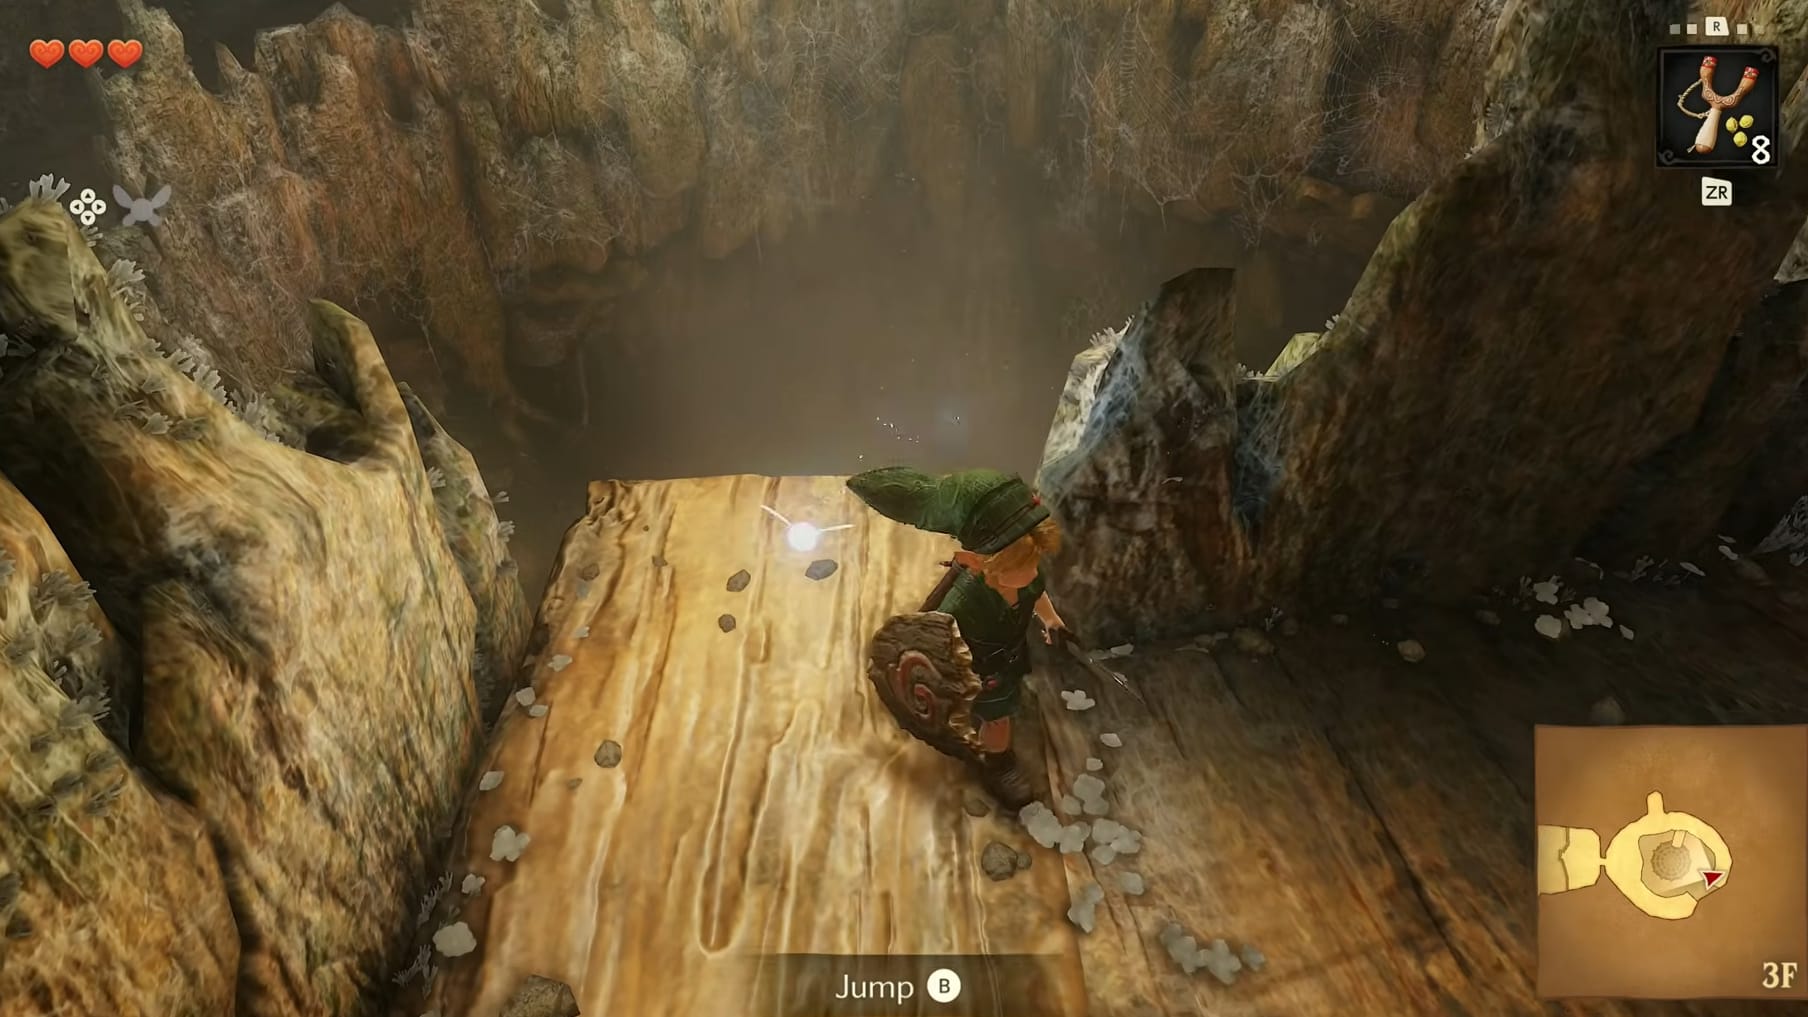
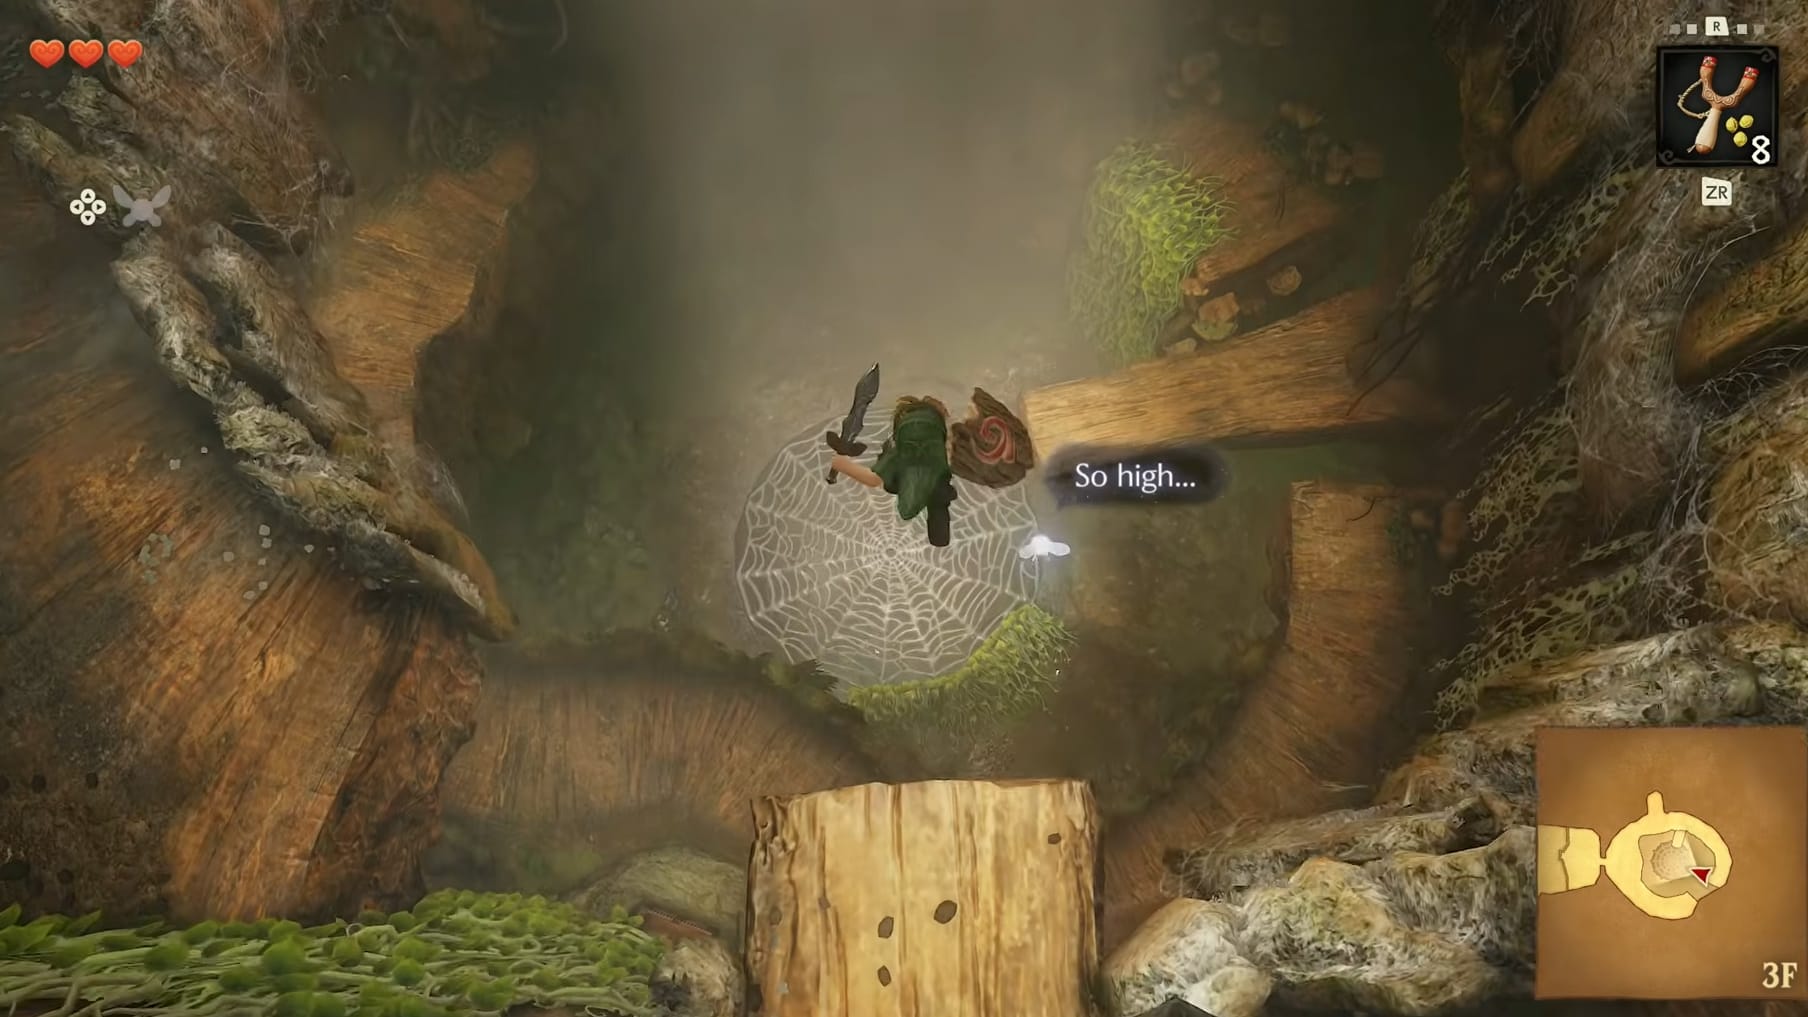
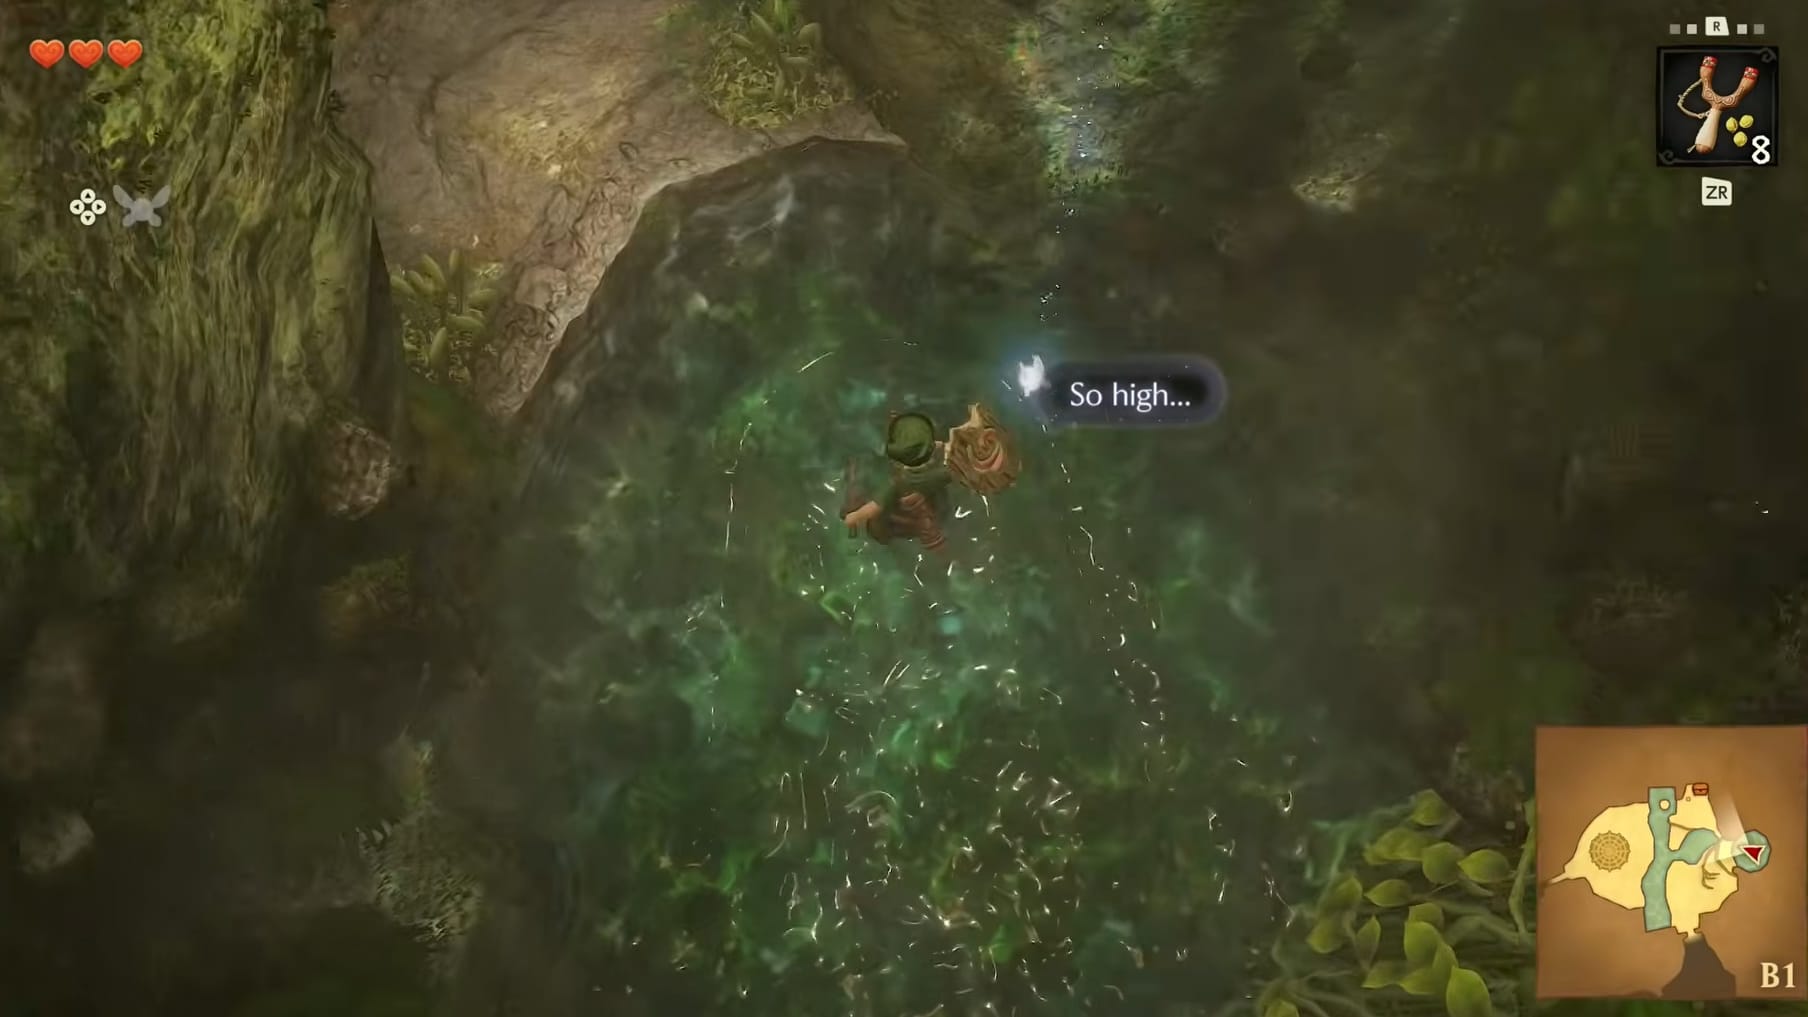
Head along the walkway here in the central room. There’s a Northern Alcove that has a Skulltula who drops down to defend 3 hearts. But you want to head to the Eastern side of the walkway. There’s a small balcony there that’s defended by a Skulltula. Defeat the Skulltula, get to the edge and jump down. Link will break through the webbing and splash down into the first basement level in a pool of water.
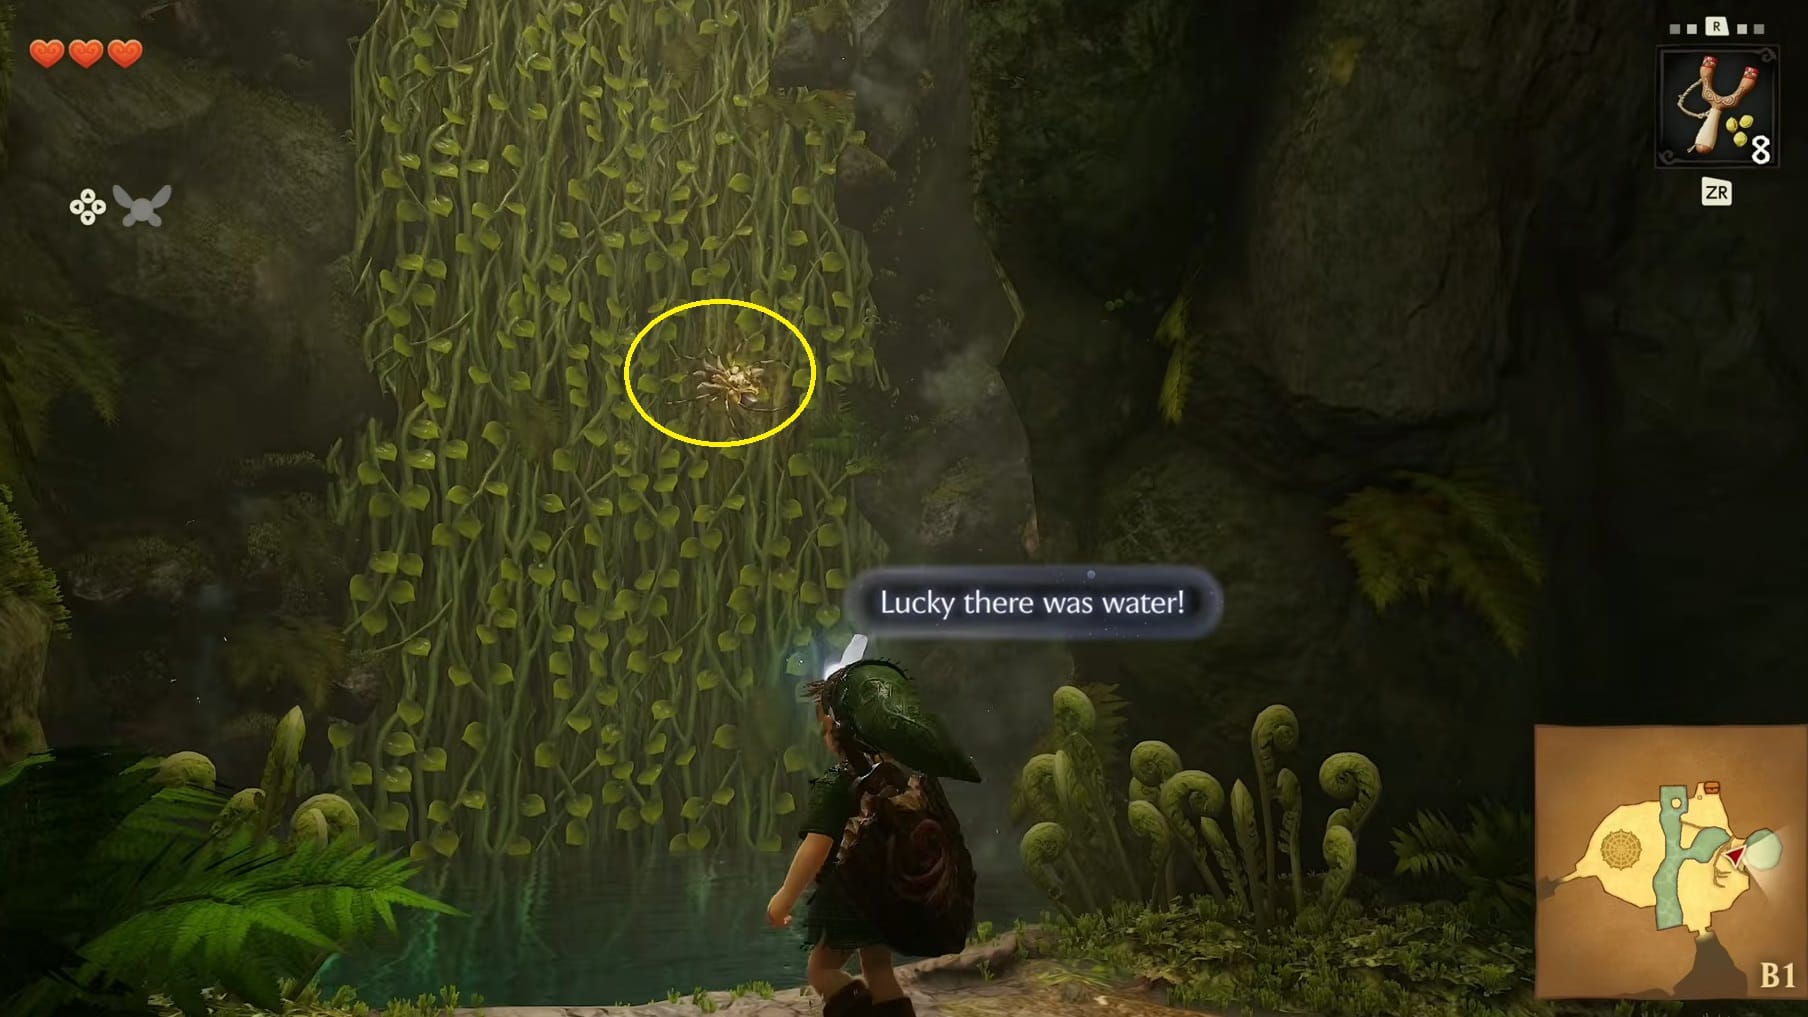
Climb out of the water to the West. Look to the vines to find another Golden Skulltula. Hit it with a shot from the Slingshot. Claim the resulting Token and drop back down into the water and head back to the West. Drop of the ledge into the adjacent room.
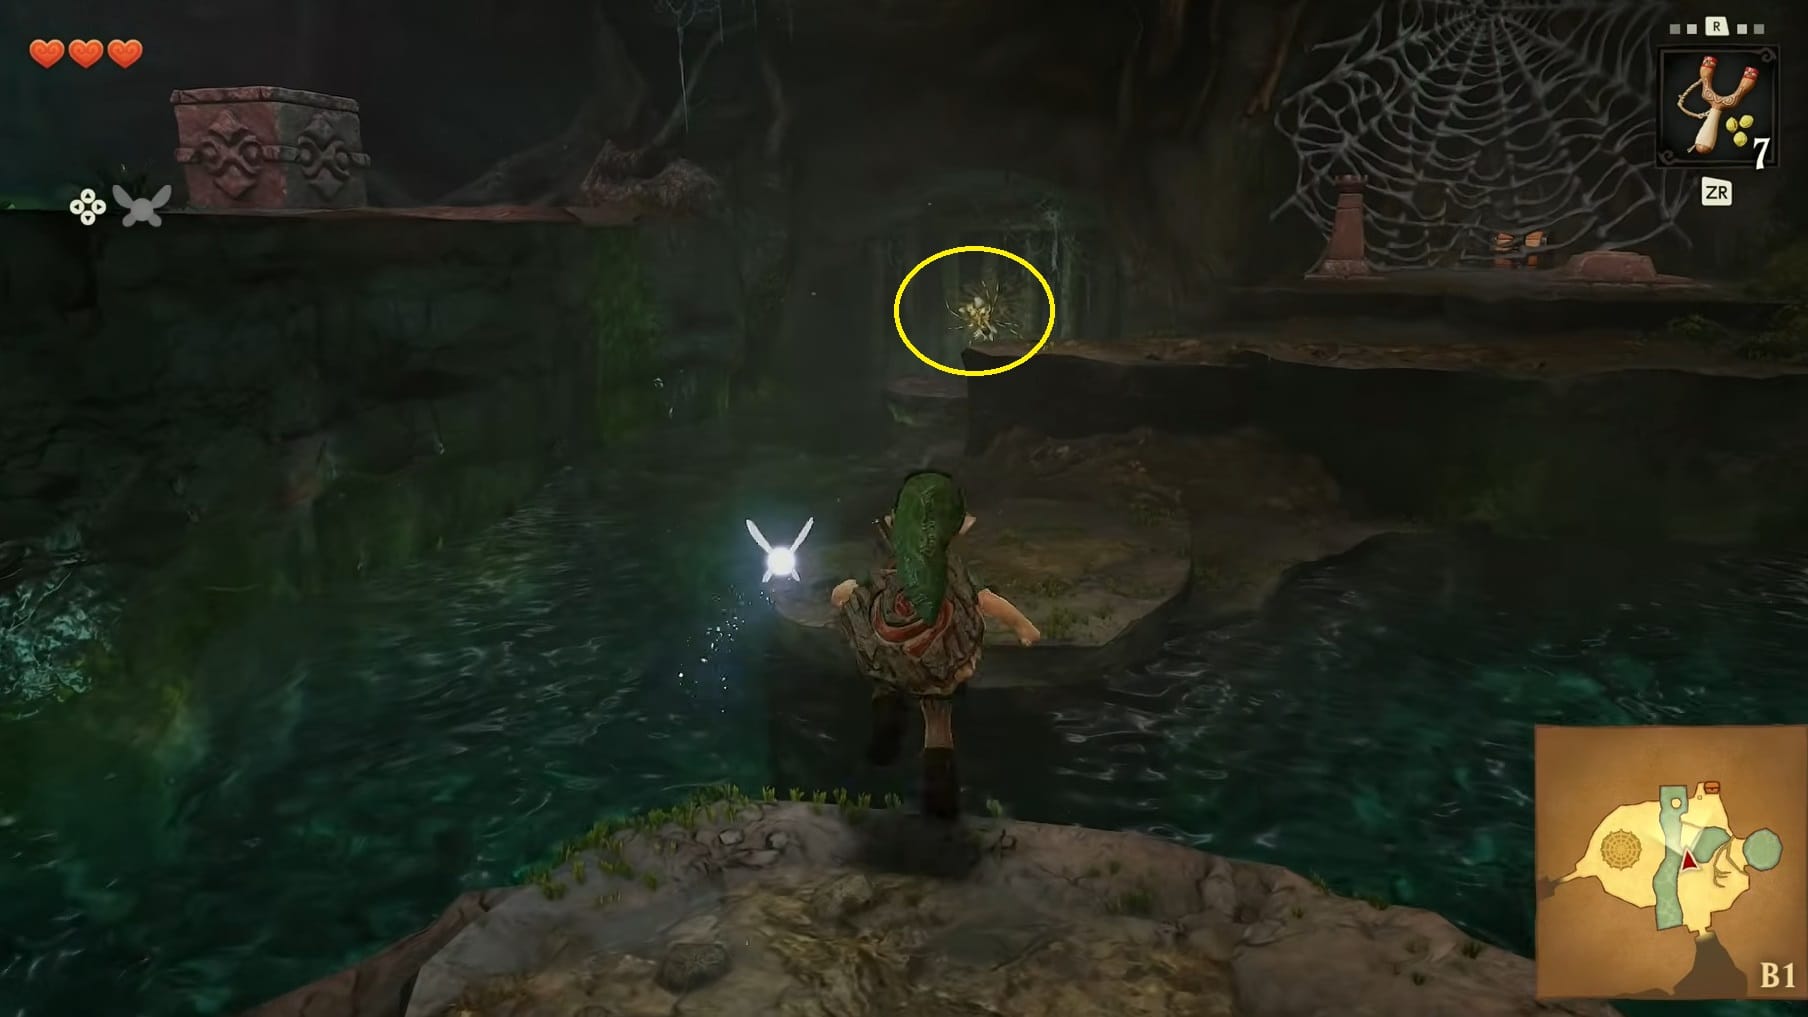
Before working on solving the puzzle here, go over to the central Northern Wall. On the Bars you will find 1 more Golden Skulltula there. Defeat it either with the Slingshot or Sword and claim the token it drops.
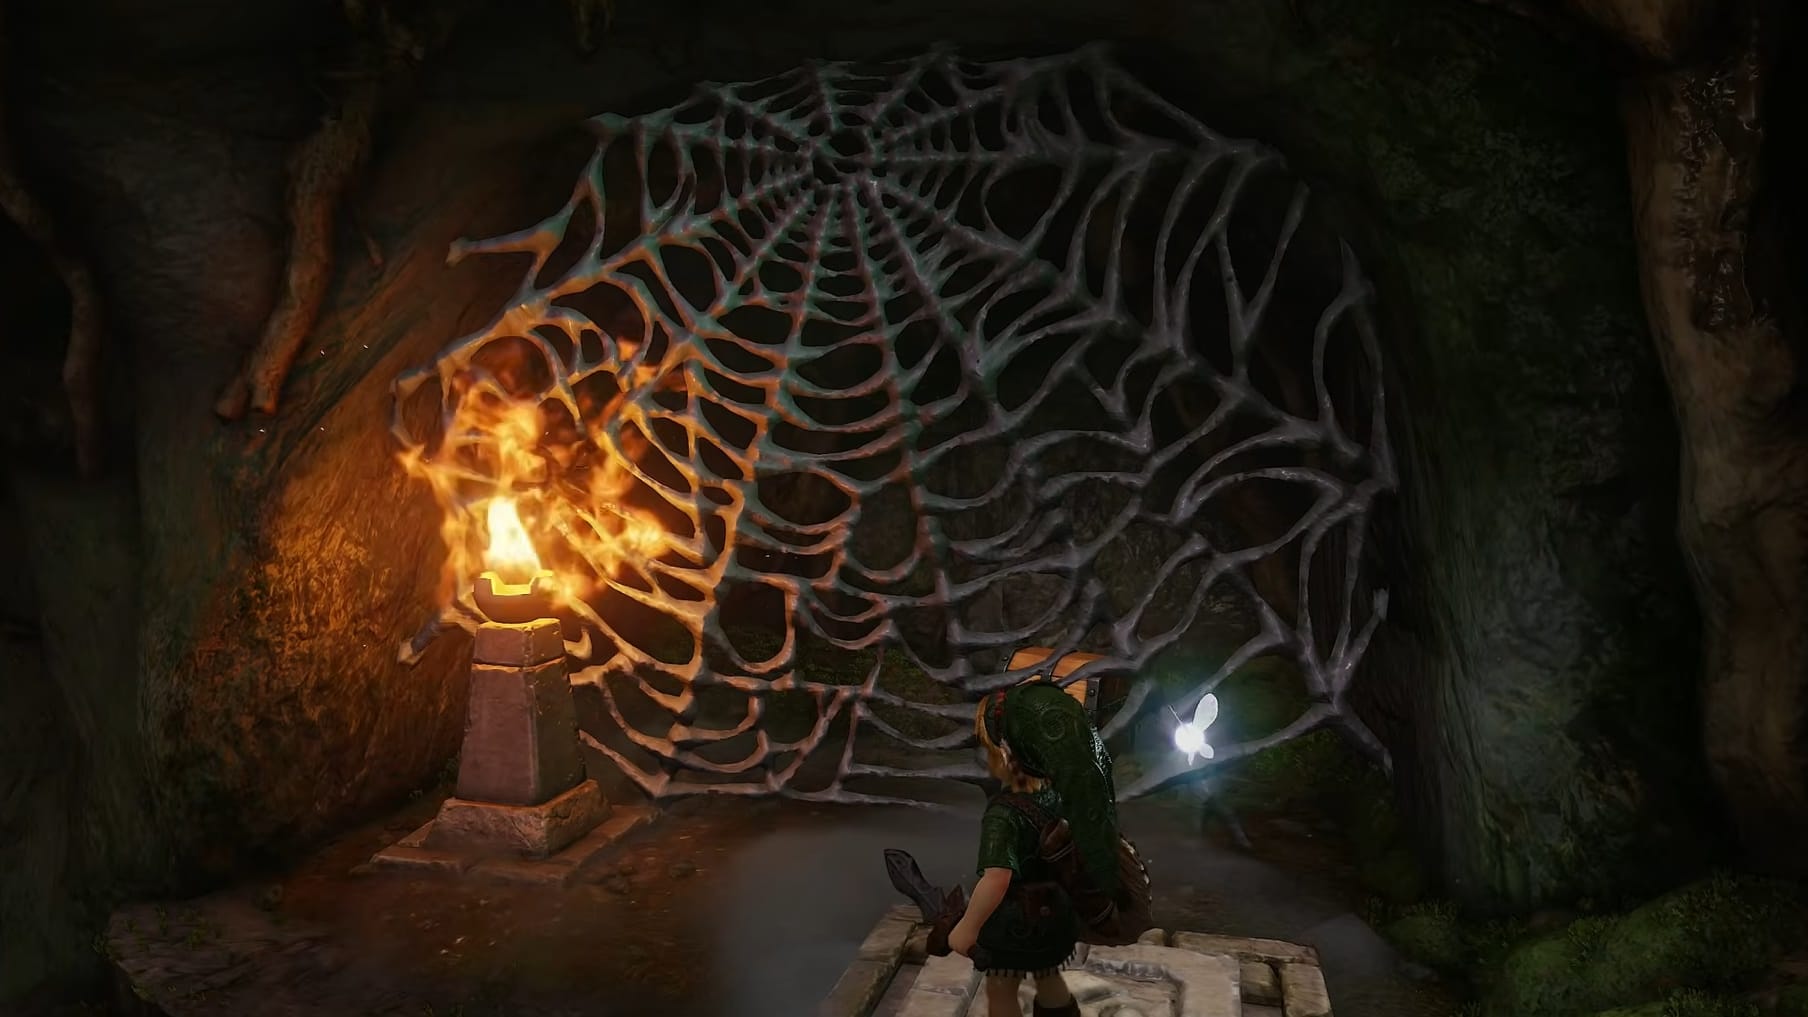
Go to the nearby alcove. Just in front of the webs is a floor switch. Step on the switch to ignite the nearby torch. These flames will incinerate the webs over the alcove. Go over to the small chest and open it to claim the 3 Deku Sticks within.
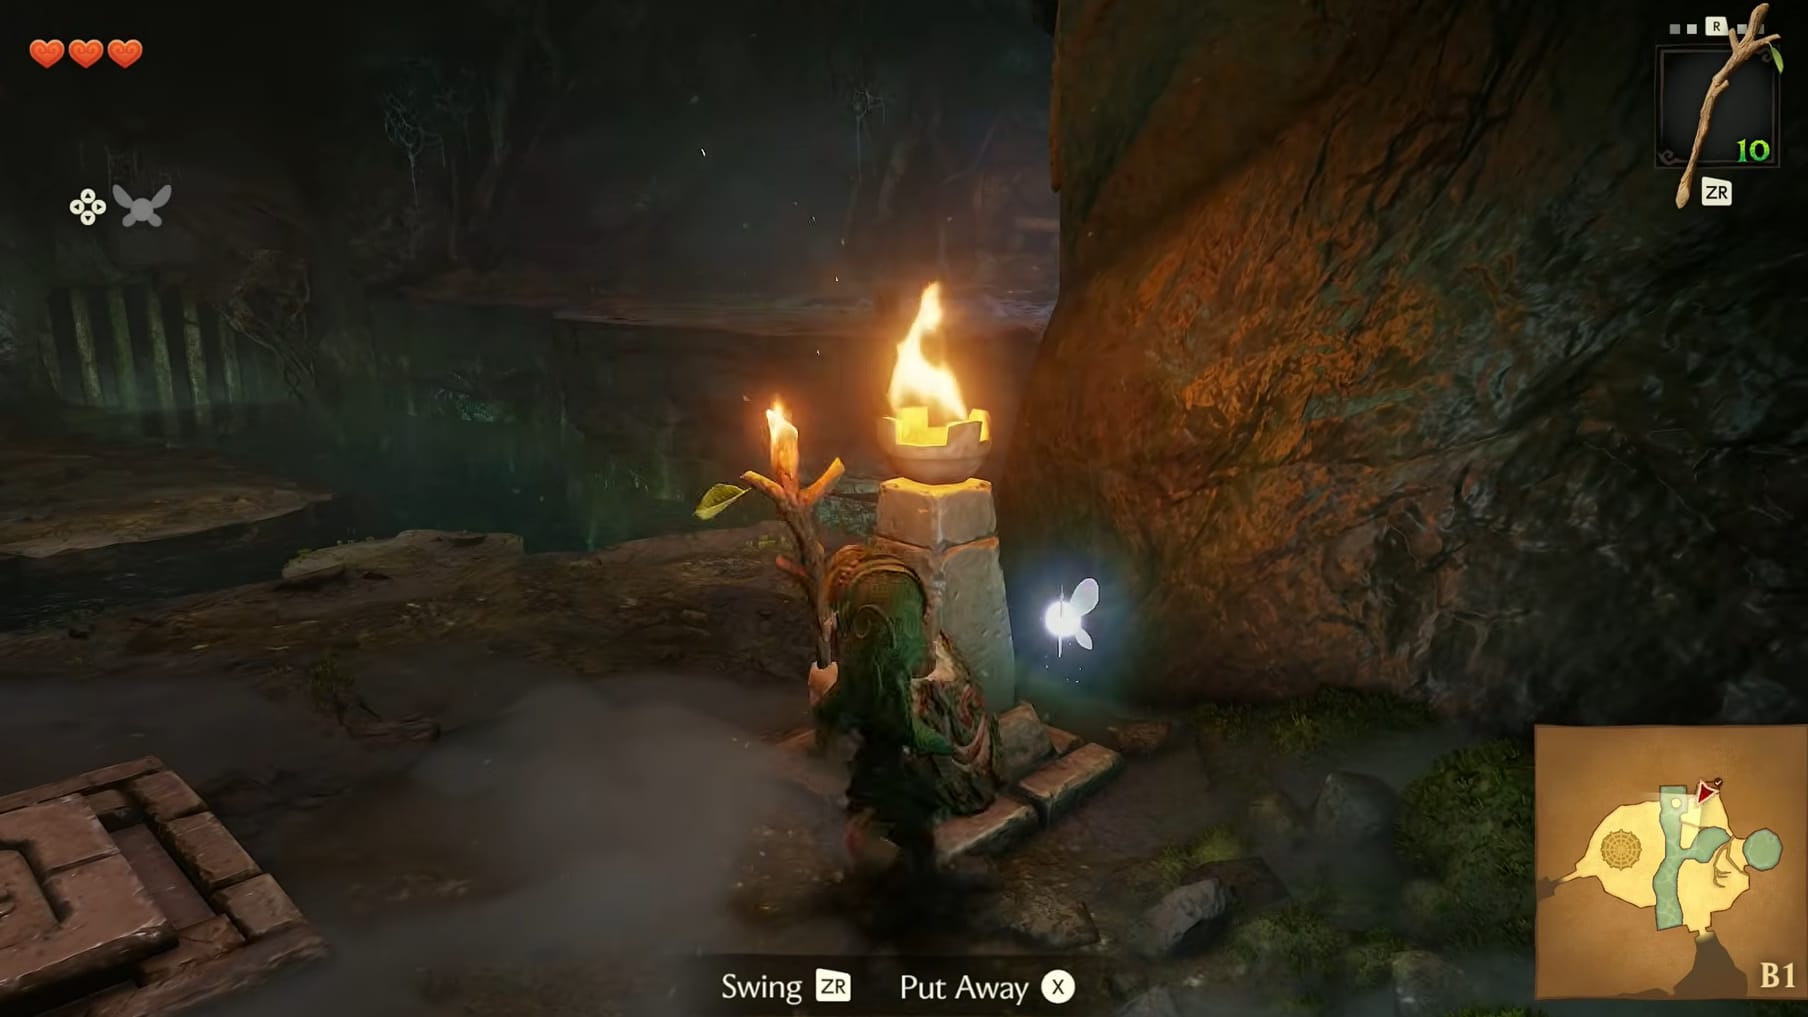
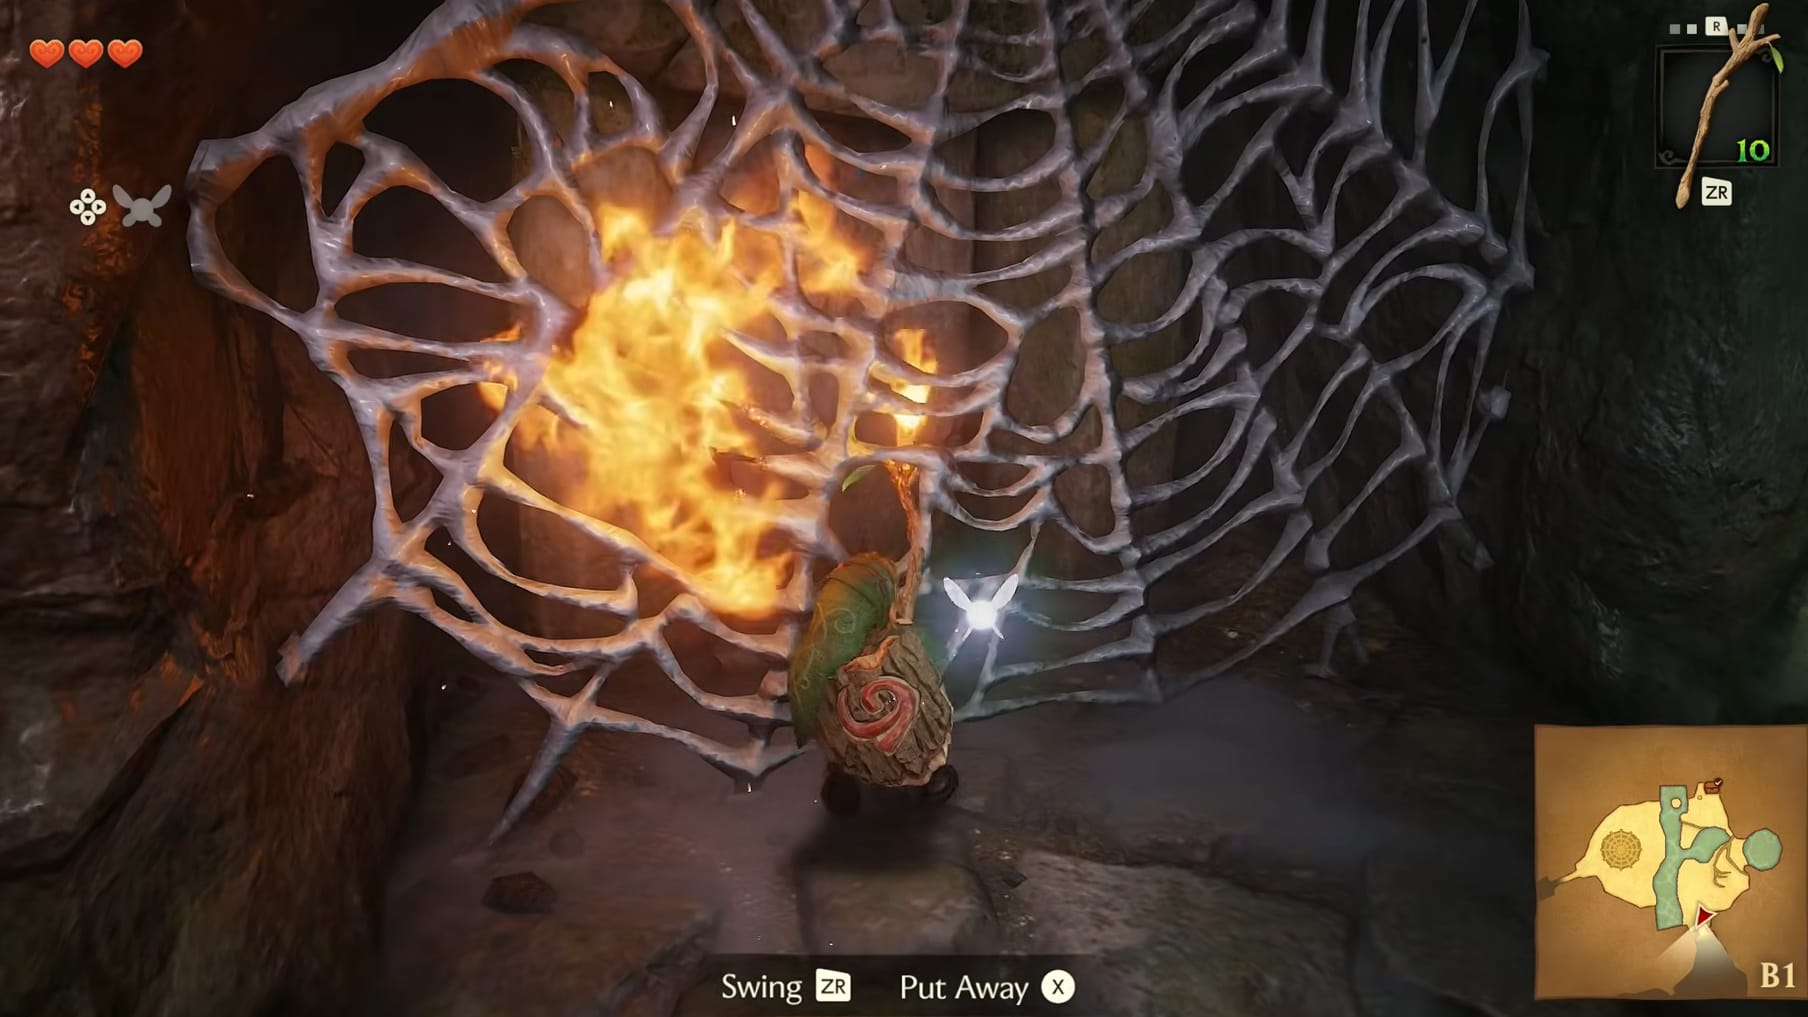
Equip 1 of the Deku Sticks and go over to the Lit Torch. The Stick will ignite and Link needs to get across the room to the web covering the Southern door. Be mindful of the Deku Baba, just rush past them. All you need to do is get the Lit Deku Stick to the Web to burn it away and give you access to the door.
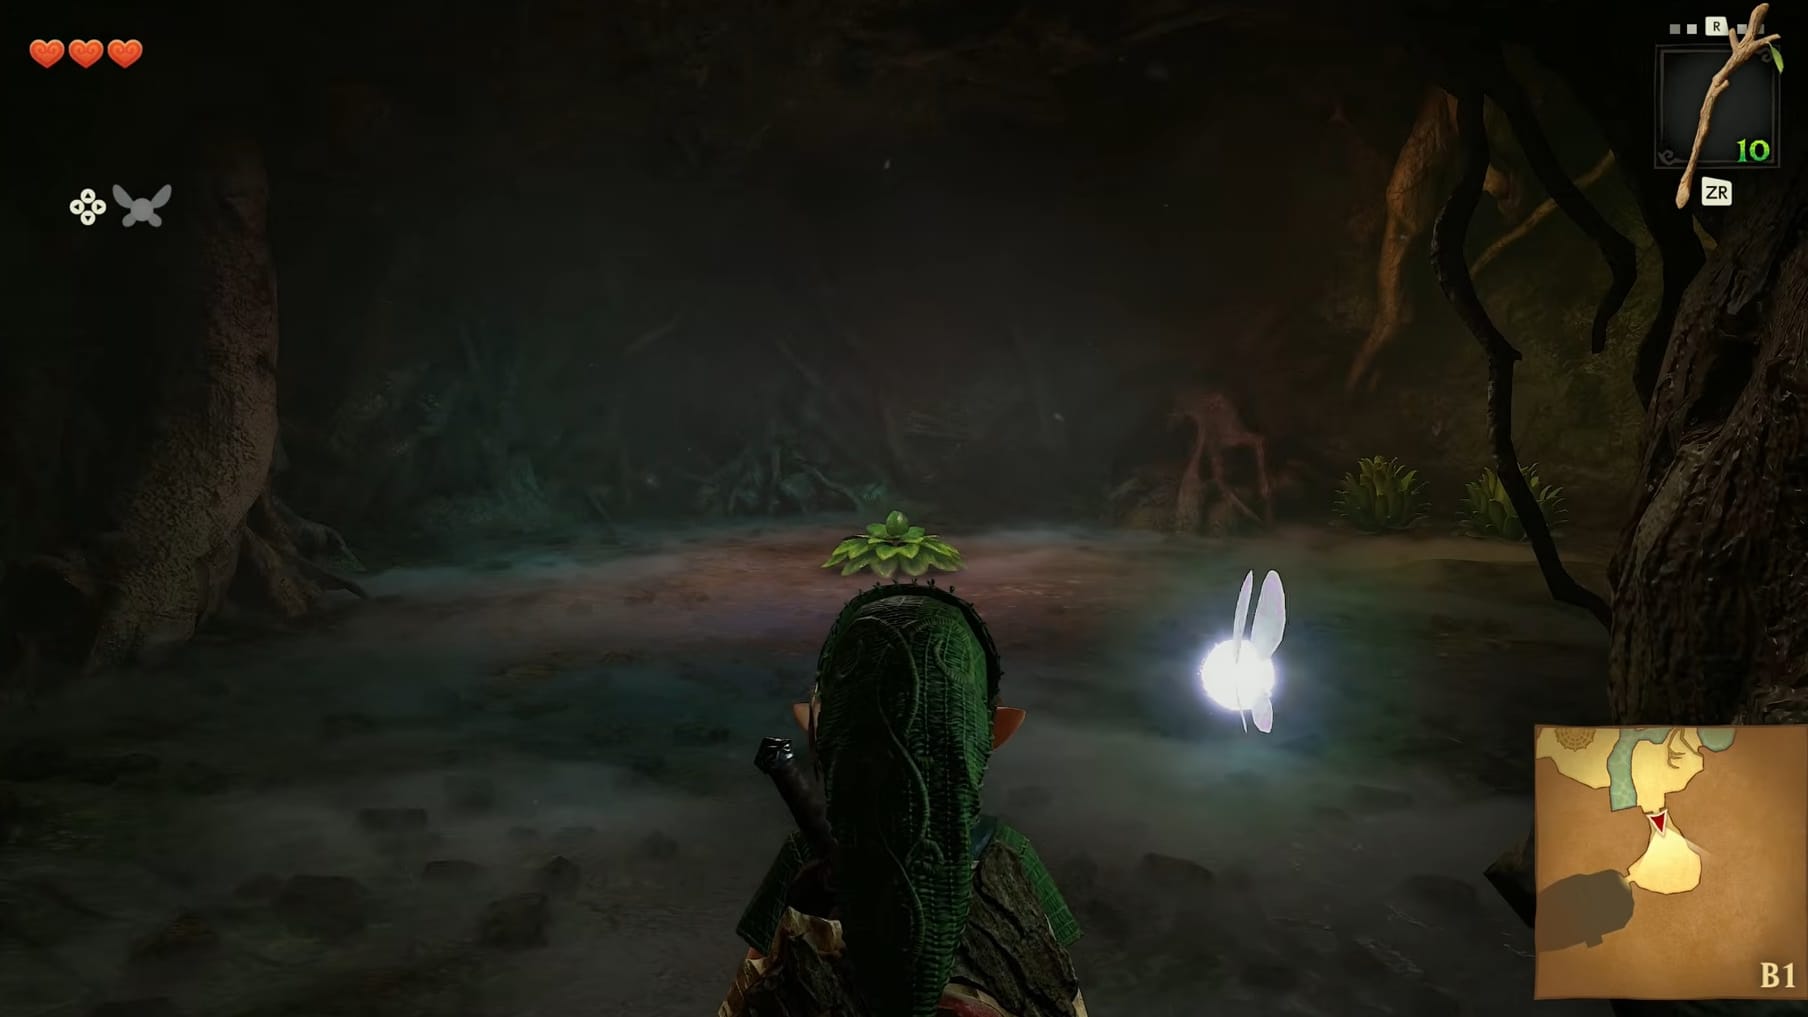
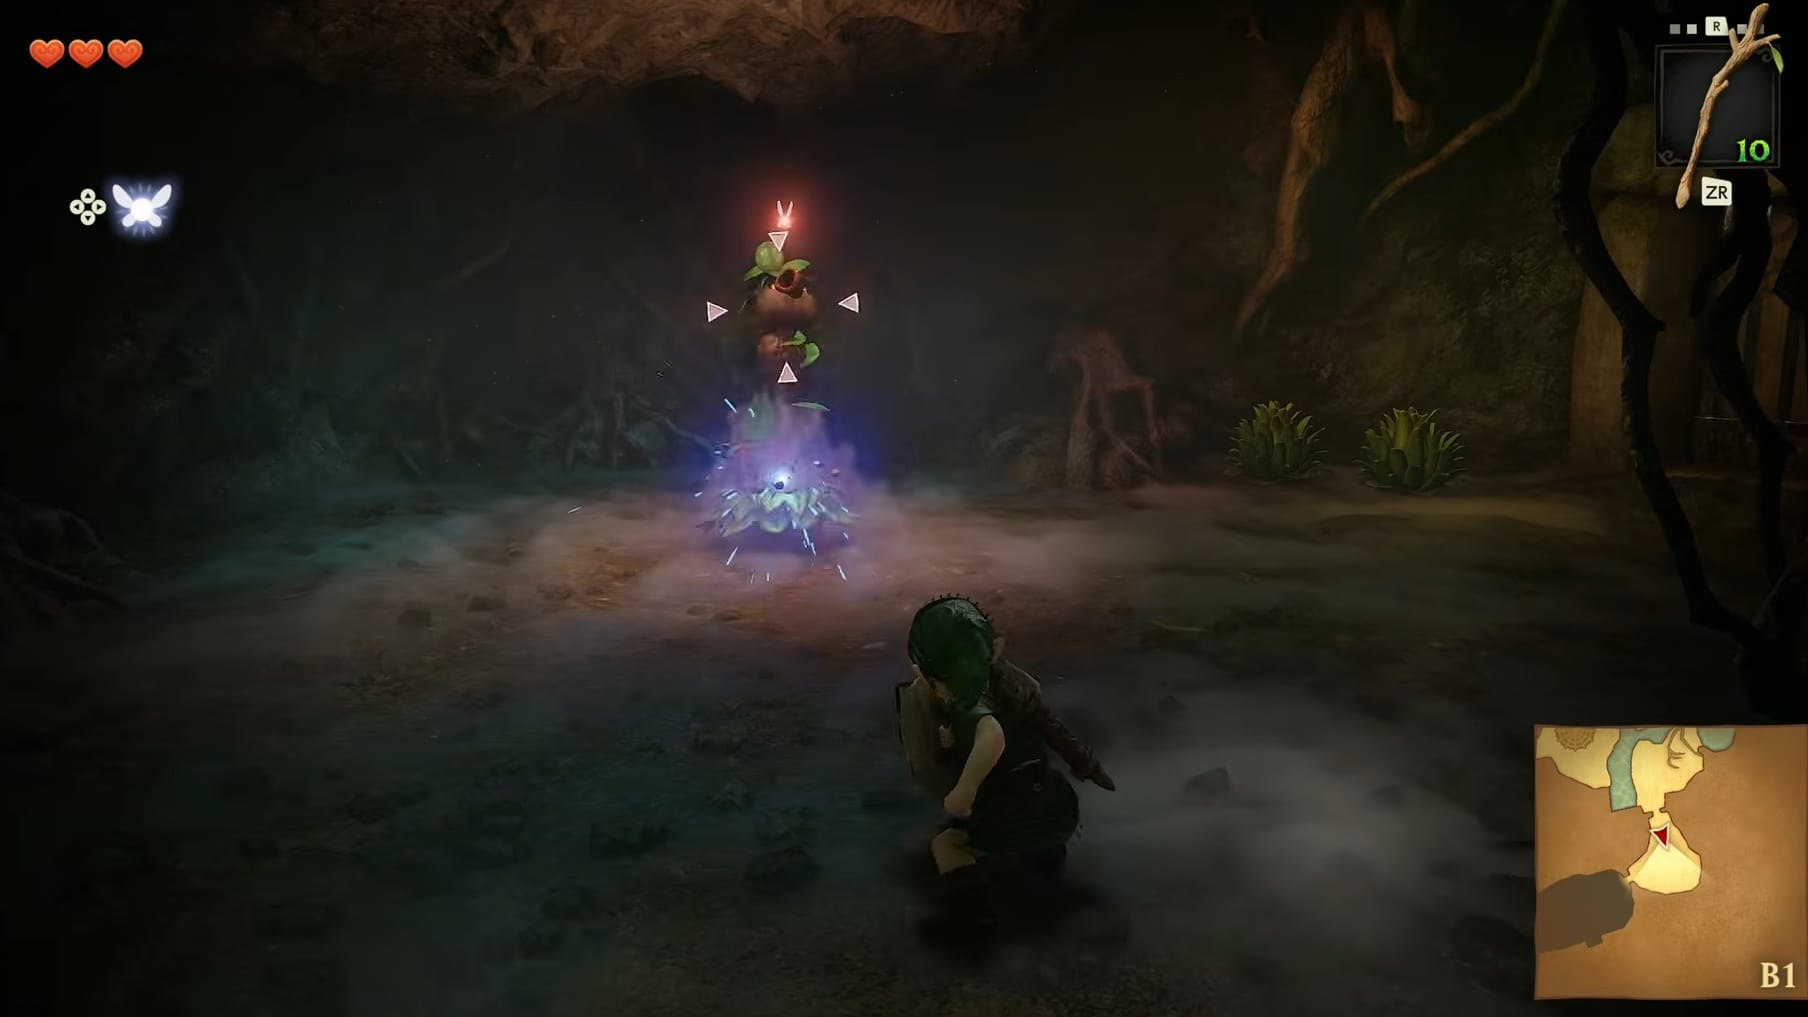
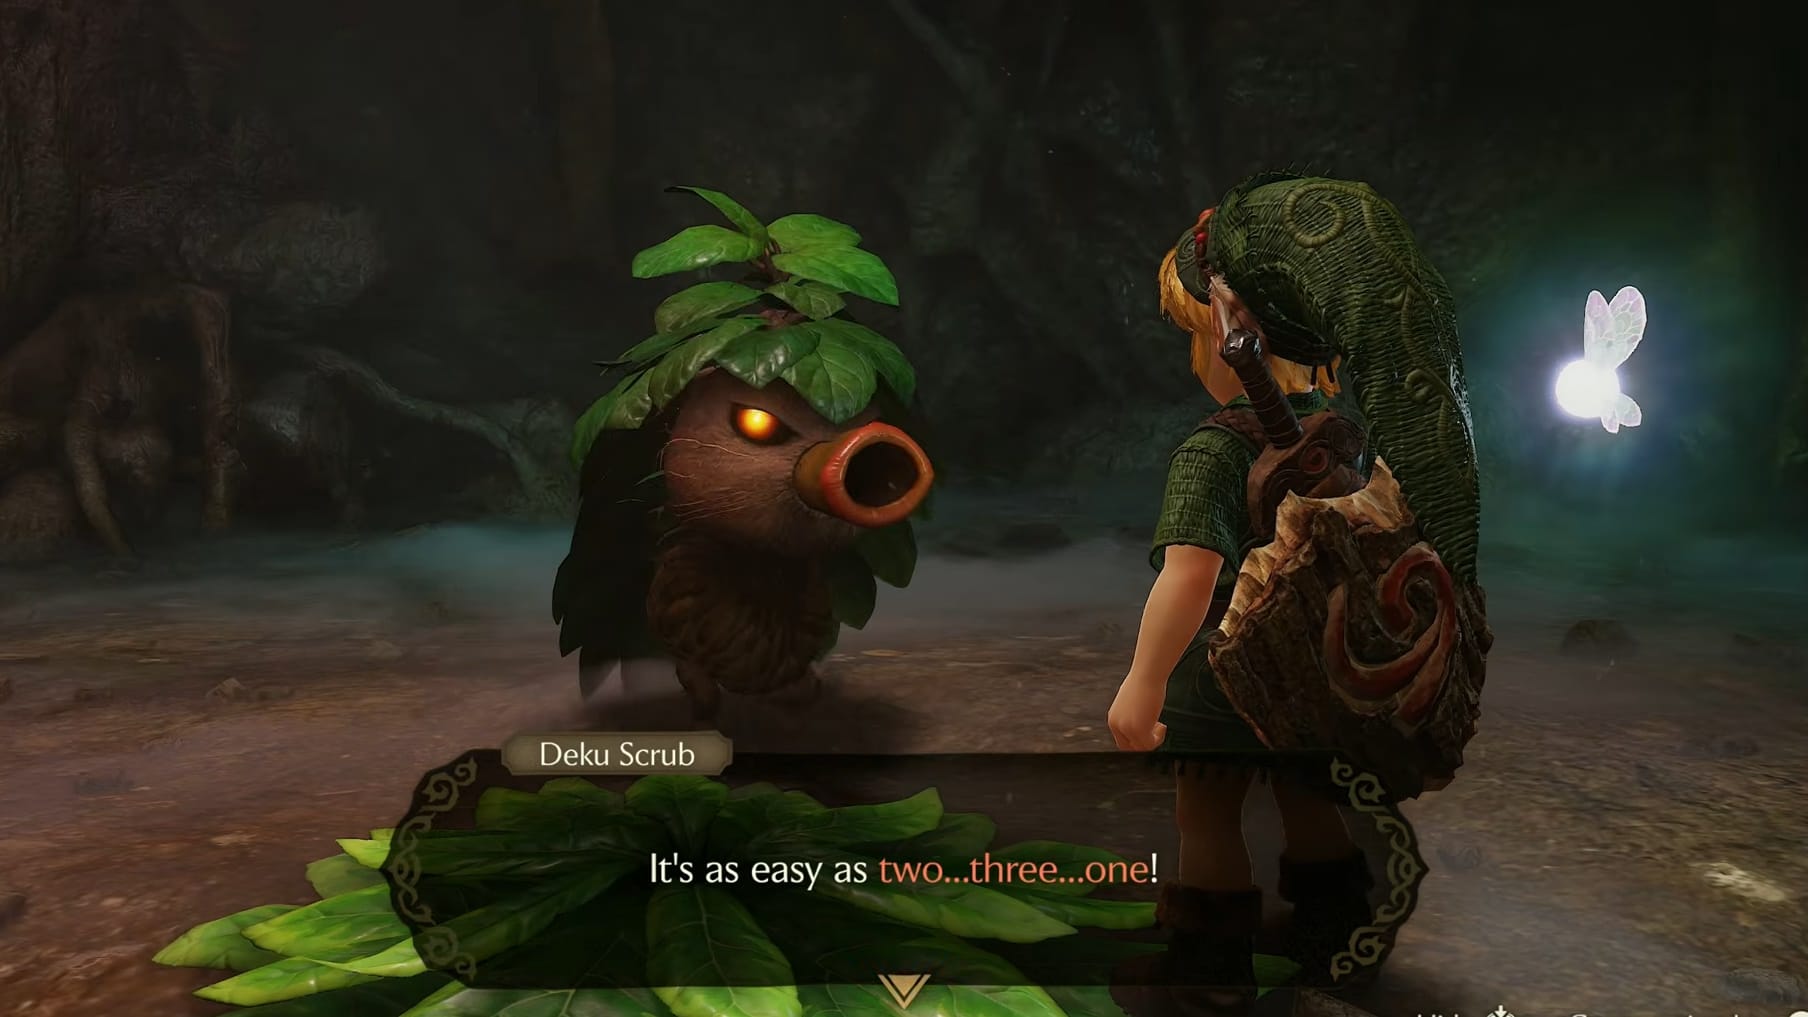
Through the door is another Deku Scrub room. Approach the Scrub so it pops out. Block with your shield to reflect a shot from them. They tell you that the Deku Trio can only be defeated by doing so in a particular order: 2, 3, 1.
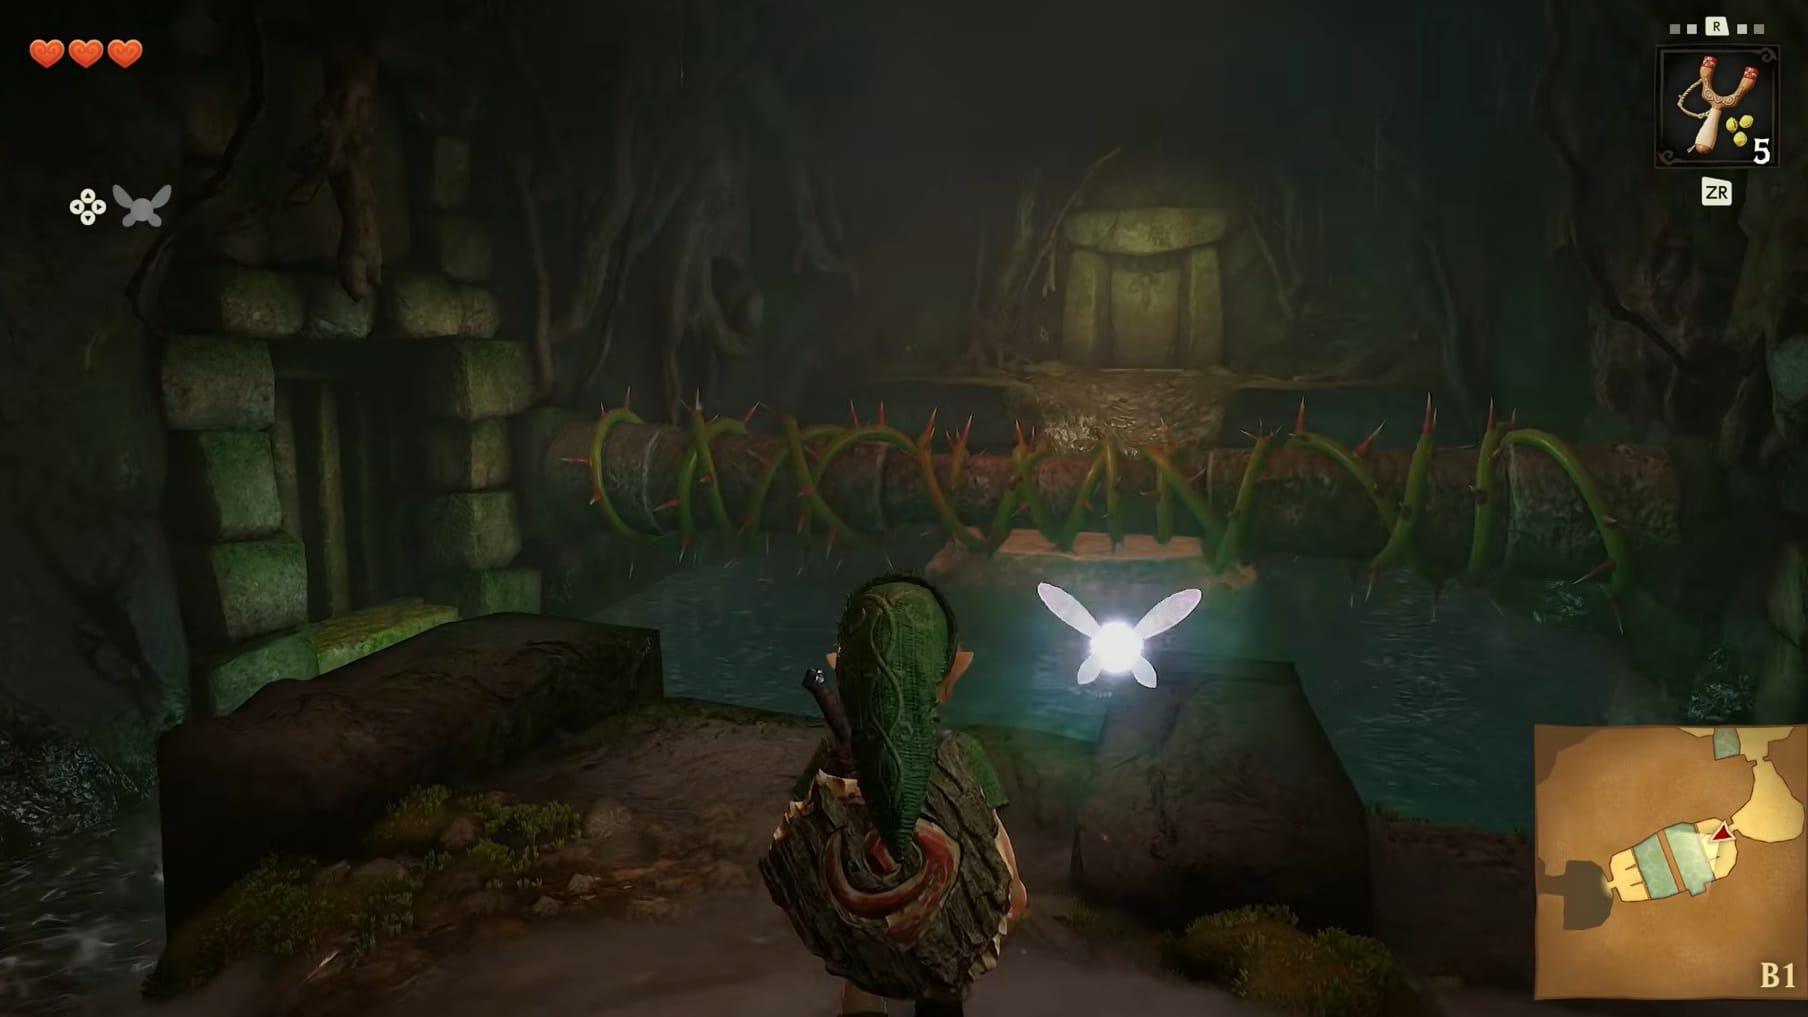
To leave this room, moving forward, you need to look to the Western Wall. Use the Slingshot to hit the Eyeswitch above the door there.
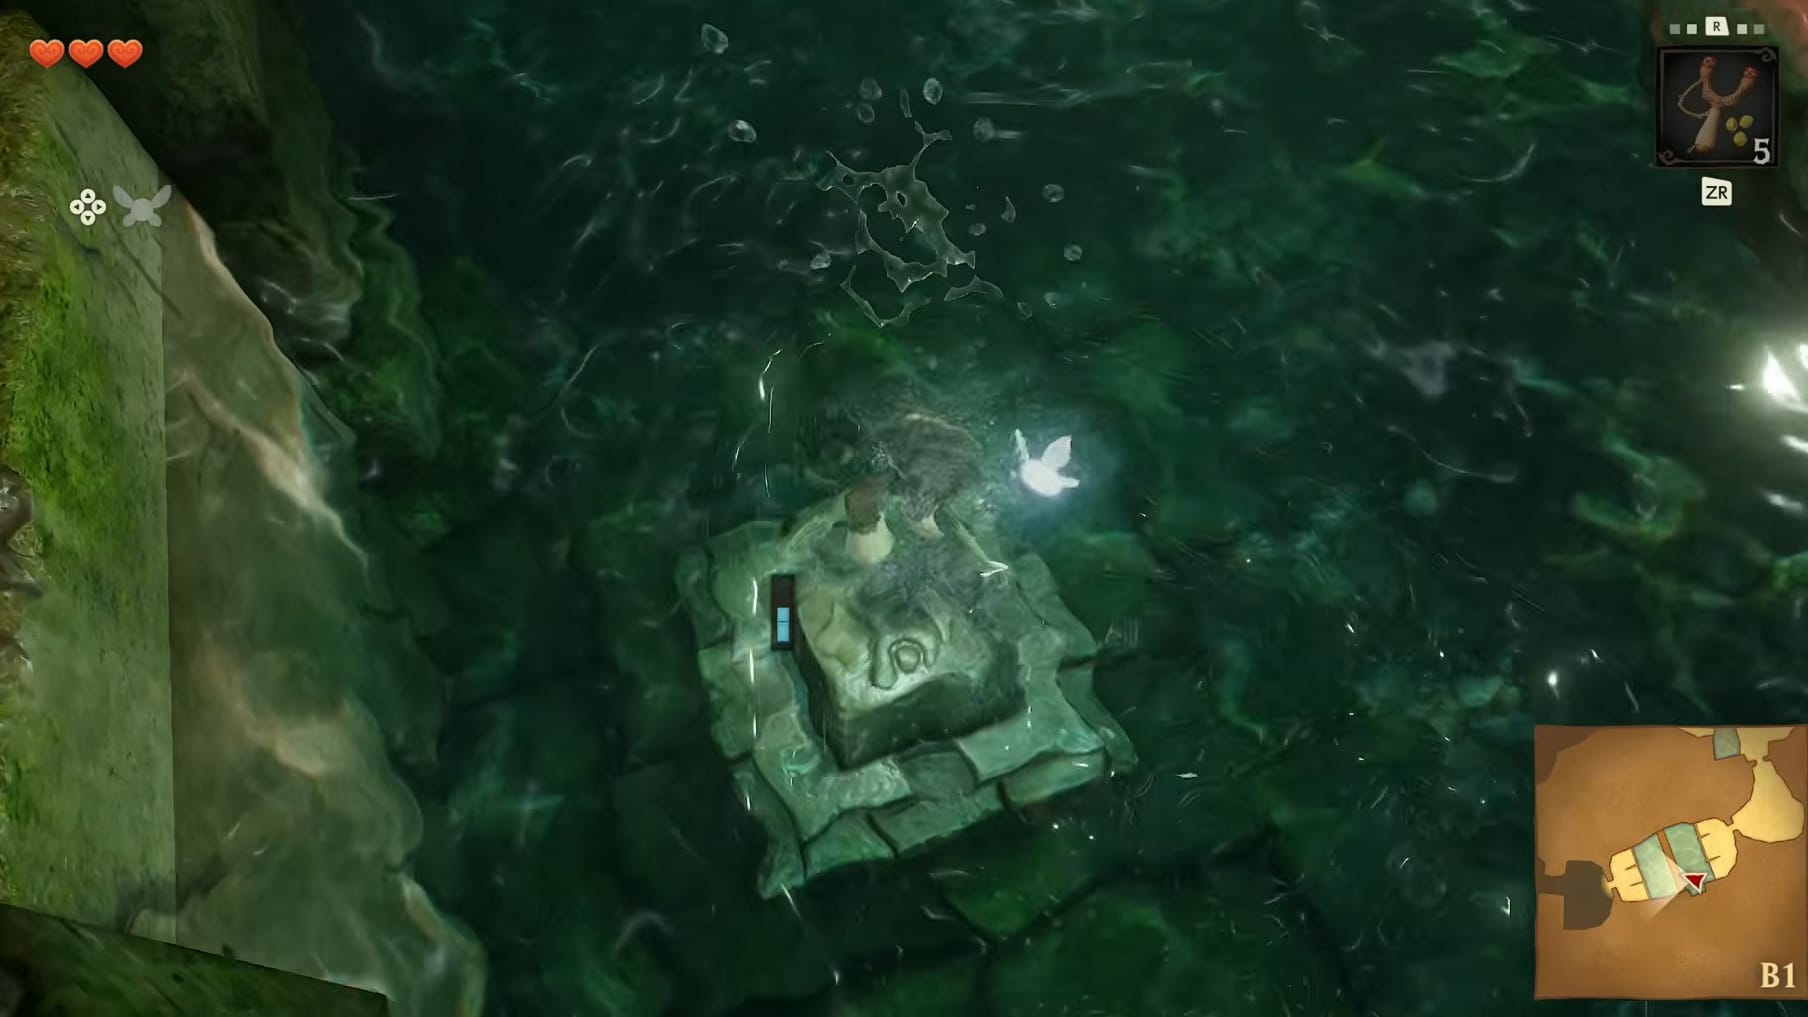
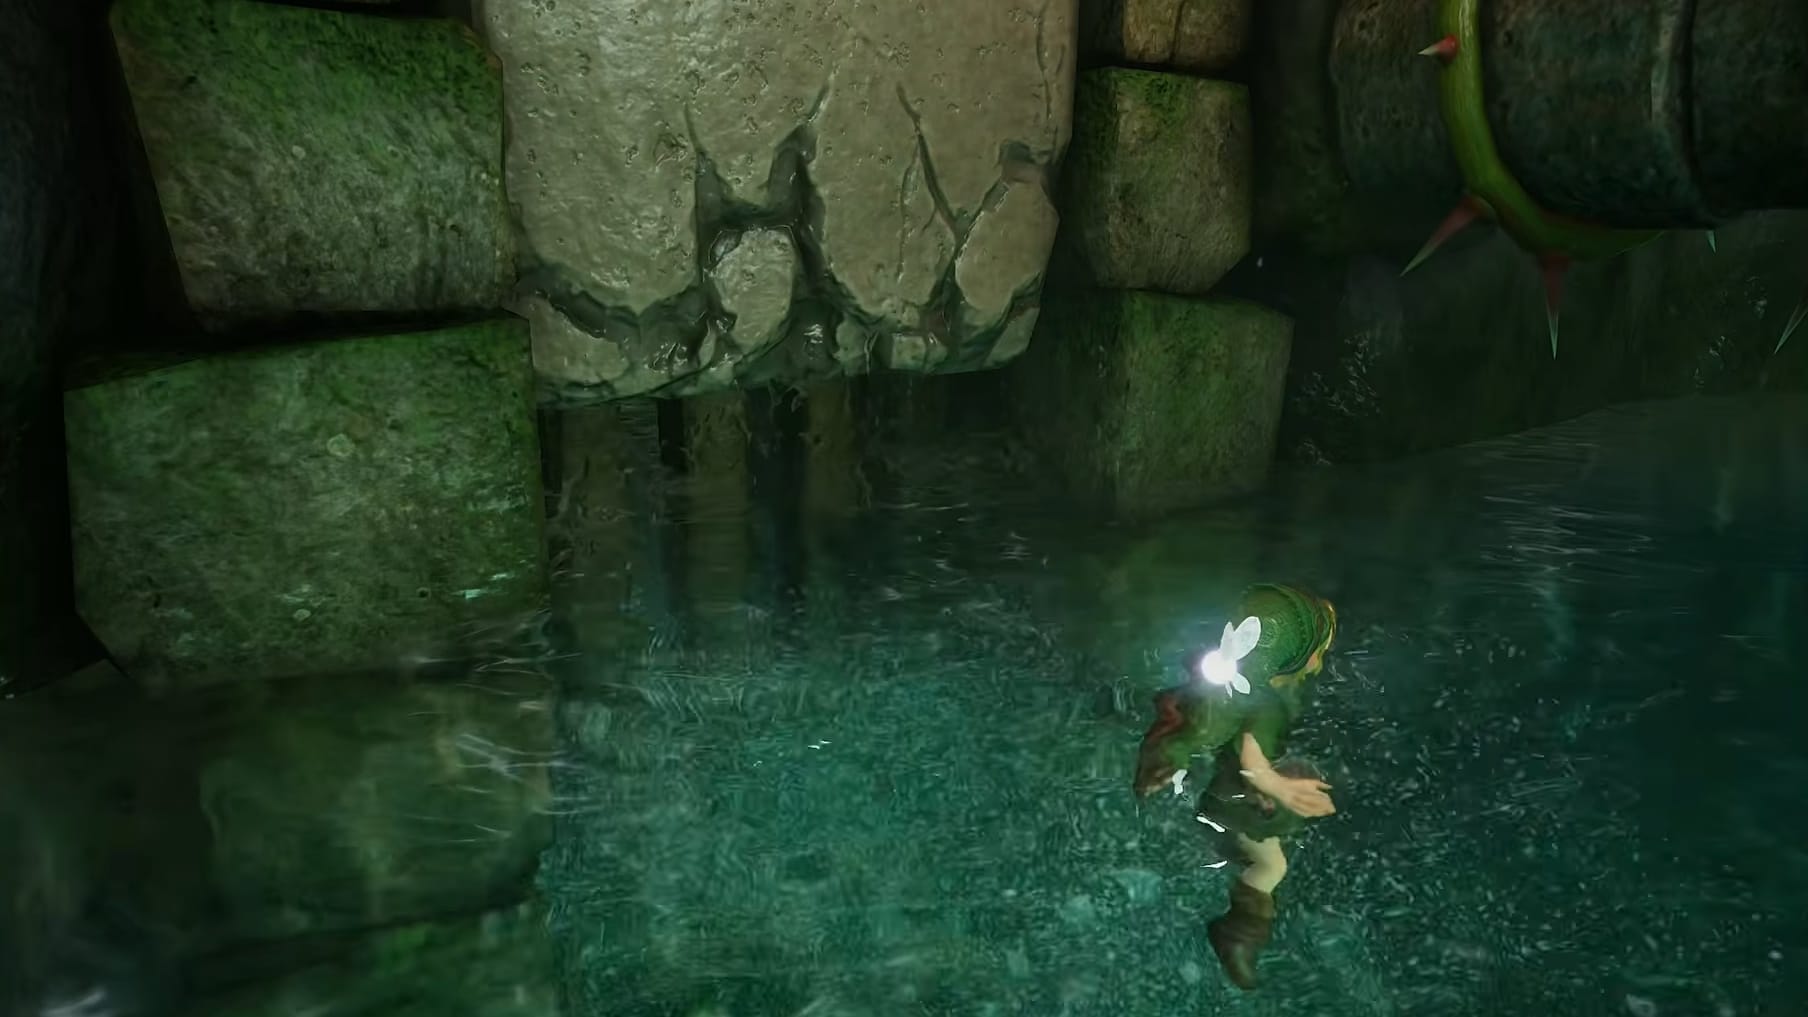
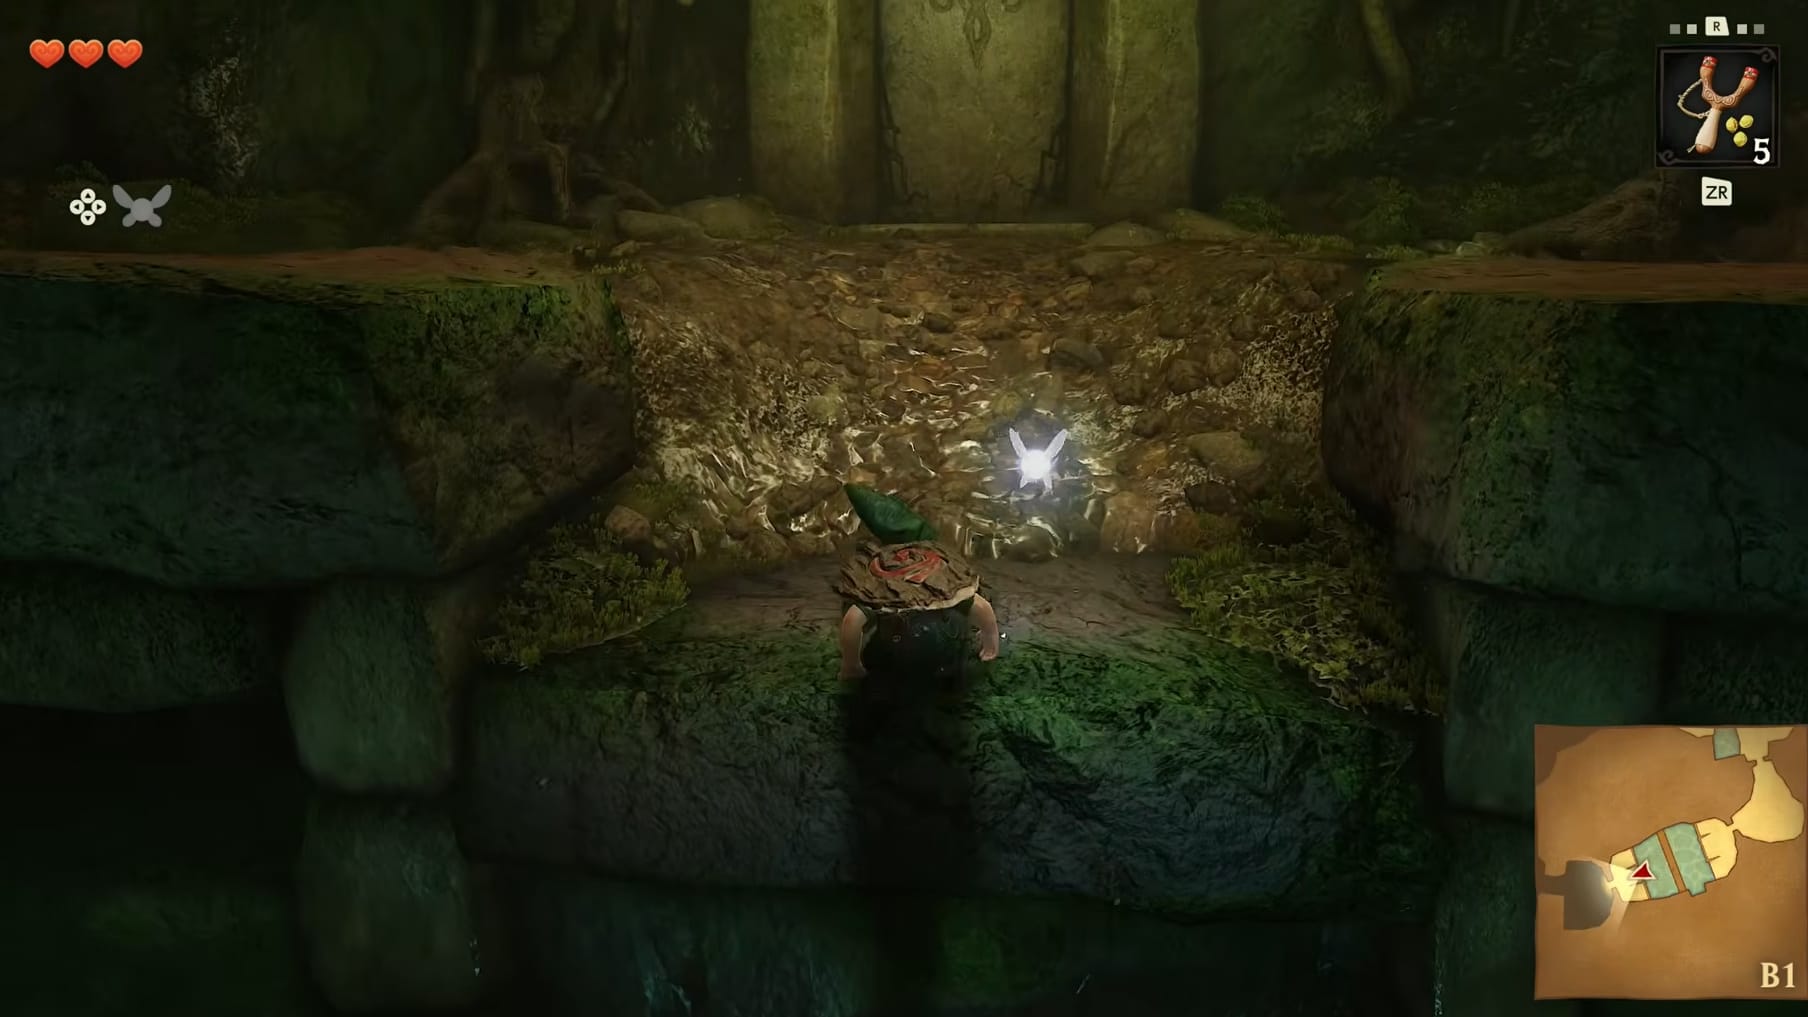
In this water-filled room, go over to the Southern side of the ledge. Follow the ramp down into the water. After that, swim out to the switch that’s under water. Dive down to the switch to have Link tap it. Doing so will cause the water to drop notably. Go back to the ledge you came in on. Jump down to the moving platform that’s in the middle. Rise the platform across to the Western side and climb up onto the opposite ledge. Take that ramp up and over to the door.
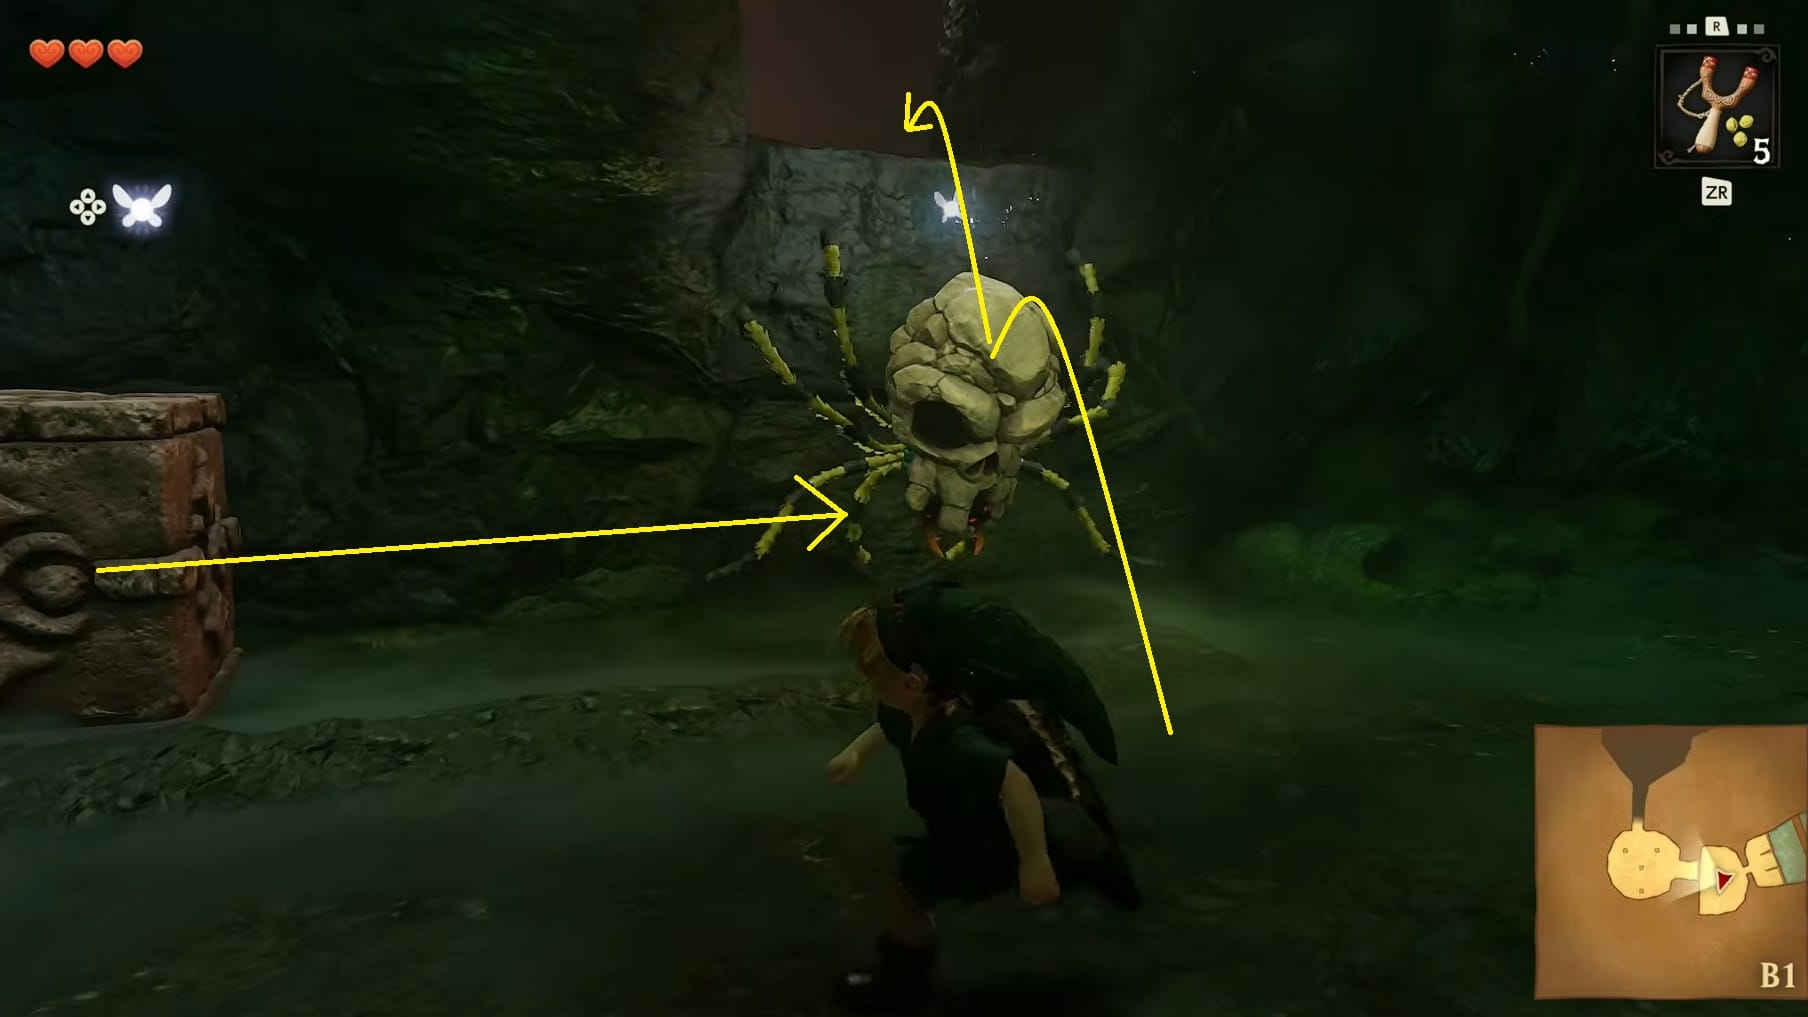
Through the door, you will see a ledge opening in the middle of the wall with a pushable block to the left of it. Get close to the middle opening and a Skulltula will drop down. Defeat it like all the others. Go to the left-hand side of the pushable block and move it to the right to get it under the ledge above you.
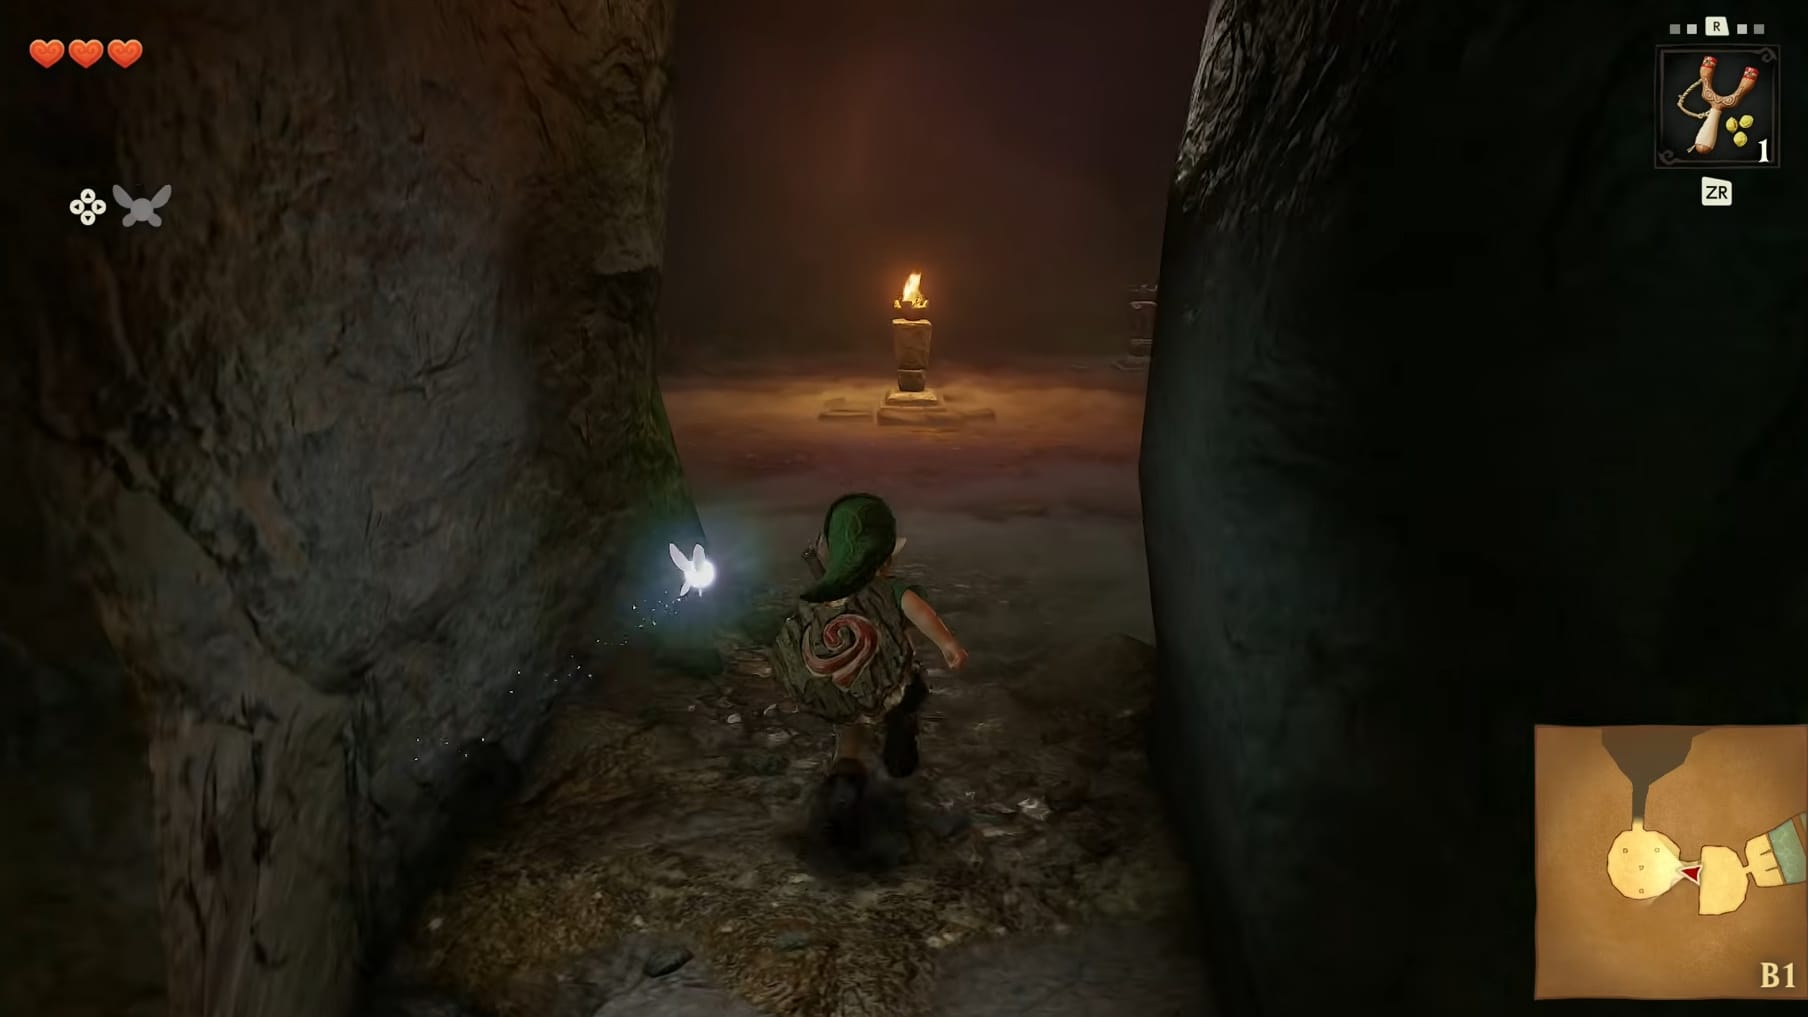
This leads into a small chamber with a lit torch in the middle of the room. There are 3 unlit torches around it. Be mindful though since there are Deku Babas between the Northern and Western torches. Defeat all of them. Now, pull out a Deku Stick and light it with the Lit Torch in the middle of the room. Go around to each Torch and light it. This will open the sealed door to the North.
Head on through the door. Be careful approaching the end of the tunnel because there’s a Skulltula that’s going to come down from above. It’s best to use your Sword to find this one.
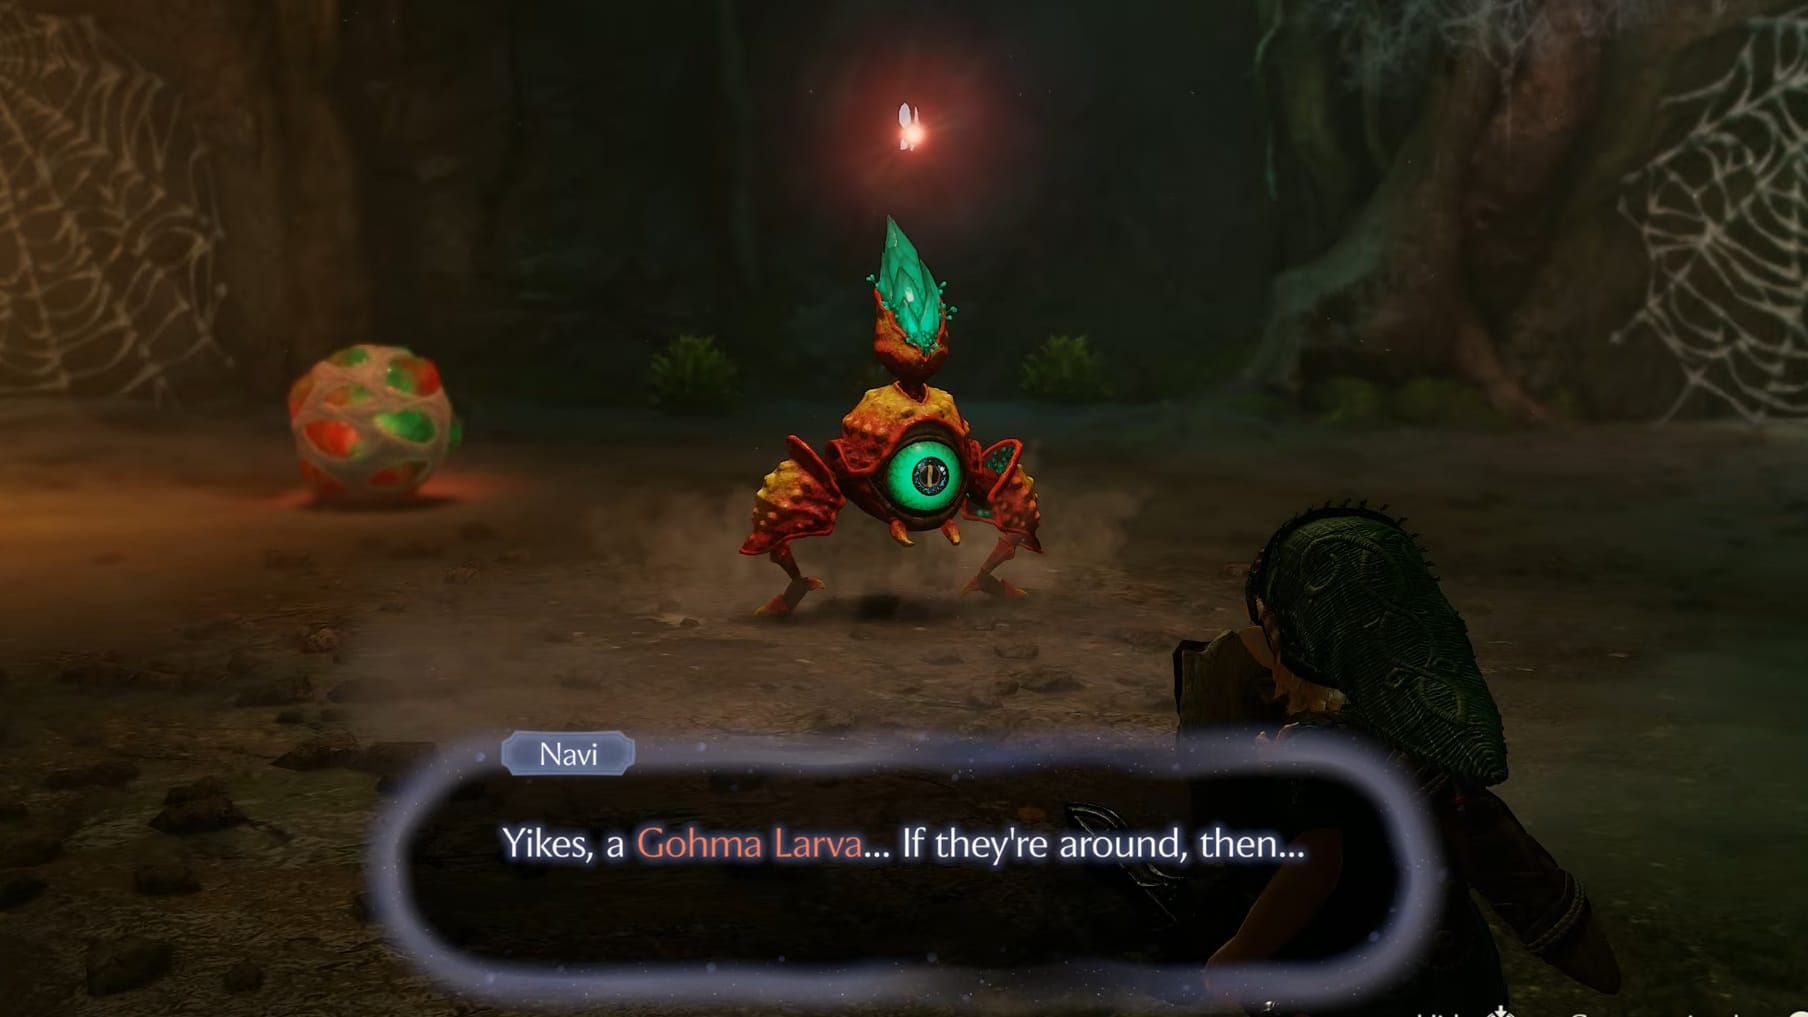
Step into the next room. You will have 3 Gohma Larva drop down from the ceiling. Defeat them before continuing to explore.
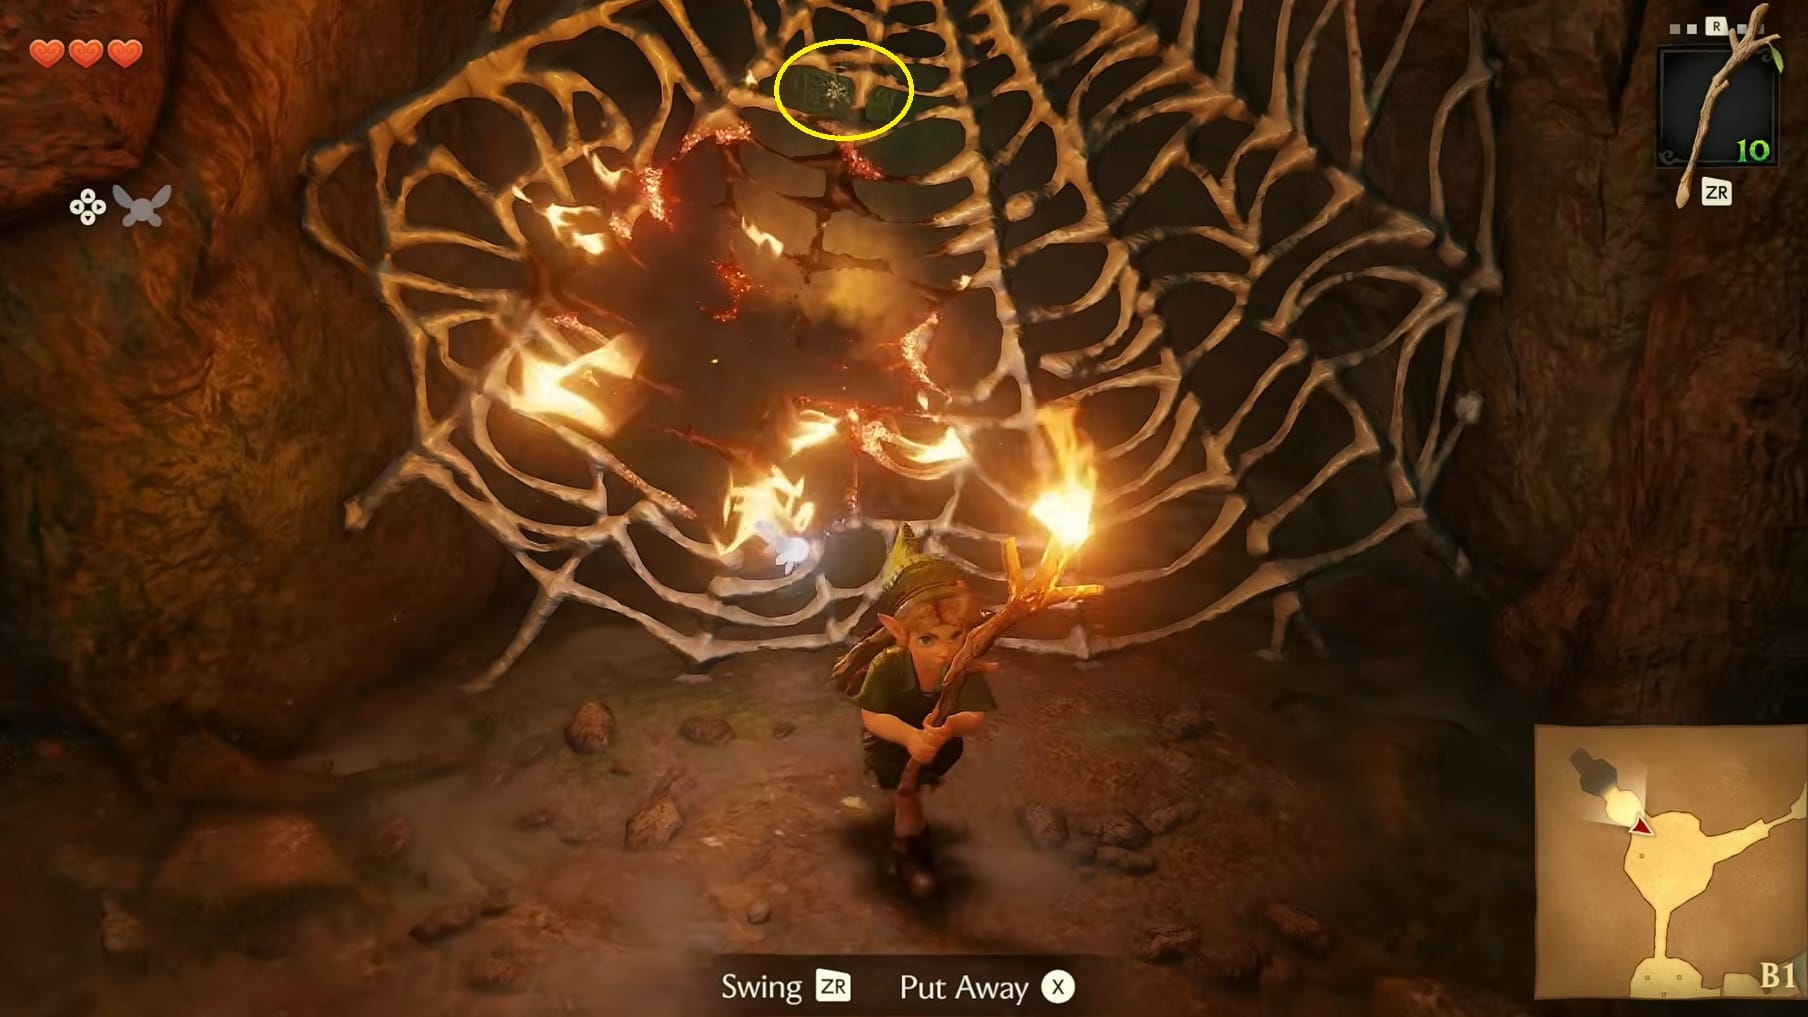
You can head to the Northwest, where you see an unexplored chamber that has a Web over it. Fortunately, there’s a Lit Torch here, so you can use a Deku Stick to burn through the webbing by lighting the stick at the Torch and touching the burning stick to the Webs. In that connected chamber is a Golden Skulltula. Defeat it with a shot from your Slingshot and collect the Token using the vines.
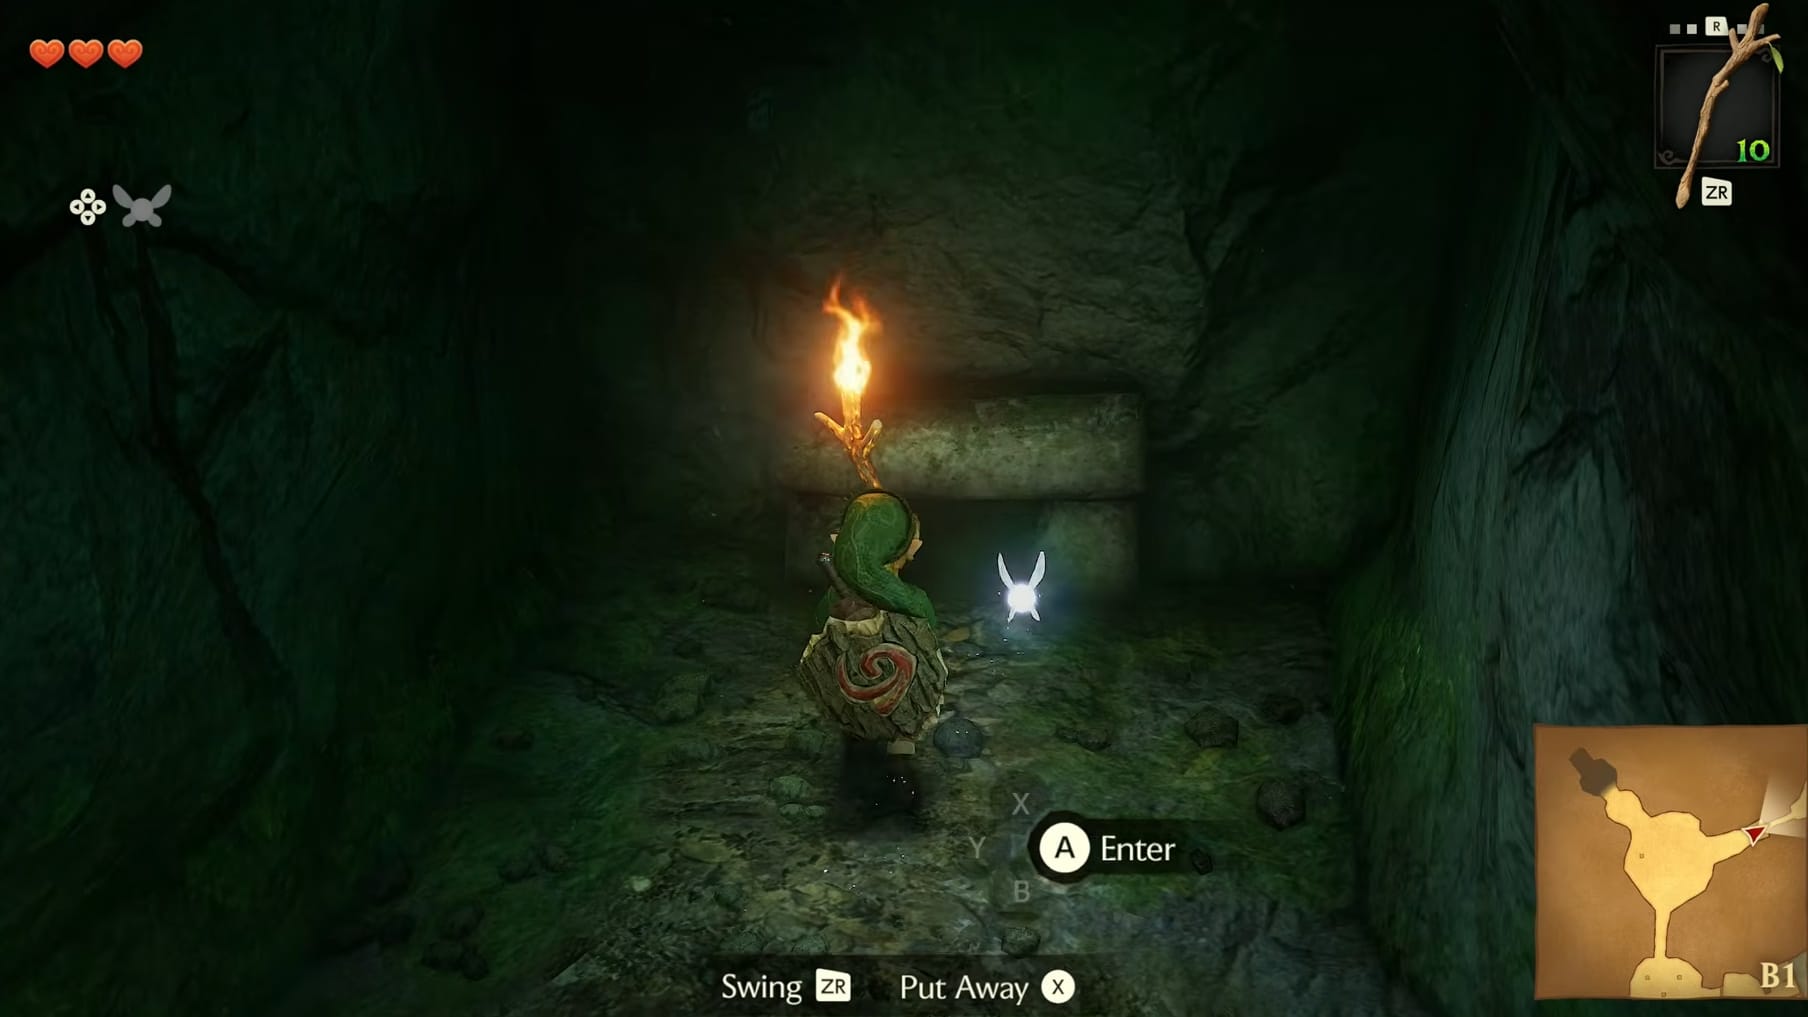
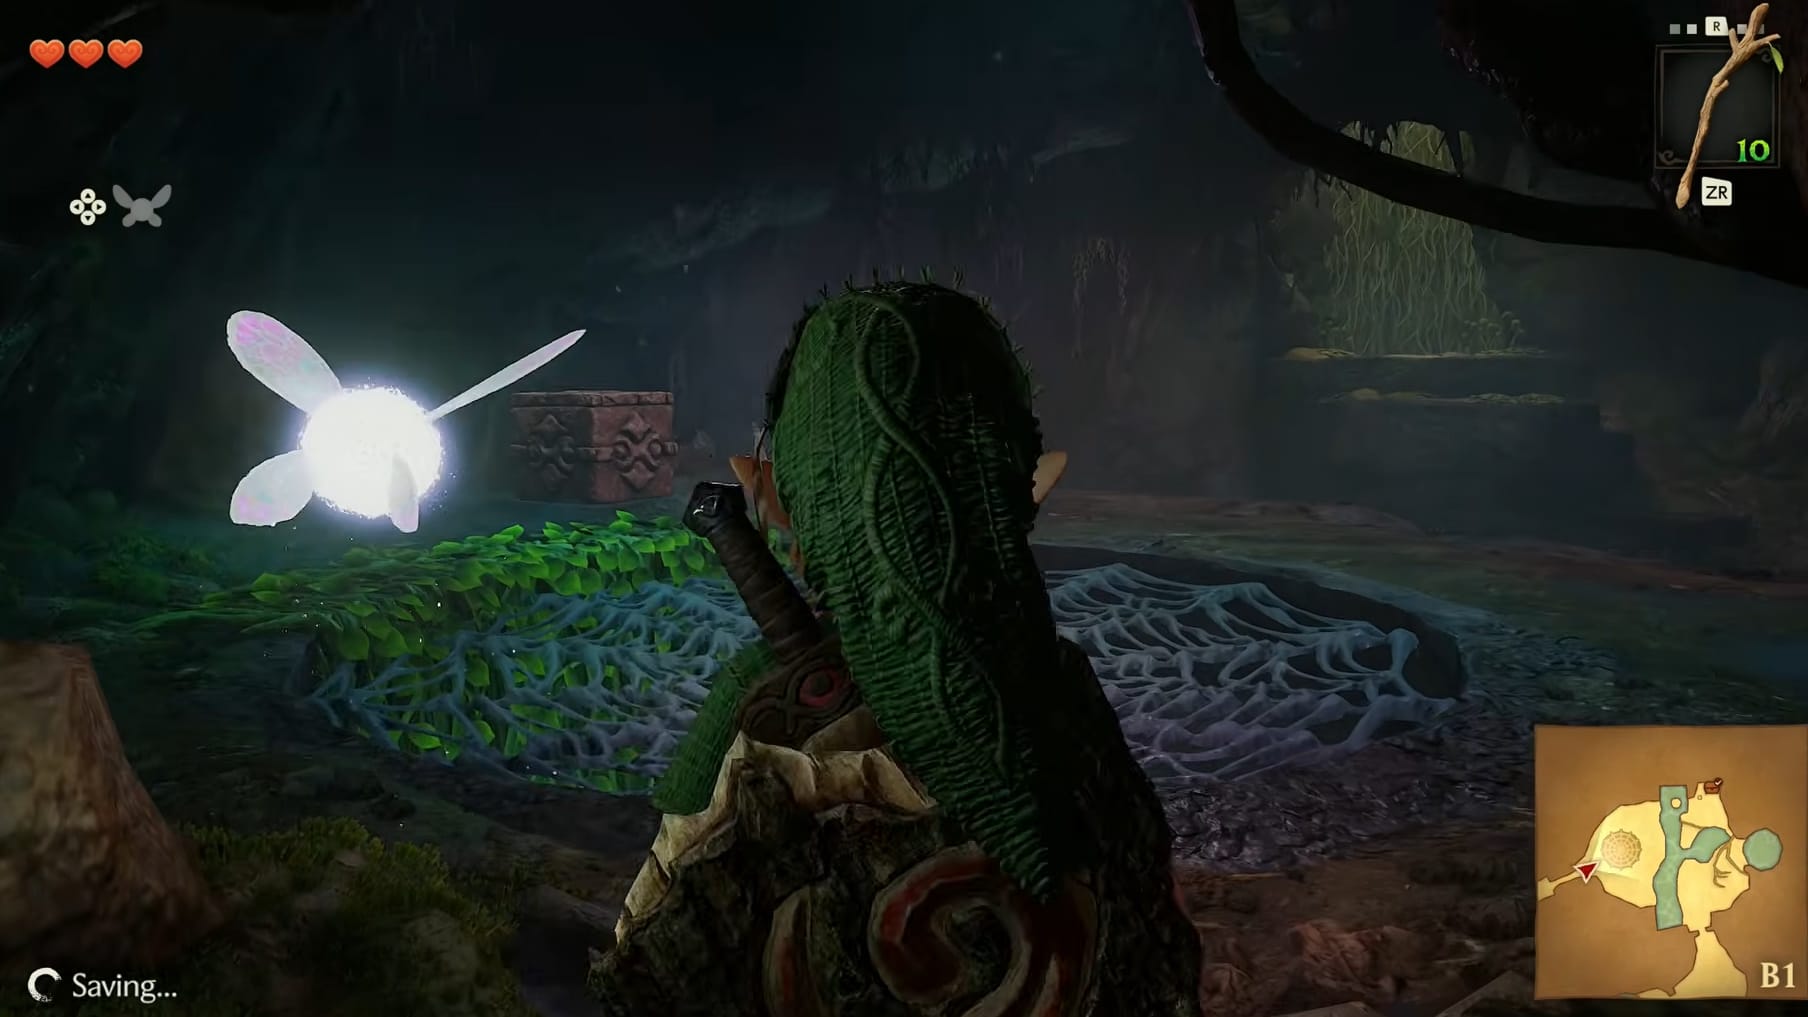
Now, head to the Eastern alcove of the room. You’ll find a narrow opening to crawl through. Do so to return to the first part of this basement. You are now on the upper ledge you couldn’t reach earlier. In the middle of the floor is a large web. To the South is a pair of Deku Babas; 1 will lunge at Link while the other is stuck. There’s another aggressive Deku Baba nearby the Eastern ledge here.
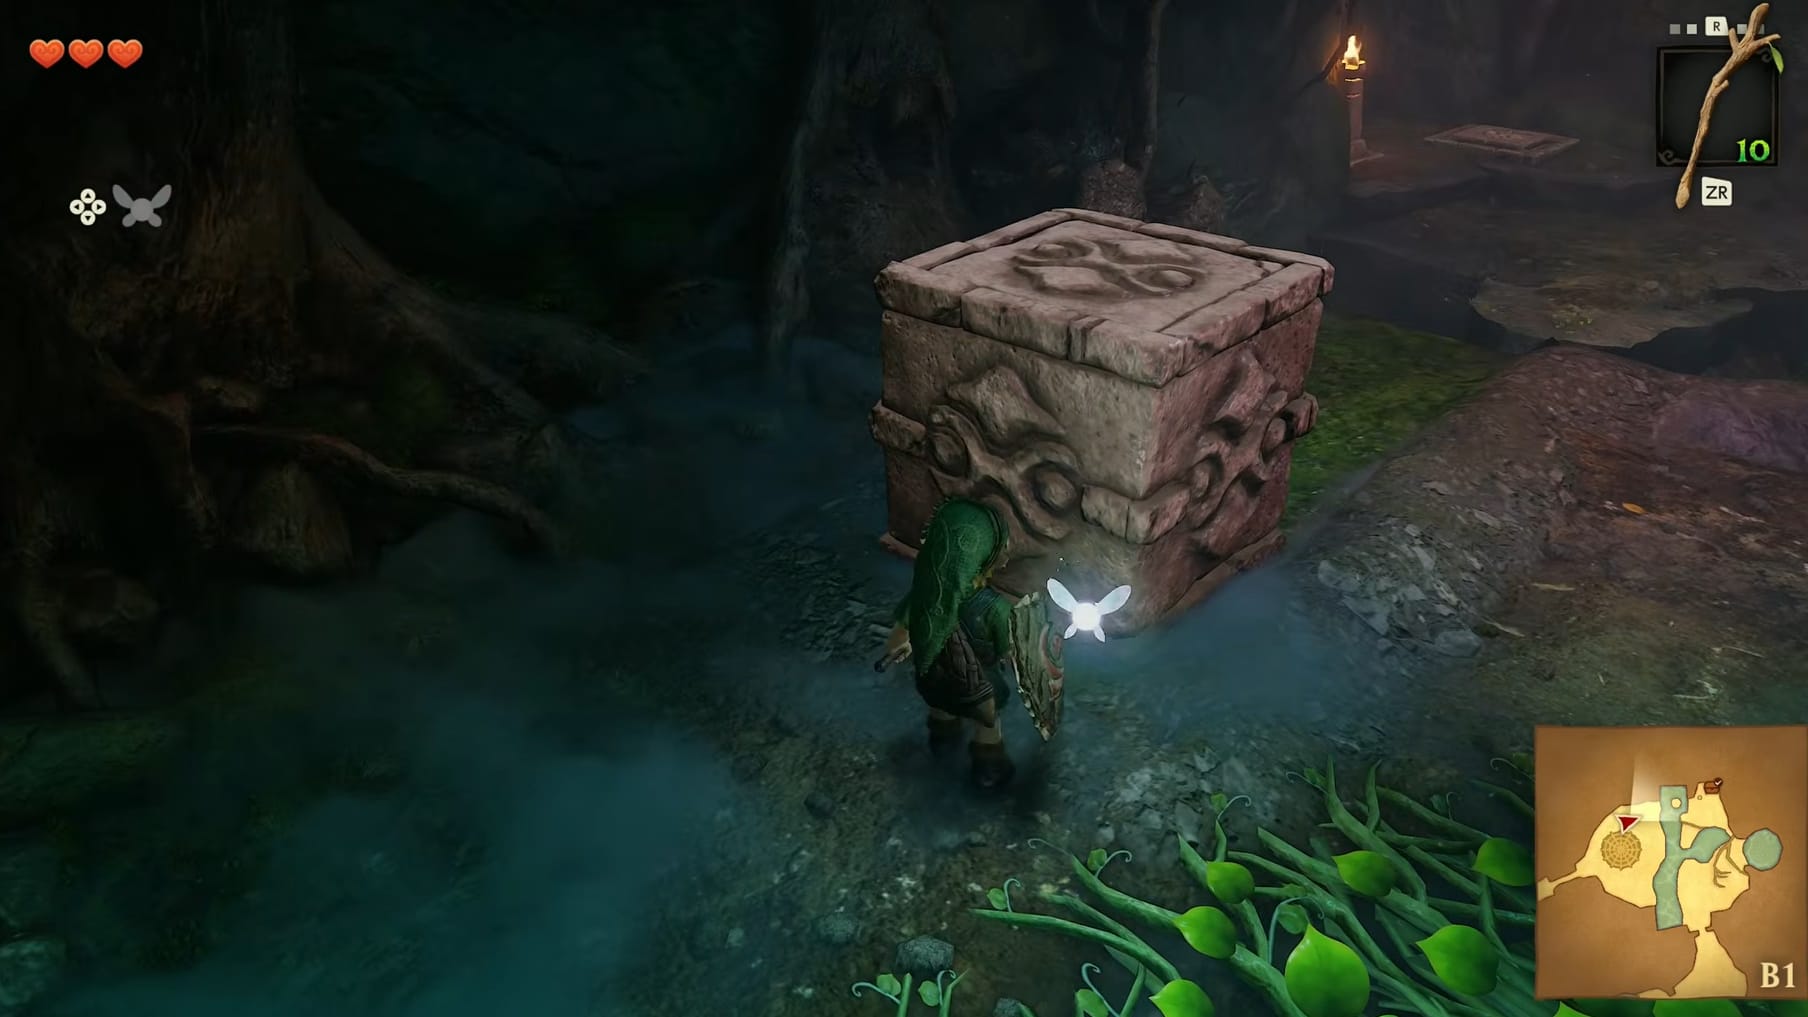
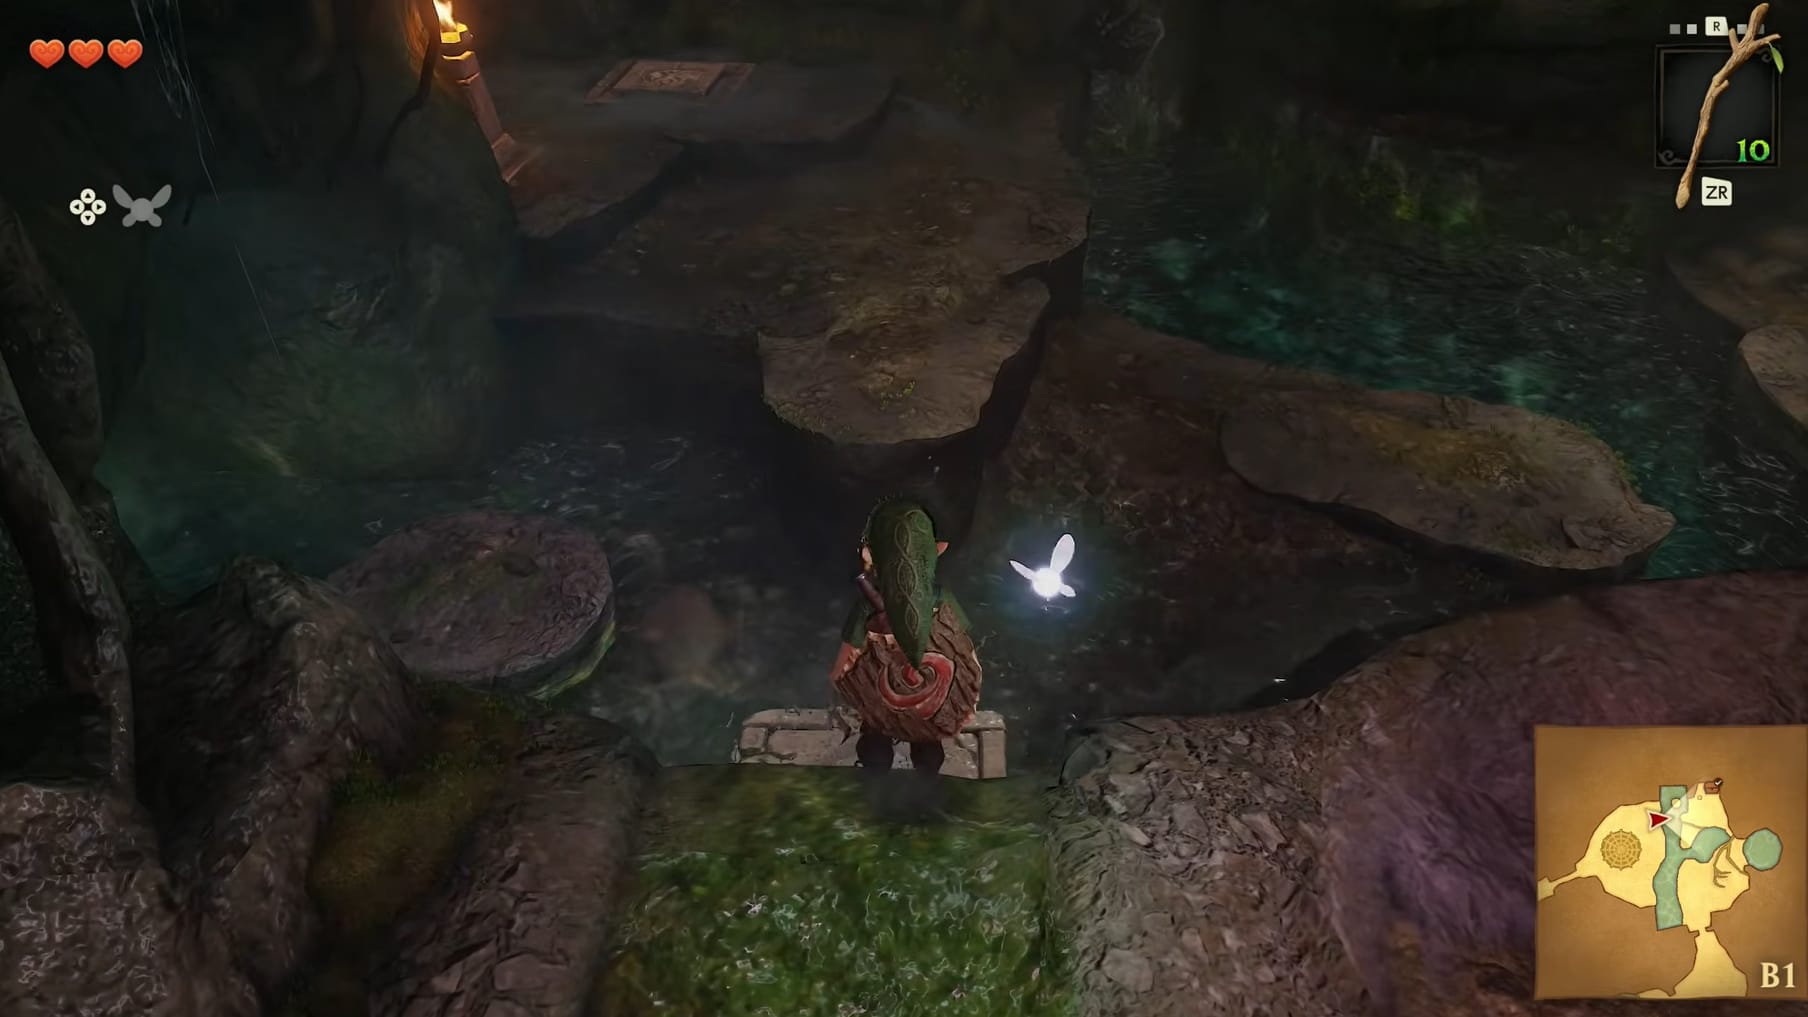
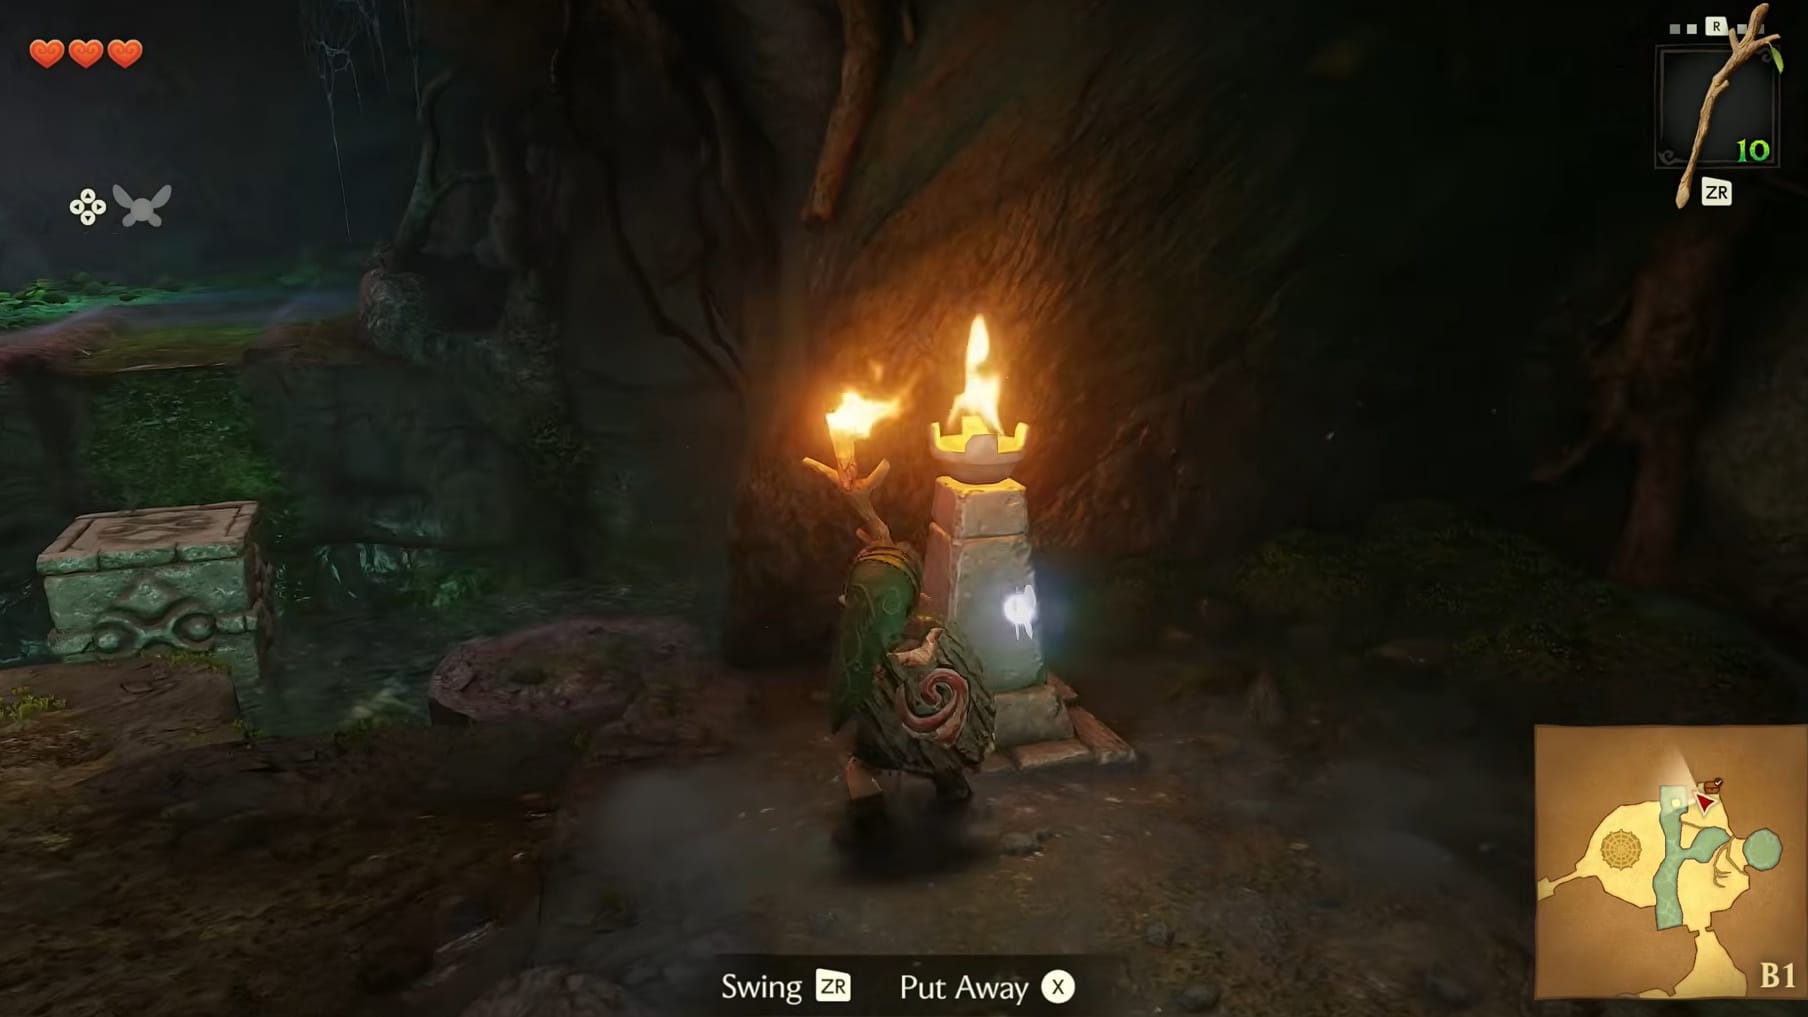
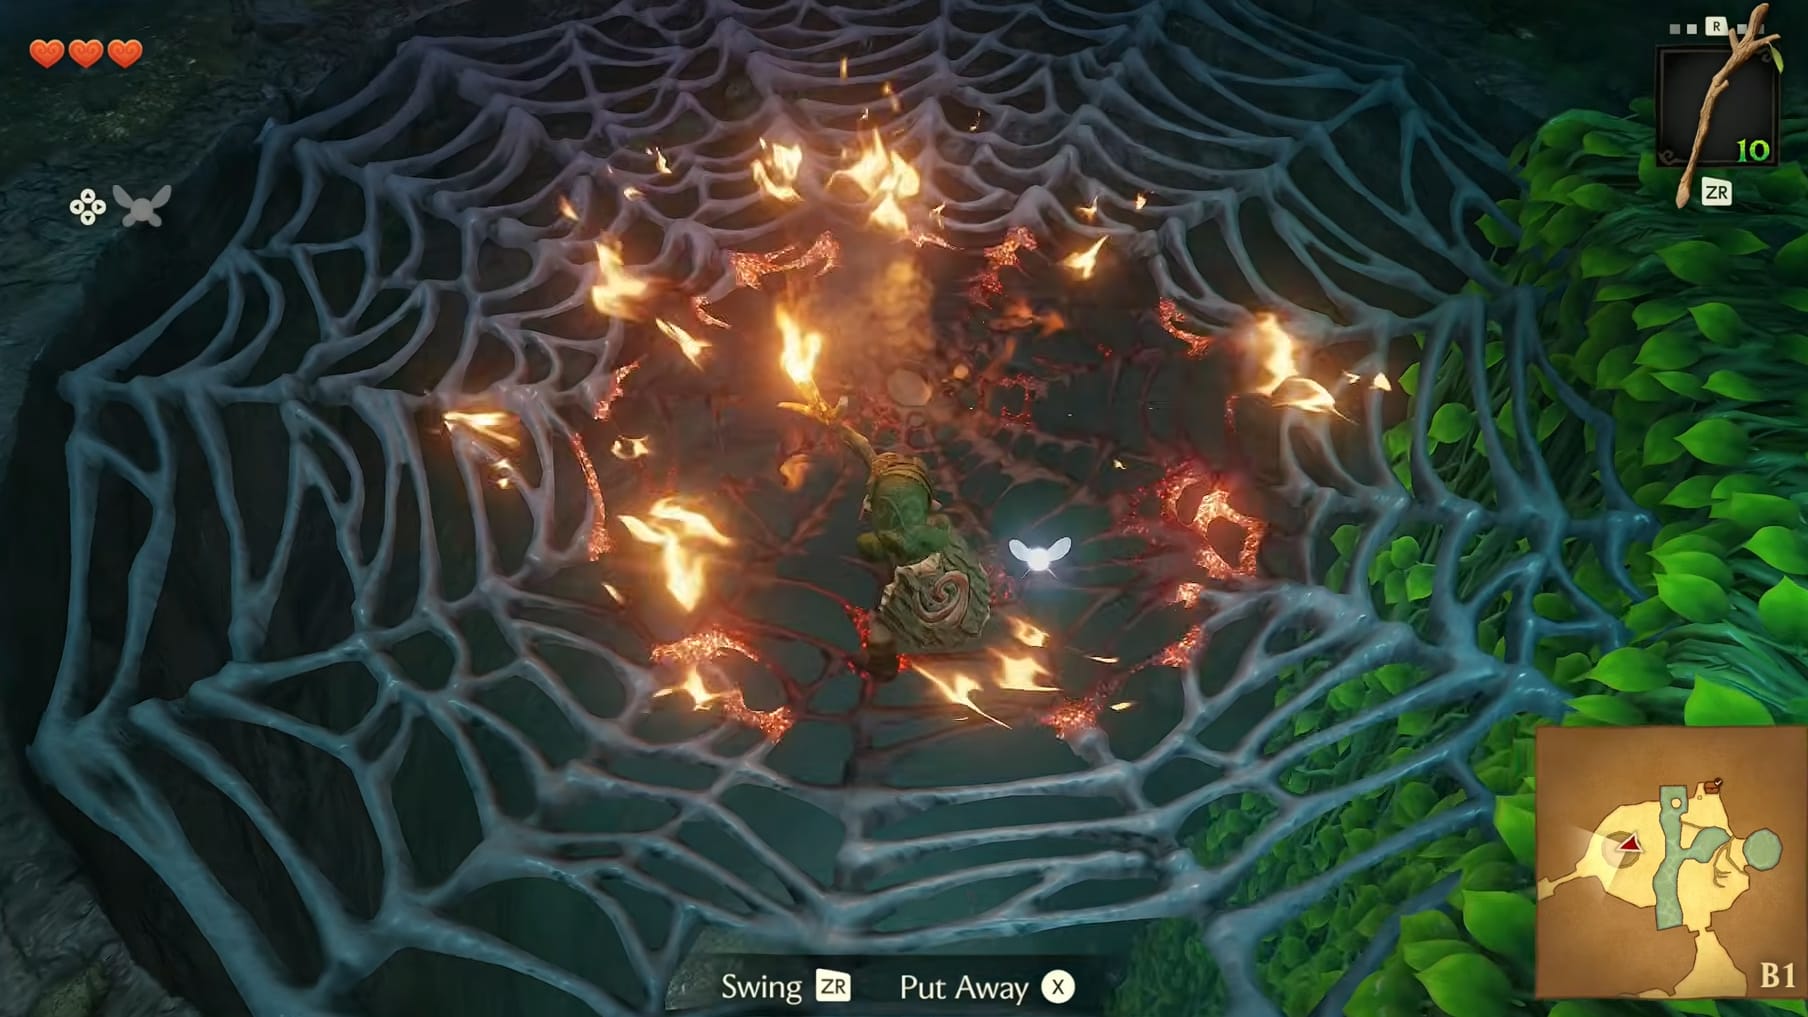
What you want to do is go to the Northeast corner of this ledge. You’ll see a large stone Link can push. Push it over the ledge to the right (East). This creates a needed path. Drop down and head to the nearby lit torch. Light a Deku Stick and go back to the Stone you just pushed over the ledge. Jump onto it from the ledge and climb up onto the ledge above. Go to the webbing in the middle of this ledge. Swing the Burning Deku Stick normally to have Link burn away the webbing and fall into the area below.
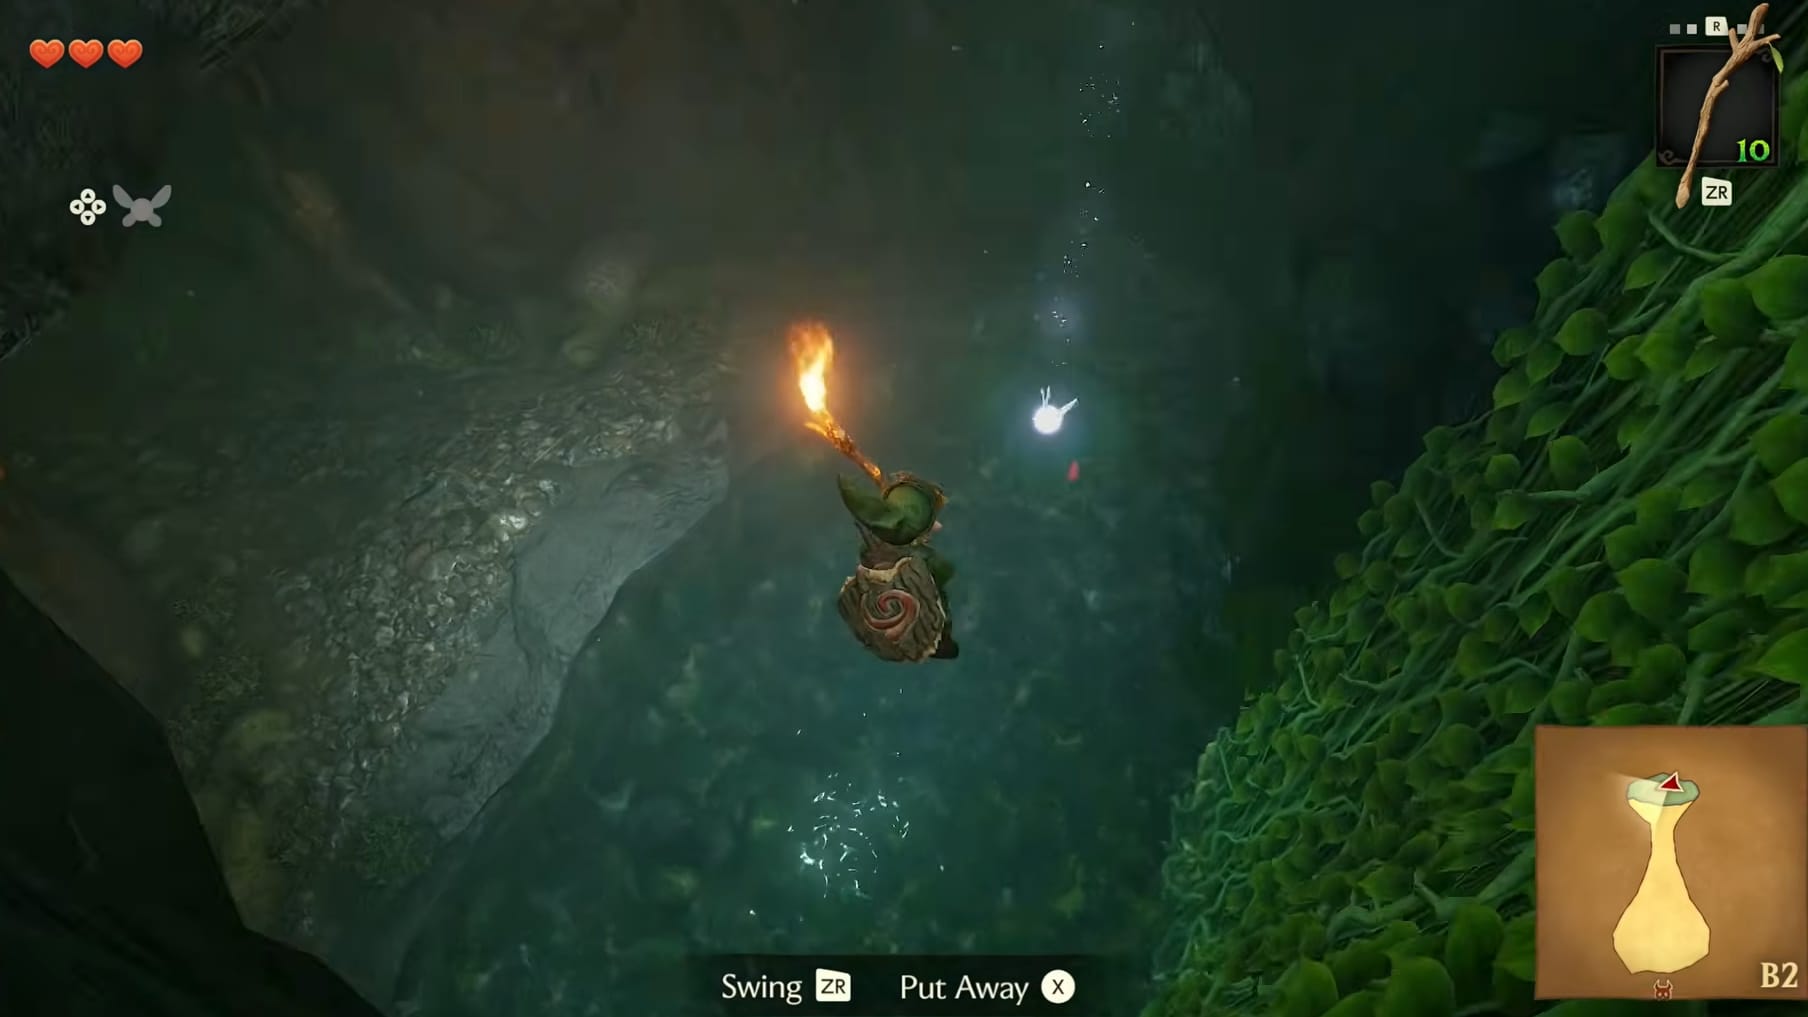
Link will again, splash down into a pool. Along the Eastern end of the pool, Link can dive down to collect up to 3 hearts to restore health. It’s best to save these for just after the puzzle in front of you.
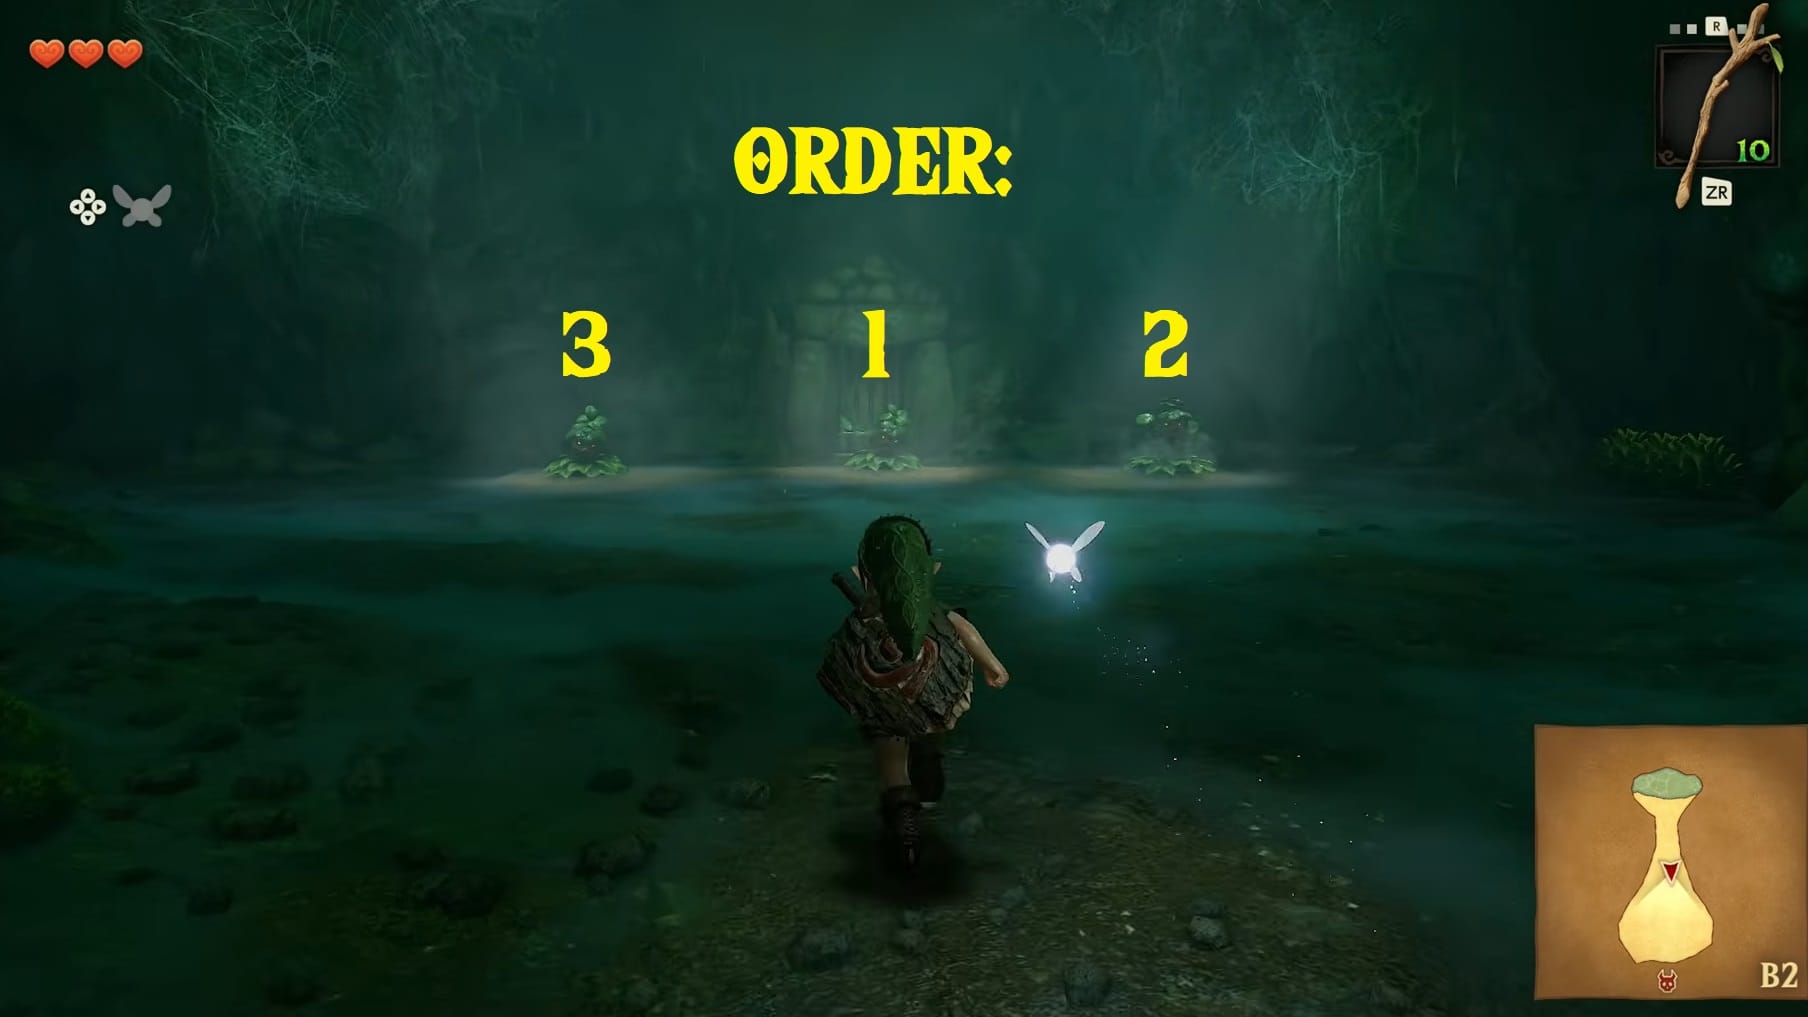
Go into the adjacent chamber. You will see a trio of Deku Scrubs. They could be numbered left to right, 1, 2, 3. To defeat this trio Link will need to deflect seeds at the Scrubs in the appropriate order. That order is:
- Middle
- Right
- Left
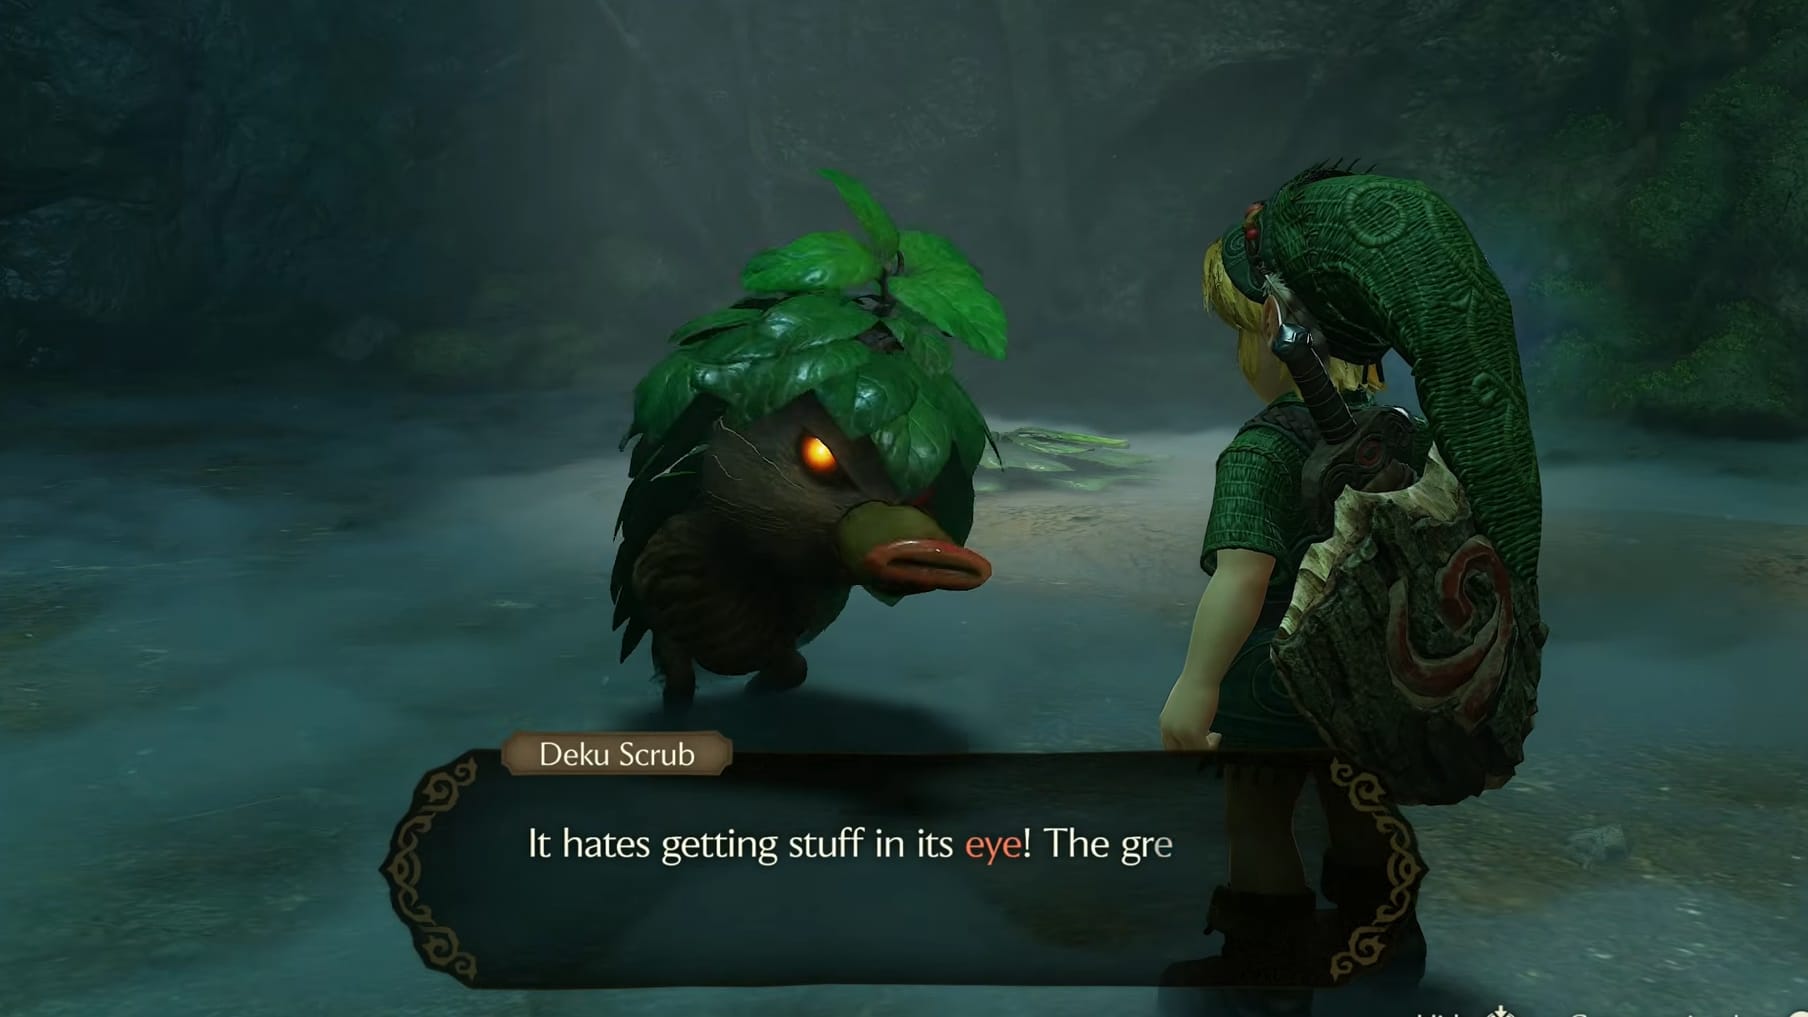
When the right Scrub in the sequence is hit, it will stay out of its leaves, dazed. If the wrong one is hit, then all the Scrubs will retreat into their leaves when all 3 have been hit. If the right sequence is hit, the last Scrub will run from its nest. Defeat it and the Scrub will share a secret of Gohma: It hates getting stuff in its eye.
Heal up using the hearts in the water (if needed). Go to the door the Deku Scrubs were guarding and interact with it to raise it up. It’s time to take on the first boss.
Boss Fight: Gohma
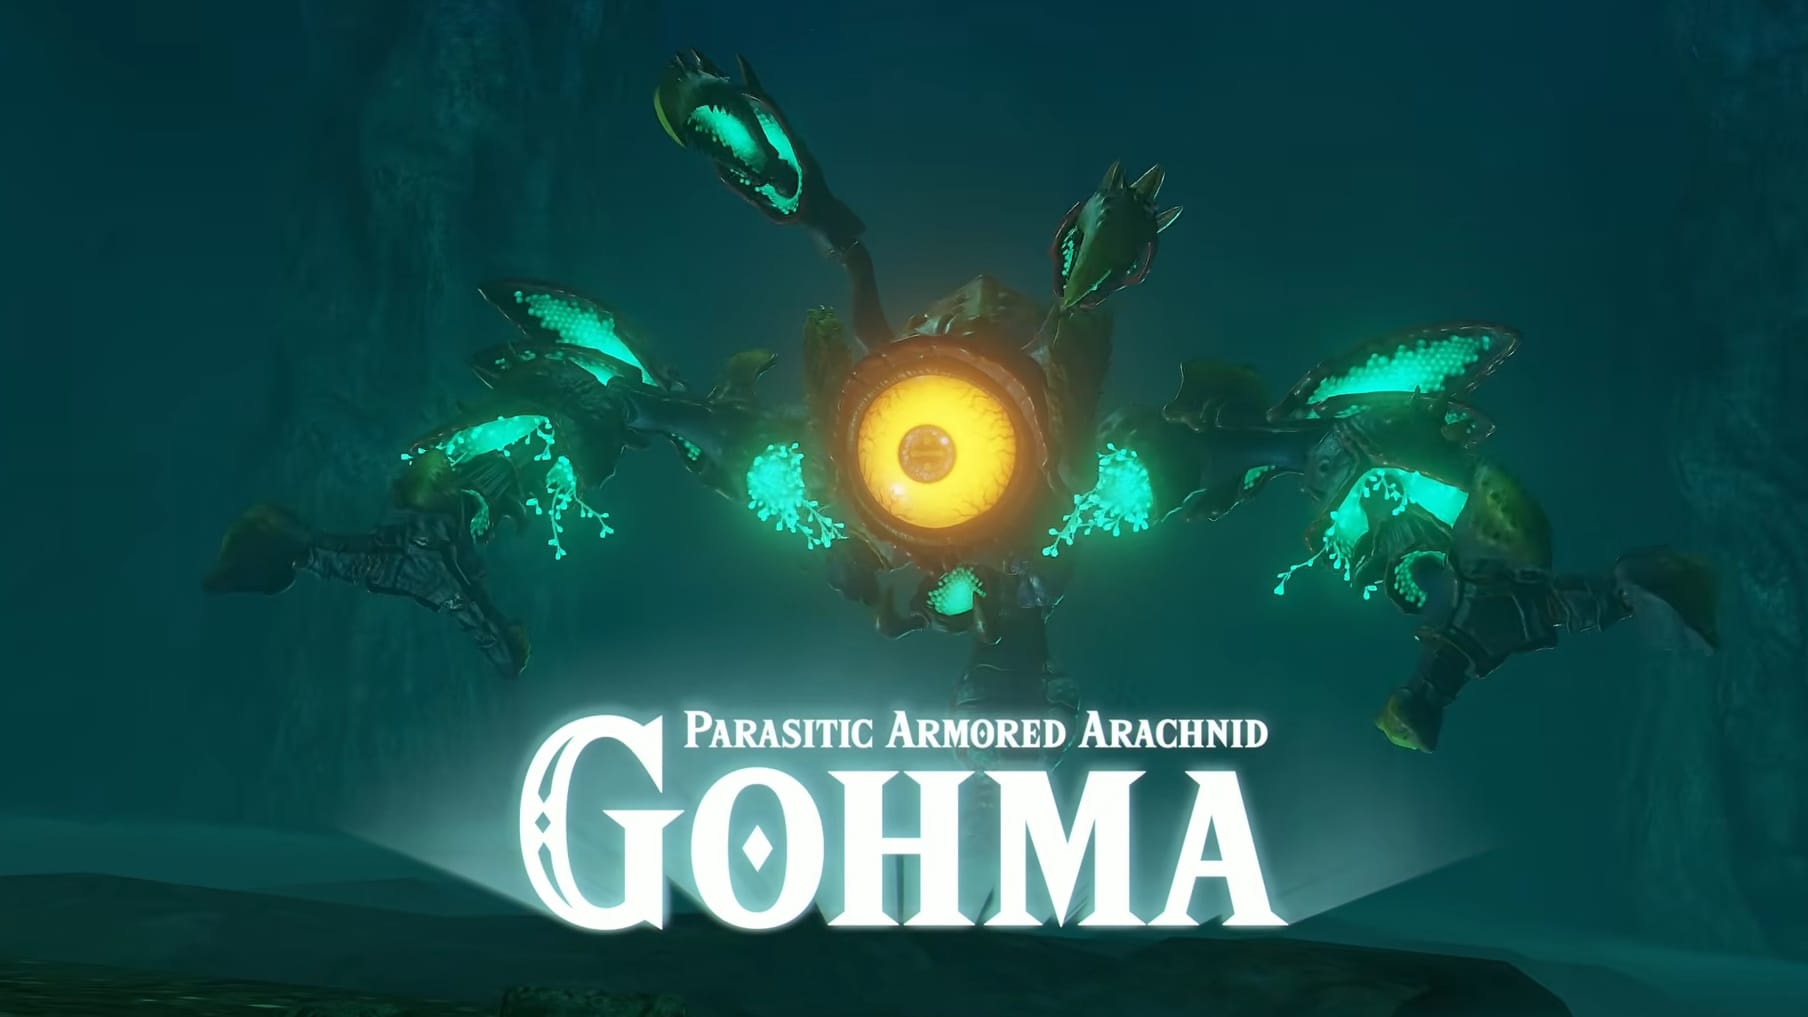
Head down the hallway and into the next chamber. Step through and the door will close behind you. Go to the middle of the massive root chamber Link finds himself in. This will start the fight with Gohma.
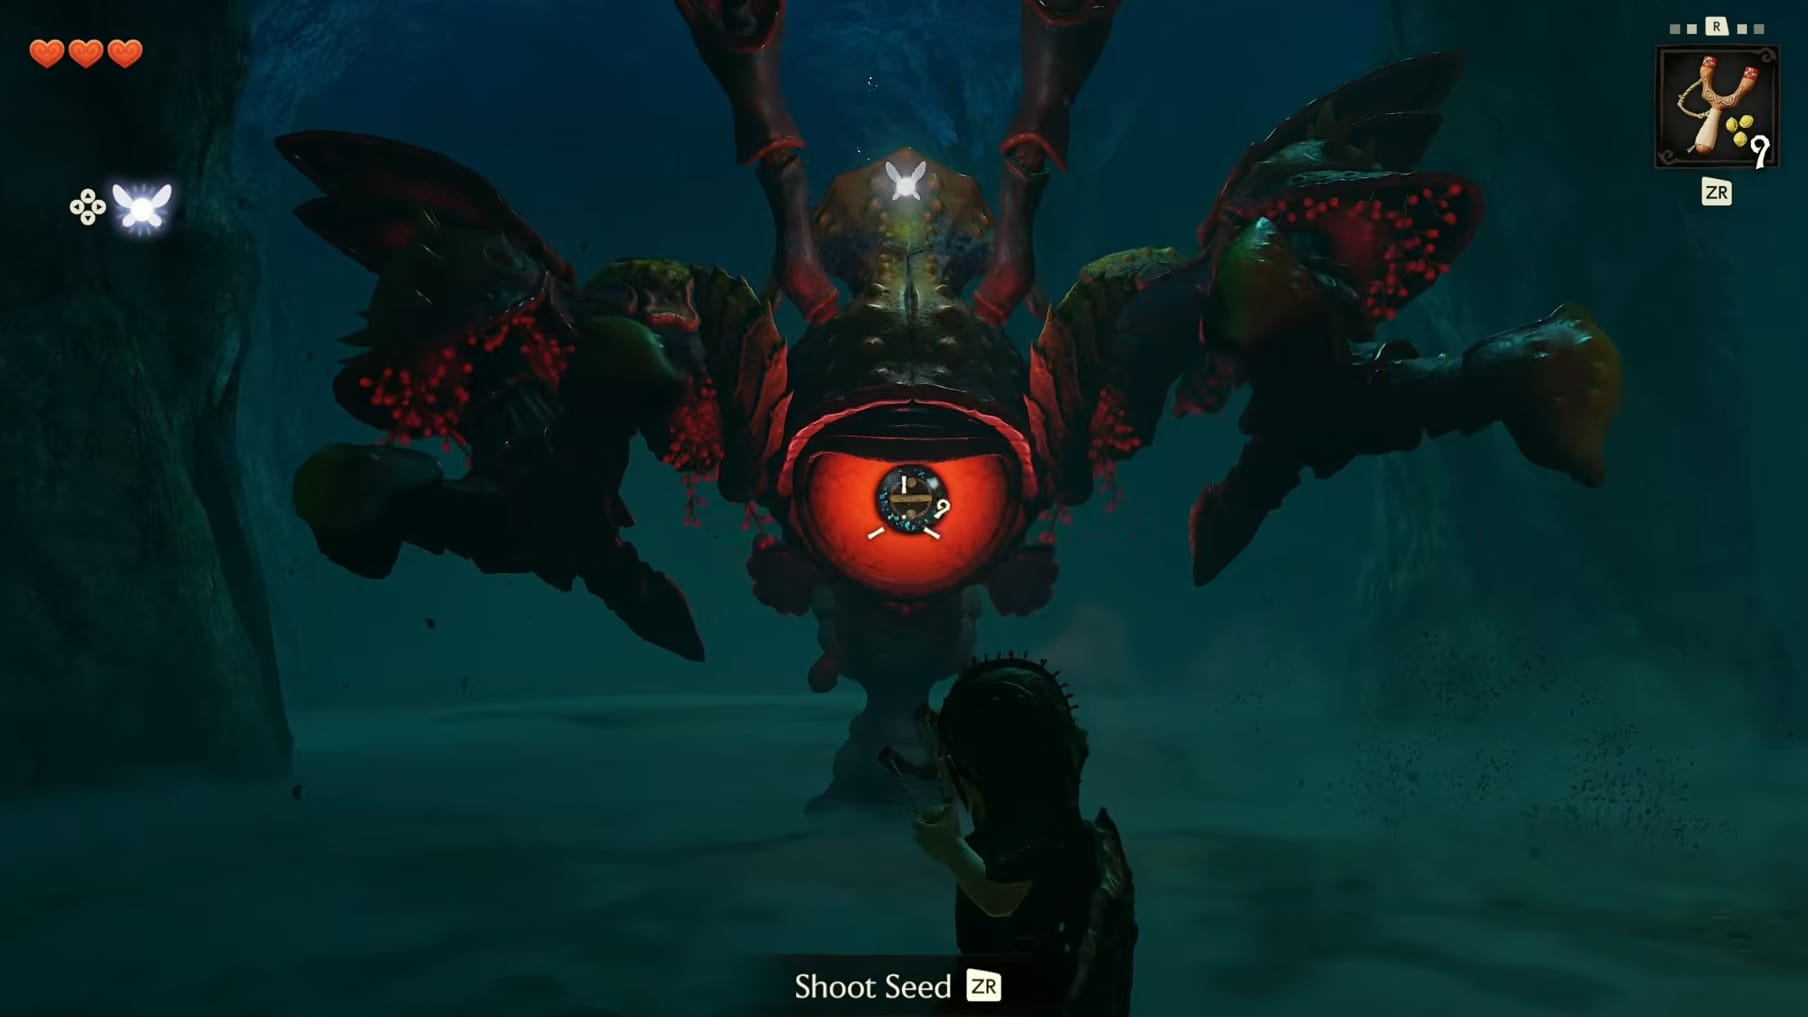
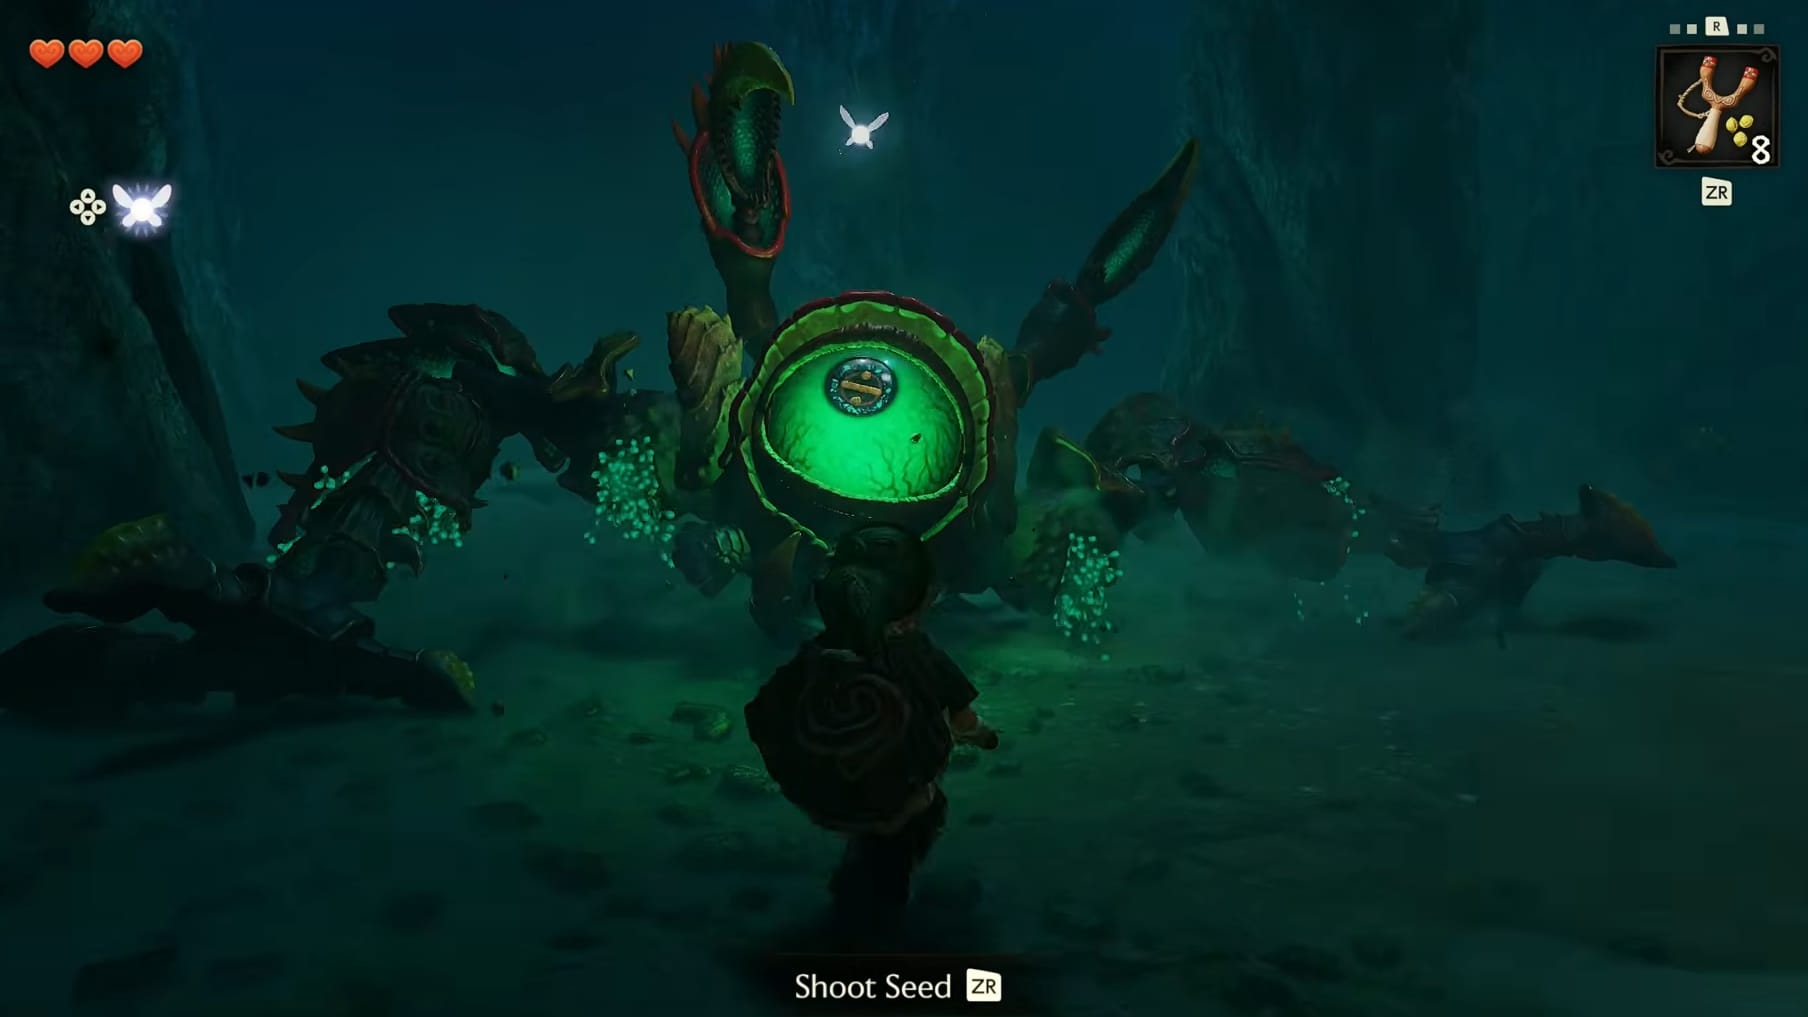
It’s time to fight Gohma. It actively protecting its yellow eye while it moves toward Link. When it glows red, as Gohma prepares to attack, is when the eye is vulnerable. Quickly aim and fire your Slingshot into its red eye. This can stun it briefly, it’s eye turning green. Have Link rush in and attack its eye with a flurry of slashes.
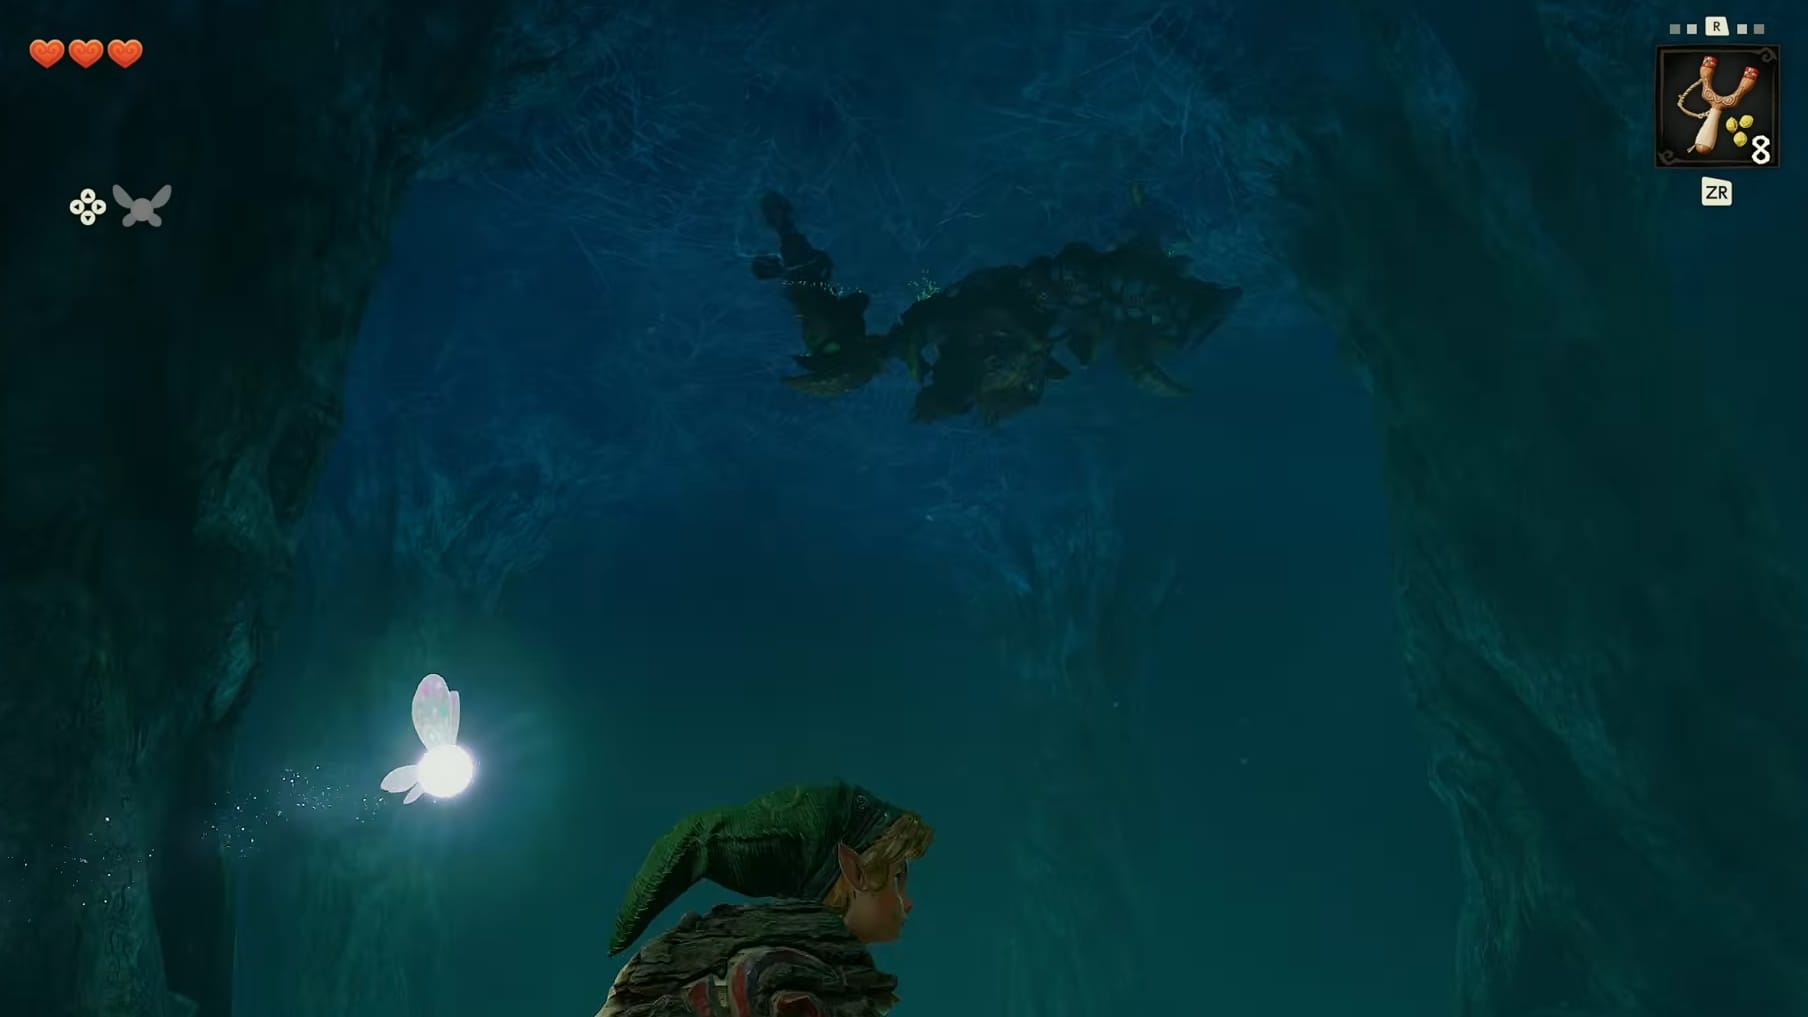
Gohma is likely to go back to protecting its eye and climb up the walls to reach the ceiling. It will drop eggs that quickly hatch into Gohma Larvae. Quickly defeat the Larvae that hatch. These are VERY likely to drop Slingshot ammo.
Gohma will be clinging to the ceiling for a good while. It will come back to the floor and once again approach Link to attack with its pincers. Wait for its eye to turn red against and hit its eye with the Slingshot. It’s eye will turn green, your cue to attack it to do damage.
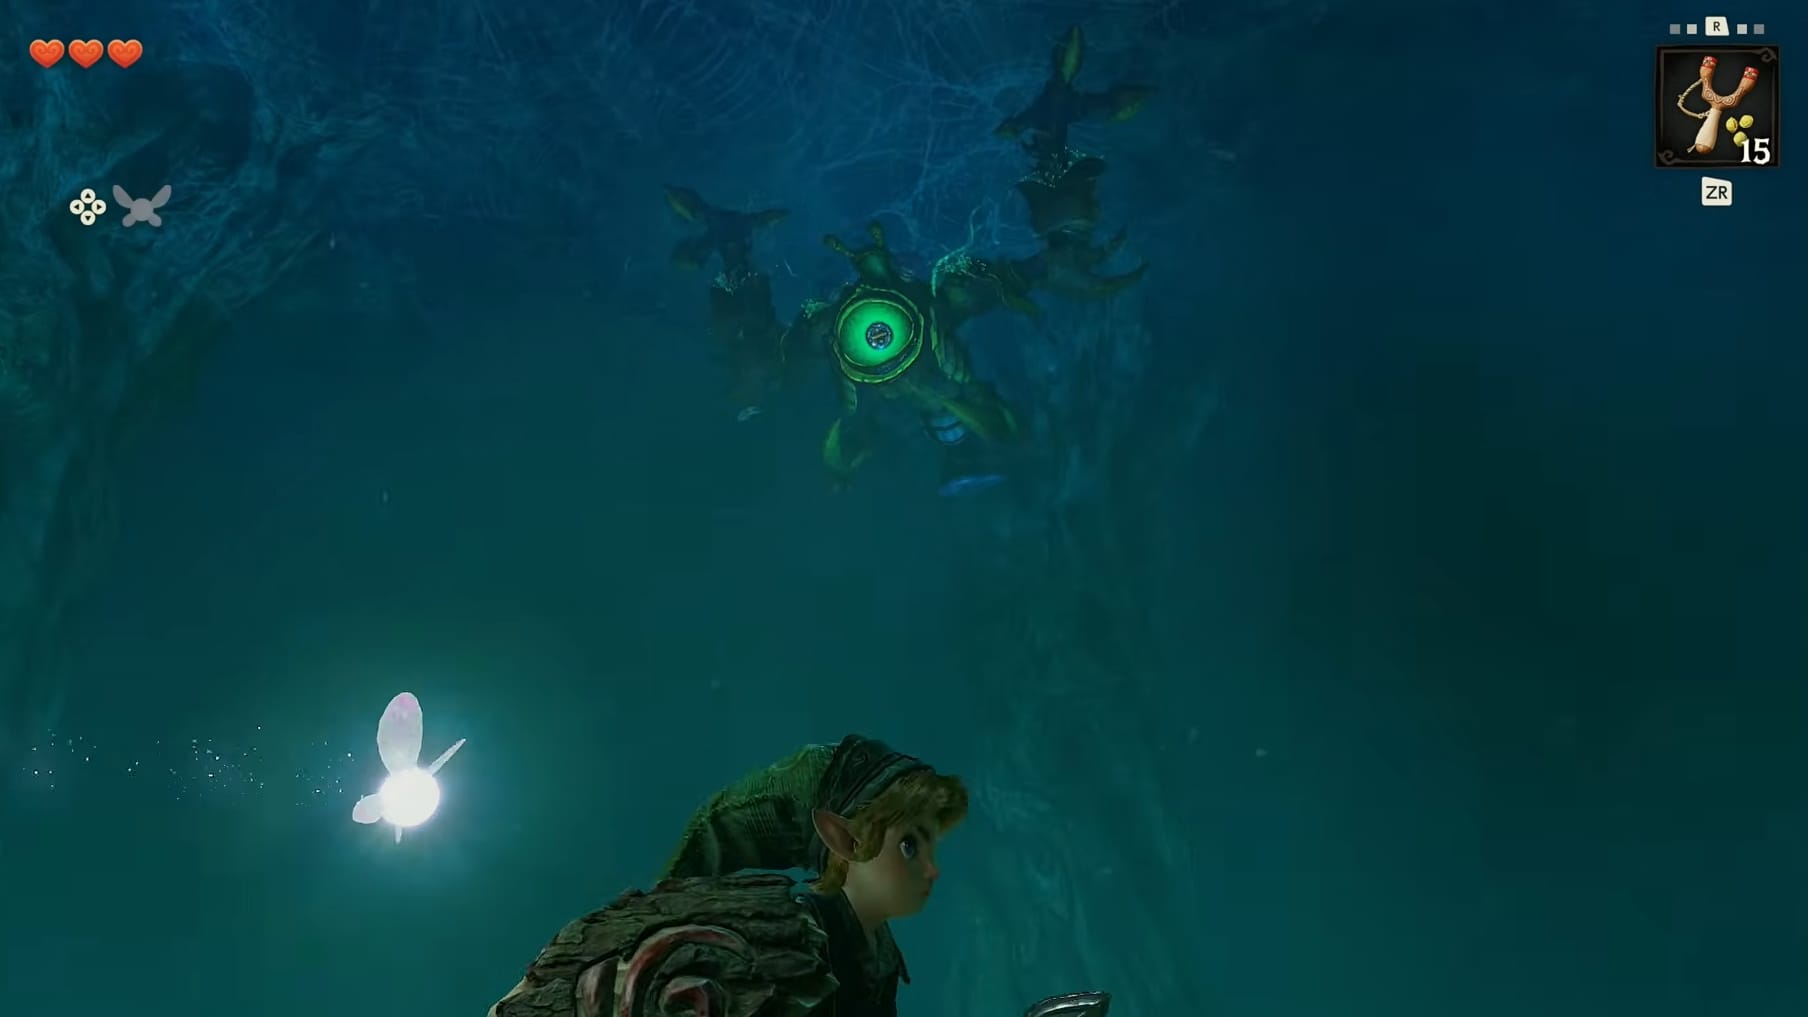
It will right itself after taking so much damage and once again climb to the ceiling, likely using the roots in the middle of the room. This time, watch its eye carefully. It will turn green and be vulnerable. Quickly shoot the eye with the Slingshot to have Gohma drop to the ground, stunned. Quickly rush it and attack its eye.
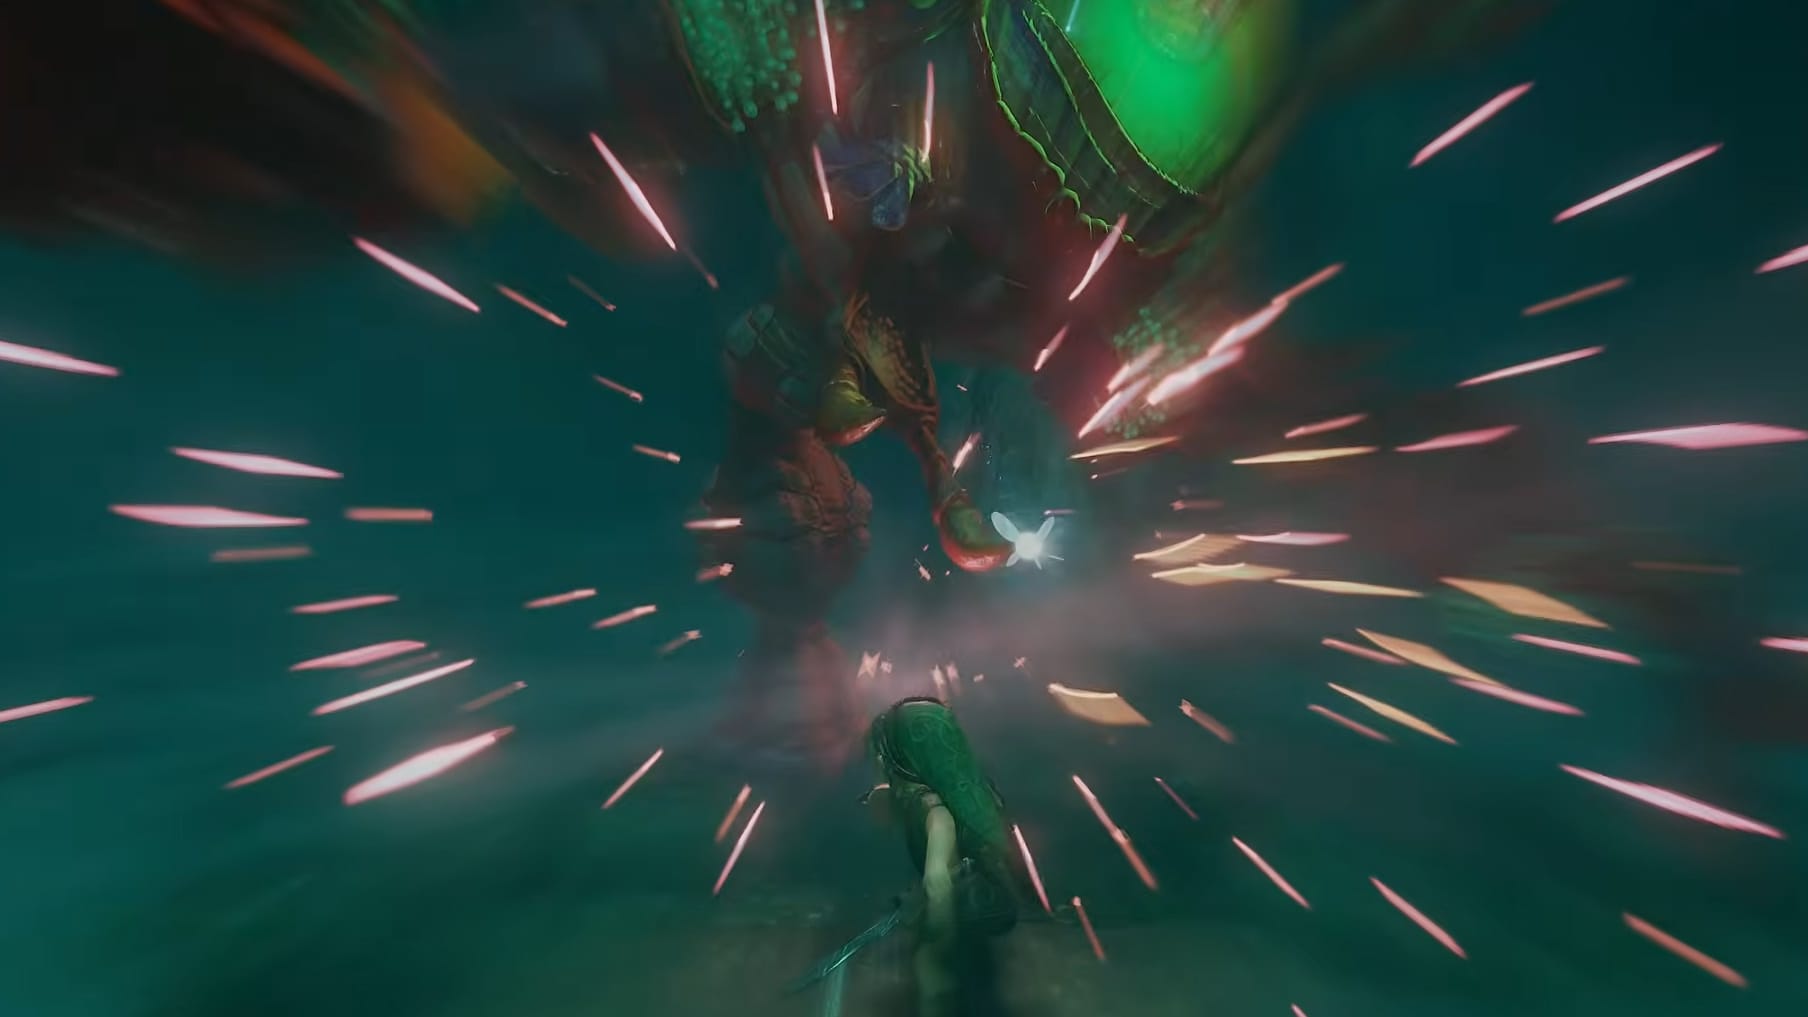
A Bittersweet Victory
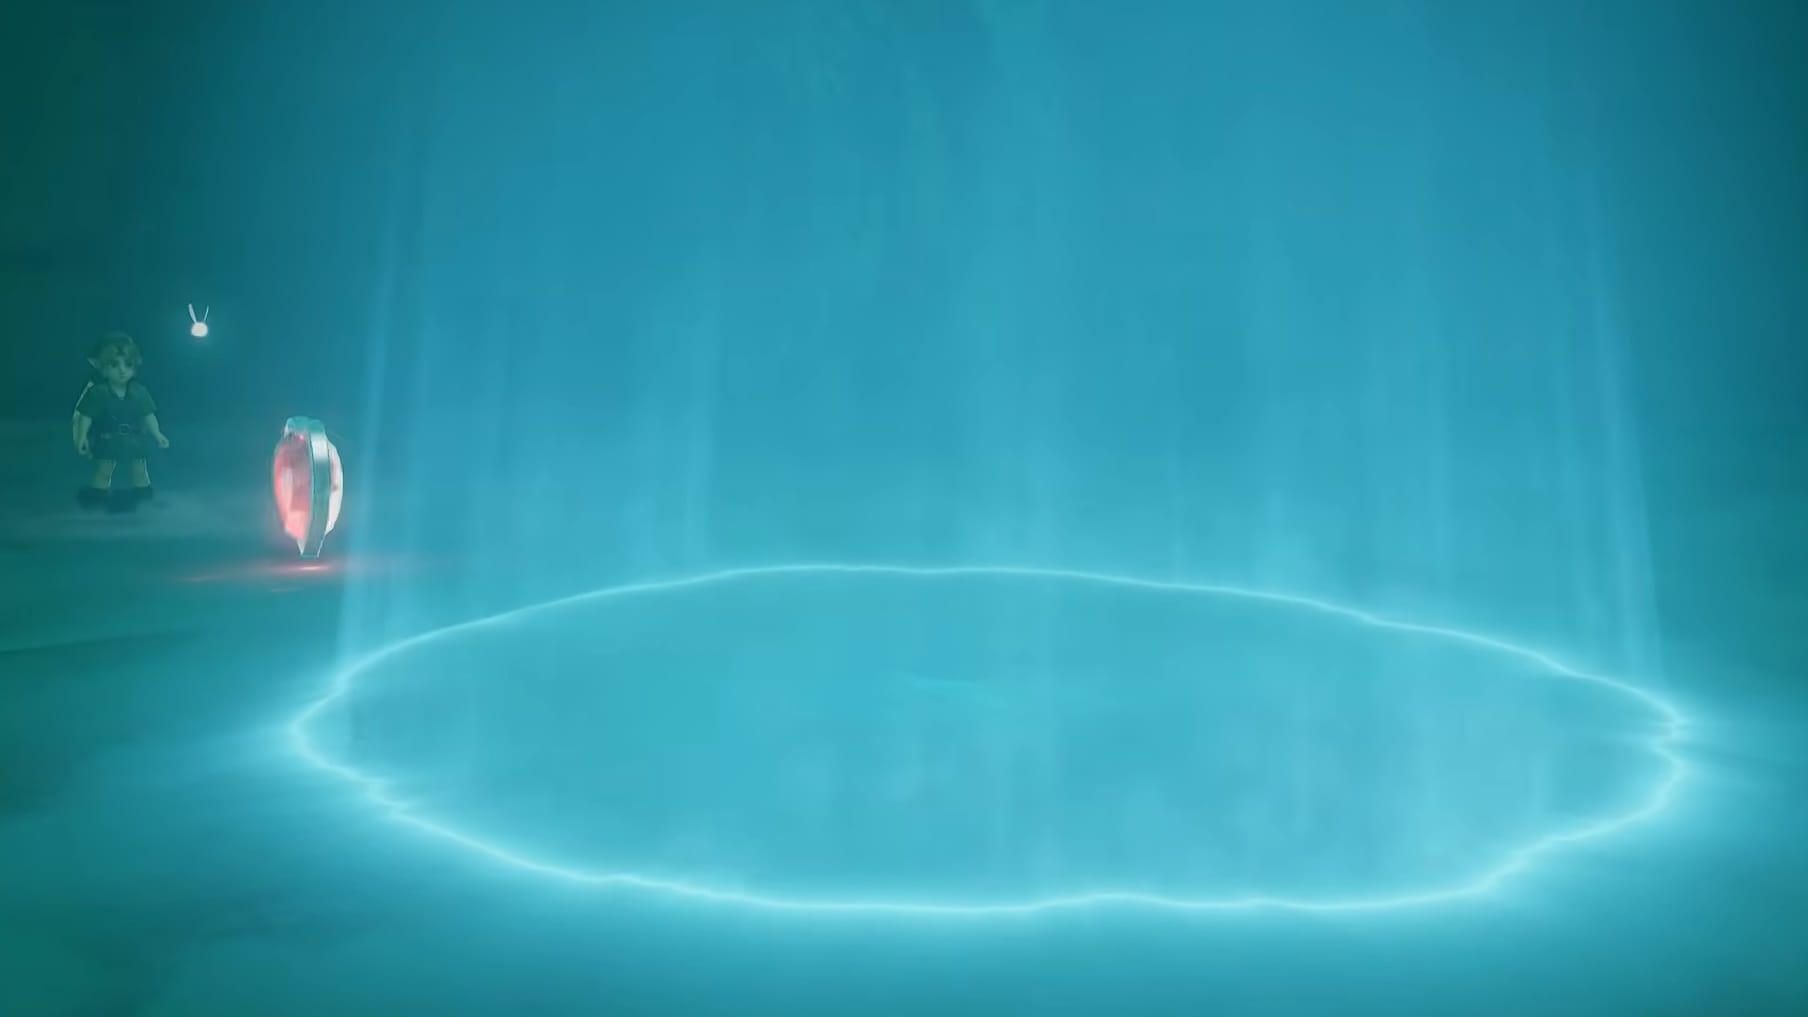
With Gohma’s defeat, a Full Heart Container will appear in front of Link as well as a glowing circle. This circle will teleport Link out of the dungeon and out in front of the Great Deku Tree.
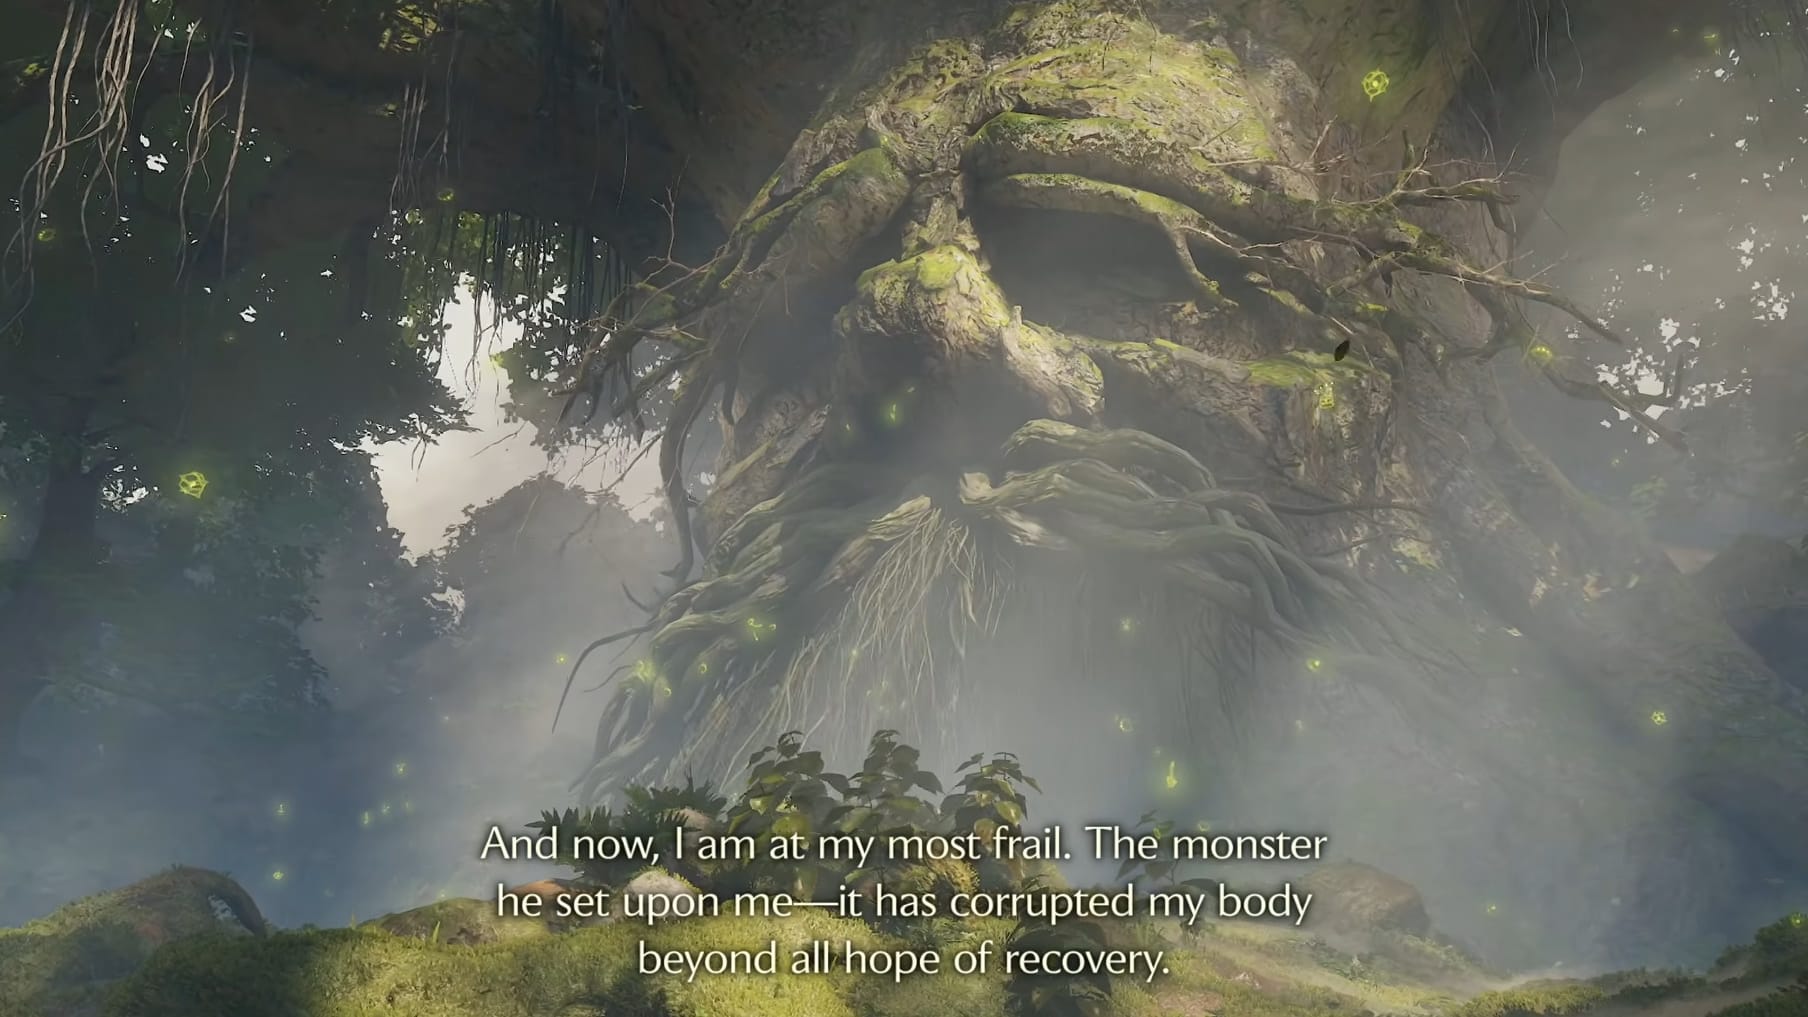
The Great Deku Tree has more lore to share with Link. Unfortunately, this includes that the damage was greater than it thought and it will soon pass away. It is also clear that Link is not a Kokiri, but a Hylian and its time for him to begin traveling the world to fulfill his destiny.To this end, it grants Link the Kokiri Emerald before he bids Link to take care and passes away.
It’s time for Link to depart from the Kokiri Forest and head for Hyrule Castle. He must meet with Princess Zelda. Together the pair might be able to stand against Ganondorf and prevent him from reaching the Sacred Realm and Triforce within.