Legend of Zelda Tears of the Kingdom: Isisim Shrine Proving Grounds - In Reverse Guide
Master the Isisim Shrine in Tears of the Kingdom with this complete walkthrough. Learn how to clear Proving Grounds: In Reverse, defeat every Construct, and claim the rewards.
A Guide to the Isisim Shrine and it’s challenge the Proving Grounds: In Reverse. It’s a combat based Shrine within YunoboCO HQ East Cave.
Location
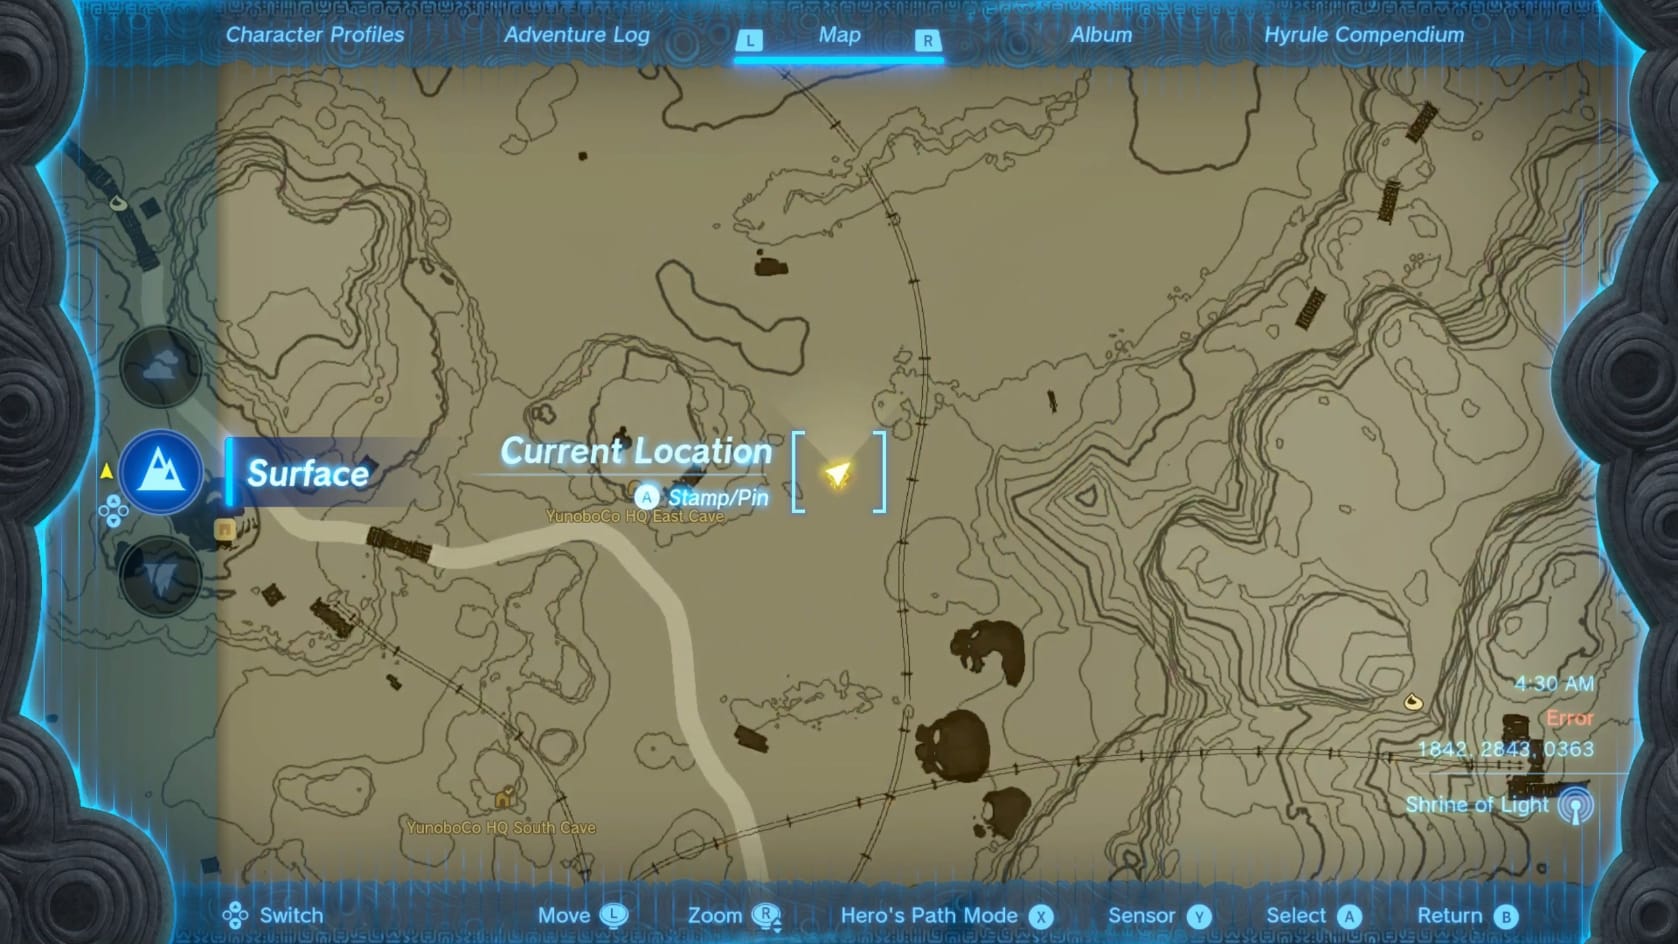
This shrine is found within Yunobo HQ East Cave.
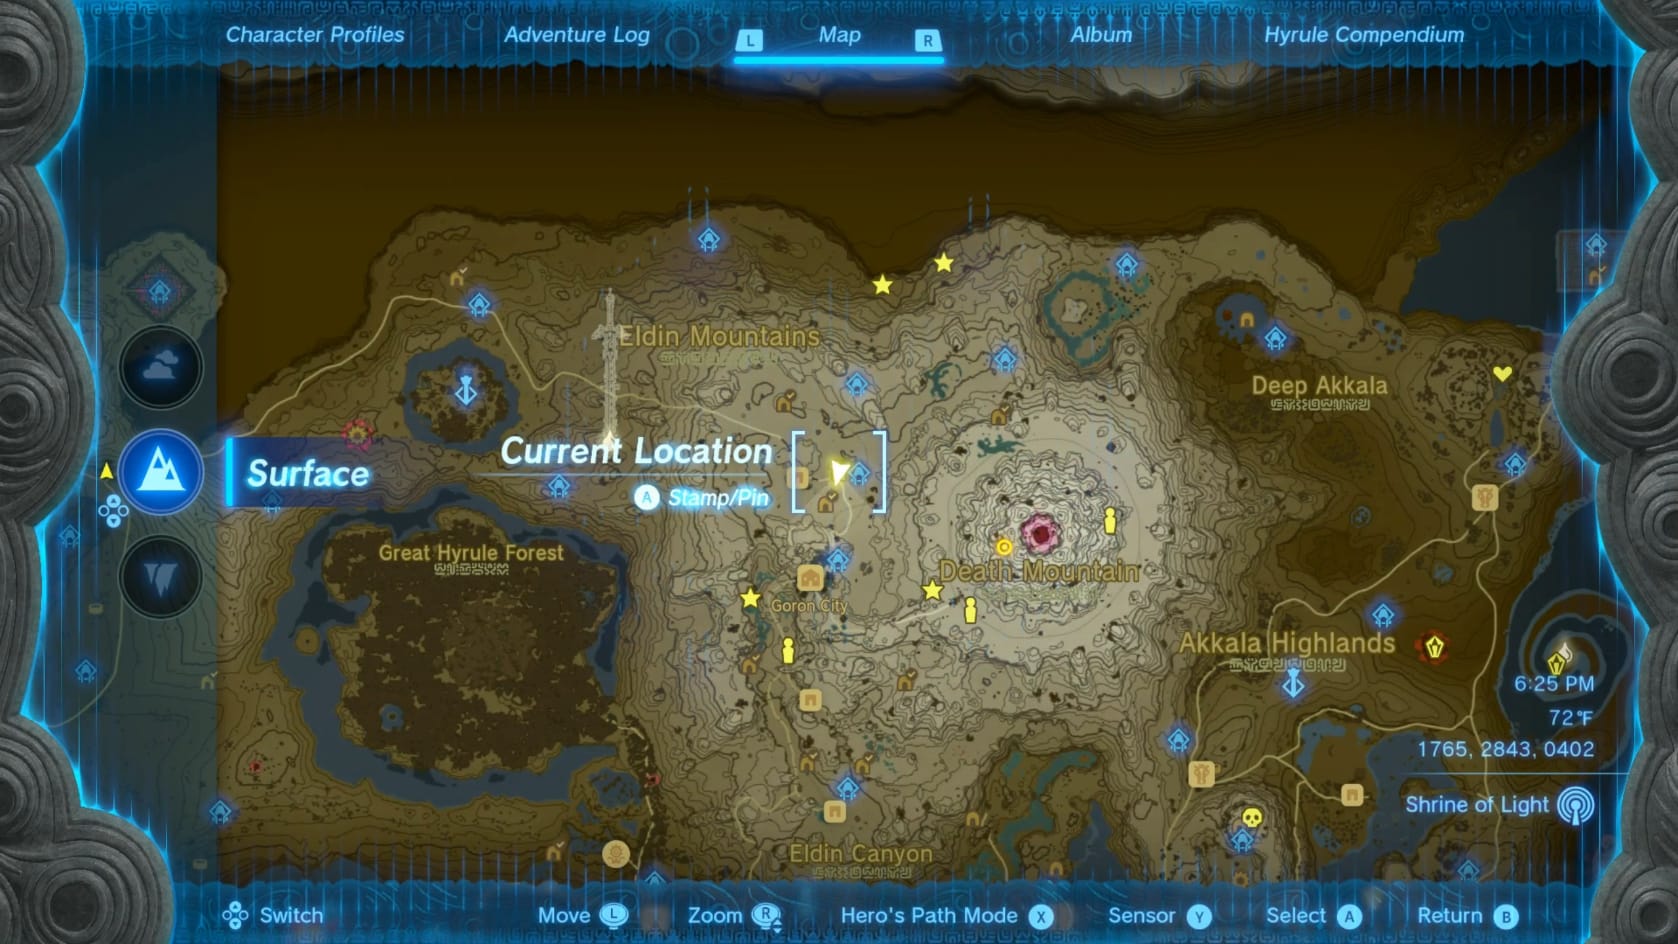
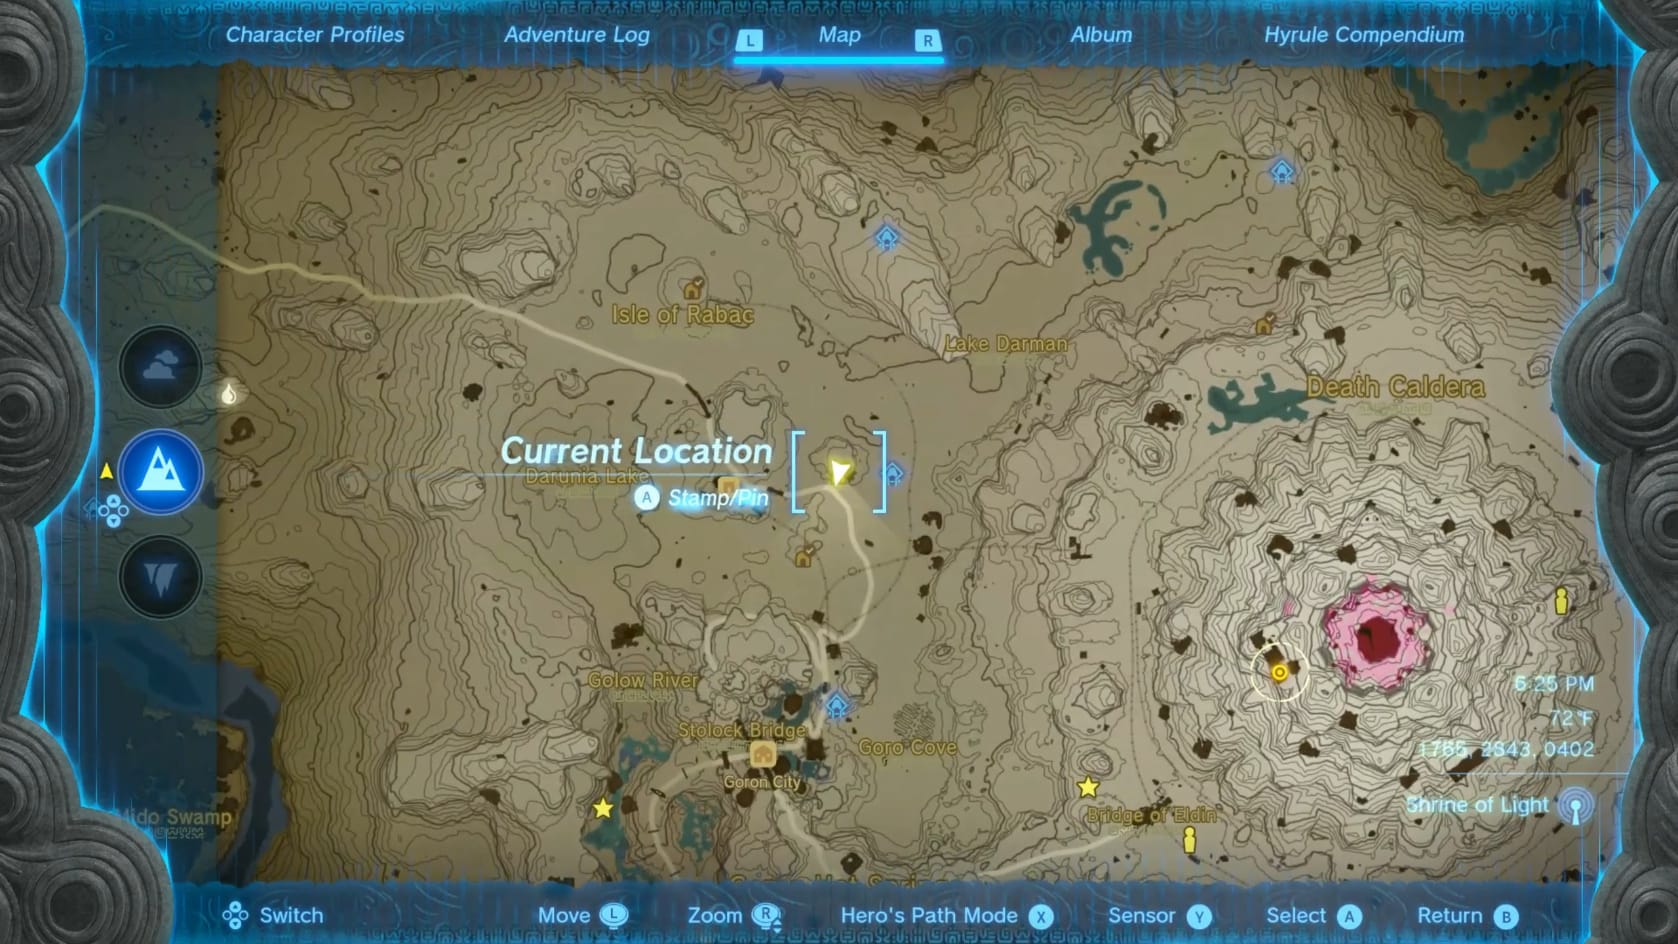
The Location of YunoboCo East Cave
Walkthrough
Through YunoboCo HQ East Cave
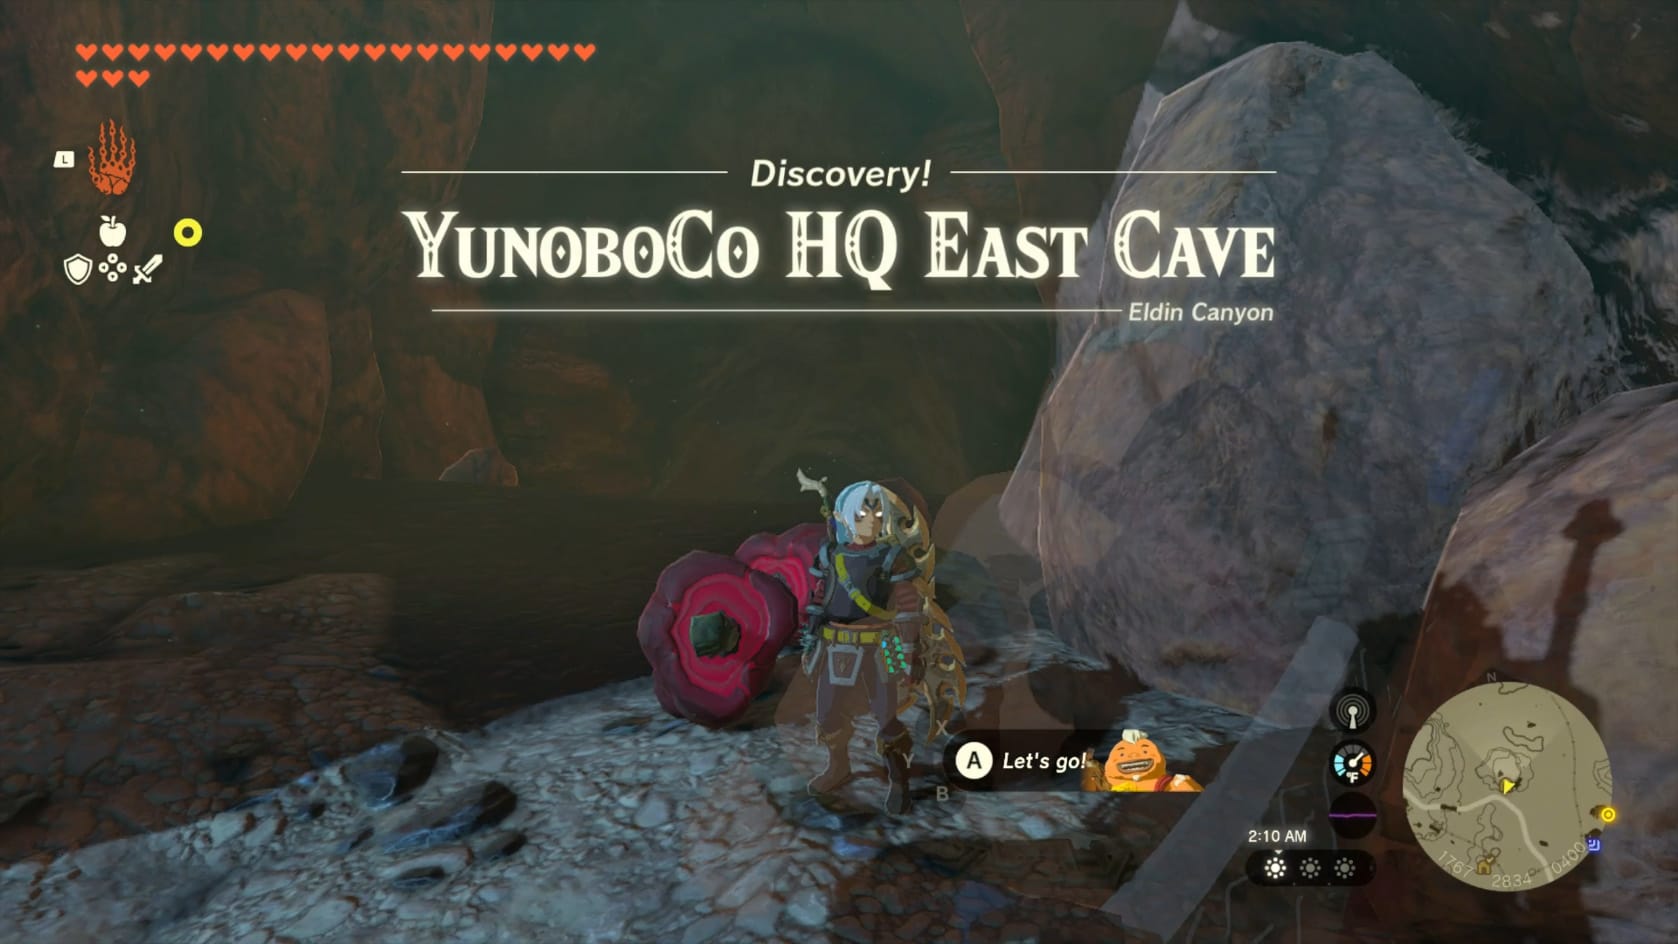
You need to start this with Yunobo and using his roll ability to smash through the rocks blocking the entrance. Once inside the cave, you will need to reach the Shrine itself. Be on guard for the monsters within, the Horriblins on the ceiling and the Fire-Like that are in your way.
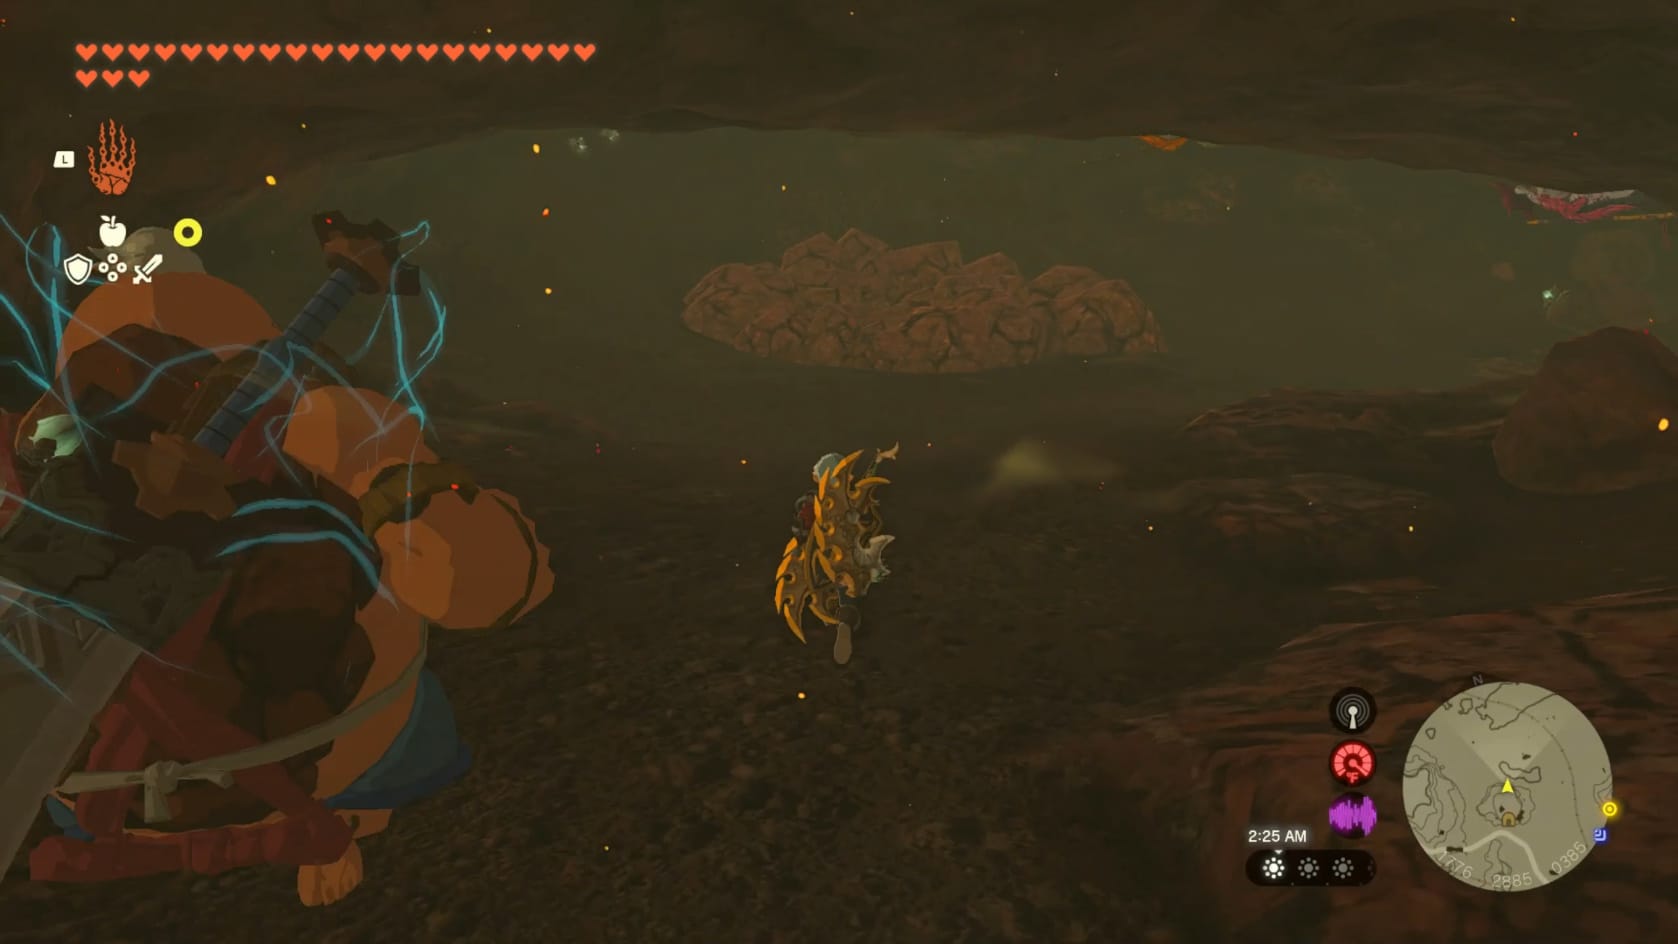

The path to the Shrine
Go down the slope and you’ll be in a large chamber with some Horriblins You will want to head to the for the Western tunnel. You’ll see the Fire-Like clinging to the Wall. Defeat it and move forward into the next chamber.
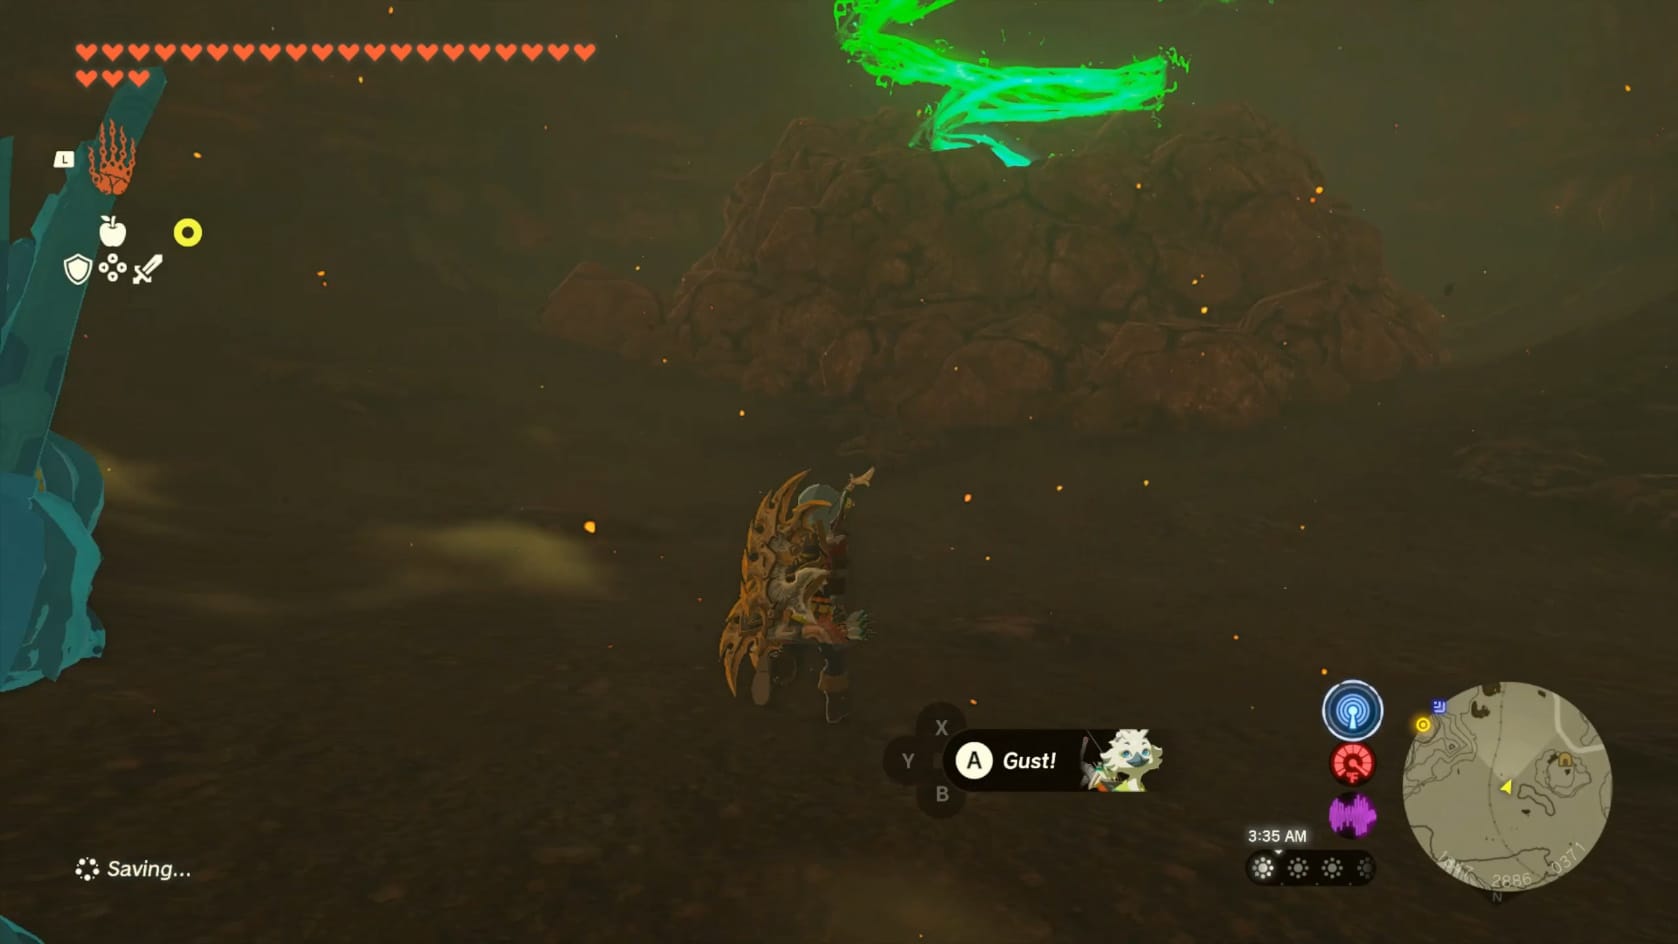
In this chamber, you’ll see a large pile of breakable rocks. Your detector will be sounding loudly. Smash through the rocks to reach the Shrine itself. It helps the tell-tale swirl is coming out from the top. Either you can smash through or drop on through the opening at the top.
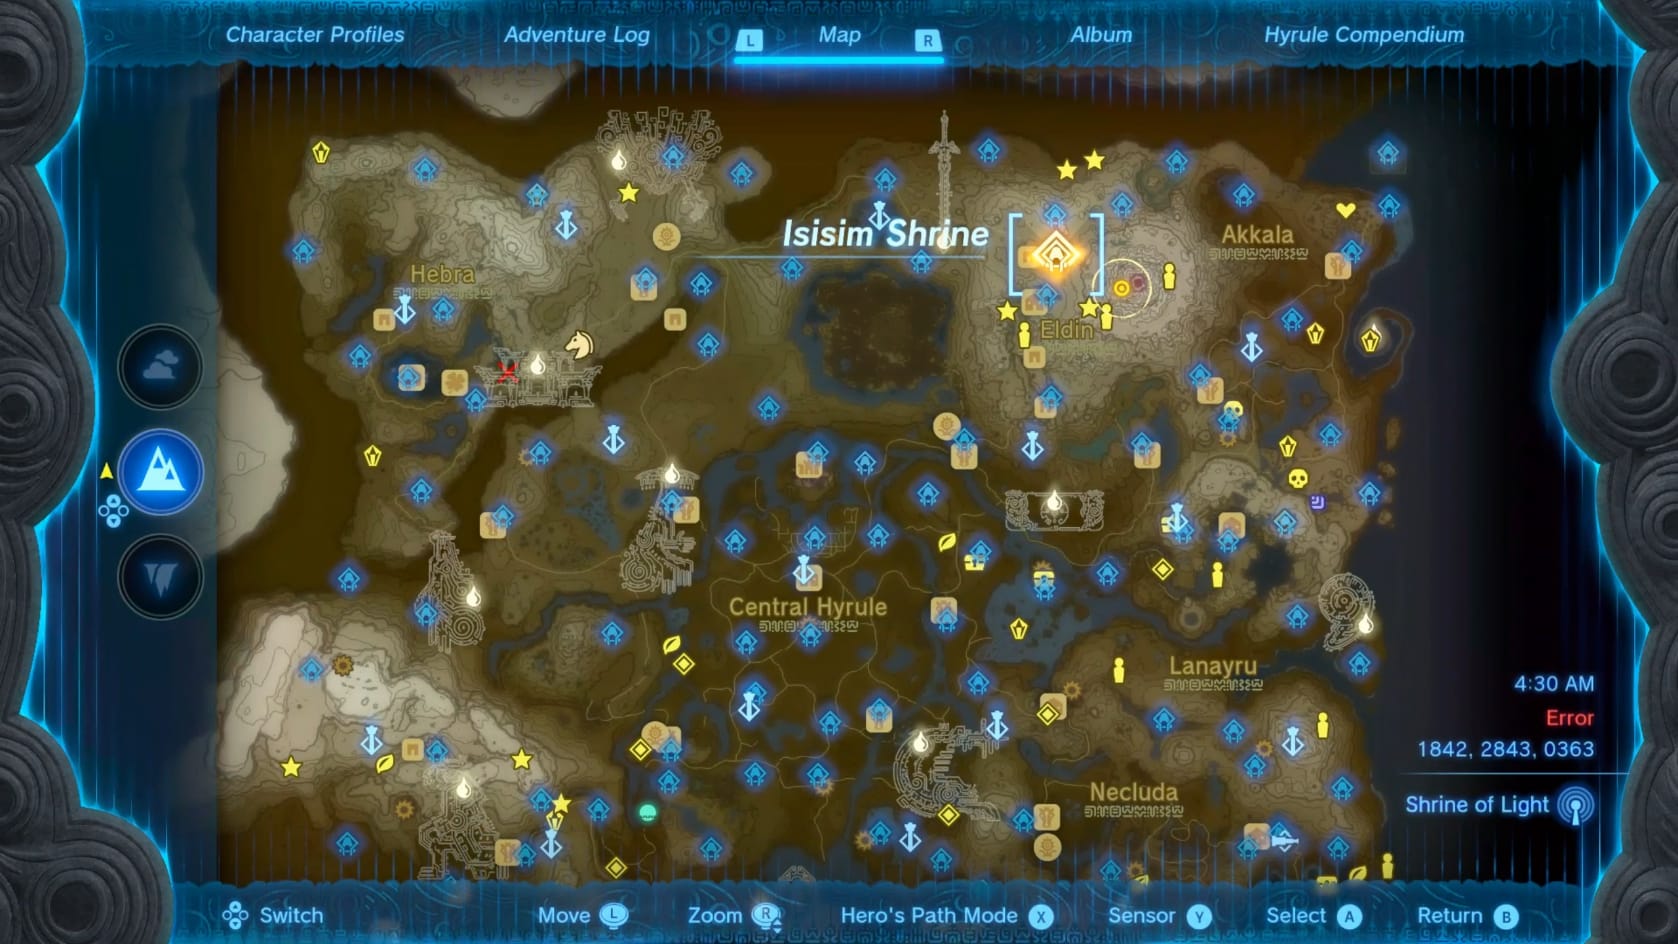
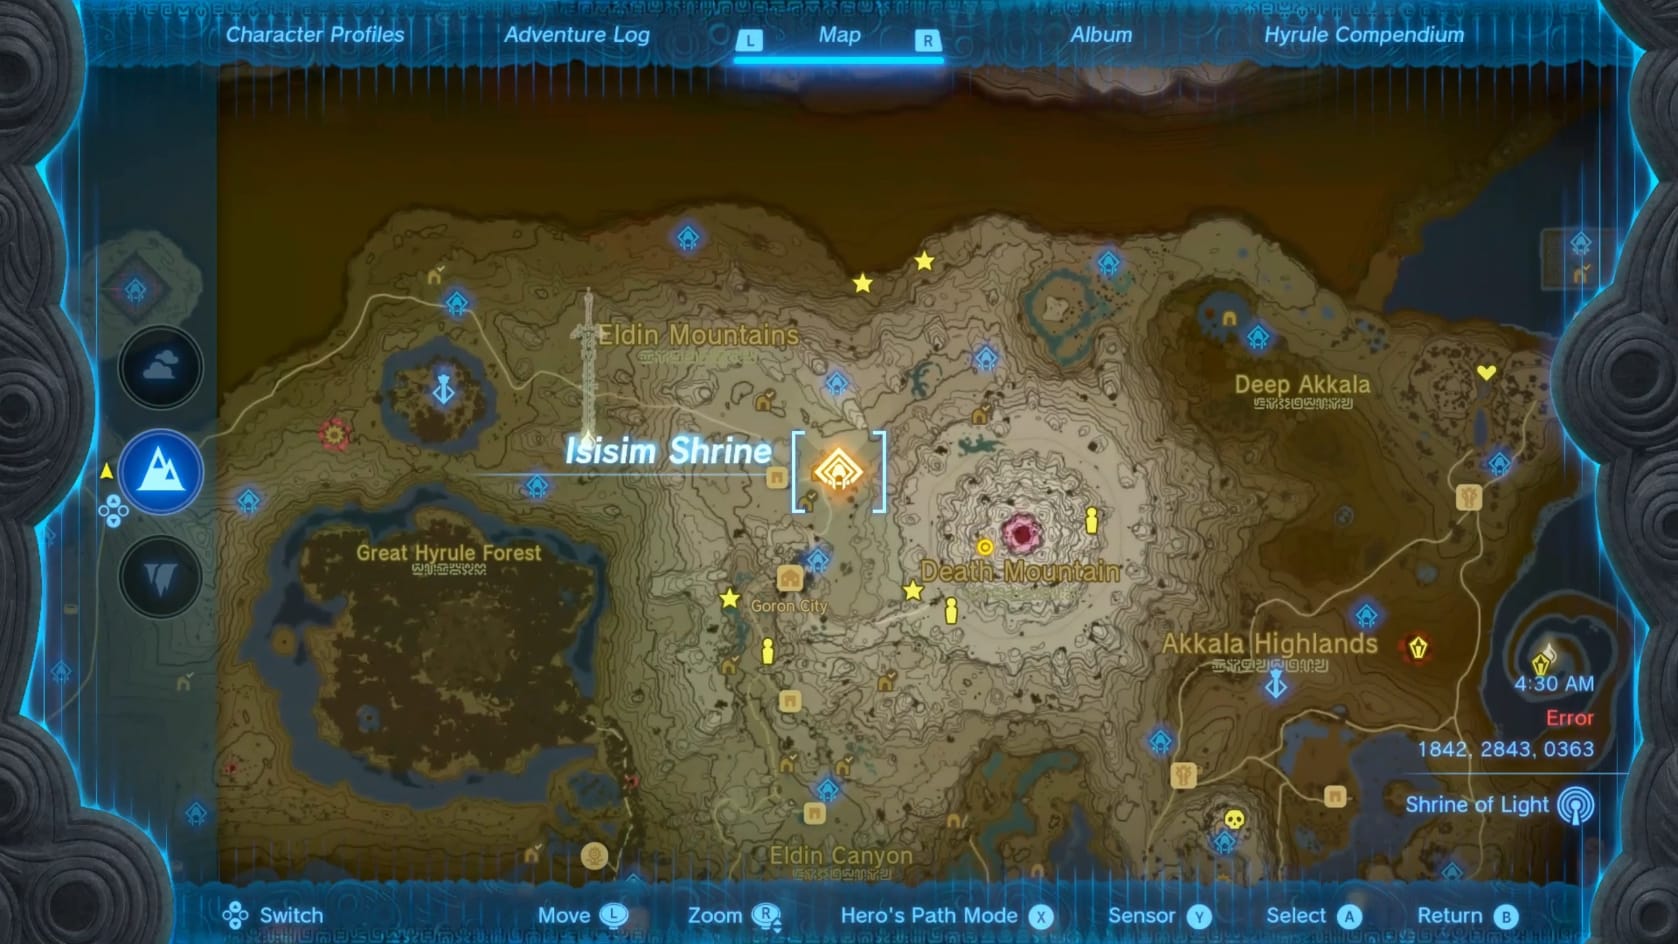

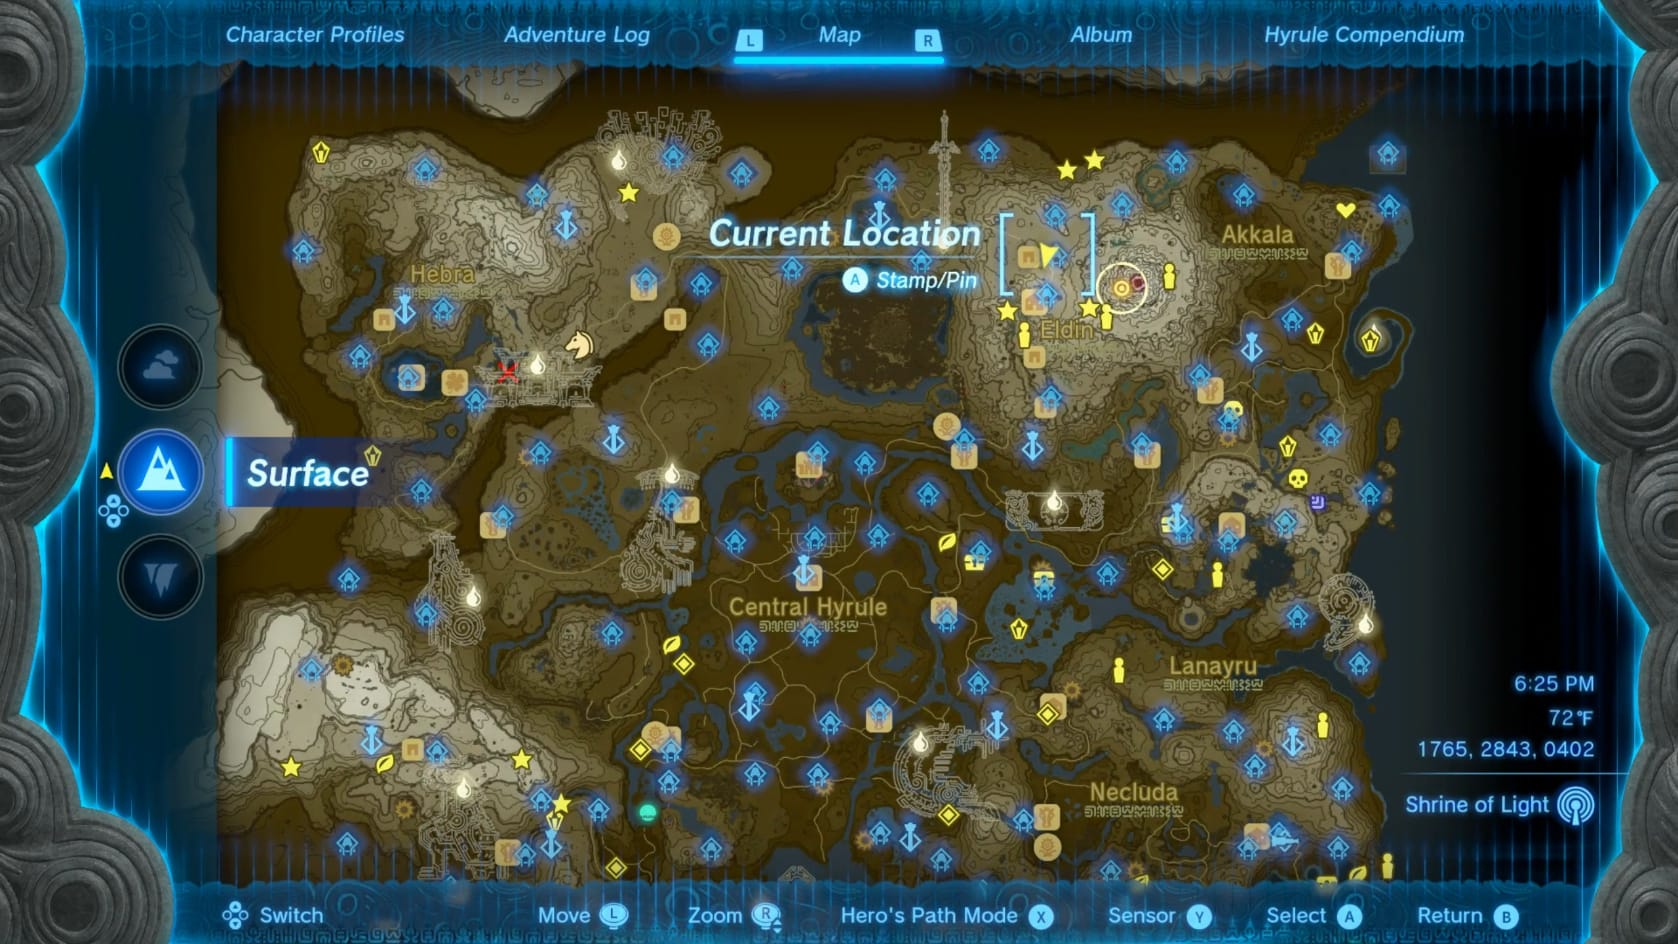
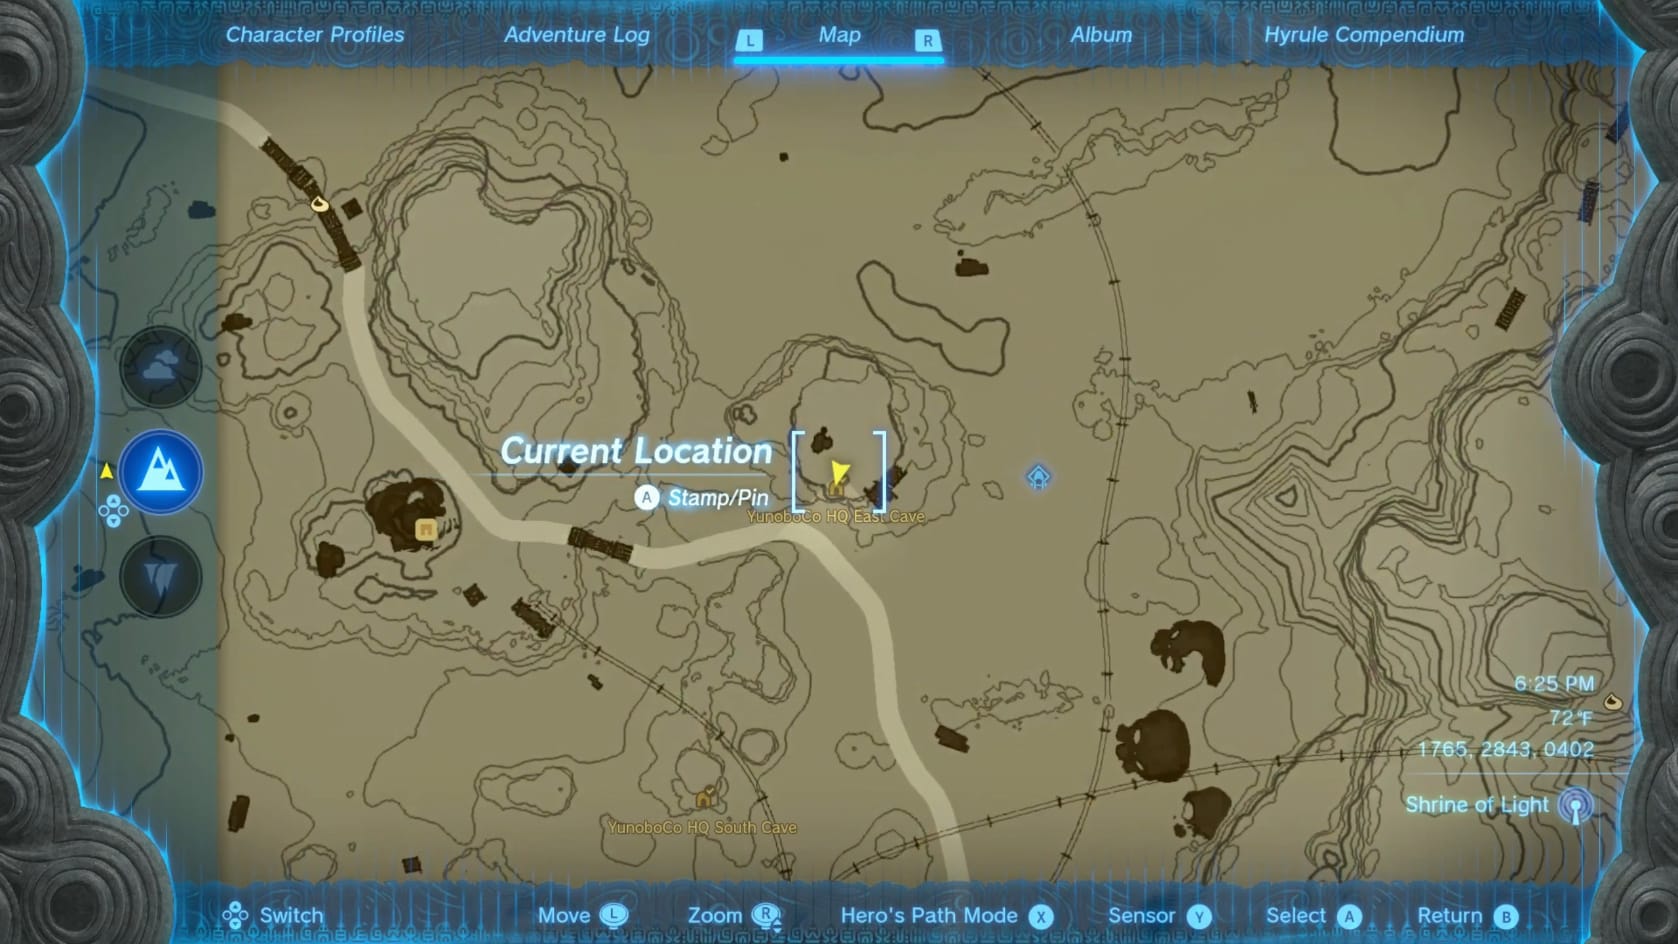
Location of Isisim Shrine as shown on the map
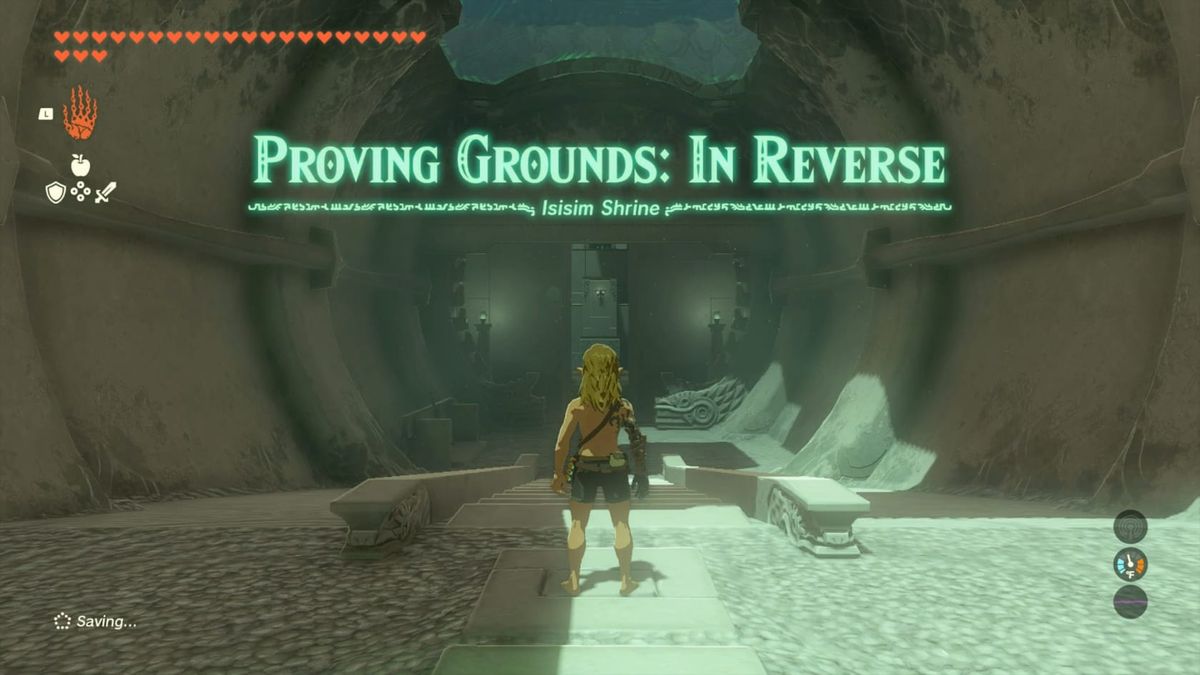
Proving Grounds: In Reverse
Just like with every Proving Grounds, all your equipment and items are removed from your inventory. They will be returned when you complete the Shrine’s Challenge. This does also mean what you collect here will vanish from your inventory.
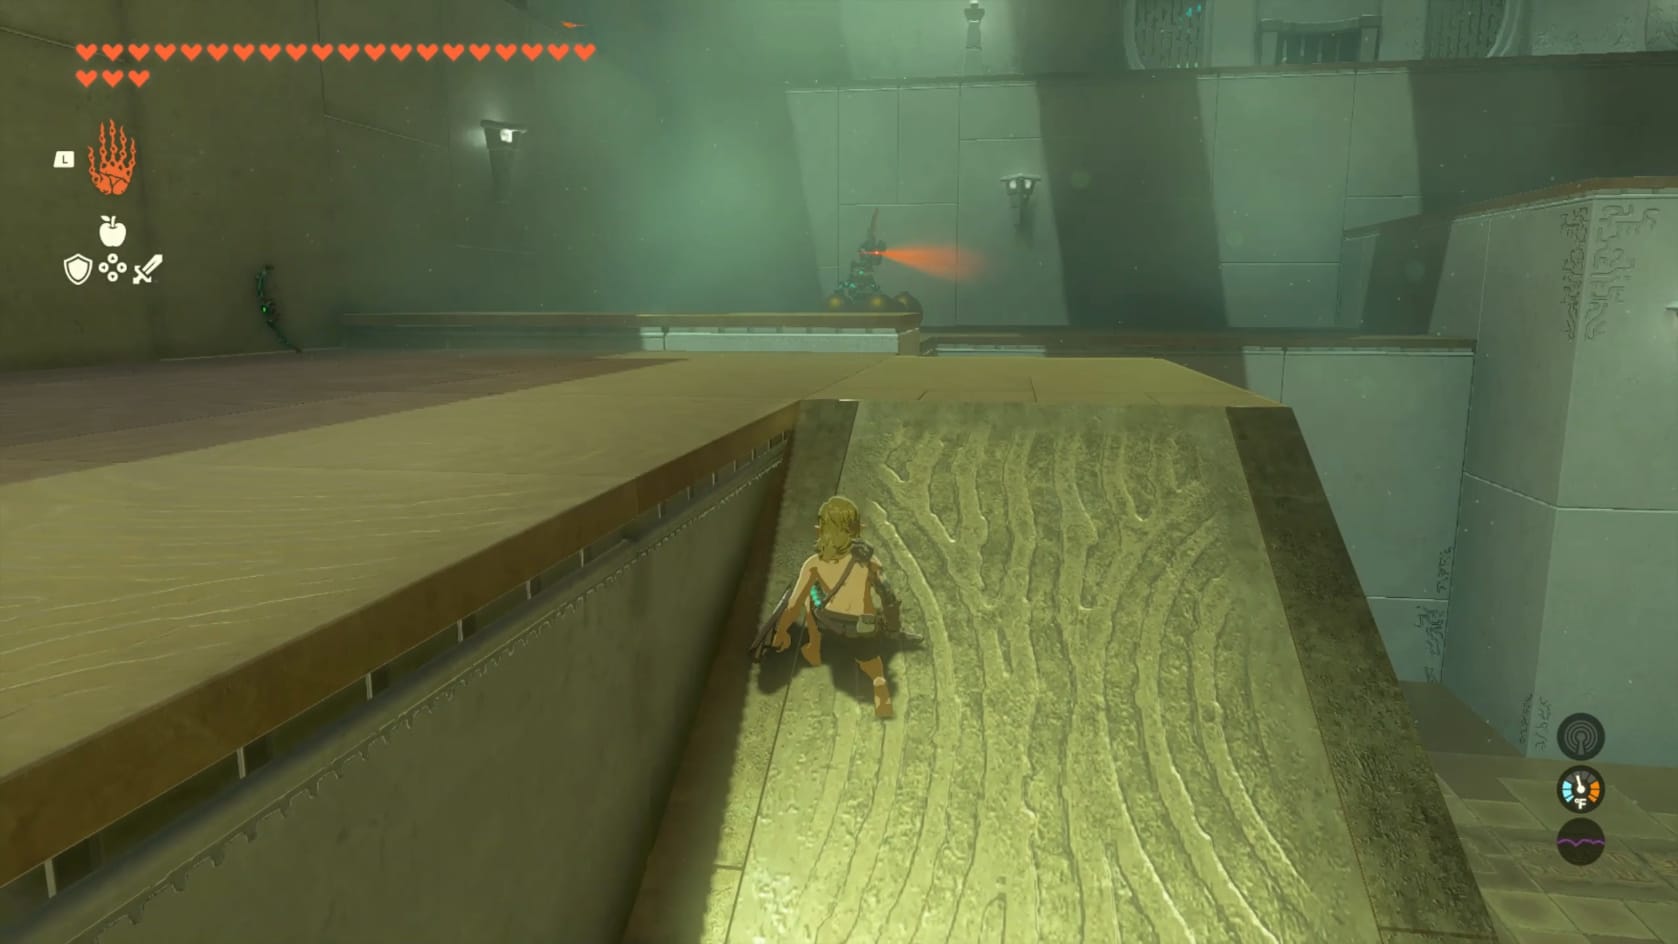
Start by heading down the stairs. Look to the left to find the Equipment rack. It’ll have a Wooden Stick, Thick Stick, and Old Wooden Shield. Grab all of them and head forward. You’ll enter the main chamber of the Shrine.
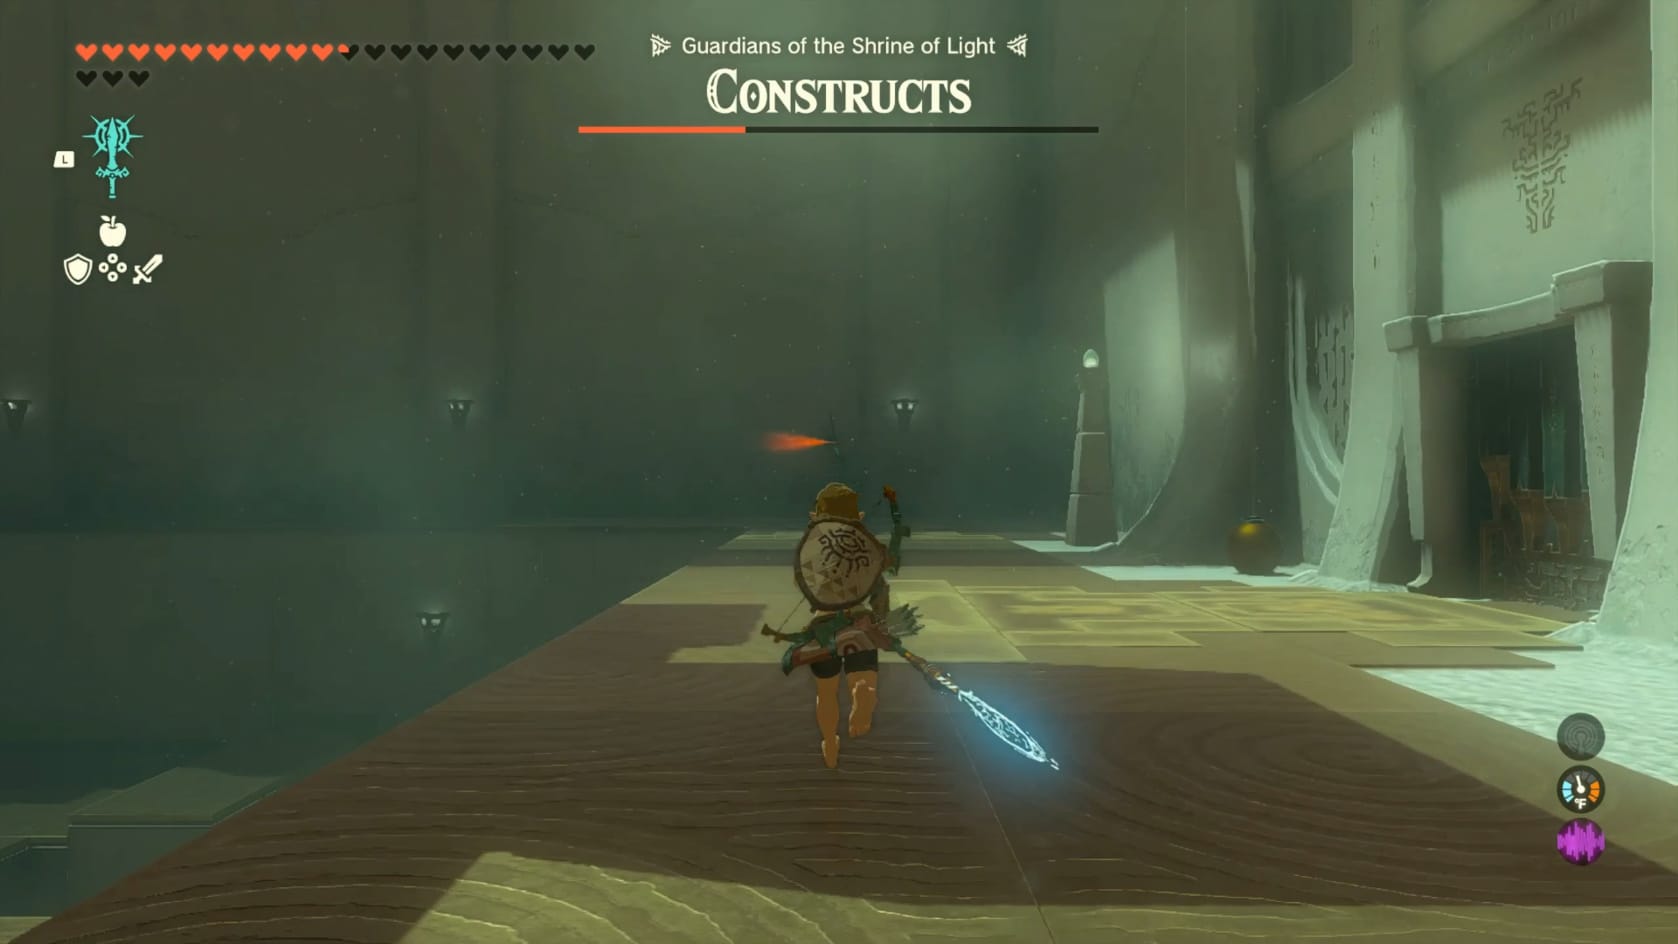
At this point, Link will need to clear the Shrine of the Soldier and Captain Constructs that litter it. This can be done with stealth or just fighting through them. This is just one way to get through the Shrine and clear the 4 Soldier Constructs.
Soldier Construct 1
Start sneaking into the main room. Turn to the left and take the ramp up. Getting to the top, you can see a Soldier Construct in the corner with a number of Zonai Bombs in front of it. To the left of the ramp you can see a Construct Bow that you could reach. It’s difficult to reach the bow without getting spotted by the Soldier Construct. You can throw a weapon into the Zonai bombs to arm them and have them blow up the Construct. Collect what drops from the soldier and nearby arrows.
Reverse the Cog
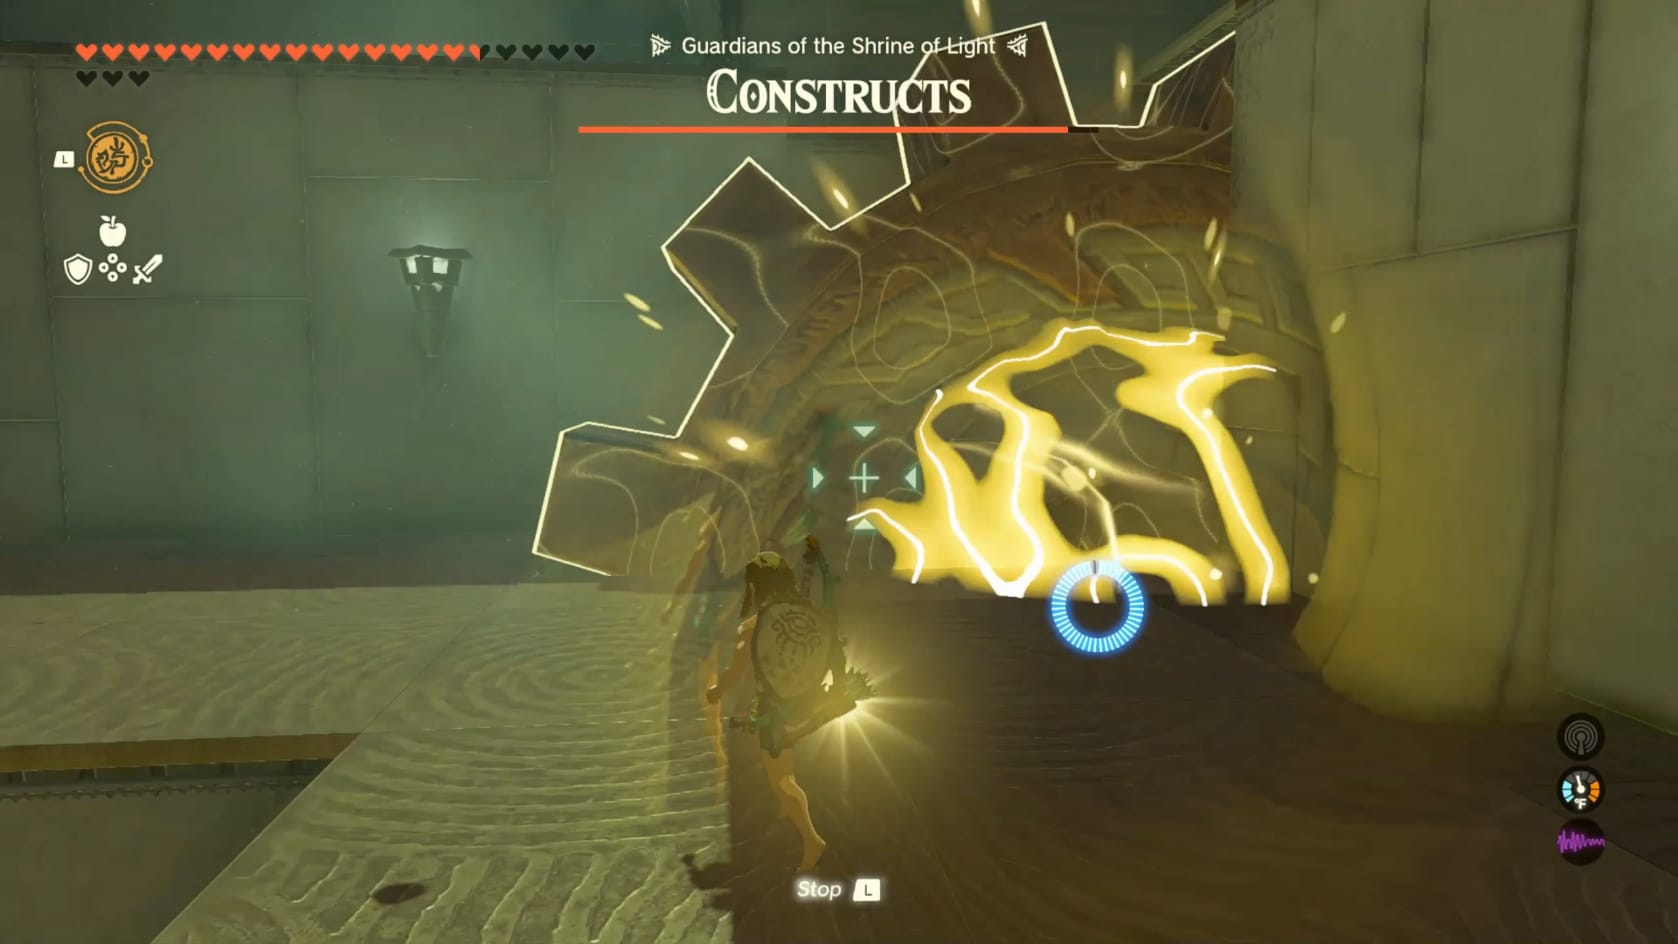
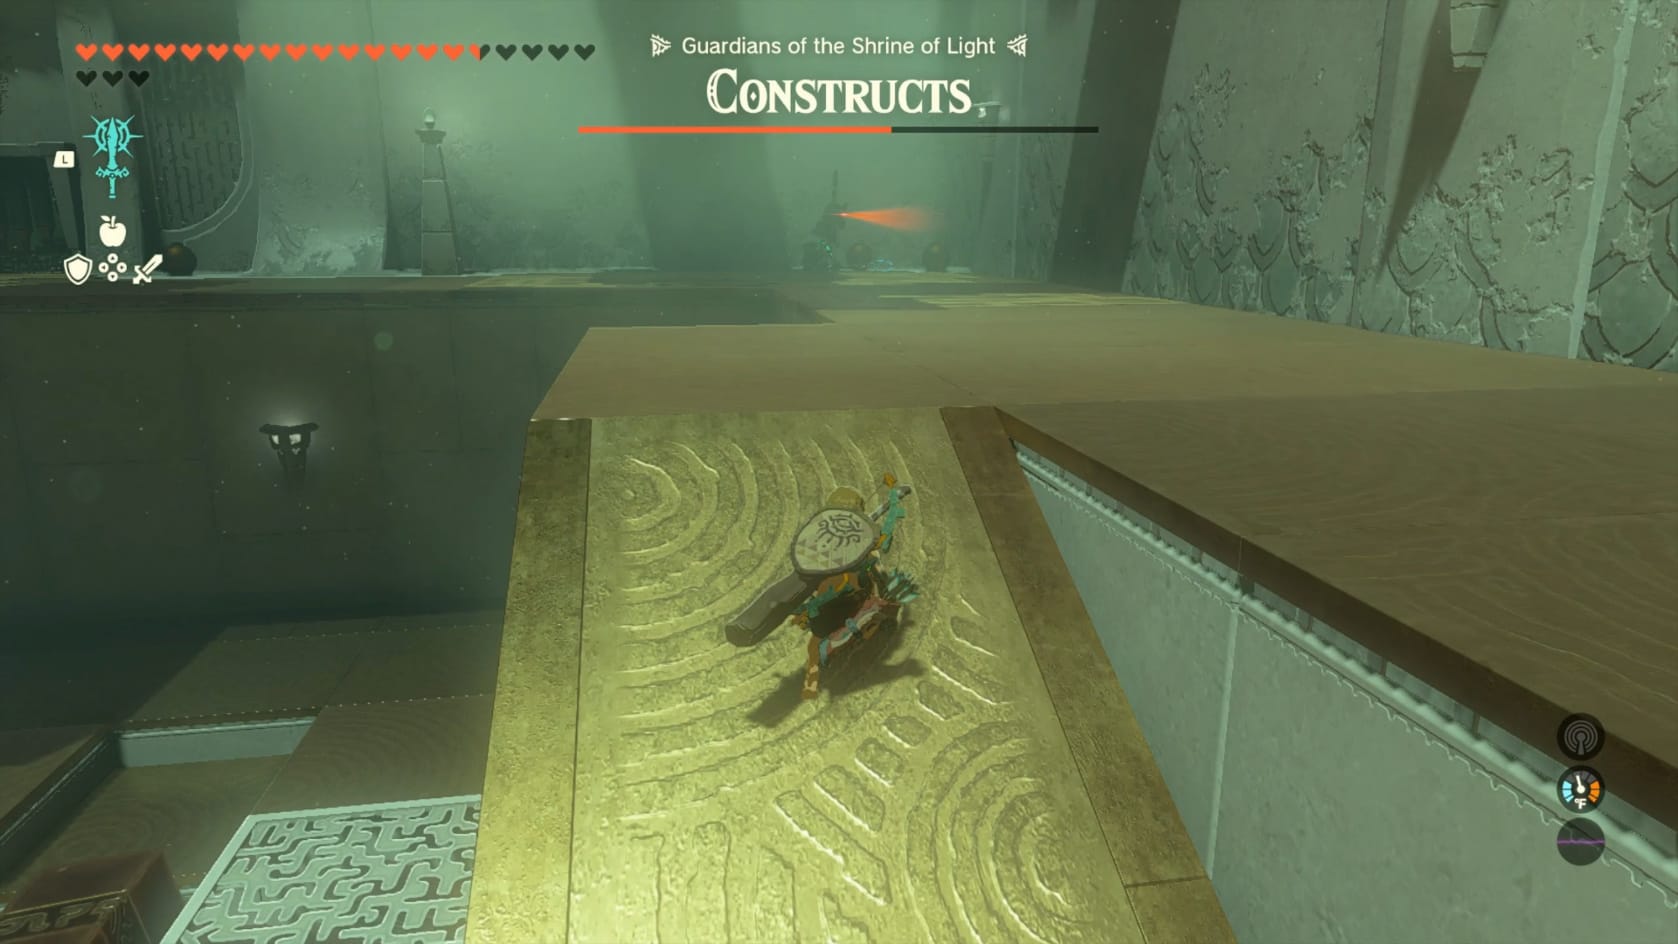
From this first Soldier, turn around and head for the large cog you can see on the corner of this platform. Run over to it and align with the teeth of the cogs. Access your abilities and use Recall on it to reverse its direction of Movement. Ride any of the teeth up to the top level.
Soldier Construct 2
On this top level, you will right next to a Soldier Construct II with a Spiny Spear. Defeat and claim its spear. Look to the nearby corner of the room to find a Rusty Halberd that you can add to your weapon stock.
While there is a breakable rock nearby the Soldier Construct II was, ignore it for now. Durability is a resource. We’d be back for it, but there isn’t important behind it.
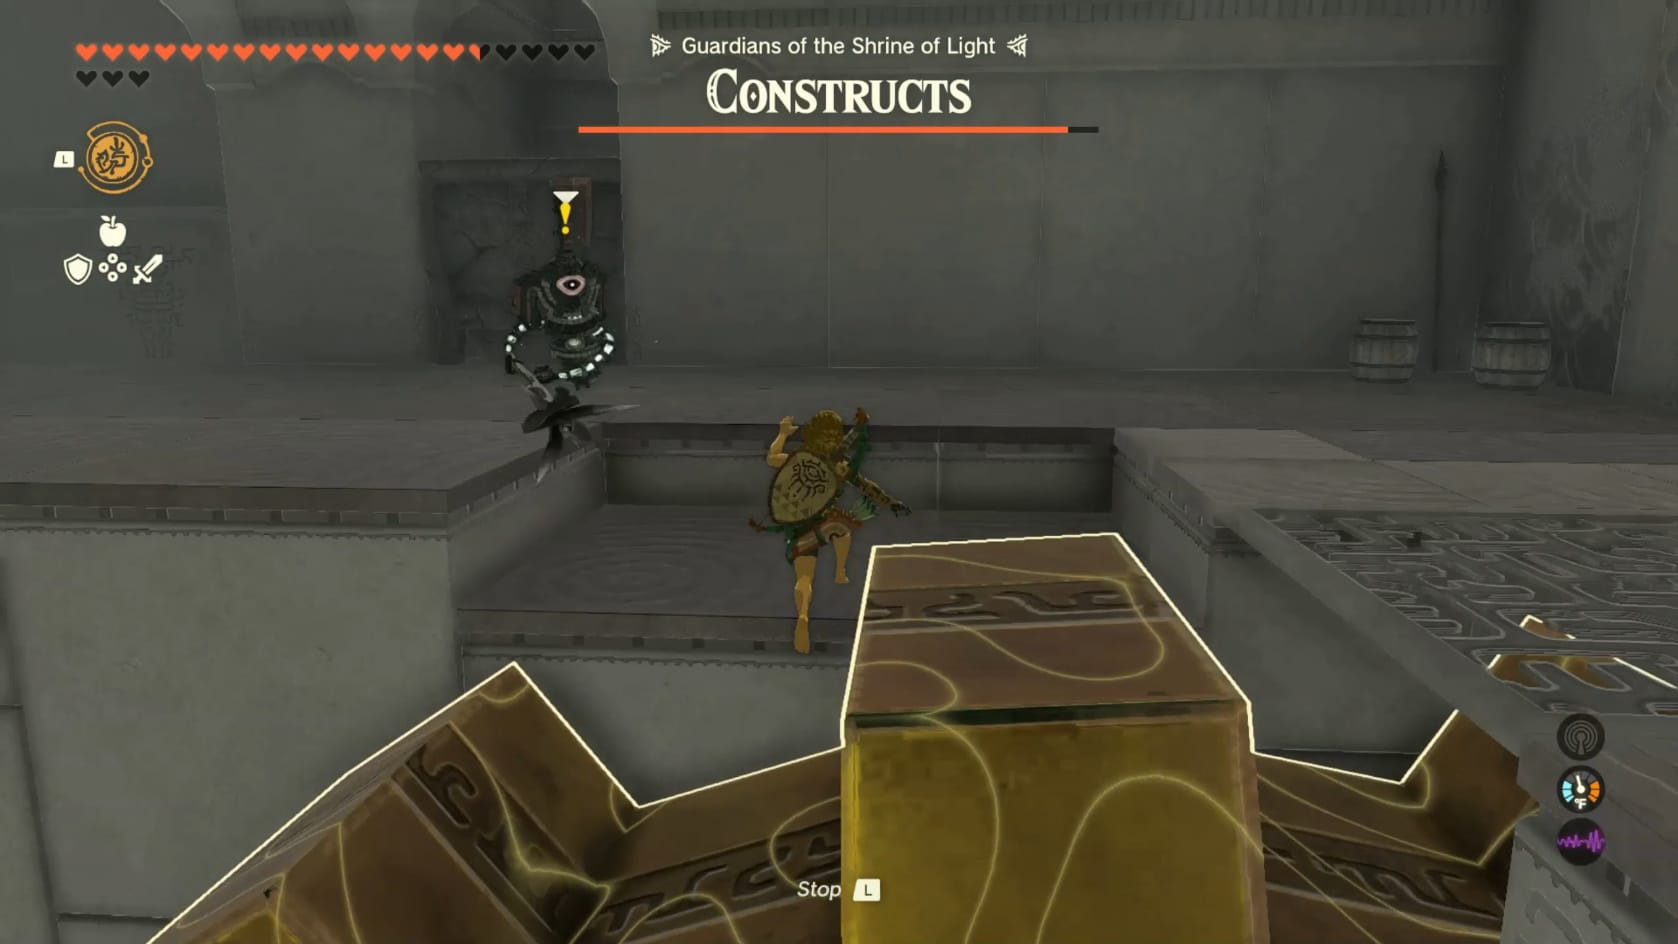
Soldier Construct 3
Turn to the right and do a running jump, quickly using the Paraglider to get across the gap to reach the right-hand side of the room. Once again you’ll be fighting a Soldier Construct. This one is armed with a Rusty Halberd.
Sitting on the floor nearby is a bundle of arrows. Against the front wall is another Construct Bow. Breaking the barrels in this corner can net you more arrows as well.
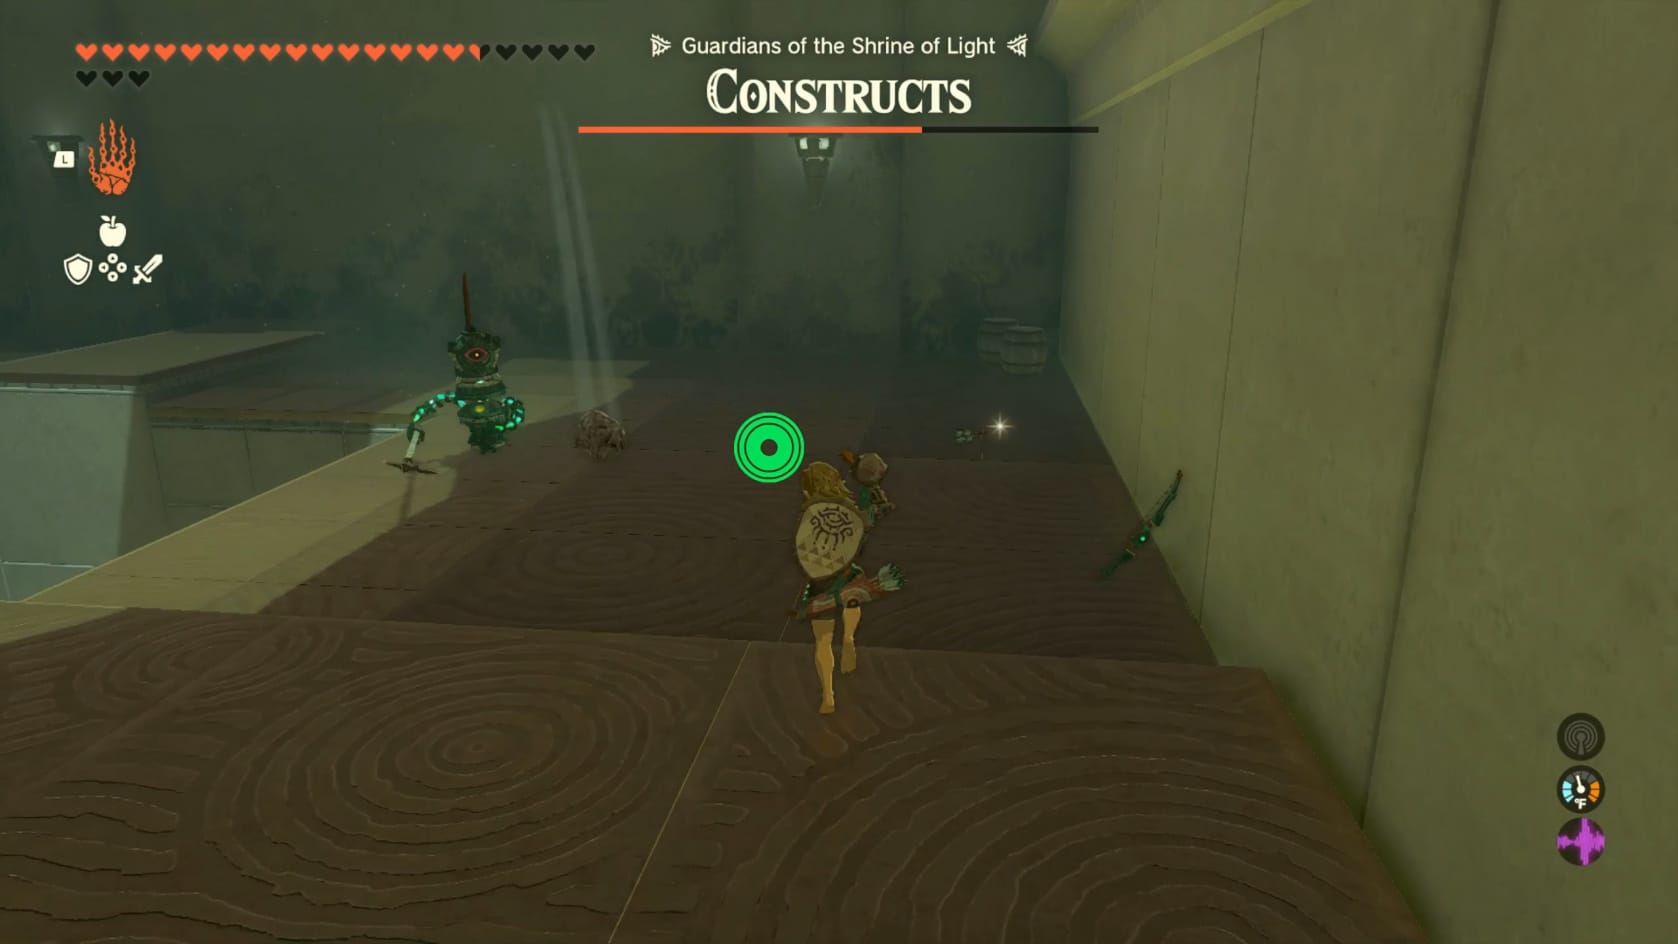
Solider Construct 4
Look to the back right of the chamber. There’s a Soldier Construct patrolling along the balcony there. More importantly, there are Zonai Bombs sitting in the back right corner. A well timed shot to the Zonai bombs will let you explode them and take out the Soldier Construct II patrolling there. There are 2 more Zonai bombs that frame the entrance of the Innermost Chamber. This Construct is likely armed with a Zonai Longsword.
Soldier Construct 5
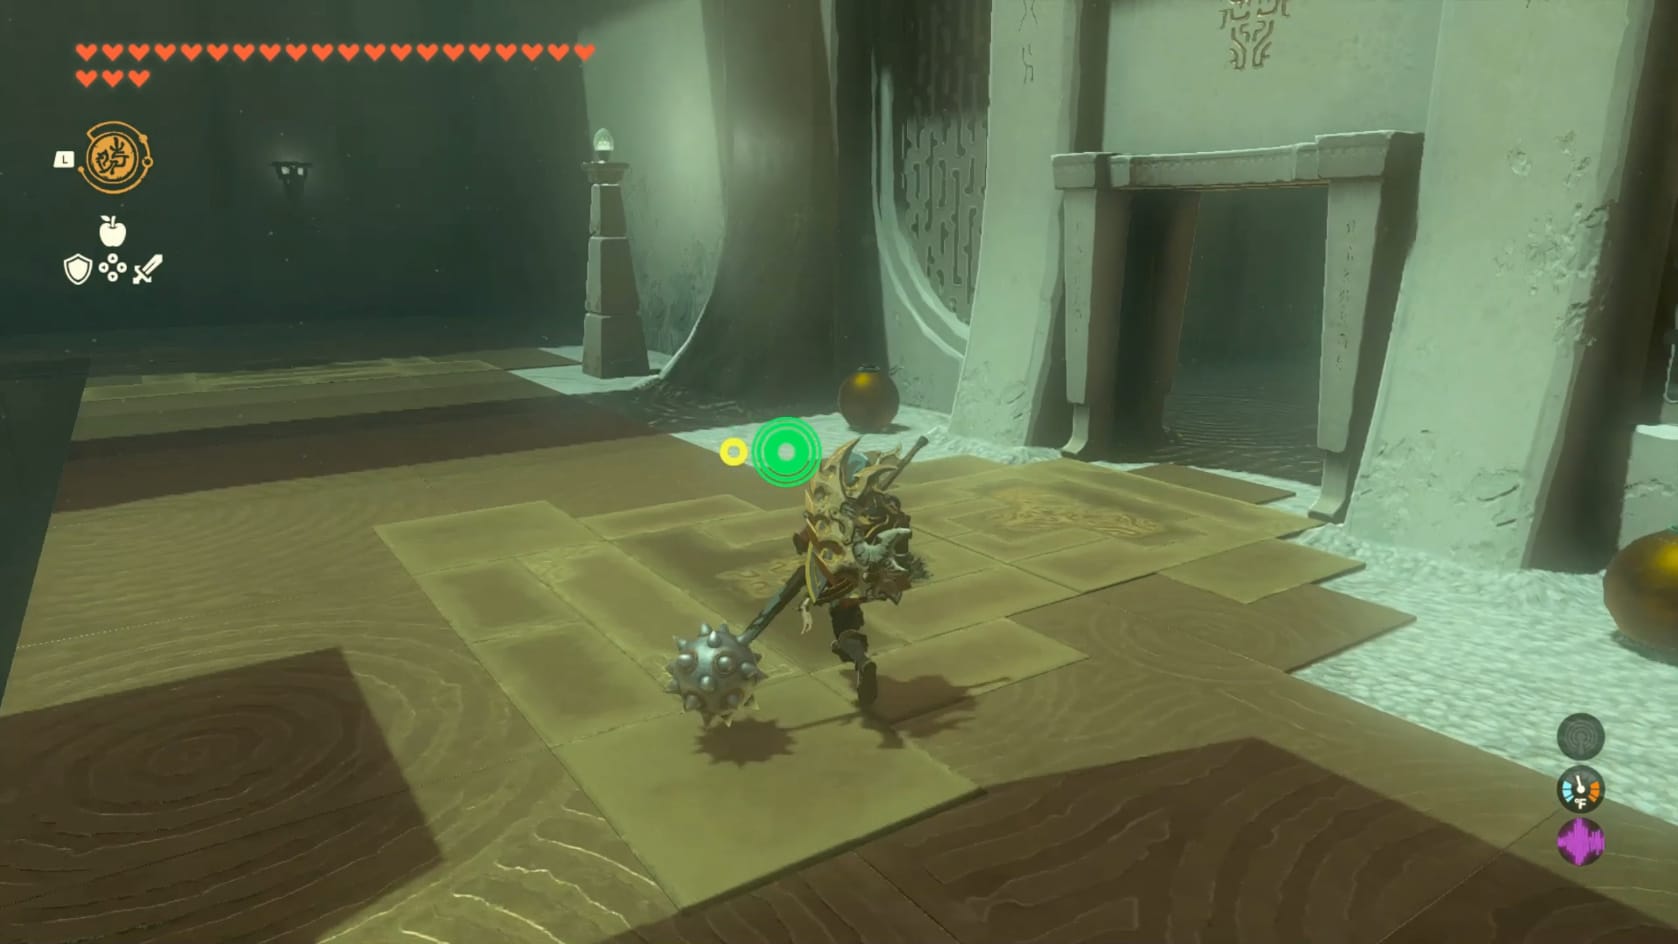
Just one Construct left in the back left of the room. Approach as you desire and defeat them.
The Innermost Chamber
Once the Soldier Constructs are destroyed, you will receive all your equipment. Go over to the opened doorway.
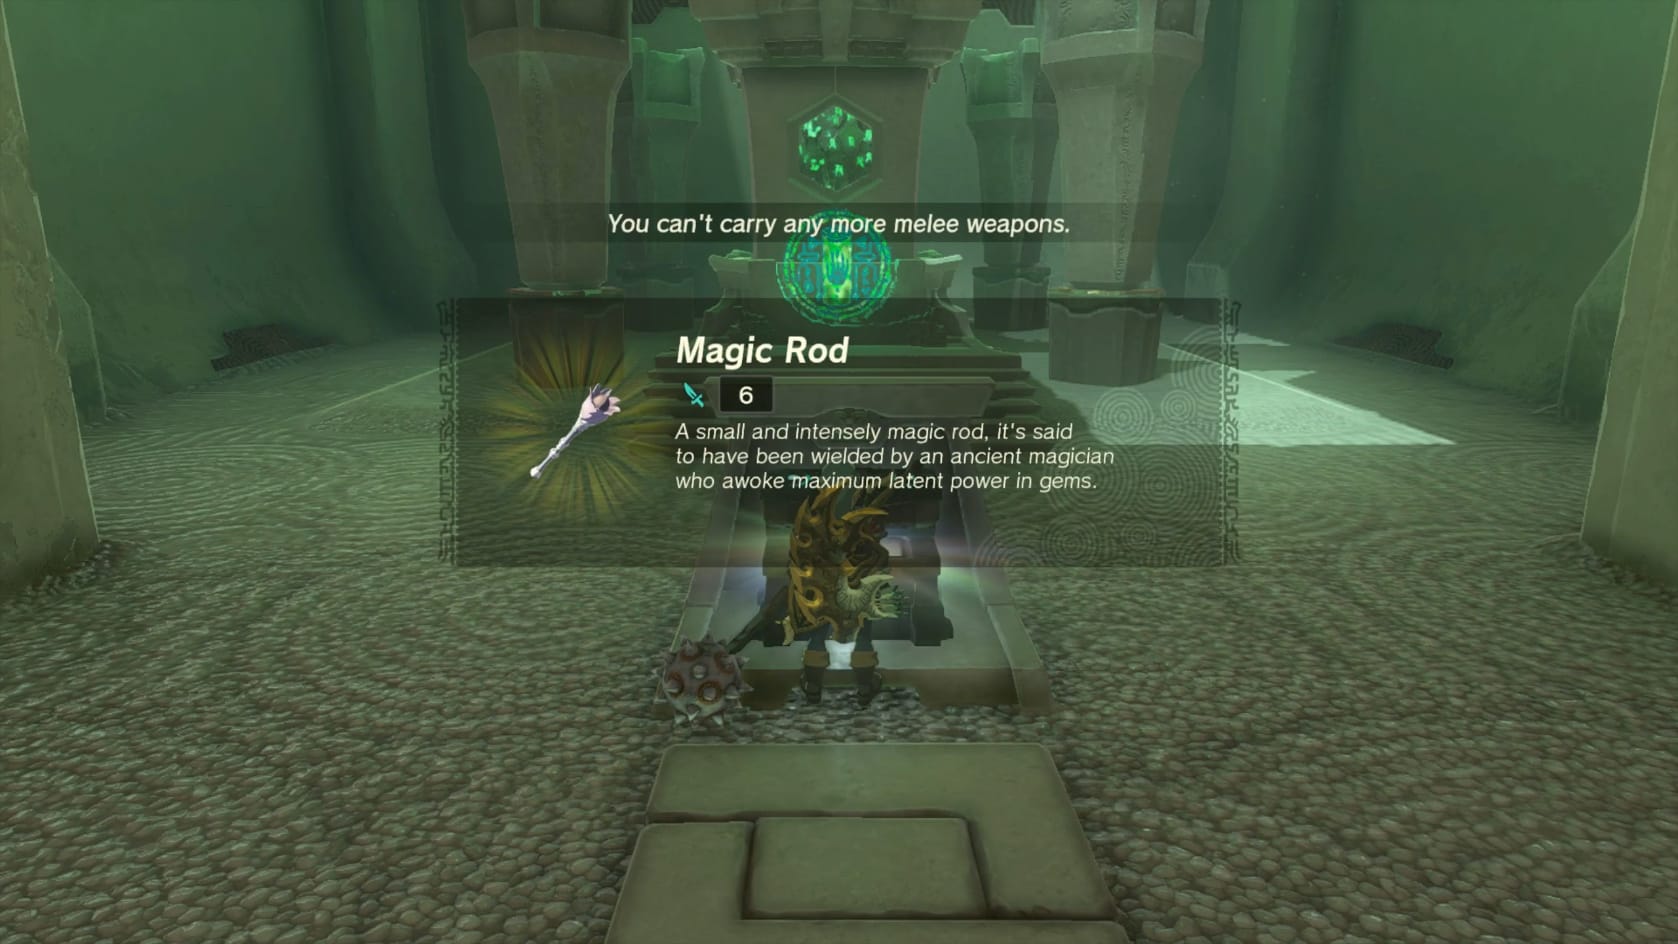
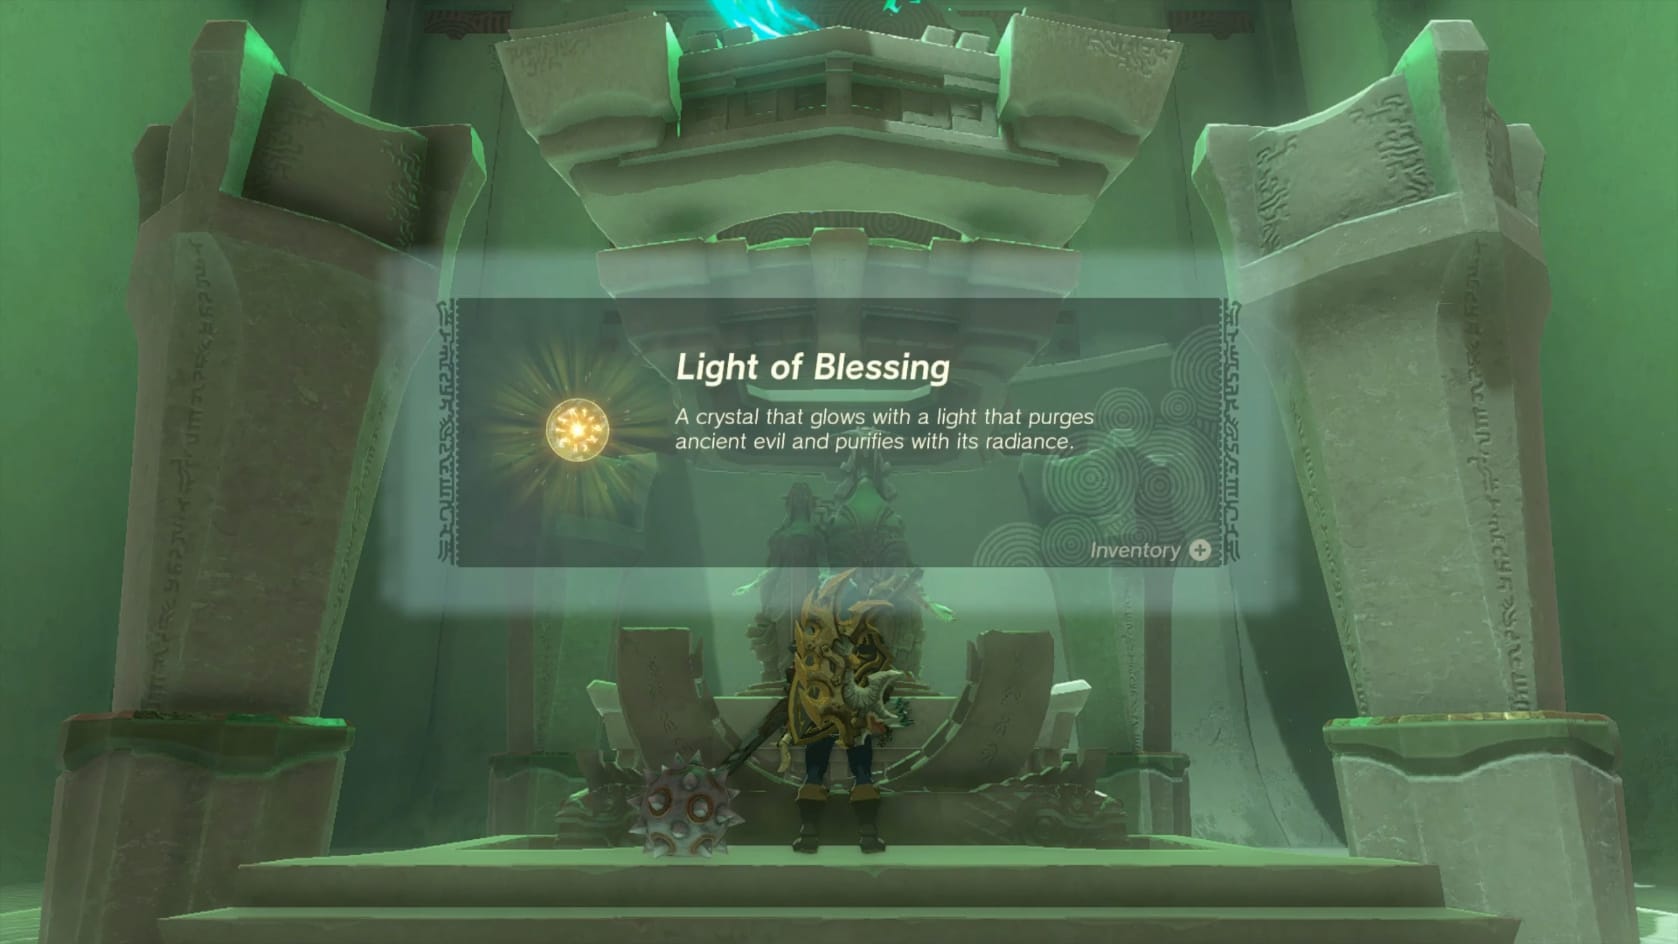
Inside the innermost chamber, you can find the Chest for the Shrine. Open the chest to claim the Magic Rod within. After that, go forward to the statues. Just interact with them to get the Light of Blessing.