Oblivion Remastered: Morahame Guide
Morahame is a small Ayleid Ruin located east of Bravil in the Nibenay Valley. This complete guide covers its location, enemies, Welkynd Stones, hidden Nirnroot, trapped walkways, and every piece of loot you'll encounter while exploring the dungeon.
This is a small Ayleid Ruin found within the Nibenay Valley. It’s found to the East of Bravil. You can expect to find monsters, Mud Crabs and wilderness animals inside it.
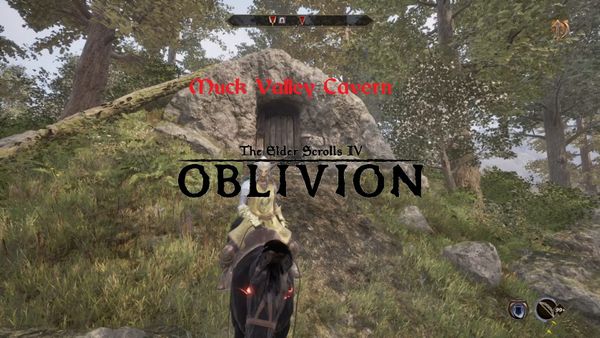
Location:
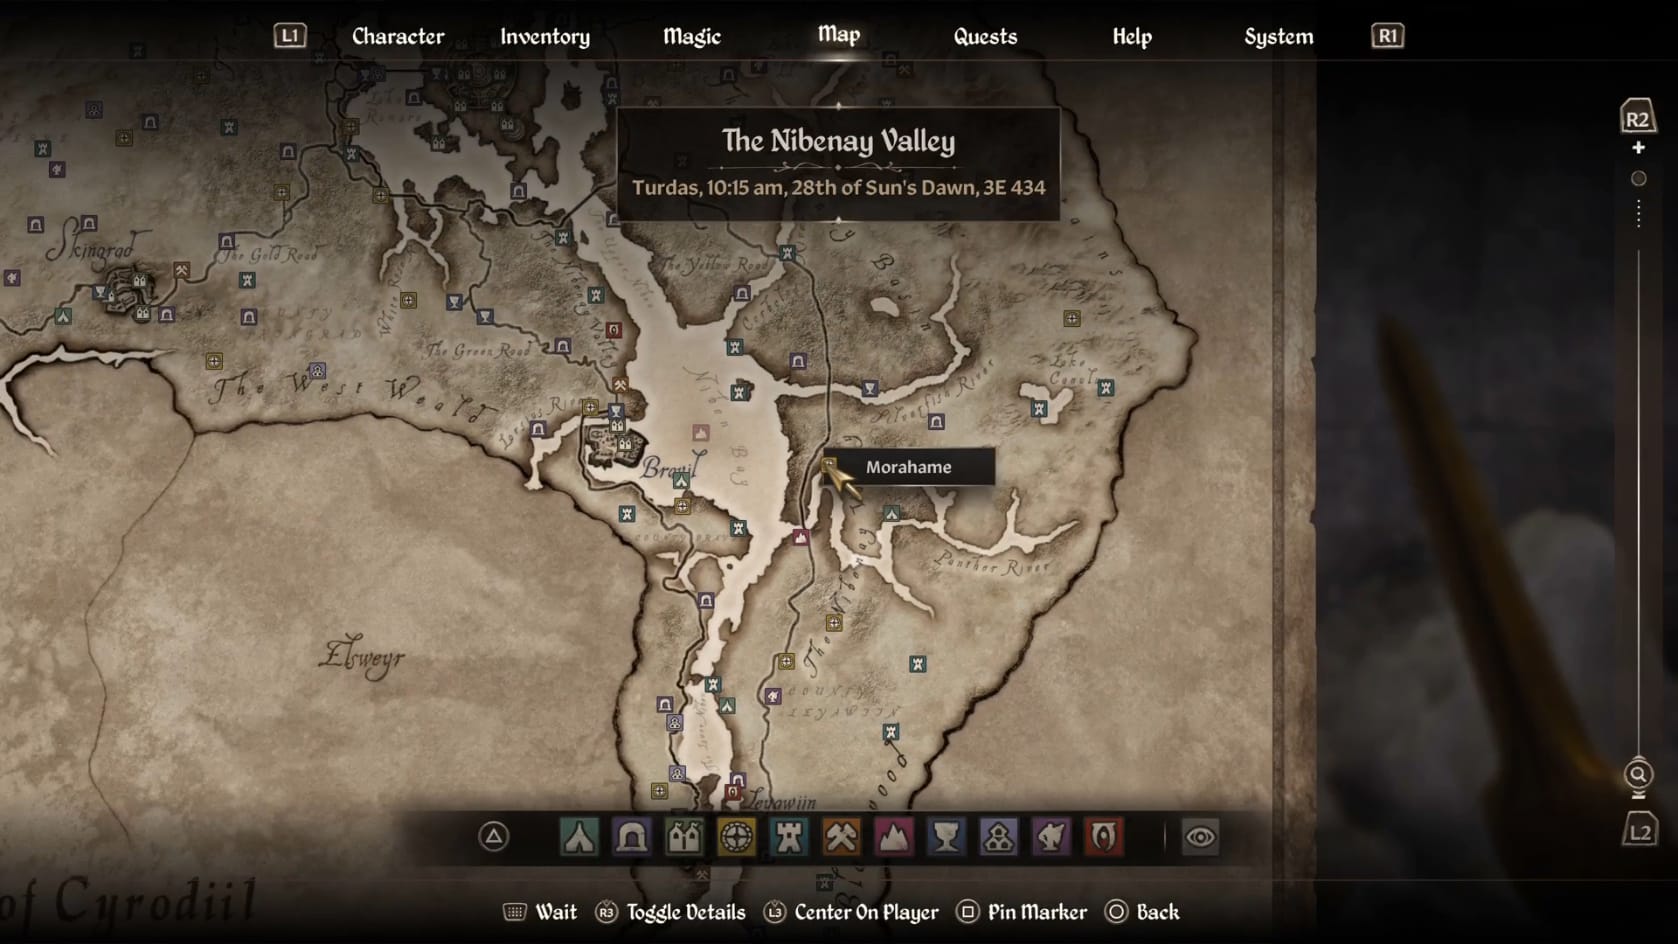
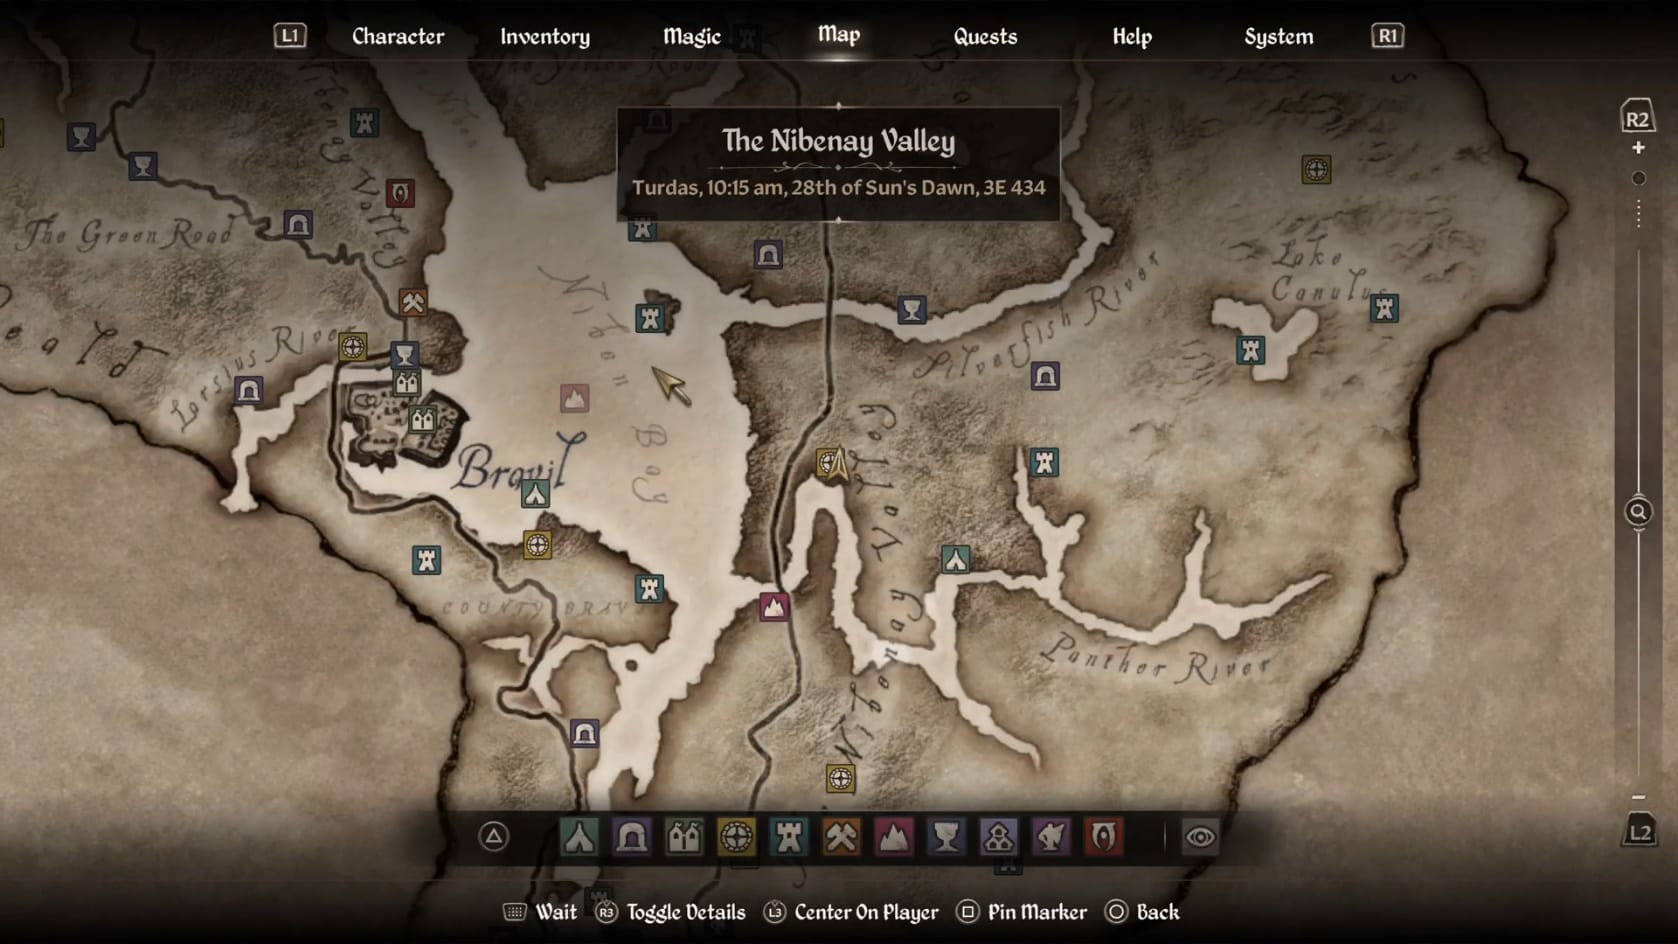
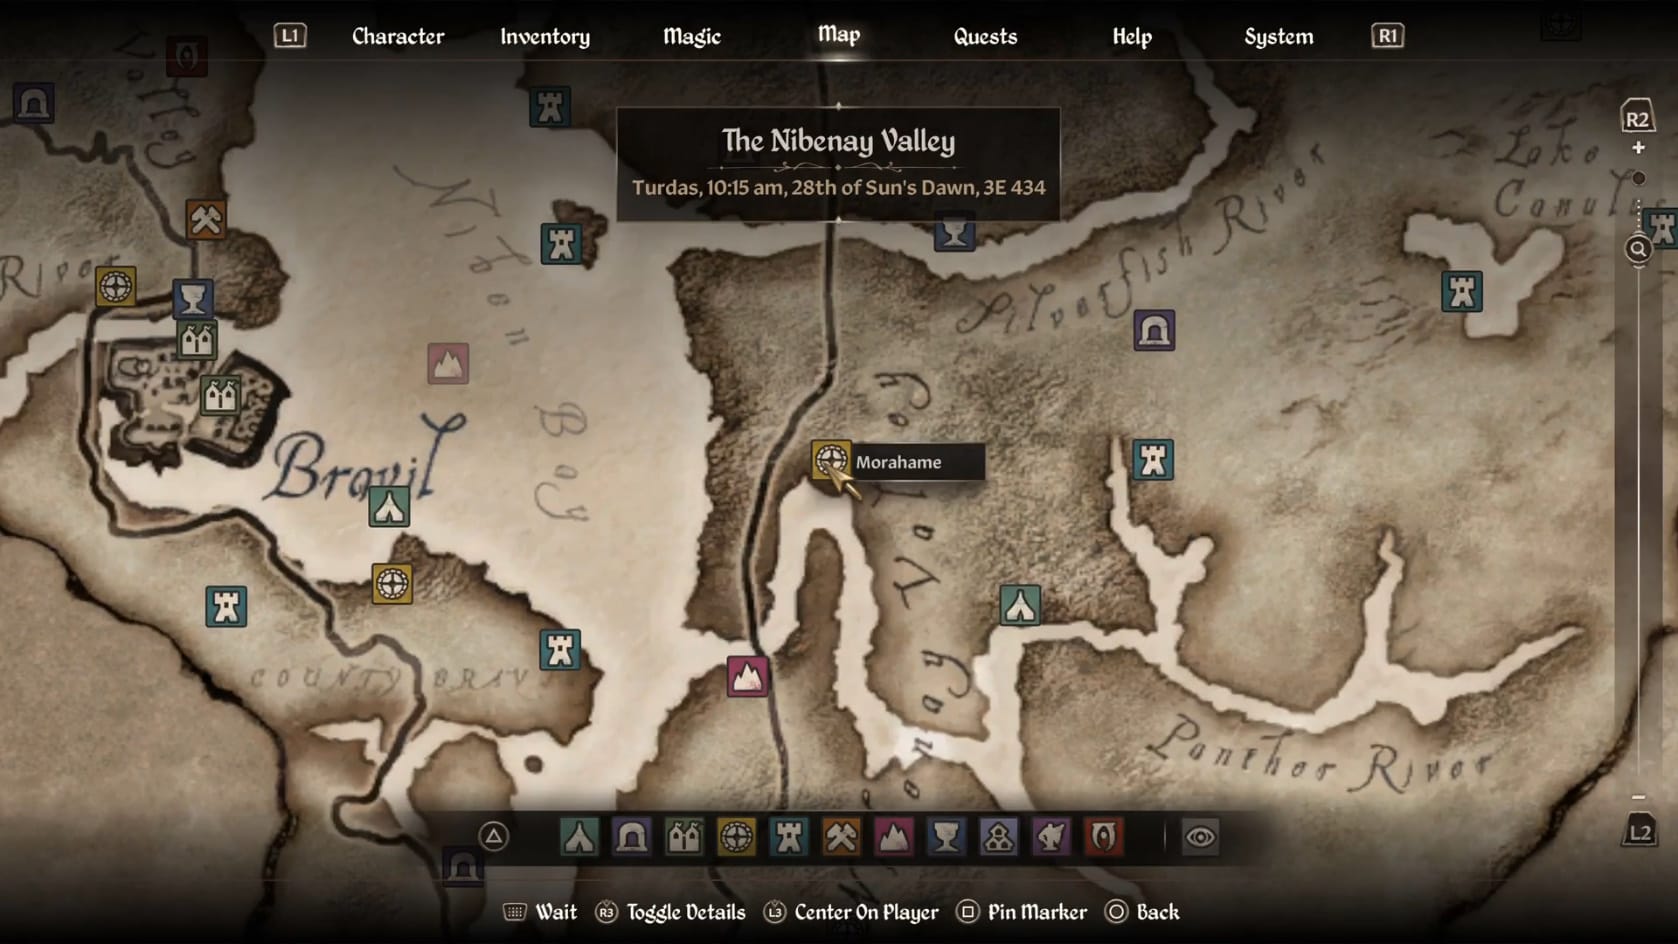
The location of Morahame
Walkthrough:
Exterior
You can expect to encounter some wilderness animals as you approach the Ayleid Ruins. The door is easily found by heading for the center of the ruins and looking for the stairwell down. Searching around the area you can find Fennel, Fly Amanita, Foxglove, Genseng, Green Stain Shelf, Monkshood, Primrose, Summer Boletes and Domica Redwort.
Additionally, if you search along the larger ruins in the Southwest, you can find a Nirnroot. One sits just Southwest of the entrance. Another sits in the western side of the rocks on the shore of the nearby Panther River.
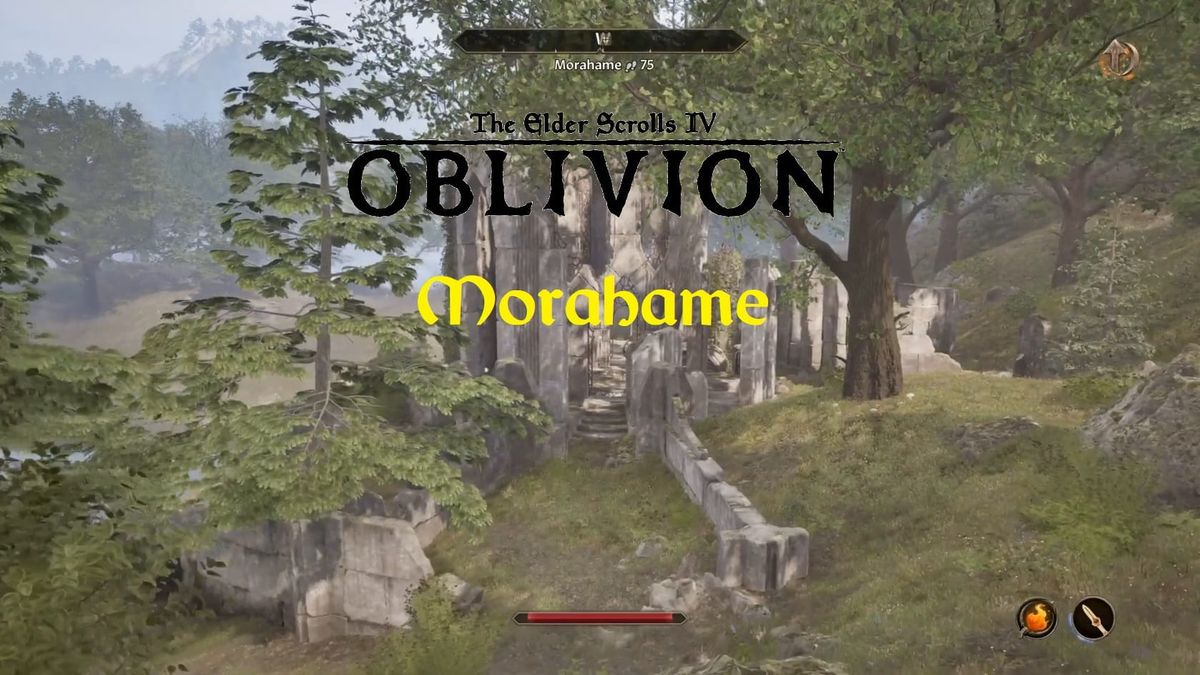
Morahame
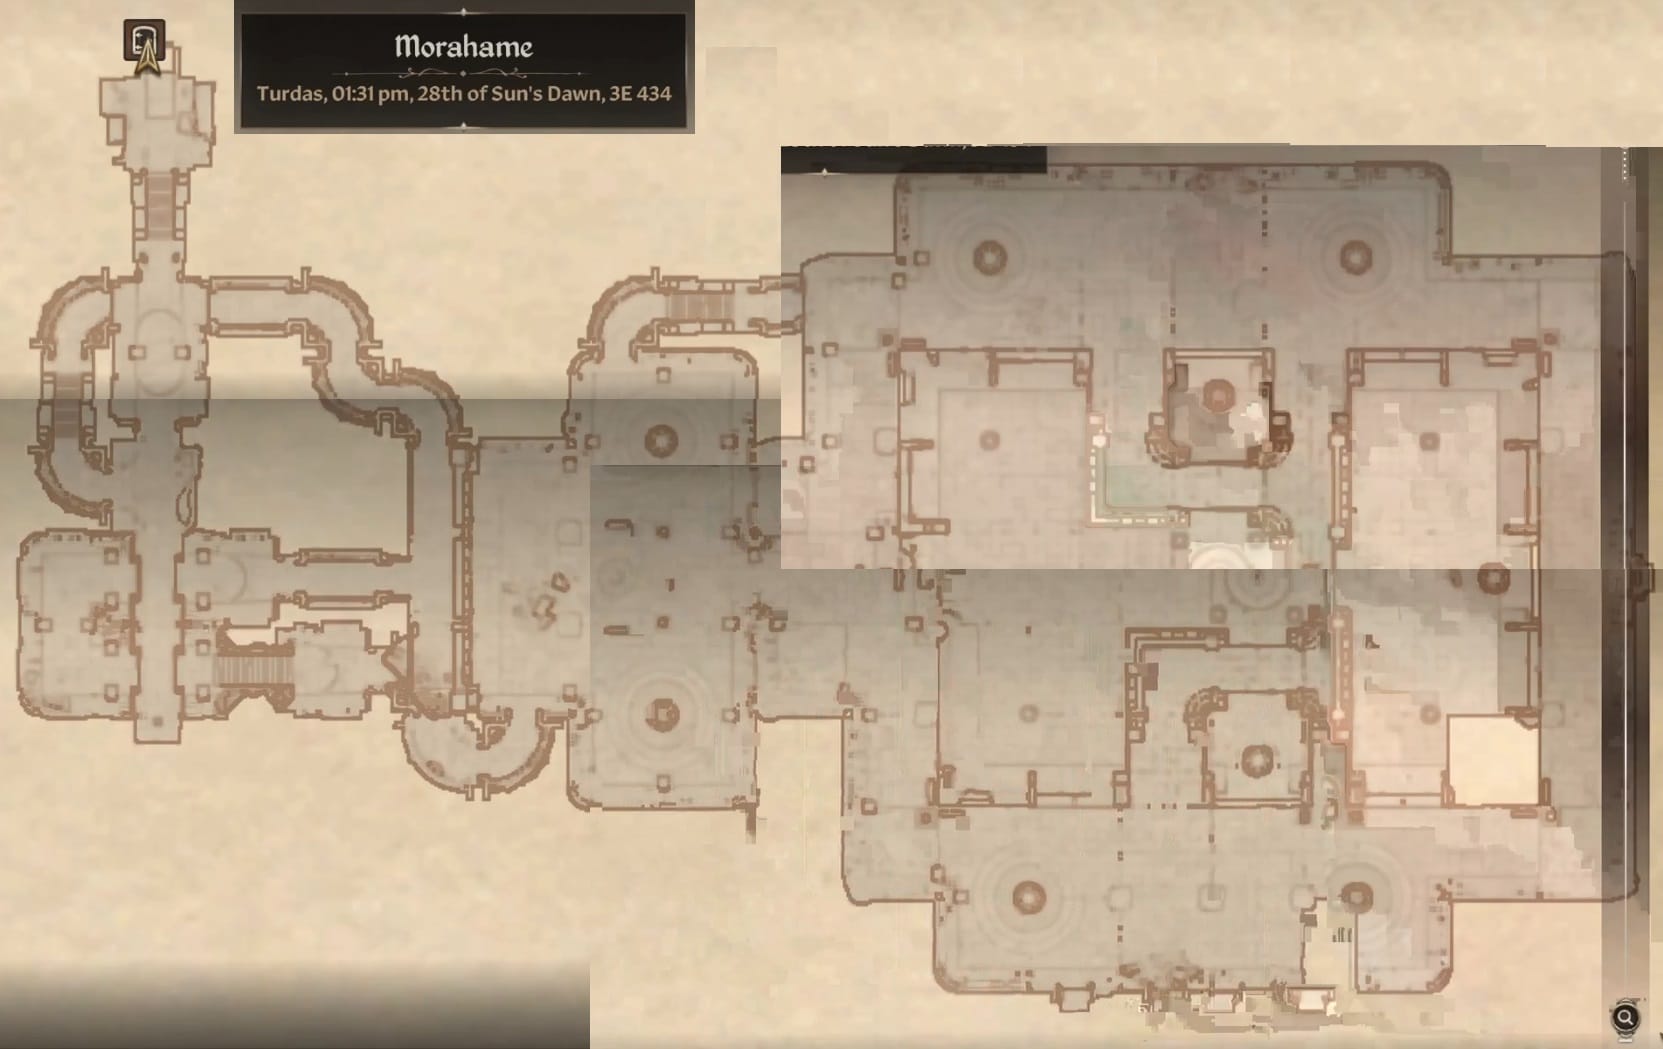
You start by heading down the stairs to the first hallway. Be mindful as you start into the passage here since there can be enemies lingering nearby.
Starting to explore the area, so head forward to the end of the hallway. It’s quickly revealed to be a walkway. This leads to an Ayleid Cask that you can loot. Turn around and head back toward the foot of the walkway.
Take the turn to the West there and then follow the stairs to the North and down. Continue with it to the East and around the next corner to the South. This will bring you to the next chamber.
Arriving in this chamber, you can see a patrolling enemy along the walkway balcony you’ve arrived on. You can see a larger room to the East, but we’ll get there soon enough. Head to the West and down the hallway there.
This will turn back to the East and lead you downward. Be on guard for foes as you reach the bottom of the stairs. Follow it forward through its turns to reach the large room you just saw. Turn to the East.
Head toward the Welkynd Stones and collect them if you need something for quick magicka recharges. Otherwise, focus on moving quietly. There are enemies near enough they will come after you if you move around normally.
Go to the Northeastern exit along the Northern wall. Slip through the doorway, going to the right, and taking the stairs down. At the bottom of the stairs, you’ll be in shallow water. Follow this path to reach a lower area you’d have to jump down to otherwise. Going forward, you can see a Red Welkynd Stone that will attack you as long as it can see you. There’s nothing of note to find here, so return to the stairwell and take it back up.
Back in the large room, you will want to head out of the section you’re in and to the Northeast. There will be more Welkynd Stones to collect, but also a few more enemies. This will lead you to the upper area of the pool area you were just in.
In the balcony area of the pool room, head along the walkway to the East then South. Deal with the few odd enemies left as you travel. You want to reach the center of the Southern wall. This will give you an easy path onto the walkway above the pool.
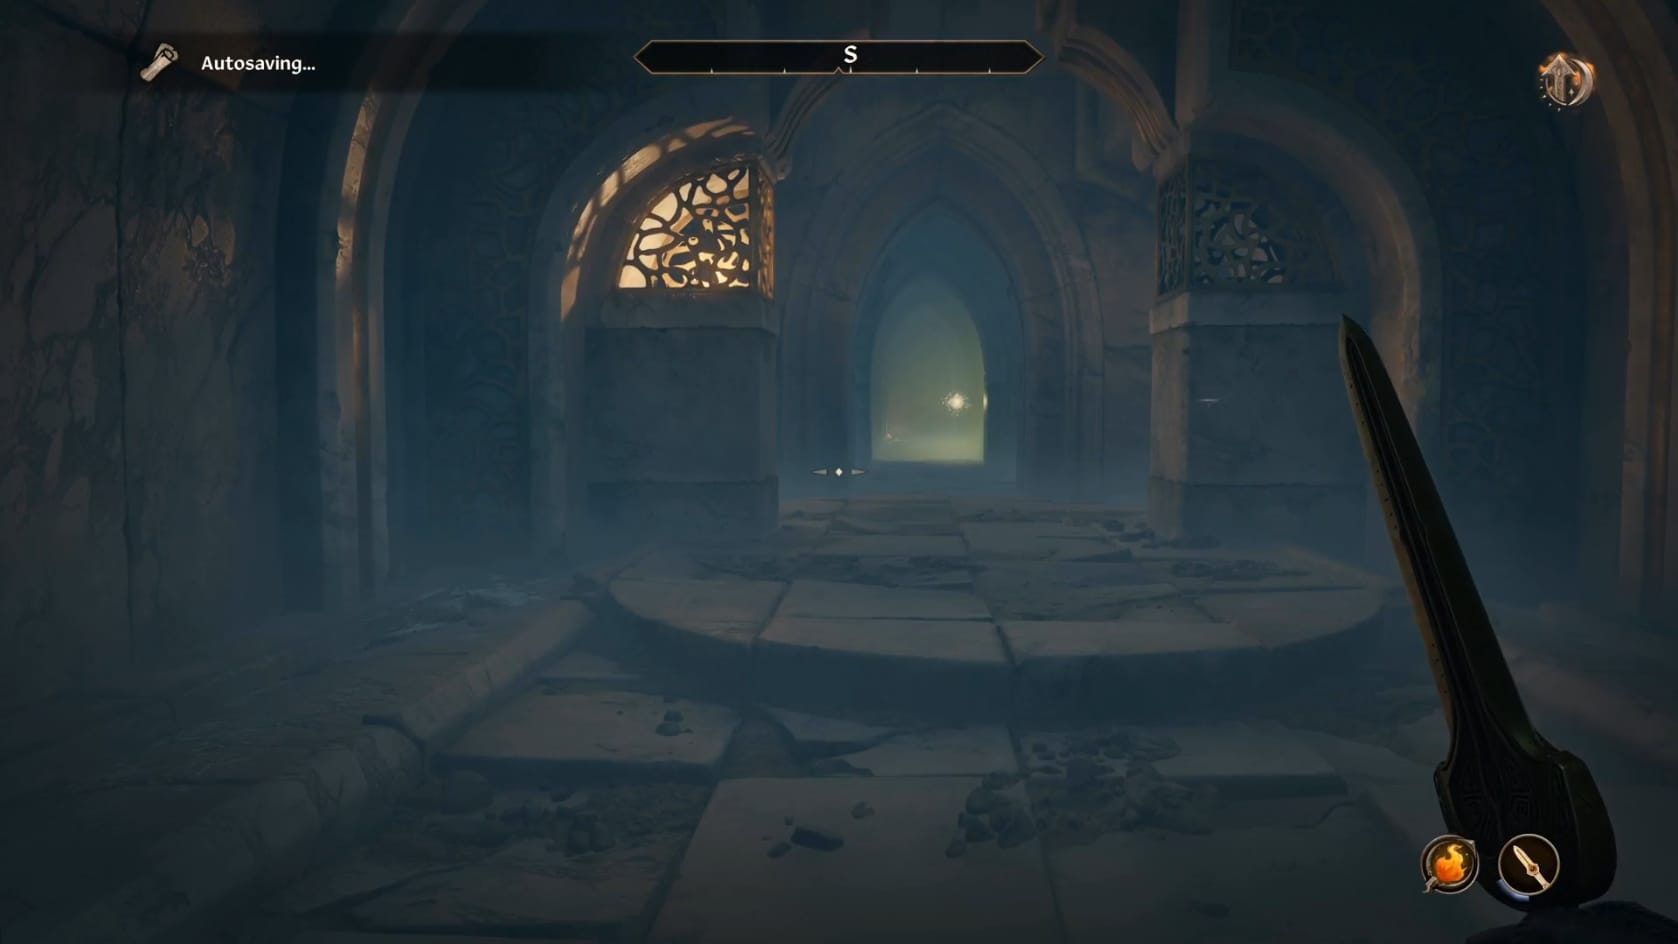
Stepping onto the walkway, you will have a simple challenge: avoid the falling blades. Watch them a moment rise and fall to get a feeling for their timing. After that, head toward the middle of all the blades. You will find an Ayleid Reliquary to open.
But that’s everything you can find in these Ayleid Ruins. Make your way back on out after that.
Video Walkthrough
Video Walkthrough